
Today we’ll talk about making an active subwoofer for a car or for a home. Despite the small power and size, our today's subwoofer sounds better than the X230 from Logitech, which has 52 watts of power. But ours, until I say what power, we will talk about this and much more today in this article.
So let's get started. It is an active subwoofer that means that it has a built-in power amplifier, plus a crossover in our case. The crossover allows you to filter out high frequencies, and transmitting only low frequencies to the amplifier, they are amplified and emitted by the bass head.
The step-by-step steps here are in principle universal and can be used to build a larger subwoofer.
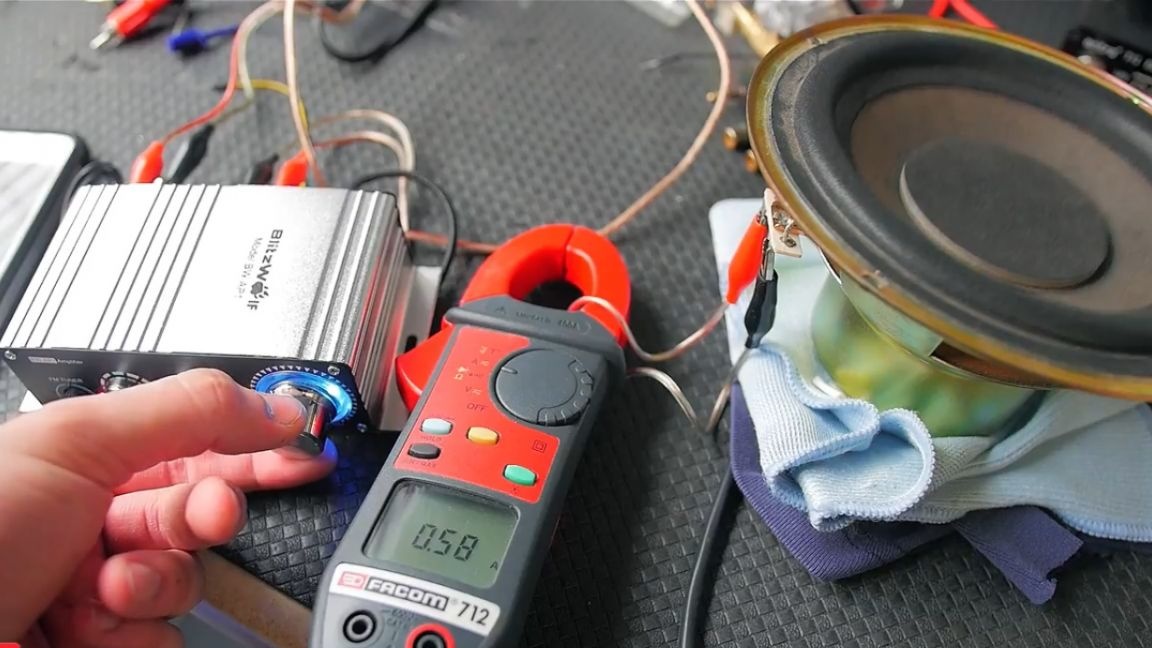
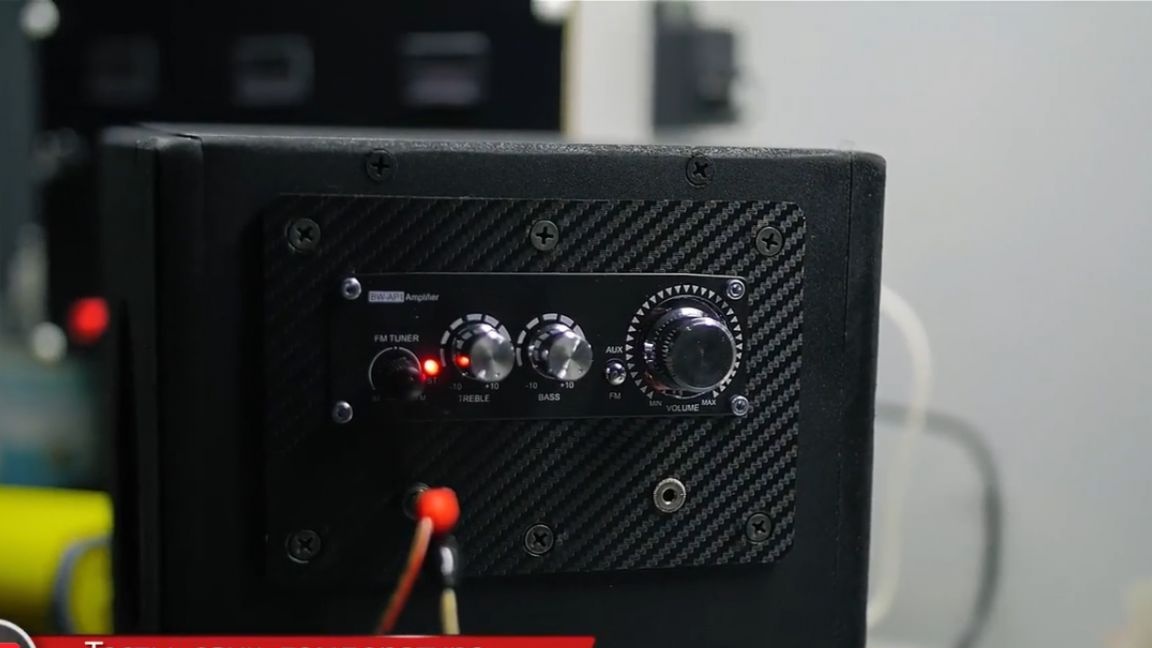
The author, on the other hand, wanted to make a small-sized assembly, which is why he used such a small amplifier from blitzwolf here, when it was still on sale.
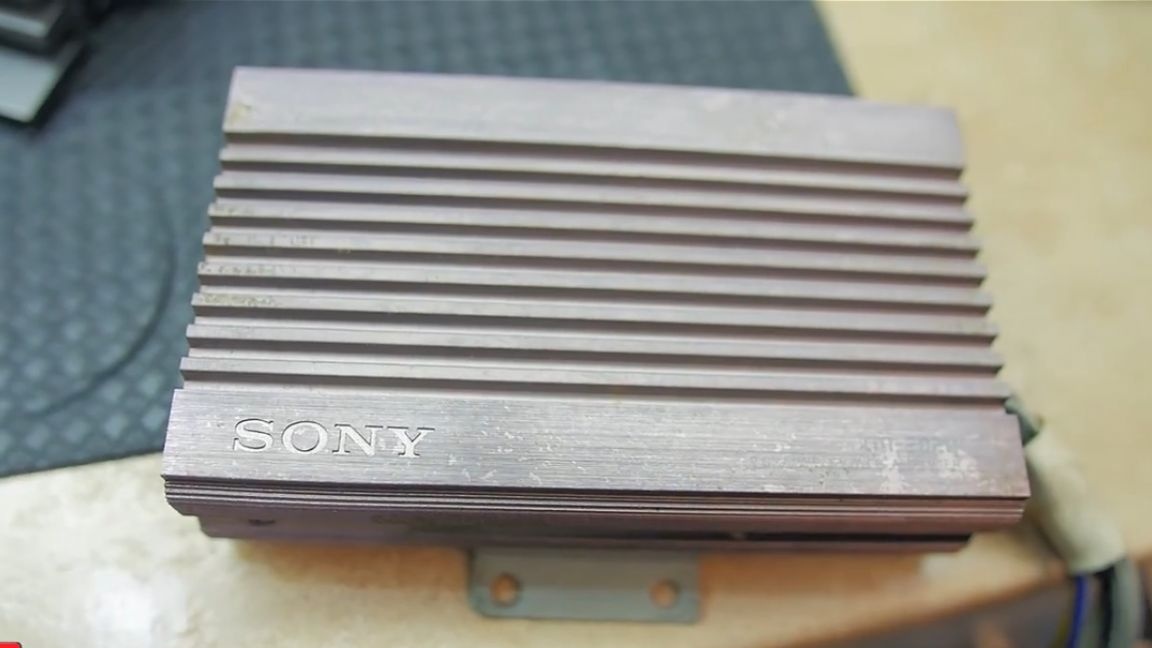
Also on hand was another amp from sony, of the same dimensions, and this is not at all because there were no more powerful amplifiers, he just left them for some other project.
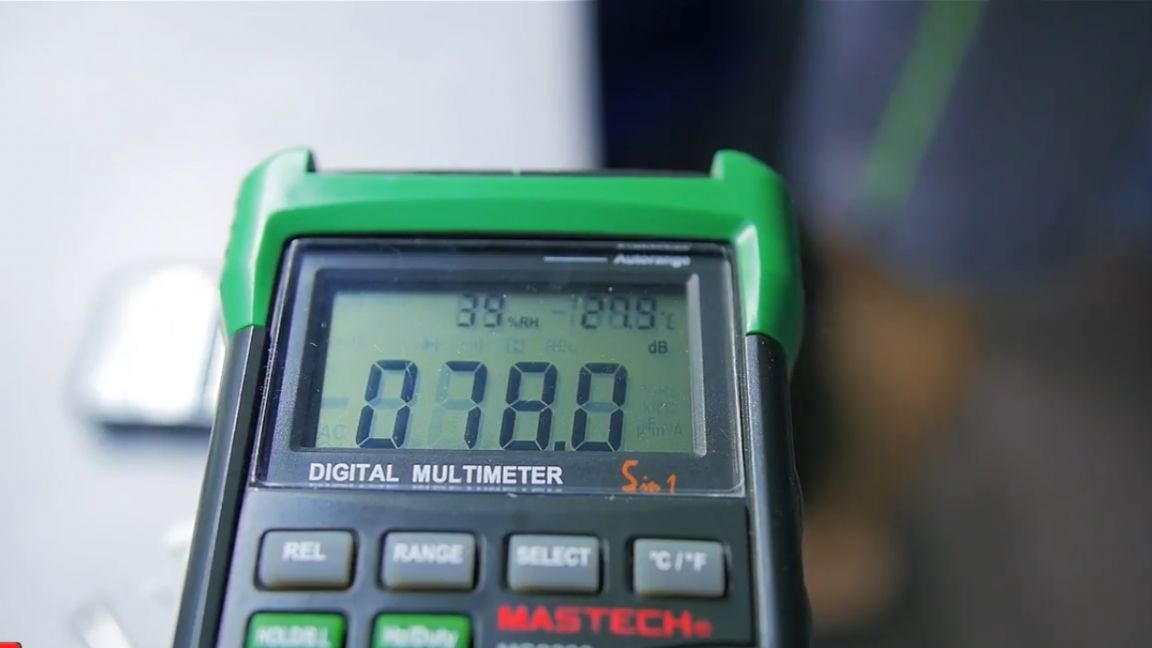
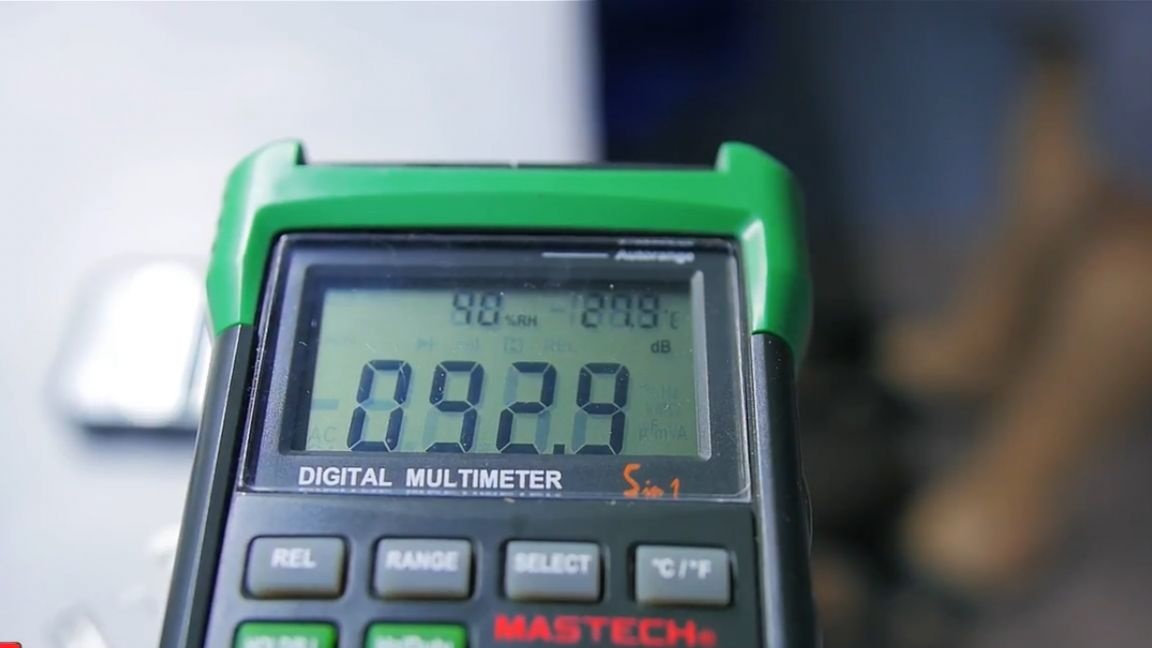
Well, in today's project, as I said, compactness is important. And by the way, here is what the sound level meter showed:

Also in the description under the video you will find links to ready-made amplifier units, starting from 30 watts, and reaching supposedly 600 watts.


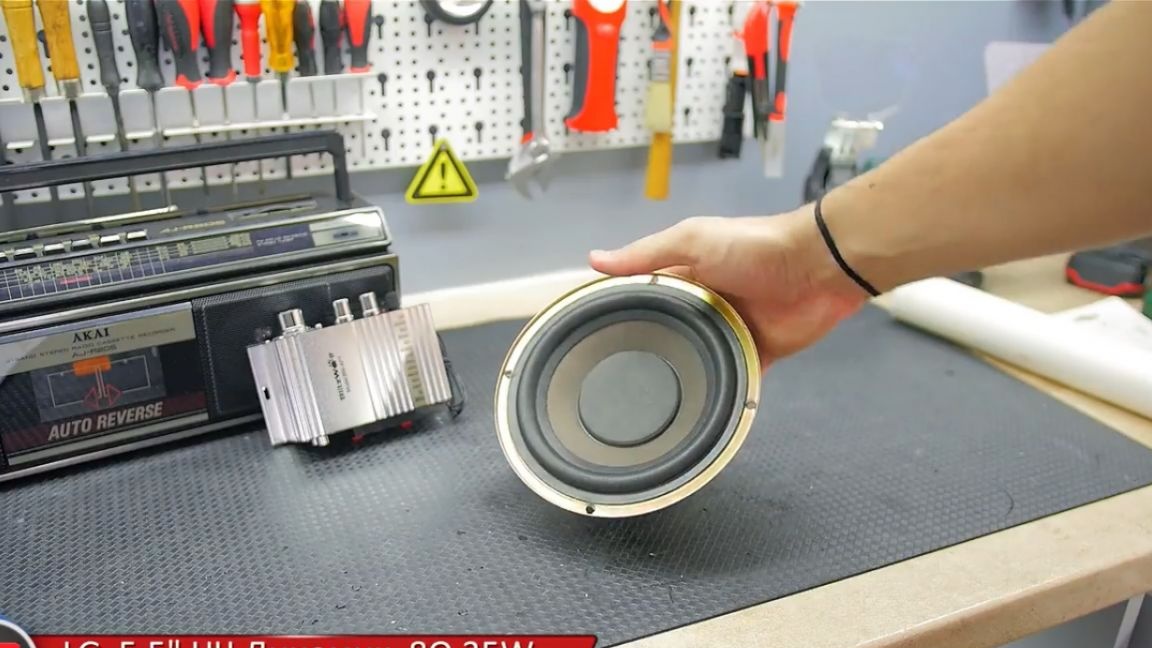
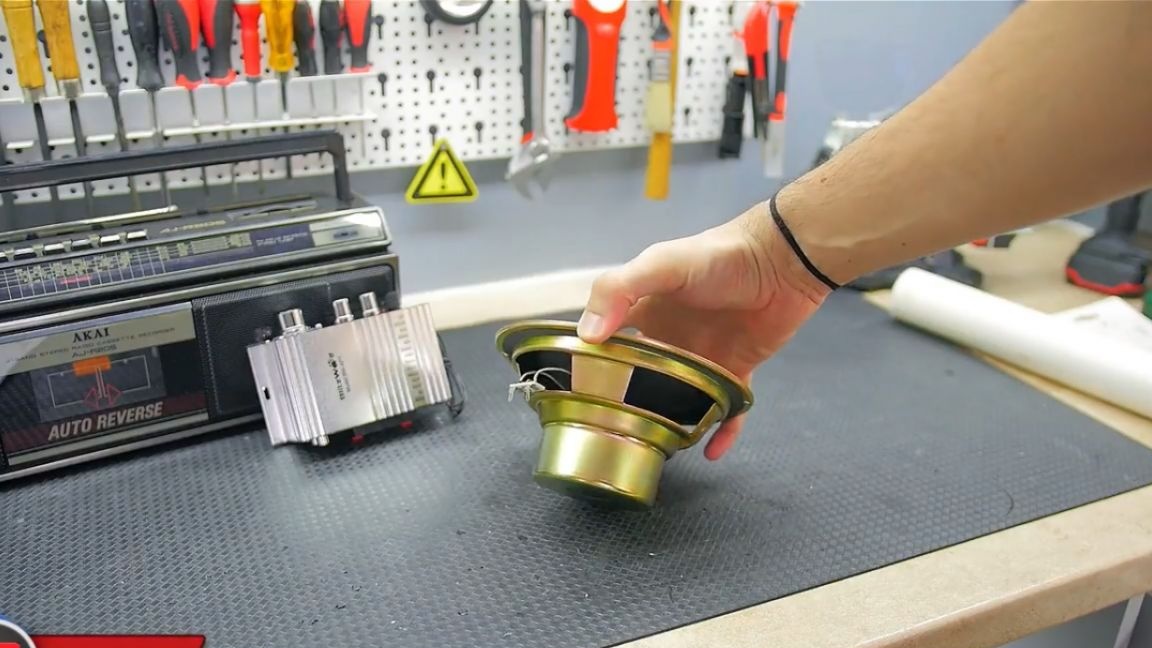
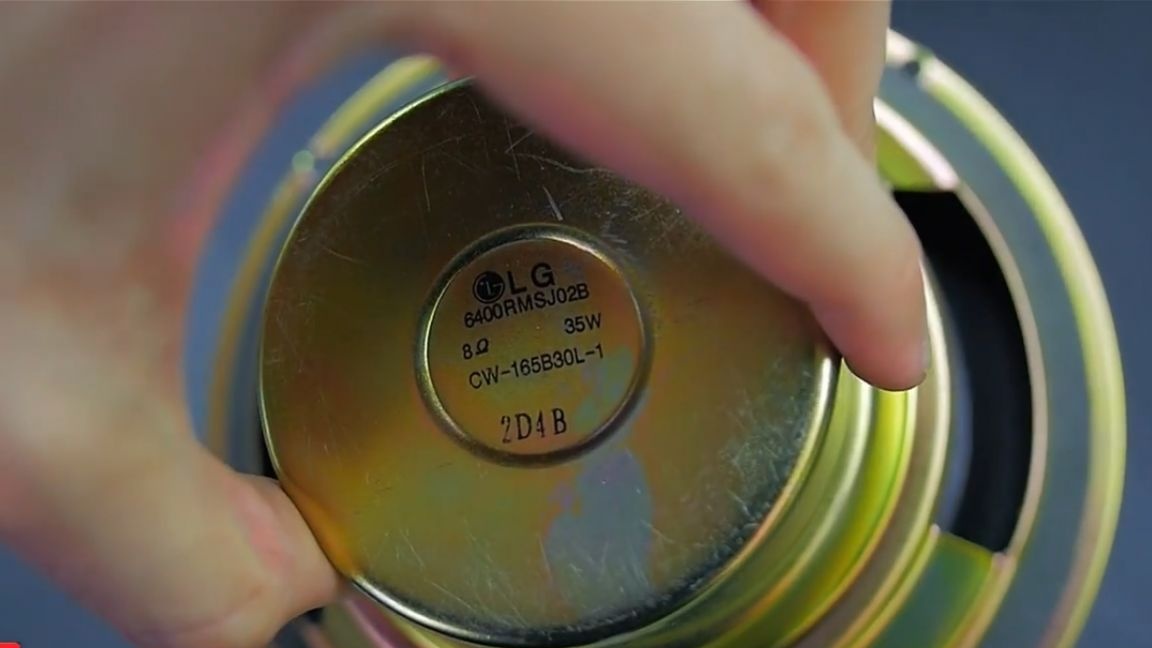
So, for today's project, the author uses a 5-inch woofer.
Usually, when choosing a speaker, the manufacturer always indicates the Thiel-Small parameters, they are simply necessary for further calculations, but certainly not in our case.

The author got a driver from some home theater and all the info on it is 8 Ohms, 35 Watts.
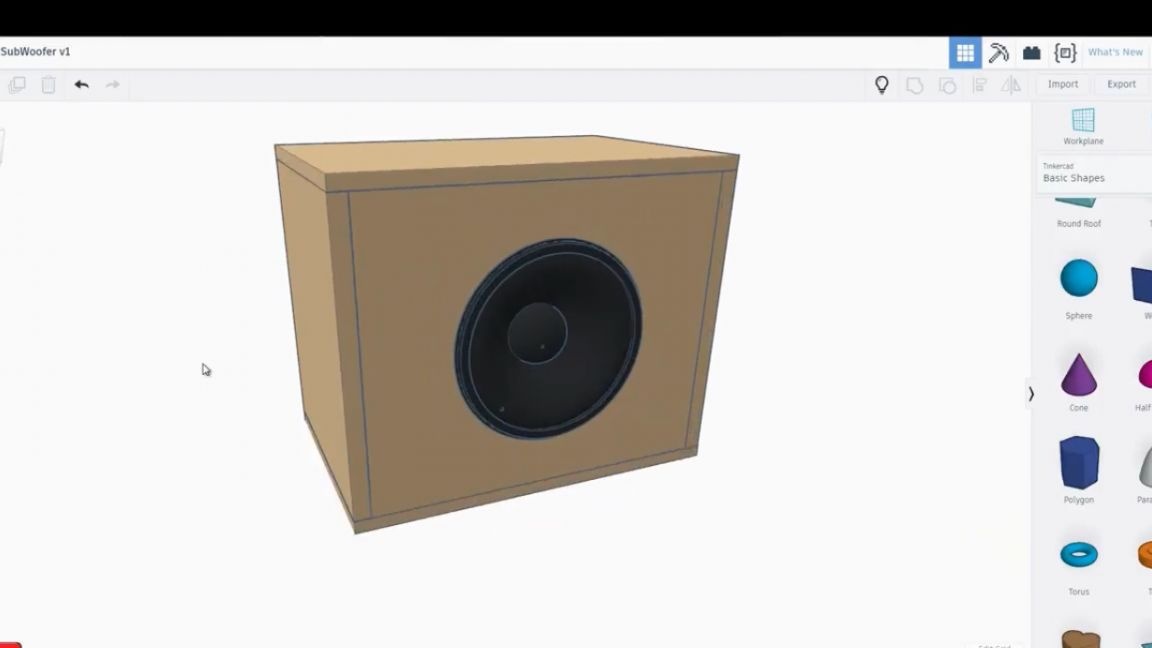
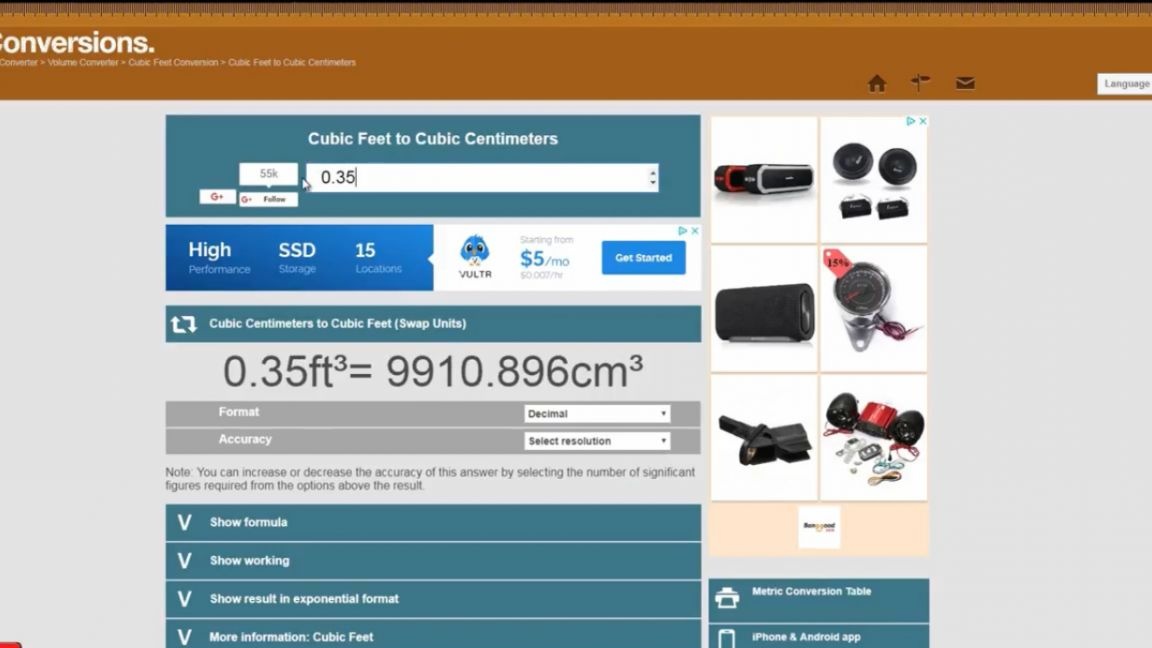
Therefore, some parameters have to be calculated independently, or at least try to determine resonances by ear. This, of course, is not entirely correct, acoustics is such a thing - it requires the right approach and knowledge, but about them some other time. I don’t want today about a difficult theory, I propose it is better to start with the calculation of the box. According to the standard table, you can choose the proposed box volume. They offered 0.35 Feet, okay.
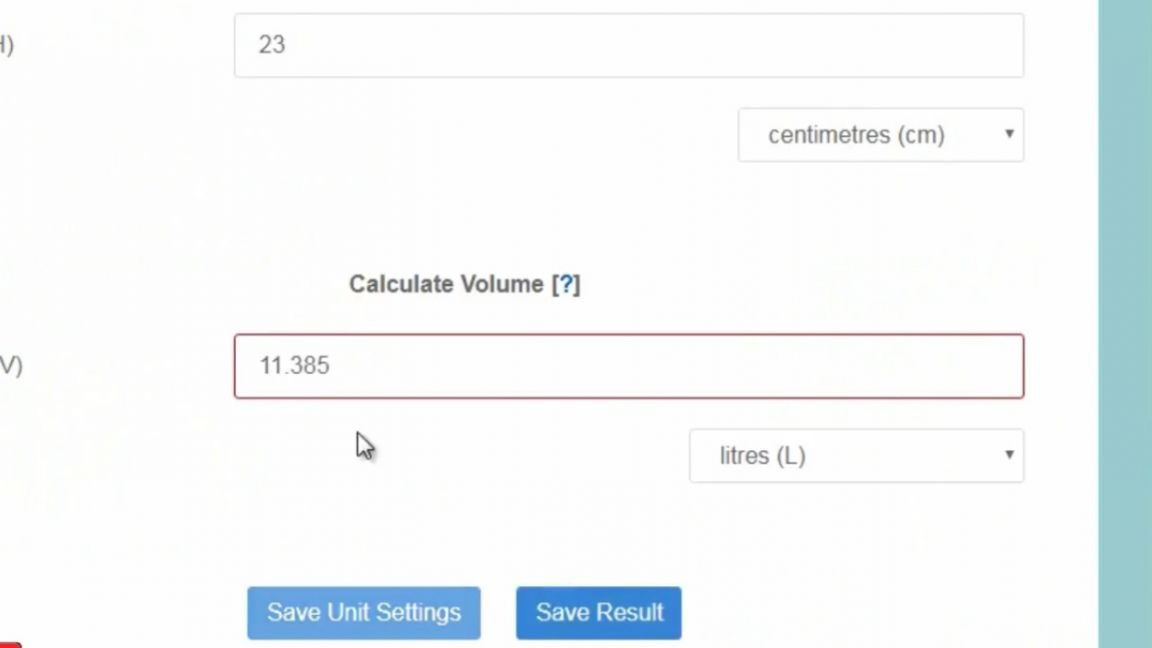
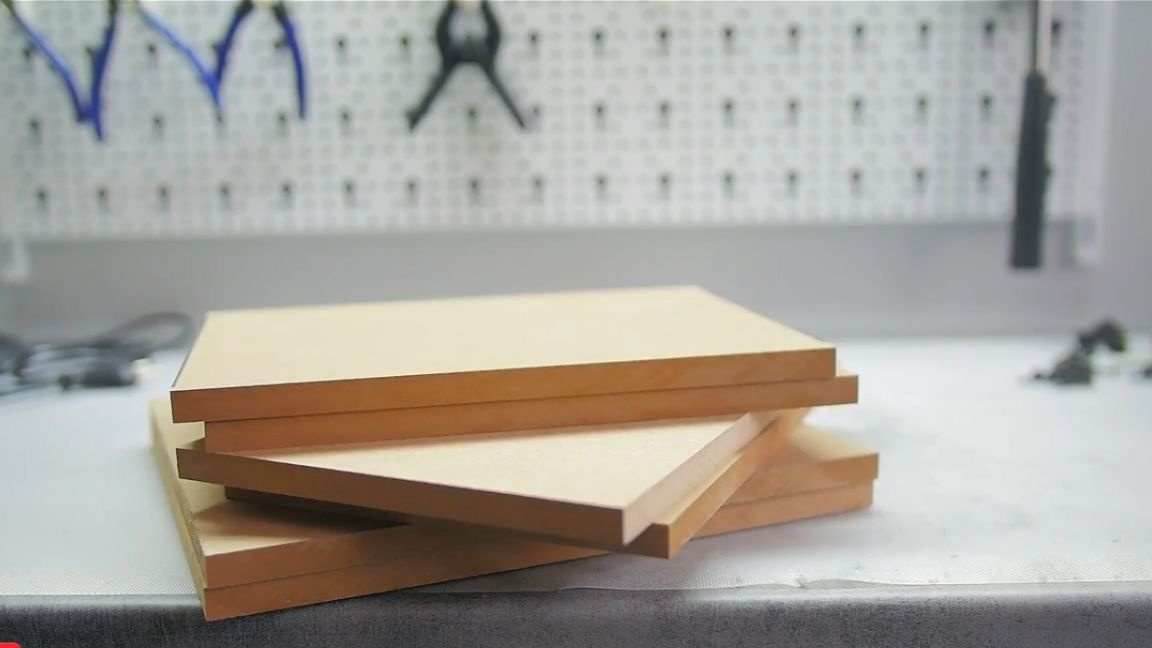
Next, we calculate the dimensions of the walls of the case. It is advisable to use some simple numbers so that you can order from a joiner, or cut everything yourself.
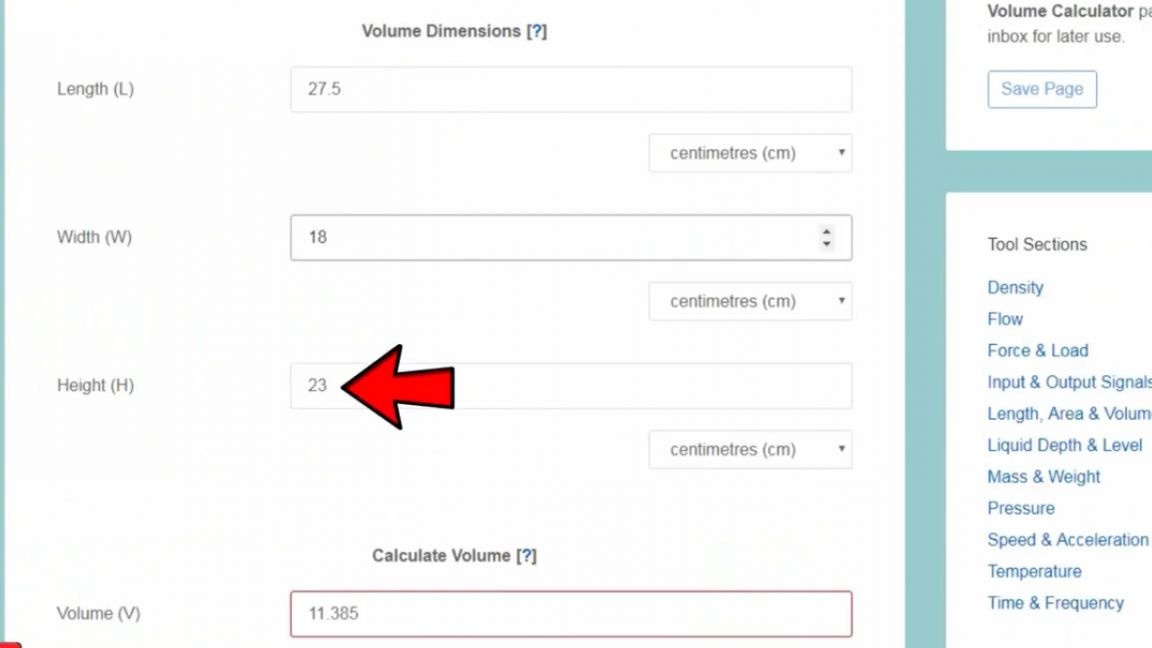
Also, please note! When external calculations we observe the internal volume of the case, which means the wall thickness plays a big role.
Well, somehow, a house was born for today's project, which will kindly shelter all of today's components.
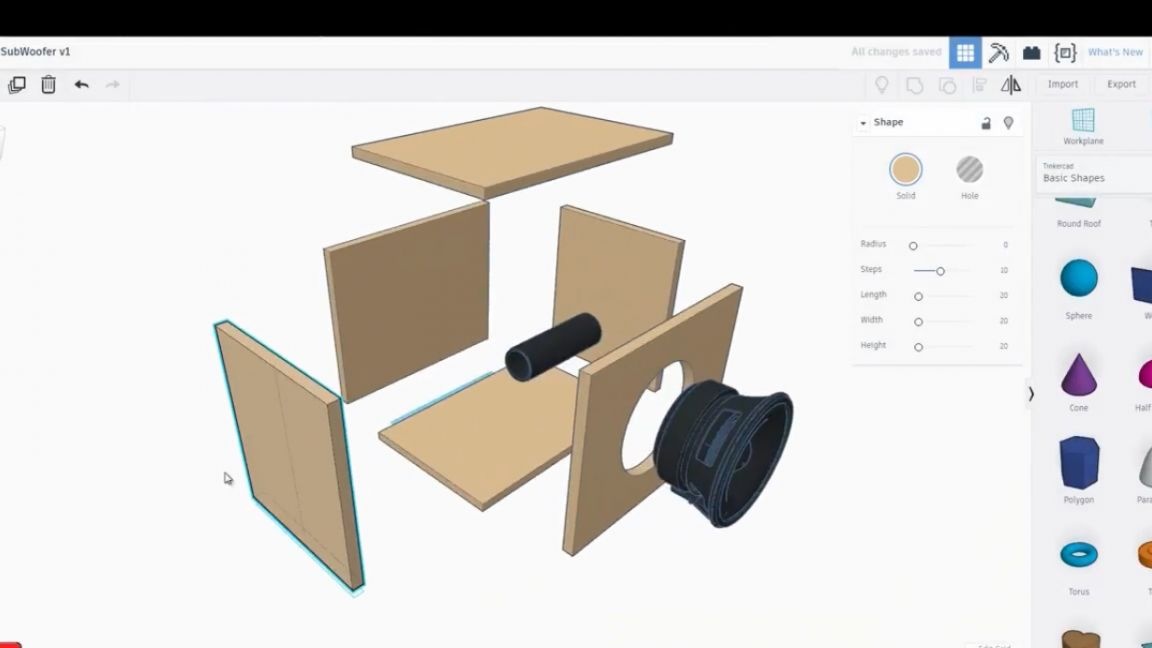

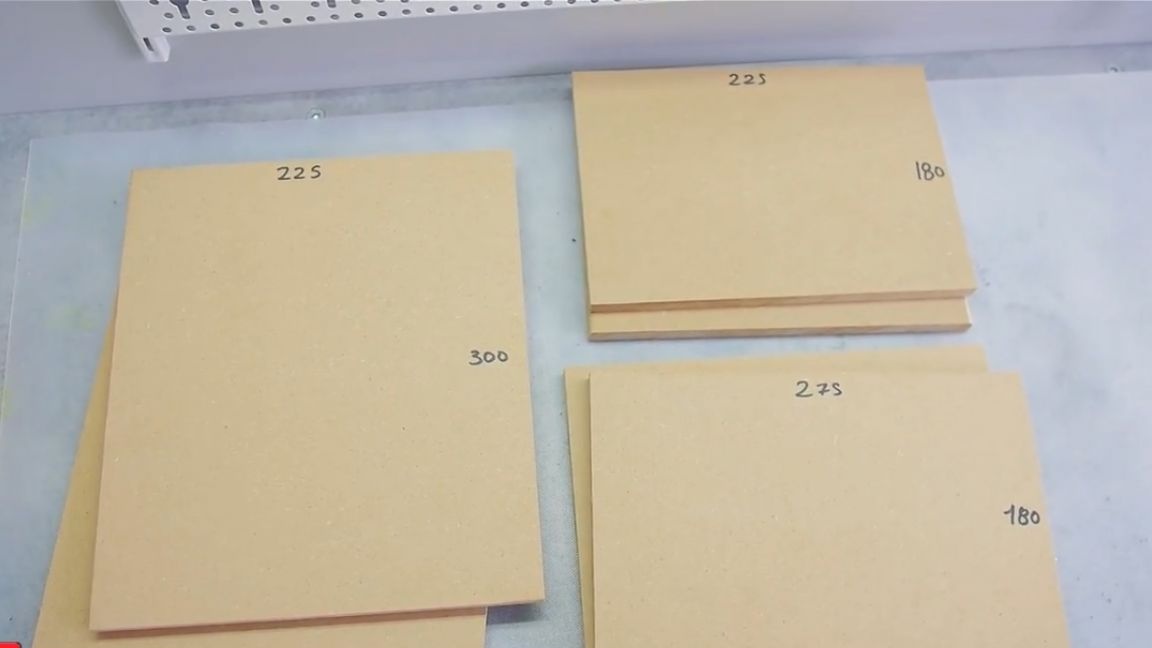
I will show you the sizes later. All clear picture was drawn, which means you can make an order.
This is with us: front, back, top, bottom and sides:
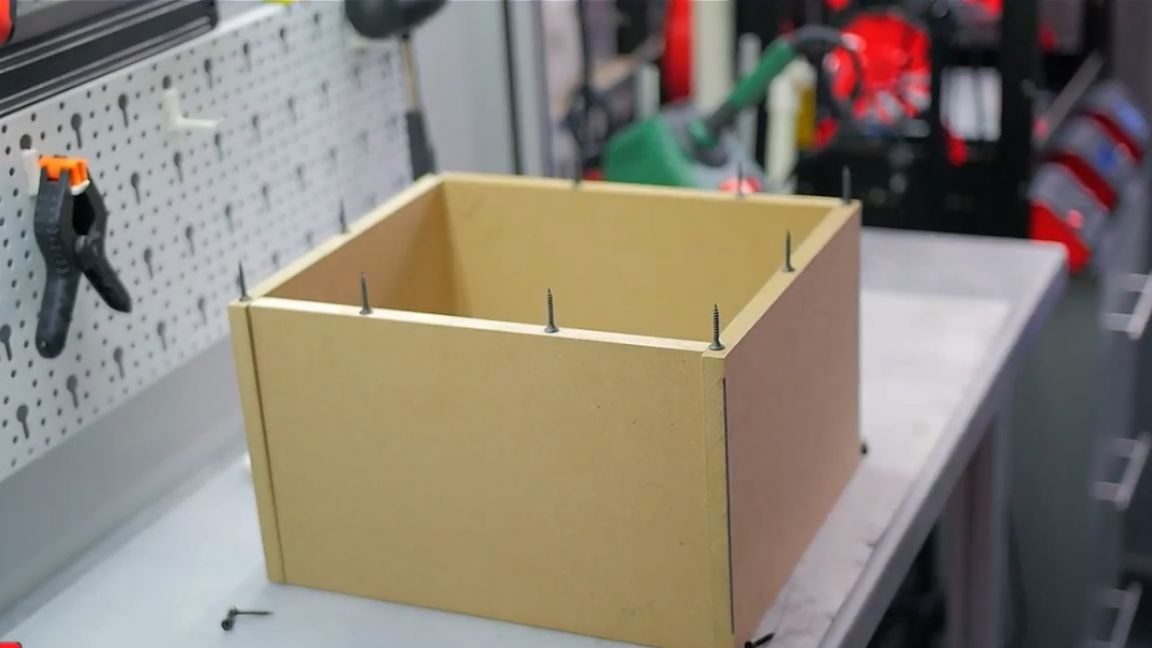
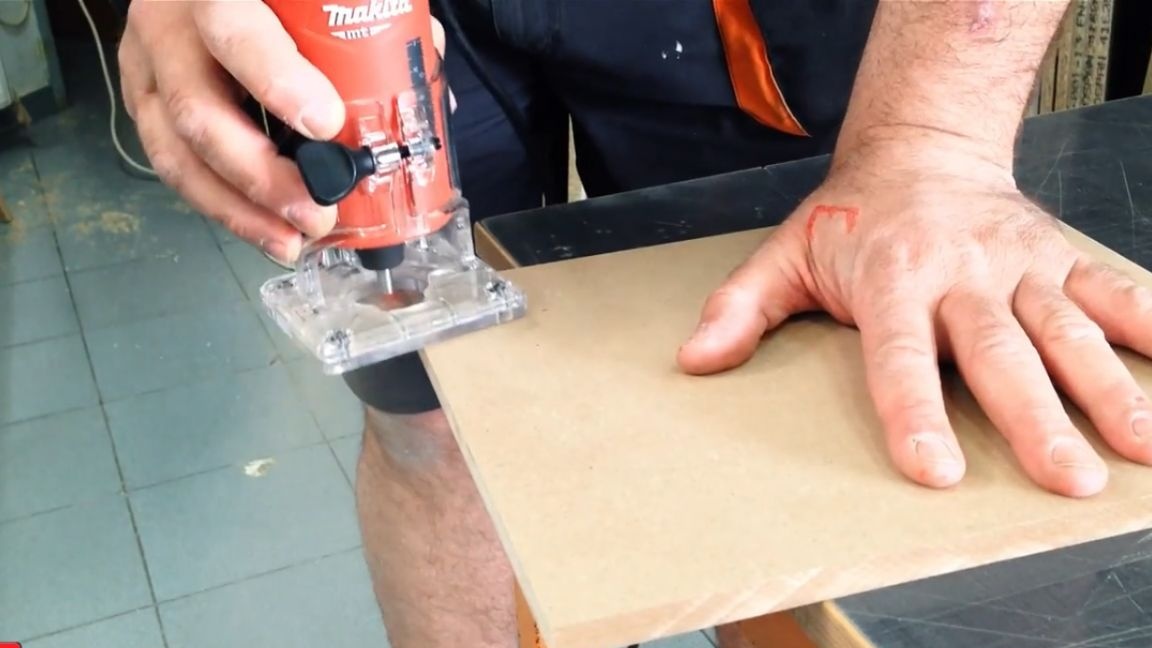
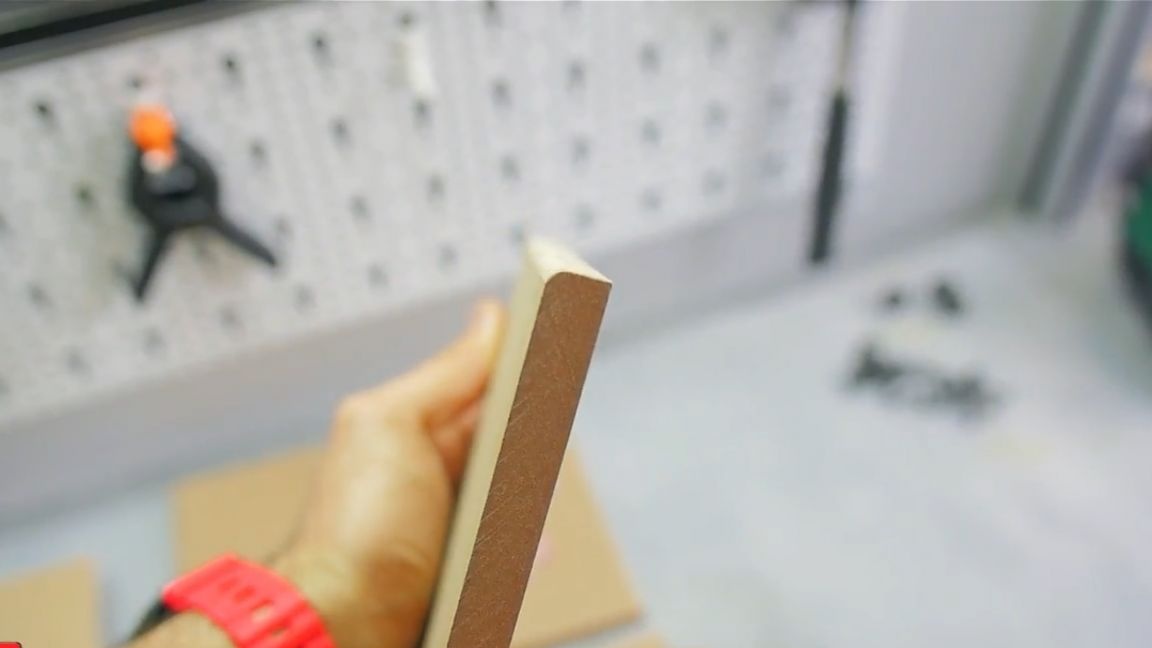
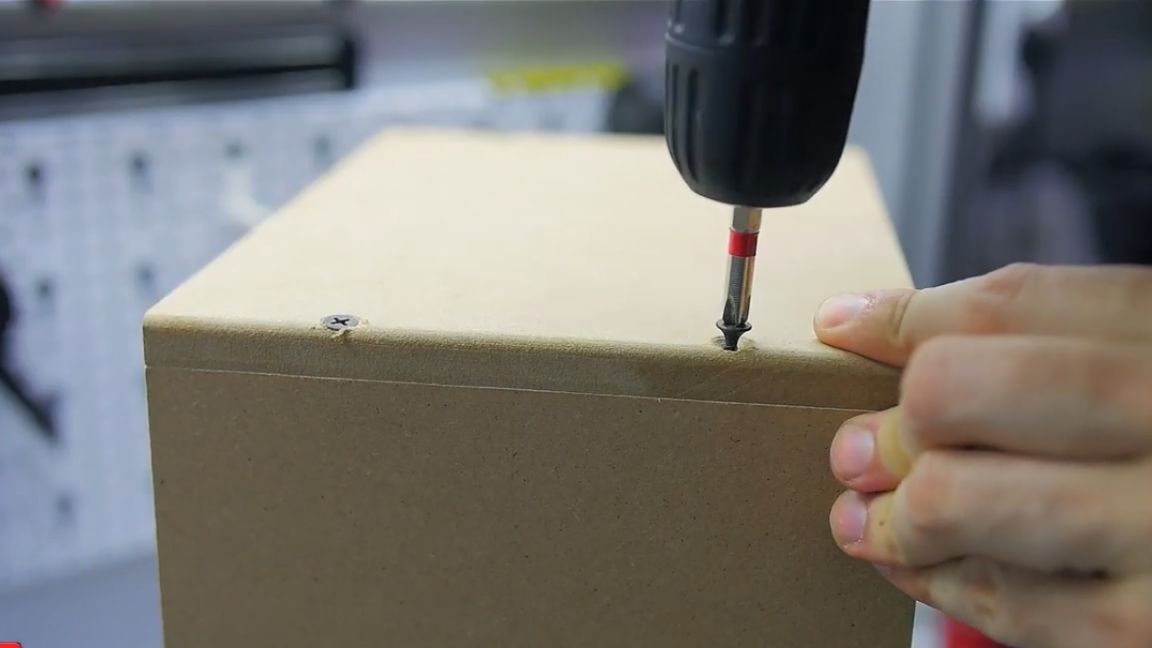
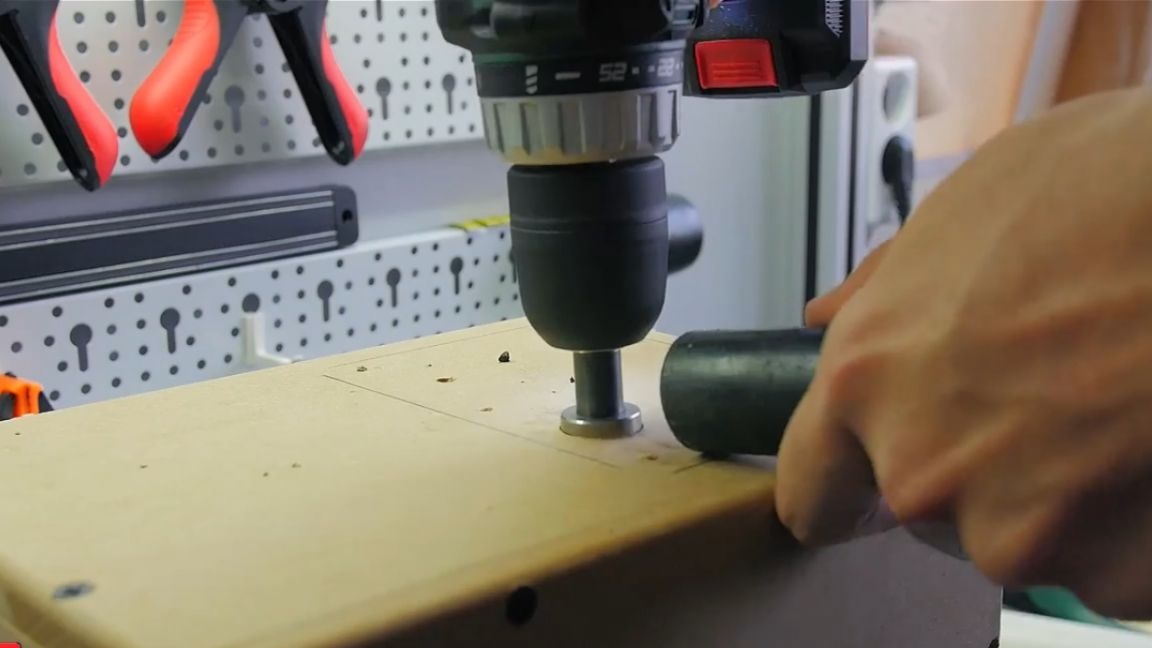
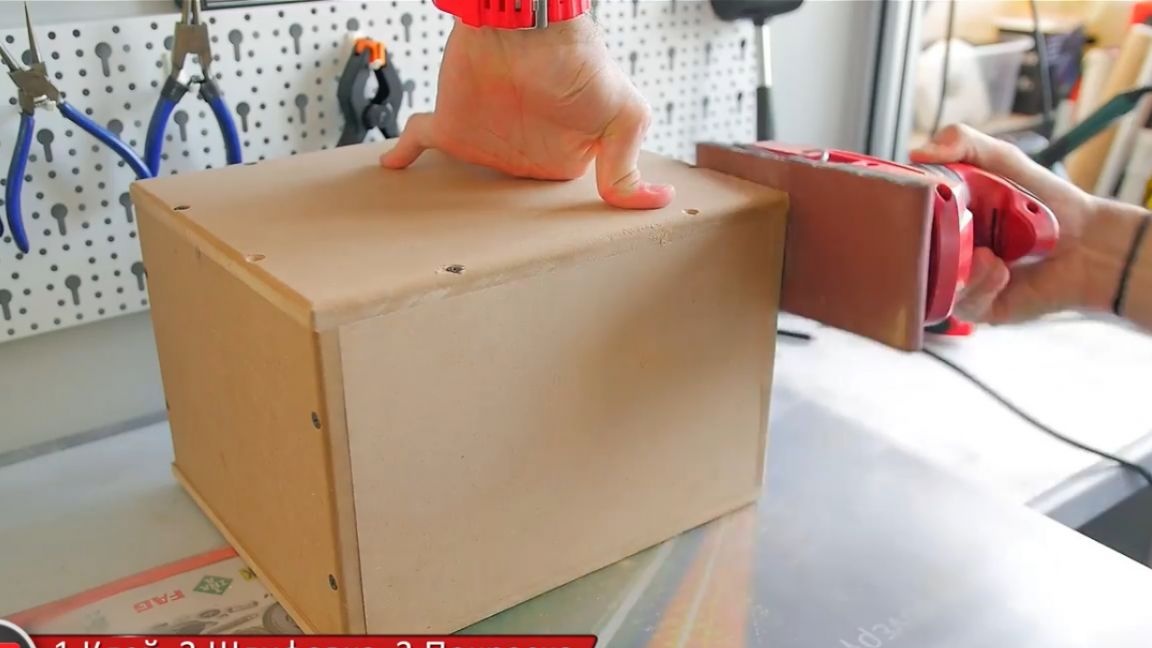
The case will be assembled on 25mm wood screws, it is logical to set them no wider than 10 centimeters, and running a little ahead, it would be nice to round the corners on the walls. This can be done either manually - with an emery cloth, or using a milling cutter - it will be better.
Well, here, as promised, the dimensions of the walls:
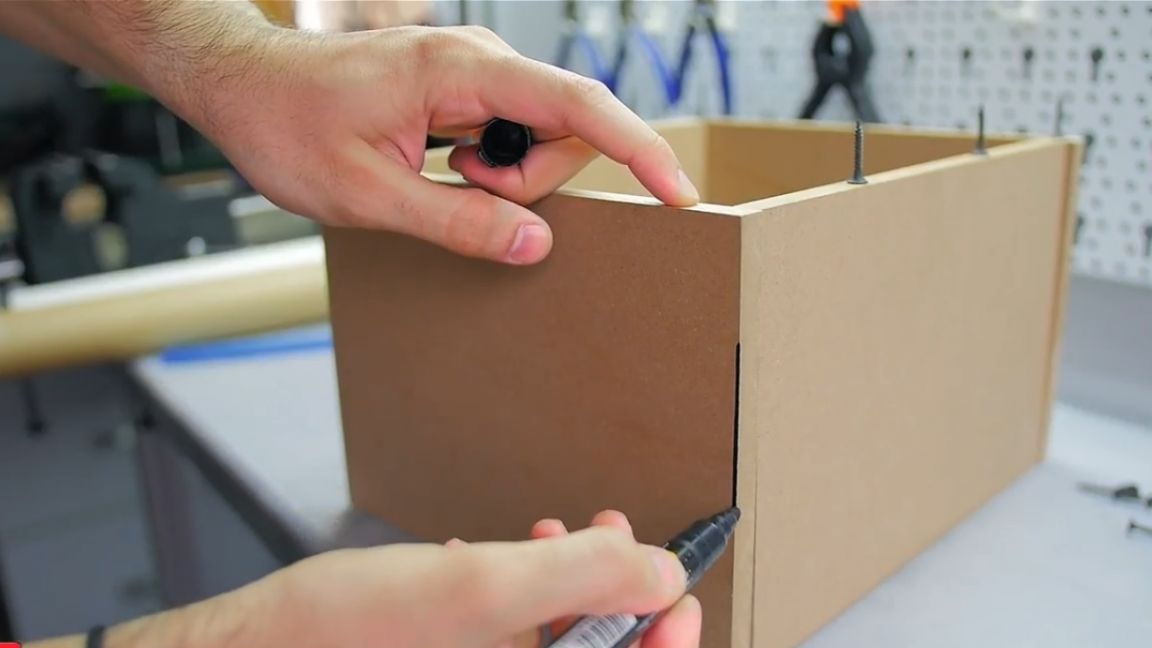
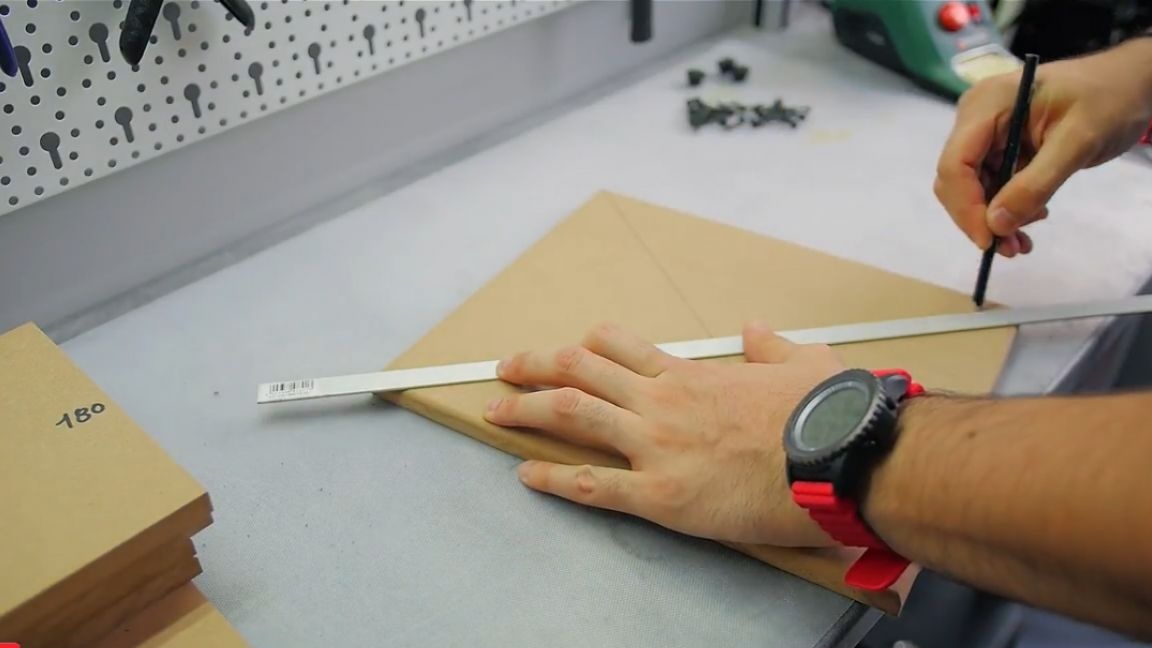
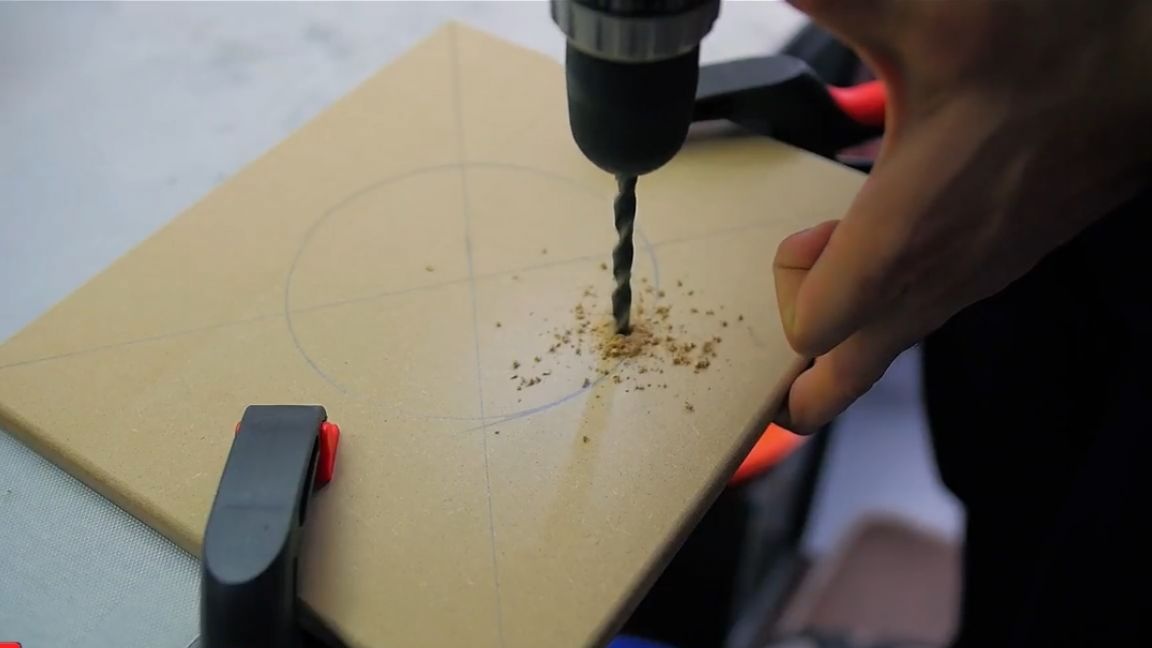
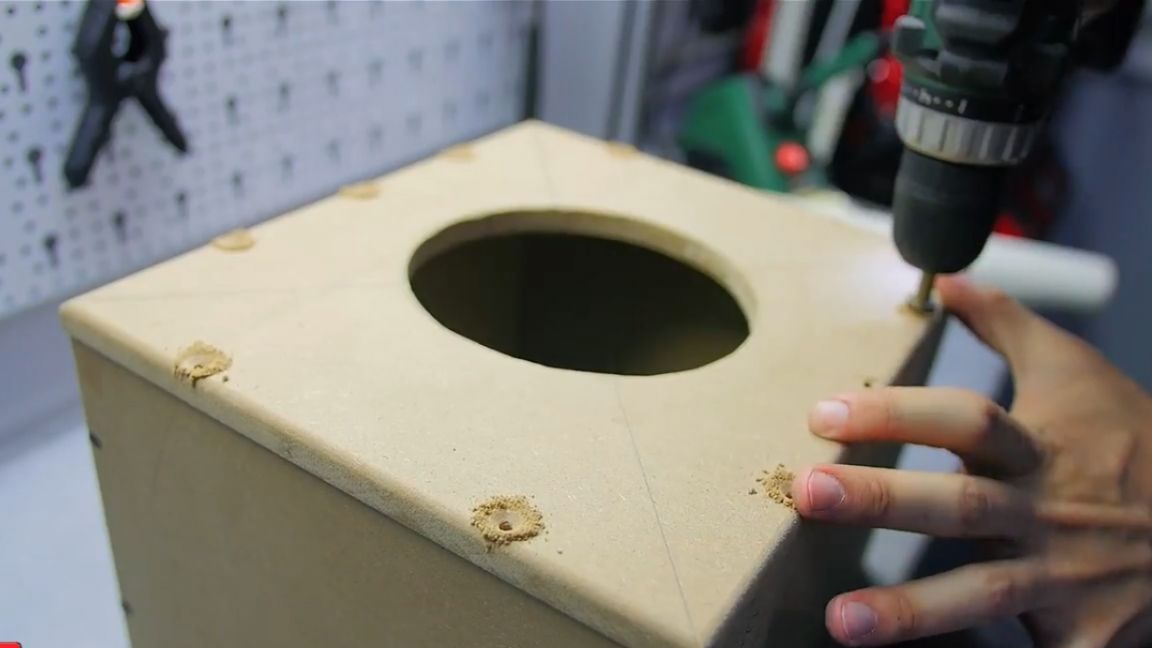
So, okay, now let's assemble the box itself. On one of the walls we find exactly the center. To do this, draw from corner to corner of the strip, where they intersect - this is the center we are looking for.
We draw a circle with the diameter of our speaker, and drill a hole somewhere in order to stick a jigsaw file.
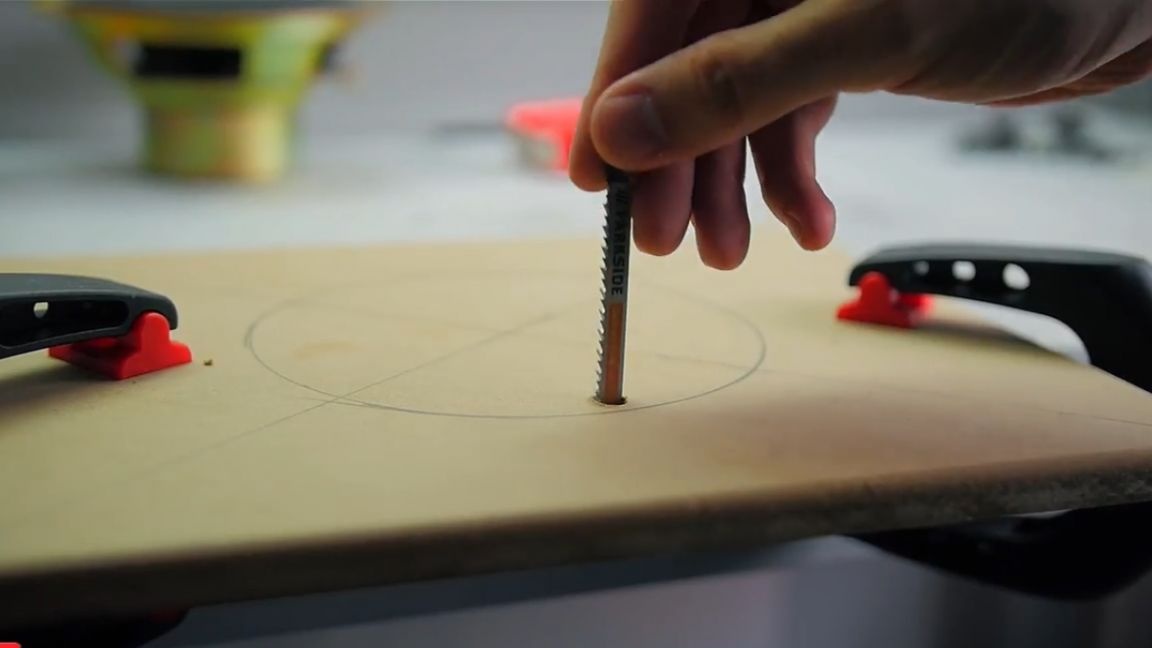
Saw a circle for the speaker with an electric jigsaw.
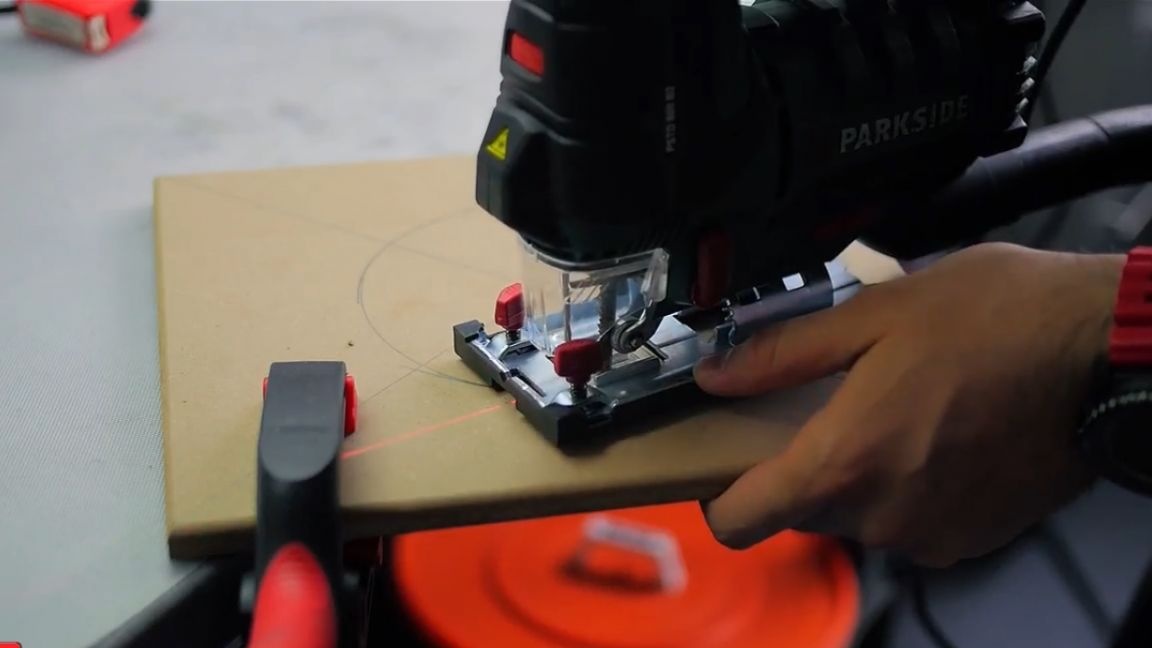
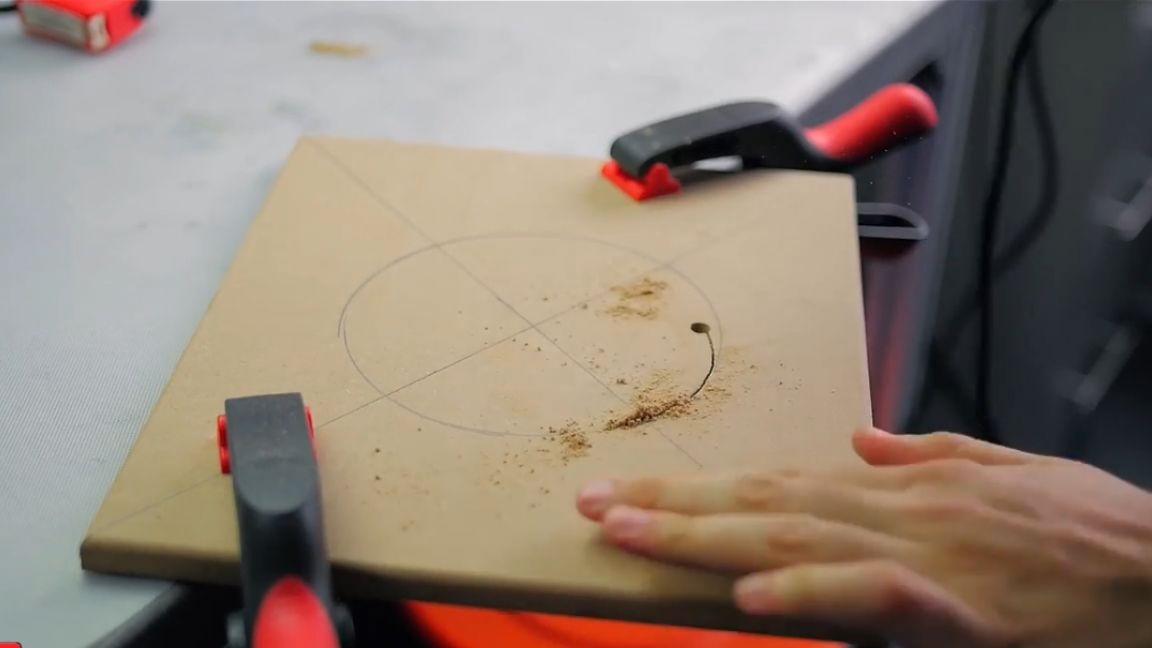
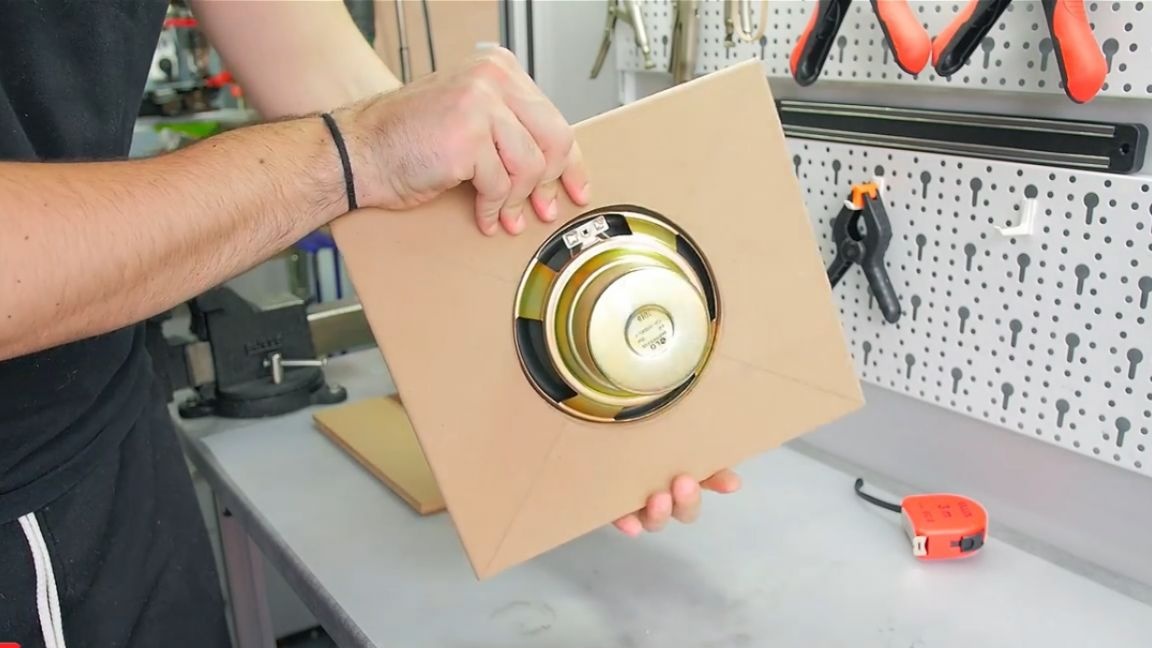
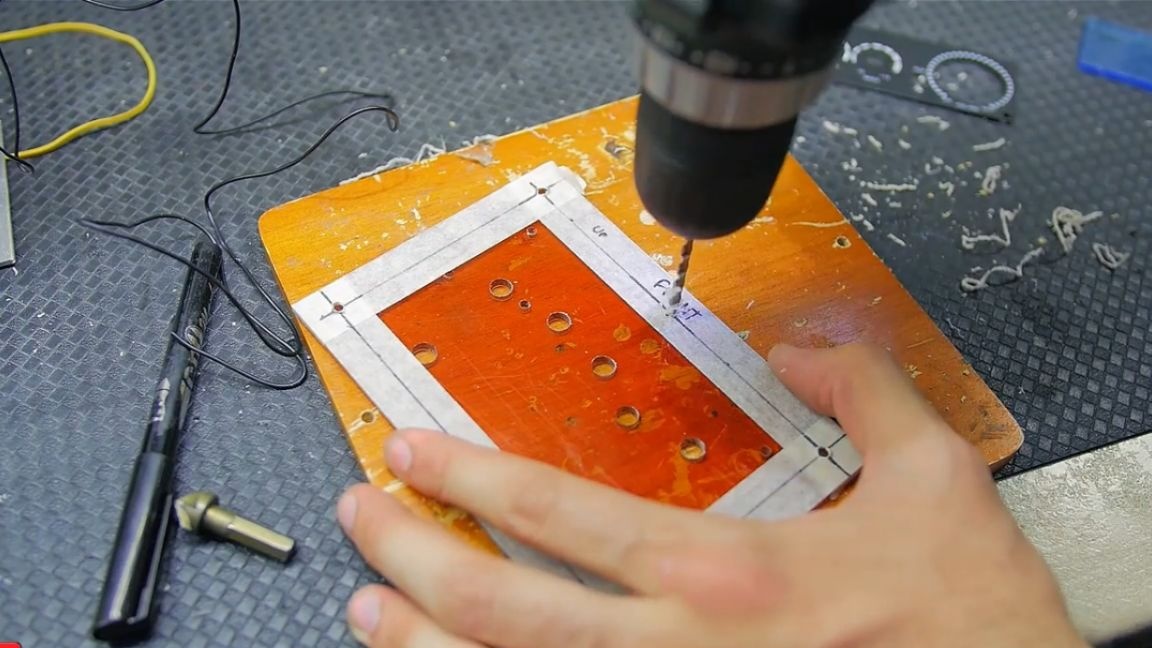
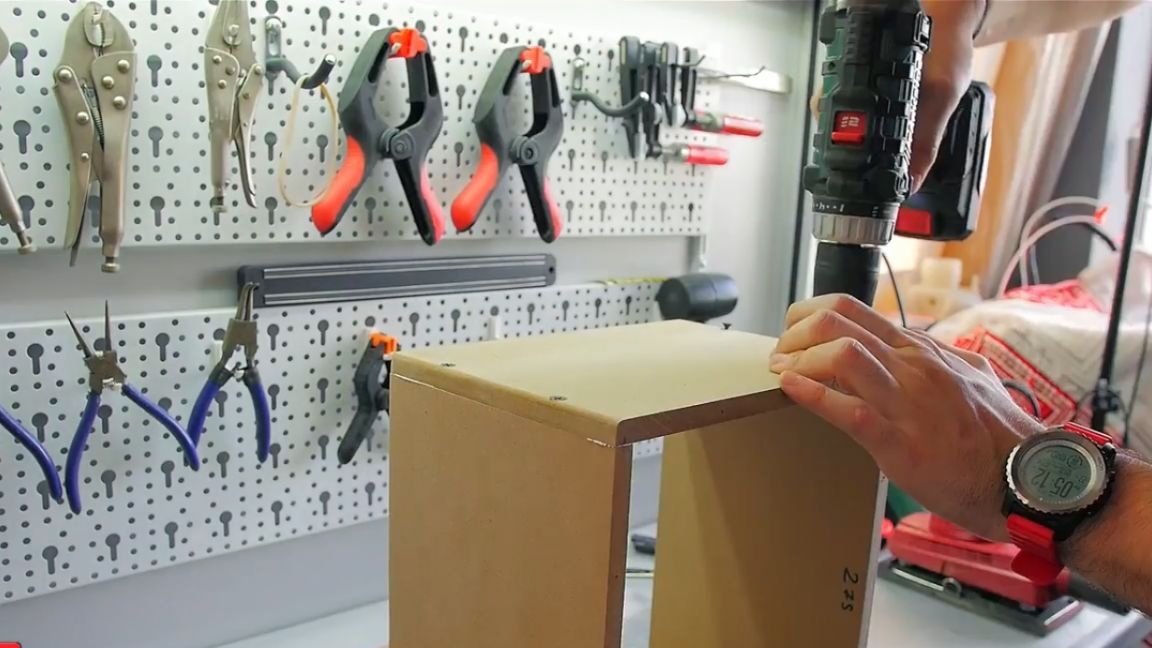
The circle is not quite even, but there are other exact solutions that we’ll talk about some other time. Next, we make guide holes for screws and collect the box, but so far without glue.
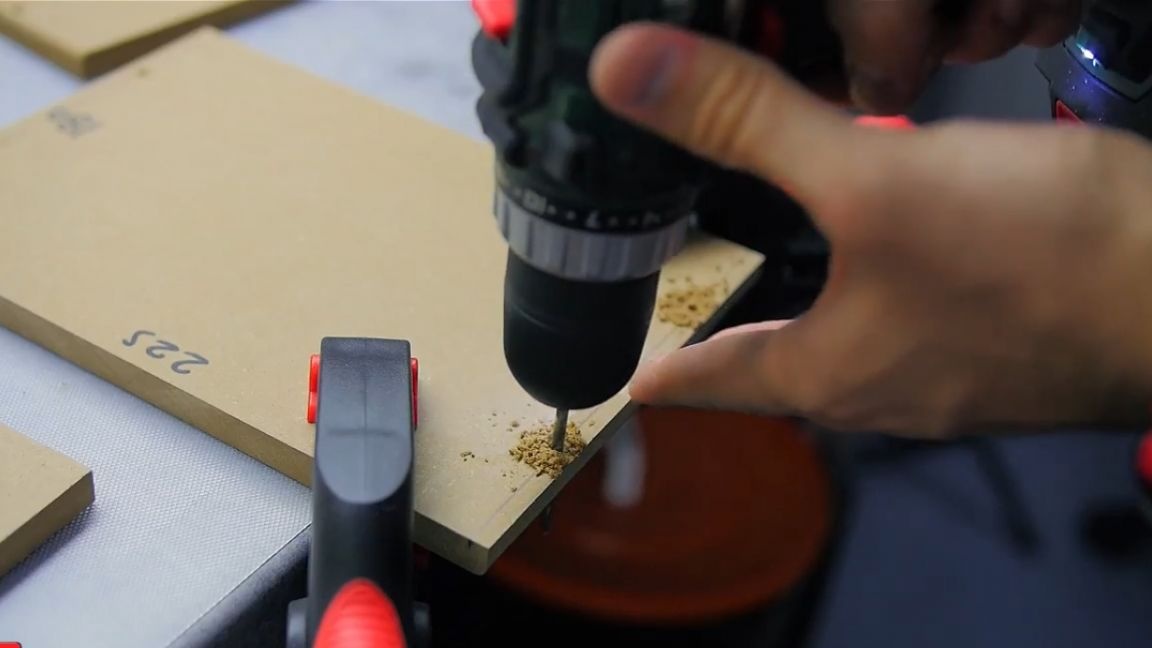
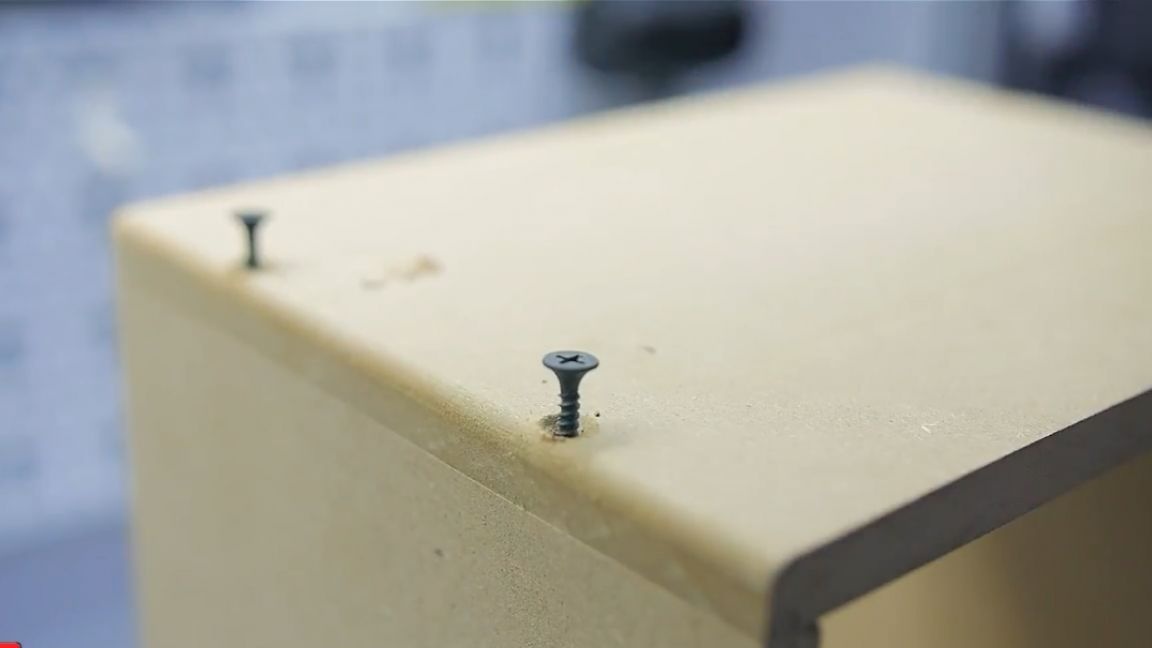
Previously, you can zip the holes to hide the caps of the screws.
Now let's talk about the bass reflex.
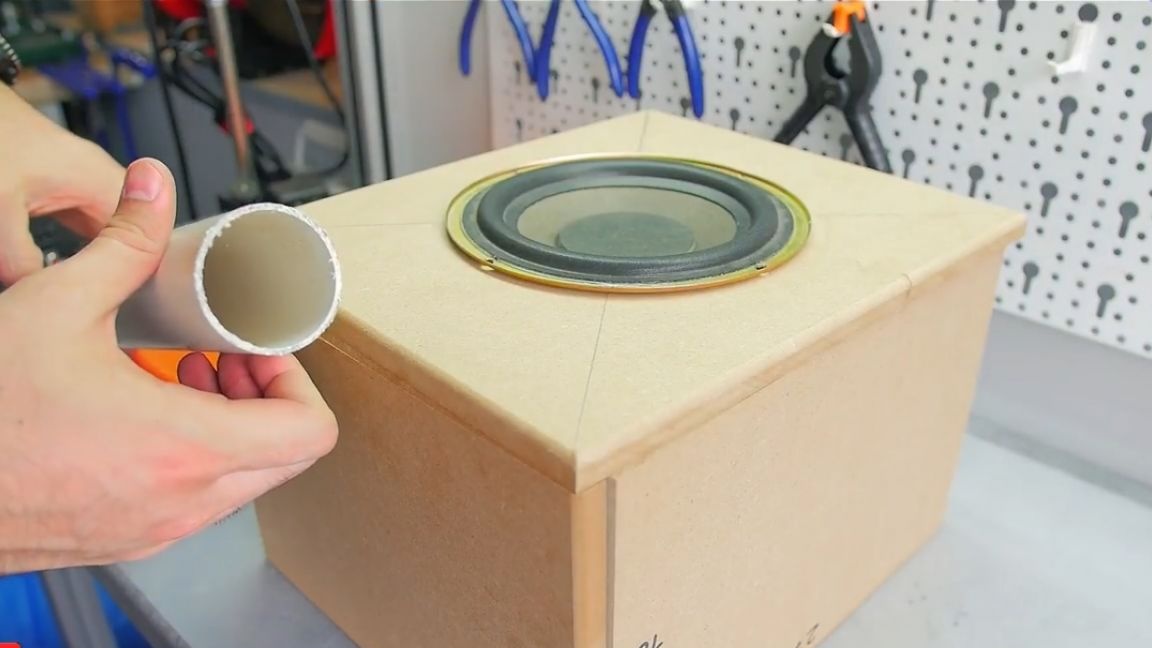
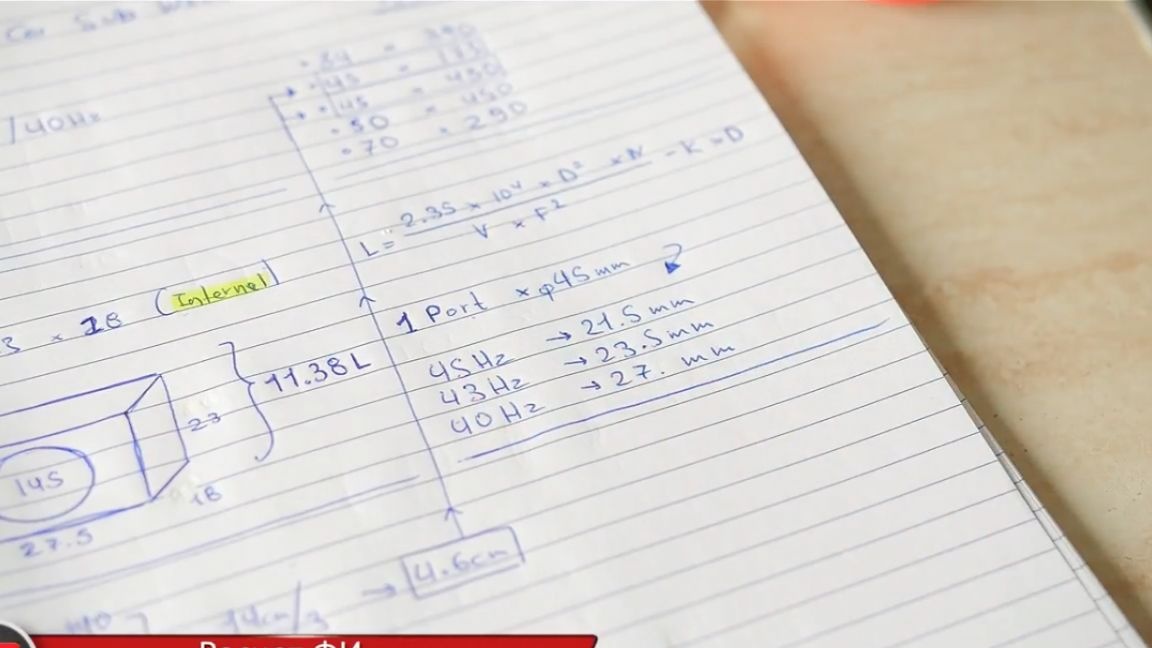
We will adjust to a frequency of 40 Hz. I read somewhere that the diagonal of the phase inverter pipe should be about 1/3 of the speaker, in my case, it is about 45 mm.
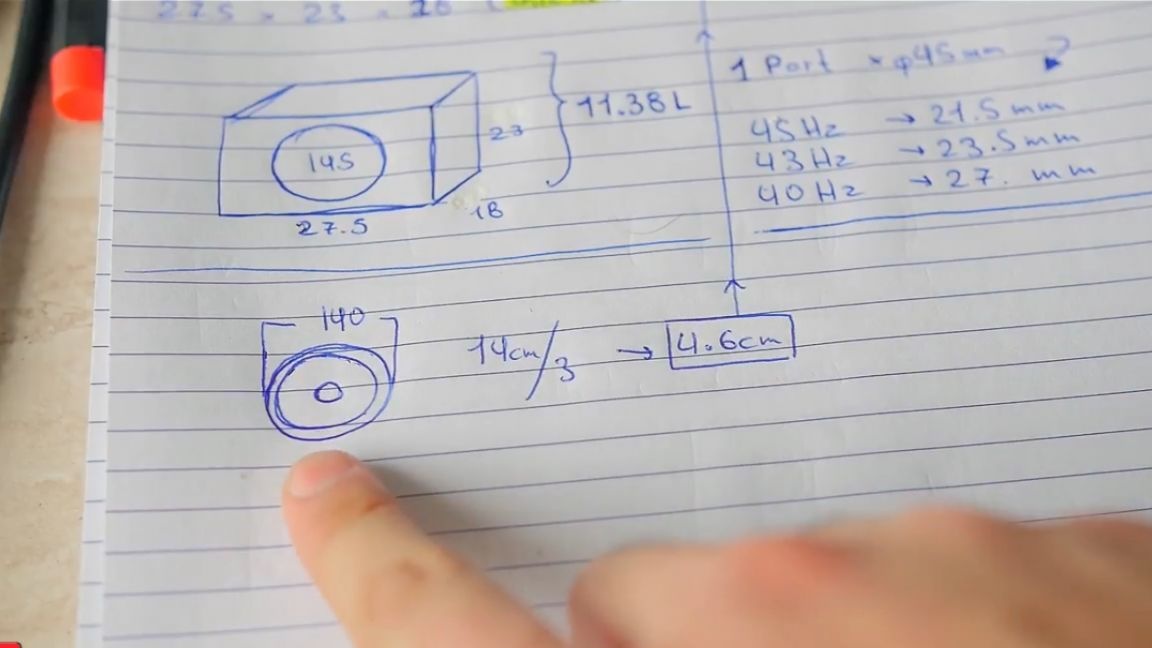
The author just had such a sewer pipe, but I didn’t take into account that 1/3 should have been from the moving part of the speaker, and not from edge to edge, but there were no minuses in sounding, and this is the most important thing.
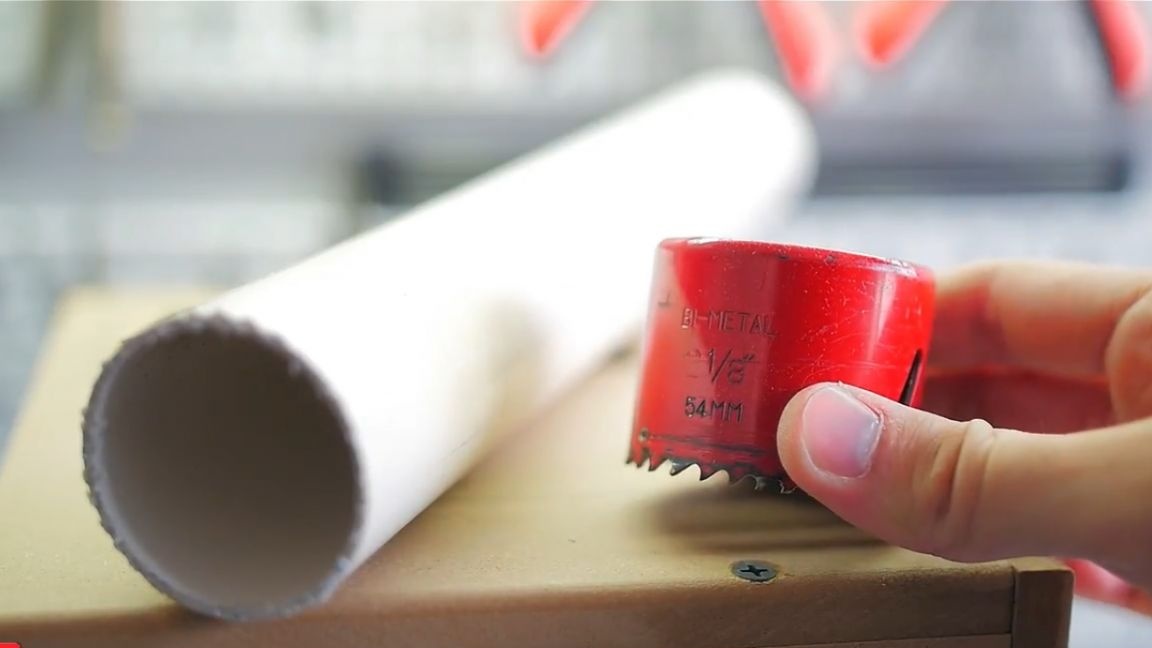
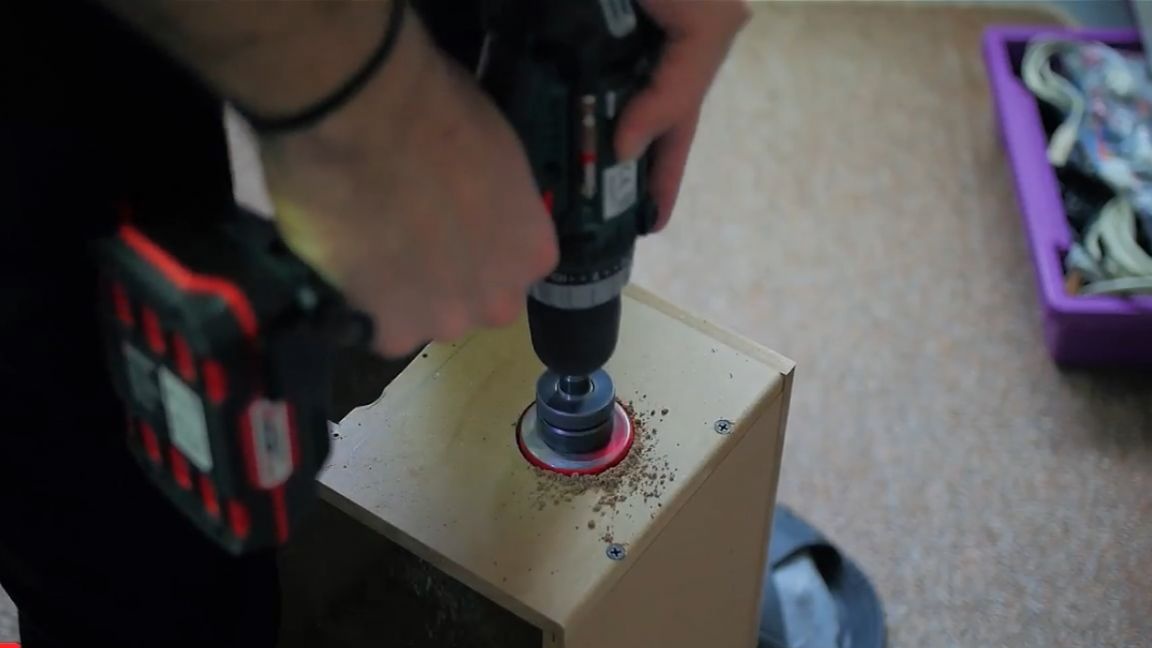
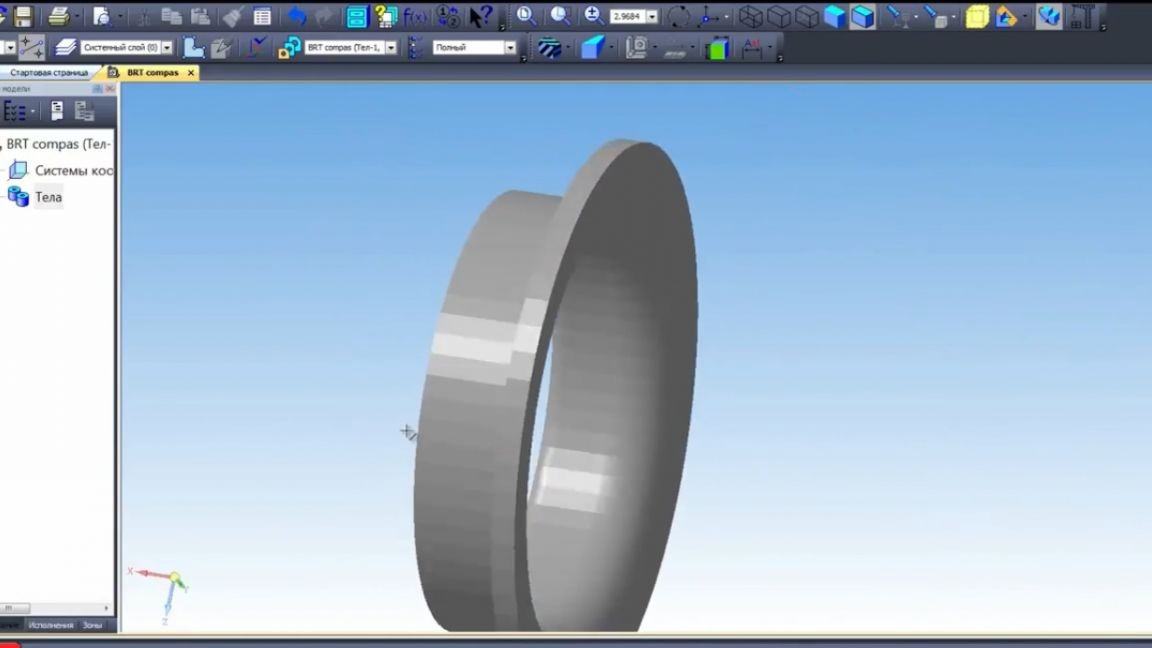
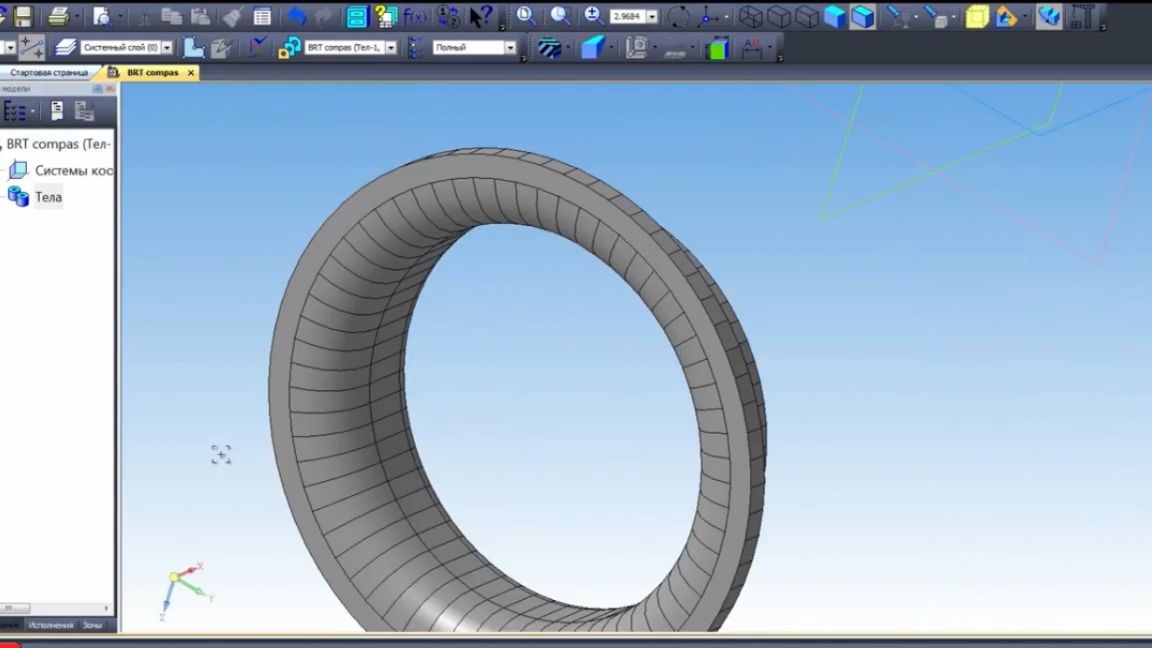
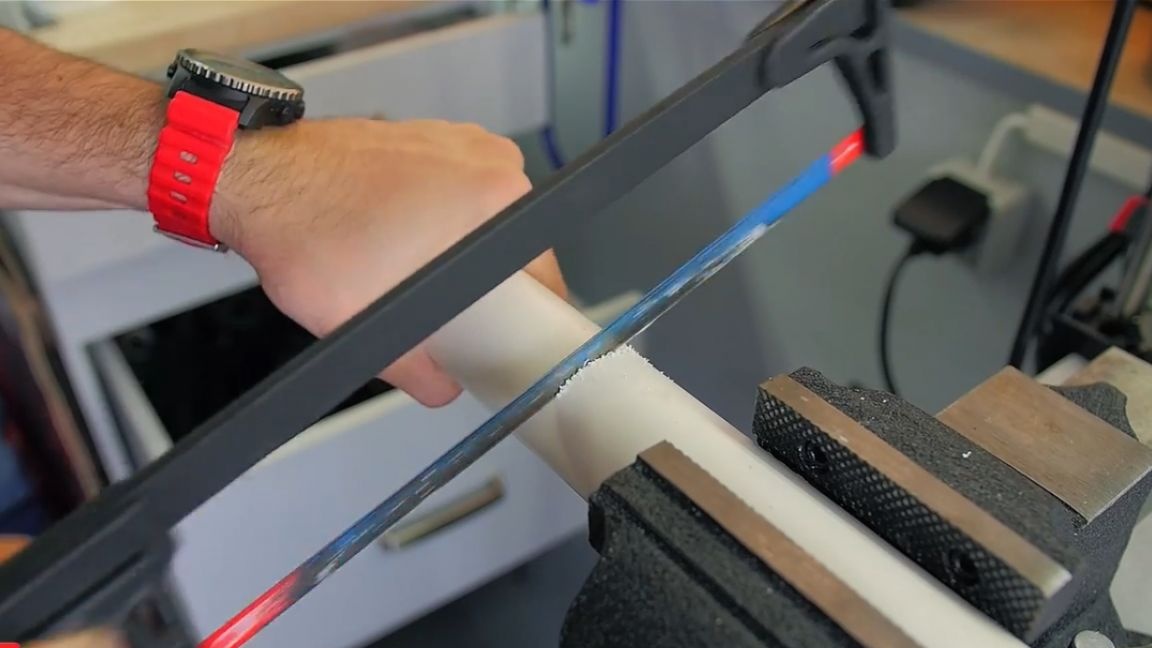
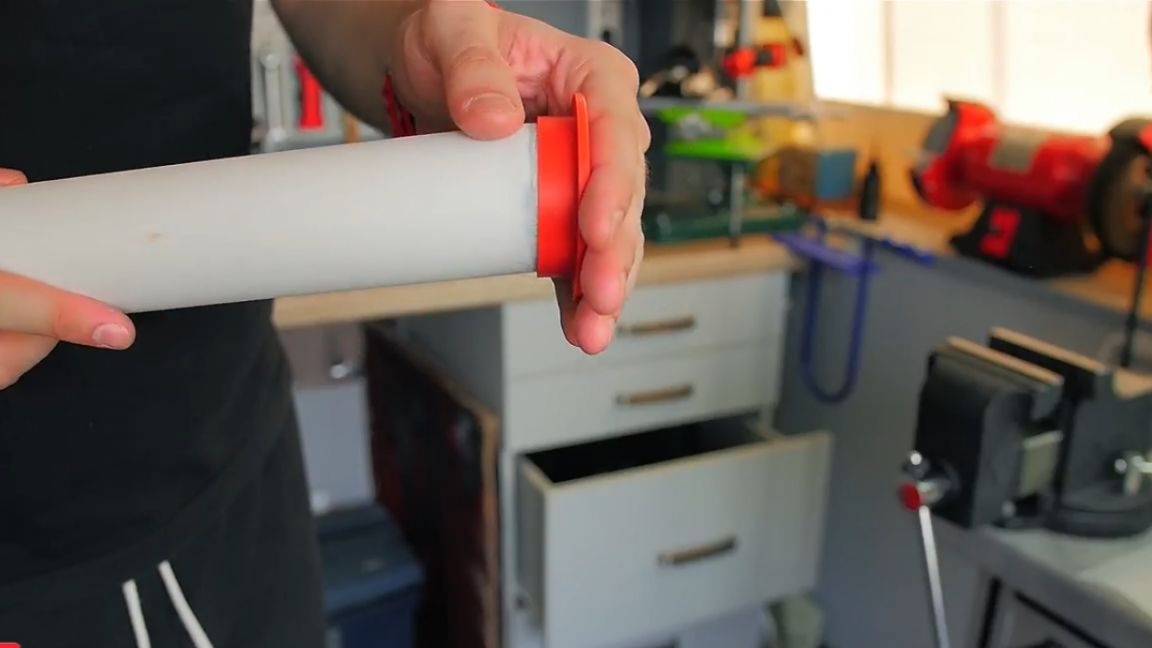
We will drill with a crown with a diameter of 54 mm (as always, there is no necessary size), and this is 9 mm larger, therefore 3d was made model, which, firstly, helps to connect the hole to the pipe, and secondly, to smooth the flow of air.
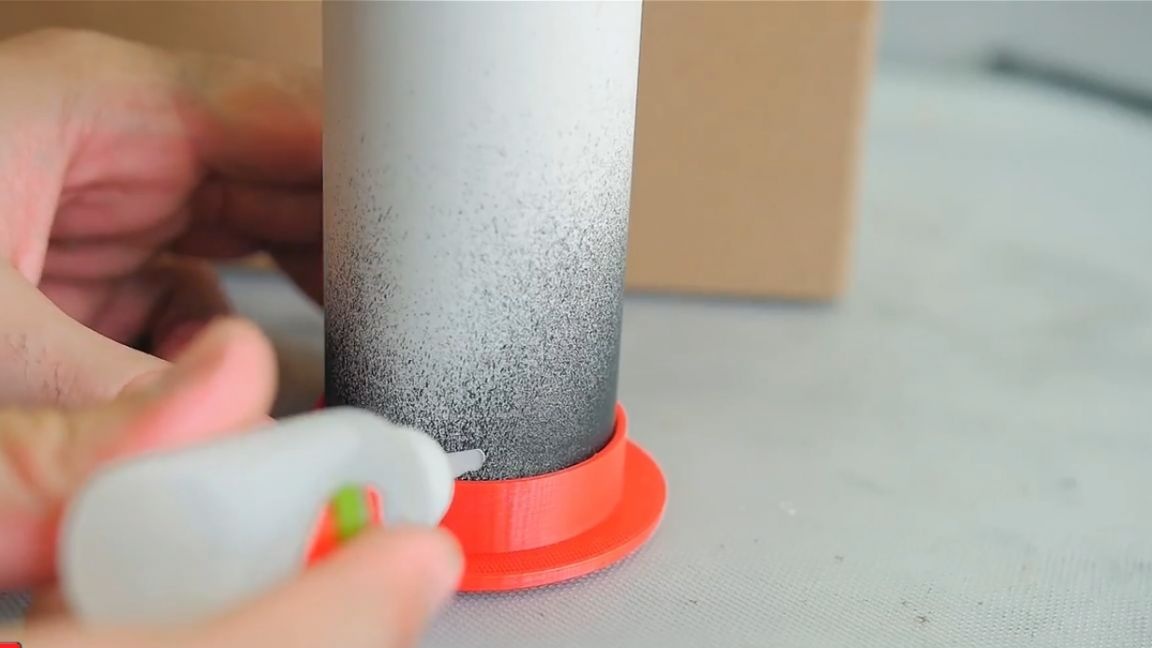
Next, we saw off the PVC pipe of the desired length, paint on the inside with black paint.
Just by this time, the part was imprinted. It is inserted, of course, very tightly, but in addition you can also seal it. A couple of drops of super-glue will be enough.
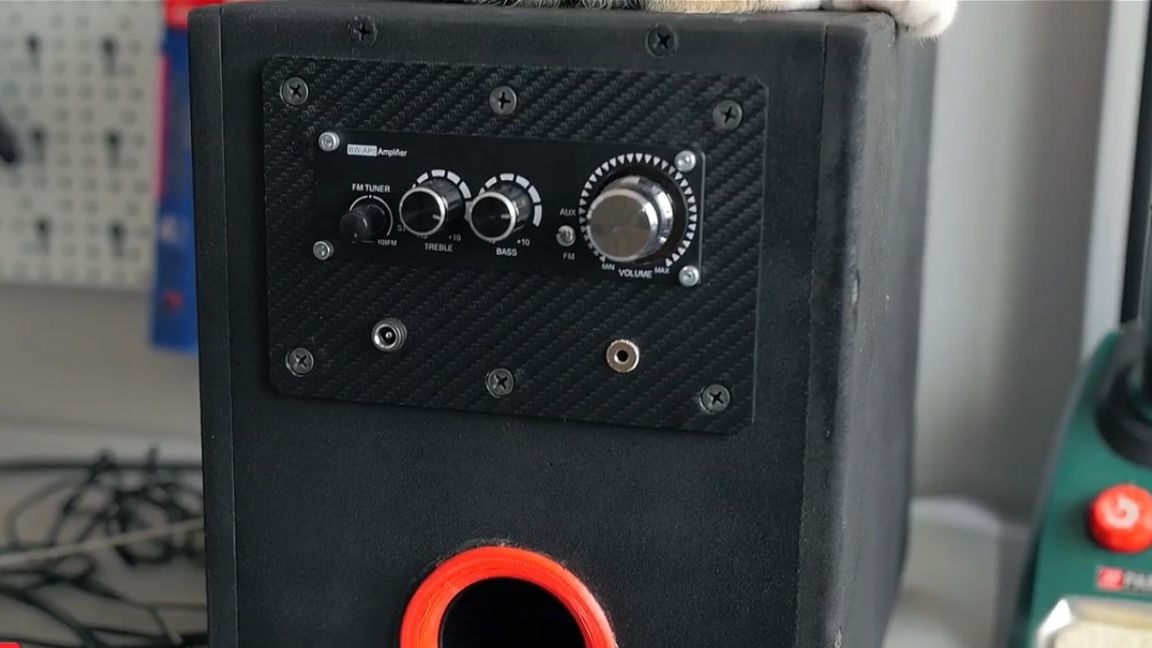
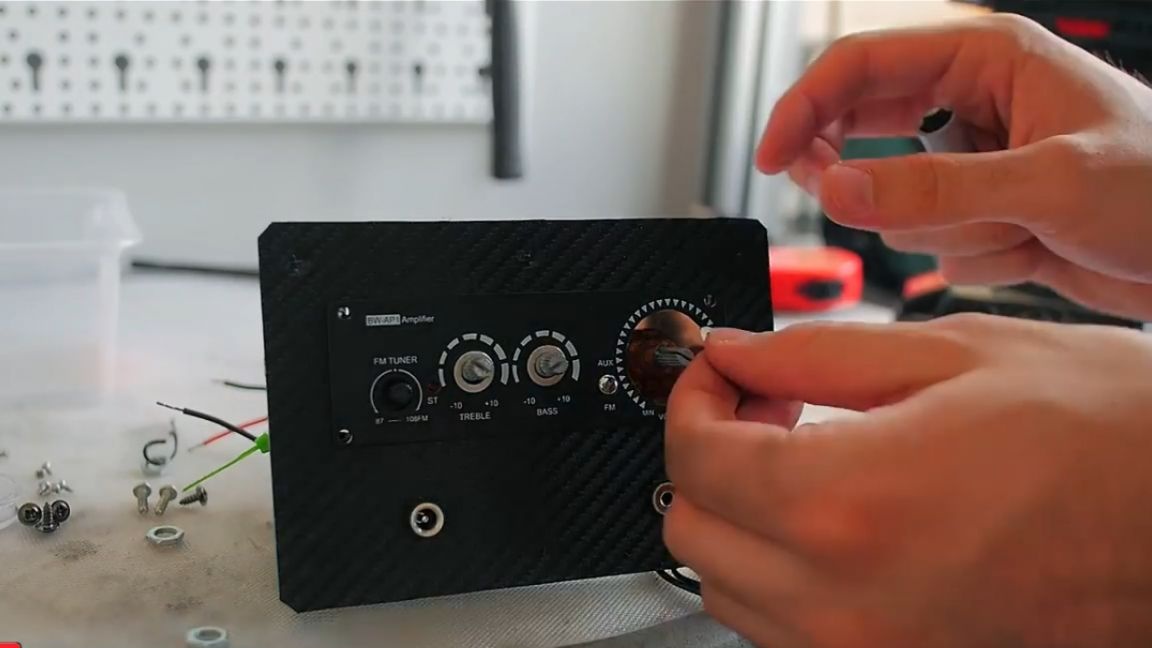
Now let's work on the visuals and on installing this board with an amplifier in a sub. You could put an amp on the outside of the case, but that would not be right. It was decided to somehow integrate it into the case. To do this, it was necessary to make a custom panel.
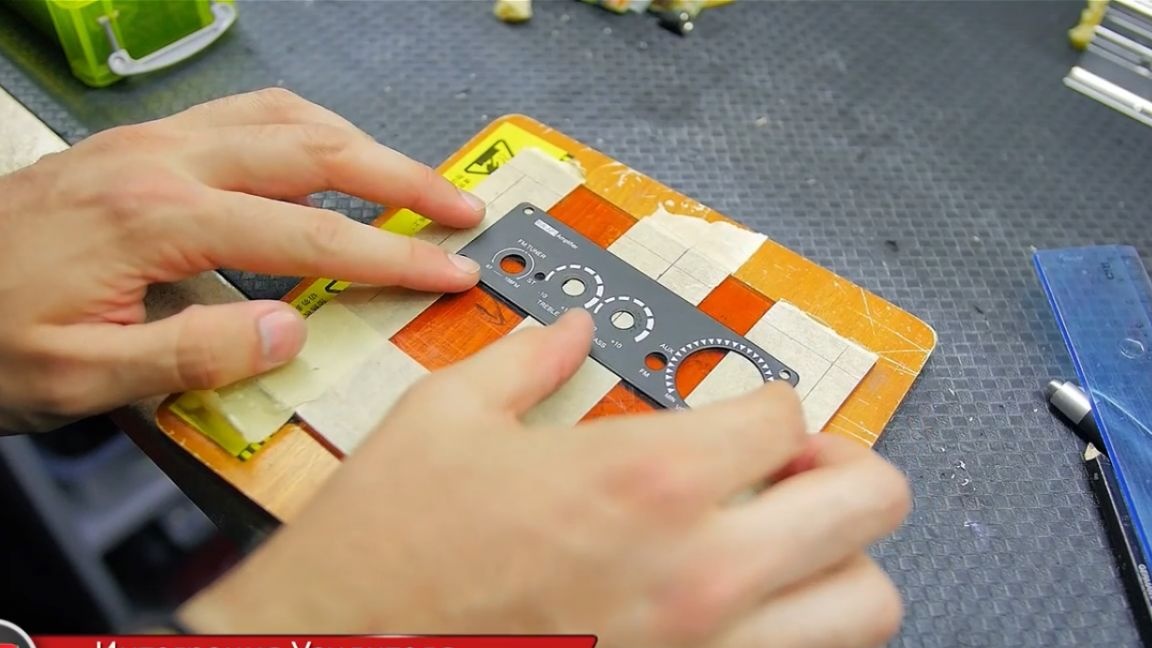
And when the panel was ready, he began to prepare for it a socket in the case.
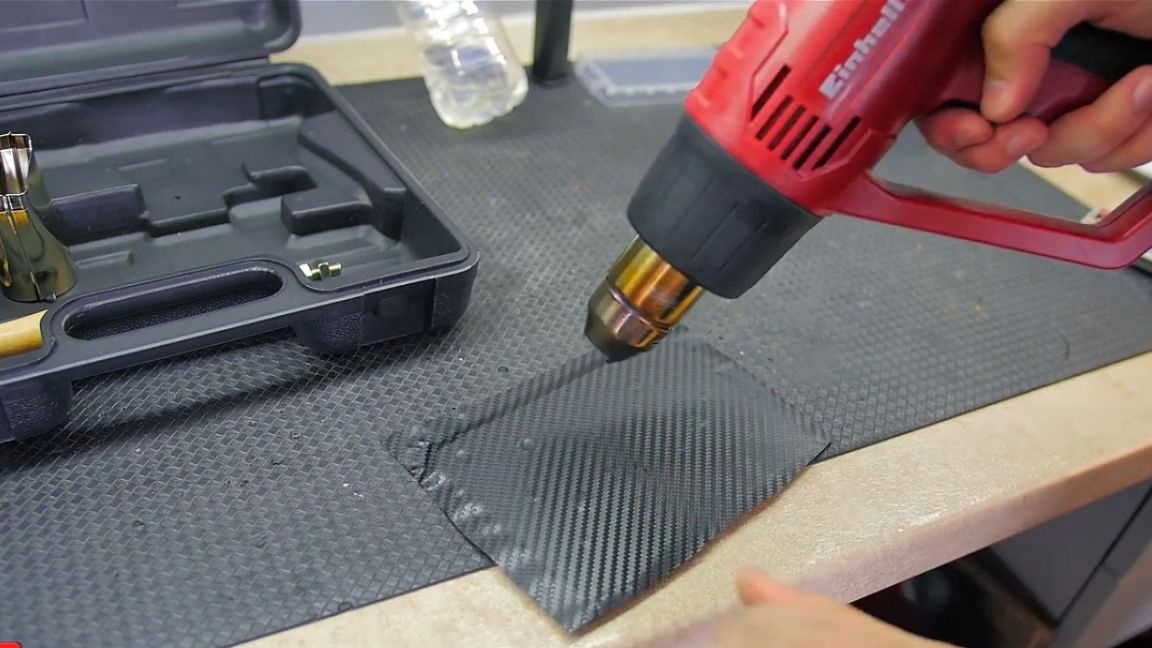
So, the hole was punched, now we will cover the yellow color of the org glass with a carbon sticker, and then we collect everything.

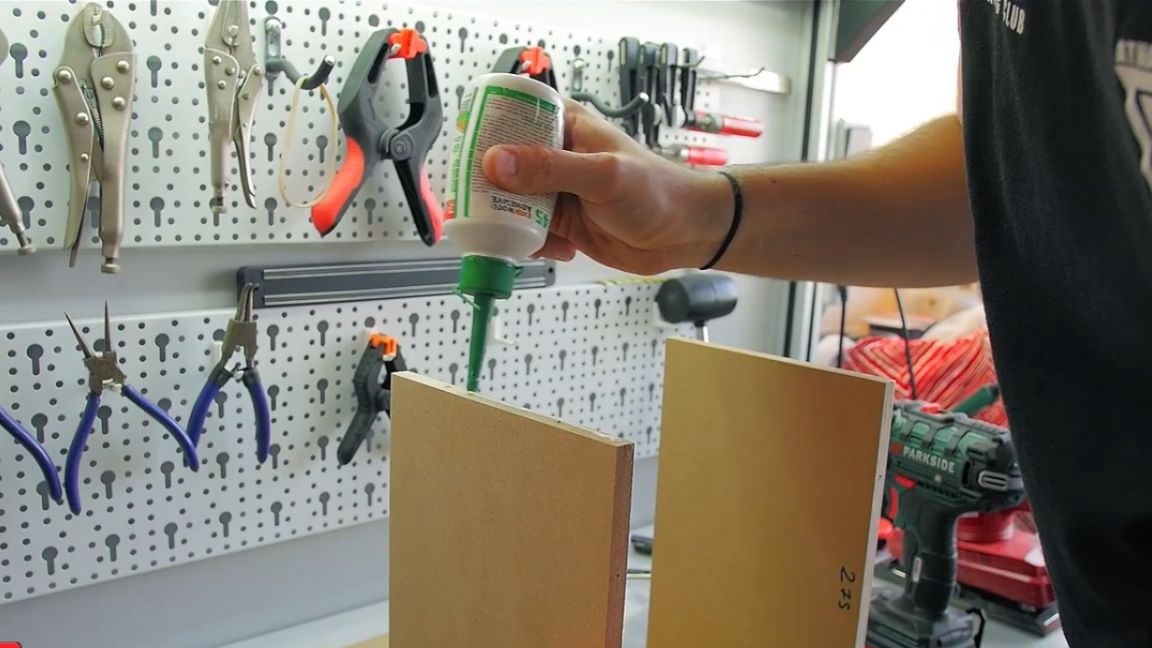
Let's move on. We overwrite the box and rebuild it, but only this time using glue.
We glue and fasten 4 walls and the one with the speaker.
But the back wall is left simply on the screws.
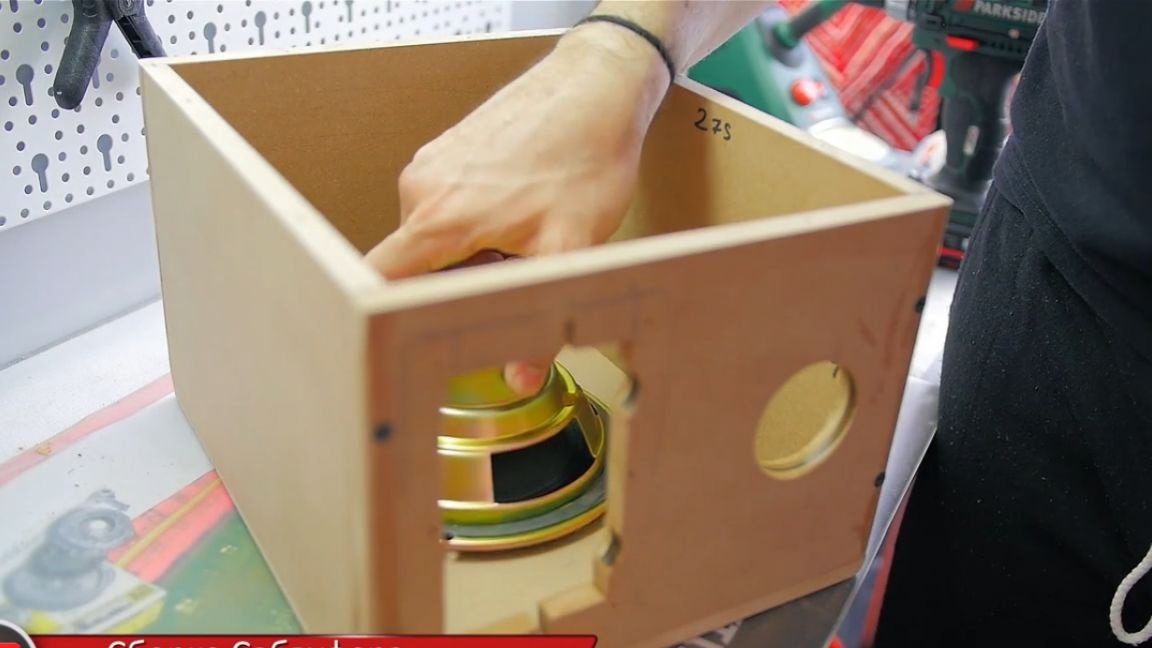
By the way, if the box is large, it is necessary to glue additional partitions for stiffness. Next, we install the speaker itself, conduct the wires, install the unit with the amplifier, connect to the speaker and install the phase inverter (it can be glued either to hot-melt adhesive or to silicone).

And finally, on the back wall I pasted a little foam for insulation.
All! And, legs, still legs. The author also used the legs ordered from China (also the links for you are in the description under the video at the end of the article).
They are quite soft and the vibrations from the speaker are not transmitted to the table or to the floor.
That's it, now it's all assembled. I wound the wire from the radio onto the bass reflex pipe, but it's like the receiver should catch better.
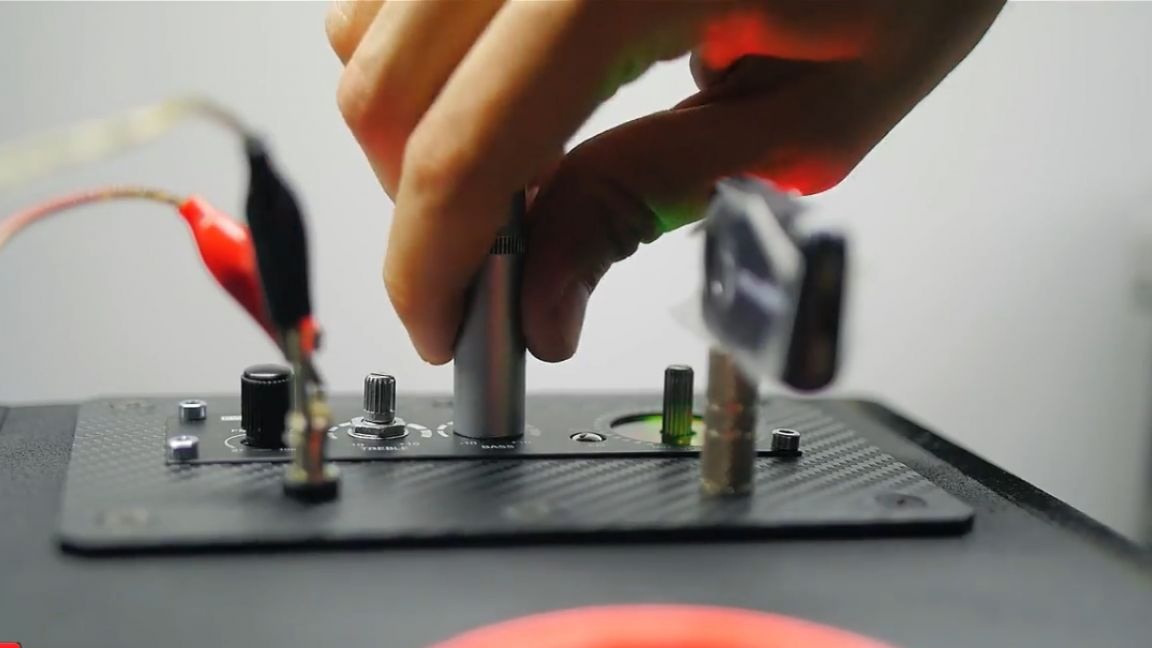
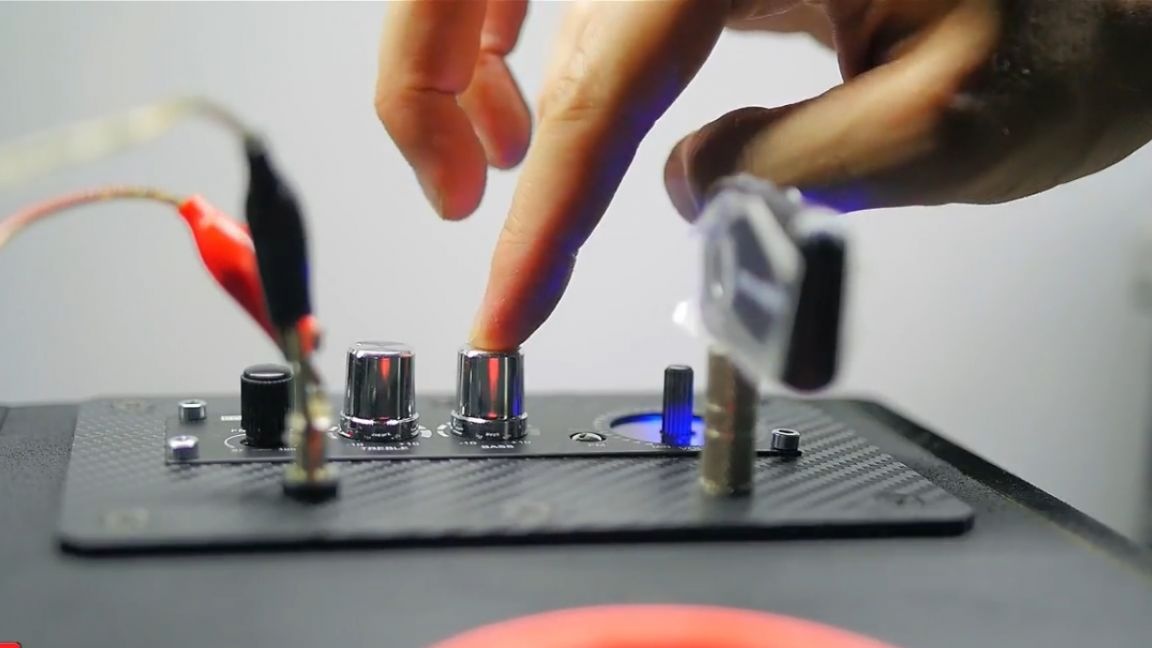
Now you can screw the back wall. At the end we tighten the nuts on the potentiometers and put handles on them.
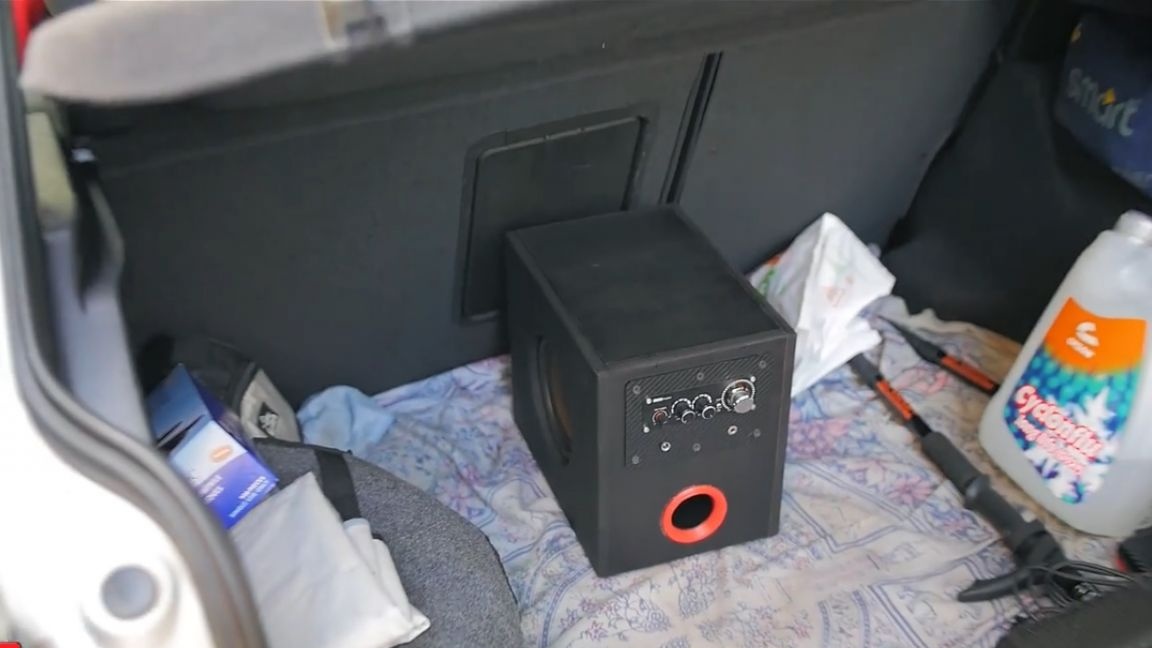
The whole unit is completely ready, and the subwoofer itself, too, was driven into the car - we’ll test it.

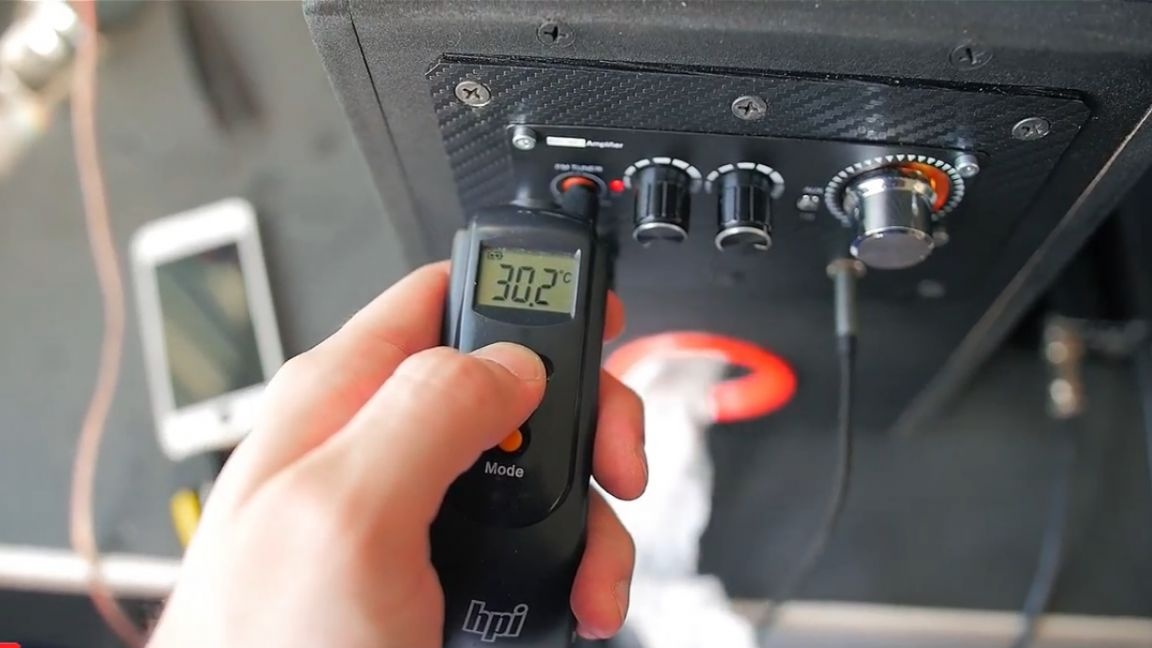
This subwoofer has long been assembled and tested before publication (in this case, since April 2018). Even on summer days, at full throttle, the amp does not heat up much, and of course, because of the small size it fits anywhere.
And his weight is less than 5 kg.

Such an amplifier is quite universal, it is powered by 12V, which means it is suitable for both cars and home use.
Thank you for attention. See you soon!
Video: