

Hello to all lovers homemade. When working with wood, the final step is often grinding it, but to do this manually you need a special tool, namely, a grinding block. In this article I will tell you how to make a sanding block. do it yourself from readily available materials, which will help you in creating your homemade wood, as well as save your time and money.
Before you start reading the article, I suggest watching a video that shows the entire assembly process in detail, as well as testing the finished fixtures.
In order to make a sanding bar with your own hands, you will need:
* Wooden block 20 * 40 mm and 30 * 40 mm
* Sandpaper
* Joiner's vice
* Reysmus
* Hacksaw
* Wood hacksaw
* Electric drill
* Chisel
* Hammer
* Safety glasses, gloves
* Volt M10 30 mm long
* Lamb bolt M10
* Drill bit 30 mm and 14 mm
* Drill for wood 12 mm
Step one.
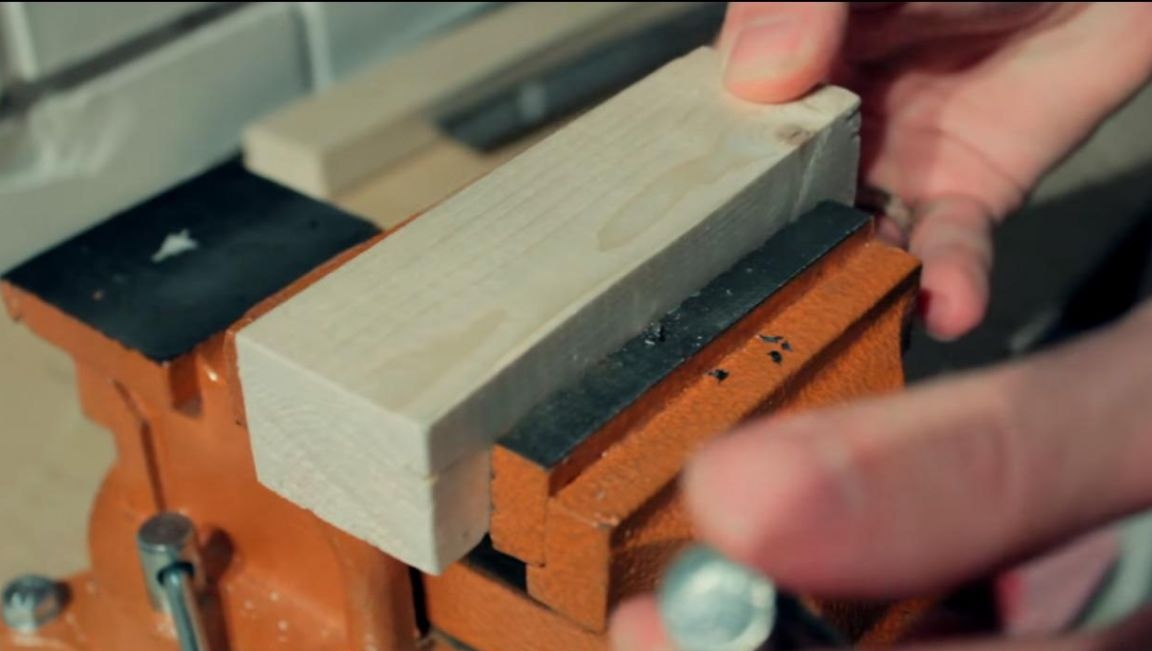
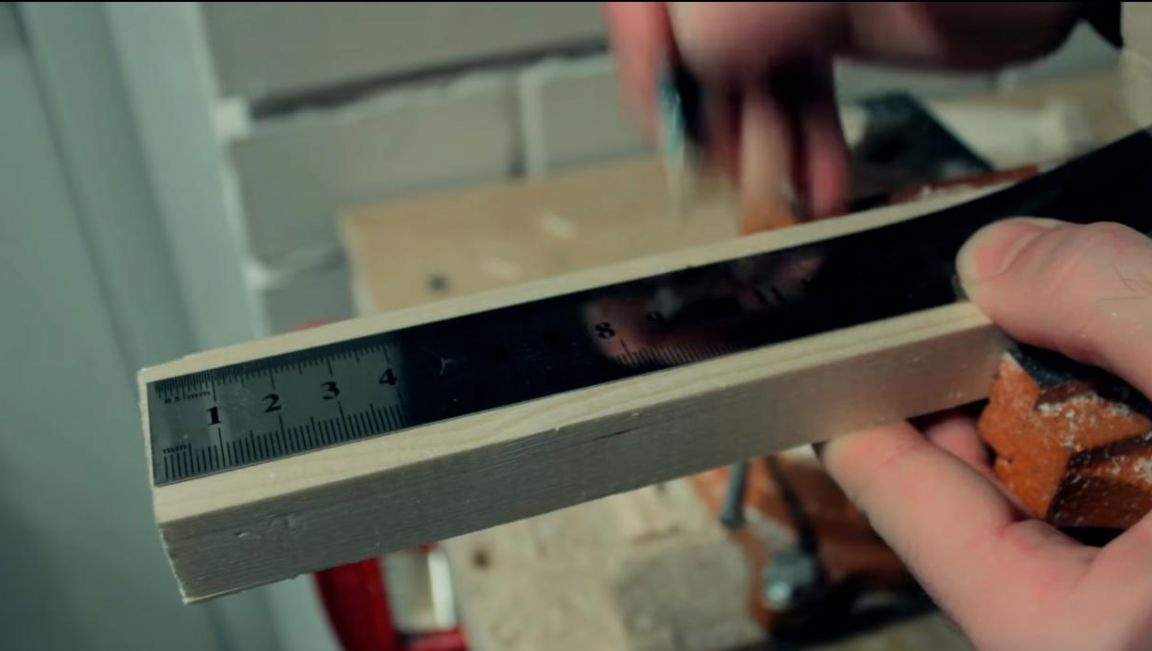
First you need to clamp a wooden block measuring 30 * 40 mm in a bench vise.
It is better to clamp wooden blanks in a vise through any wooden spacers in order to avoid traces from the jaws of the vice.
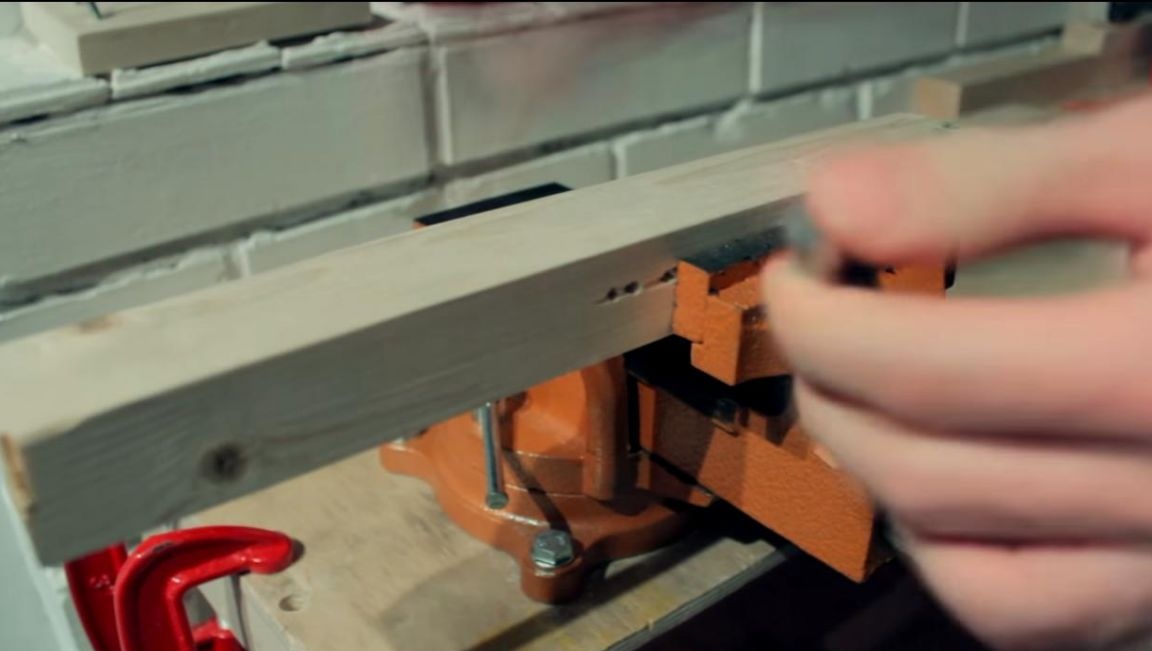
Then, on the one hand, mark the line with a thicknesser to remove bumps from the end and step back 130 mm from it, make another line, this will be the length of the workpiece.
Using a hacksaw, we saw off the necessary part of the bar according to previously made marks. We leave the rest of the bar, maybe it will come in handy for the following homemade products.
Step Two
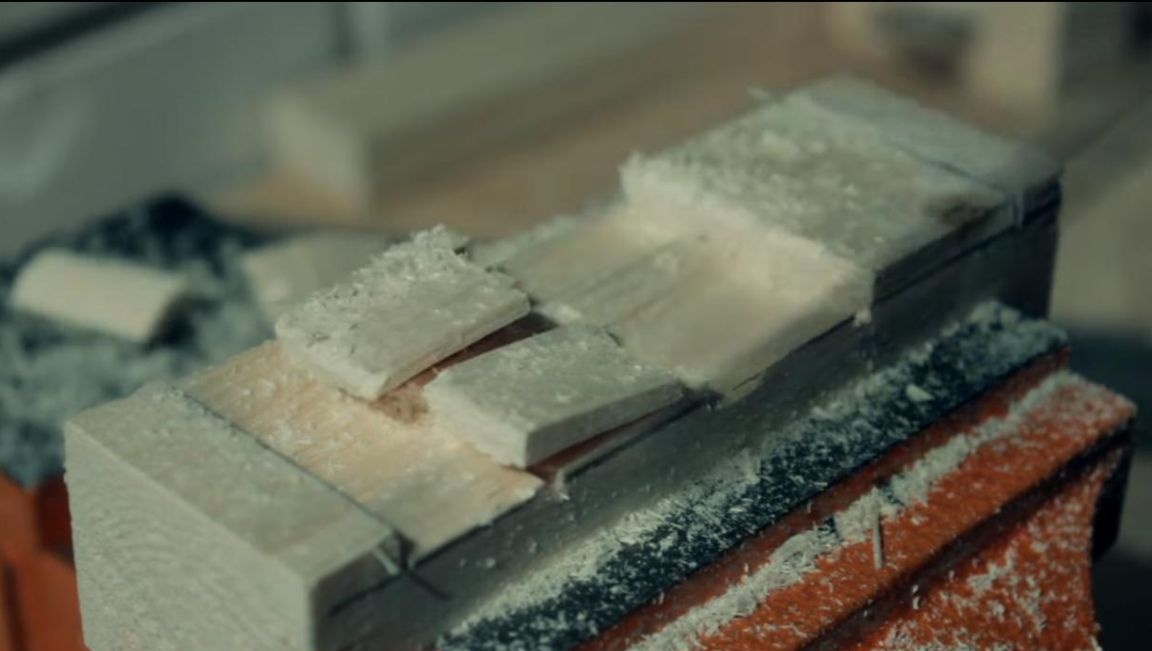
The sawn off bar is slightly ennobled with sandpaper, thereby leveling the surface and smoothing sharp corners with burrs.
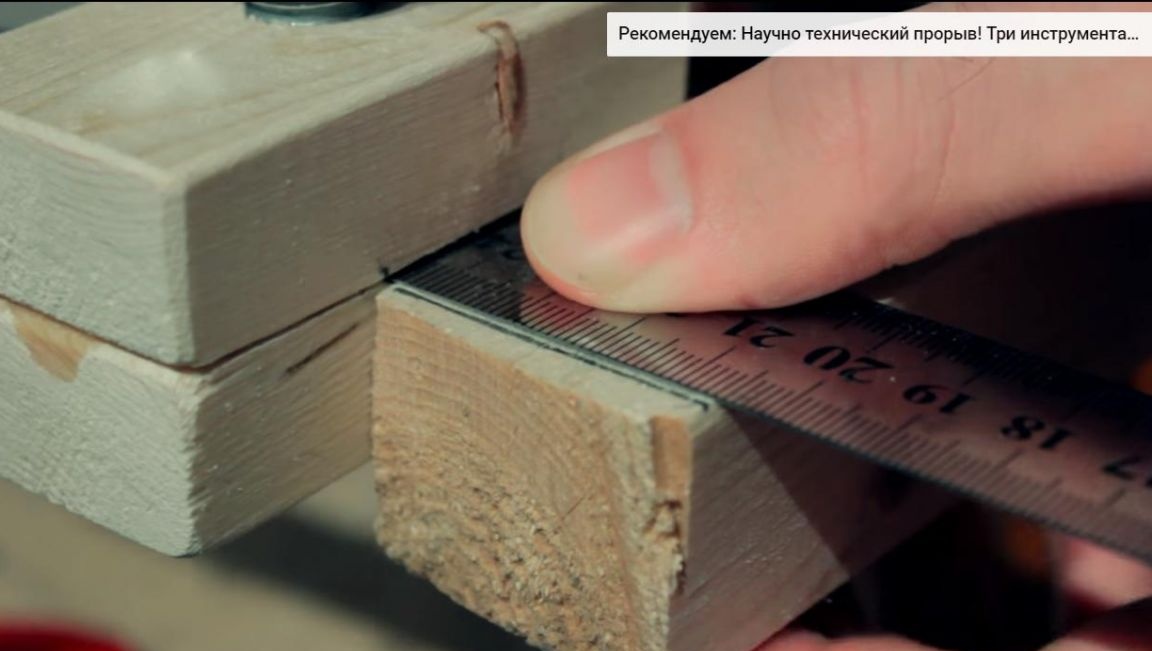
We fix the polished workpiece in a vice and use a thicknesser to indent 10 mm on each side, we also mark the depth for the future cut, deviating from the edge about 5 mm on each side, so as not to be mistaken.

Then, using a hacksaw for metal, we make two cuts along the marked lines. In this case, the need to saw with a hacksaw for metal is due to the fact that the cut after it is more even than a hacksaw for wood due to small teeth.
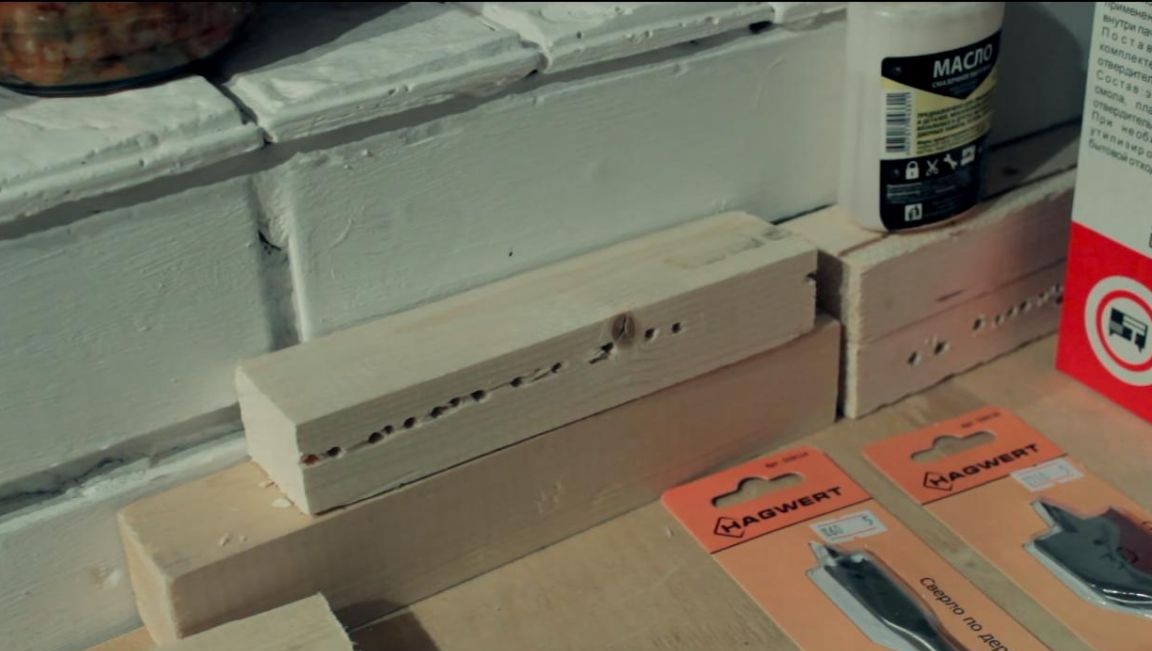
Next, using a hacksaw, we make cuts in the center to the line and remove the resulting segments with a chisel and a light tapping of the hammer on its handle.
Step Three
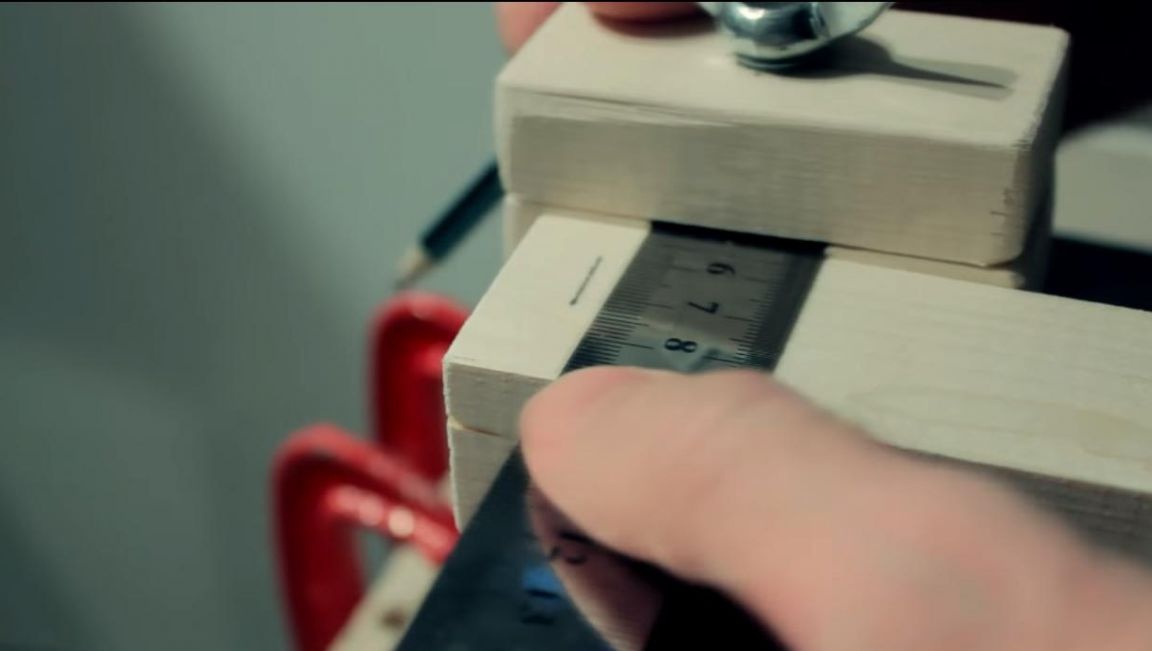
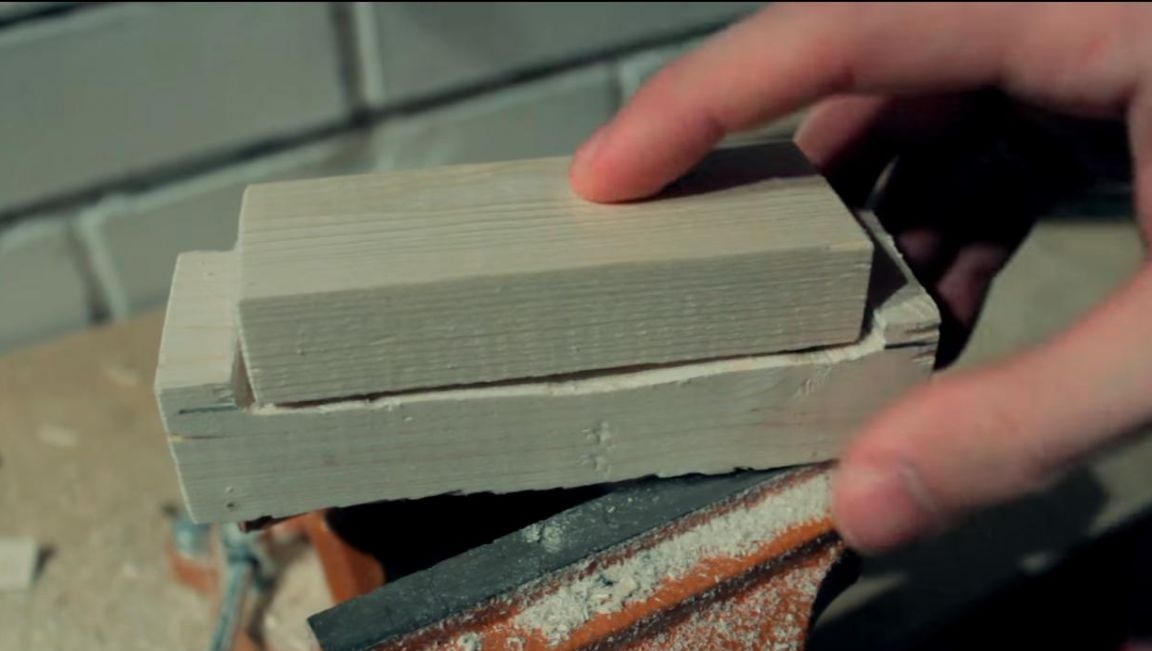
Now we grind the resulting recess with sandpaper, removing burrs and large irregularities. We measure the length of the recess and subtract about 5 mm from it.
Next, we clamp the bar with dimensions of 20 * 40 mm into a vice and transfer the previously measured length of the recess, taking into account the subtraction of 5 mm, which came out exactly 100 mm.
At the mark, saw off the bar with a hacksaw on a tree and grind the ends with sandpaper.

Then we combine the two bars together, as you can see, it turned out quite well, if you do not take into account the irregularities on the very base to which the upper bar will be pressed, but this is not important here.
Step Four
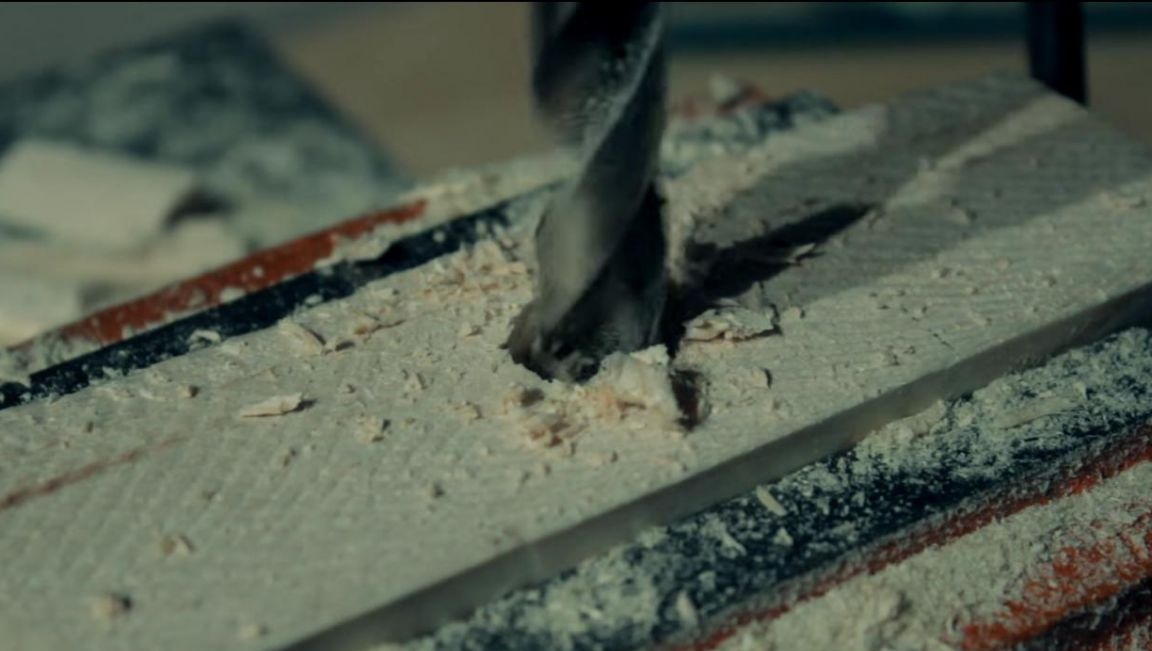
It's time to make the clamping part. We fix the upper bar with the wide side up in a vise and mark its center, making two lines diagonally. Next, install a drill with a diameter of 8 mm in an electric drill chuck and drill a hole in the center of the bar, while aligning the two bars to outline the center at the base. When handling a power tool, be careful and use personal protective equipment, such as glasses and gloves.
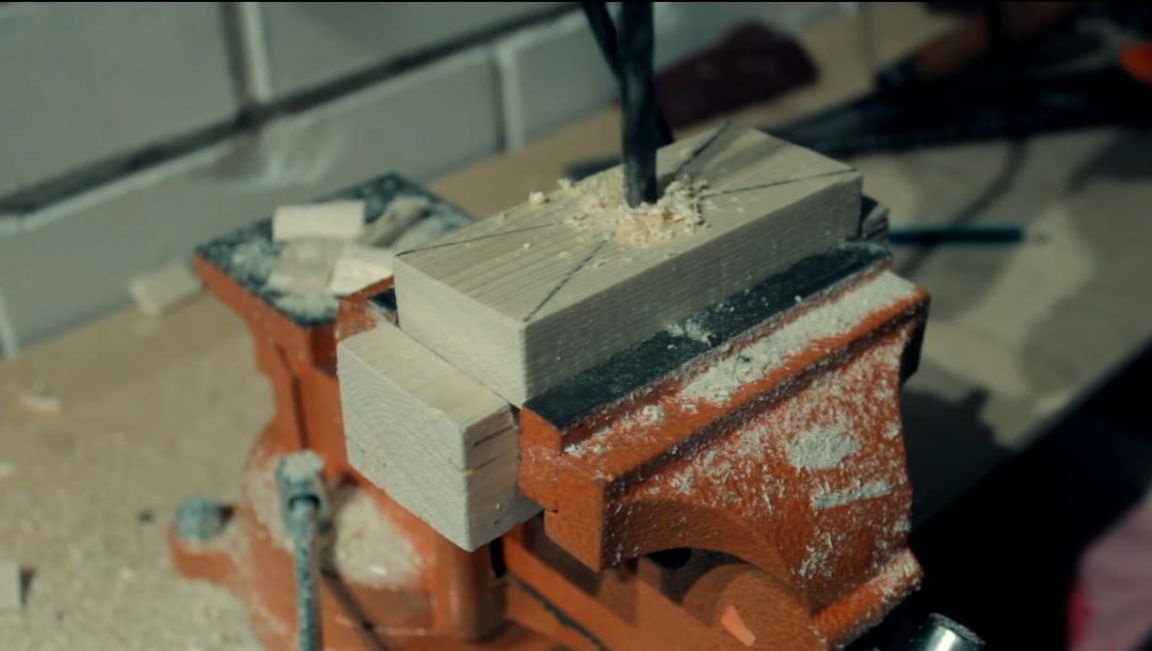
After that, we set the pen drill to 30 mm and make a recess half the thickness of the bar, this is necessary so that when fixing emery paper with the wing, it does not rest on the hand, but is in the recess.

As a result, we get such a result.
Step Five
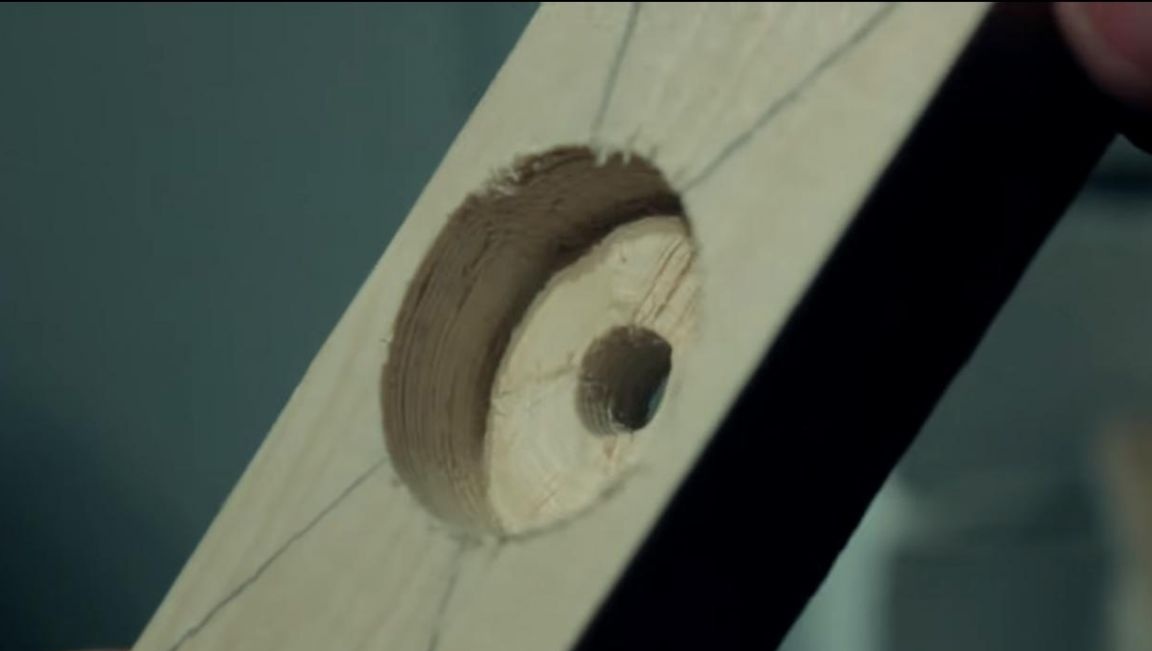
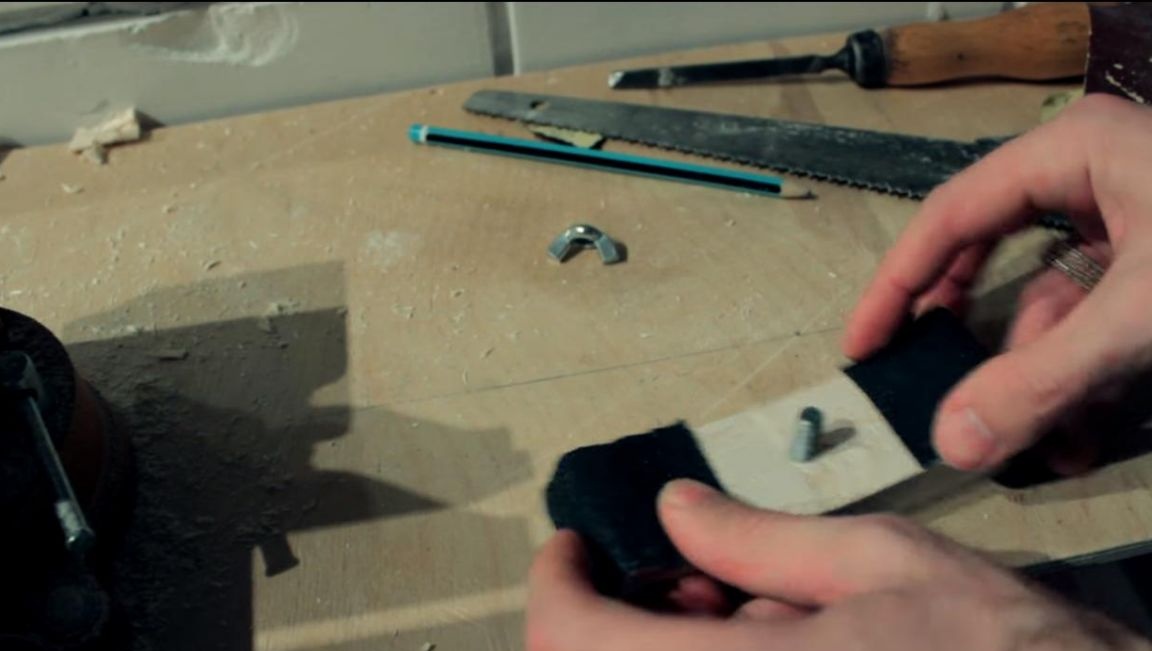
We turn to the base, we clamp it in a vice with the bottom side up and using a pen drill at 14 we make a hole exactly in the middle. It did not work to drill a hole with a diameter of 14 mm, since the pen drill began to hang there, so we drill a hole with a 12 mm drill.
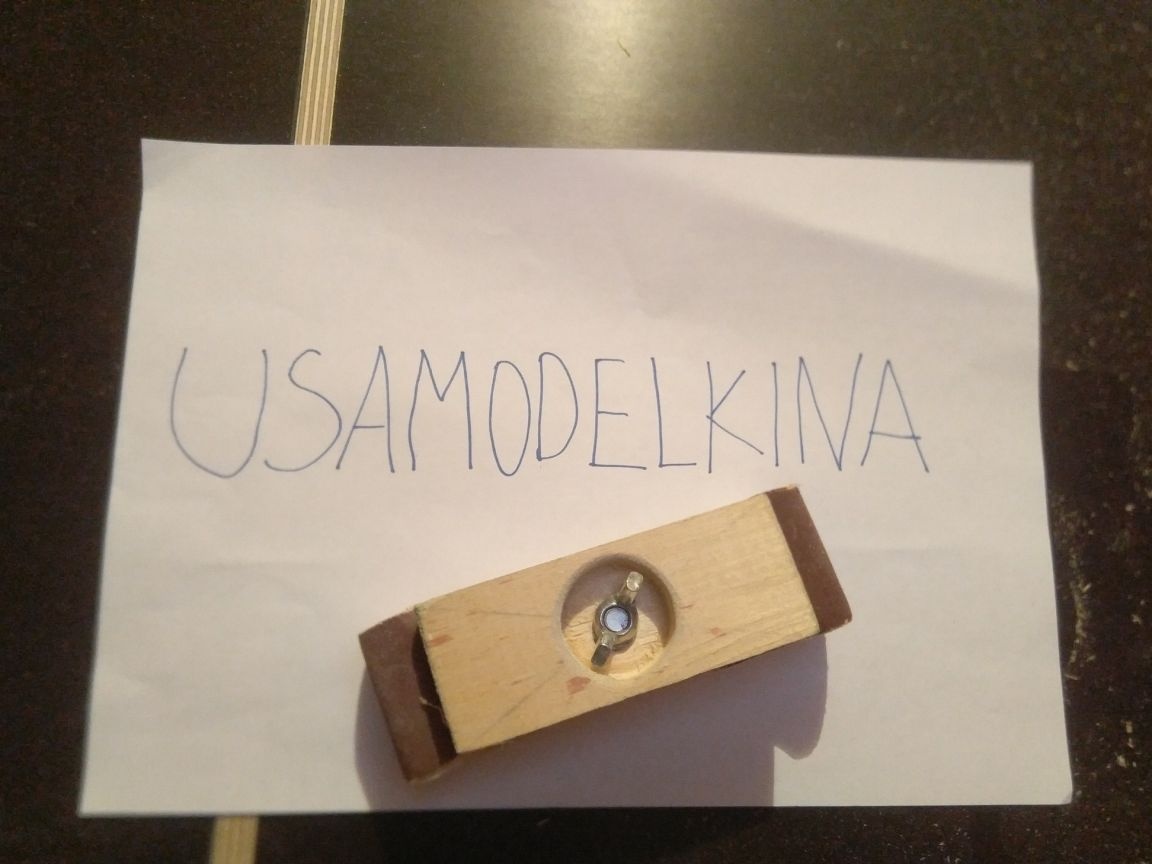
Next, we insert an M10 bolt into the finished hole and drive it with a hammer. At this stage, the tool is almost ready, it remains to install sandpaper in its place. Cut the strip of sandpaper along the width of the bar, then wrap it around the base so that a little sandpaper is in the recess and press it on top with the bar and fix it with the wing.

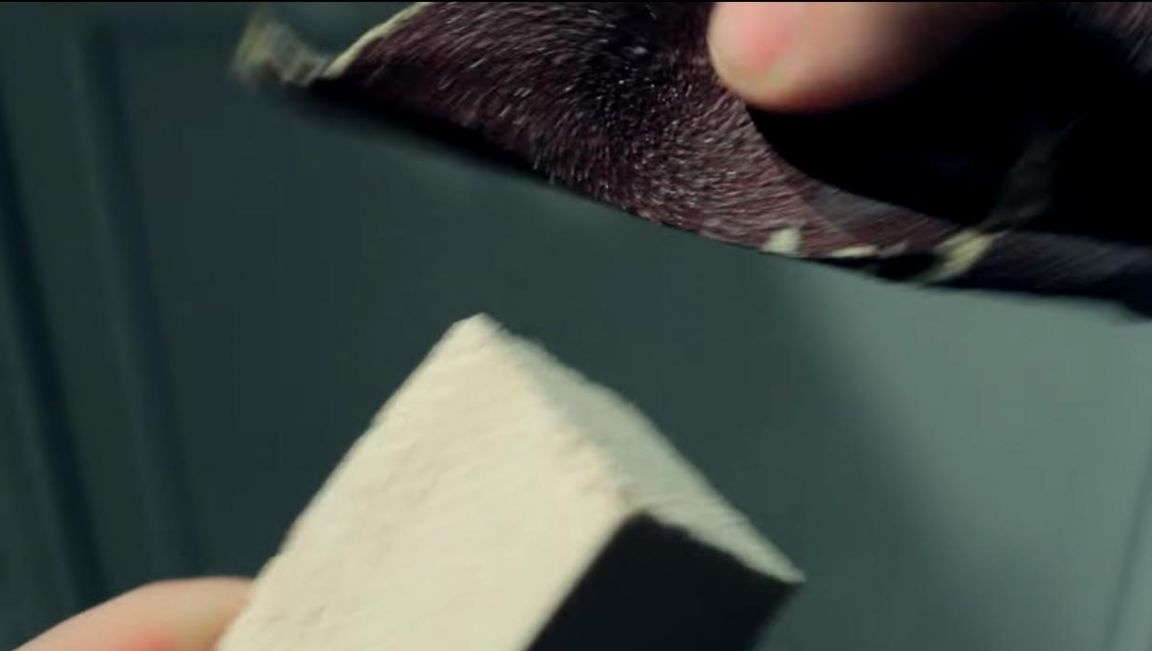
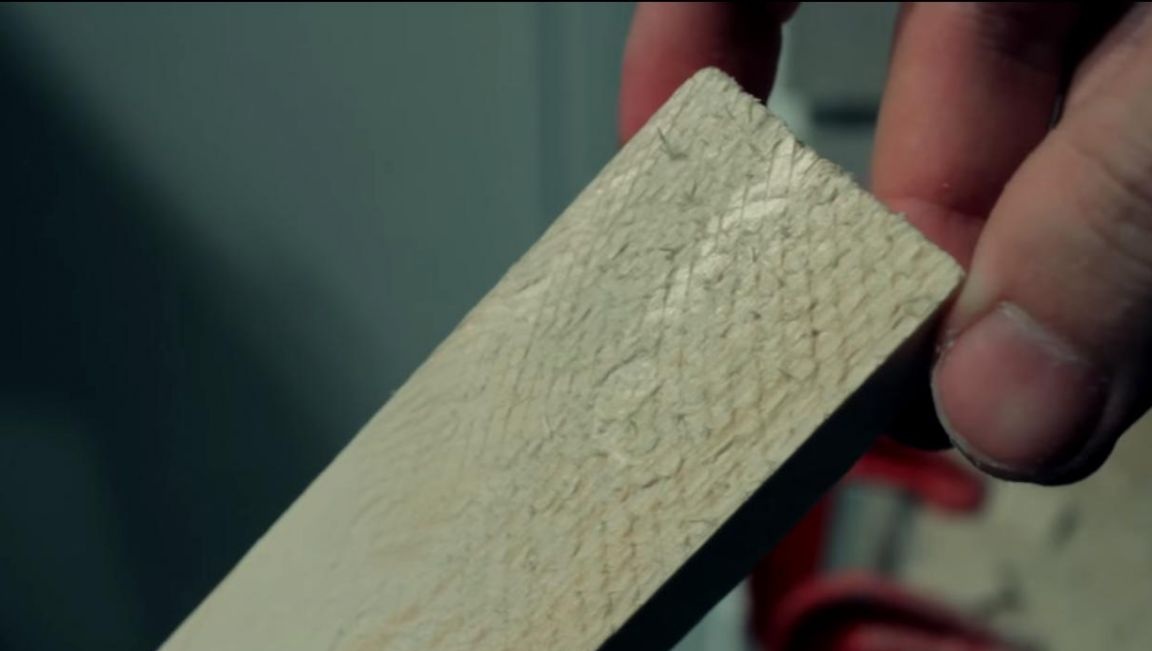
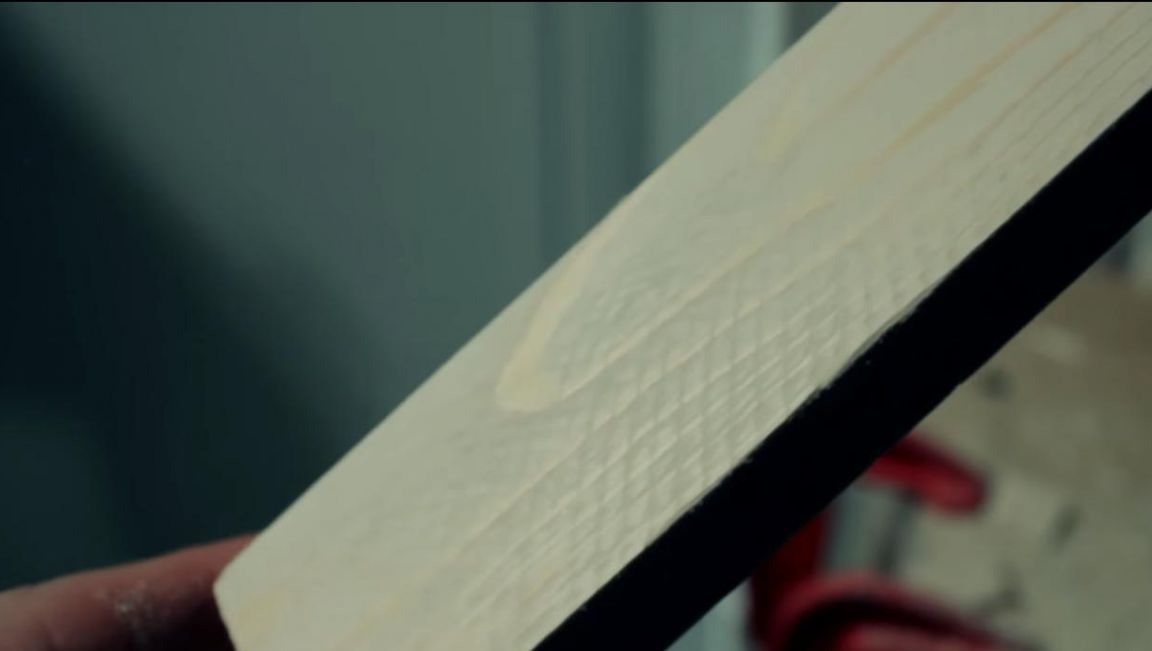
Now you can check the self-made grinding whetstone in action. We take a wooden block and grind it with our tool, the surface after grinding turns out to be smooth, as needed, and due to the presence of the wing nut, you can easily change the already worn out sandpaper or replace it with smaller or larger one. This is how the bar looks before and after grinding with this tool.
With such a grinding bar it will be convenient to process sharp edges, remove burrs and smooth wooden surfaces. And if necessary, to polish a large-scale part, it is possible to produce a large grinding block of the same size.
The main thing is to use a respirator when working with this tool, since when grinding, a sufficiently large amount of wood dust is formed, which negatively affects the respiratory tract, and health is still above all.
That's all for me, thank you all for your attention and creative success.