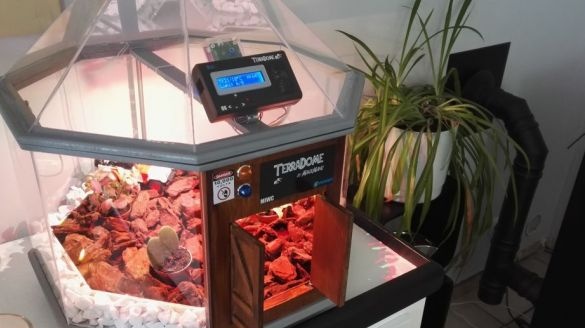
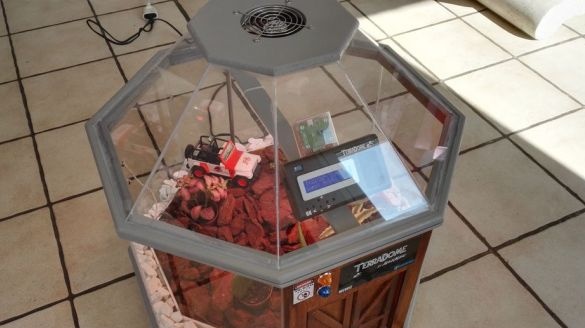
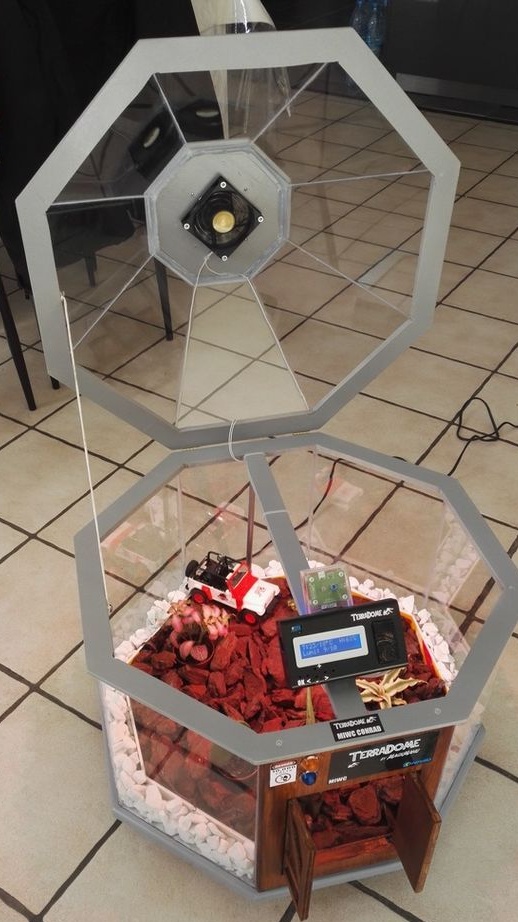
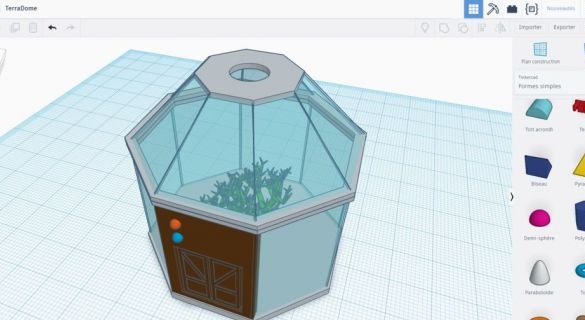
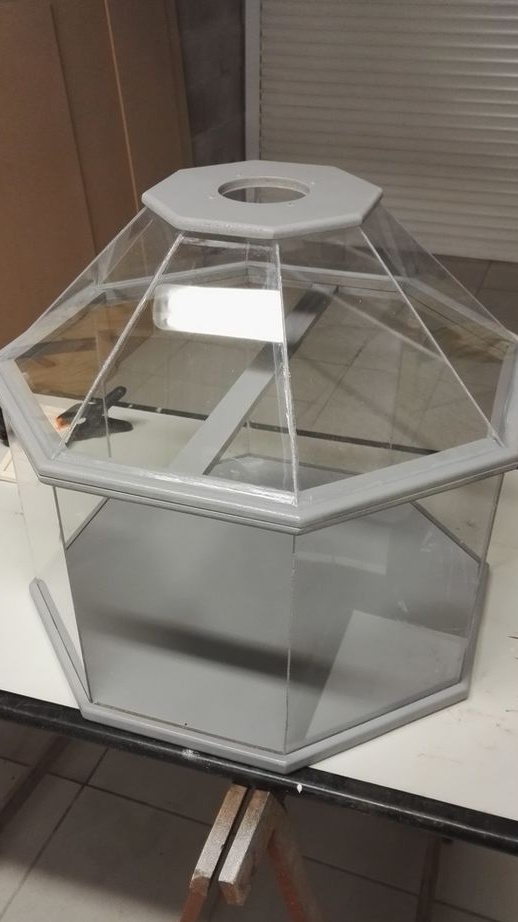
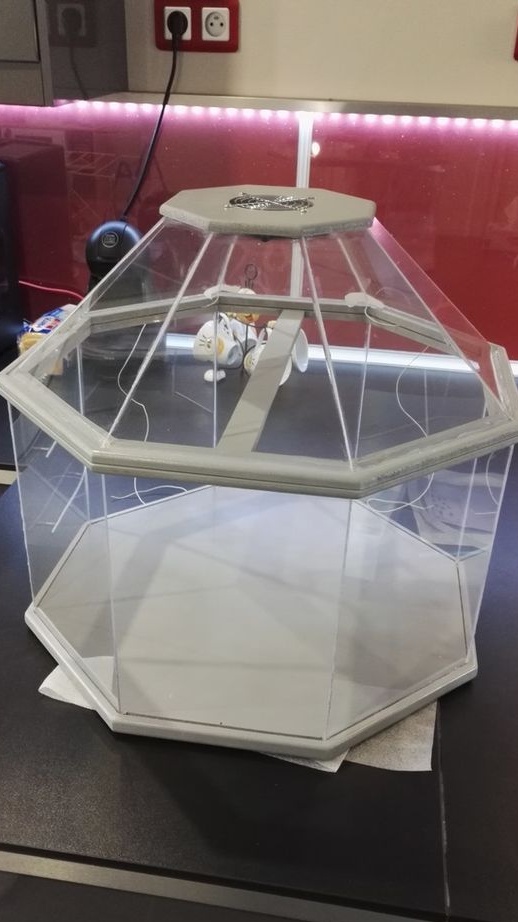
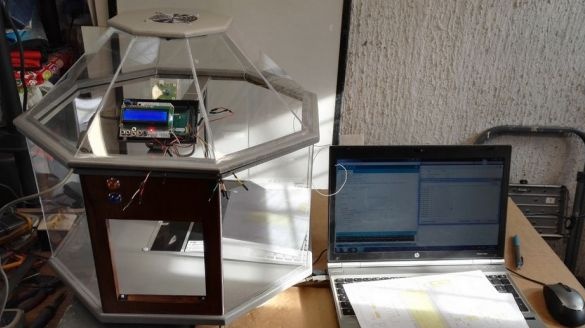
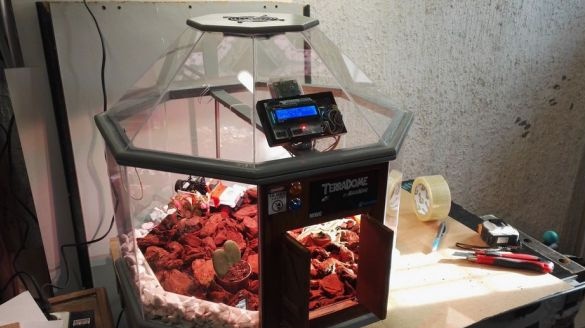
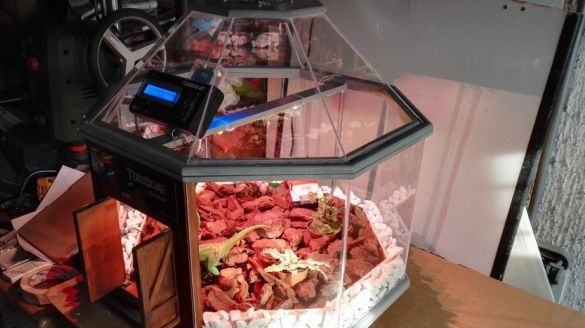
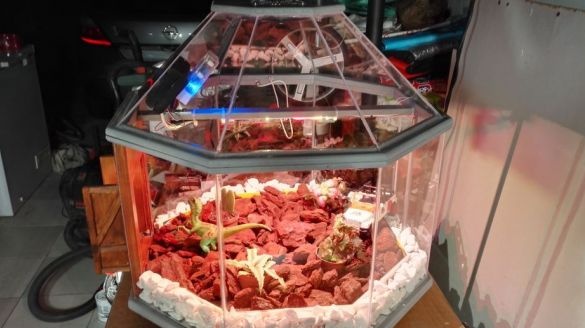
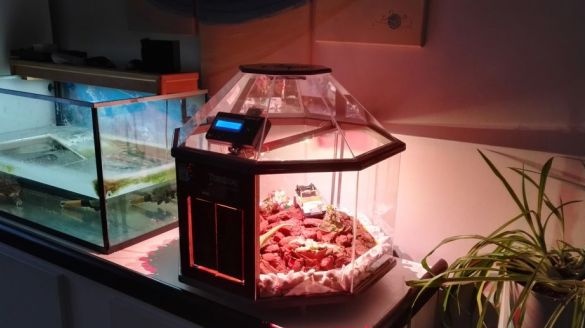
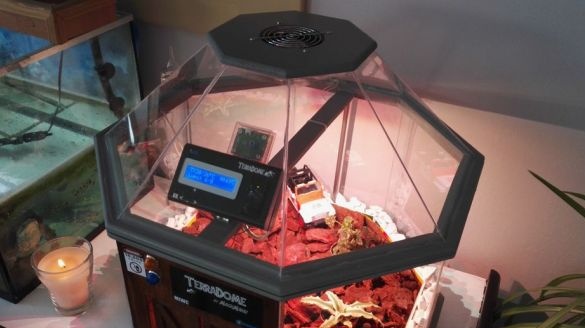
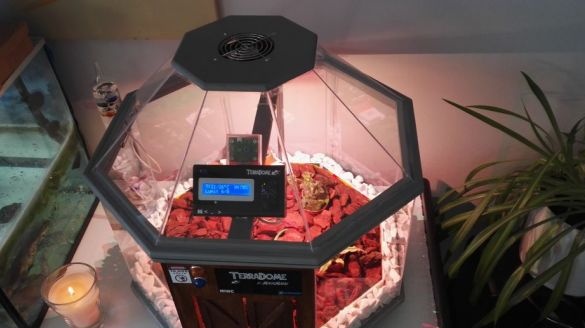
TerraDome is a covered greenhouse for plants and tropical flowers, with an octagonal dome. The temperature and lighting in the greenhouse are controlled by Arduino Mega. The doors to the greenhouse are decorated in the style of the gates from the movie "Jurassic Park" and open when the temperature rises. TerraDome has the following sizes:
height is 45 cm
width is 50 cm.
The master took 35 hours to make the greenhouse.
Let's watch a short video.
To make a greenhouse, the master-master needed the following
Tools and materials:
-A circular saw;
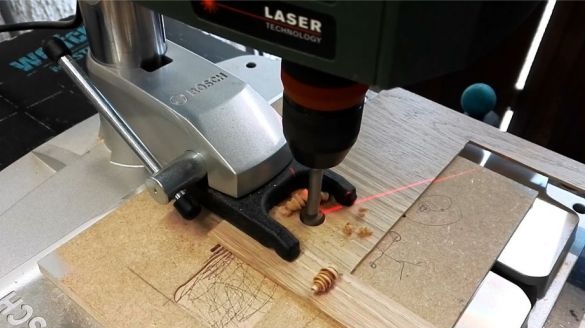
-Drilling machine;
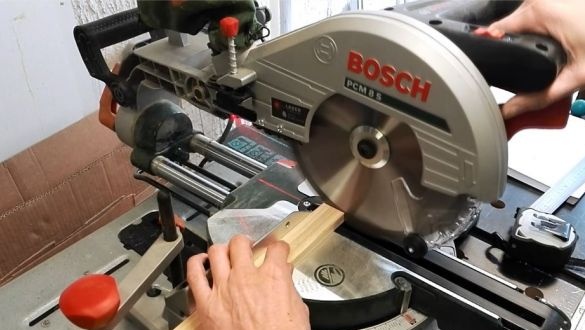
-Miter saw;
- Electric jigsaw;
- Dremel;
-Pencil;
-Rule;
- Clamps;
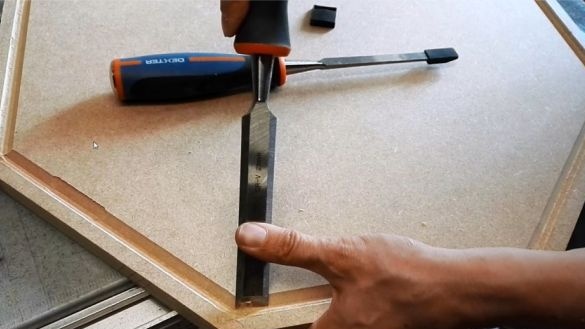
-Chisel;
Milling cutter;
-Primer;
-Paint;
-Silicone;
- Loops;
-Polypropylene tube;
-Plywood;
-Glue;
-Glue gun;
-Brush;
-Box from under Tick-Tack;
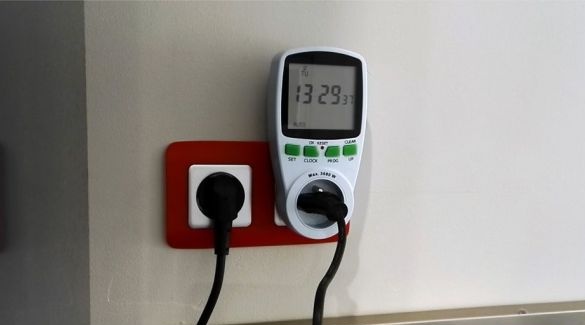
-Programmable time relay;
-Two RGB LEDs;
- MDF 19 mm;
- MDF 10 mm;
-Transparent polystyrene 2.5 mm;
-Fan 80 mm;
-Fasteners;
Step One: Project
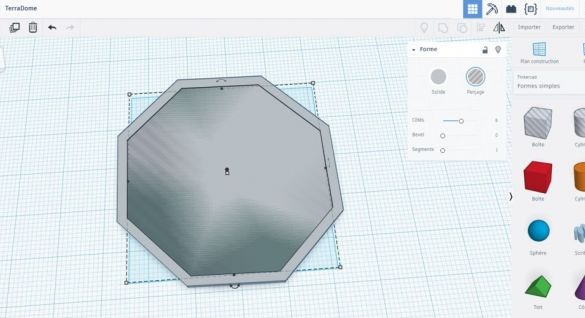
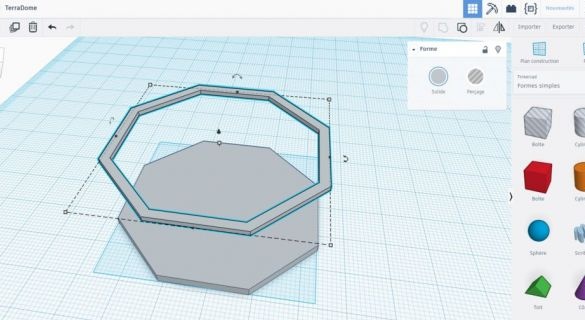
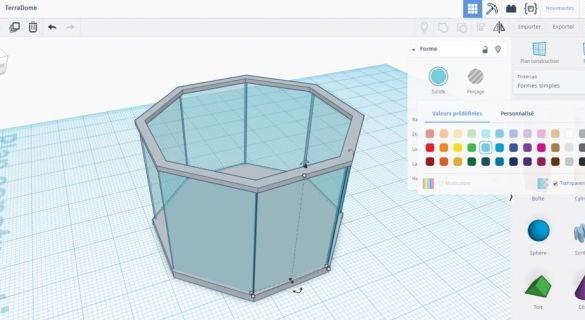
First, the master, using the Tinkercad program, developed a 3D project of the greenhouse.
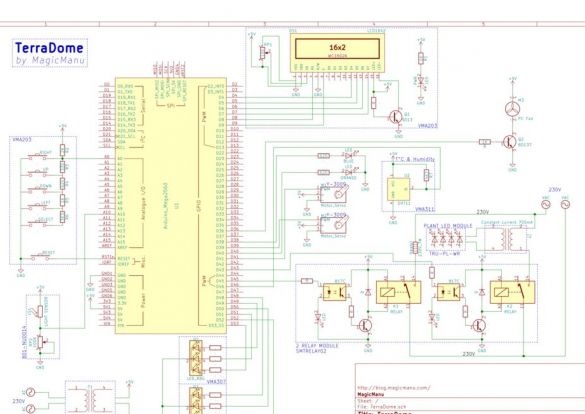
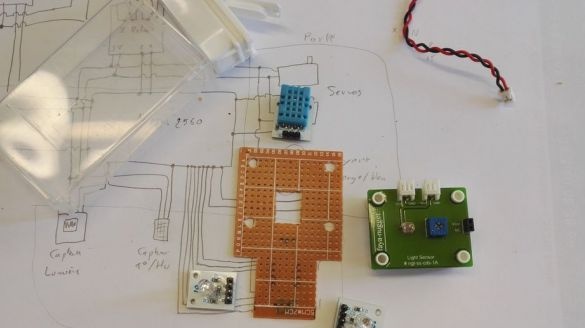
For convenience, the master combined the plan of the greenhouse, electronic Arduino diagram and code in one.
Step two: blanks
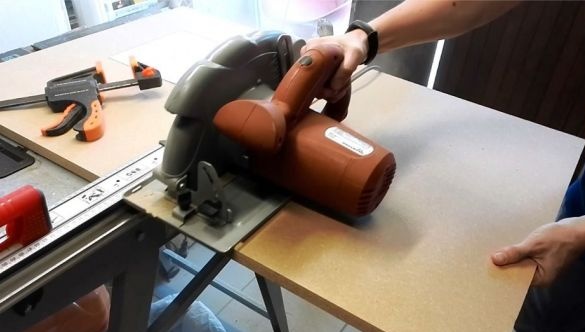
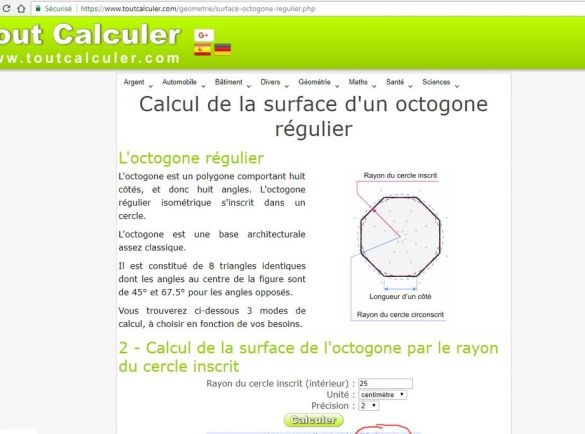
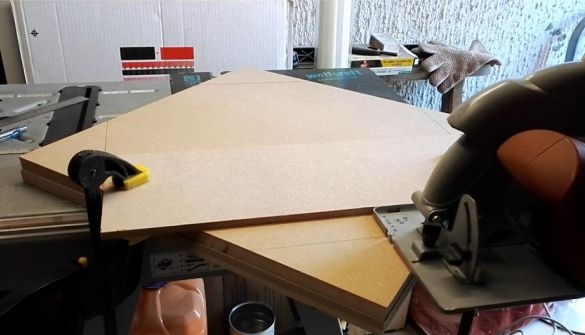
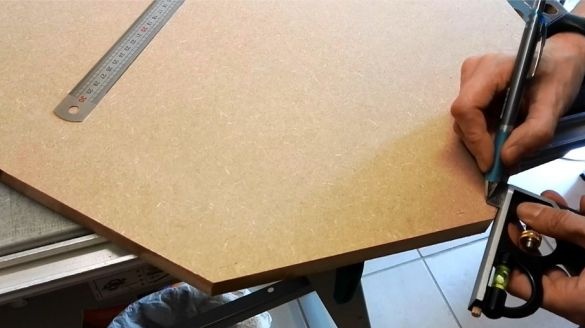
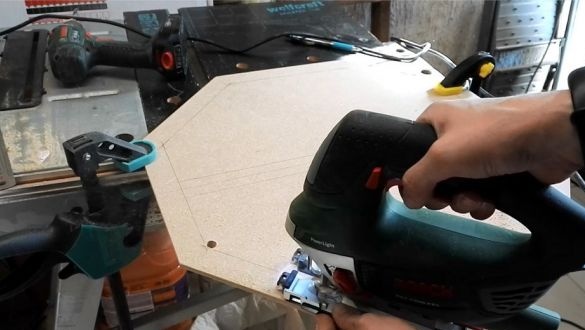
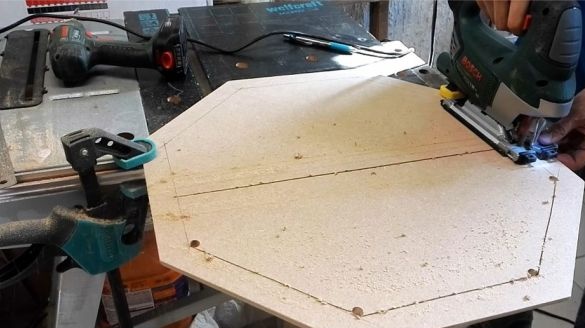
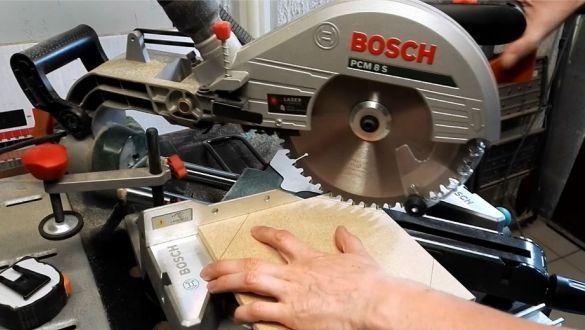
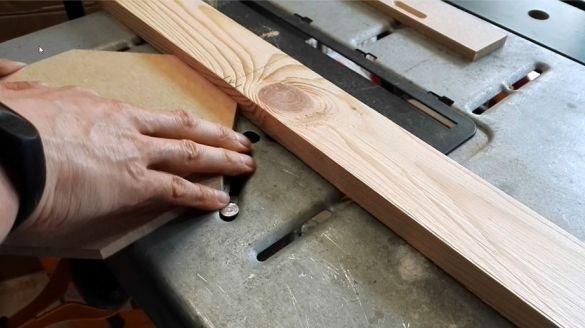
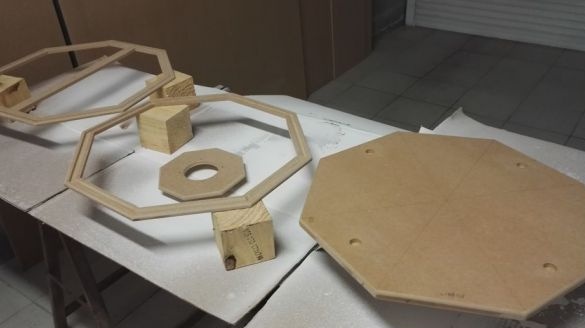
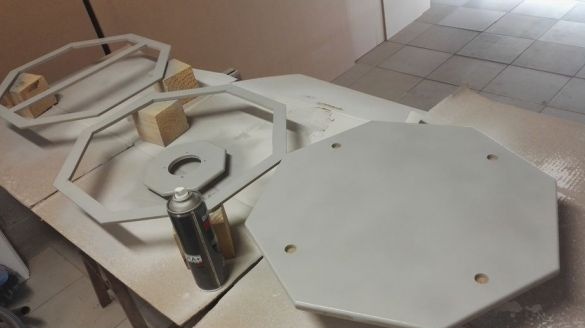
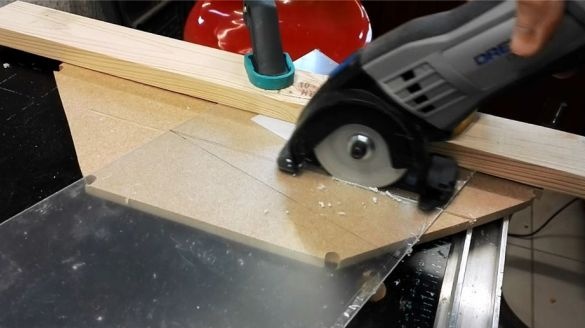
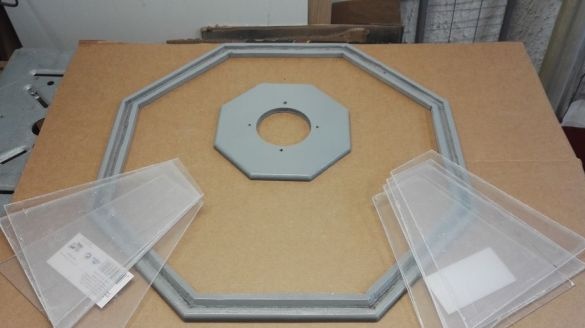
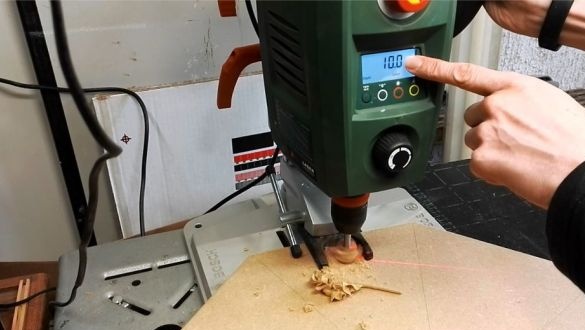
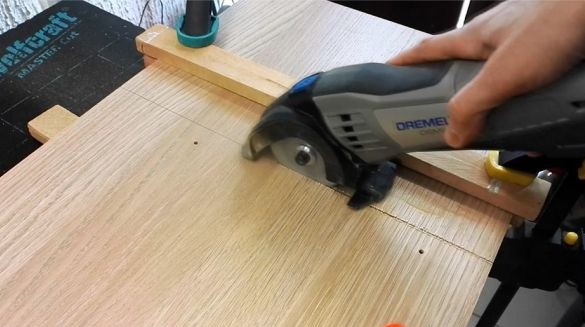
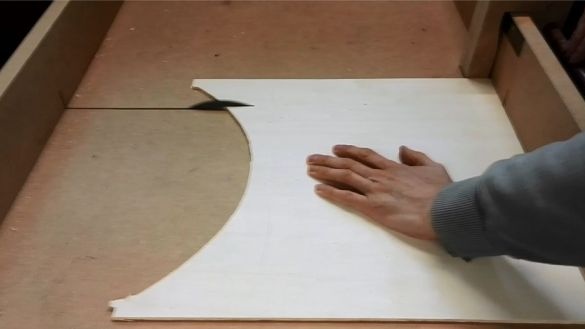
The master uses MDF with different thicknesses of 19 mm for the base and 10 mm for everything else. To correctly calculate the sides of the octagon, the master uses. With a circle radius of 25 cm, each base of the triangle is 20.71 cm. The master makes a marking on the MDF sheet and cuts out the octagonal base. Cut two octagons, with the same dimensions as the base, only without the inside. Then cuts out the small octagon of the dome.
Step Three: Milling
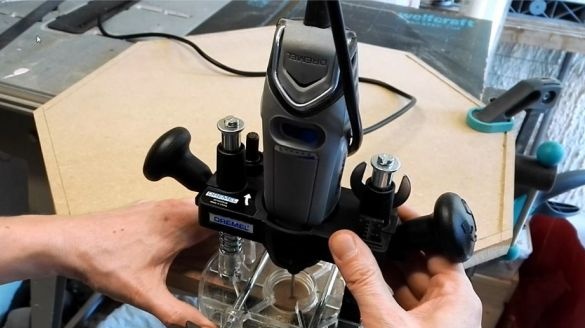
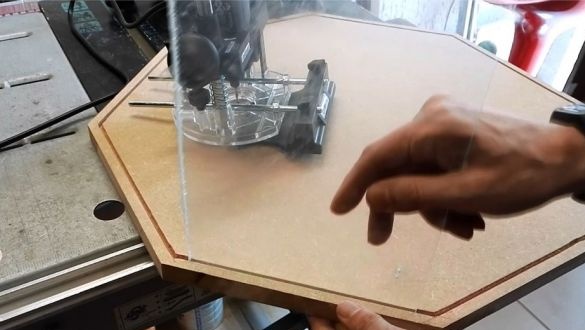
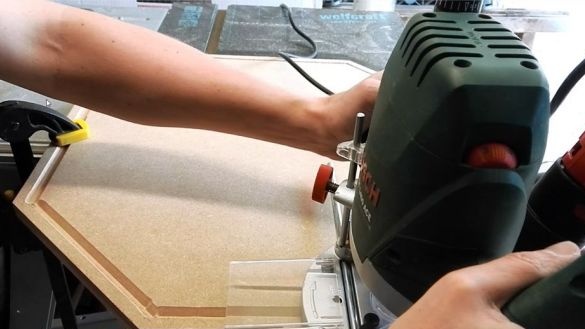
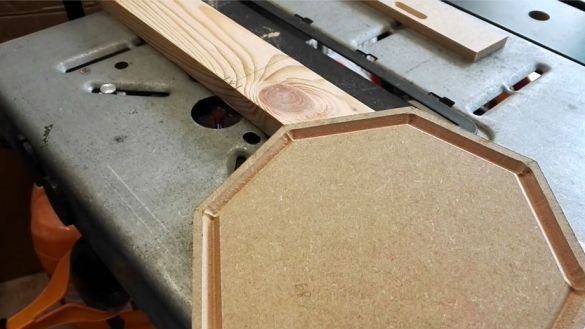
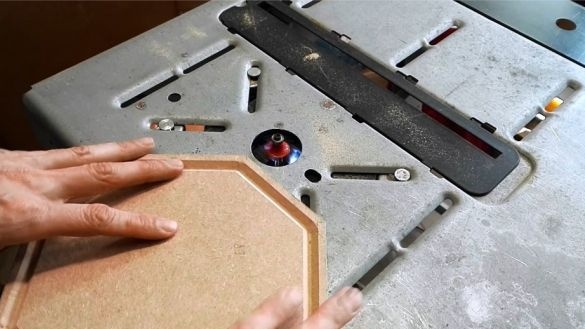
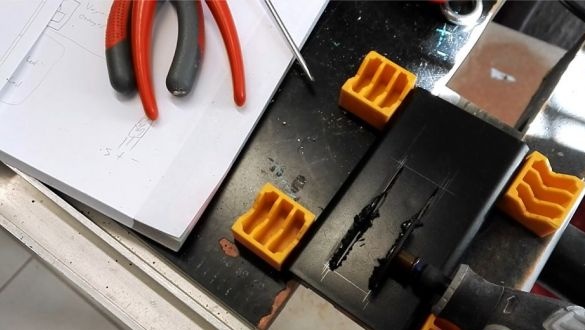
Next, you need to make grooves around the entire perimeter of the workpieces. Plexiglass will be inserted into the grooves.
Step Four: Painting
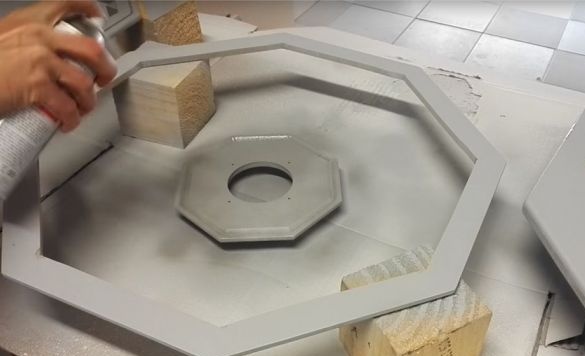
Covers parts with a primer and two coats of paint.
Step Five: Windows
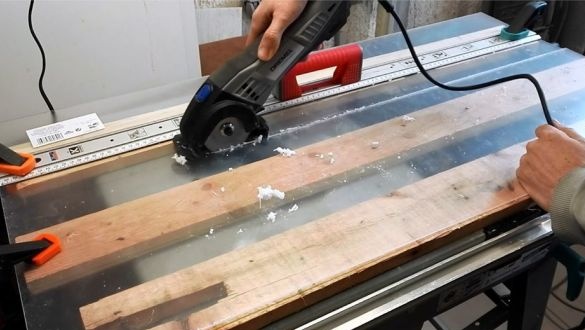
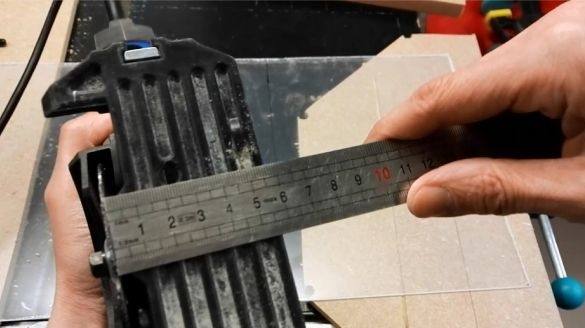
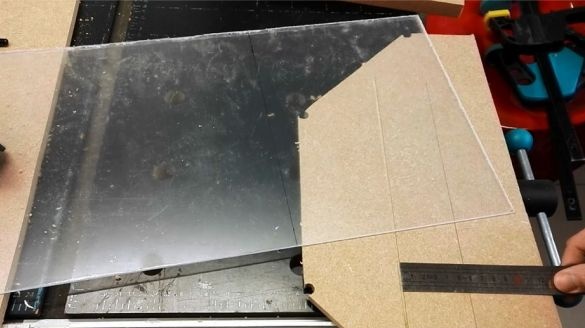
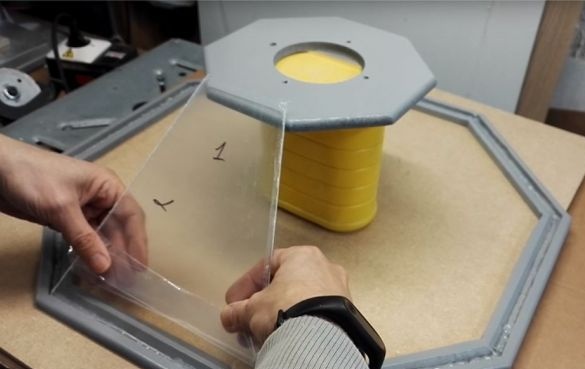
For windows, the master uses transparent 2.5 mm polystyrene. First, the master draws a template on the blackboard, and then, according to the template, cuts out all the windows.
Step Six: Build the Bottom
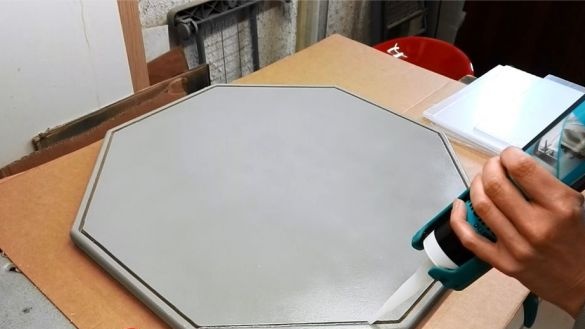
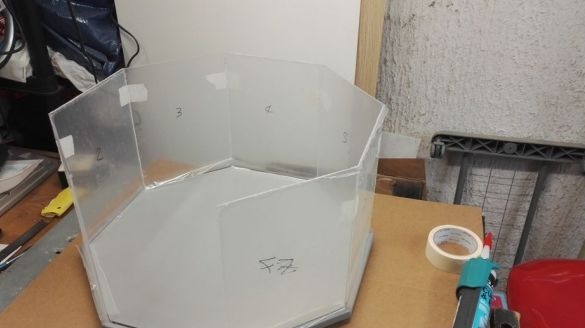
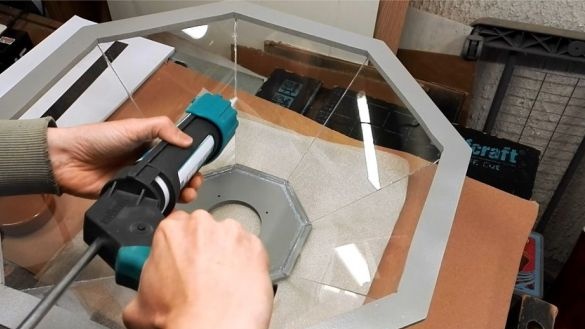
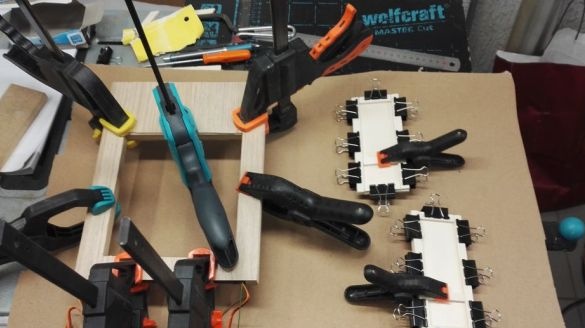
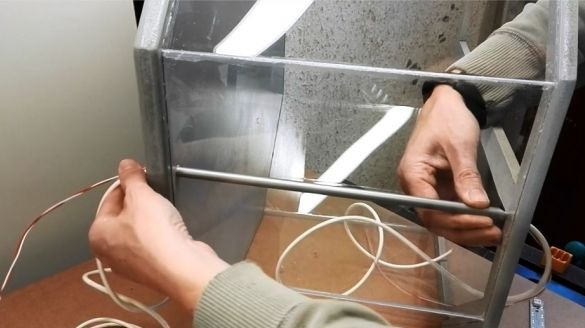
Polystyrene master glues to wooden frames using transparent silicone.
Seventh step: dome assembly
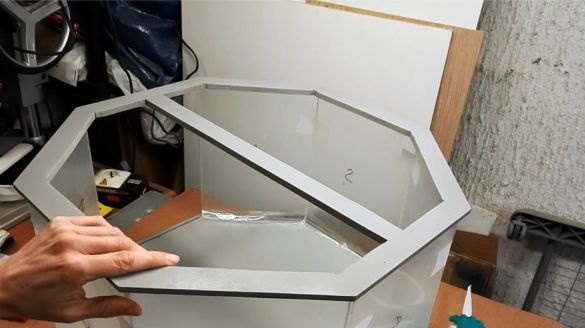
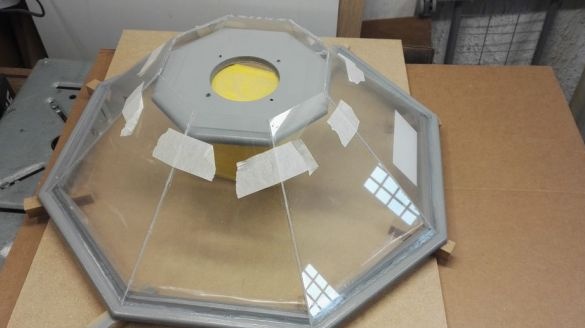
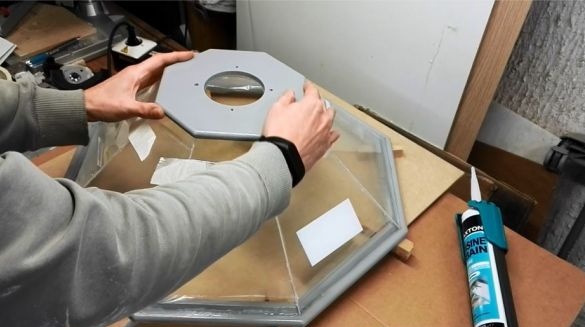
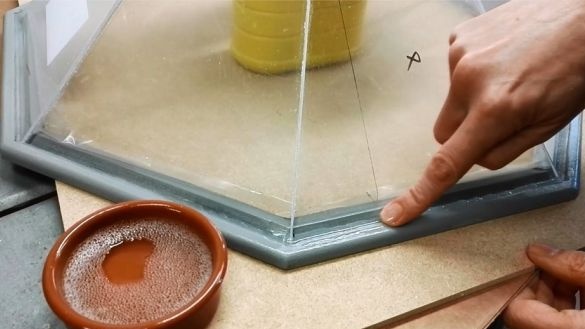
The master fastens the windows of the dome first with tape and then with silicone. Joints are also coated with transparent silicone. Smoothes silicone with a finger dipped in soapy water.
Step Eight: Ventilation
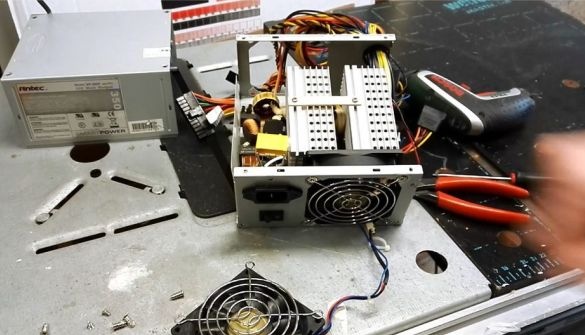
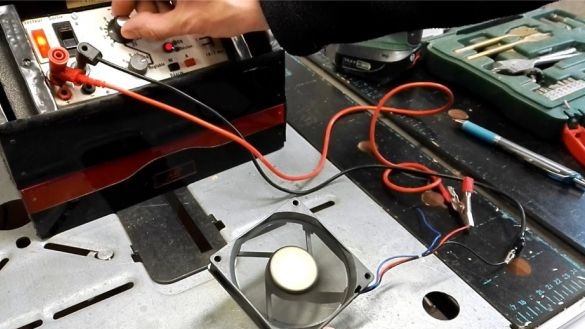
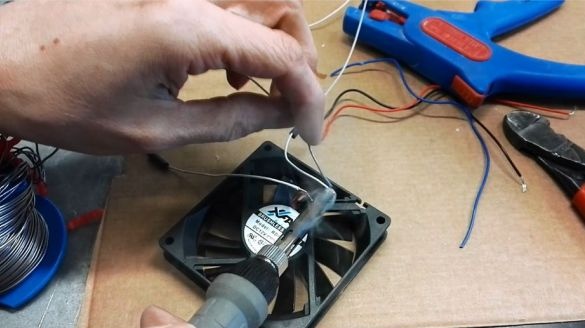
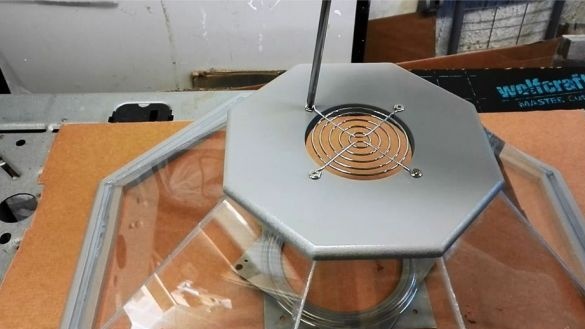
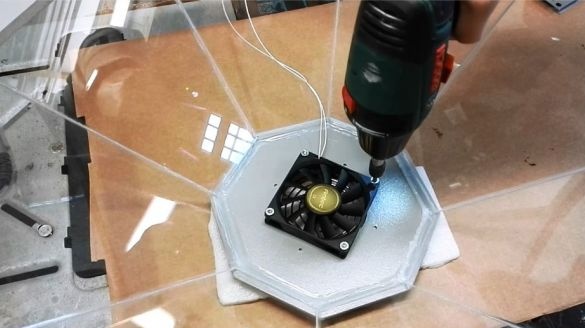
Fan master used from an old computer. When applying power to the 5 V fan, instead of 12, the fan runs and its power is sufficient for the greenhouse. After checking, install the fan on a small dome octagon.
Step Nine: Loops, Feet
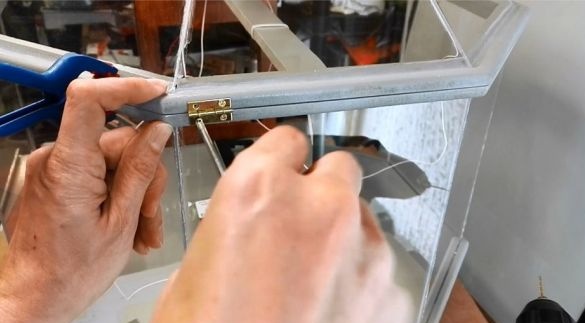
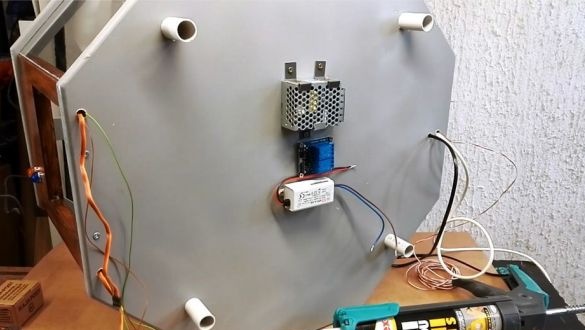
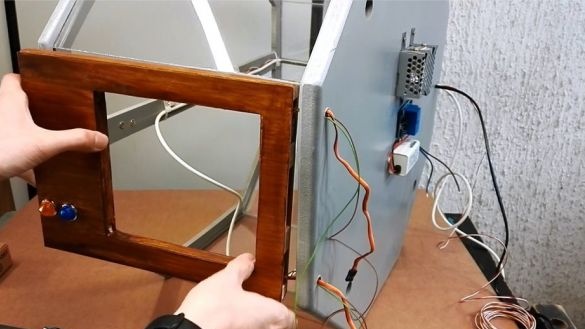
Connects the upper and lower parts with loops. From the bottom of the base sets the legs of a polypropylene tube.
Step Ten: Doors
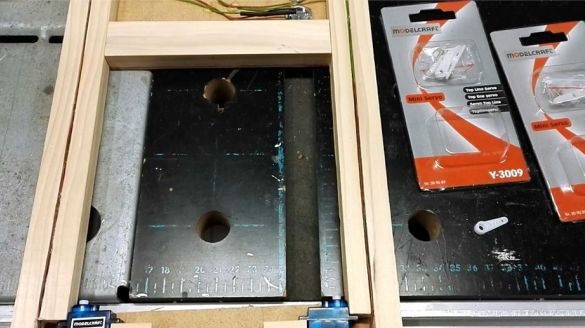
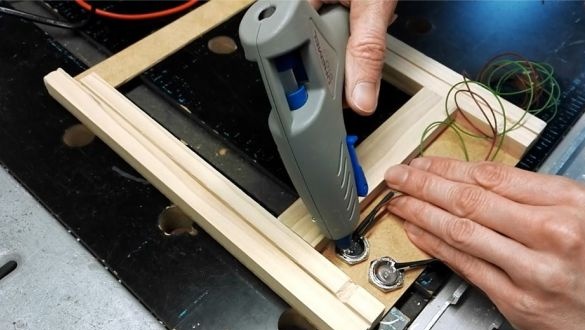
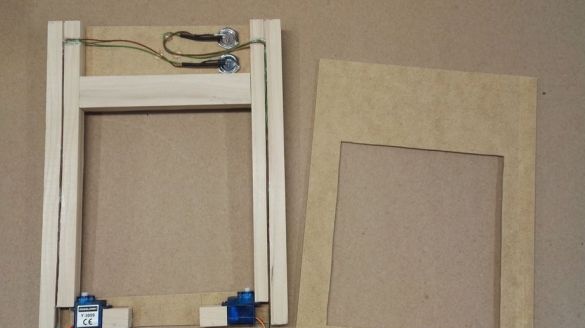
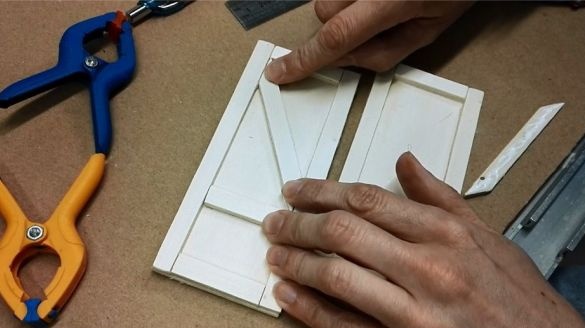
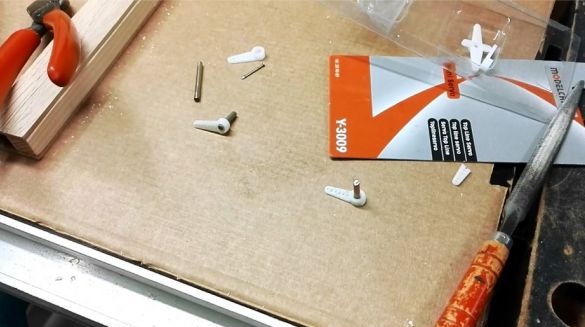
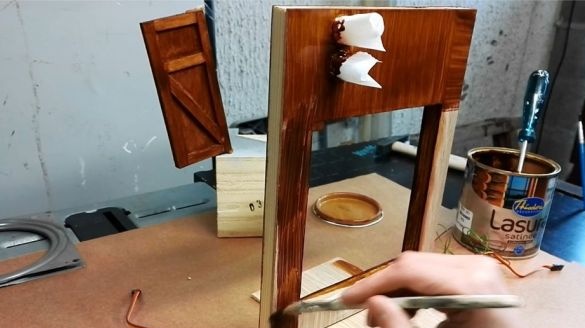
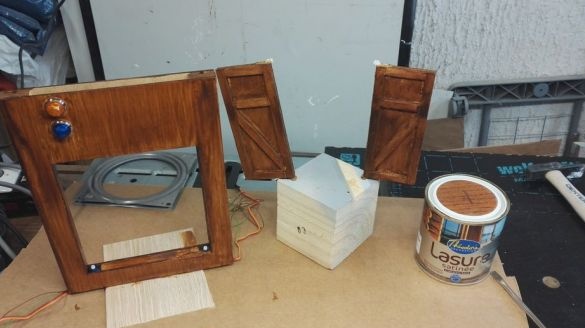
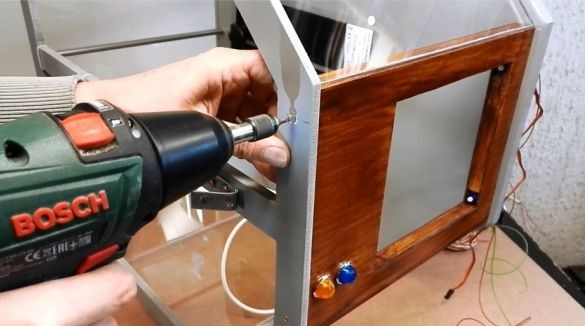
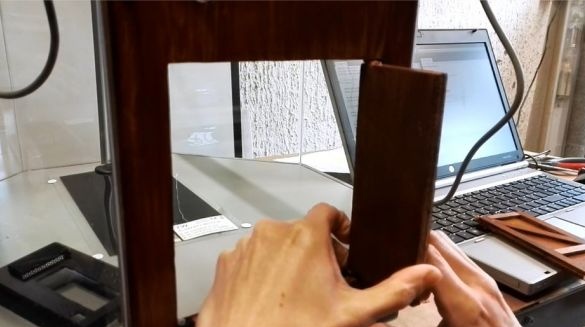
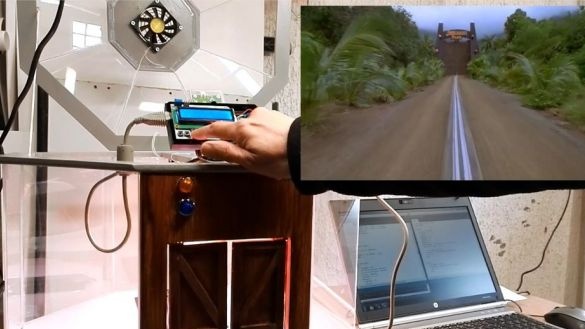
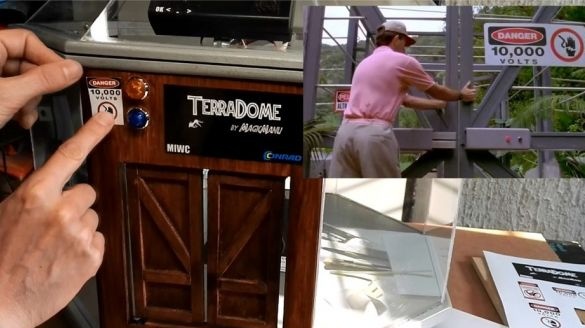
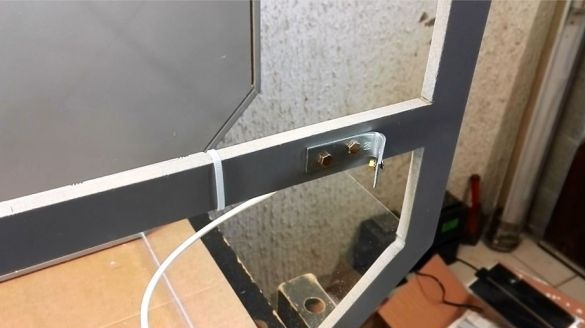
Doors, and light indication, the master made in the style of the gate from the movie "Jurassic Park." For the doors, the master used plywood. Servo motors are connected to the two door leaves. When the critical temperature is reached, the flaps open automatically. The master paints the gates.
Step Eleven: Arduino
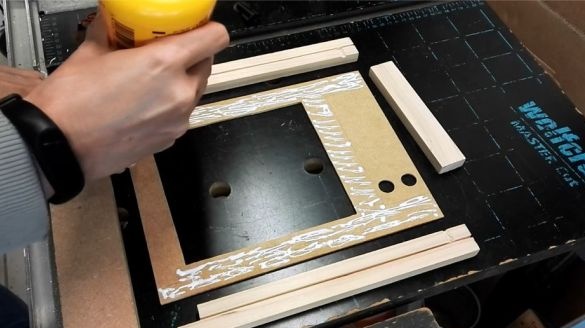
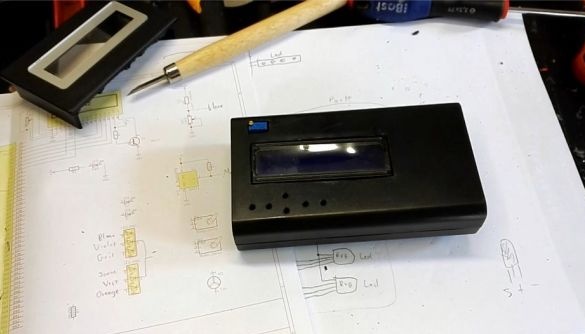
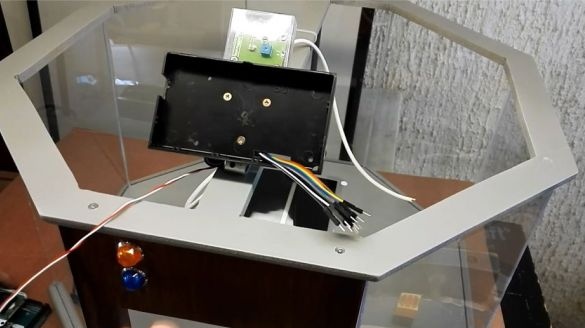
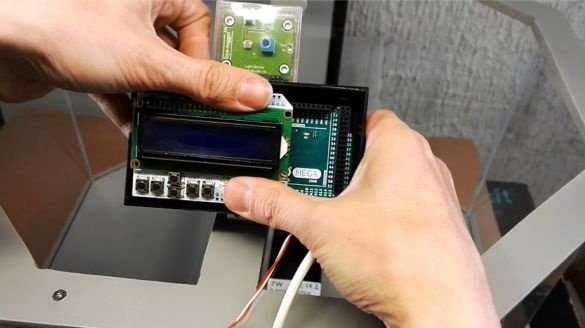
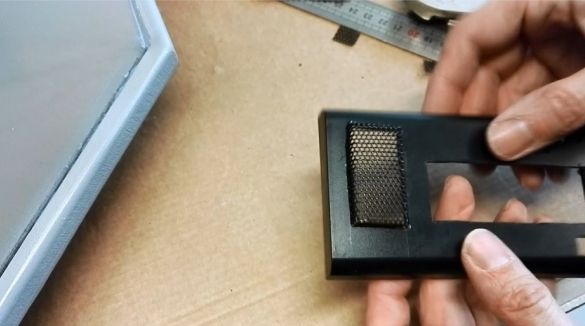
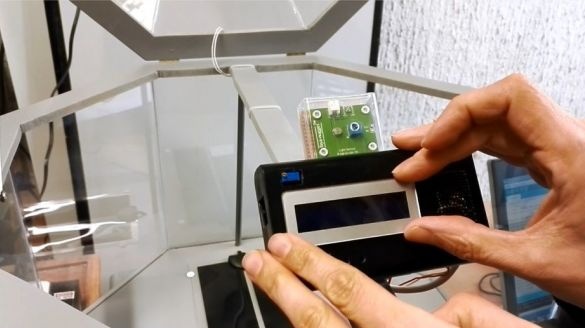
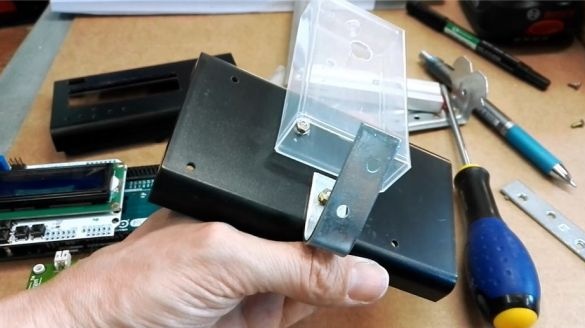
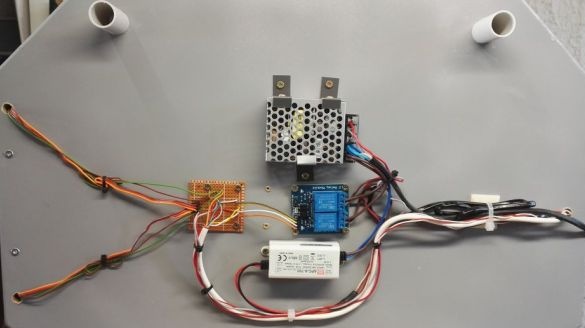
All electrical components are connected to the Arduino Mega according to the diagram. According to the master, the Arduino Uno was enough for the project. The body is made of plywood for the main unit and display. The display connects to the Arduino Mega using a connector.
Step Twelve: Modules
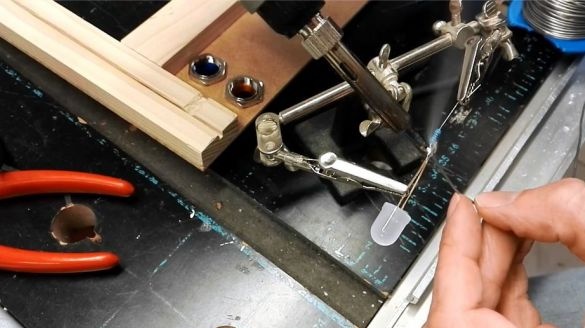
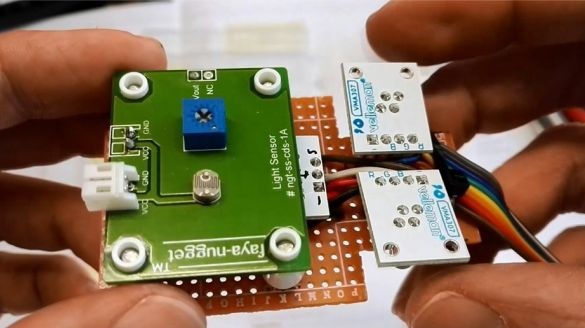
On the breadboard, the wizard assembles temperature / humidity, light, and two RGB LED modules. He then puts the assembled board in a box from Tick-Tak.
Step Thirteen: The Power Unit
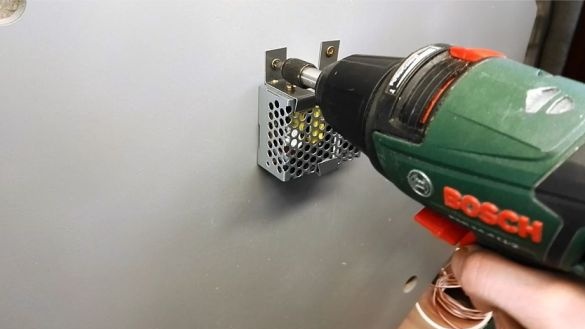
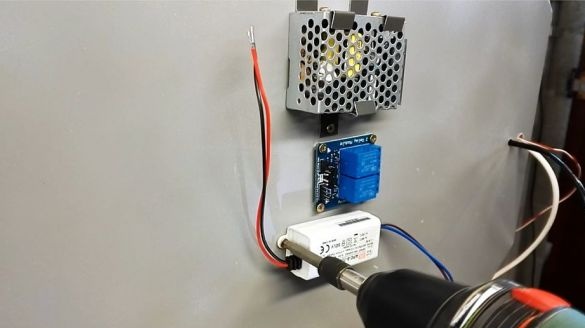
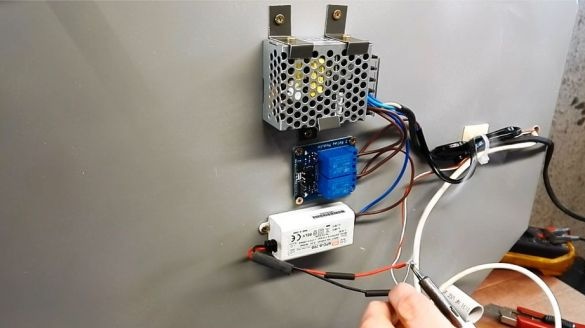
From the bottom of the base, the master mounts the power unit.
Step fourteen: code
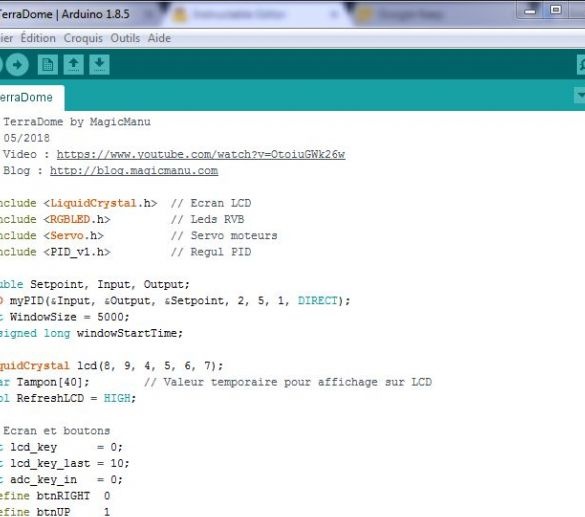
Now you need to download the code. In it is displayed as follows:
LiquidCrystal.h: LCD control
RGBLED.h: for 2 RGB LEDs
Servo.h: for 2 servomotors
PID_v1.h: to control the temperature of the PID controller.
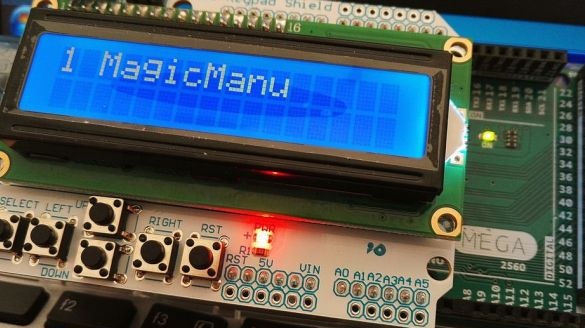
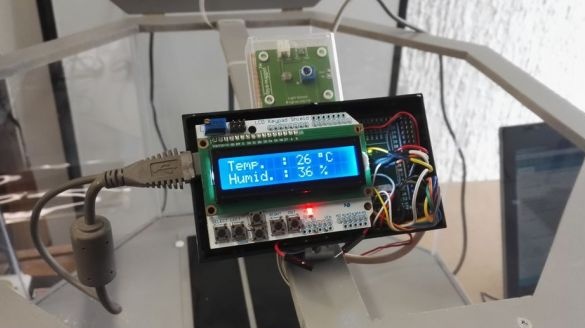
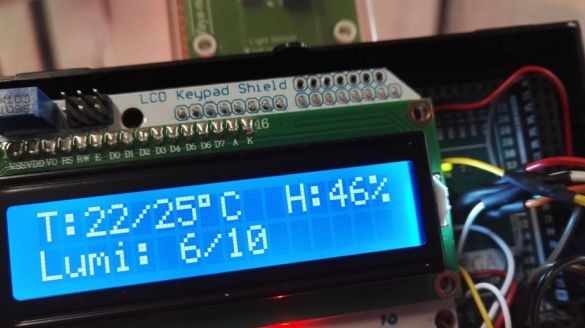
The display constantly shows temperature, humidity level and light level (from 1 to 10).
B + and - buttons (up and down) to adjust the temperature.
In the
The indicators can turn on and off at intervals of 60 seconds.
The heating / ventilation and door group is controlled by the same part of the code.
If the temperature exceeds the set value + 2 ° C (from 30/27 ° C):
-LEDs turn blue
-Heating is turned off
-Doors open (indicated by orange / blue LEDs)
-Fan starts to work
If the temperature drops below the set point - 2 ° C (e.g. 24/27 ° C):
-LEDs turn red
-He begins to heat
-Doors close (indicated by orange / blue LEDs)
-Fan stops
In other cases (e.g. 28/27 ° C):
- LEDs are light green
-Heating remains in standby mode
-Doors remain closed
-Fan remains off
Step Fifteen: Heating and Lighting
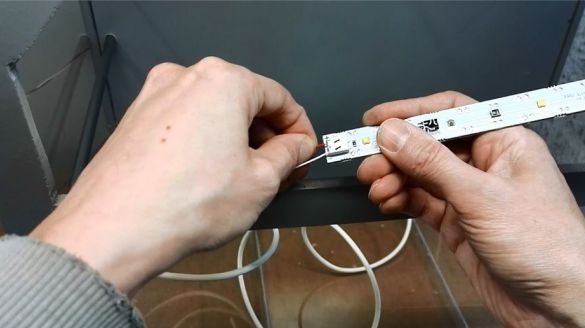
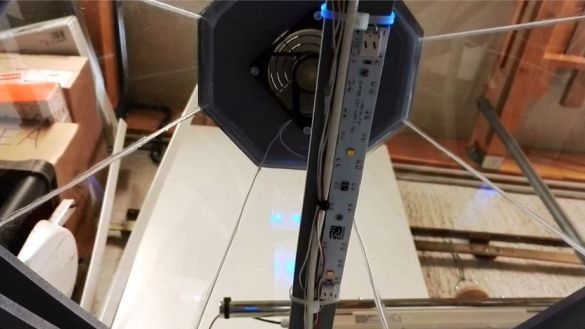
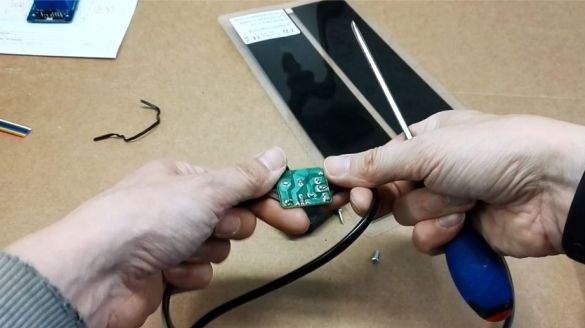
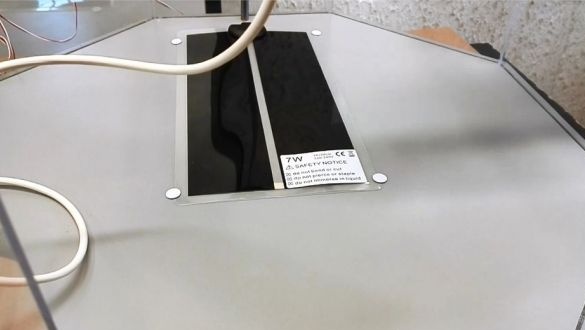
For lighting the master uses a phytolamp. The range of LEDs allows you to create the necessary light in the greenhouse, contributing to the photosynthesis of plants. For heating, the master used a heated mat. Such rugs are commonly used for reptiles. Since all the heating is controlled by electronics, the master removed the thermostat from the mat. To turn off the system at night, the master applied a time relay.
Step sixteen: plants
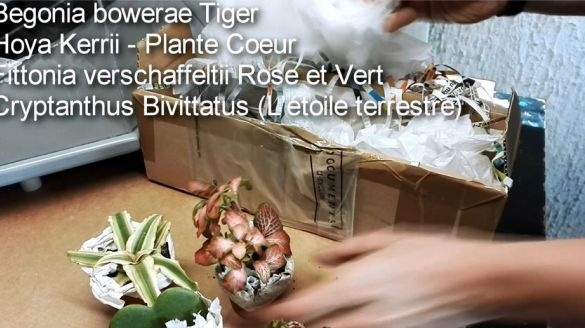
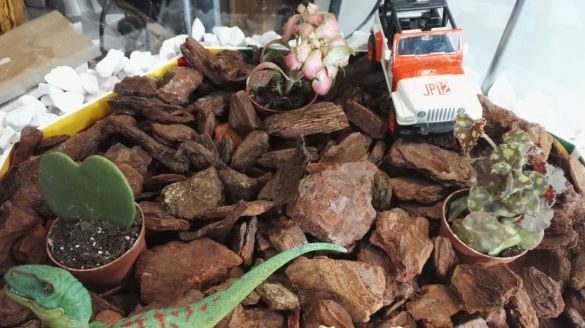
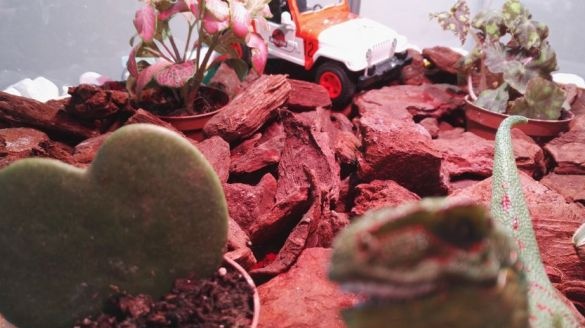
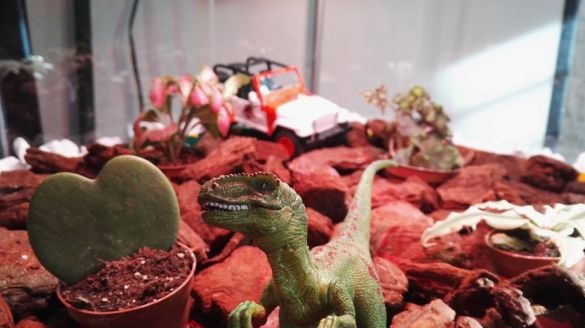
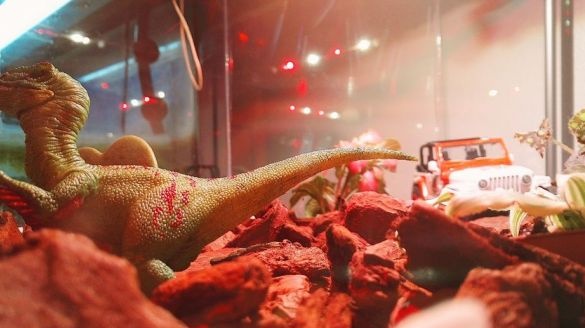
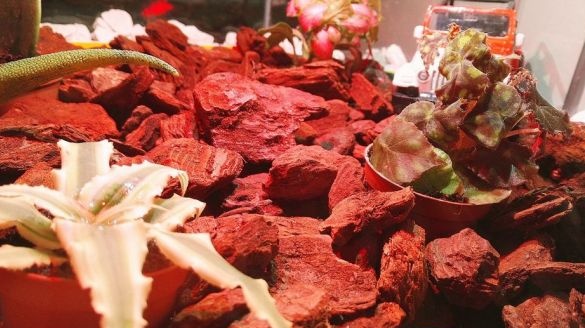
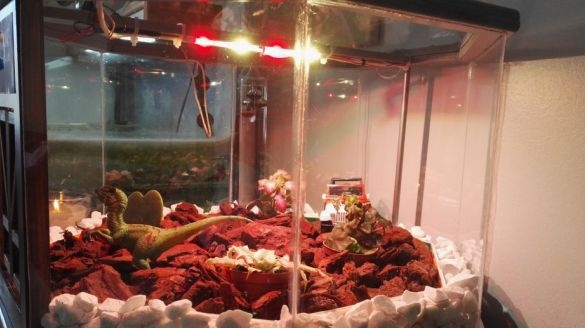
The master planted four tropical plants in the greenhouse: Cryptanthus Bivittatus, Fittonia verschaffeltii, Hoya Kerrii and Begonia bowerae Tiger. Added white gravel and pine bark for decoration, and where without a dinosaur figure in a Jurassic park.
The greenhouse for tropical plants is ready.
The whole process of making a tropical greenhouse can be seen in the video.

