

Hello to all lovers homemade. For those who like to craft something, you constantly need to fix the blanks for their processing, to buy a large number of factory clamps is not cheap. Therefore, in this article I will tell you how to make a powerful clamp from two studs, which will not be inferior to the factory options, and also save your money. Materials for its assembly are easily accessible, in any case, for a small fee, they can be purchased at a hardware store.
Before you read the article, I suggest watching a video, which shows in detail the entire process of manufacturing the clamp, as well as its testing in real conditions.
In order to make a powerful clamp from two hairpins do it yourself, you will need:
* 4 M4 screws 70 mm long
* M4 tap with thread pitch 0.7 mm
* Electric drill
* Angle grinder
* Cutting and grinding disc
* 4 nuts and 4 washers M14
* Two M14 union nuts
* Hairpin M14 1 m long
* Wooden block 40 * 40mm in size
* Bench vise
* Clamps
* Safety glasses, gloves, respirator
* Wood hacksaw
* Sandpaper
* Drill for metal 3.3 mm
* Drill bit with a diameter of 15 mm
* Measuring tape
Step one.
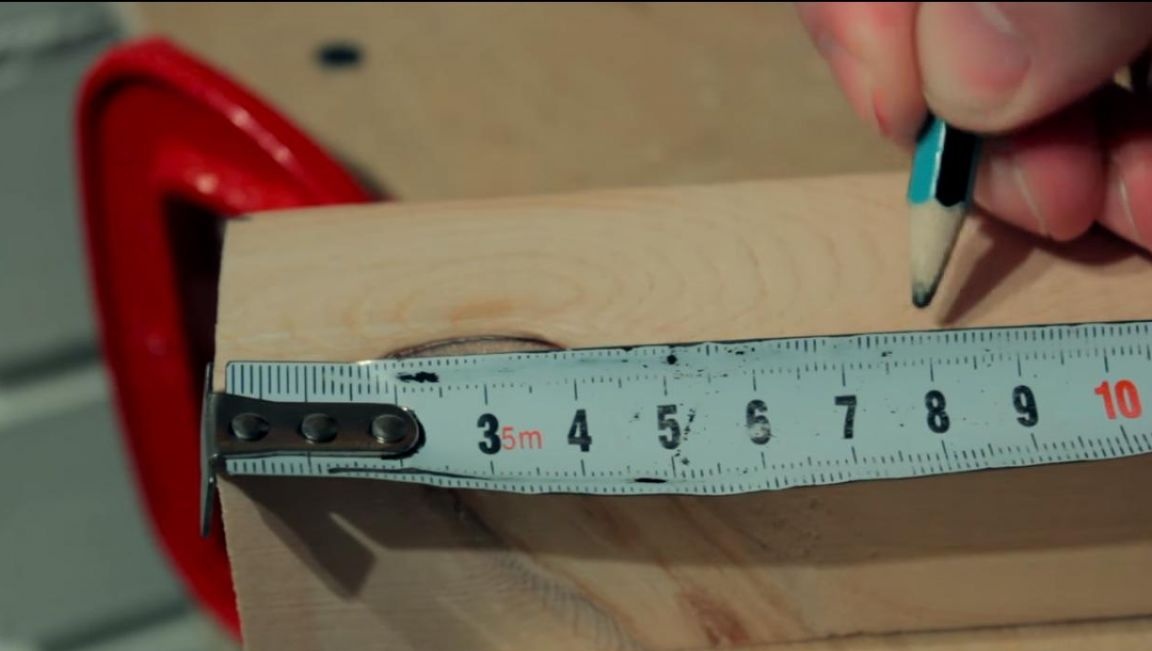
First of all, it is necessary to fix a wooden block with a size of 40 * 40 mm in a bench vise and measure using a tape measure 50 cm, then saw off a bar with a hacksaw on a tree using a mark.
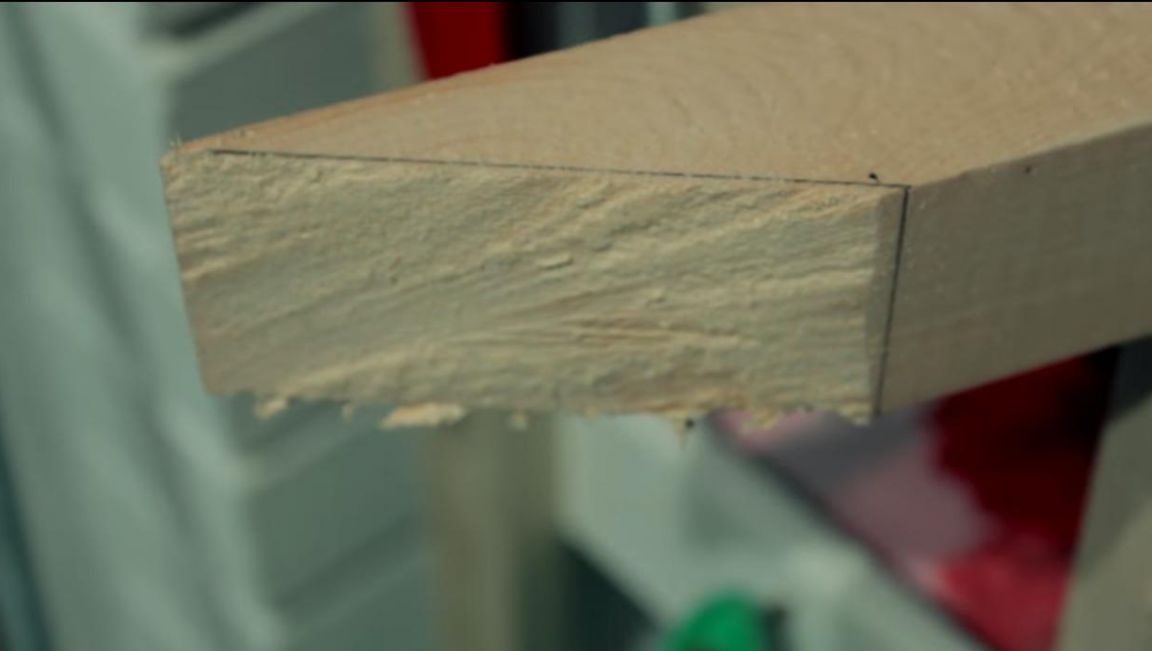
There will be two such bars 50 cm long, so we similarly saw off another one. Next, you need to make markings along the edges of the bars, measure out about 8 cm from the edge of the workpiece and draw a diagonal from edge to point, we do this on both sides.
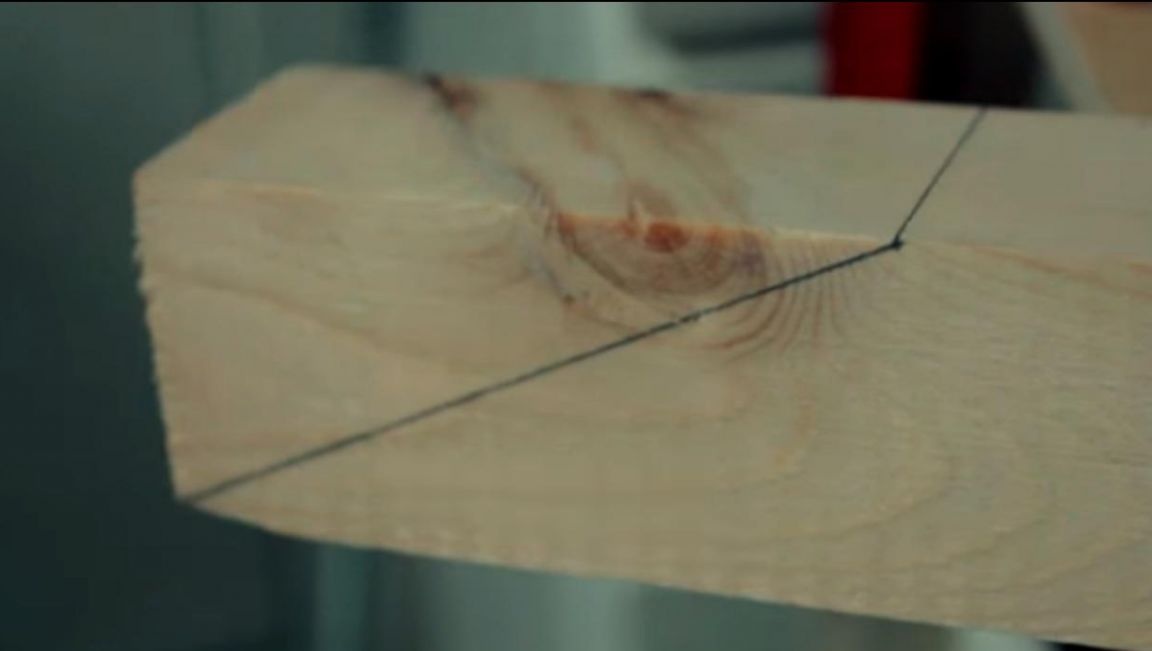
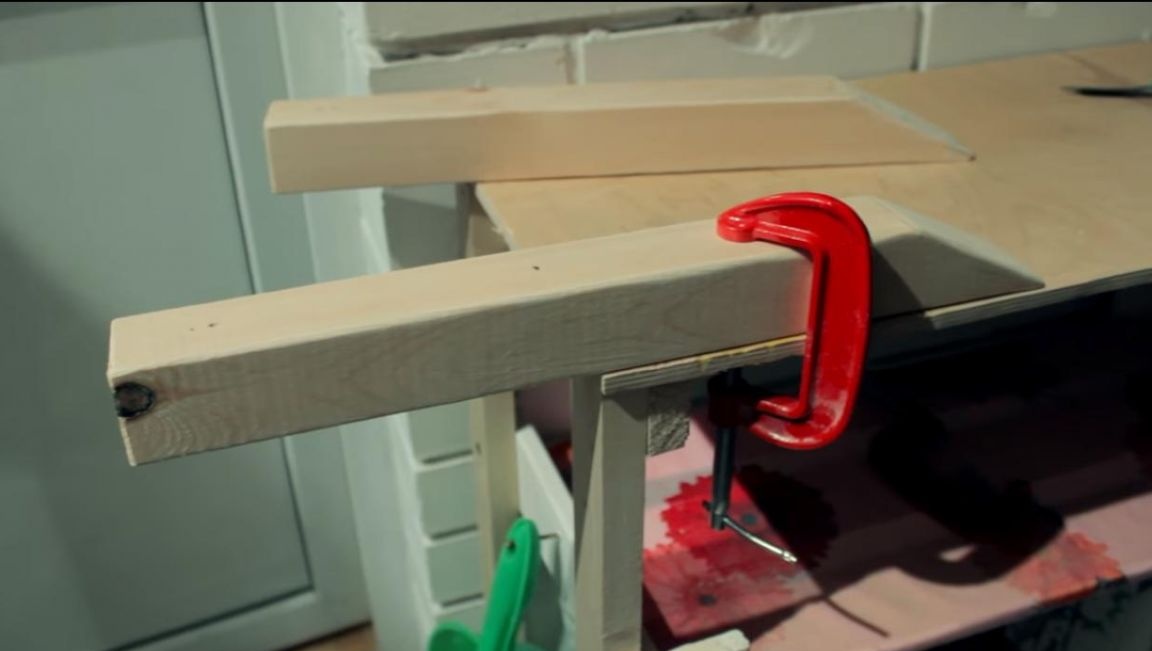
We fix the workpieces on the workbench using clamps and saw off the edges according to the marks.
We do the same with the second workpiece, measure and saw off.
Step Two
Now on the workbench we fix the angle grinder using two clamps and install an grinding wheel made of sandpaper on it.
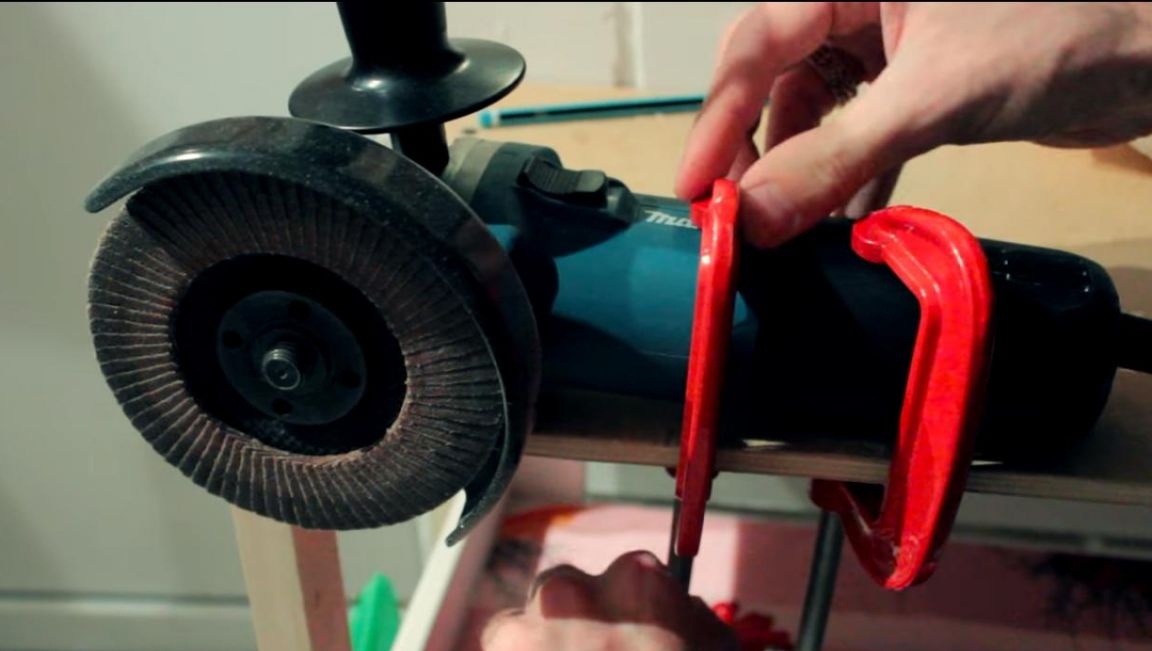
Next, we include the angle grinder in the network and grind two workpieces, removing burrs that formed during the sawing process, as well as smooth sharp edges. When working with an angle grinder, be careful, do not forget to use personal protective equipment, glasses and gloves. Also, during the grinding process, a lot of wood dust is formed, which negatively affects the respiratory tract, so be sure to use a respirator. After grinding with the help of angle grinders, large grooves remain on the workpiece, we remove them manually with sandpaper of finer grain size.
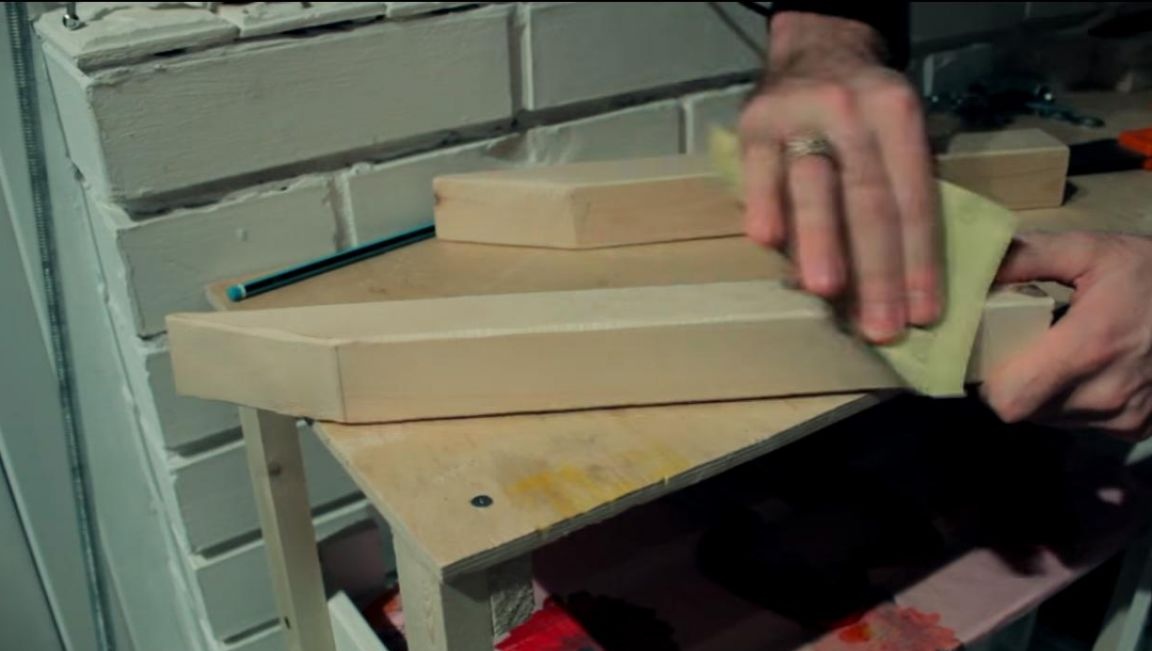
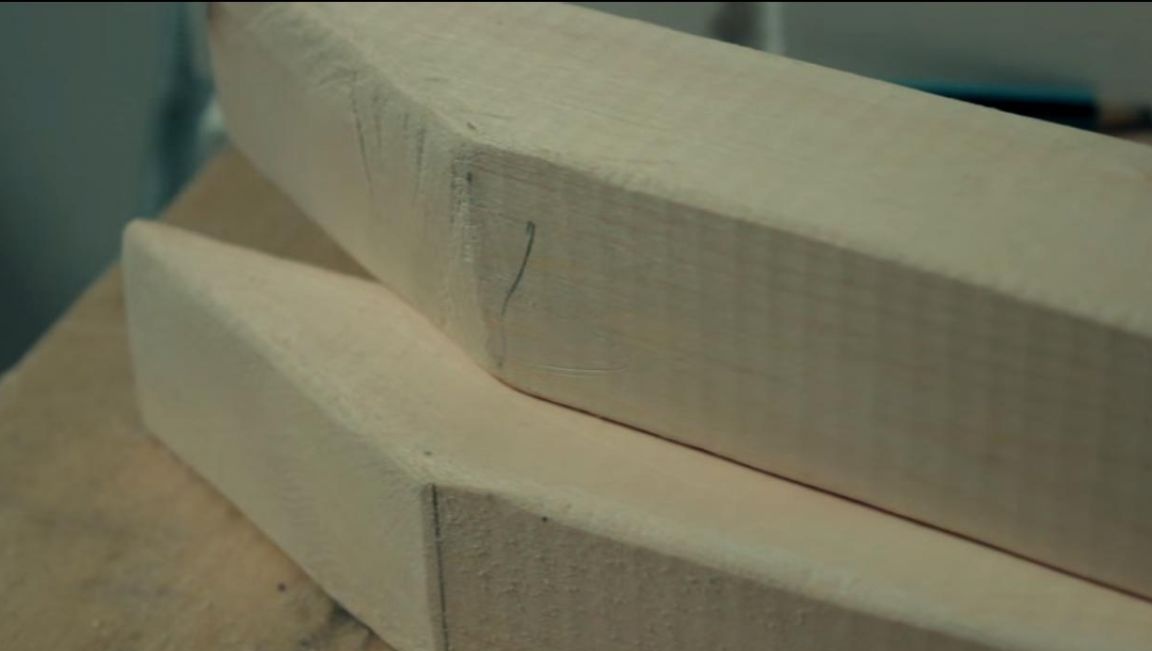
The result is two such processed blanks.
Step Three
Getting to the stilettos. Using a tape measure, measure 50 cm from the pin and fix it in a bench vise.
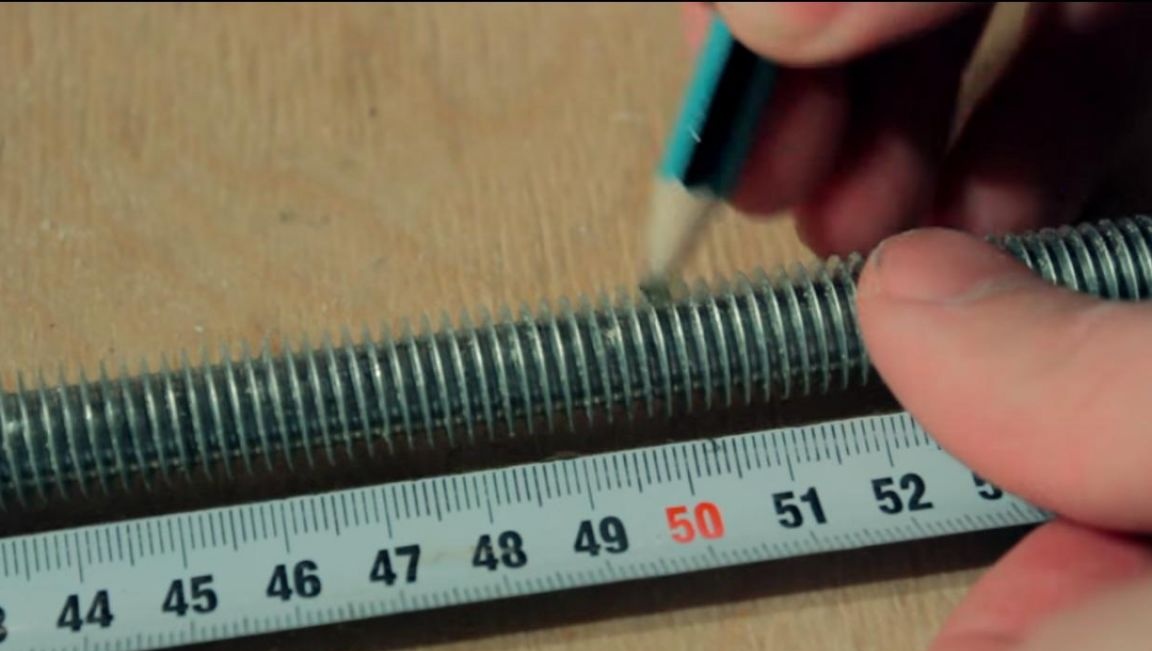
After that, we install a cutting wheel in the angle grinder and saw off the hairpin at the mark, having received two segments of 50 cm.
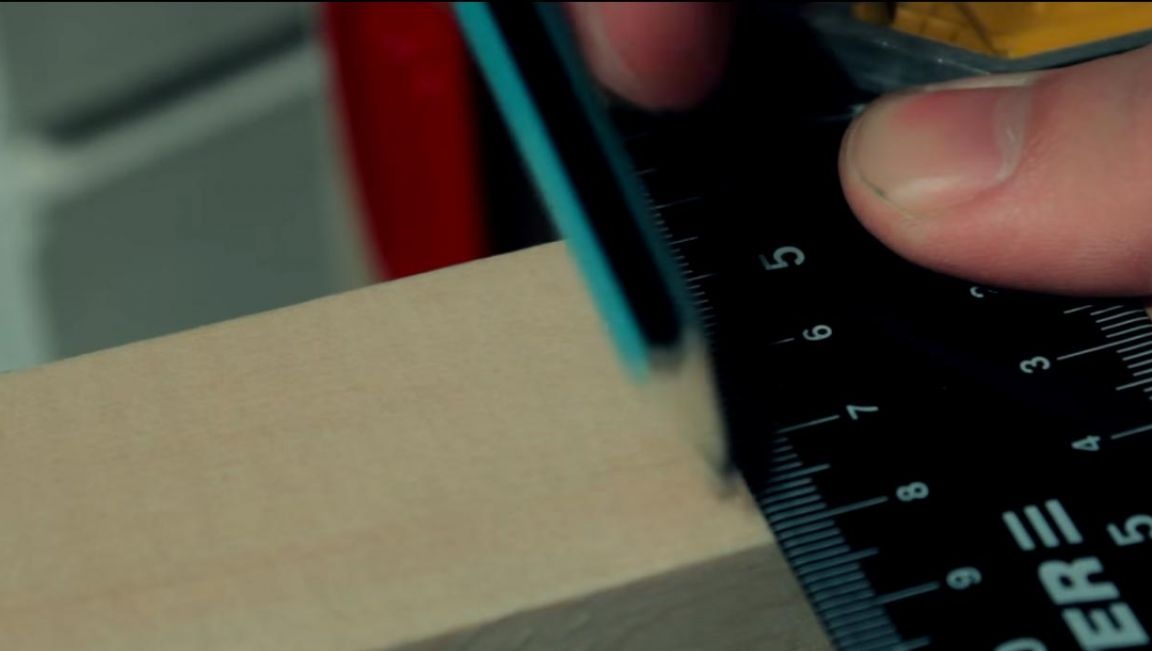
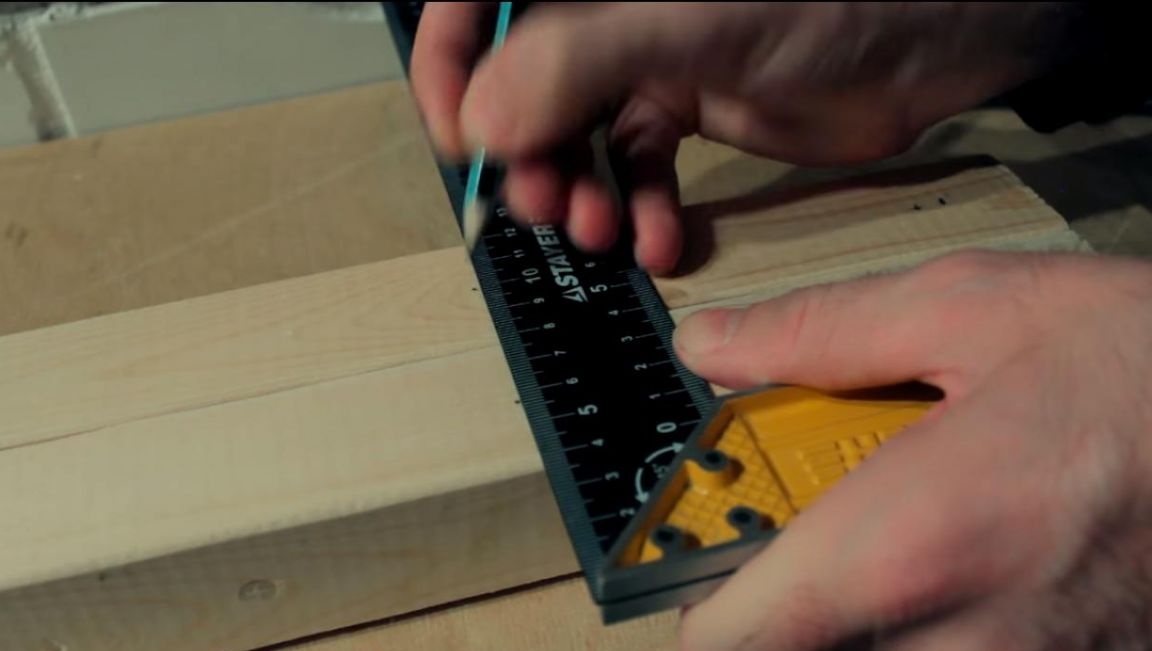
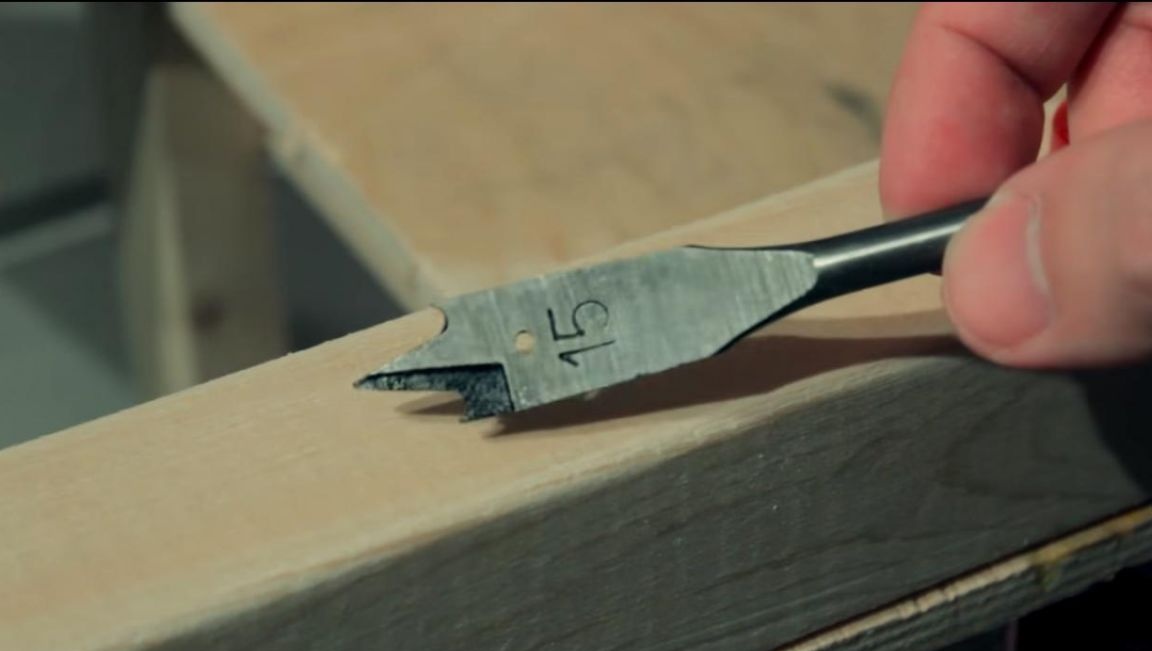
Now, in the wooden workpieces, it is necessary to mark the places for drilling. Using a building corner and a pencil, make marks in the middle of the bar, departing from the edges of 3 cm and 17 cm.
Next, we fix the wooden workpieces and drill holes in the marks made using an electric drill with a 15 mm pen drill installed in the chuck.
So that there are no chips on the back side, it is necessary to drill a hole not through, but leaving a little material, turn the part over and already make a through hole.
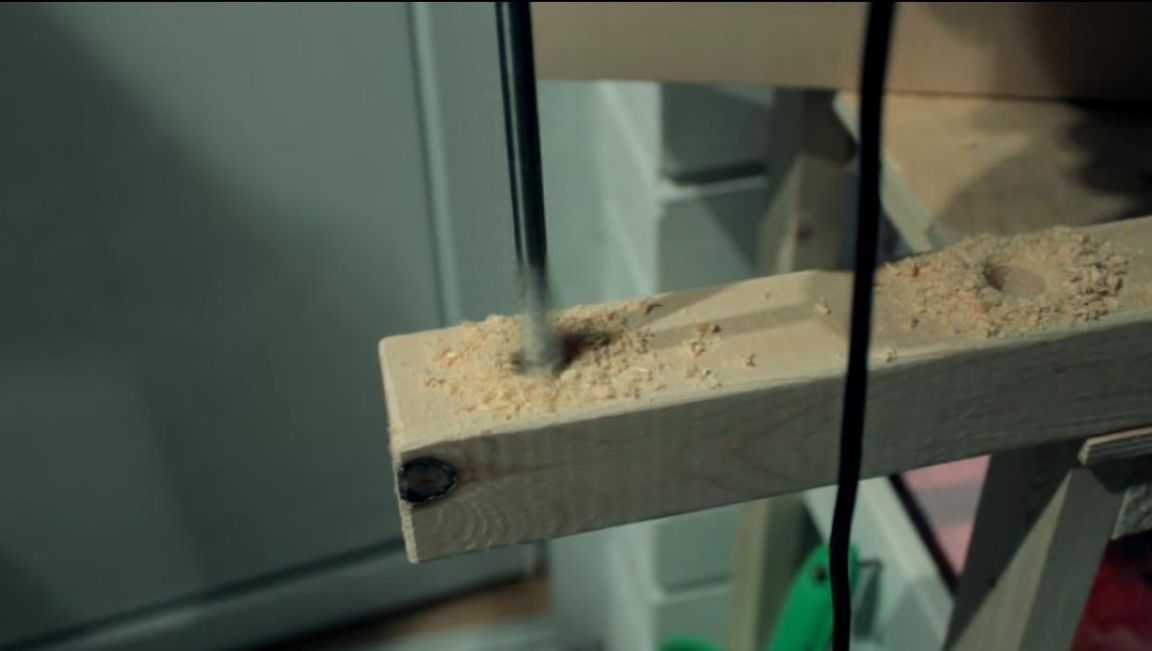
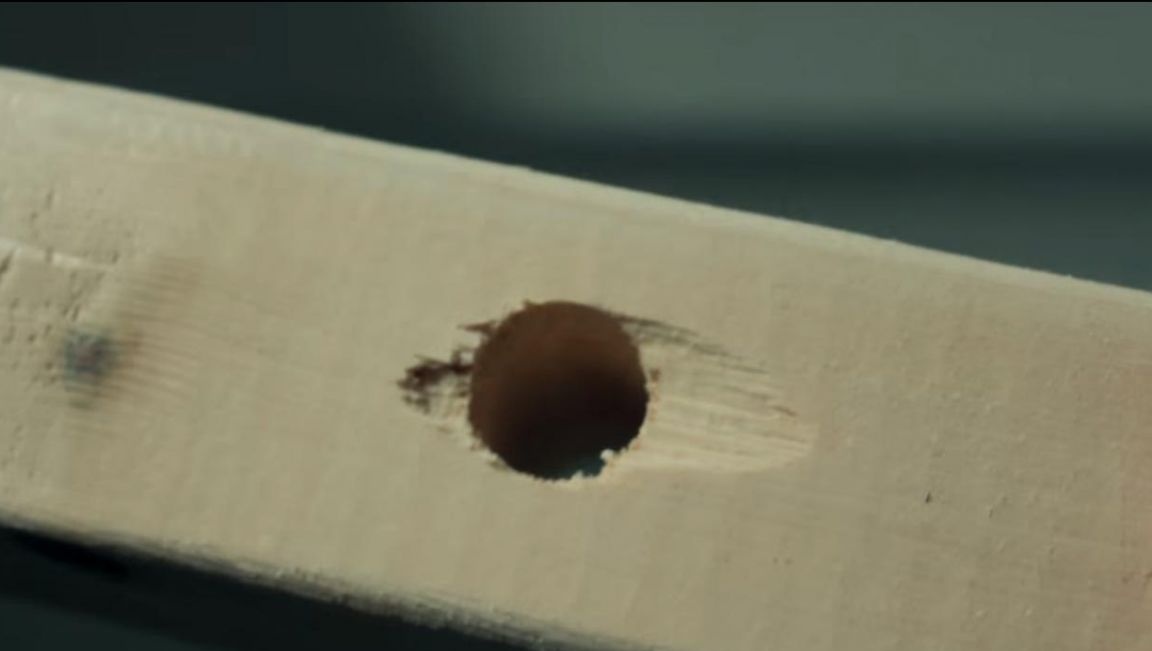
The edges after the holes formed must be sanded with sandpaper so that the stud does not wedge in the hole.
Step Four
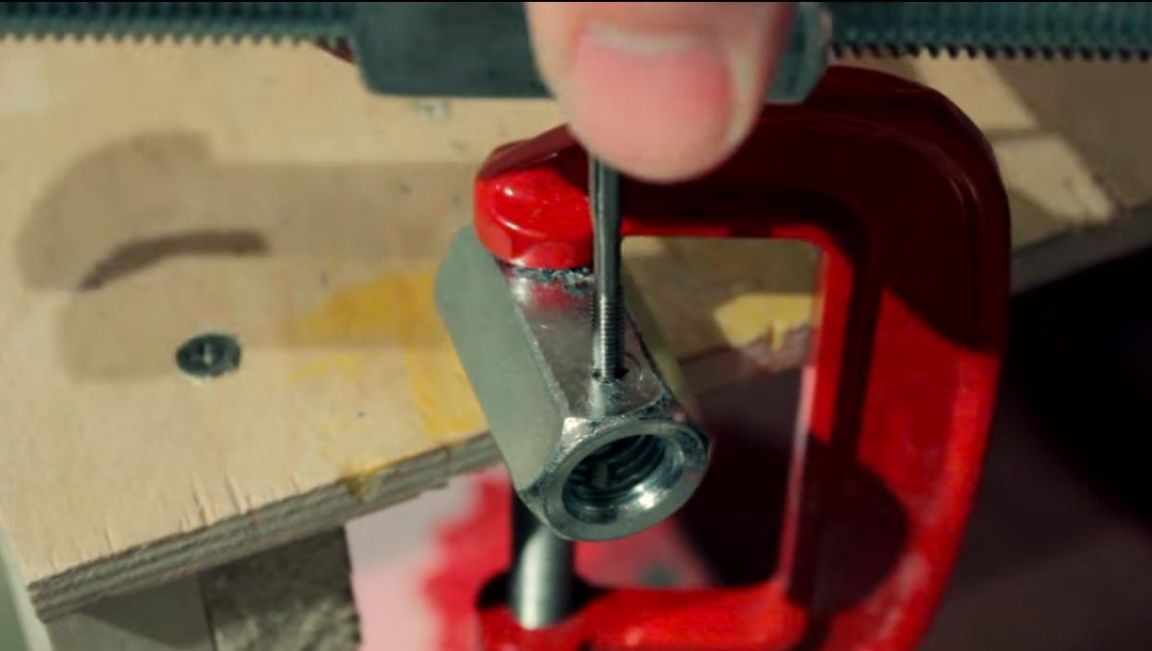
We take the connecting nut M14, press it against the workbench with a clamp and, using an electric drill and a 3.3 mm drill, make a through hole.
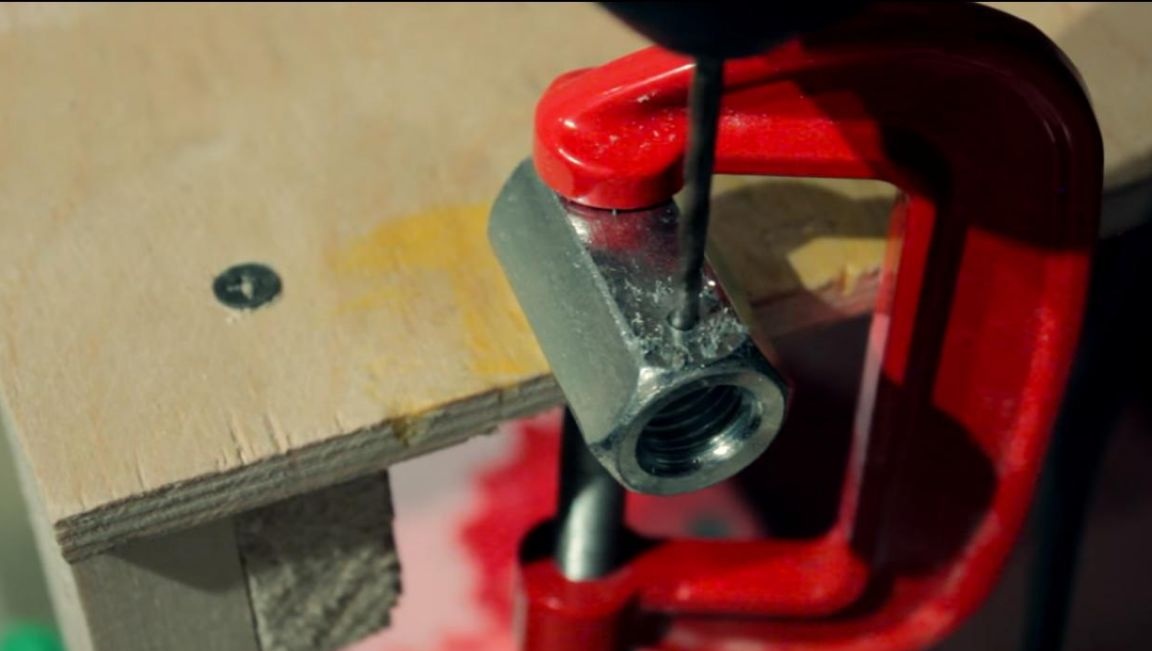
In the finished holes, we cut the thread with an M4 tap with a thread pitch of 0.7 mm, but so that it is not to the entire depth of the hole and the bolt does not abut the stud thread. In the process of drilling and threading, add a little technical oil to the cutting edge of the drill / tap, so it will last quite a lot and will not jam.
We perform similar actions with the second connecting nut, after which we screw the M4 screws into the thread.
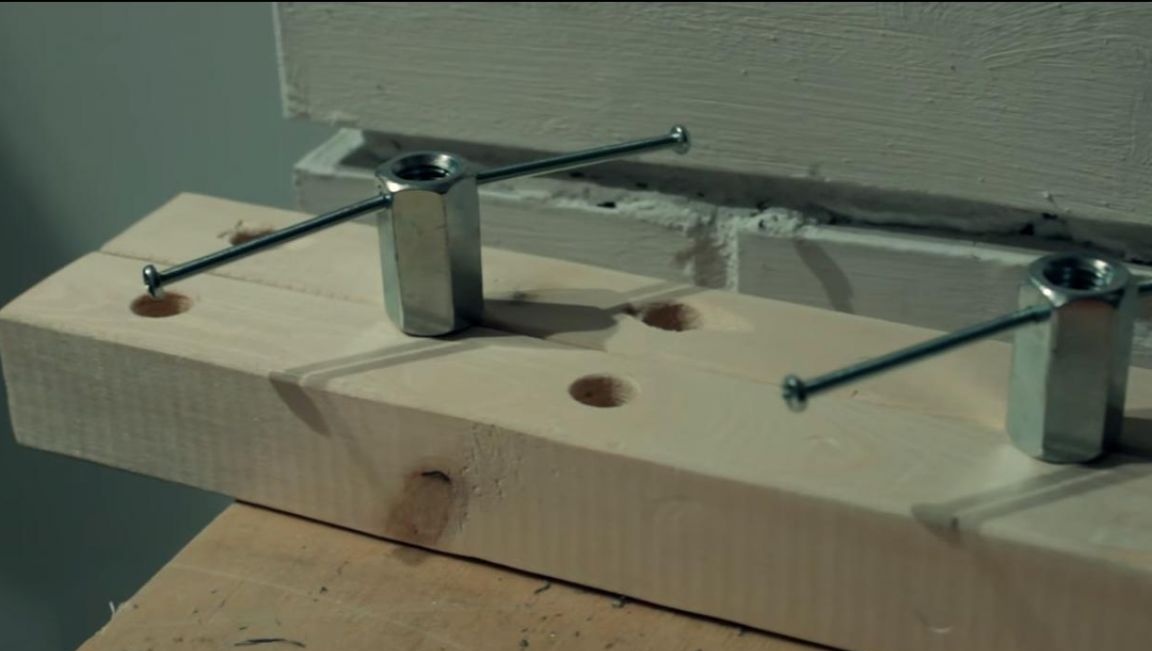
As it turned out, in the process of tightening nuts with screws, things did not go further than the middle, so it was decided to change the connecting nuts to ordinary ones, in which two holes were also made and M4 thread was cut.

Step Five
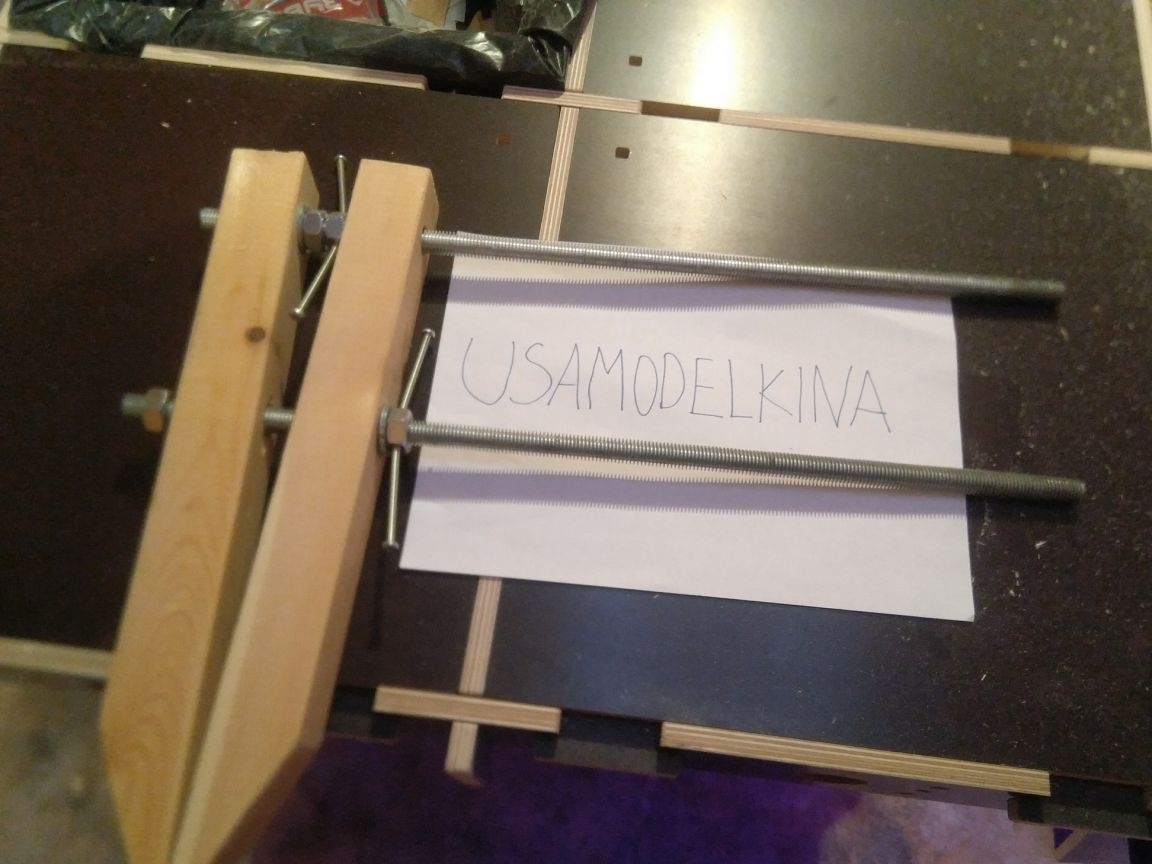
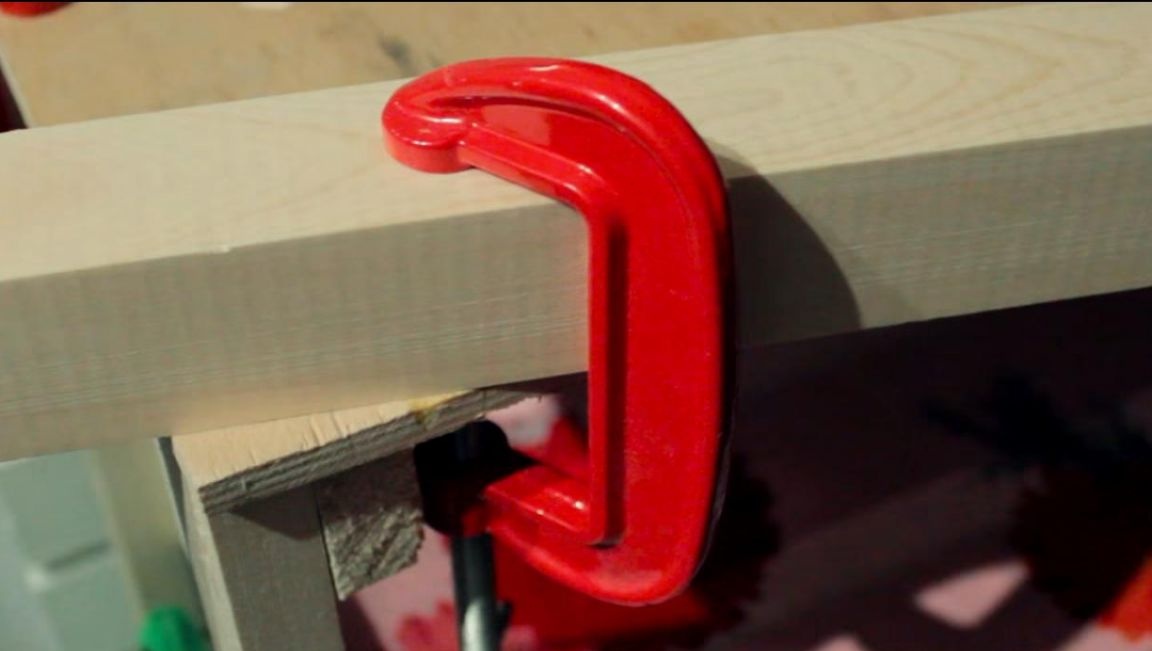
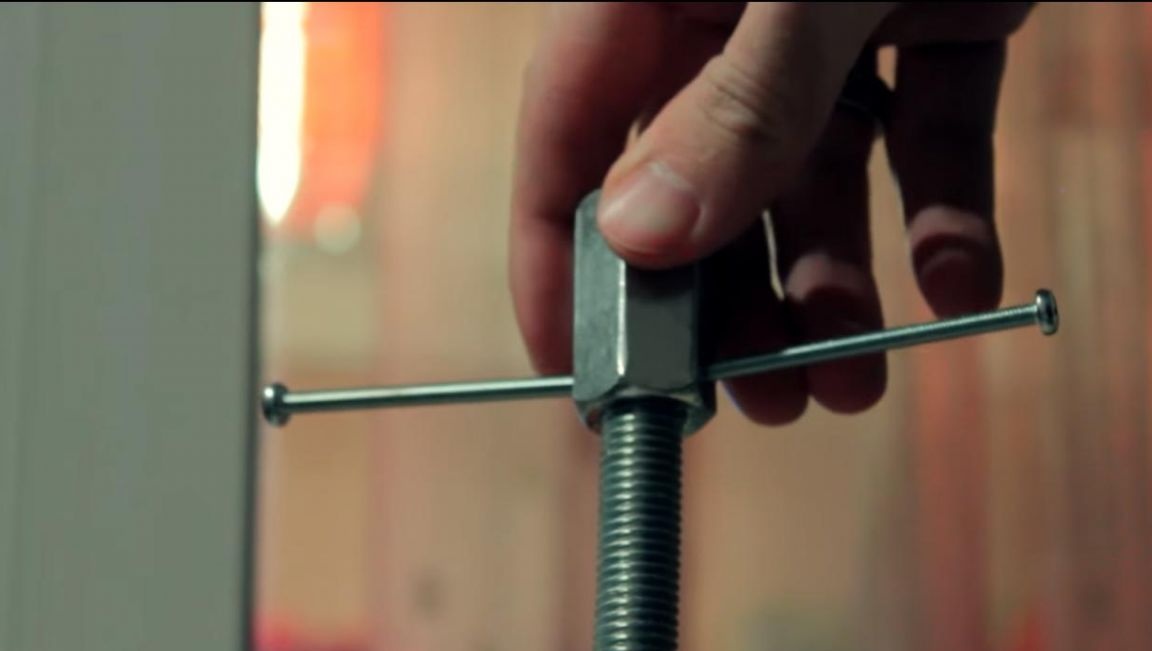
We screw the nut on top of the bar on top of the bar, and the other nut on the bottom of the bar, then we throw the washers. After that, we wind the nut and screws onto one stud, then we thread the wooden part and press on top with another nut and screws.
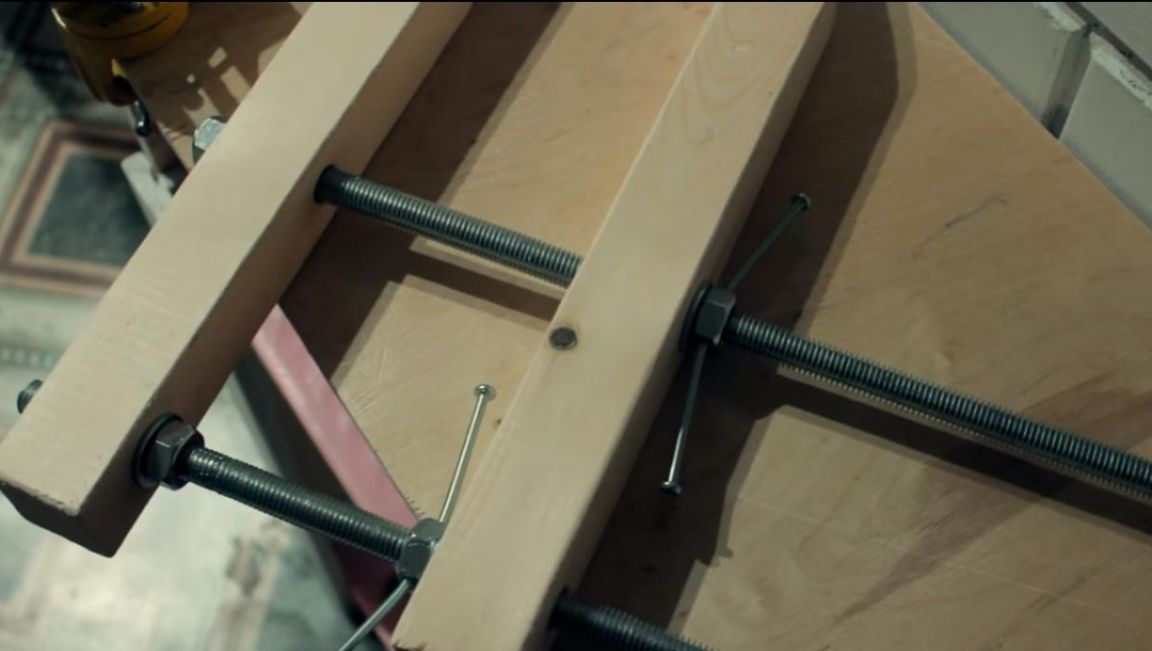
The clamp is ready, which means that it's time to check it in work. We press the wooden blocks with a clamp, tightening the nut by the screws, pulling the block from below, and with the second nut we wedge the clamp, thereby achieving the greatest compression.
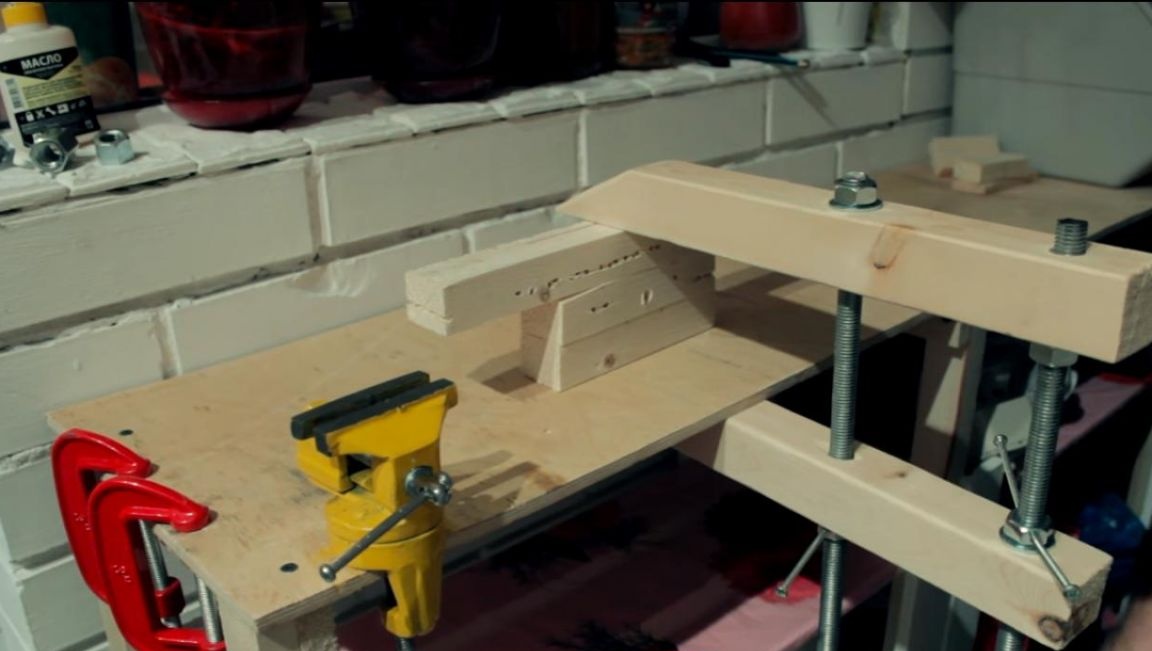
Thus, a sufficiently strong fastening is obtained, since one stud works in compression, and the other in tension and this clamp can be considered really powerful because of its clamping force and size. This clamp is useful to those who often work with wooden blanks and do not want to spend a lot of money on the purchase of factory options, which are not always better than homemade ones.
That's all for me, thank you all for your attention and creative success.