
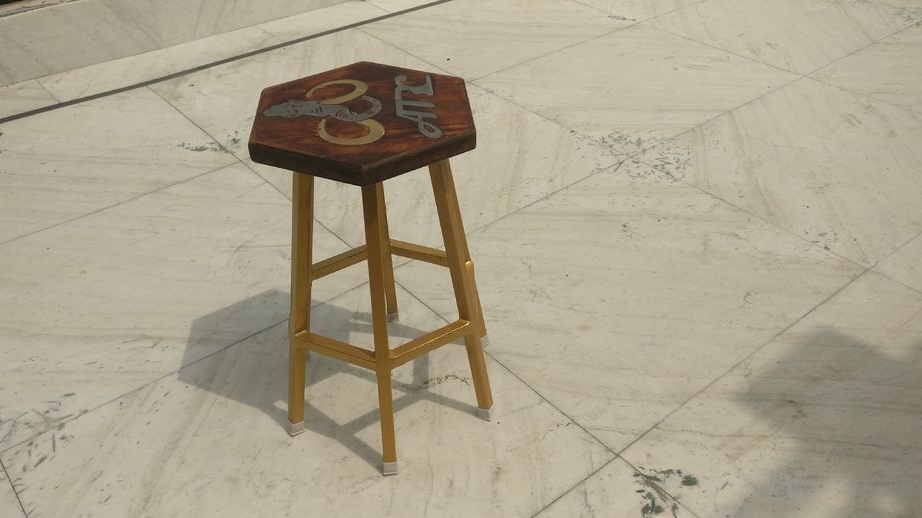
In this article, we will look at how to make a six-pointed chair. Another interesting idea of the master is a metal logo on a chair seat.
To make a chair, the master needed the following
Tools and materials:
-Profile;
-Board;
-Plastic plugs;
-Screws;
-Stainless steel sheet;
- Brass sheet;
Epoxy resin;
- Angle grinder;
-Drill;
-Drill;
- Airbrush;
-Paint;
-Primer;
-Varnish;
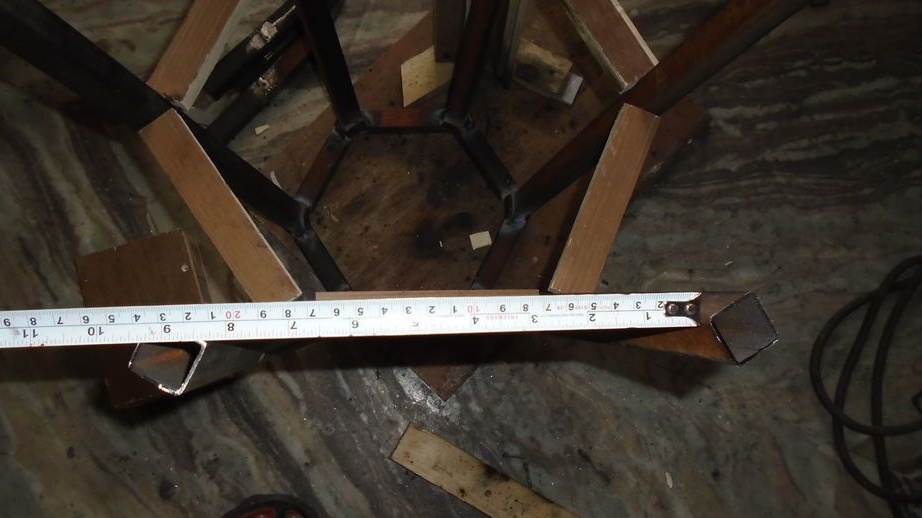
-Roulette;
-Marker;
-Glomer;
- Electric jigsaw;
- Clamps;
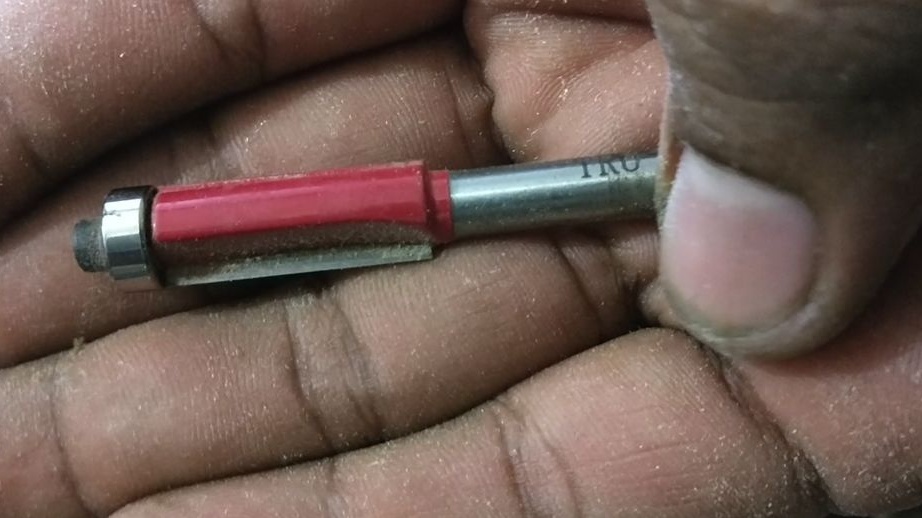
Milling cutter;
-Welding machine;
-Dremel;
-Nadfiles;
-Scissors for metal;
- Petal disc;
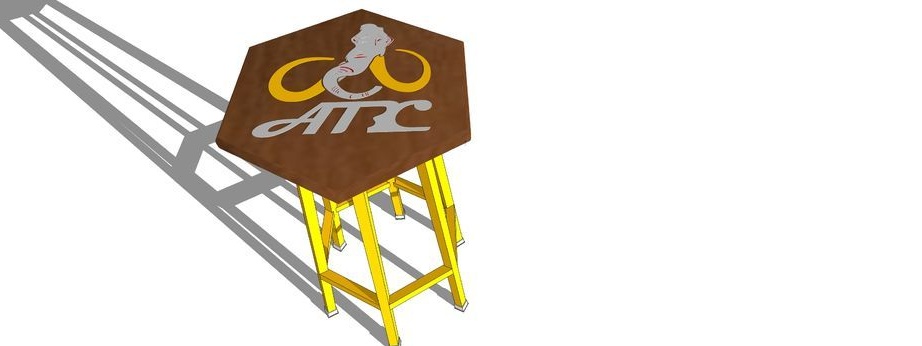
Step One: Sketch
The first step is the master makes a sketch.
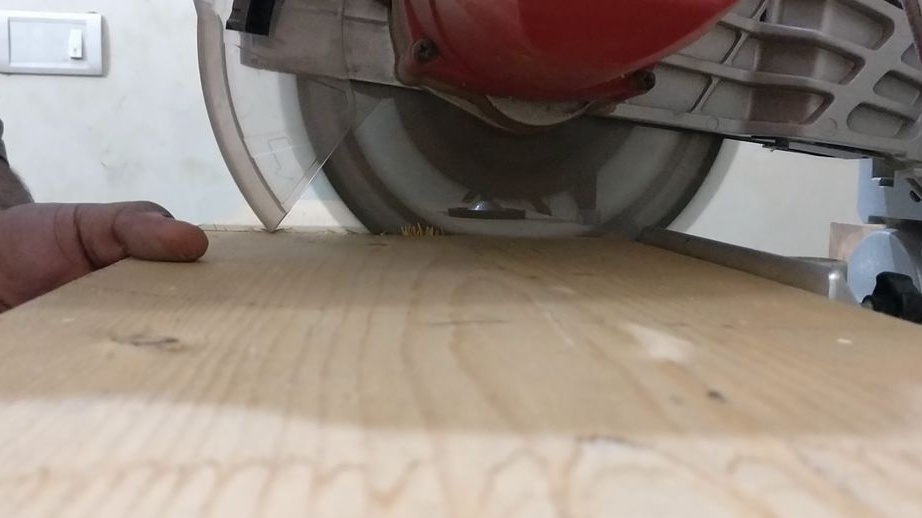
Step Two: Material Procurement
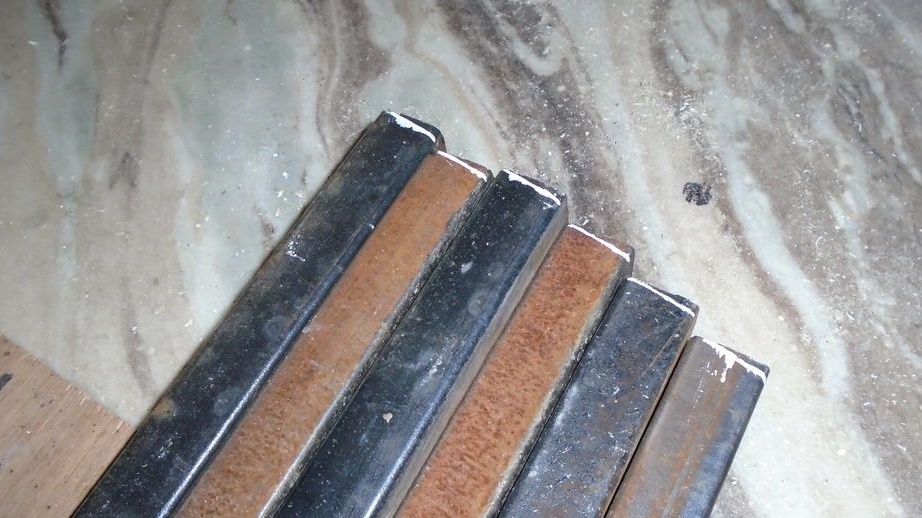
To make a six-pointed chair, the master cuts off the following workpieces (in centimeters):
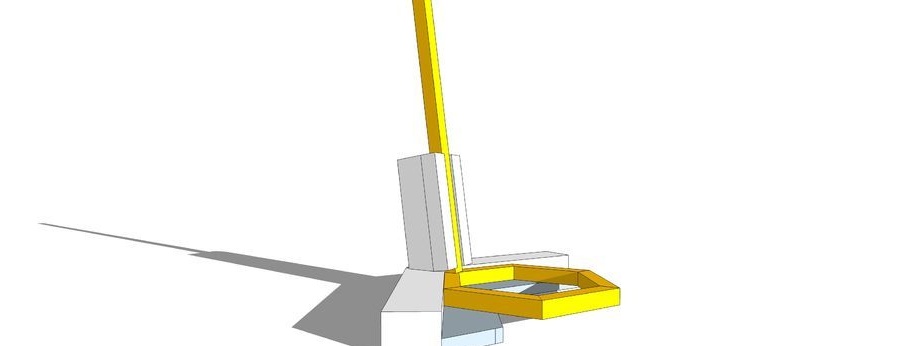
-profile 2.5 * 2.5 * 15 - 6 pieces (upper hexagon) is cut at an angle of 30 degrees on both sides;
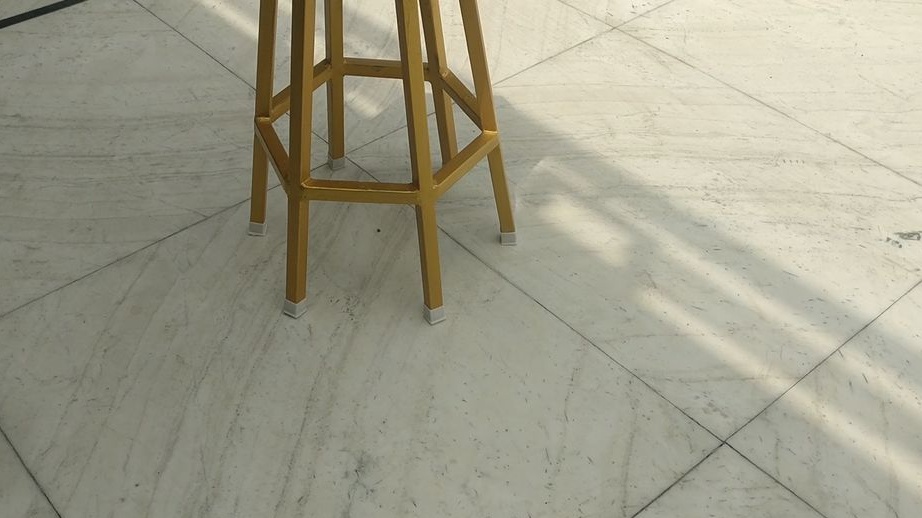
-profile 2.5 * 2.5 * 76 - 6 pieces (legs) are cut at an angle of 7.5 degrees on one side;
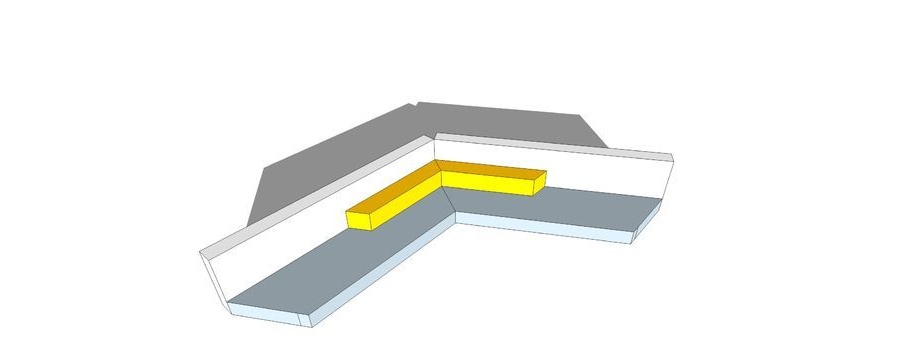
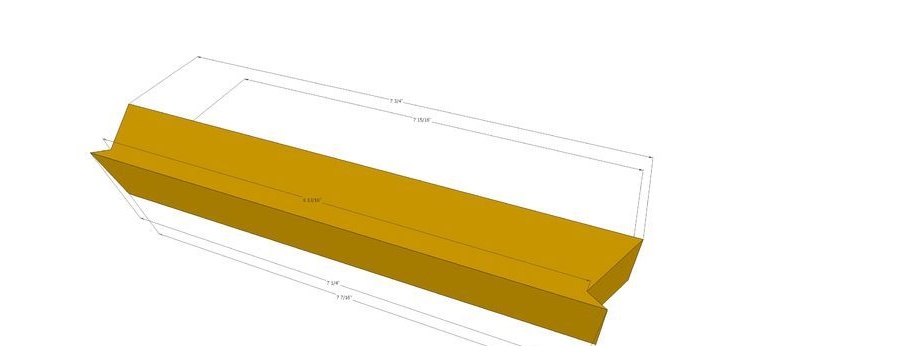
-profile 2.5 * 2.5 * 18.5 - 6 pieces (lower crossbars) are cut according to the attached drawing;
-board 4 * 53 * 53;
stainless steel sheet 25 * 25;
-list of brass 13 * 13;
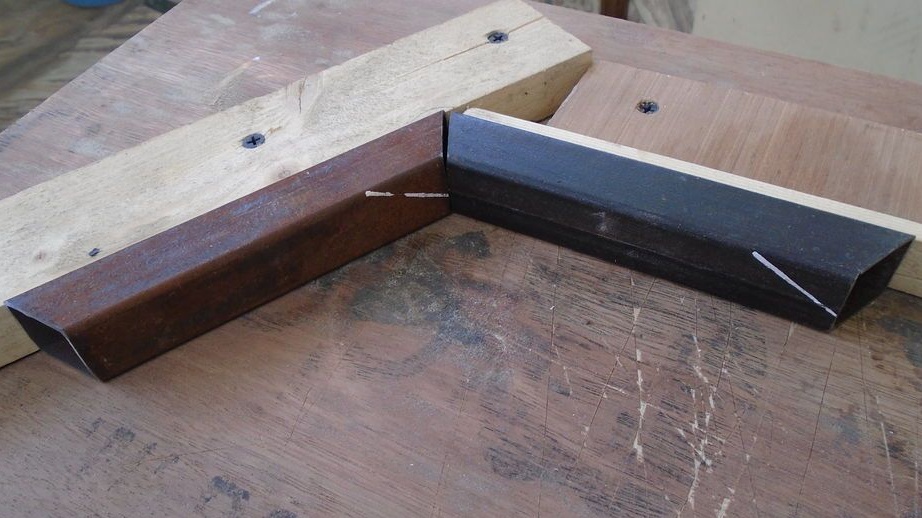
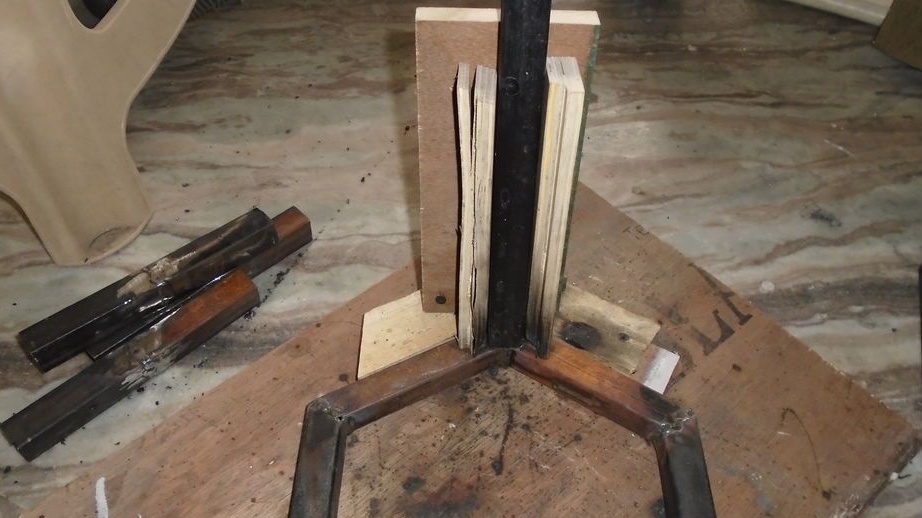
Step Three: Conductor
For the correct position of the parts during welding, the master makes a jig from wooden blocks.
In the first conductor, the bars are located at an angle of 30 degrees. The second conductor is made in the same way as the first + upper part at an angle of 7.5 degrees.
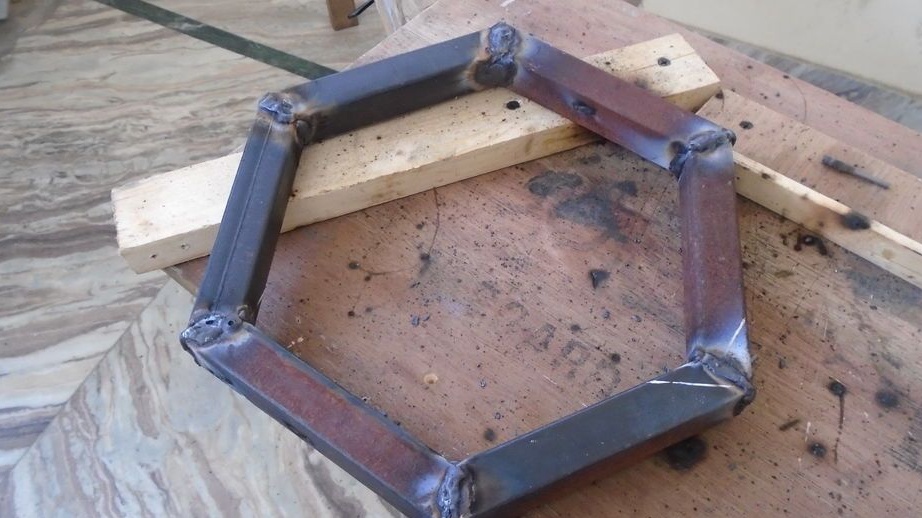
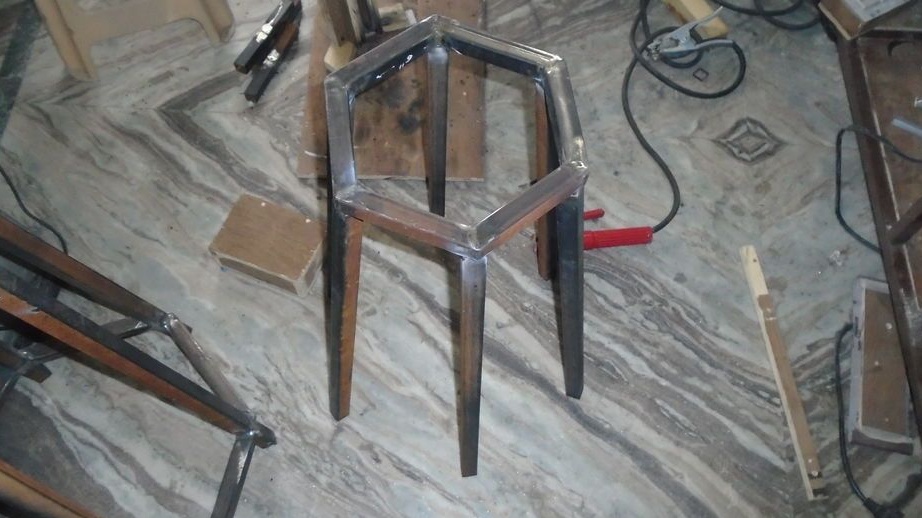
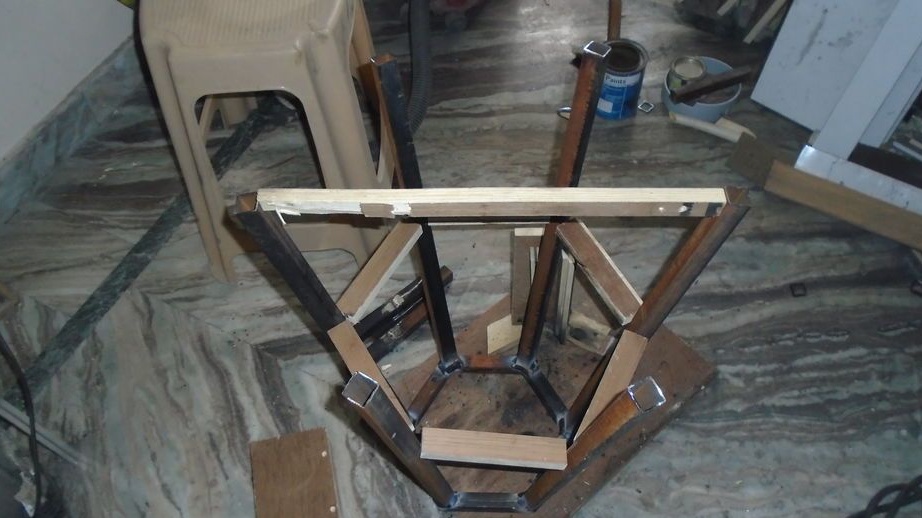
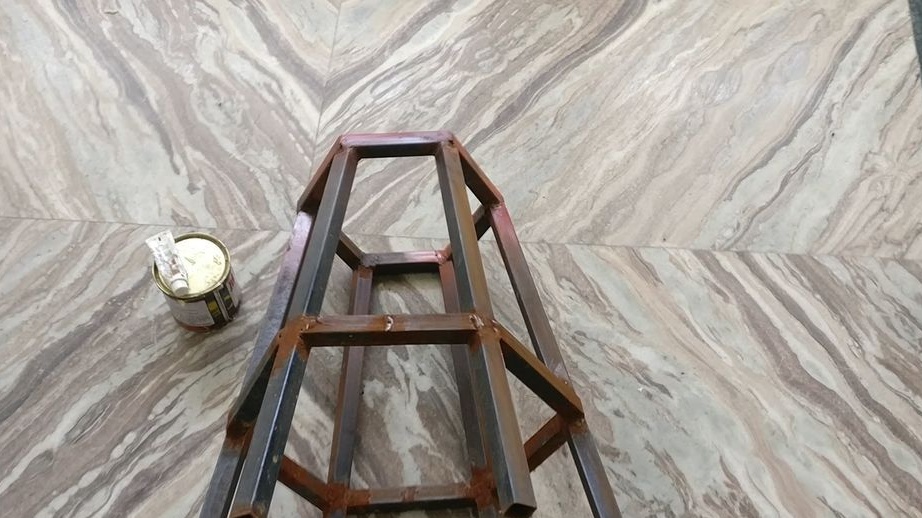
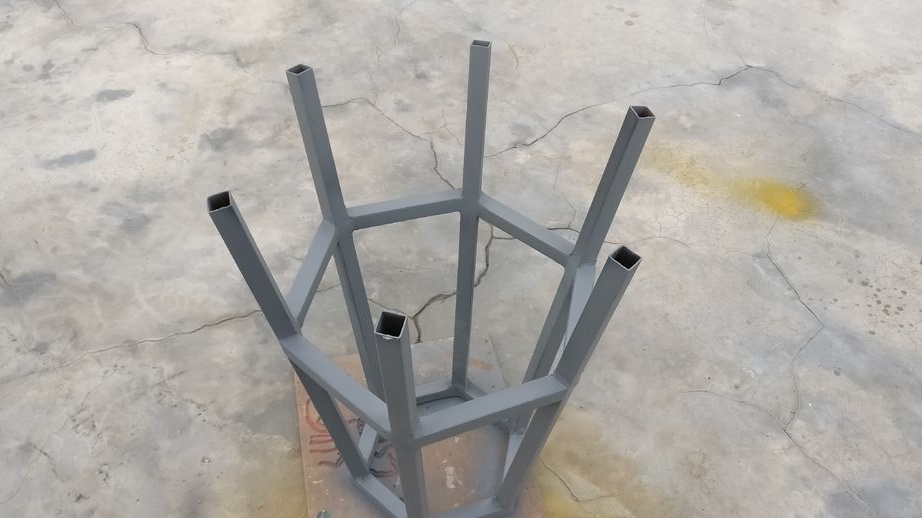
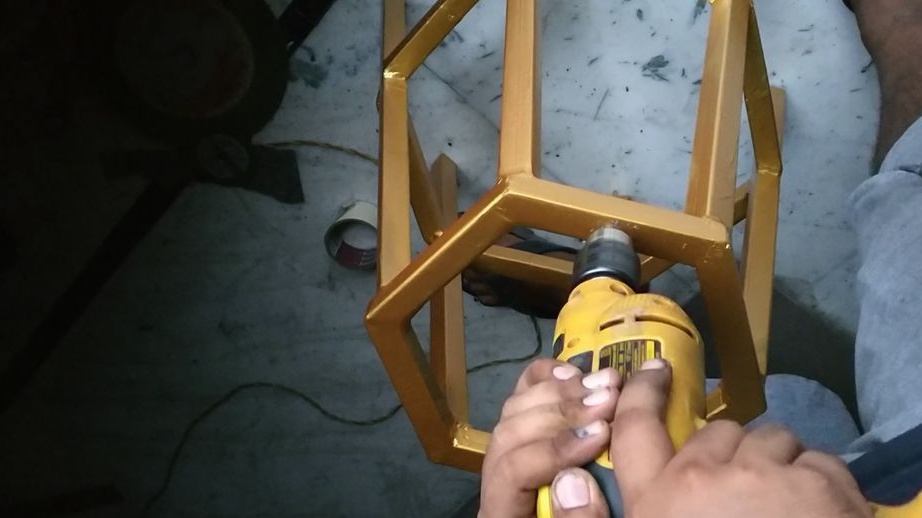
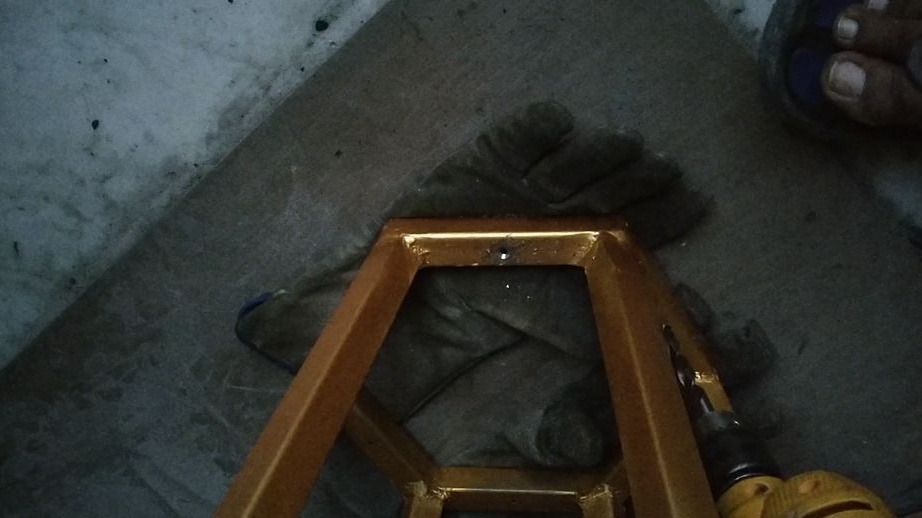
Step Four: Welding
Now you can start welding. First, the master welds the upper part. Then grabs the legs. Inserts a spacer between the legs and scalds them. Welds jumpers.

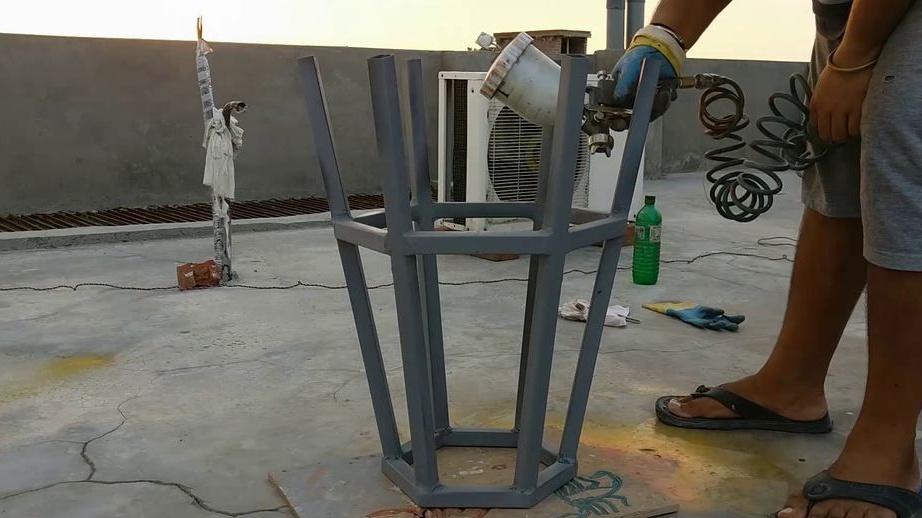
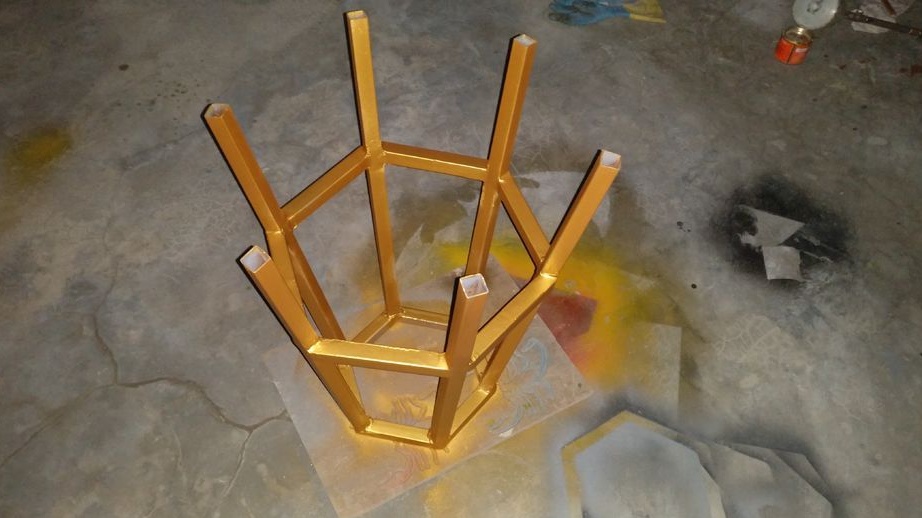
Step Five: Painting
After welding it cleans the seams. Apply a primer in two layers to the surface with an interval of two hours. Apply paint in two layers. After drying, the paint within two days applies a layer of varnish to the stool.
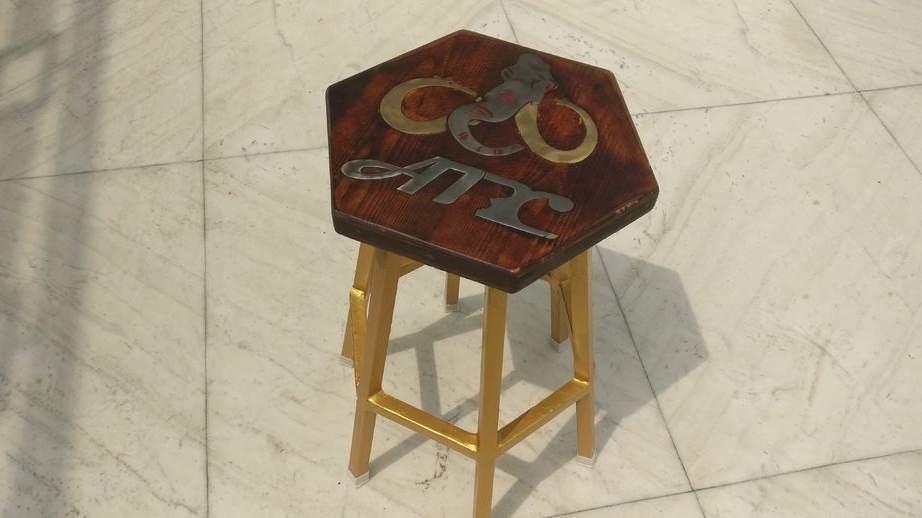
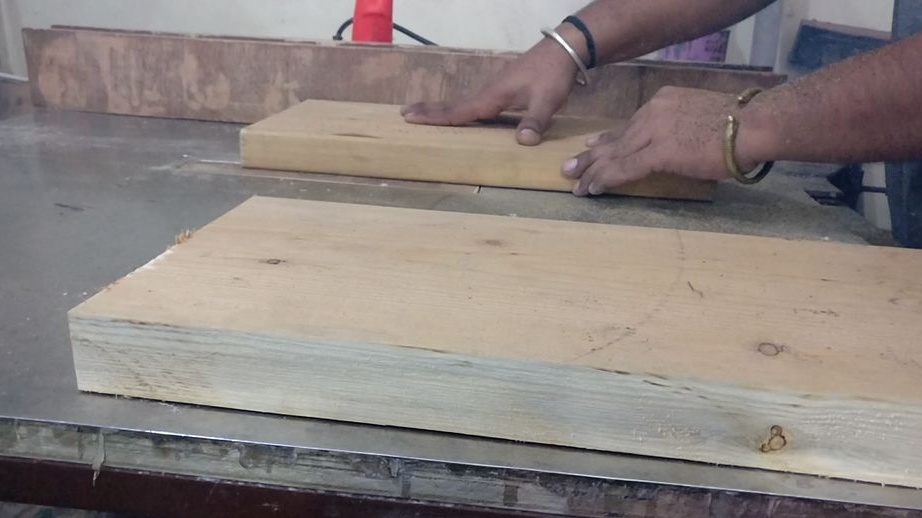
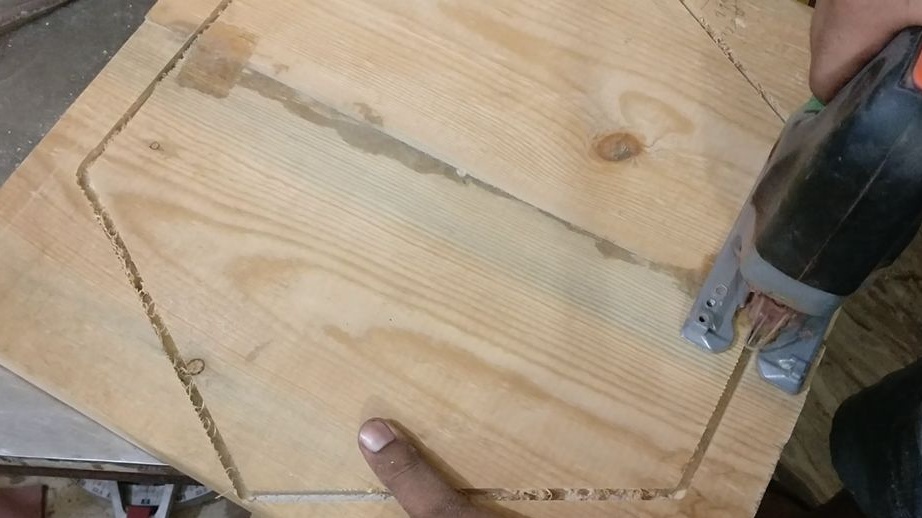
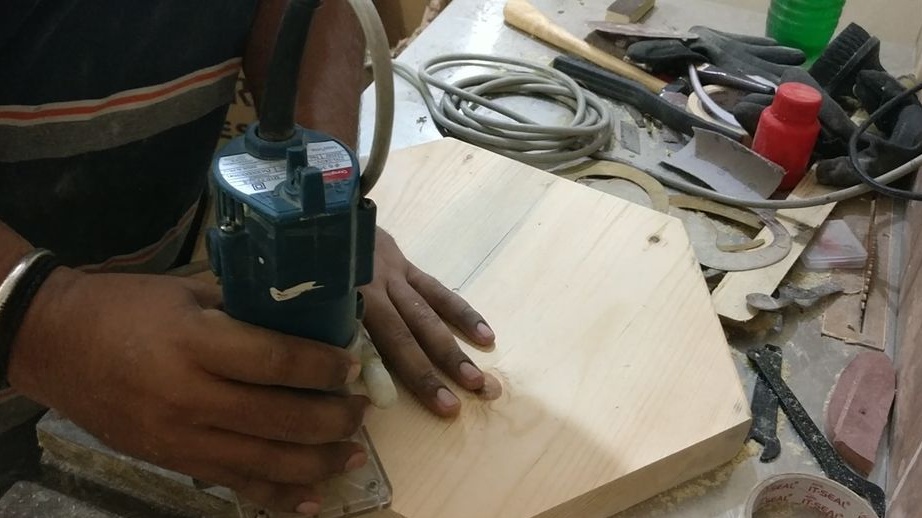
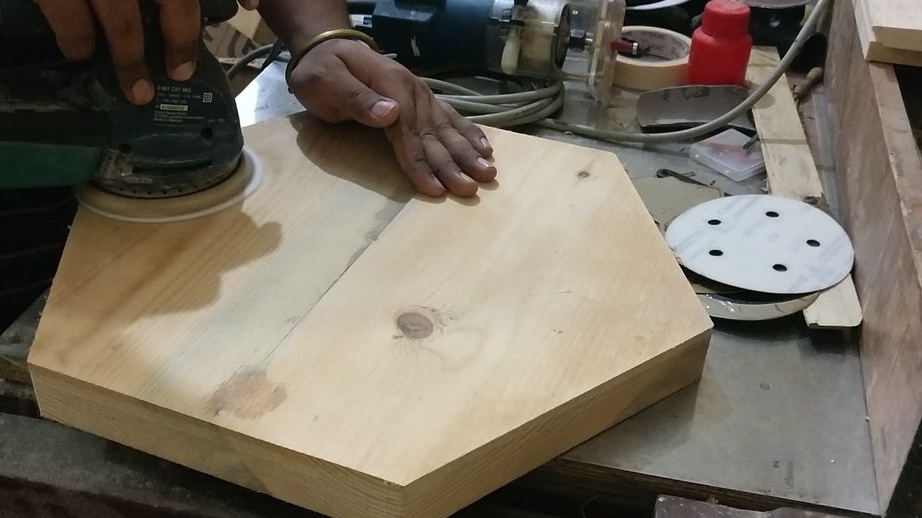
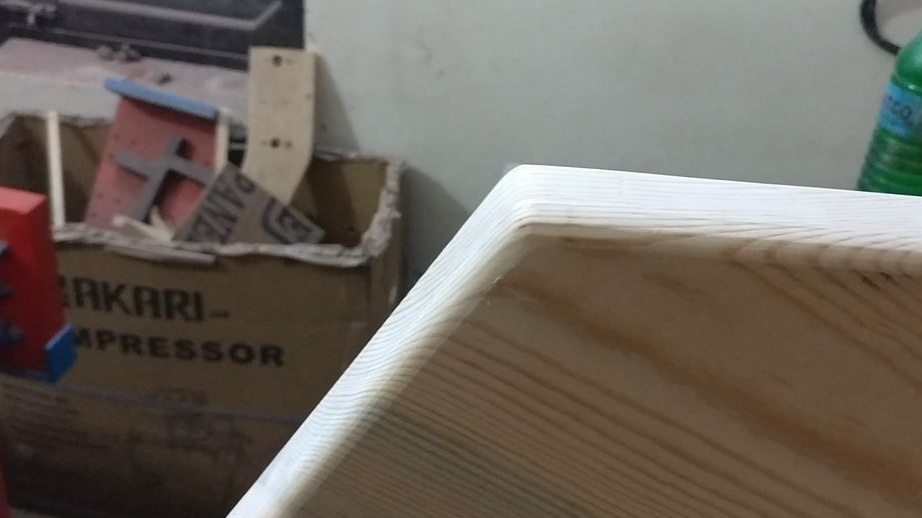
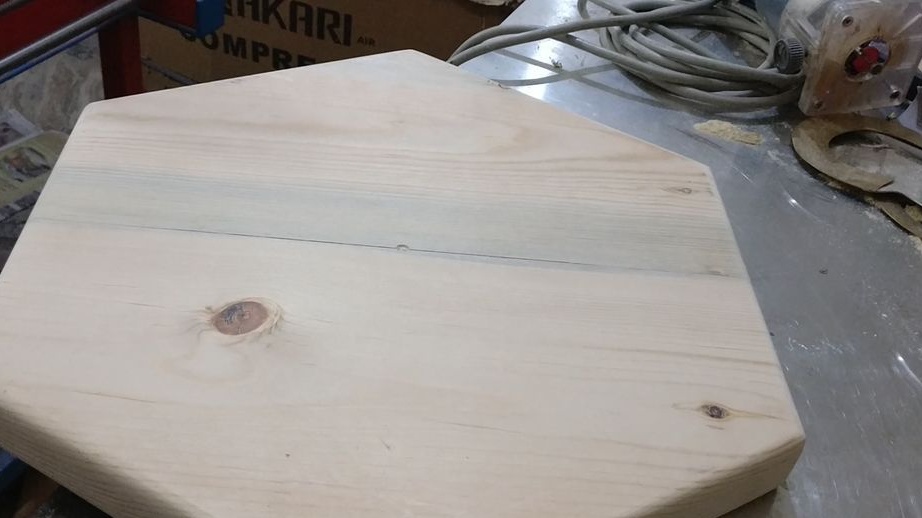
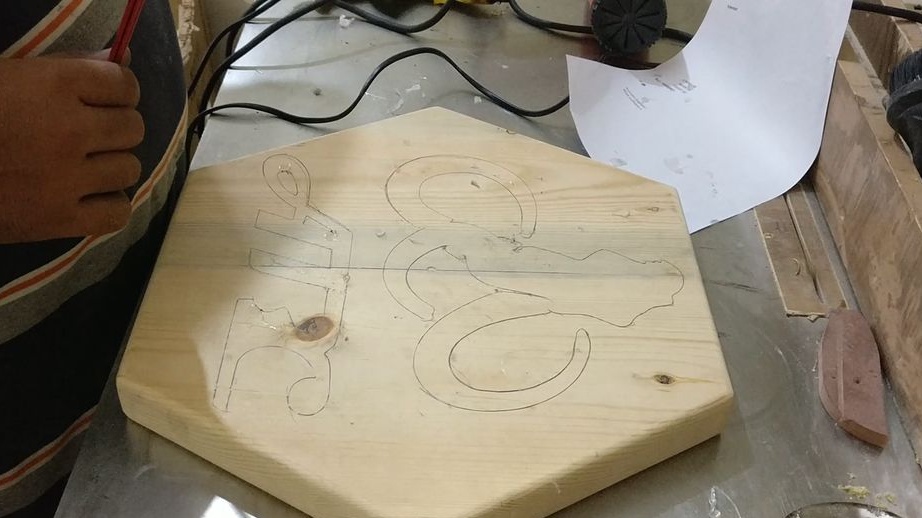
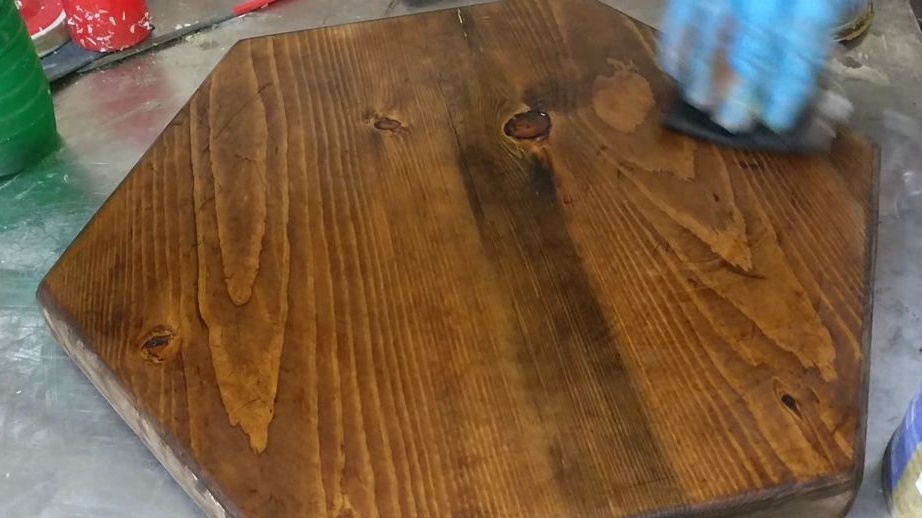
Step Six: Seat
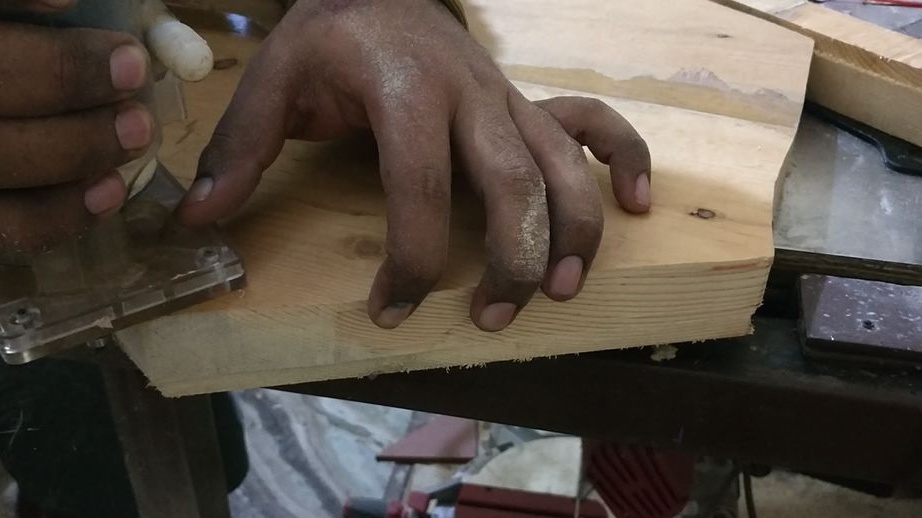
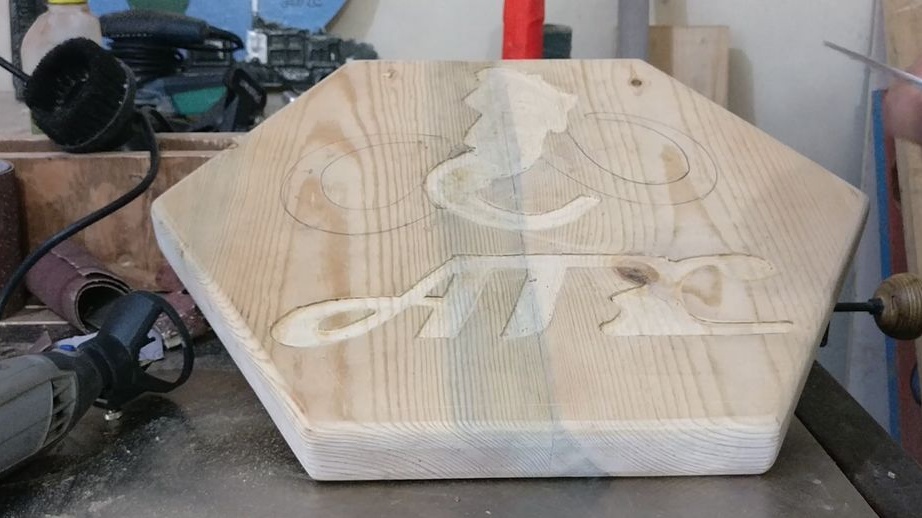
He cuts a hexagonal seat out of the board. It cleans the surface, polishes, rounds the edge.
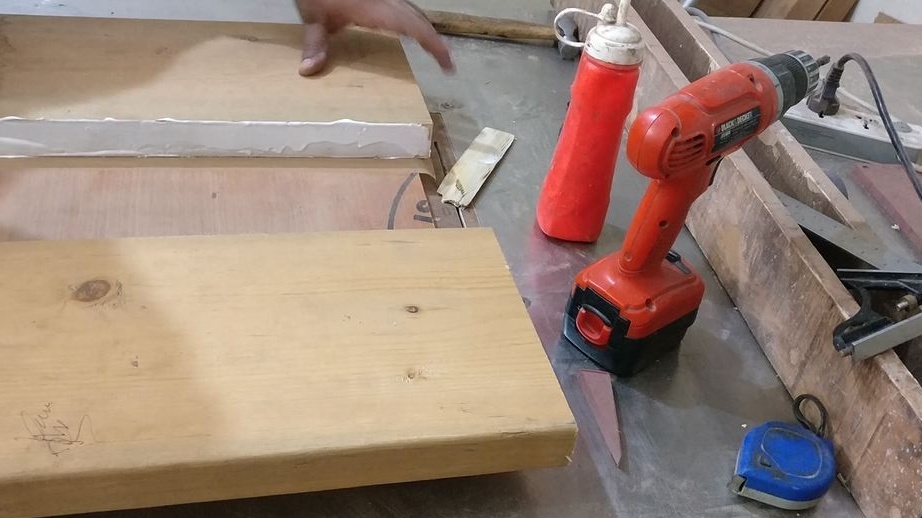
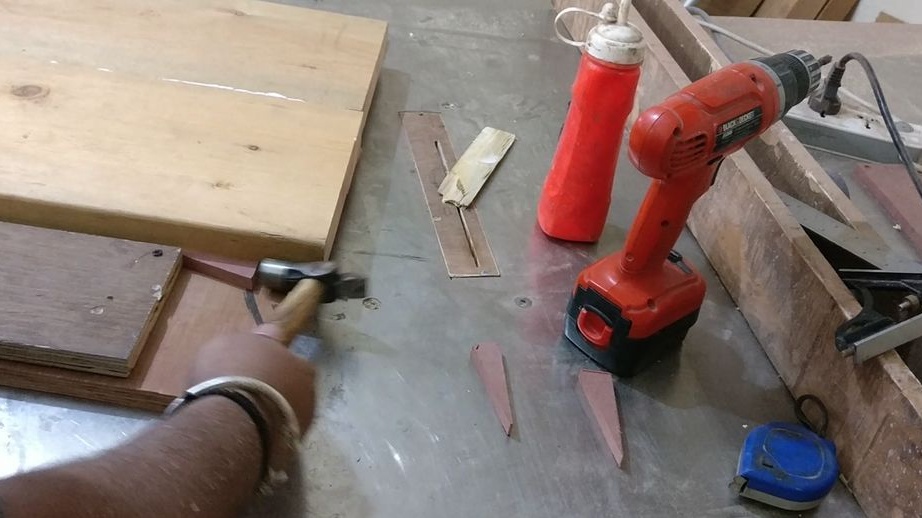
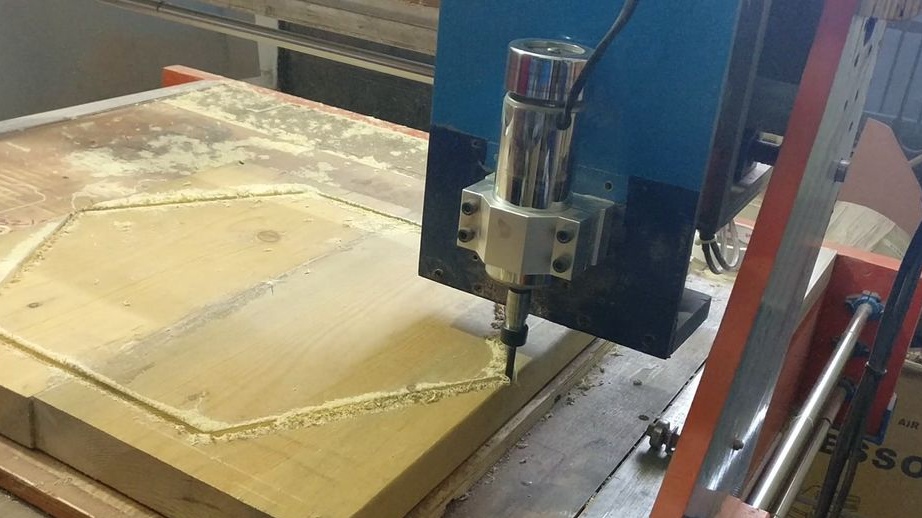
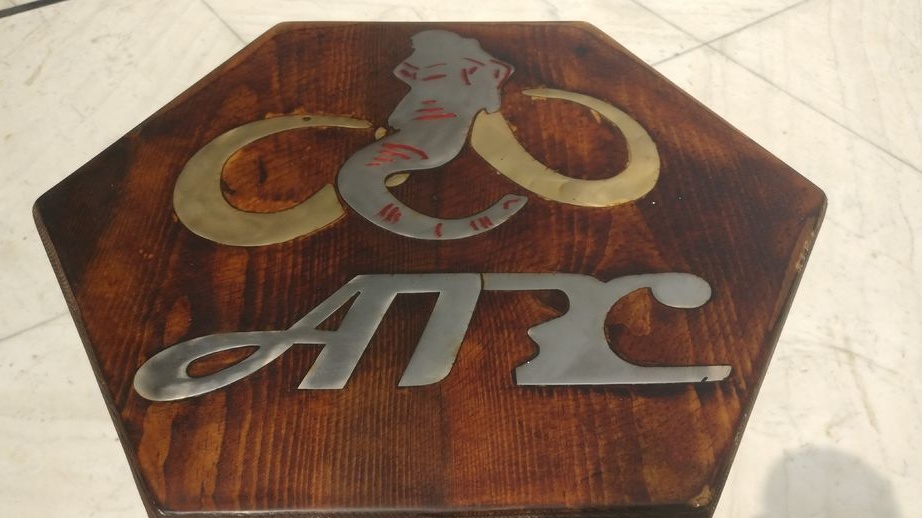
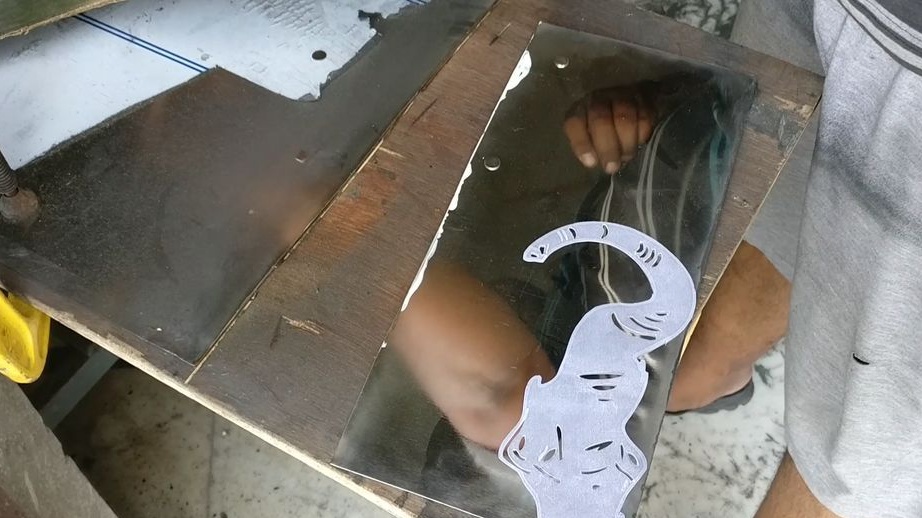
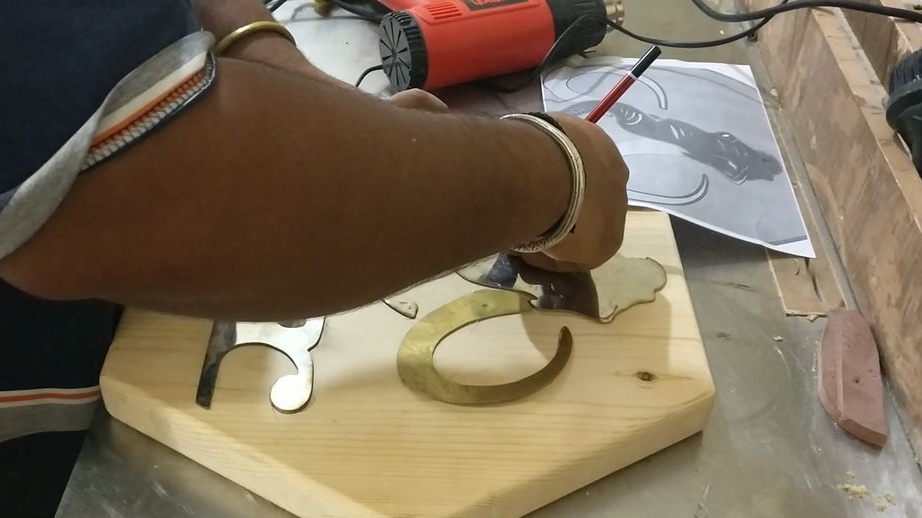
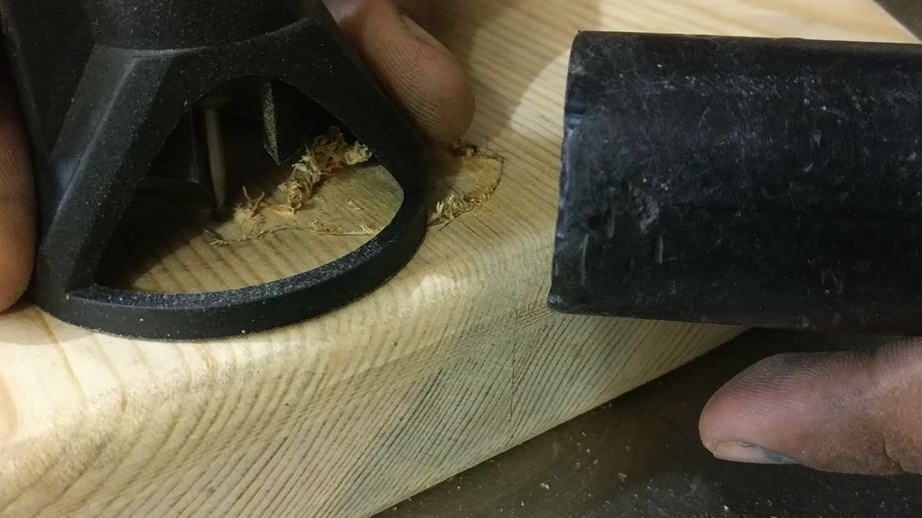
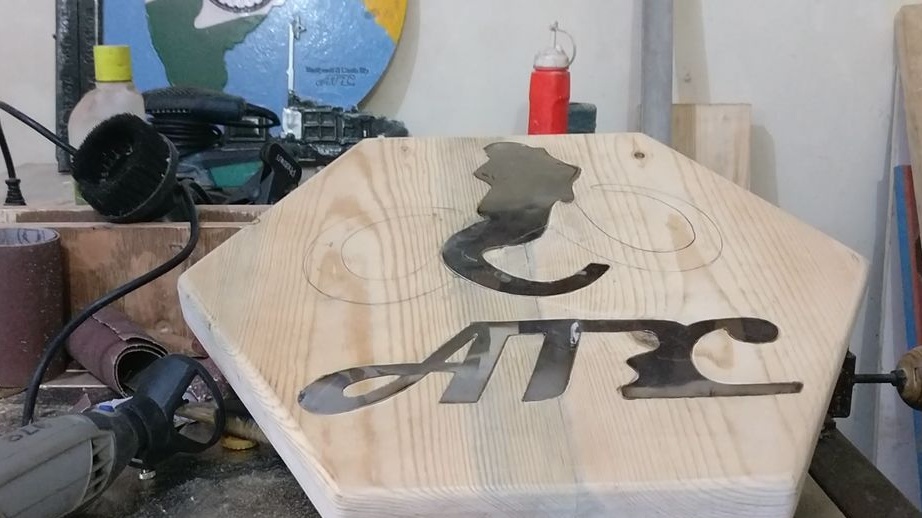
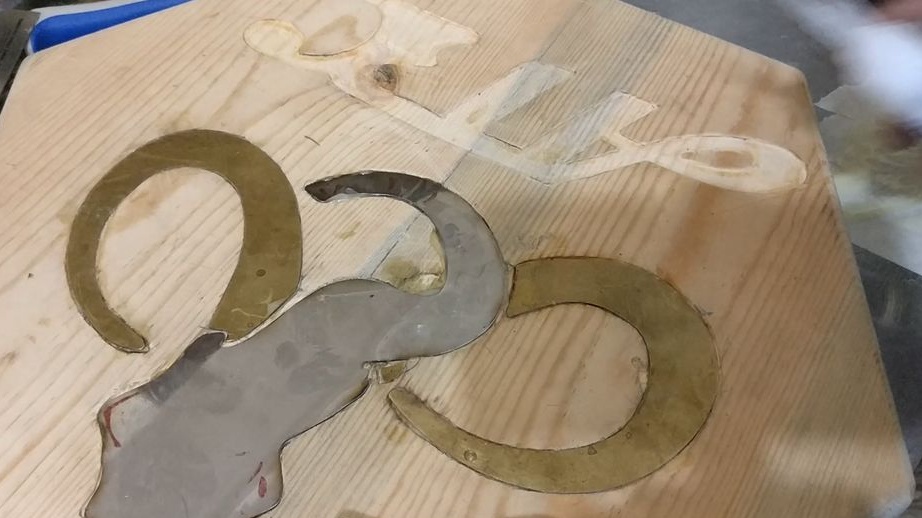
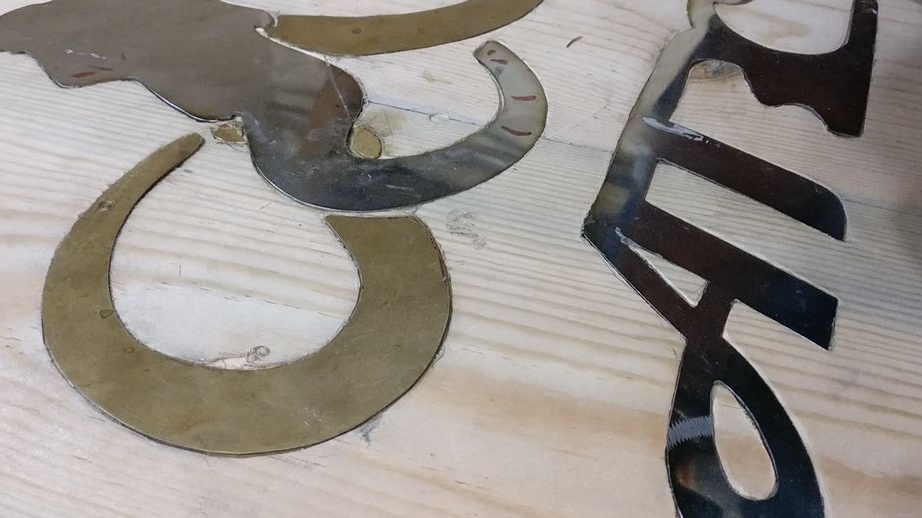
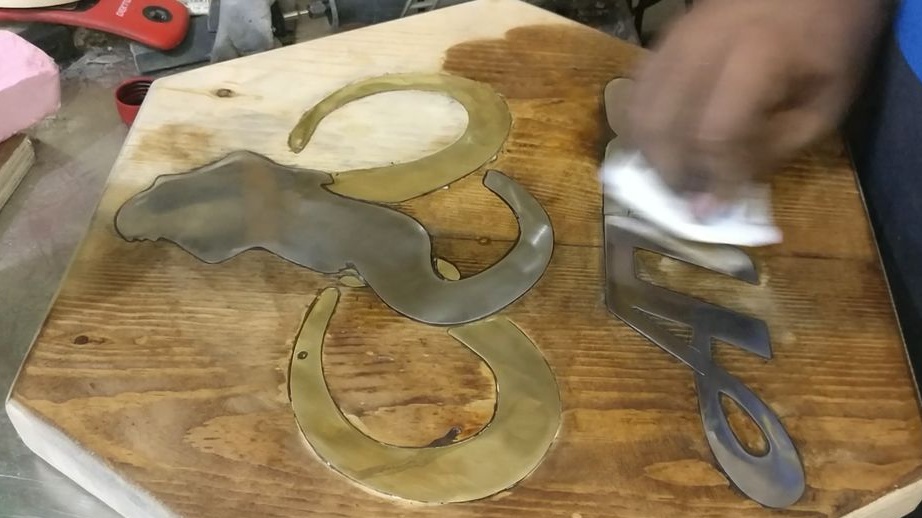
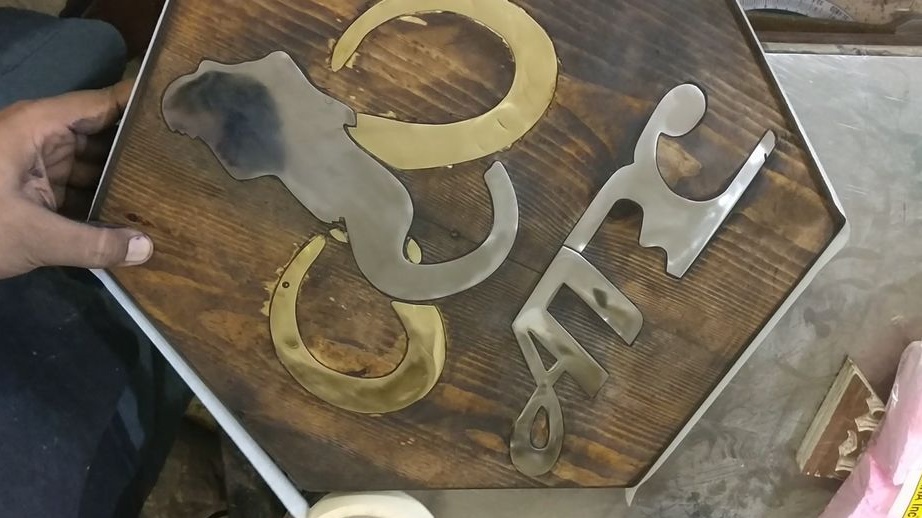
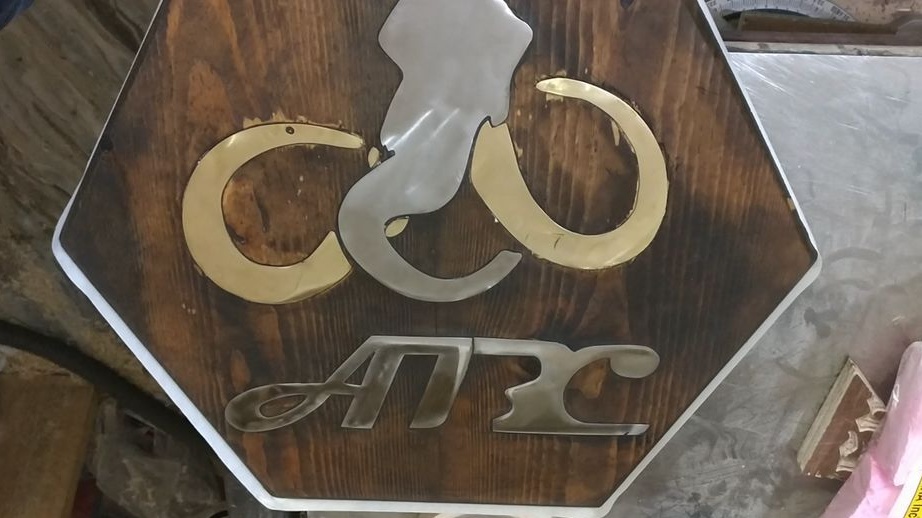
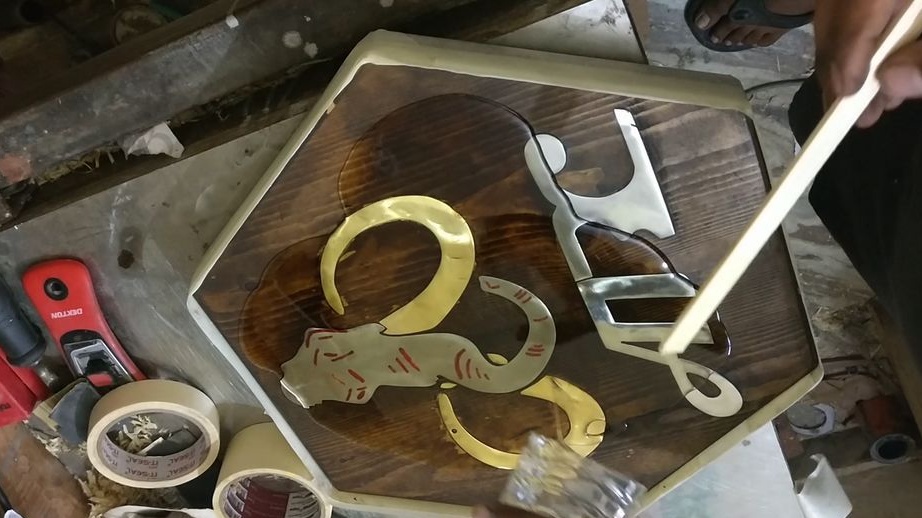
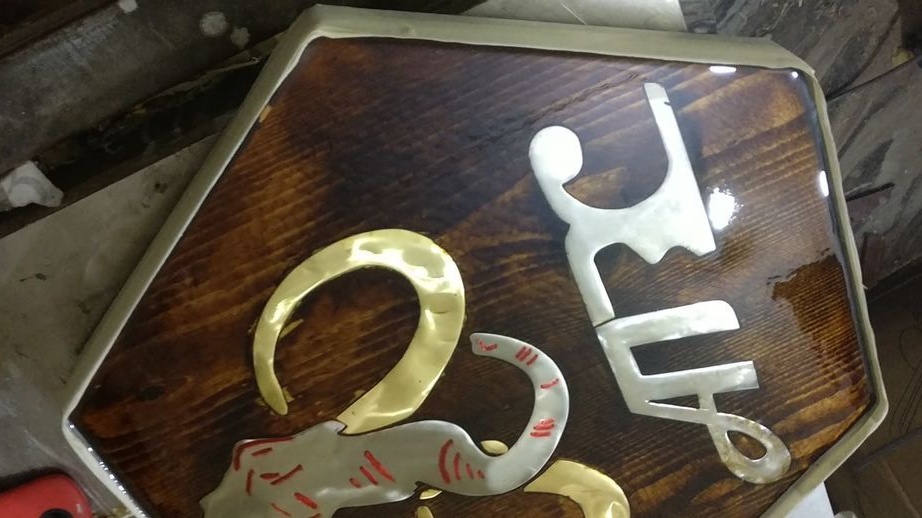
Seventh step: logo
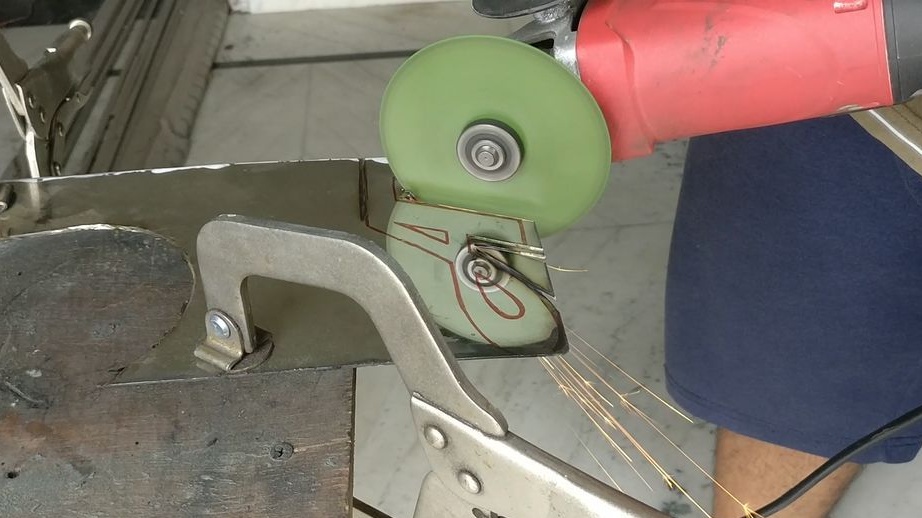
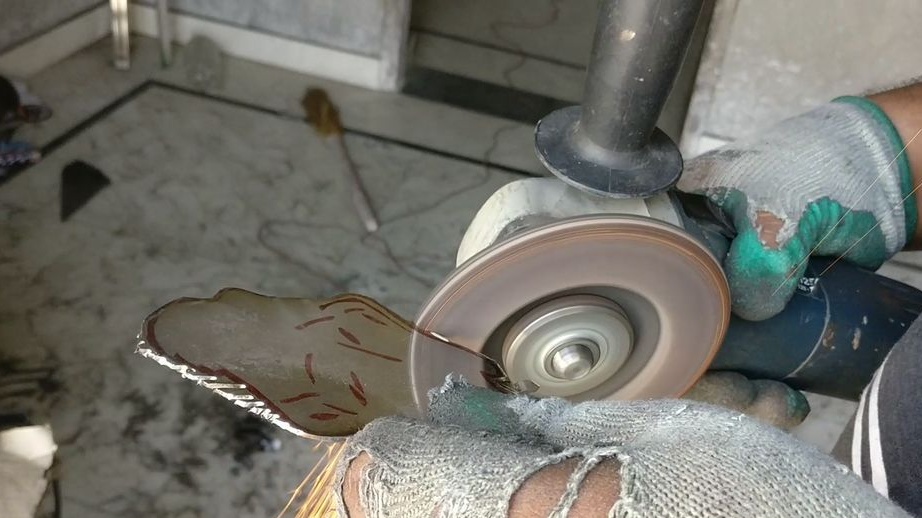
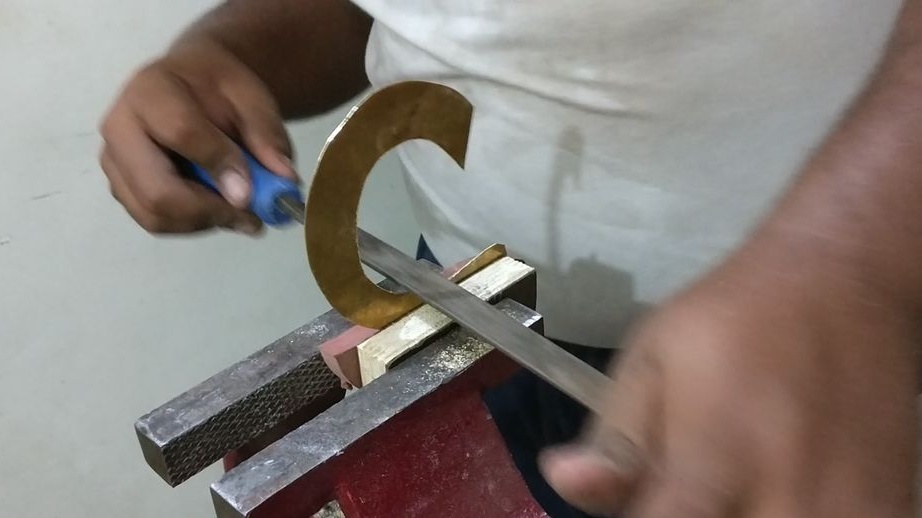
Draws a logo on paper. It transfers the drawing to a brass and stainless sheet. Cut logo. Then he puts it on the seat and outlines it.Milling cuts out the recess. Paste logo into recesses.


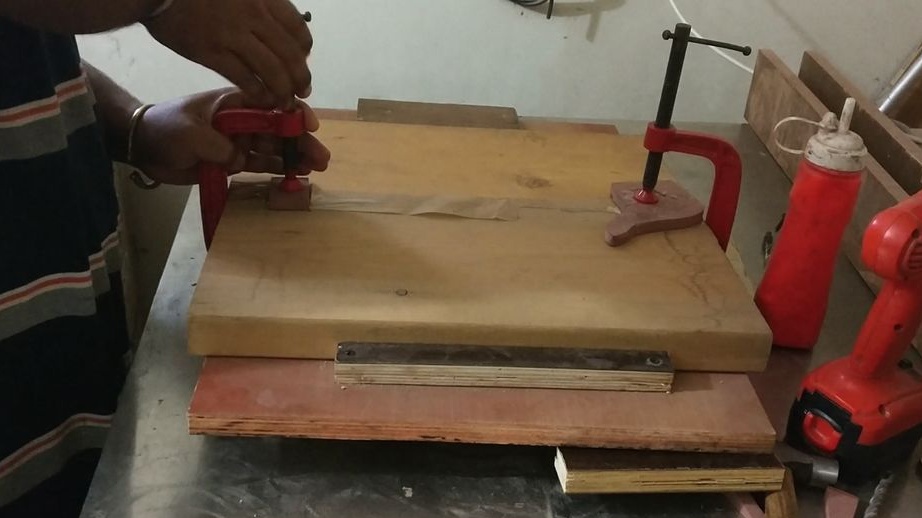
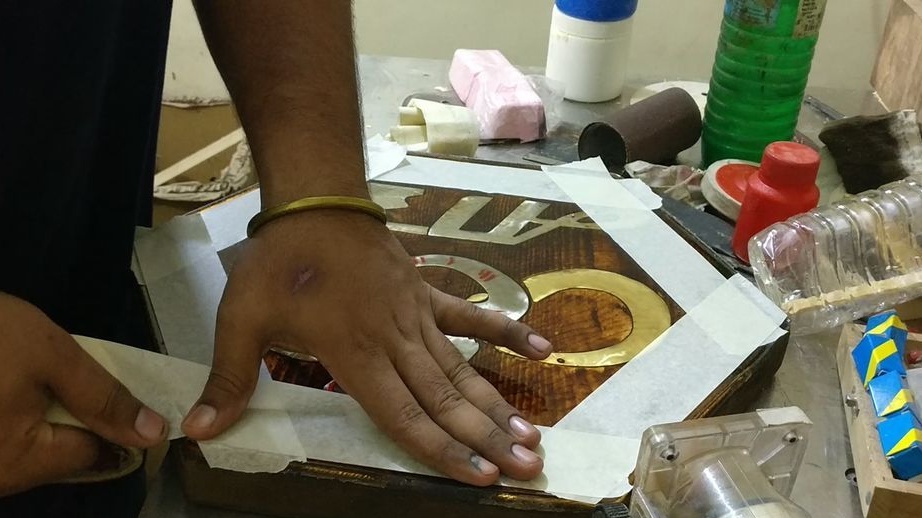
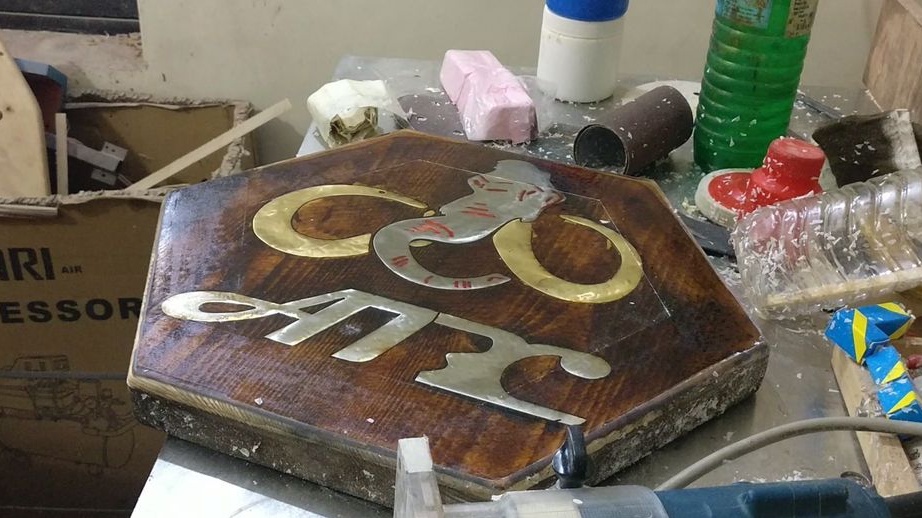
Step Eight: Finish
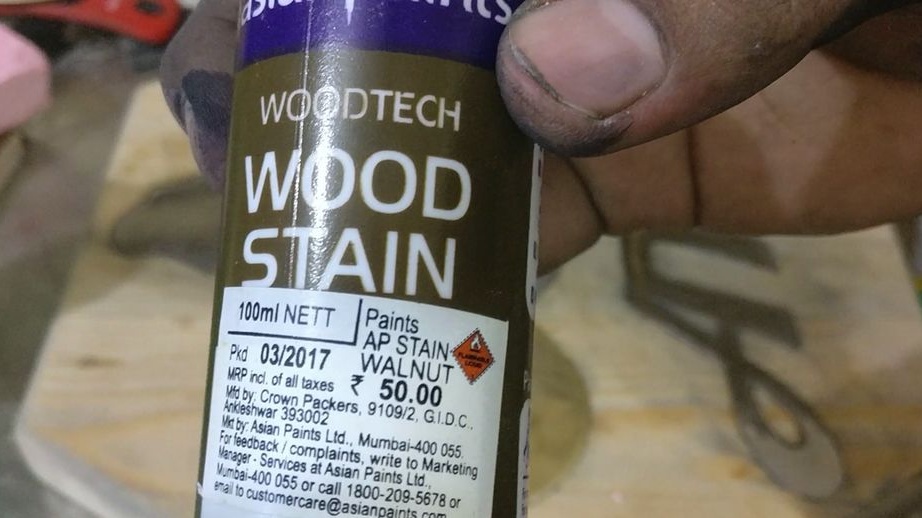
Covers the surface of the seat "under the nut." Tape the seat around the perimeter with masking tape. Knead epoxy and cover the surface of the seat. After hardening, the resin removes the masking tape and polishes the surface.

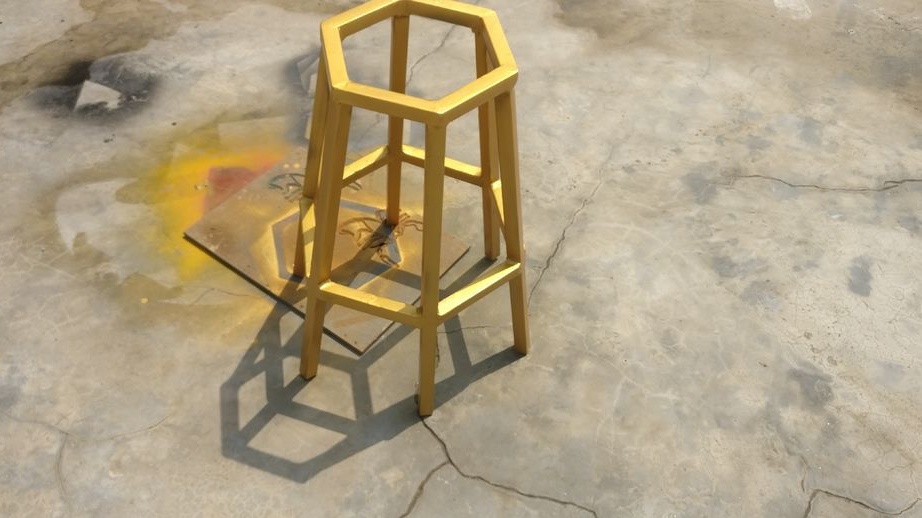
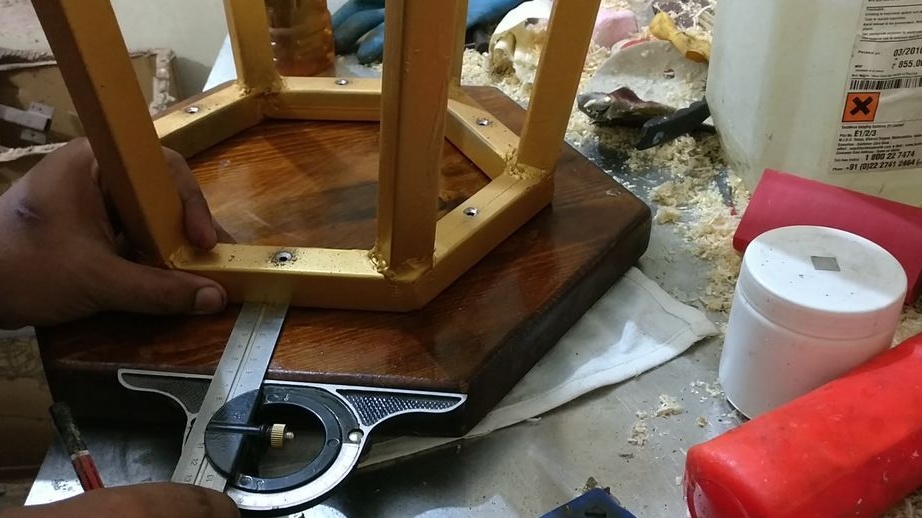
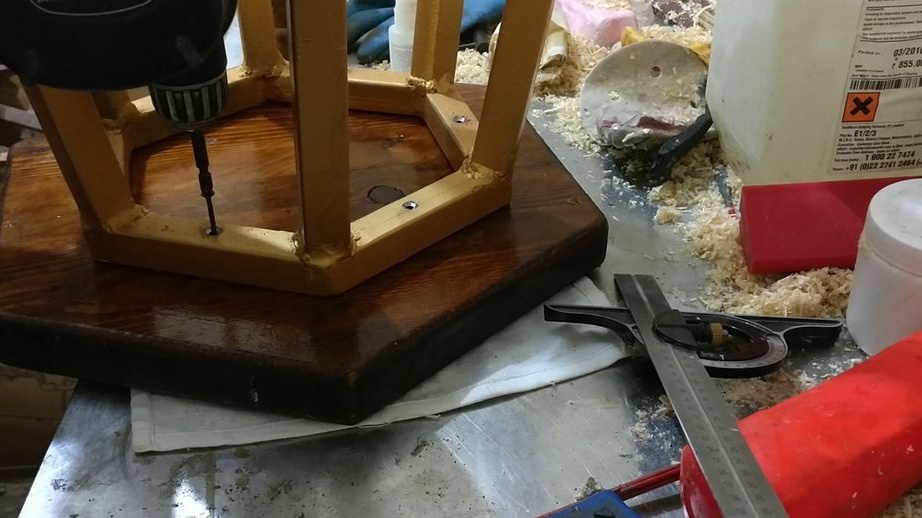
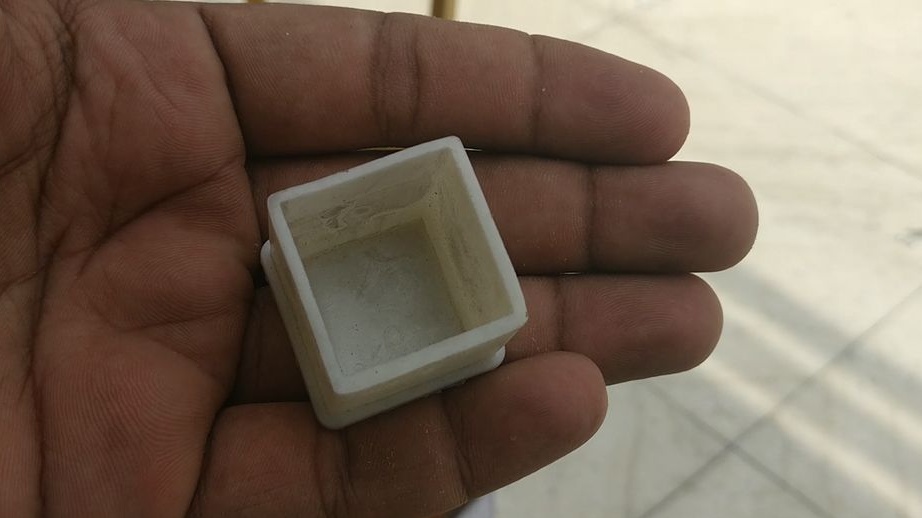
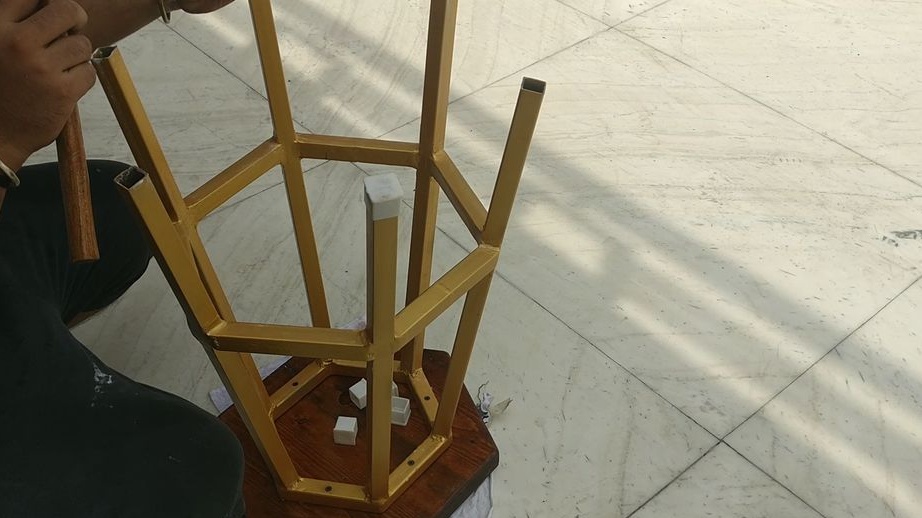
Step Nine: Build
Marks and drills a hole in the profile for screws. Screws the seat to the chair. Installs plastic plugs on the legs.

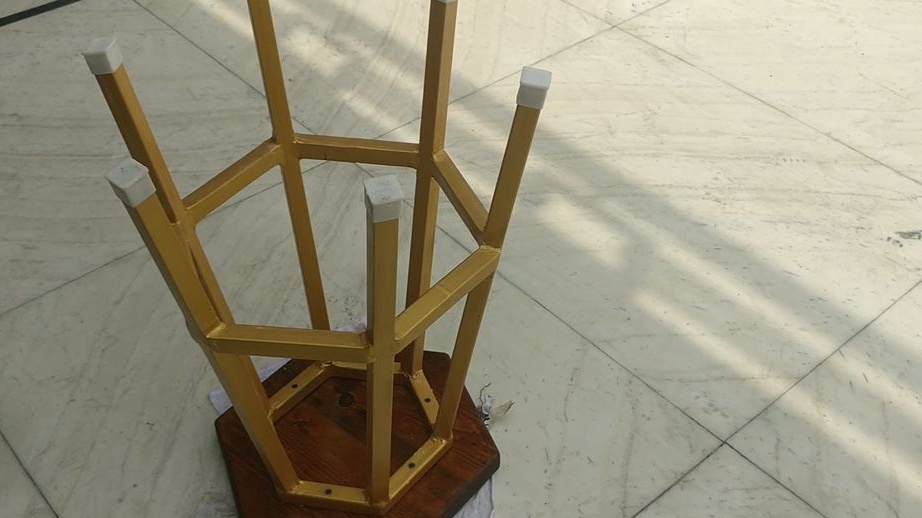
The logo chair is ready.

The whole process of making a chair can be seen in the video.