


Hello everyone, finally made his first knife. It took one day to make it, and I have no experience in making knives. I decided to make the knife simply as an experiment, from which it was, just to understand how this all happens. As the material for the blade used stainless steel, it was just at hand. I don’t know the brand specifically, but the steel does not boil. However, it in itself is quite durable, easy to grind, cuts perfectly. This steel is also magnetically attracted and weldable.
As for the handles, I decided to make them from poplar. This tree is very easy to process. I also had a piece of dried poplar branch on hand. I collected the linings on rivets, I did not use glue, everything keeps excellent. As rivets I used copper pipes from the fuel line of the car. He dipped the handle in the yacht varnish, he strengthened it, now the handle is protected from water and dirt. Basically, homemade satisfied, experience gained. But stainless steel is not suitable for educational work, it is very hard to grind, drill and cut. So, let's get down to manufacturing.
Materials and tools that I used:
Tool List:
- (I have a manual one with a speed of 380 m / s, it, in principle, is enough for different needs, for a handle it’s generally excellent);
- a drill with a good drill;
- and (I have a built-in jigsaw machine). But this car is not necessary, just lining is conveniently cut;
- a grinder (the most important tool, I used only a cutting disc, but it would be nice to have a grinding one as well);
- vise;
- hammer;
- pencil, paper, scissors (for the template).
Material List:
- a piece of stainless steel;
- copper tube (for rivet pins);
- a piece of poplar branch (originally wanted to make cherry lining, but it turned out to be raw);
- yacht varnish (such was).
The process of making a knife:
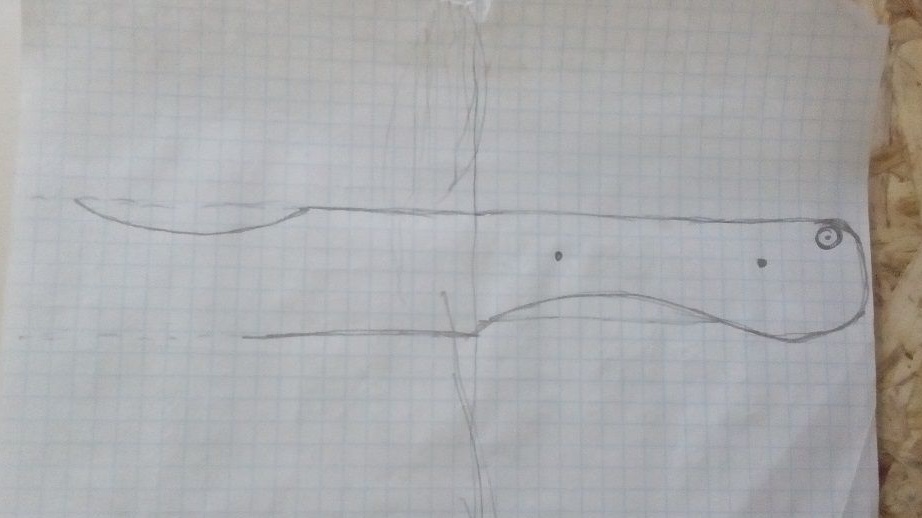
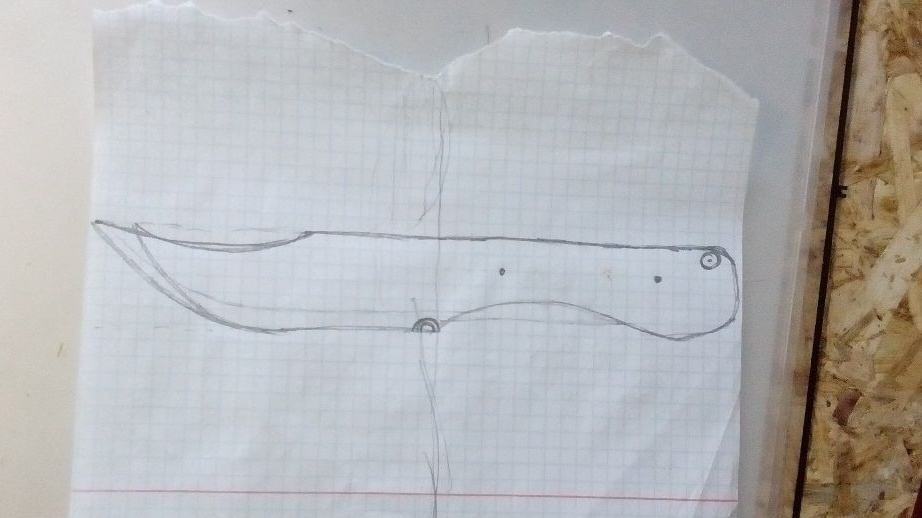
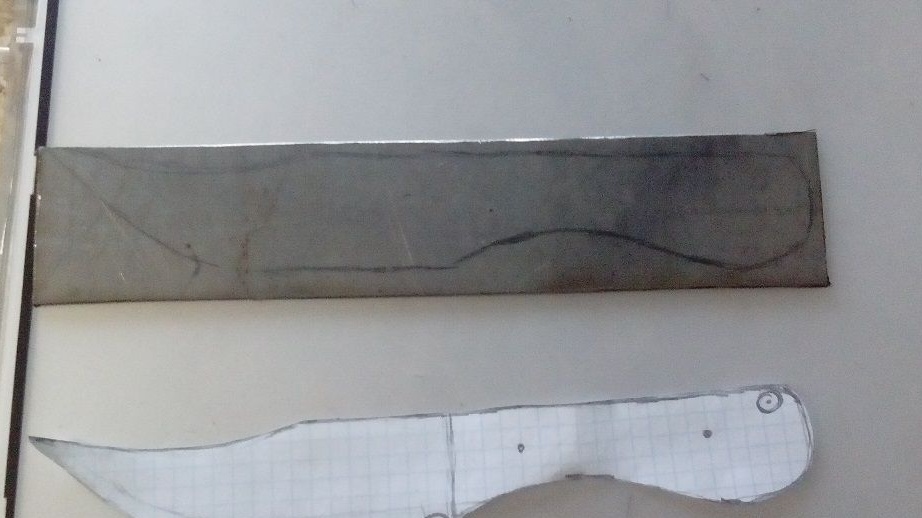
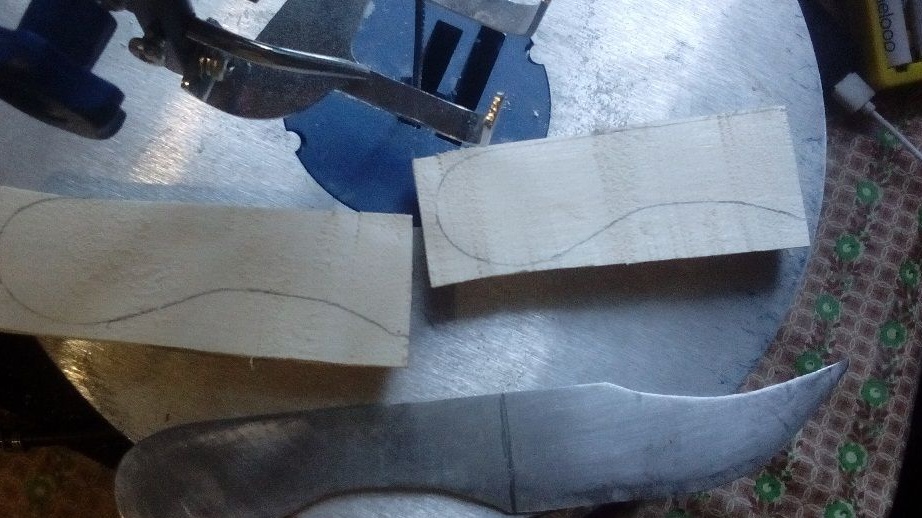
Step one. We make a template
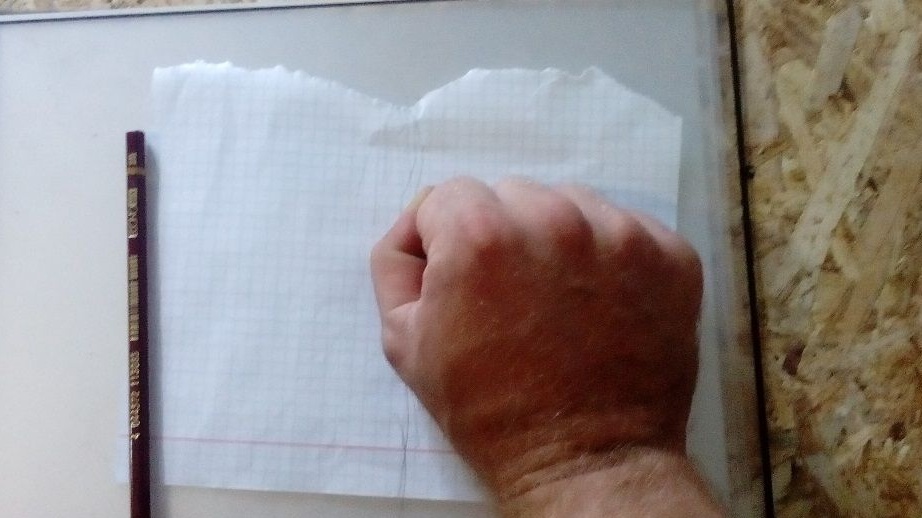
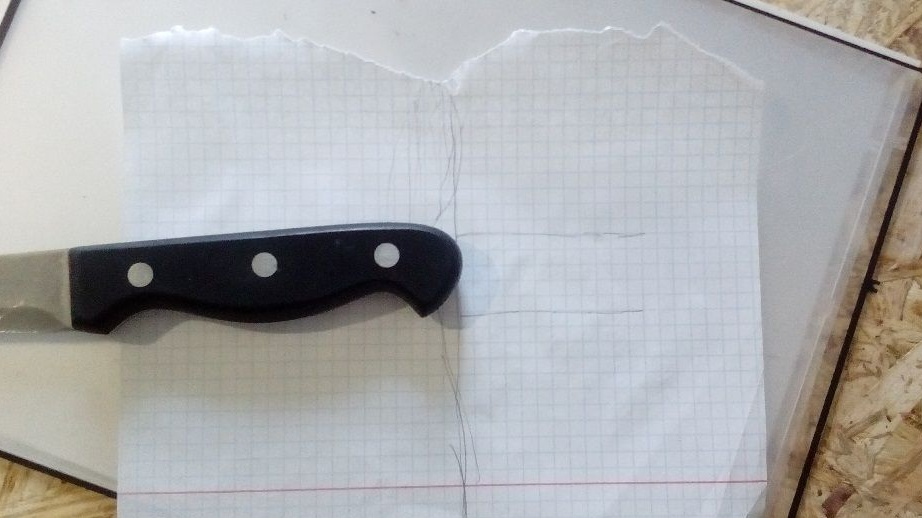
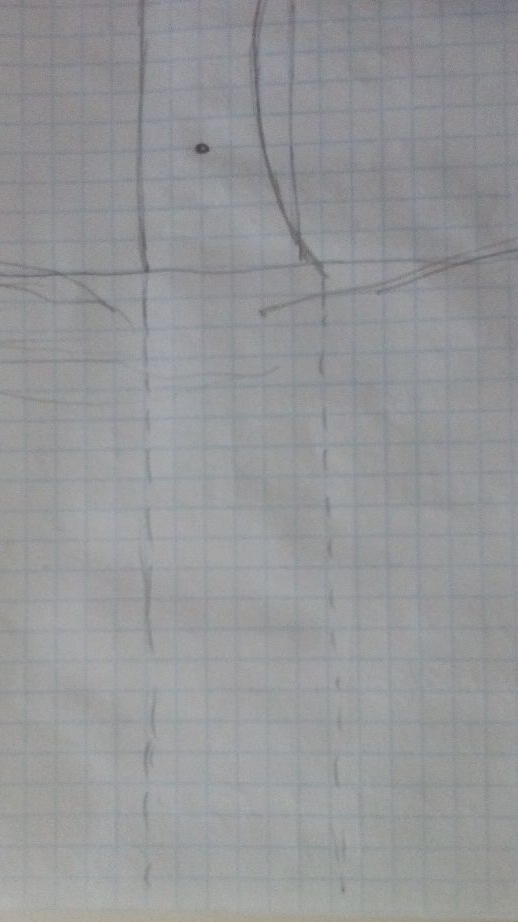
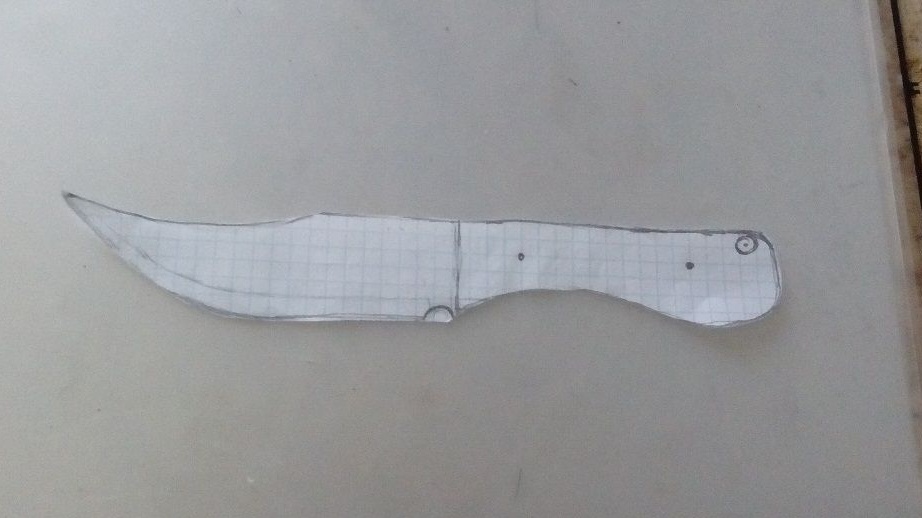
First I started with a template, took a piece of paper and put a fist to it to understand how large the pen should be. Then he used a kitchen knife to estimate the width of the blade and the length. Slowly, step by step, he drew a knife. He worked with a pencil, what you don’t like, you can erase and redraw. Well, then take the scissors and cut out the template. You can put the paper template in your hand and figure out again what the knife will look like. It would be nice to make a template out of cardboard.

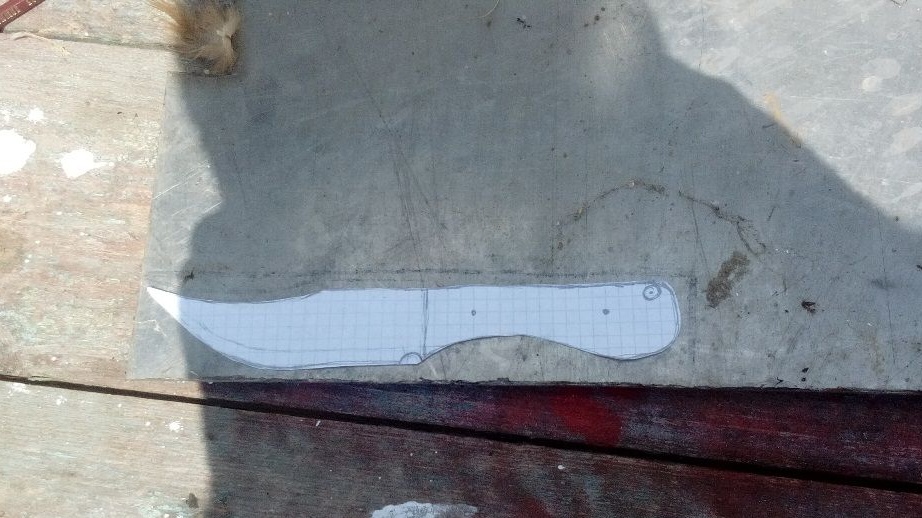
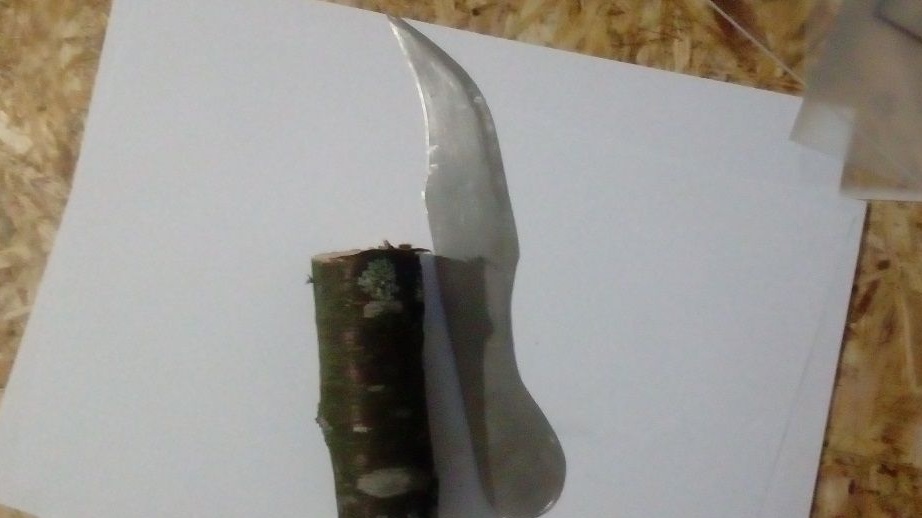
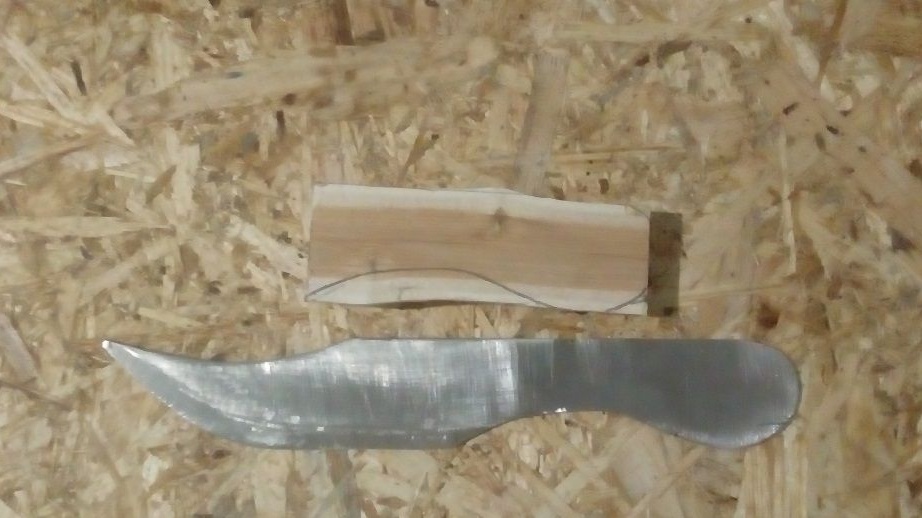
Step Two Cut the main profile
We attach the template to a sheet of metal and cut out a piece of the desired size.Well, now you can cut the main profile by circling it with a pencil or marker, another profile can be glued. Initially, the idea was to cut the profile on a jigsaw, but my metal sheet did not take stainless steel, and therefore I had to work as a grinder.

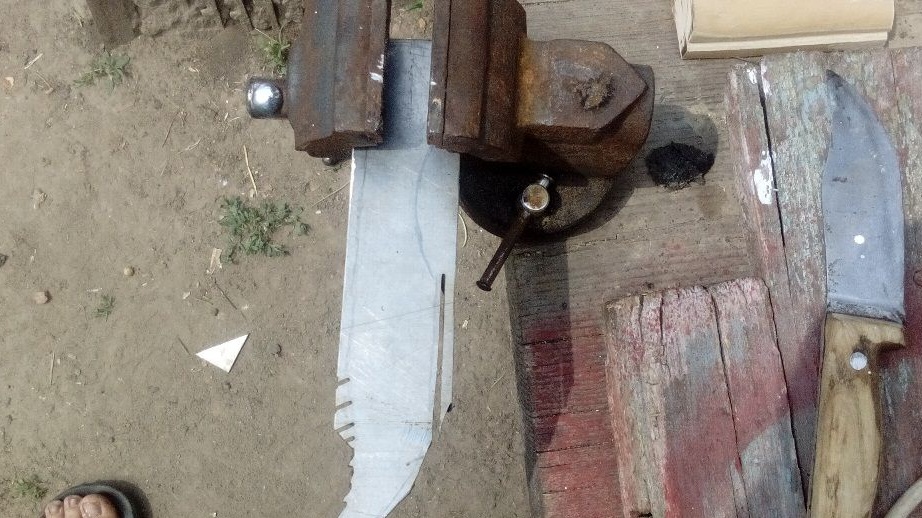

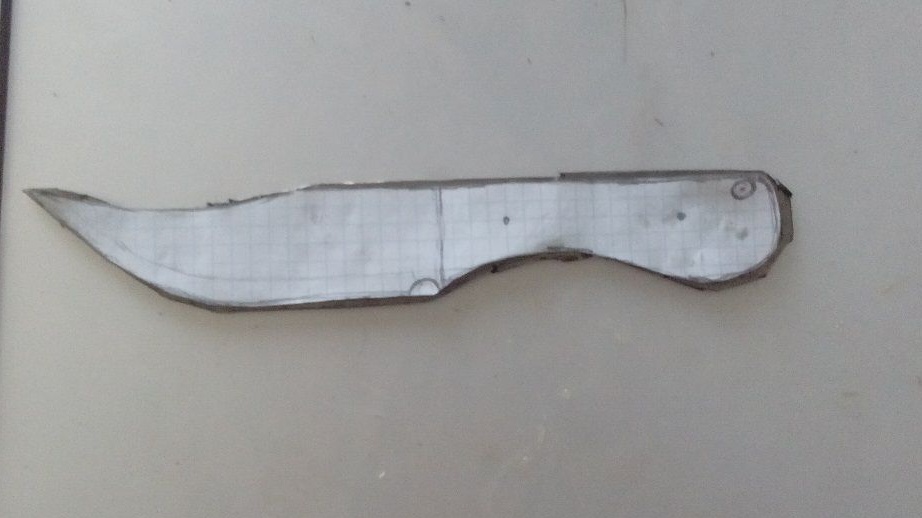
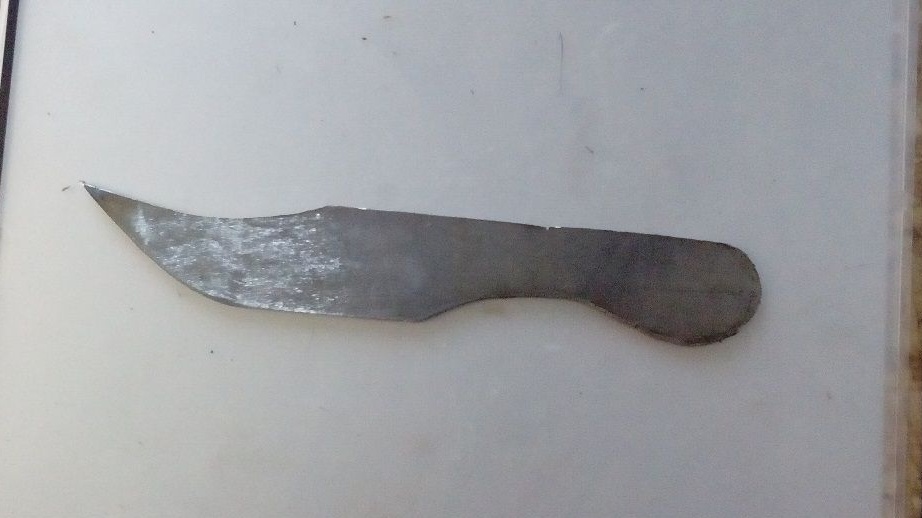
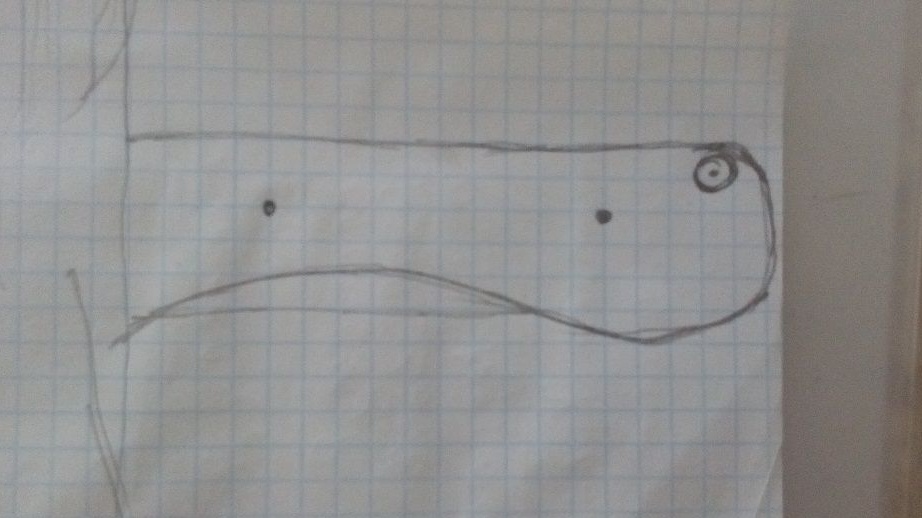
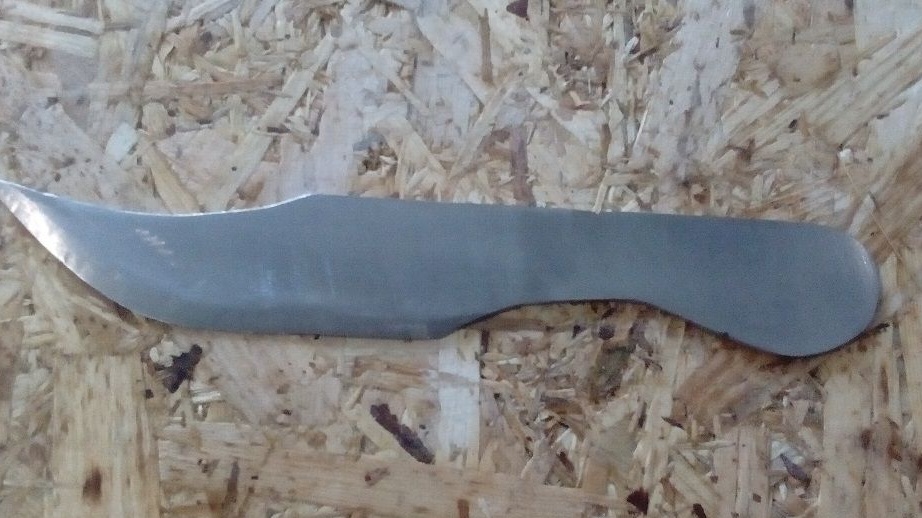
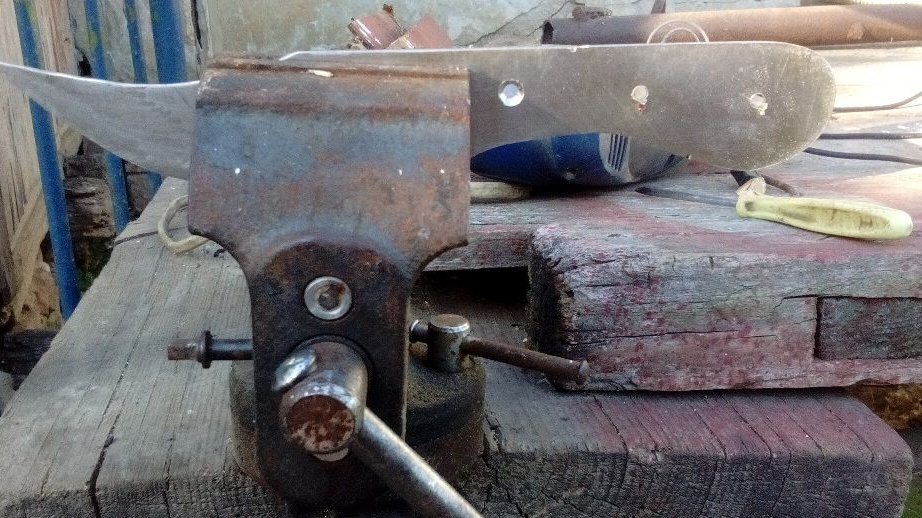
Clamp the workpiece in a vise and trim the excess. Rounded places are cut into pieces. Gape in places and climbed a disc behind the profile line, then I had to adjust the profile. I did not get the knife initially, but some kind of “crocodile”))) But after processing the template along the contour with the grinder, the workpiece already began to look like a knife. A grinder with a grinding disc is best suited for contour processing. The grinder is very difficult to process stainless steel along the contour, while the crystals of the belt are crumbling. A little more effort and the primary template was ready.
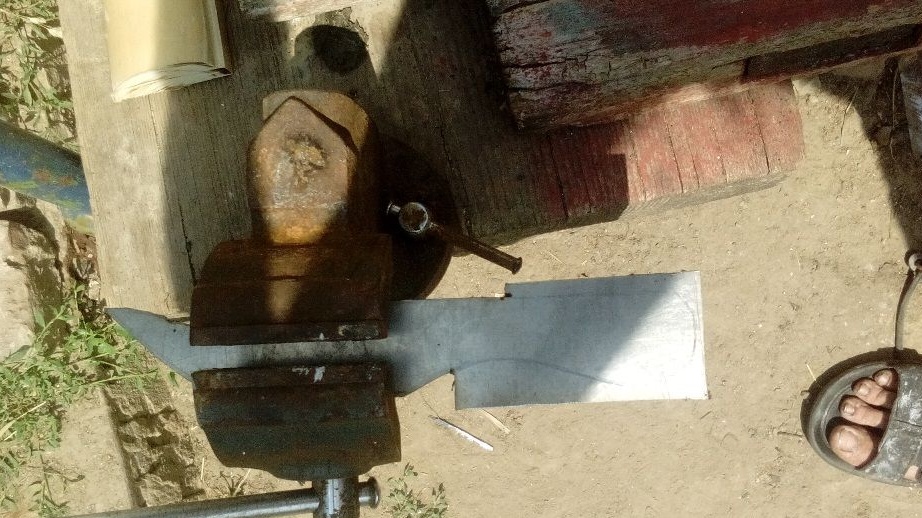
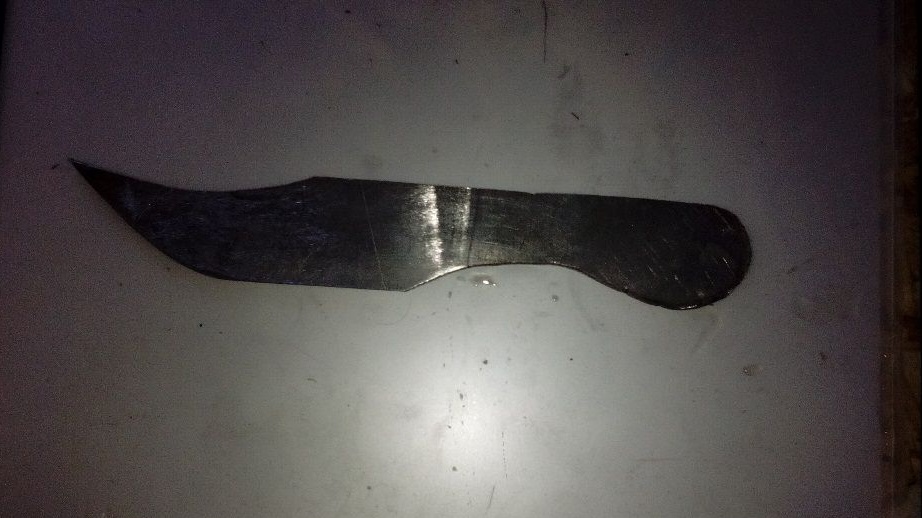
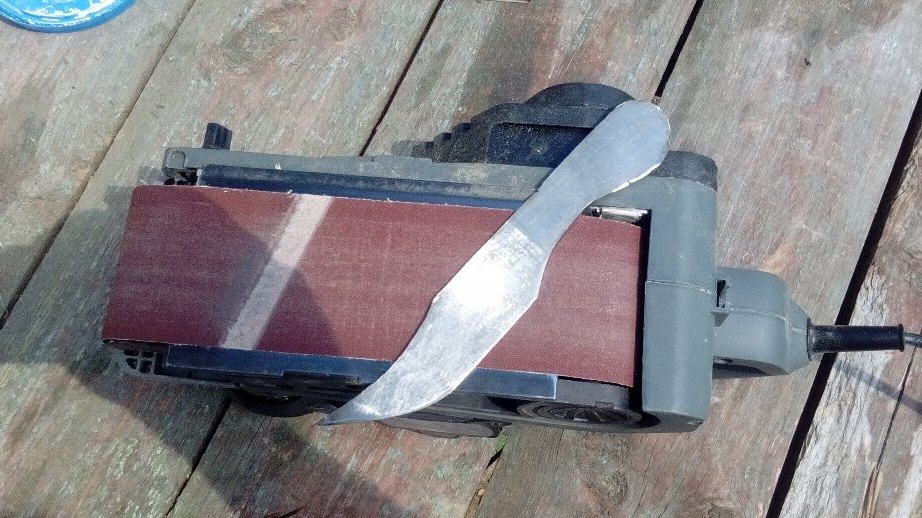
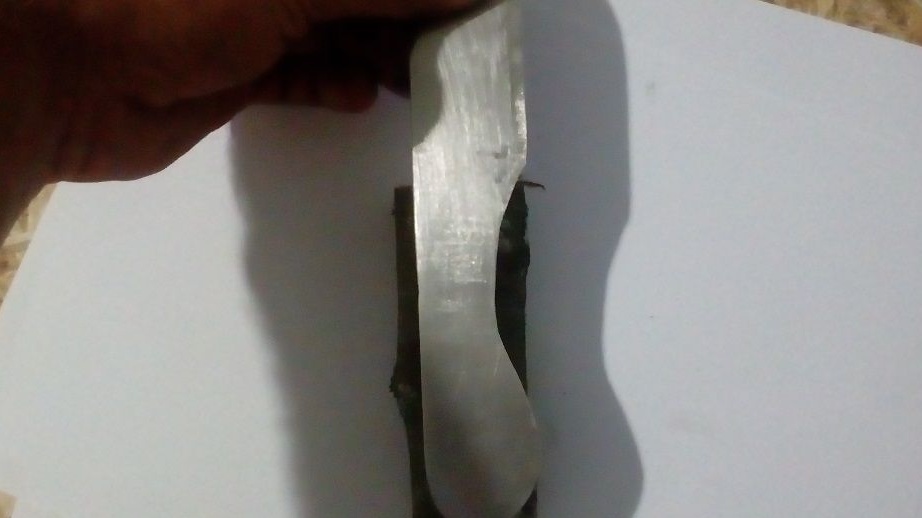
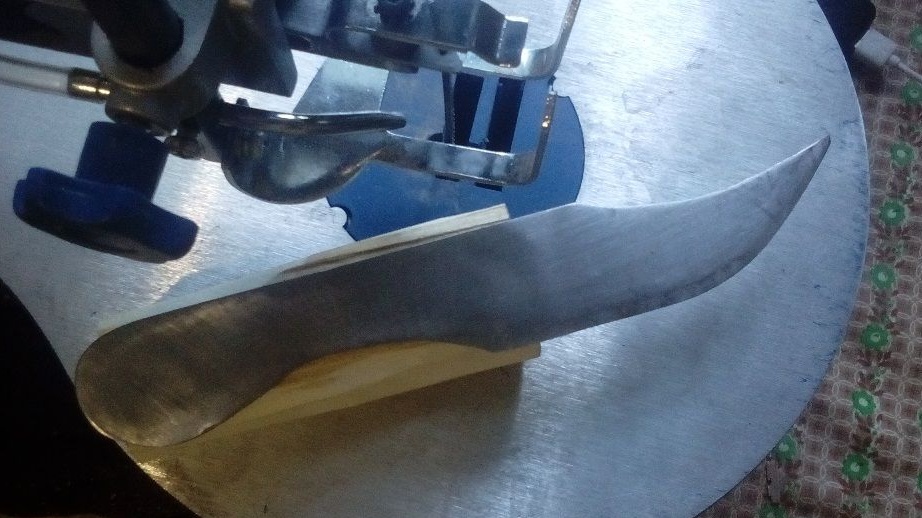
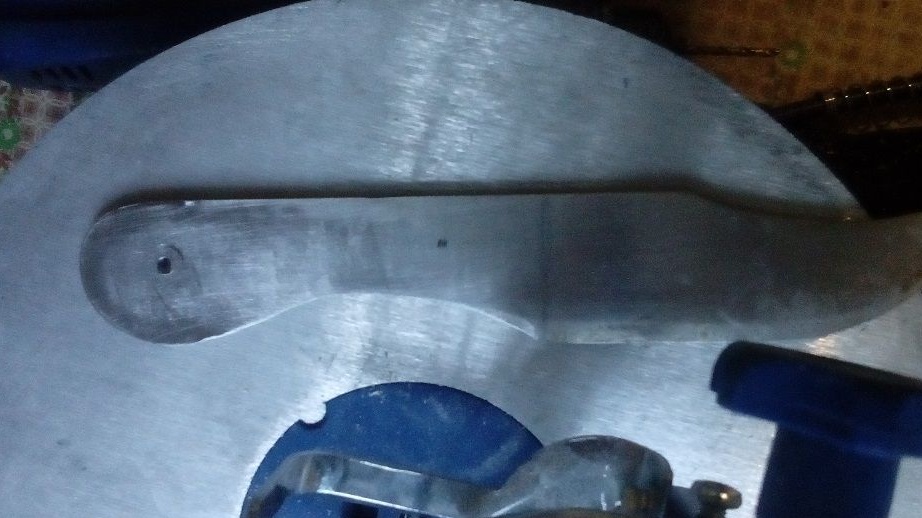
Step Three Work on the grinder
On the grinder, you can quickly grind the plane of the blade, as well as walk along the contour to smooth out irregularities. The most important thing when working on a grinder is to never put the blade with a blade or point against the movement of the belt, otherwise you can cut the belt, as I did, or the knife will simply snap out of your hands and it will cut you or worse.
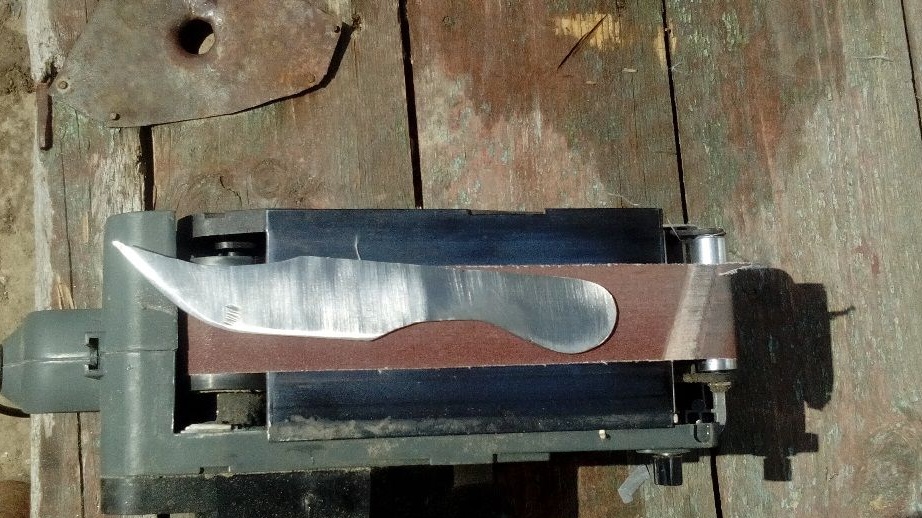
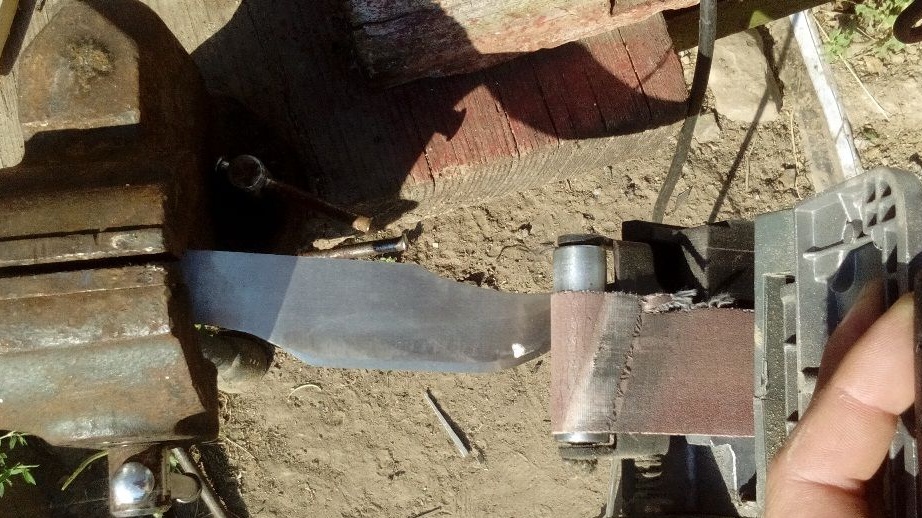
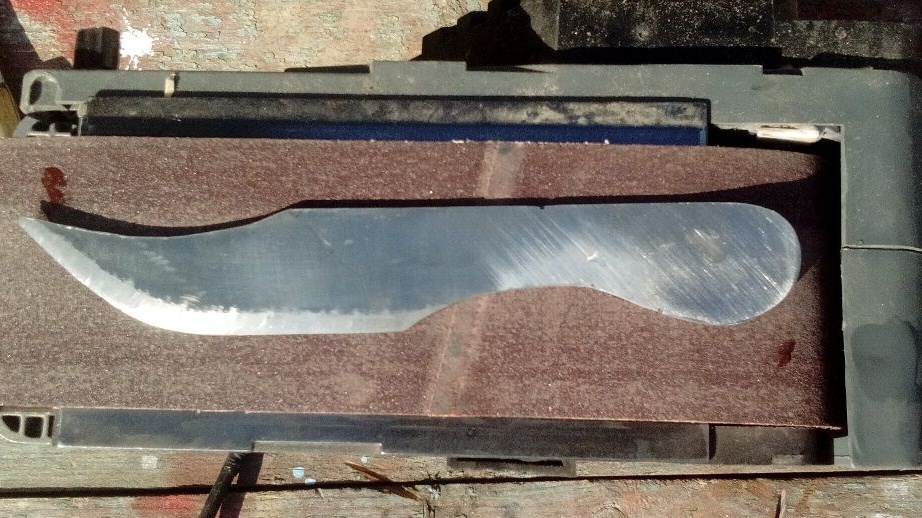
At the same step, I formed the bevels. It was the most difficult to make a knife. The easiest way to do this is by securing the blade in a vise and working the front of the grinder where the roller is located. At work, you will quickly understand how this is done. Steel specifically heats up during grinding, you can’t hold the workpiece in your hands for a long time, you had to moisten it with water. But when working on such a machine, it is usually not allowed to use water, since all this moisture then goes into the ventilation system with all the ensuing consequences. But no one forbids to wipe the knife with a cloth after water.
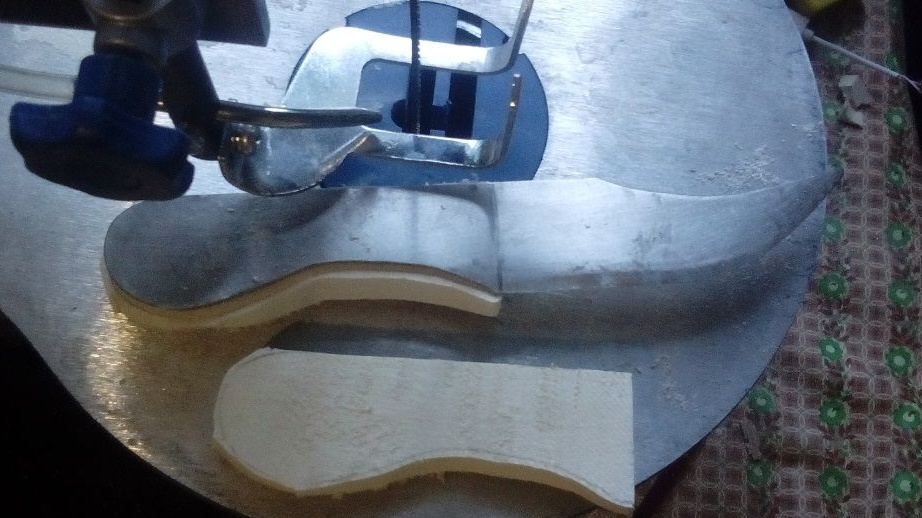
Step Four Lining
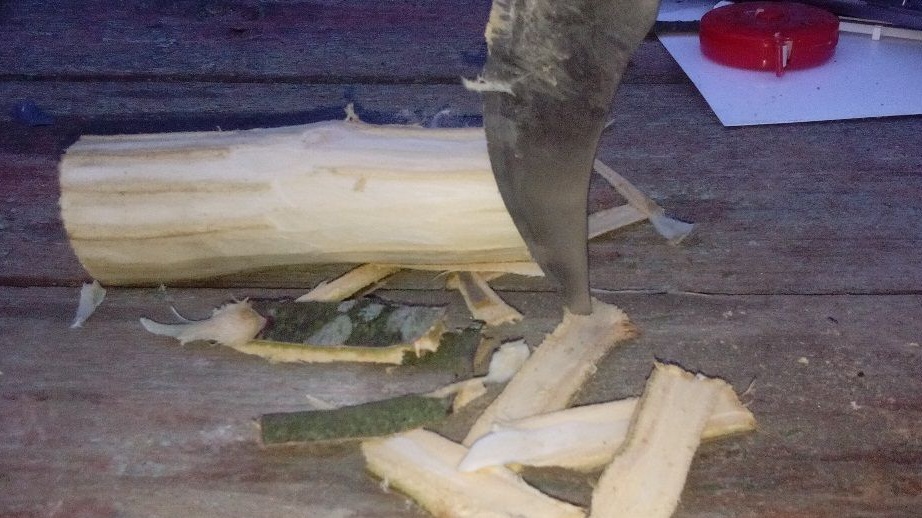
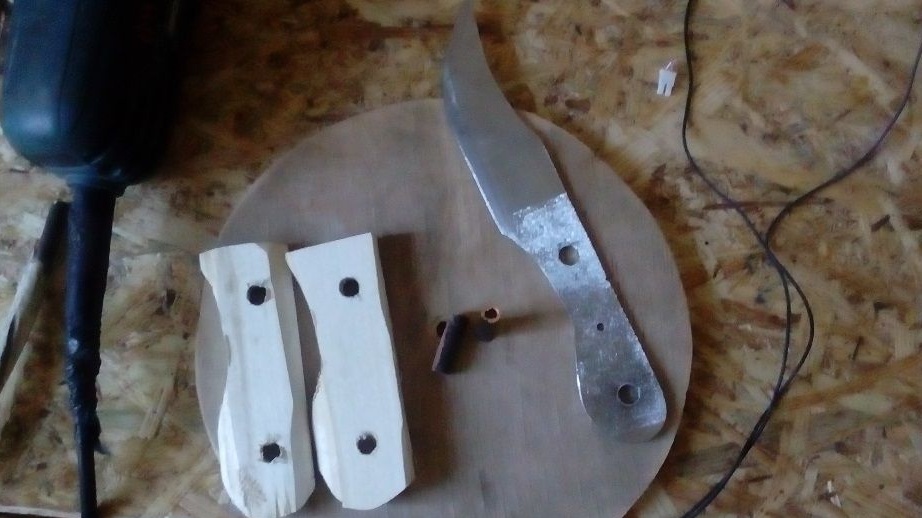
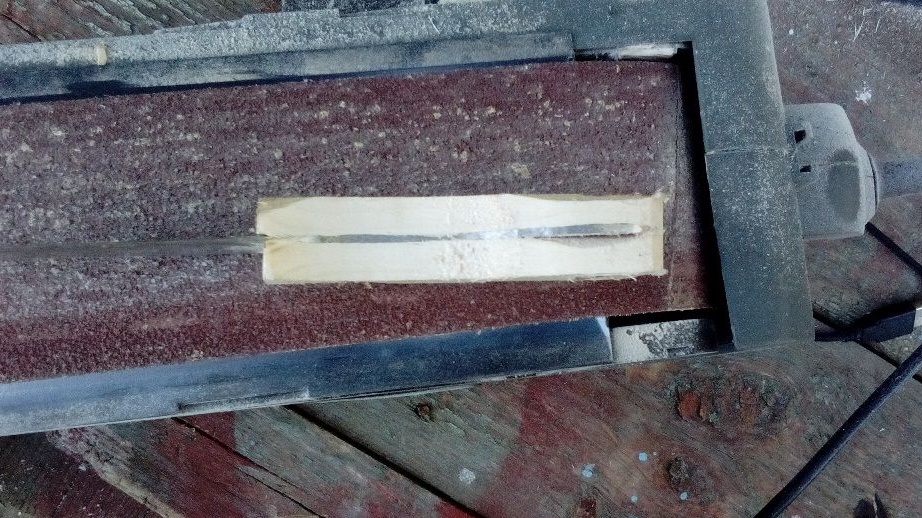
Initially, I wanted to make linings from cherries, but it has not yet dried. By the way, wood can be successfully cut / dissolve with the usual Bulgarian cutting discs. But if the tree is wet, it will burn, as in my photo.
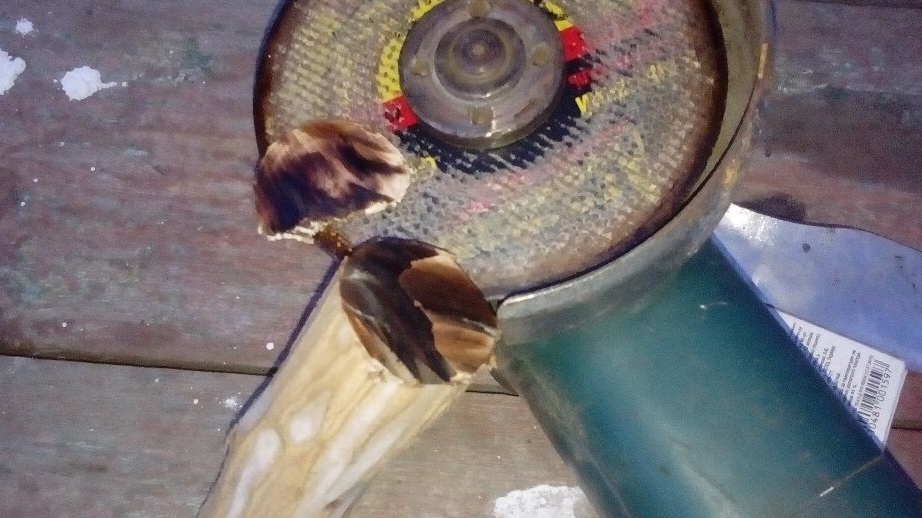
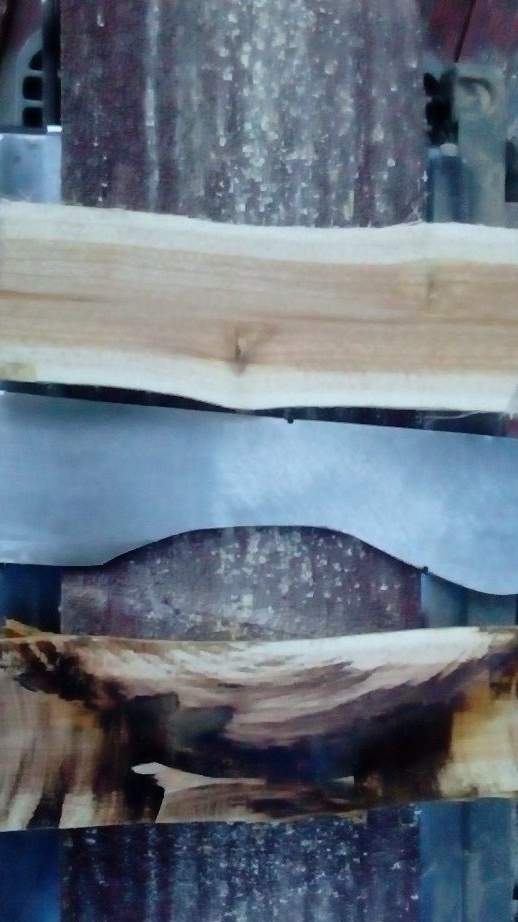
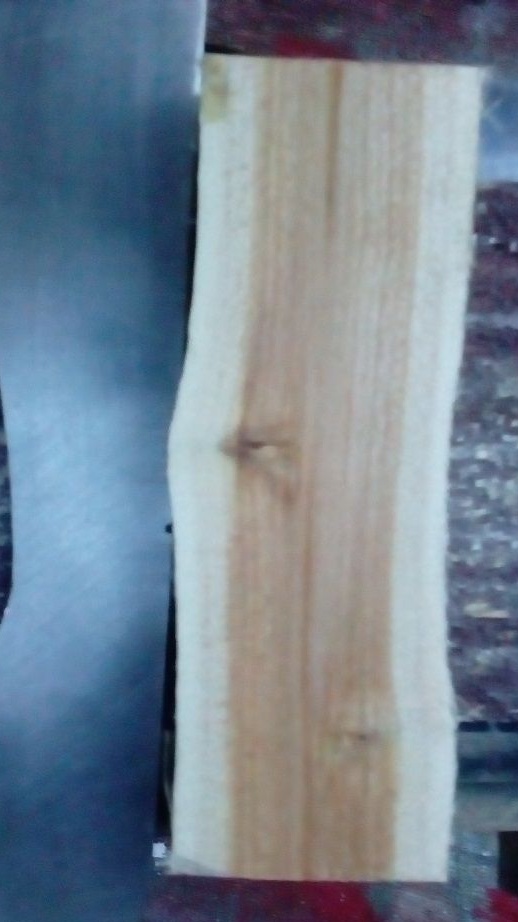
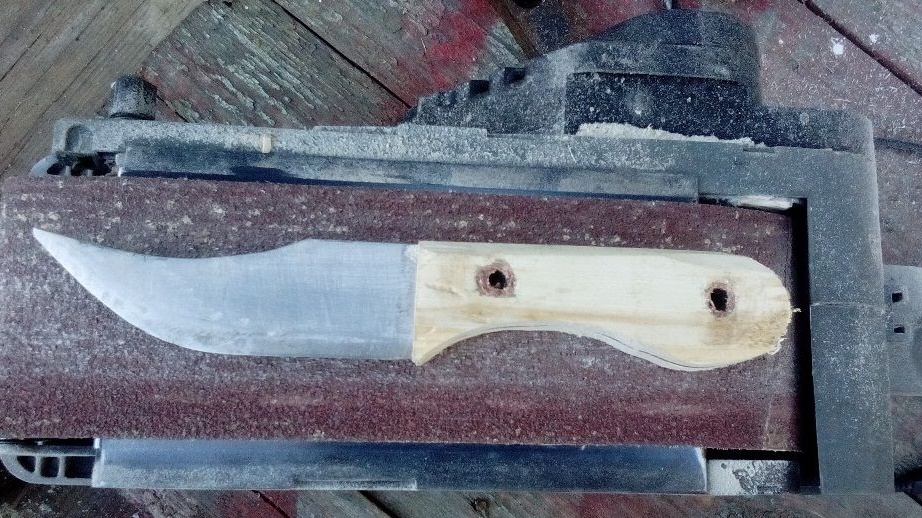
As a result, I decided to use poplar instead of cherries. He took a suitable piece of a stick and cut it into two halves with a jigsaw machine. Next, we attach the knife handle to the plates, circle with a pencil and cut the blanks on a jigsaw machine. Then I made a little mistake and made two identical blanks, but I need left and right. But all this was corrected by grinding. As soon as the workpieces are cut, sand their adjacent planes. They should be perfectly even. Poplar is polished very easily, approximately like polystyrene. He worked with a tape with a grit of 220 units.
Step Five Pen assembly
The handle can be assembled. I used copper tubes as rivet pins. Cut them to the desired length so that they protrude slightly above the surface of the linings. In the handle of the blade, we drill two holes of the desired diameter. It is very difficult to drill a stainless steel, I sharpened a drill three times during drilling. You need to drill with oil and at very low speeds, then the drill does not burn and cuts a stainless steel. In similar places, we drill holes in the pads. The rivets should go into the holes tightly, then they will hold firmly.

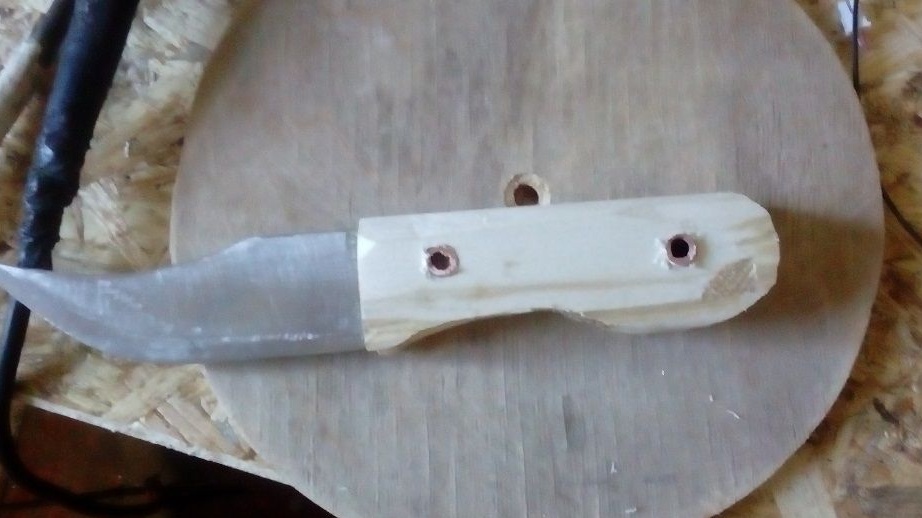
We install our rivets, center them in the handle. Then I took a drill and a hammer, with the help of these tools I flattened the tubes from the inside out, and as a result we got rivets. Next, take a hammer and flatten the copper tubes further. Their width can be flattened by another 2-3 mm, this is more than enough for a reliable attachment of the pads.
To make our rivet pins look more aesthetically pleasing, we take a drill and align the holes in the tubes. The result is such interesting rivets. Under a layer of oil or varnish they will not darken.
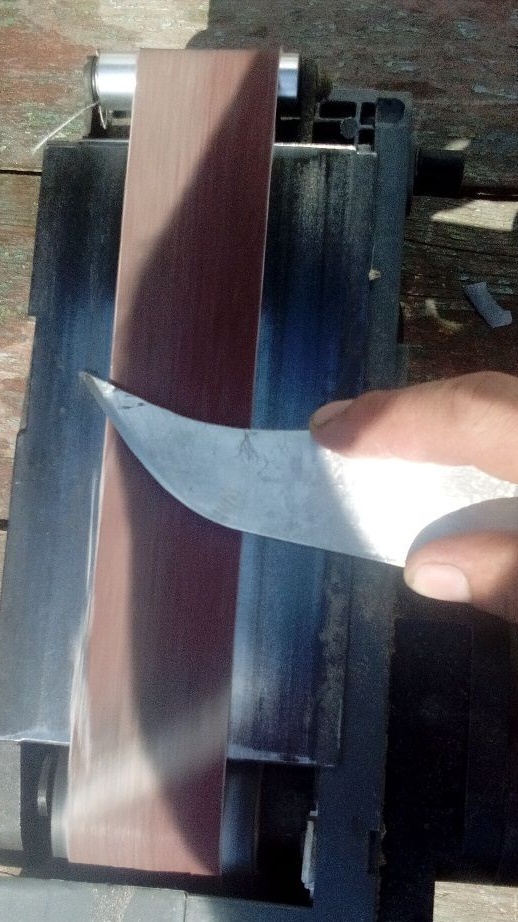
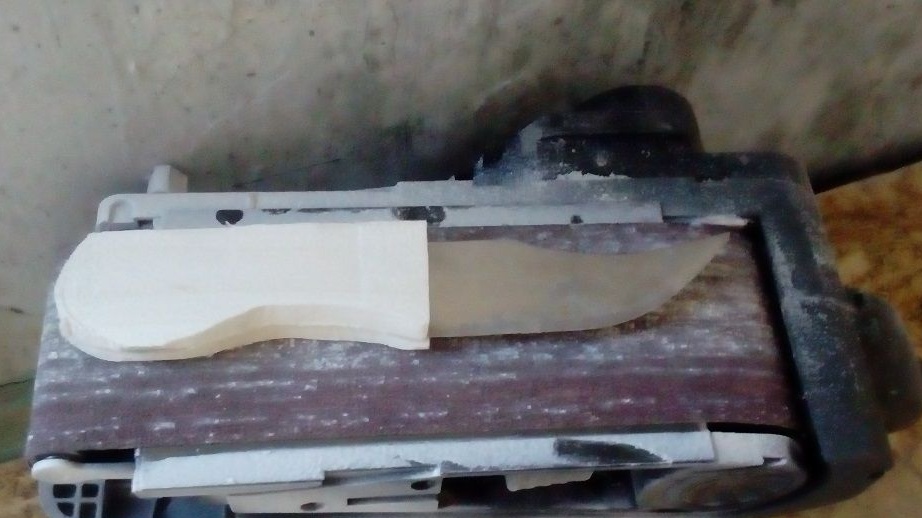
Step Six Grinding
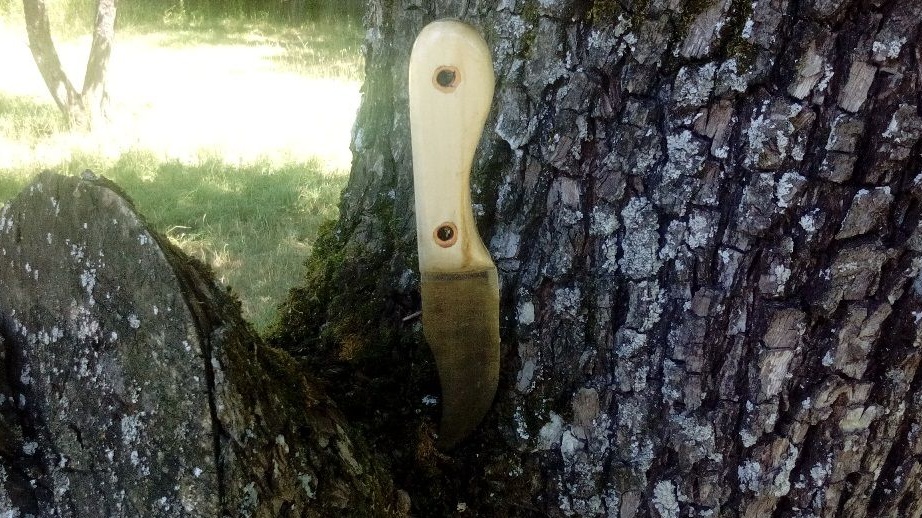
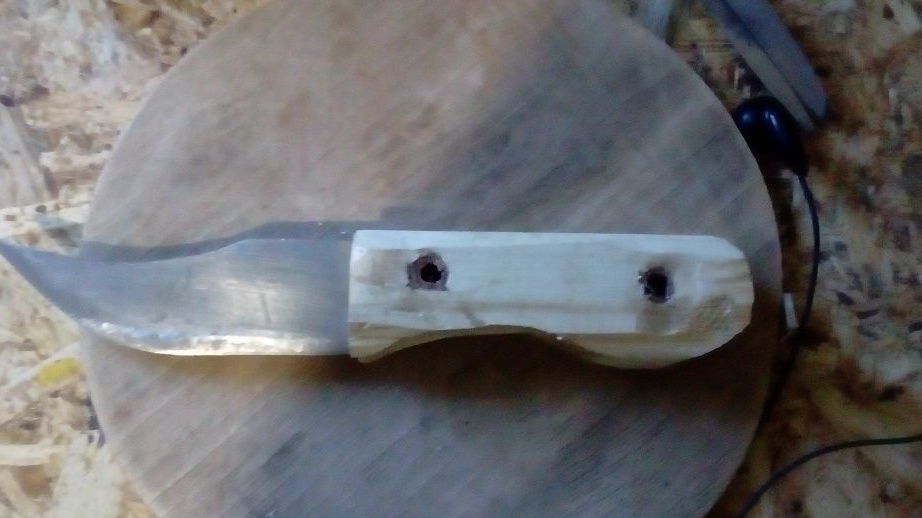
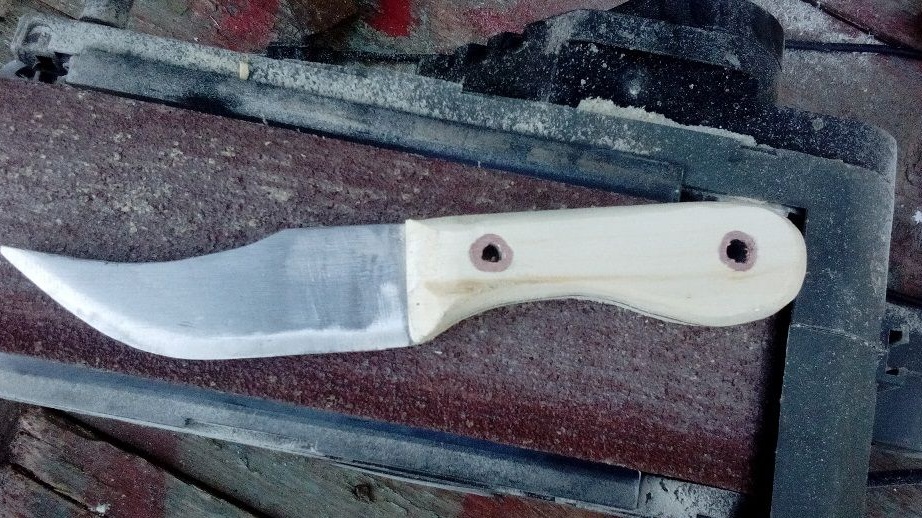
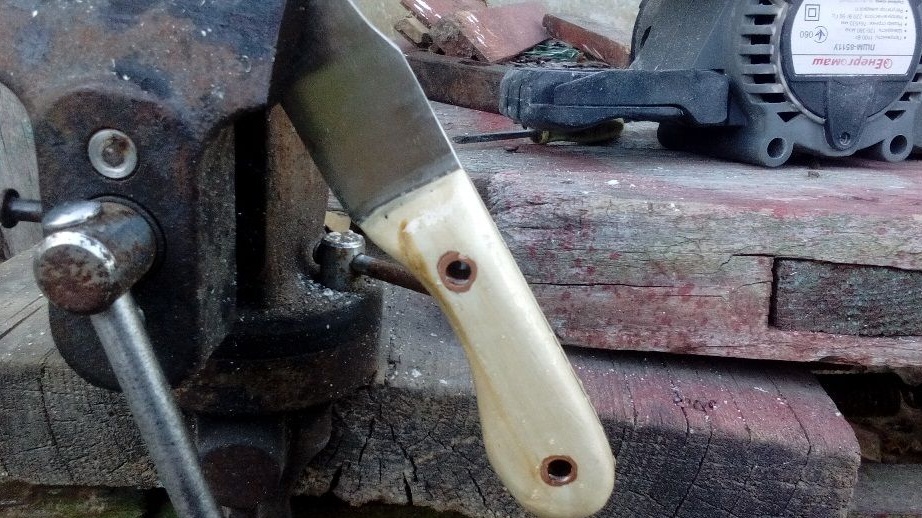
Well, then we proceed to grinding, I put the belt 220, it is processed very easily. First he polished the handle along the contour, and then he gave it the shape he wanted. At the very end I went over the handle with a drill with a grinding nozzle. Ideally, the pen should be modified manually with fine emery paper, but I am quite satisfied with the quality.
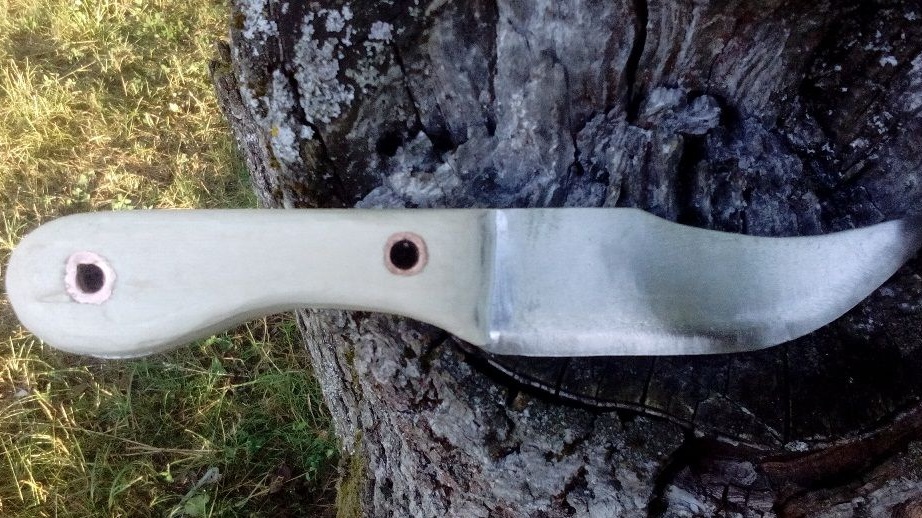
The knife turned out pretty beautiful, the tree is light, it looks like something like plastic or some other material.


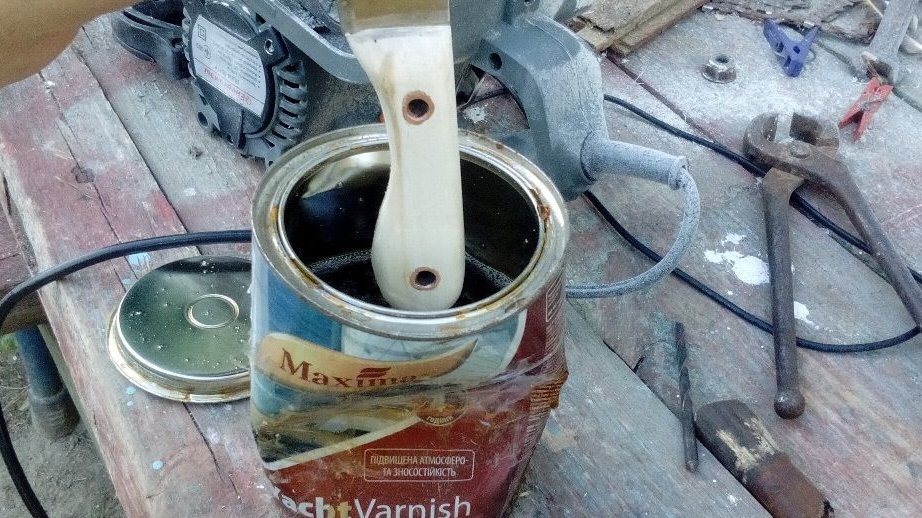
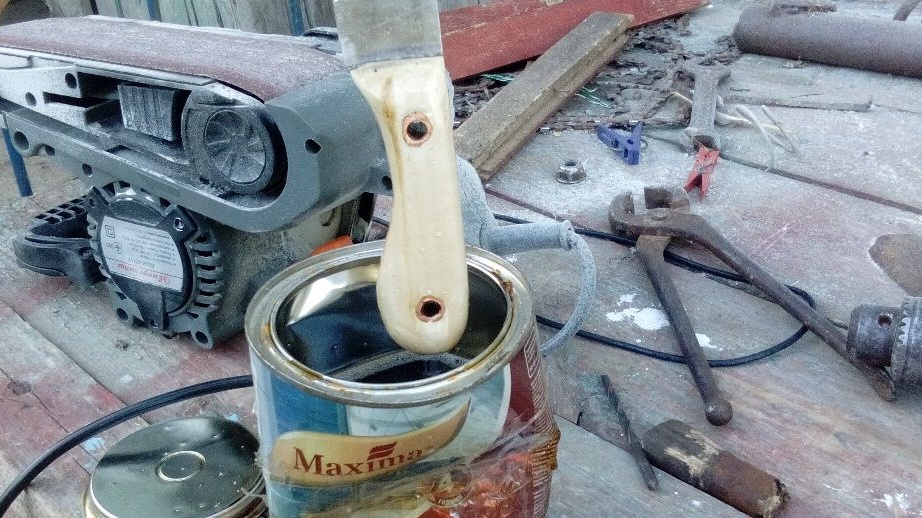
Step Six Lacquer
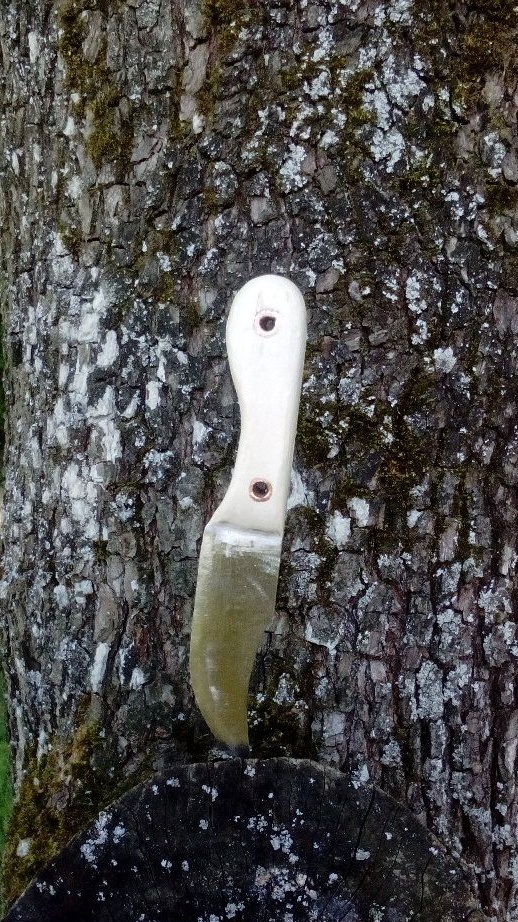
I dipped the handle in the varnish, this is a varnish for yachts, according to the description it should well protect from moisture. When the varnish dried, the wood became strong, apparently he ate inside and dried. Ideally, after that, the handle is ground again and another layer can be applied. But so far I have left one layer.
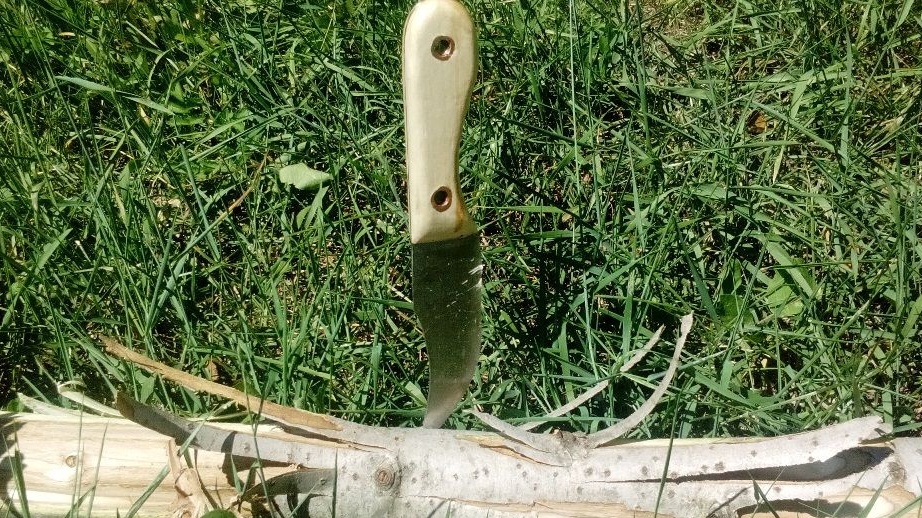
It cuts the knife perfectly, the blade is strong, it does not dull quickly. The blade sharpens perfectly, you can use kitchen sharpening fixtures. The blade can withstand heavy loads without difficulty. On ordinary steel, the blade leaves dents and the blade does not deteriorate. That's all, good luck if you want to make a knife like that. do it yourself!