

Hello to all lovers homemade. In this article I will tell you how to make an original stool do it yourself. It will look great anywhere, and will also surprise guests with its zest in the form of a bottle of whiskey right in the seat. Materials for this homemade product are readily available and special manufacturing skills are not required.
Before you read the article, I suggest watching a video in which the entire process of manufacturing this stool is shown.
In order to make an original stool with your own hands, you will need:
* Angle grinder
* Miter saw
* Sander
* Building corner
* Wooden blocks with dimensions 40 * 40 mm
* Manual frezer
* Construction level
* Joiner glue
* Clamp
* Epoxy resin
* Bench vise
* Bottle of whiskey
* Safety glasses, respirator, gloves
* Gold color enamel
* Roulette, pencil
* Screwdriver
Step one.
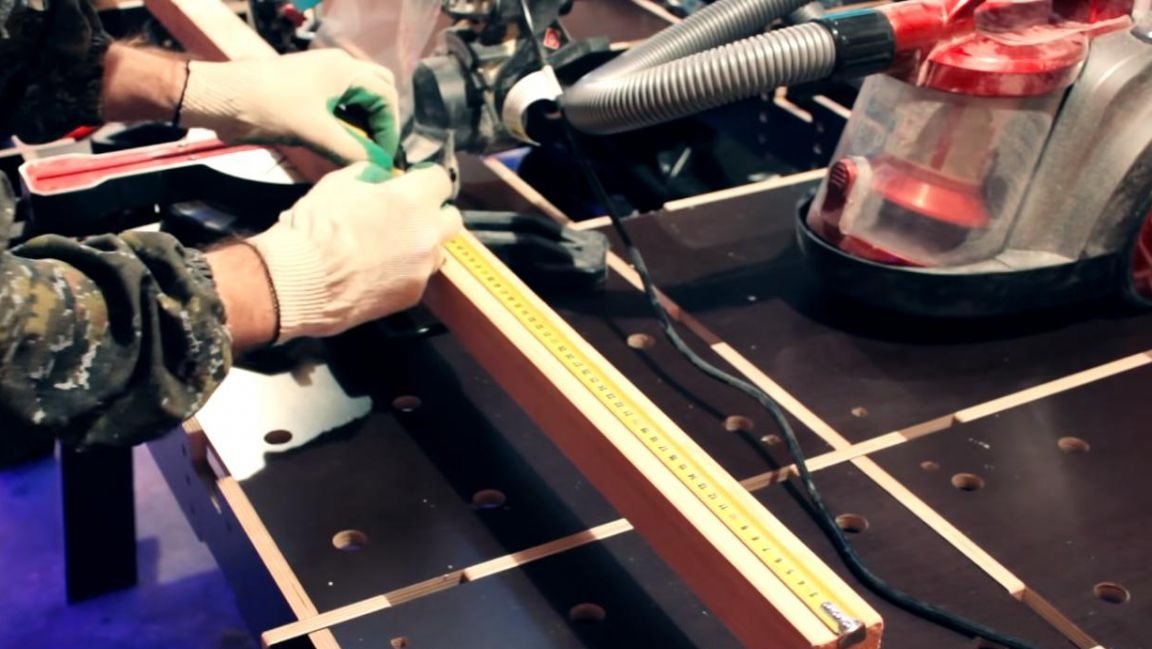
First, we clamp a wooden block 40 * 40 mm in a bench vise, mark four pieces of 500 mm each using a tape measure and a pencil.
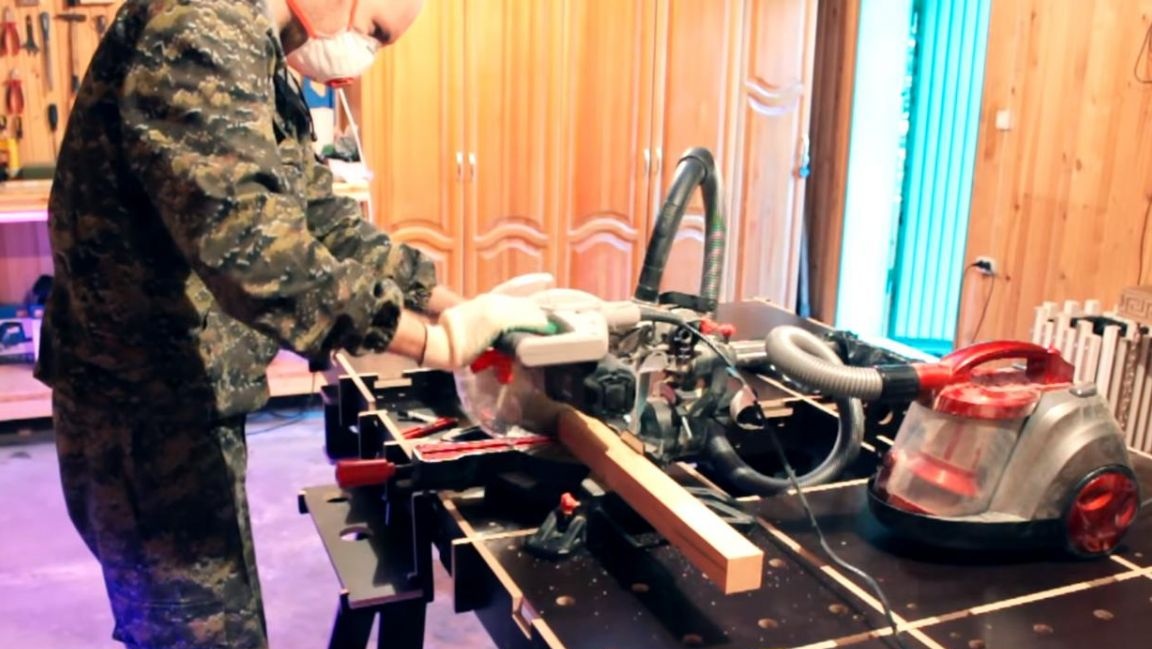
Next, on the miter saw, we saw off the workpieces by marks. When working with a power tool, be careful and use personal protective equipment, wear safety glasses, a respirator and gloves.
Then we measure a length of 100 mm from the same wooden bar and saw off about 10 pieces of such blanks.

At this stage, it was decided to press one of the blanks to the saw base with a clamp so that the length of the segment was exactly 100 mm, which would allow not to resort to additional measurements.
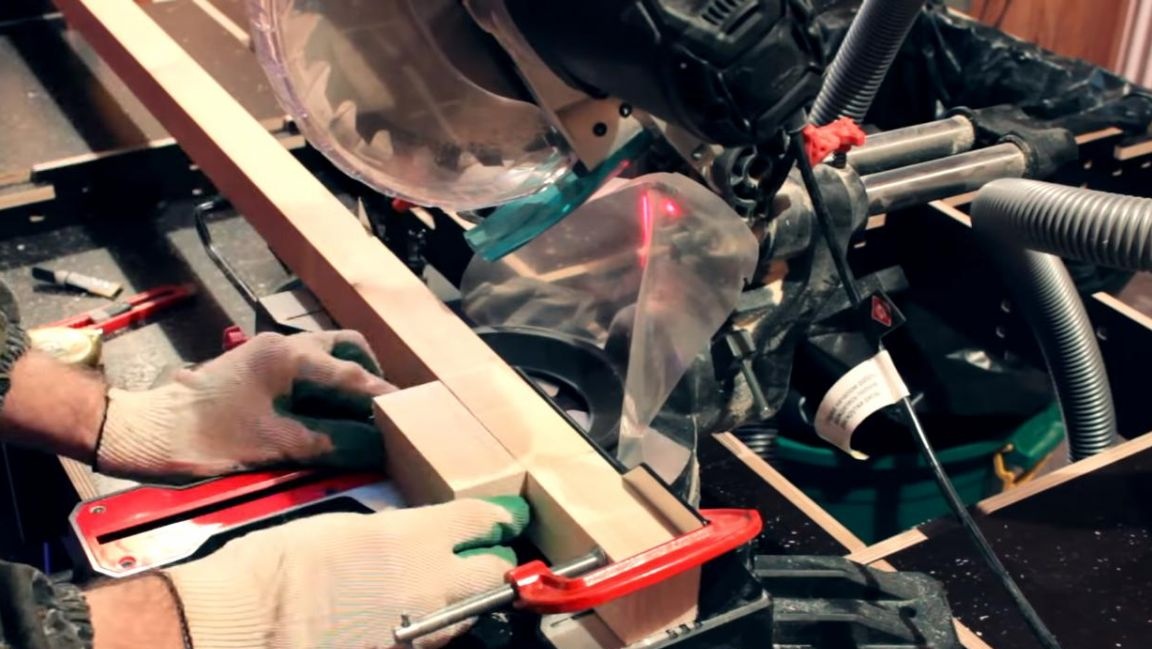
Thus, according to the set limiter, we saw off the remaining 45 segments.
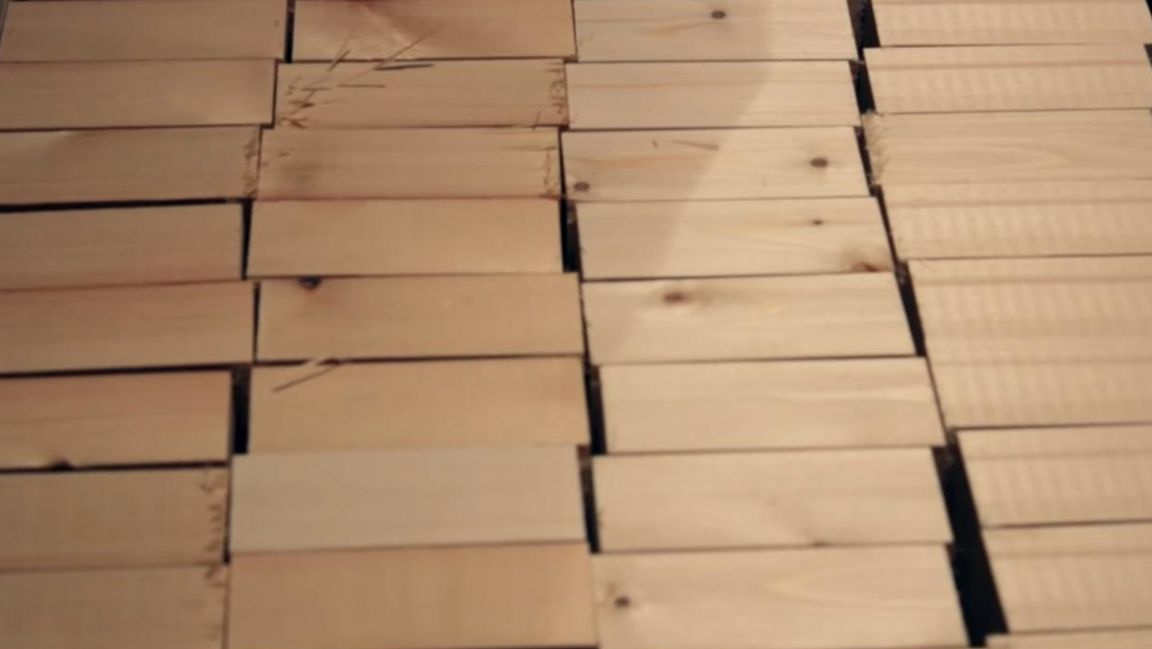
Having cut 45 segments, we proceed to the next stage.
Step Two
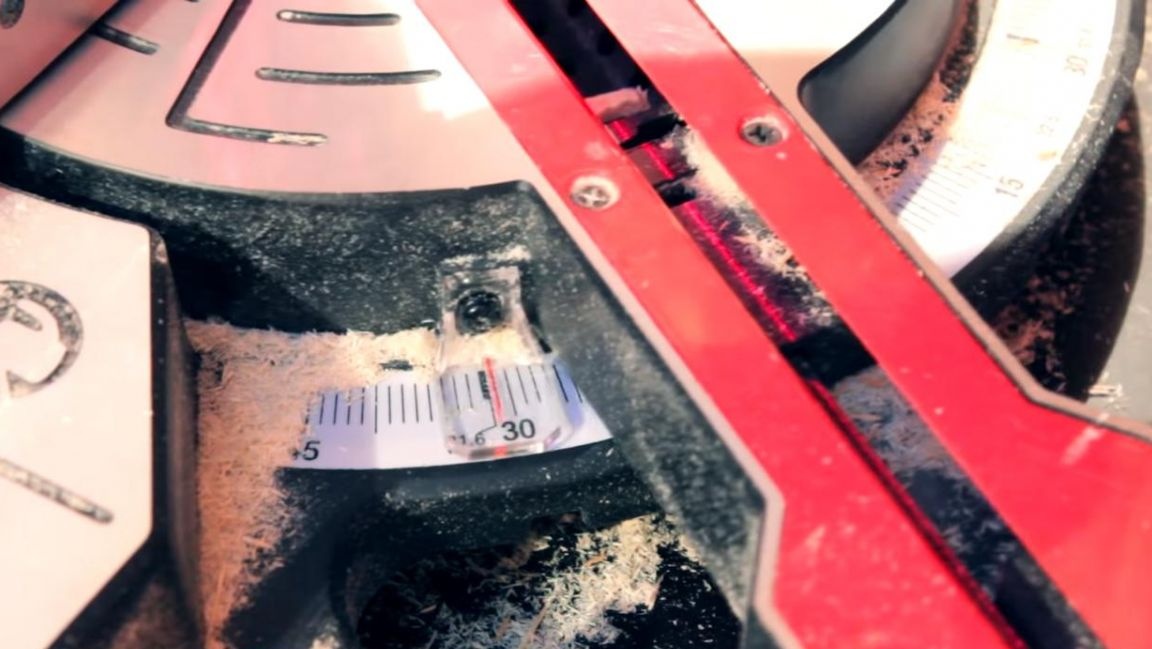
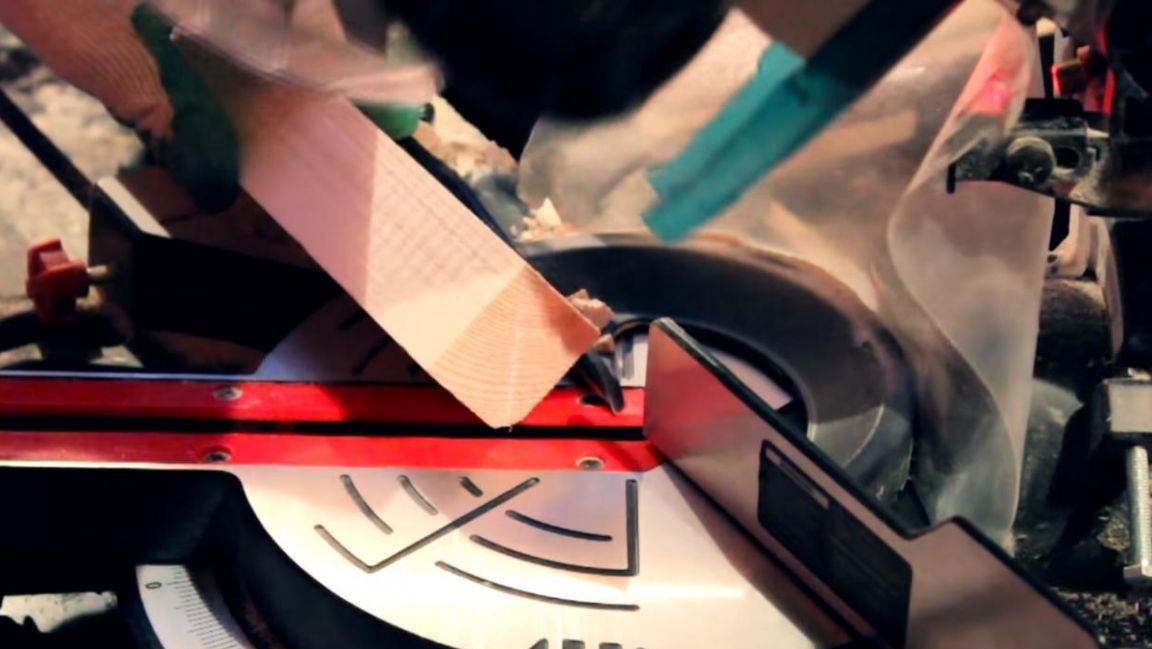
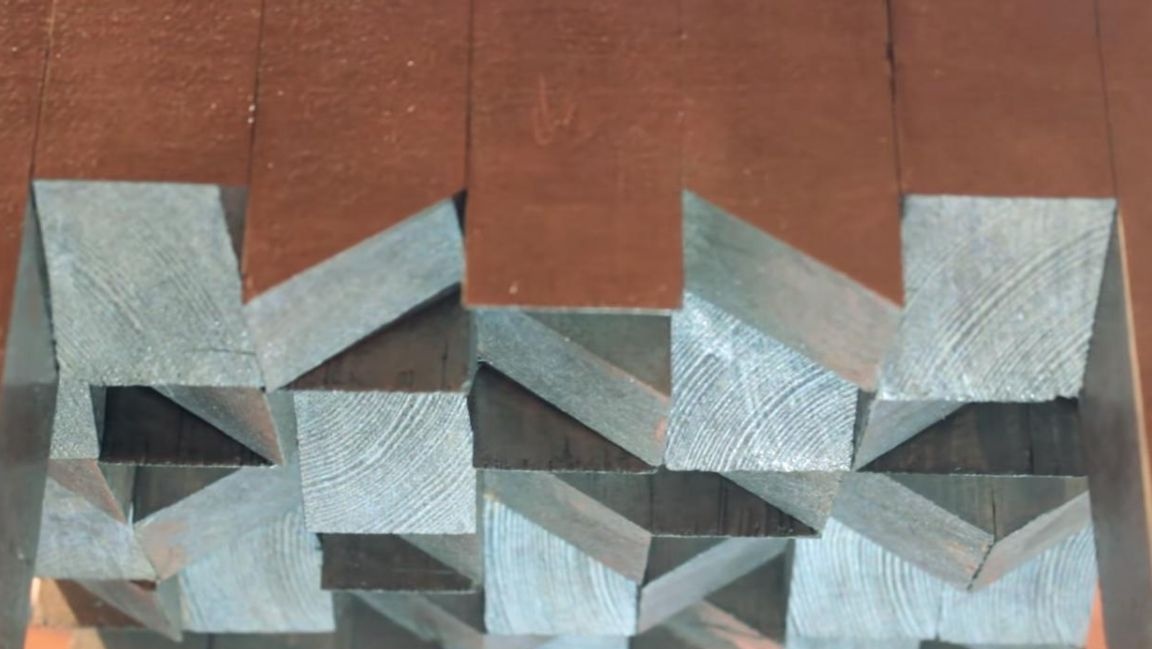
Since an ordinary segment with an even angle does not look original and is not some kind of design decision, it was decided to cut one of the edges at an angle of 30 degrees.
We set an angle of 30 degrees on the miter saw and begin to trim the edges of the workpieces on one side.
This process is not so fast, so be patient, and also, in order not to breed a lot of debris that is formed during the work, we connect a vacuum cleaner to the saw.
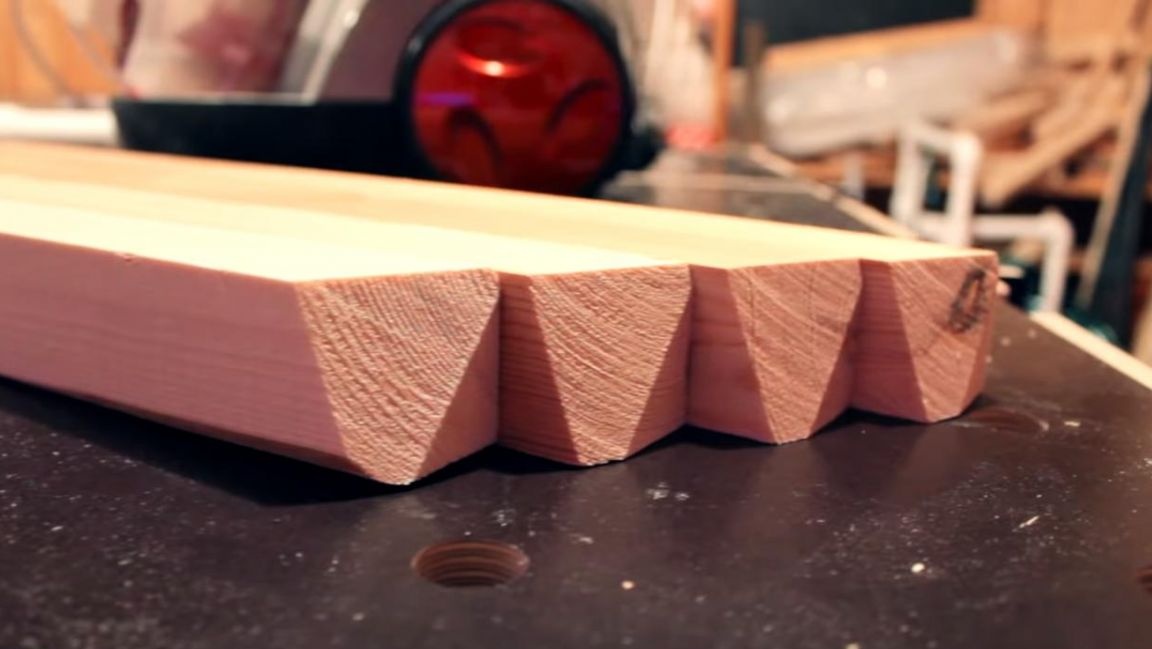
Step Three
The saw blade on the miter saw is not designed for delicate cutting, so it leaves burrs at the edges of the bars. We remove them using a sanding machine with sandpaper installed. In the process of grinding wooden blanks, a lot of wood dust is formed so that it does not get into the respiratory tract, we put on a respirator, and we also use glasses and gloves for extra protection.
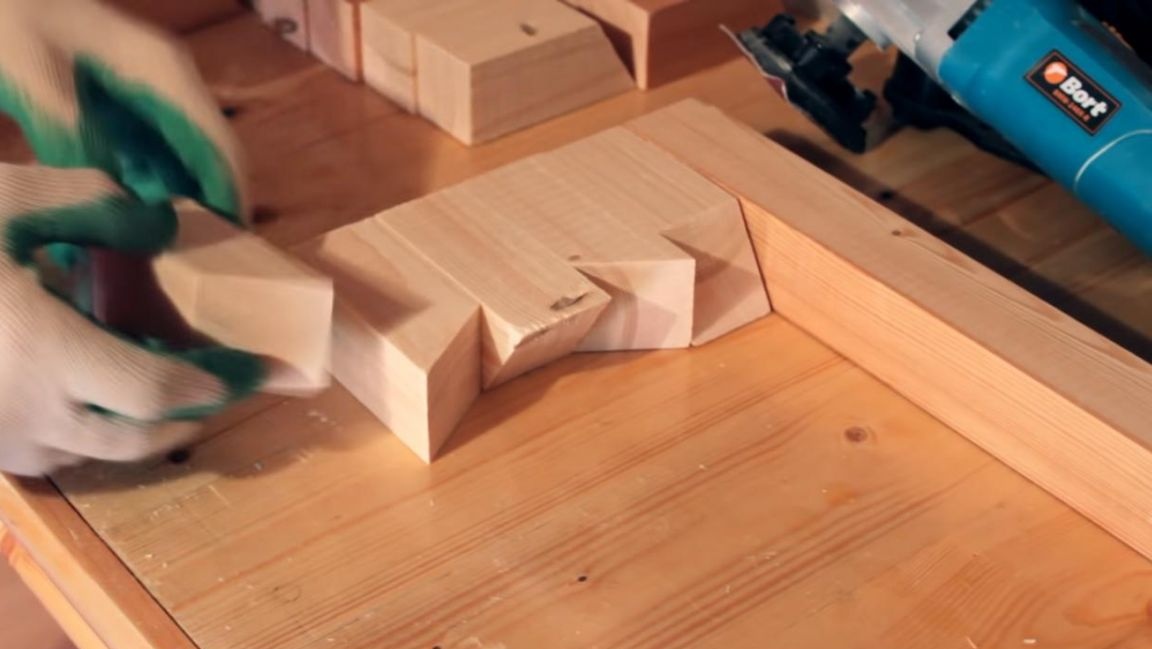
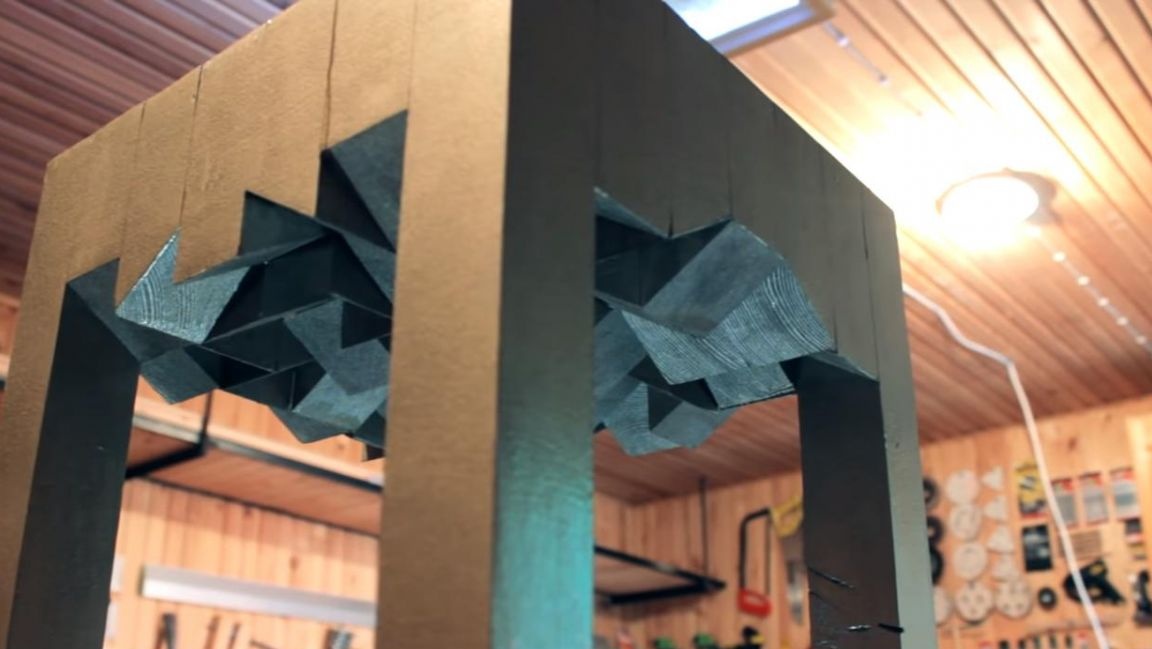
After polishing all 45 workpieces, we go to the legs of the stool, their right angle looked too simple, so you need to do something with them. We place the wooden leg of the future stool relative to the saw at an angle of 45 degrees and make a cut at an angle of 30 degrees, after which we also grind the edges and remove burrs.
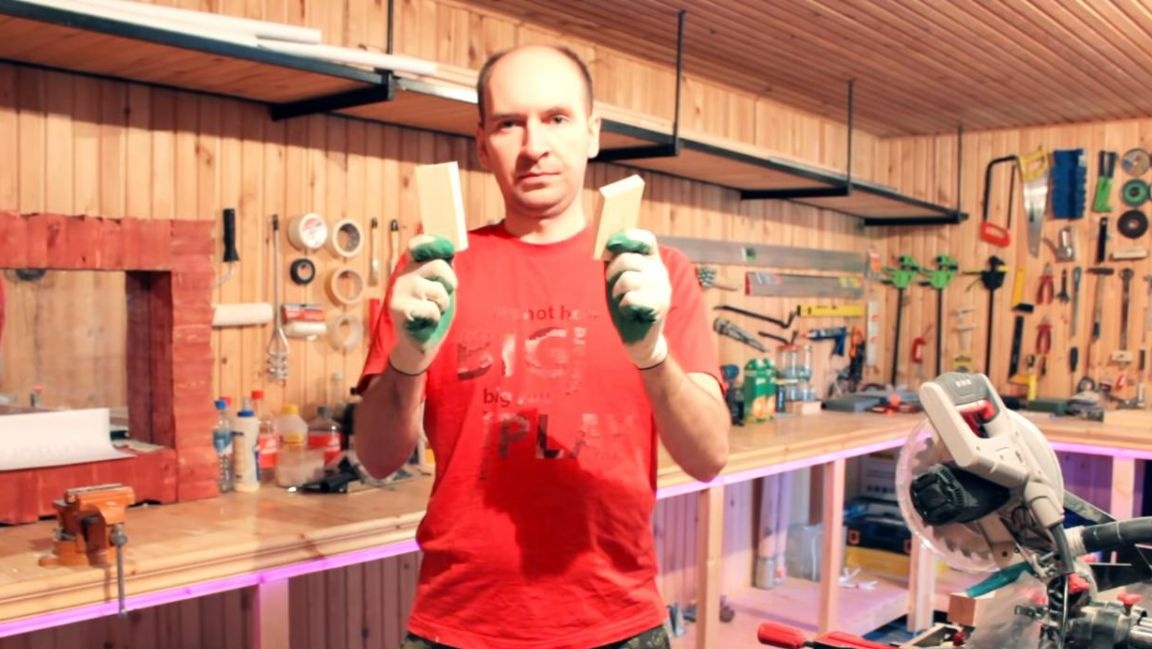
As a result, we got such legs with an unusual cut.
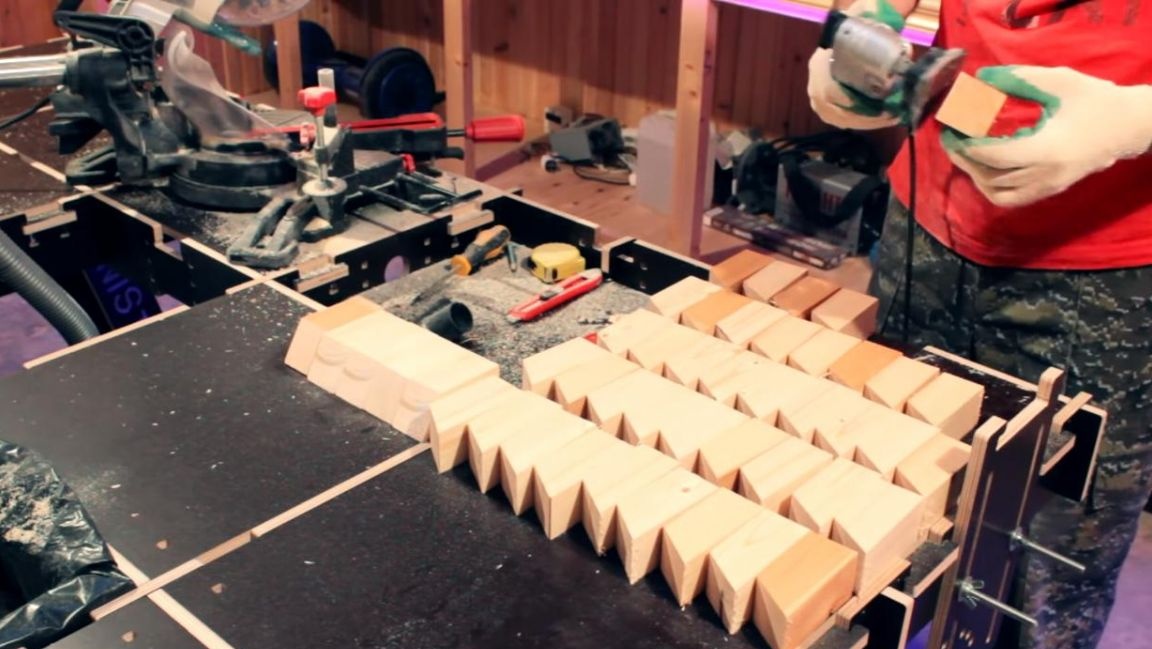
Step Four
We assemble all the details in a single design. We arrange 100 mm segments together with legs in a chaotic manner, so that in one row we get 7 pieces.
Next, we lubricate the bonding places with carpentry glue and with the help of a building level we level the plane of the parts. After the first row, we establish the subsequent rows, smearing the joints with glue.

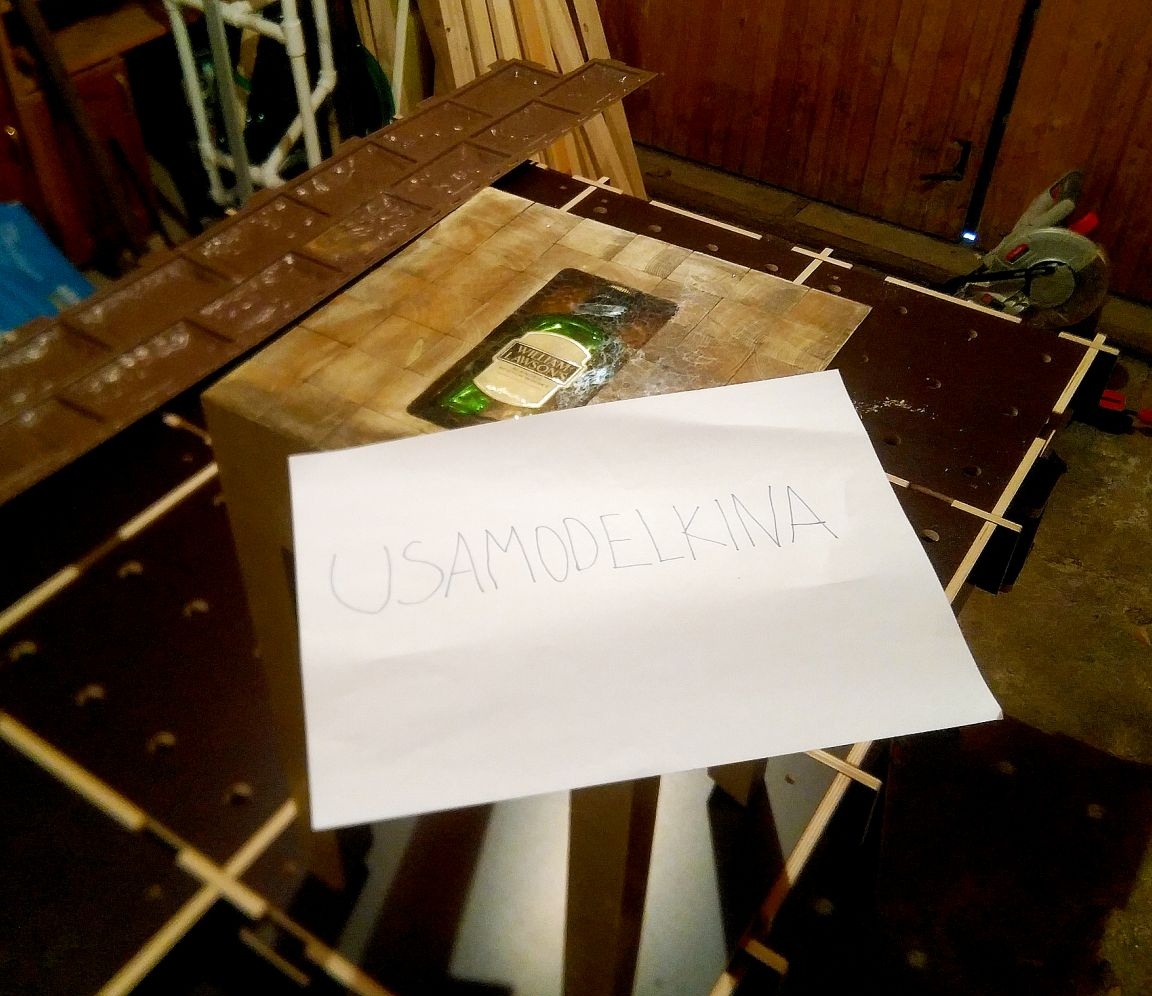
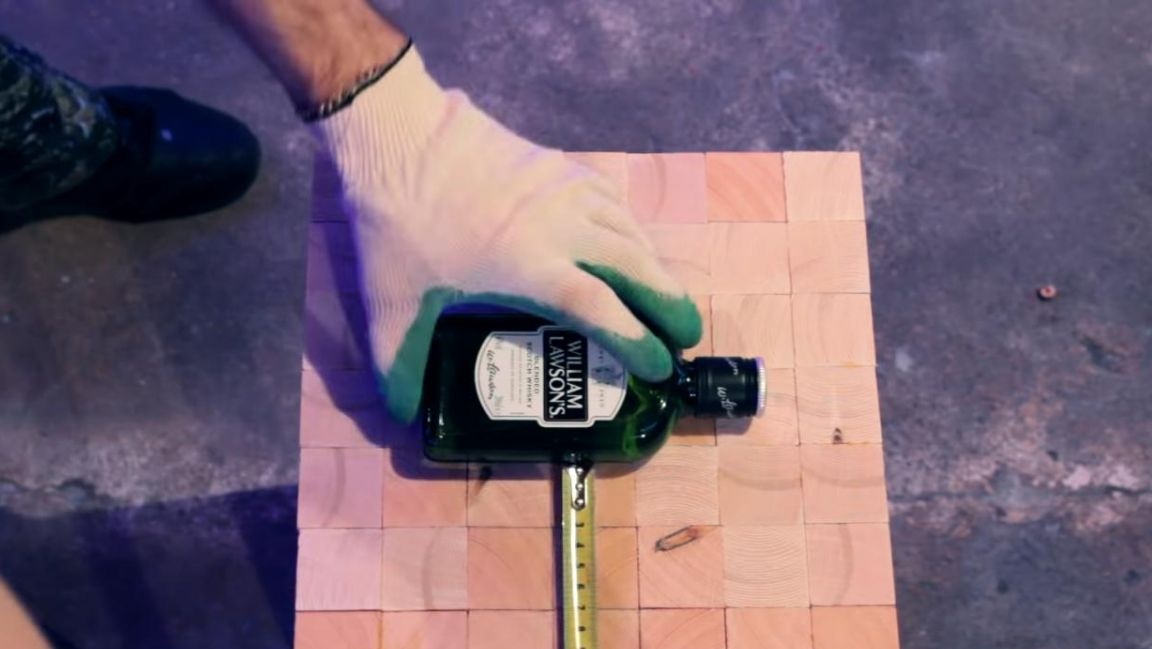
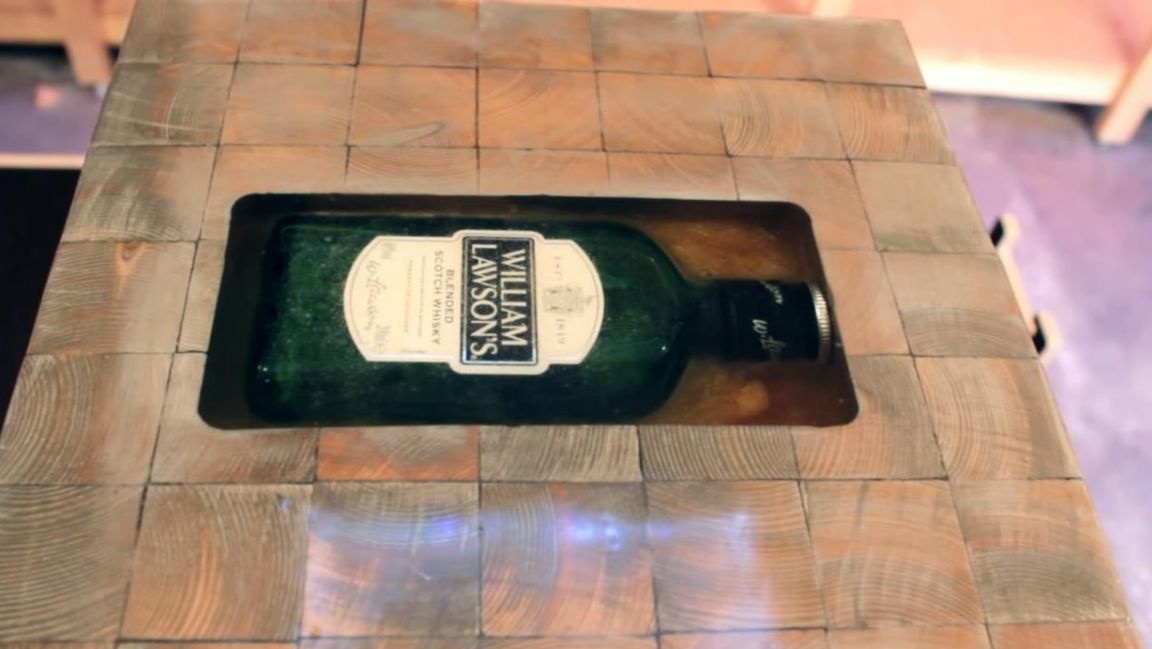
But since the stool in this case will be original, it must be decorated with a bottle of whiskey. We place the bottle strictly in the middle of the chair and circle the outline with a pencil, then attach the chair to the workbench.
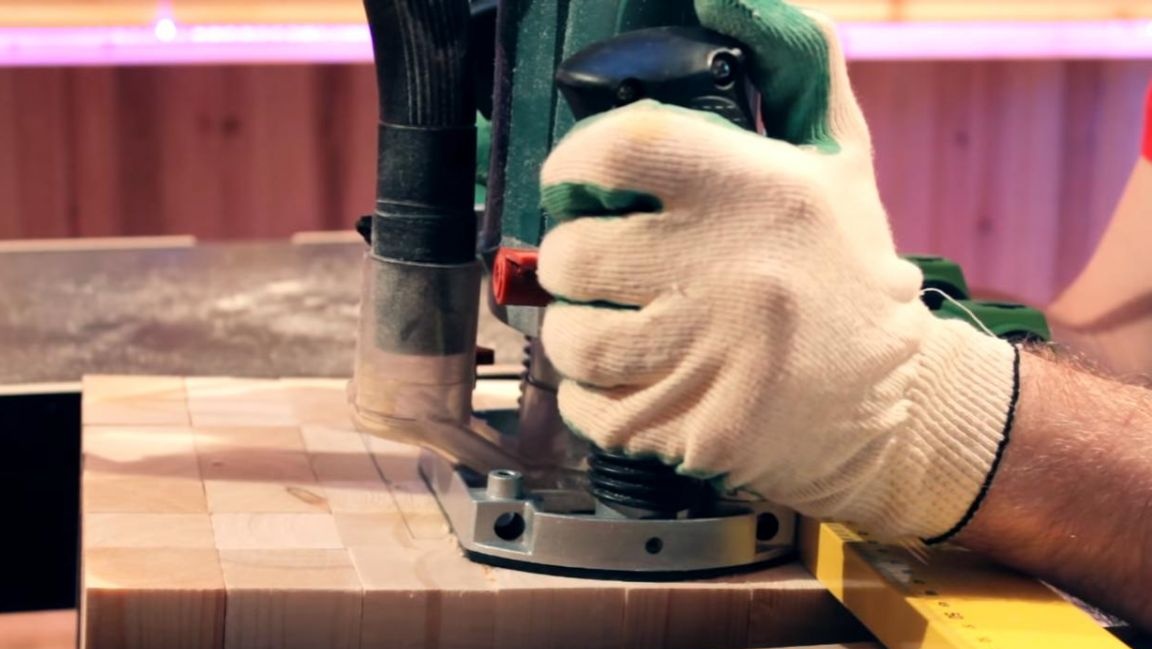
The level will be used as a guide for the manual milling machine, it is pressed to the stool with a pair of clamps, after which we milling a groove with a depth of 35 mm.
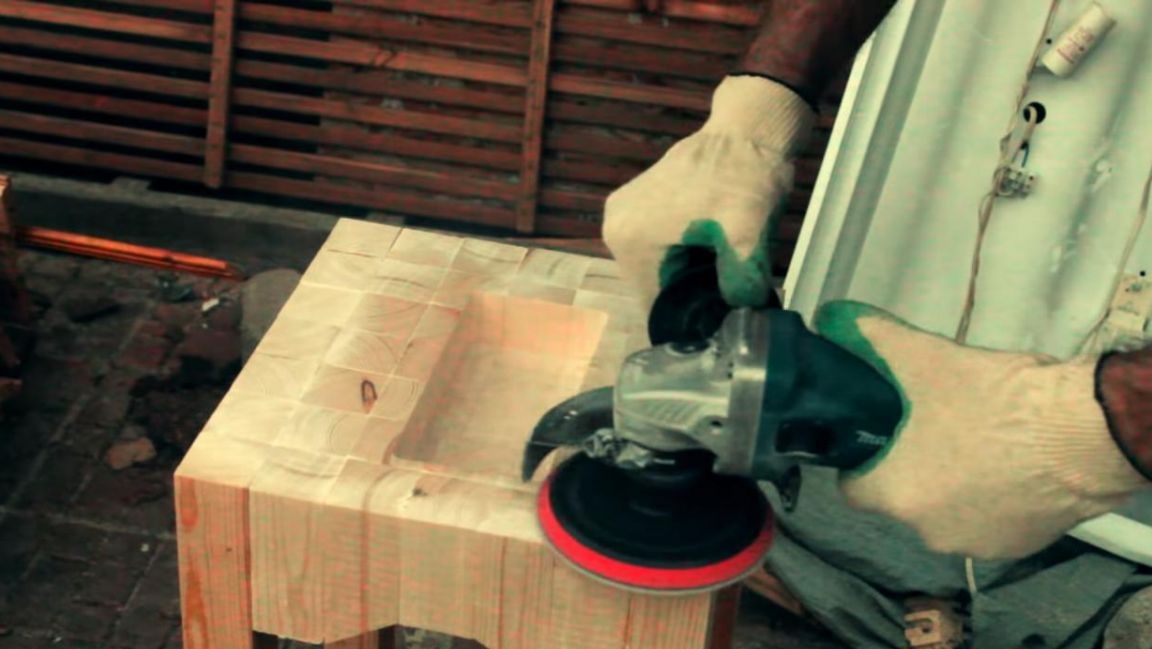
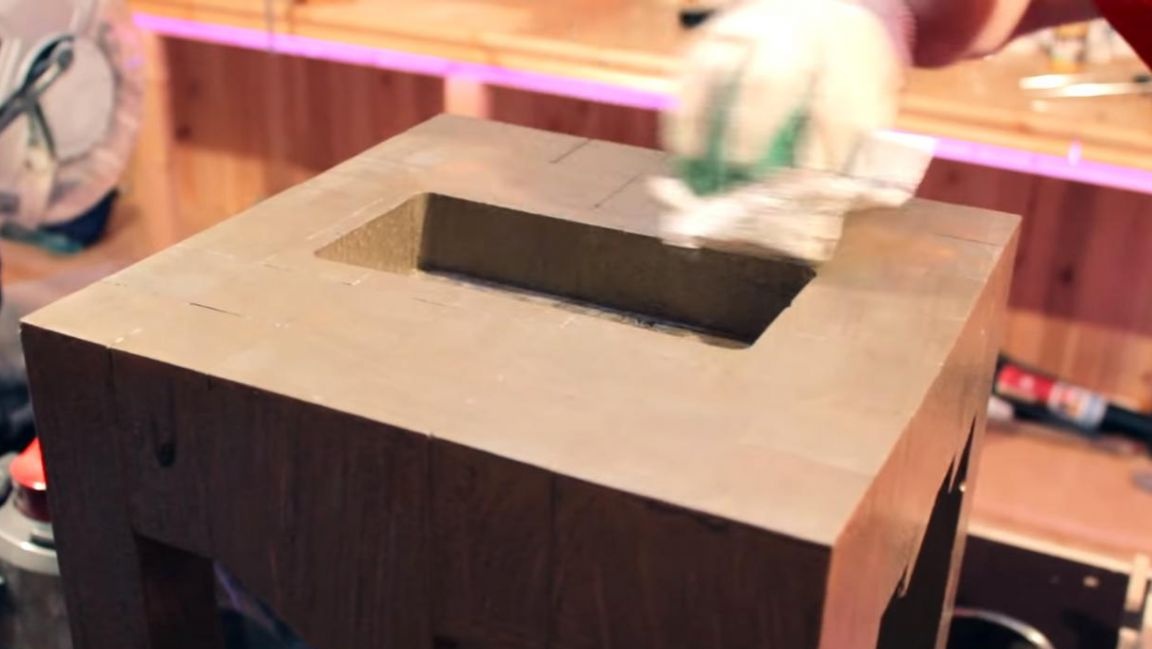
Next, we rearrange the stool on the other side and do the same until we get a rectangular recess 35 mm deep under the bottle. After that, we grind the surface of the chair using an angle grinder and a grinding wheel, thereby leveling the plane.
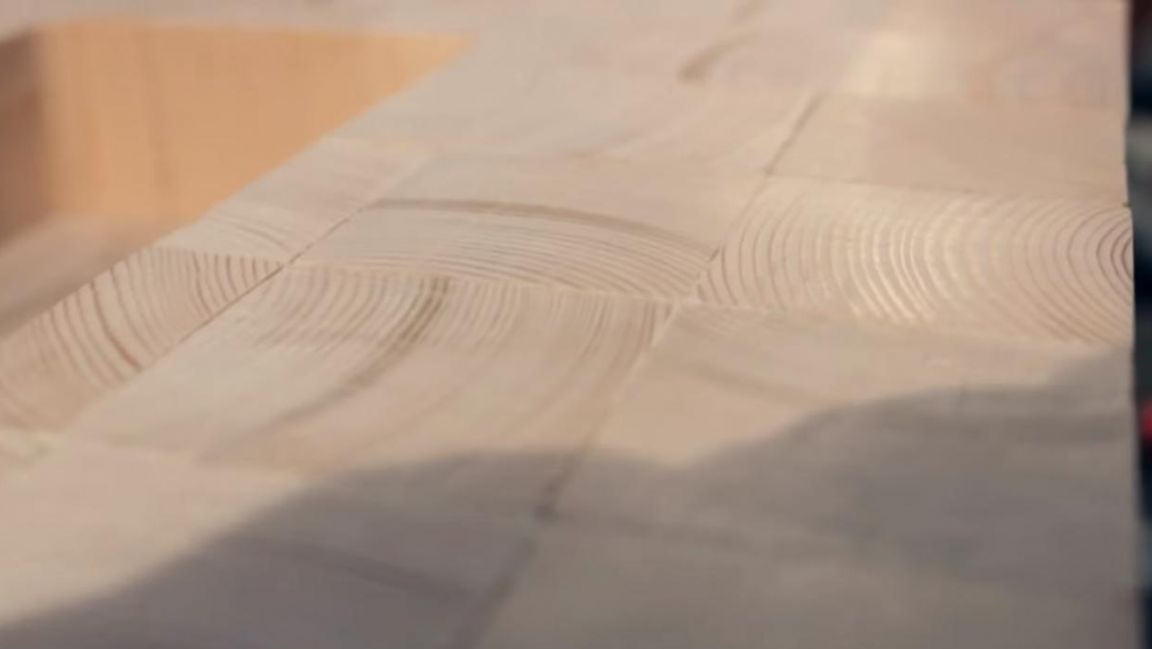
After grinding with angle grinder, such a smooth surface is obtained.
Step Five
It's time to slightly transform the look of the stool. Open the can of gold enamel and paint the chair seat with a wide brush, as well as legs.

It turned out that painting a chair in such a color was not the best decision, so I had to remove the paint a little, until it dried with a paper towel, so the wood texture became visible, which was necessary.
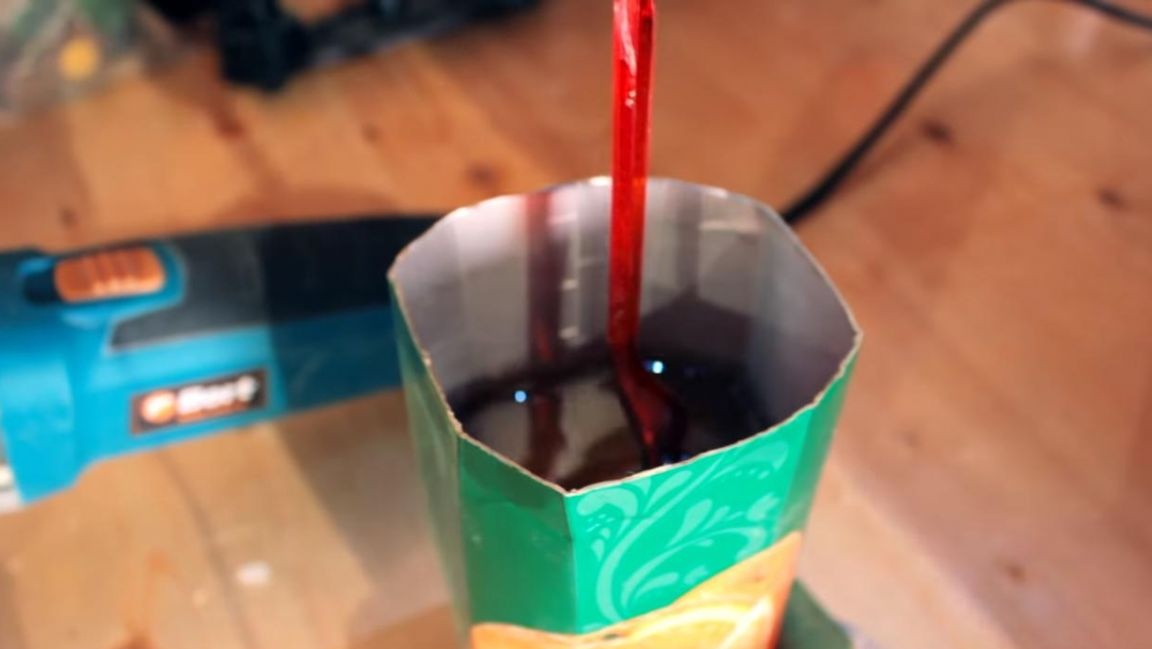
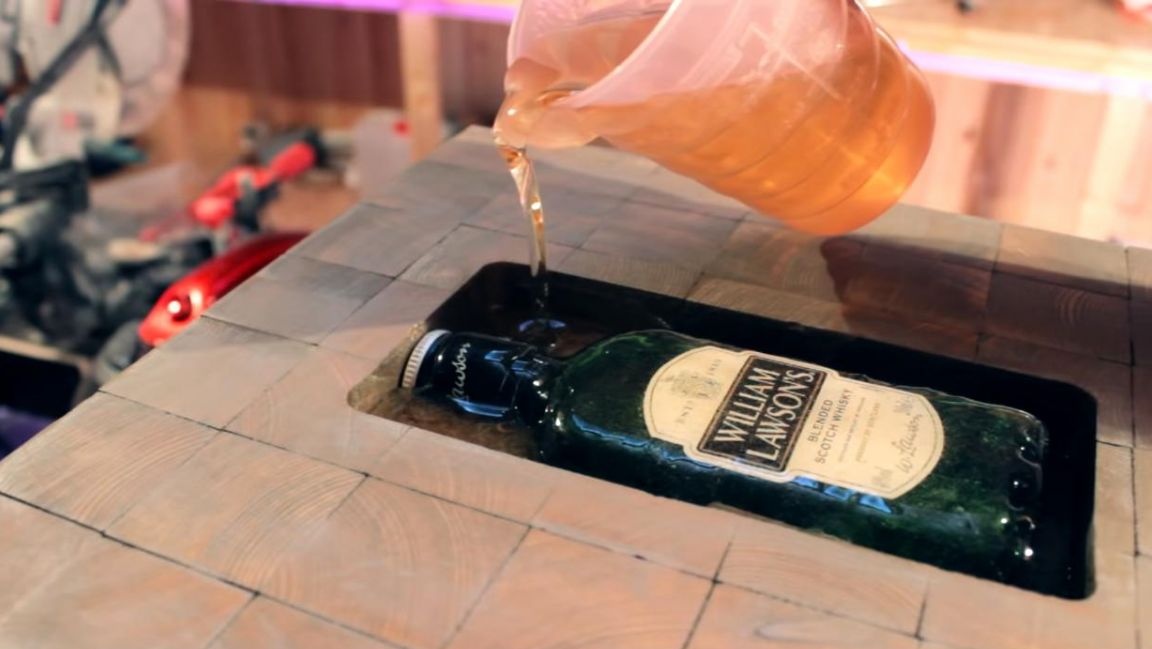
Next, add the epoxy resin to the container, then mix it with the hardener using a plastic disposable fork, clamped into a screwdriver, observe the proportions when mixing and allow the epoxy to warm up in a warm place, for example, in the sun.
We put the bottle in the recess and fill it with epoxy, the diluted volume was not enough the first time, so we knead one more time.
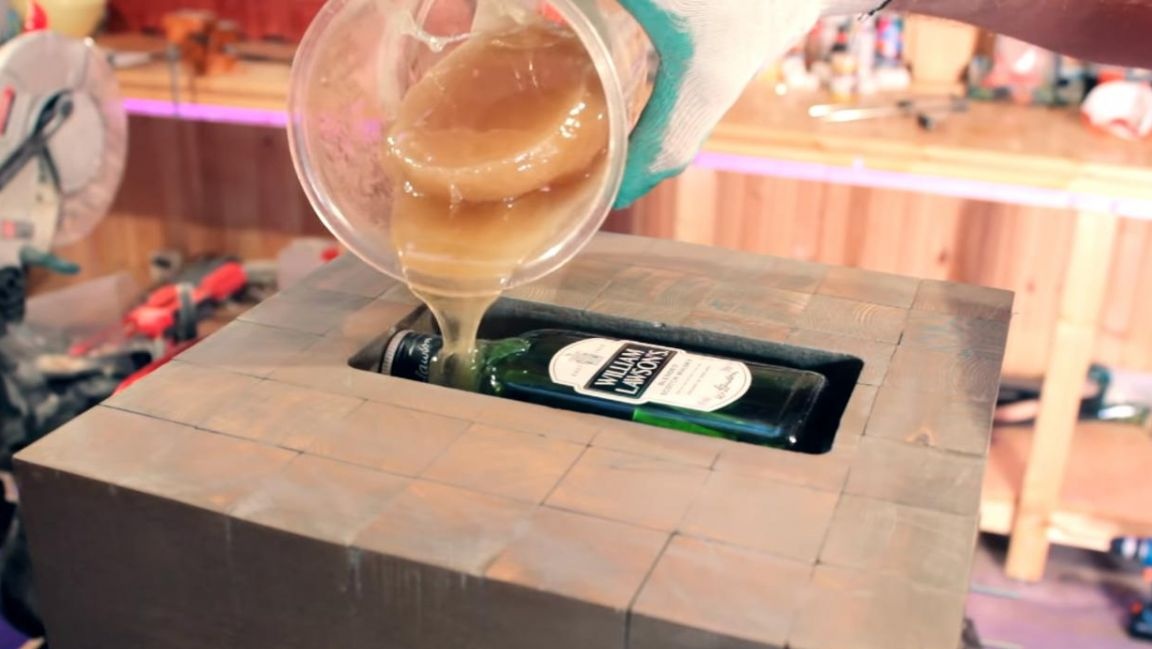
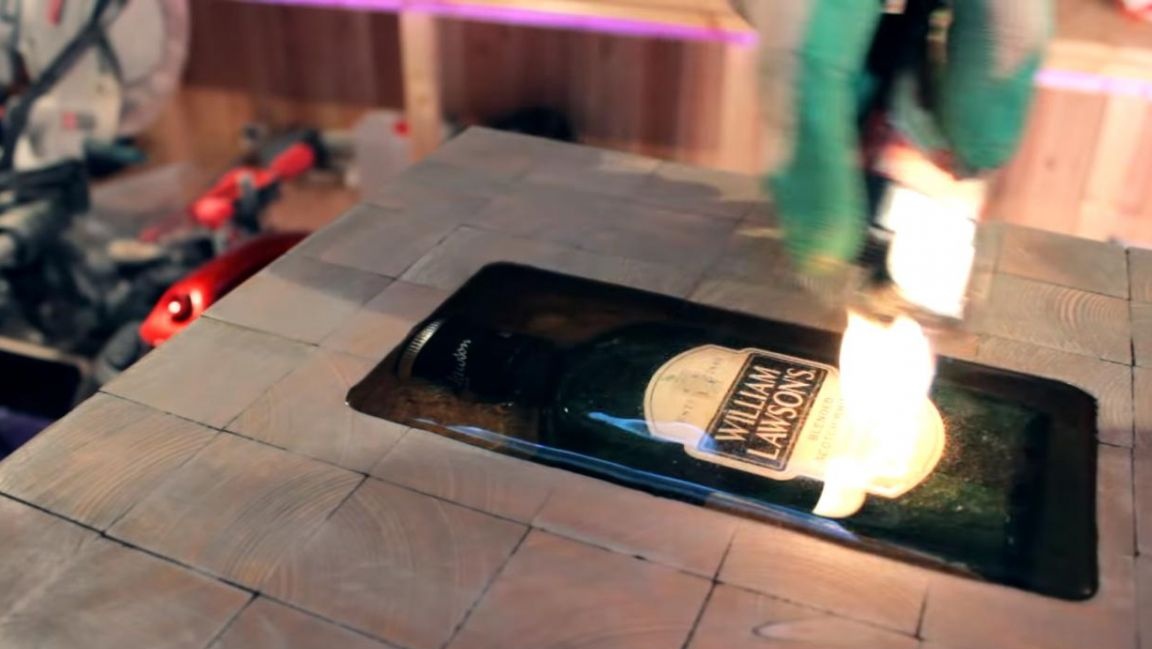
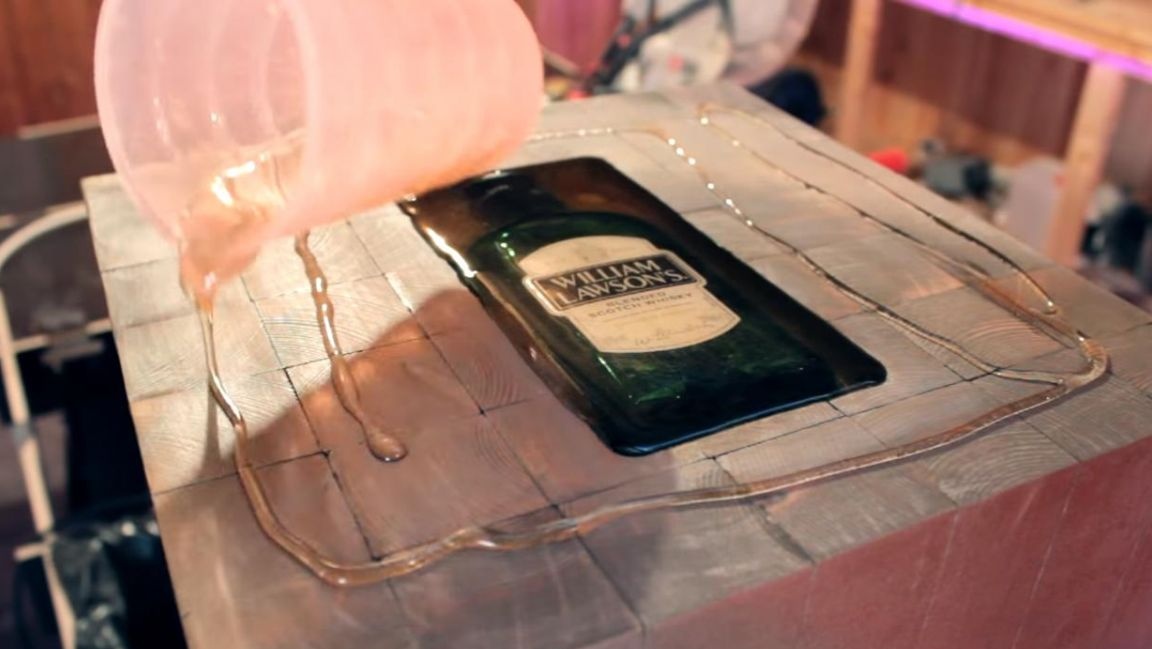
Fill the epoxy resin to the very top in the recess, and also pour it on the very surface of the chair, the bubbles formed we remove the flame of the lighter.
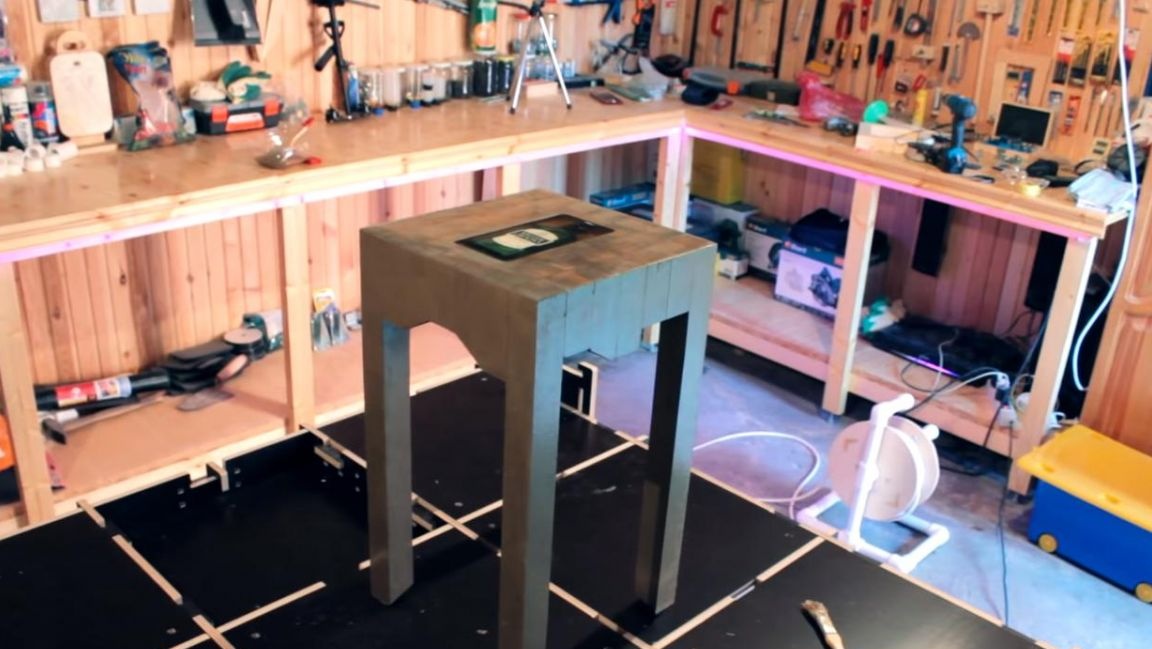
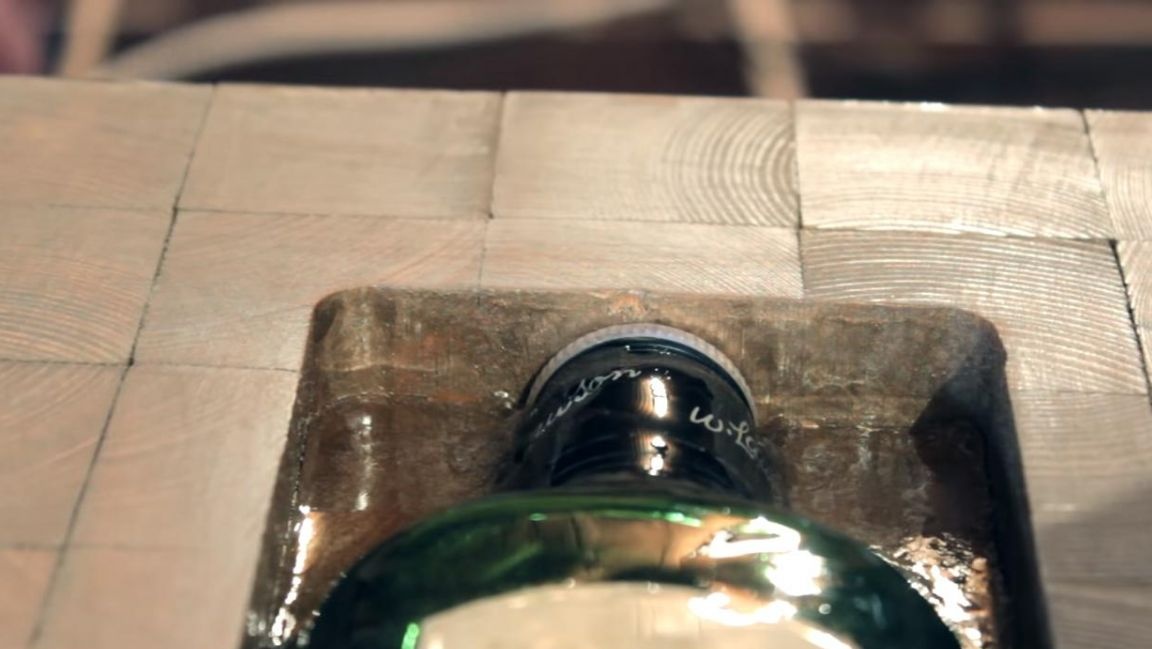
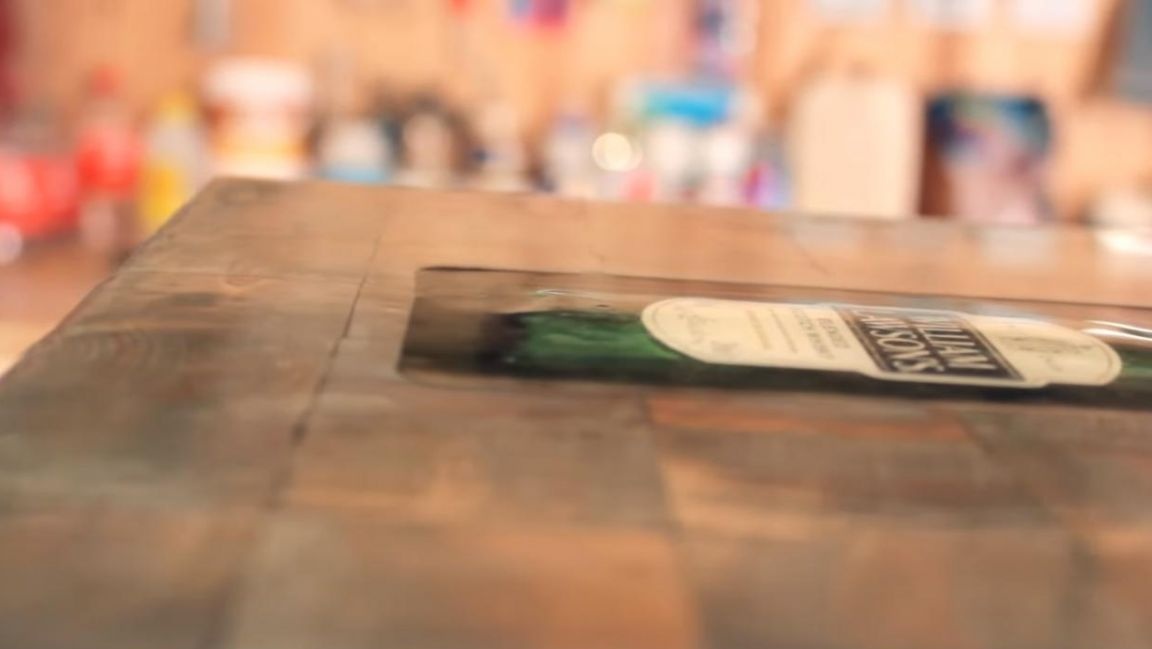
Leave the stool to dry with paint and epoxy for one day. After drying the paint and hardening of the epoxy, a rather nice stool with its zest, namely a bottle of whiskey inside the seat, turned out.
The surface of the epoxy seat shines beautifully in the light, which also gives the stool beauty.
So the stool looks from below, randomly located saw cuts look beautiful and unusual.
Such a stool can be presented to relatives or friends as a sign of friendship, and with a great desire, you can make the whole kitchen corner original of furniture.
That's all for me, thank you all for your attention and creative success.