
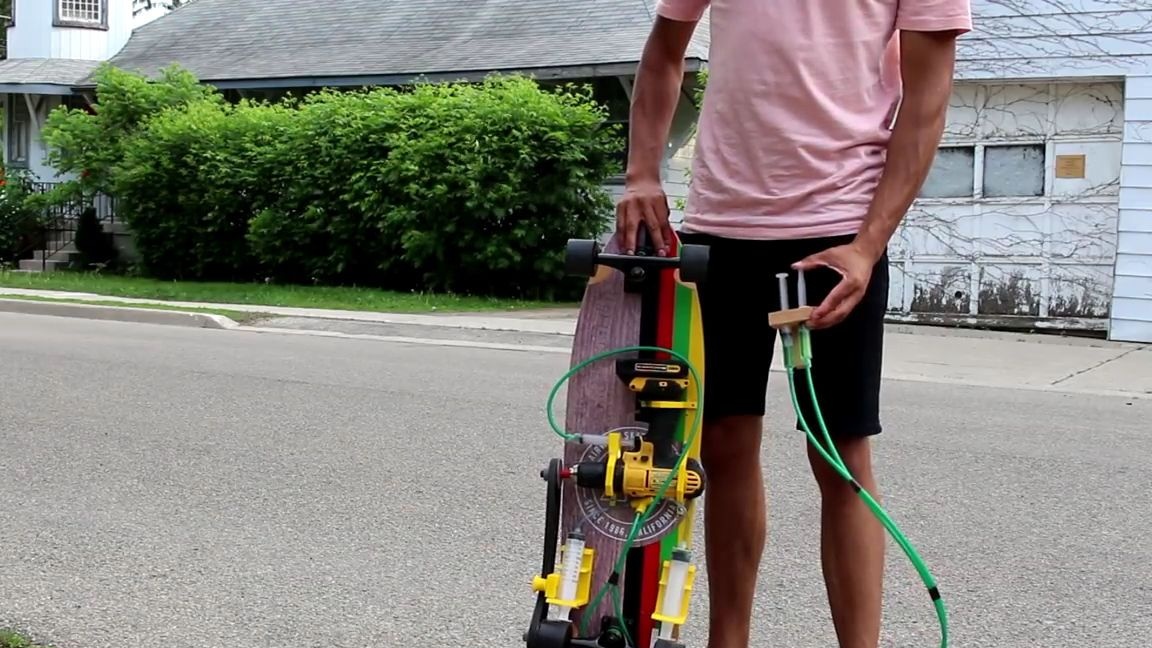
Good day to all dear friends! In today's article, I would like to show you a rather interesting idea on how to make a simple electro-skate with control, which will be carried out using ordinary syringes and tubes. There is nothing complicated in its manufacture and almost everyone who has an extra screwdriver will be able to make it. Of course, this electric skateboard will not be as fast and practical as a purchase, and the battery supply of the battery is not so great, but as simple homemadethat can benefit and entertain in everyday life - it is perfect.
Well, we will not delay with a long introduction. Let's go!
And so, for this electro-skateboard we need:
-cylindrical wooden couple
self-tapping screws
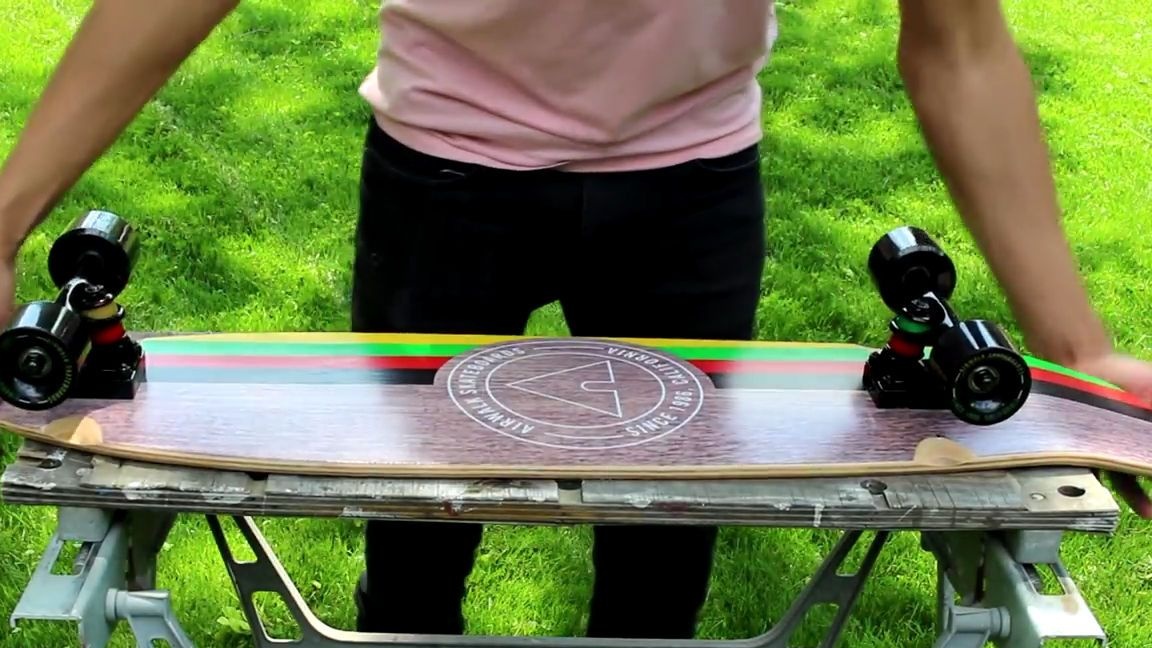
-longboard or skateboard (it is advisable to take not small sizes, it is best to generally large version)
screwdriver (the more powerful the better)
- tubes from a dropper
-unusual silicone tubes, slightly wider than the dropper tubes
plastic for 3D printer
-super glue (you can use terma glue, and even better, universal adhesive on a silicone basis)
two blocks
rubber ring or tape
- two large syringes
three medium syringe
splitter for dropper tubes
-wooden small platform or ordinary plywood
Of the tools we will also need:
-electric drill or screwdriver
metal drill
wood drill
self-tapping screws
epoxy resin (I think you can use cold welding)
-3D printer
-scissors
-marker
-saw or saw
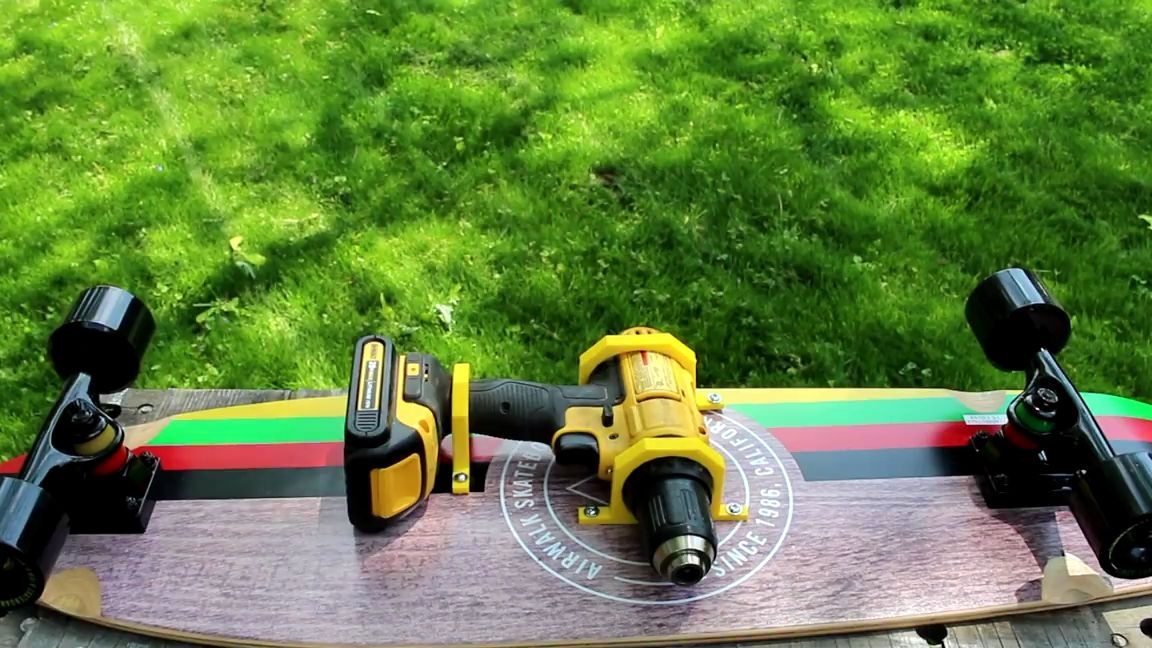
First of all, you need to figure out how the screwdriver will be located at the bottom of the skateboard. It will perform the function of an electric motor for the entire structure, as for me for a better use of this homemade product, it is best to completely disassemble the screwdriver, leaving only electronic stuffing, and then change the engine battery to a more powerful one, or some kind of graphene, which are used in radio-controlled models, or on the 18650 battery pack, which are put in many modern vehicles, even in many electric vehicles they are.True, batteries like 18650 can be potentially dangerous if they are not of high quality or defective, in high-quality and expensive versions there is little protection, anyway, no one is safe from fire and other things.
But if you install the screwdriver in the normal state (that is, without disassembling electronic components), then it can later be reused during the appointment, if it is simply removed from the design, the author of this article chose this option.
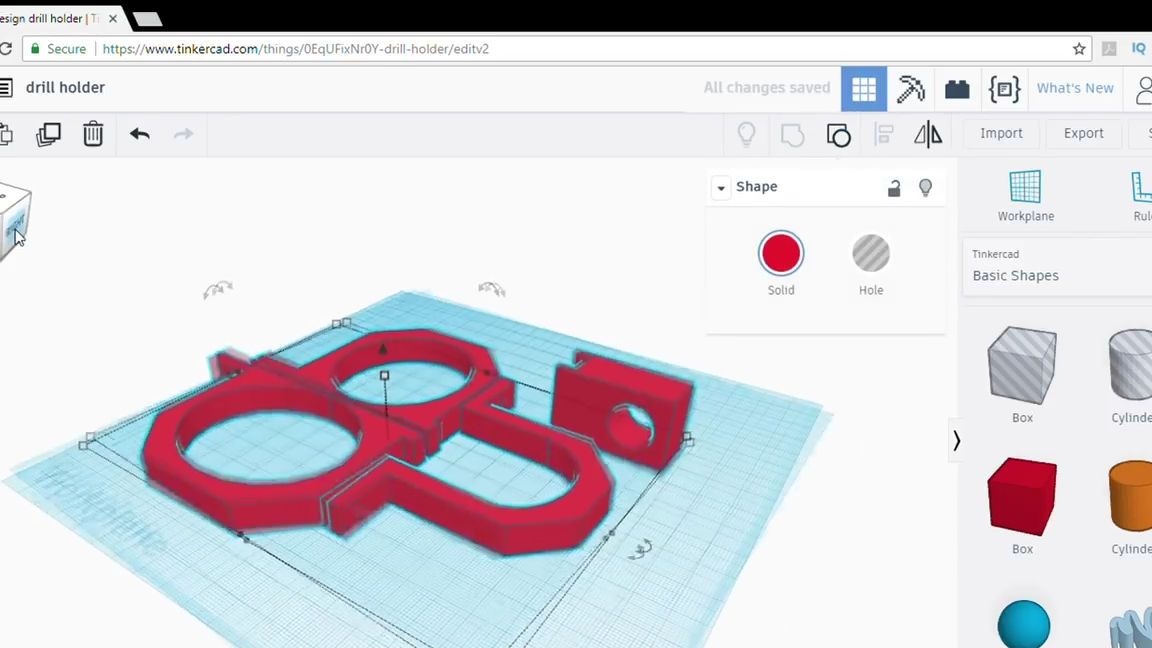
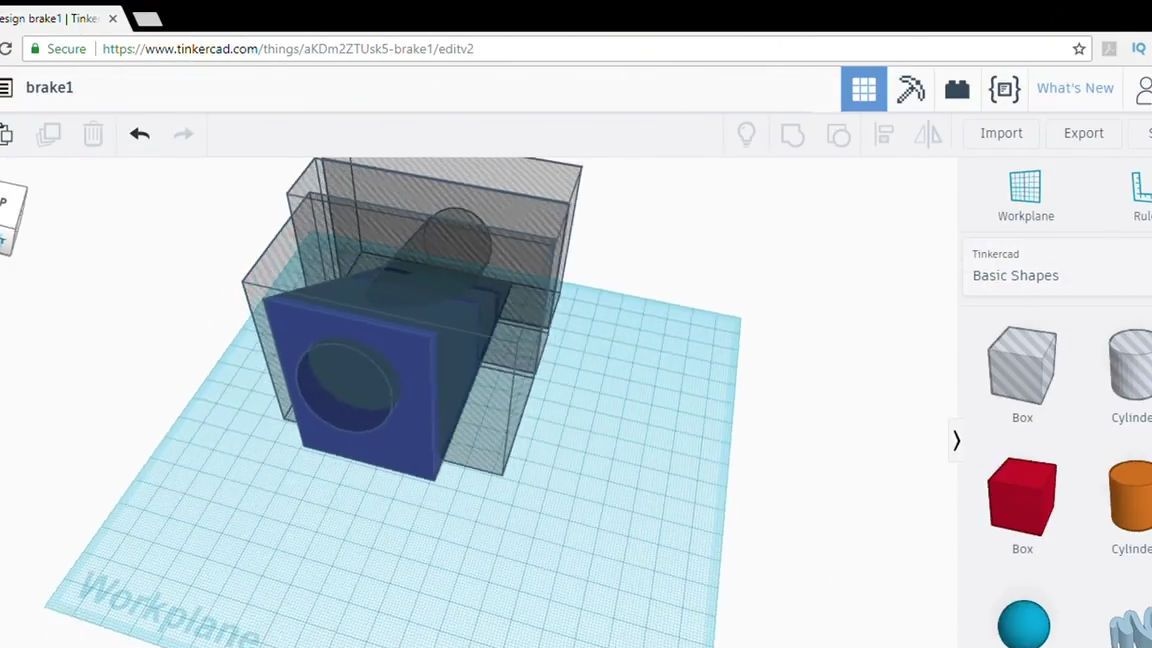
After you figured out how you will install the screwdriver and figured out the installation, you need to make the fastening elements of the screwdriver. The author of the video made them using a 3D printer, and if you are the proud owner of this tool, you are very, very lucky, by the way, now 3D printers are relatively affordable and you can even make them yourself.
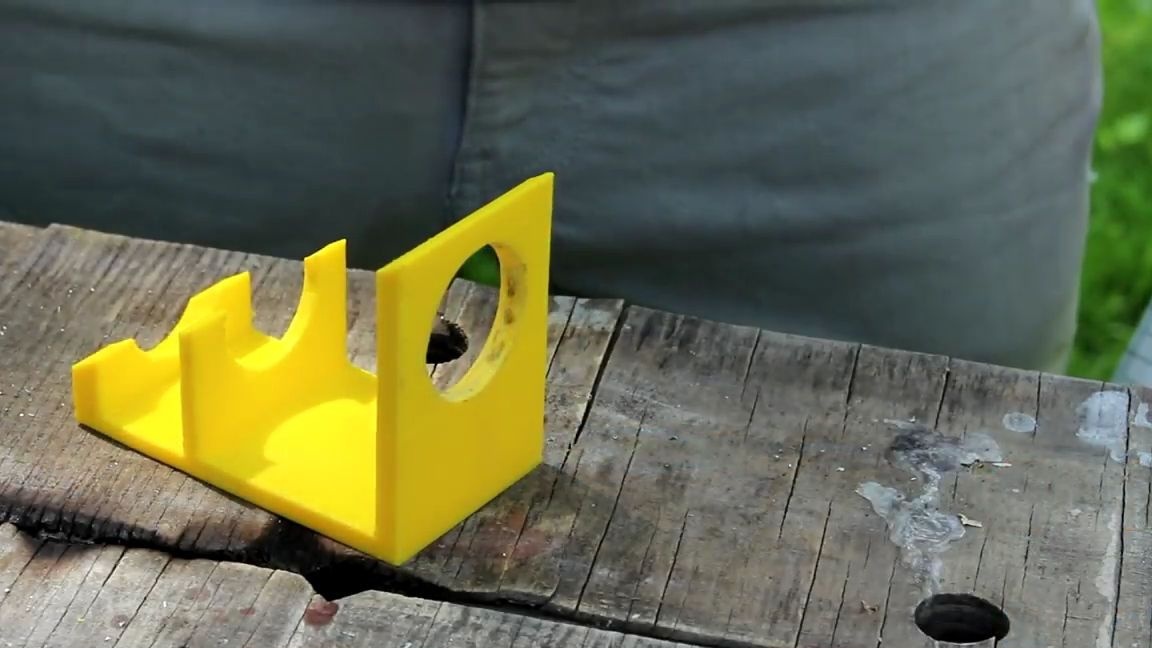
In the development environment of three dimensional objects, we design fasteners for the desired screwdriver and begin printing parts. You can see how the details should look in the photo below, in general, the main thing is that these parts can reliably fix a screwdriver on a moving board:
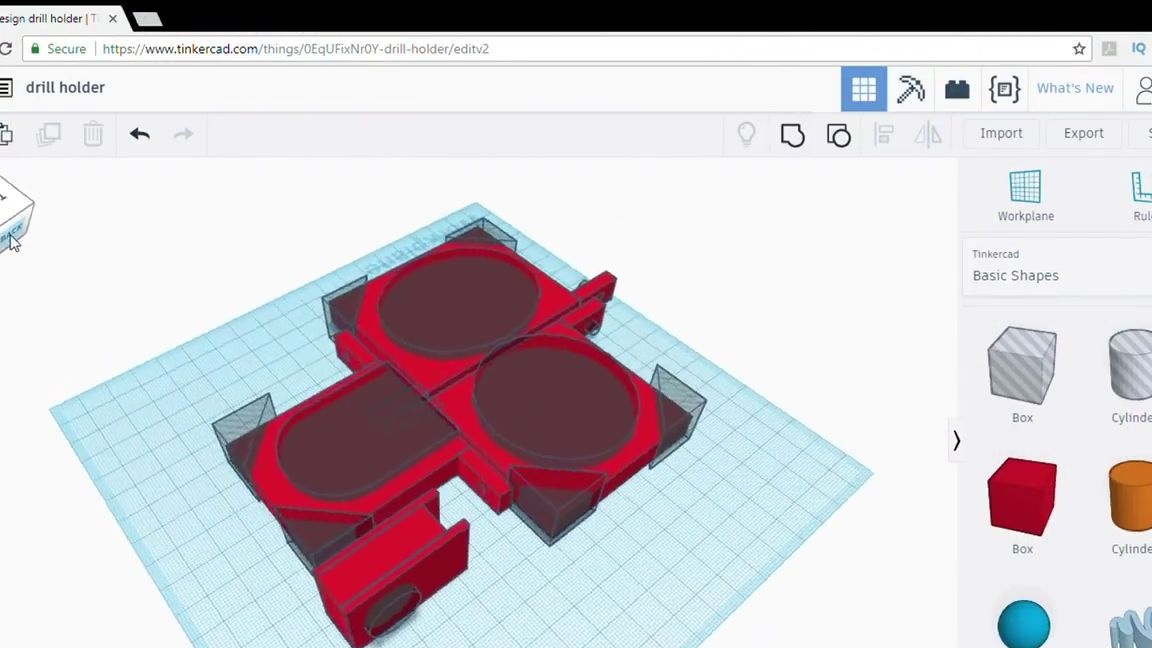
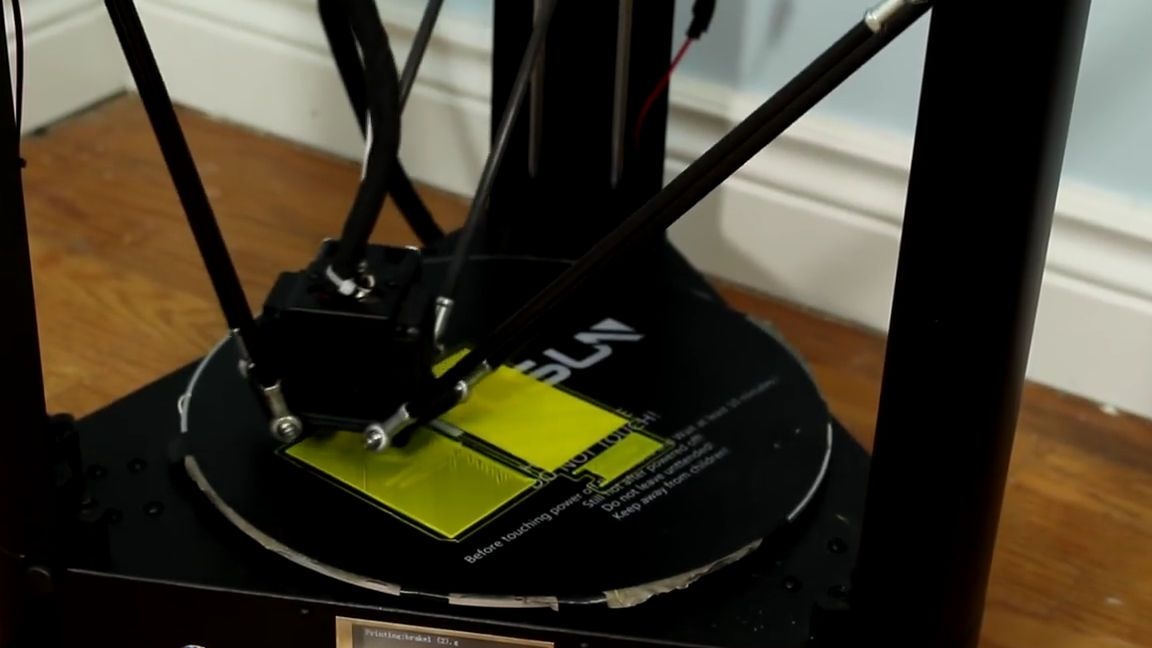
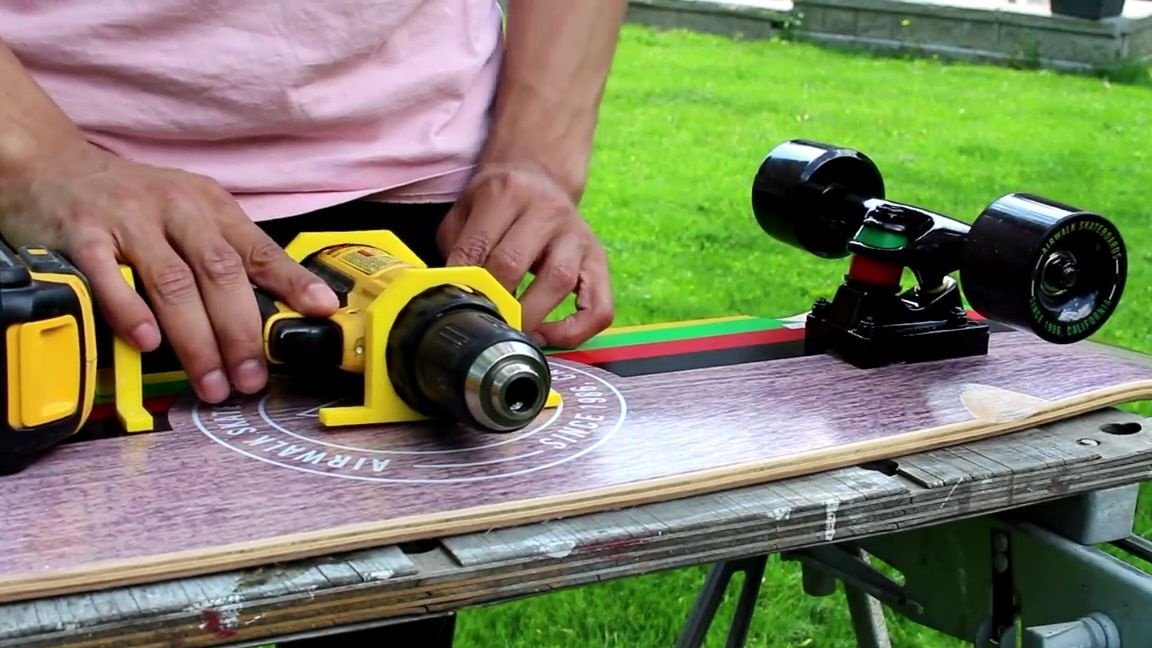
After they did, they were printed, you need to fix them with a screwdriver using self-tapping screws. Then we check whether the sharp edges of the screws protrude onto the outer part of the board, if they do not protrude, then everything is fine and this means that you correctly selected their length relative to the thickness of the board itself and the thickness of the parts. If the sharp edges of the screws protrude, then urgently they need to be isolated somehow, or it is best to gently grind. The screwdriver should be approximately in the center of the board:
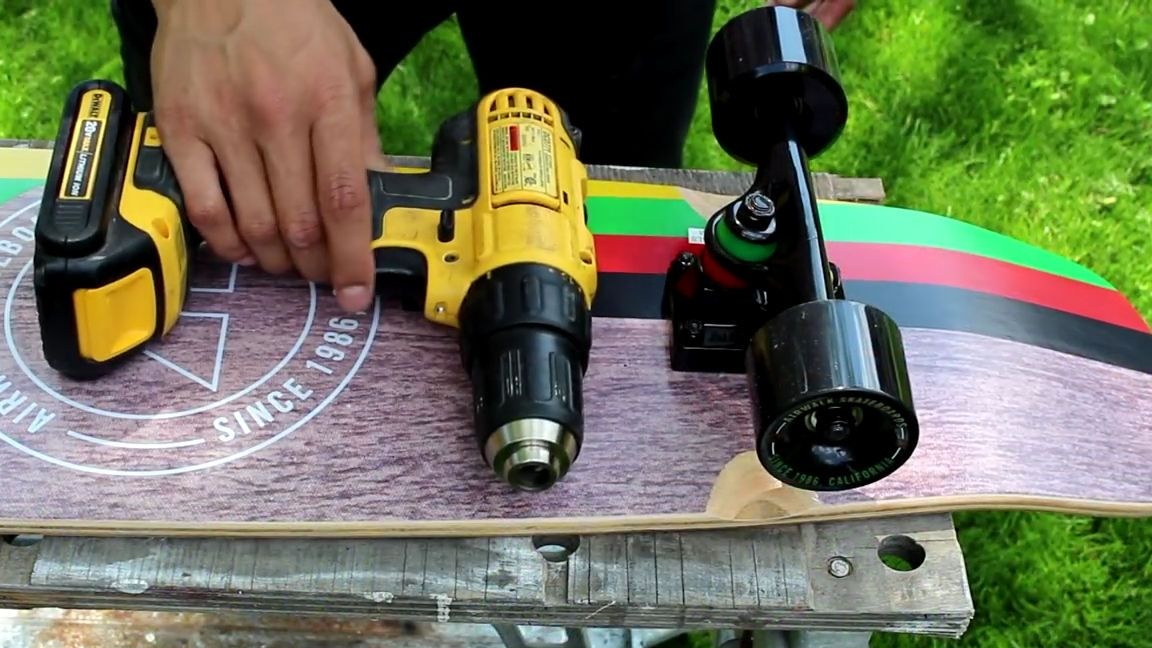
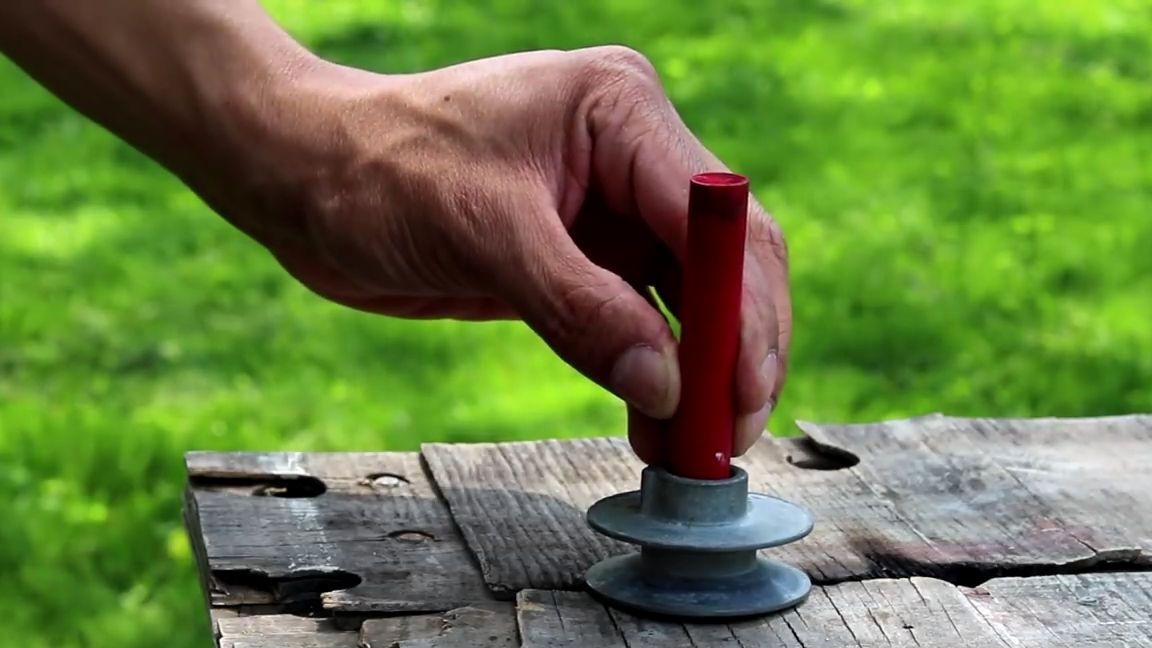
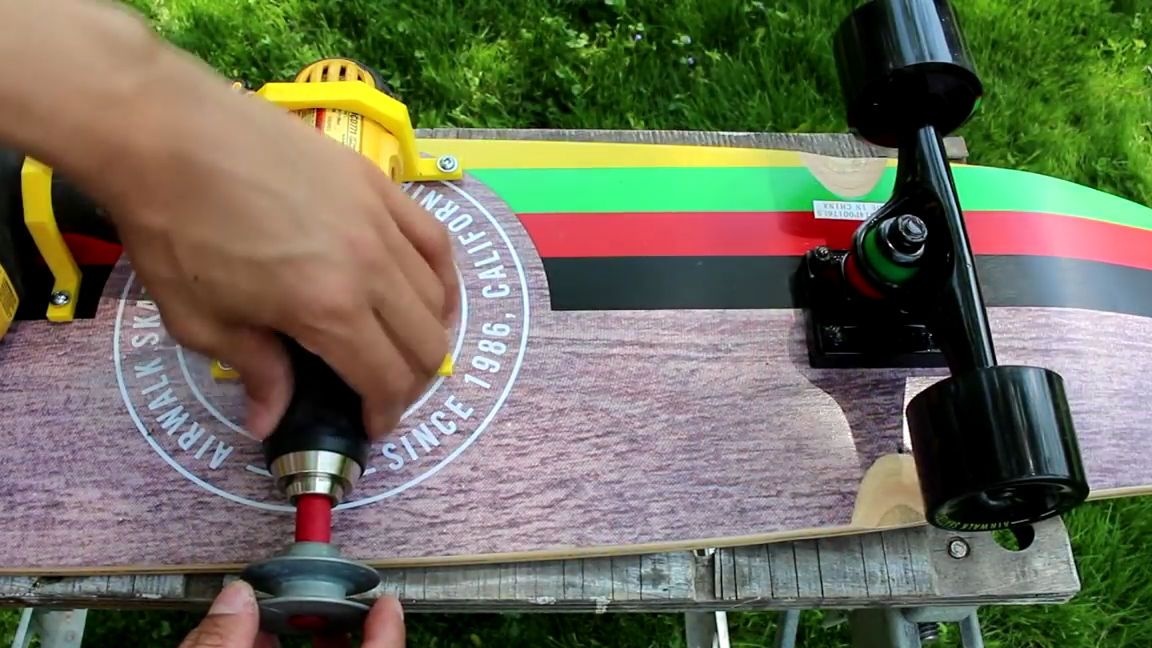
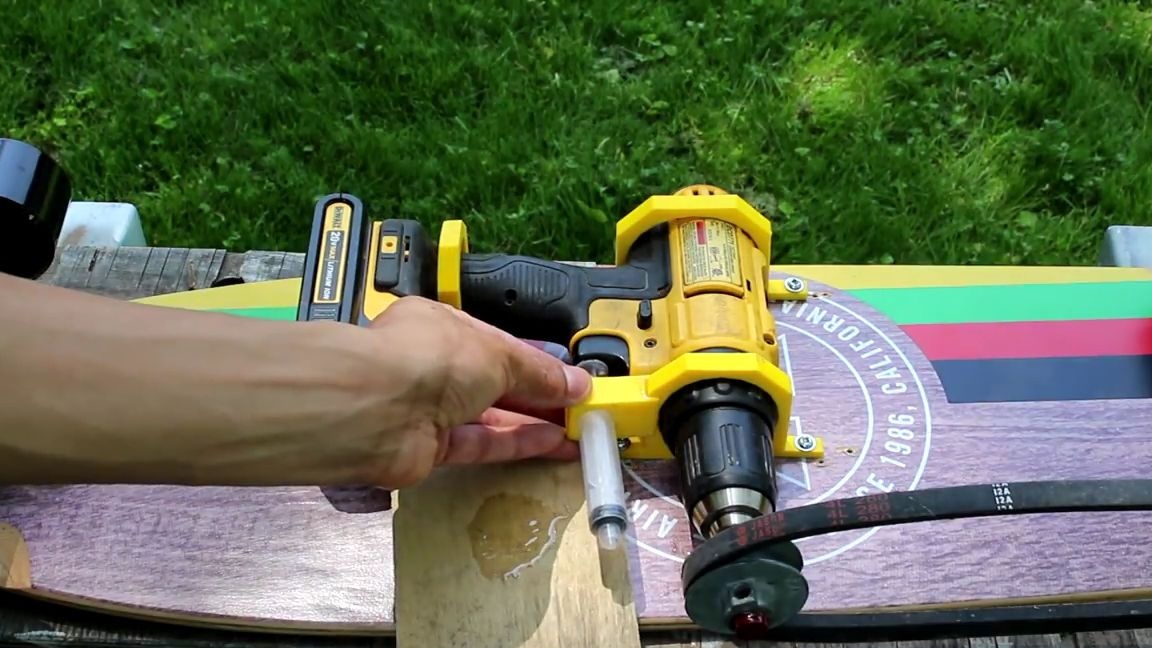
We take a metal block and a wooden stick in the shape of an elongated cylinder, it is important that its diameter is approximately equal to the diameter of the hole of the central axis in the block. We measure the required length from the stick, and then cut it off with a hacksaw or saw, after which we insert the resulting workpiece into the hole in the block and drive it in with a normal hammer or mallet, so as not to damage the wooden workpiece, and the block itself is still better just probably use a mallet.
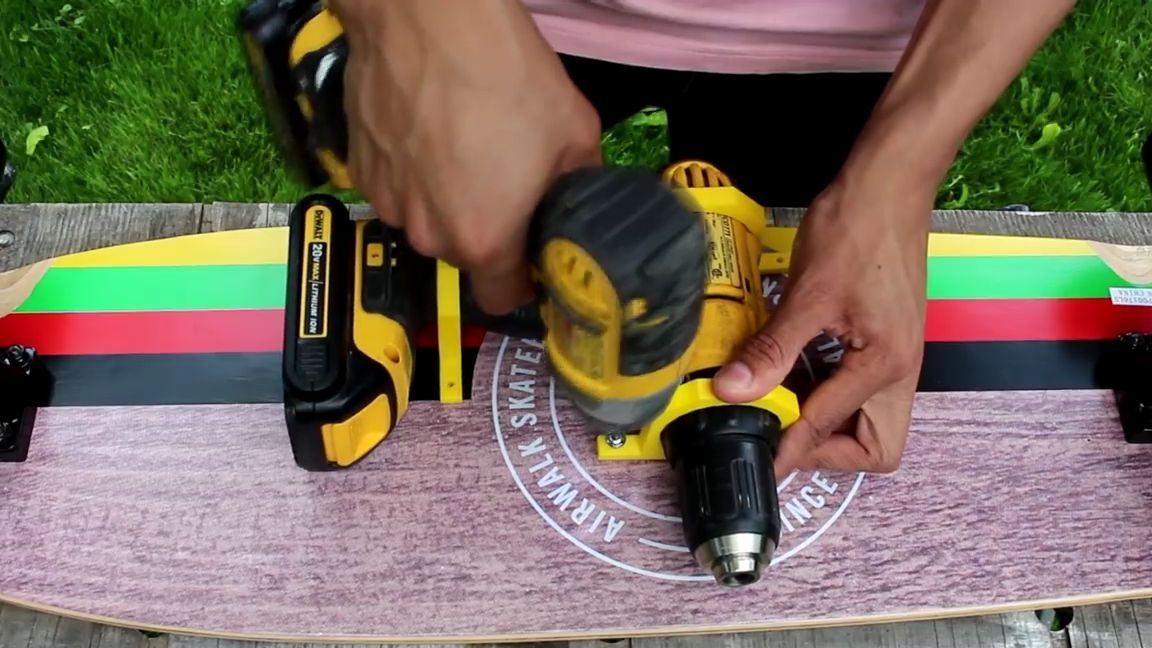
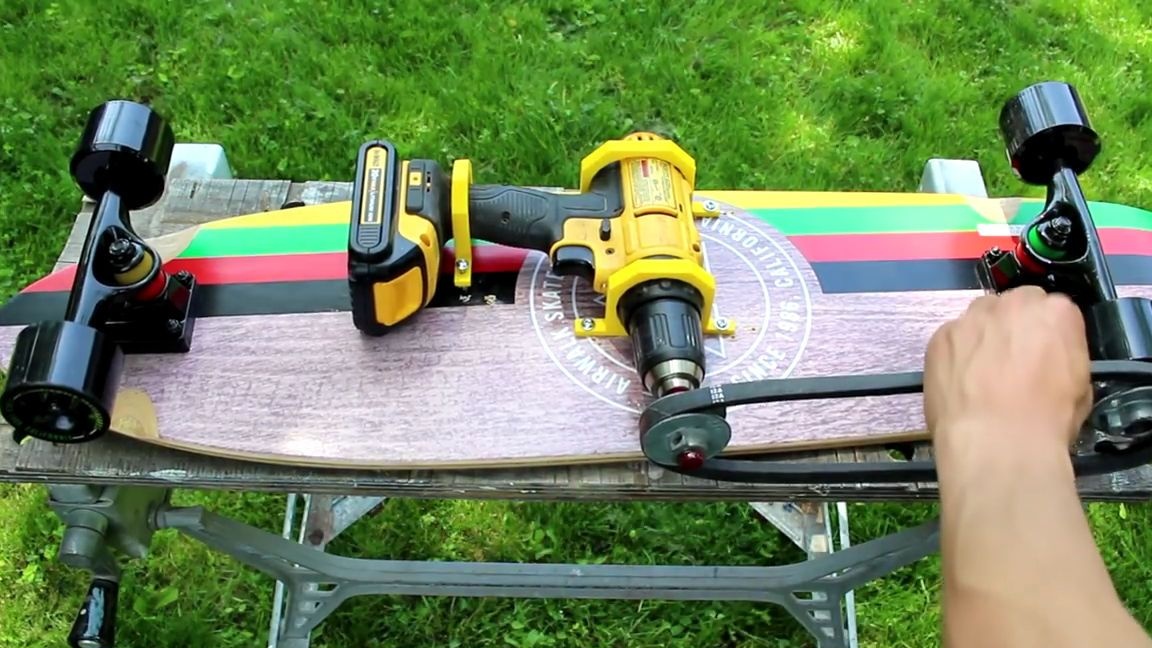
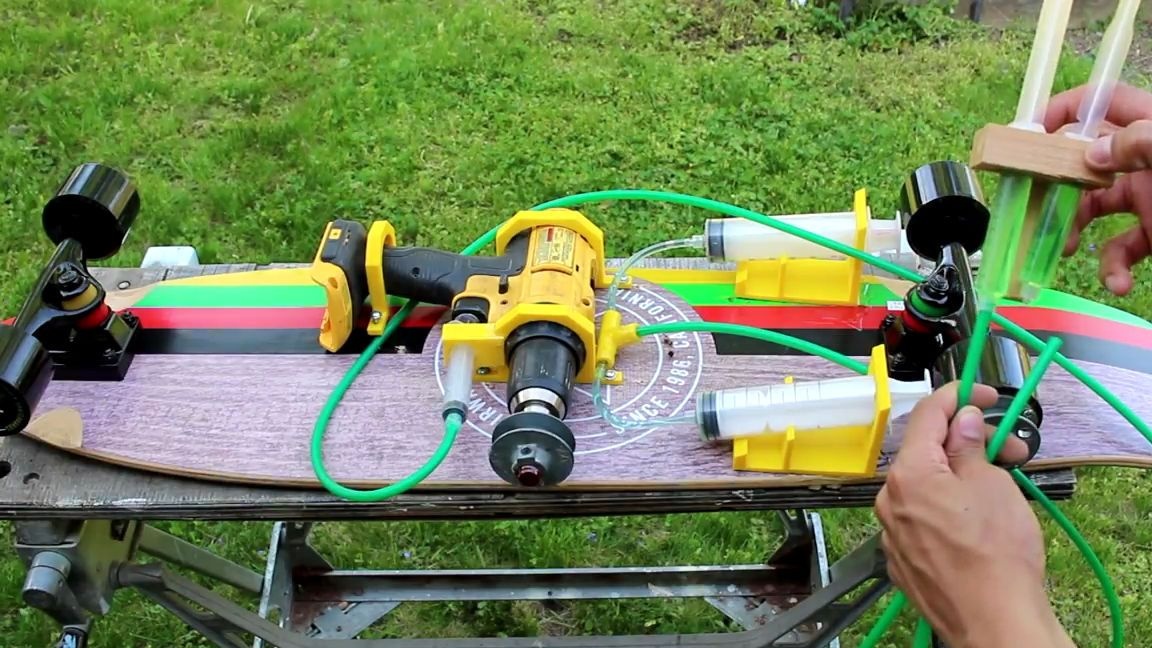
We insert the resulting workpiece into the chuck of a screwdriver and fix it there. The block should go slightly beyond the edge of the board and be on the same level with the extreme wheel. In general, you need to do everything as shown in the photo below:
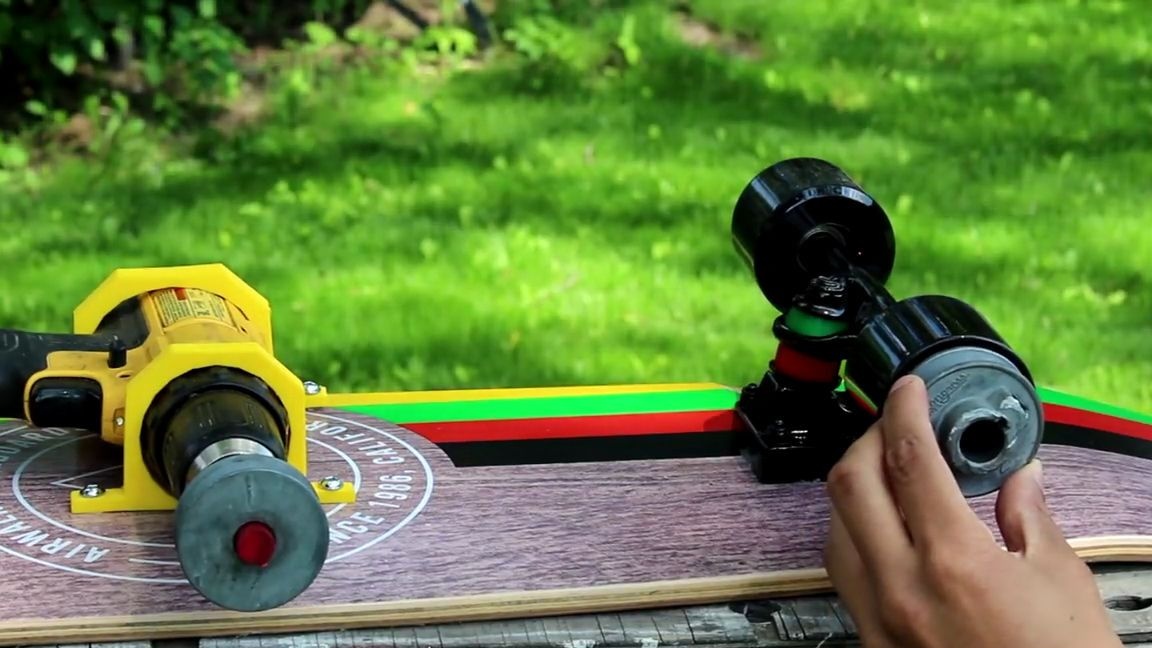
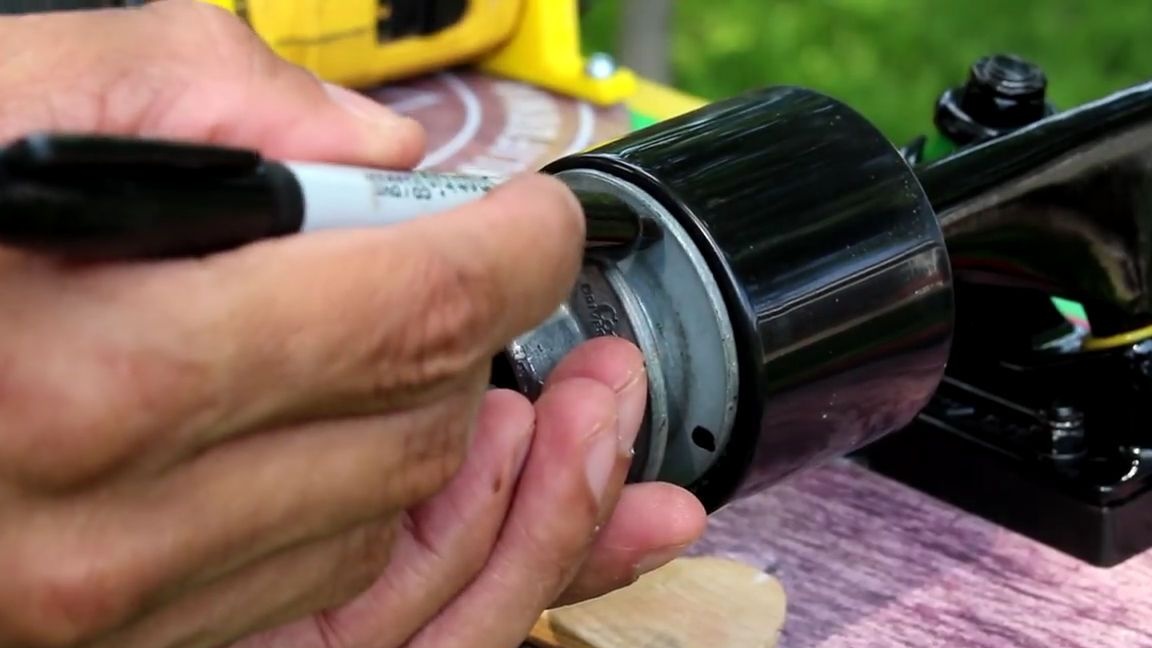
To that wheel, which is on the same level as the block attached to the screwdriver, you need to attach another similar block and make four marks on it, at an equal distance from each other, this is best done with a marker, but you can try with a helium or capillary pen:
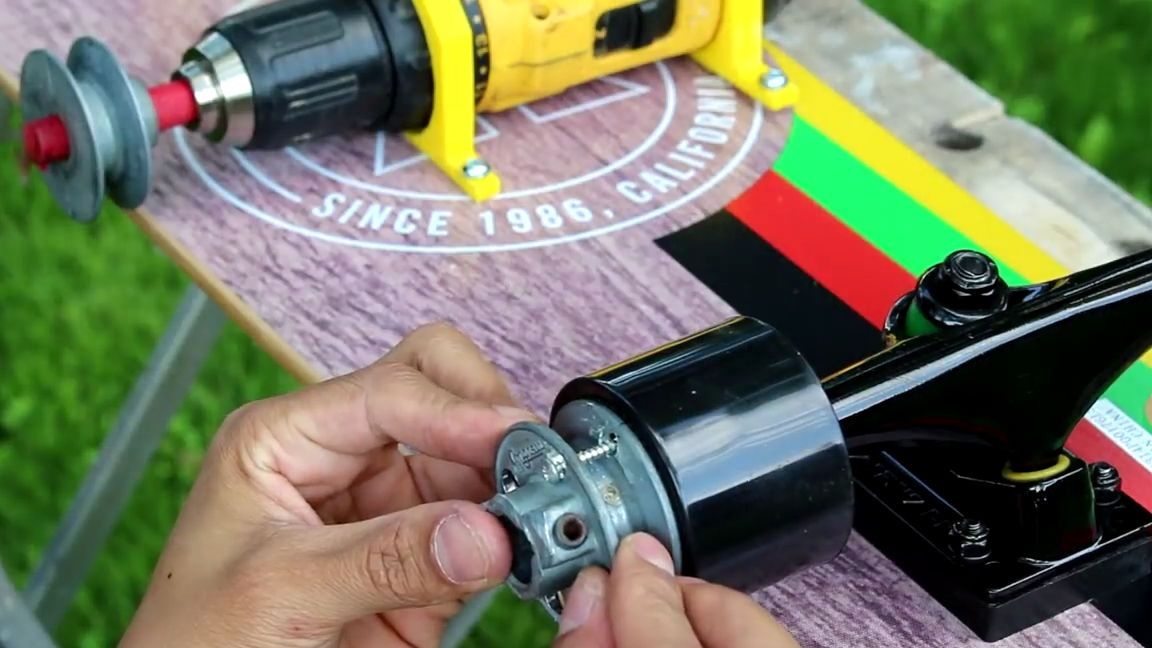
Then, using another screwdriver, or using an electric drill and drill for metal, we drill through holes in the marked places. After which we attach the block and the wheel with screws as shown in the photo below:
We put on a rubber band on the resulting block structure, it should be worn so that it is in a light stretched condition.
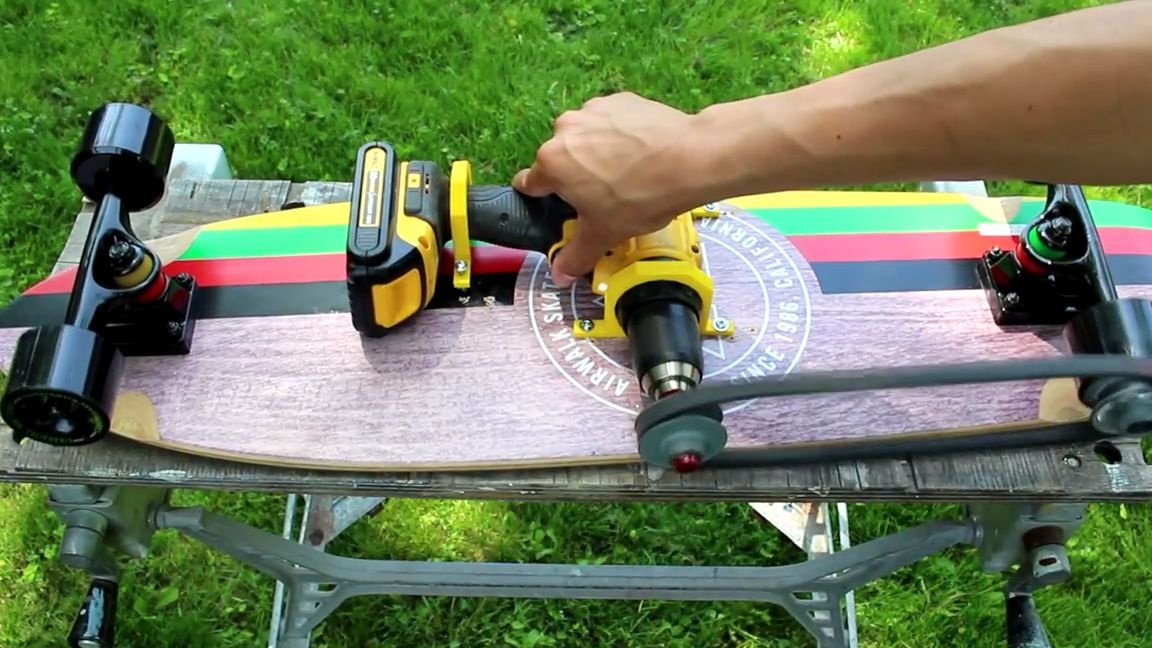
Testing:
We start the screwdriver and if the screwdriver block transfers its rotation to the wheel block and the wheel rotates freely without any, then everything is done correctly and you can go further:
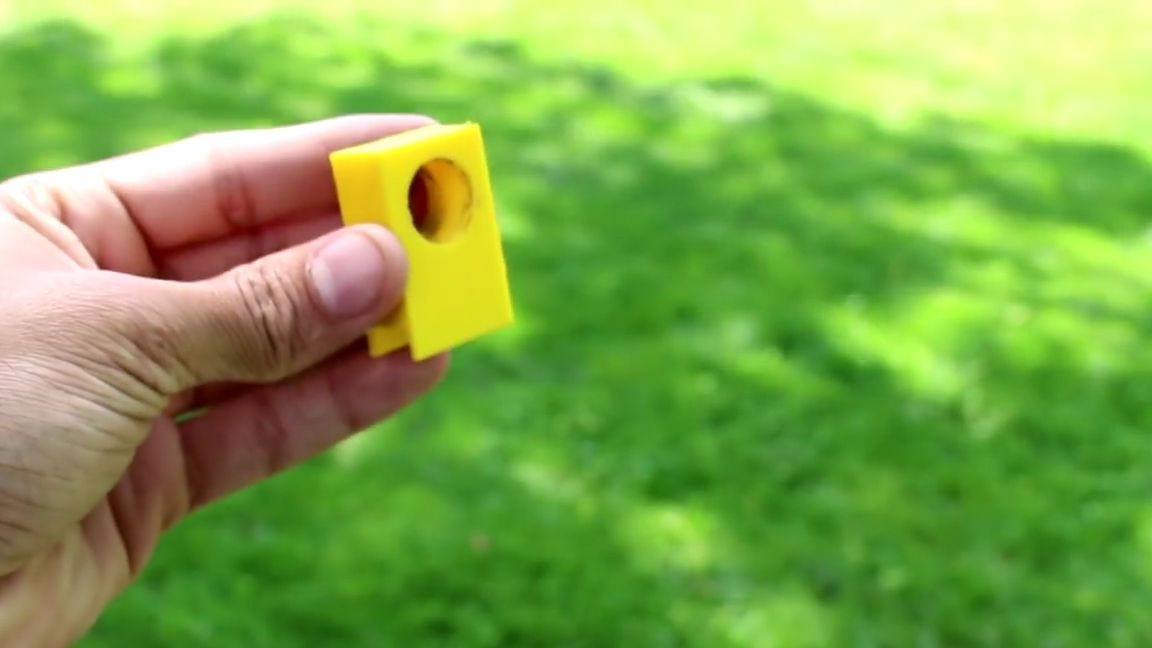
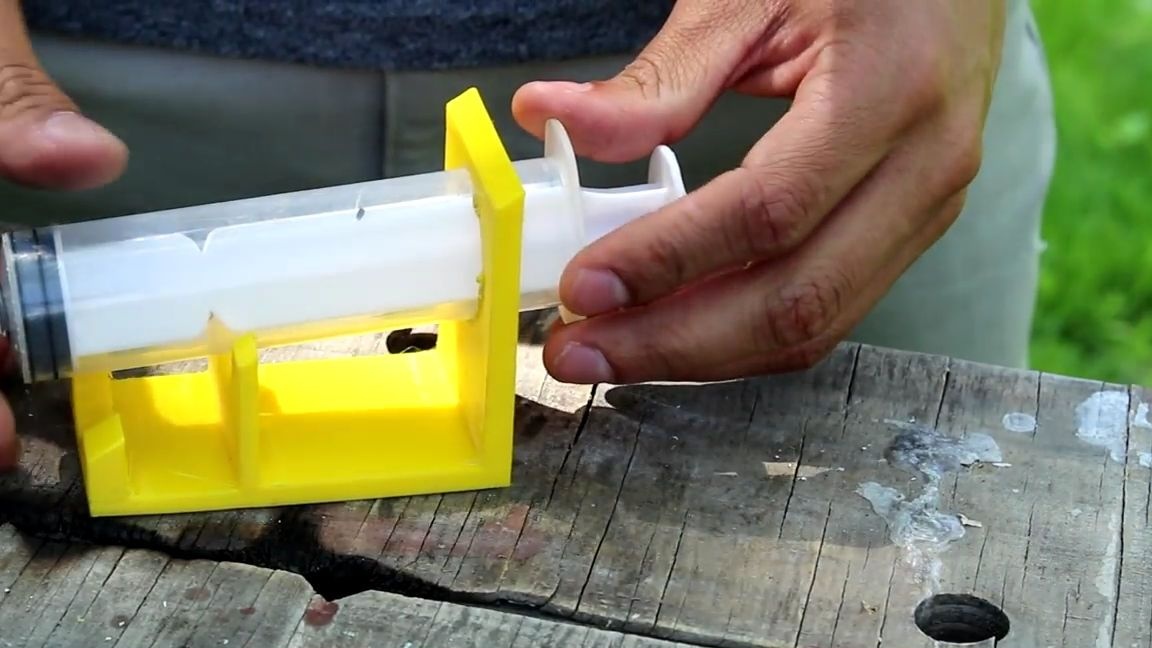
On a 3D printer, we print out another small part for securing the syringe, the task of which is to press the screwdriver button, thereby starting it. There should be a groove on the back of the part, for attaching to one of the fixing parts on a screwdriver:
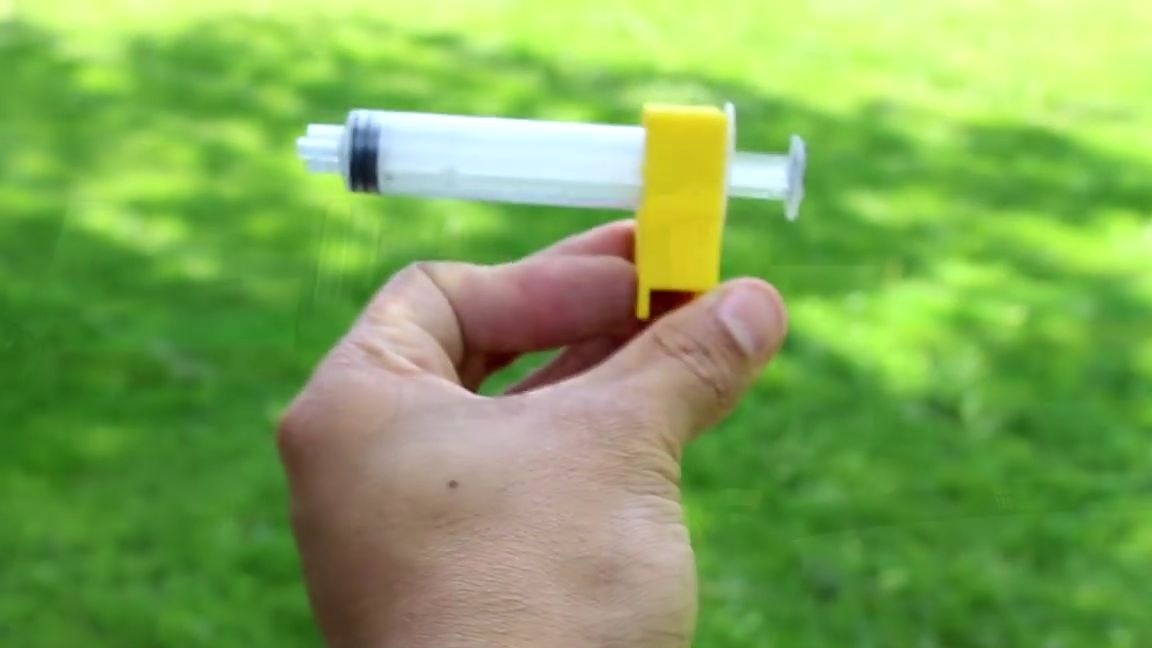
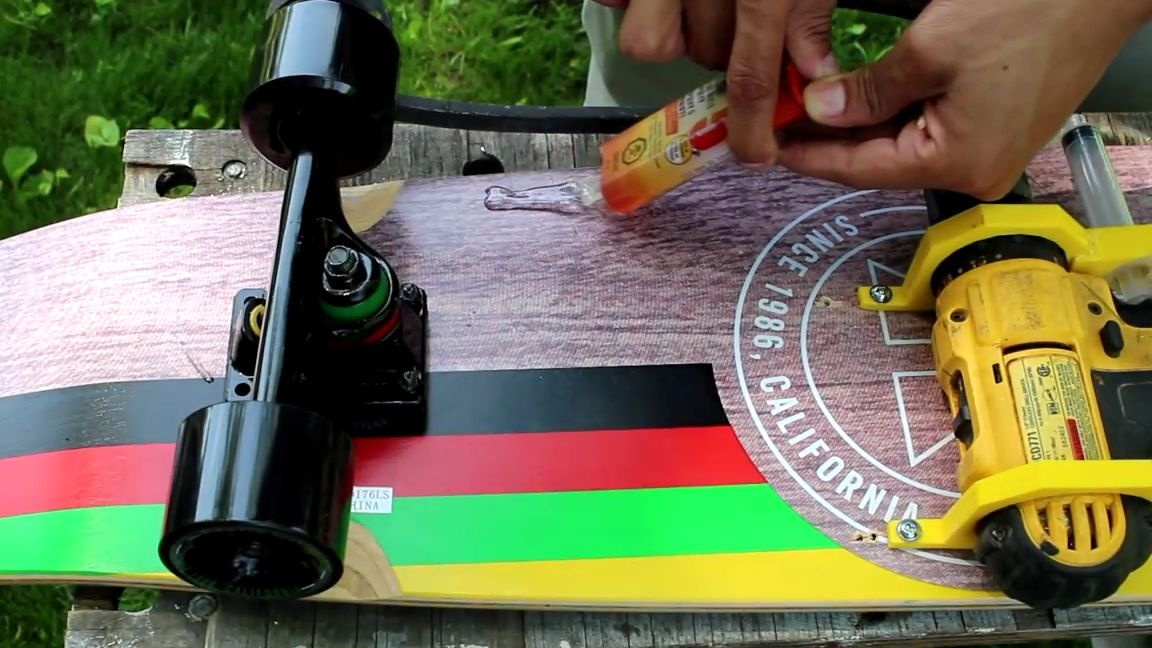
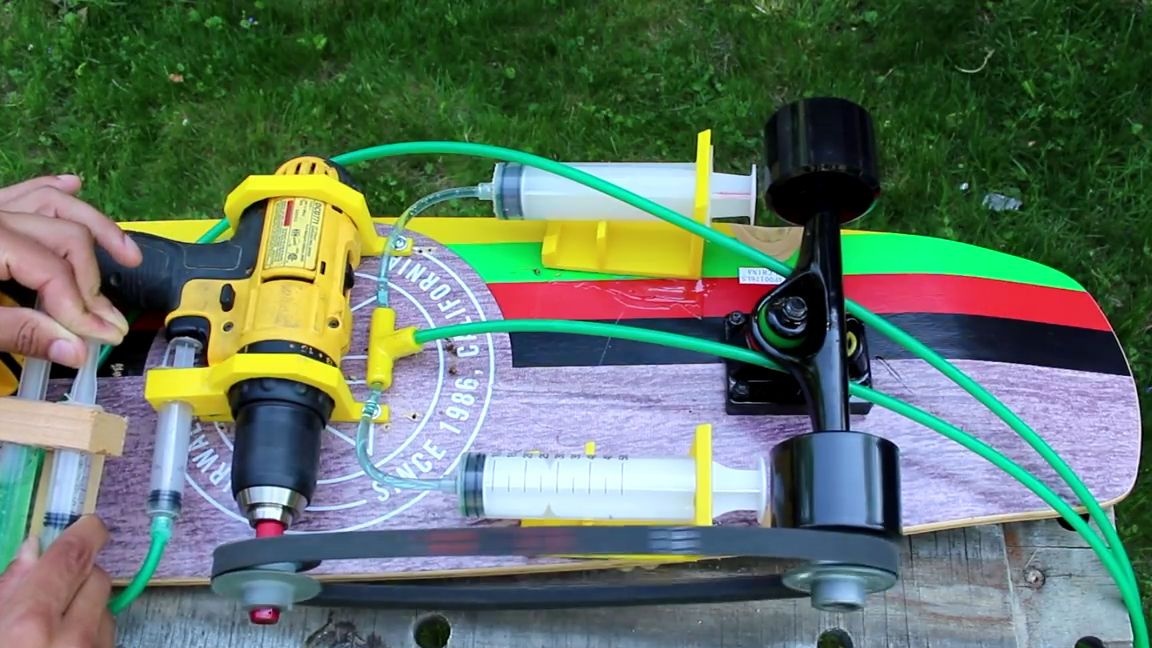
We insert a small syringe into the hole in the details and preferably still glue it. Then we dilute the epoxy resin and use it to glue this workpiece to the part on the screwdriver that is closest to the movable chuck. The piston of the syringe should be directed to the screwdriver button and be literally half a millimeter from it, or should touch it a little bit:
We are again transferred to the development environment of three dimensional objects and we design a footprint for large syringes.This footprint must be printed in two copies and they must be made in such a way that the syringes are as if at an angle.
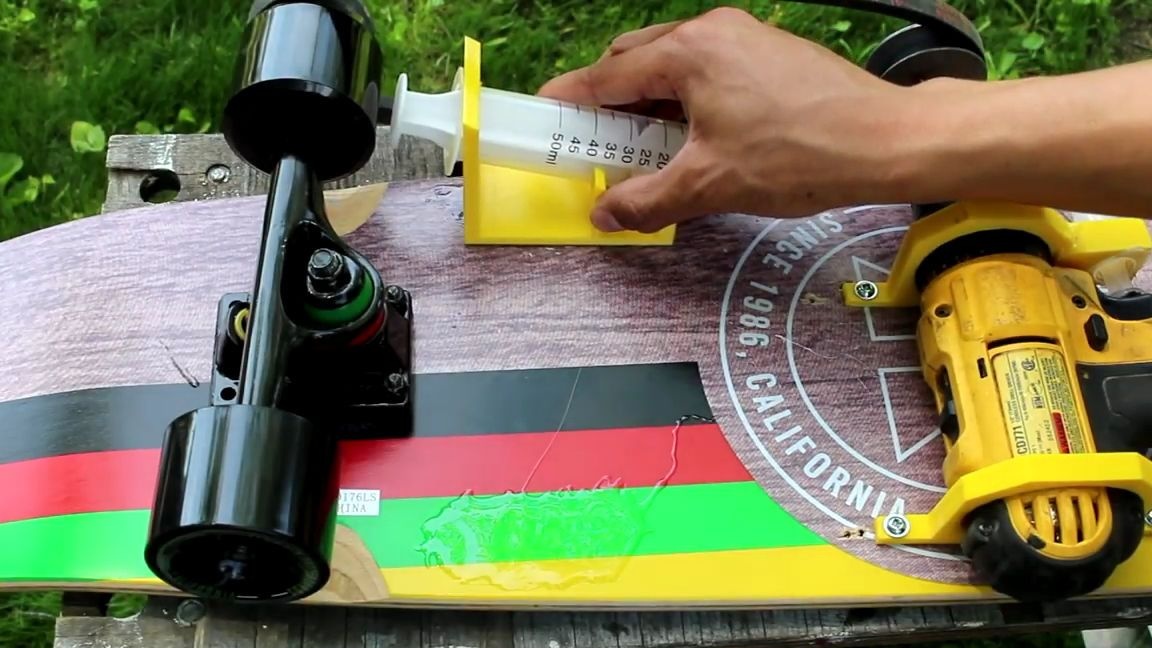
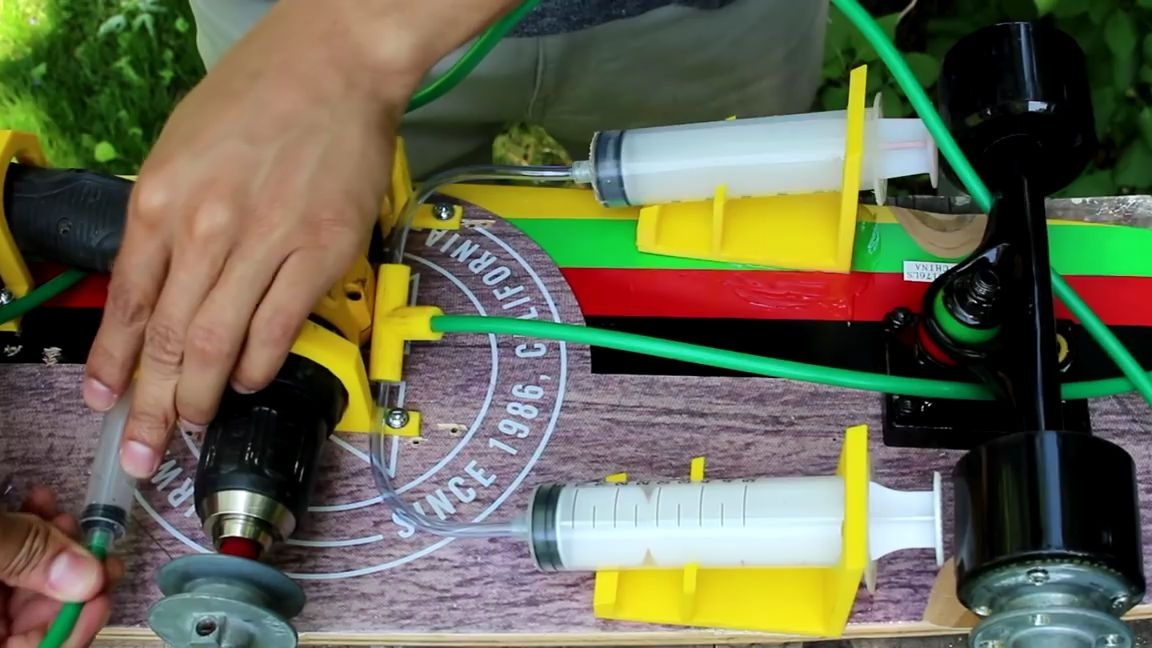
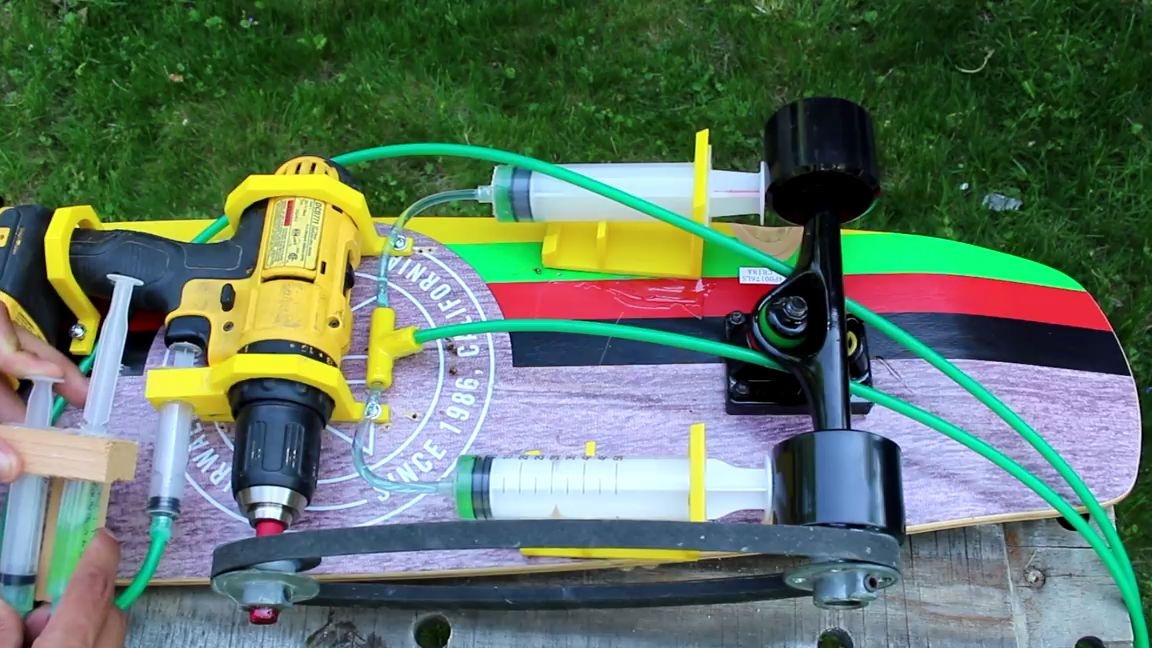
After printing, take large syringes and set them as shown in the photo below. Their piston must be secured to the highest part of the workpiece. We do the same with the second syringe:
Again we breed epoxy resin and with its help we glue the past blanks to the board, perpendicular to the wheels. From the end of the pistons to the surface of the wheels there should be a distance of 1-3 mm, these syringes will act as a braking function for the entire structure, of course for greater efficiency you can glue rubber gaskets on the piston, as for me this will greatly improve braking due to the higher friction force of materials . In order for everything to be manufactured correctly, we do everything as shown in the photo below, it is also advisable to stick the syringes themselves to the parts made on a 3D printer:
In the center between the syringes, we install a splitter for tubes from the dropper, it can also be printed on a 3D printer, if you certainly have it:
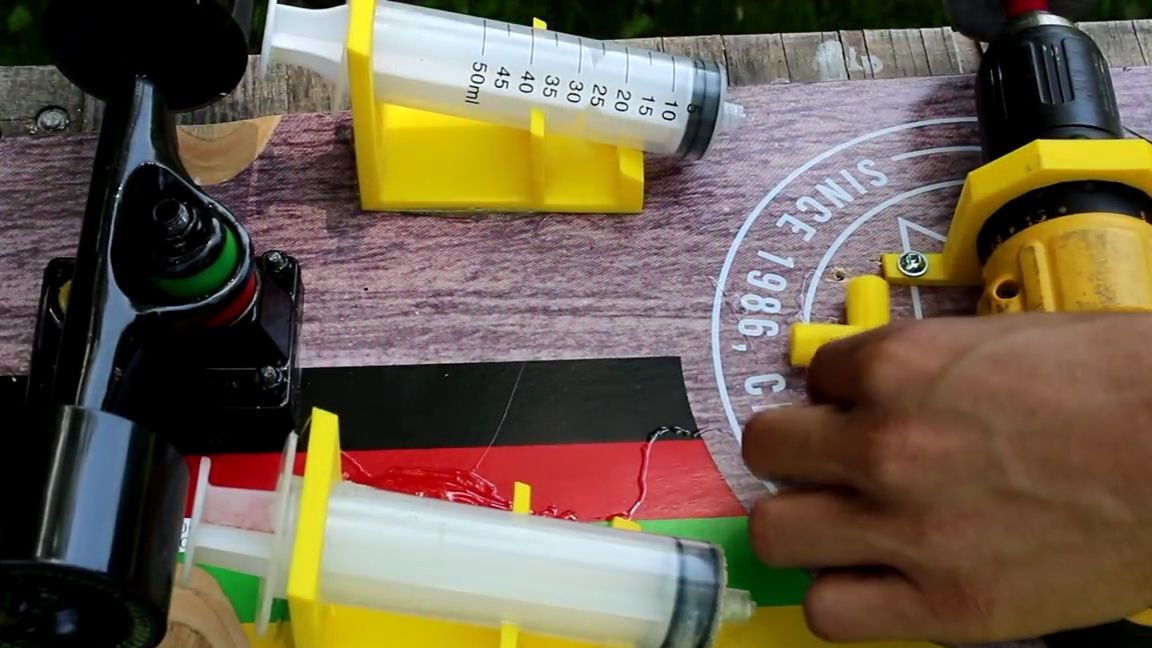
We cut two equal segments from the dropper from the dropper, at the end on each we attach to the tips of the syringes, and insert the remaining ends and preferably stick to the adapter:
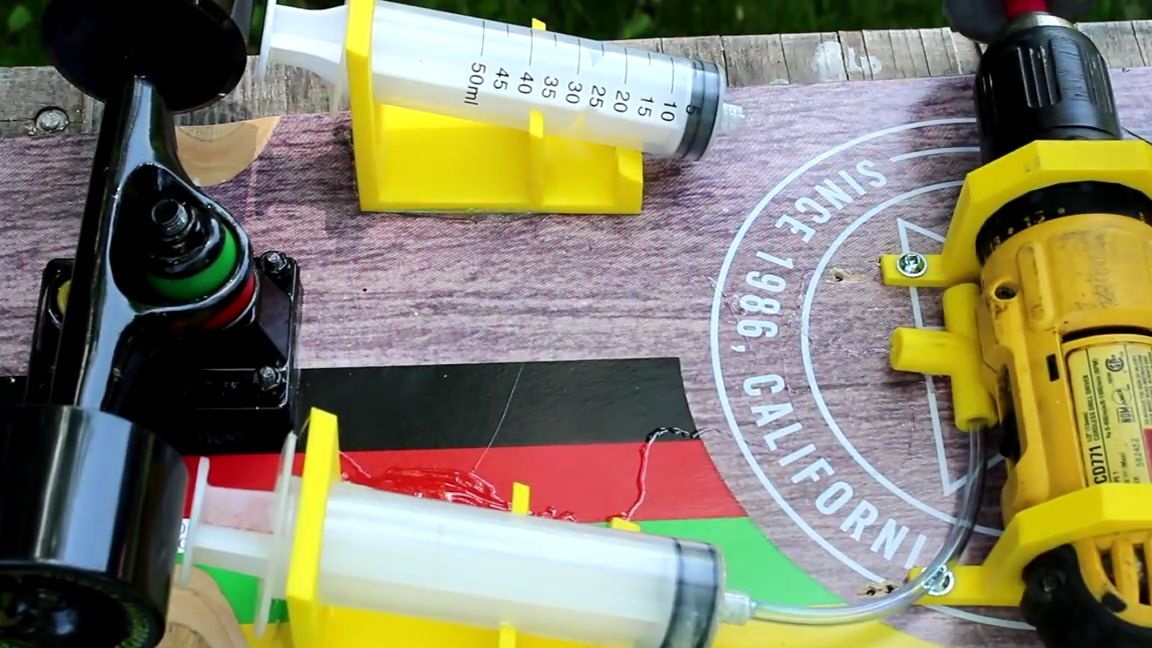
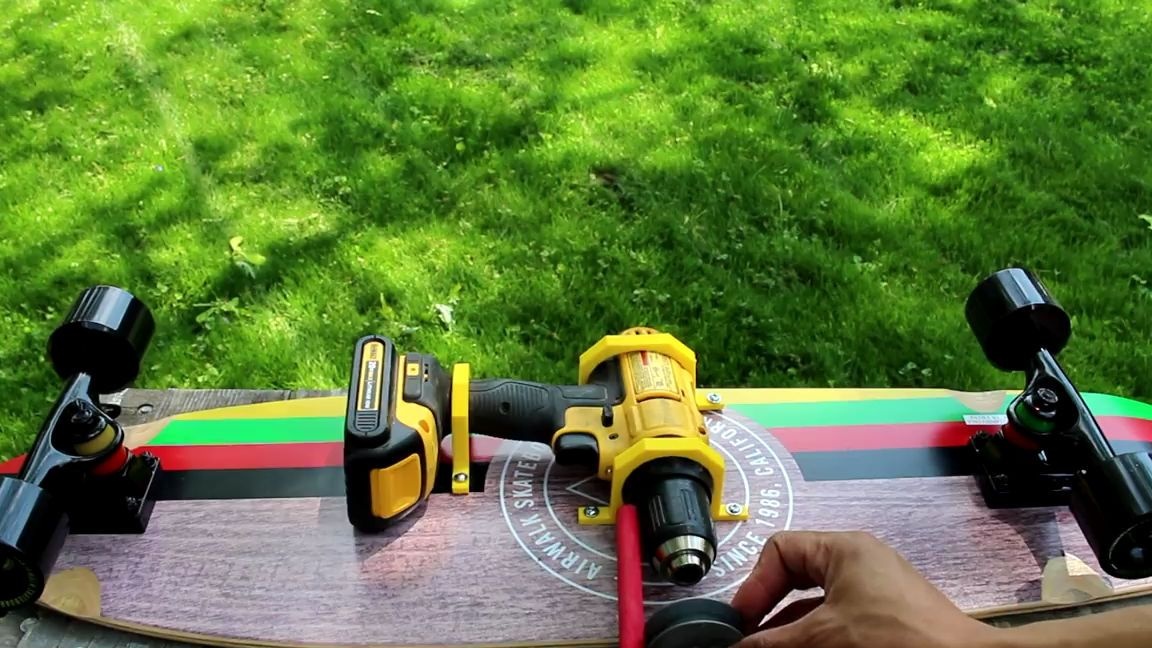
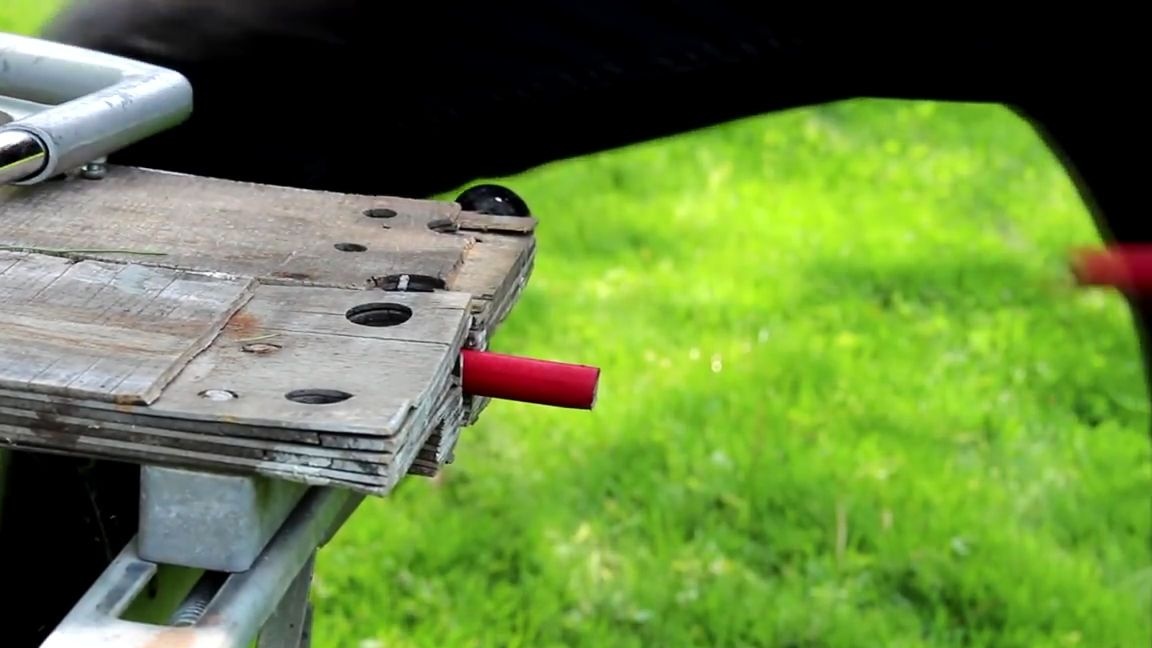
We insert a thicker and longer tube and also glue or fix it in the central hole of the bifurcation:
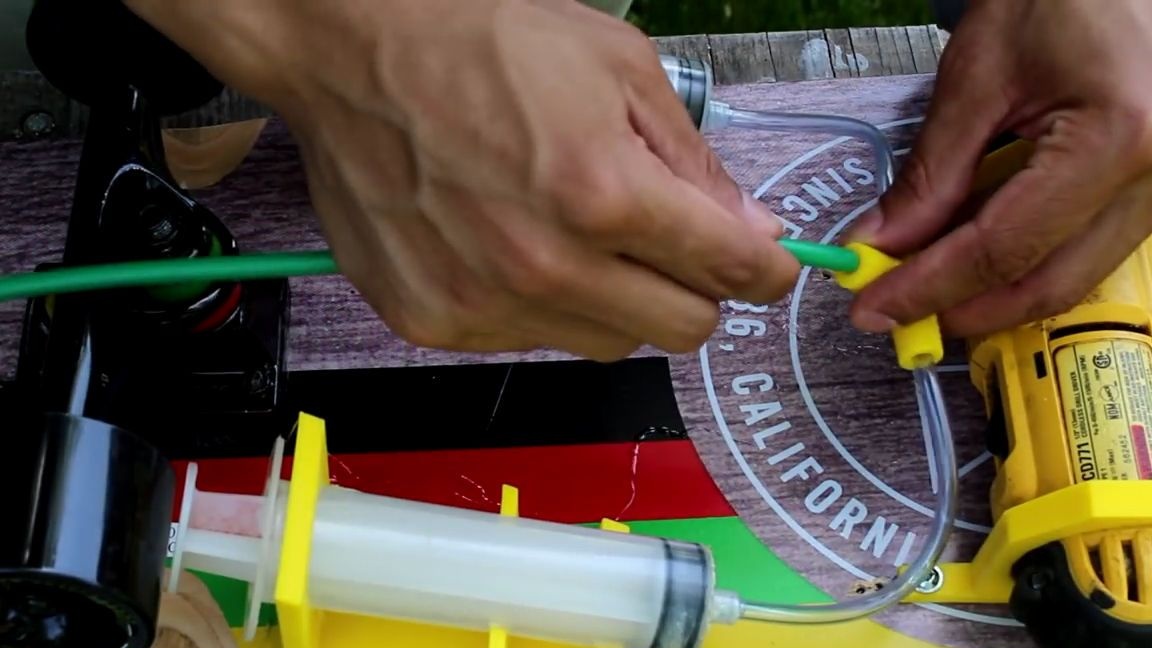
We put the end of another thick tubule into a small syringe, which should push the screwdriver’s button, then you need to drive a little, preferably tinted water, into this whole tubing design, so that it looks like something like a hydraulic system, like the one in a hydraulic press :
We insert the two remaining ends into two small syringes, which must be pre-inserted and fixed in a small wooden block, this installation will act as a control panel for the skate:
After everything is assembled, it is necessary to check the entire structure for operability:
First, we press the syringe on the control panel, the tube of which leads to the syringe responsible for gas, if the piston of the syringe presses the screwdriver button, and he, in turn, starts to rotate the wheel by transmitting rotation through the rubber band, then everything is fine.
Then we click on the syringe responsible for the braking of the structure, if after this pressing the pistons of the large syringes budge and clamp the wheels, then everything too was done correctly.
Check also the entire structure for leaks, if there are any, then urgently close up, or even change all the details in this hydraulic system:
That's it! A simple electric-powered skateboard is ready and you just have to test it. I think everyone knows how to ride a skateboard, so I hope you don’t need to comment here, I already said about management, so I hope there will be no questions. But I want to say again that you need to move carefully and that rather this is not a full-fledged means of transportation, but rather a model of what can be done in the future.
Well, in general, the skate turned out pretty good, and as far as the video shows, it can develop good speed for a skateboard. I think many will like this homemade product.


Here is a video from the author with a detailed assembly and testing of this homemade product:
Well, thank you all for your attention and good luck in future projects!