
Good day to all dear friends! In today's article, I would like to show you a very interesting idea homemade.
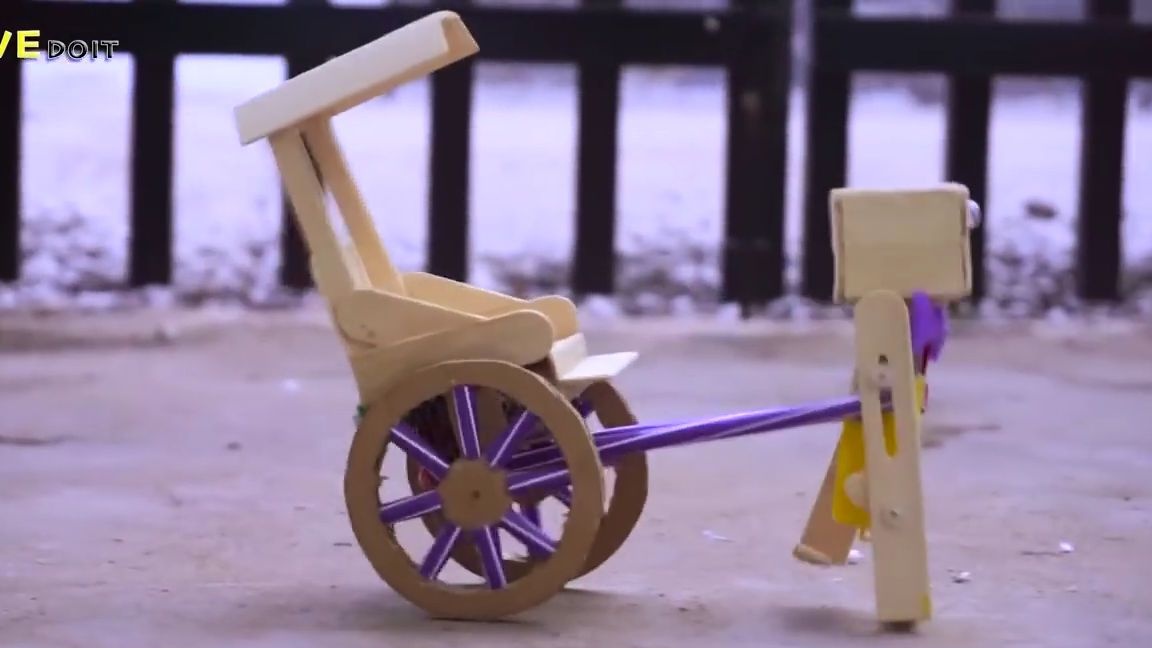
This homemade product is made almost entirely from ordinary ice cream sticks and is a small cart on wheels, driven by an ordinary walker. Homemade is very interesting and entertaining. It is suitable as a home-made for leisure, or as the first home-made to a beginner, because on this basis, the chassis of the walker can do a lot of interesting things.
In general, we will not pull, we drove!
And so, for this homemade product we need:
- ice cream sticks (in some stores they are given even for free for the purchase of ice cream)
-crown battery
-connector for "crown"
barbecue skewers
wire
gear motor from China
-switch
-tubules for cocktails
-decorative eyes (they are usually sold in needlework stores for making toys)
-mini bow tie (also toy)
-corrugated cardboard
From the tools you will also need:
soldering iron
hotmelt
-scissors
-stationery knife
- nippers or pliers
-mini electric drill or screwdriver
-marker
-Super glue
-compass
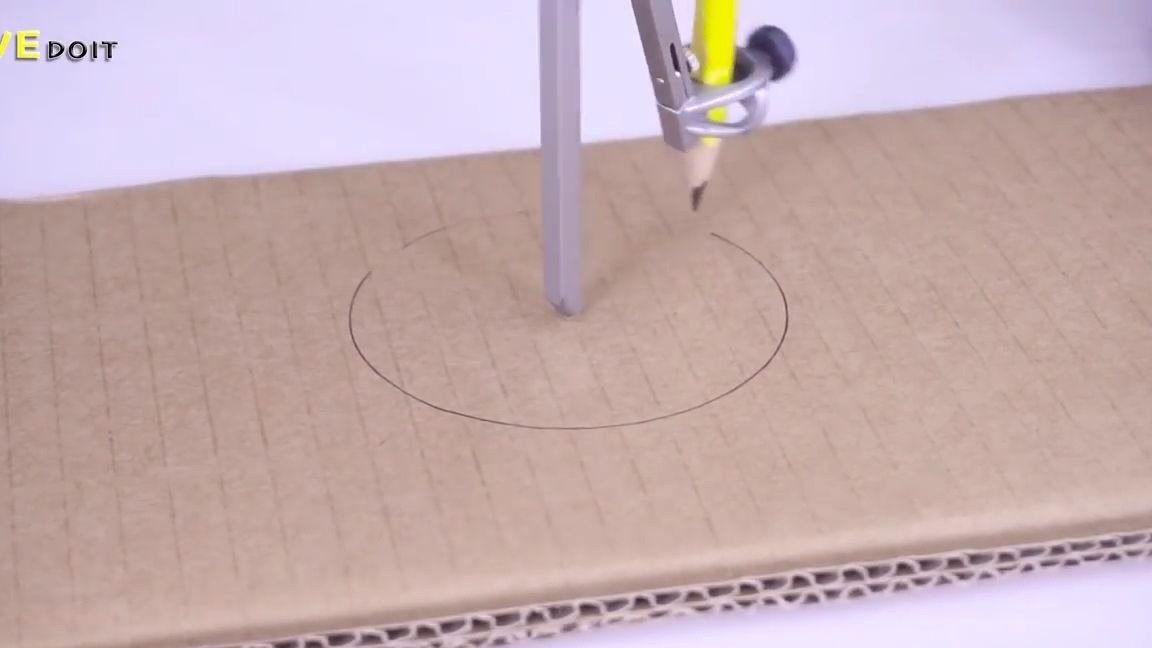
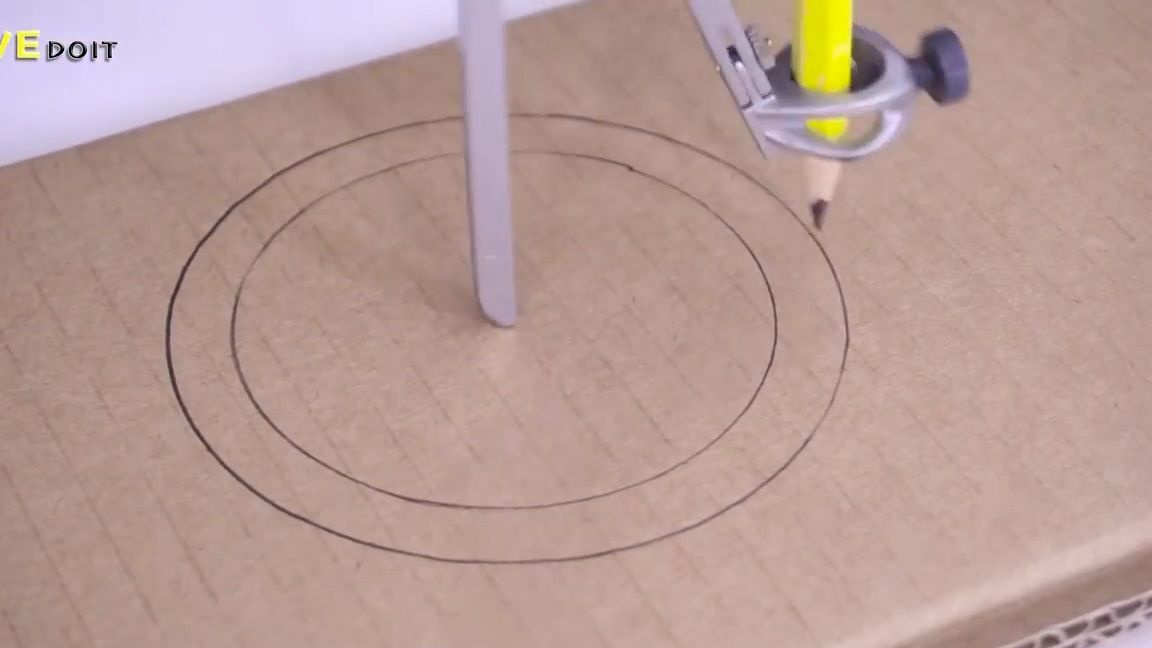
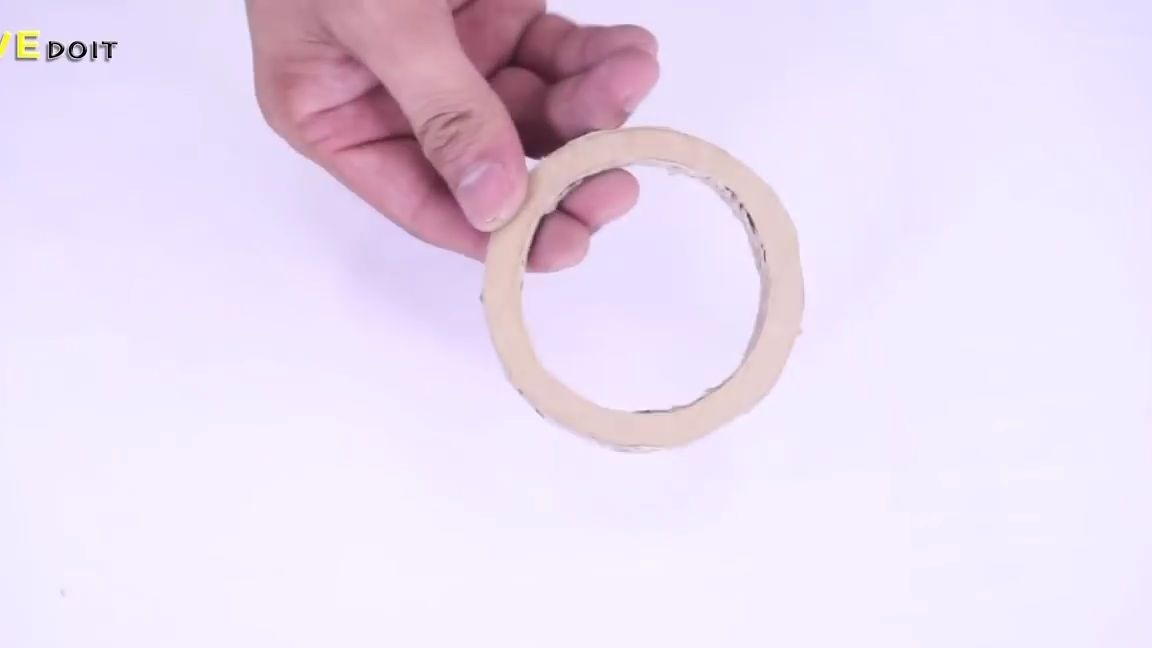
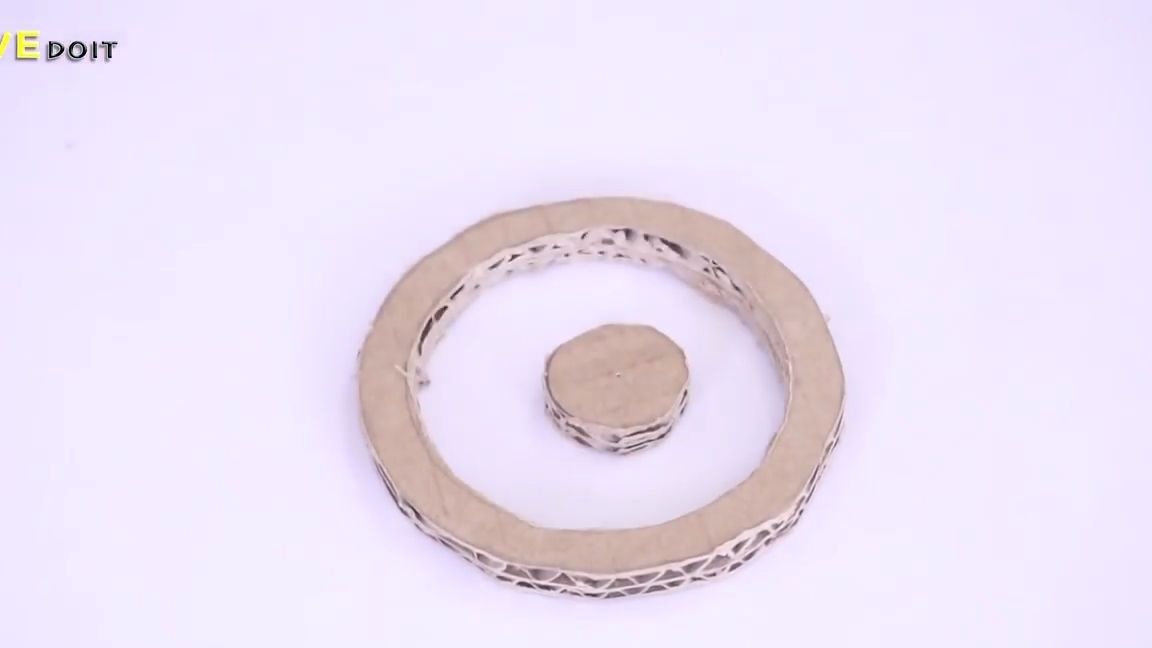
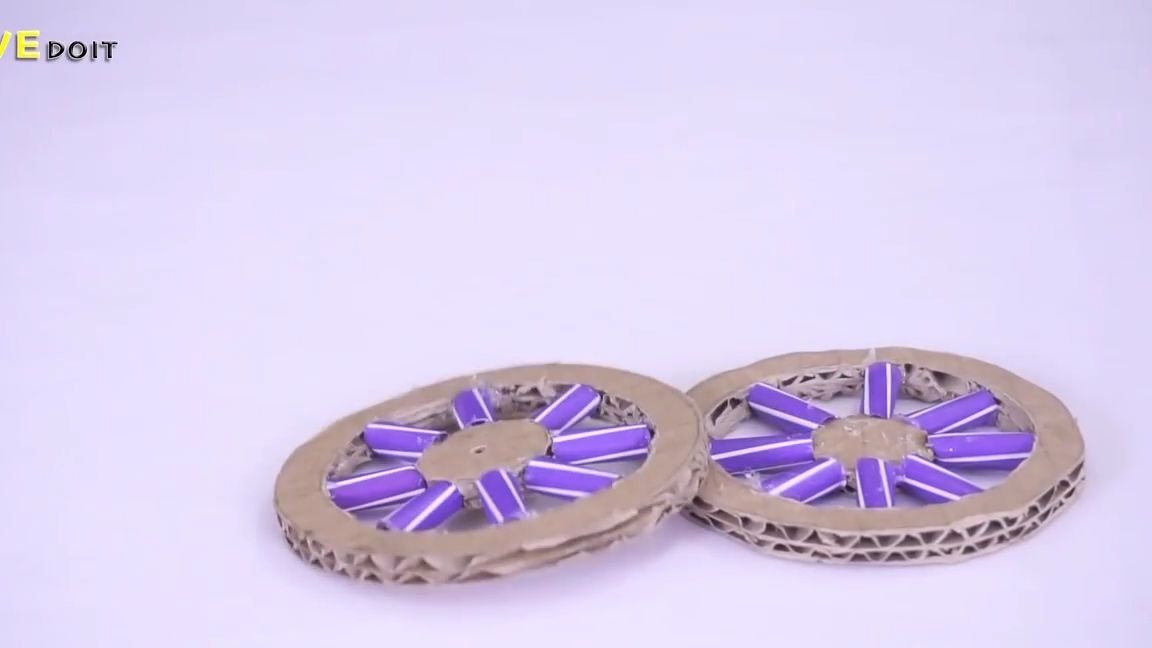
First of all, you need to take a sheet of corrugated cardboard and draw one circle with a compass, and then another circle around this circle, only a little more. After you finish drawing you need to take scissors or a clerical knife and cut this part as shown in the photo below. It is also necessary to cut a small circle, also from corrugated cardboard:
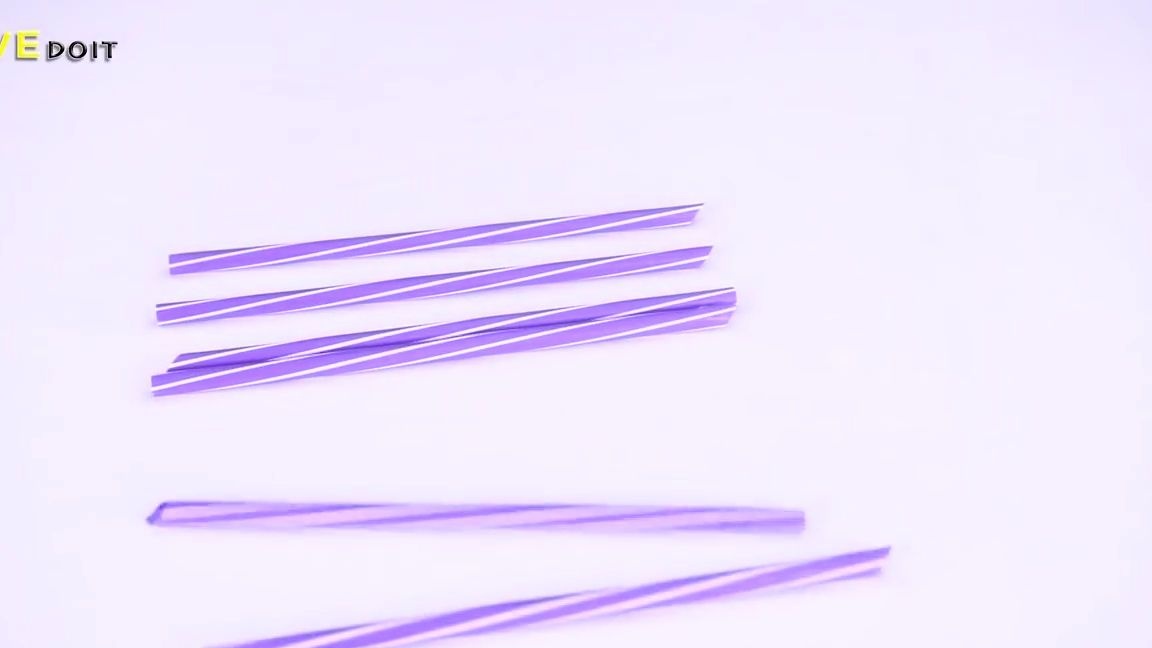
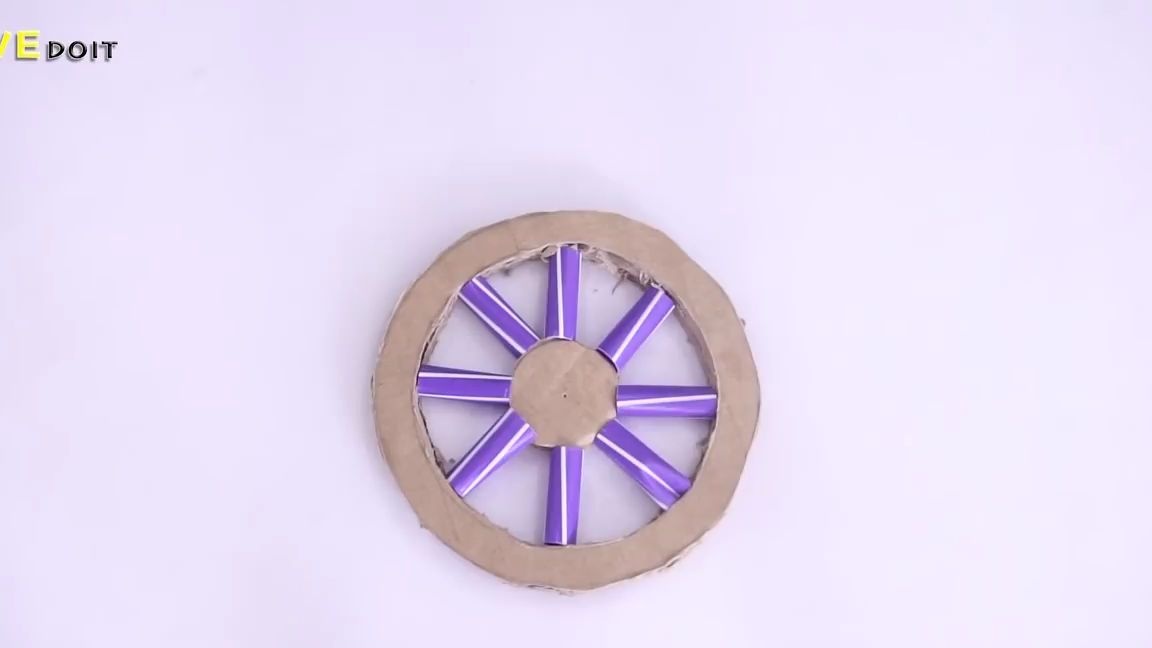
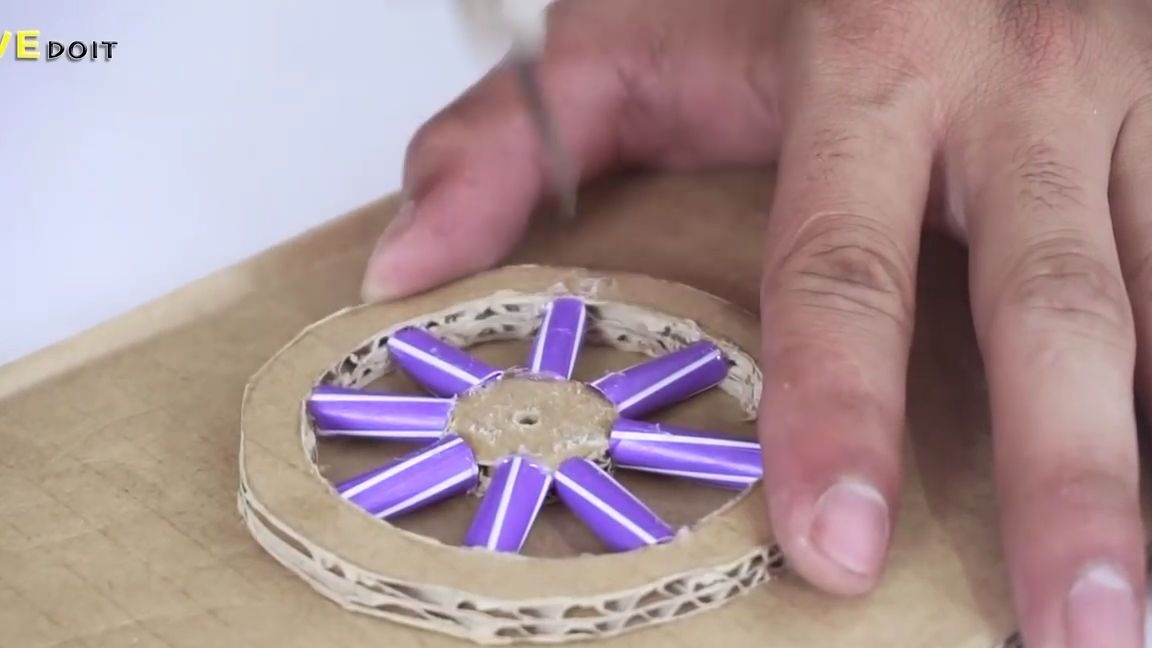
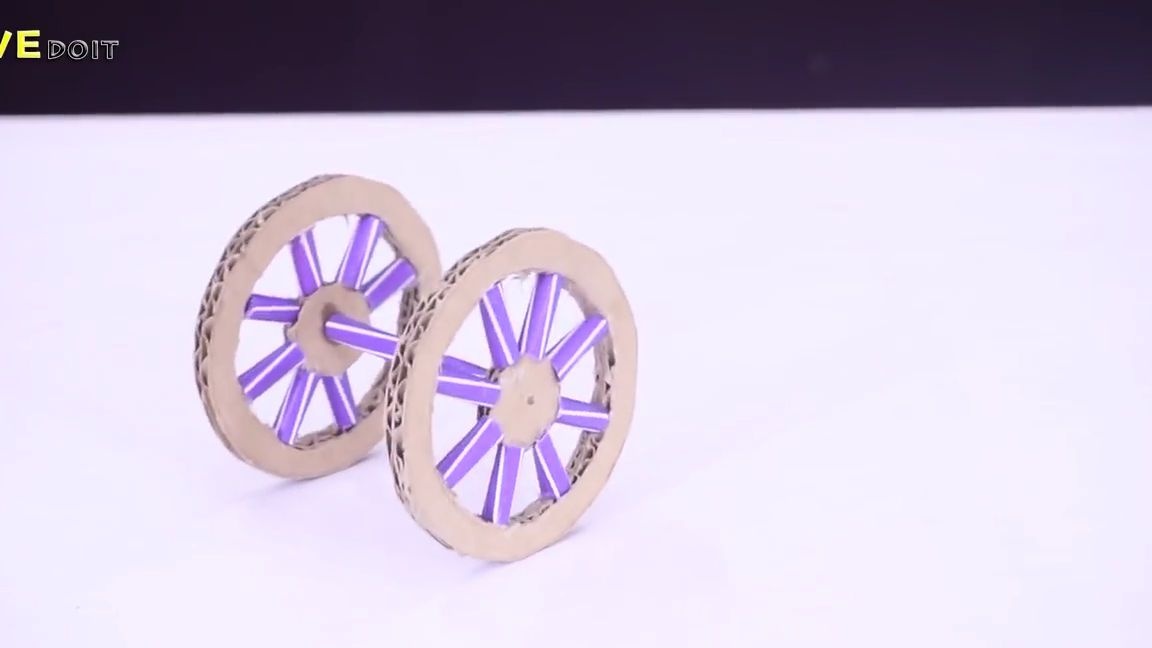
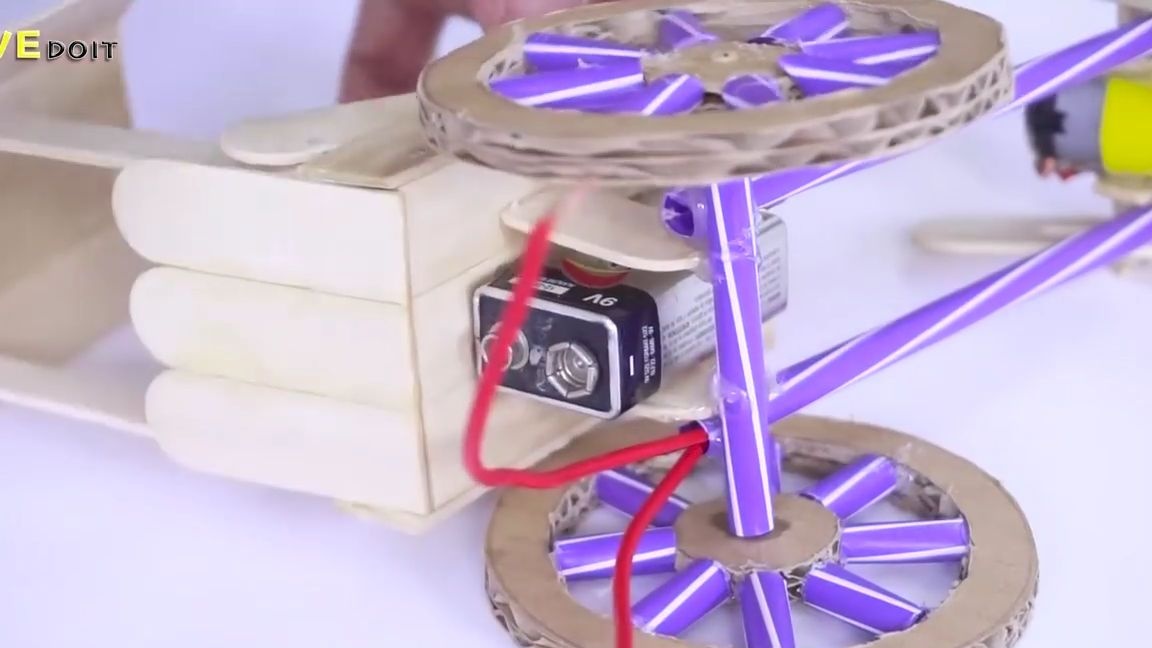
Take the cocktail tubes and cut them into eight pieces of equal length. Then, using these pieces, we connect both parts together, it is best to fix it with ordinary hot glue, but you can also use super glue. In general, we do everything as shown in the photo below. In total, you need two such wheels:
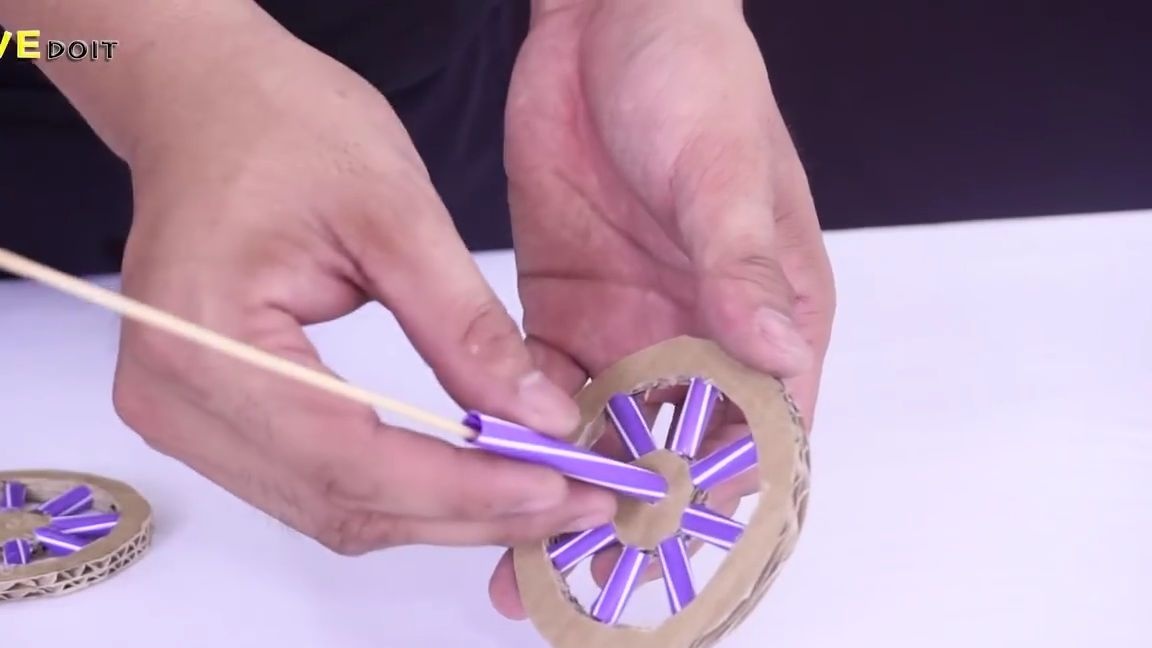
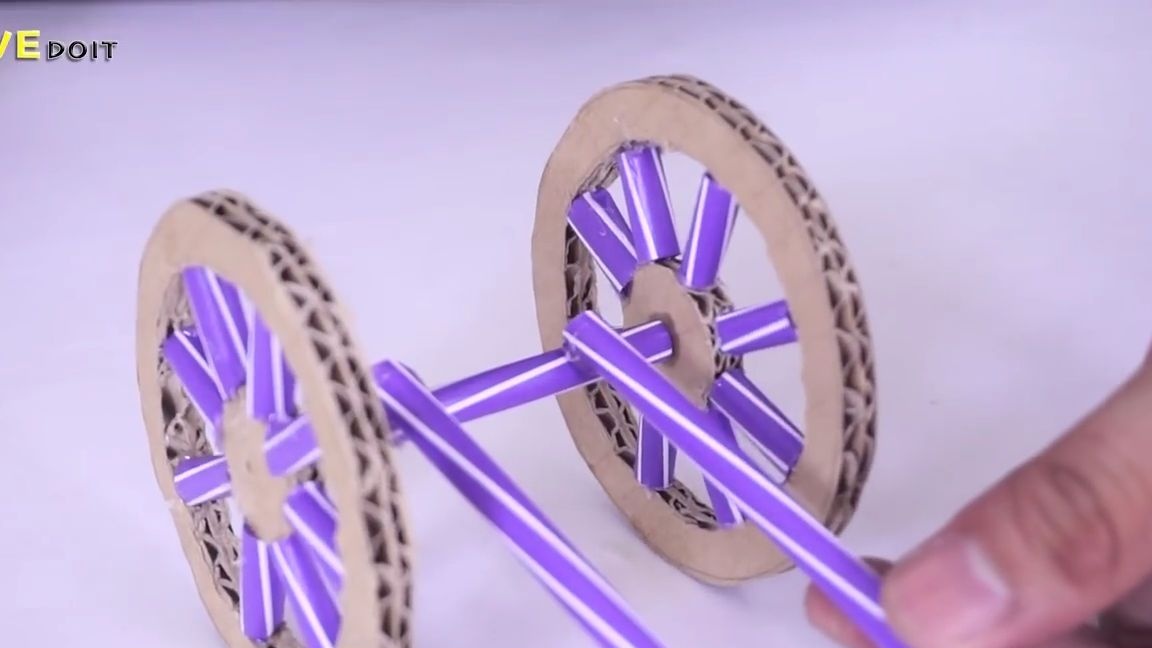
In the center of each wheel we drill through the through hole. Then we insert and glue the barbecue skewer into the hole, and on the skewer, in turn, put on a piece of cocktail tube. We put the second wheel on the second end of the skewer, also glue it to the skewer and, using pliers or pliers, "bite off" the extra end of the skewer. It should be a movable wheel structure. The cocktail tube should rotate freely around the skewer:
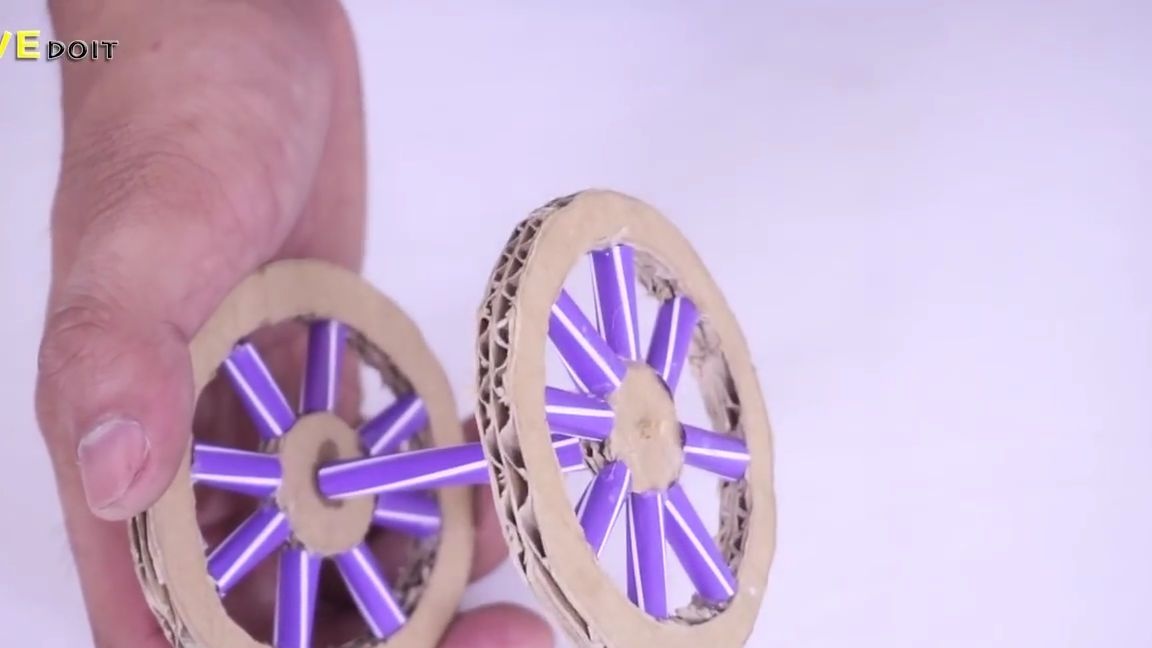
To the cocktail tube on the structure that we made earlier, it is necessary to glue two more tubes perpendicularly:
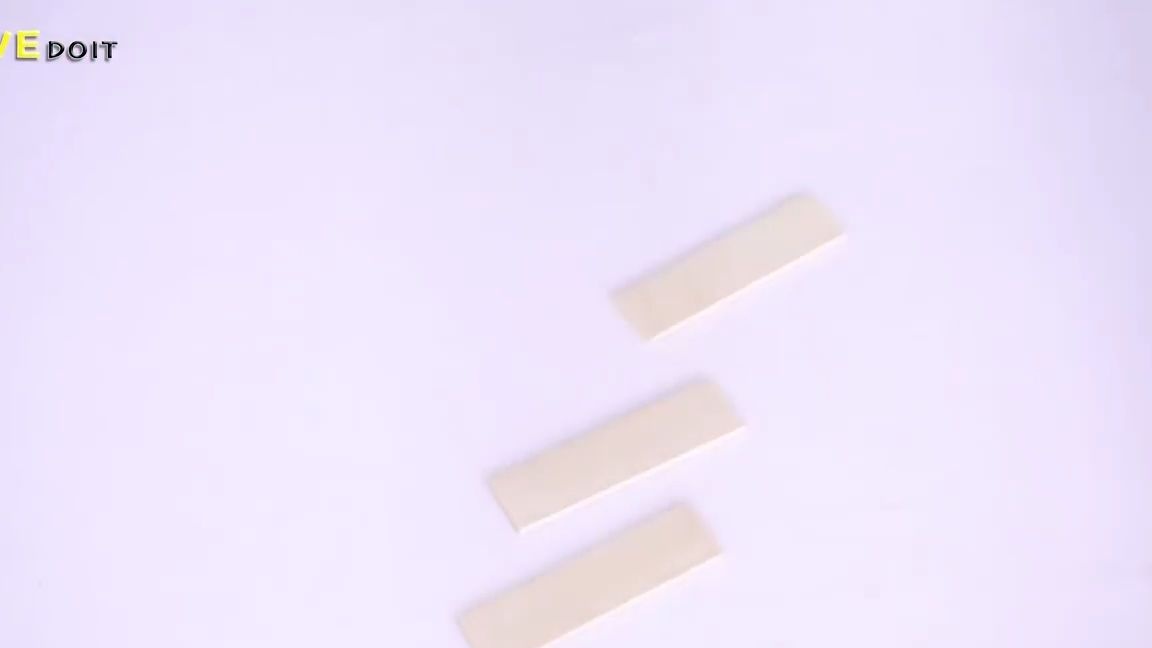
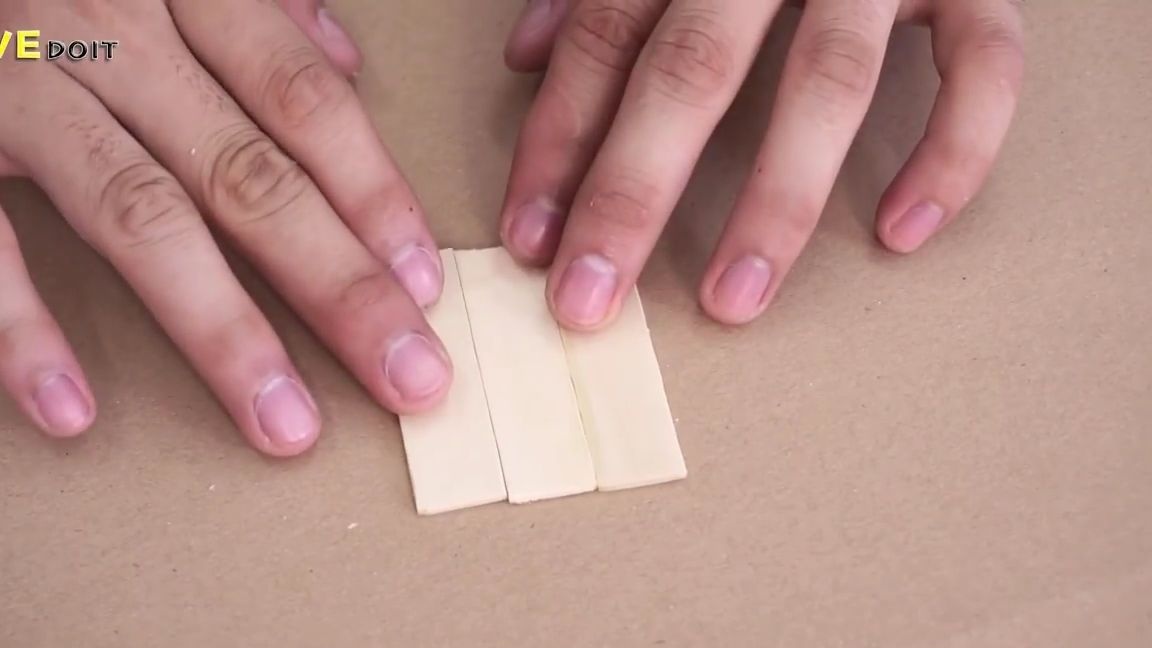
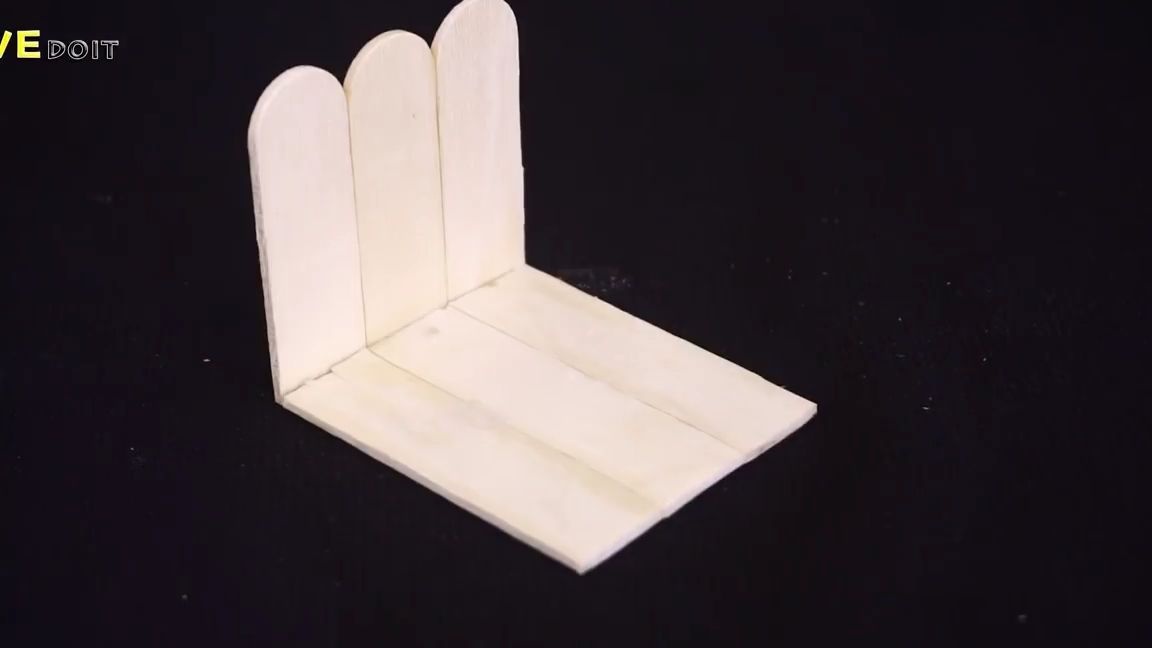
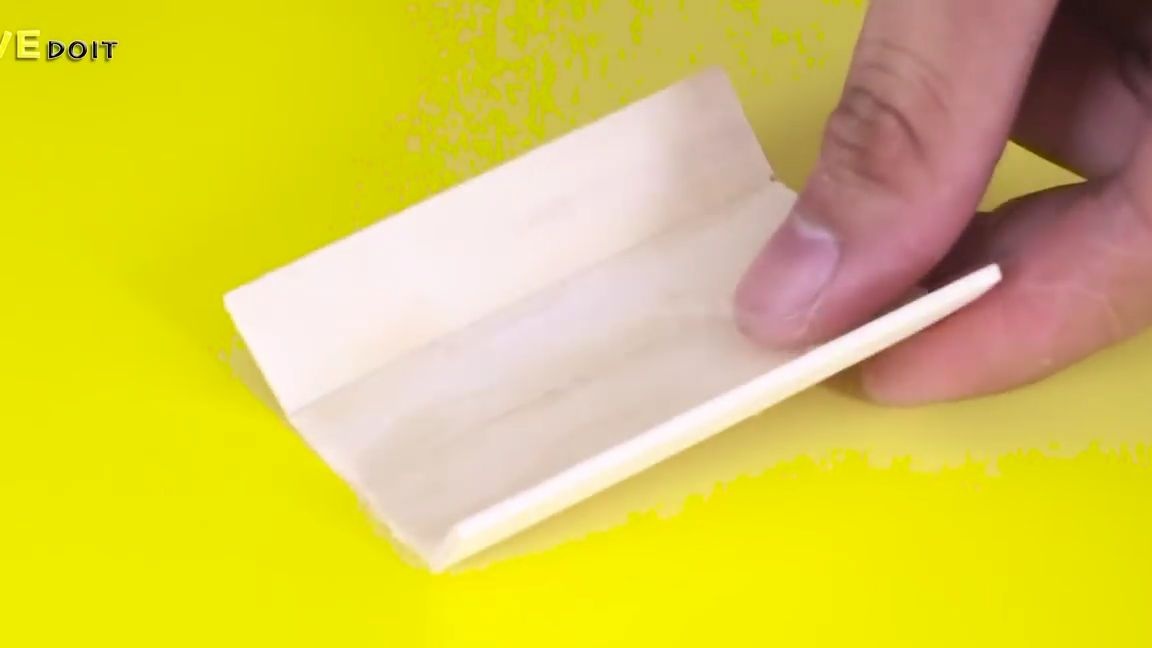
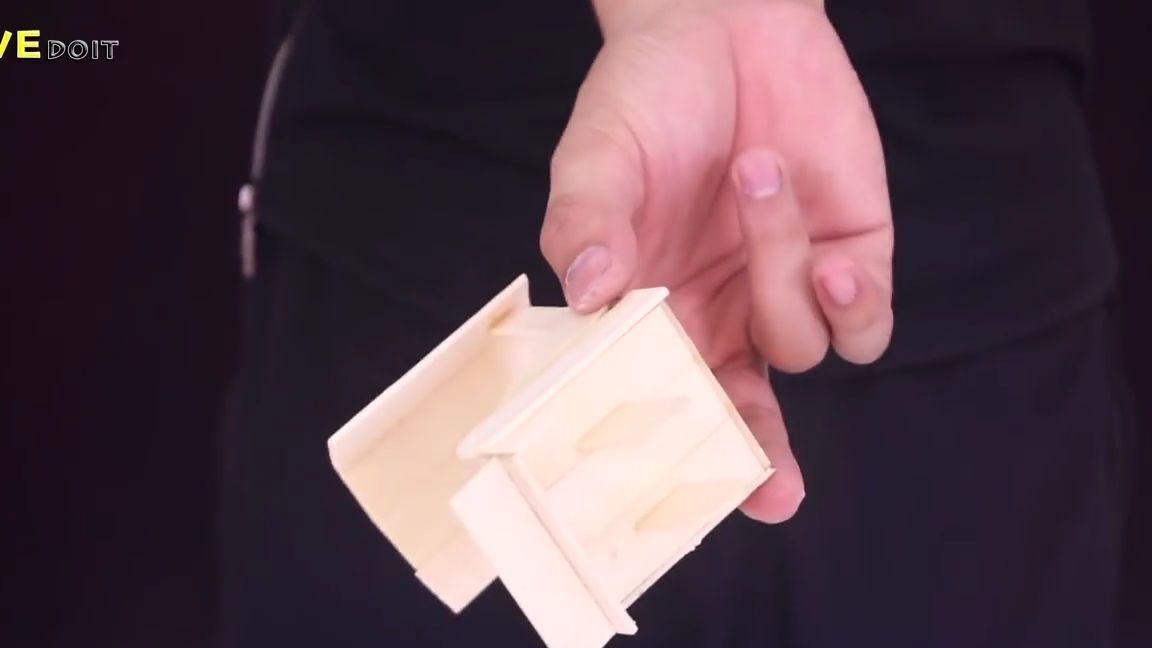
We cut three equal rectangles from ice cream sticks, and then glue them together into a single structure using super glue:
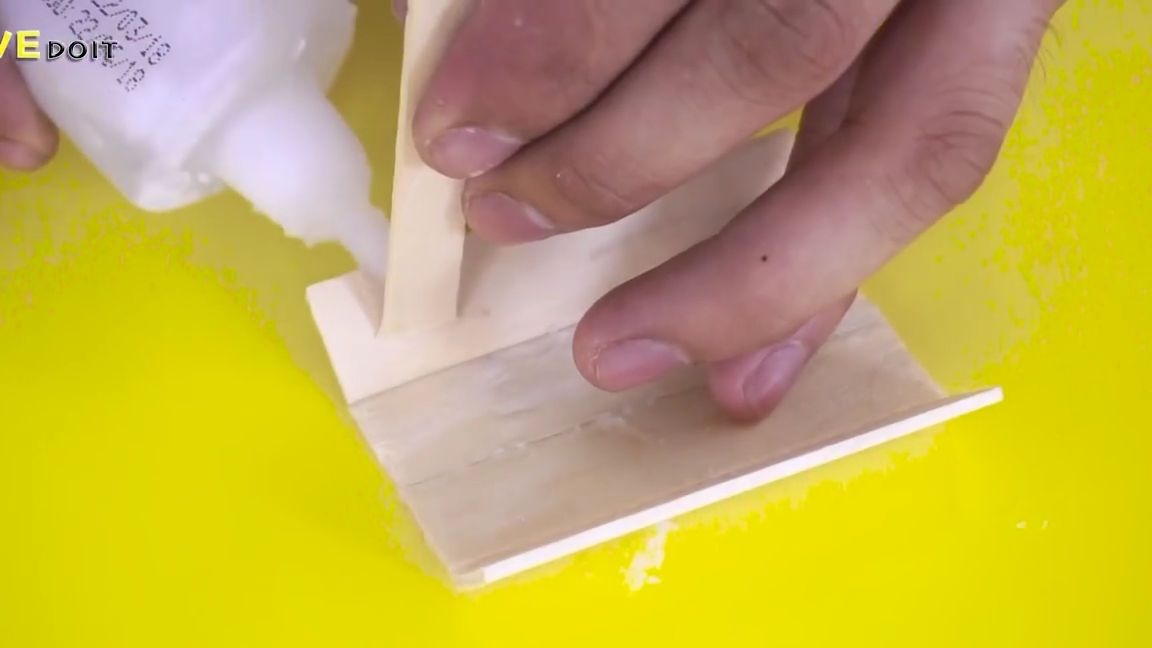
A few more details need to be glued to this blank, there is nothing complicated here, you just need to do everything as shown in the photo below:
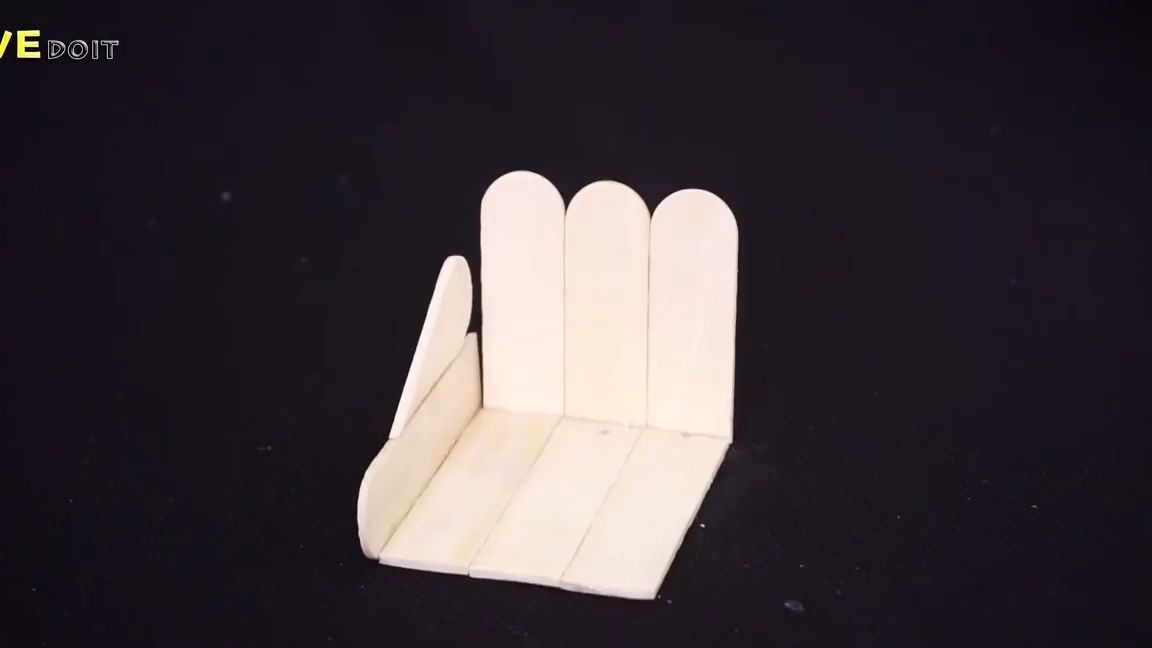
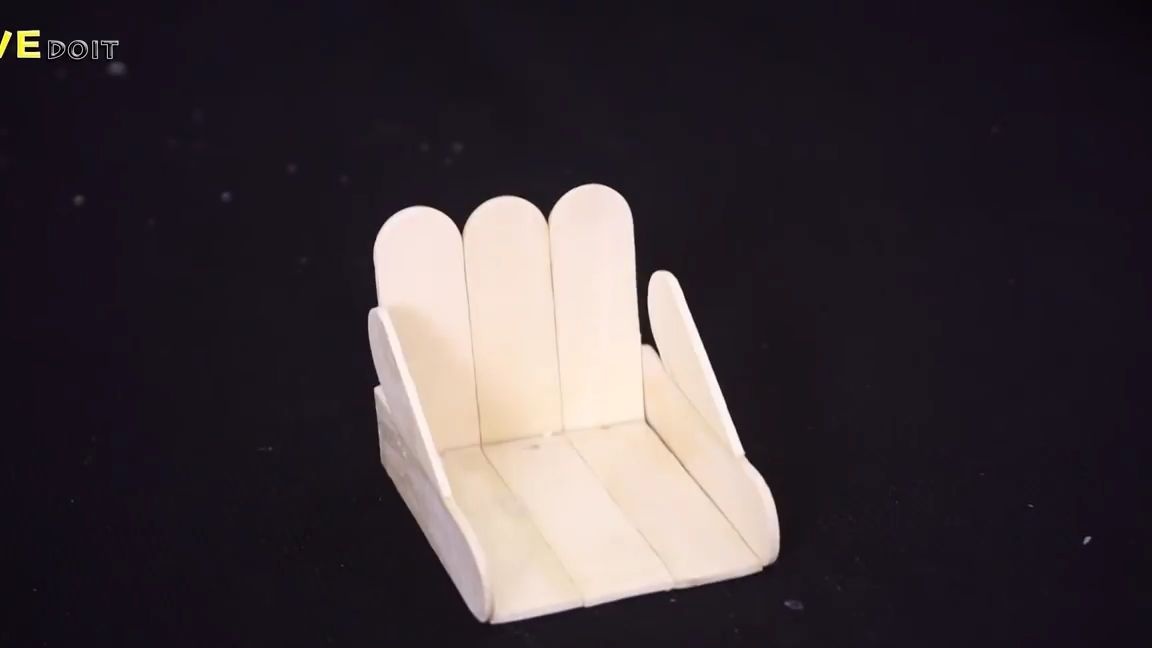
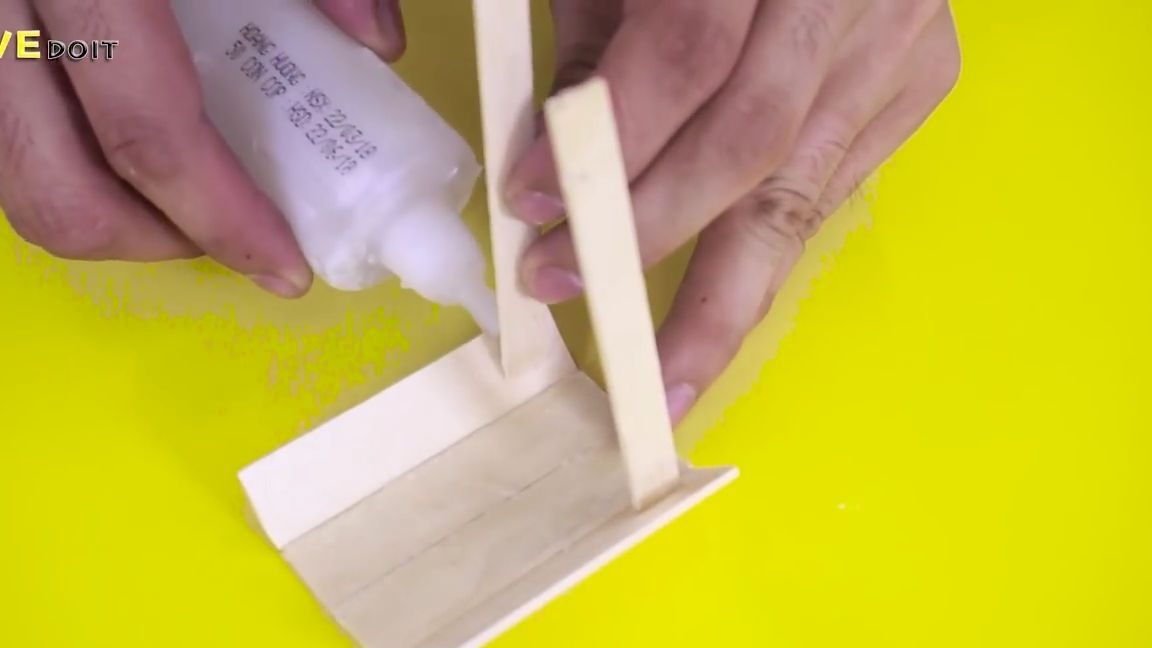
All of the same ice cream sticks we make another preparation, this will be the roof for the wagon. This roof needs to be glued one post on each side. The resulting structure must be glued to the previous workpiece.
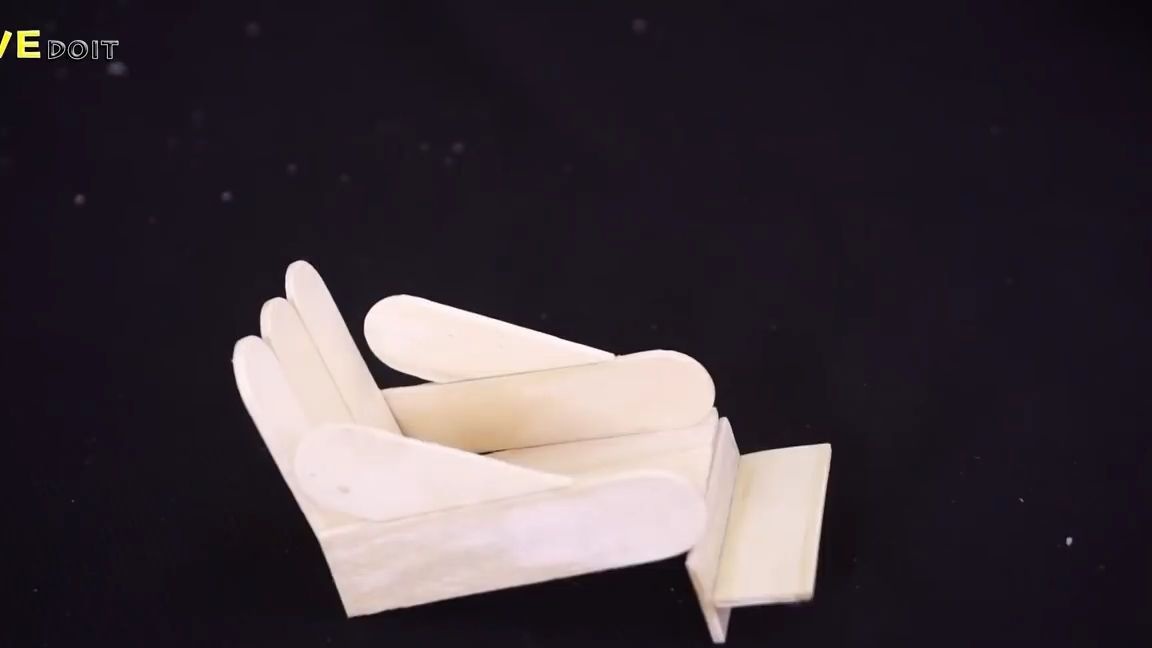
Glue two small pieces of ice cream sticks to the bottom of the cart, they should be parallel to each other:
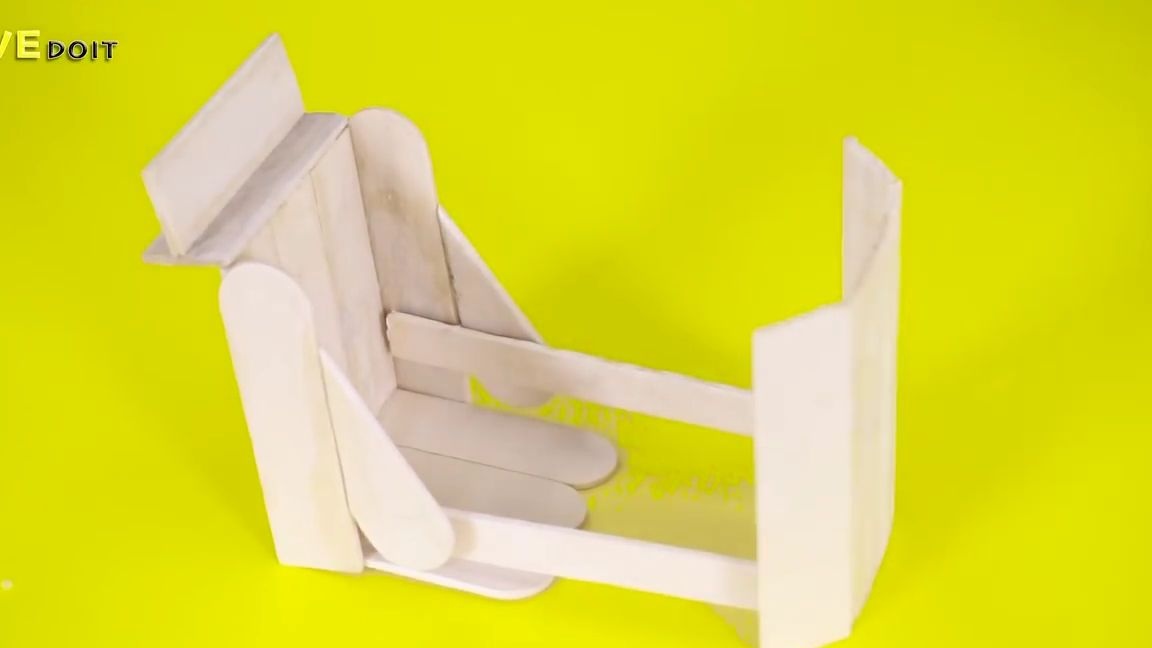
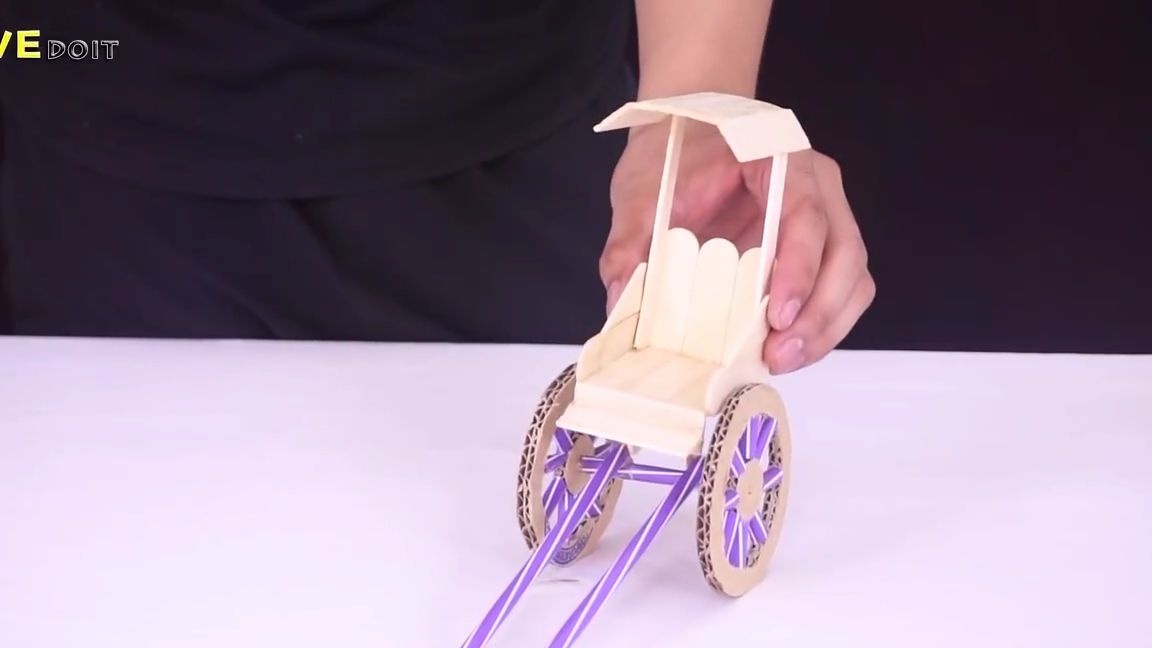
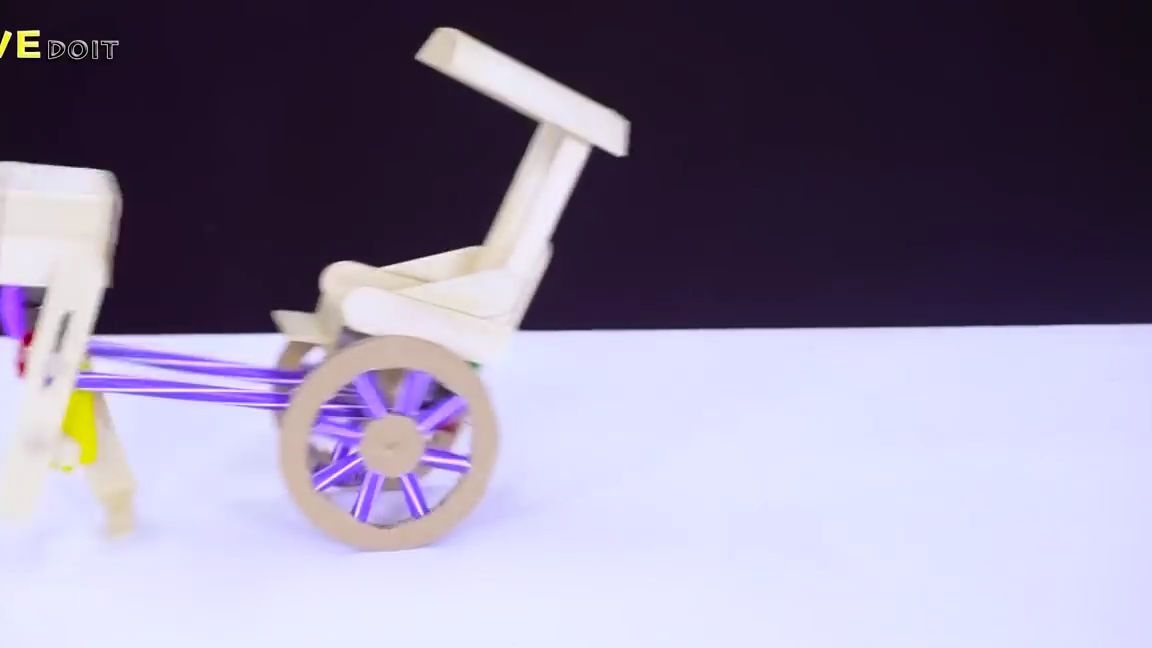
Now install and glue the wagon onto the wheelbase as follows:
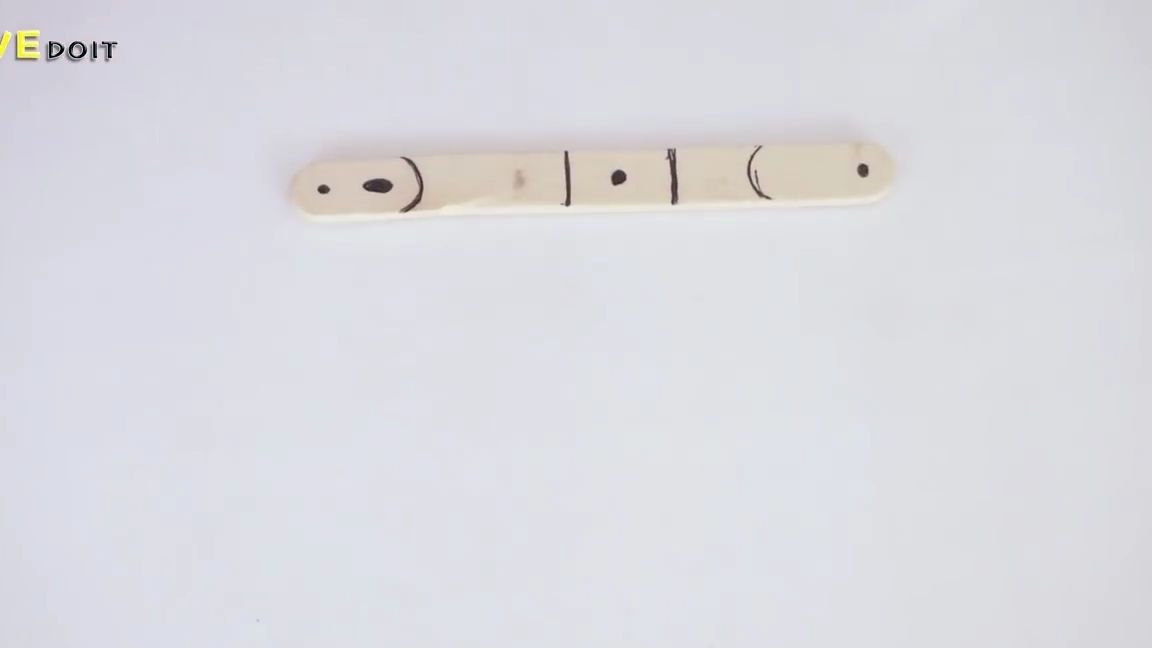
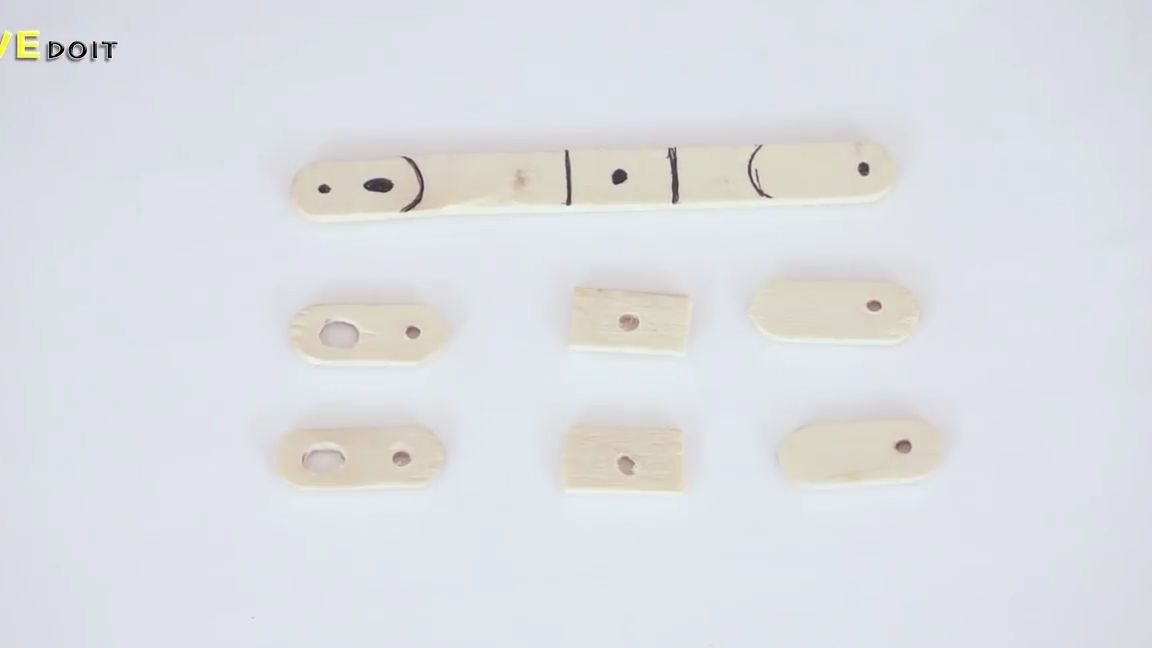
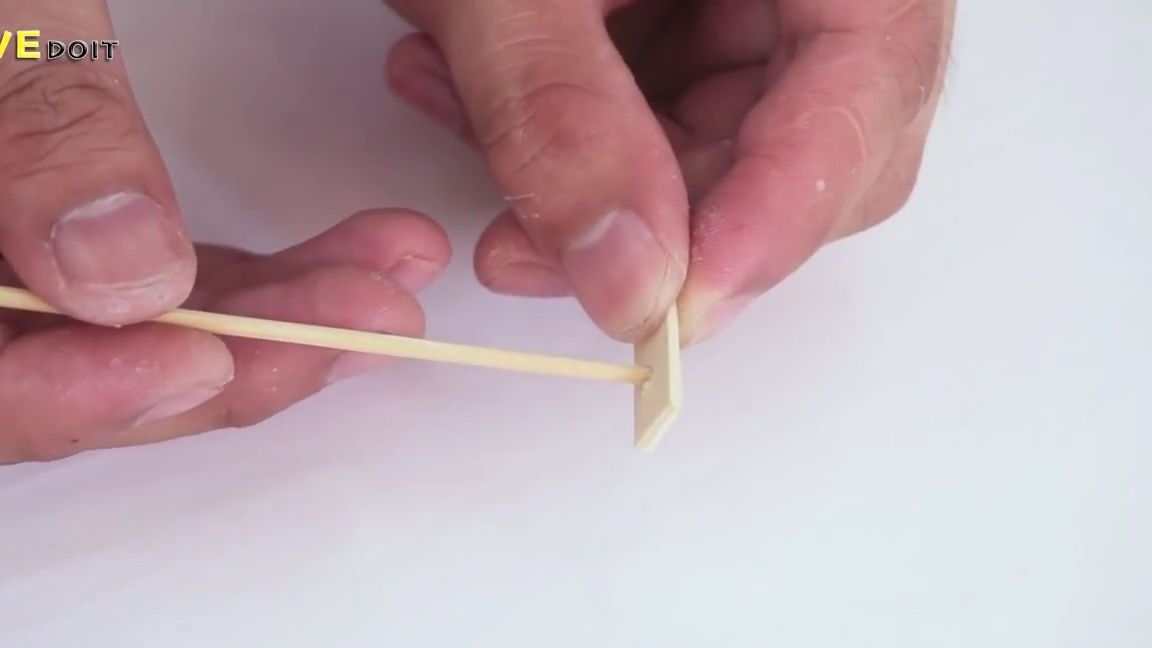
On a wooden spatula, or on a large stick of ice cream, you need to draw the following figure:
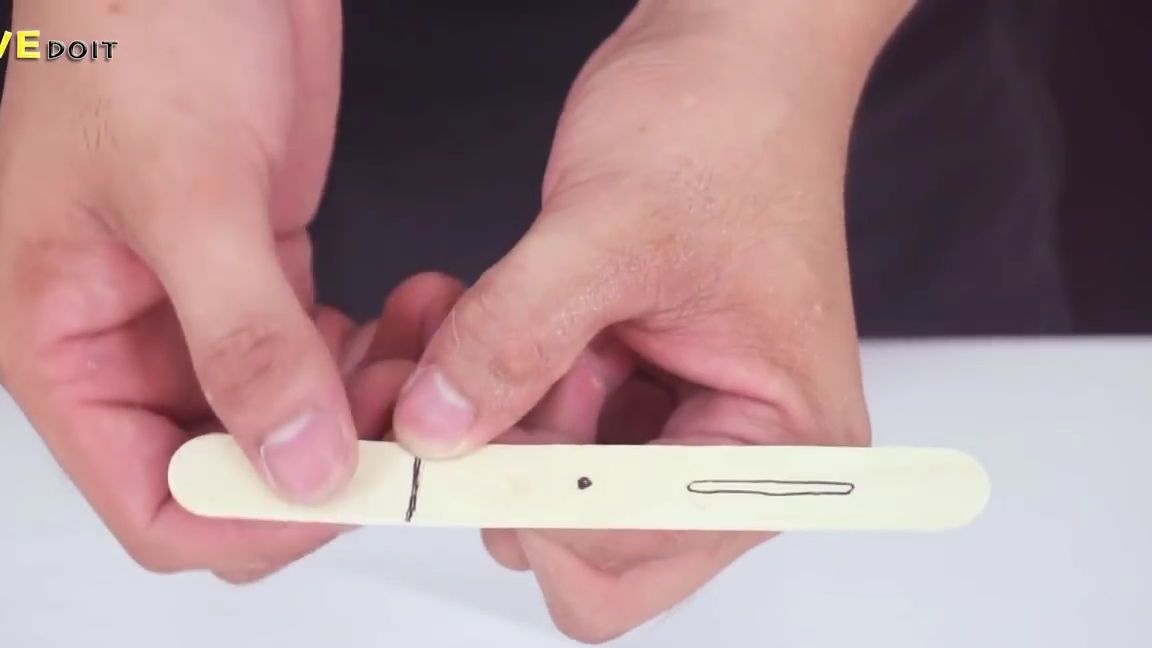
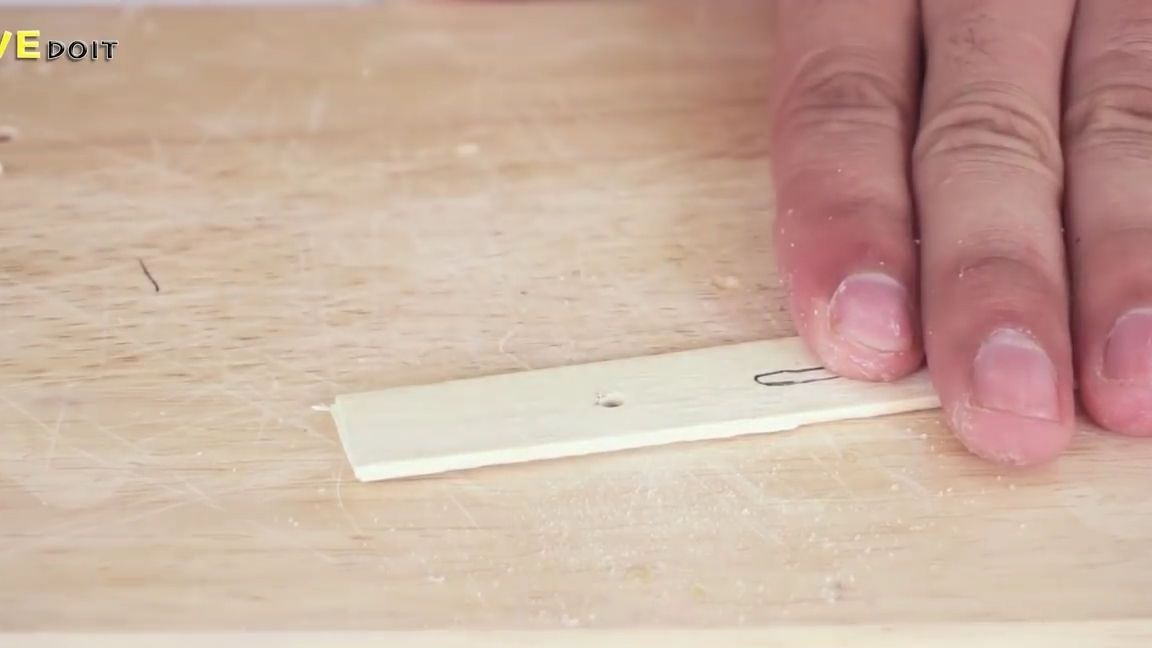
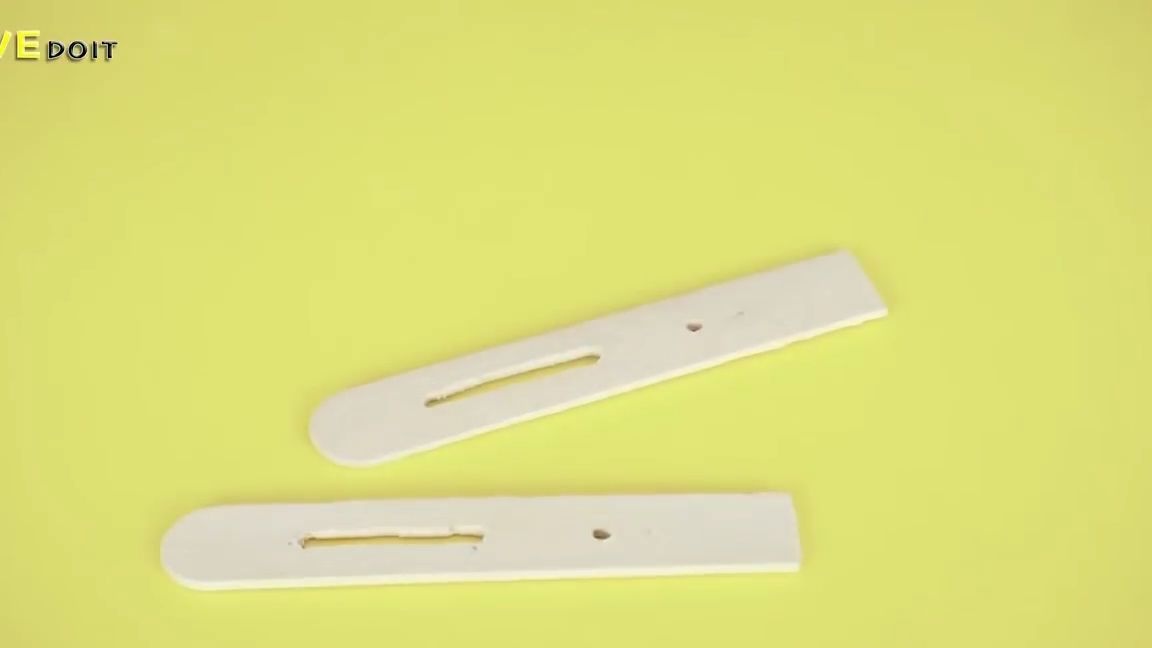
On the first line, cut a piece of the part, then drill the marked holes. You should get a detail, as in the photo below:
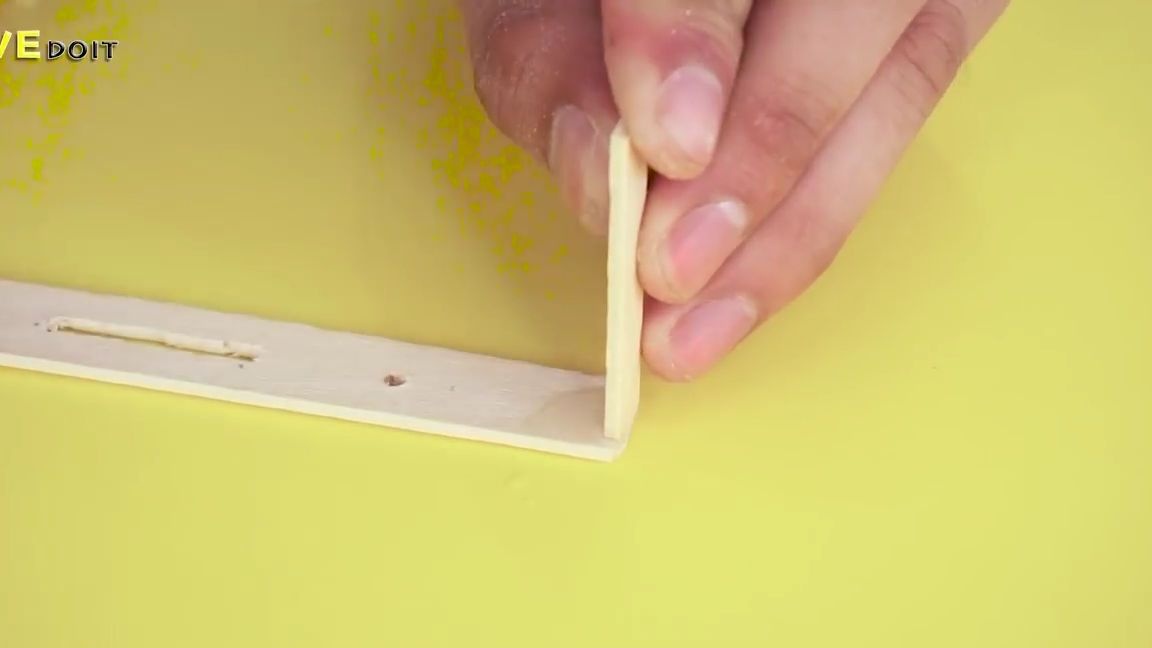
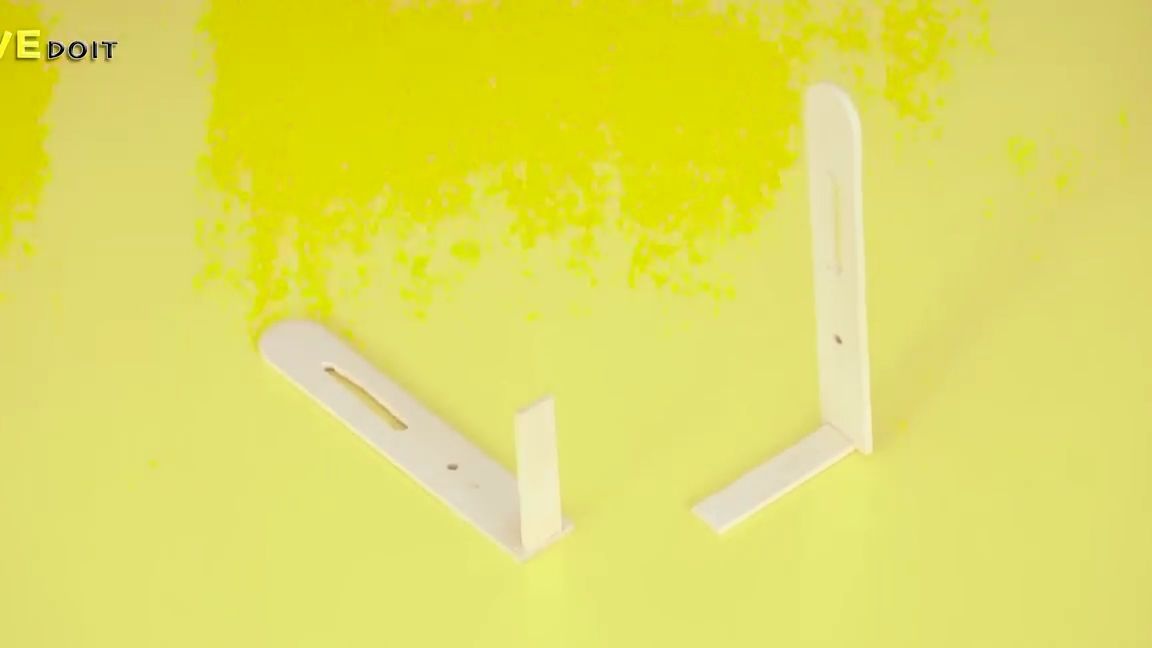
Glue a small piece of ice cream sticks to the non-rounded part of the part. In total, two identical blanks should be obtained:
From the ice cream stick we make six parts, their shape and places for drilling can be seen in the photo below:
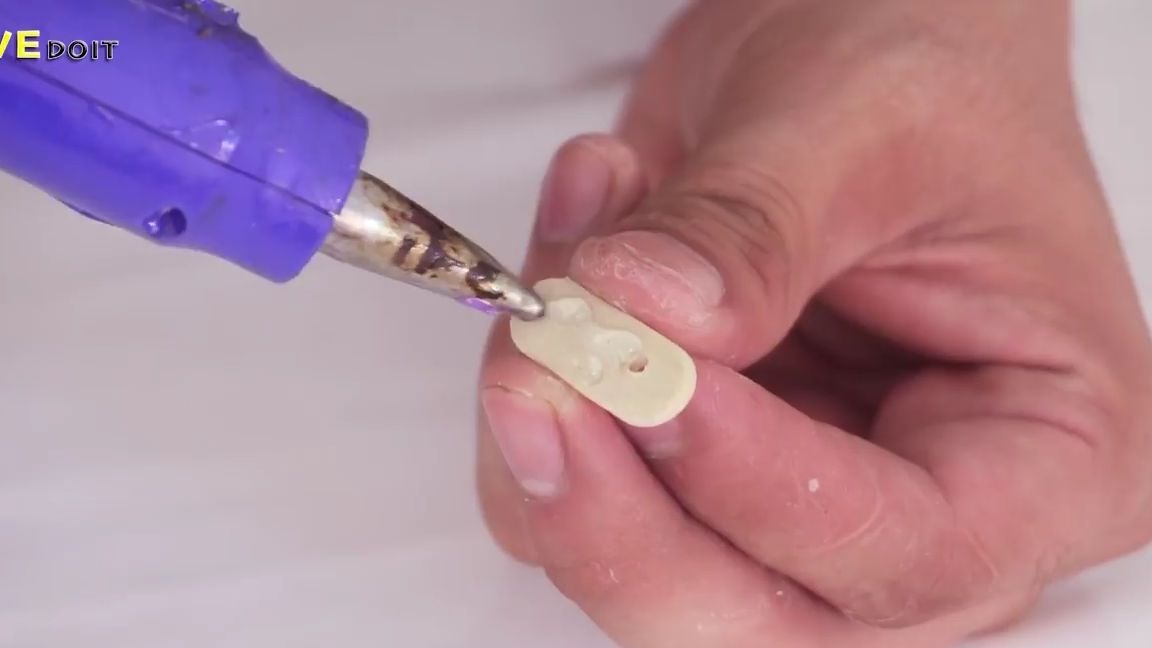
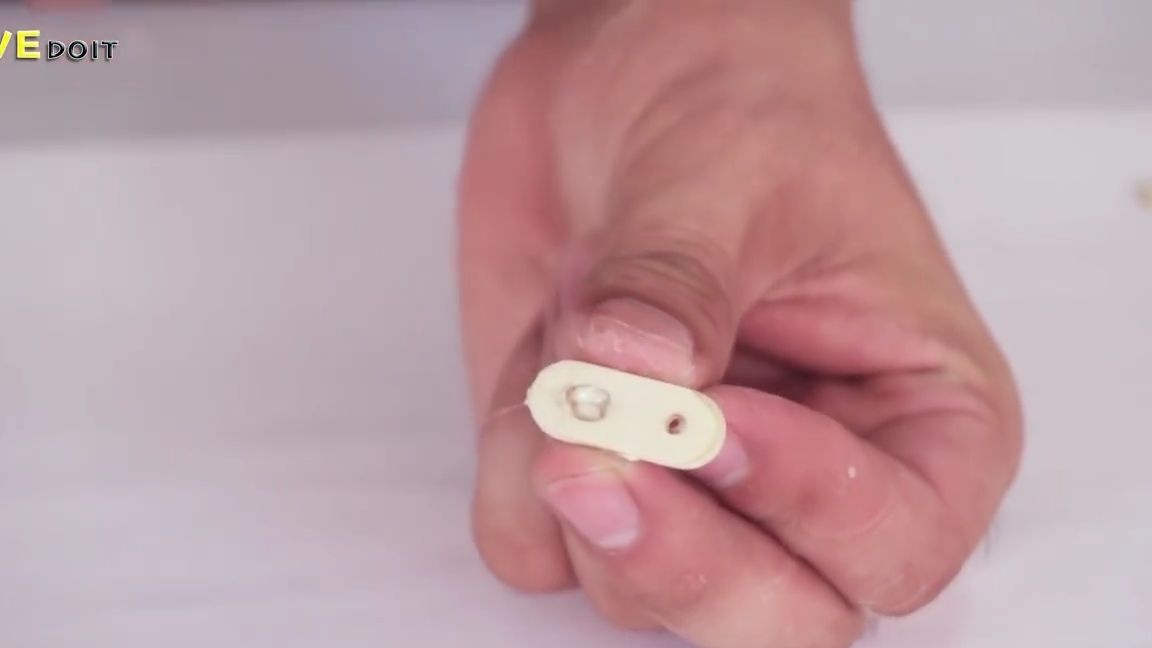
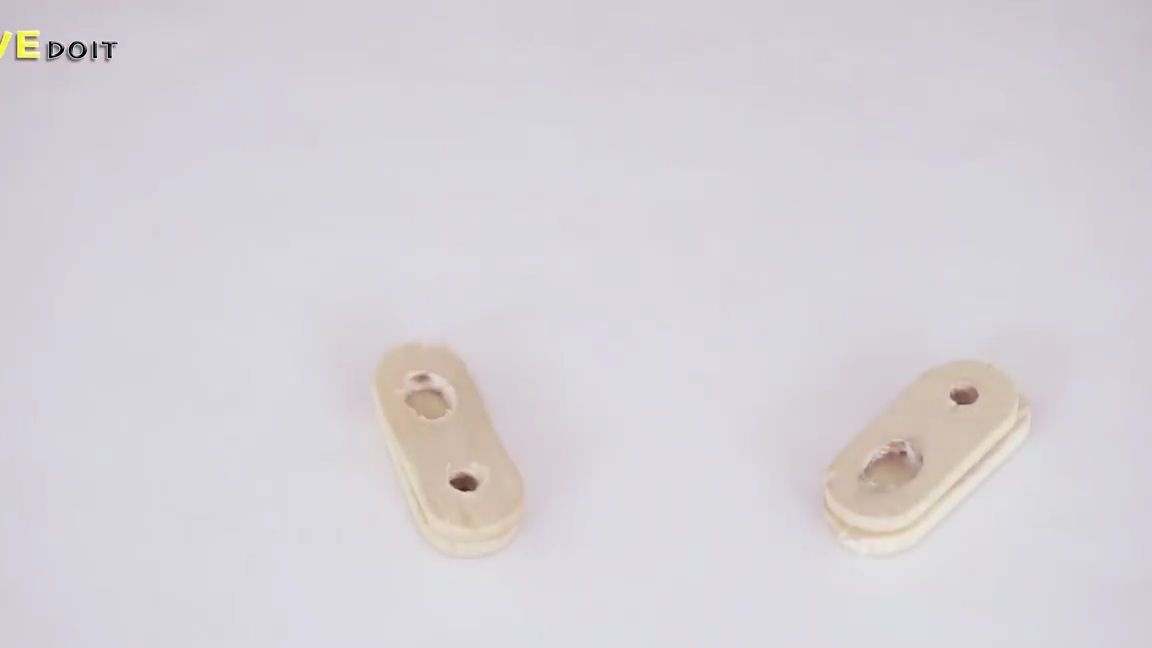
On a part with one hole on the edge, apply a little hot glue and glue on top another part with two holes. It is necessary to stick in such a way that the small holes coincide with each other. All you need to do two such blanks.
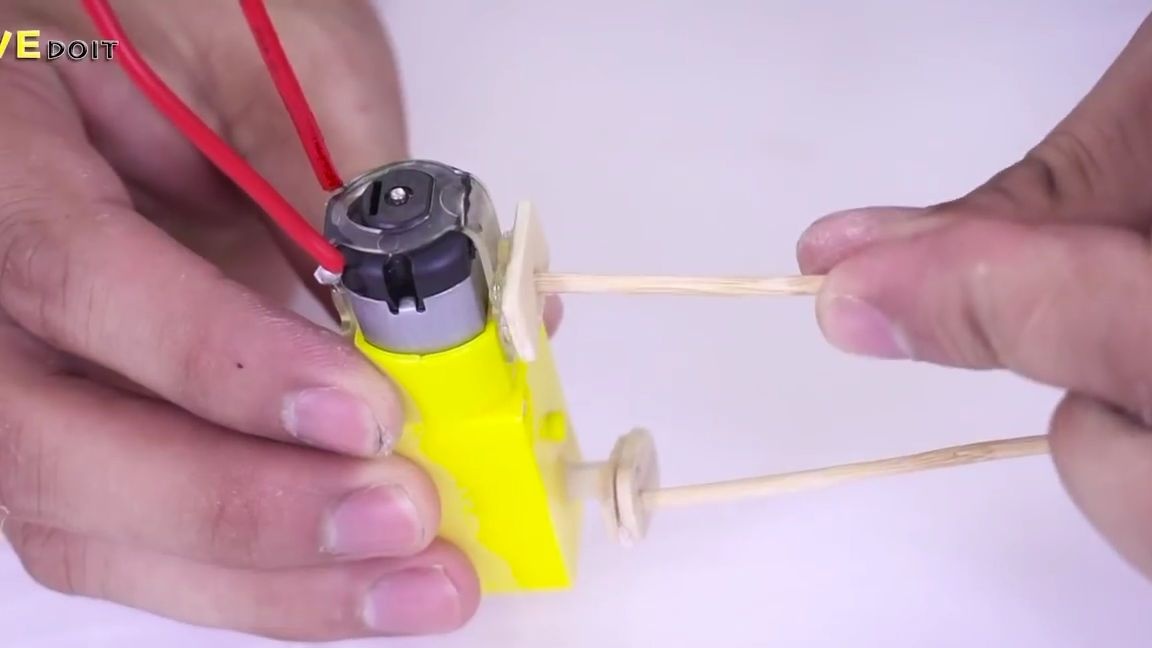
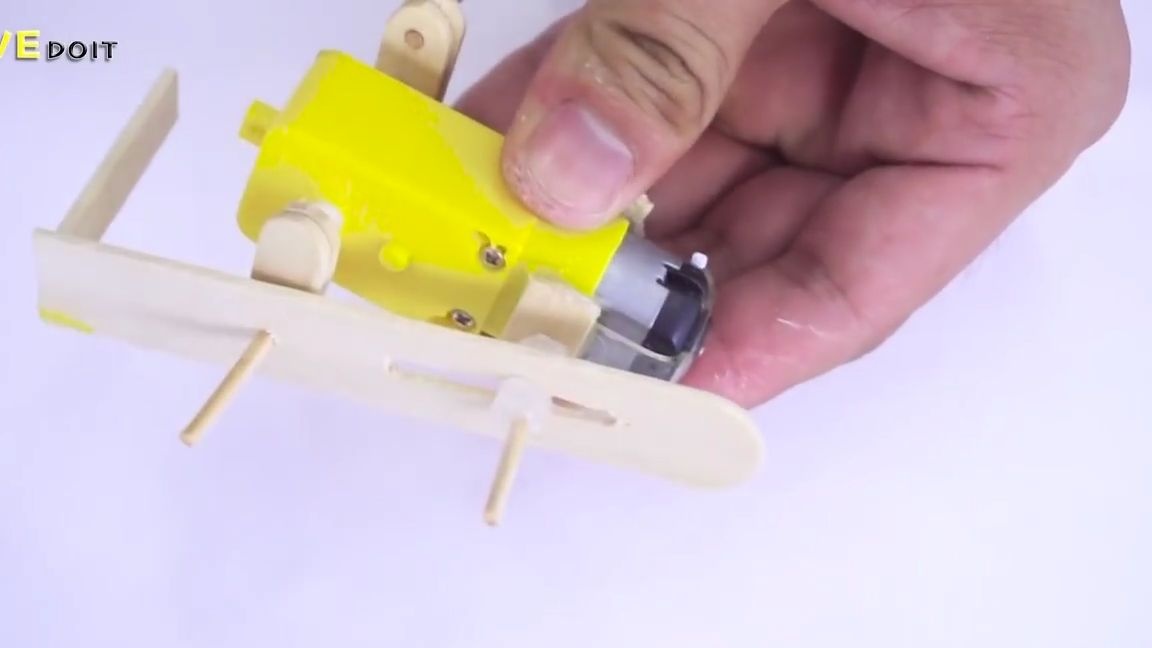
Then we take the gear motor (by the way, it is a very common motor, I often use it myself in my projects and homemade products, they are not expensive, so I advise you to purchase it) and first we glue one blank on its axis, and then the second. It is necessary to glue so that the workpieces are turned in different directions:
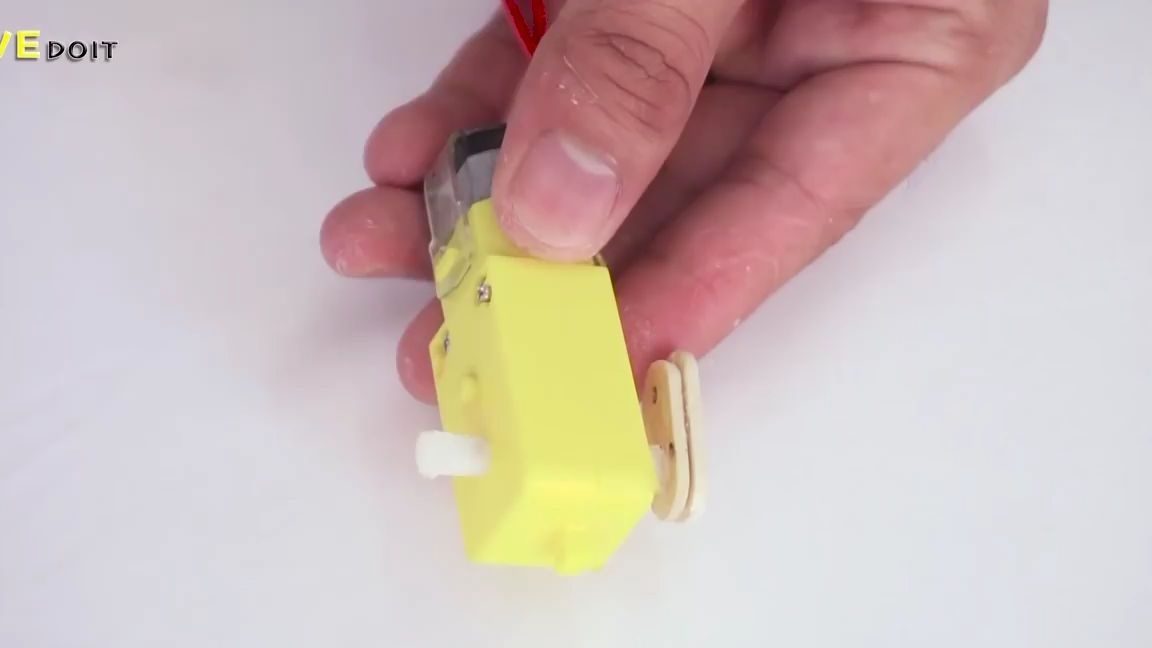
Insert the barbecue skewers into the small holes. Then we take small parts with one hole drilled in the center. We insert and glue more barbecue skewers into these holes. After that, these blanks must be glued to the rear of the gear motor.
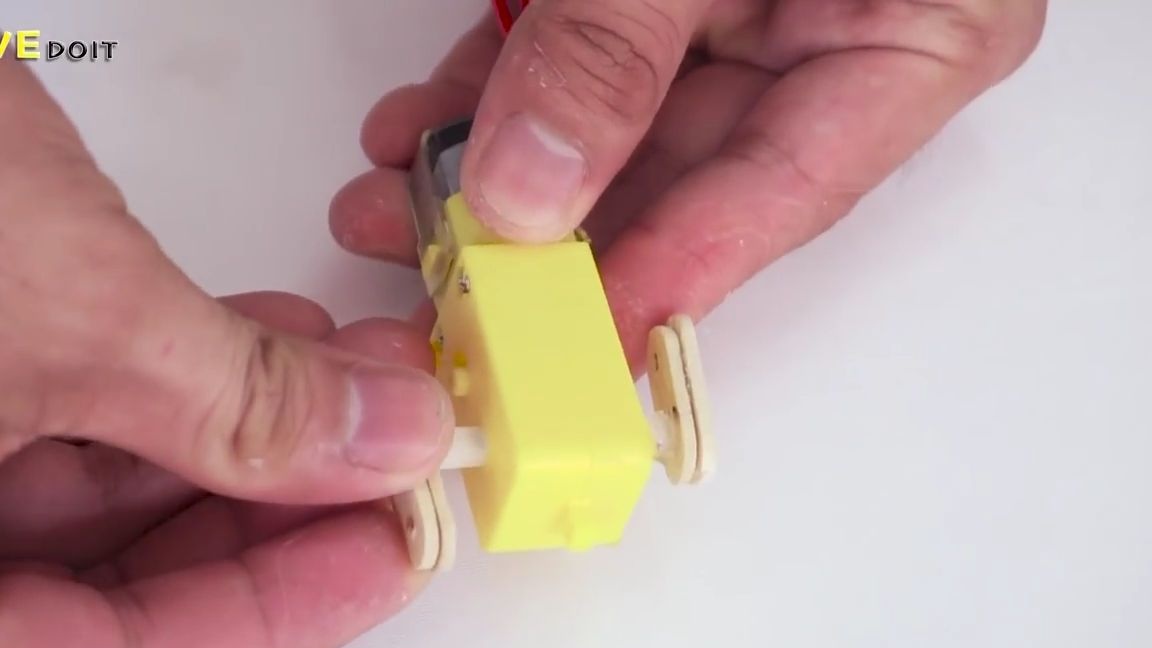
For each skewer it is necessary to put on one washer made of a thin stick of hot-melt adhesive (in the washers you need to make holes in the center exactly in advance).

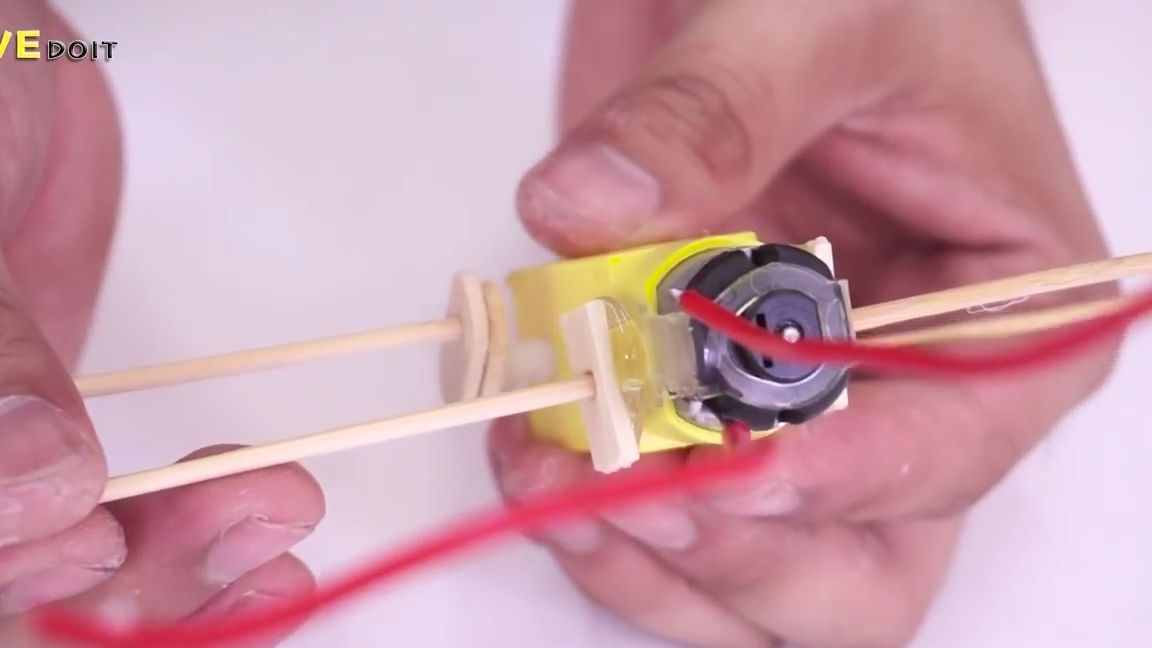
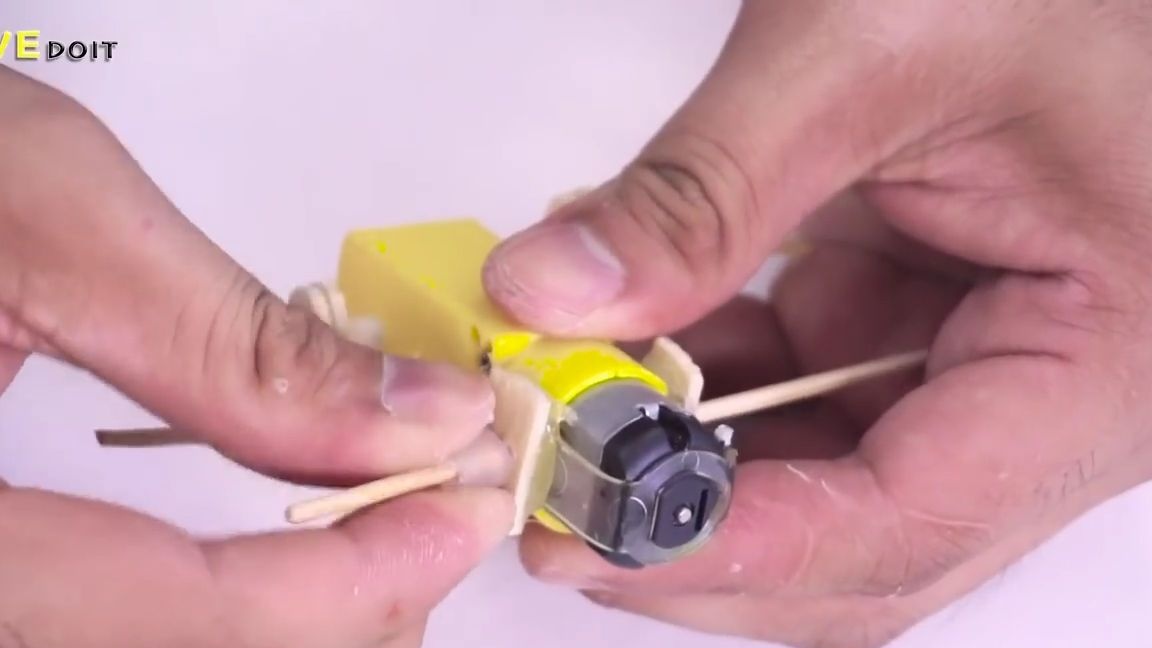
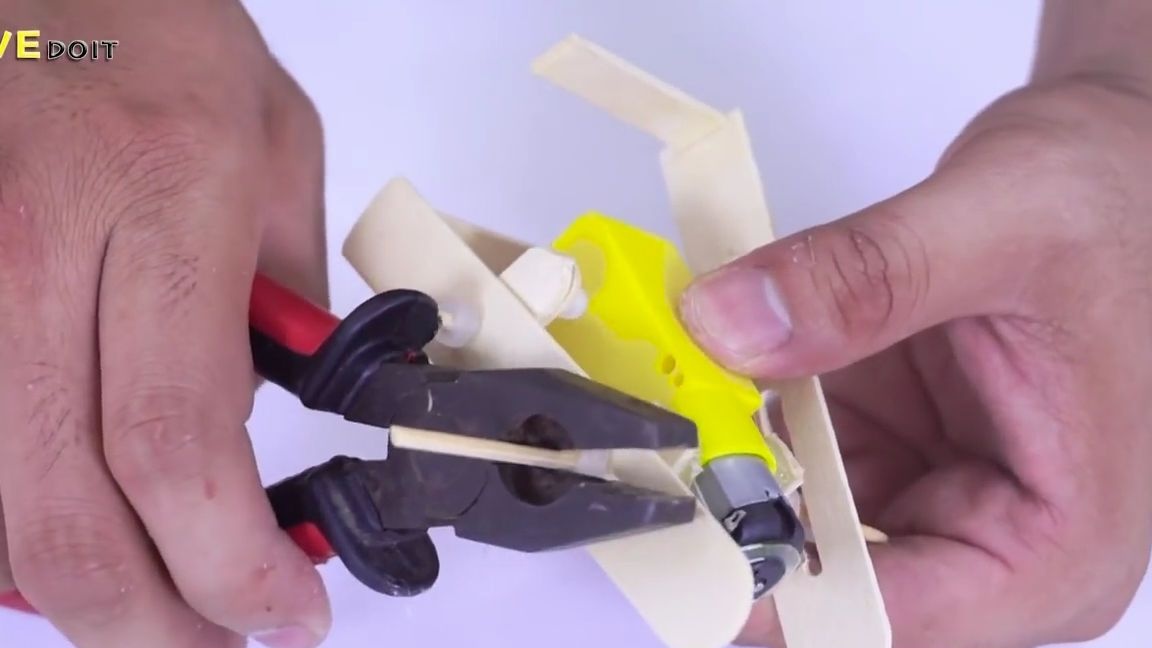
Now you can put on the parts that you did before (these are the parts with a long drilled hole), you need to put on so that the long hole is on the fixed part of the skewer, and the small one is naturally on the moving part.
With the help of nippers or pliers, bite off the excess ones and fix the "legs" of the walker with washers from hot-melt adhesive:
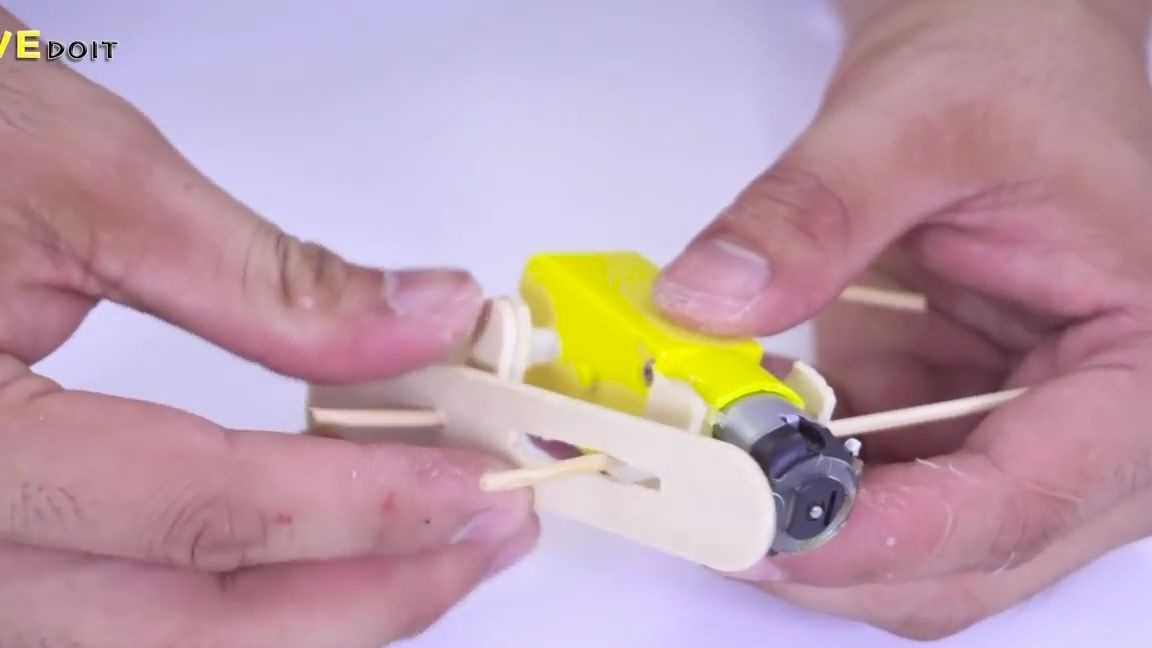
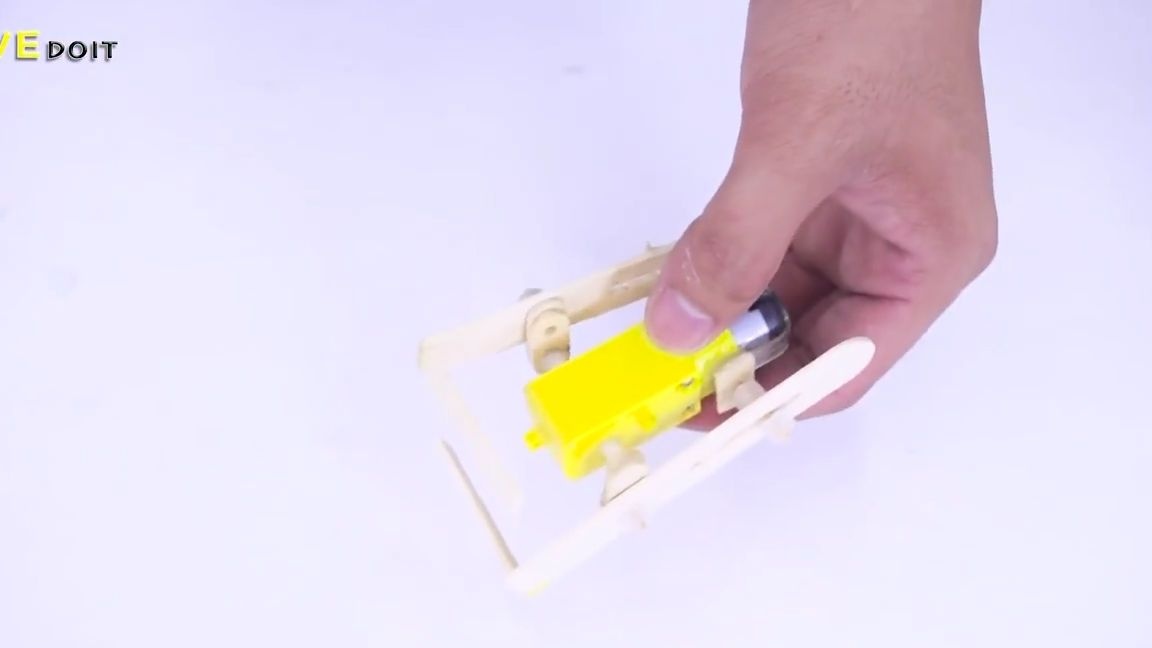
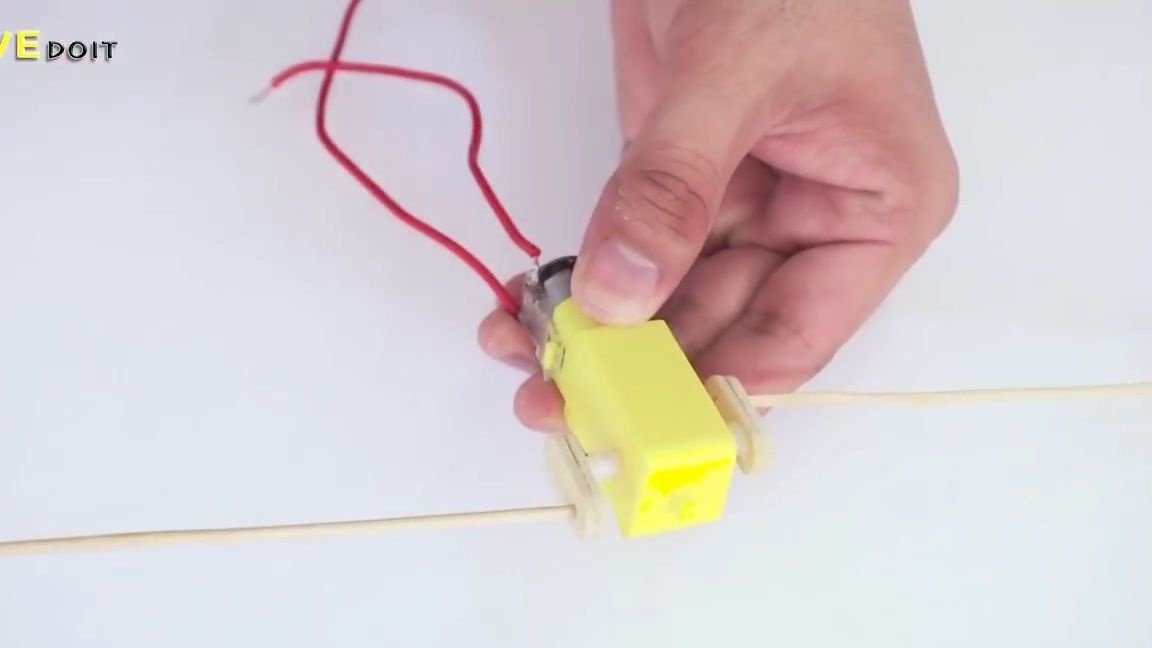
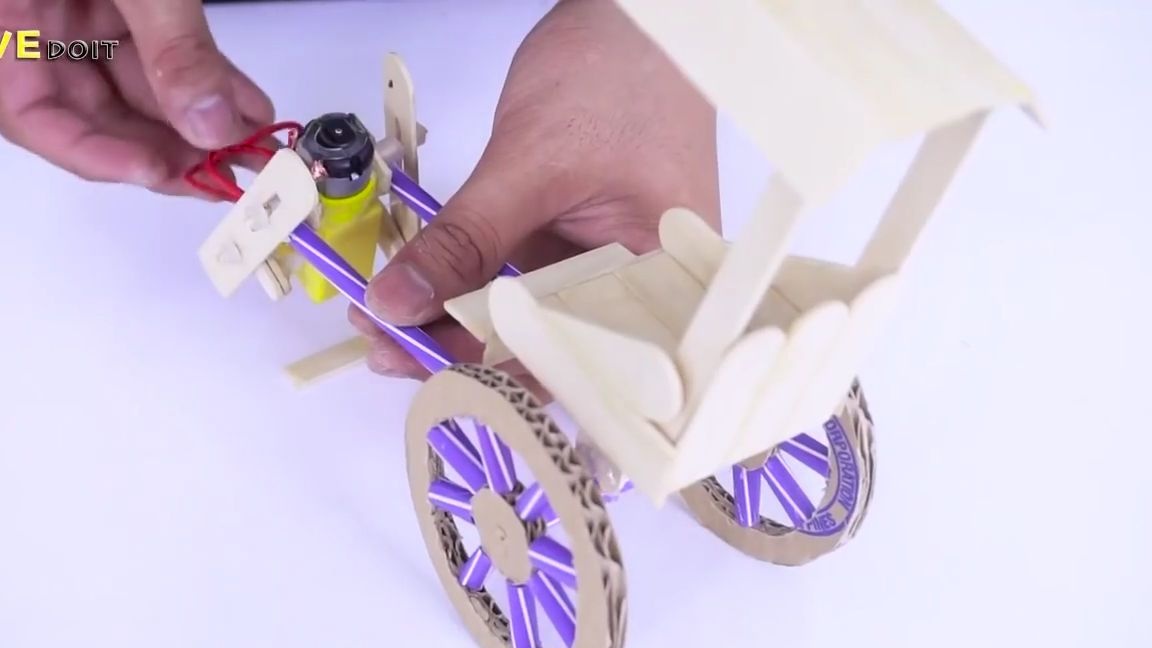
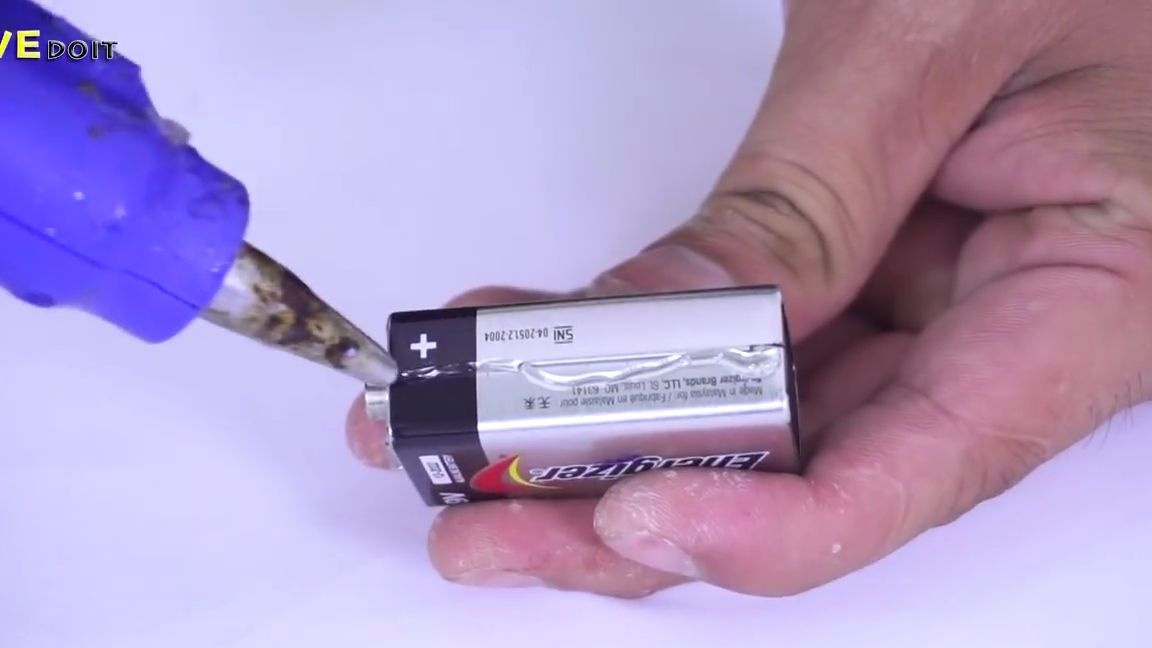
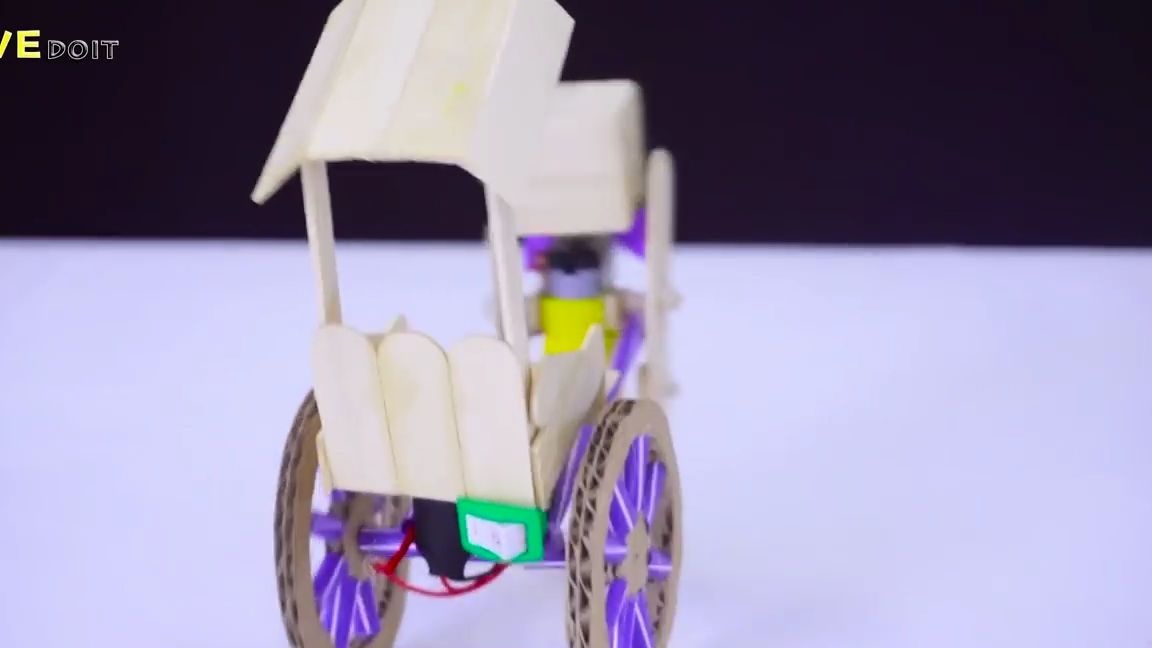
We connect the walker and the wagon to each other, then we attach a “crown” battery to the bottom of the wagon:
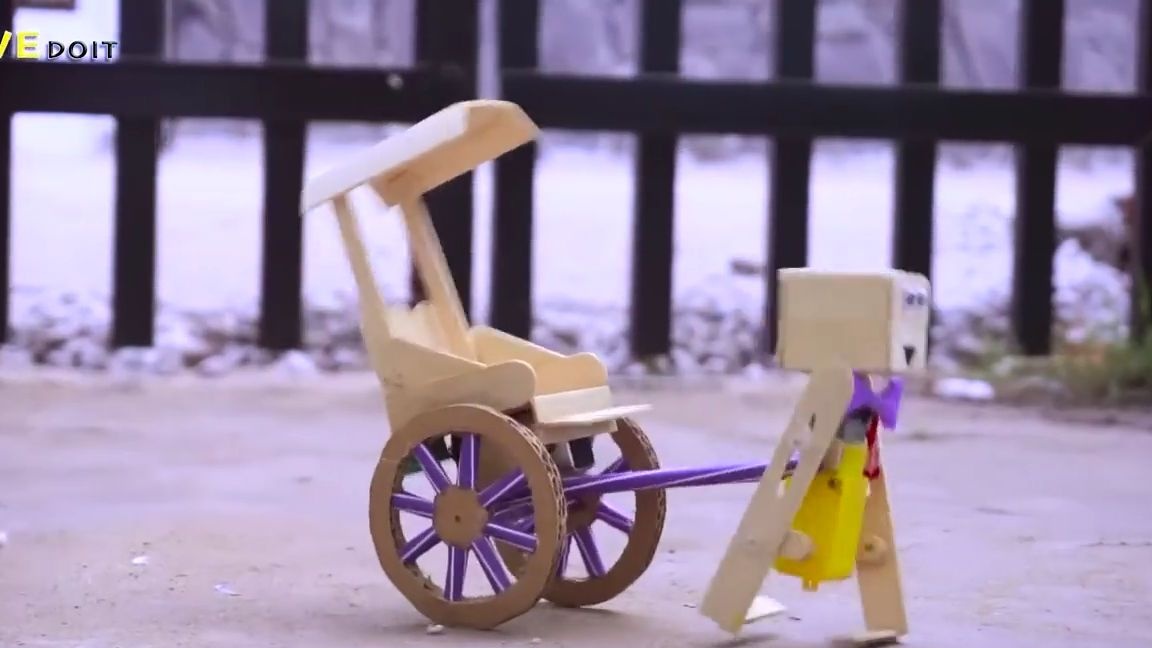
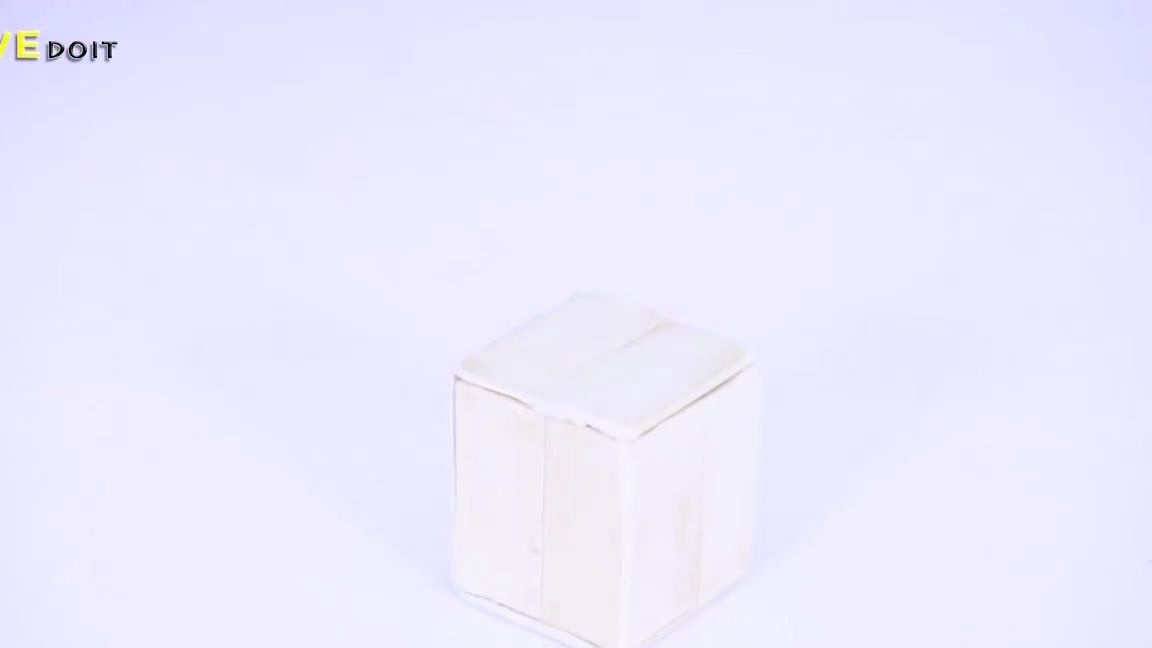
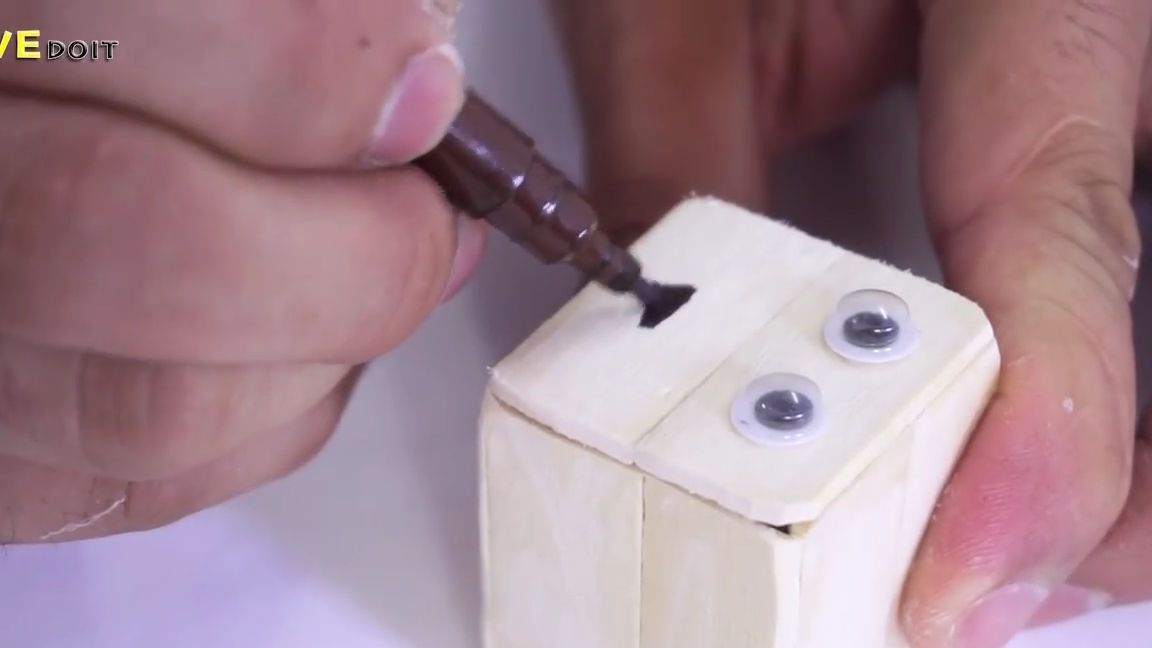
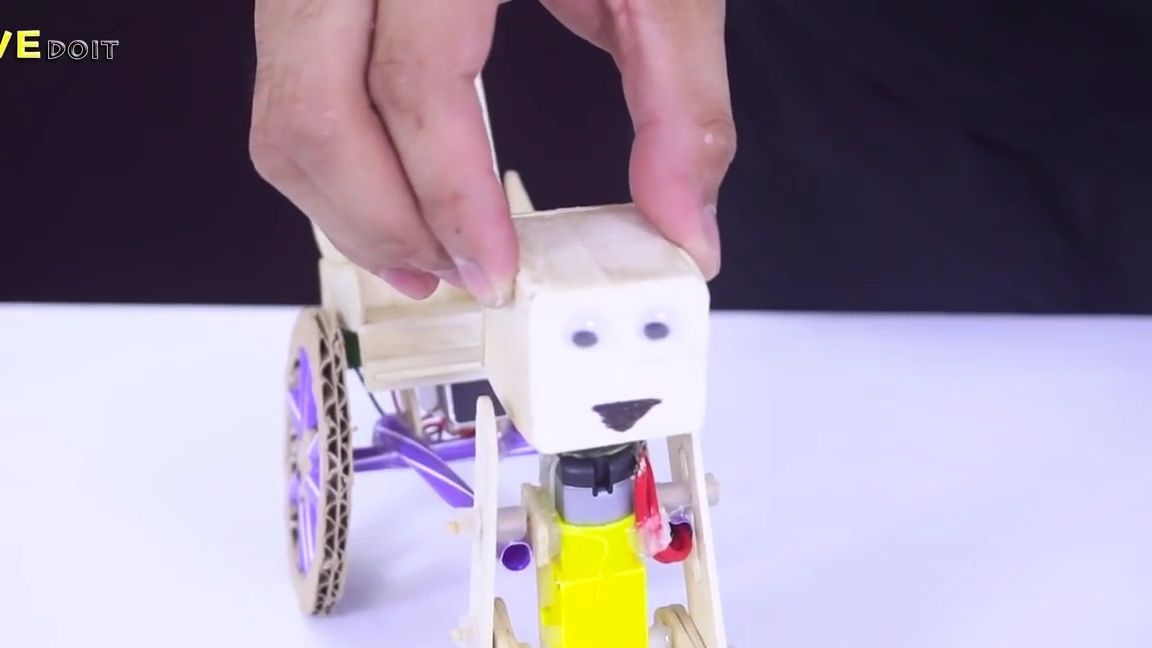
From sticks of ice cream or wooden spatulas, you need to make a small cube. Glue decorative eyes to this cube and draw a “mouth” using a marker or a conventional felt-tip pen:
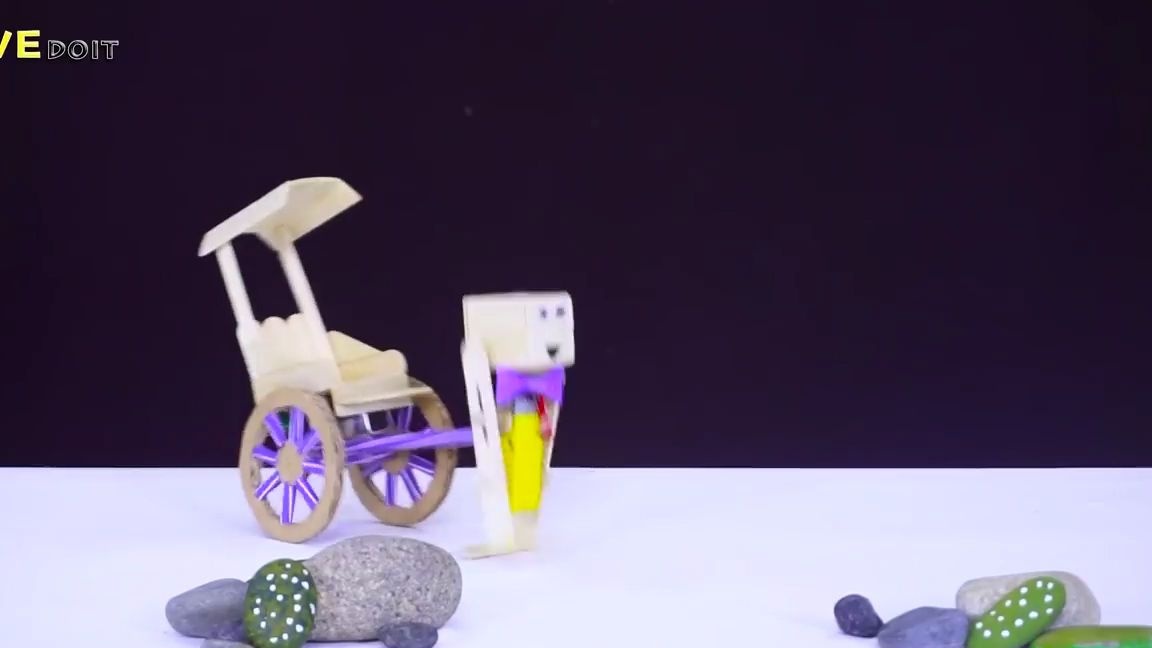
We glue this blank on the top of the walker, resulting in a cool little man:
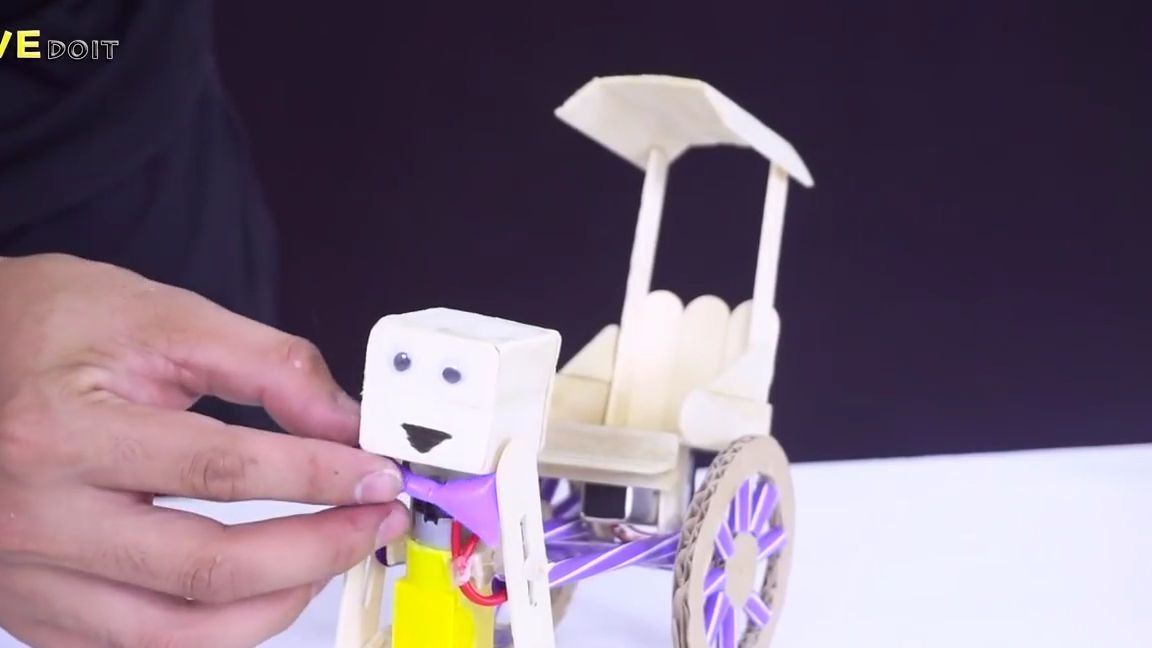
We also stick the “butterfly”:
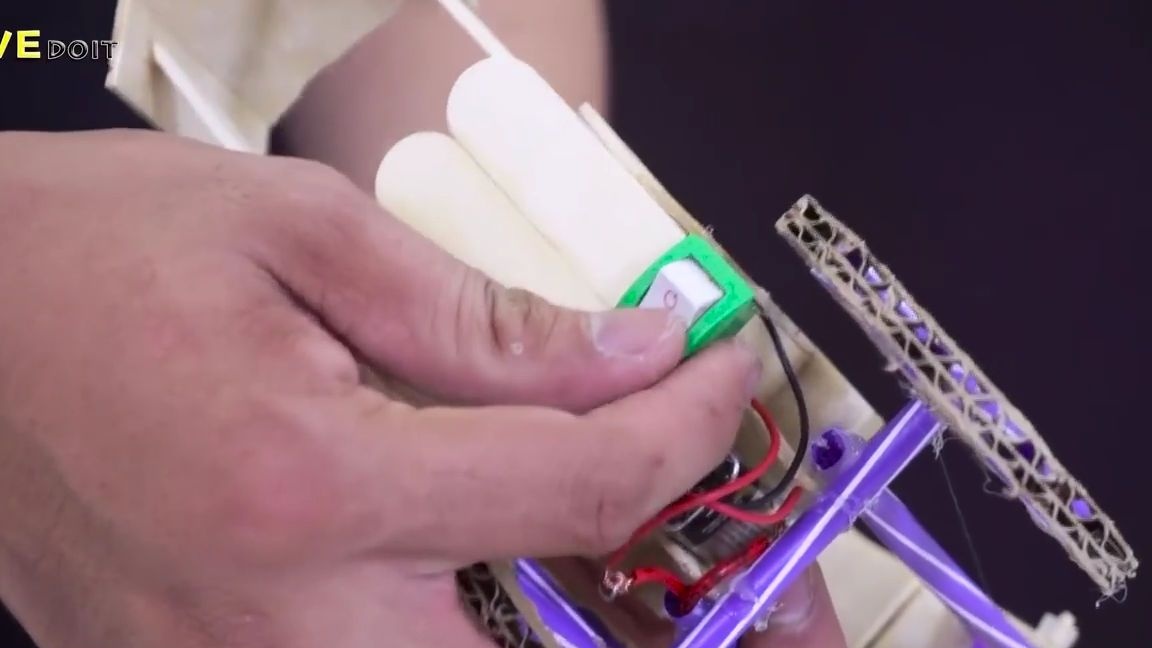
It is necessary to solder two wires to the gear motor, then solder one of the wires to the connector from the "crown", and the second to the switch, the remaining wire from the connector is soldered to the switch. In general, we make the simplest electrical circuit. When the switch is turned on, the motor should start working, and when turning off, it is natural to stop working. It is also necessary to insulate the soldering places using heat shrink or electrical tape:
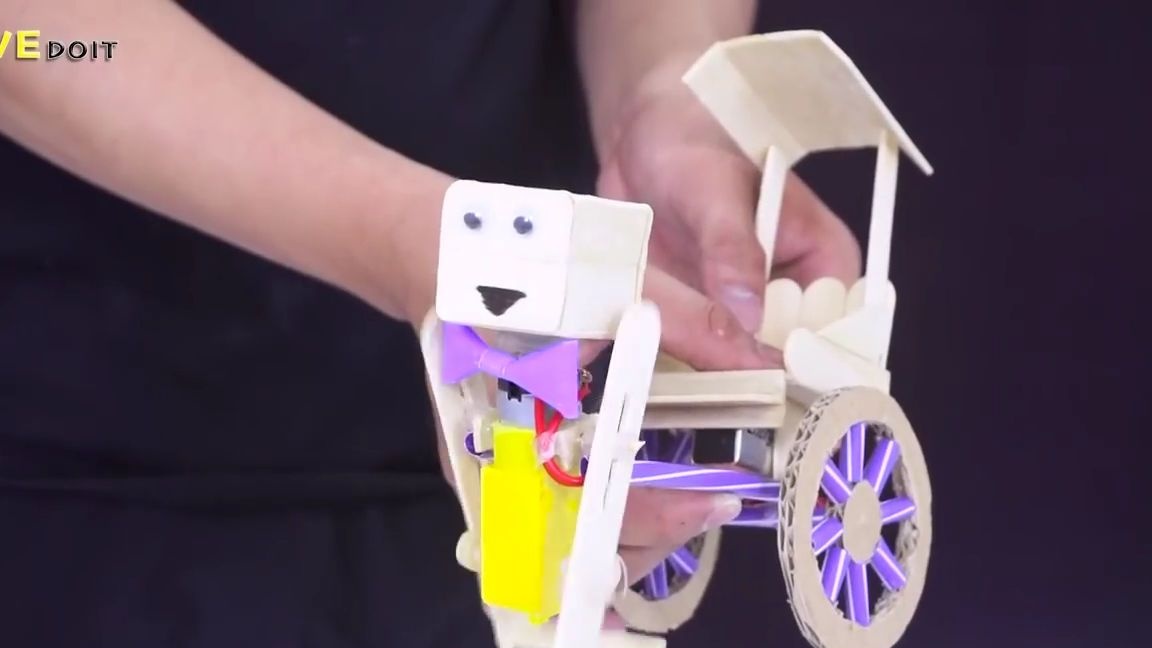
That's it! A simple and fun wagon drawn from the walker is ready and you just have to test it! To do this, just put the homemade product on a smooth surface and turn it on. In this case, the walker will begin to move and pull the wagon along with it.Homemade is very simple and I think it is ideal for entertaining children, and just for fun and adults.
Here is a video from the author with a detailed assembly and testing of this homemade product:
Well, thank you all for your attention and good luck in future projects!