

Hello to all lovers homemade. It’s not a secret for anyone that sooner or later the entire cutting tool becomes dull and has to be sharpened, just for these purposes the grinding machine is perfect. Buying a finished version is too easy and also expensive, so in this article I will tell you how to save money and make a grinding machine do it yourself. This machine will allow you to sharpen tooling for a lathe, drills, taps and other cutting tools, as well as level and grind metal workpieces.
Parts for assembling this homemade product can be purchased at a flea market for a penny, this will save you money on buying a finished version, as well as gain experience in assembling a homemade machine.
Before you read the article, I suggest watching a video, which shows in detail the entire assembly process of the grinding machine.
In order to make a sharpening machine with an engine from a washing machine with your own hands, you will need:
* The engine from the washing machine
* Electric drill, drill for metal with a diameter of 7 mm
* Angle grinder
* Semi-automatic core
* A metal sheet
* Channel width 270 mm
* Metal corner with a shelf width of 63 mm
* Stamped disc from VAZ
* Welding machine, electrodes
* Welding mask, gaiters, goggles, gloves
* Metal brush
* Side cutters
* A pair of M12 bolts and four M6 bolts
* File
* Spray of blue paint
* Hairpin M16
* Plate bending machine
* Metal pipe with a diameter of 89 mm
* Shock absorber stock
* Soldering iron
* Diamond cup
* Vernier caliper
Step one.
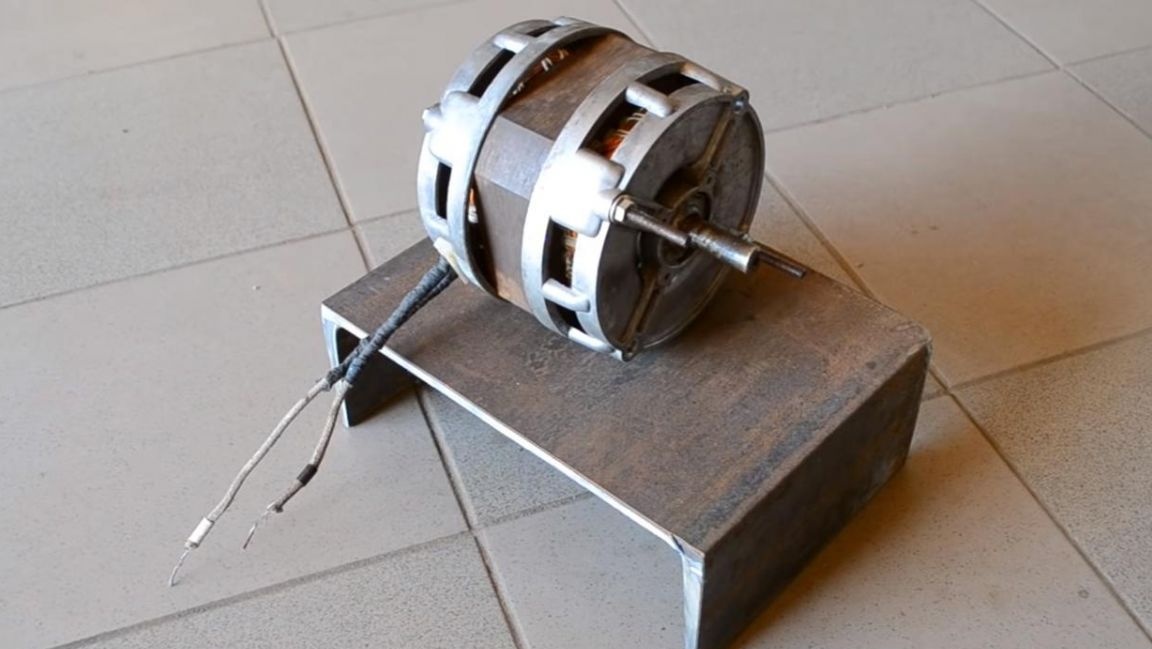
First of all, you need to deal with connecting the power to the engine from the washing machine.
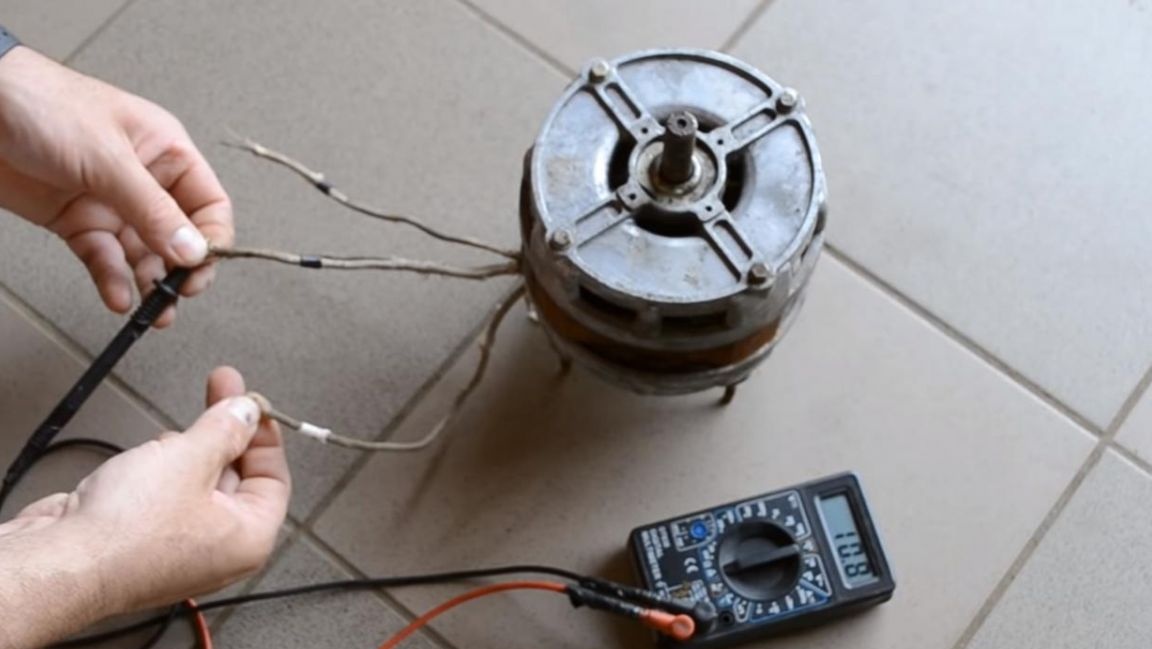
In such engines there are two windings, one starting, the other - working. Using a multimeter, we check the resistance at the motor terminals, the resistance of the working winding should be about 10 ohms.
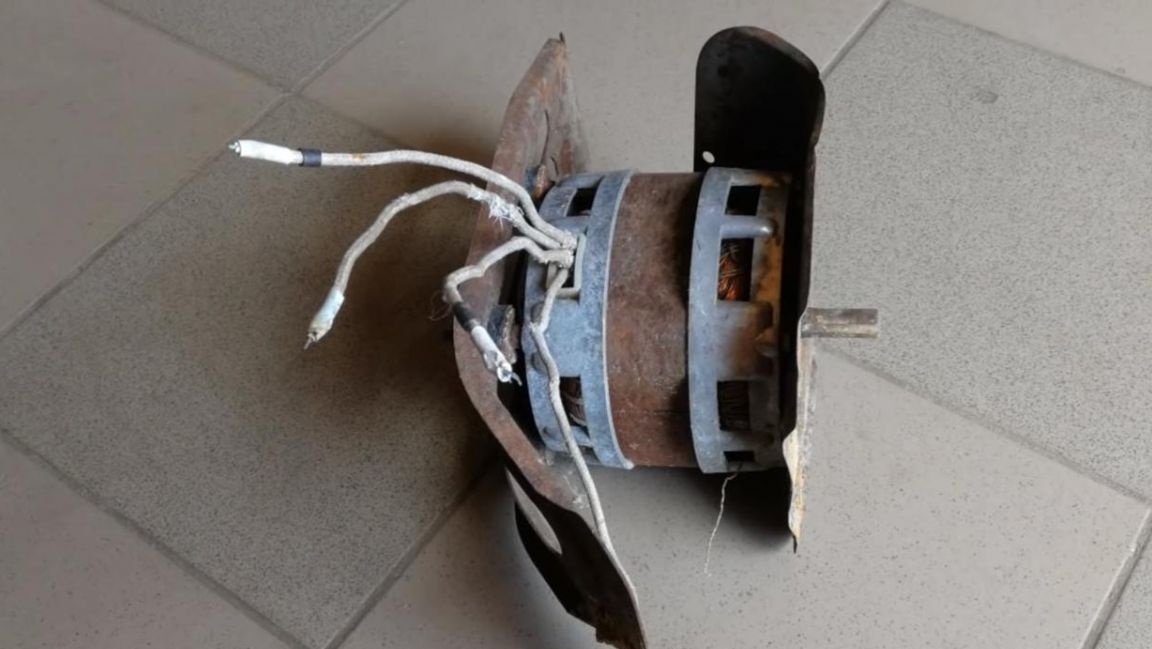
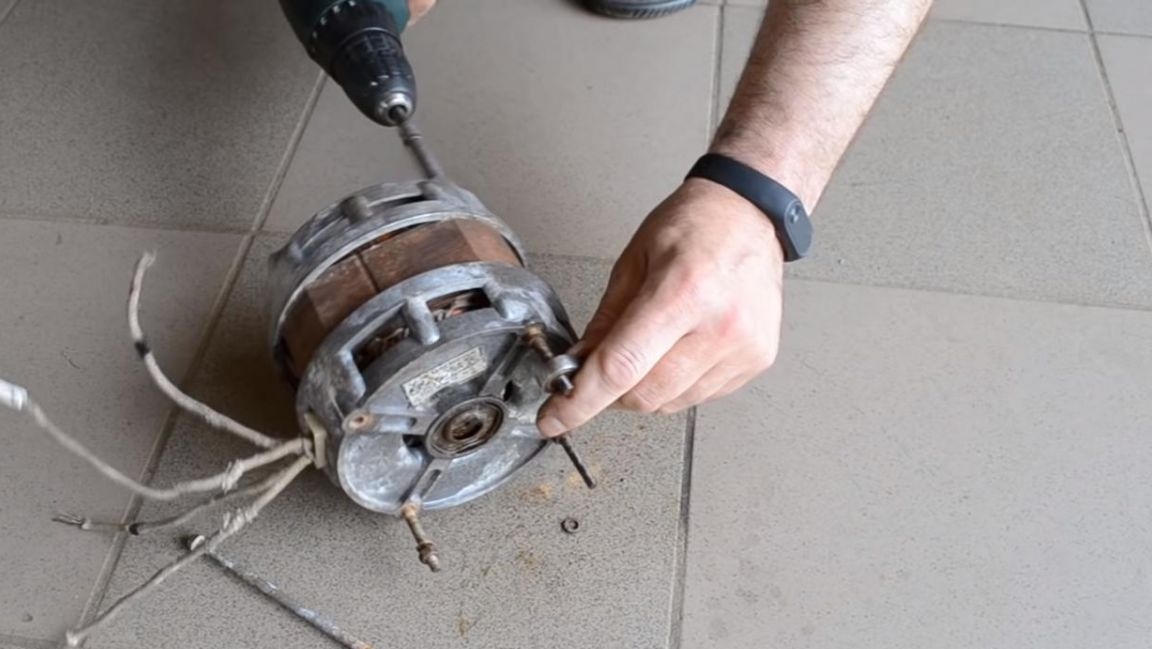
The starter winding on this engine unfortunately does not ring, which means there is a break, but without it the engine can be started, but only with a “pusher”, helping to start the engine by hand. Since the engine from the washing machine was in the rain for a long time, its insides must be checked and the condition of the bearings checked.We disassemble the engine housing by unscrewing the four nuts from the studs, remove one of the covers.
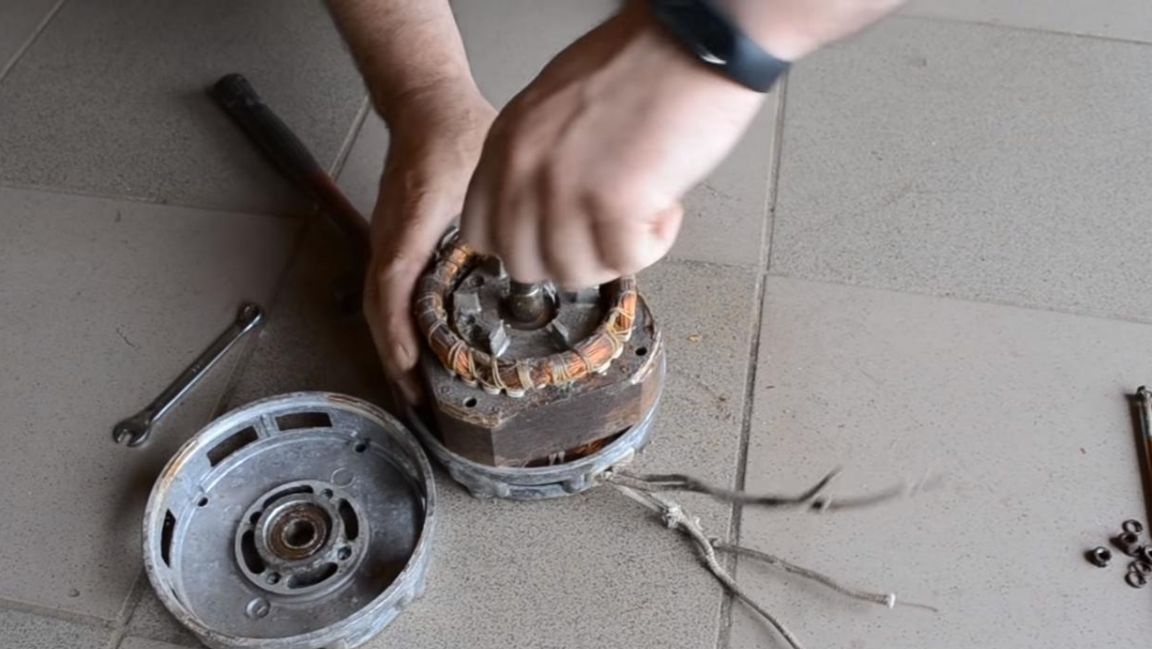
The bearings have rust marks, which is not surprising.
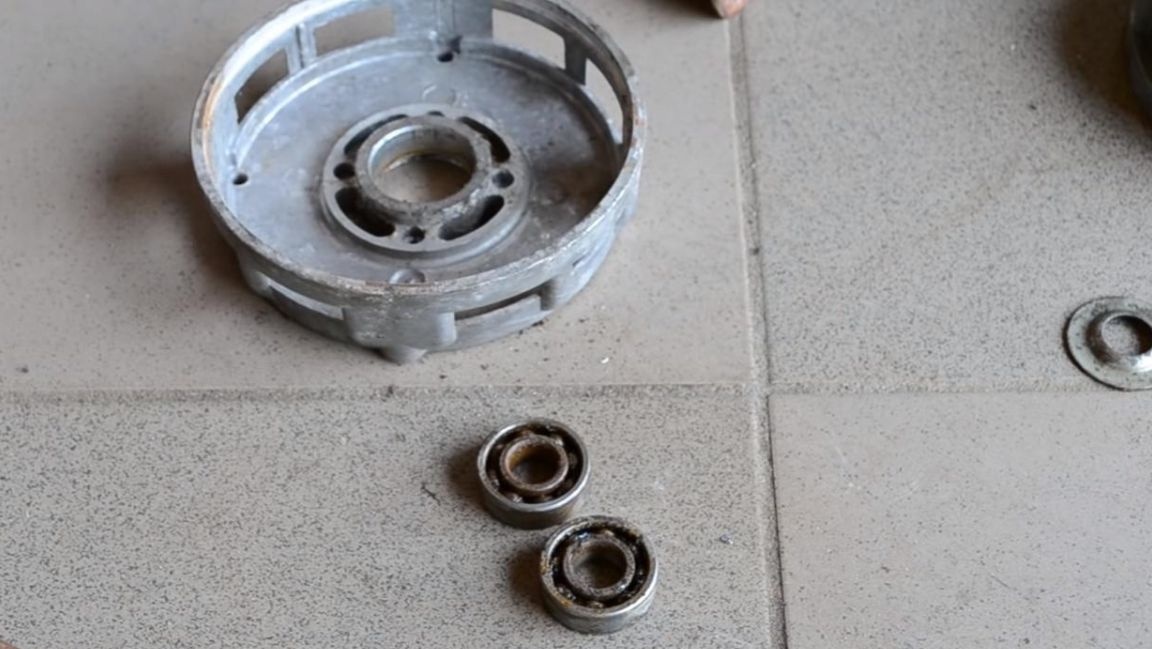
This type of bearings is quite common, so we buy a couple of these in the store and install them in their places.
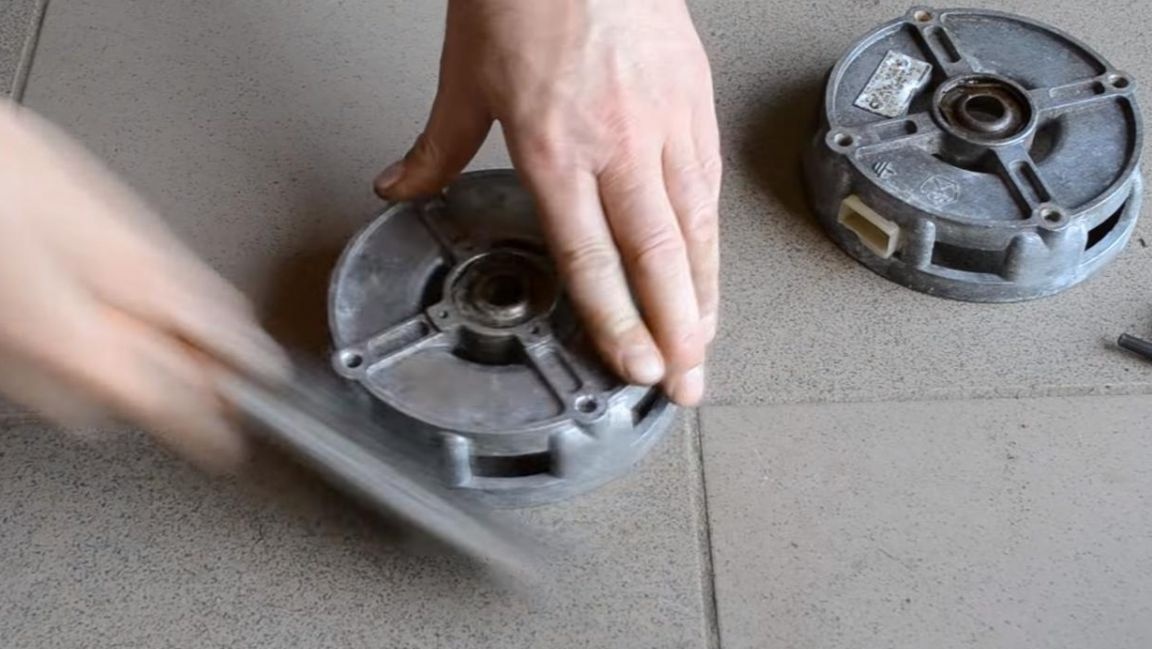
The covers themselves are slightly brushed with a metal brush so that the engine looks as beautiful as possible.
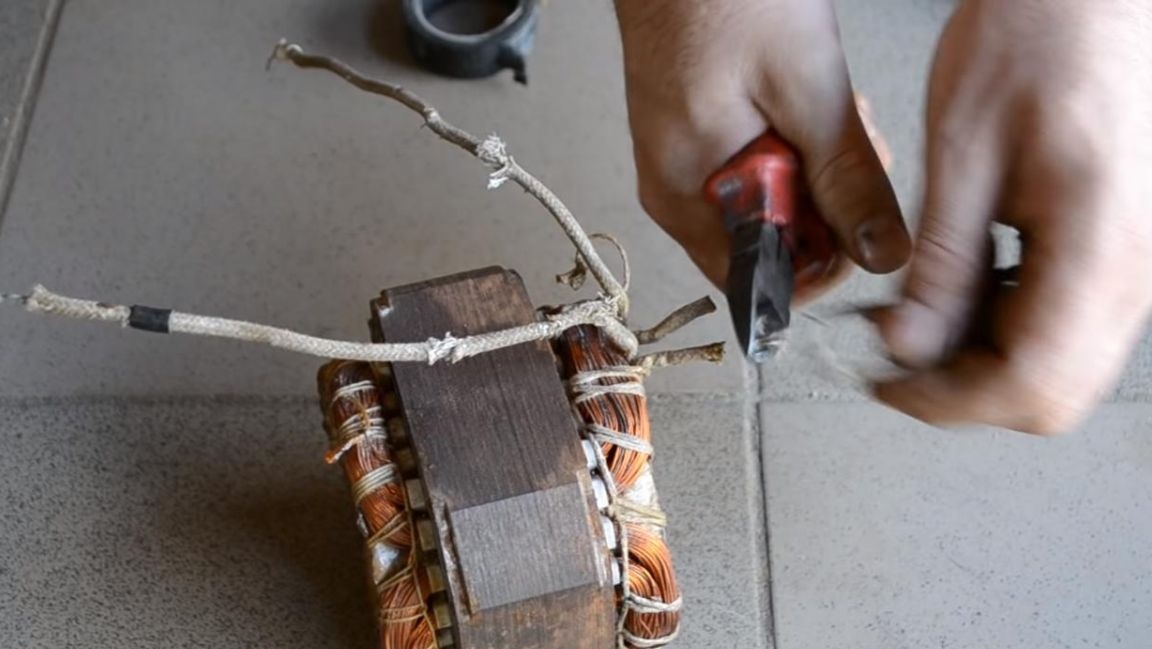
We bite the conclusions from the starting winding with side cutters and isolate them, since they will not be useful.
We install the cover in its place and twist the studs back.

Step Two
Now you need to make a basis for installing an engine on it. From the channel 270 mm wide, measure the length of 200 mm using a tape measure and draw a straight line.
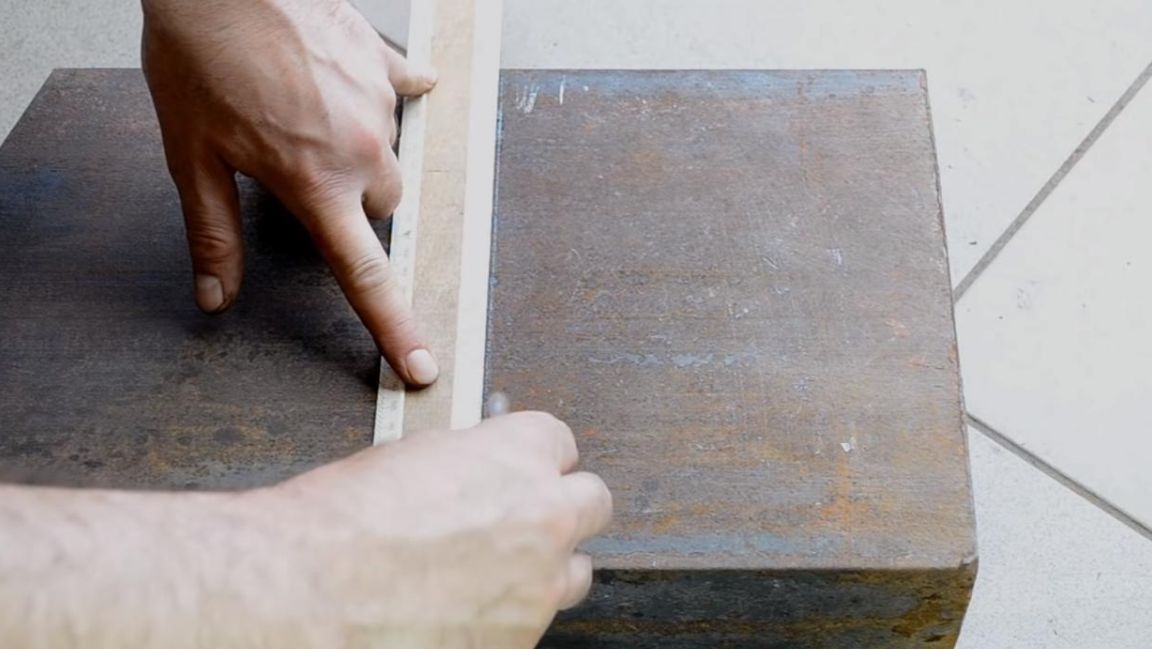
Next, we saw off the channel according to the marking with an angle grinder with a cutting disc installed in it.
When working with the angle grinder, be careful and also use safety glasses and gloves.

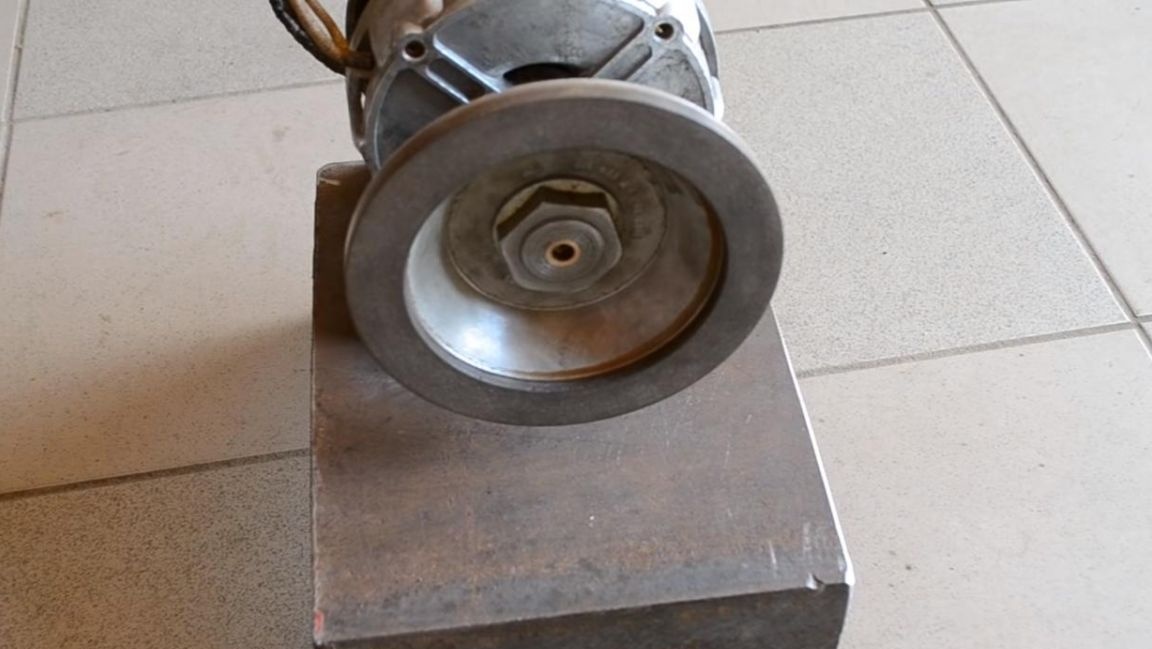
So the engine will be located on the channel.
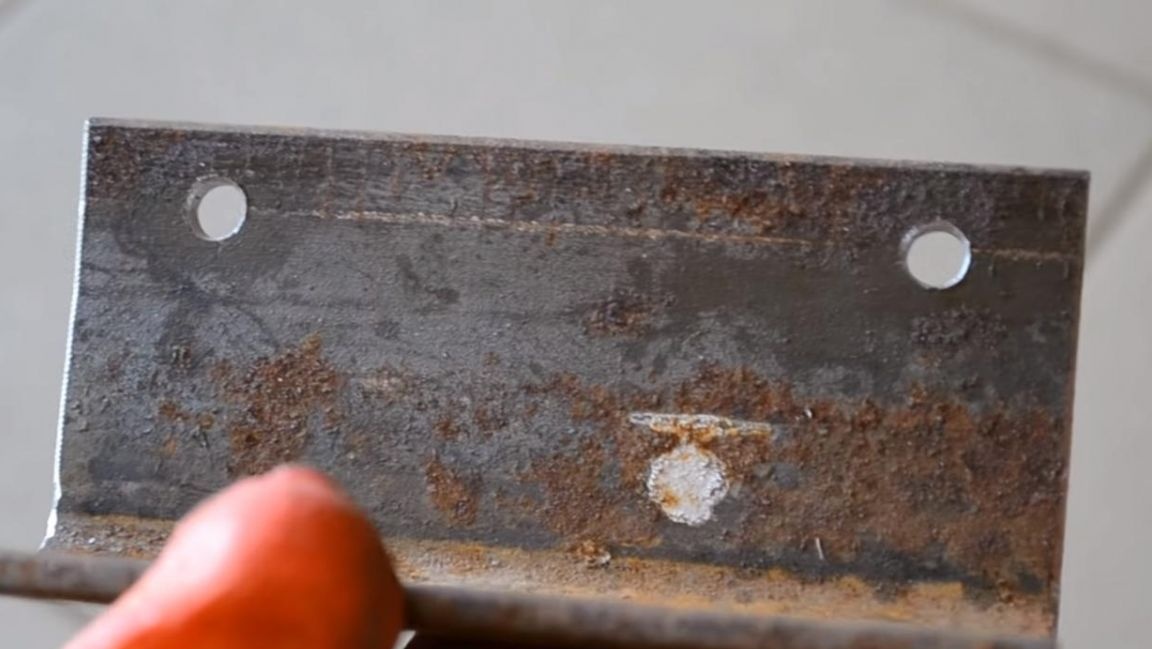
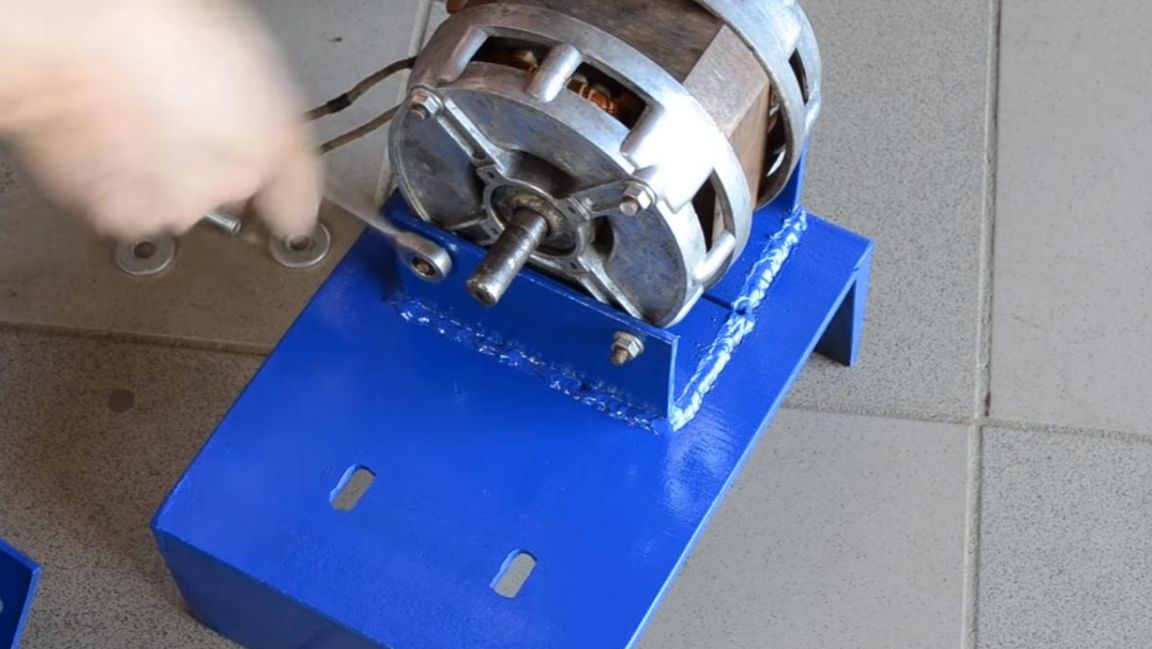
For fastening, you need to make two small segments of 130 mm from a metal corner with a shelf width of 63 mm. We also saw them off using angle grinders.
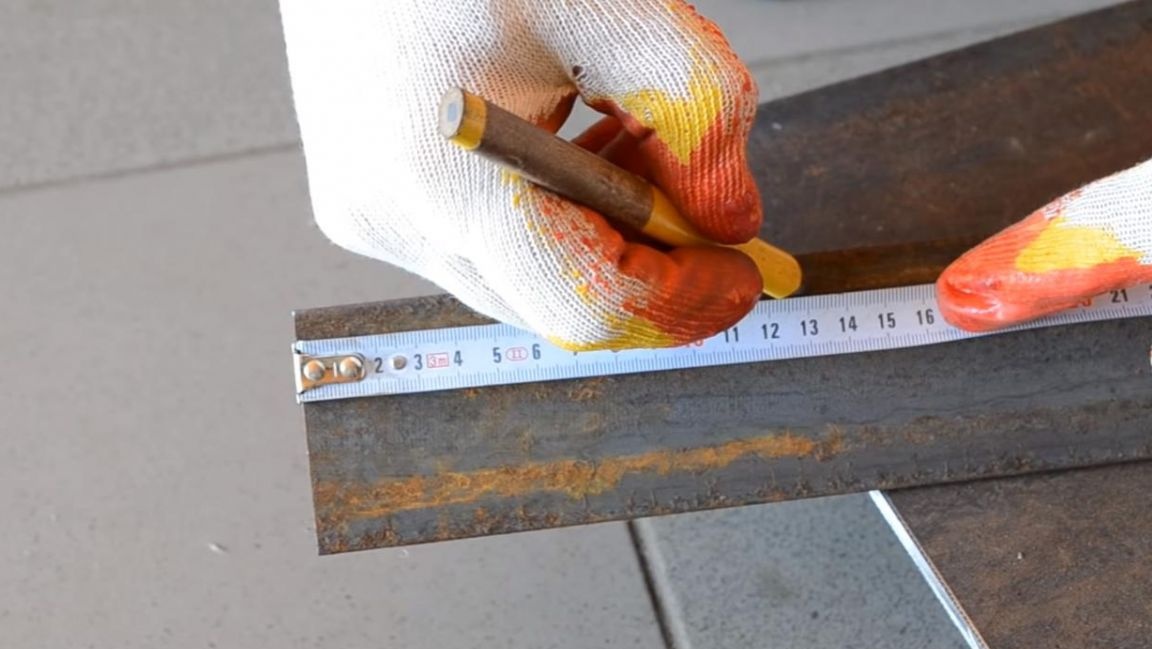
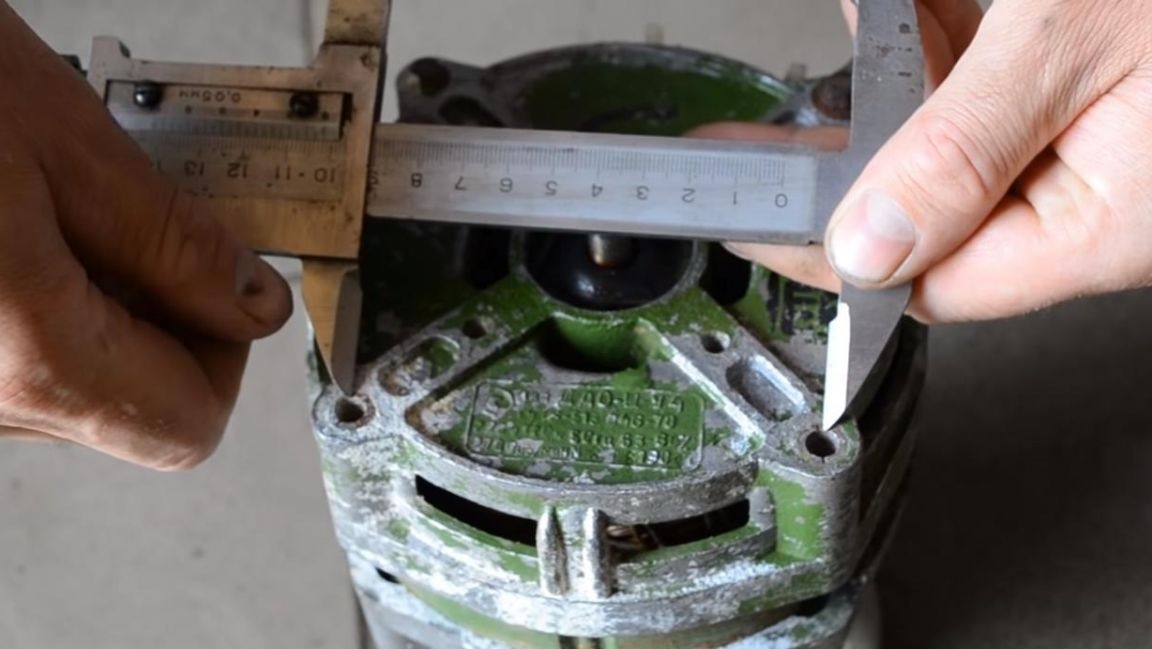
Having measured the distance between the studs on the engine with the help of a caliper, we transfer them to segments from a metal corner. In the place of marks, we make a punch with a semi-automatic core.
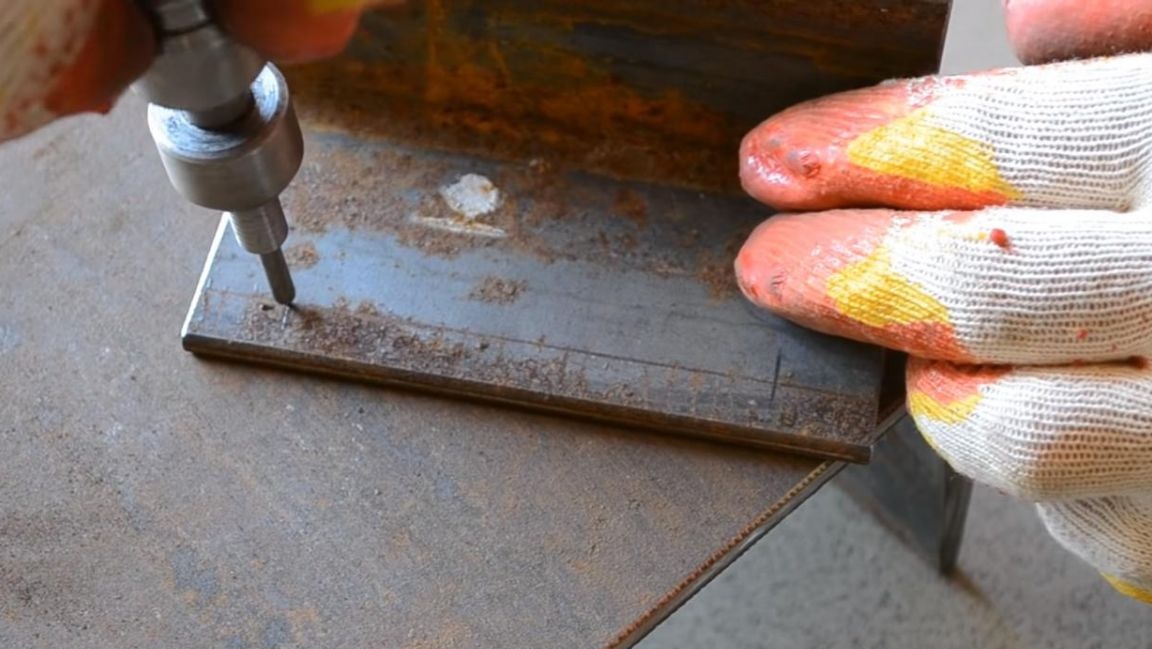
Next, we drill holes with a 7 mm drill installed in the electric drill chuck. In the drilling process, add a little technical oil to the cutting edge, so the tool will last longer.
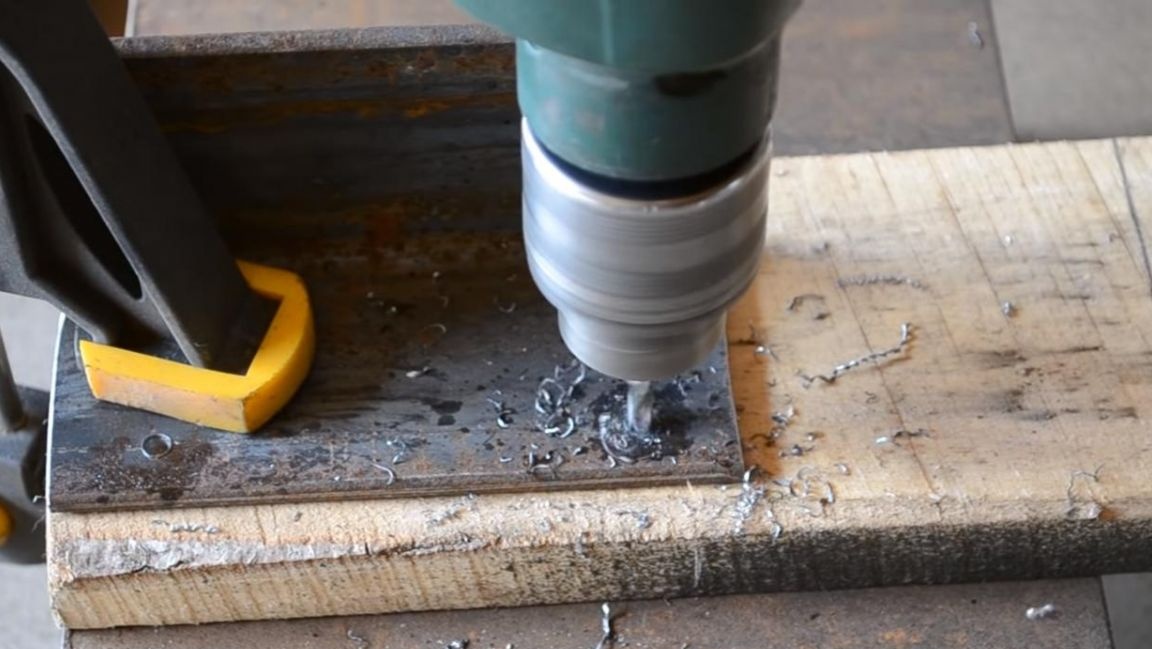
The result is two such blanks with holes with a diameter of 7 mm for mounting studs.
Step Three
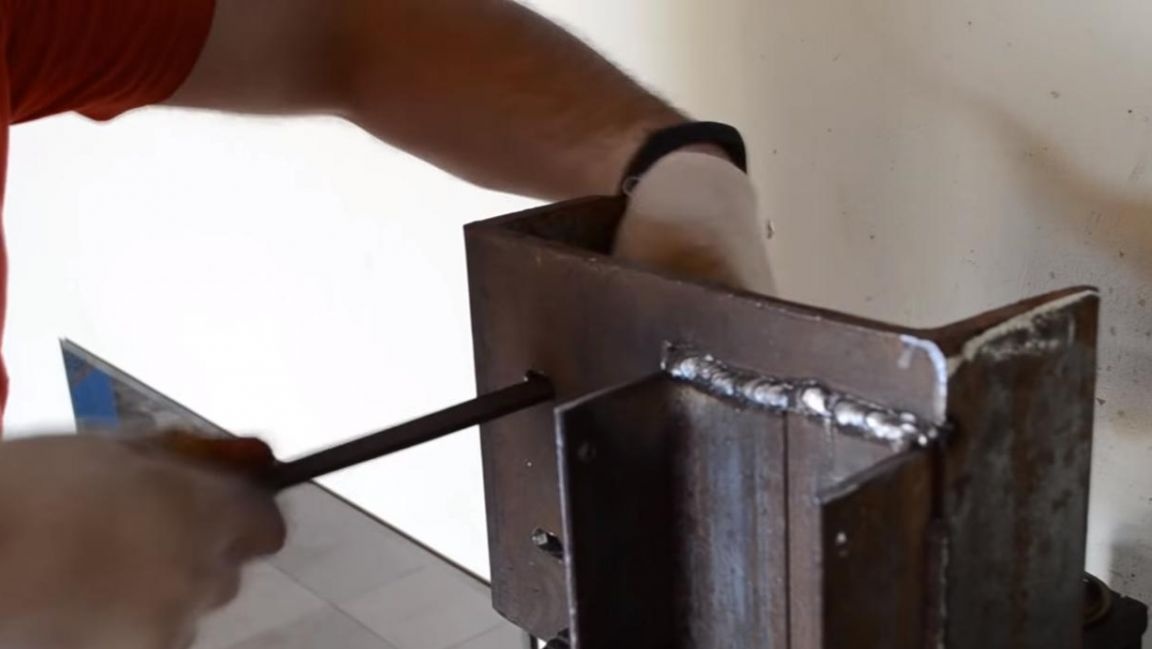
We try on the engine at the corners, wind the nuts and install on the base.
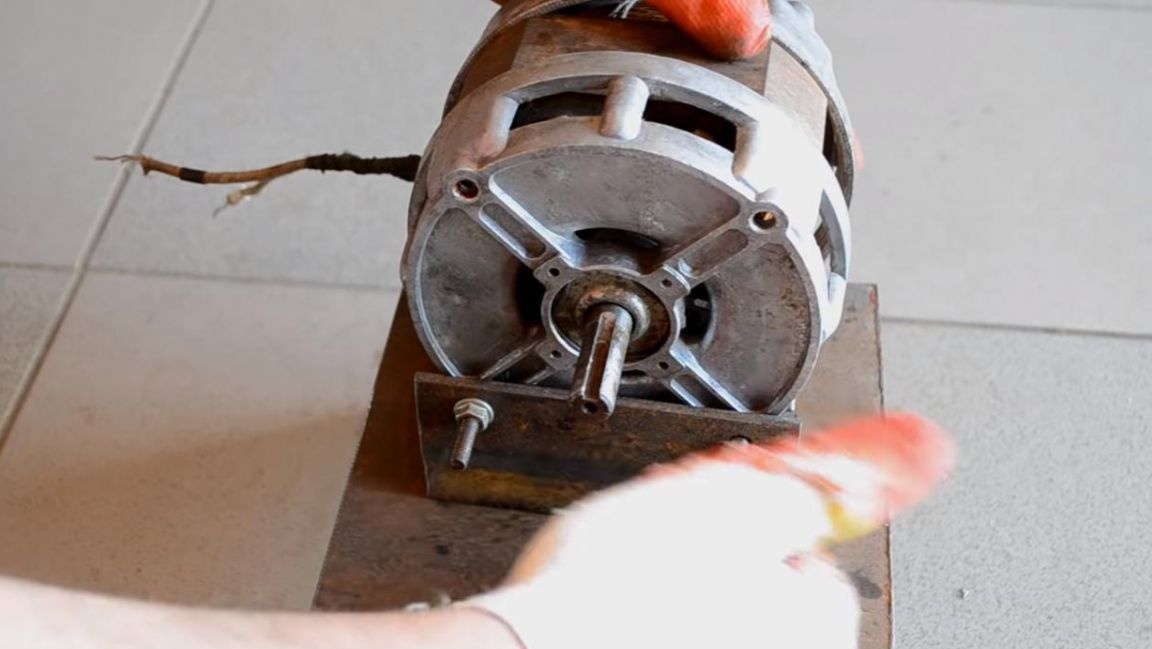
We make several tacks on the corners with a welding machine, after which we fully weld the fasteners by removing the engine. When working with the welding machine, be careful to wear a welding mask and gaiters. After welding, remove the slag by lightly tapping the hammer.
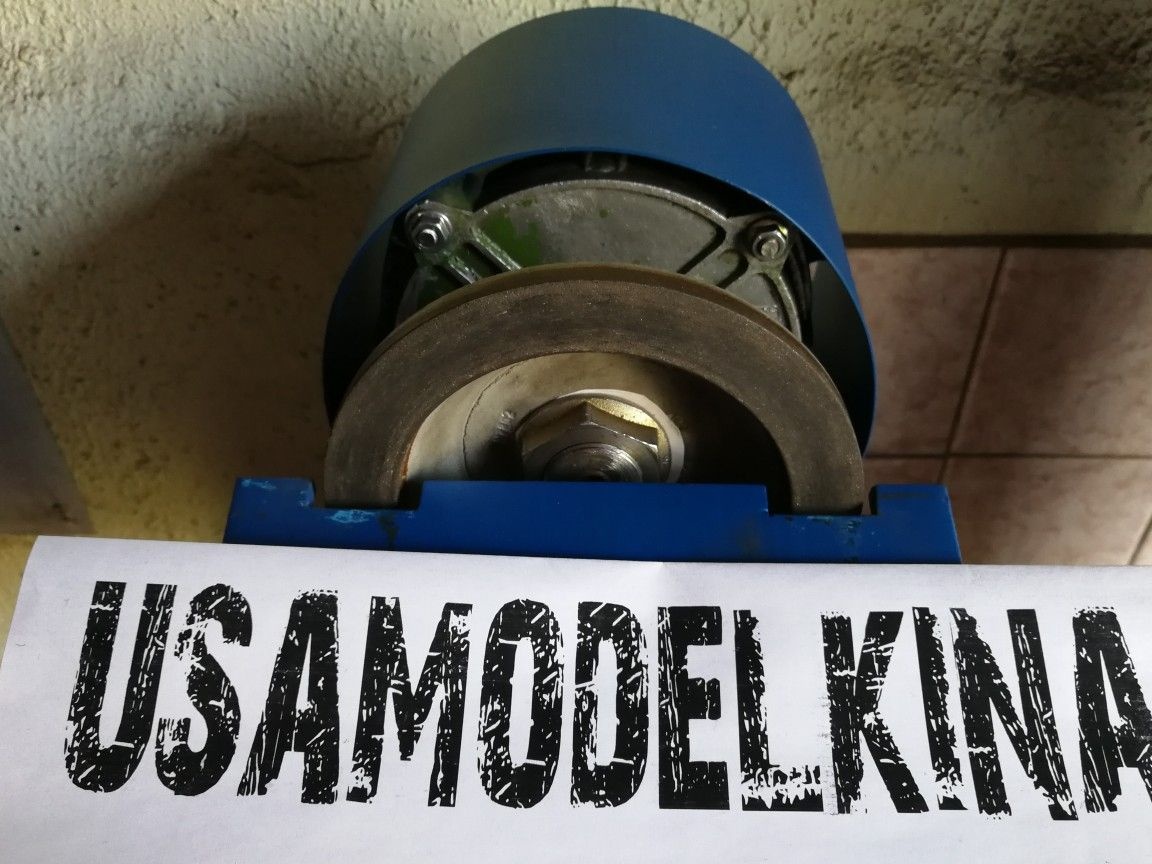
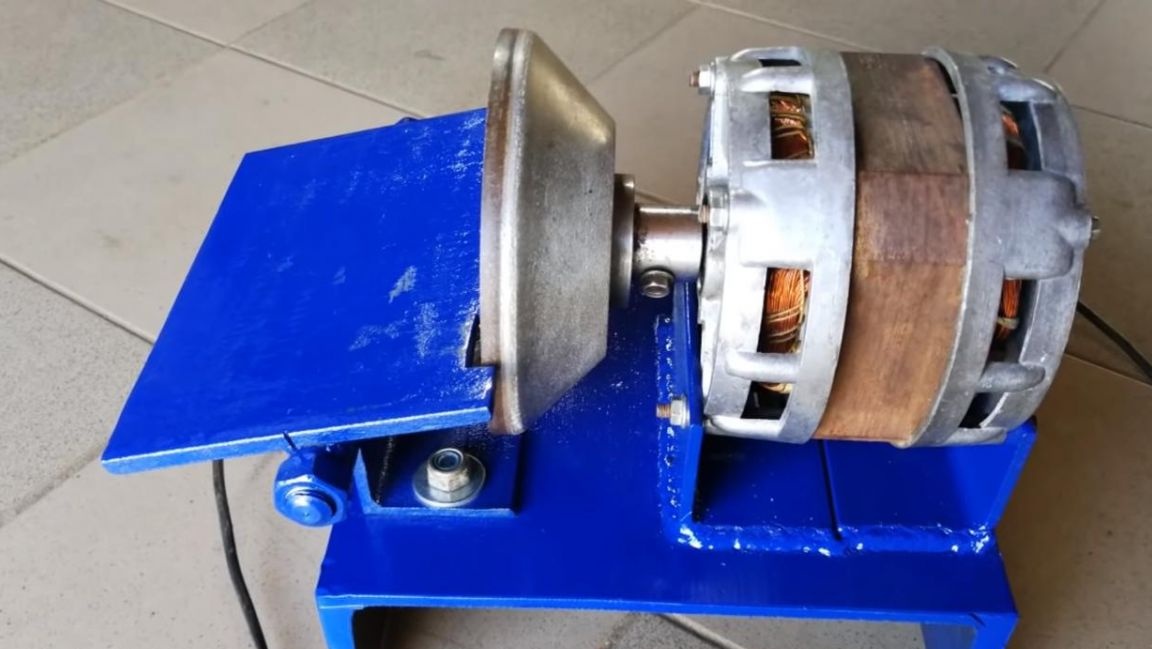
We install the engine on the mount, and then a diamond cup on its shaft for fitting.
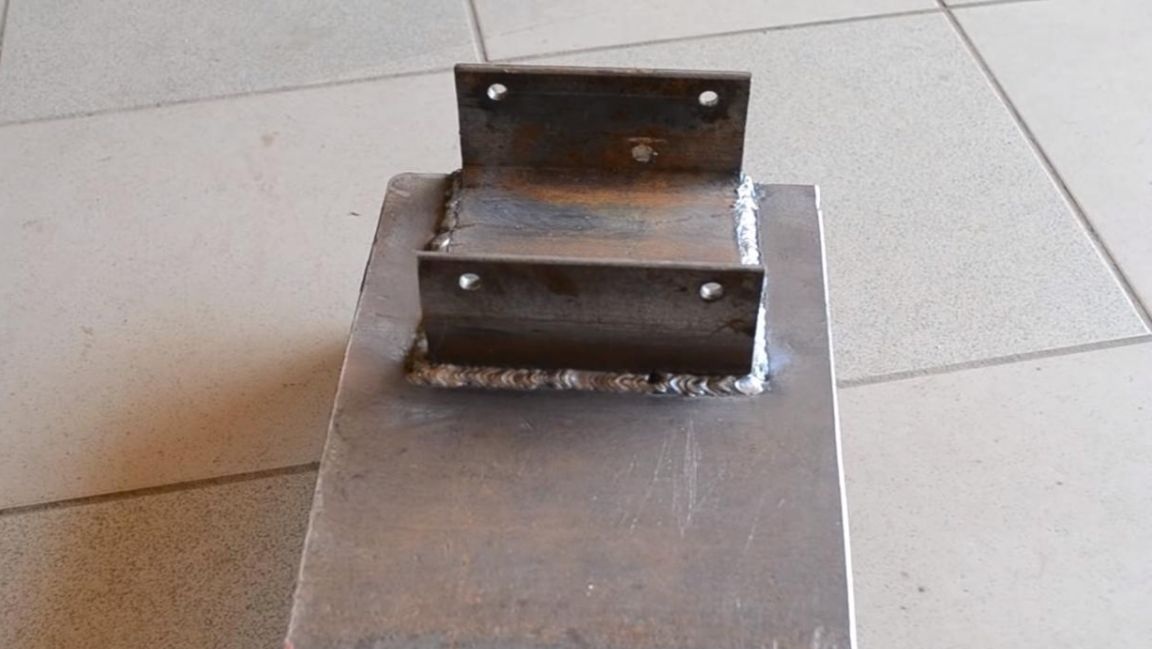
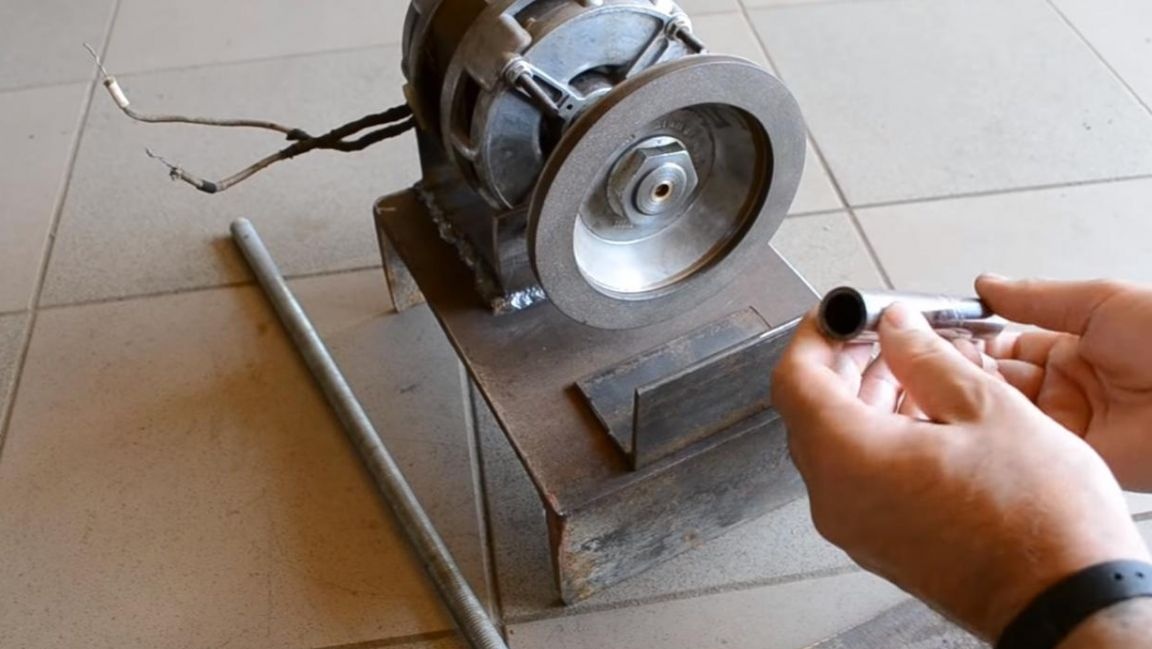
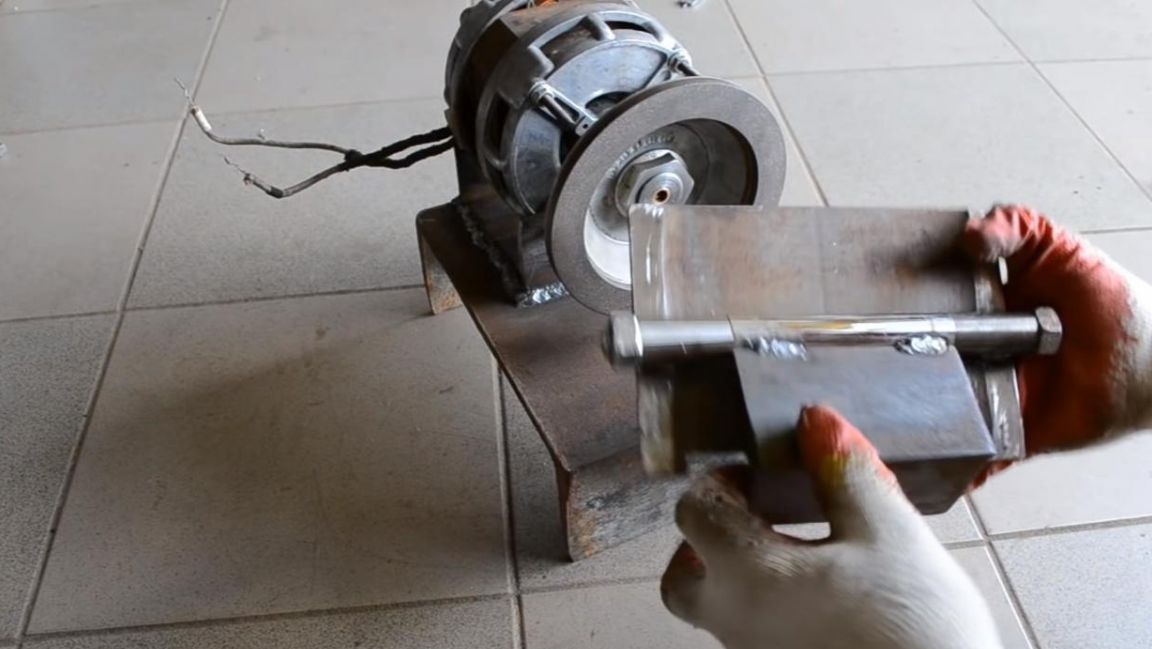
From the same corner from which the mount was made, we make a support for the table, we weld to it a piece of the shock absorber rod, sawn across the width of the corner.
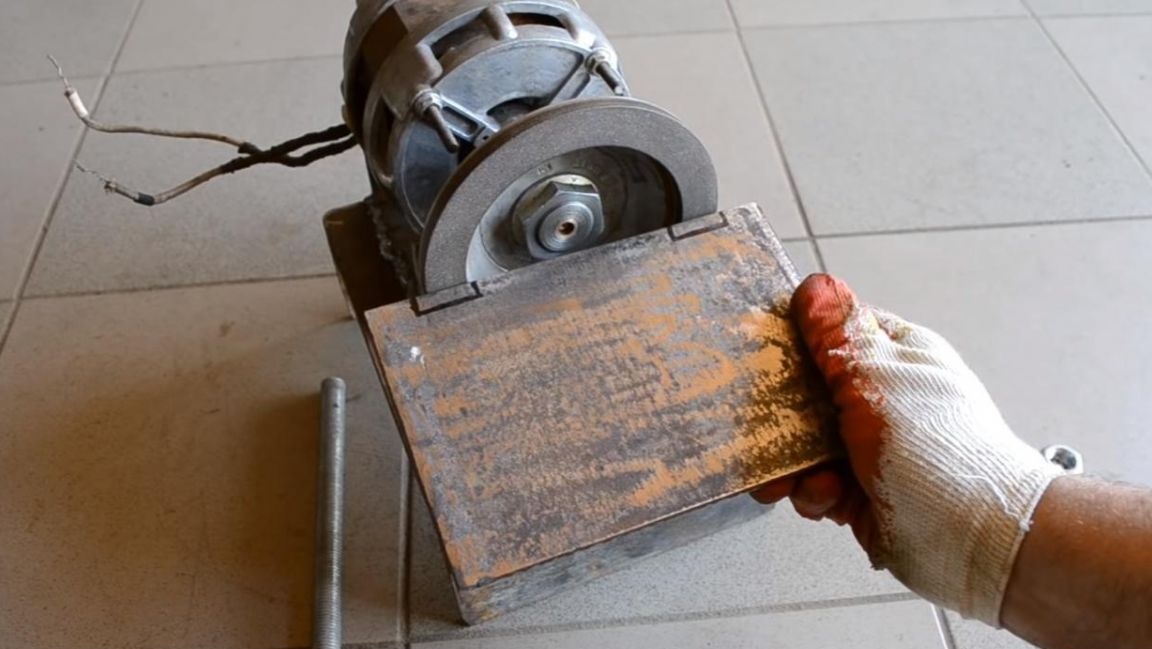
The table itself is made from the remaining part of the channel; in it we make cuts under the diamond cup using an angle grinder.
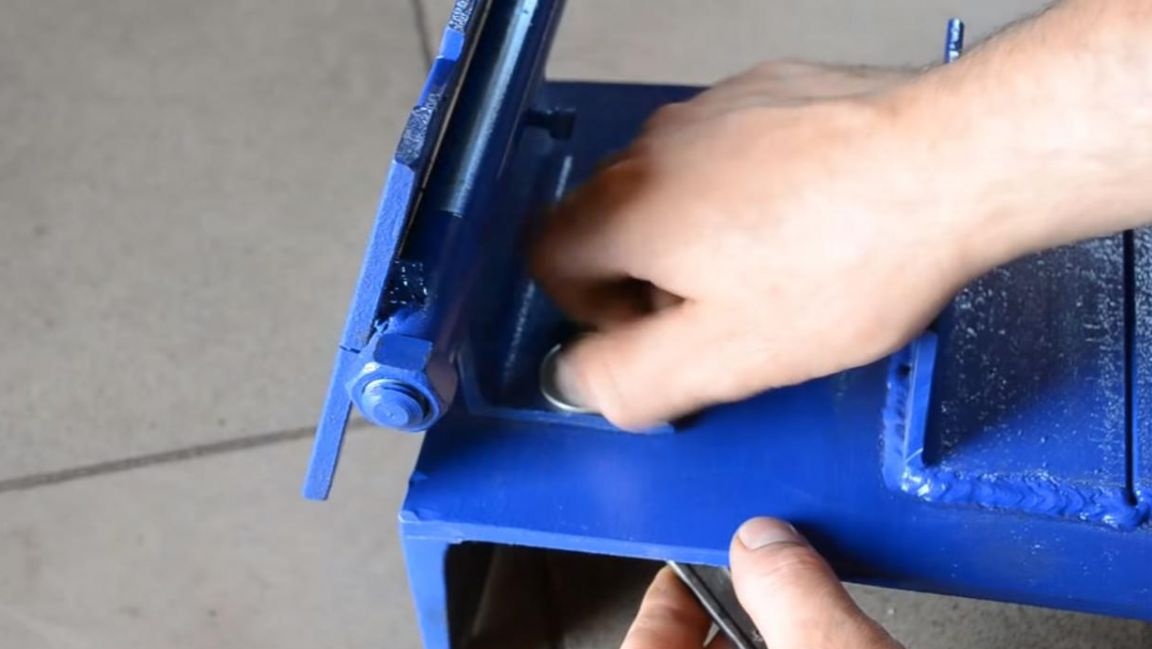
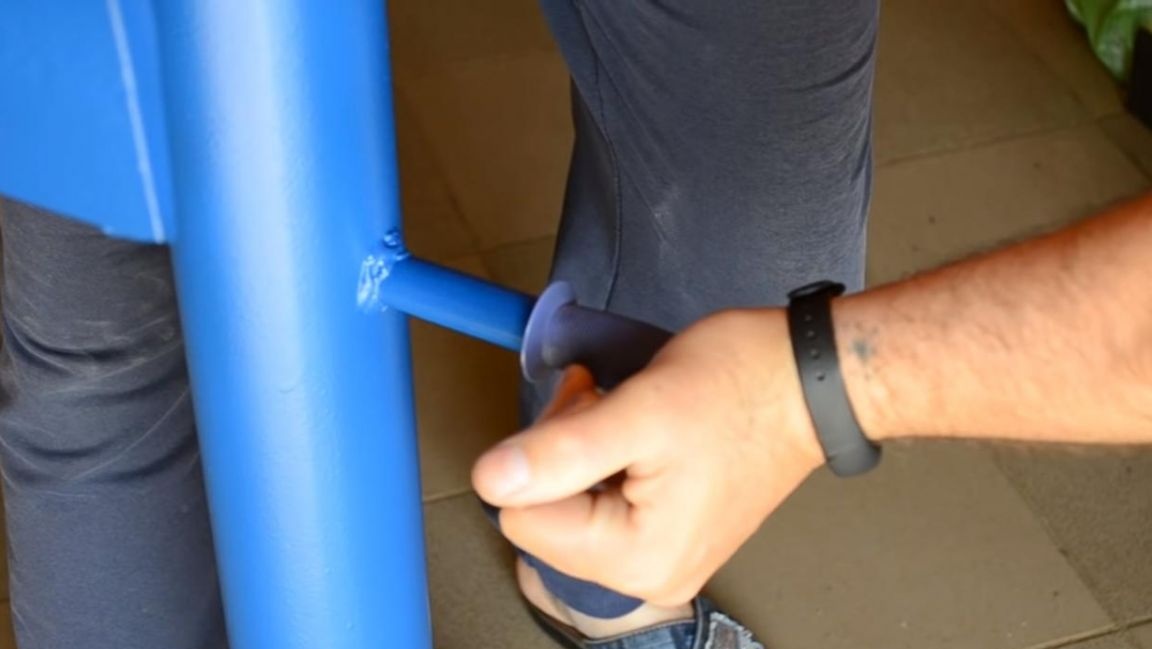
Next, we saw off a couple more pieces from the shock absorber rod and weld them to the table in the lower center. M16 hairpin will serve as a table clamp in the required position, as sometimes you have to grind or grind at a certain angle.
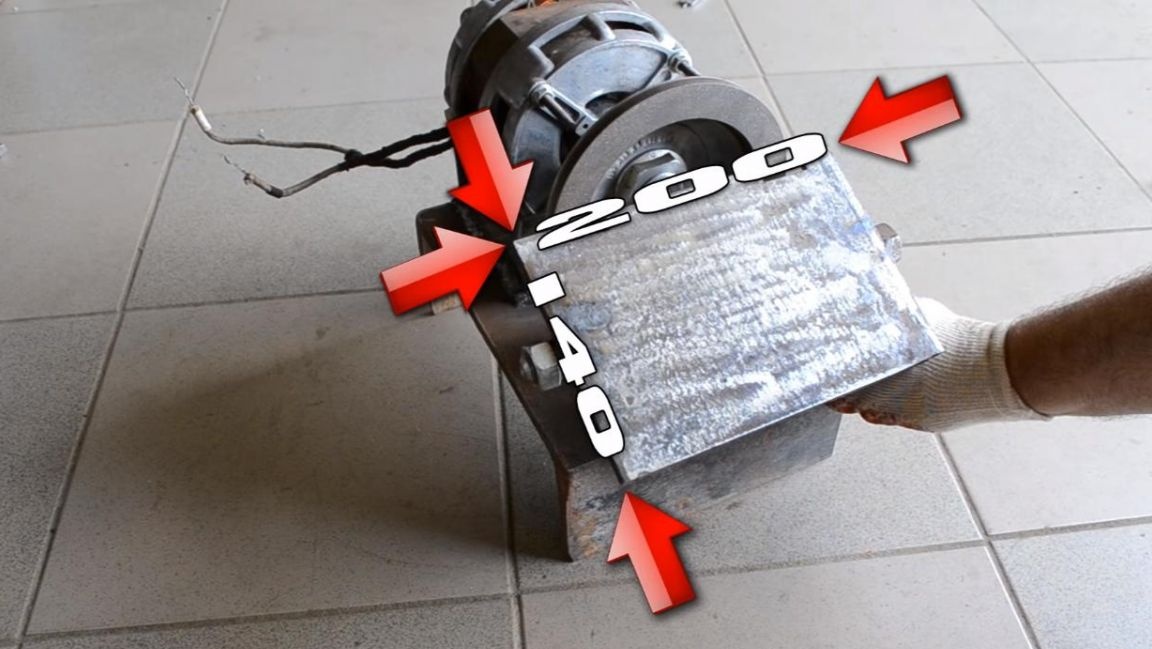
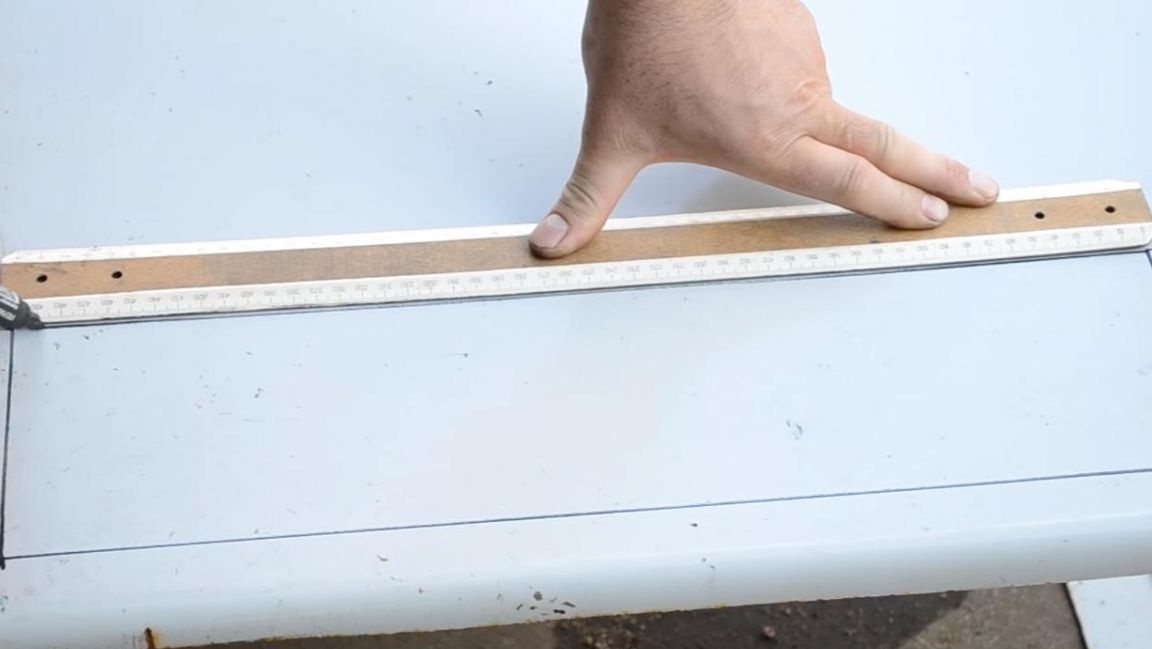
The table will be fixed to the base with two bolts, the width of the table is 200 mm, and the length is 140.
To move the table at the base, make two holes and bore them with a file. In the corner we make reciprocal holes of the same diameter for M12 bolts.
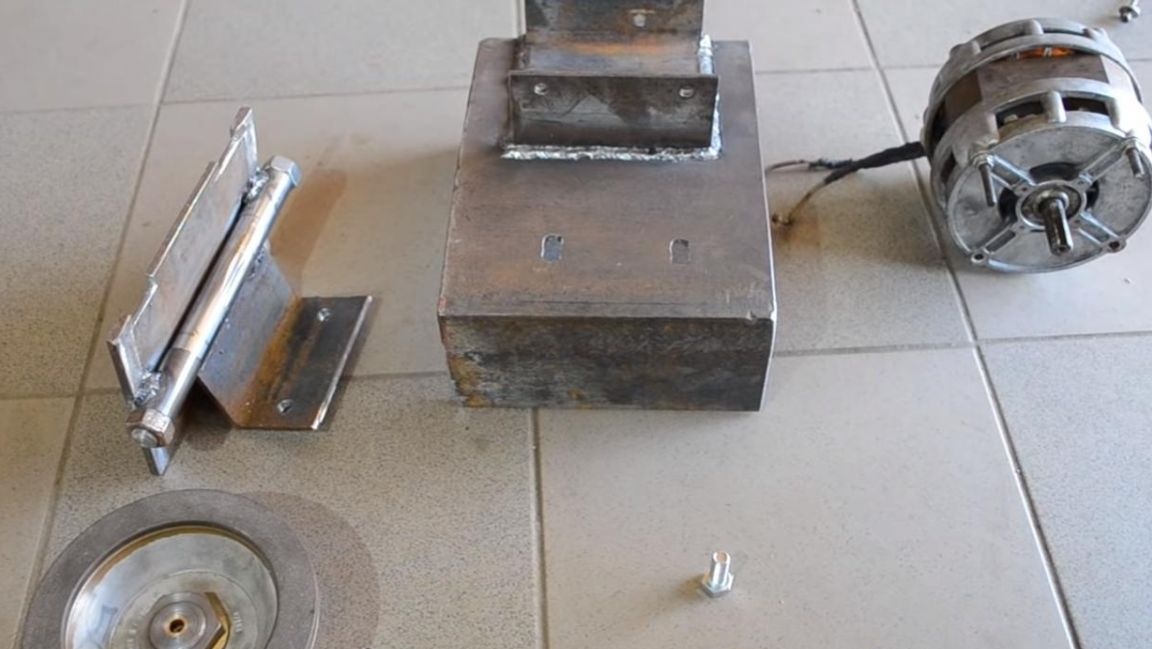
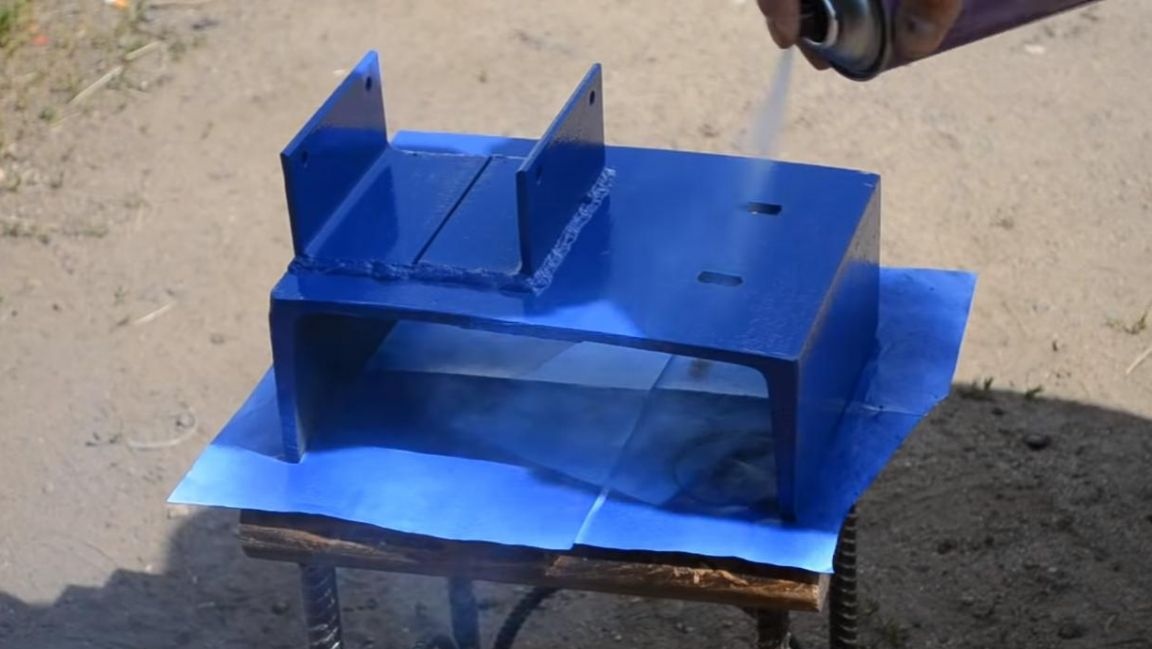
Step Four
We paint all the components in blue using a spray can.

After that we assemble the structure into a single whole and check it in work.

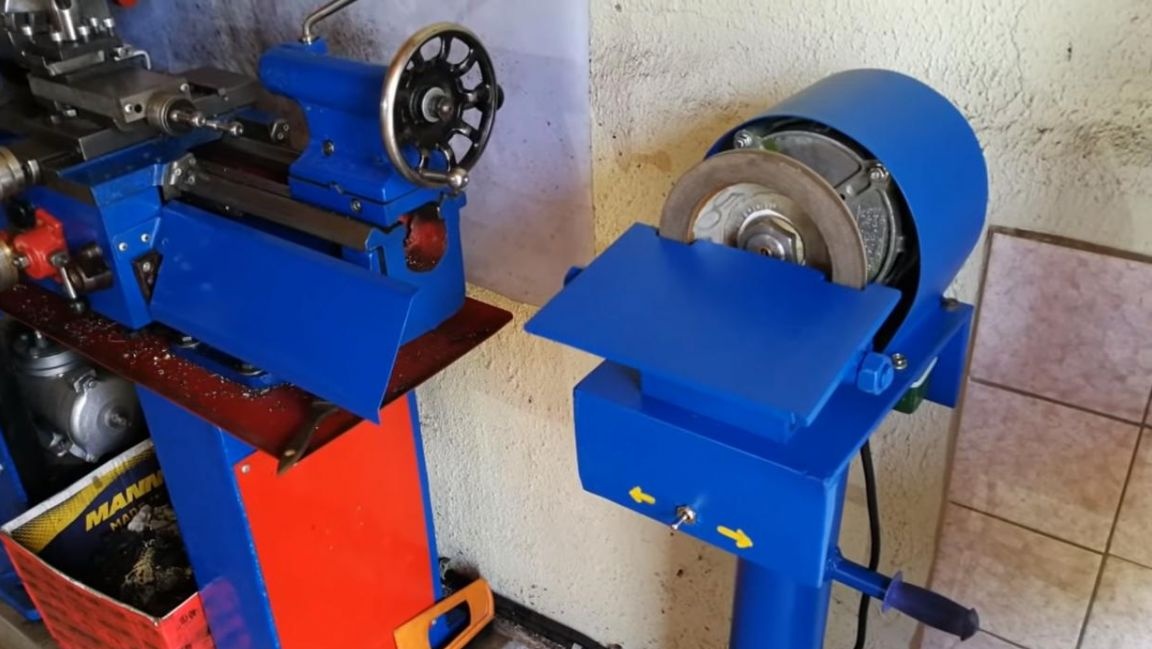
The engine is started by turning the disk lightly by hand, after which it begins to rotate, with this machine you can sharpen almost any cutting tool, but the power for large parts is not enough.

For this reason, it was decided to make a small revision of the machine.
I suggest watching a video about the revision of this machine.
Step Five
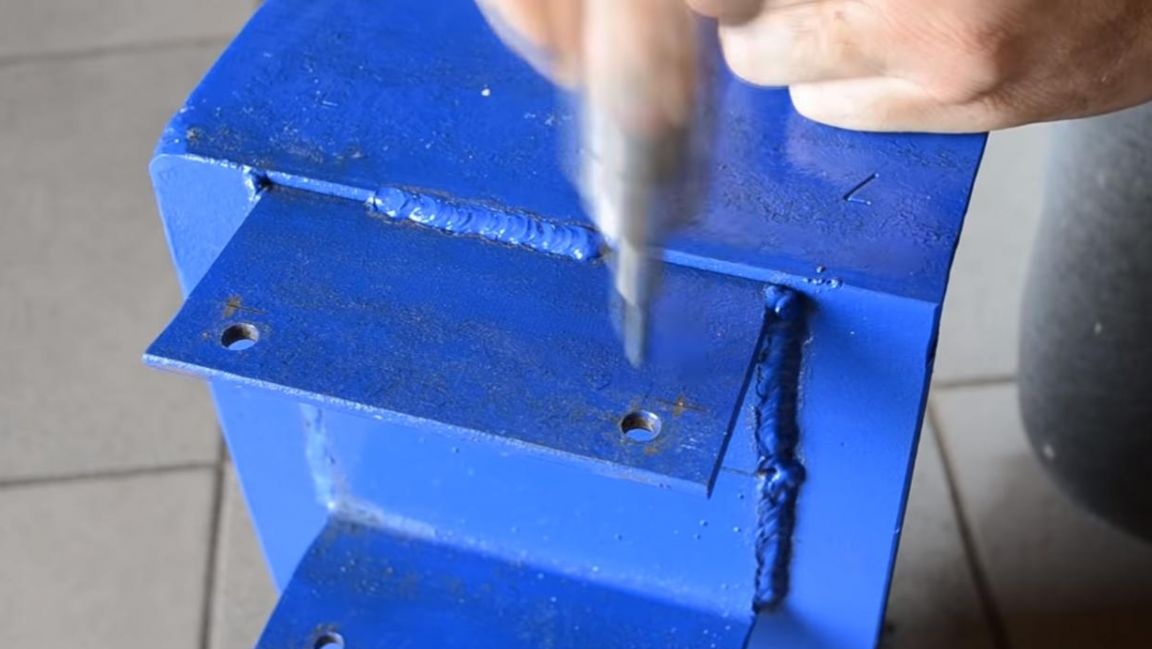
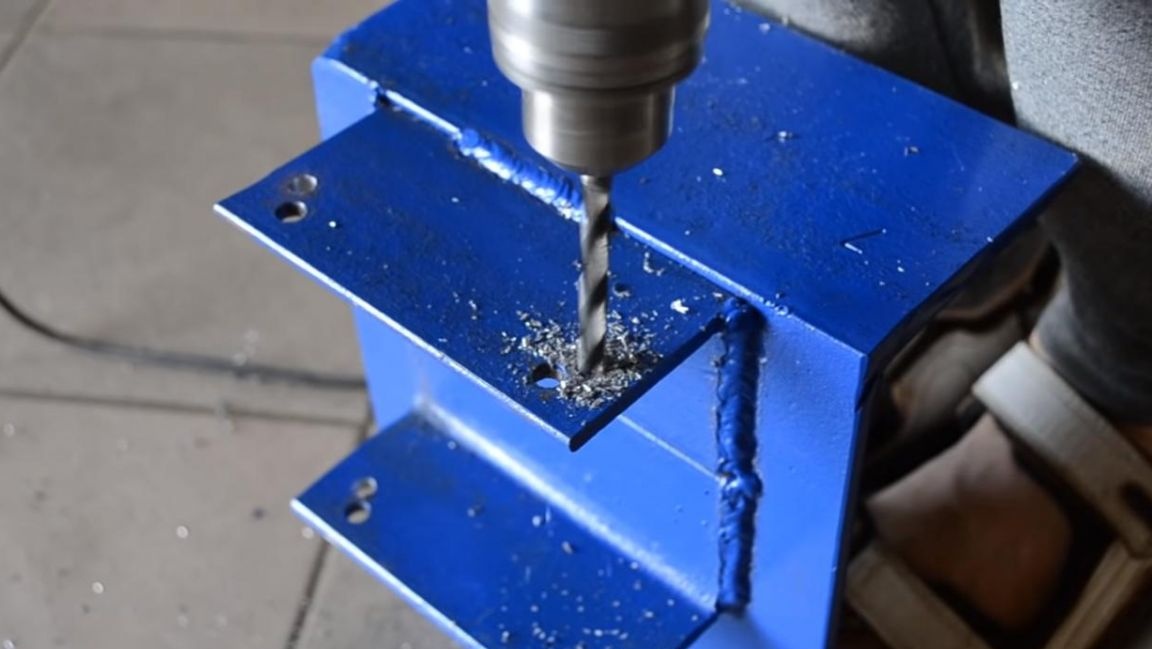
It was decided to start the refinement of the machine by replacing the engine with a more powerful one, it was removed from a centrifuge, in addition, both windings of the engine turned out to be working. And the first thing that had to be changed was the distance between the holes in the mount on the bed.
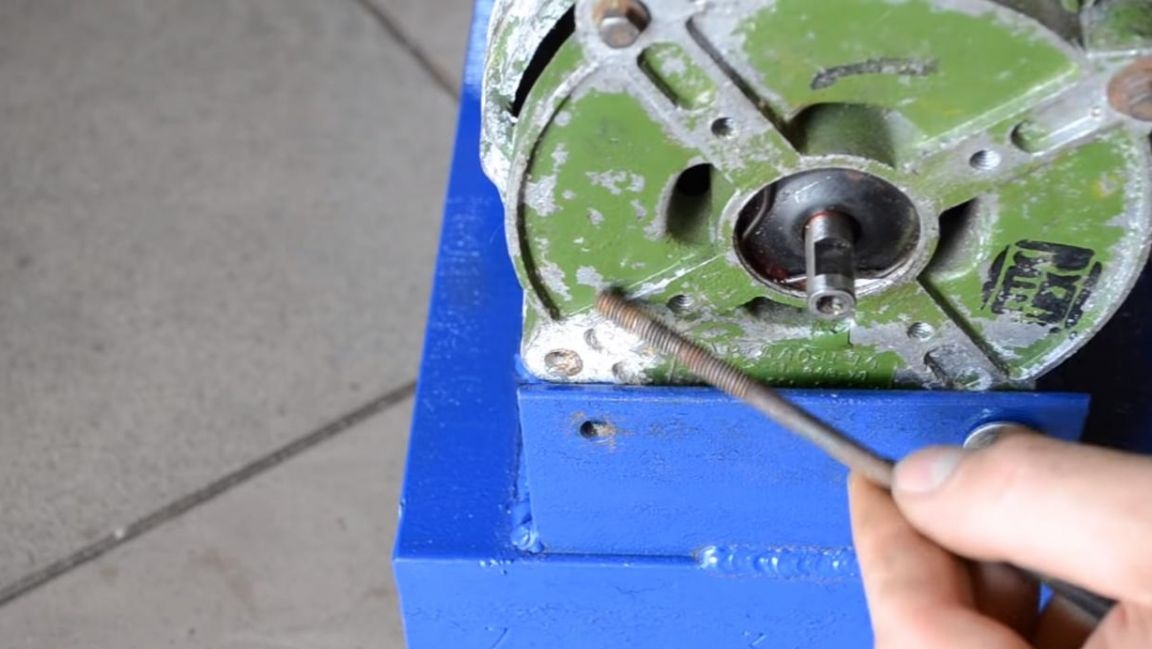
We disassemble the entire machine into its component parts.
We also measure the distance between the studs on the engine and transfer them to the mount, after which we make a punch and drill holes with a diameter of 7 mm.
Step Six
We measure 800 mm from a metal pipe with a diameter of 89 mm.
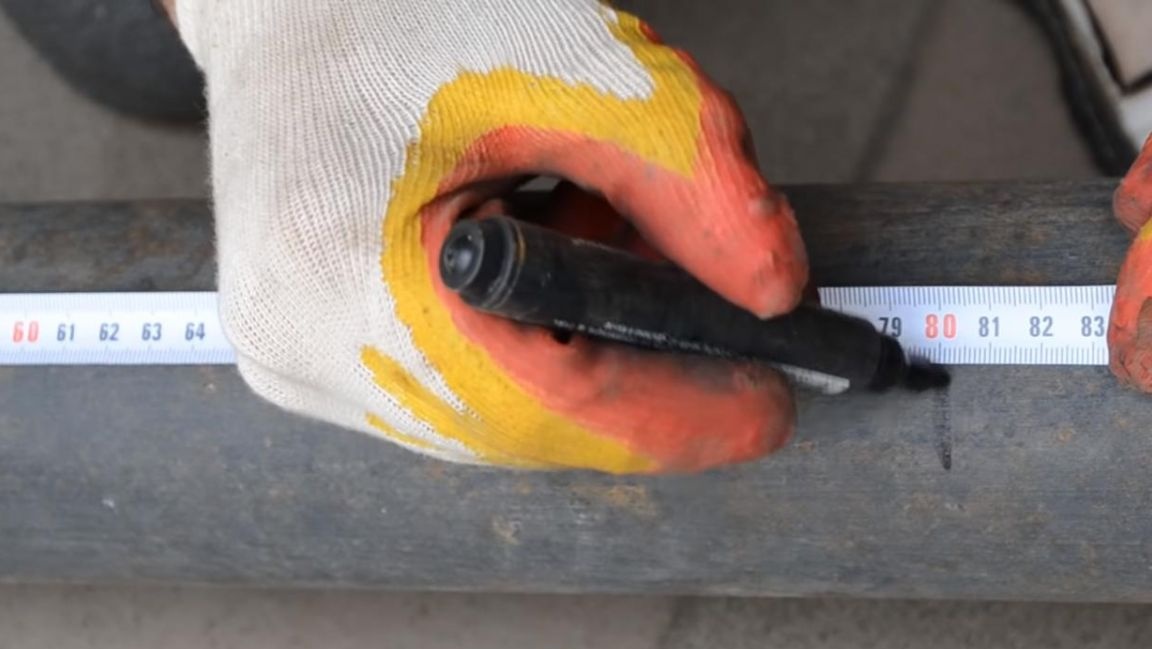
We put a sheet of paper at the mark and wrap the pipe, guided by the sheet, saw off the workpiece using an angle grinder.
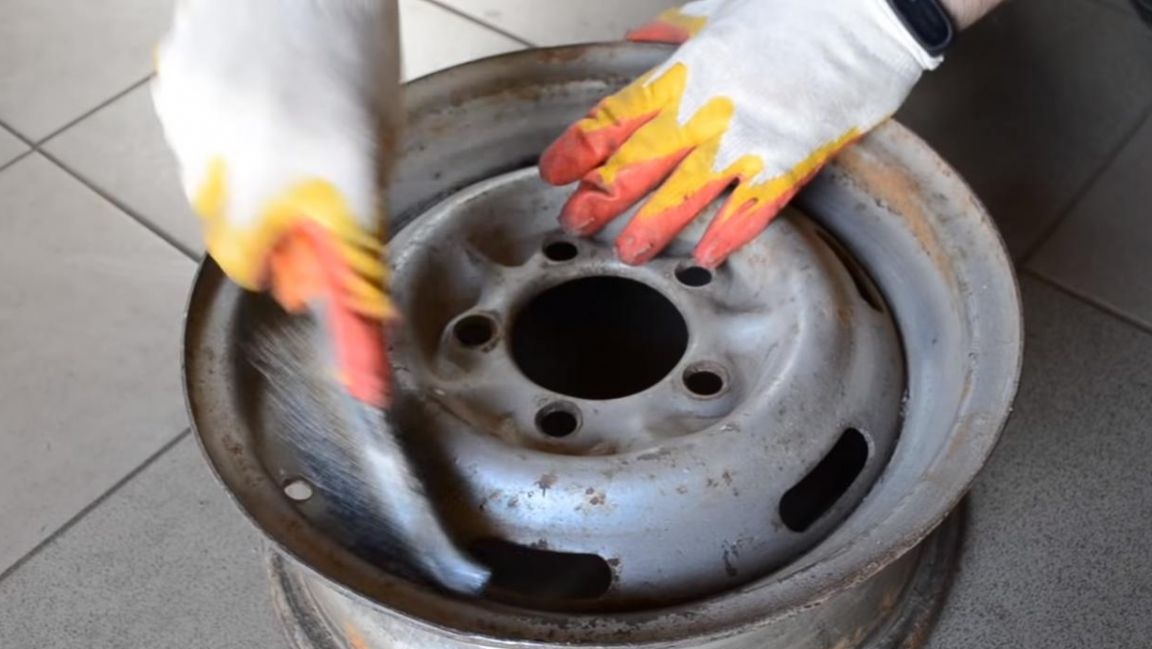
In order for the machine to be at a convenient level for work, we will manufacture the base of the rack. Using a metal brush, remove traces of rust from the stamped disk of the VAZ.
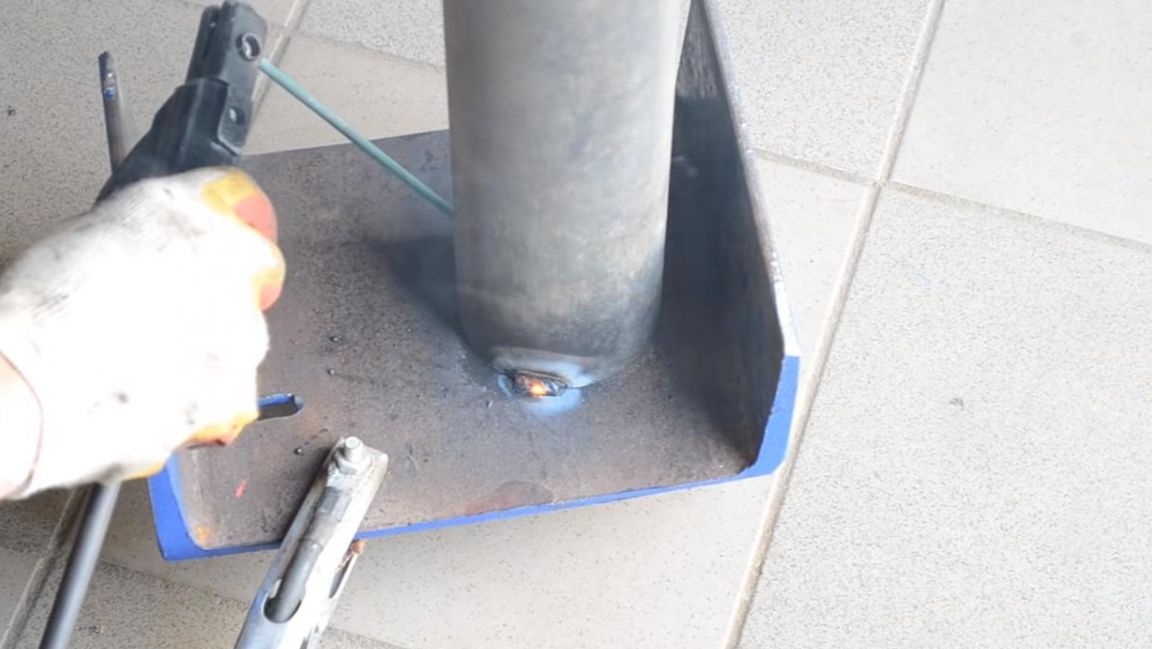
Next, we install the pipe strictly in the middle of the disk and weld them to each other with a welding machine in a circle.
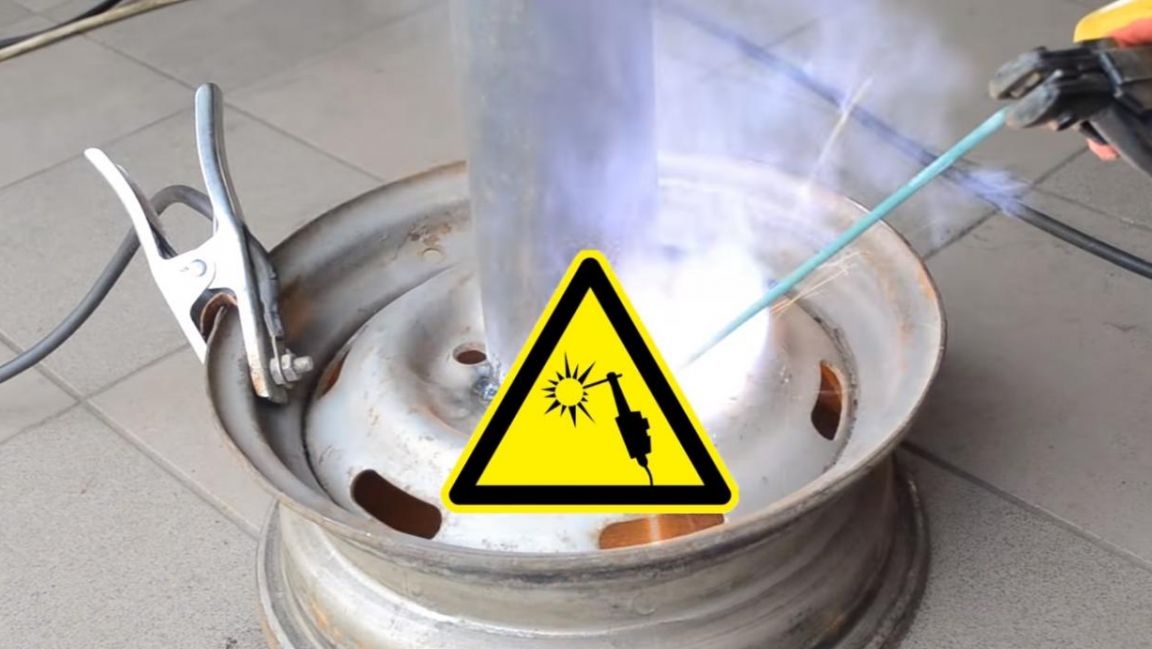
We try on how best the base of the machine will stand on the pipe, taking into account the center of gravity, and then weld the parts together.
Seventh step.
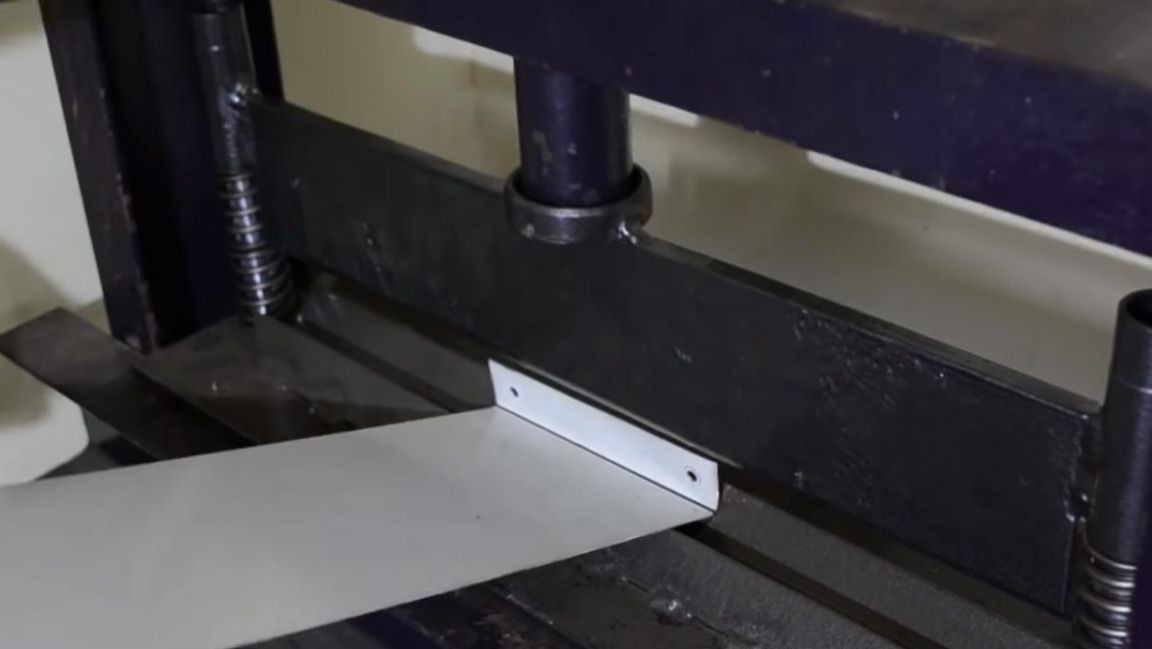
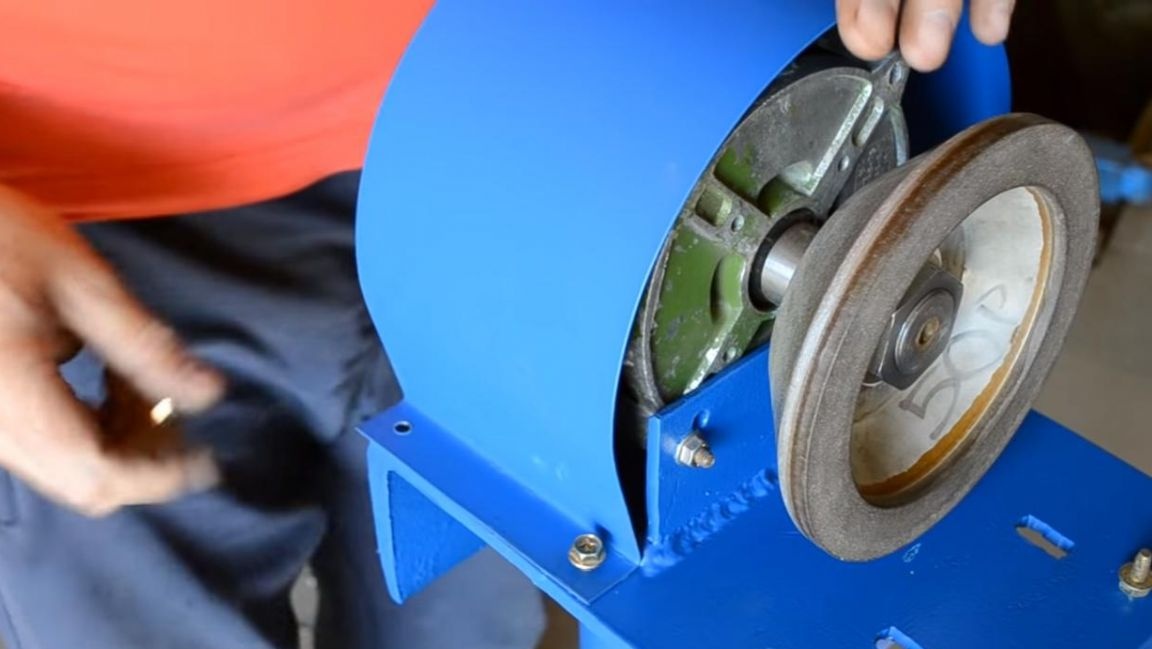
Although the engine has a closed housing, but with some holes, we make a protective casing for it, it will be more decorative. From the metal housing of the washing machine, we cut out a rectangular sheet with dimensions of 500 * 130 mm using angle grinder.
From the edges of the sheet we make two holes for the M6 bolts for fixing on the base. On a bending machine, we make edges at 90 degrees.
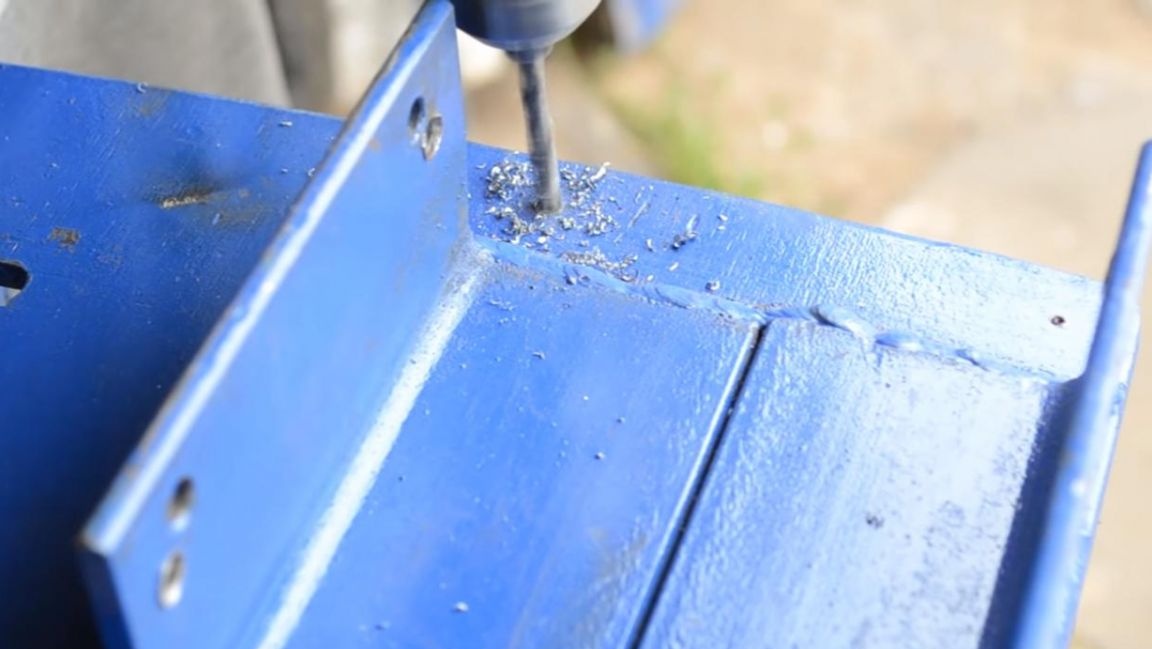
At the base of the machine, we make holes for attaching a casing with a diameter of 7 mm.
Step Eight.
We paint the base and stand with the same blue paint from the spray can.
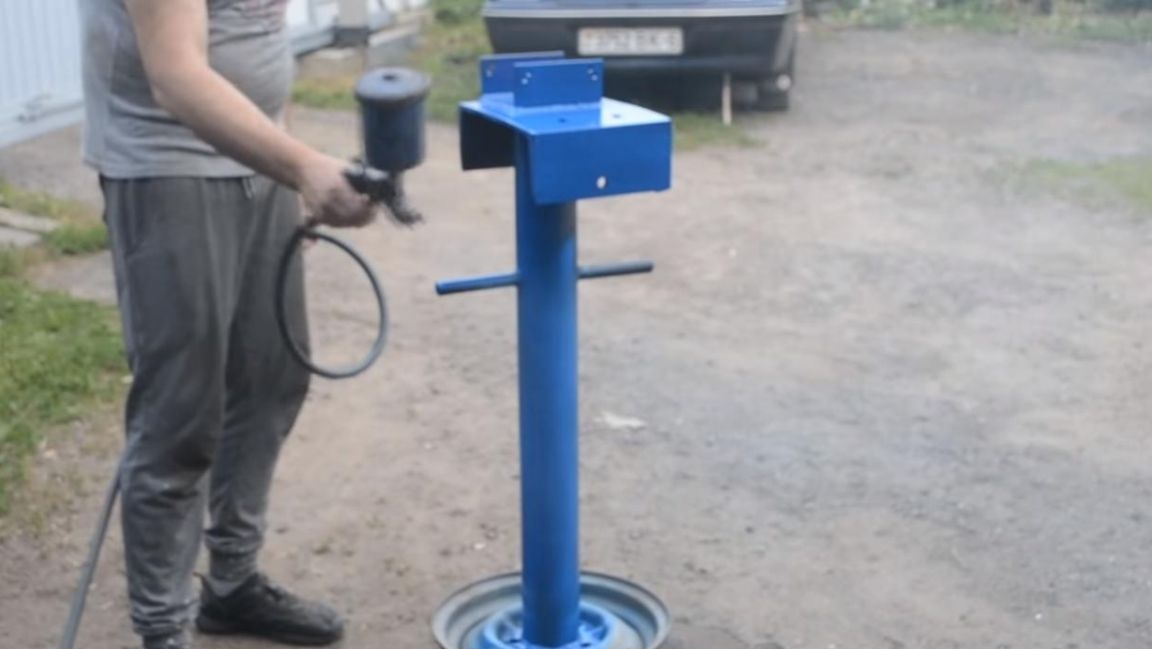
For convenience, two handles were welded to the pipe if it would be necessary to move the machine to another location.
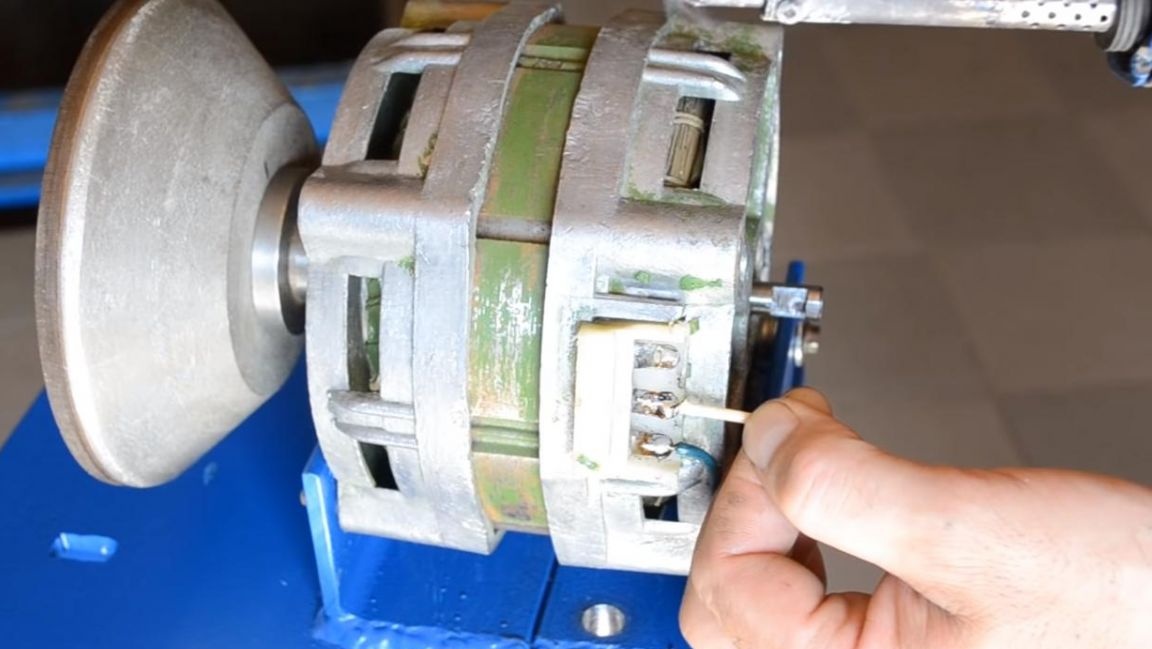
After the paint has dried, install the engine and solder the power wires to it. In this embodiment, the engine will work with reverse.
At the end, we fasten the protective casing on the base with four M6 bolts and set the table.
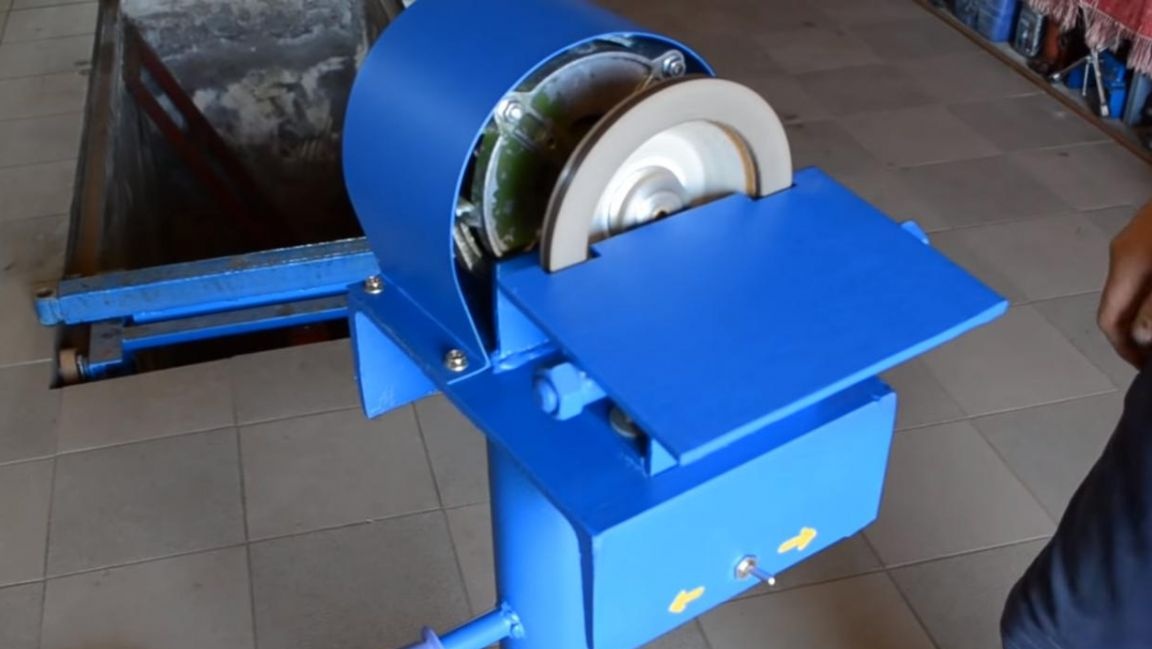
At this stage, the grinding machine is completely ready, the engine power now allows you to process large parts, as well as grind any equipment for a lathe, drills, taps and other cutting tools also under the strength of a homemade machine.
Thank you all for your attention and creative success.