
Sometimes homemade products are very interesting and funny, although their practical purpose is very, very specific.
So, in this article, Danya Kraster will show how to make an egg. This is such a thing that should throw eggs.
And since his project was custom-made and everything had to be done very quickly, the craft will be done without drawings. Brainstorming classic DIY so to speak.
Still, a couple of hours for experiments on the launch method itself was.
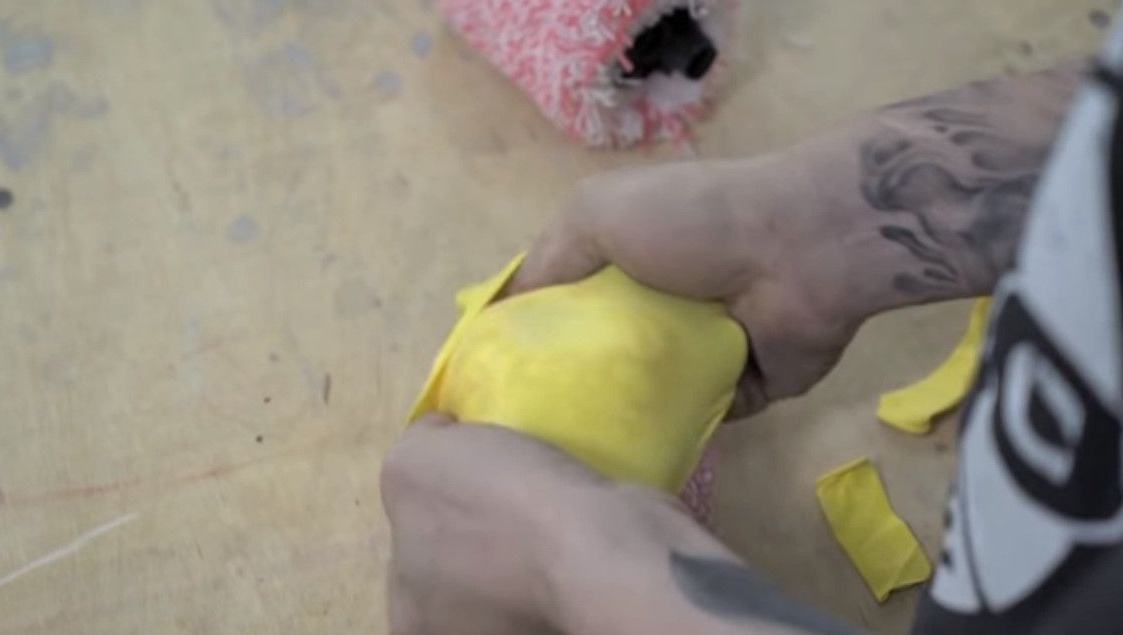
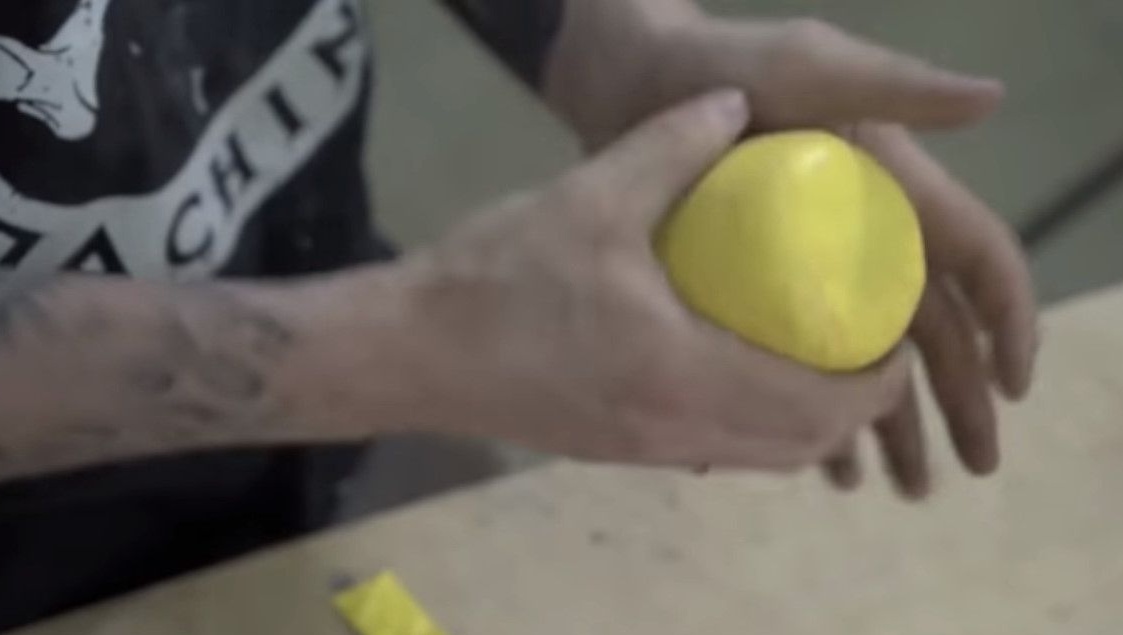
The first method is unsuccessful. For testing, we grind an egg.
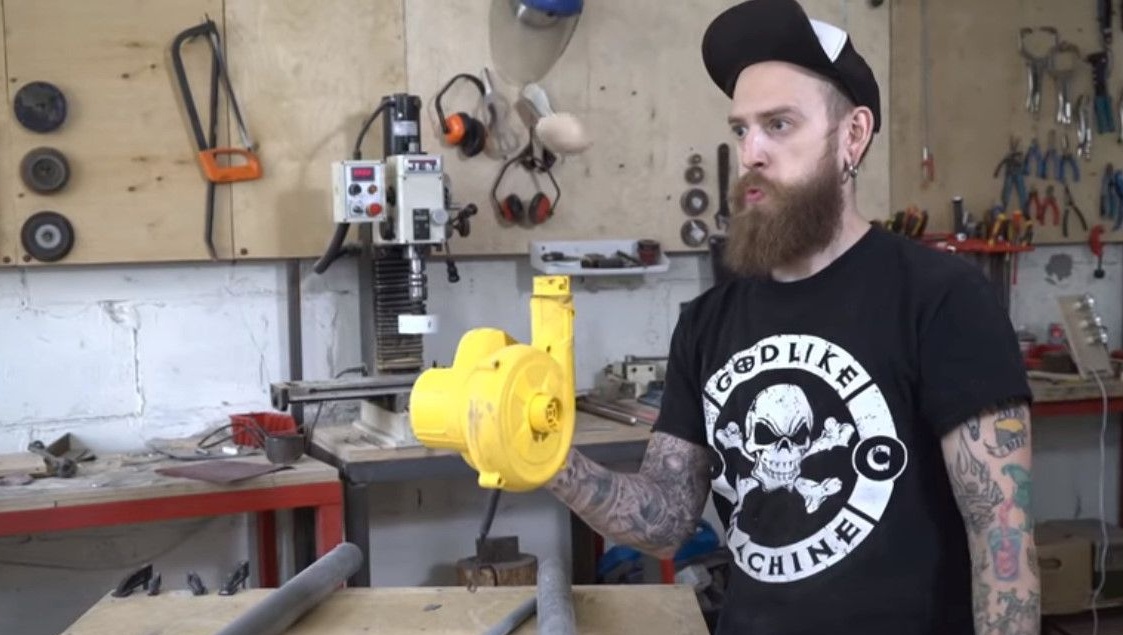
They made a kind of pneumatic gun from plumbing pipes, and a wind blower as an air pressure blower.
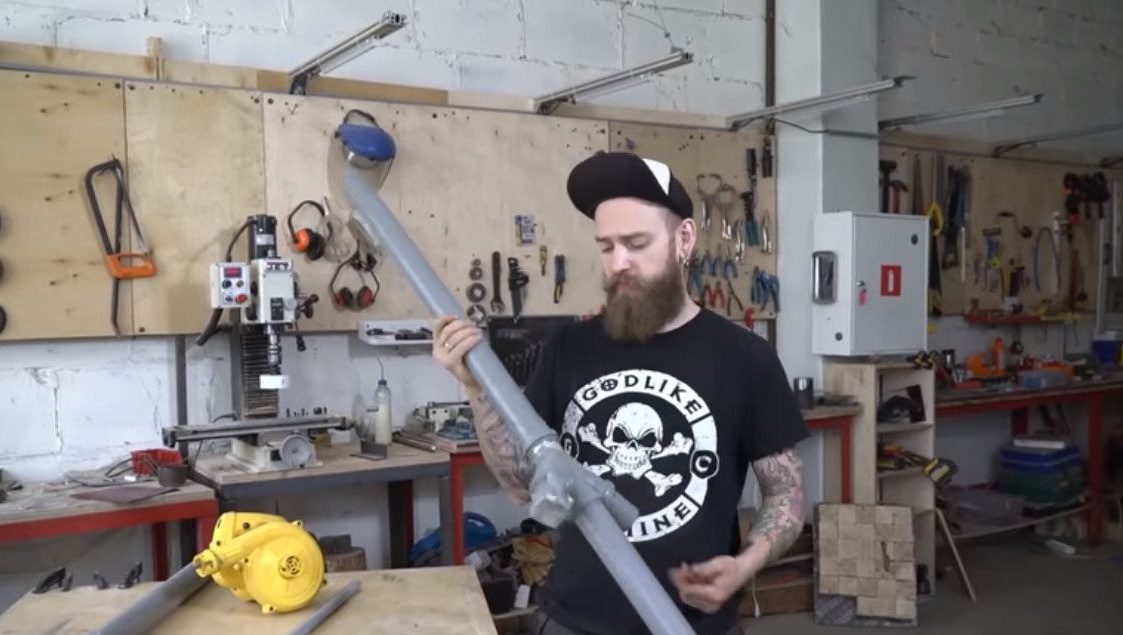
As a result, the power of the wind turbine was not enough.
The correct method of loading eggs into the pipe system, too, could not be built.
The diameters of the eggs are different, and you can not expect a spherical shape from them. Eggs after all.
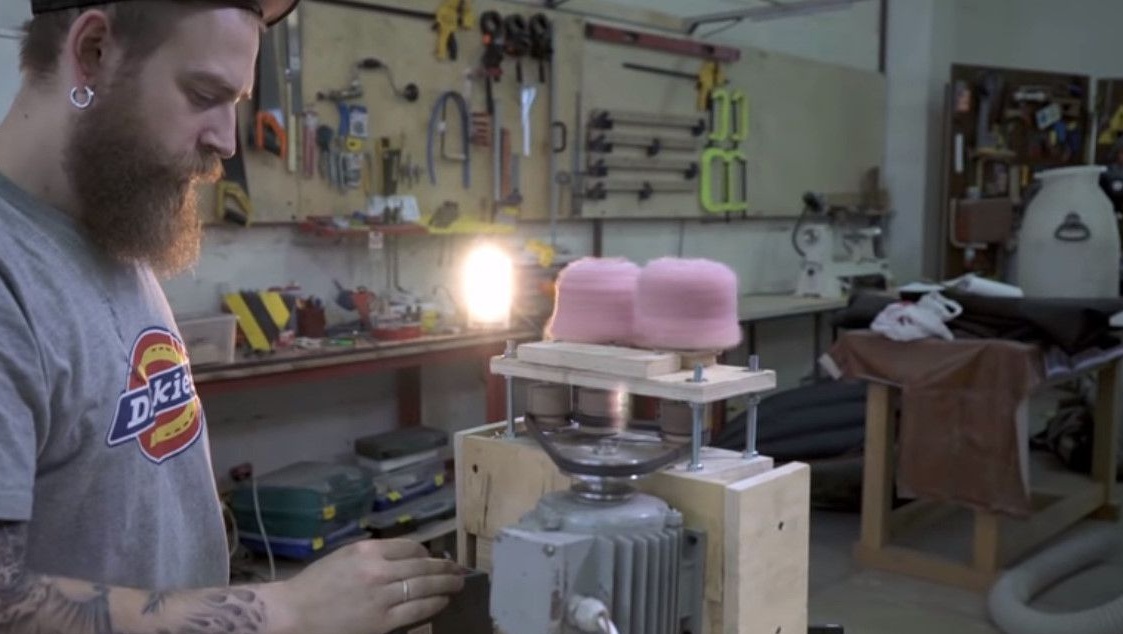
We pass to the second option. Construction of a roller throwing machine.
The most important problem was the material from which the rollers themselves can be made.
The egg, in itself, is a very fragile and heavy shell that must be launched so that it does not burst at the time of launch. Otherwise, you get an omelet, not an egg.
Accordingly, the rollers themselves must be soft. Danya planned to use soft injection polyurethane foam for these purposes.
I would have to make them completely from scratch. But as time was running out, I had to look for more accessible material.
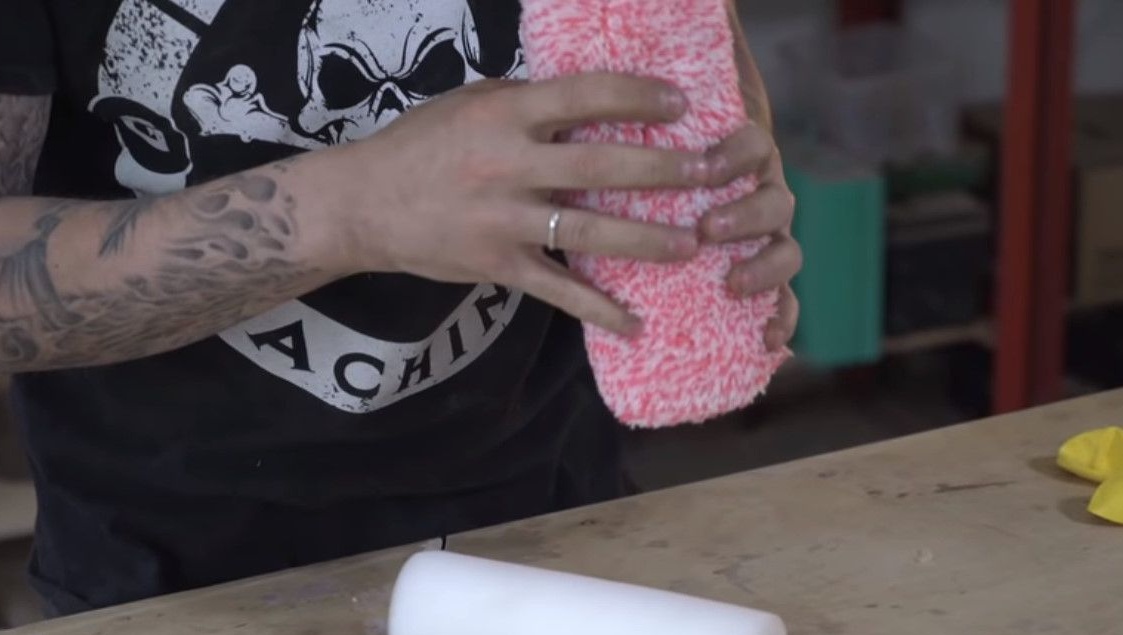
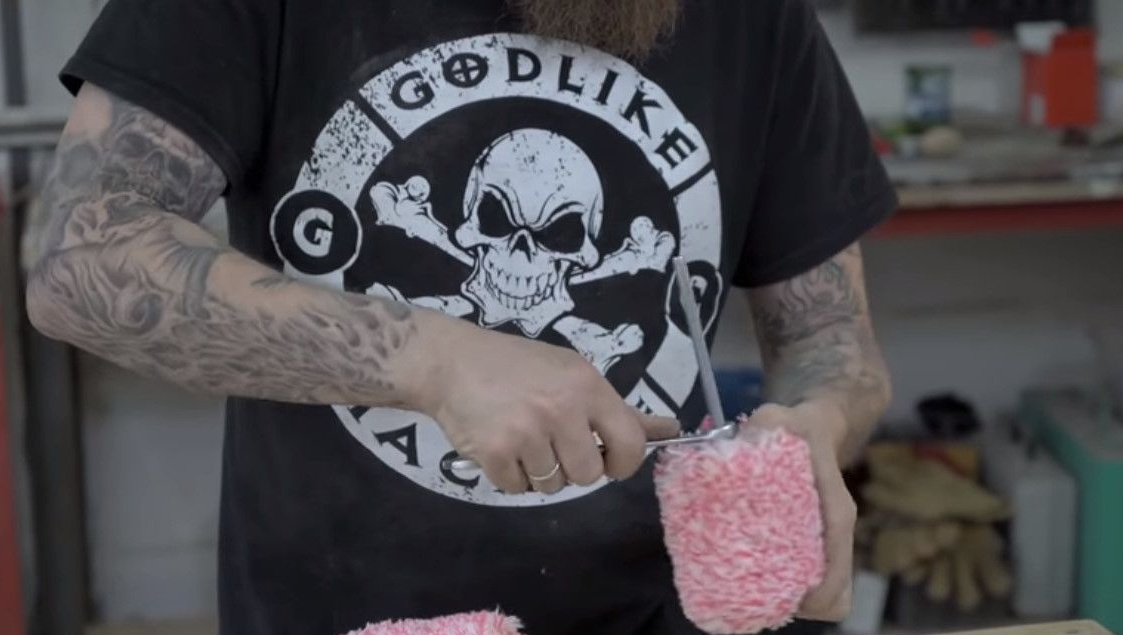
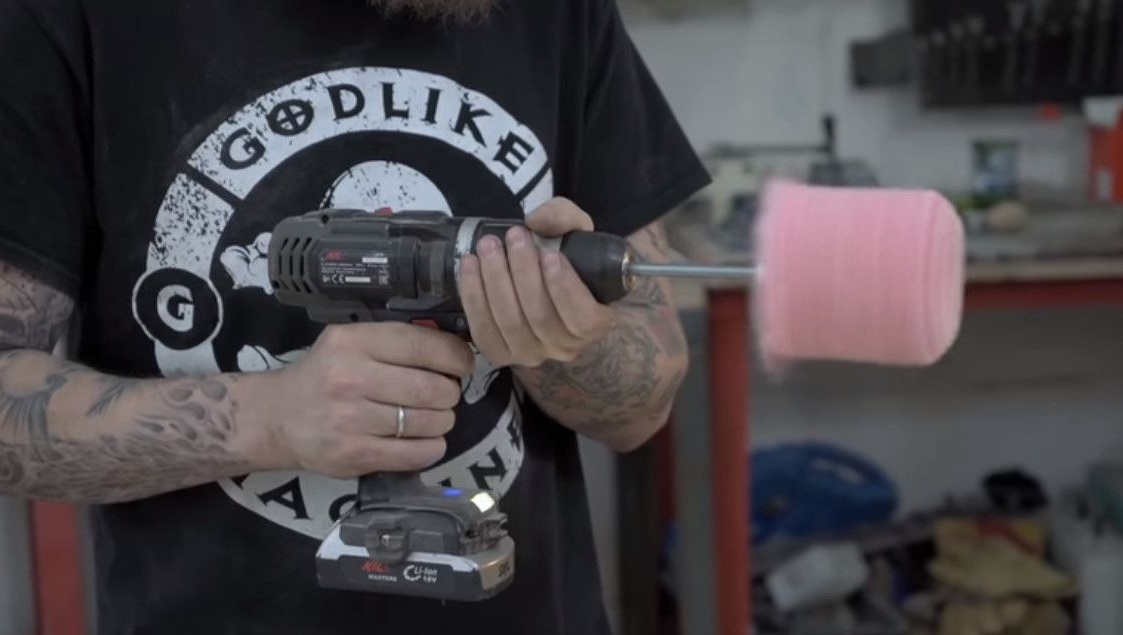
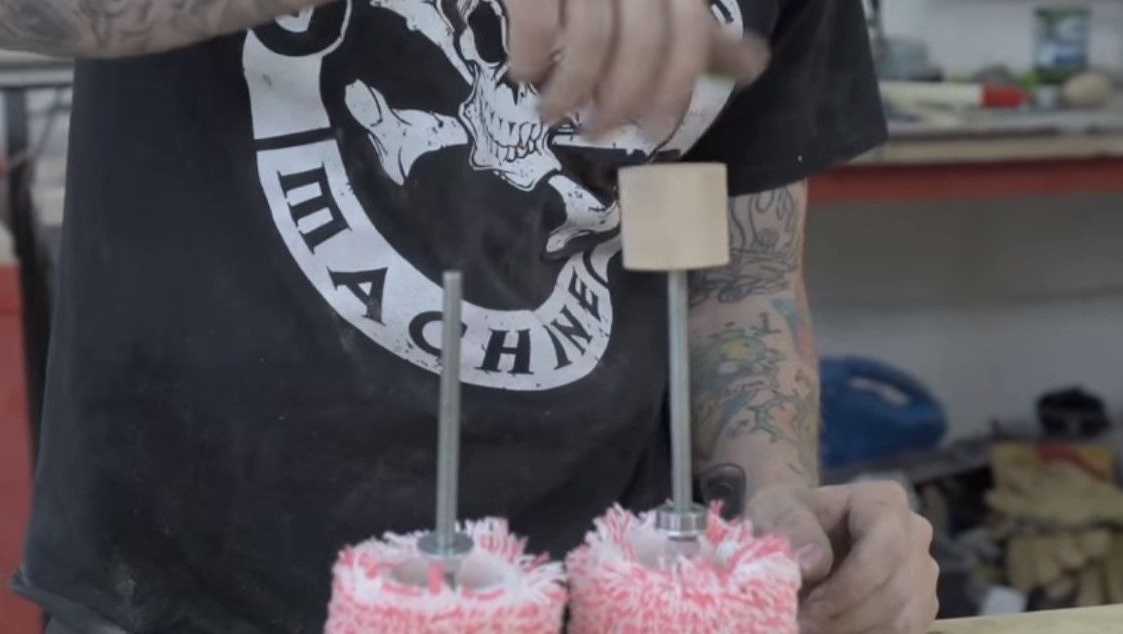
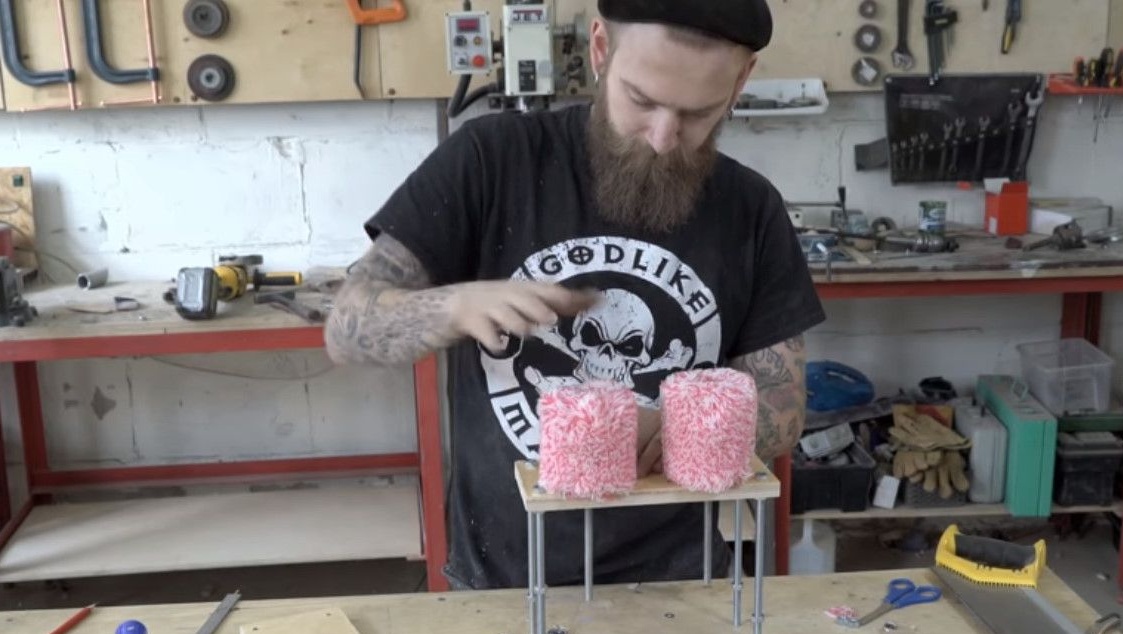
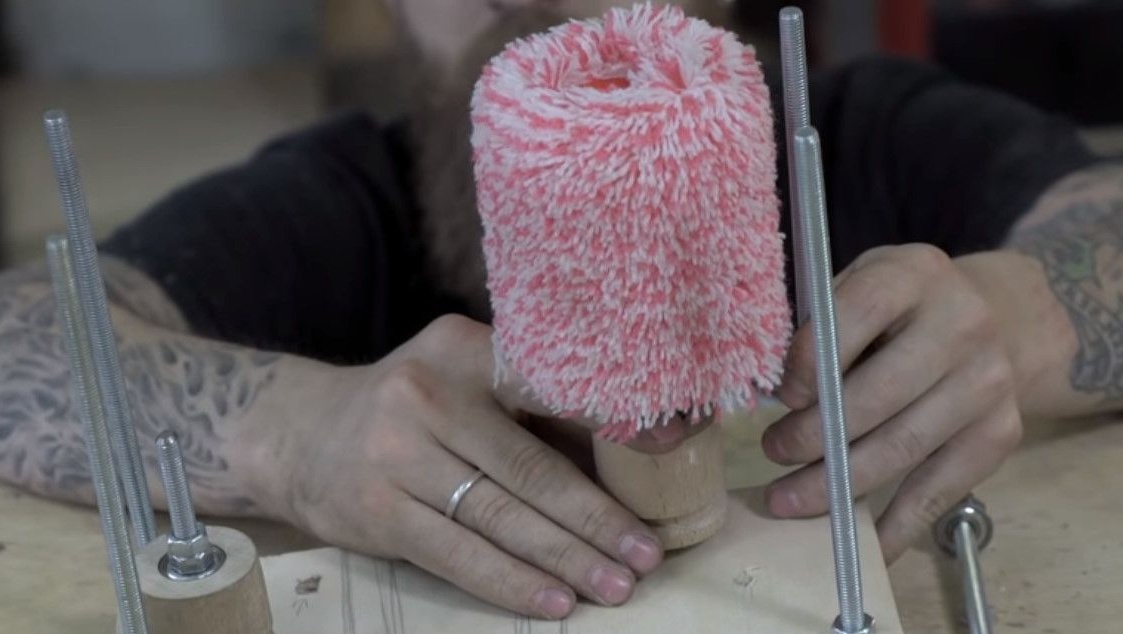
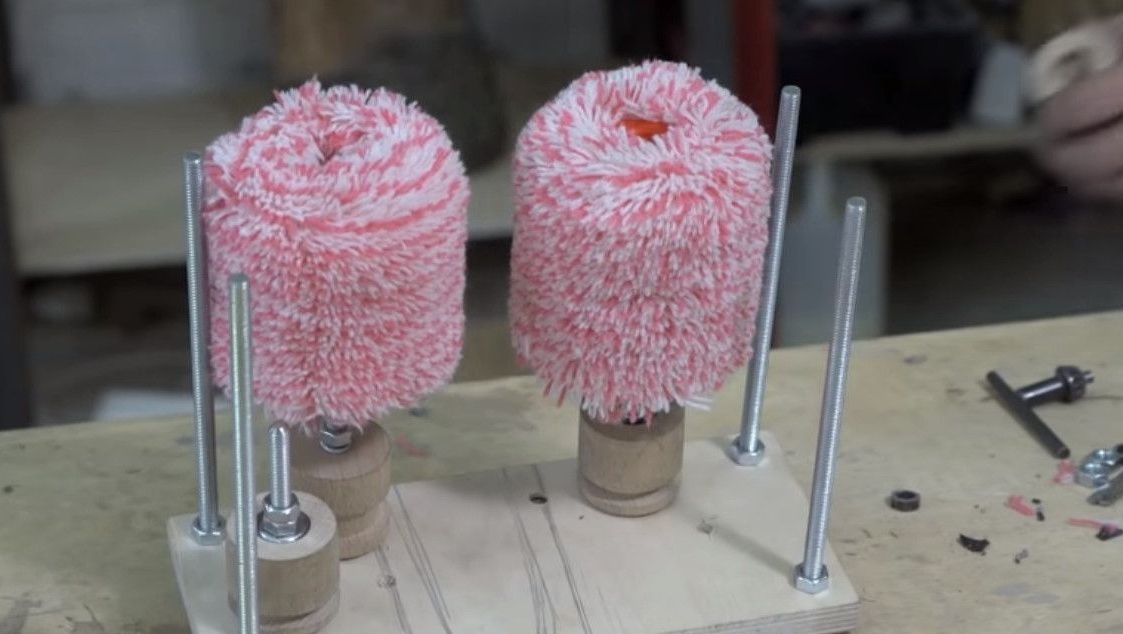
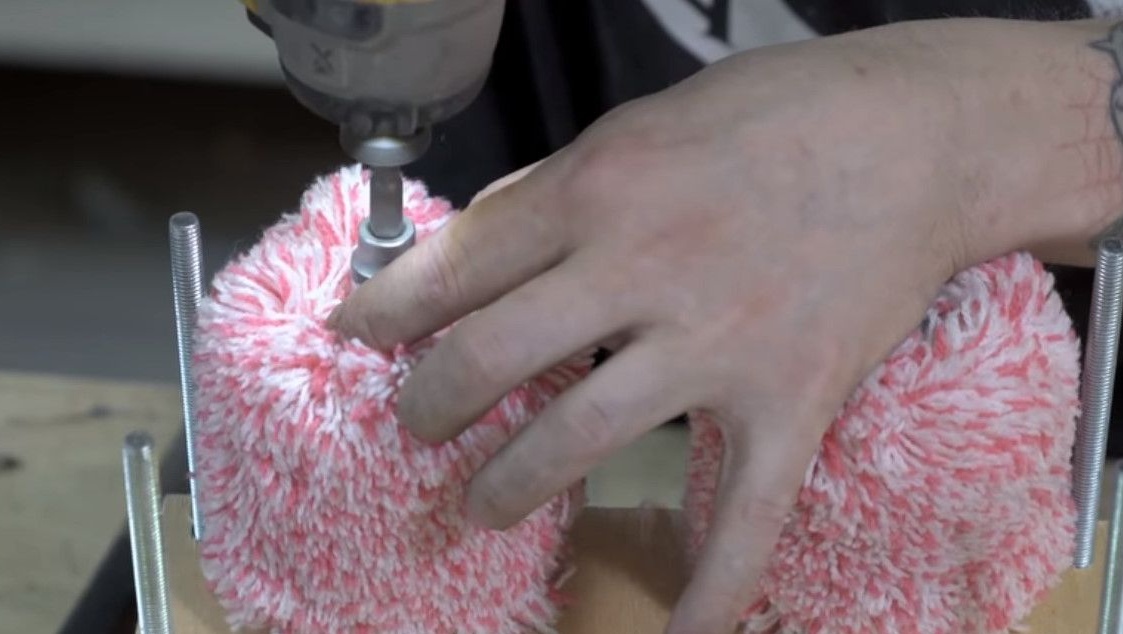
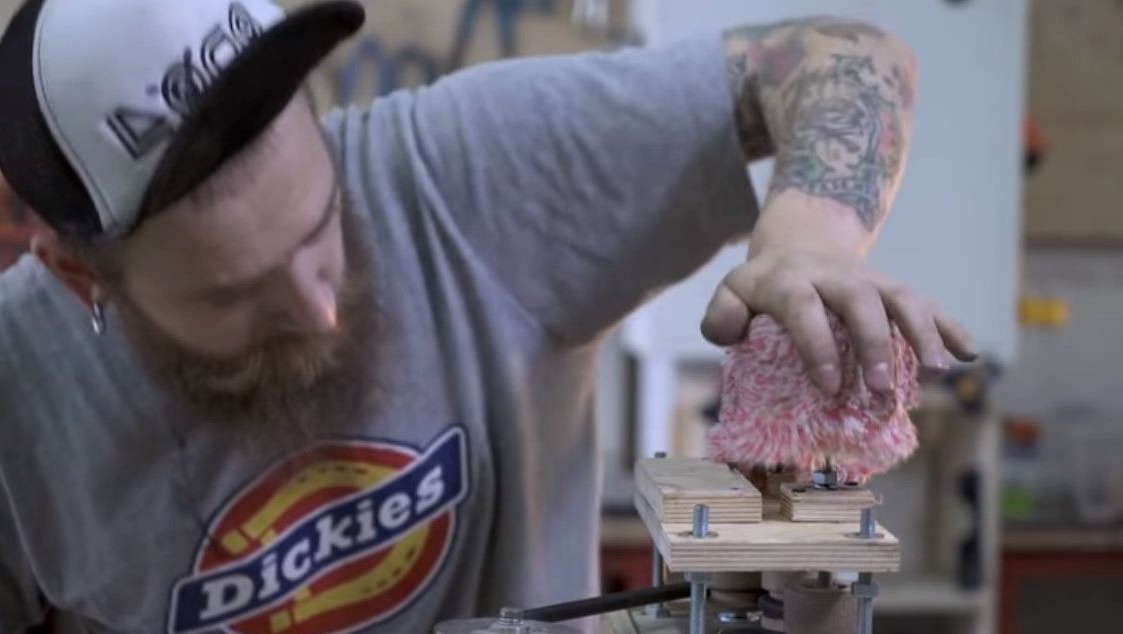
Danya took an ordinary paint roller with a thick fur coat and cut it in the middle in a barbaric way.
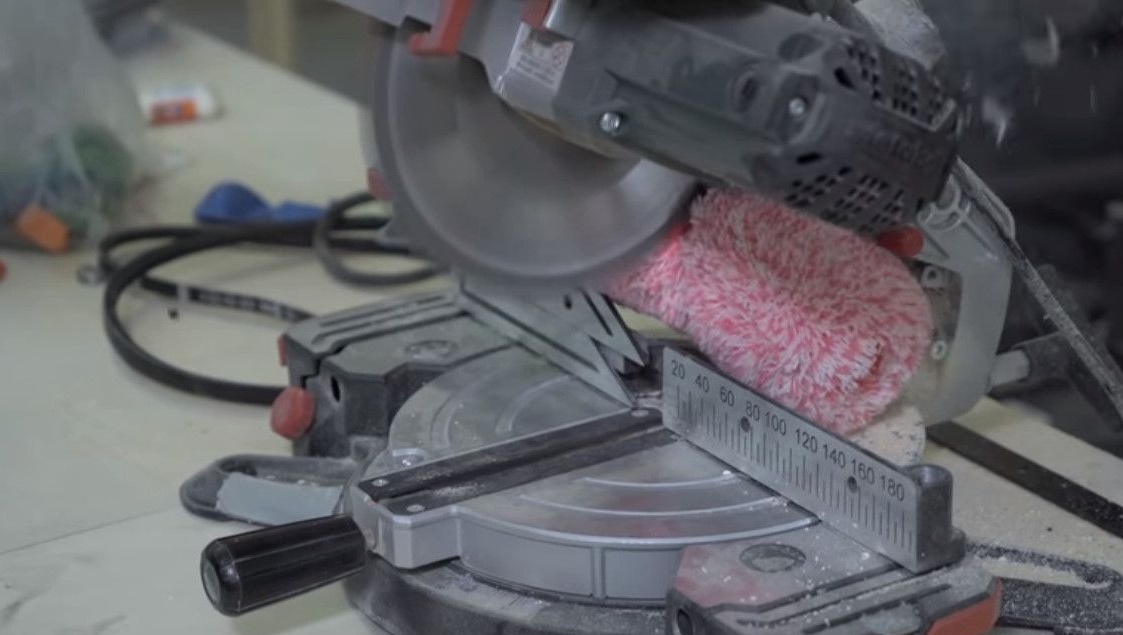

Great ... the product is just right for the roller.
So far, it looks like a car wash for toy cars.
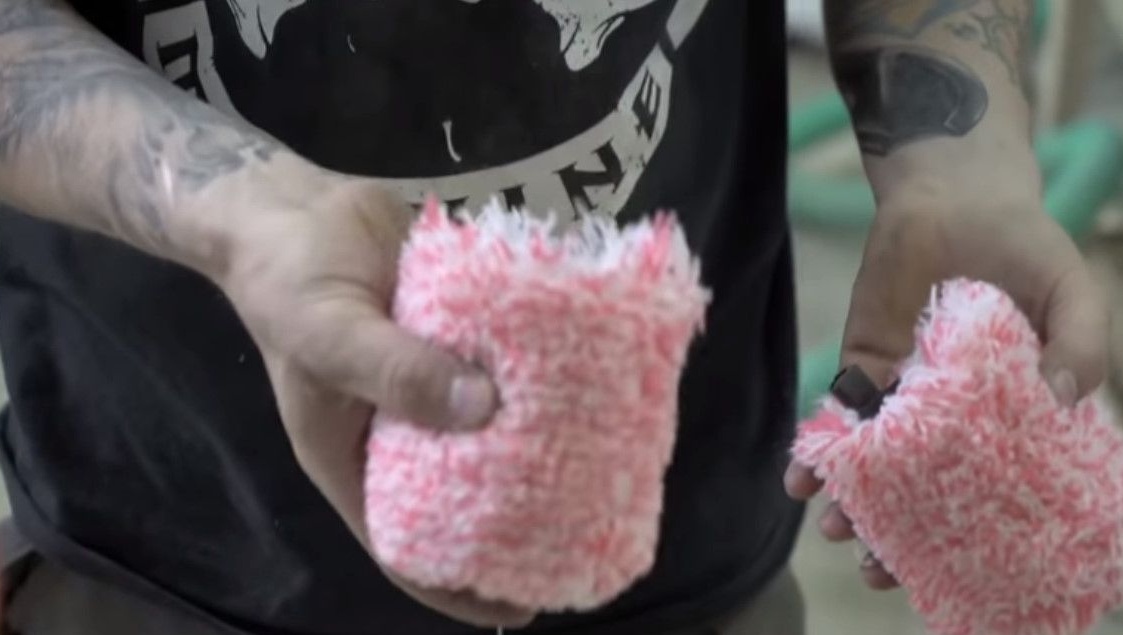
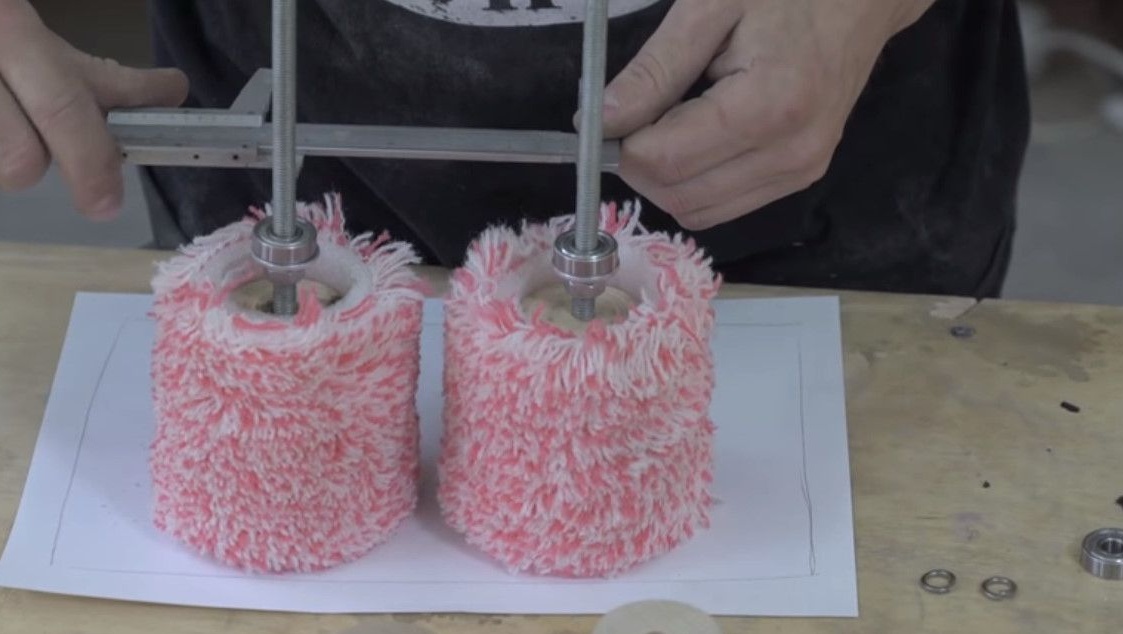
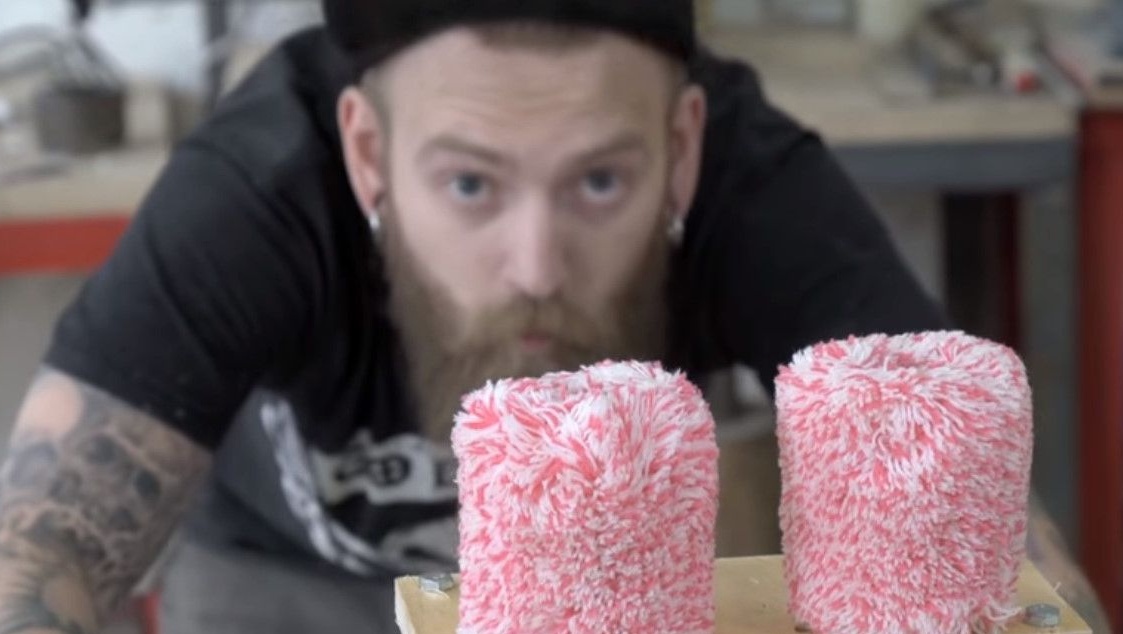
Since the adhesion of the villi of the roller to the surface of the egg is weak, and the contact time with the surface will be very short, Danya decided to put on a piece of a balloon on top to increase adhesion.
Creation seems to be legitimate.
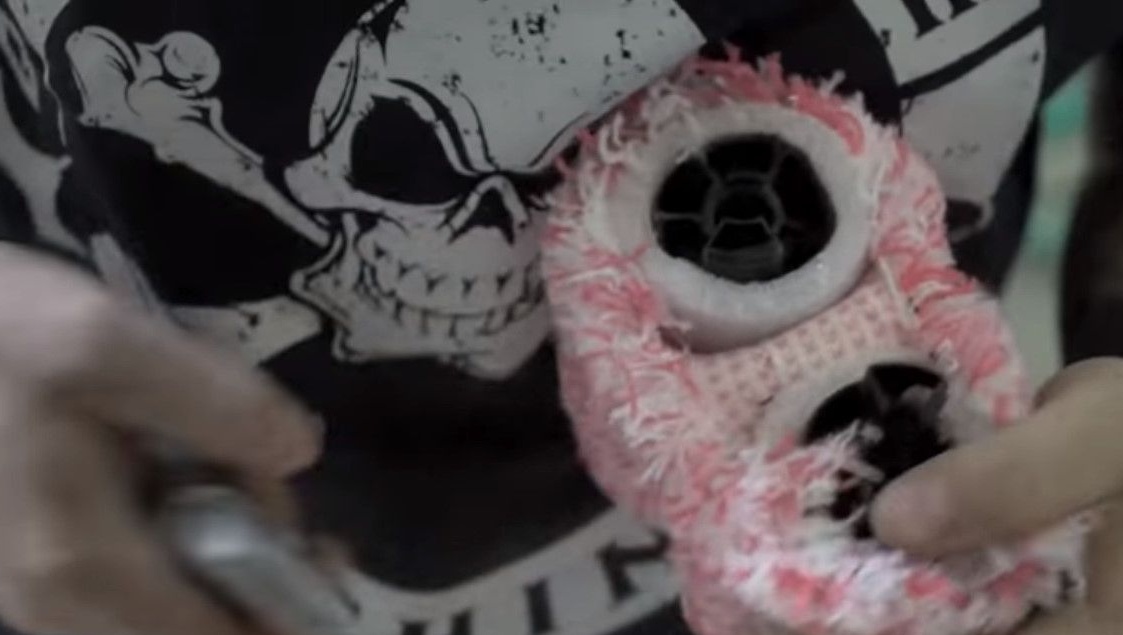
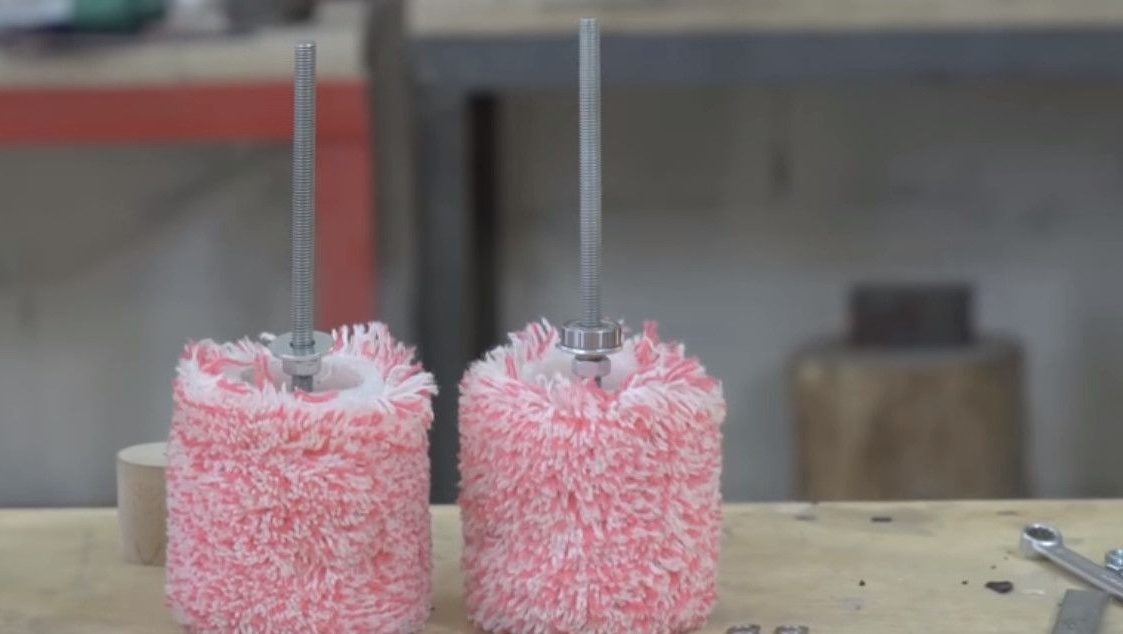
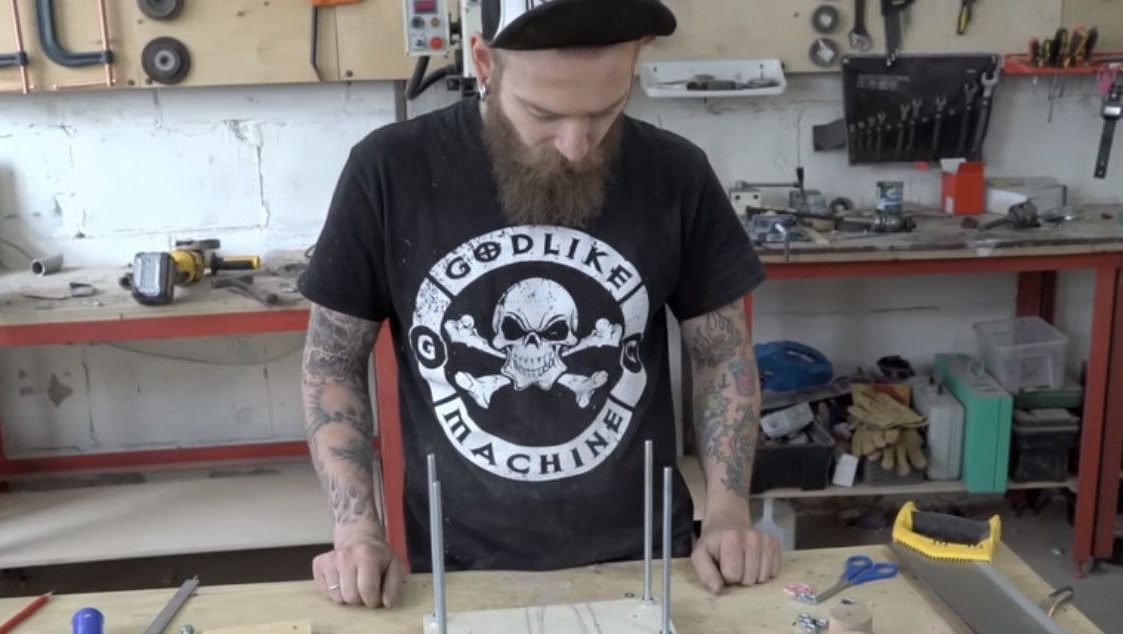
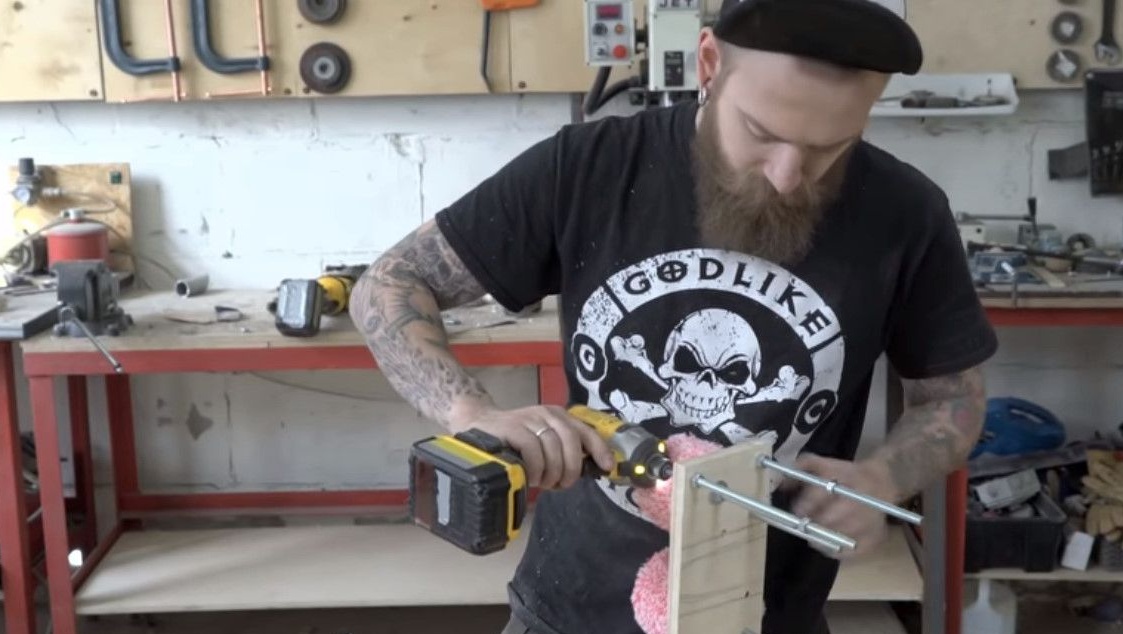
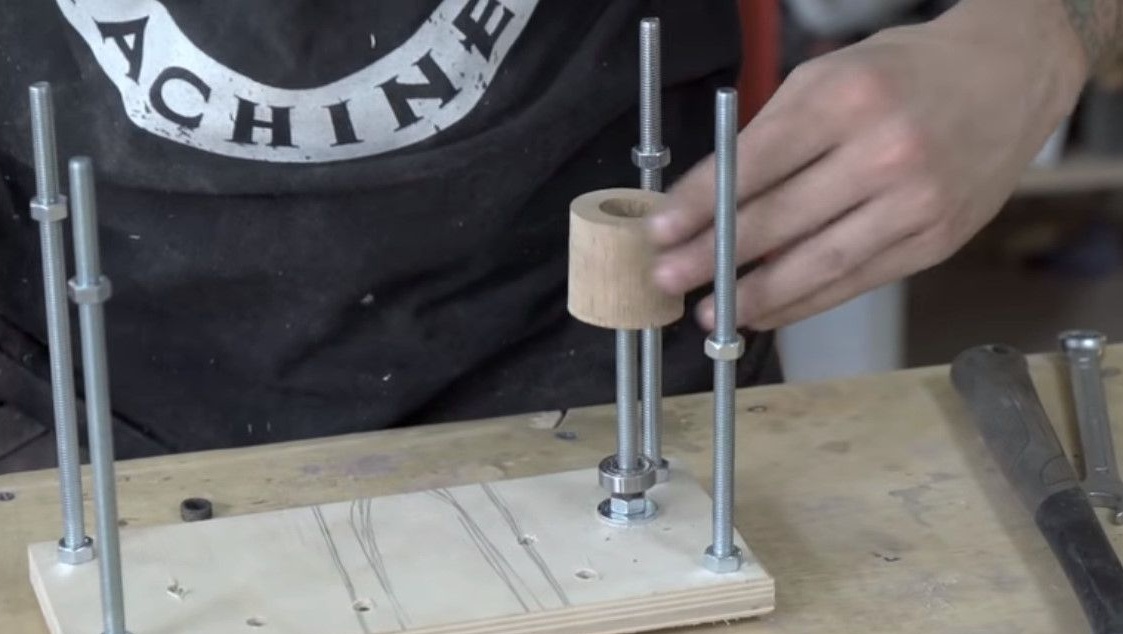
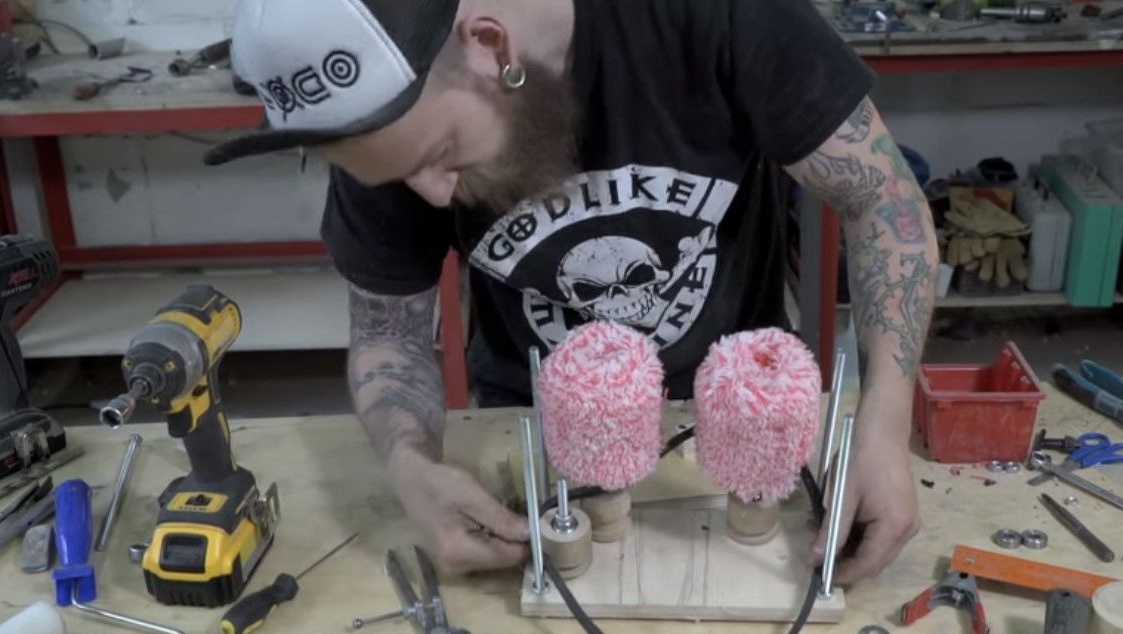
Now these "fur coats" need to be installed on the axis where they will spin.
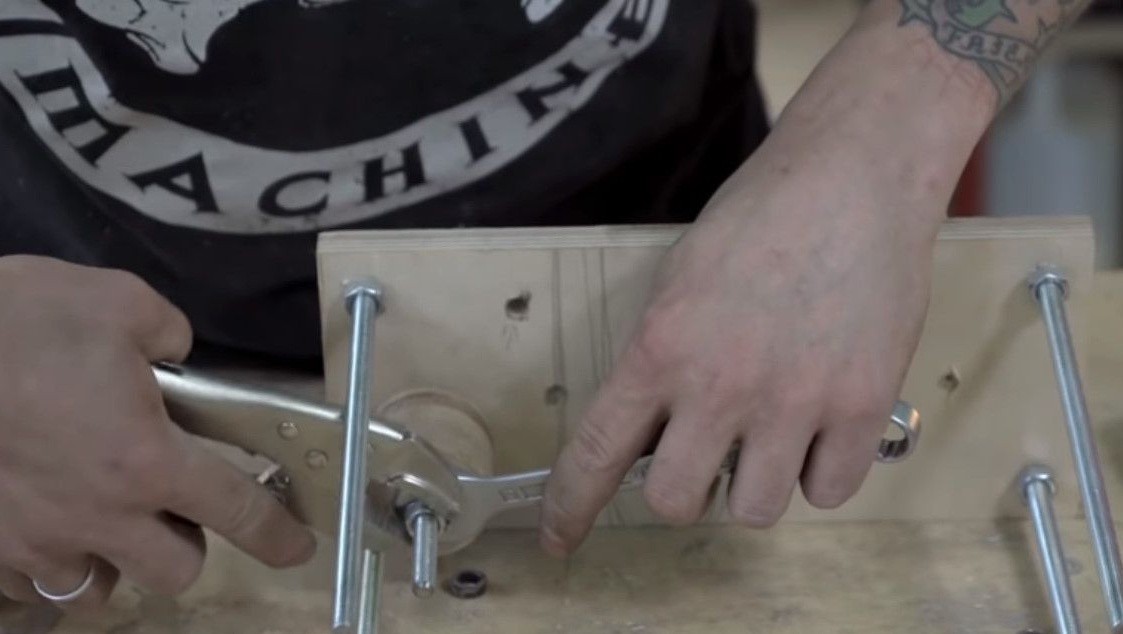
Since the inner bushings were destroyed when cutting the roller, tighten one of the remaining bushings on the bolt and see how it rotates.
Danya decided to fasten everything on bolts with a thickness of 8 millimeters.
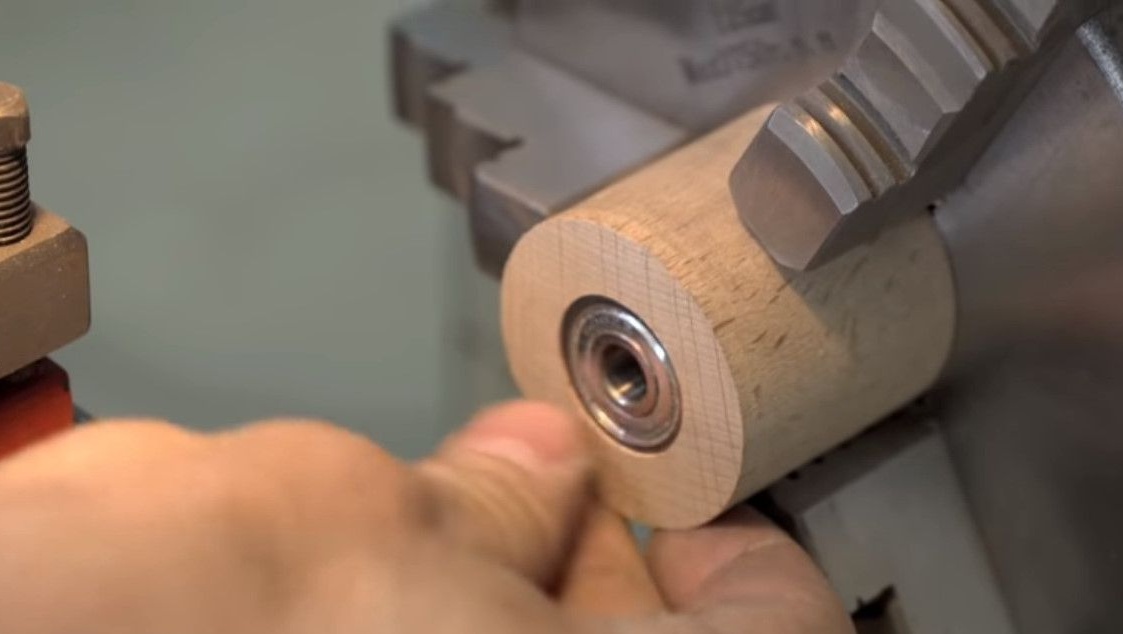
For high-quality rotation, we attach bearings from the skate, as the most affordable.
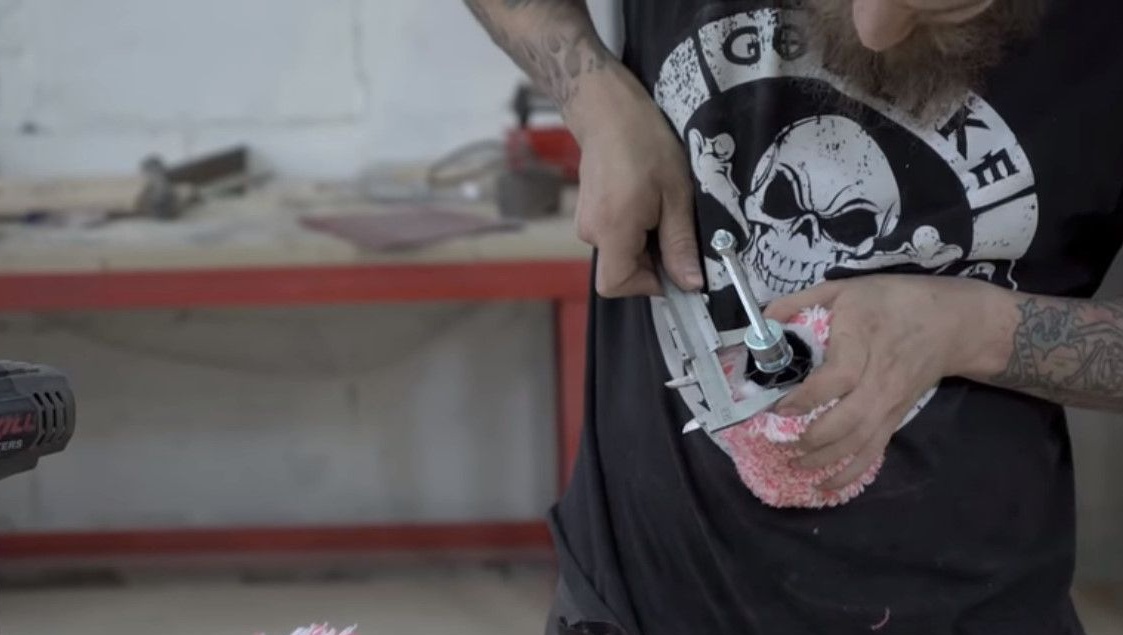
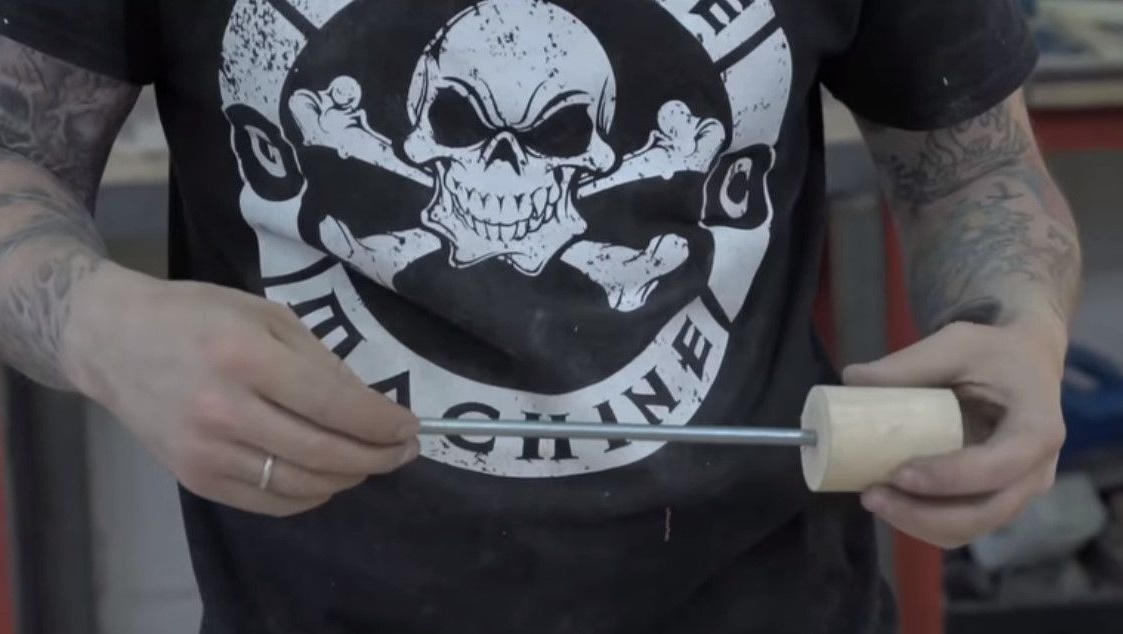
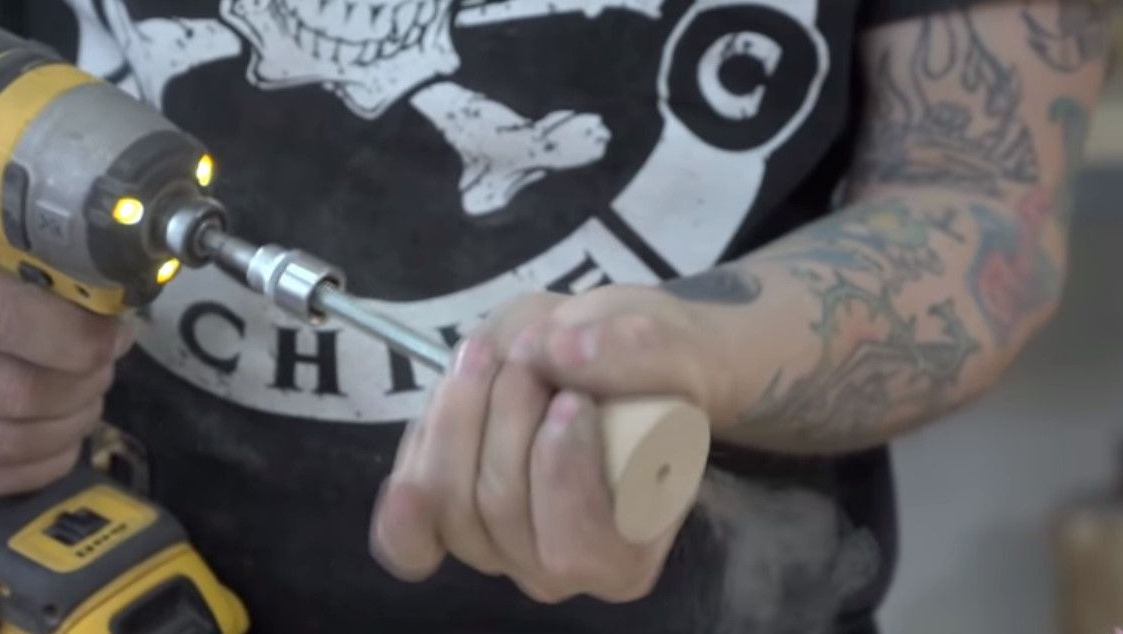
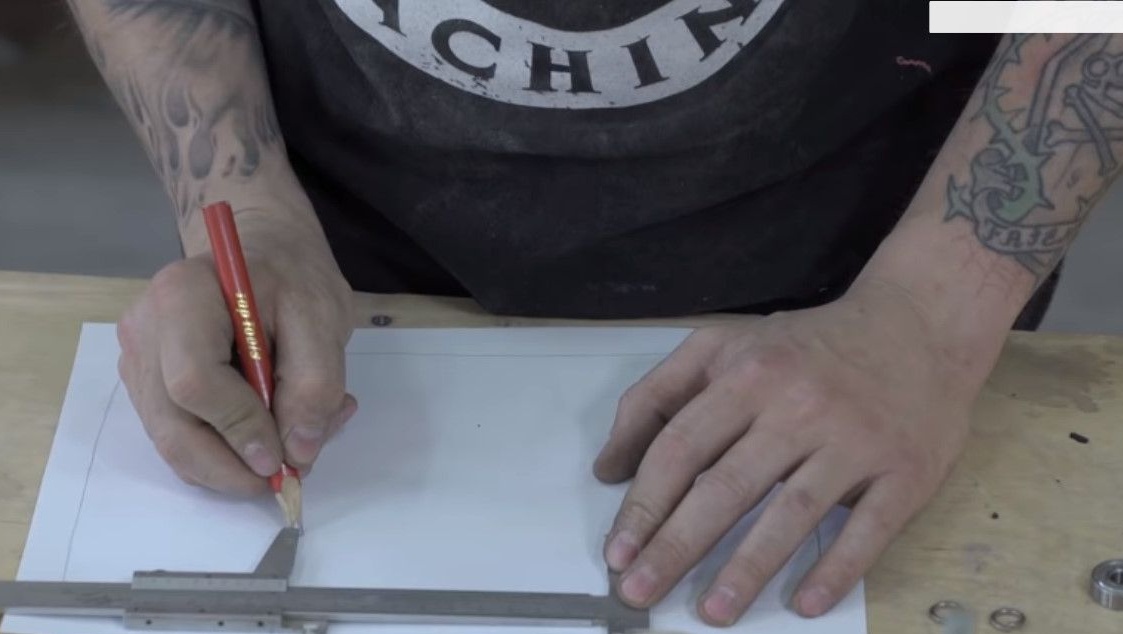
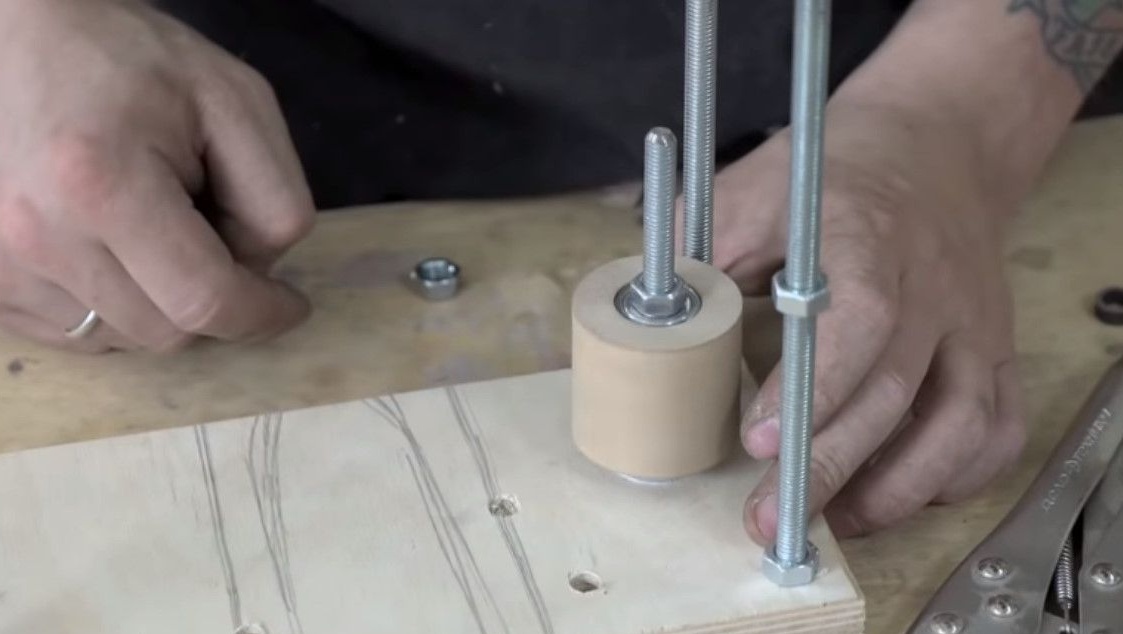
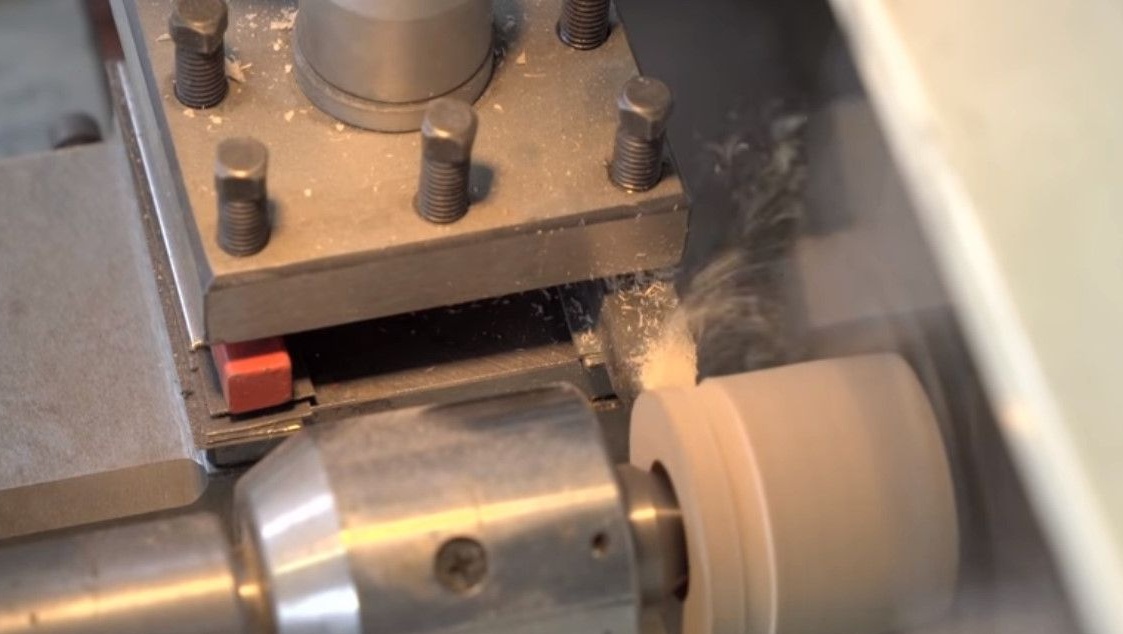
To fill such a roller, you need to think of something, so we measure the inner diameter taking into account the foamed substrate. And let's turn this gimp.
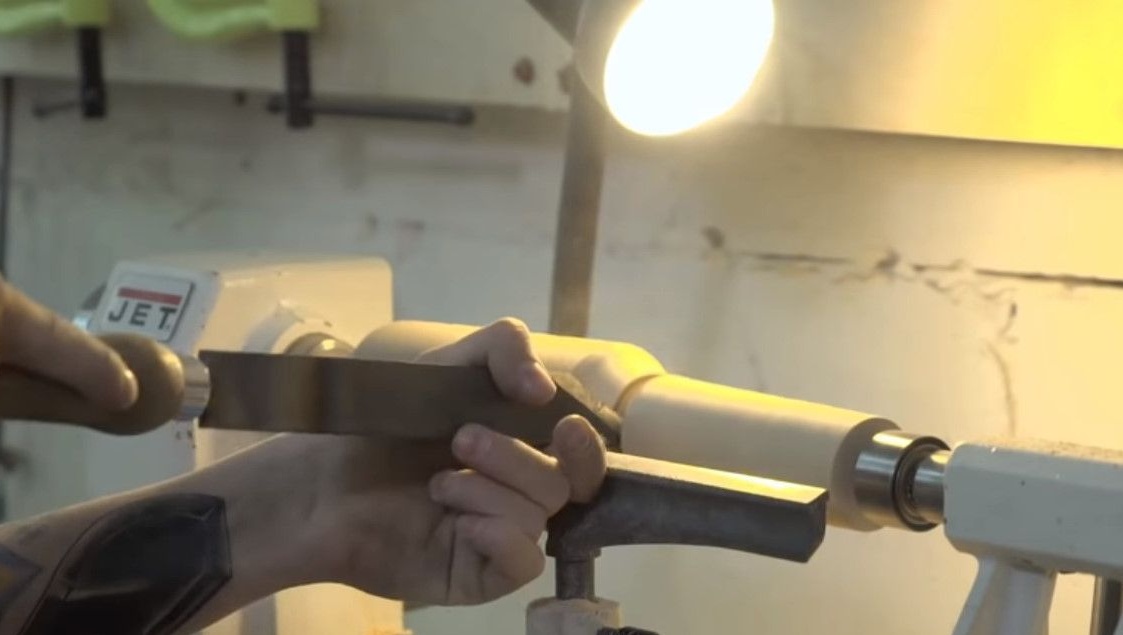
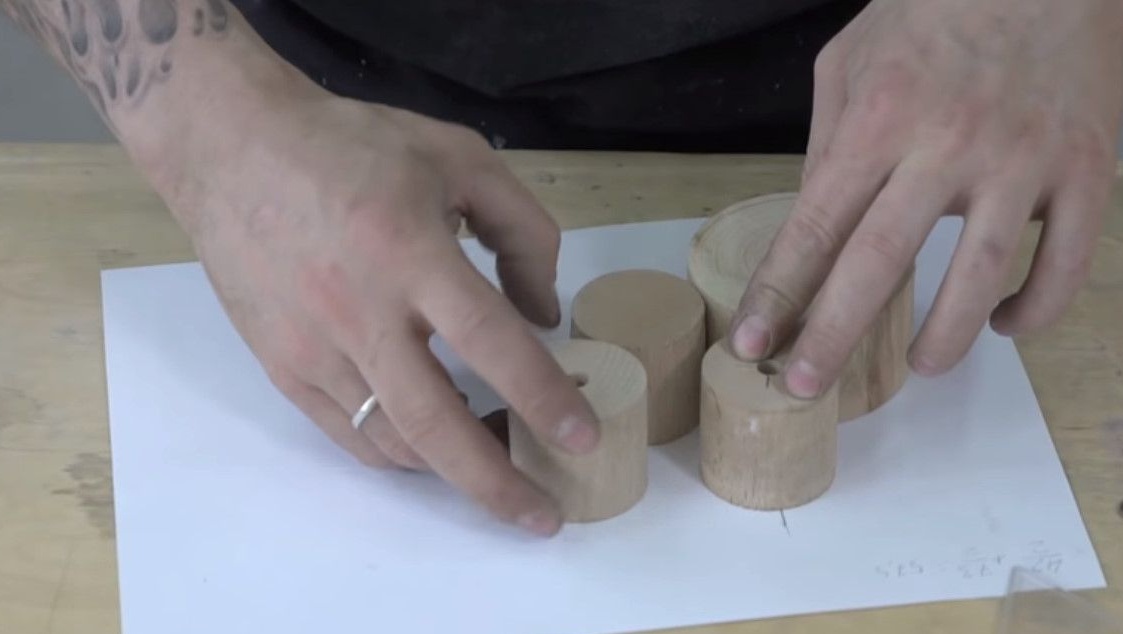
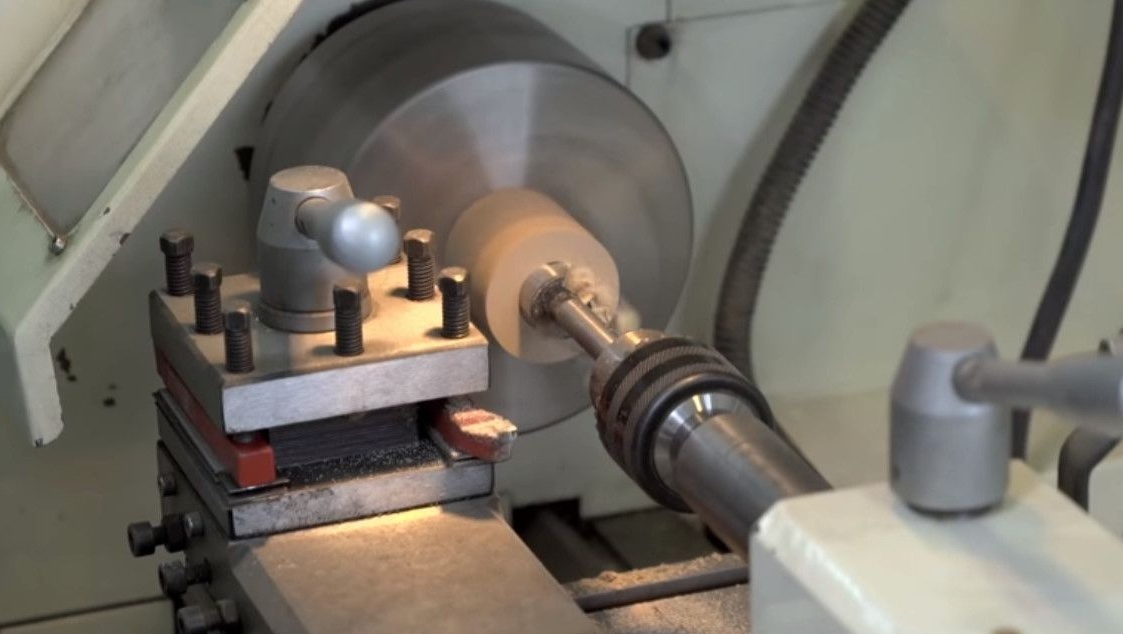
For the rollers Dan took out a stash, a round ash-tree.
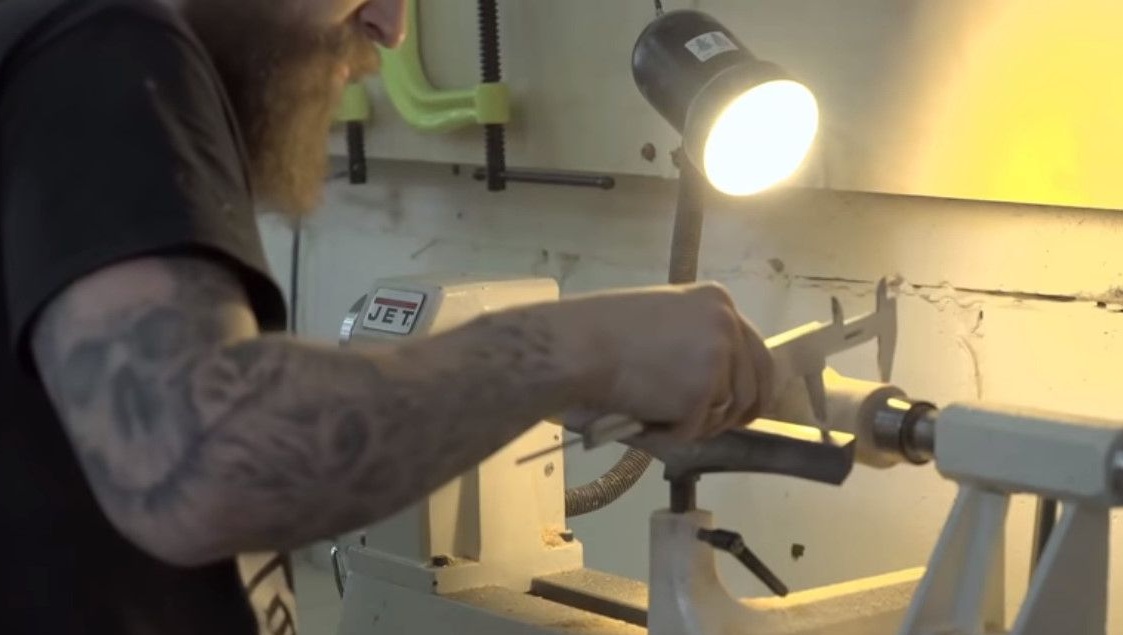
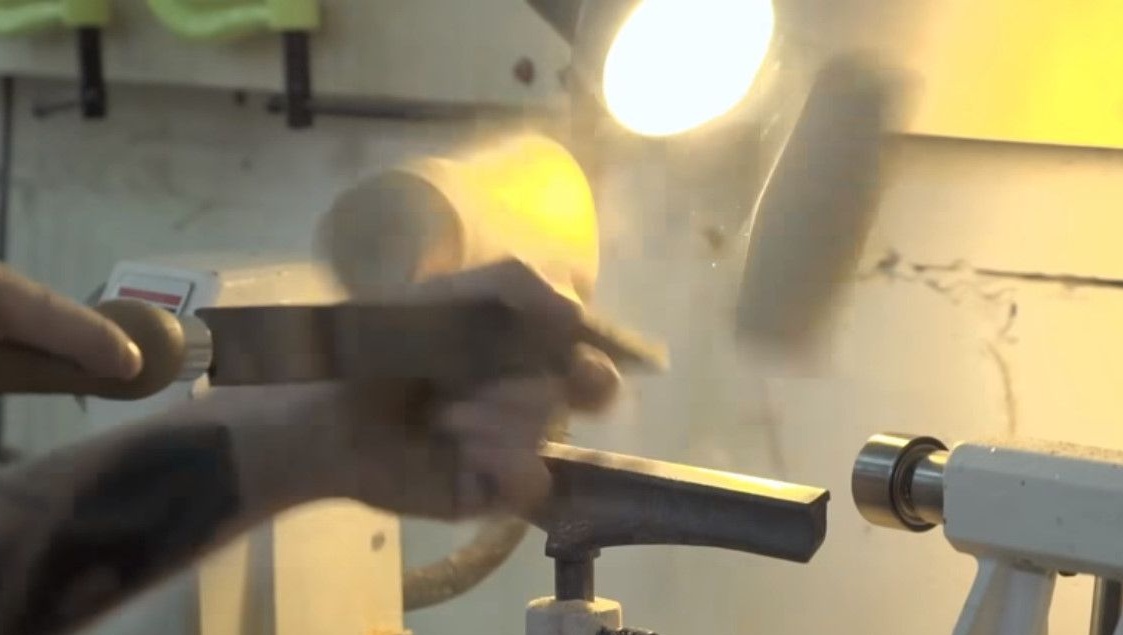
And with simple movements he sharpened it to the desired diameter on a wood turning.
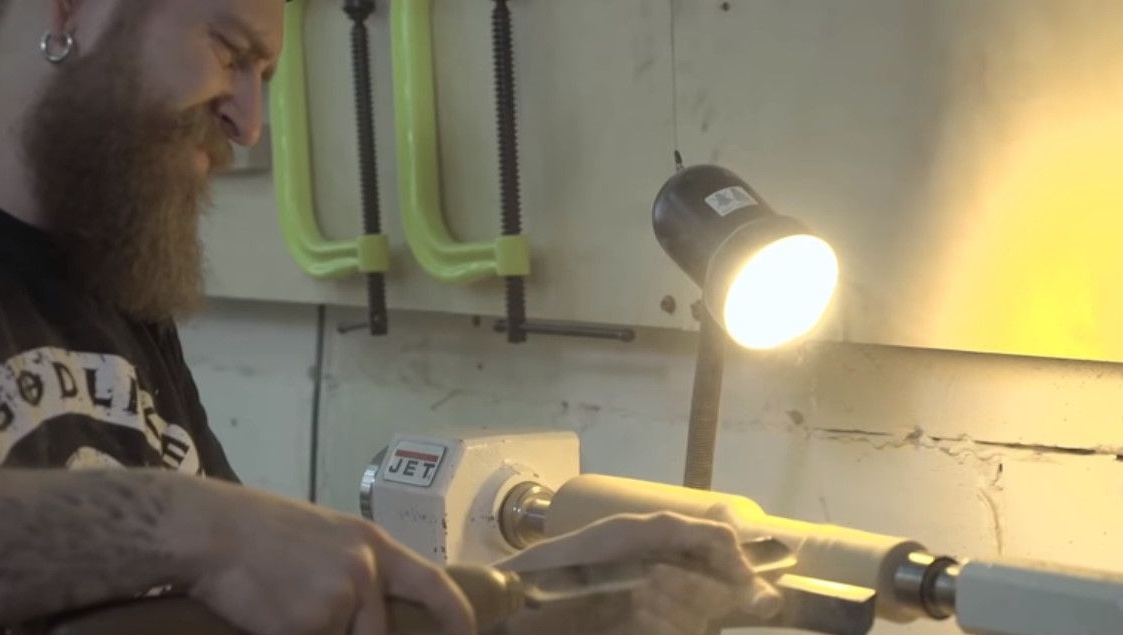
Everything exploded straight centers, then everything is ready.
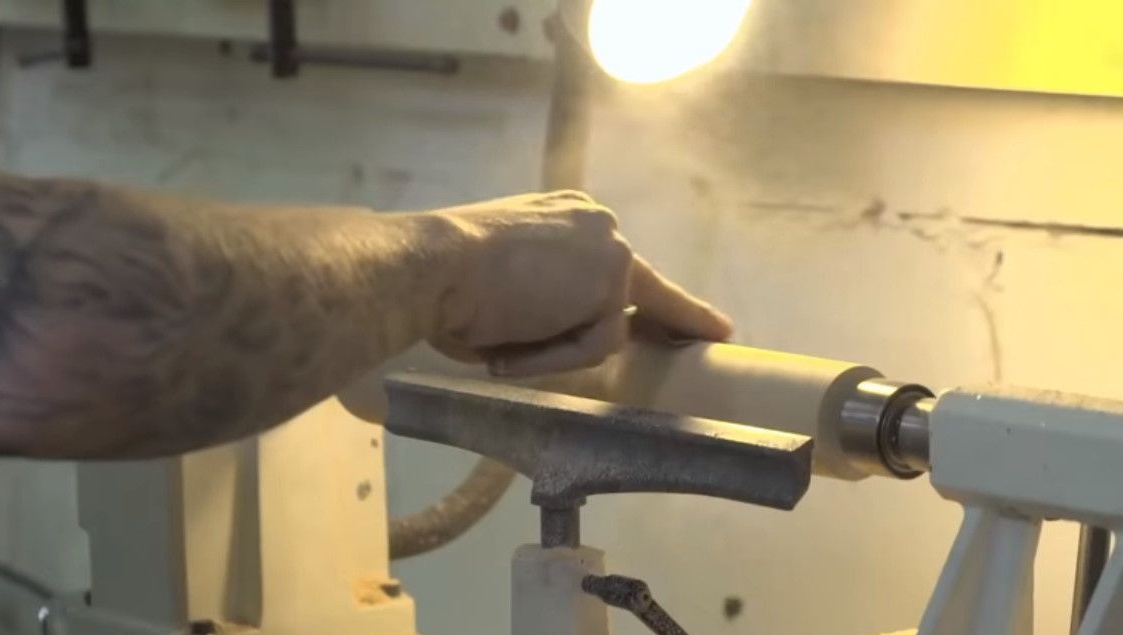
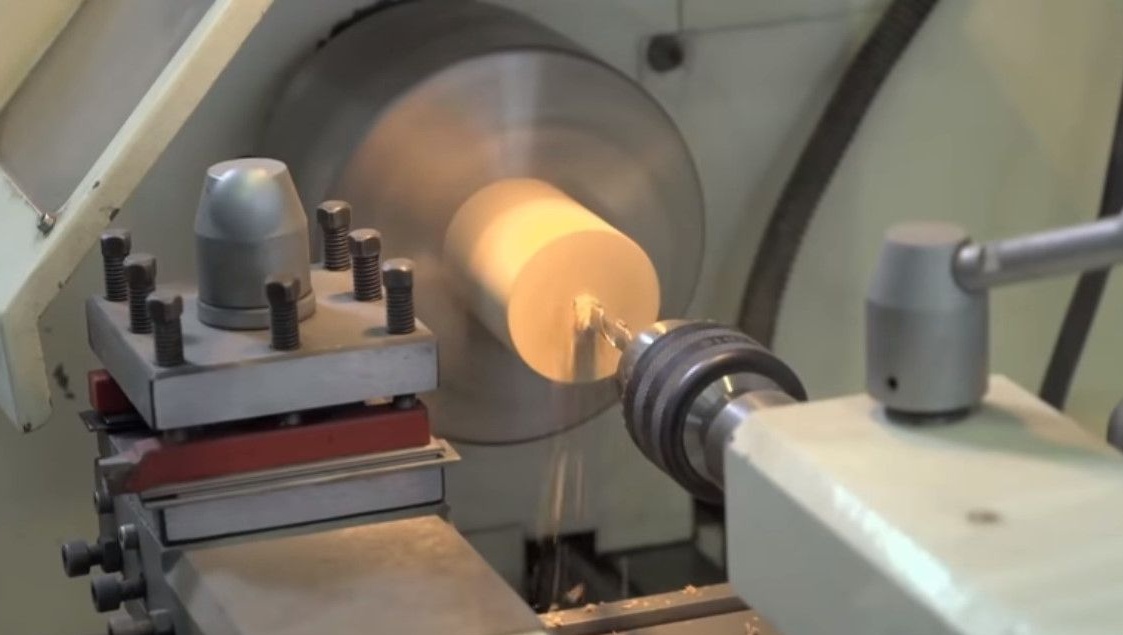
Now go to the metal lathe.
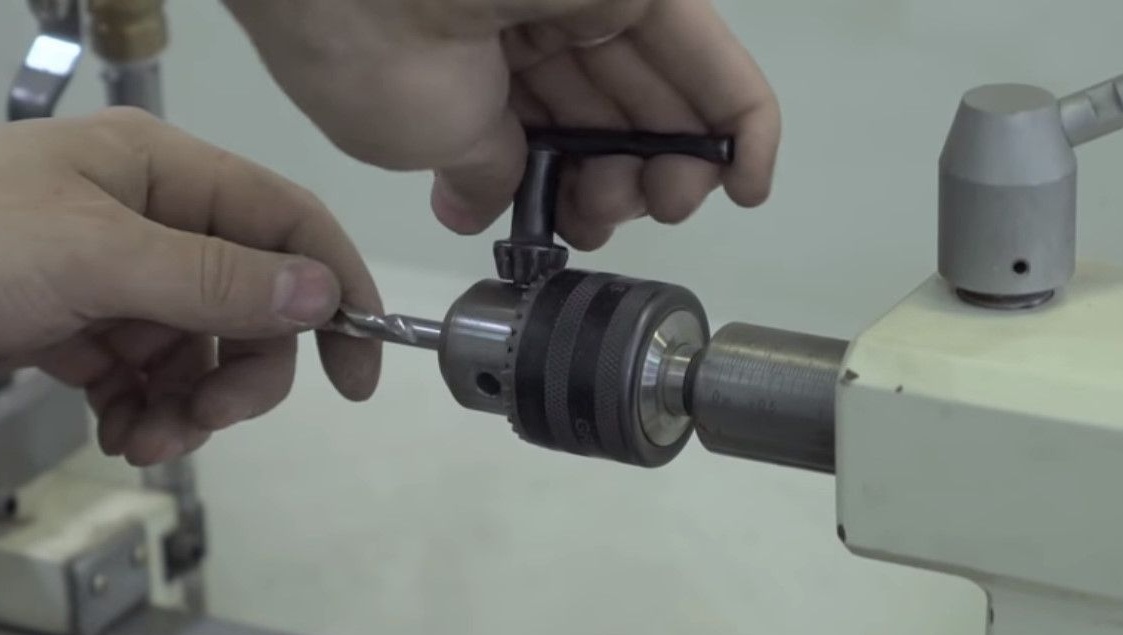
With its snap it will be easy to make a coaxial hole for the bolt so that there is no beating.
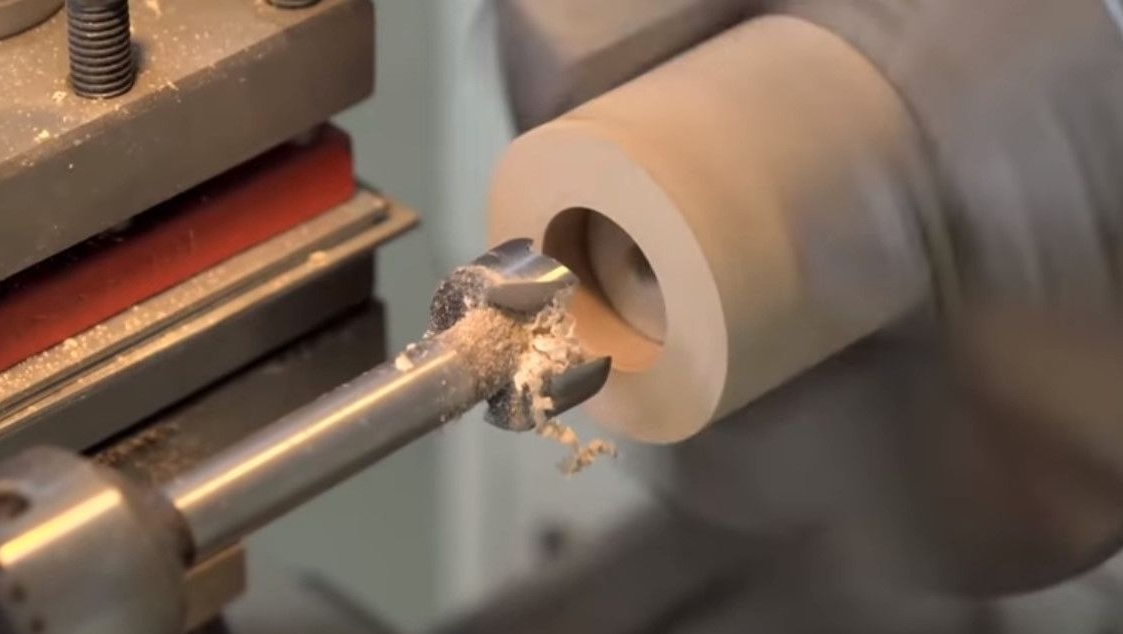
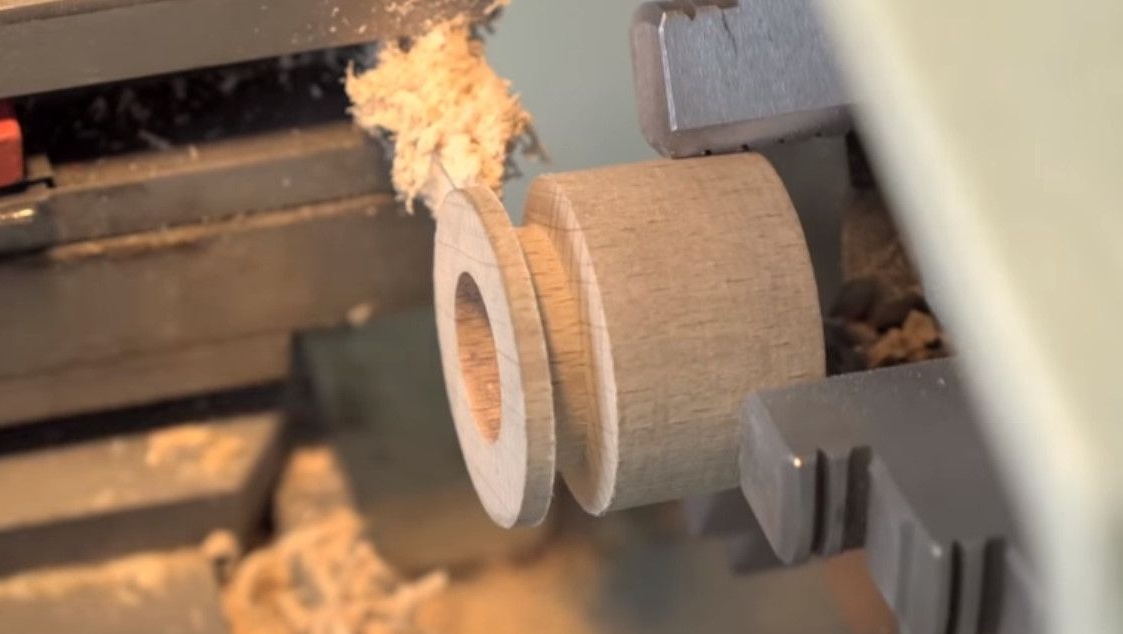
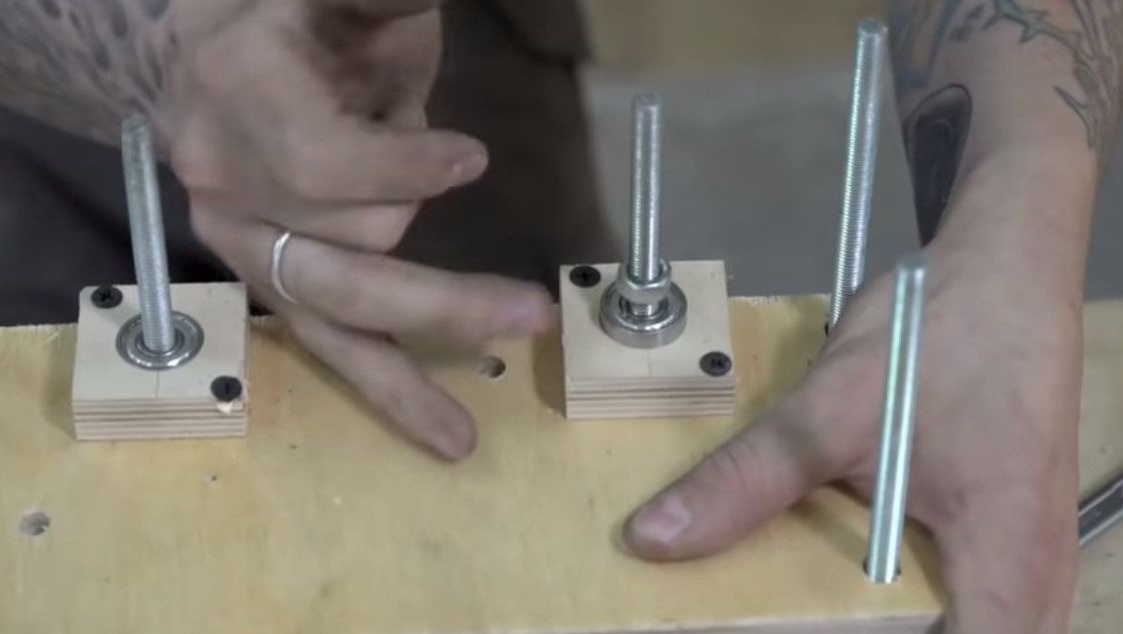
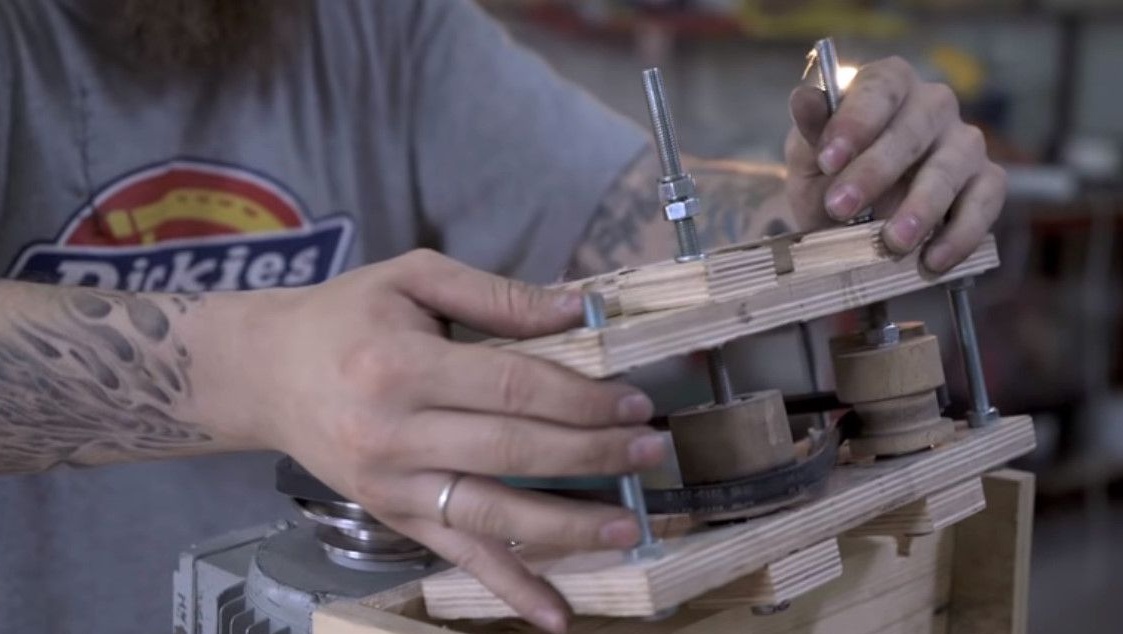
It's time to collect the rollers.
The hole is drilled less by 0.5 millimeters than the diameter of the bolt onto which the roller is screwed to cut the thread there.

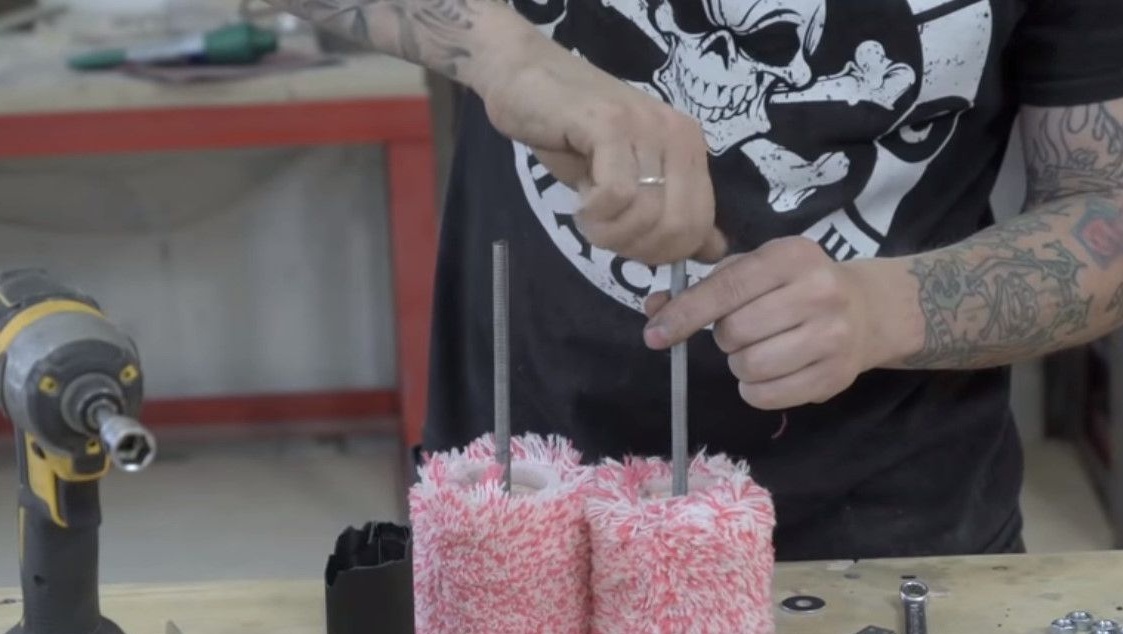
Small life hack. We cut the groove in the bolt with a grinder, along the sides of the groove we get a sharp edge.
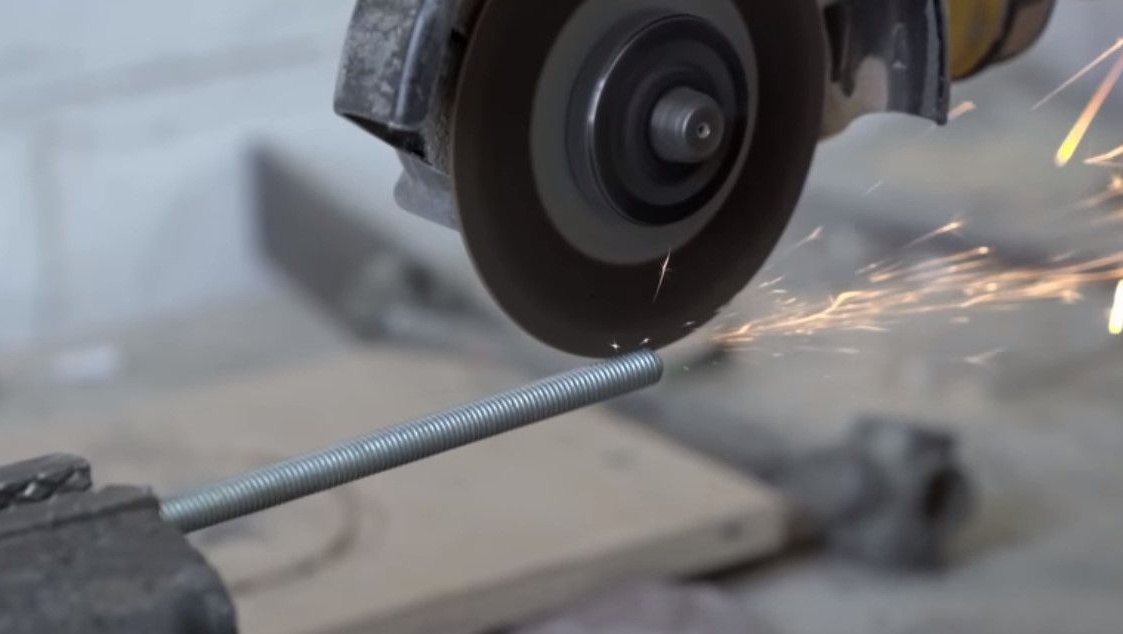
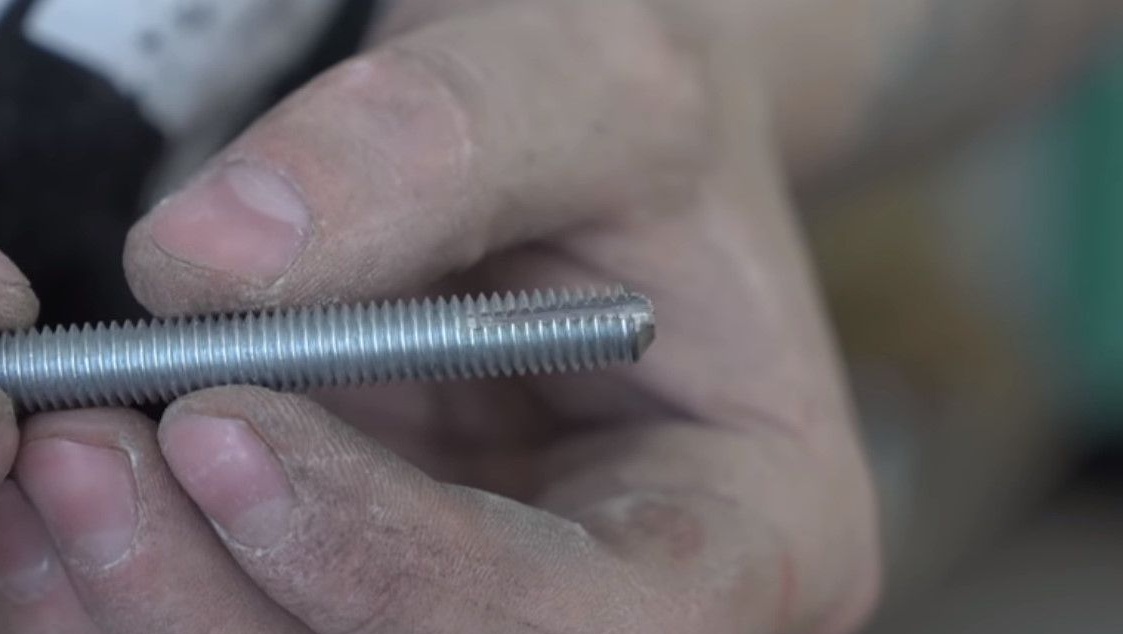
Just like on taps. Passing such a bolt in the roller, the thread is cut, and not unclenched.
In addition to the rounds that will be in the rollers, several rollers need to be fastened to the bolts.
They will be part of the gearbox.
We need to get synchronous rotation of the rollers in different directions, using one motor.
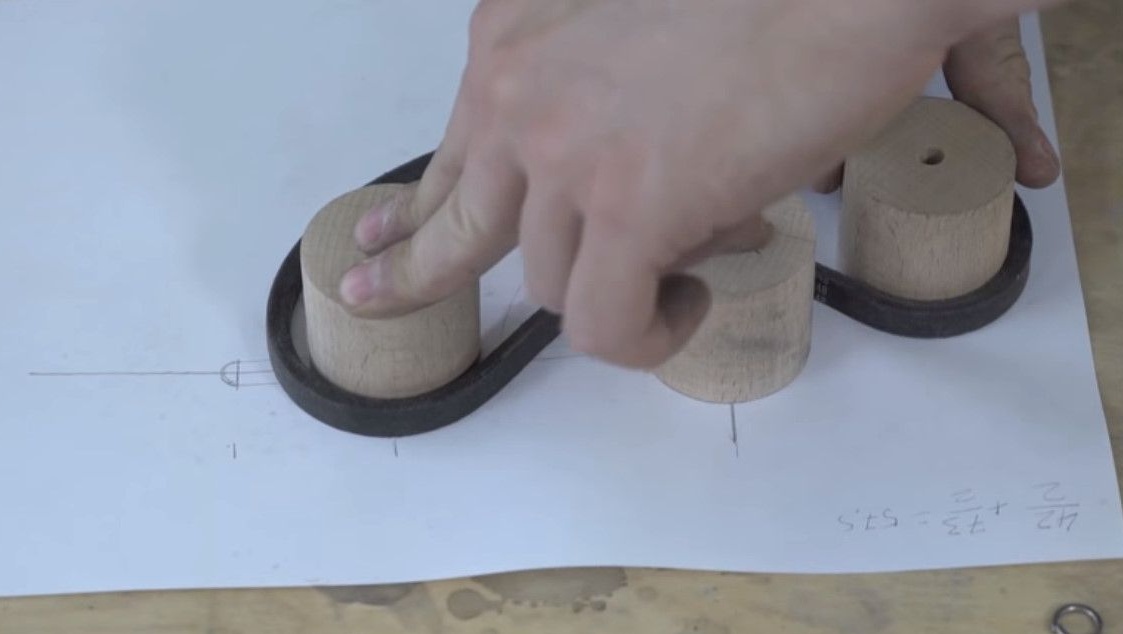
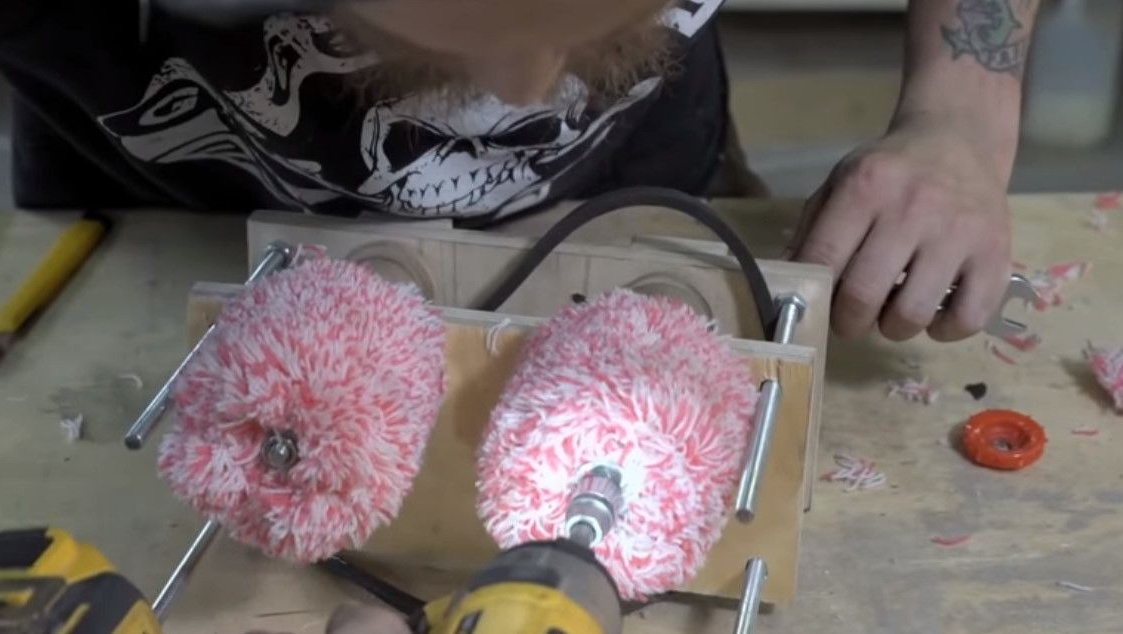
The distance between the rollers is also very important. The egg should fly between them without breaking, but at the same time pressed tightly enough.
Also, centrifugal force will add rigidity to the surface of the rollers, and increase their diameter.
It was possible to make grooves to adjust the clearance, but it would be more logical to adjust one roller.
After going through several options
stop on a belt drive.
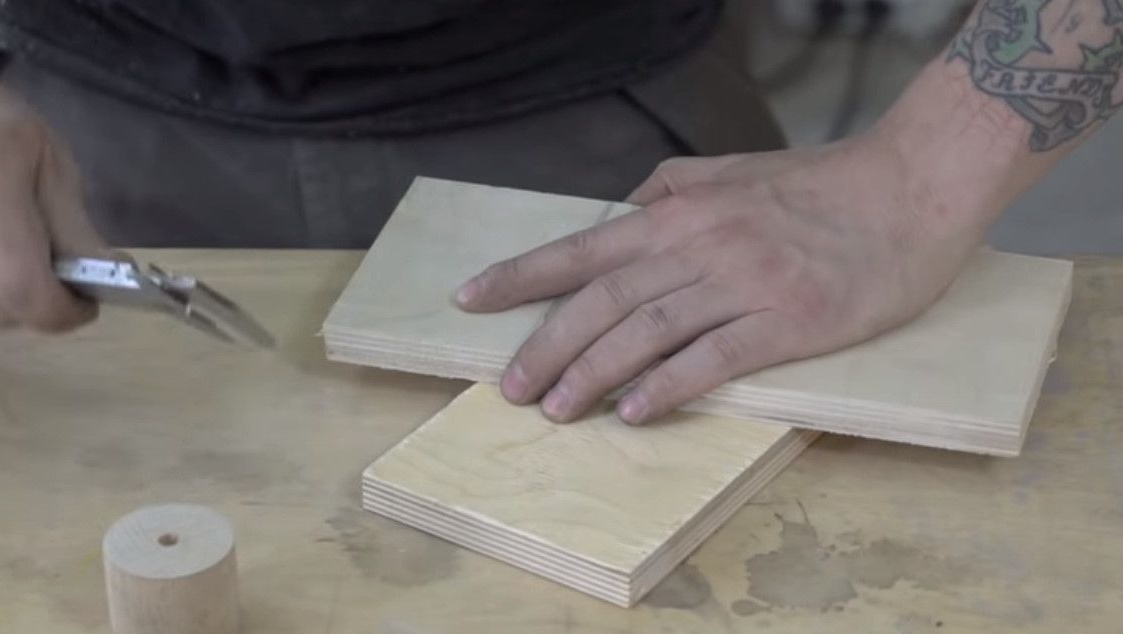
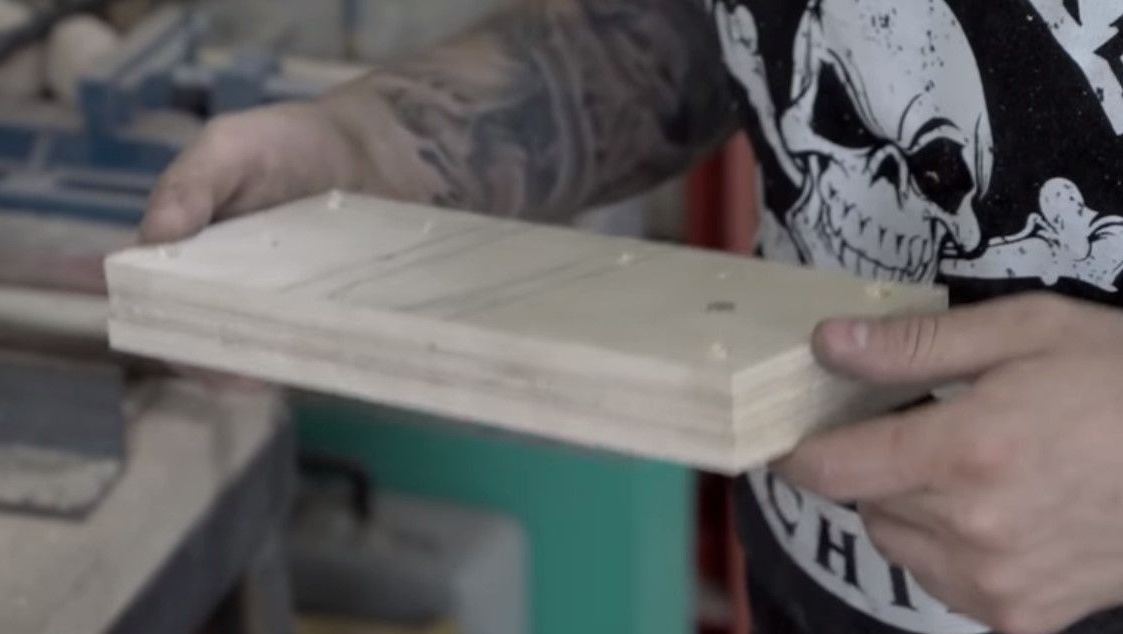
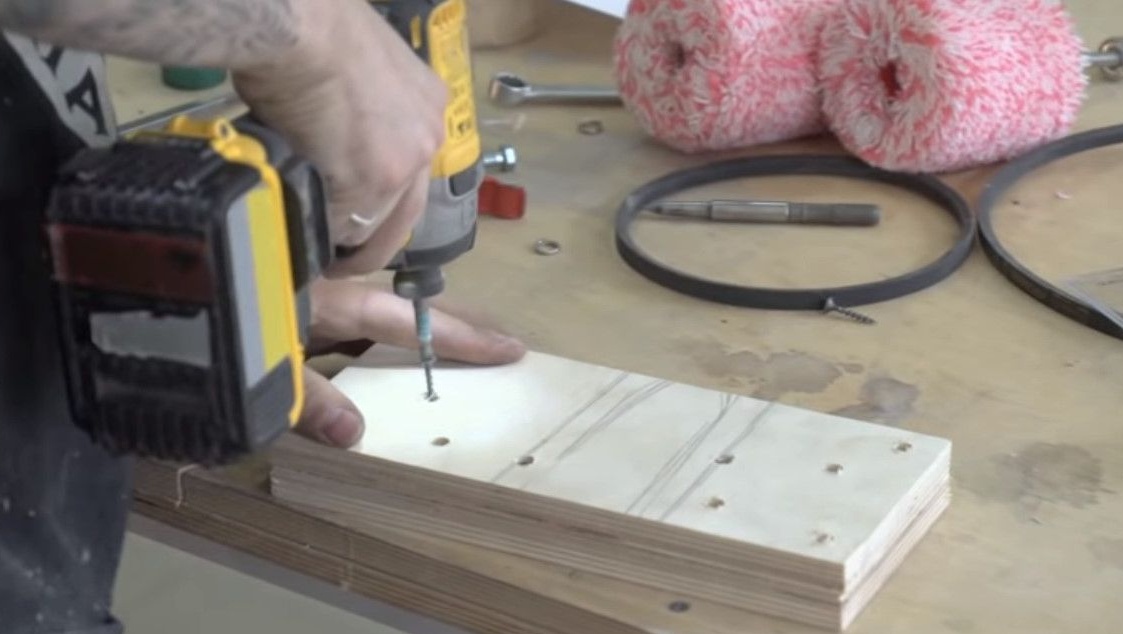
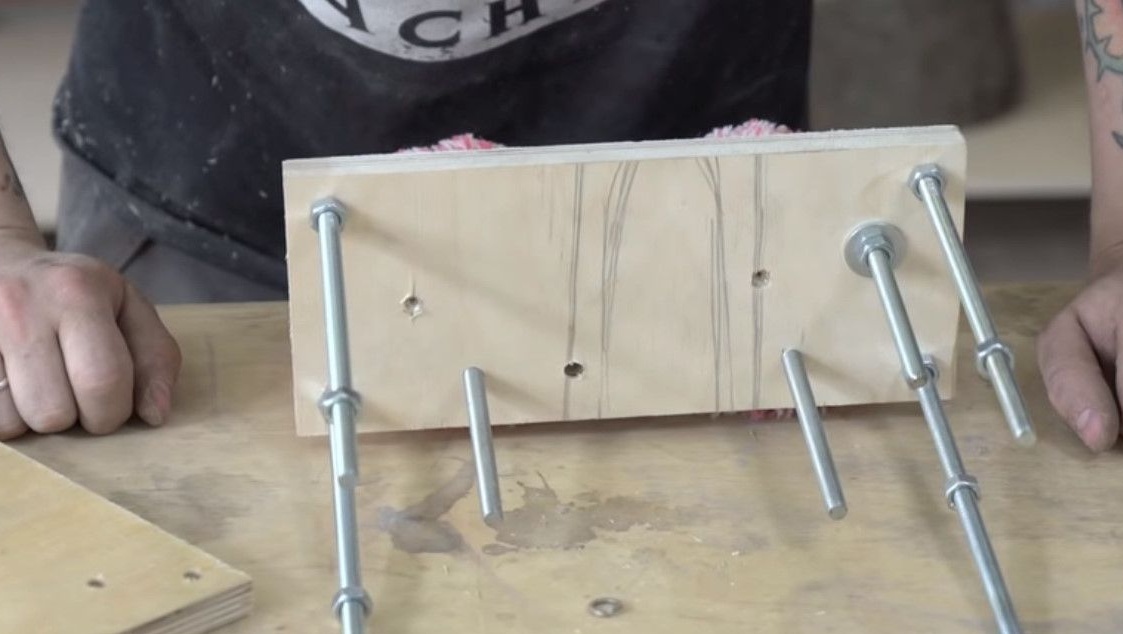
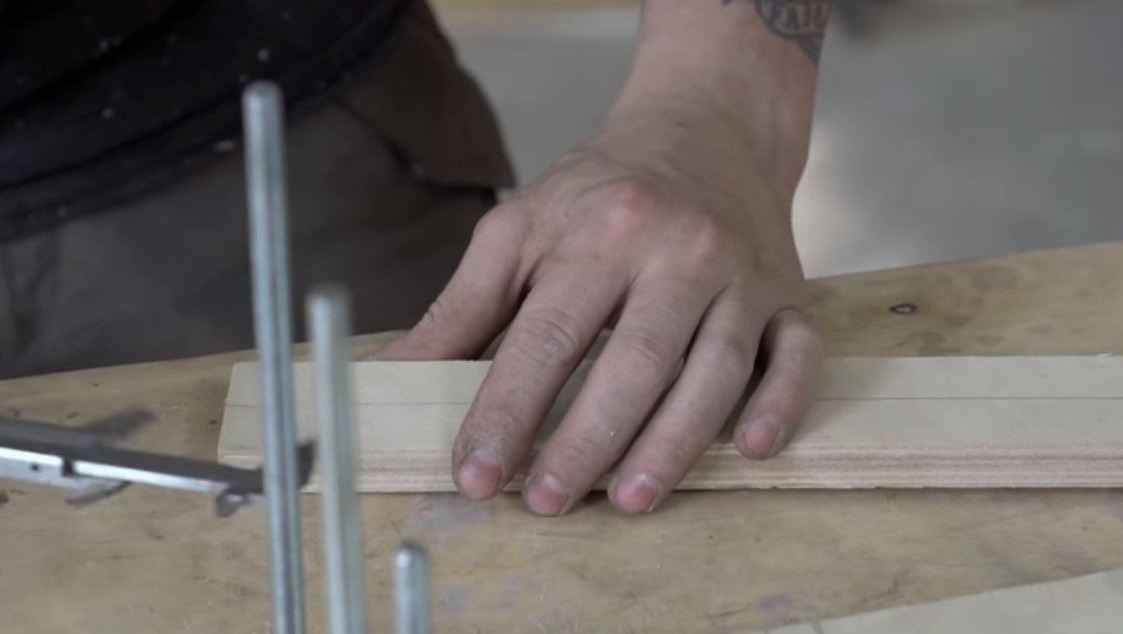
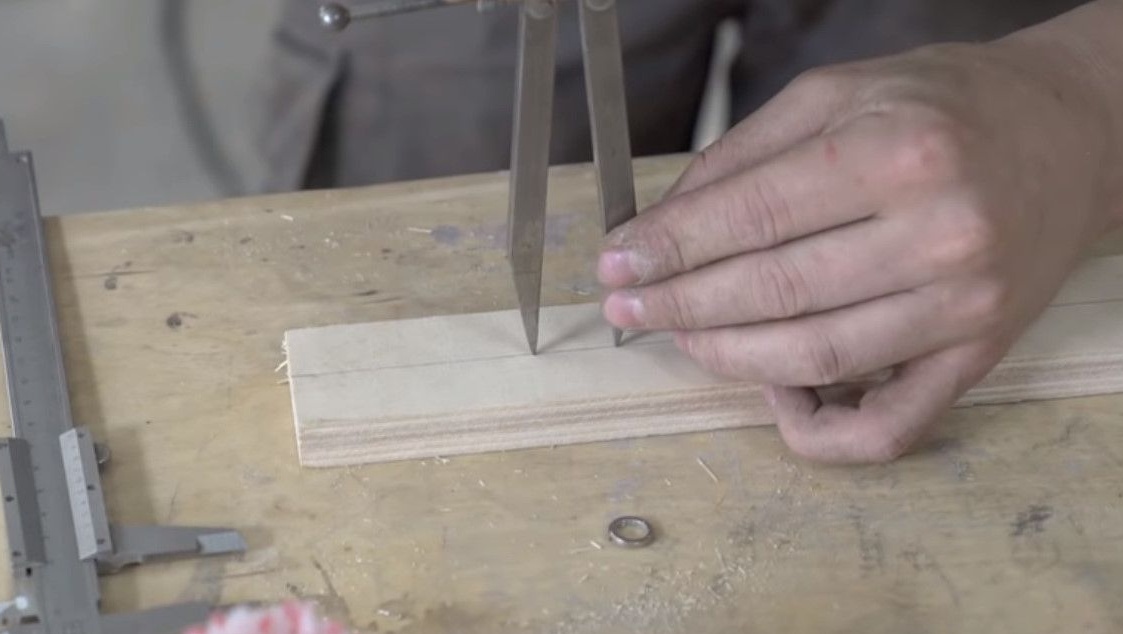
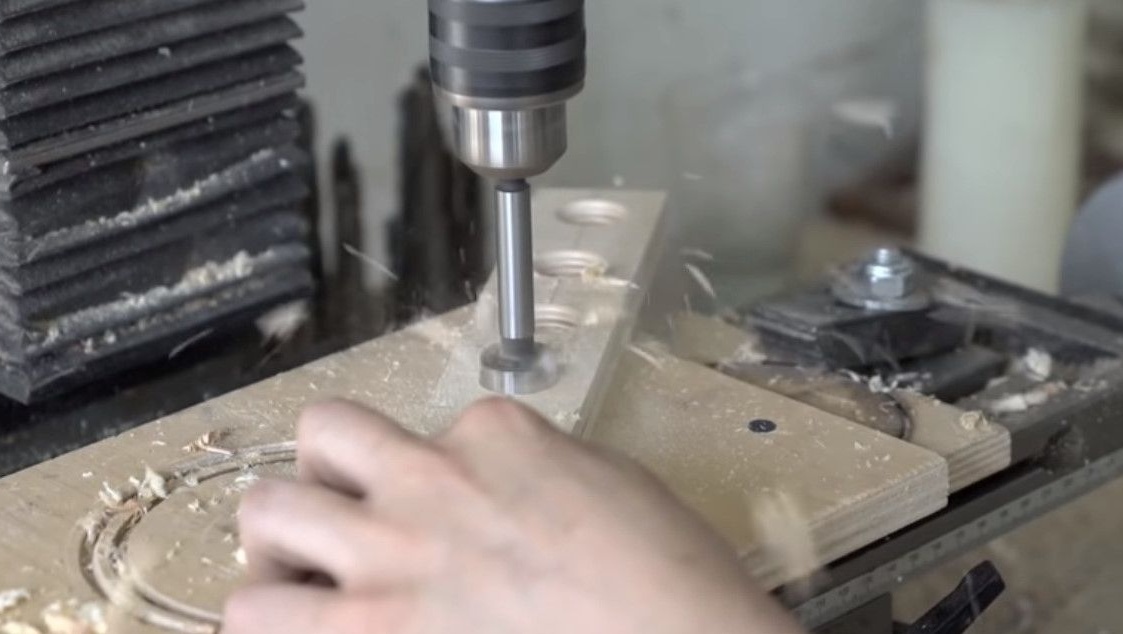
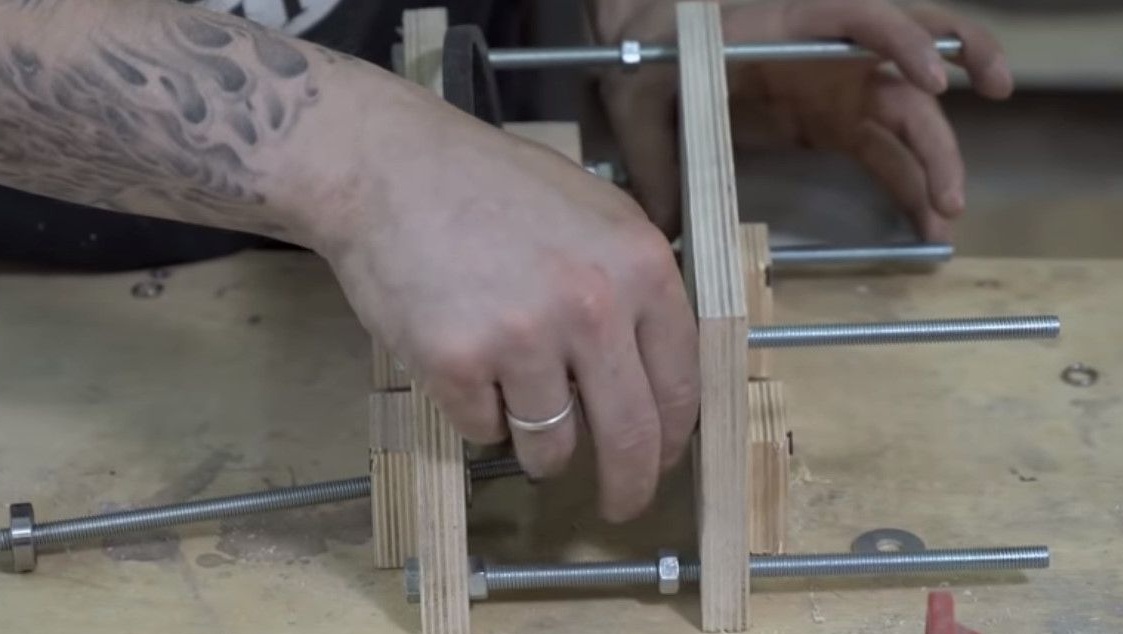
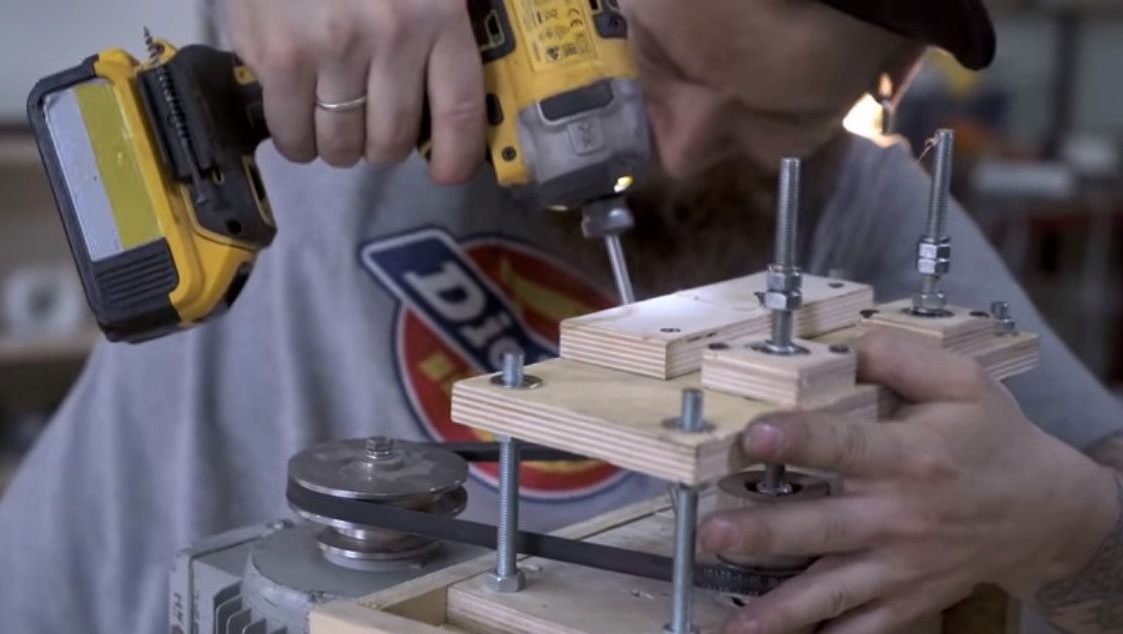
The gear housing will be made of plywood. From the drawing with the axis diagram, we transfer the marking to the workpiece, punching the sheet with a sharp object.

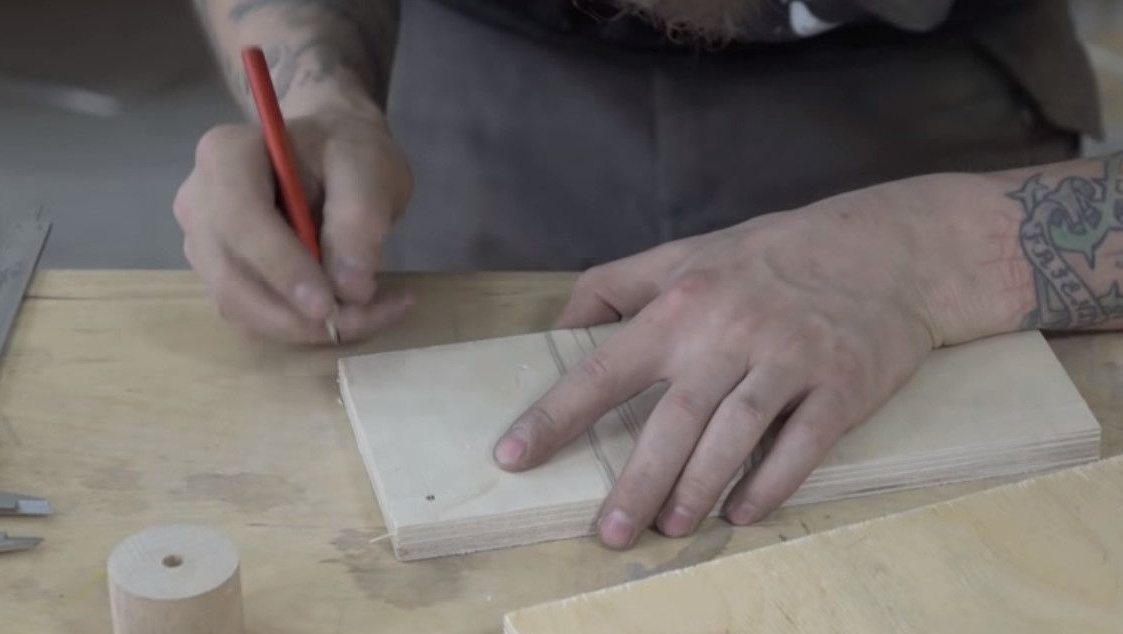
After marking all the holes, we can drill them by first twisting the bottom and the cover together. To match the holes.
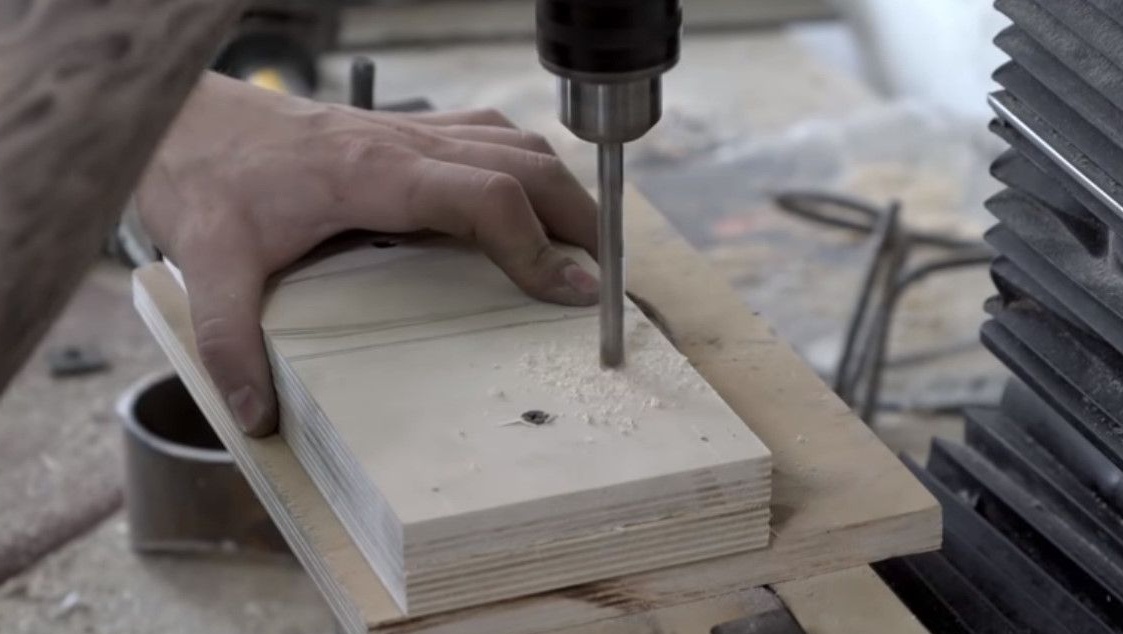
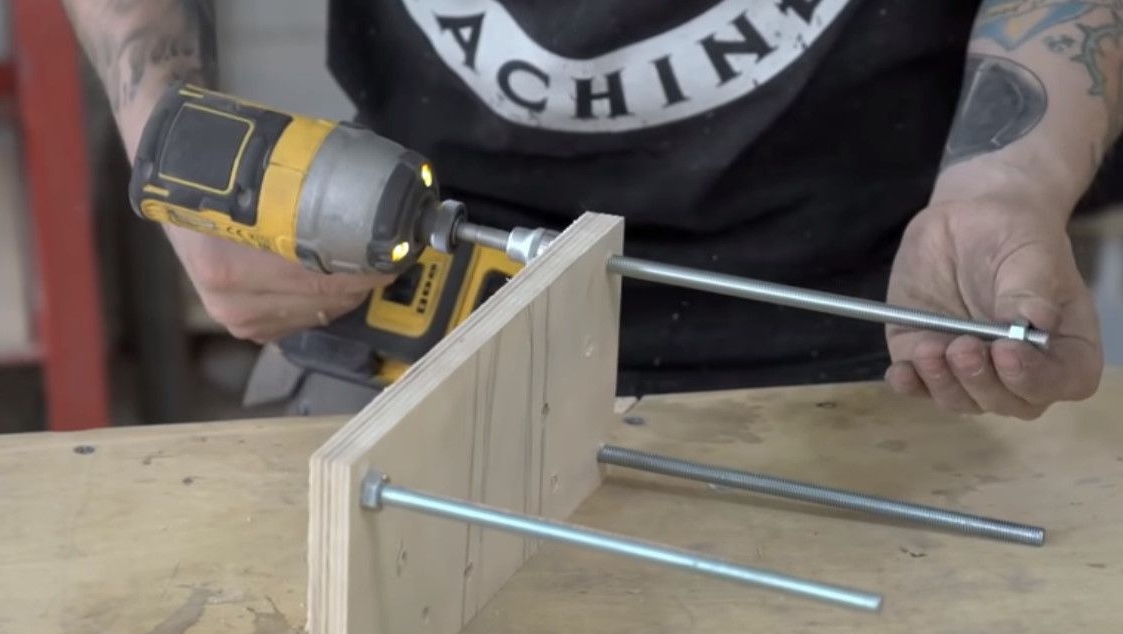
We also drill angular for long studs of the gearbox housing.
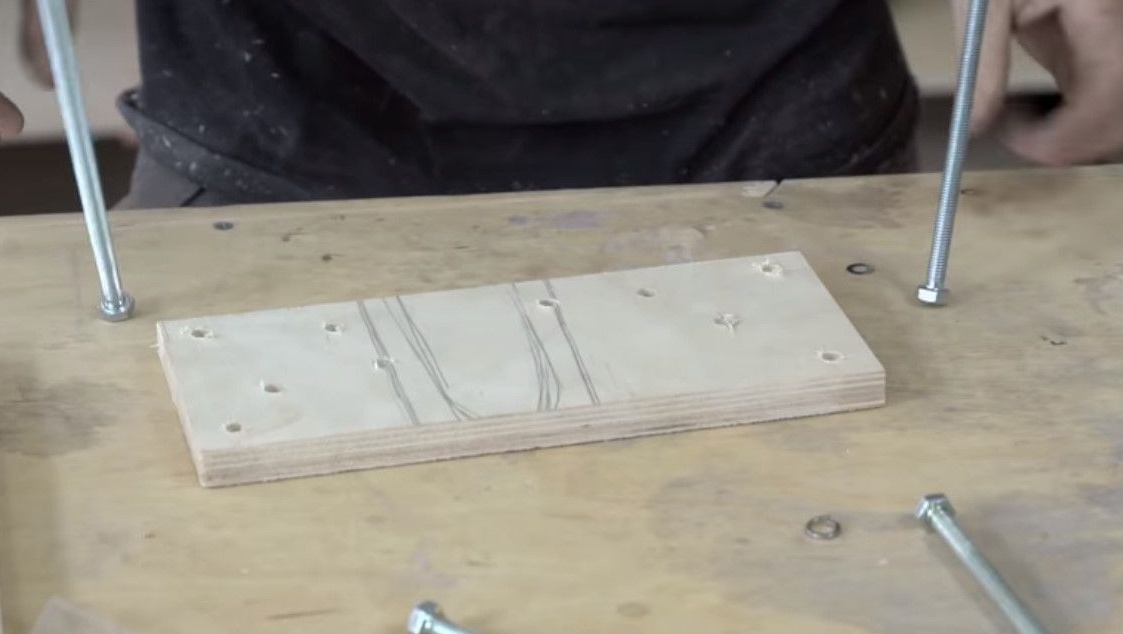
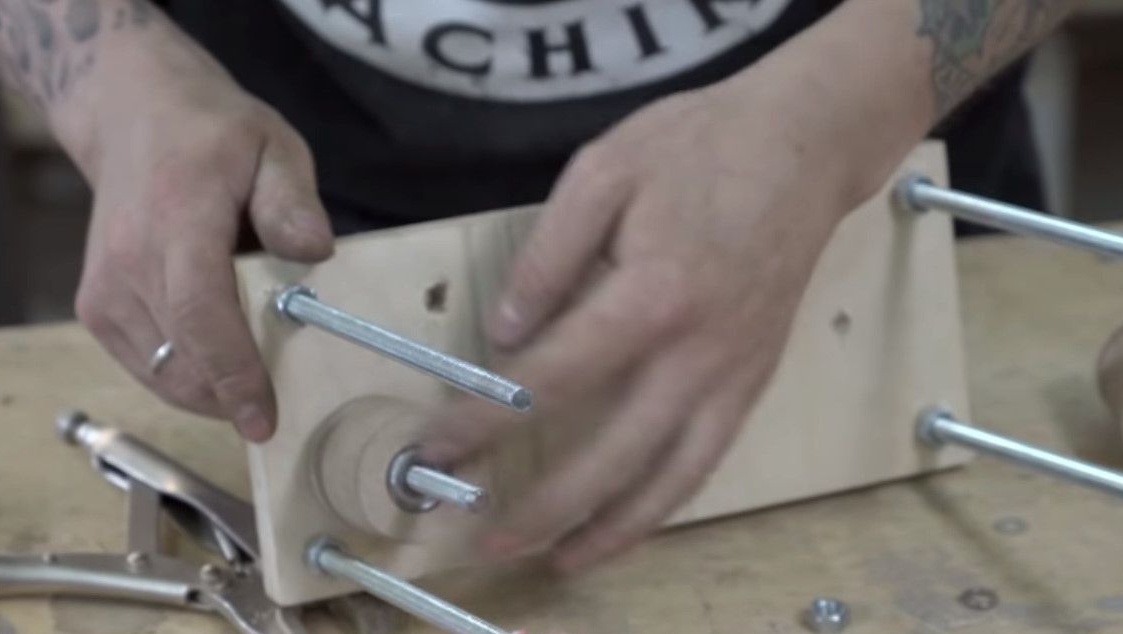
We disassemble the plywood, and we get the finished cover and bottom of the case.
Tighten with nuts and select the desired height.
It is approximately similar to the device we need.
In rollers we drill seats for bearings.
The rotation speed will be rather big, having placed bearings on both sides, you can count on at least some kind of reliability. So that nothing comes off and there is no beating.
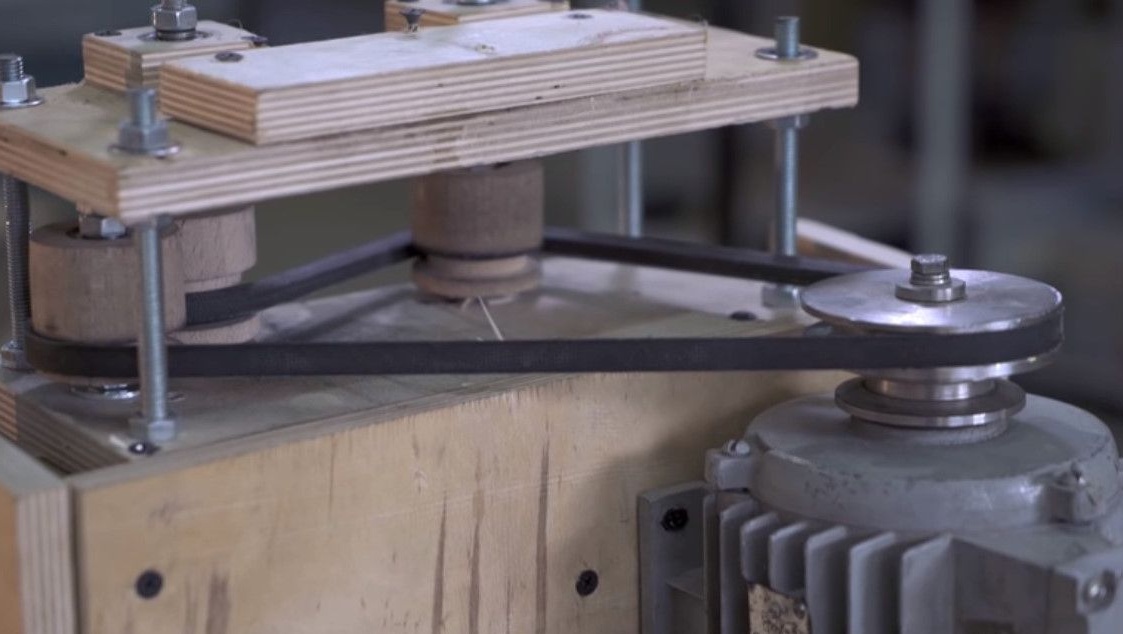
Install the roller in its place, this is a very important roller.
Its function is to press the back side of the belt against the roller to transfer rotation in the opposite direction.
We mark out a piece of plywood to drill bearing seats in it.
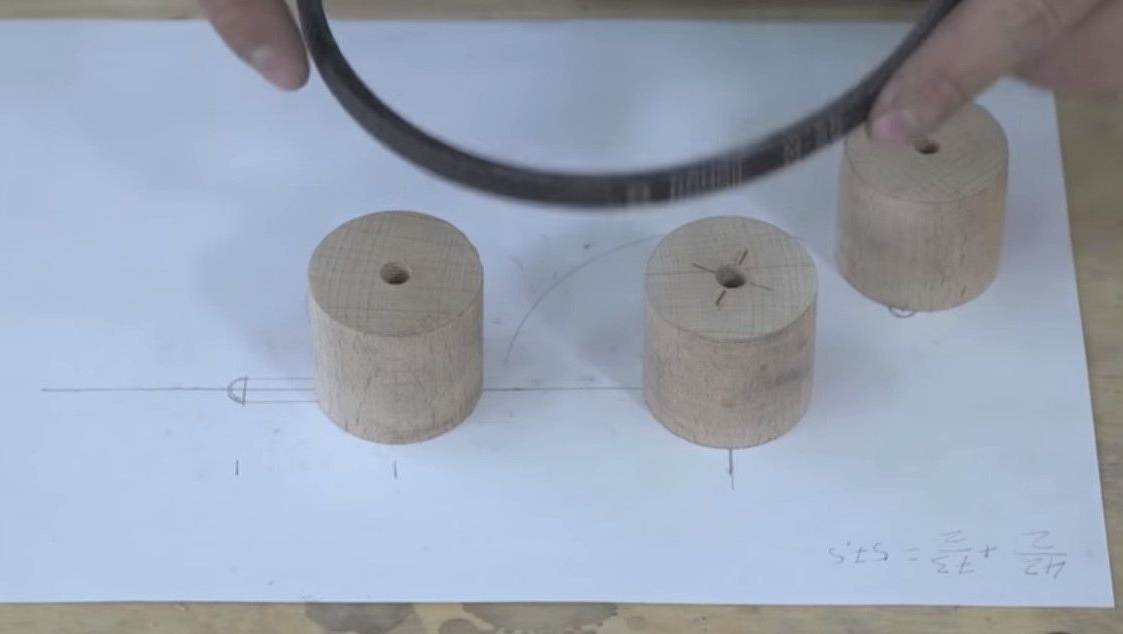
We cut a recess for the V-belt in the rollers.
It looks like a spool of thread, which will play the role of a pulley.
It would seem so simple, at first glance, the idea of how to leave eggs turns into a real design, with a bunch of nuances, mechanical aspects and a rich technological component.
All in an adult, except for that of plywood and pieces of wood.
We establish seats for bearings.
We assemble the gearbox together, install the rollers. Now you can figure out how a suitable length belt will pass.

In order to bring all this to a working condition, Dana had to disassemble and assemble it about twenty times, taking into account all the nuances of the landing, heights and the necessary rover washers, locknuts, and still do not forget to put anything in the right place in the process.
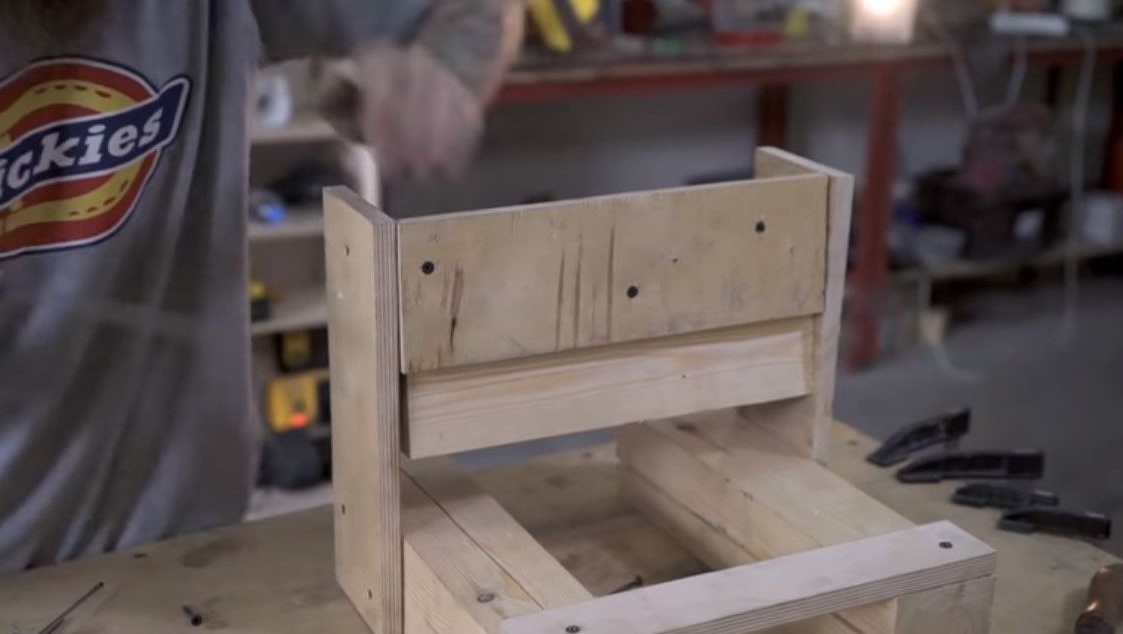
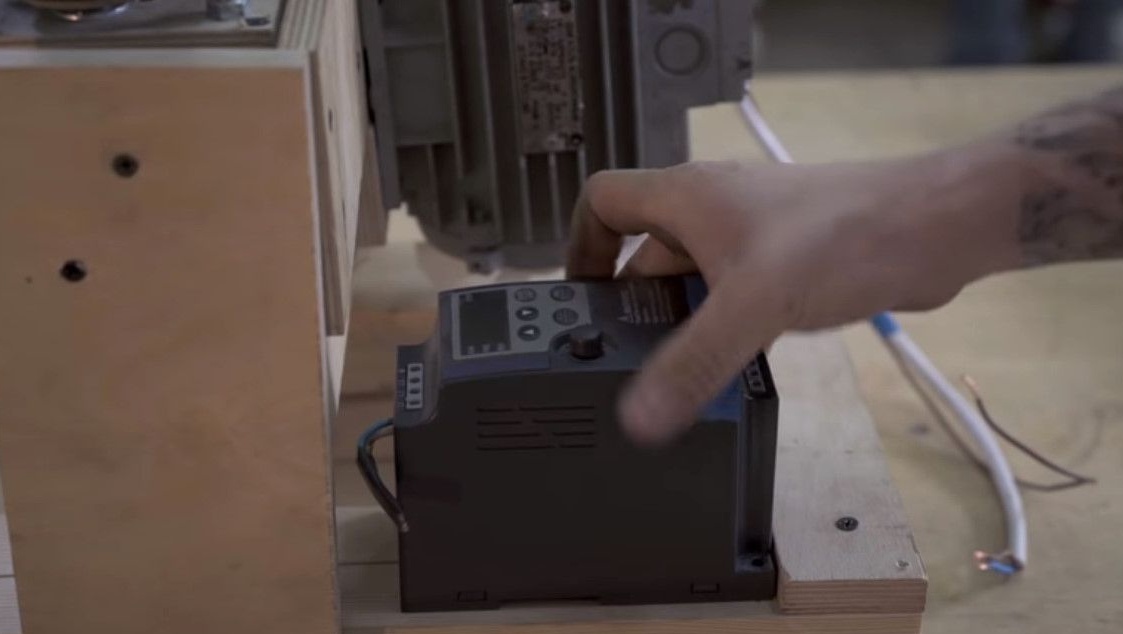
The gearbox is assembled, we proceed to the manufacture of the egg shell, the motor and the frequency converter for smooth start-up will be mounted on it.
We also make it from what was lying under my feet.
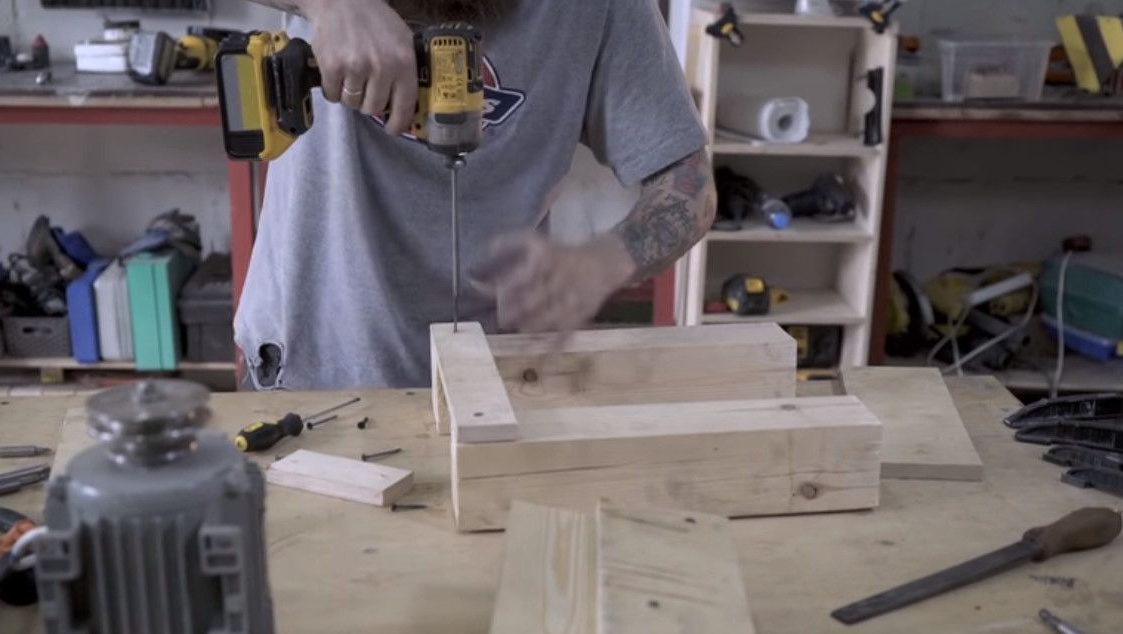
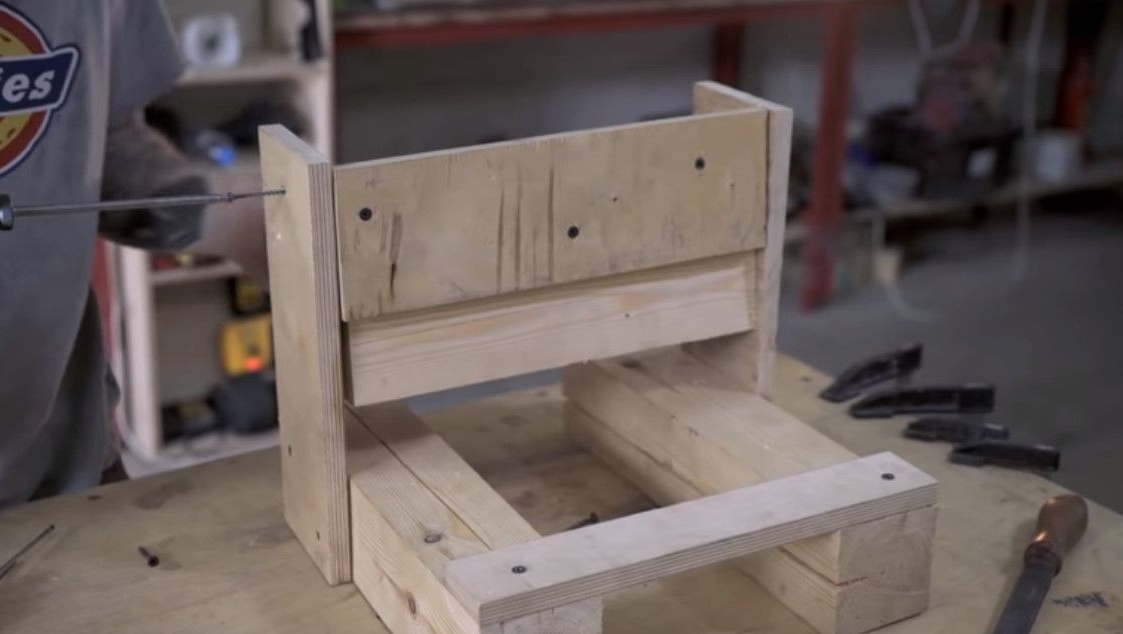
A couple of pine bars, a couple of plywood.
Install the motor in its place.
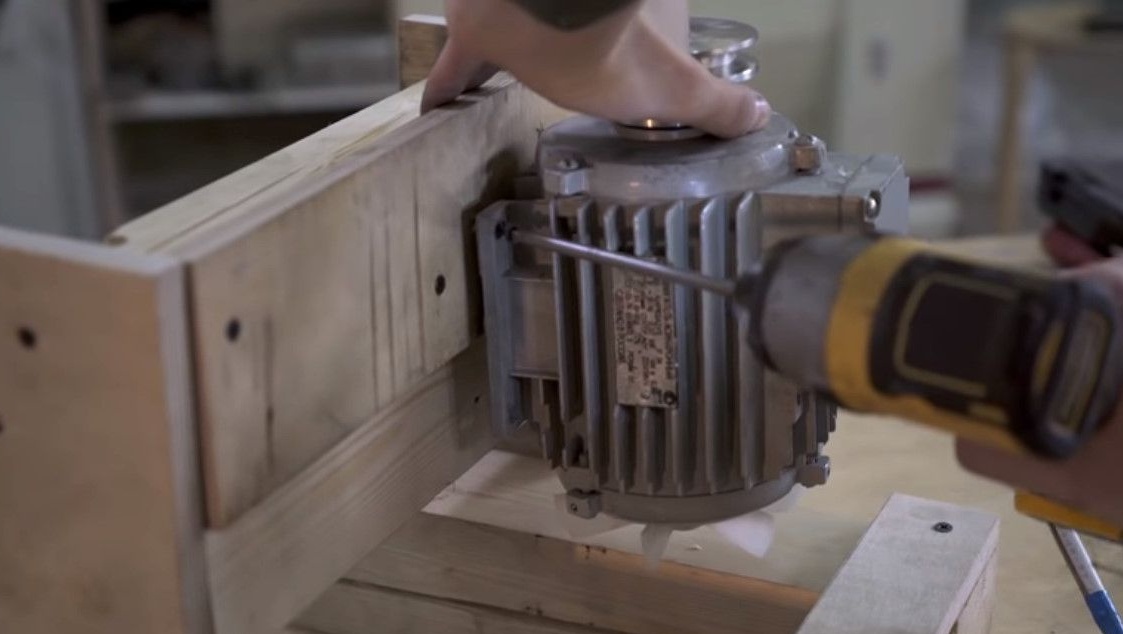
We put a homemade gearbox, we fix all the elements in their place.
You can mount the frequency converter.
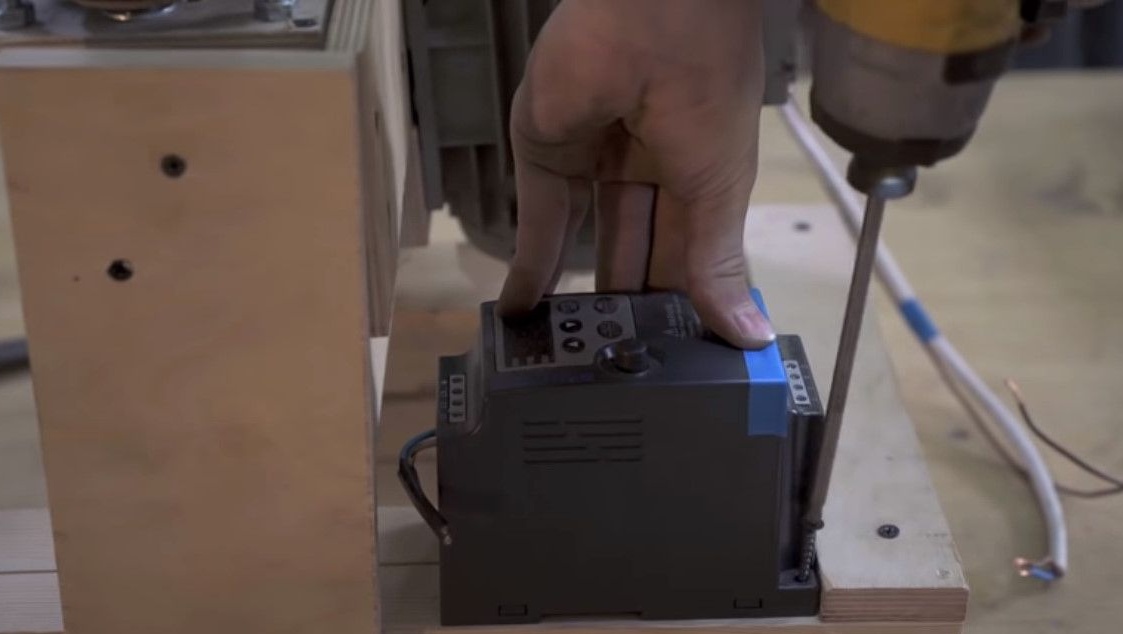
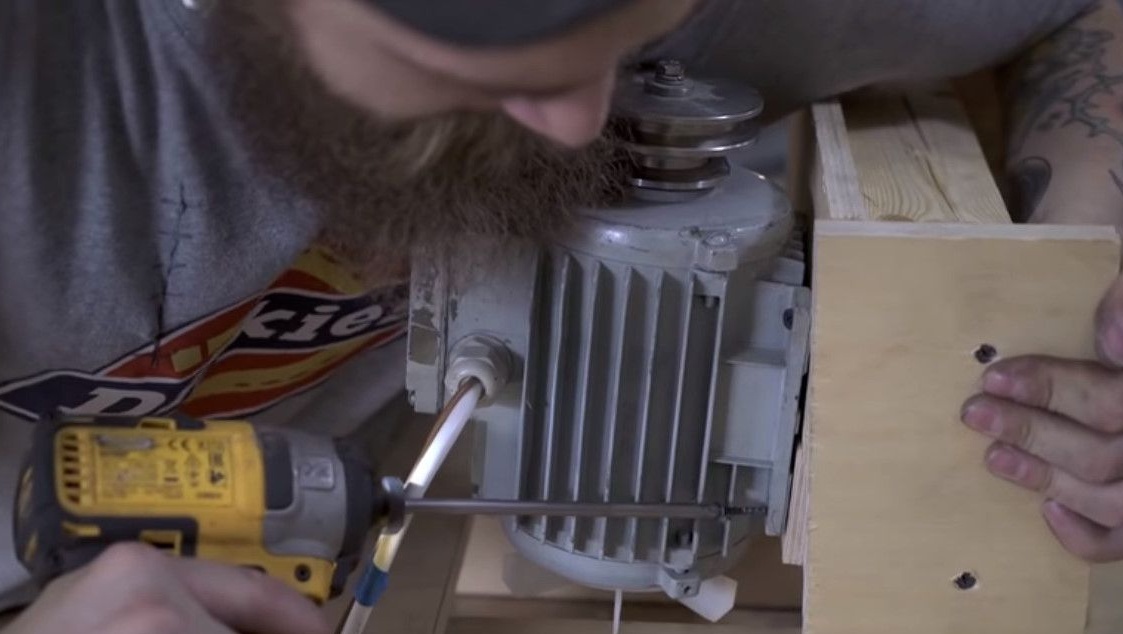
We connect the motor according to the triangle diagram, and on the converter there are marked inputs for three wires.

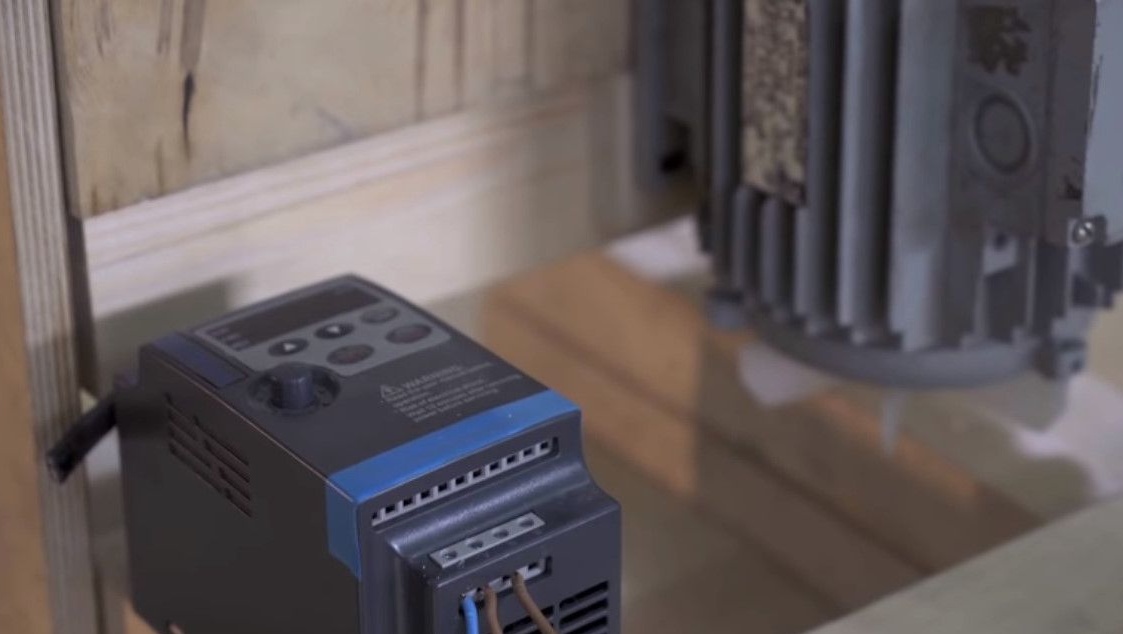
We connect a plug to the converter
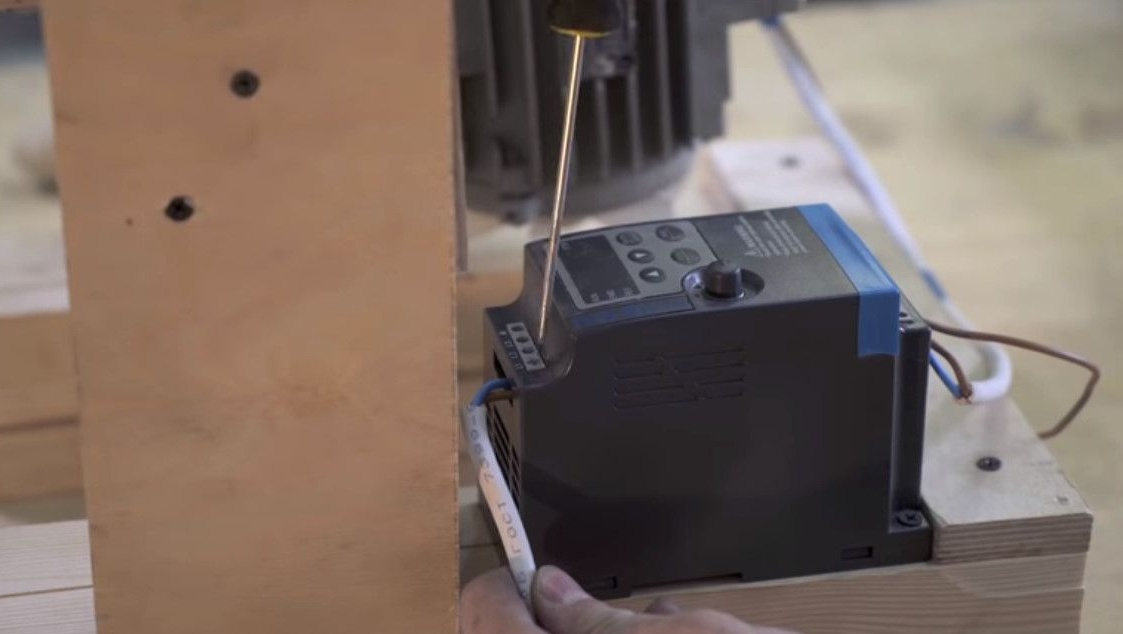
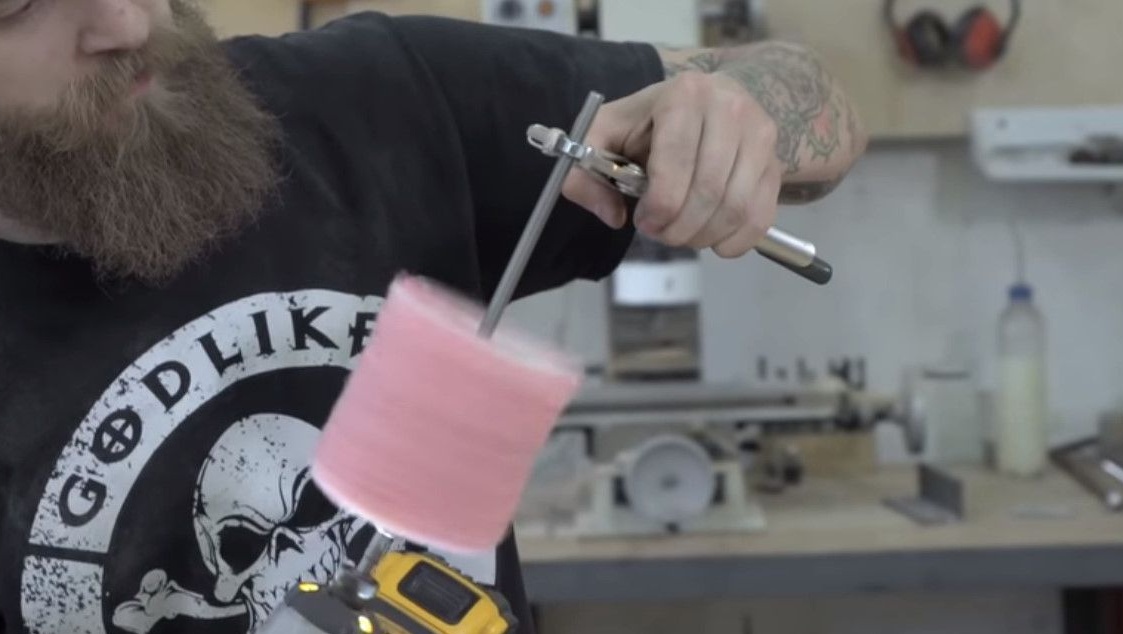
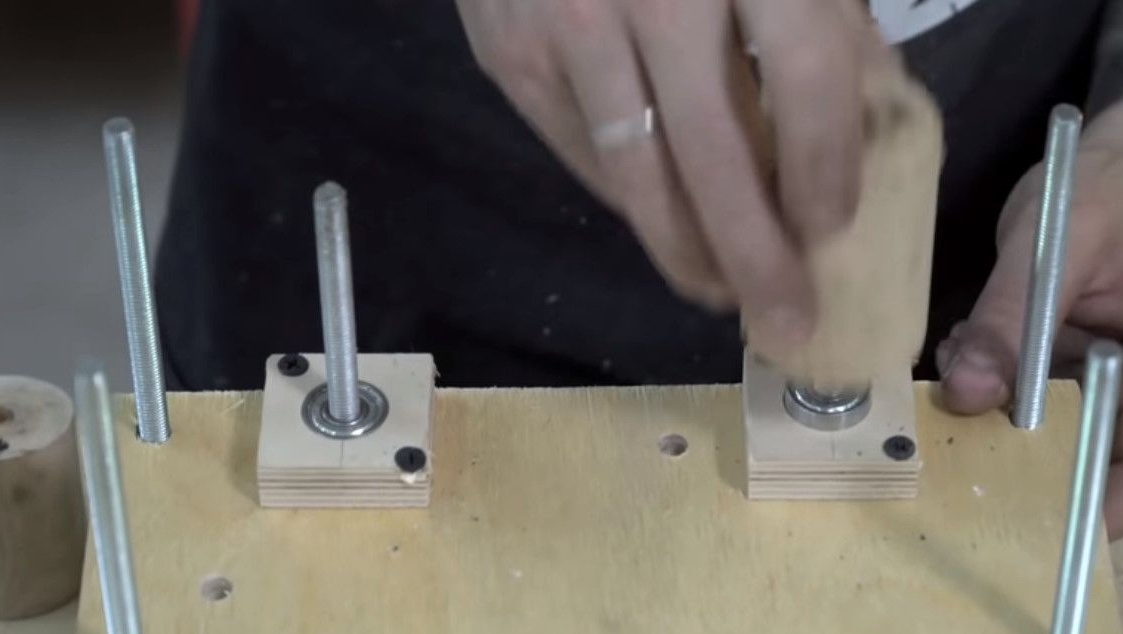
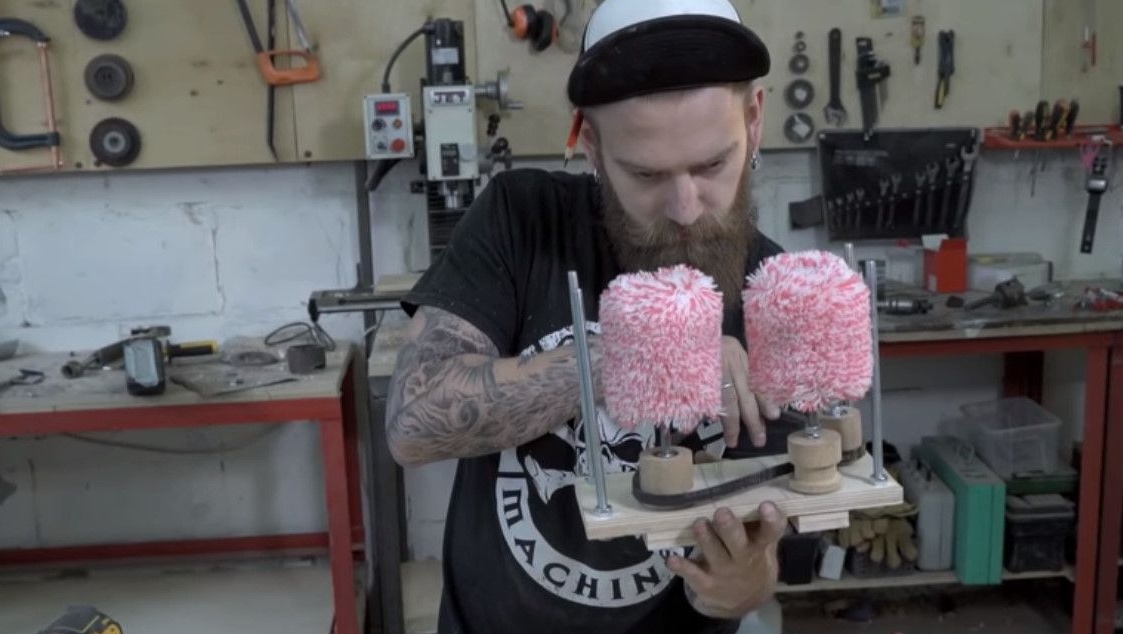
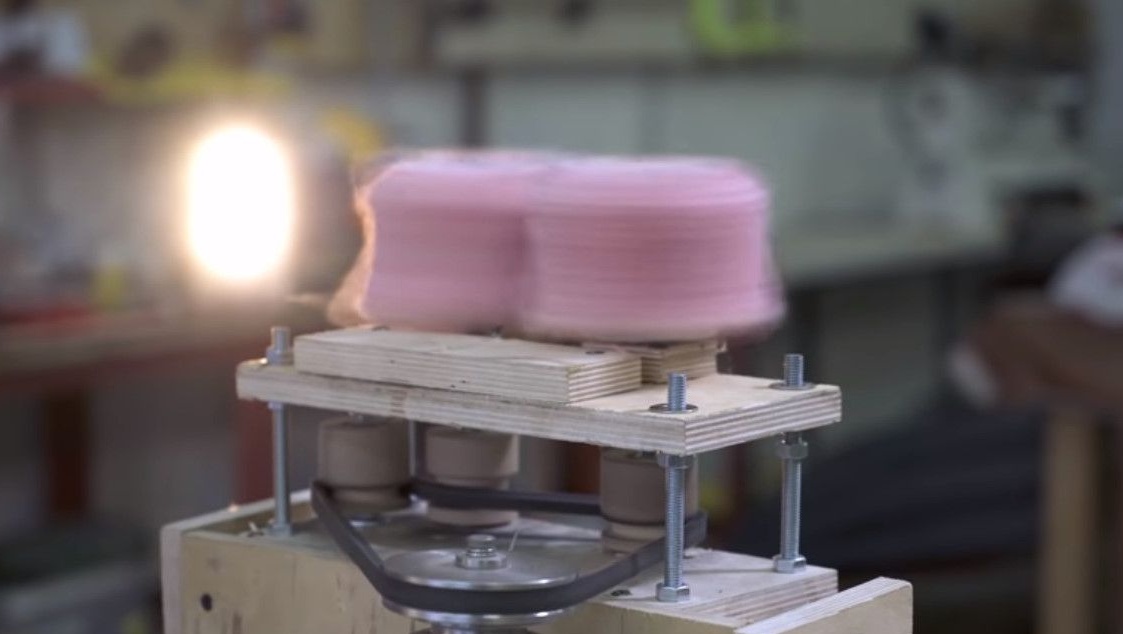
Set the glued rollers in place.
With a frequency converter, you can use life hack, this is starting the motor in the opposite direction.
This nuance provides more opportunities for choosing the location of the engine.
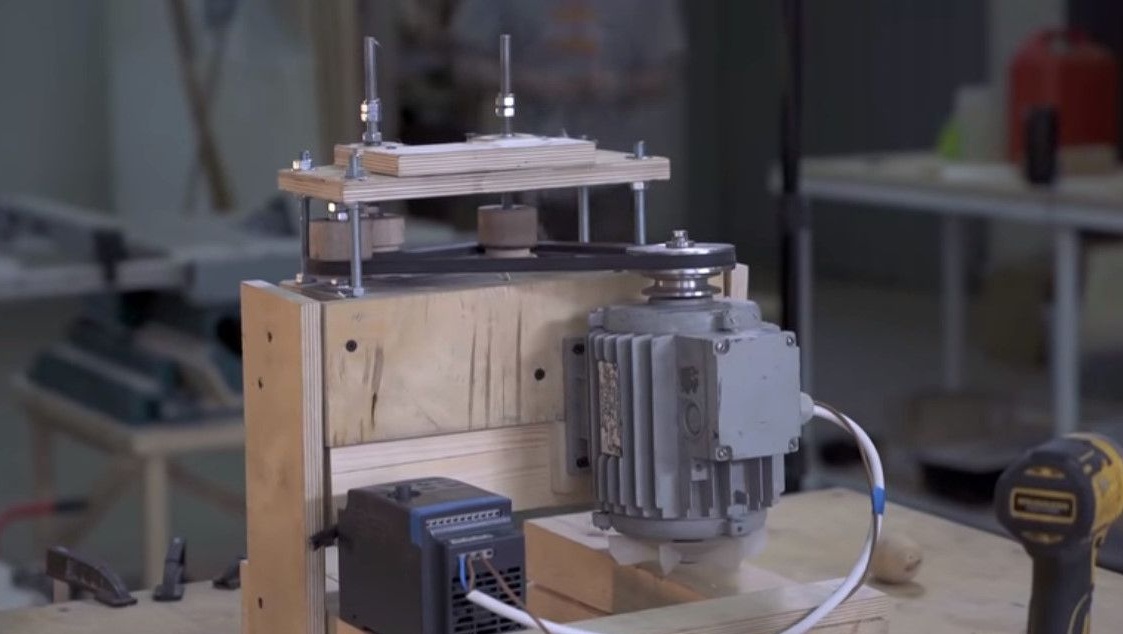
It remains to put gum on the rollers.

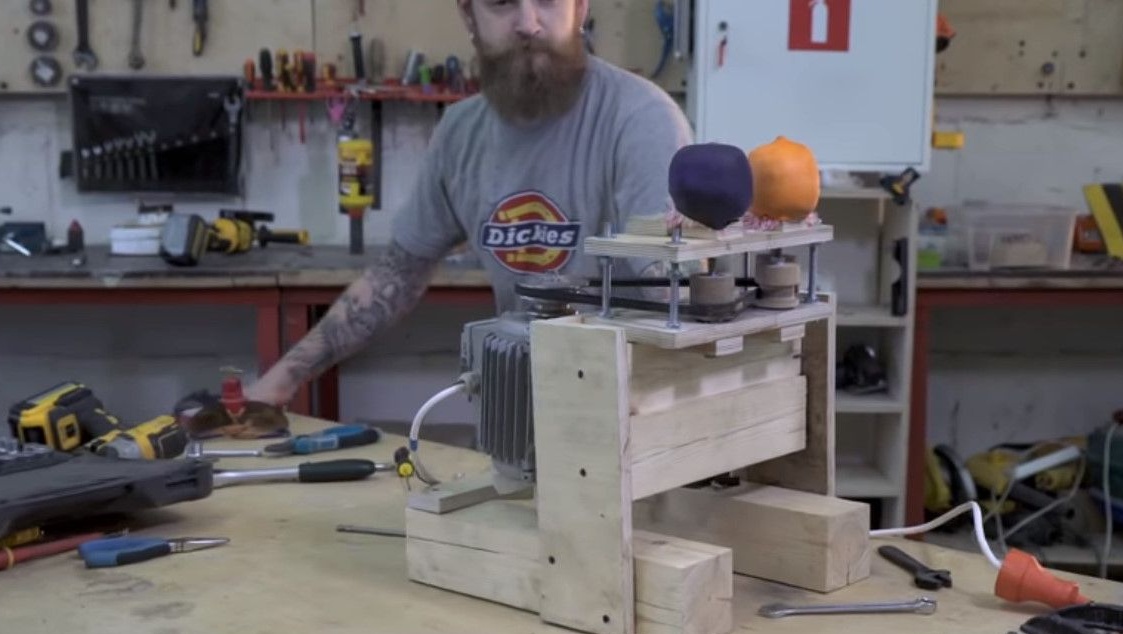
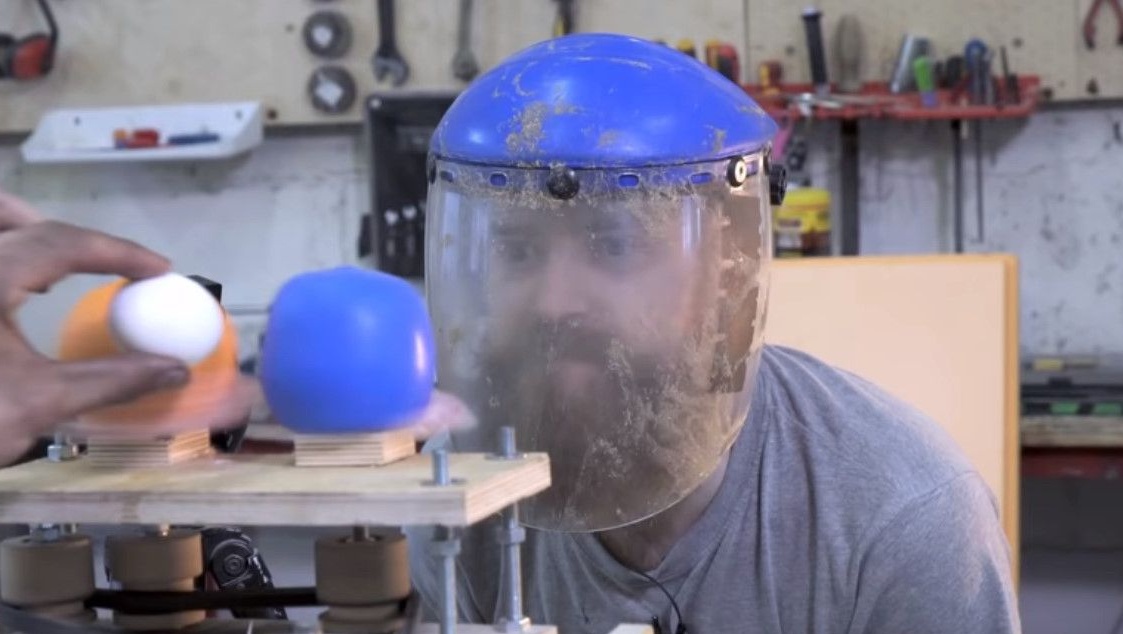
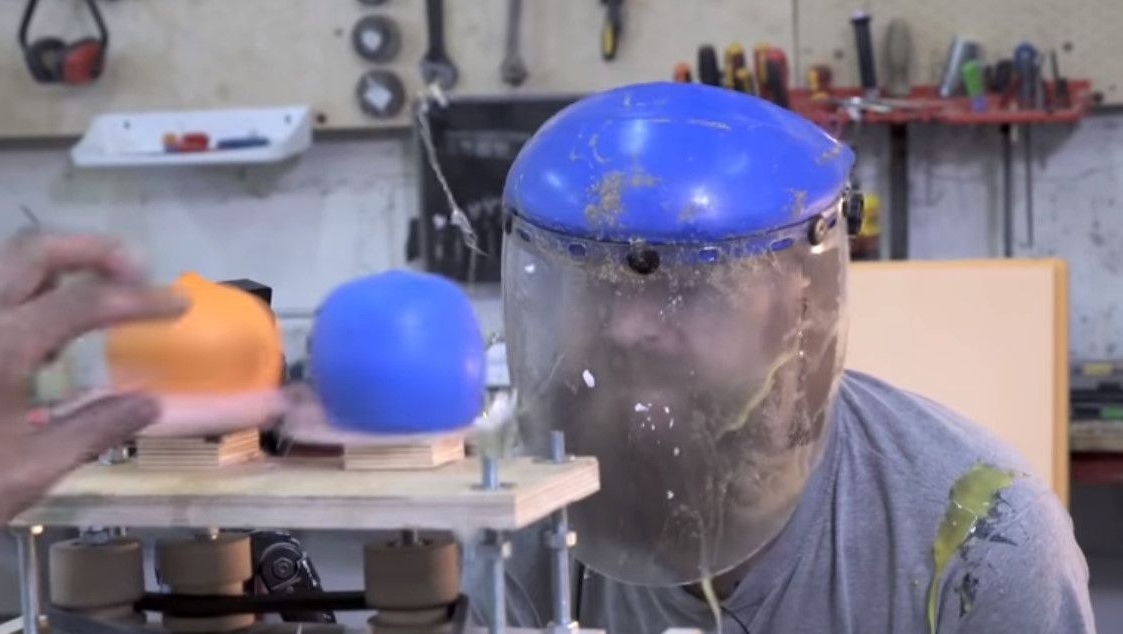
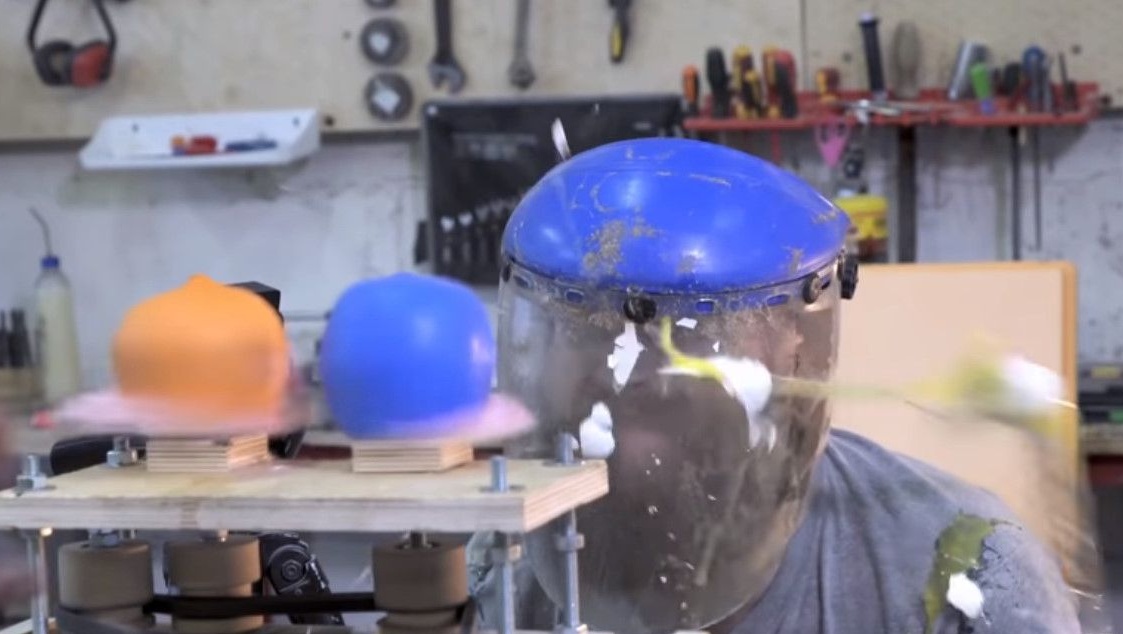
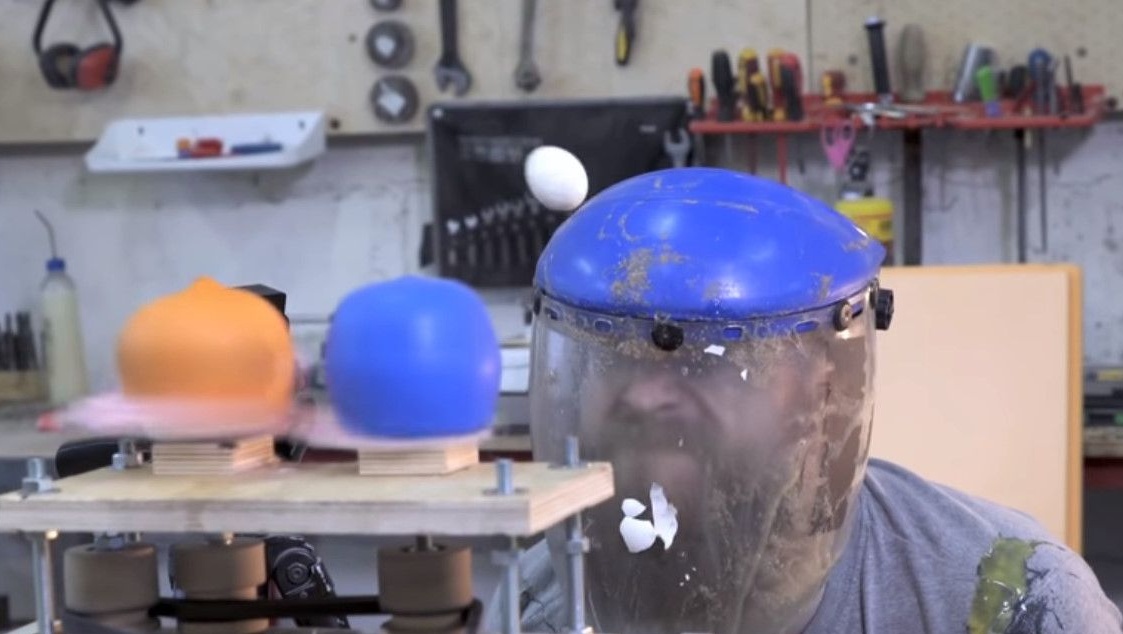
Now let's start the tests!
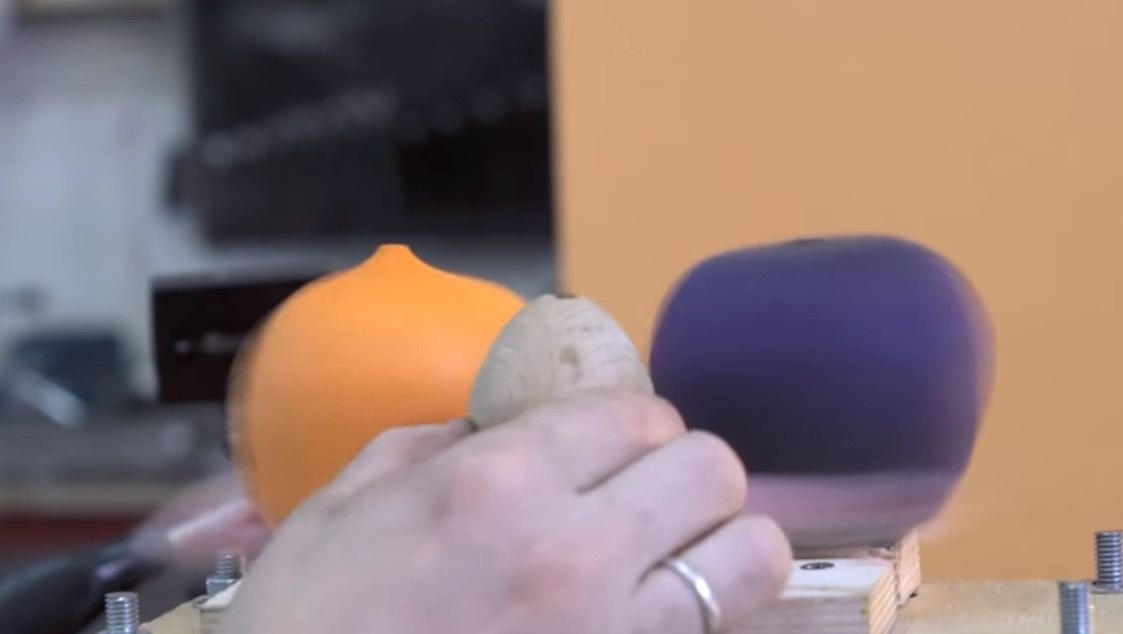
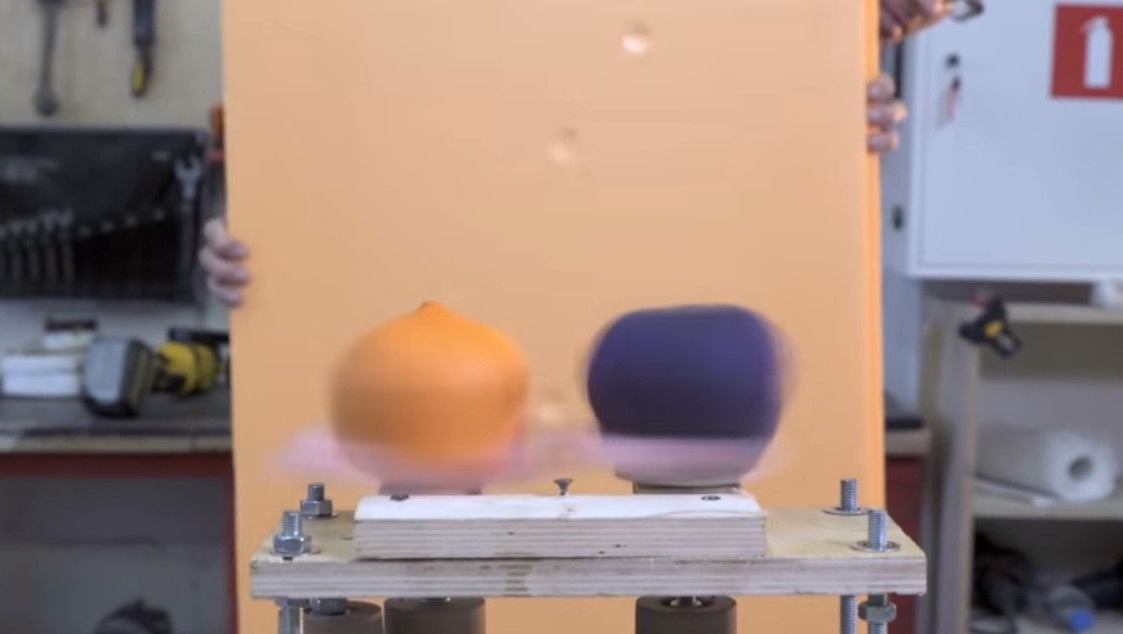
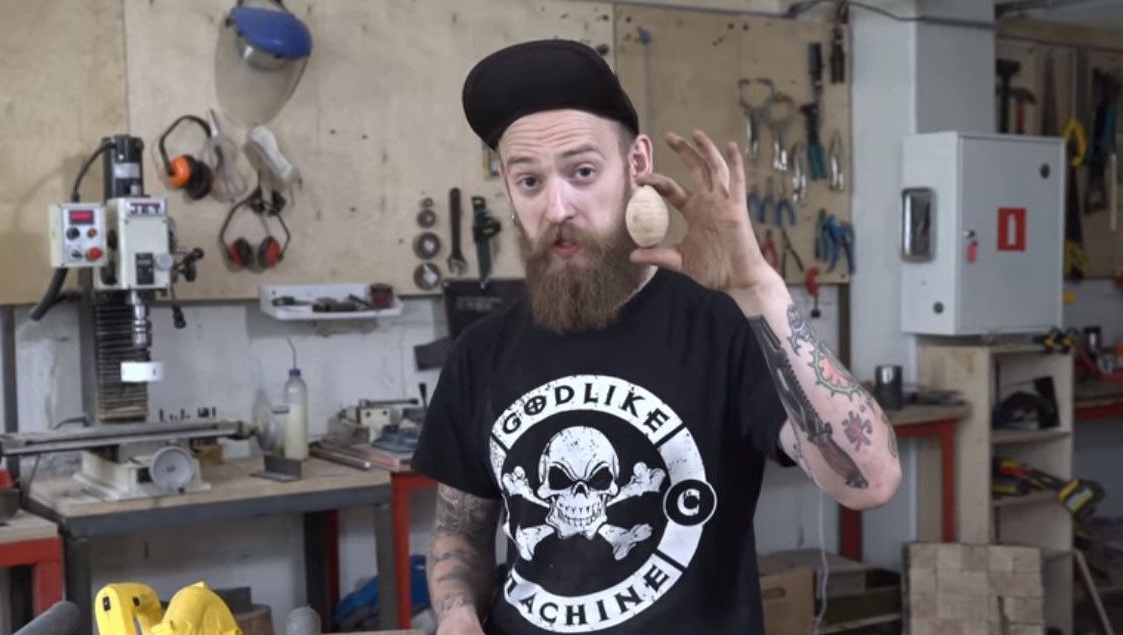
A wooden egg flies perfectly. You can experience the real ones. On a live Craster =).
It remains to add the egg feed chute and the rate of fire will be just a hurricane. Just have time for clips ... pah, serve trays.
This project was completed and personally tested by the author Dania Kraster.
Good luck to everyone, good ideas and easy solutions.