

Hello to all lovers homemade. In this article I will talk about the most useful home-made summer season, without which almost no event can do. It will be about making a homemade grill from a gas cylinder. The cost of this assembly will be minimal, and many probably have an unnecessary gas cylinder.
Before reading the article, I suggest watching a video, which shows in detail the entire process of assembling this brazier.
To make a barbecue out of a gas cylinder do it yourself, you will need:
* Gas bottle
* Angle grinder
* Cutting disc for angle grinder
* Safety glasses, gloves
* Welding machine, electrodes
* Welding mask, gaiters
* Electric drill, drill for metal with a diameter of 6 and 12 mm
* Pipe bender
* Roulette, pencil
* Metal corner with a shelf width of 40 mm
* Metal rod with a diameter of 14 mm
* Profile pipe dimensions 20 * 20 mm
* Thick-walled pipe with an outer diameter of 22 mm
* Manual vise
* A pair of spray cans of black thermal paint
* Semi-automatic core
* Metal tire
* Bed from an old sewing machine
* A piece of reinforcement with a diameter of 10 mm
* Shank from a shovel
* Scrap metal circle on angle grinder
* Metal Lathe
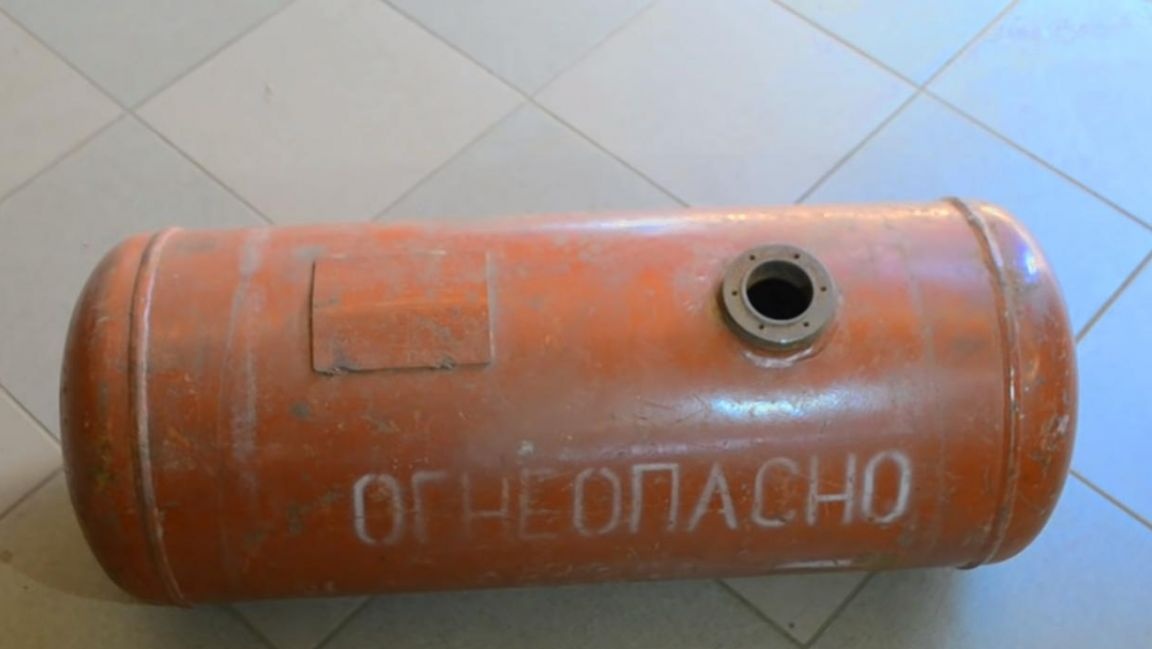
Step one.
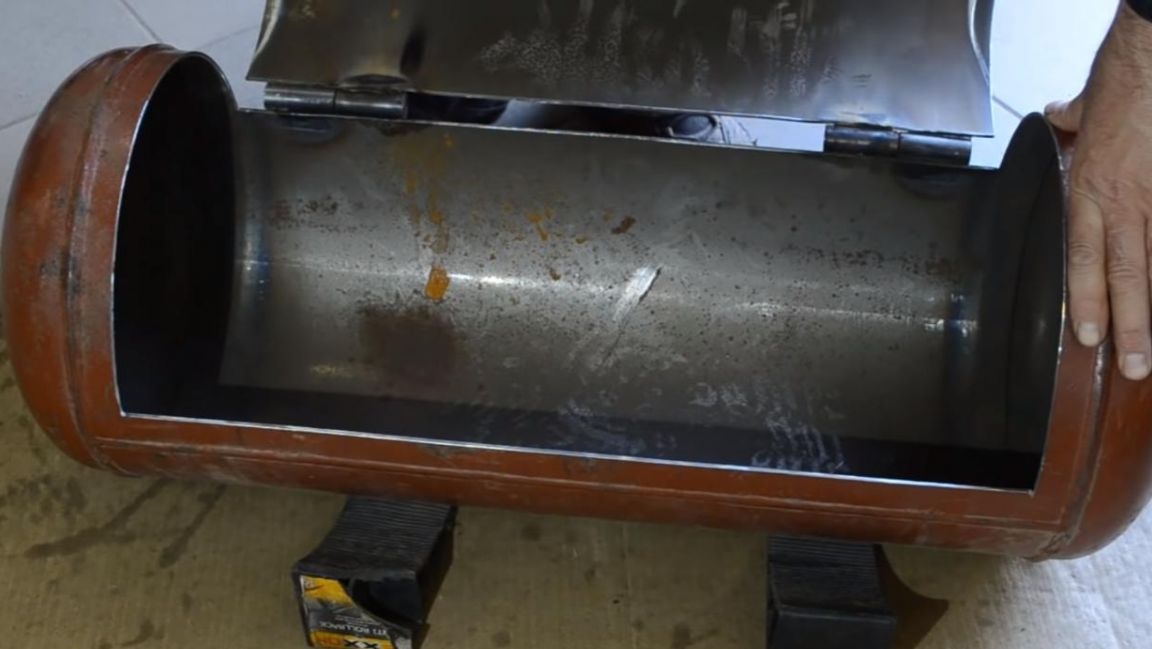
The first step is to start with a gas bottle. In this case, the gas cylinder is taken from the car and does not have a lower skirt and valve, unlike the stationary one, and due to a sufficiently wide filler neck, it is safer to disassemble it.
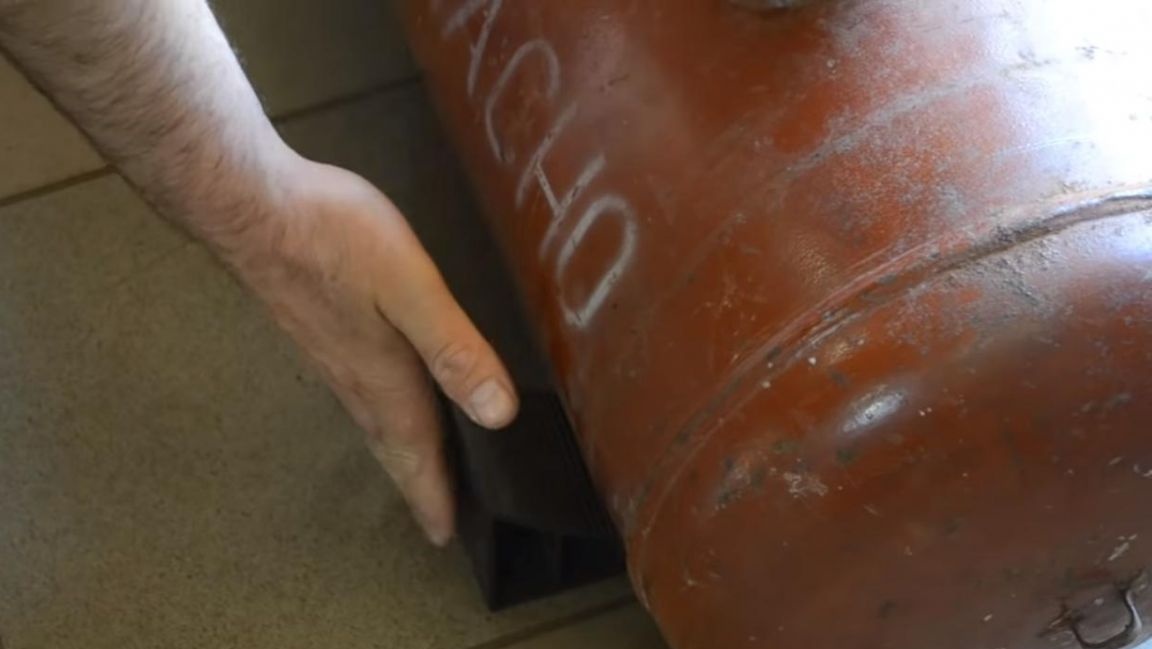
In order to prevent the cylinder from rolling around on the floor, we install car kickbacks under it.
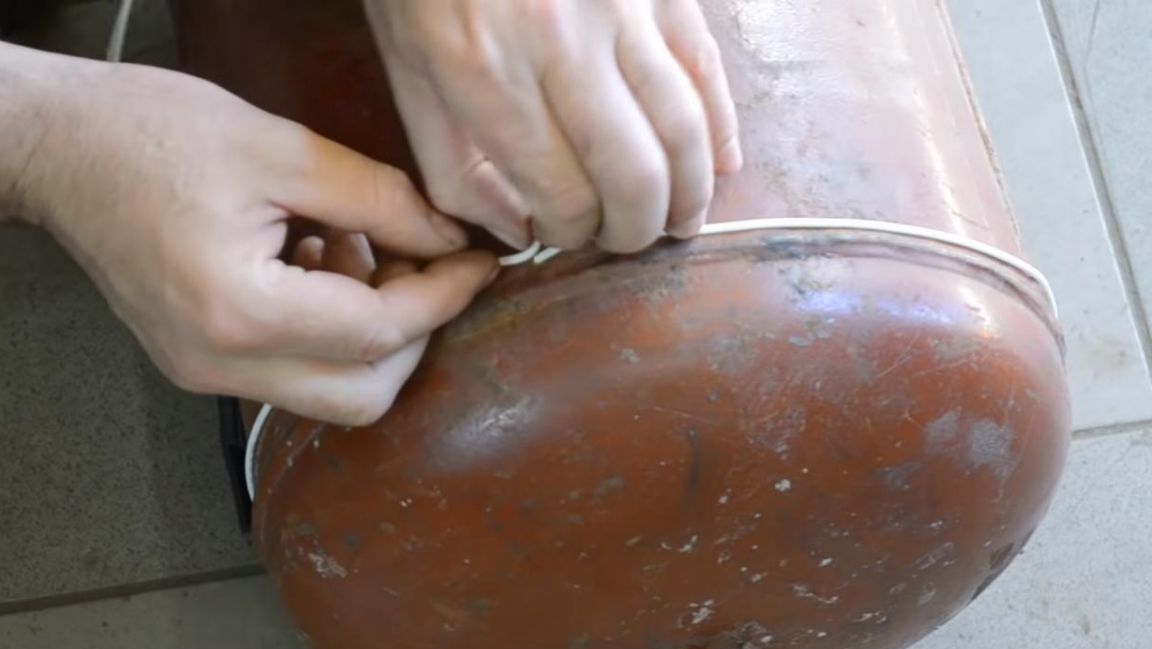
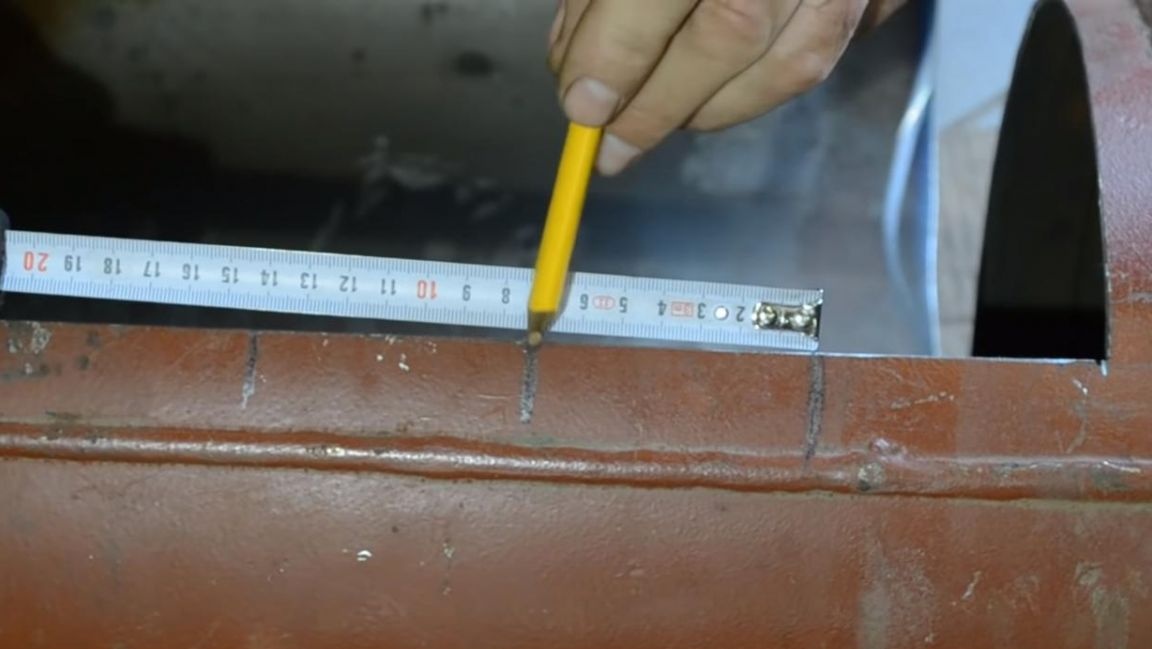
Then, using the lace, we measure the circumference of the balloon, applying it to the tape measure, after which we divide the resulting number by two and subtract about 50 mm, the resulting value will be the size of our door.
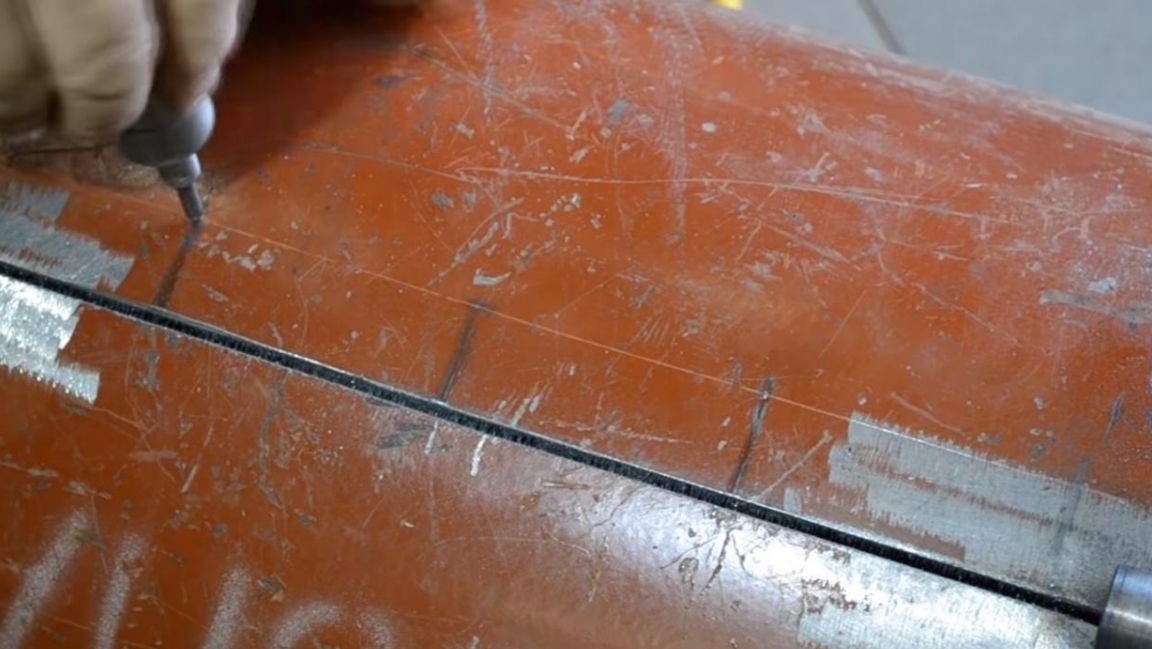
Next, using a masking tape, glue the balloon around the contour and get such a markup that is visible in any light.
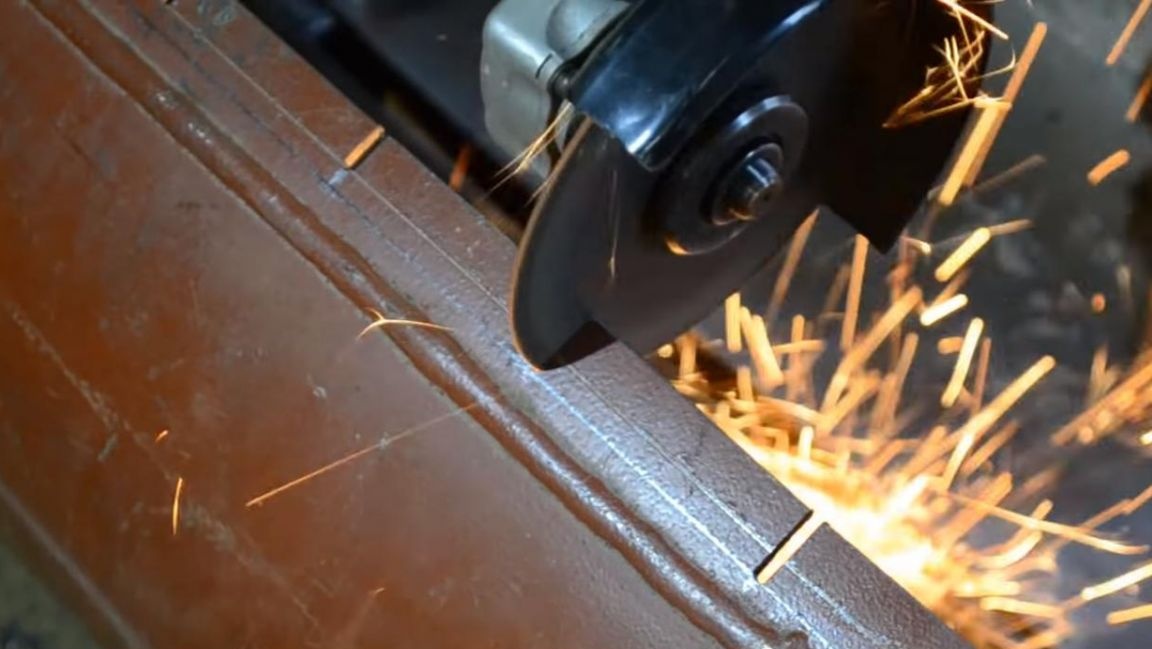
We pick up an angle grinder with a cutting disc and make cuts according to the marking, we don’t completely cut the door, we leave just a couple of millimeters in the corners to make it easier to weld the hinges. When working with the angle grinder, be careful and also use personal protective equipment, such as gloves and safety glasses.
Step Two
Now we will make the hinges on which the door will be held.If you don’t have a metal lathe, you can just buy the hinges in a hardware store, they are inexpensive. In this case, there is a lathe, so we will make the loops ourselves. First, we grind the outer diameter of a thick-walled pipe, initially its diameter is 22 mm, then we fit a bar with a diameter of 14 mm under the hole in the pipe.
The pipe should rotate without jamming on the bar, but without large backlash. So from two pieces of pipe and bar one powerful loop is obtained, a pair of such is needed for the door, therefore, we similarly manufacture the second.
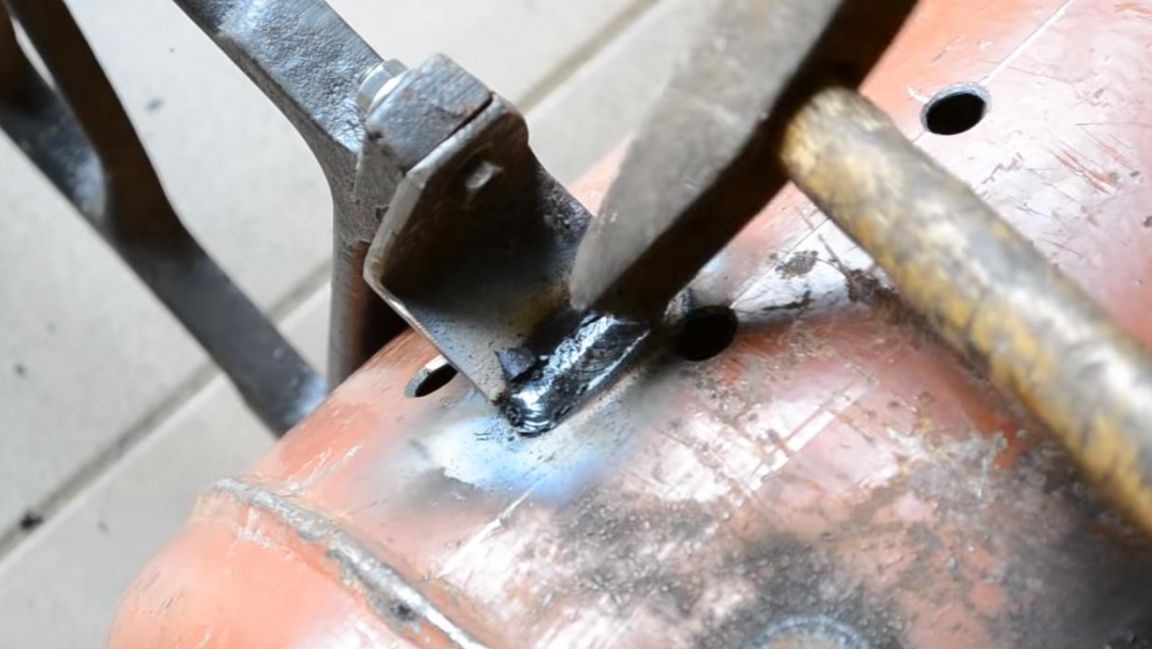
With the help of a stripping metal circle and an angle grinder, we clean the places where the loops will be attached. After that, we put two thin plates under the loop to ensure the desired clearance and begin to weld the hinges to the door and the cylinder with a welding machine. First we do the tack, and then, making sure that the loops are aligned, we finally boil them. When working with the welding machine, observe safety measures, use gaiters and a welding mask.
We remove the slag from the weld with a hammer and clean it with a wire brush.
After the hinges are welded, cut off the previously left 2 mm and the door is ready for this.
The door opens well, there are no skews or jamming.
Step Three
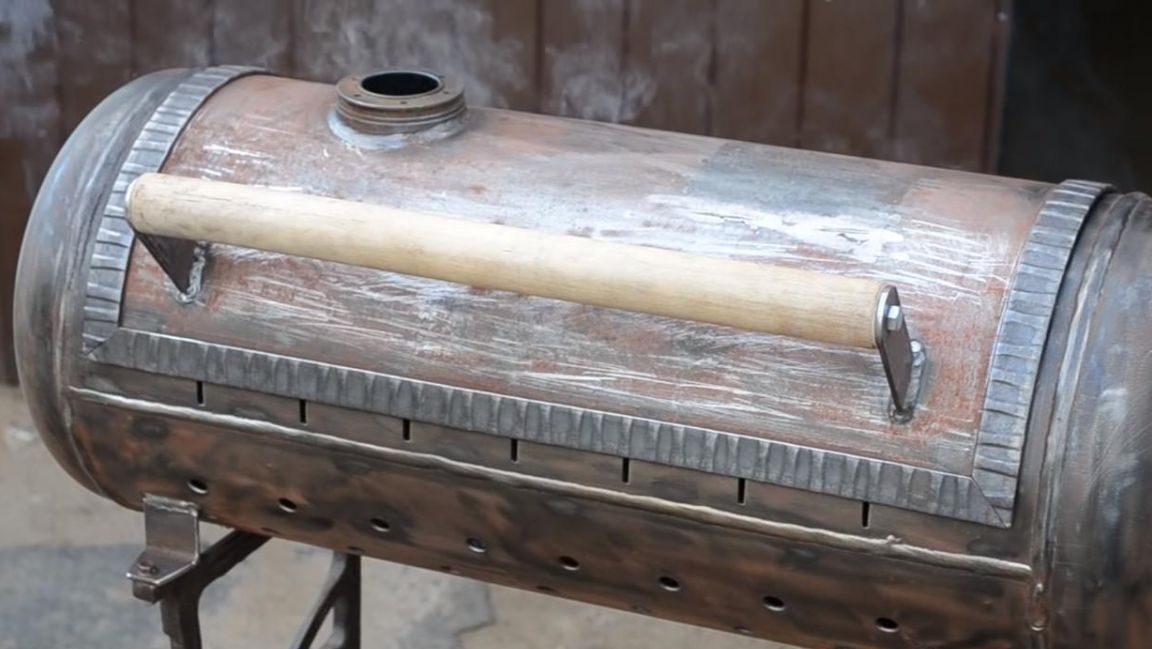
To install the skewer in the grill, it is necessary to make special holes and cuts. With the door open, we mark the cylinder, the distance between each slot is 70 mm, we make them using an angle grinder. We try to make the width of the slots the same order of 4 mm.
In the process of making slots, their depth was increased by another 5 mm, since there will be a metal tire overlapping which overlaps part of the slot.
On the back of the balloon we make markings for the installation of the ends of the skewer, the distance between them is also 70 mm, while the indent from the edge should be 25 mm.
Next, with the help of a semi-automatic core, we make grooves in the marks and drill holes for an electric drill with a metal drill of 6 mm and then 12 mm. In the process of drilling, we add technical oil to the cutting edge, so the cutting tool will last longer and will not jam. When working with an electric drill, be careful to wear safety glasses and gloves.
Step Four
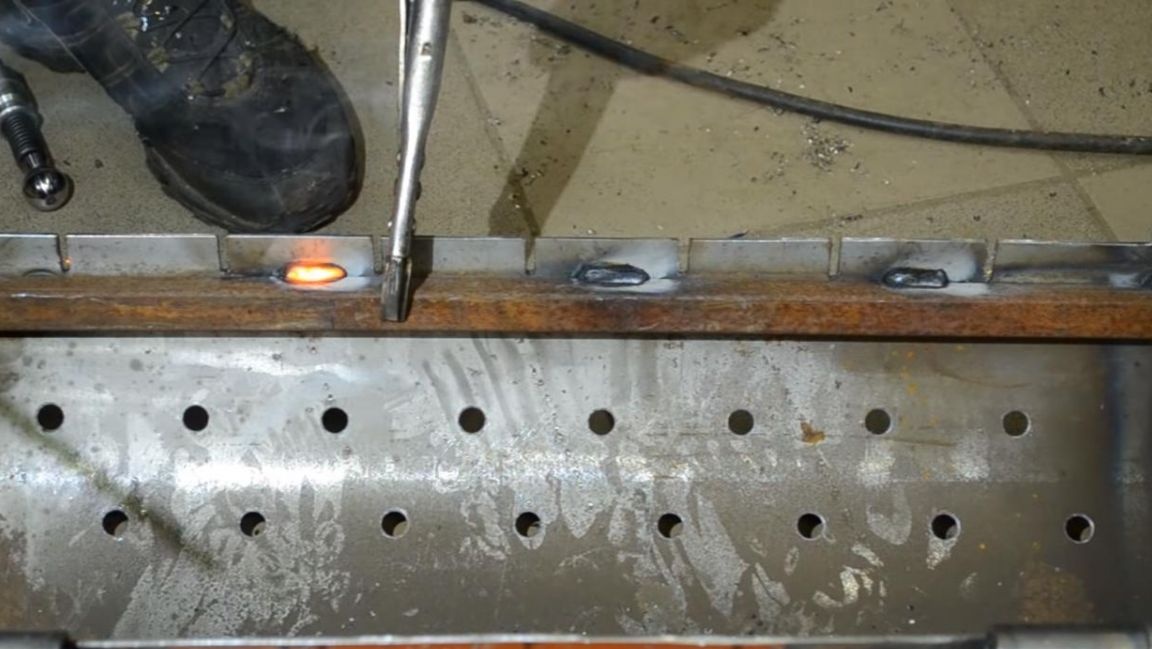
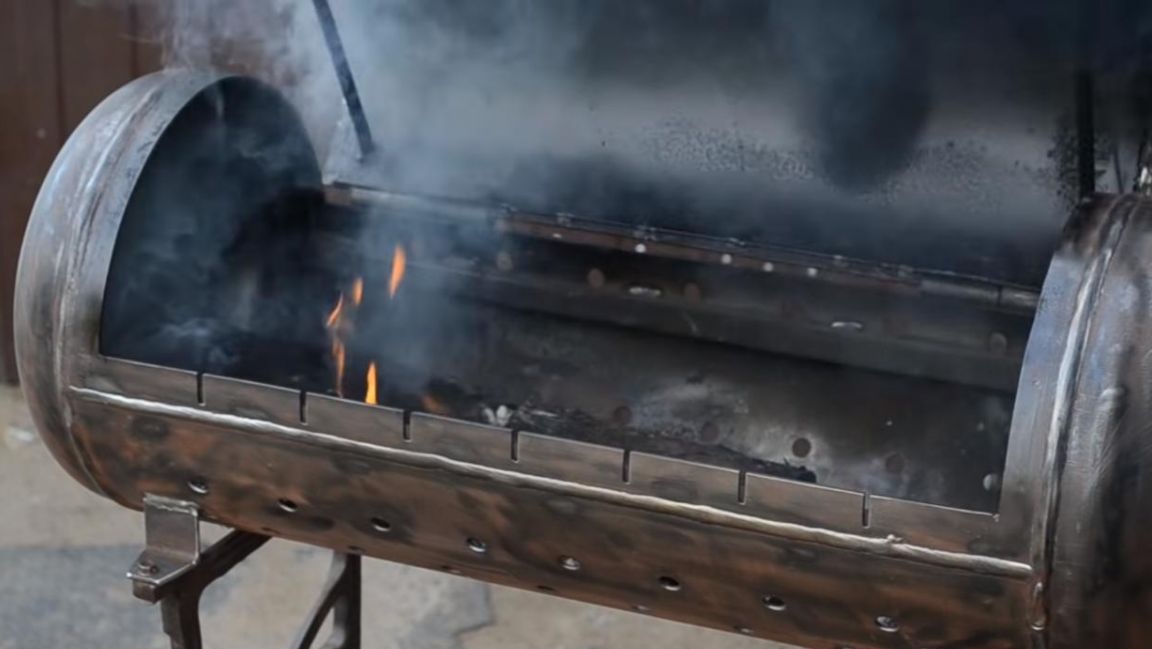
From the bottom of the cylinder we measure 100 mm upwards and make markings for the blowing holes.
Next, we also punch and drill holes with a diameter of 12 mm. As a result, we get 17 holes on each side, the height between the rows is 50 mm, and the distance between the holes of one row is 65 mm.
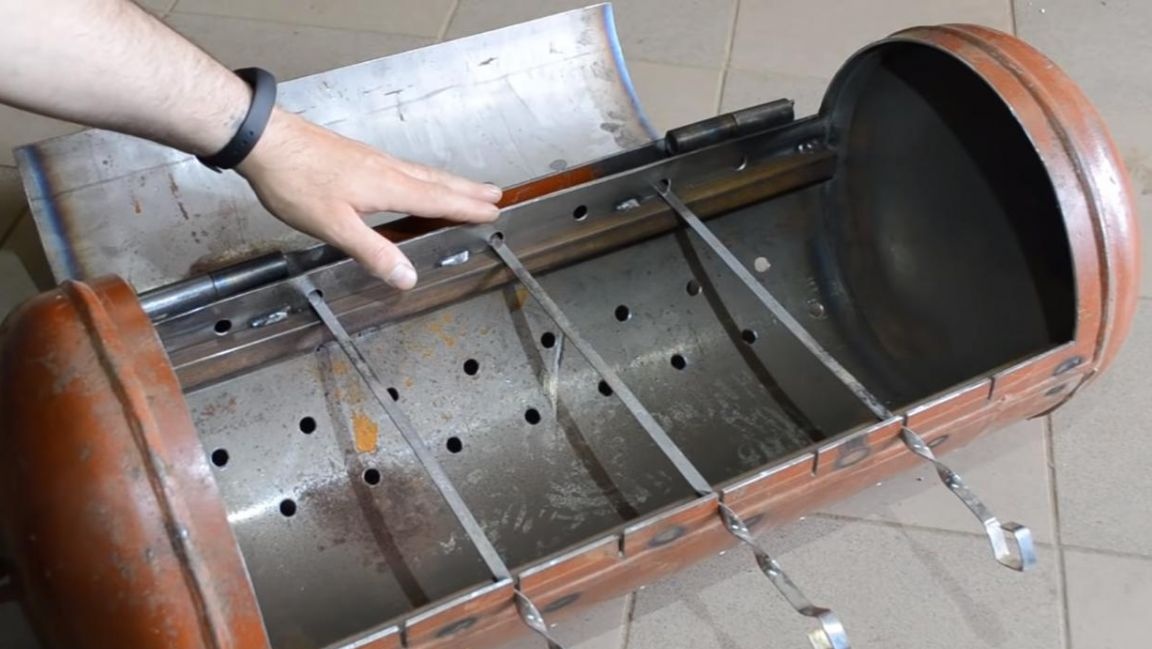
Since the grill will sometimes be used as a barbecue, it is necessary to make emphasis for the grid. We take a metal profile pipe with dimensions of 20 * 20 mm and press it against the wall of the grill with a manual vice in the place where the slots end.
Next, we weld the pipe with a welding machine, and then similarly weld the second on the other side.
The brazier is almost ready, it remains to make a shredder, a handle, but first we install the cylinder on the base.
Step Five
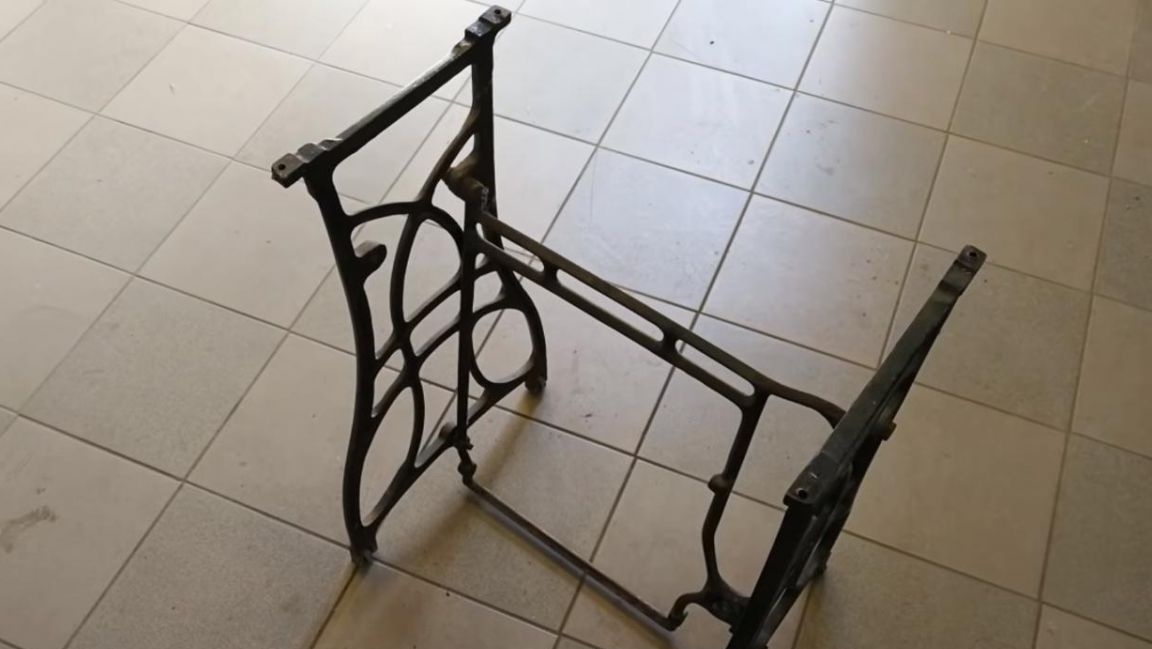
The basis for the brazier will serve as a bed from an old sewing machine, which, I think, many have.
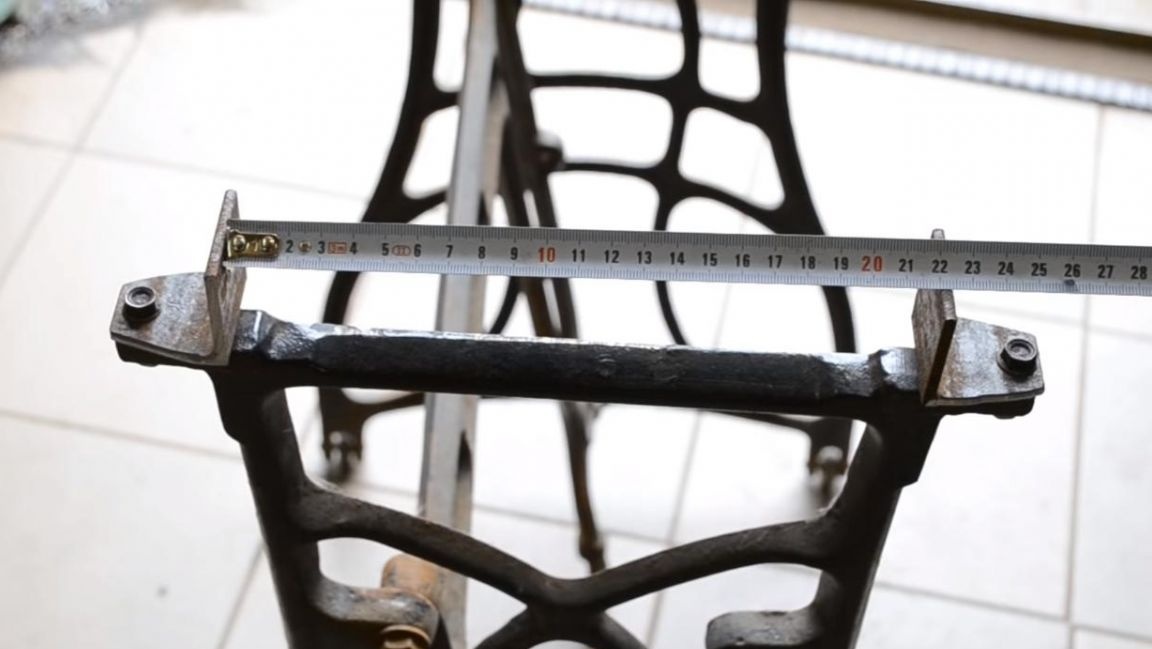
From a metal corner with a shelf width of 40 mm, saw off four segments of 40 mm using an angle grinder with a cutting disc. These corners will be the mount for the cylinder to the base.
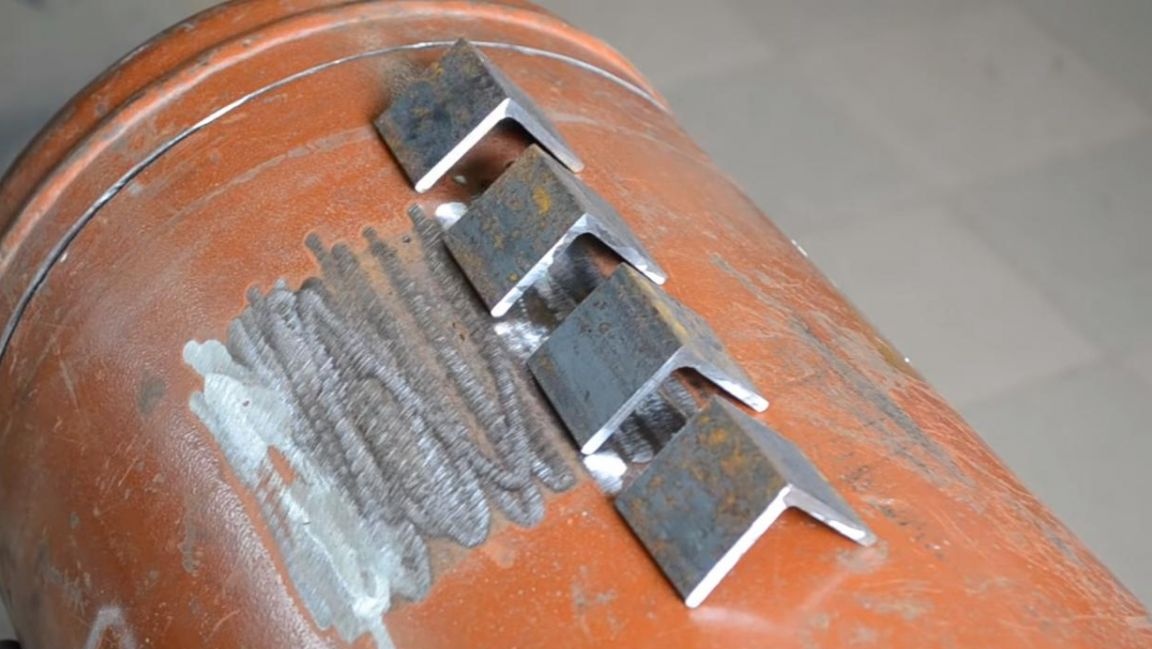
We fasten the corners to the bed from the sewing machine, pre-drilling holes with the diameter of the bolt and round the edges of the corners so that you do not accidentally get hurt. The distance between the corners turned 220 mm.
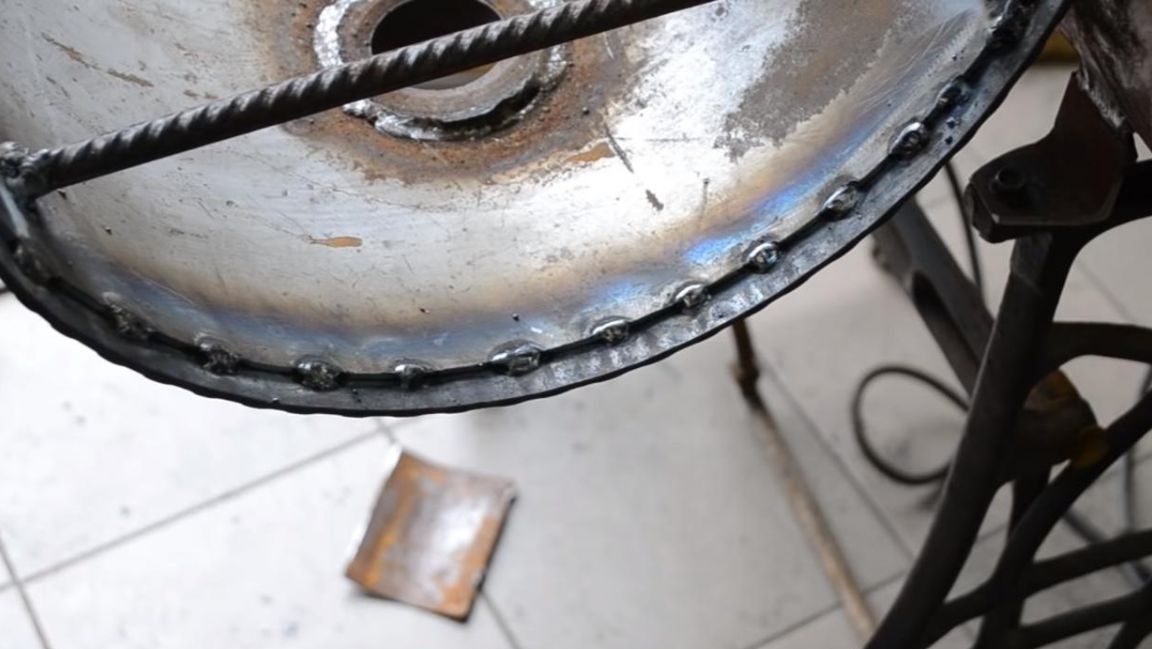
Next, install the bottle in the corners and make a few tacks with a welding machine, after which we put the brazier and finally scald the fasteners. With a hammer we remove the formed slag during the welding process.
Since the temperature in the barbecue is quite high, it was decided to strengthen the door by welding two fittings with a diameter of 10 mm at the edges.

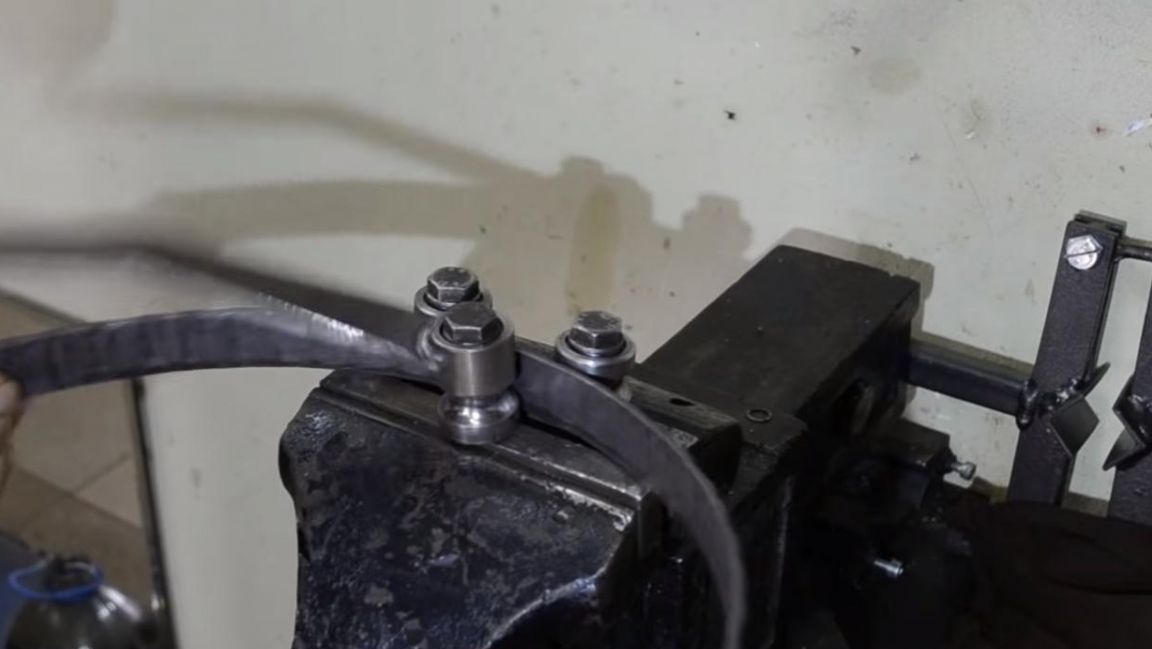
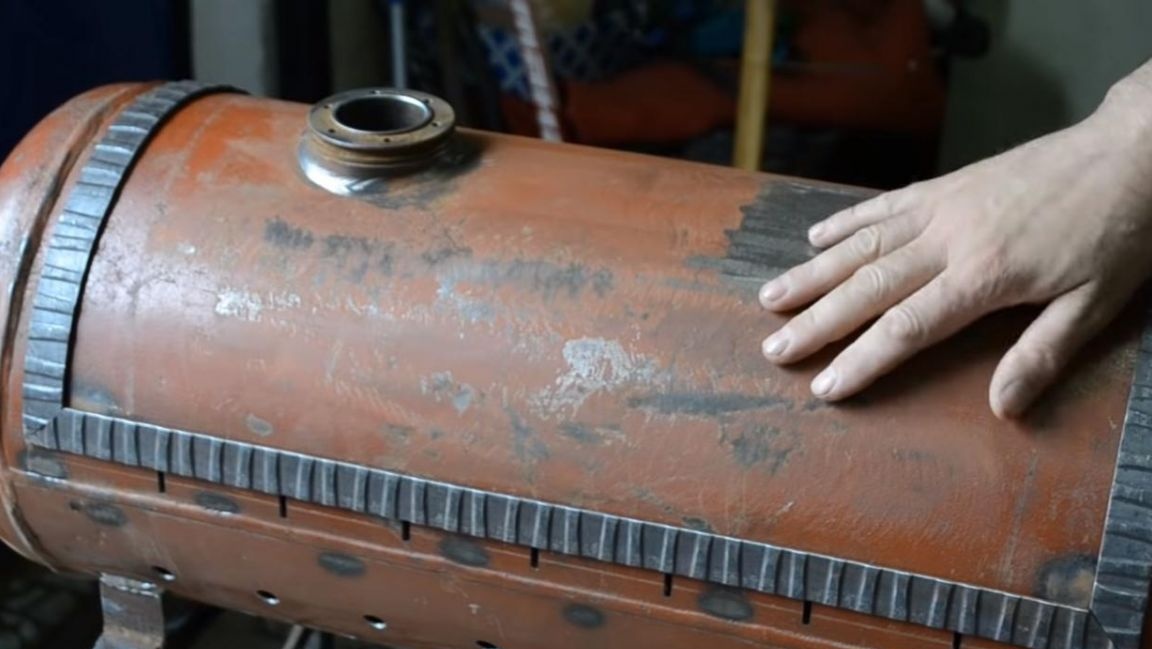
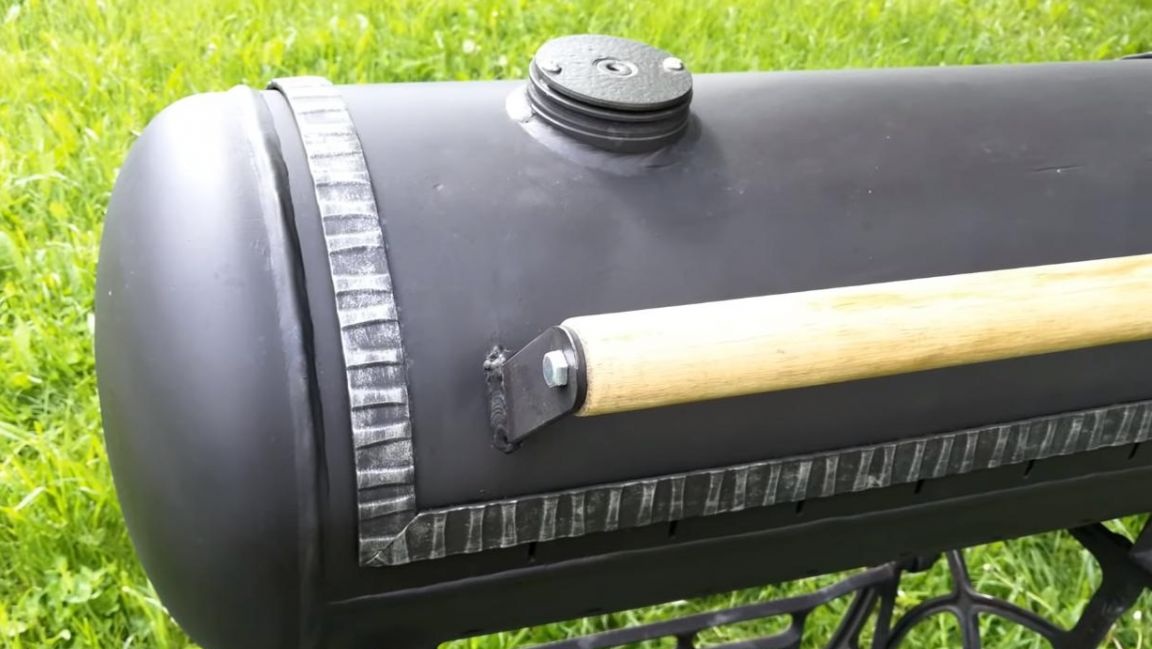
We bend the metal tire on a makeshift bender from a vice.
After that, we press it to the grill door with a manual vise and weld it with dots on the inside so that everything looks beautiful from the outside.
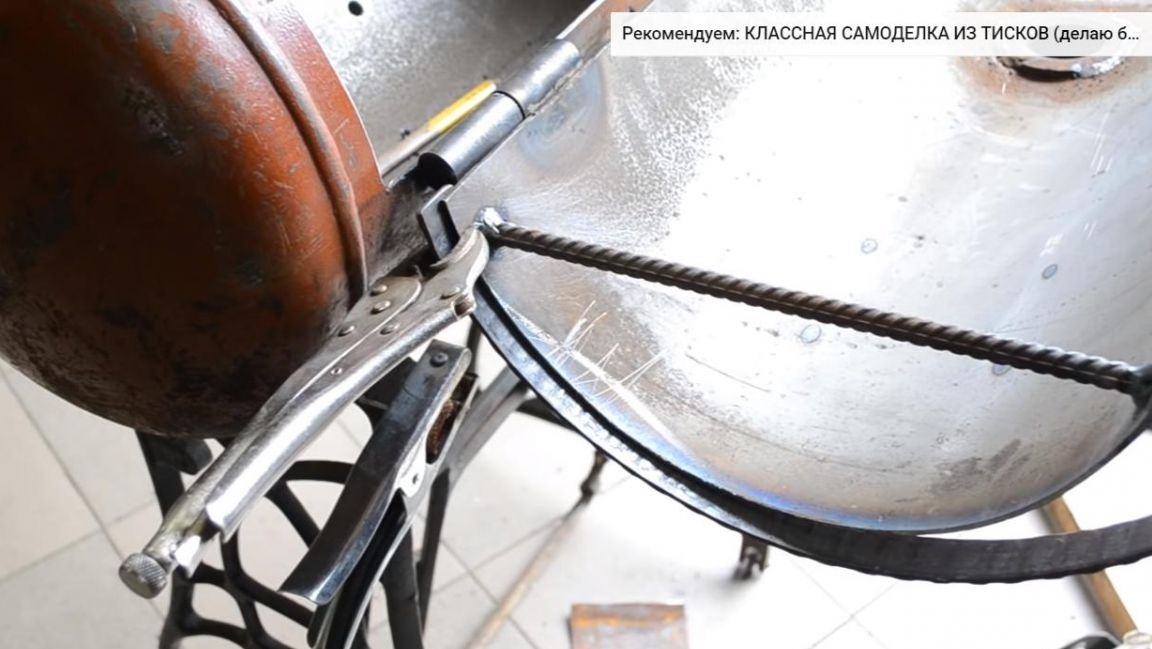
Similarly, we weld the splint around the perimeter of the door.
Step Six
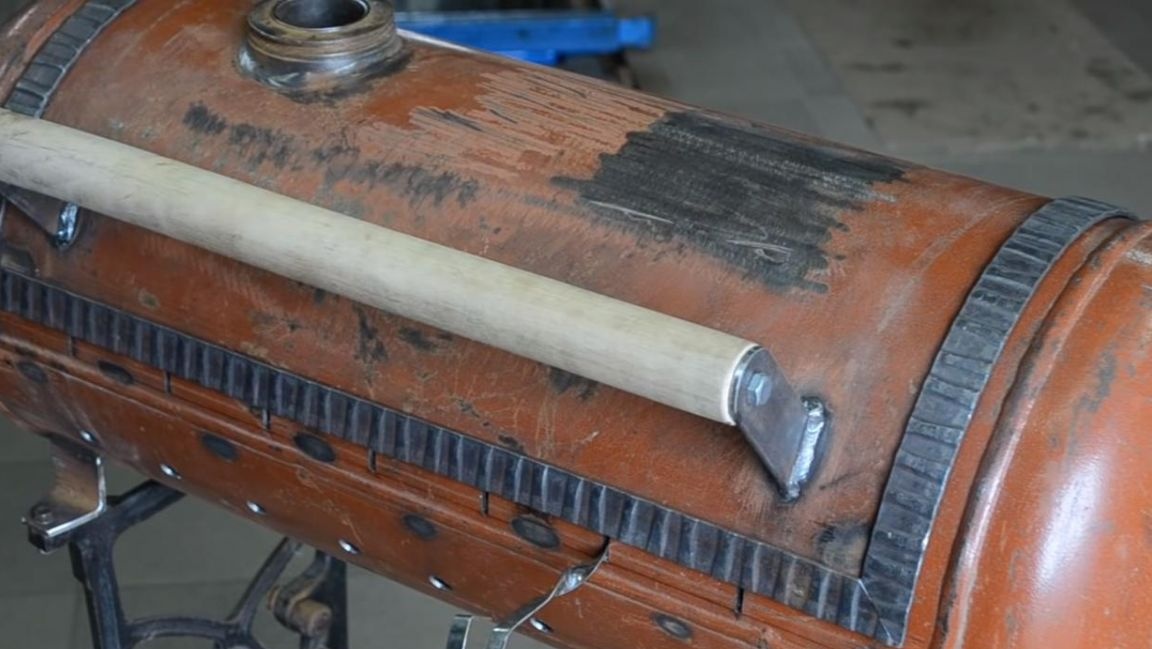
In order to be able to open the barbecue door and not burn, we make a handle. We take the handle from the shovel and saw off from it a length of 450 mm.
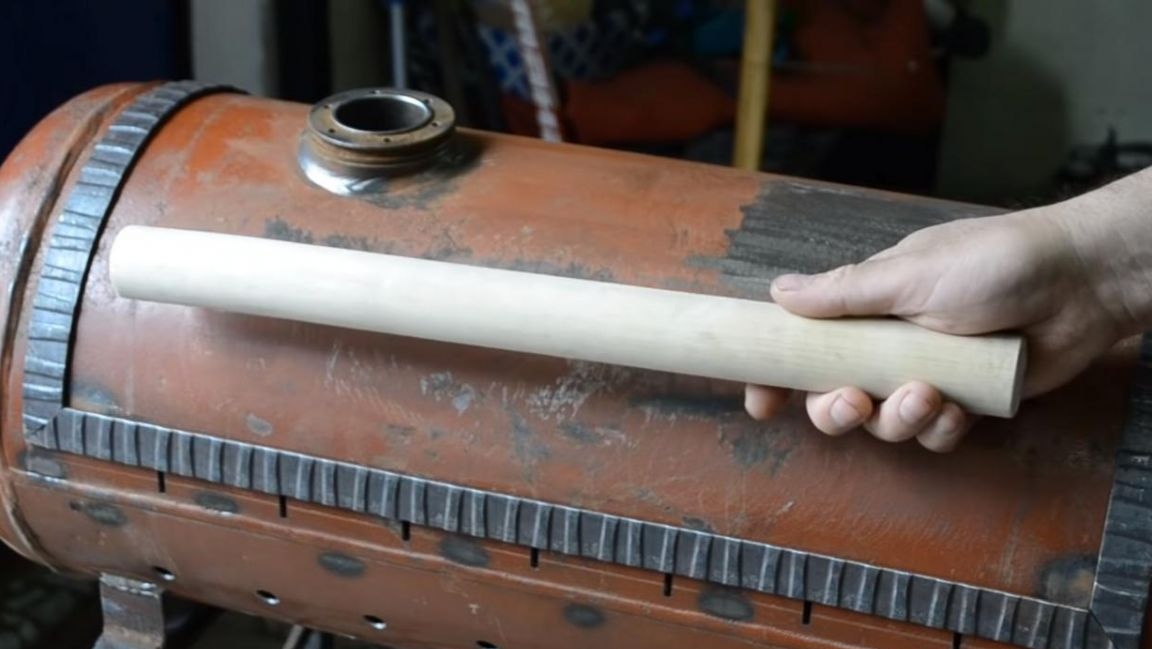
We position the handle in the middle and begin to weld the fasteners from a sheet of metal, then insert the pin into the stalk and fasten the handle on both sides with nuts.
To make it easier to remove the paint from the cylinder, it needs to be scorched, after which, using a metal nozzle on the angle grinder, we remove the remaining paint.
In the end, after cooling the cylinder, we paint all of our homemade thermocrack black. For the whole painting took two spray cans of paint.
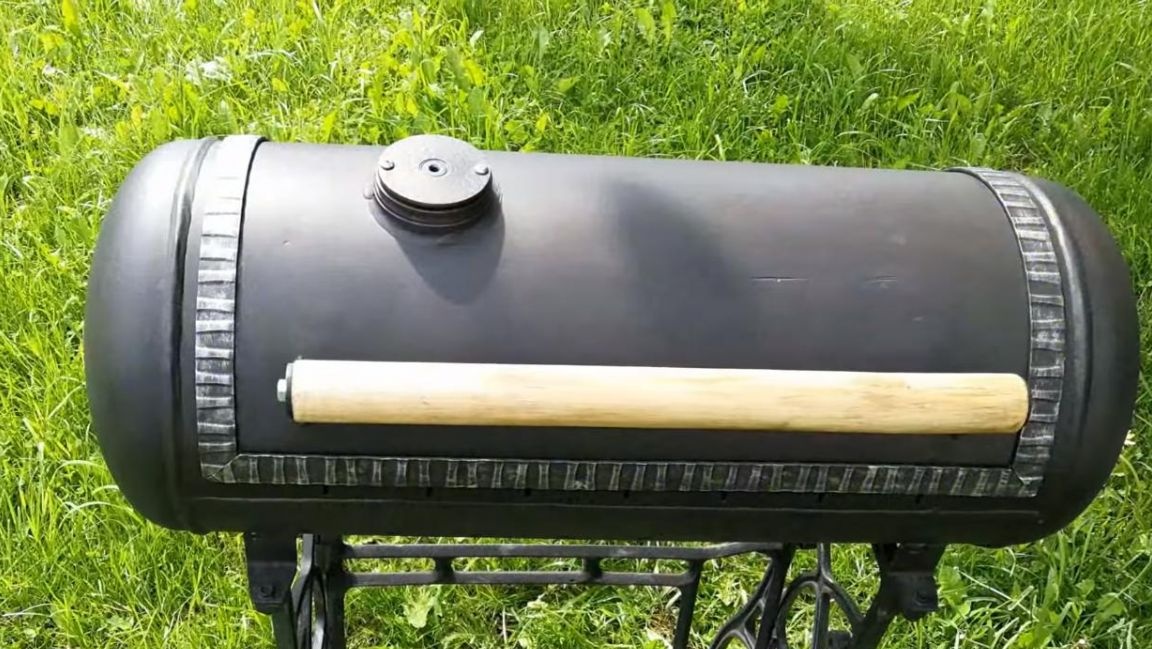
A round metal plate was screwed onto the neck as a stub; in the future, a thermometer will be installed at this place.
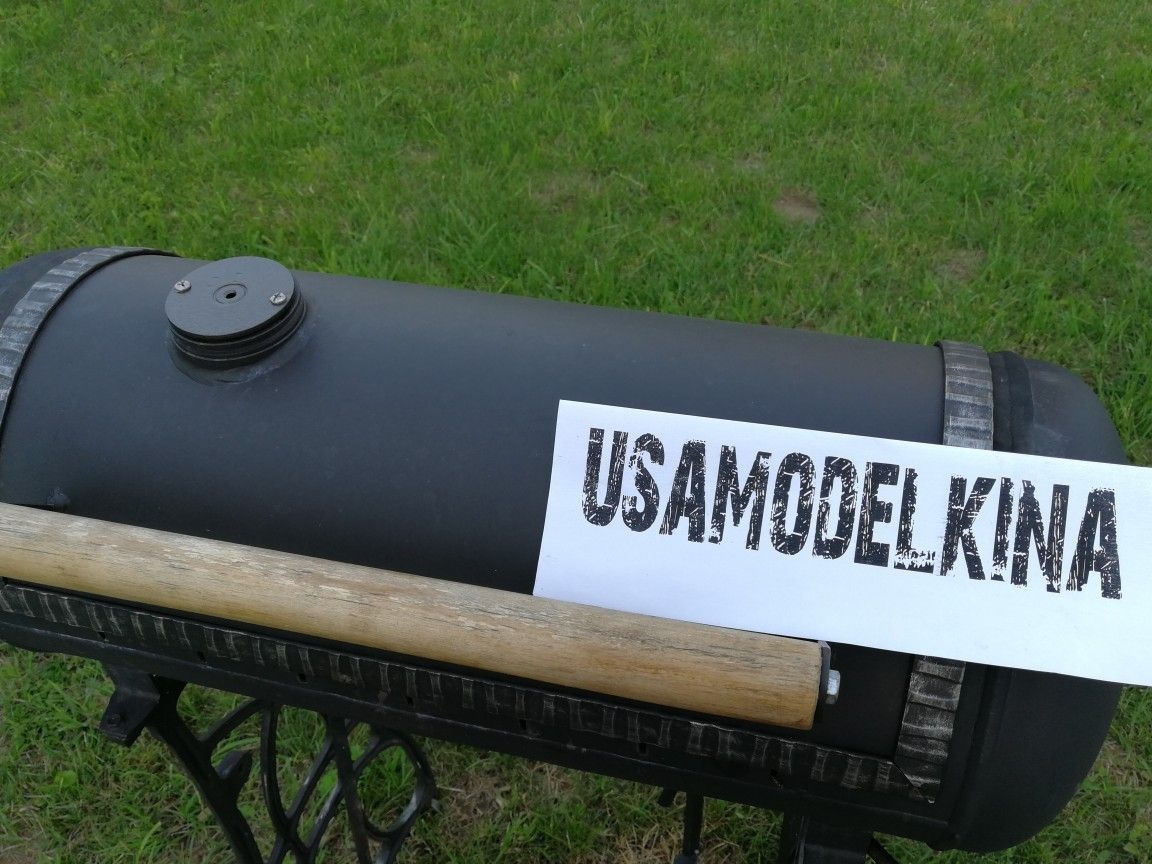
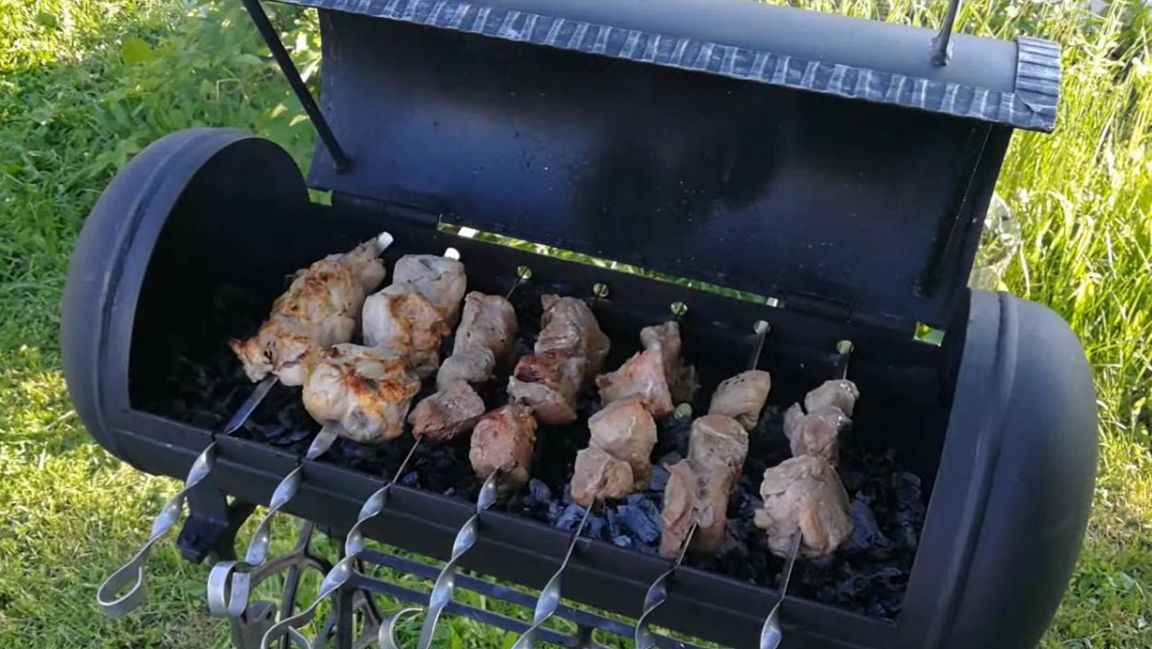
The result was such a cute brazier made by yourself. On this brazier you can cook kebab, fish and everything that your heart desires, and a friendly company will appreciate your homemade goods and will say thank you.
That's all for me, thank you all for your attention and creative success.