
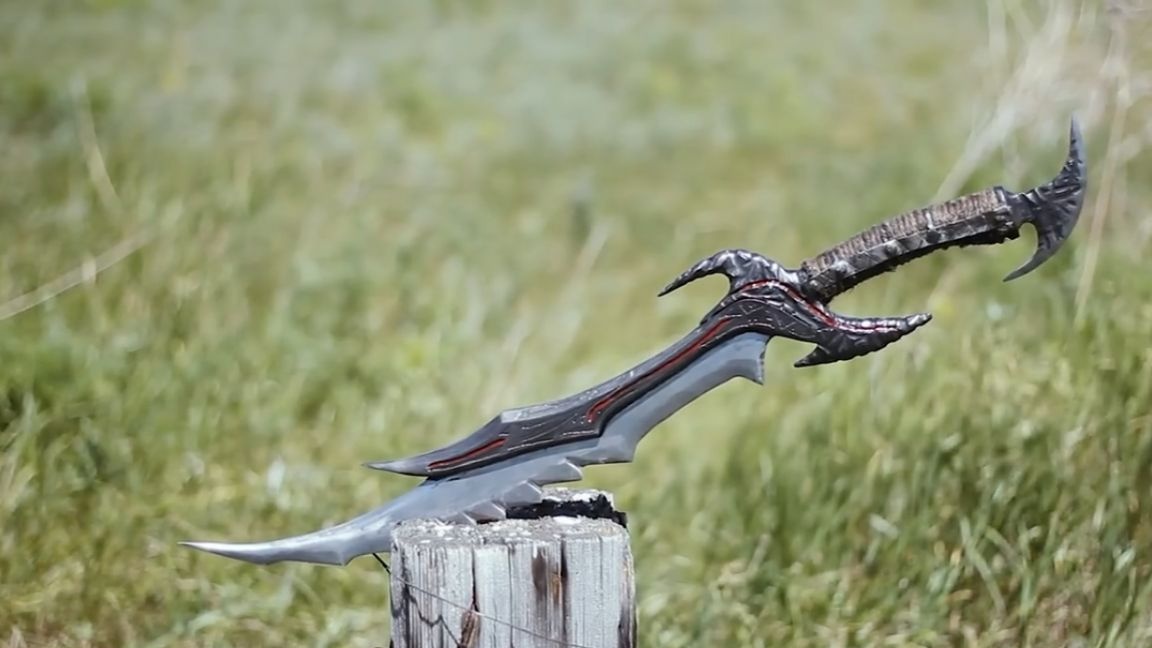
In today's article, we’ll look at the complete process of creating a Daedric sword from a Skyrim computer game.
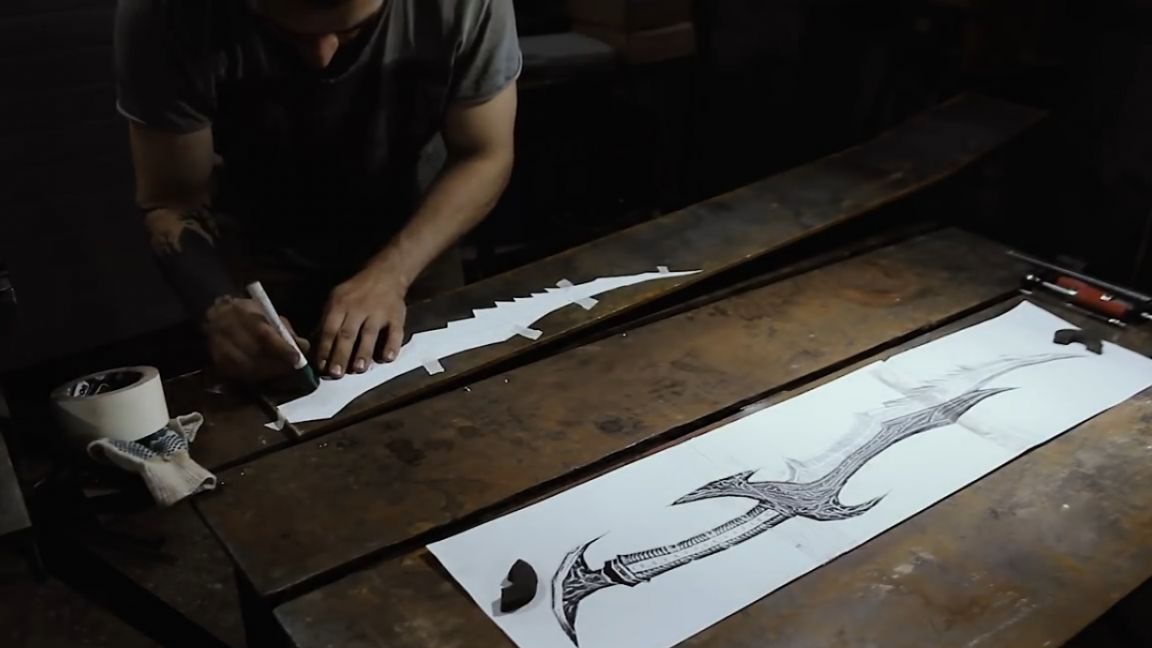
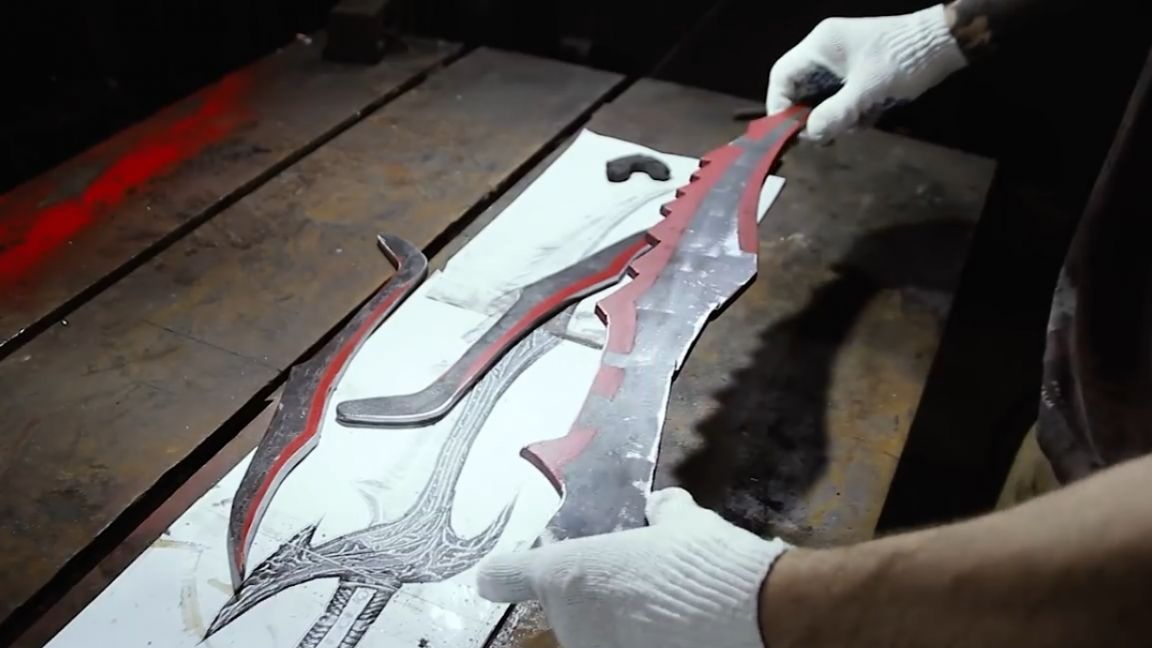
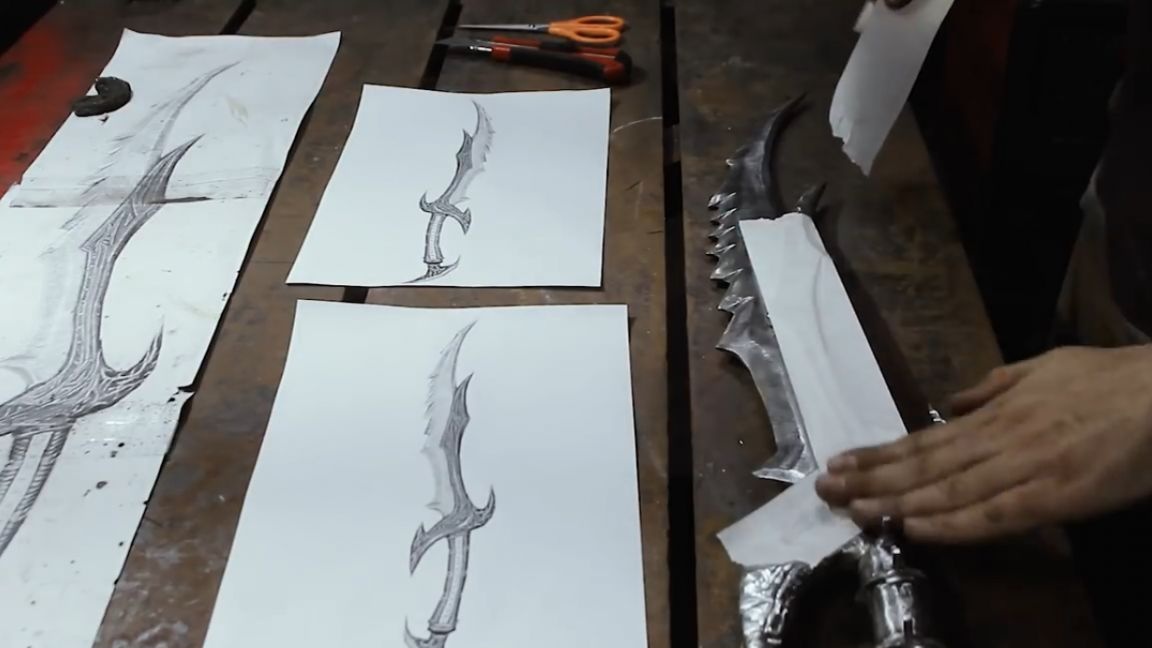
So, in order to minimize initiative in the work, according to the finished sketches, we print it on a scale of one to one to the desired future dimensions.
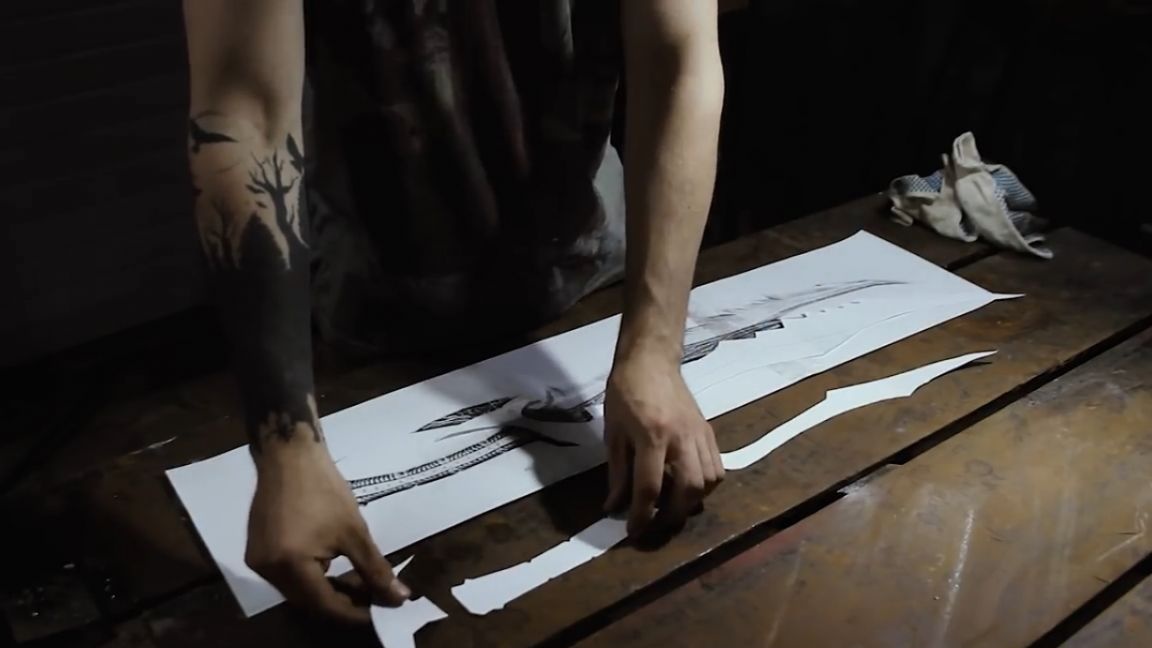
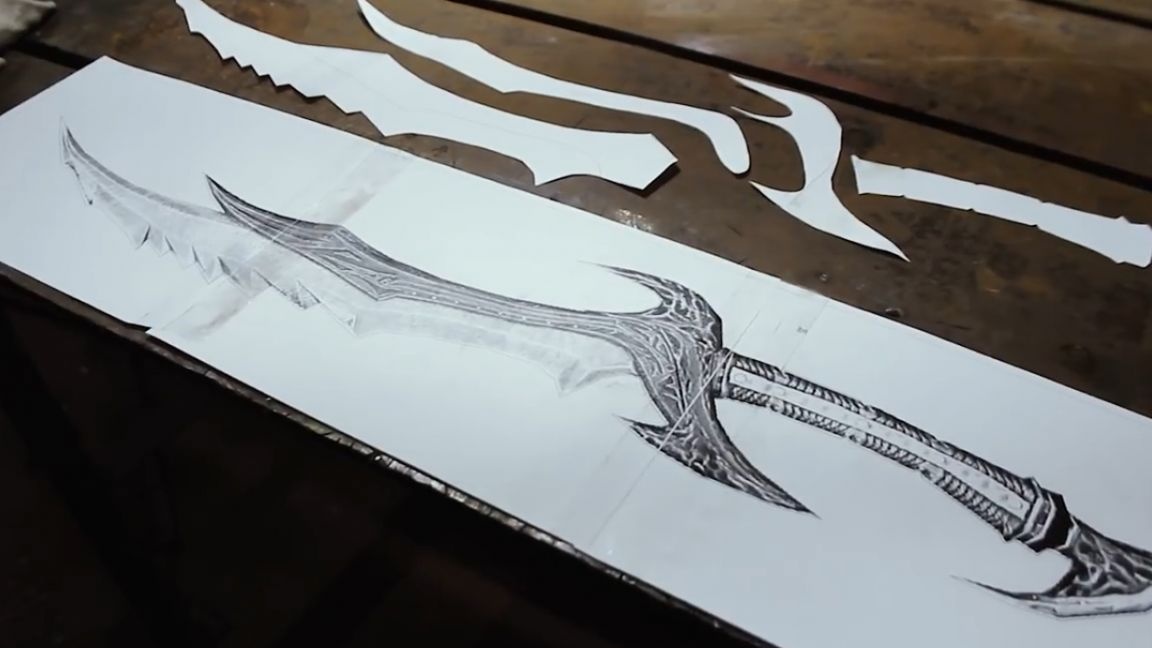
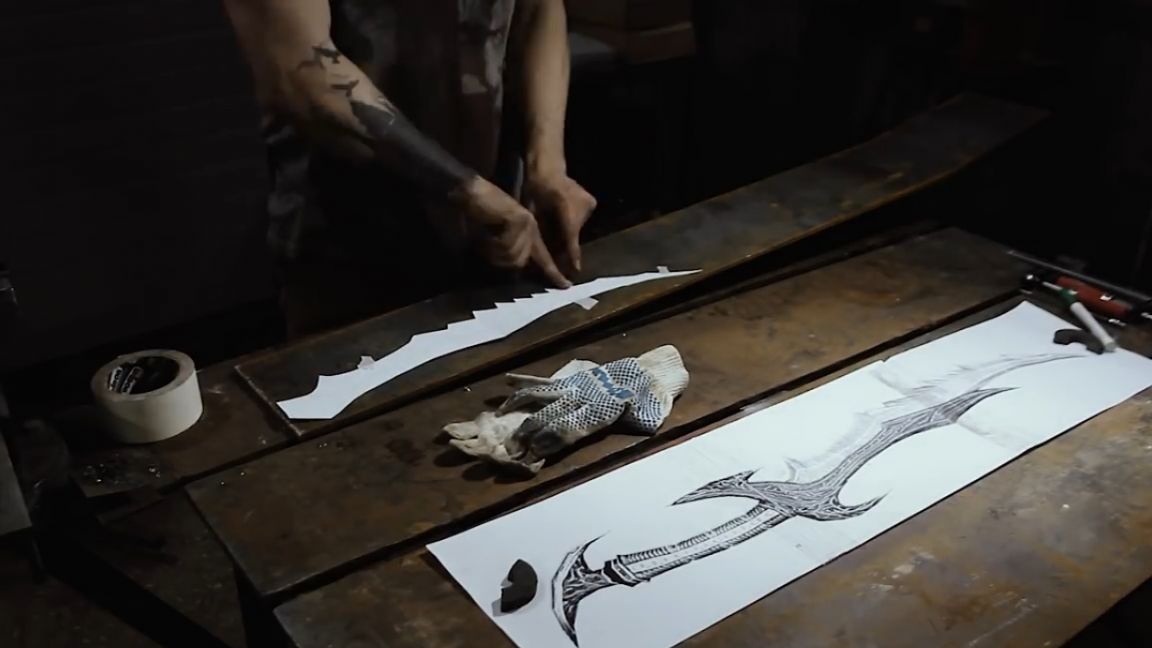
We divide it into the main nodes, and also cut them out. For himself, the master in this work singled out: a blade, overlays on it from both sides, a guard that you will not believe, but in spite of all the indignants we will weld again, as well as a hilt and top. As a basis for the blade and guard we take steel with a thickness of 8 mm, and for overlays we will use a sheet with a thickness of 6 mm. For the convenience of applying the outline of the picture, pre-prepared template glue with pieces of masking tape. We will circle the construction marker.
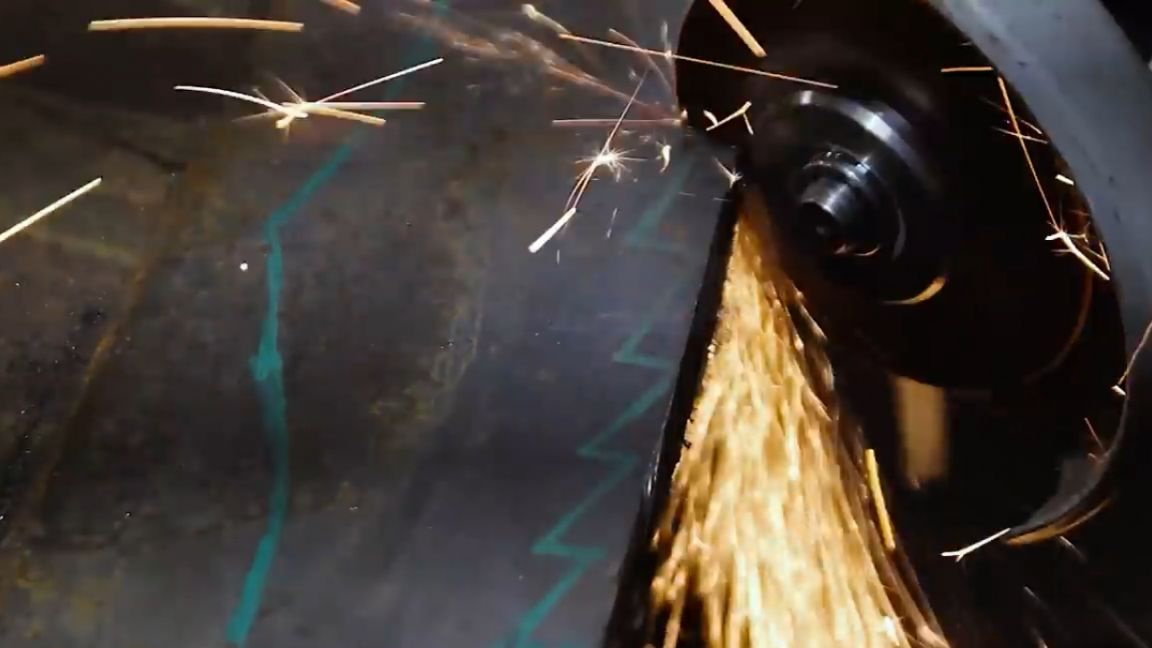
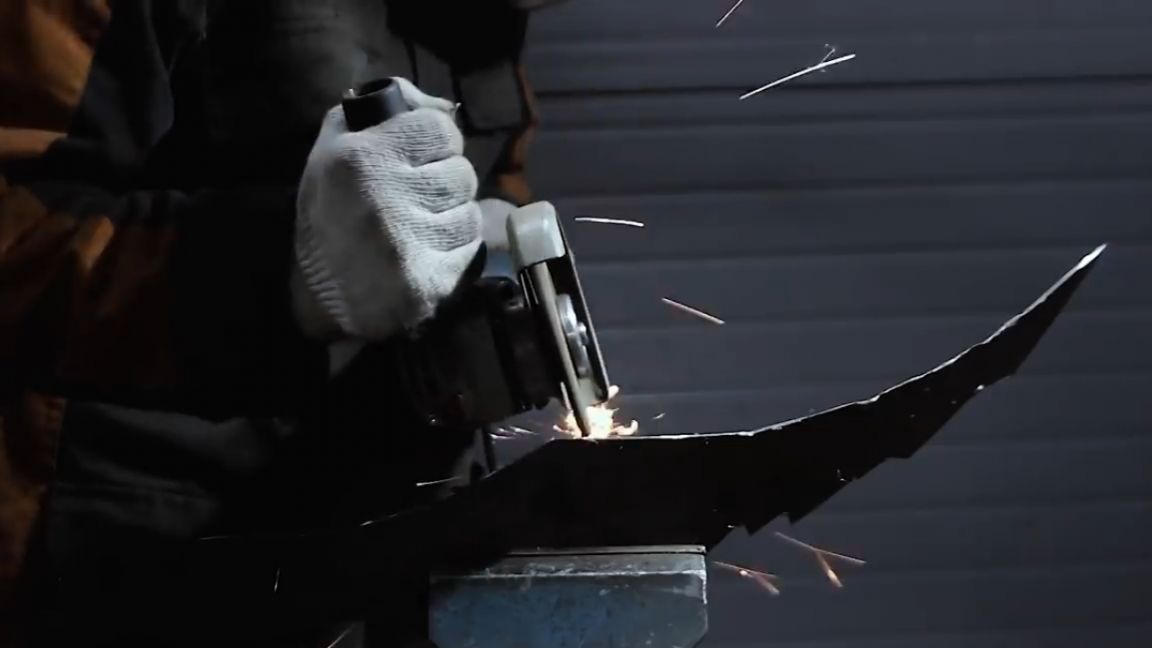
Everything is known in comparison, and since this time the metal is only 8 mm thick, and not like the author’s 26 mm homemade product, we think that this time we can do without CNC technology. We will do all the metal cutting work using an angle grinder (angle grinder).

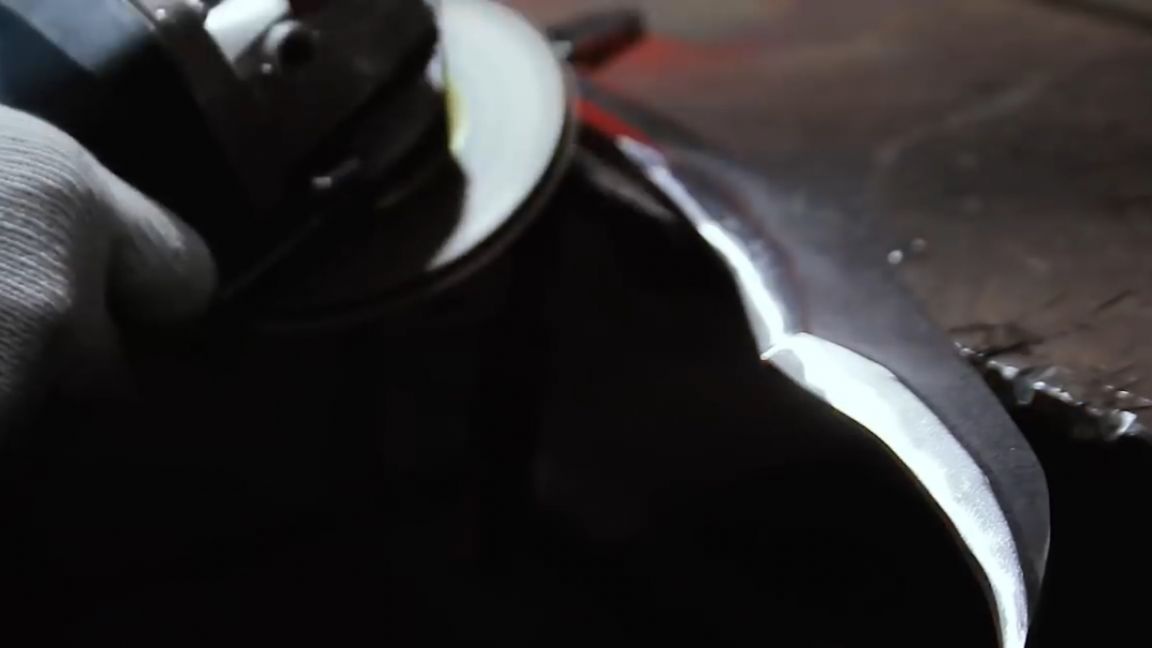
After cutting with a cutting wheel along the contour, we change the circle to a cleaning one and modify the workpiece, rounding off all the bumps.
We will do side overlays in the same way. We attach the template and circle, but since we need two identical blanks, we first cut them out very roughly and only slightly following the shape.
After that, you need to grab them together and already at the same time clean them, this will achieve their maximum similarity.
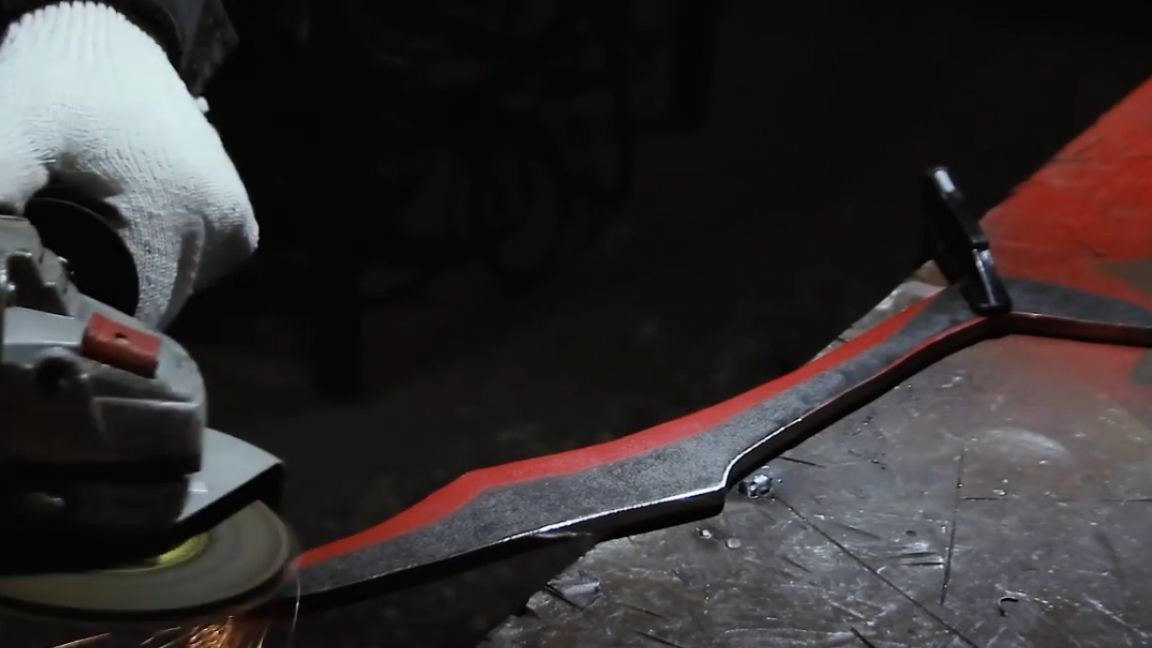
Similarly, cut out both parts of the guard. Behind the scenes, using paper templates, the author marked with paint the lines of the descents on the details that we now have to do.
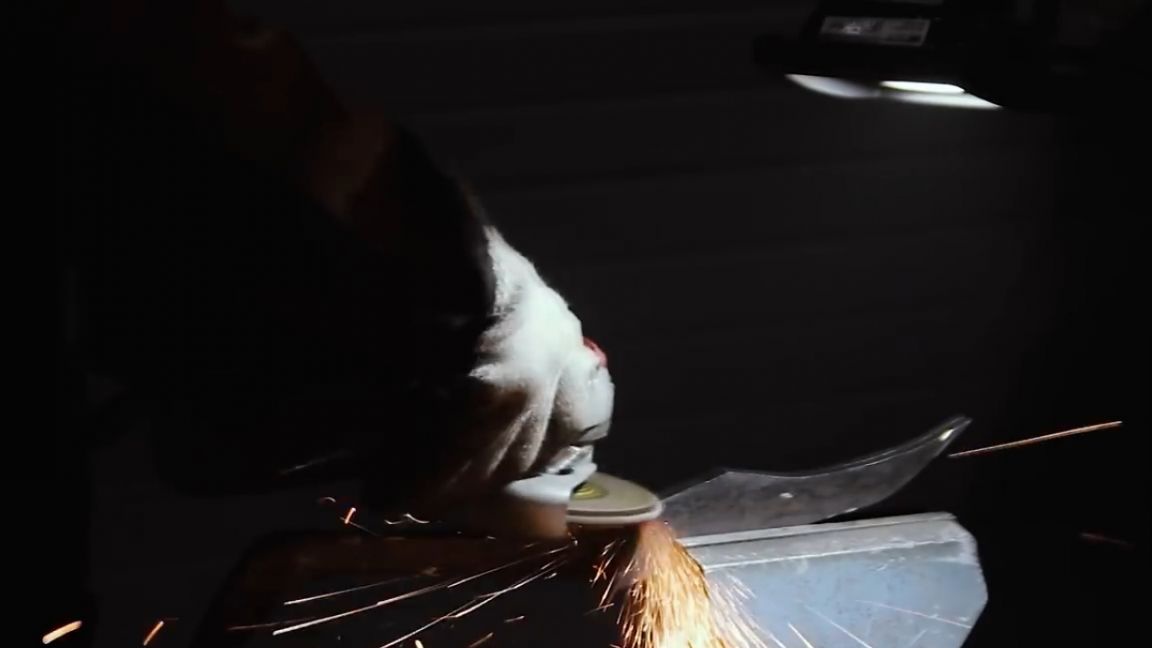
Since you do not need to clean a lot, you can immediately install a petal circle with a grain size of 40 units instead of an abrasive stone.
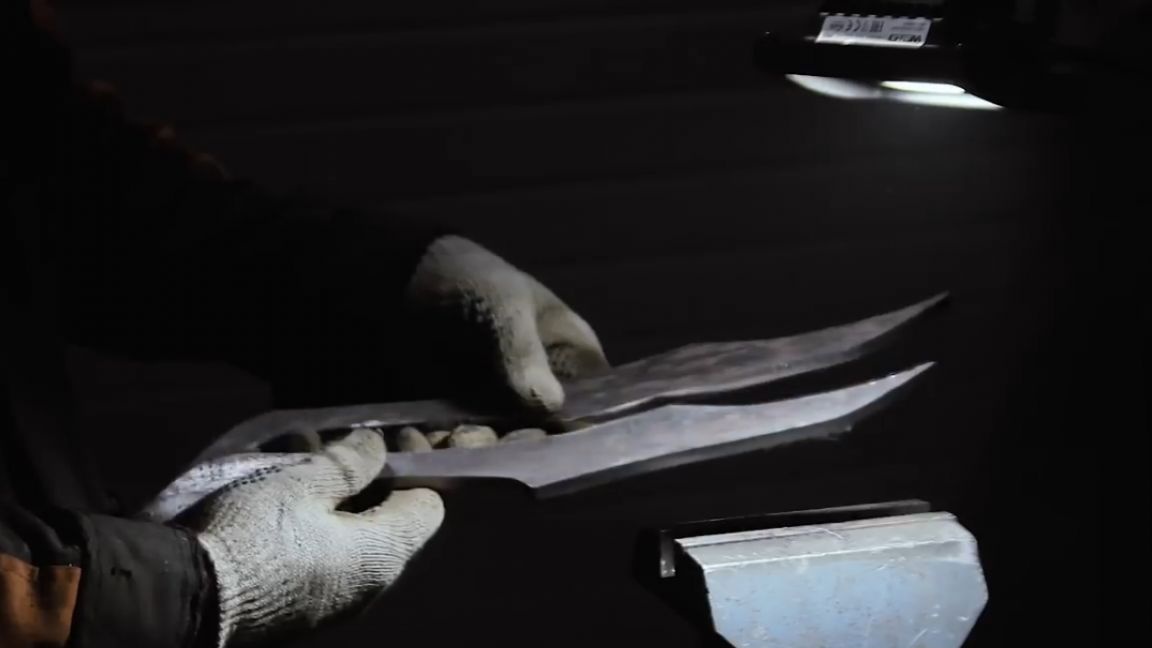
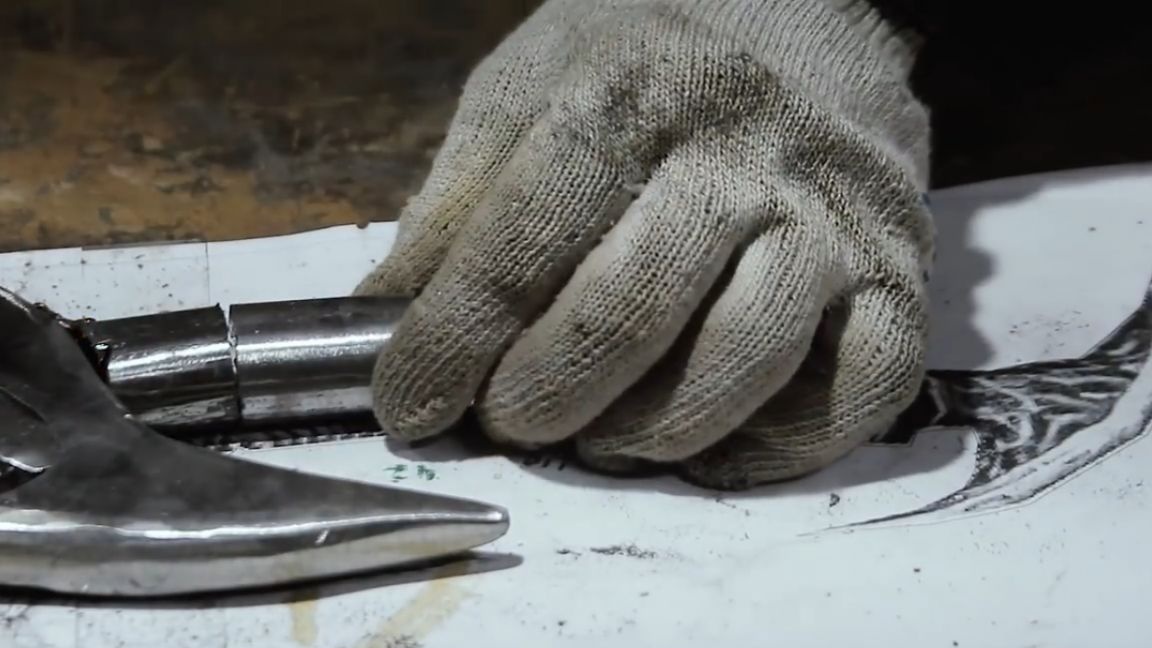
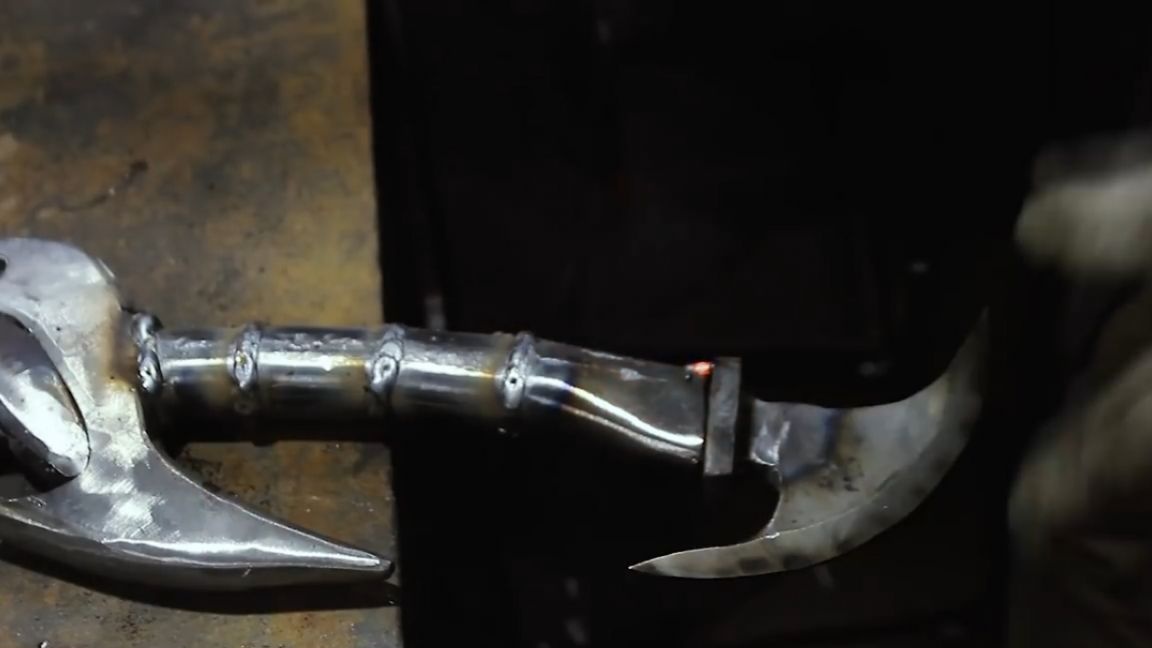
Now we have prepared all the basic details of the blade. Now they need to be assembled correctly. For himself, the author determined the following sequence: first, we install the guard in its place on the blade, and then we will adjust the lining to minimize gaps.
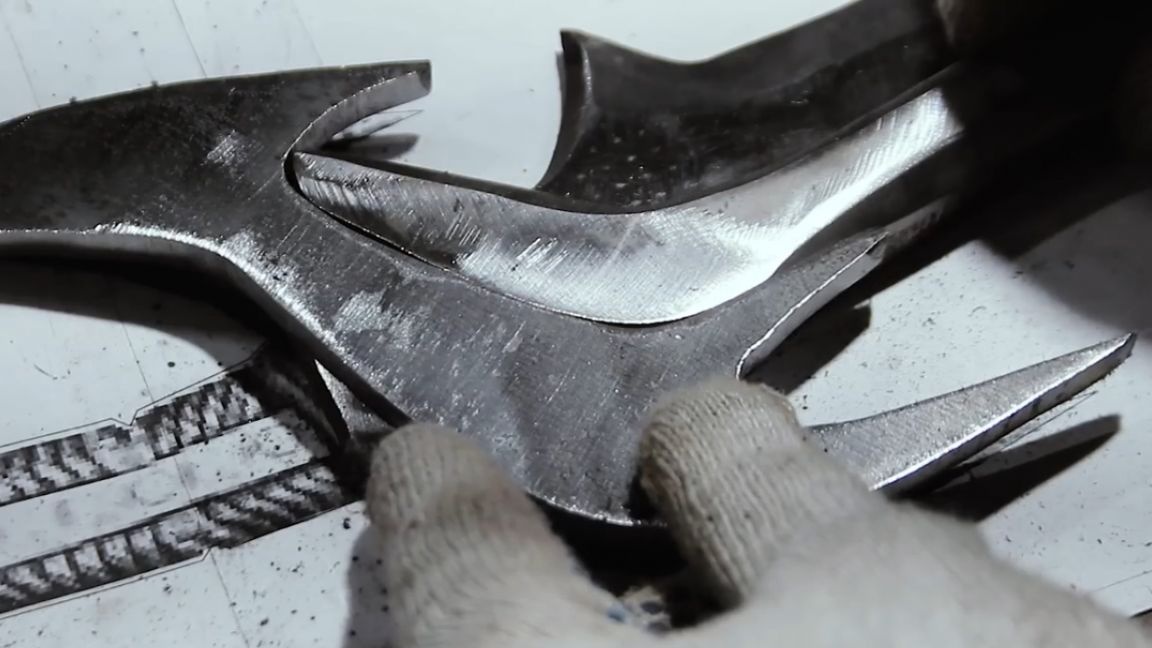
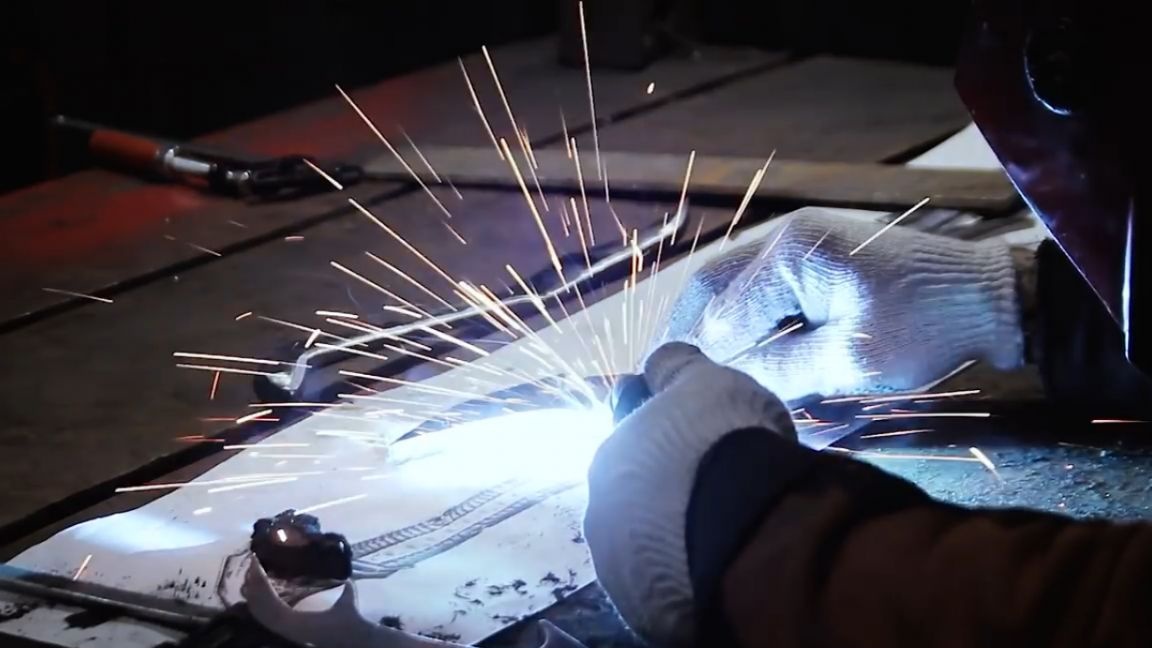
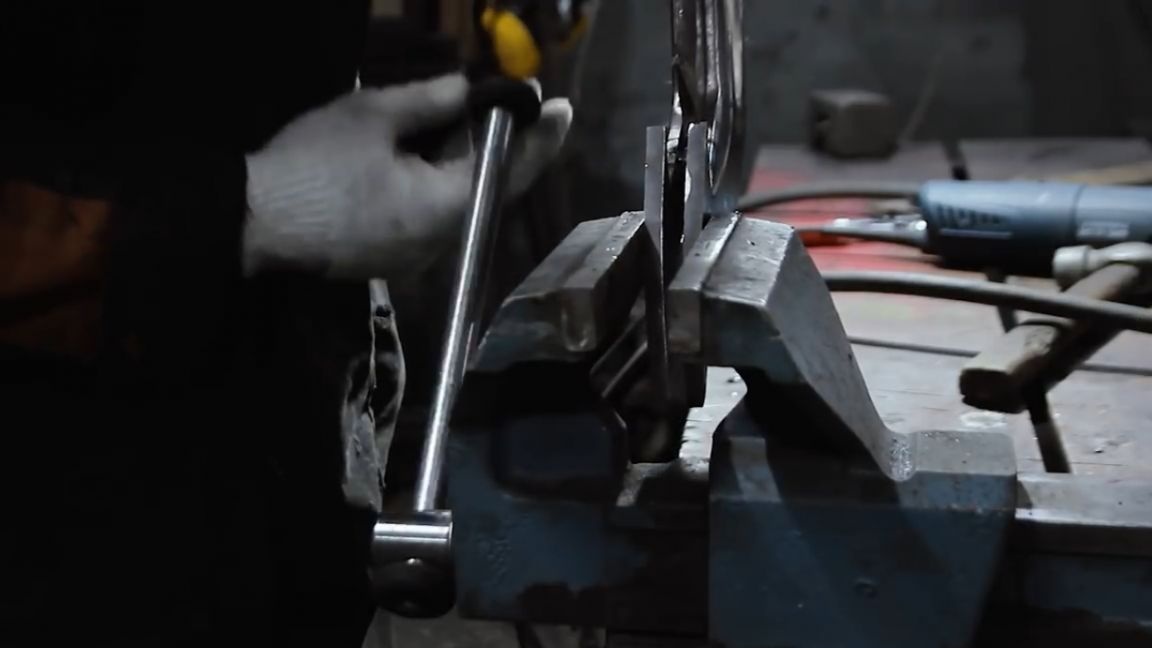
The easiest way to reduce exactly the sides of the guard to each other is to clamp them in a vice. Therefore, we tighten, grab, check and begin a complete penetration.
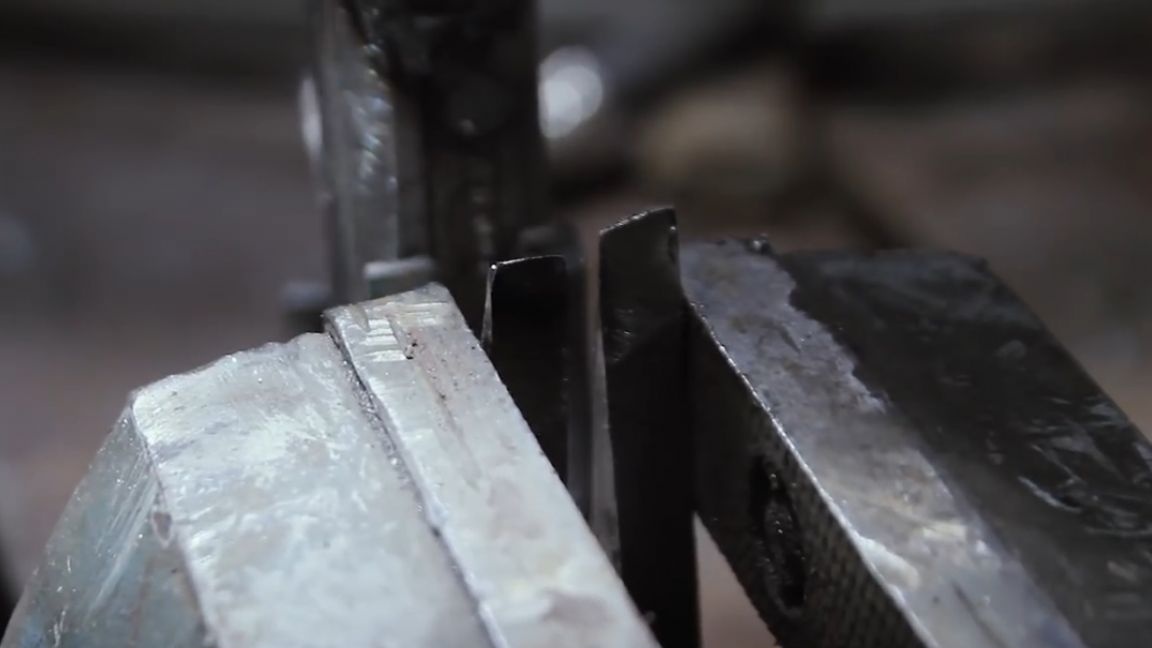

To minimize the adhesion of metal droplets during the welding process, the author sprayed the metal with a spray to protect the nozzles of the burners of the semiautomatic devices.
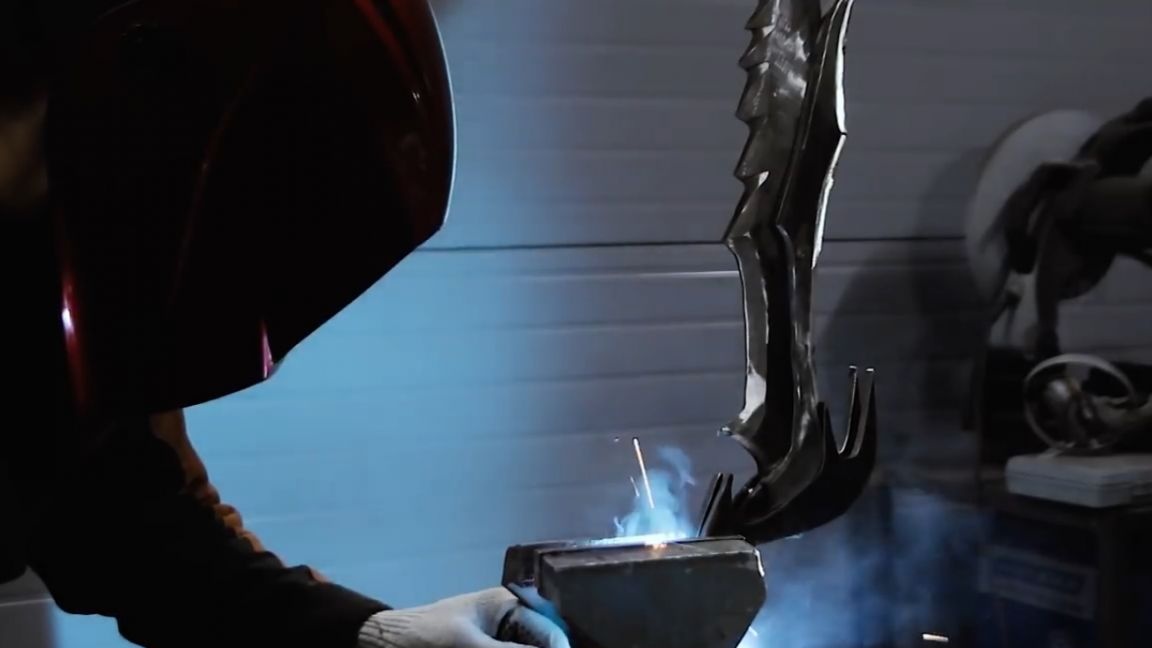
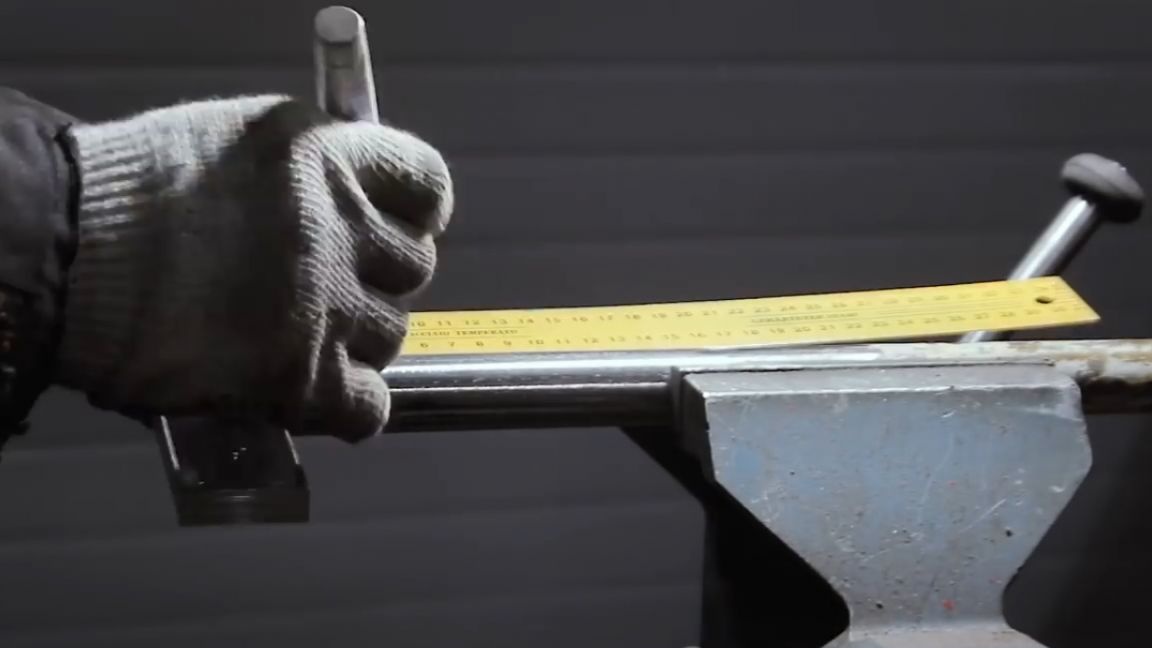
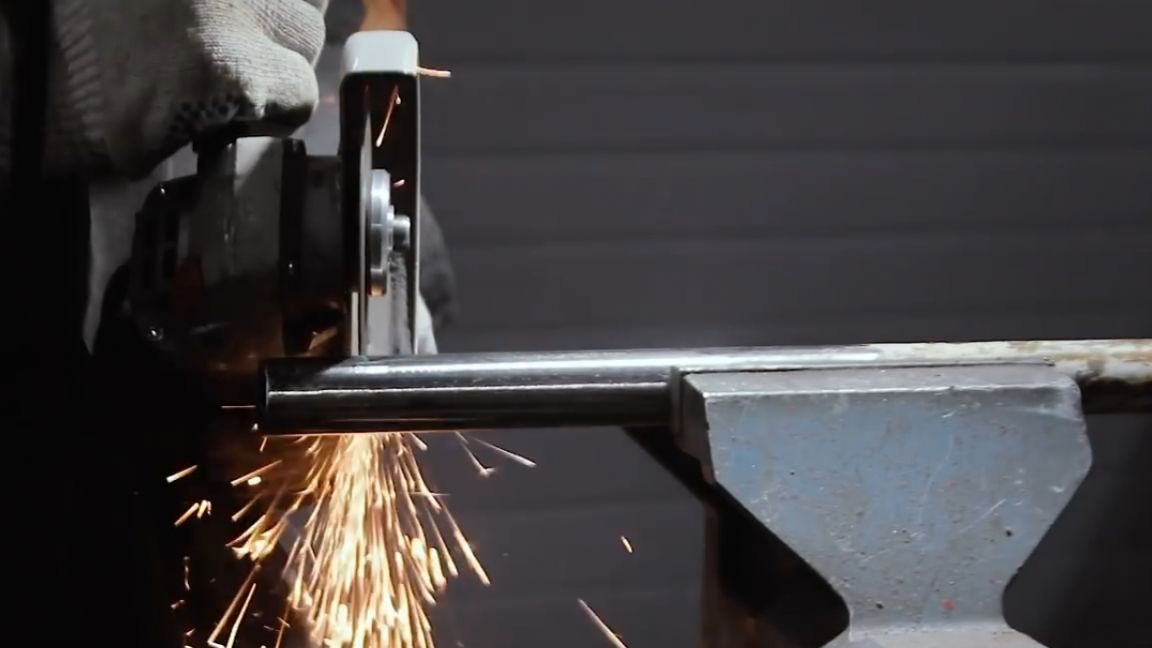
The hilt of our sword will be stacked from pieces of pipe. We measure the parts according to the size of our drawing.
There is nothing special to discuss here, except for the last expanding segment, as you see, the upper diameter coincides, and we need to bring the lower one to mind.
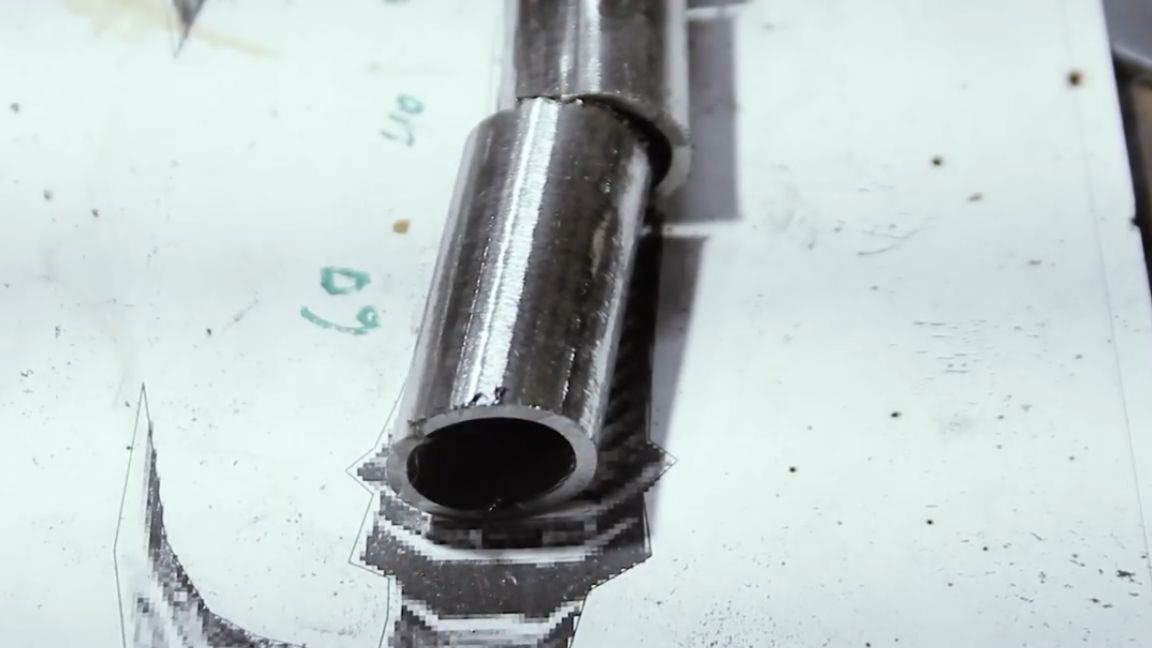
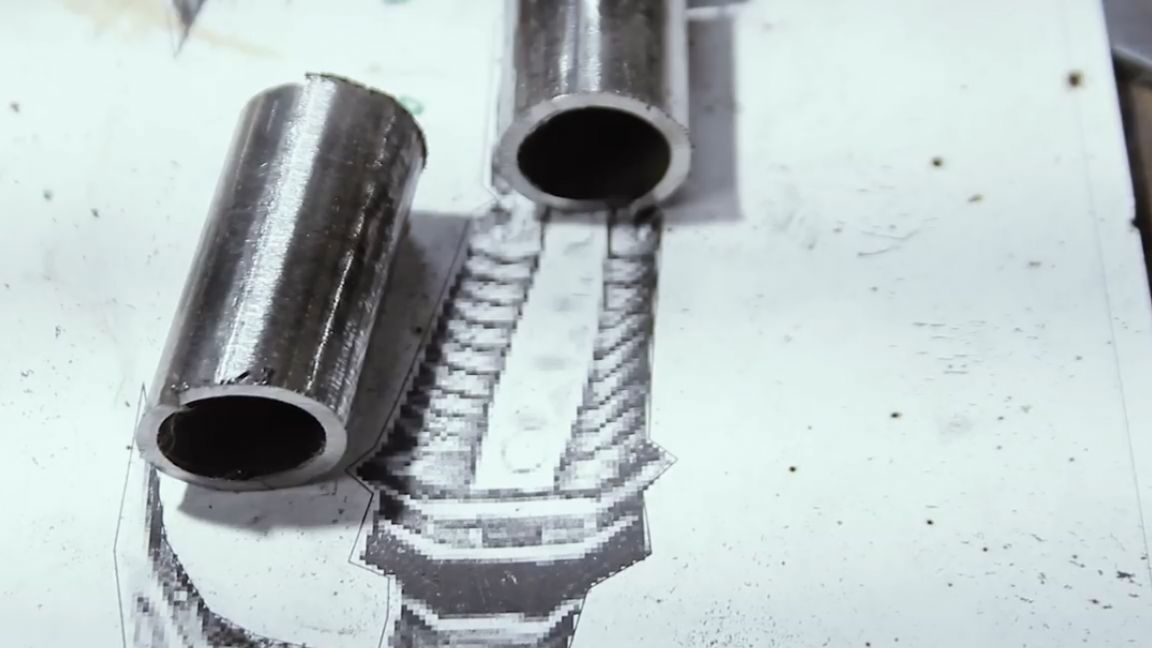
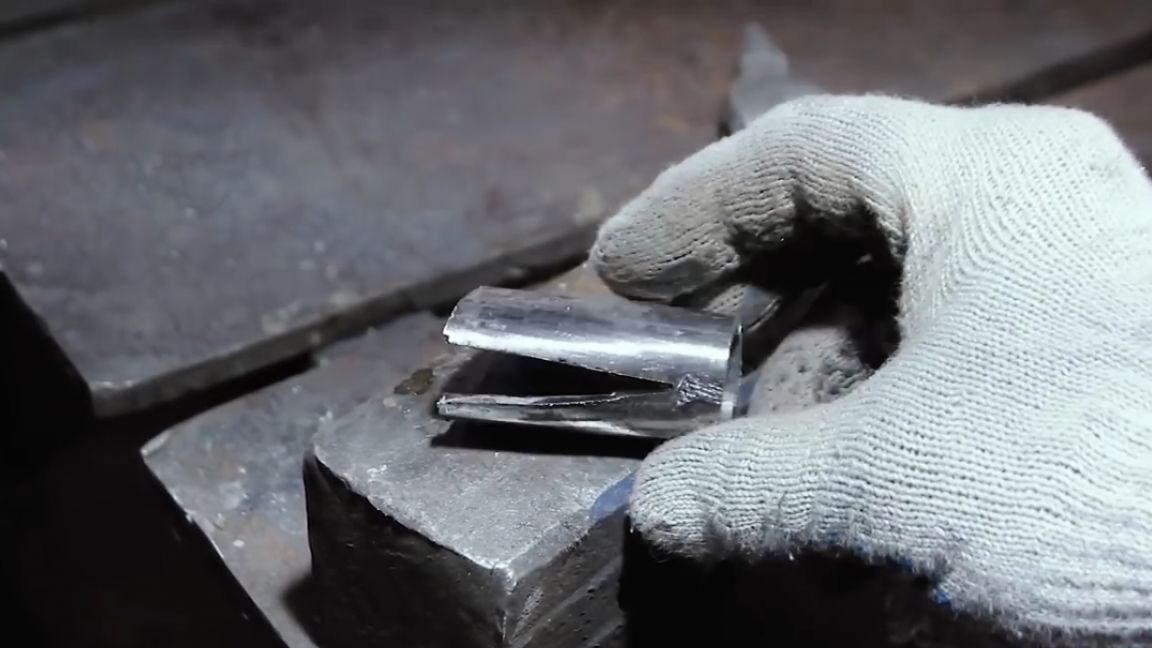
To do this, just make an incision in the pipe and expand the chisel with a hammer to the desired shape. The resulting gap must be brewed.
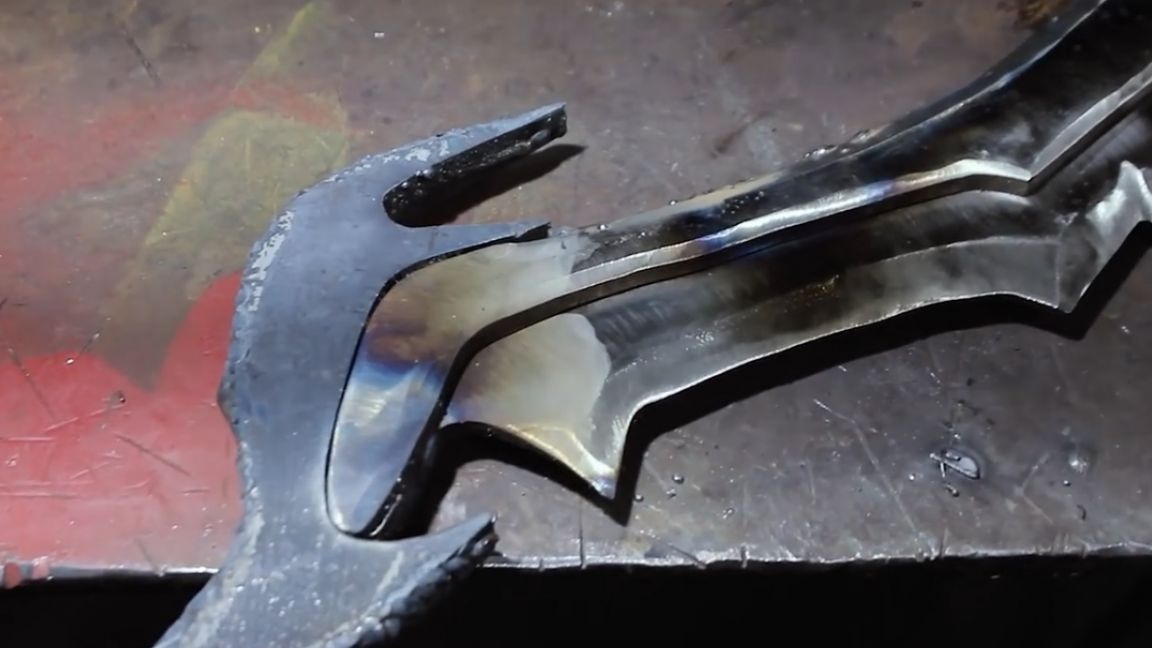
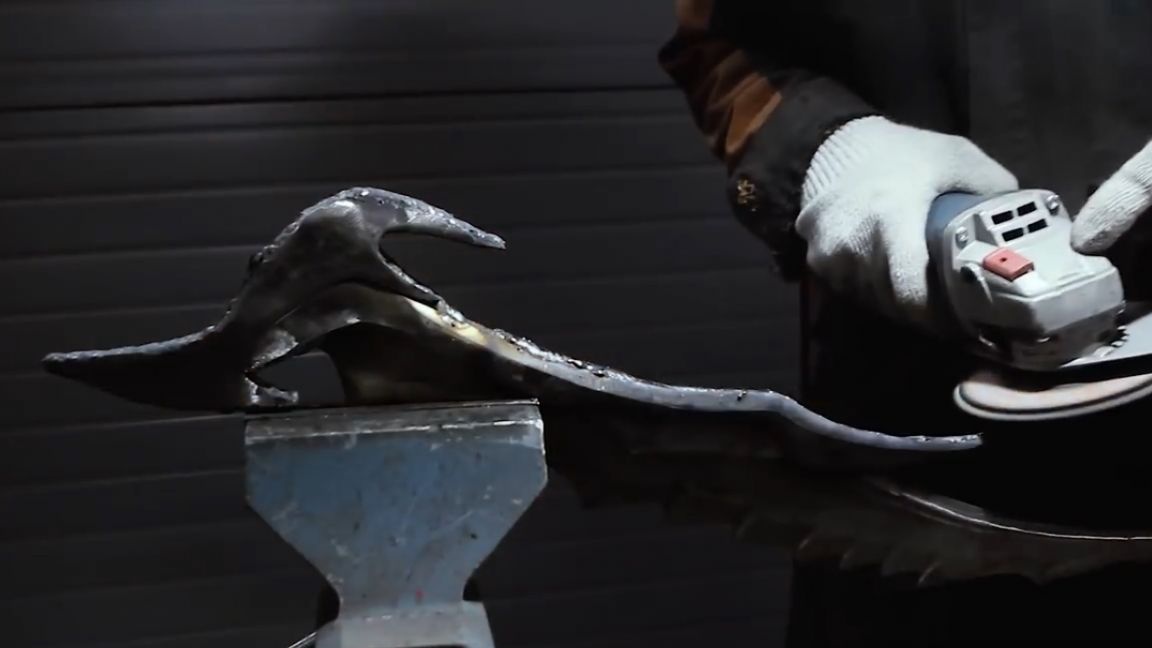
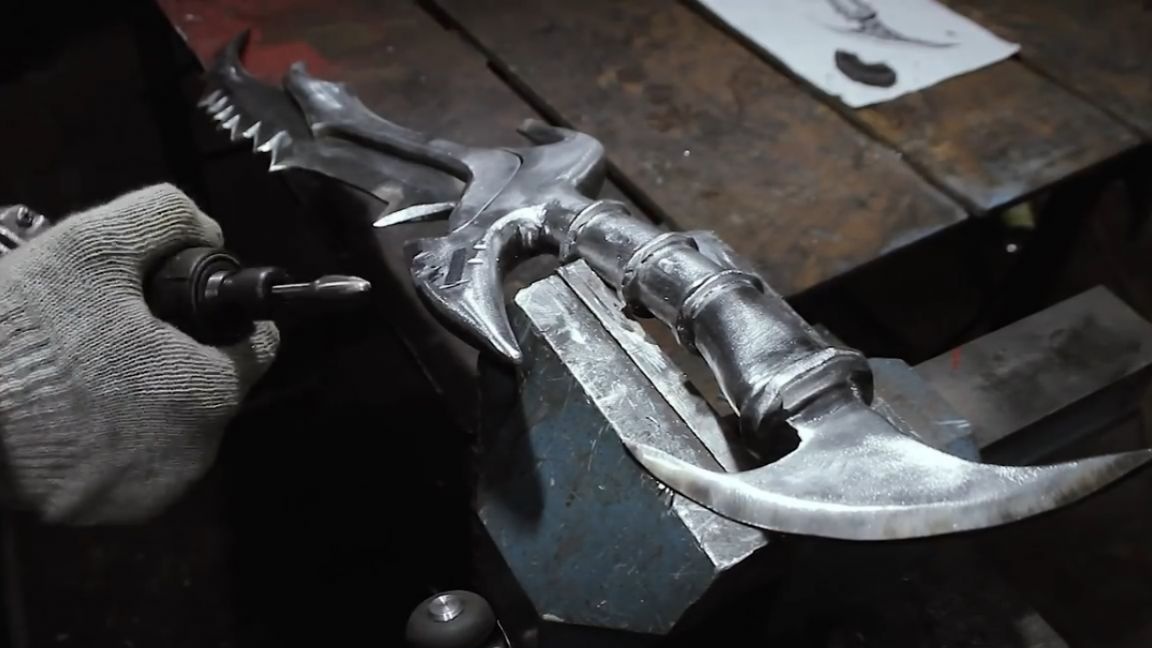
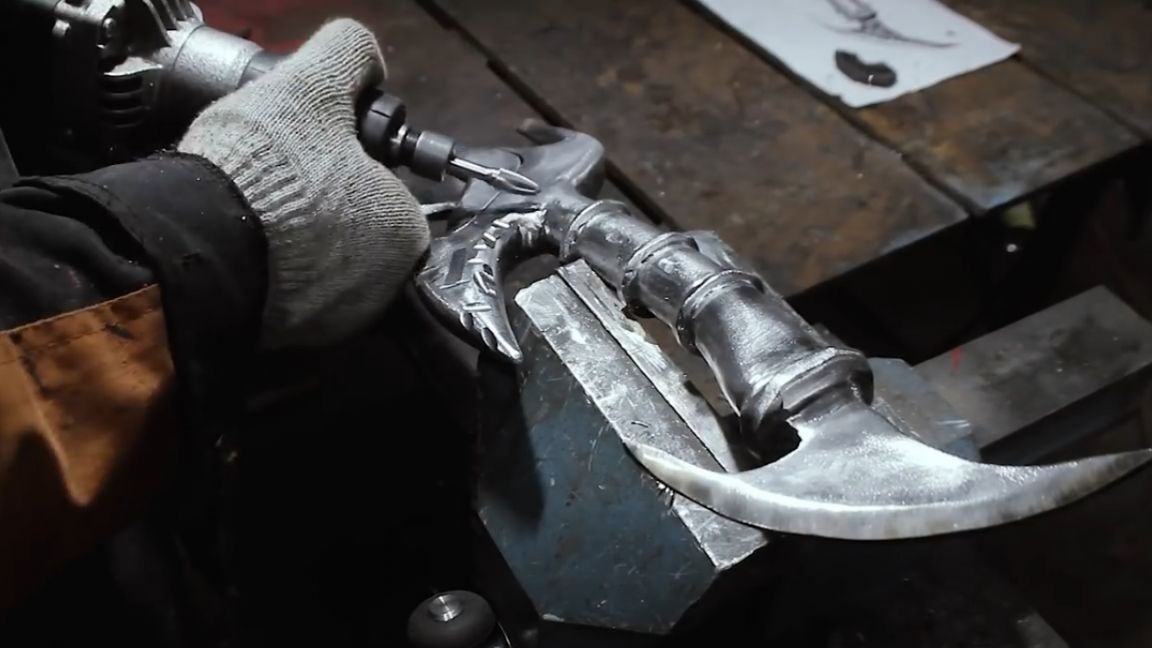
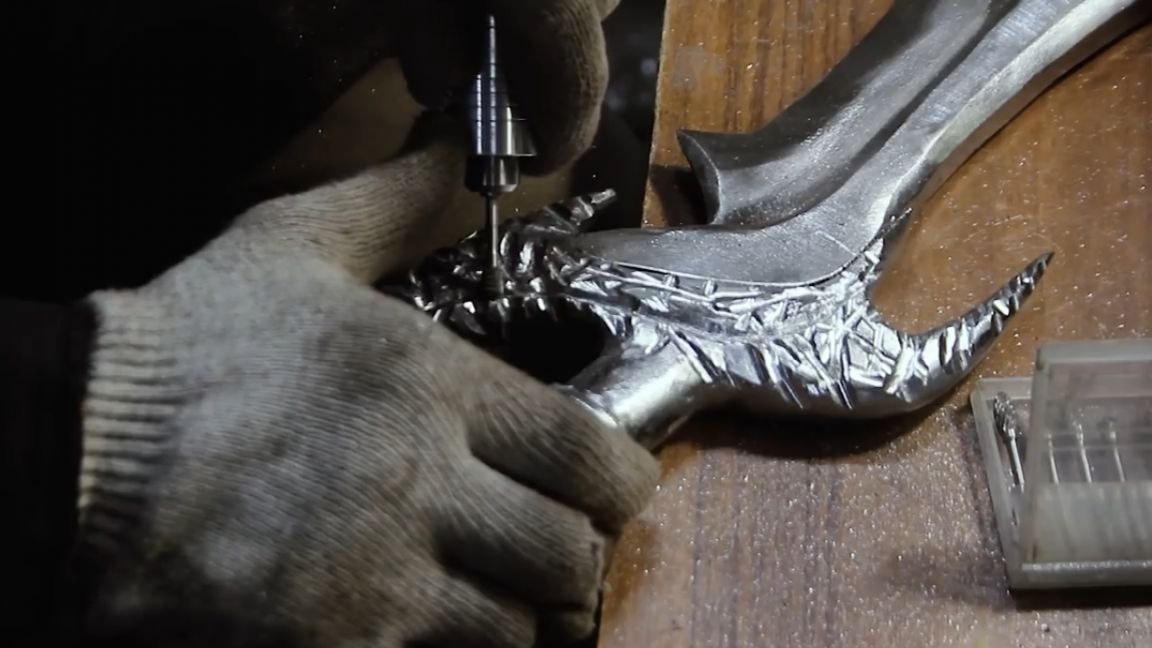
Now it's time to apply all the textures and patterns. We will apply textures on the guard and the top of the sword using a direct grinder and a cutter, and then, using an angle grinder, round off with a petal circle.
As you can see in the picture, the pattern on the overlays looks pretty even. It will be difficult and long to cut such a pattern with a mill, so we will again etch this part of the drawing with a welding machine. The wizard will demonstrate the next way to apply the drawing, which, in his opinion, in this case will be the most convenient. We glue all the places where the drawing will be with masking tape, namely from the five sides of these overlays. Next, with a pen, in accordance with the original, draw the contours, and then, with a simple clerical knife, cut it out.
This time we will use acrylic quick-drying paint. In this case, the most important thing is that the paint is not water soluble. We put it in a thick layer on the drawing, and after drying we remove the parts of the masking tape that expose the metal in those places where we will need to pickle it.
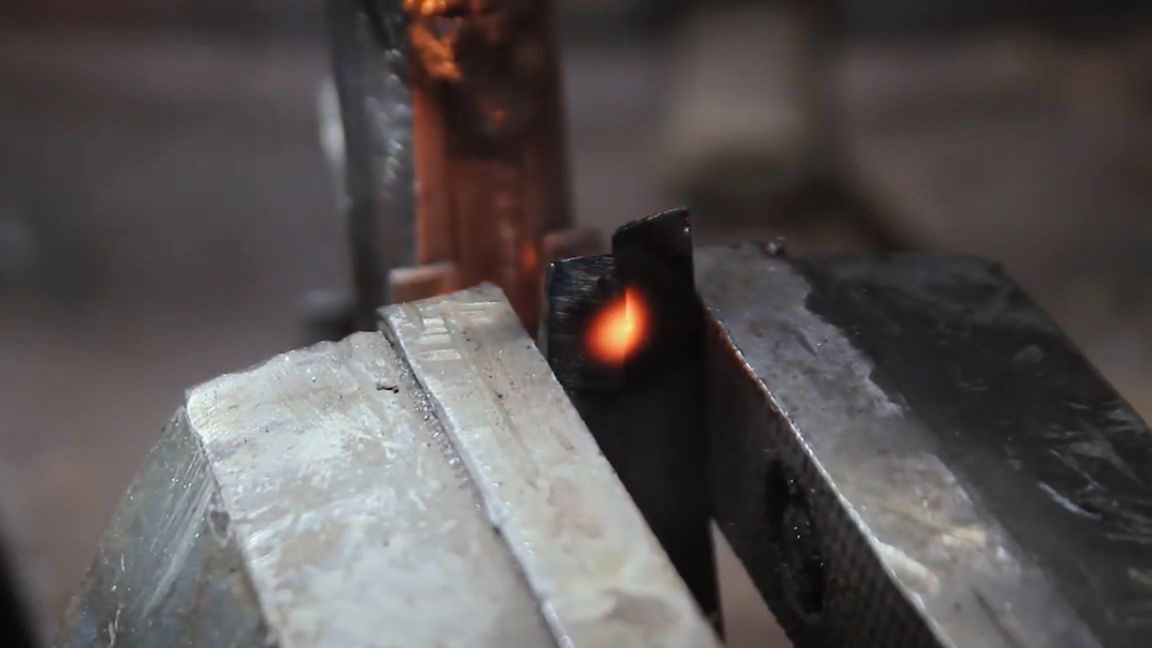
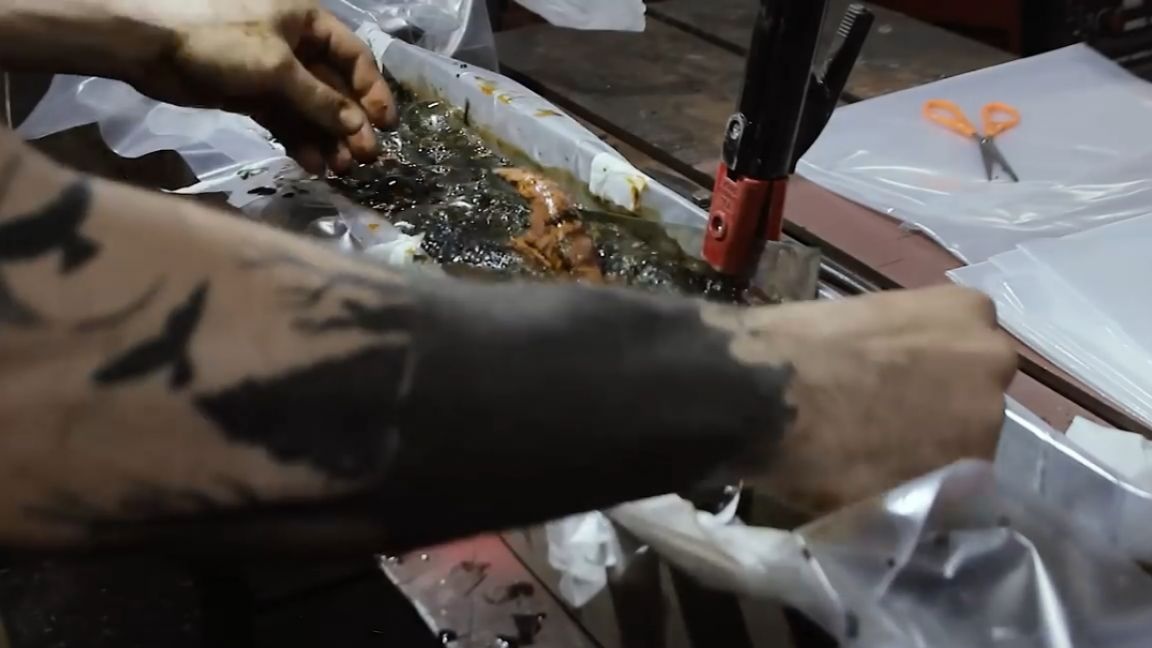
The author first poisoned metal on such a scale, so of course he did not have a suitable container. Therefore, from metal right on the workbench, he assembled the frames into which he placed the polyethylene. As a cathode, the master took a metal sheet 0.5 mm thick and folded it in a semicircle so that it passed over the entire area of the injured parts.
To isolate the cathode from the sword, the author wedged it with pieces of wood. As an electrolyte, we use saturated saline.
We fix the plus (+) on the part, and the minus (-) to the metal sheet. We will poison at about 100 amperes. Etching at such capacities, even with such a part size, takes only about 5-7 minutes.
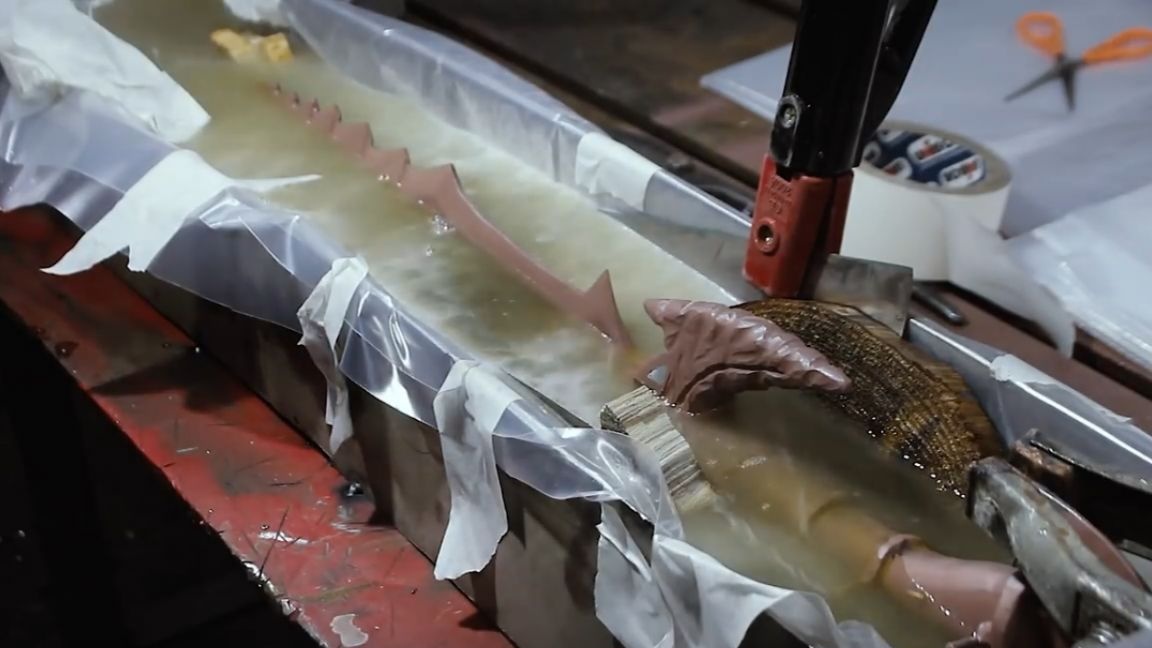
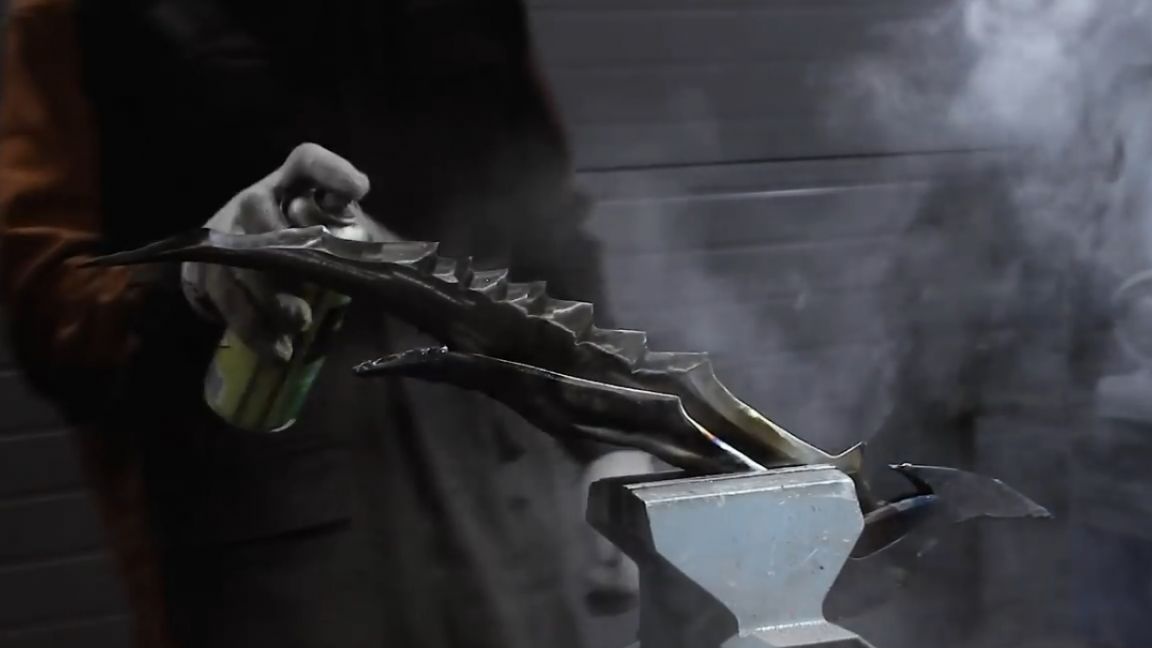
The paint keeps well in the process, and it is possible to get a pretty deep drawing. Today we will get a rich black tint with vegetable oil. To do this, cover the sword with oil, heat it evenly and hold it at the level of 200-250 degrees.
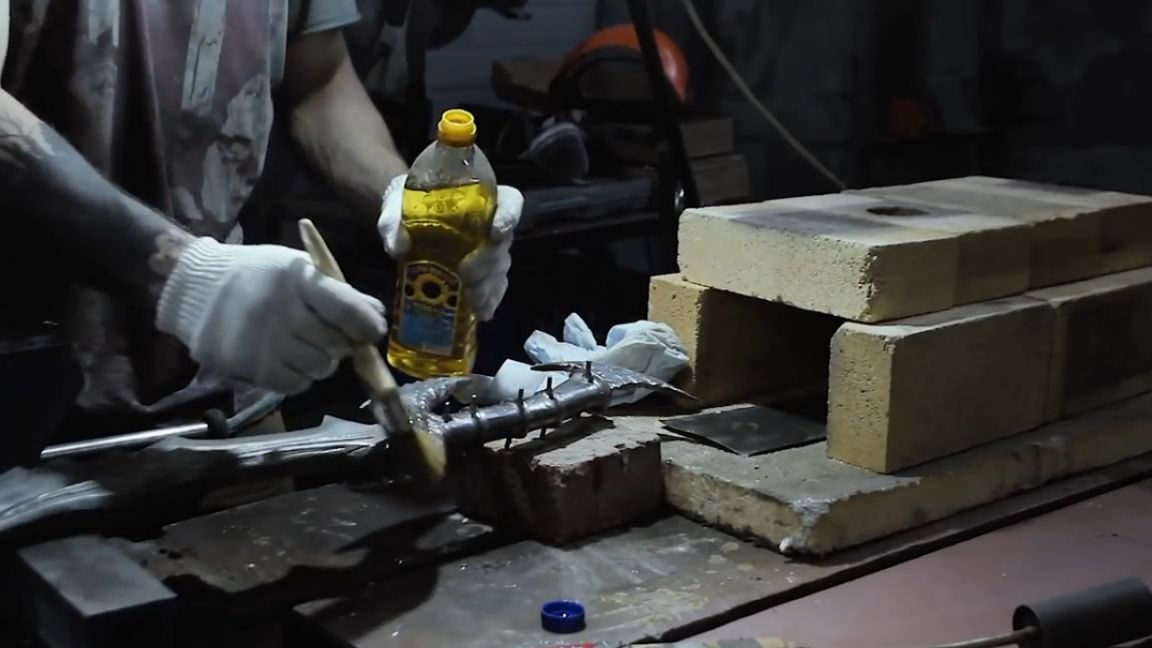
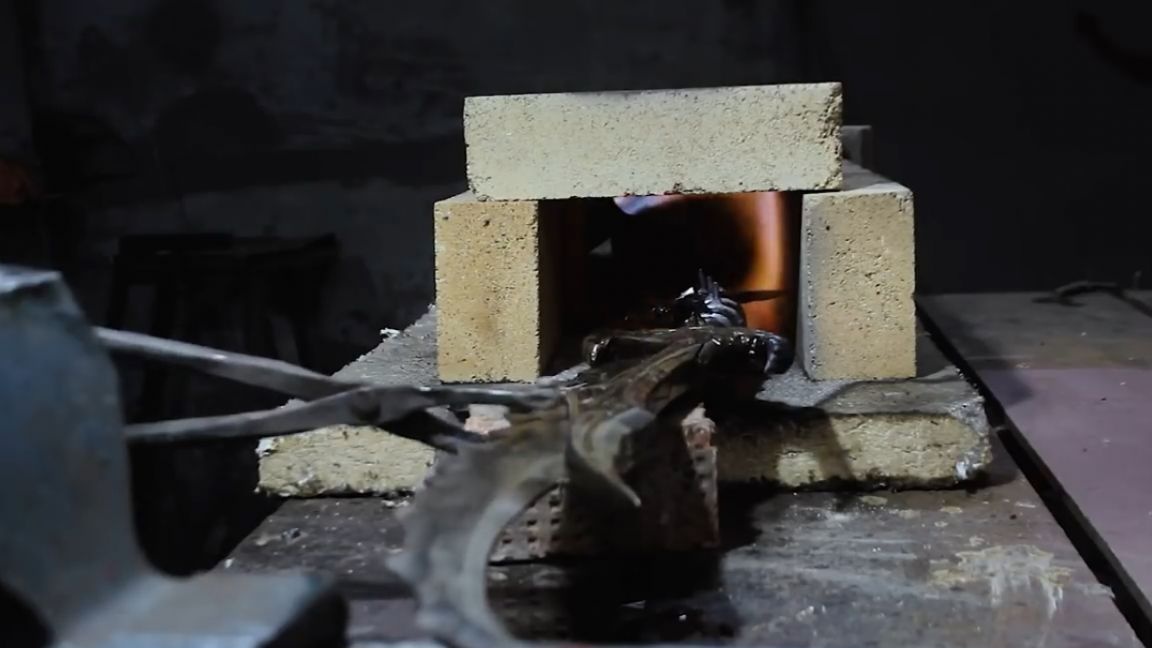
At this temperature, oil burns to the metal as well as to your pans. Such a raid will not be easy to clean, however, that is what we need. Periodically update the oil coating until the desired result is achieved. After such a process, the black film cannot be removed even with a metal brush, which the author went through to smooth the layer and remove the remains of oil stains. Now you need to degrease the blade and cover it with lemon juice.
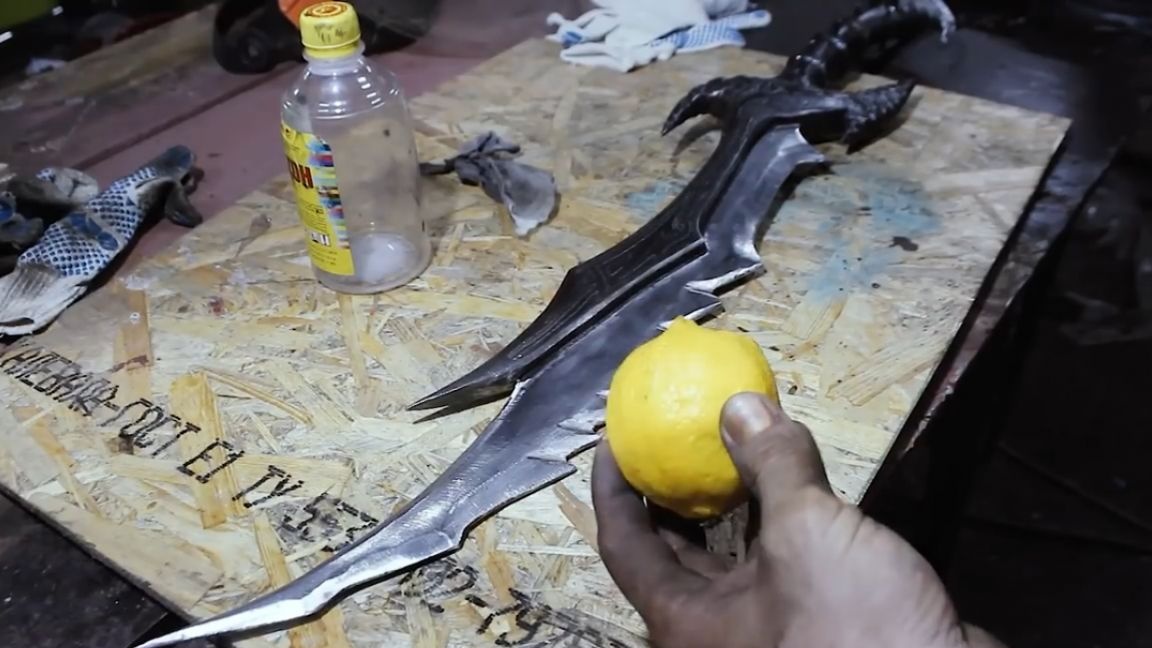
After some time, the metal will also darken under the influence of acid, but not so much.
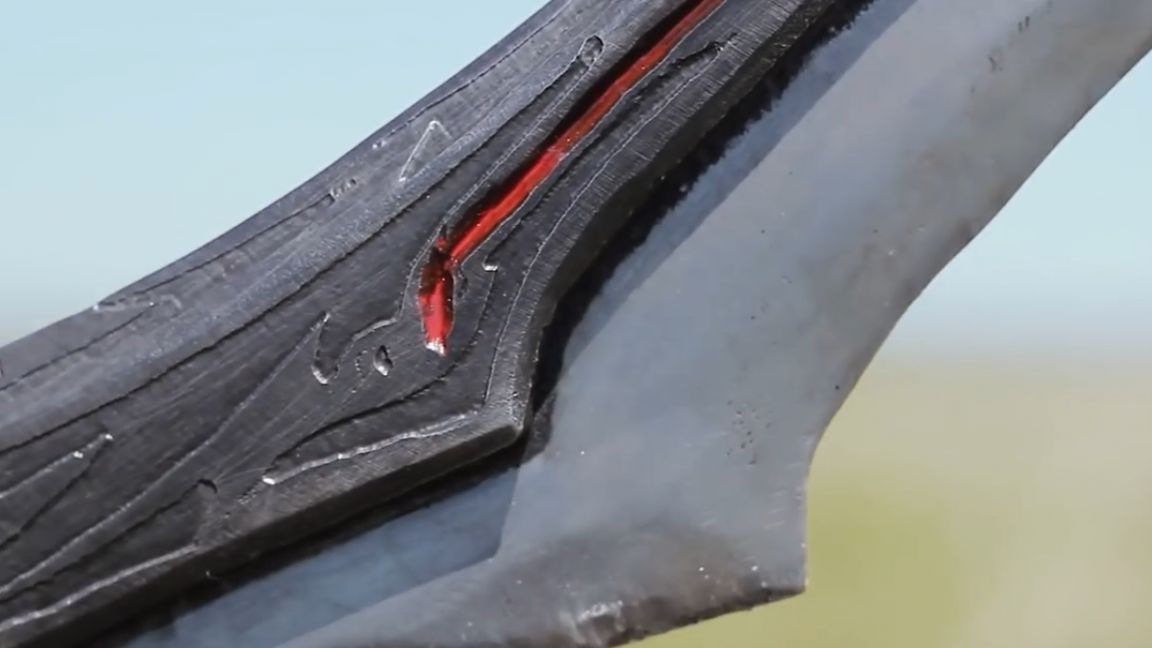
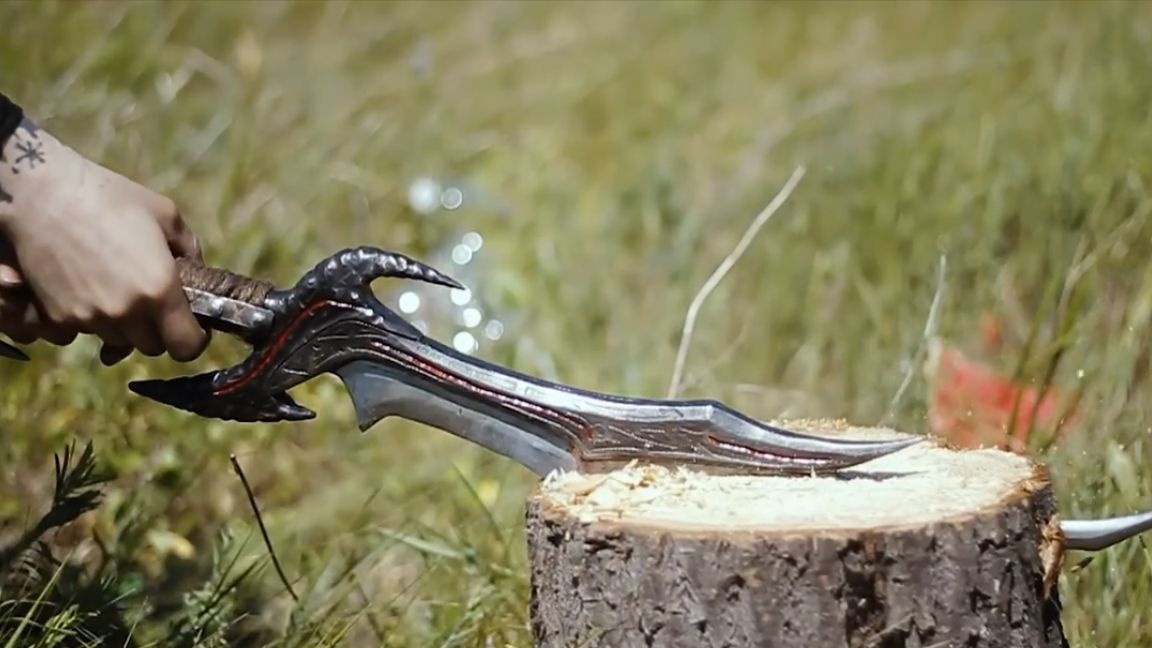
We get a uniformly gray matte shade, just like in the original model. The final touches in our work will be winding the rope on the handle, riveting the strips that press it and emphasizing the details with red paint.
Thank you for attention. See you soon!
Video: