
Good day to all dear friends! In today's article, I would like to show you just an unrealistically cool and interesting idea homemade. I think many people know that lately it has become very popular to make any projects or home-made items from ordinary corrugated cardboard. What they just do not make of it, and food processors and tools, and even some craftsmen make full-fledged models of cars and motorcycles. But it’s especially popular to make various kinds of toys weaponswhich can shoot with paper bullets. This "weapon" is great as a model for a table or shelf, but may also be suitable for home "shooting" at targets.
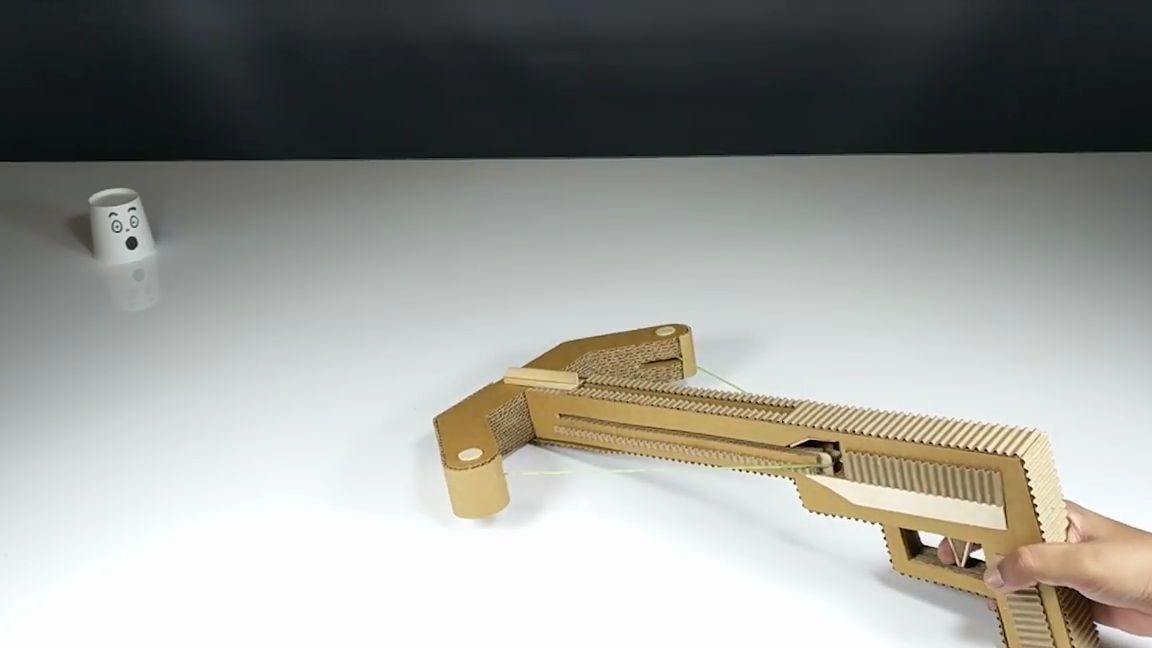
In today's article, we will look at how you can make a steep crossbow from corrugated cardboard that can shoot paper arrows.
In general, the homemade product is very interesting, so let's not pull it, let's go!
And so, for a crossbow from corrugated cardboard you will need:
corrugated cardboard
barbecue skewers
-paper
office gum
- wooden spatula
ice cream sticks
From the tools, you will also need:
hotmelt
-Super glue
-scissors
-stationery knife
nippers
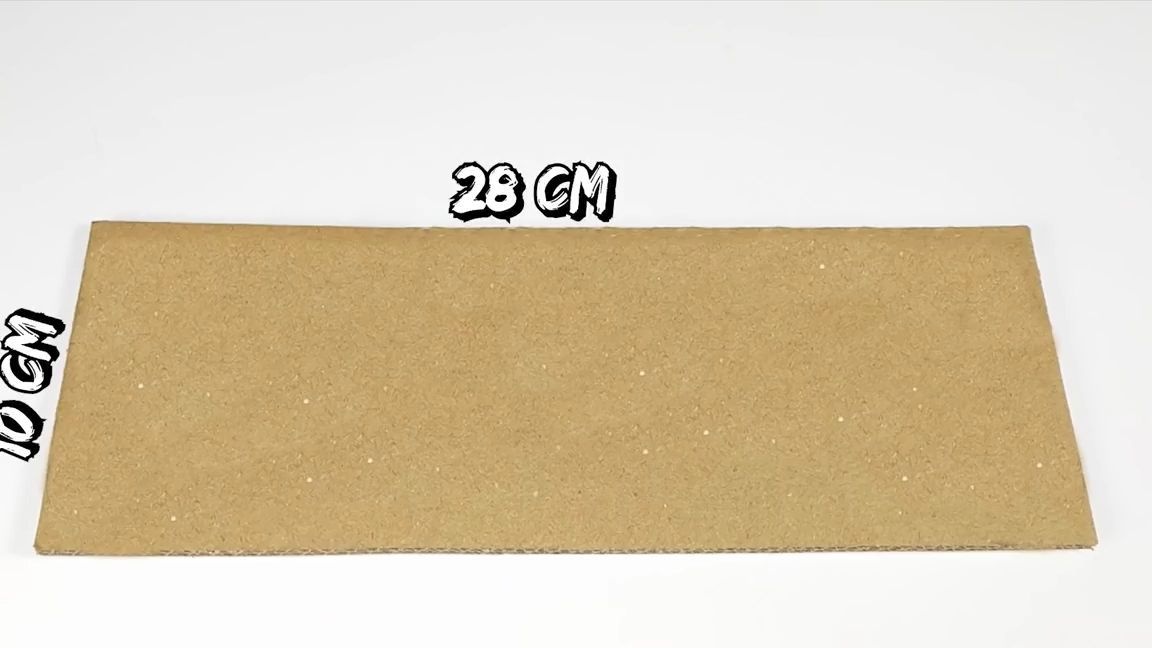
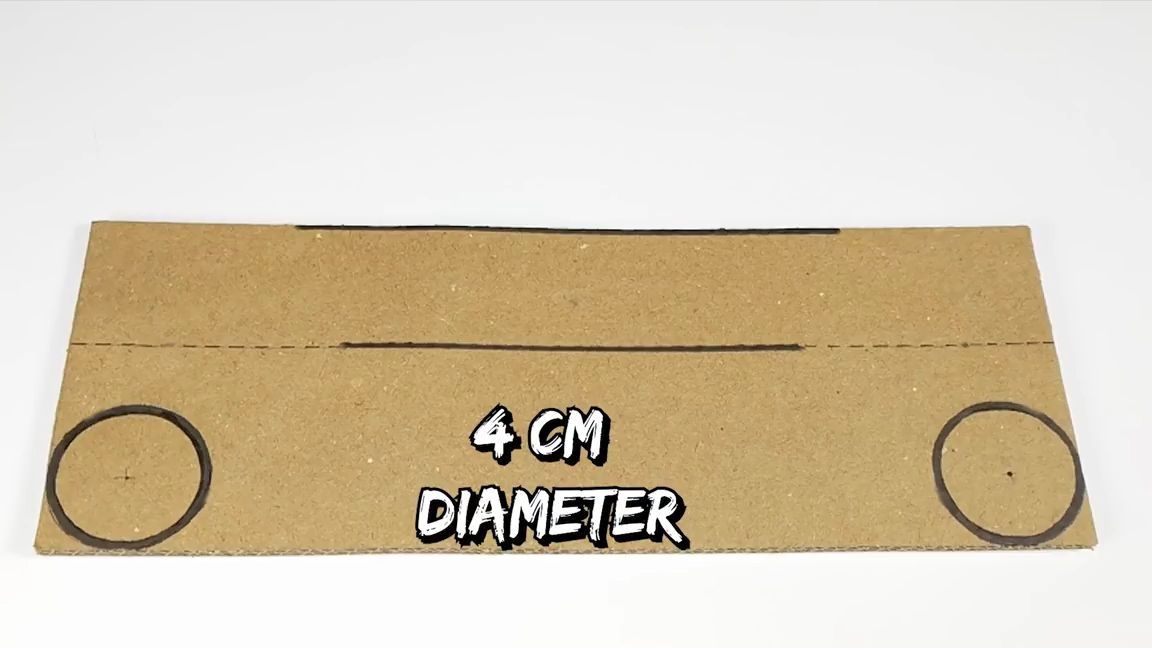
First of all, it is necessary to cut an even rectangle from corrugated cardboard with dimensions of 10 by 28 centimeters.
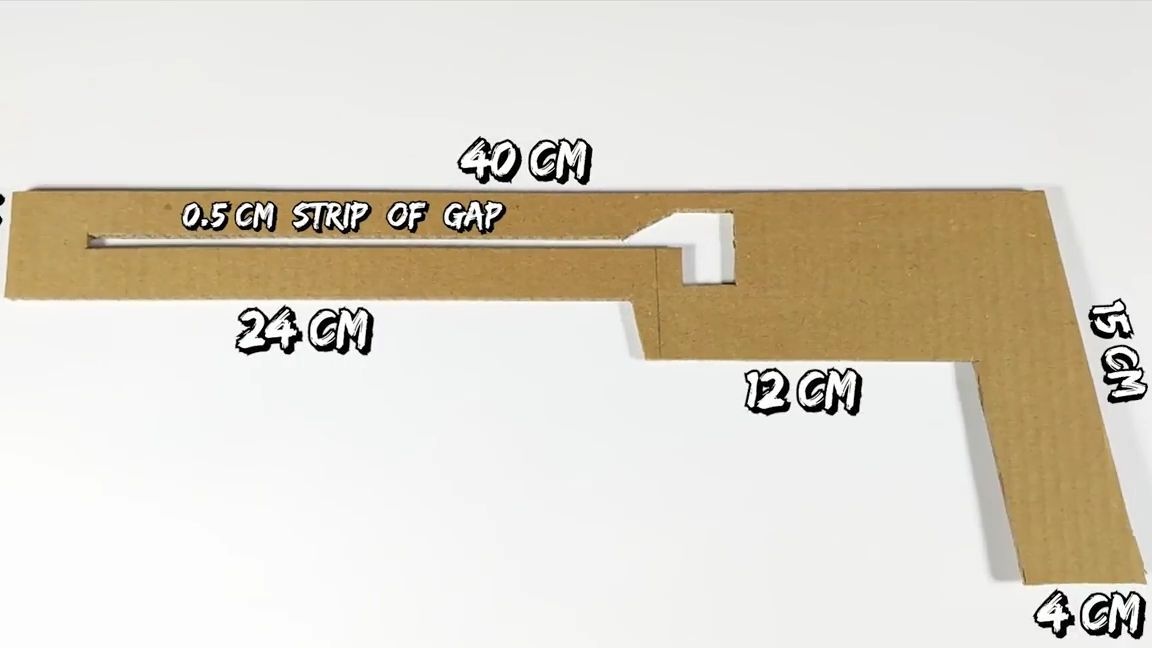
Next, you need to draw a detail, as in the photo below. By the way, all dimensions of the drawing are also shown in the photo below.
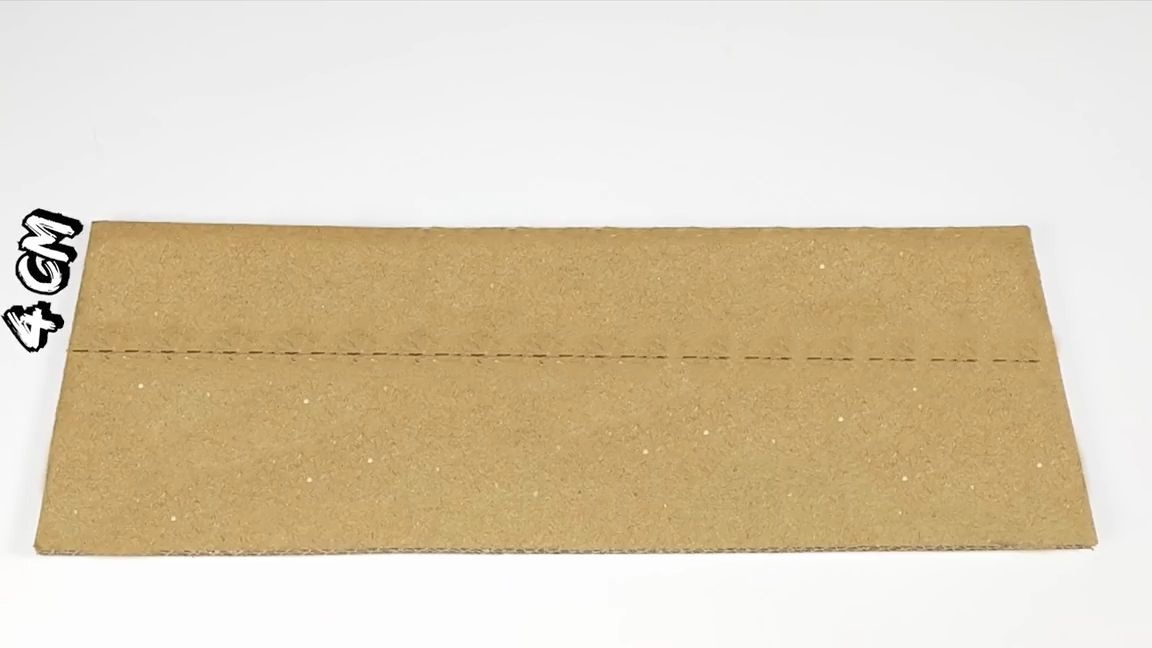
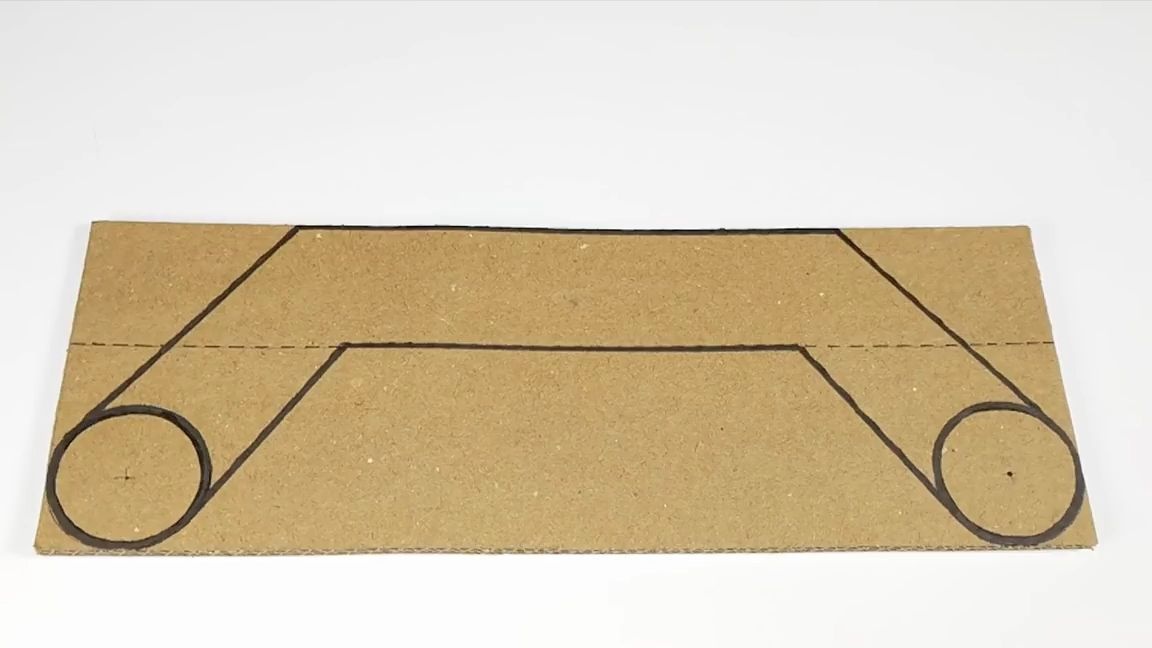
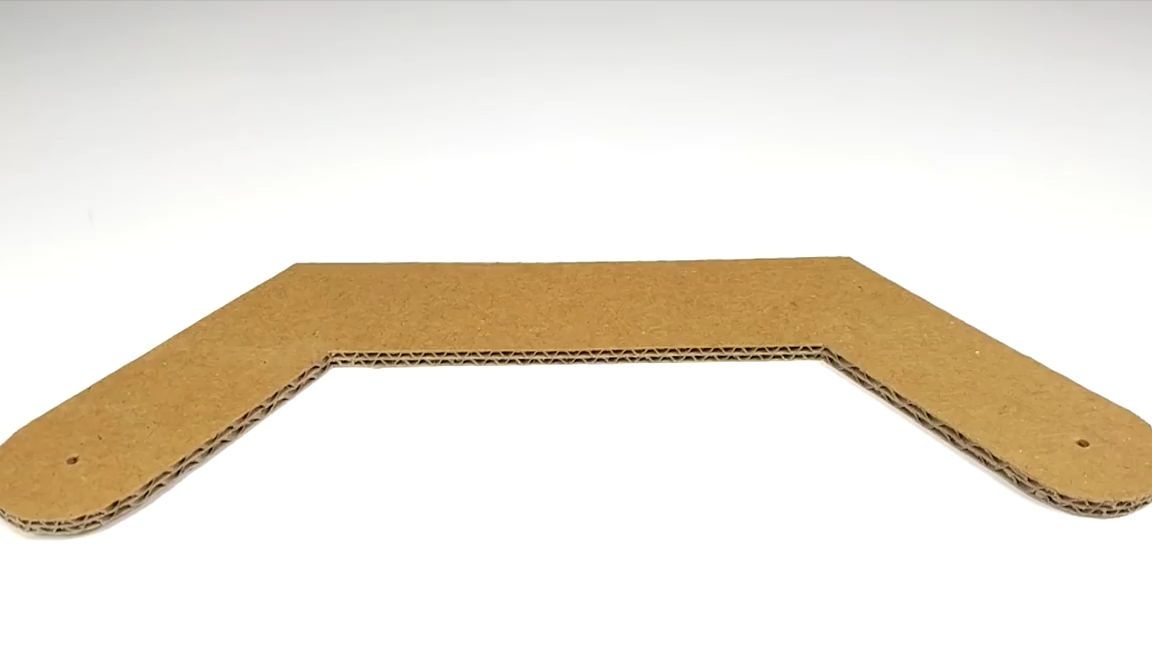
After drawing this workpiece, it is naturally necessary to cut it with either a clerical knife or with scissors.
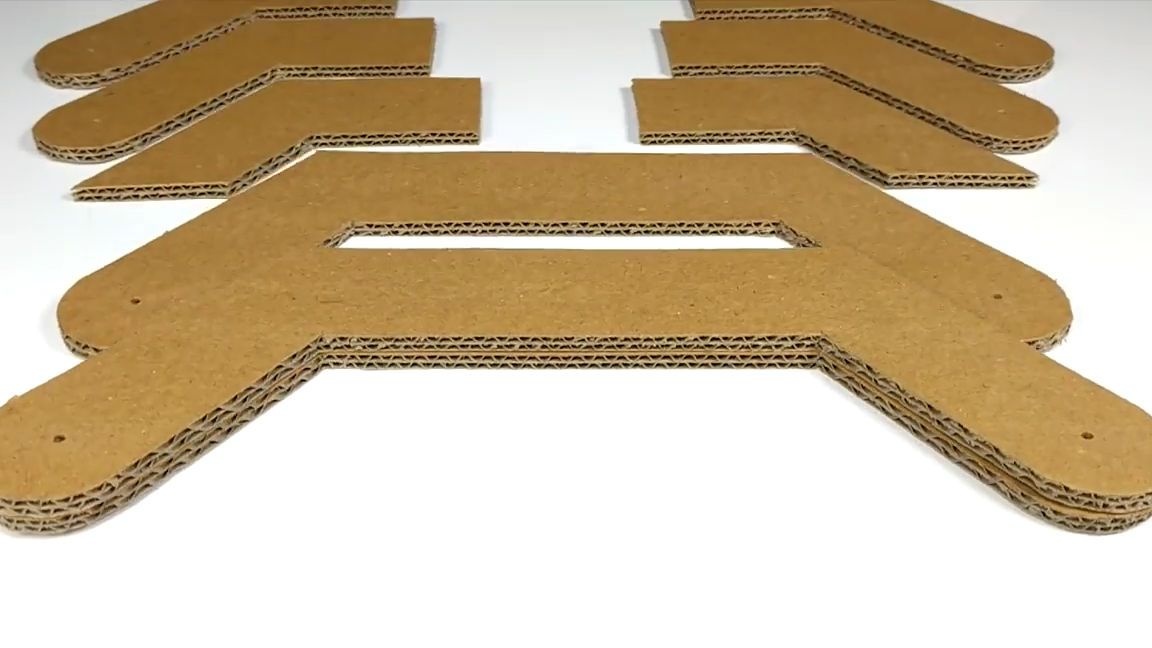
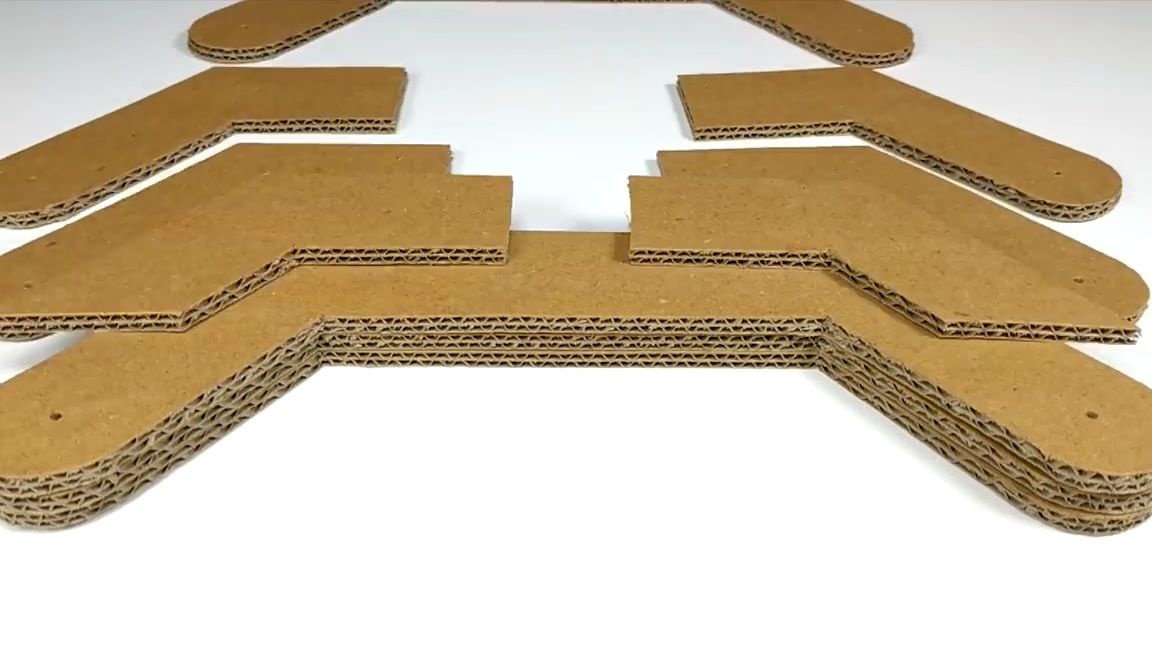
Then you need to draw and cut a few more similar parts, but not all of them should be the same, some should be with slots, and some just shorter. In general, you need to glue everything, as in the photo below.
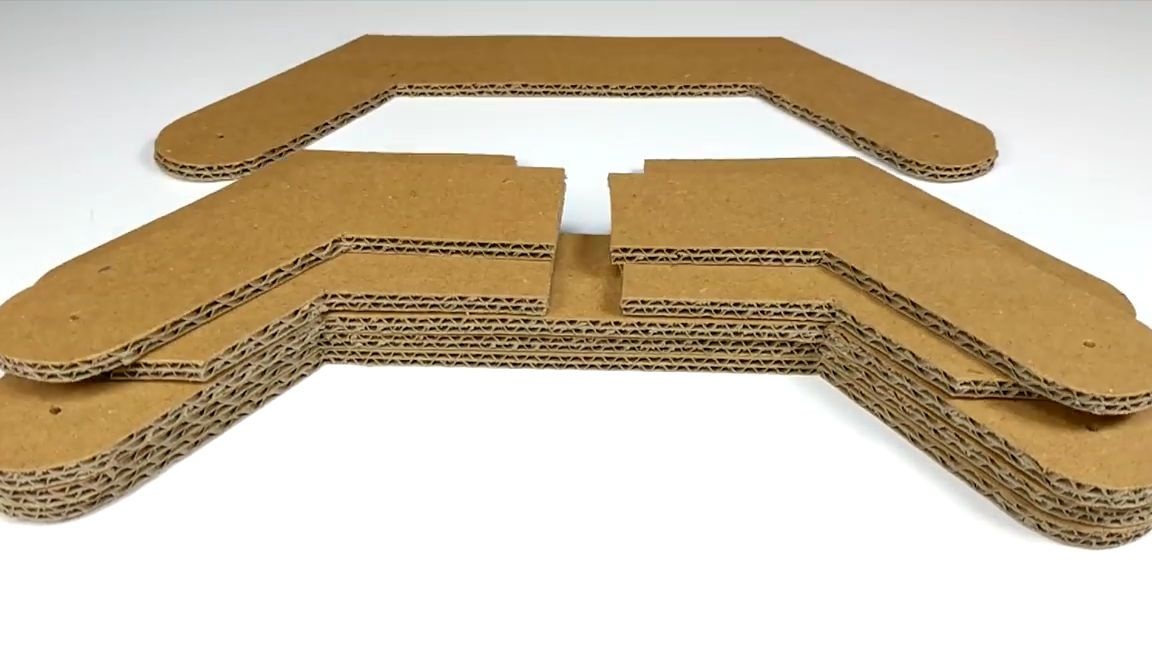
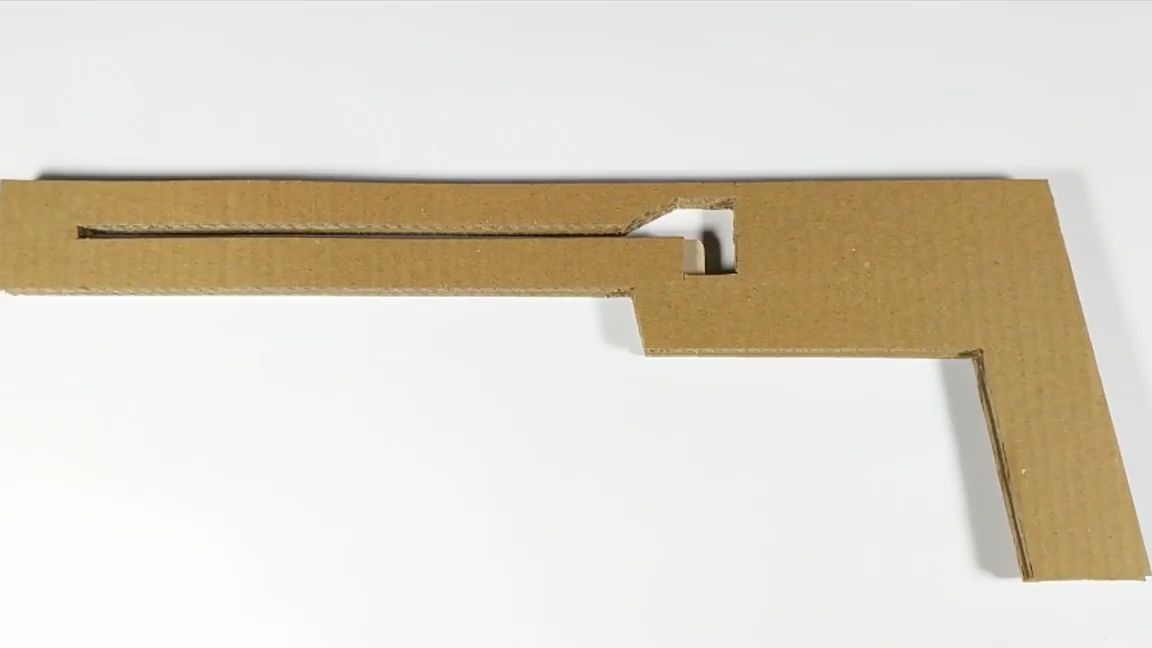
After gluing by layering, you should get a similar blank:
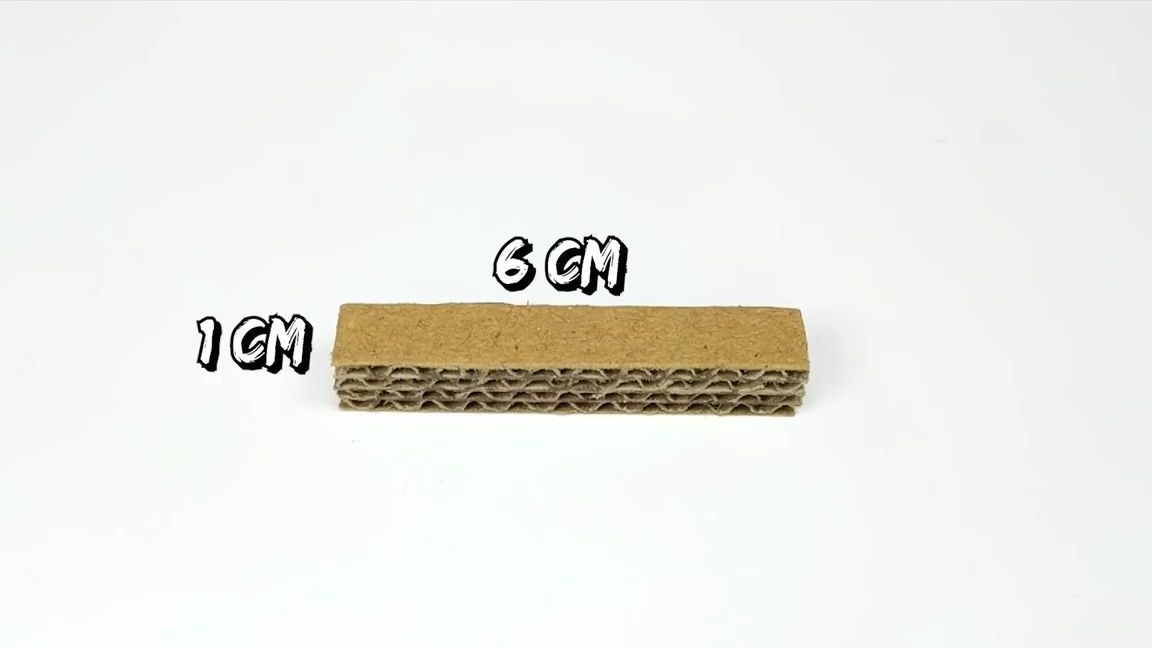
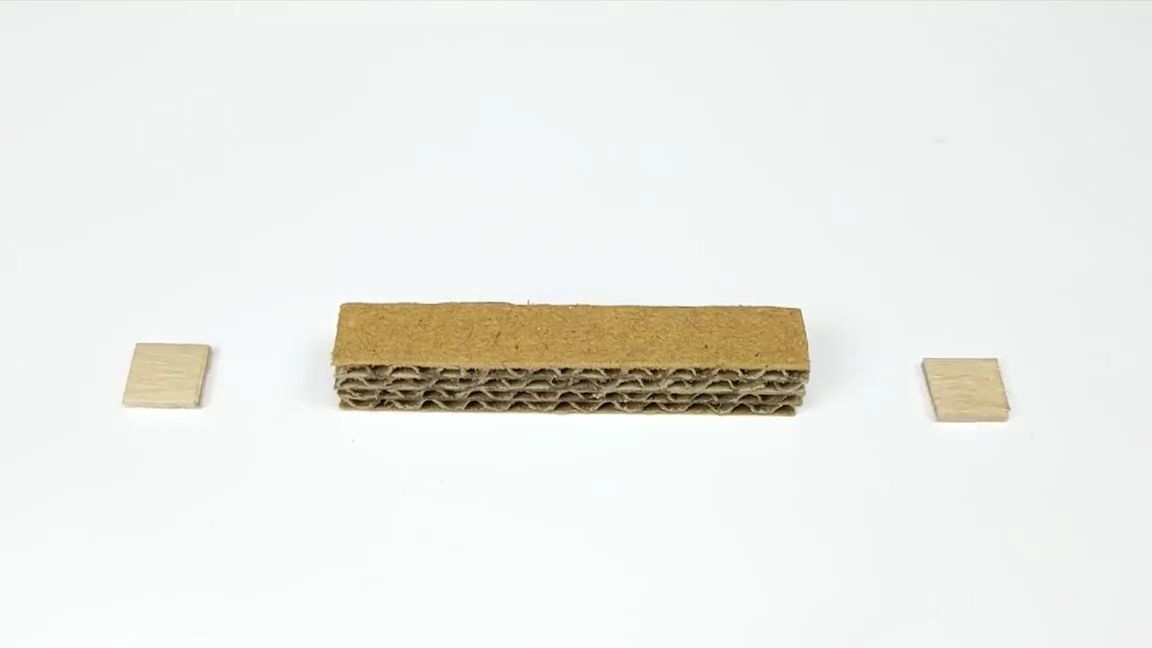
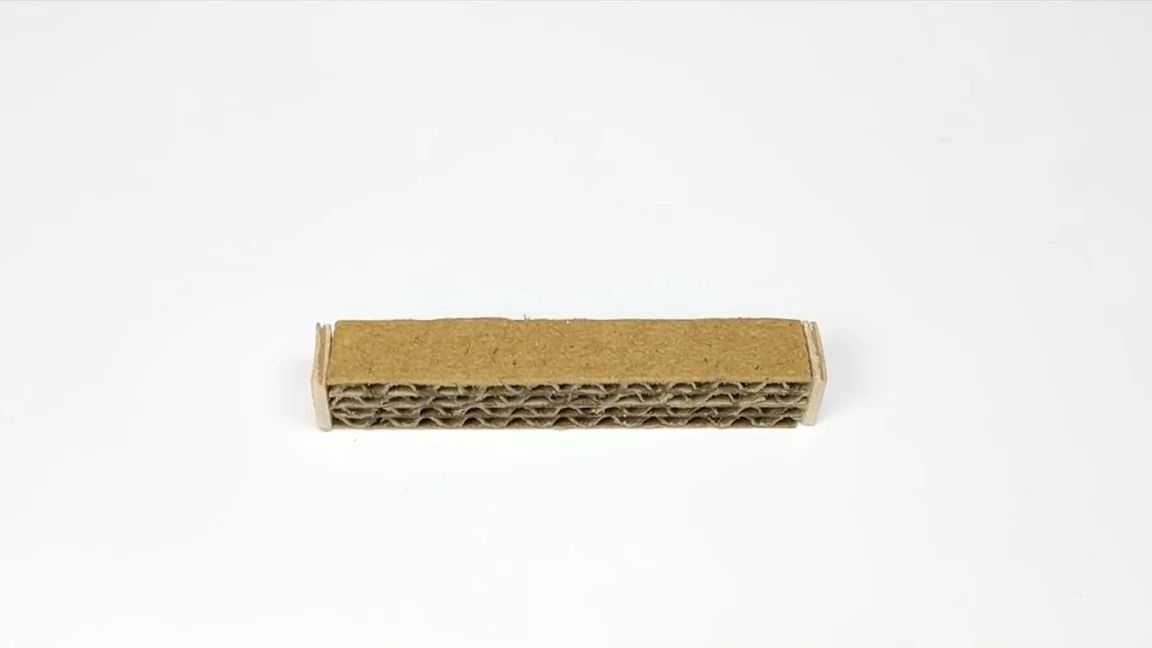
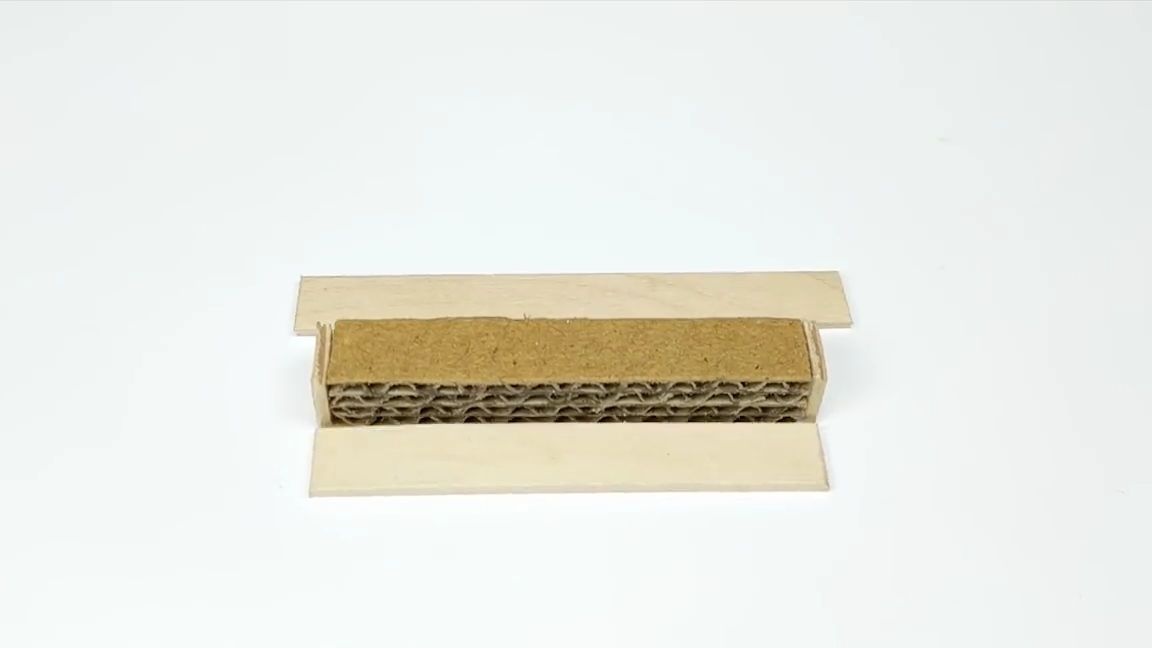
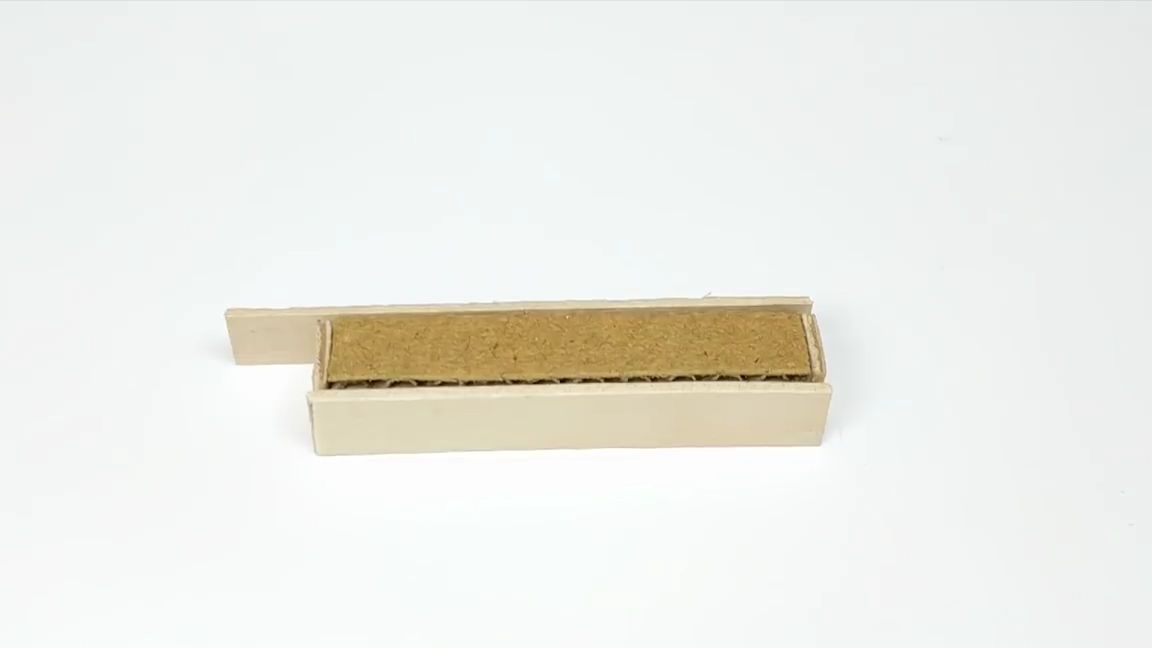
Then, from the same corrugated cardboard (surprisingly, the cardboard part in the crossbow from the corrugated cardboard), we cut out a neat rectangular part with dimensions of 1 by 6 cm, glue another similar part on top of this part to make a blank with a height and width of 1 cm. After why, from the ice cream stick we cut two small squares, with sides 1 by 1 cm, and glue them on the small sides of the cardboard blank.On the large sides, it is also necessary to stick pieces of ice cream sticks, but you can see that one stick, slightly longer than the second, is an important detail:
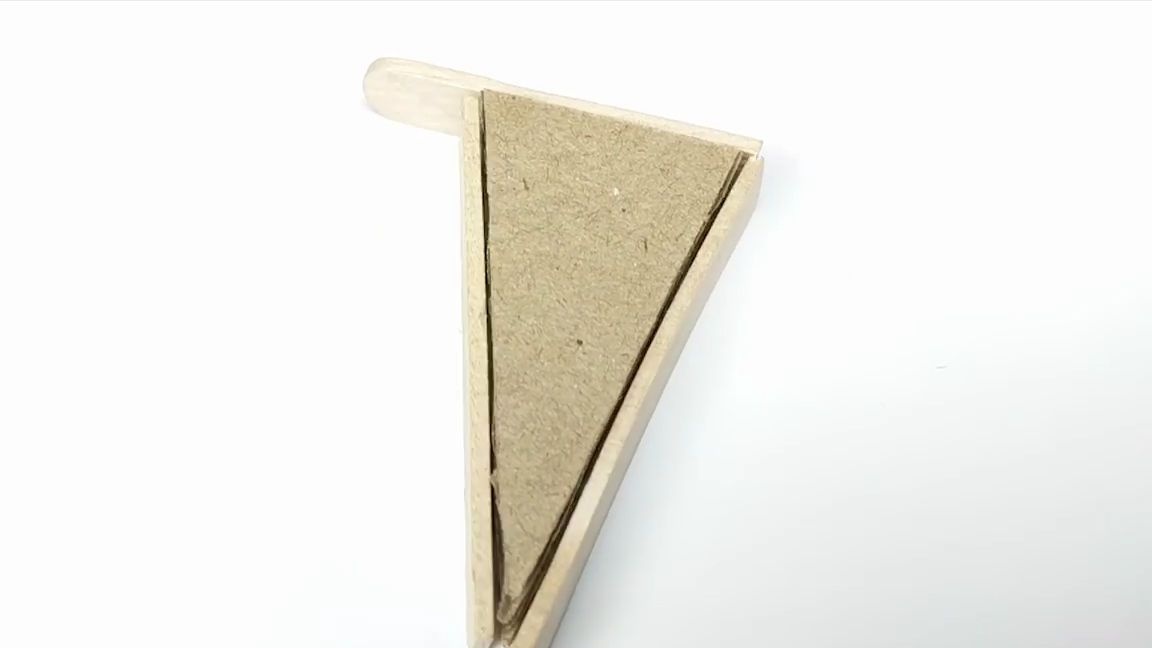
Well, now you need to make another piece of ice cream and corrugated cardboard sticks. You need to do exactly the same as the previous workpiece. Here, it seems there is nothing complicated, so I think you can not comment on this process. But one of the parts, which is located on the smaller leg of this triangle, should also be slightly longer and go beyond the triangle:
On corrugated cardboard we draw and cut the blank, as in the photo below. All sizes are also shown in the photo. This part will serve as the basis for the crossbow:
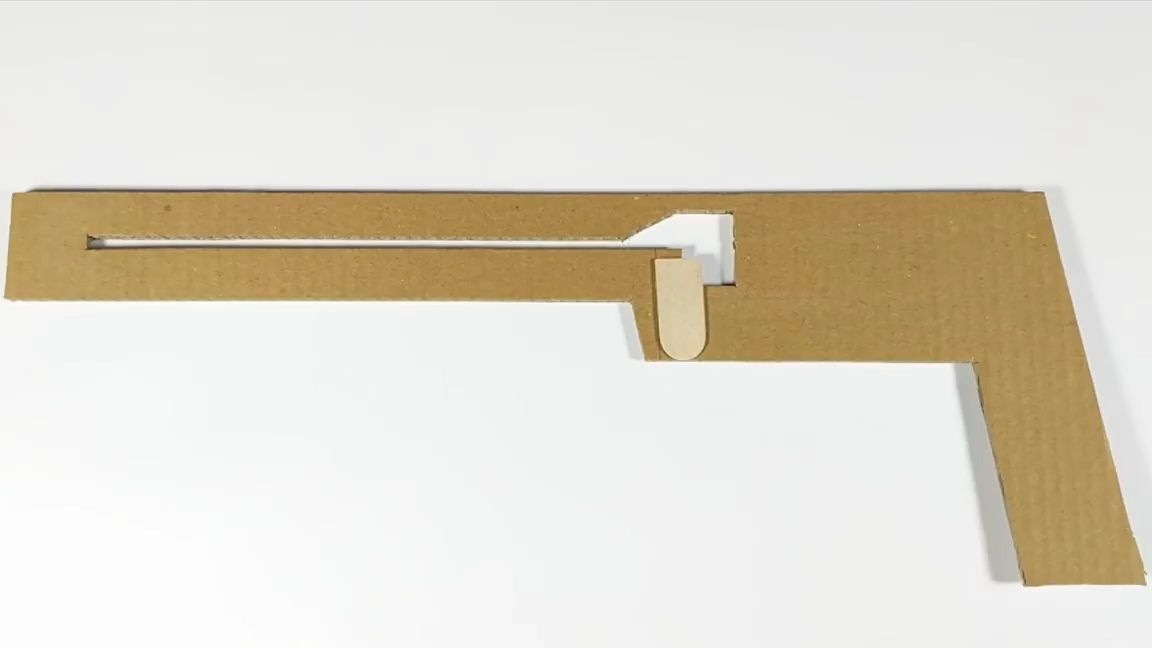
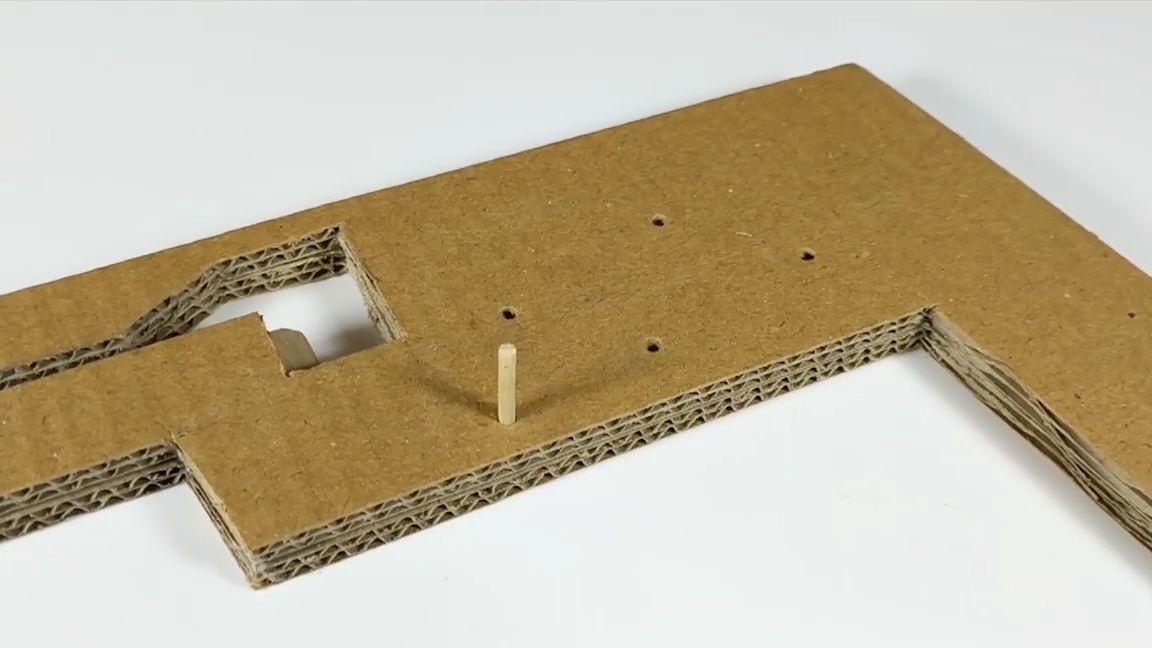
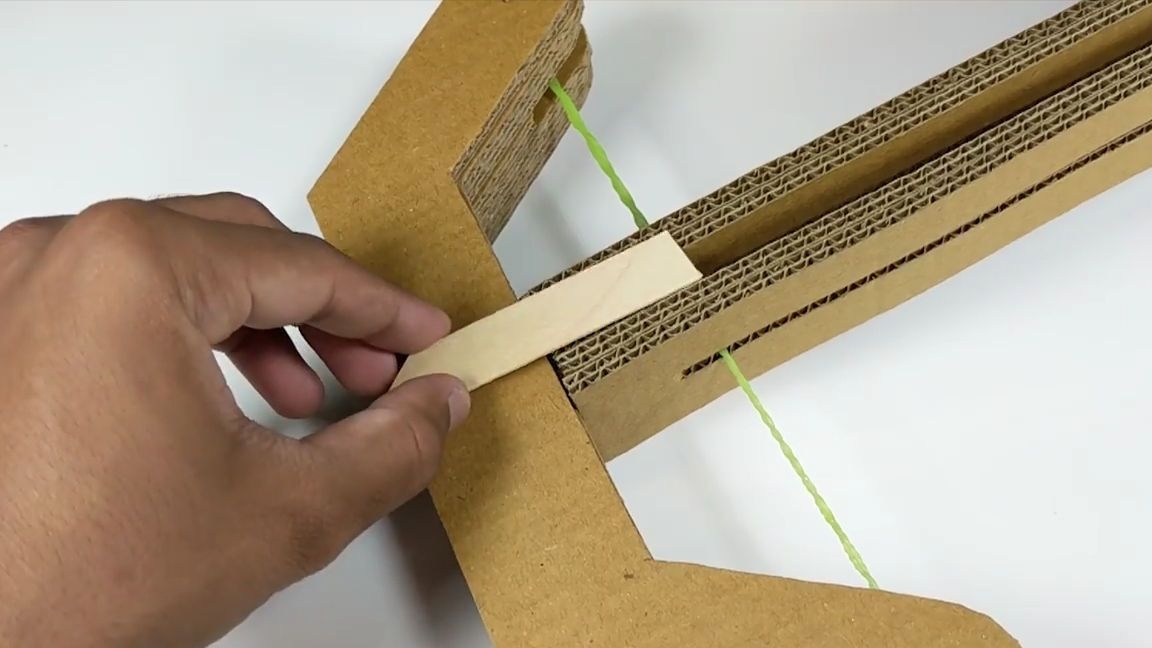
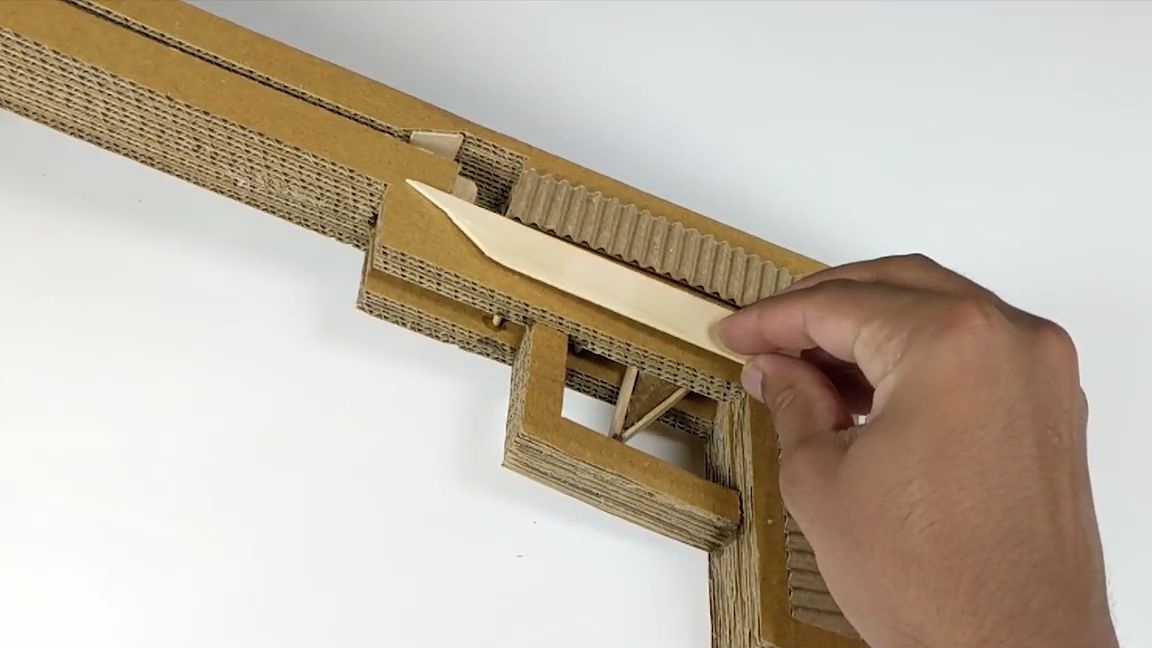
On this part, it is necessary to glue a piece of wooden spatula, as you see, it should slightly go beyond the boundaries of the connection of the part and the hole in the part:
We cover and glue the first part of the structure with the second, in exactly the same detail as the first.
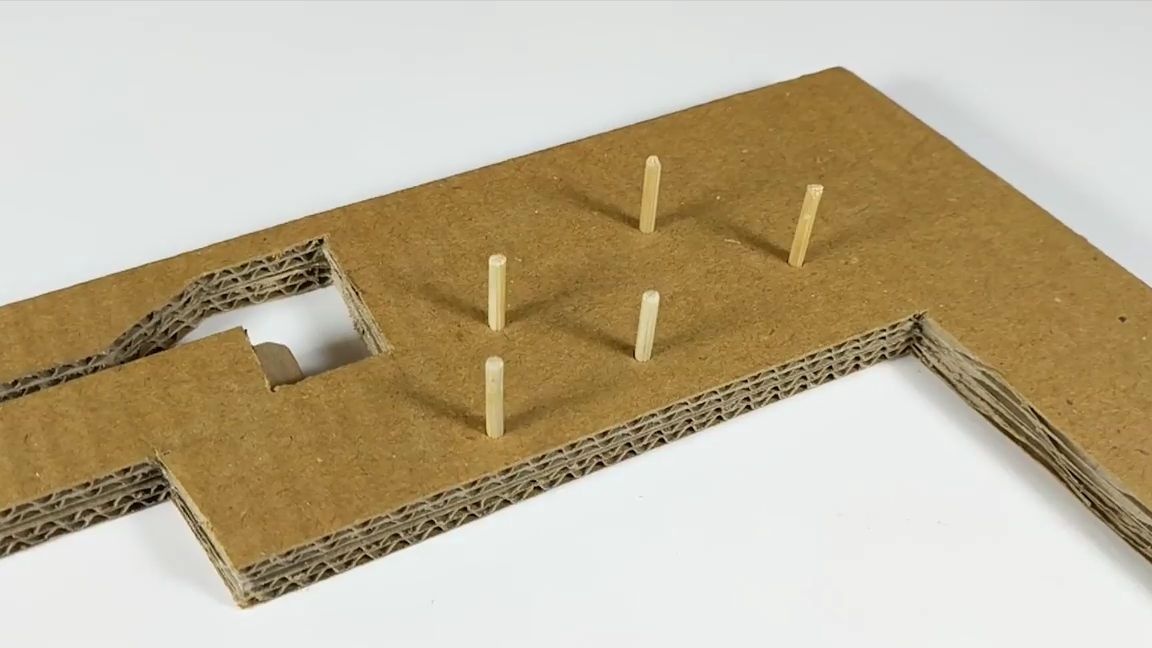
Then in the widest part of the structure we make 5 even holes. From the barbecue skewers we cut off 5 equal lengths of the segment and insert them into these holes, after which we naturally glue (preferably with super glue). Everything needs to be done as shown in the photo below:
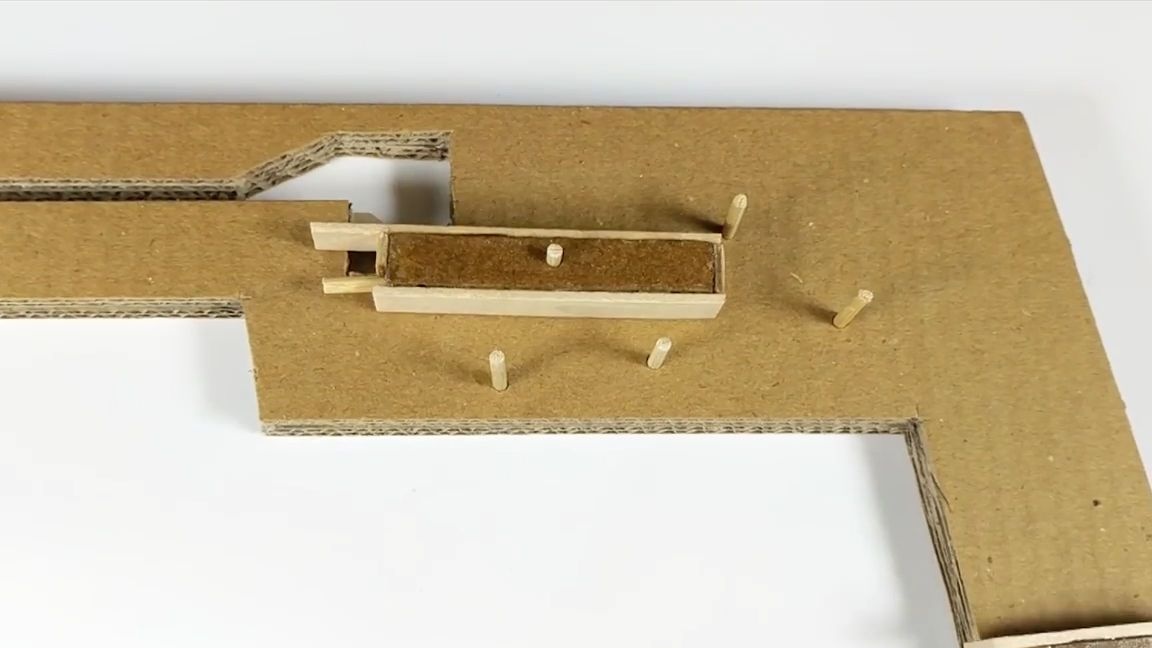
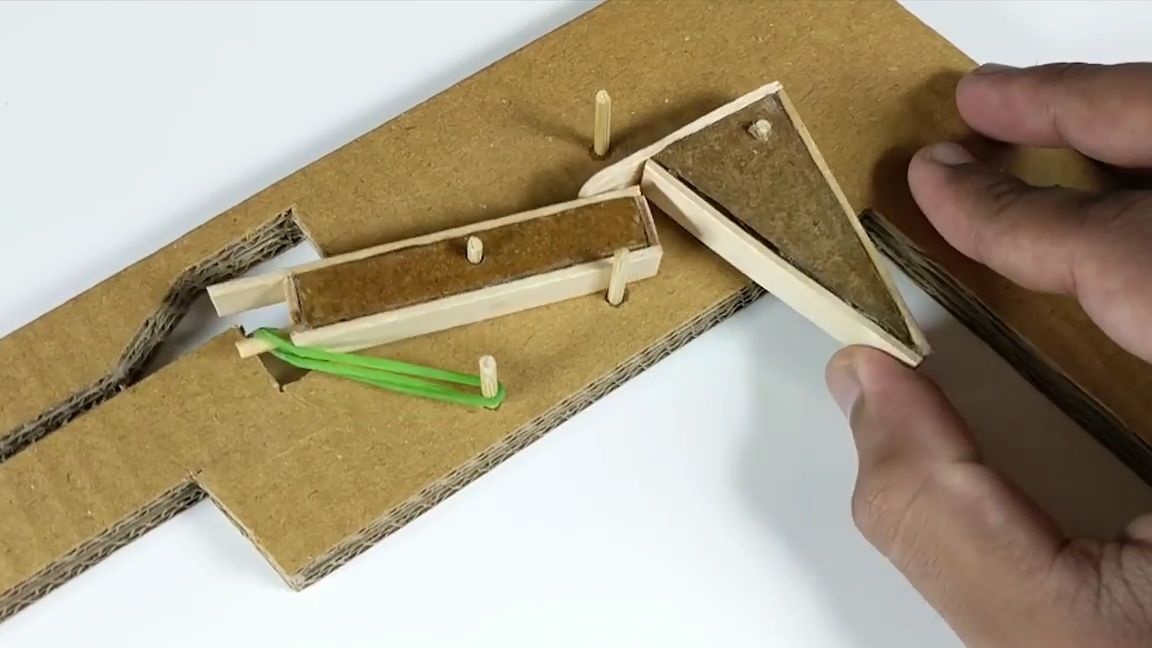
We take a rectangular part that was made earlier (by the way, its cardboard part, preferably, should be impregnated with super glue in order to make it stronger. We also need to glue another small extension, on the side where the very first extension is) and in it in the center we drill a flat, through hole with a screwdriver or with an electric drill. Then you need to put this part on one of the extreme skewers in a still unassembled crossbow.
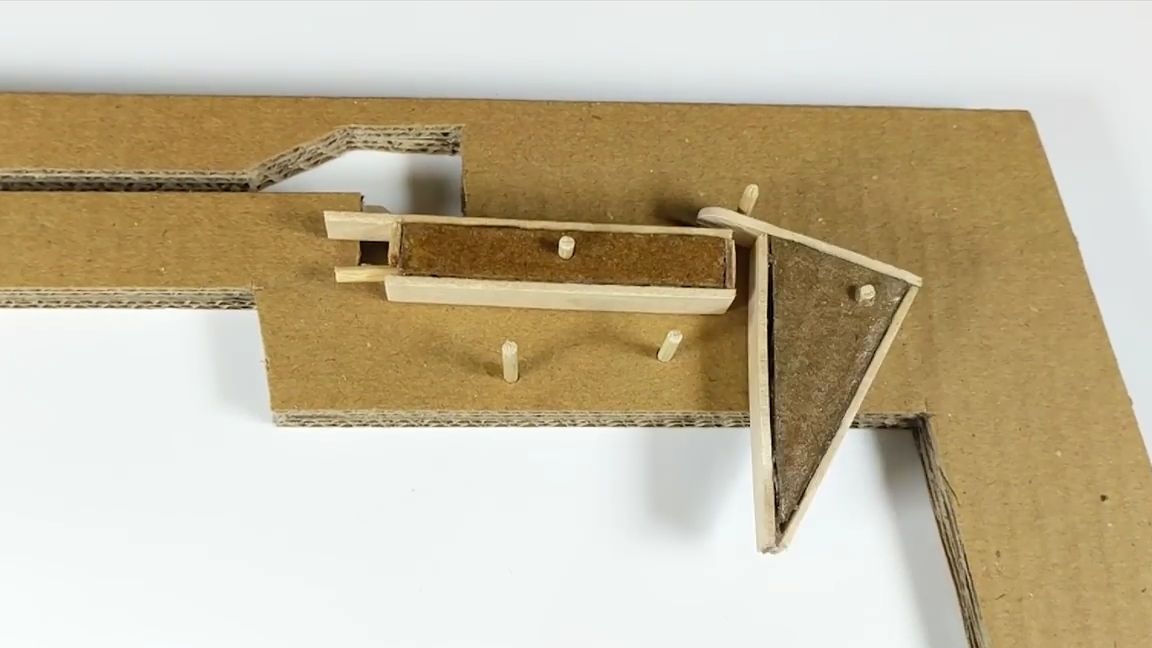
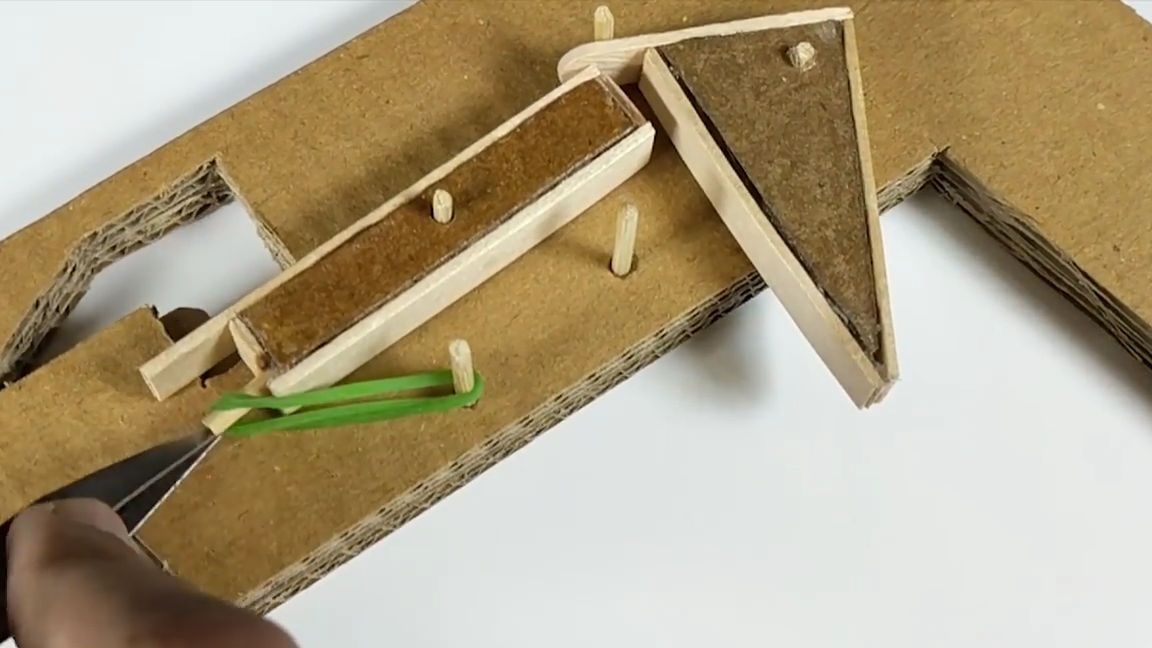
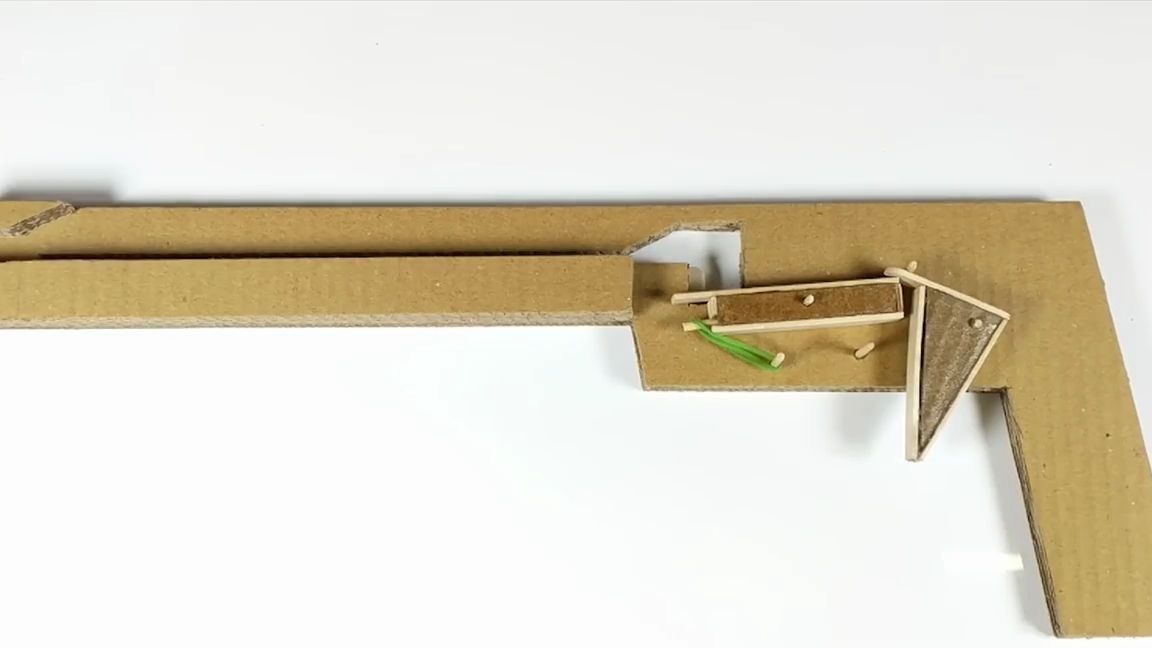
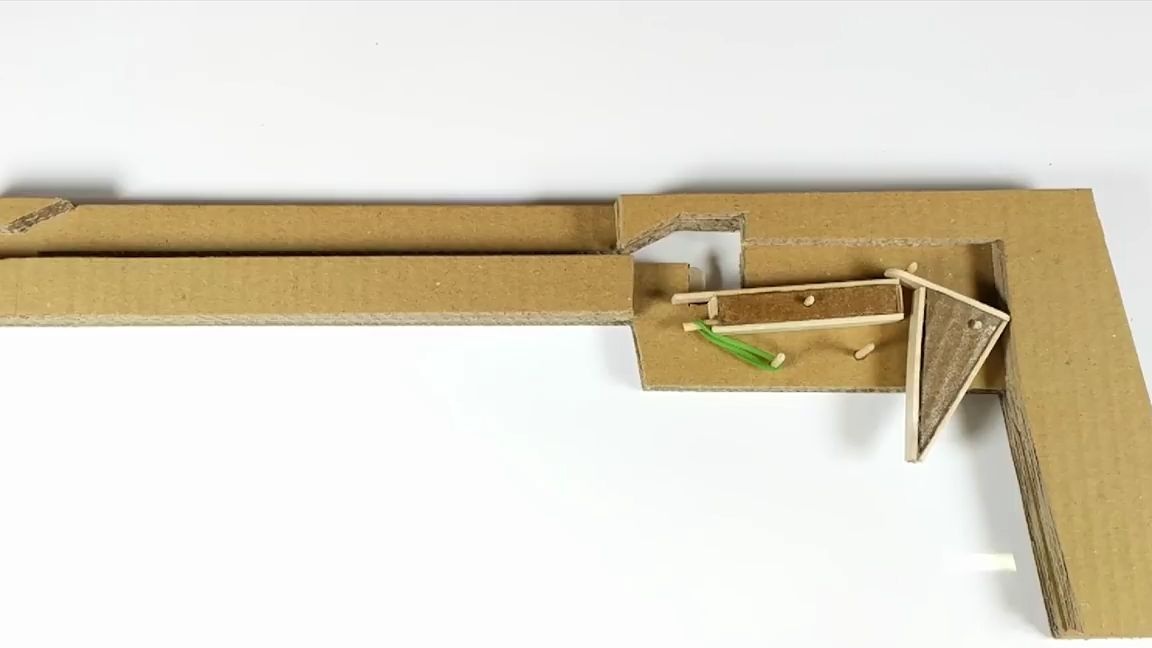
The triangular blank must also be impregnated with super glue for strength. Then, from the edge of the workpiece, at an angle of 90 degrees, it is necessary to drill another hole. After that, we put this workpiece on the skewer. As you can see, its elongated part should be between a rectangular blank and one of the skewer segments. In general, you need to do everything as shown in the photo:
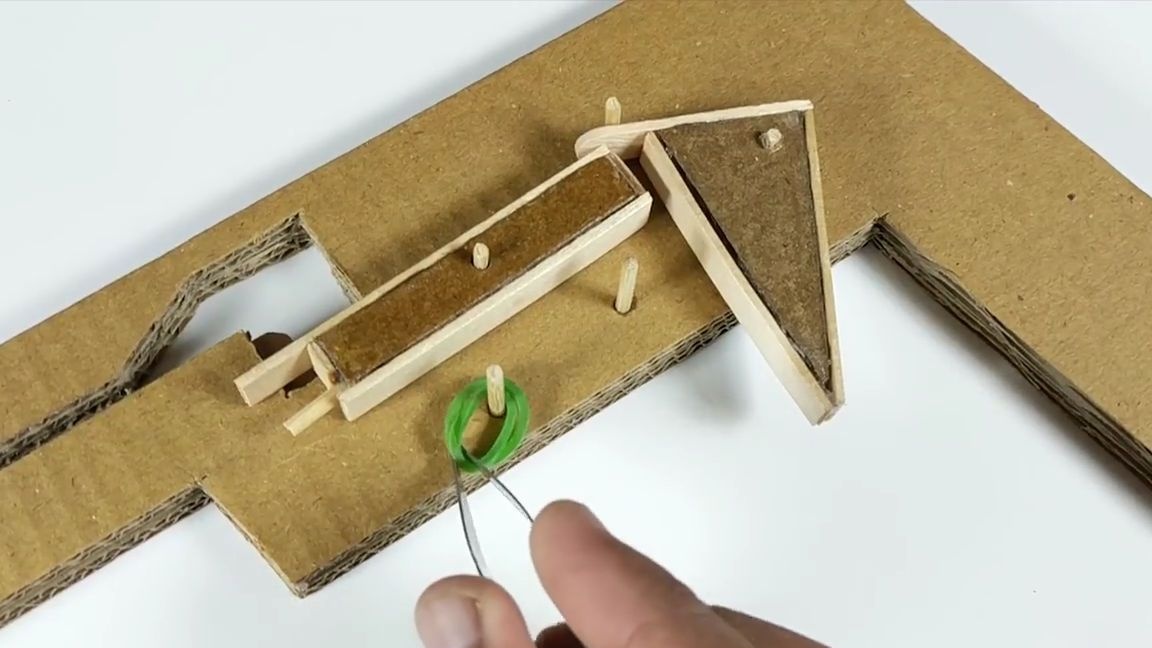
Now you need to take a small rubber band (they are usually used for weaving) and put it on first on one of the skewers, and then on the second elongation of the rectangular blank.
Then you need to test this trigger:
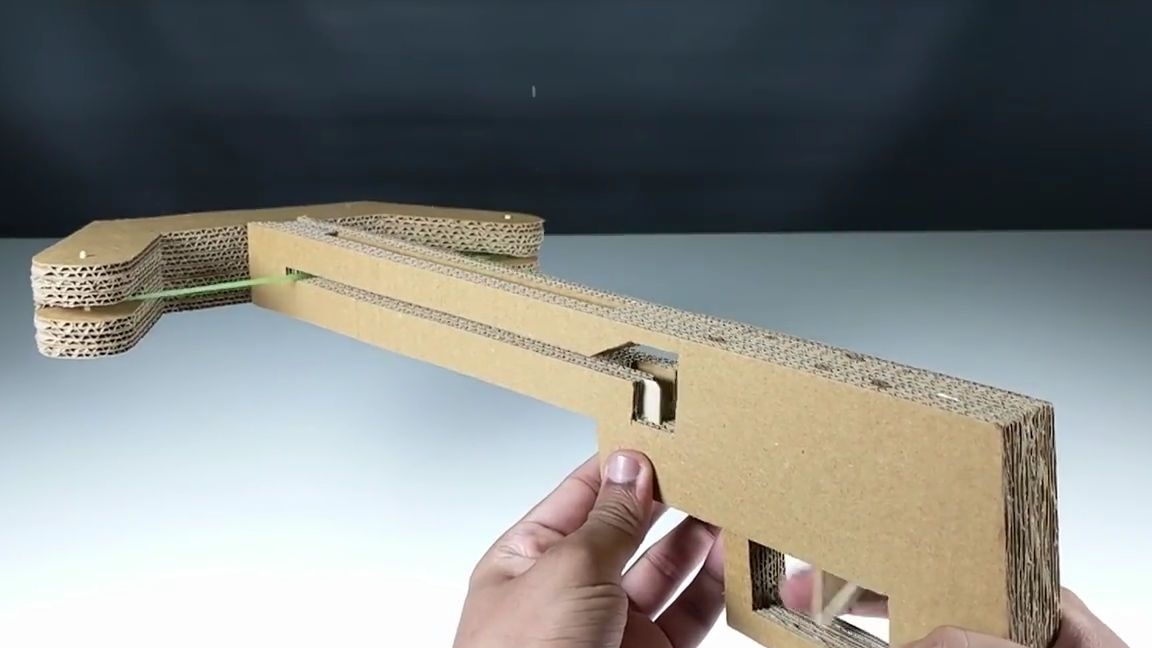
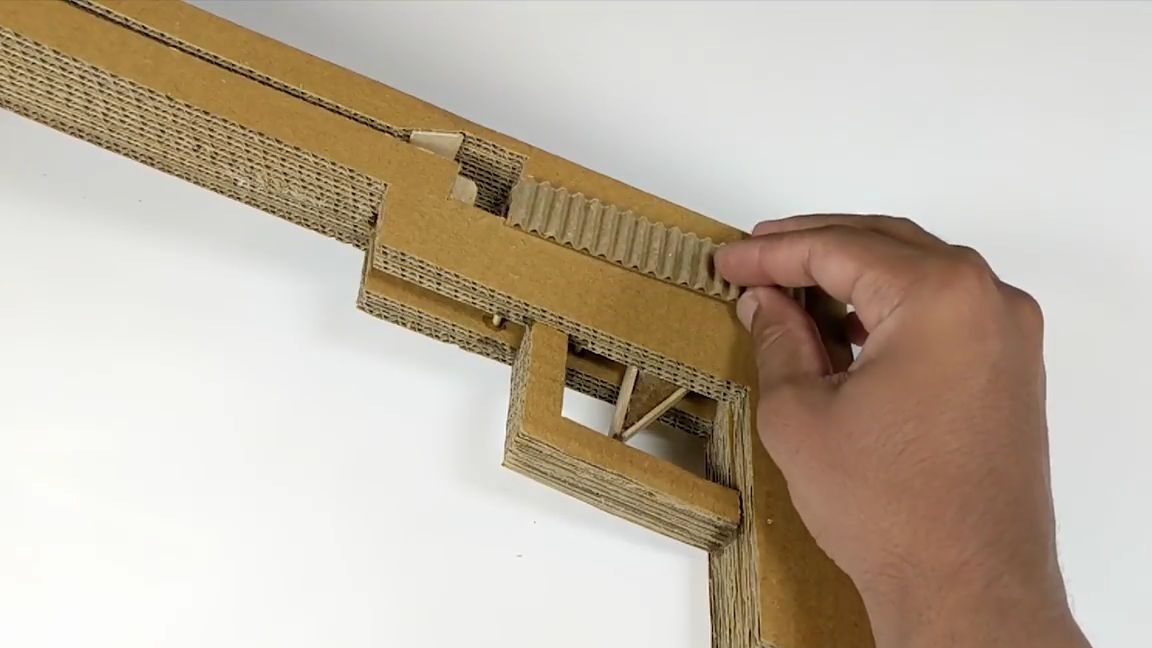
From the corrugated cardboard, we cut out a few more details and glue them to the general design as shown in the photo below:
We cover the future crossbow with another detail, which should be exactly the same as the one underlying the entire structure. Well, of course we glue with super glue, or with hot melt glue:
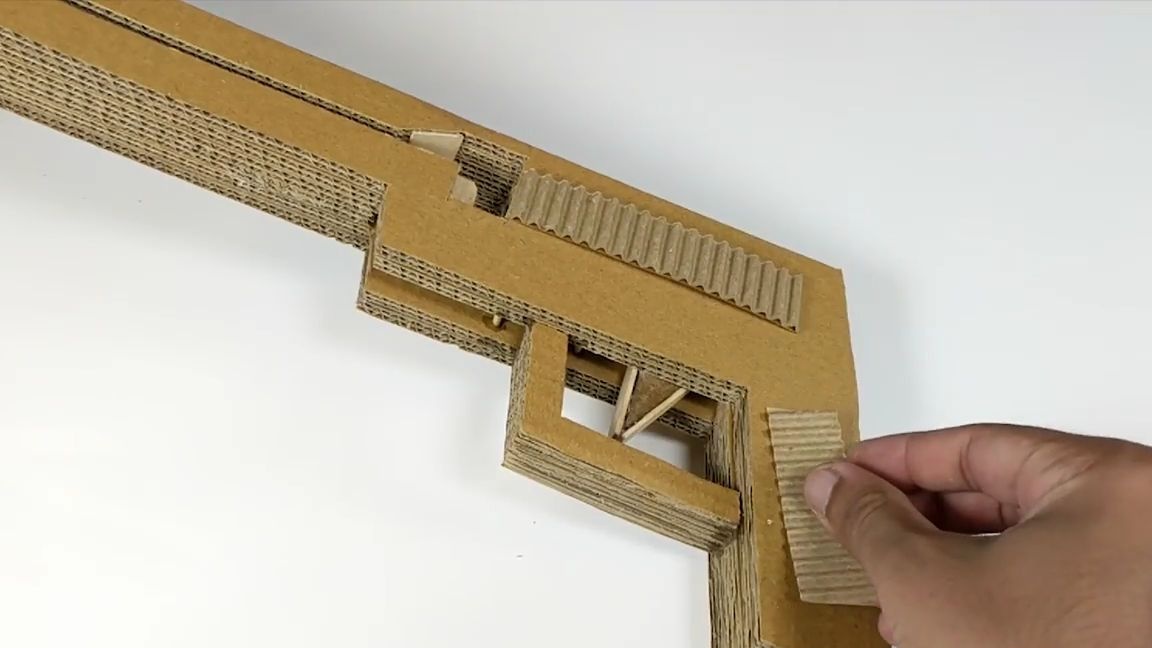
Cut and glue the protection for the "trigger" of the crossbow. It is necessary to do so that it is convenient for the finger to be there:
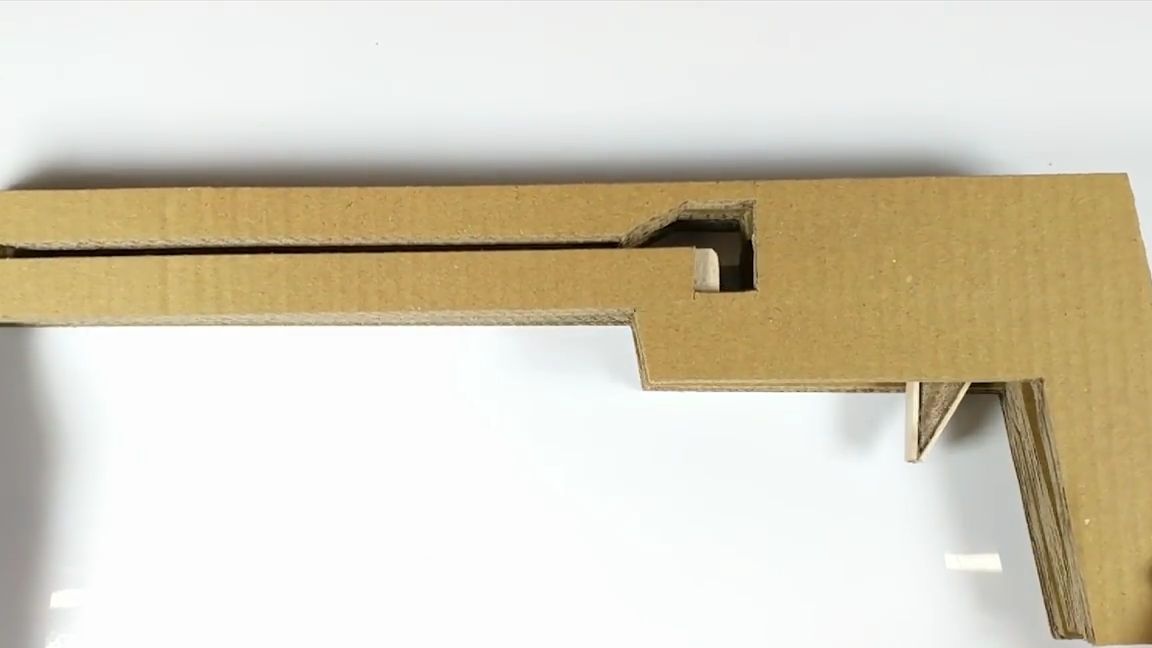
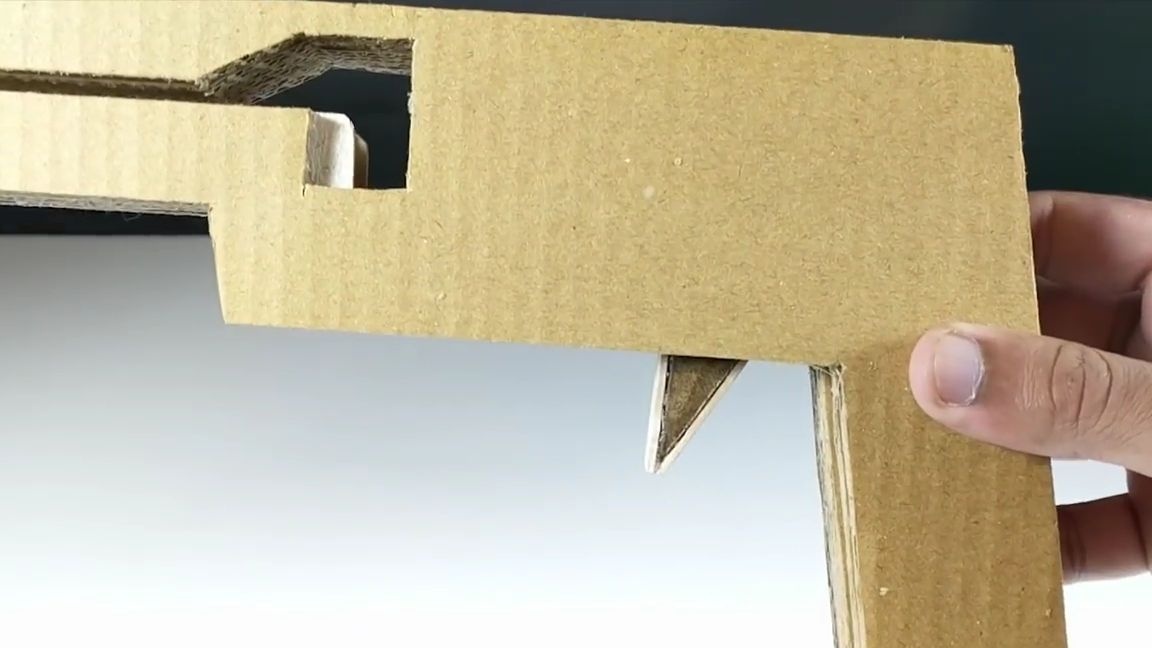
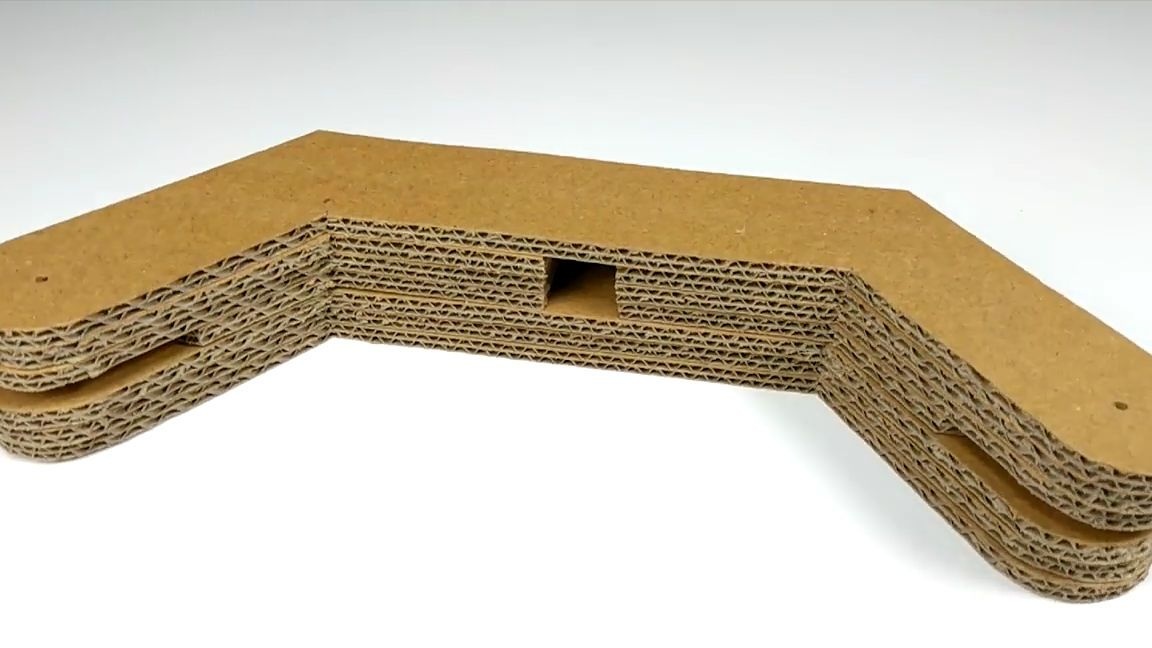
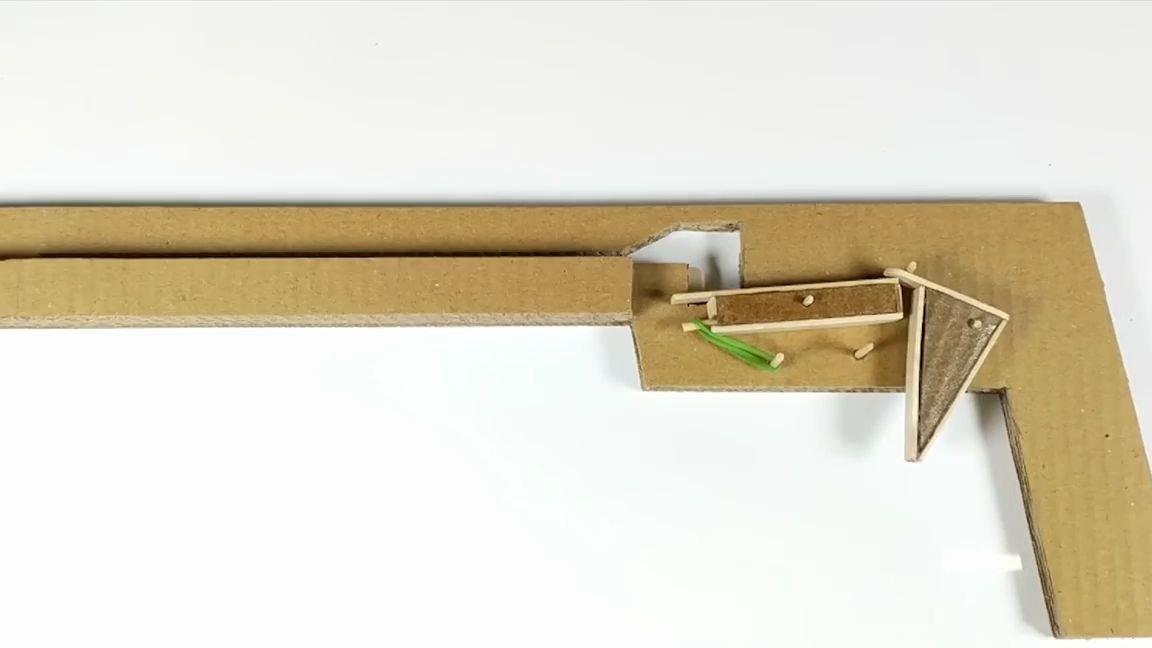
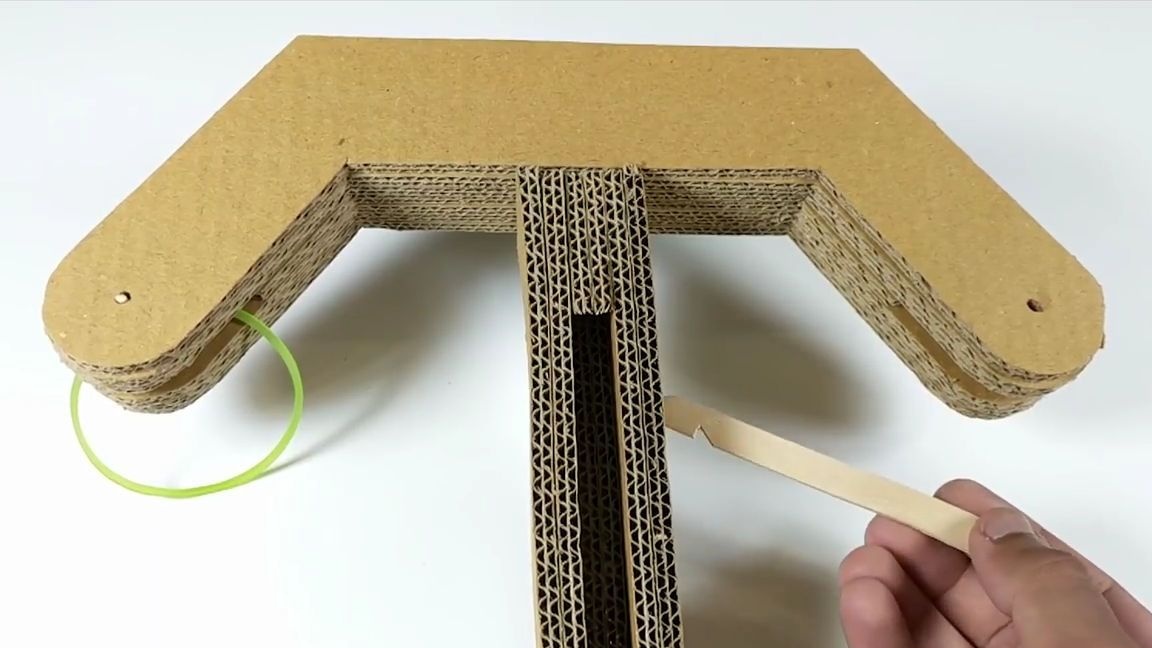
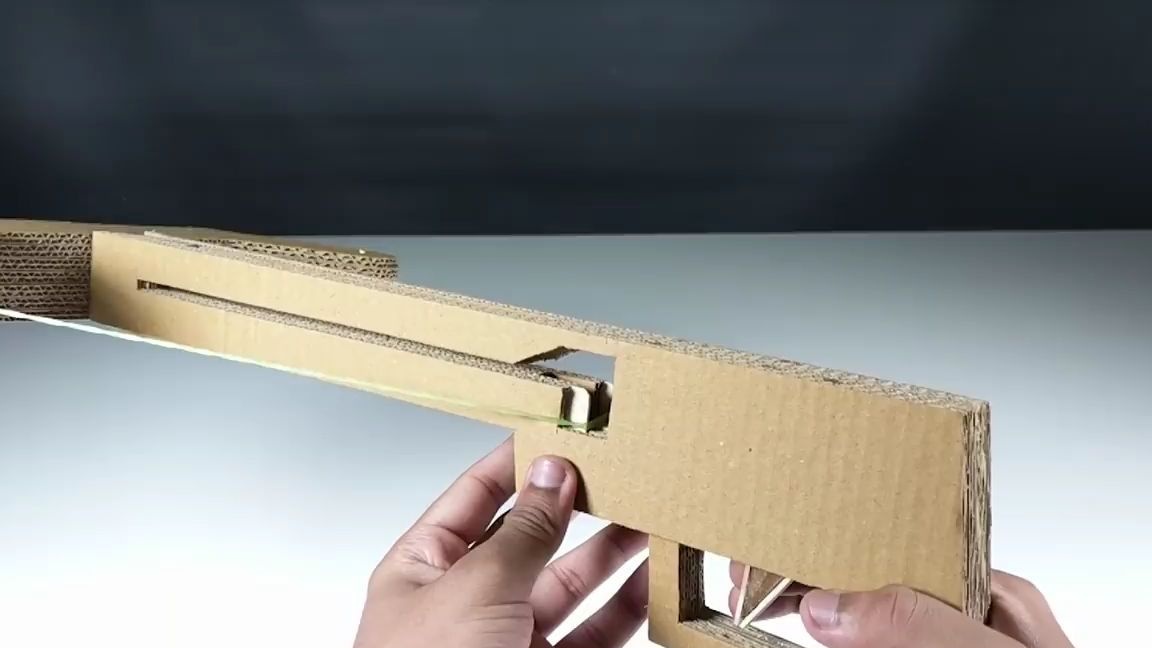
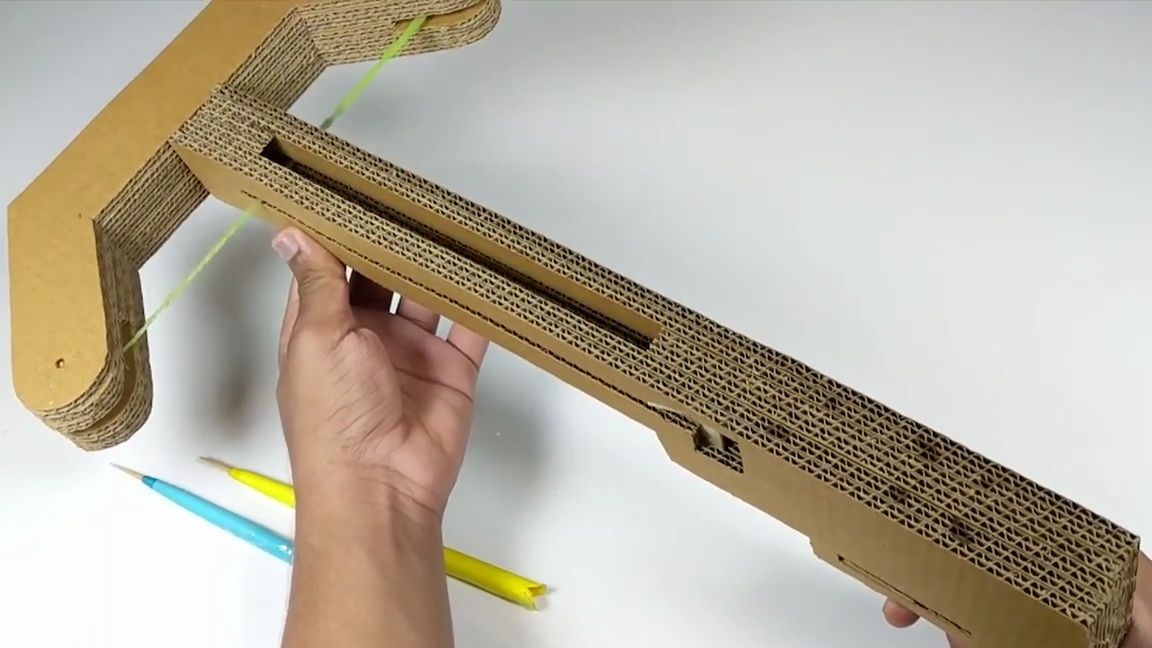
Well, now you need to connect the front and back of the structure. It is important that the square hole in the front matches the elongated hole in the second part of the structure.
It should turn out like in the photo below:
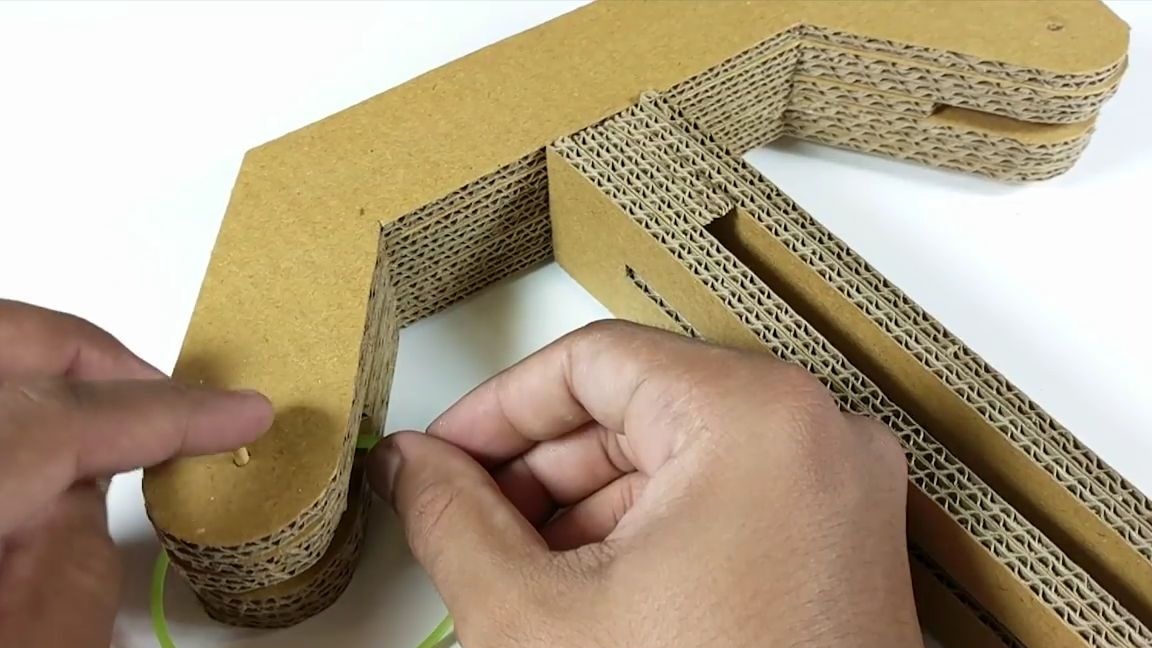
We take the usual gum and skewer for barbecue. We insert the skewer into the previously drawn point, but we do not fully insert it. We put the skewer in the gum and you can continue to insert the skewer to the end.
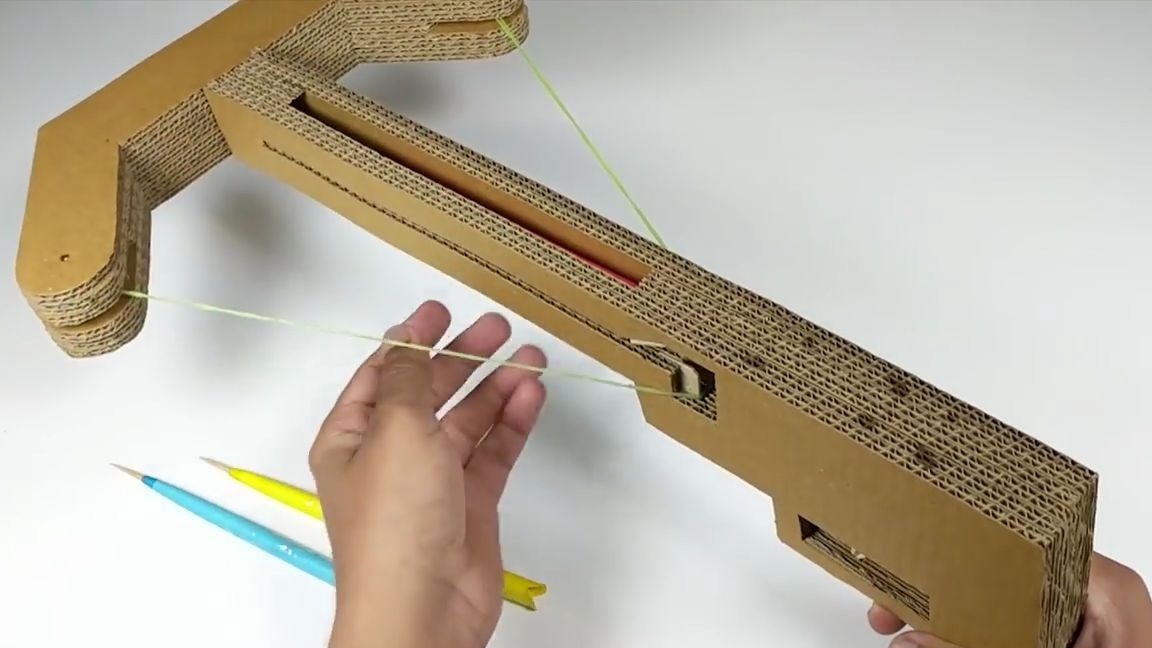
Then using simple fixtures we stretch the elastic through the side long hole in the back of the structure. Well, on the opposite side we are doing the same thing with the skewer and rubber band that we did before.
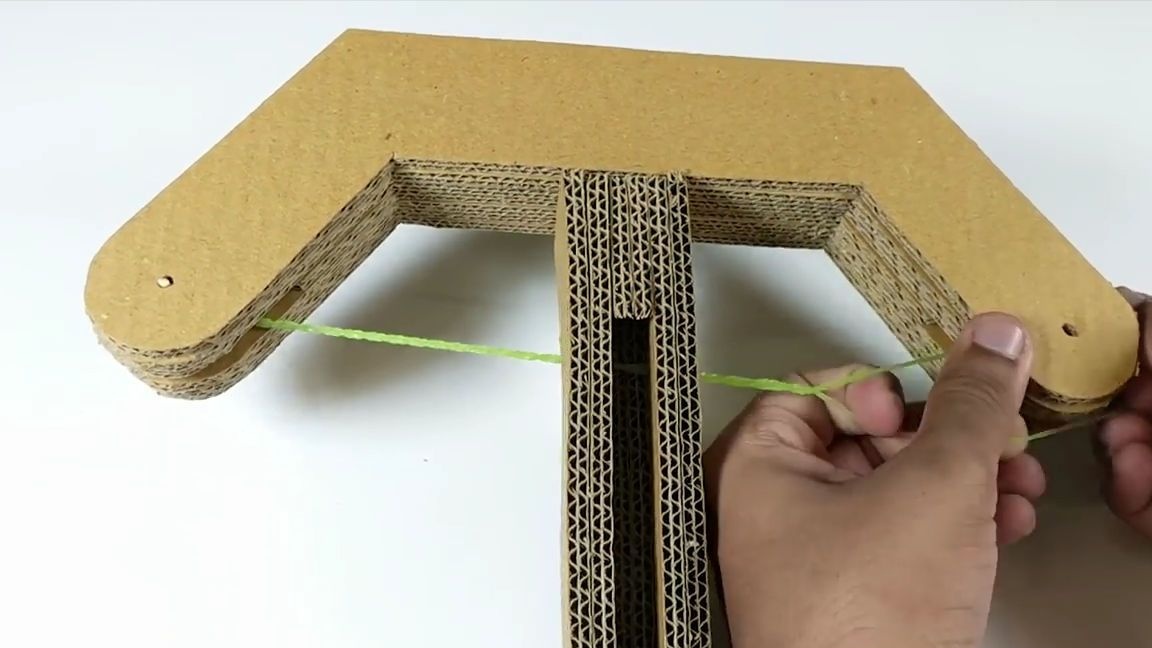
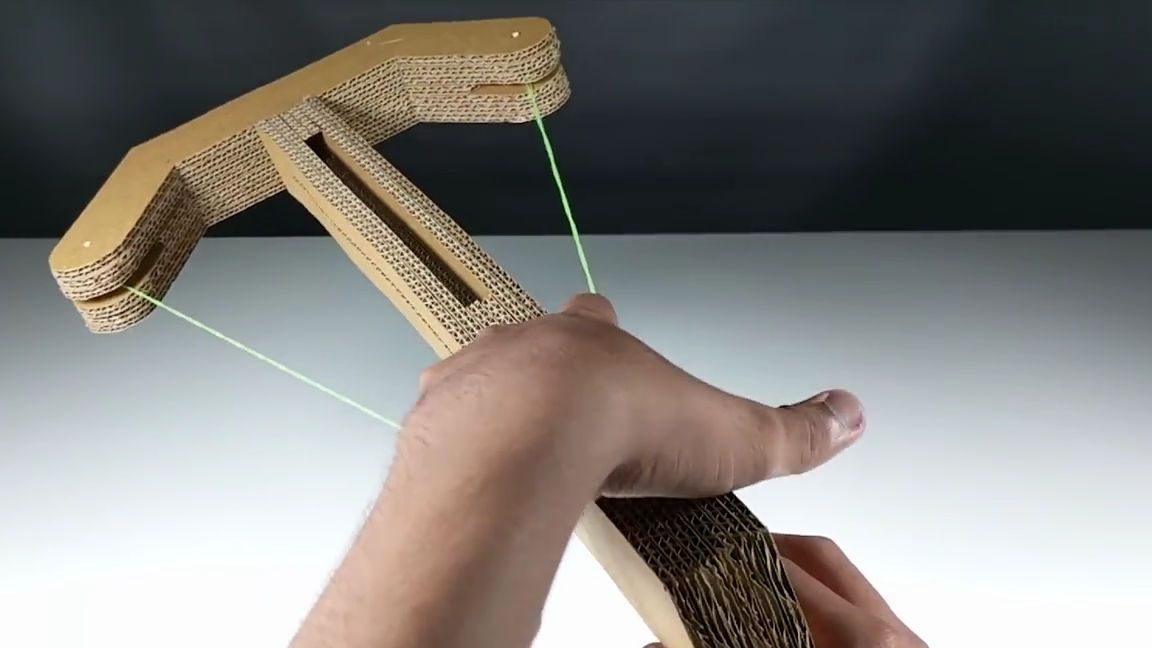
We are testing.
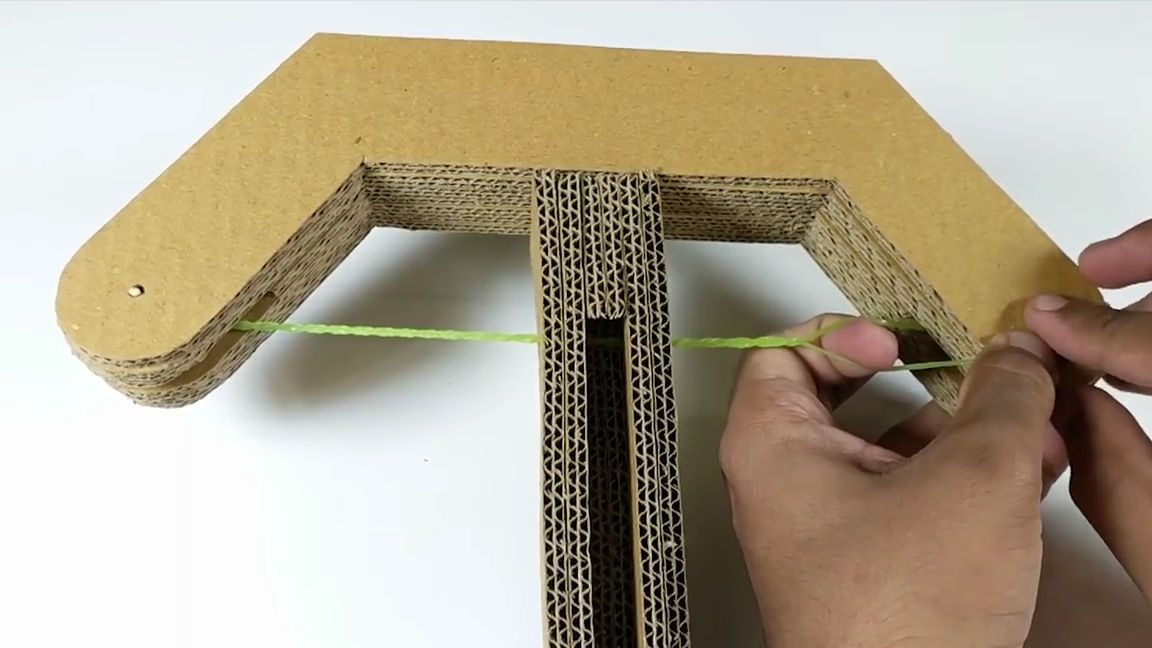
The gum should hold tight in the attachment points, it is also necessary to check that the gum can reach the trigger.
We put the gum on the trigger, and then pull the trigger, if the gum flew off the mechanism, then everything was done right and you can continue on:
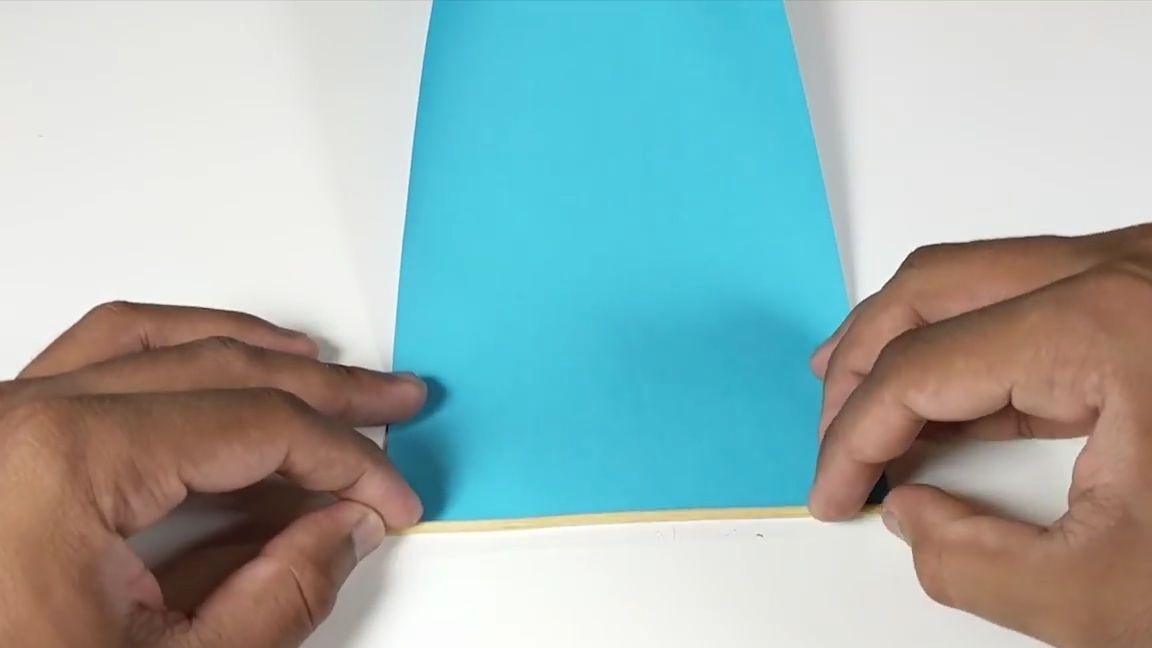
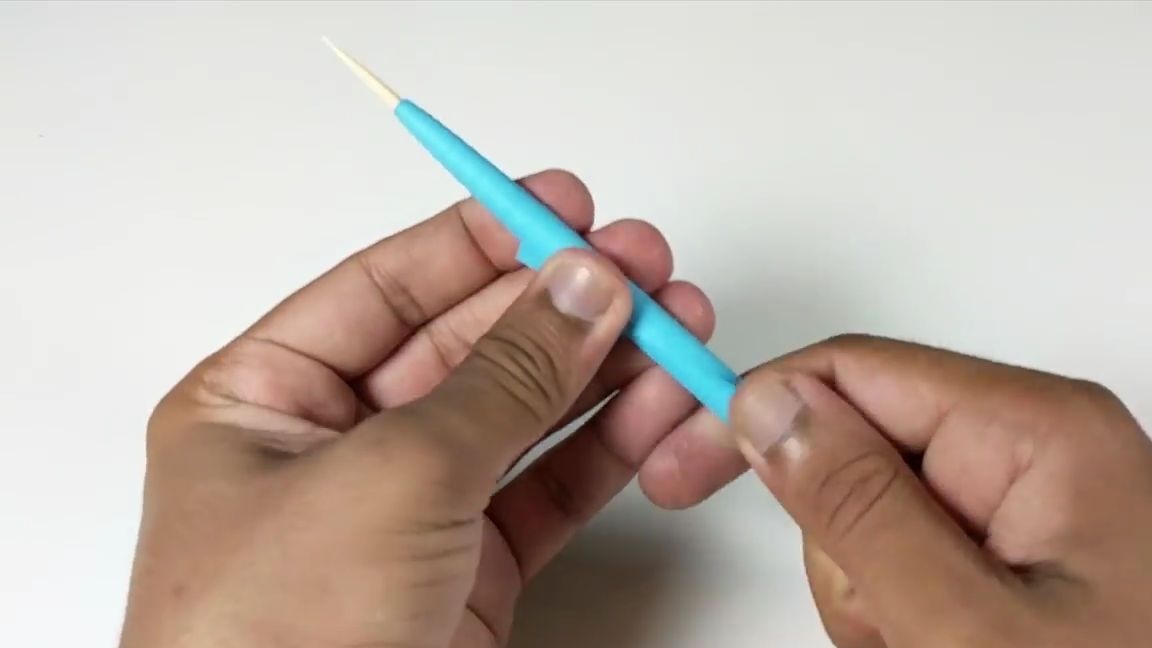
Now we will make "arrows" for a crossbow.
To do this, just take a small piece of paper and a barbecue skewer, after which we begin to gently wrap the paper around the skewer. Then glue the edge.
Everything must be done as in the photo below:
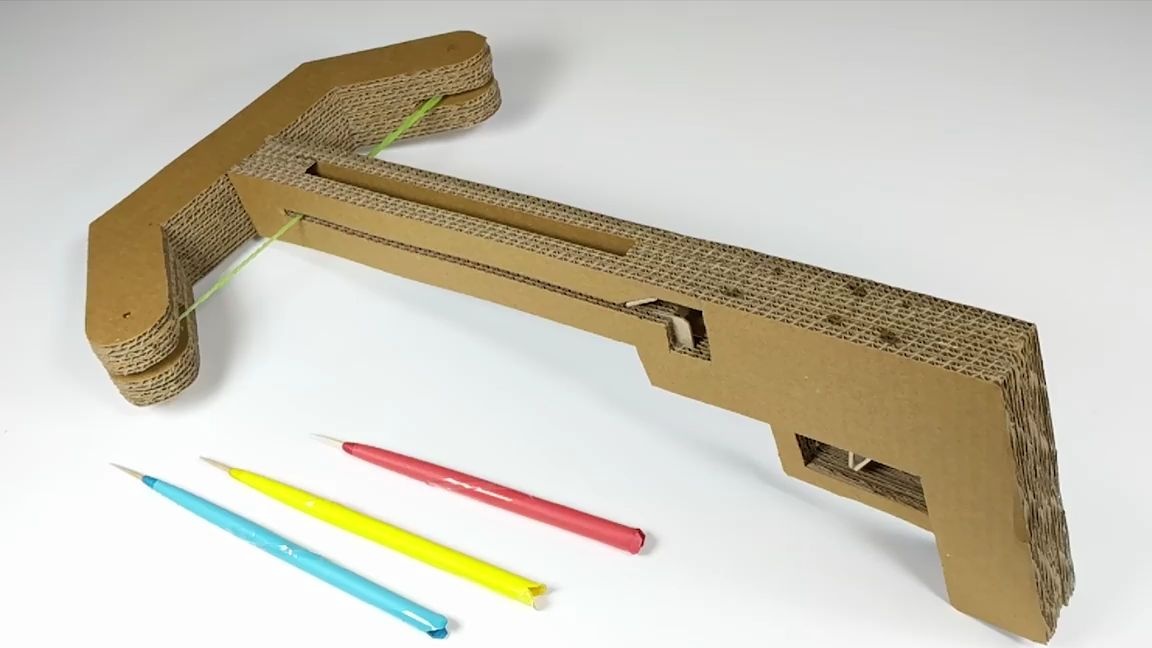
Well, we add a couple of decor elements to make the crossbow look more solid:
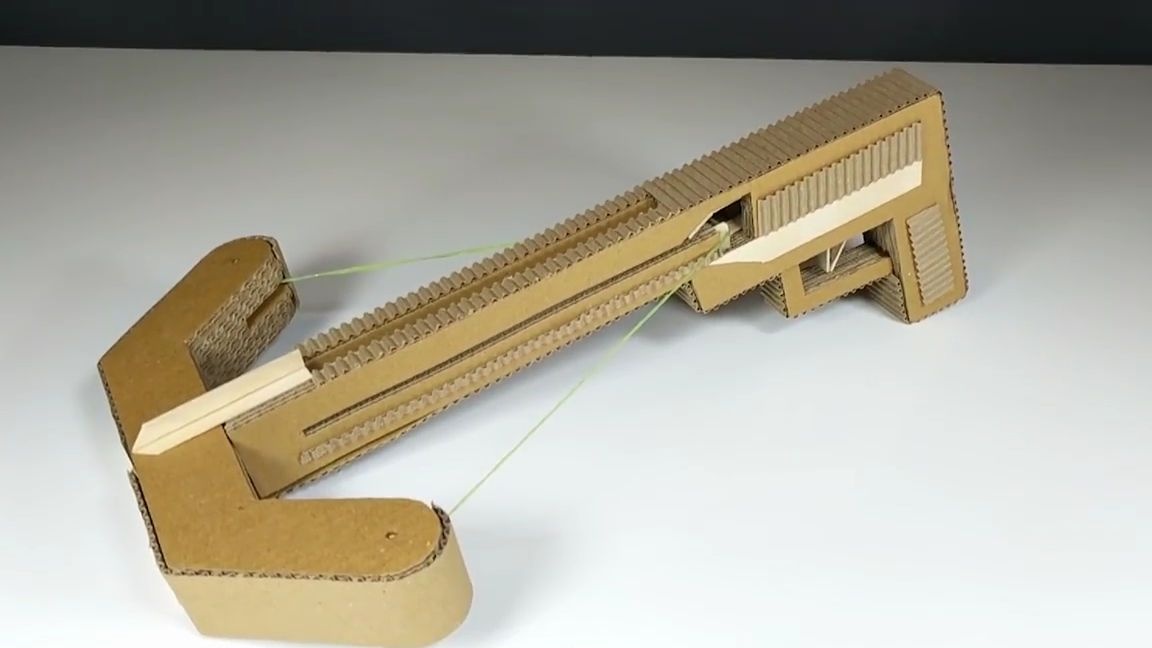
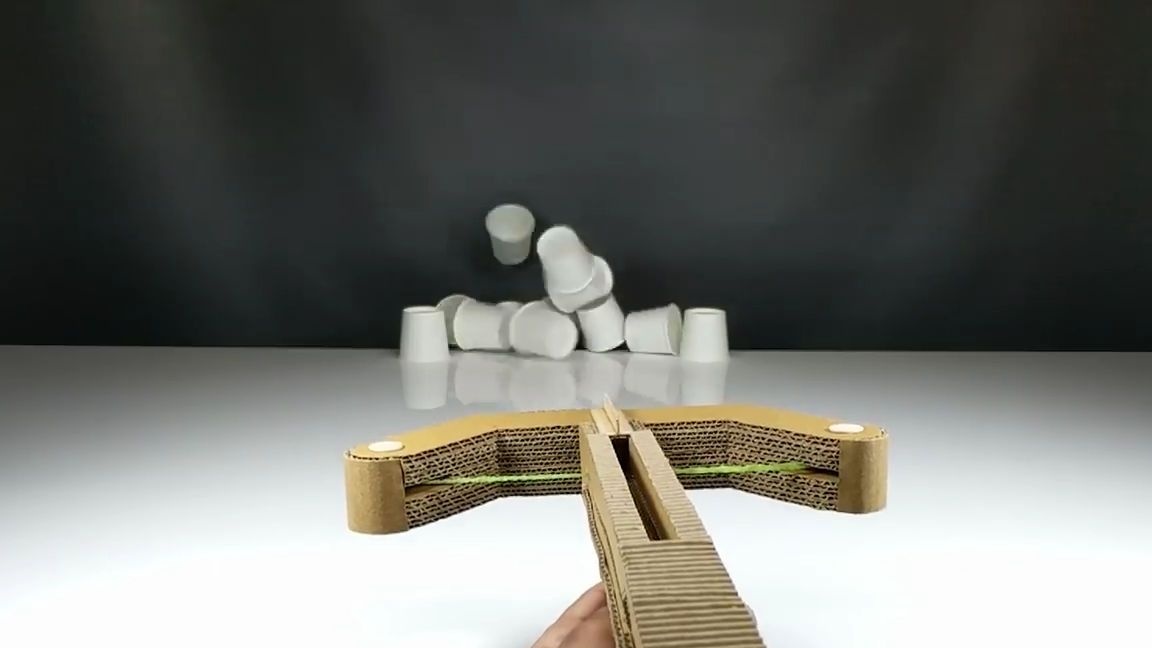
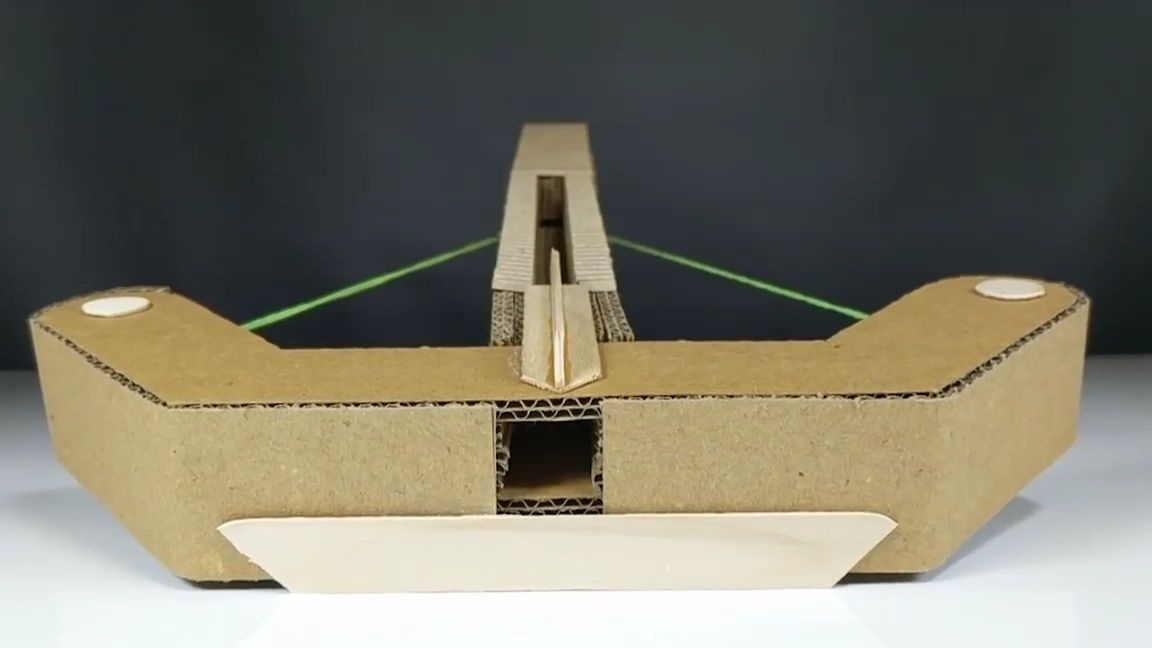
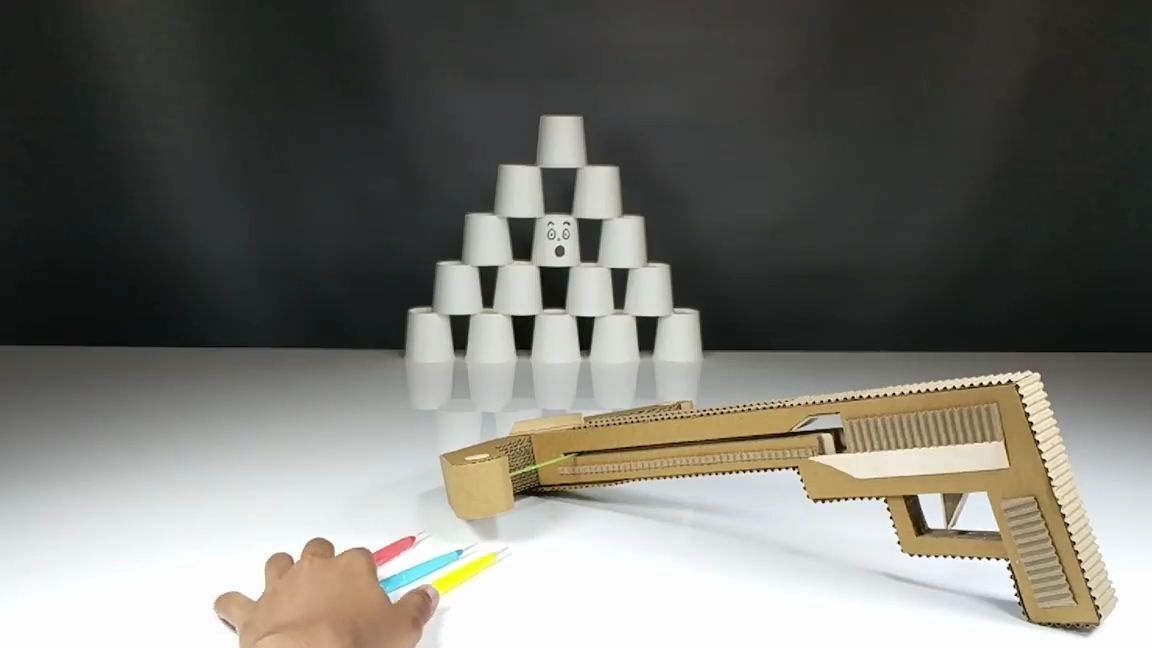
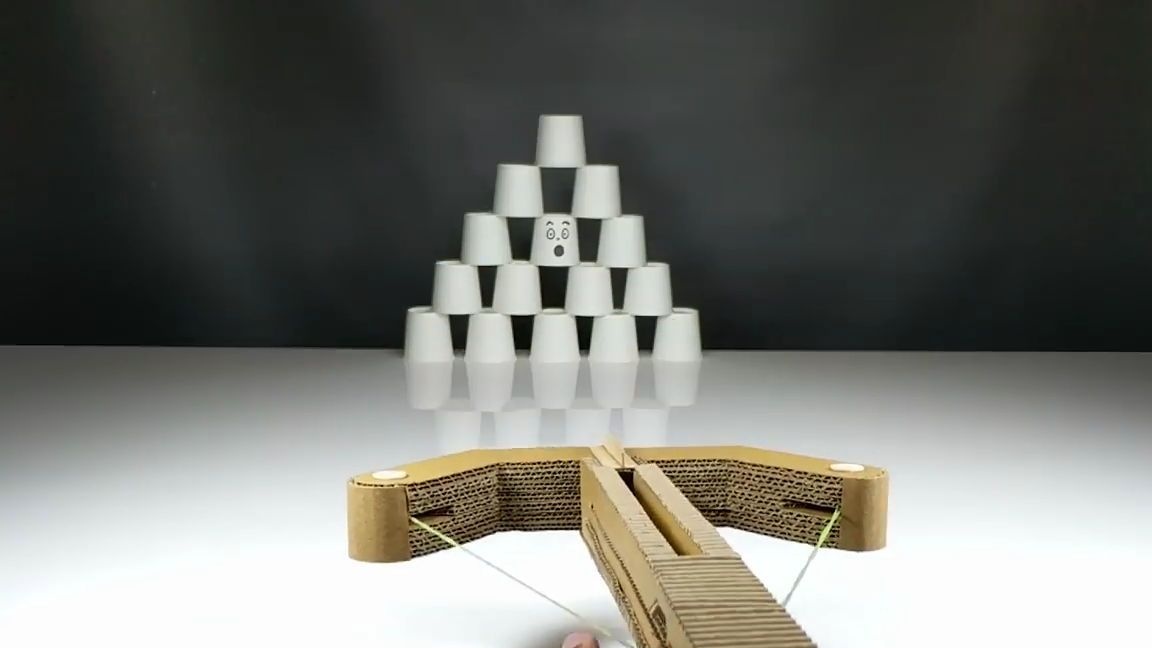
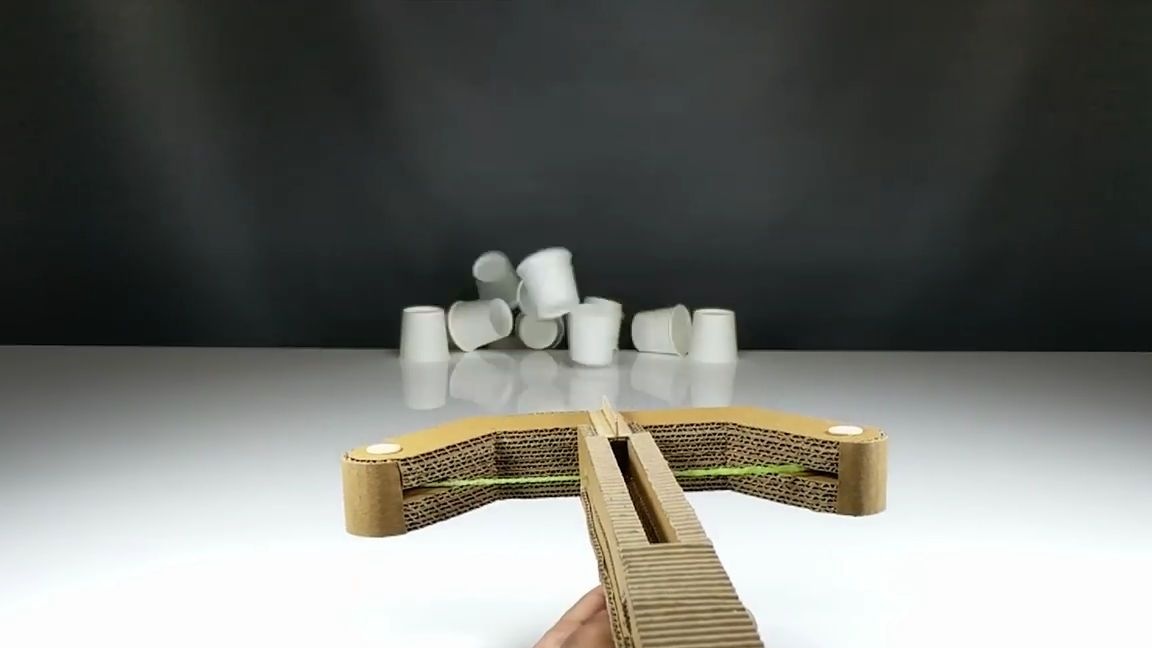
That's it! A simple crossbow made almost entirely of corrugated cardboard is ready and it remains only to test it. To do this, pull the elastic back and fix it on the trigger. Then we take one of the “arrows” and put it in the top hole on the crossbow. Then we aim and shoot. As you can see, the crossbow pretty accurately shoots at the target.
And in no case do not aim and do not shoot at a person!
I think this crossbow will appeal to many masters.
Here is a video from the author with a detailed assembly and testing of this homemade product:
Well, thank you all for your attention and good luck in future projects, friends!