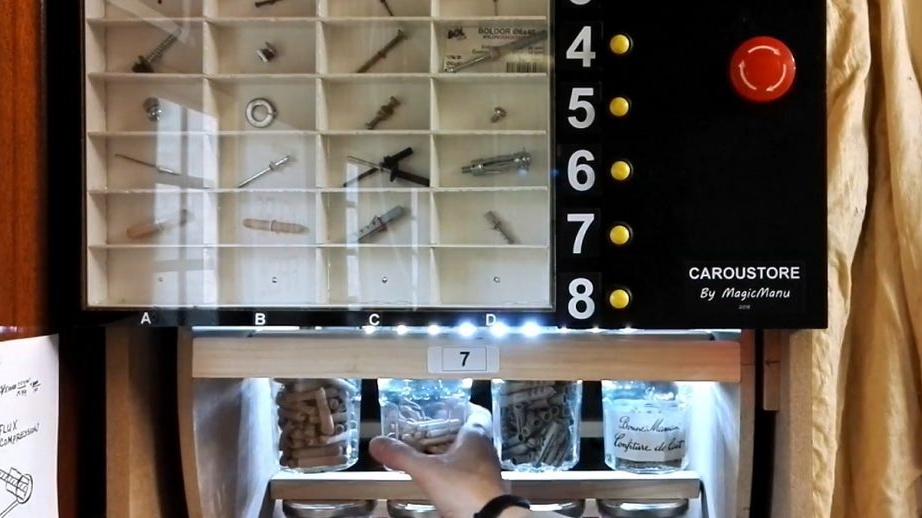
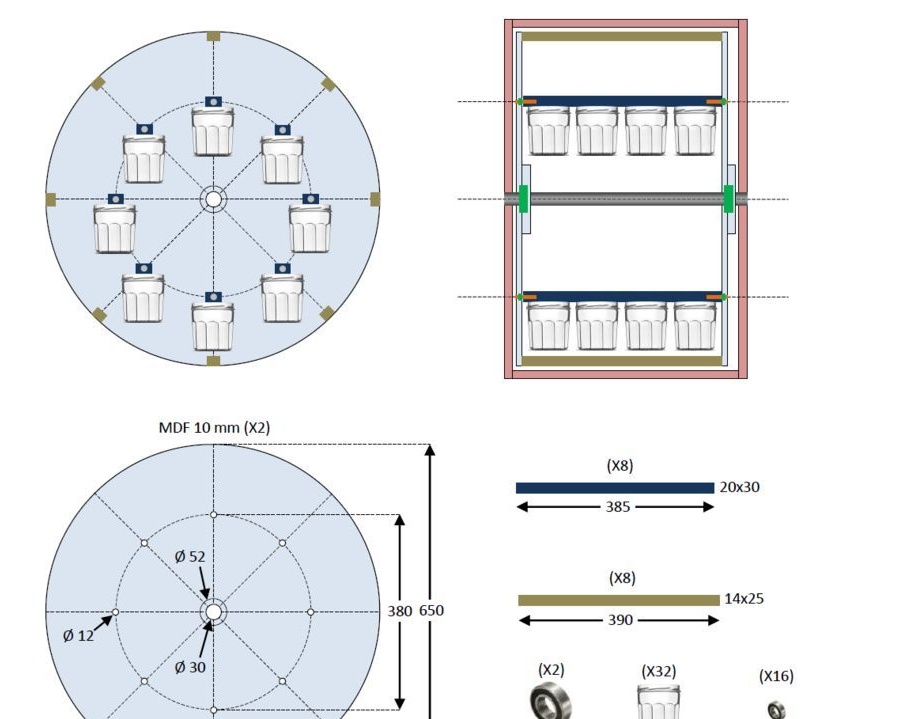
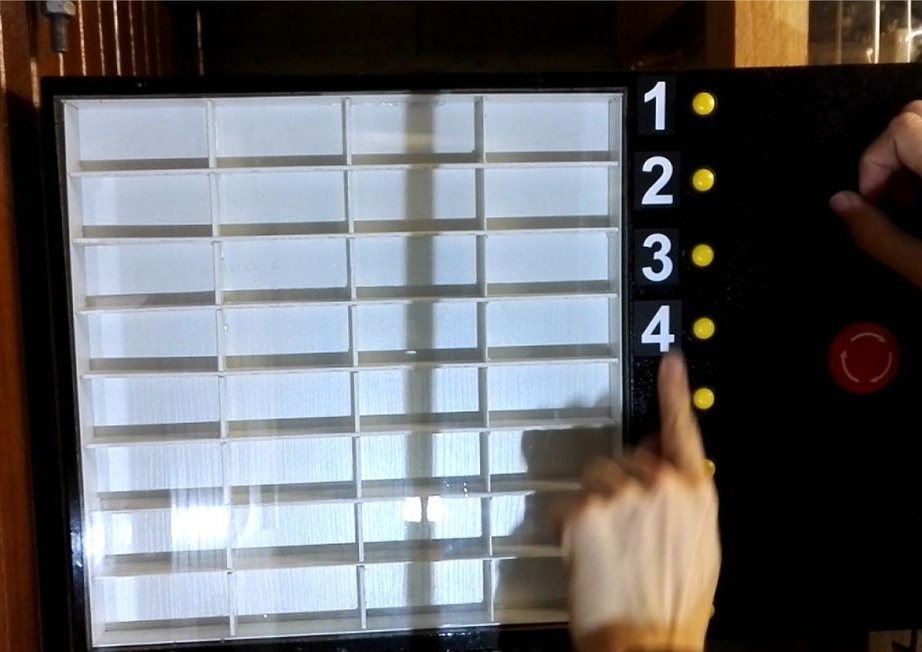
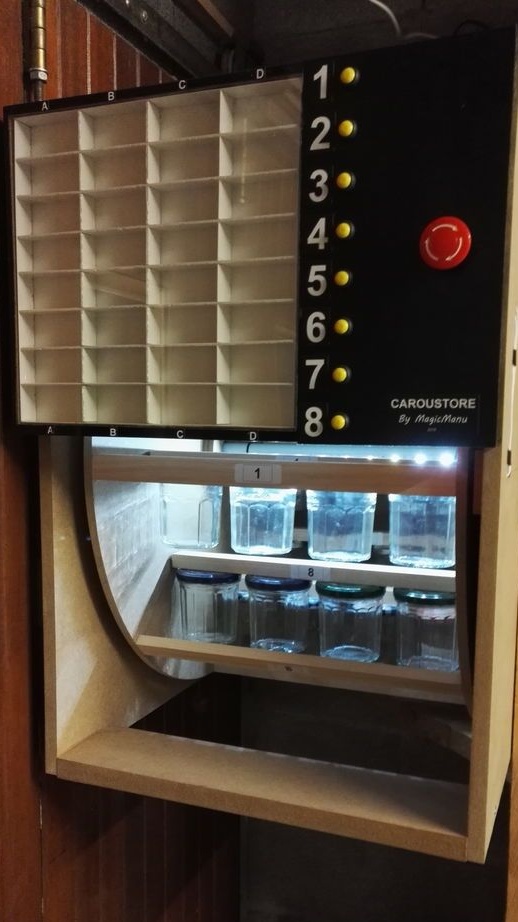
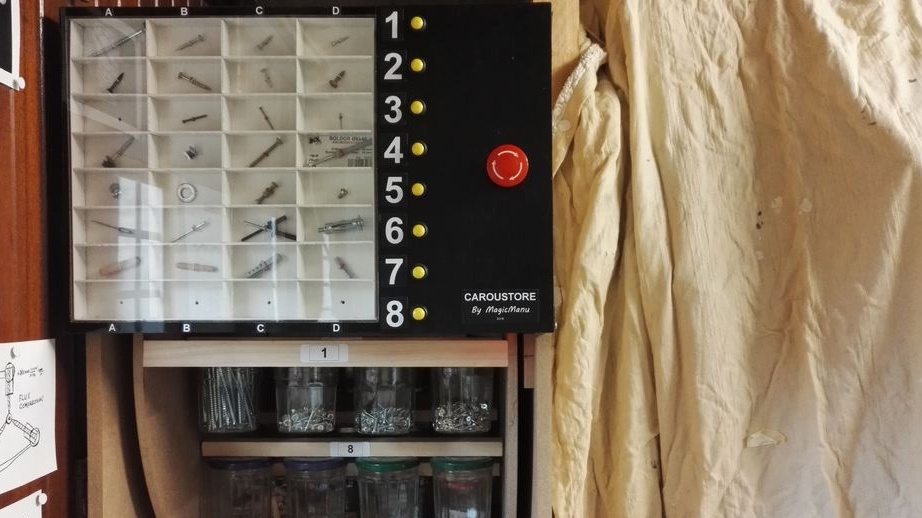
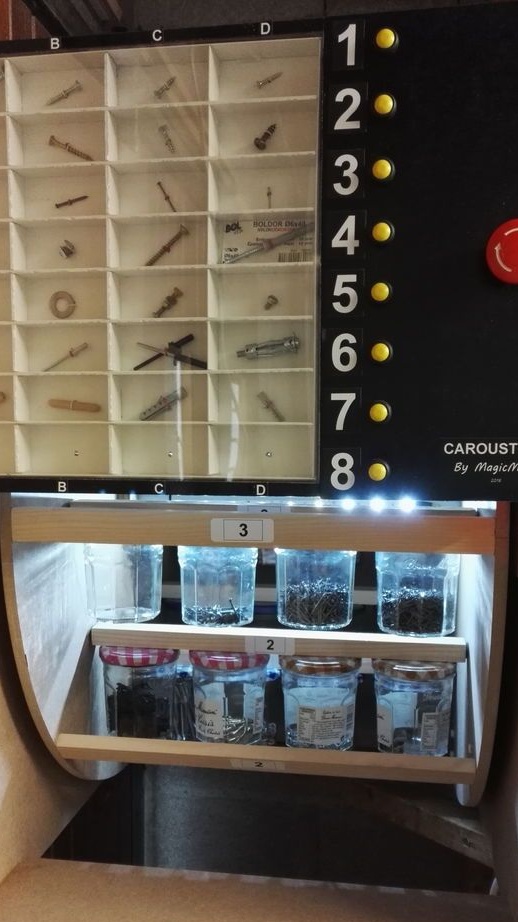
In this article, the Wizard will make an original organizer for fasteners. The organizer has 32 cells, eight rows of four cell banks. The master uses a wiper motor as a motor. On the front panel are samples of fasteners. To get the necessary fasteners, find the desired sample on the panel, press the button with the row number, the drum starts to rotate to the nearest side, it stops. The light comes on for 10 seconds. Remove the jar-cell with the desired fasteners and open the lid.
In the manufacture of the organizer, the master used the following
Tools and materials:
-A circular saw;
-Drill;
-Screwdriver;
Cutter;
- Clamps;
MDF;
-Rule;
-Marker;
-Drill;
-Crown on wood;
-Wooden axis (dowel);
-Vise;
-32 cans with metal screw caps;
-Wiper blade motor;
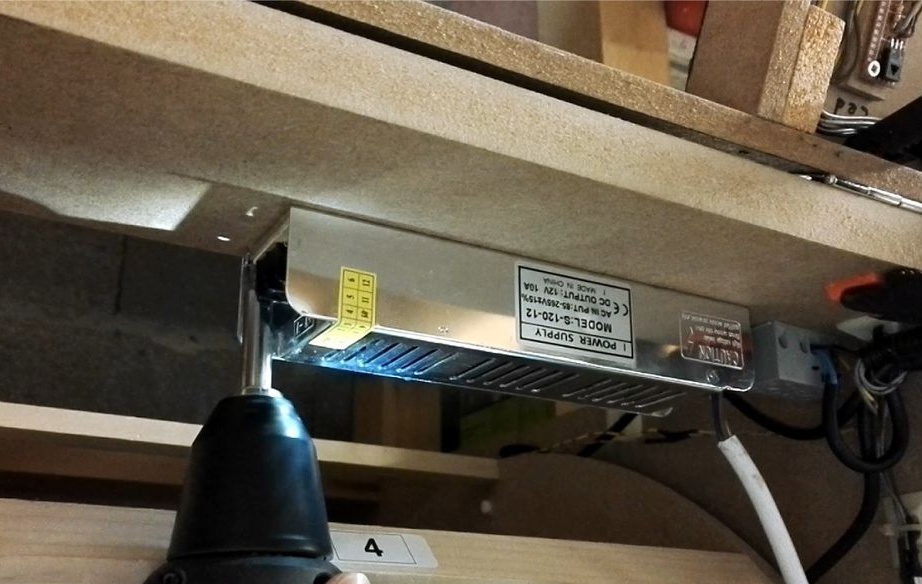
- Power supply 12 V 10 A;
-Arduino Uno;
Chip 74HC165;
-LED Strip Light;
Transistor BD 137;
-9 resistors of 1 kOhm;
-Mechik;
-Bars;
-Wooden dowels;
- mallet;
-Gon;
-Calipers;
-Drill;
-Fasteners;
- Hacksaw for metal;
-Metal tube;
-Polypropylene pipe;
-Soldering iron;
-Heat-shrink tubing;
-Aluminum corner;
-Transparent plastic sheet;
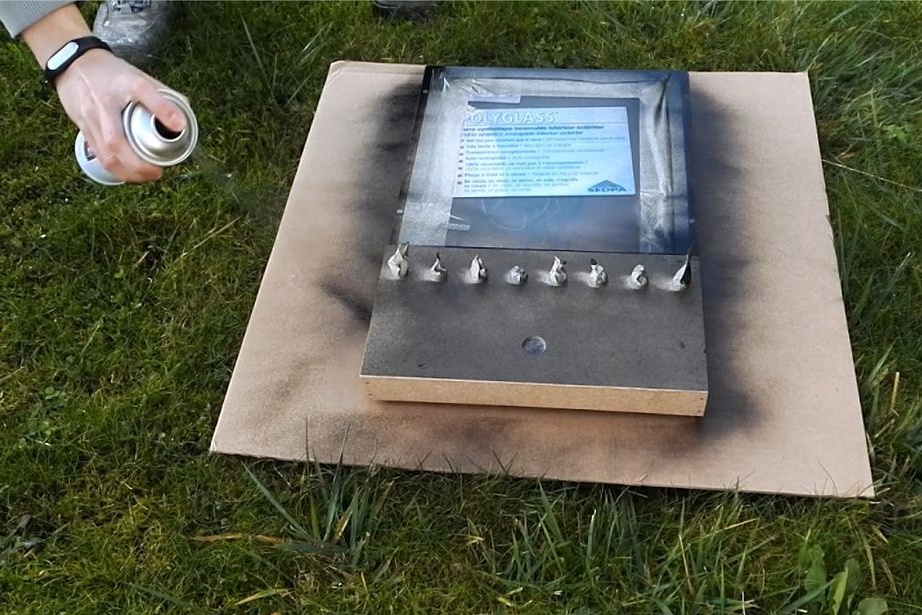
-Cylinder with paint;
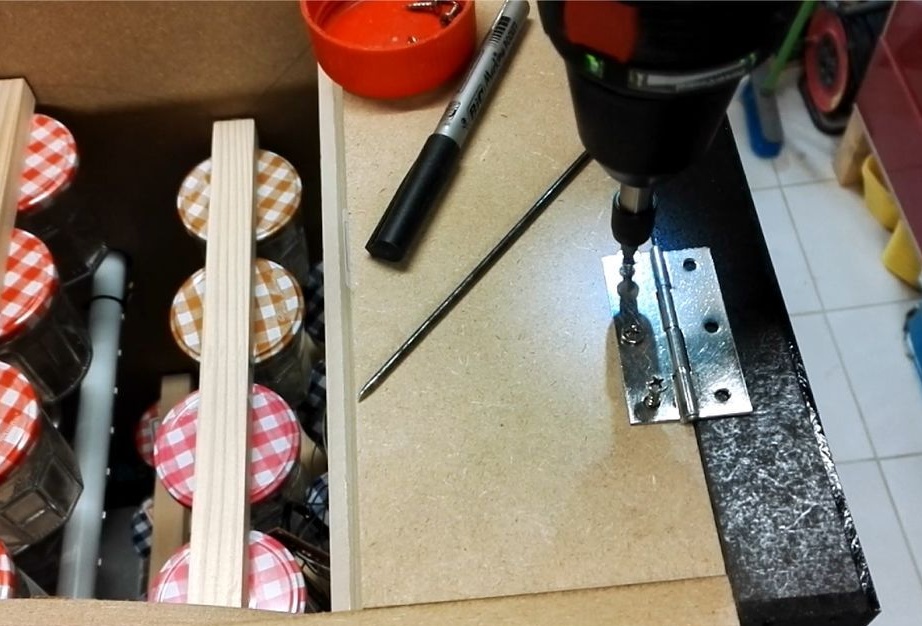
- Loops;
Step One: Project
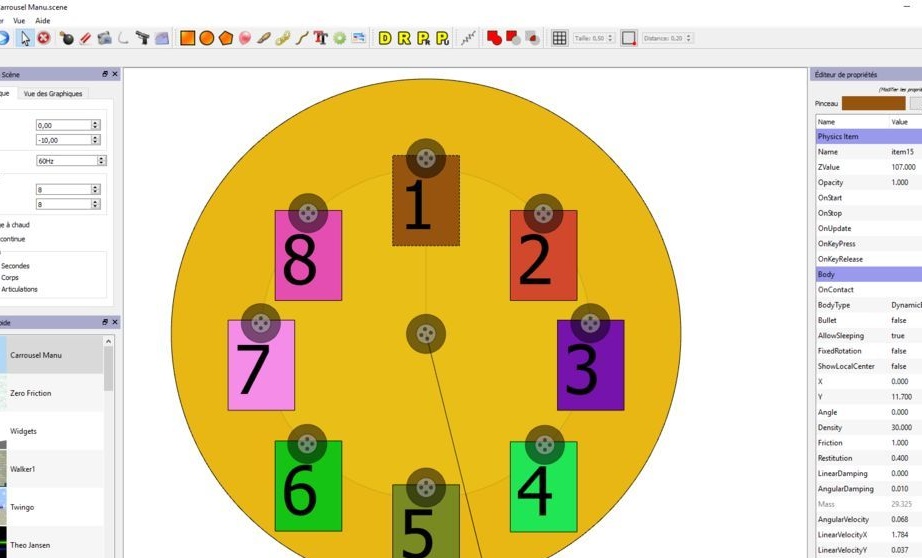
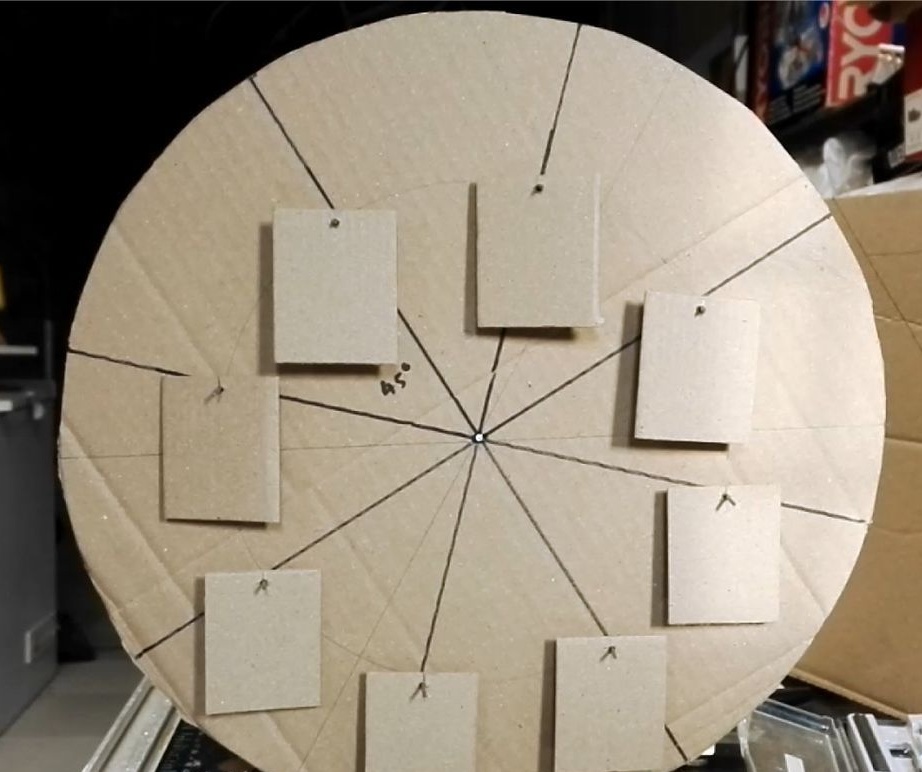
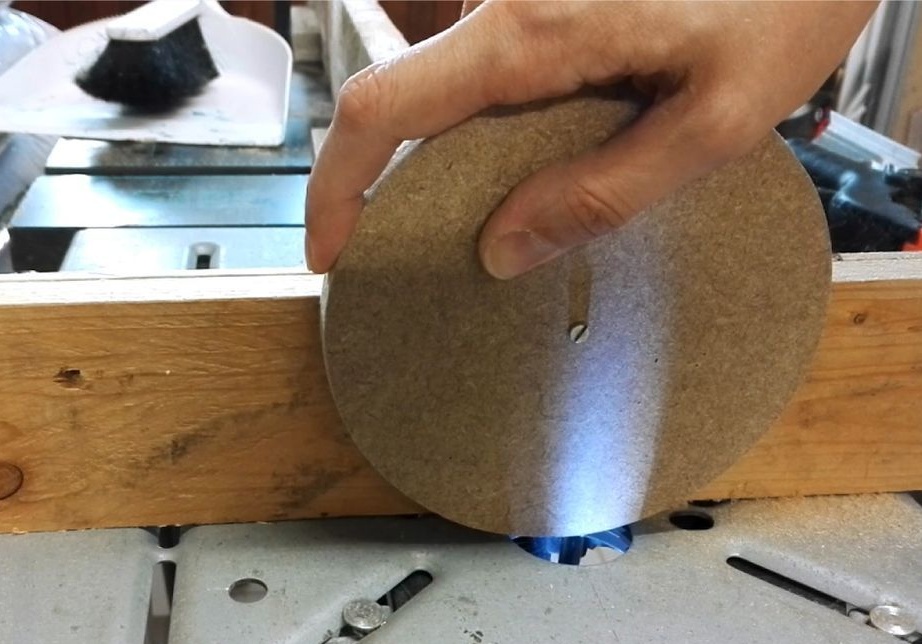
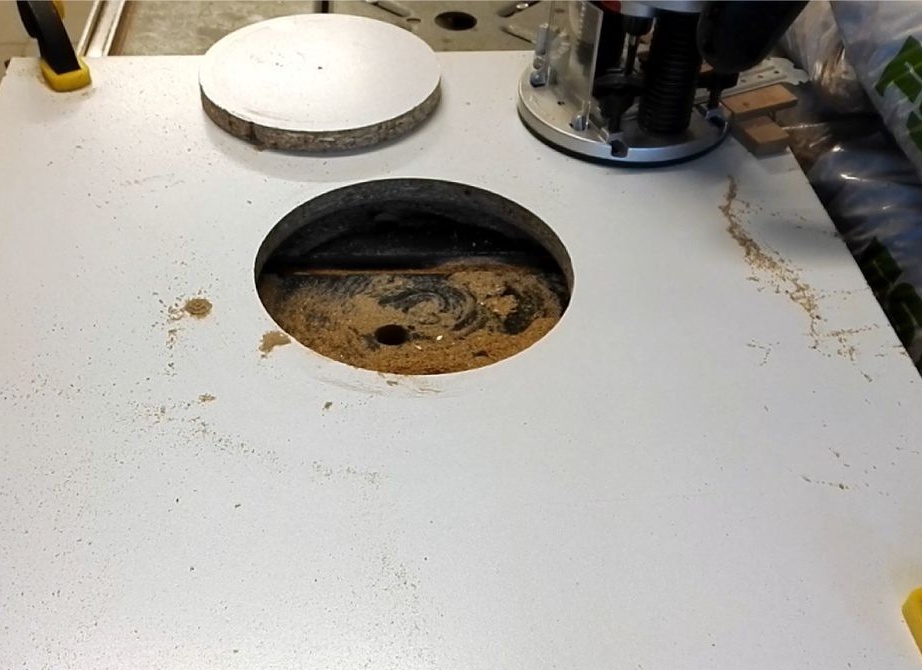
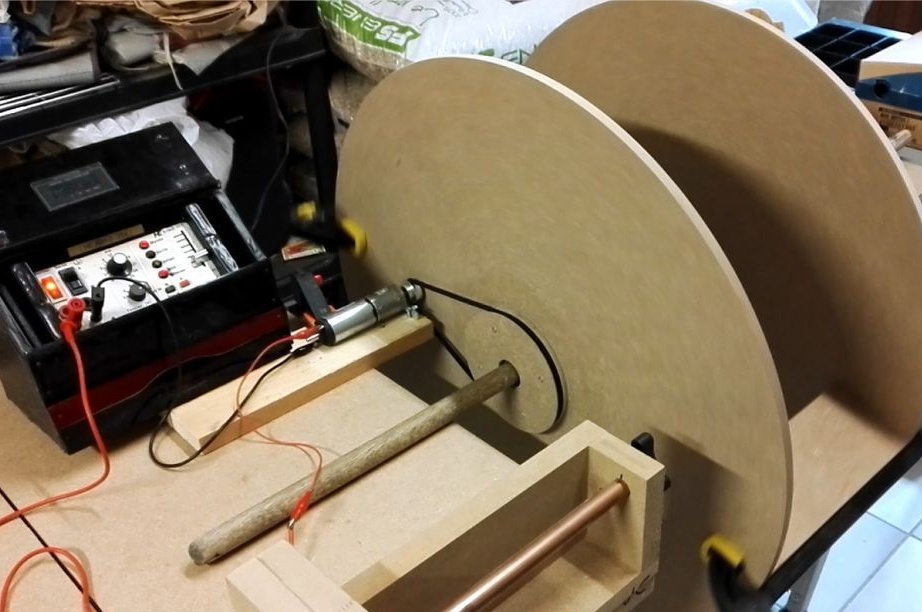
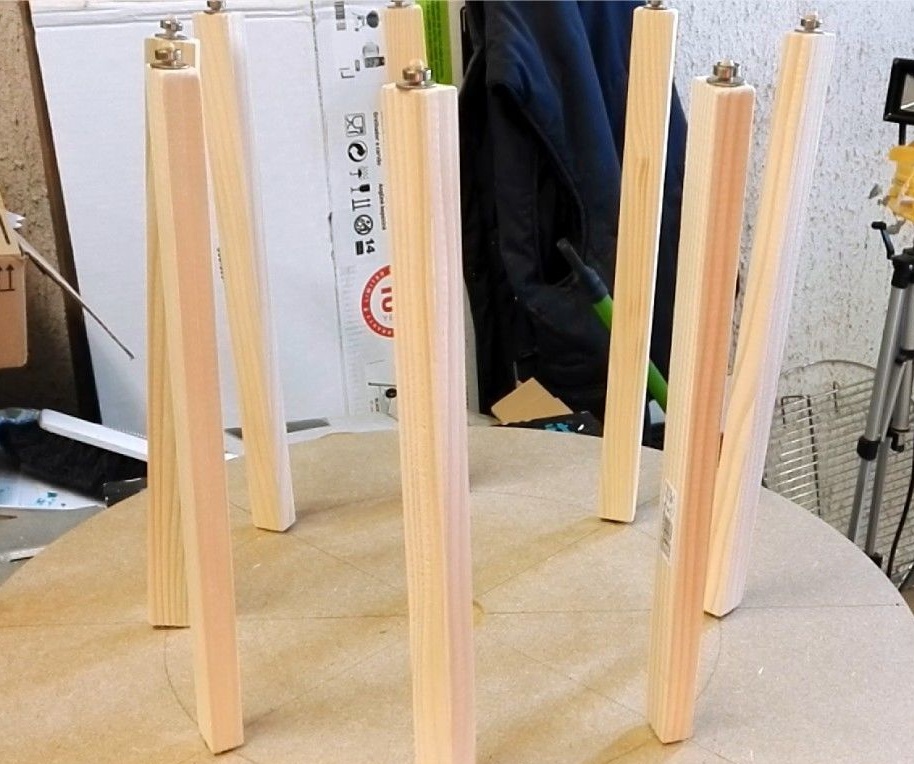
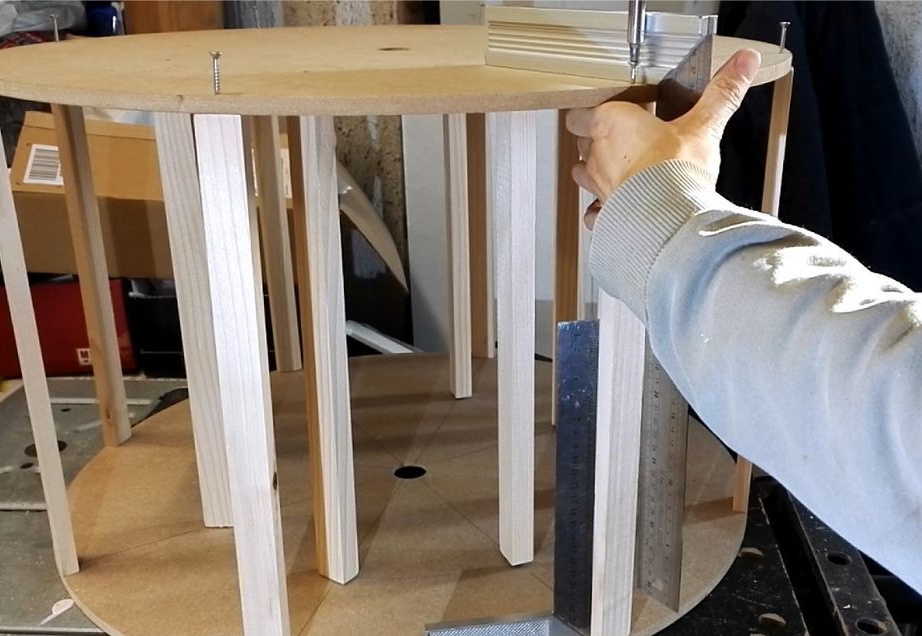
The first step is the master makes the organizer project and the current model from cardboard. The organizer consists of two circles of MDF. Between the circles are fixed bars on which the cell banks will be attached. The bars rotate freely around its axis. A pulley is mounted on a circle. A drive belt is put on the pulley.
You can download the file, with the dimensions and the necessary materials, here.
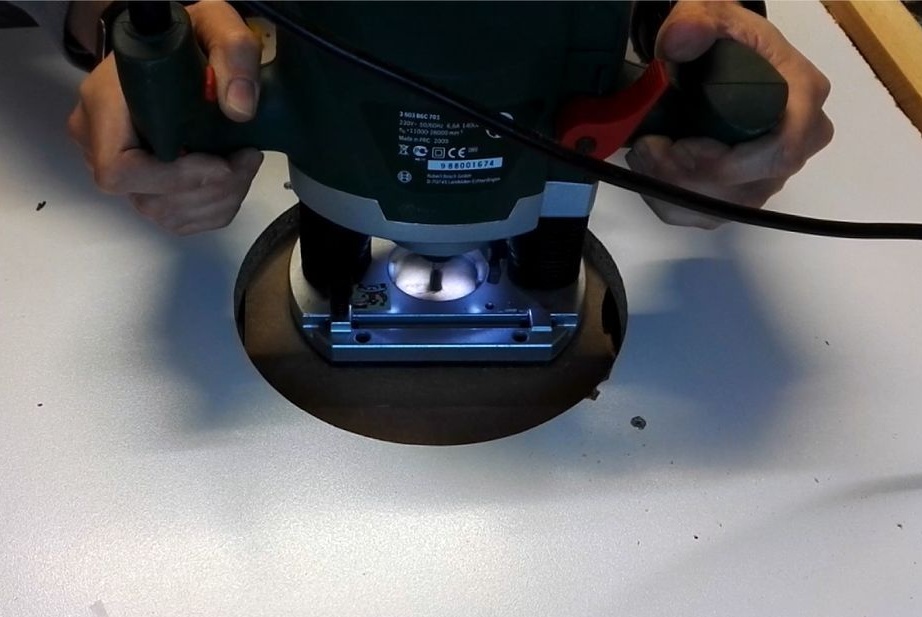
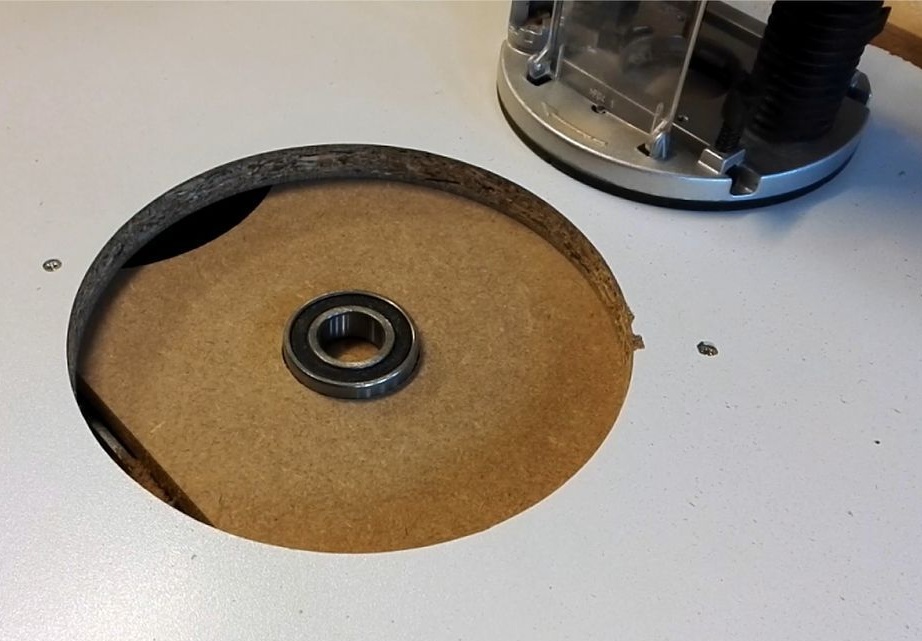
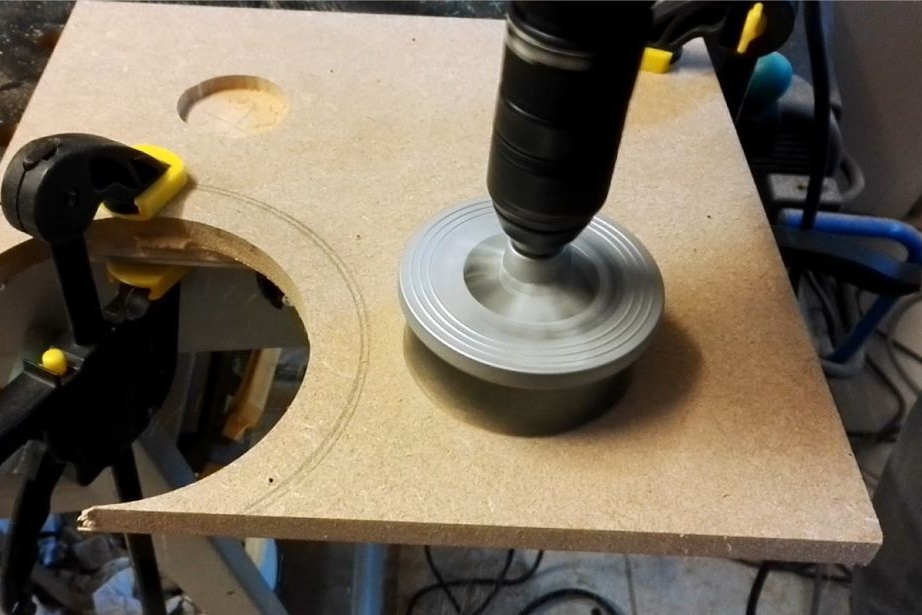
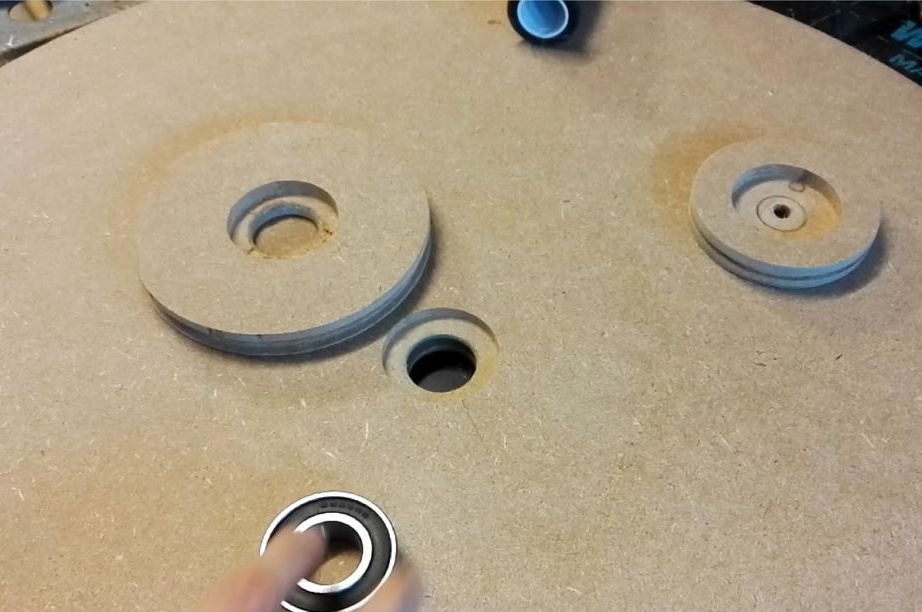
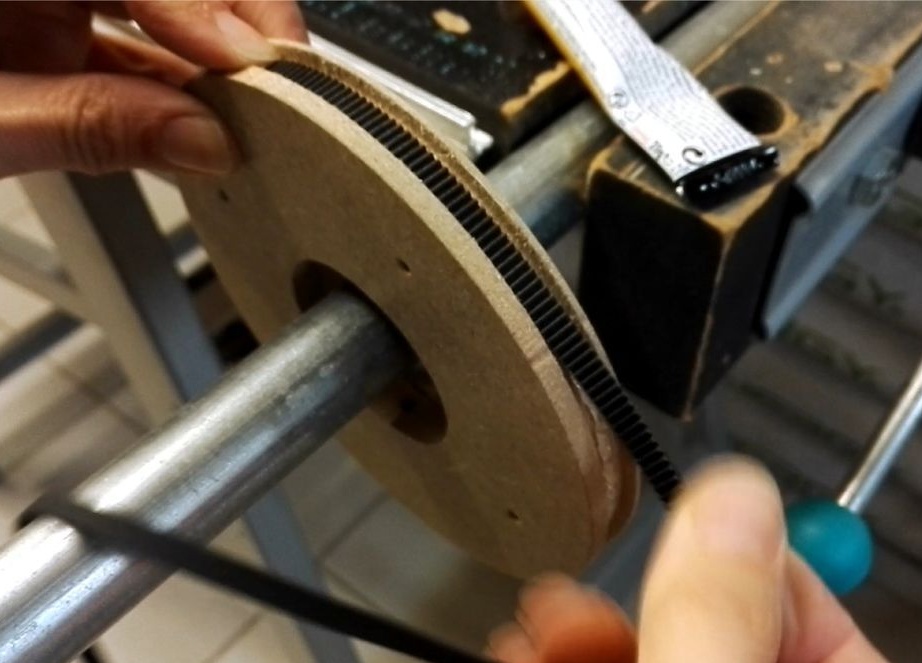
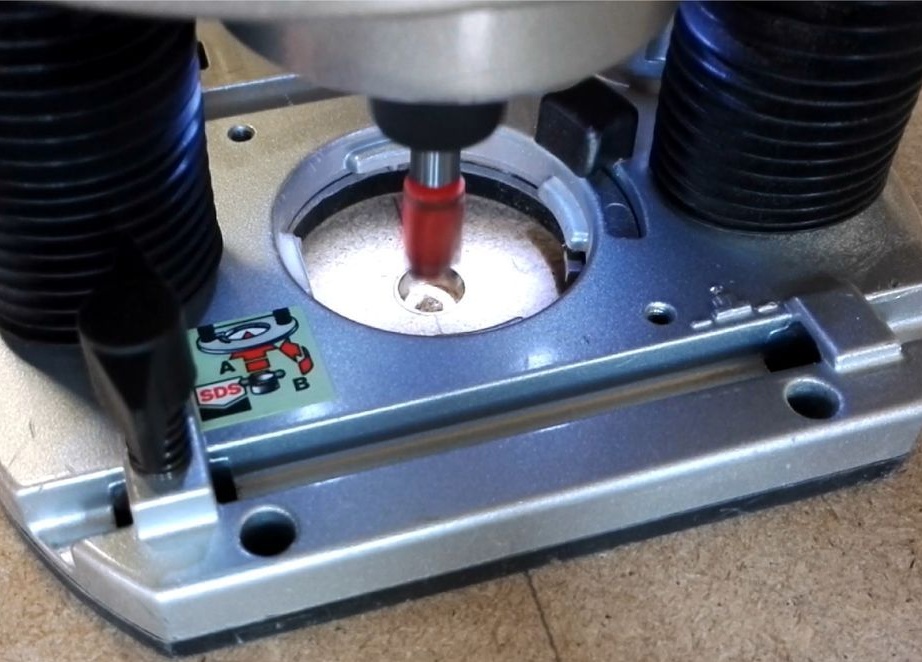
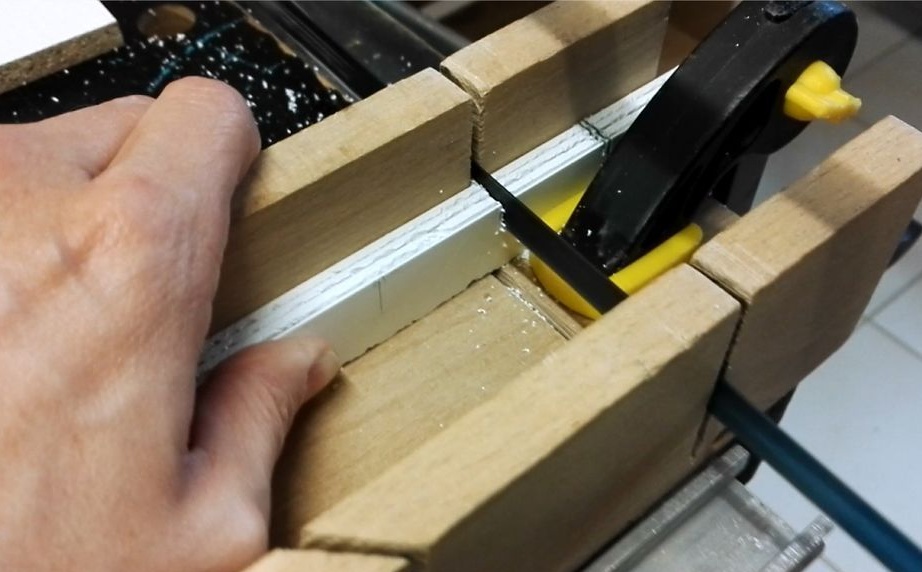
Step Two: Pulley and Circle
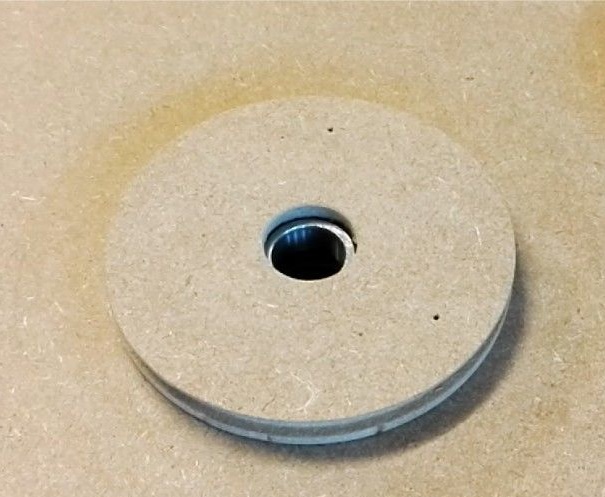
Makes a pulley from MDF. In a circle makes a groove cutter. Secures the pulley on an MDF sheet. Cuts a circle. In the center sets the bearing. Makes the second round.
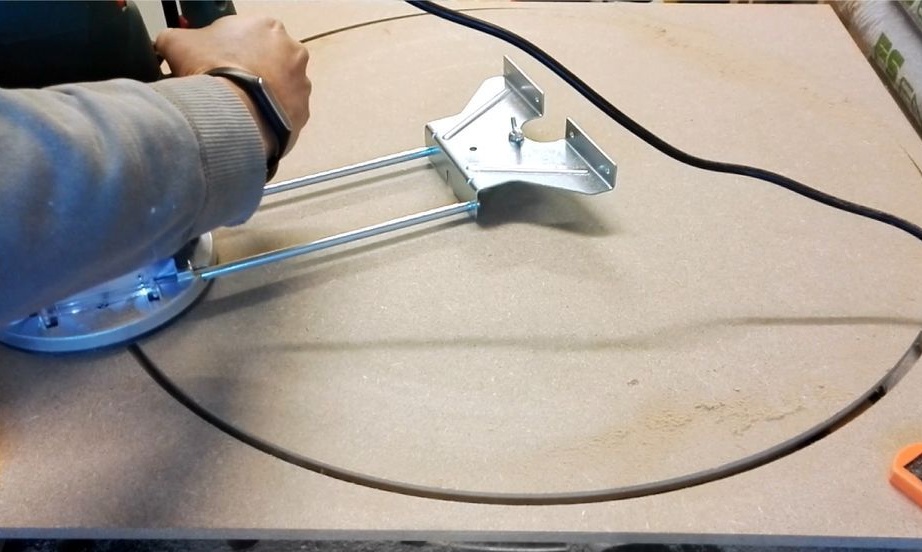
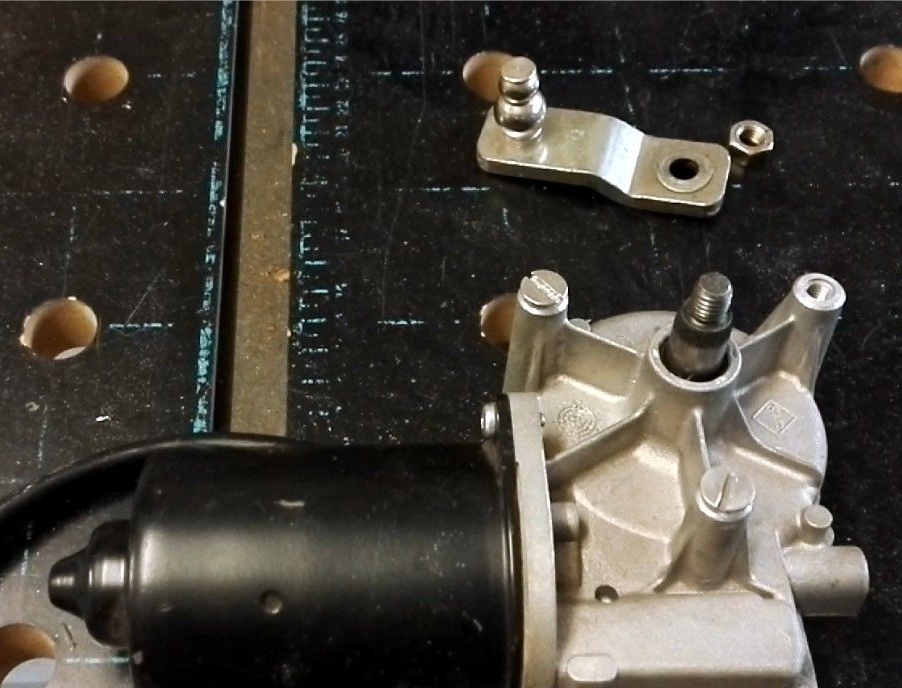
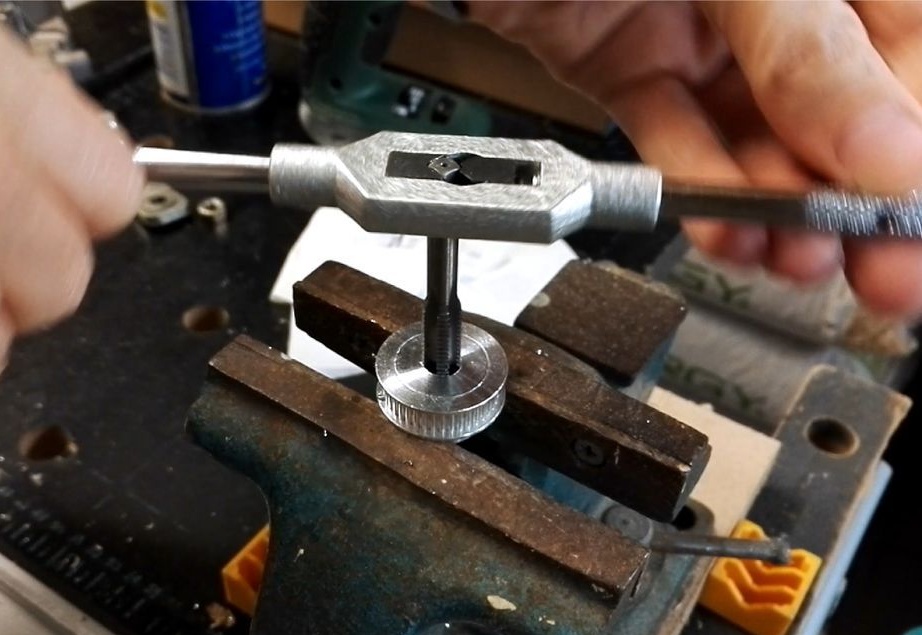
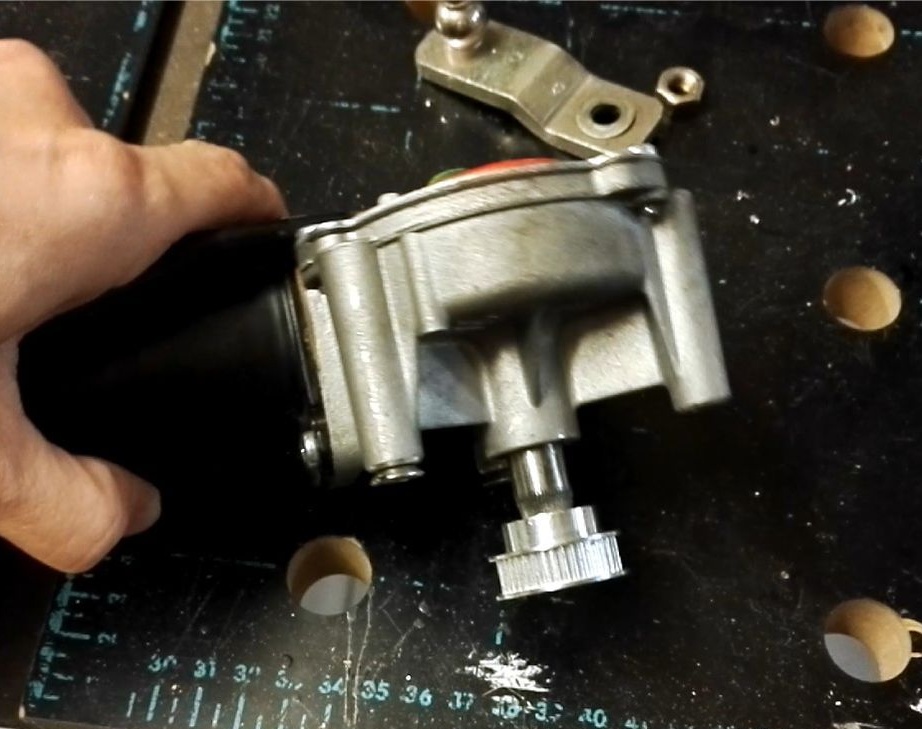
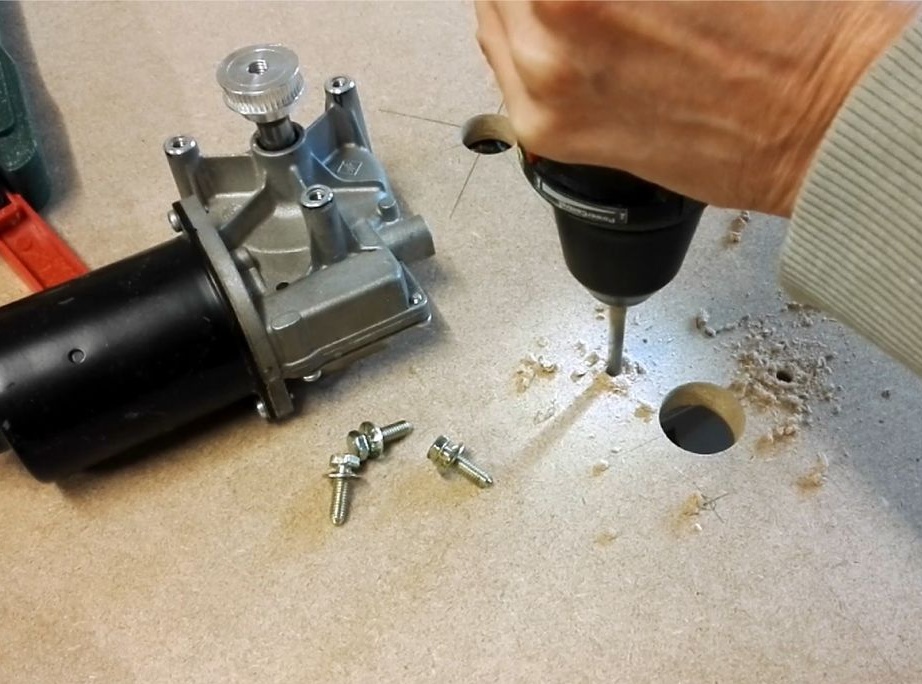
Step Three: Engine
First, the master conducts tests on a weak engine. Then it makes a pulley on the wiper motor and secures it.
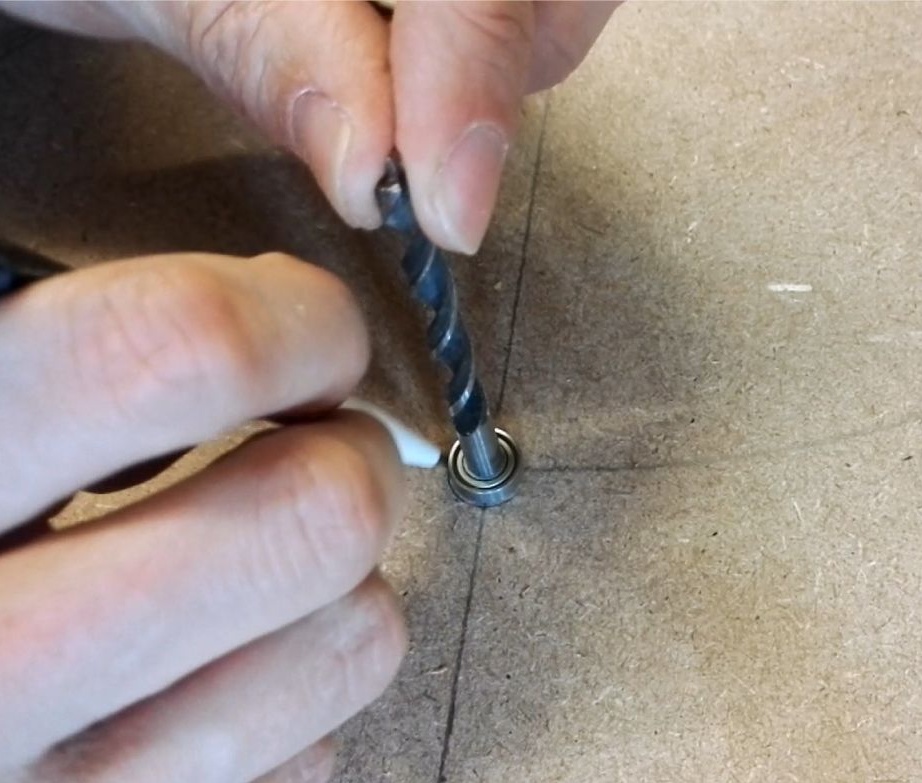
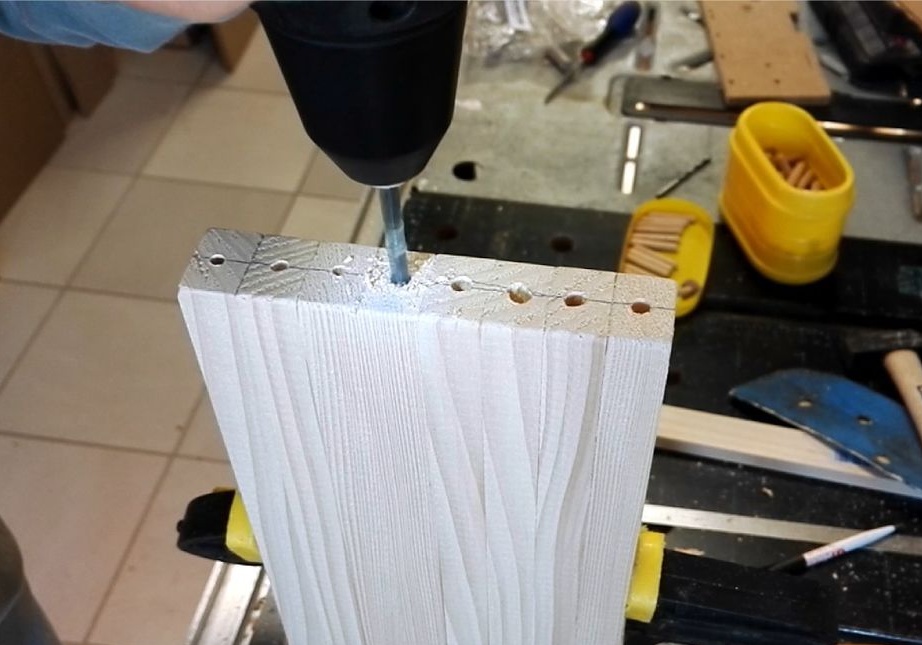
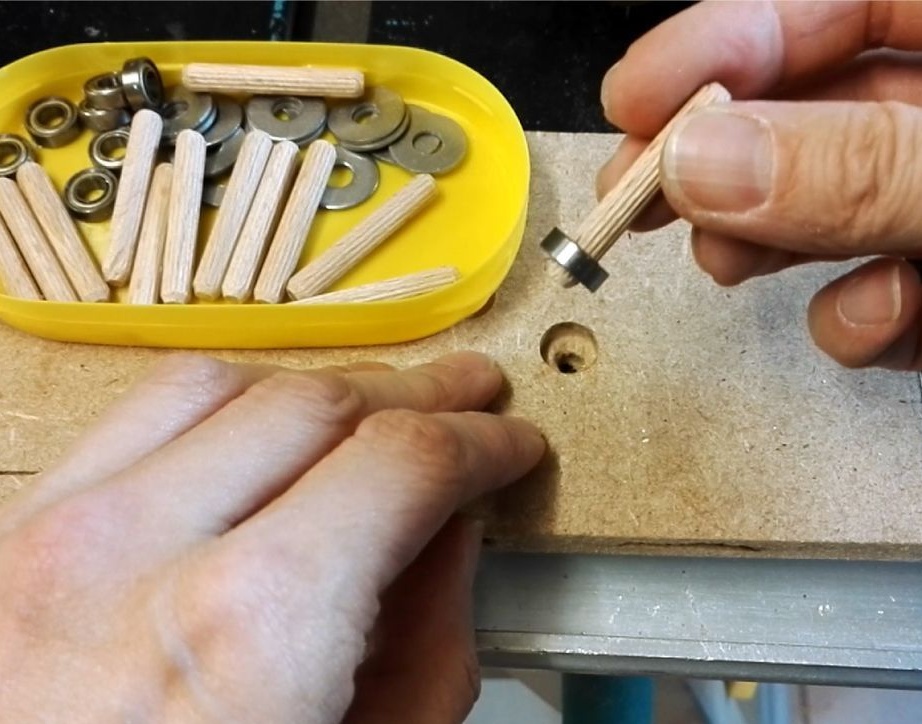
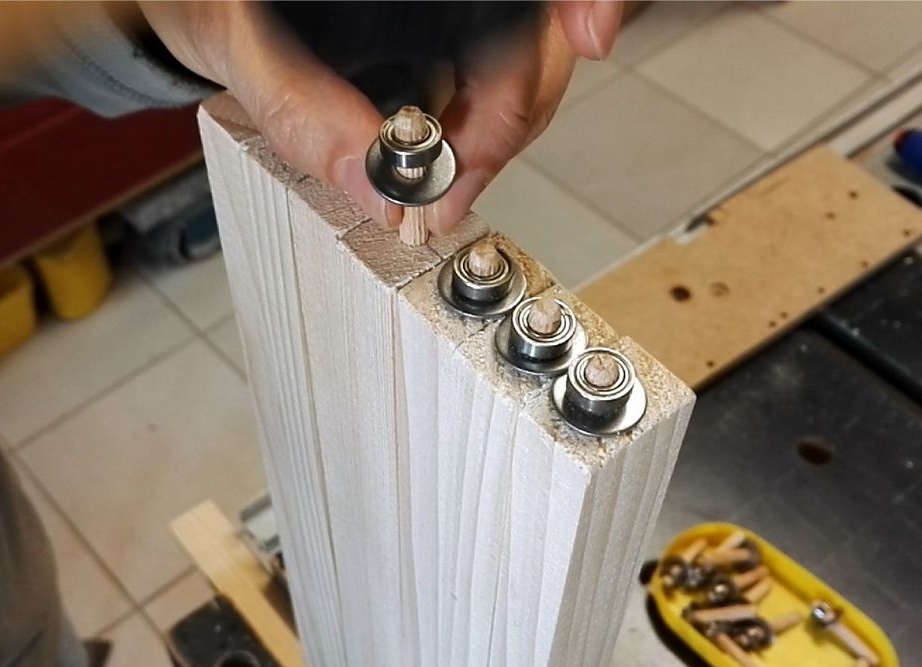
Step Four: Bars
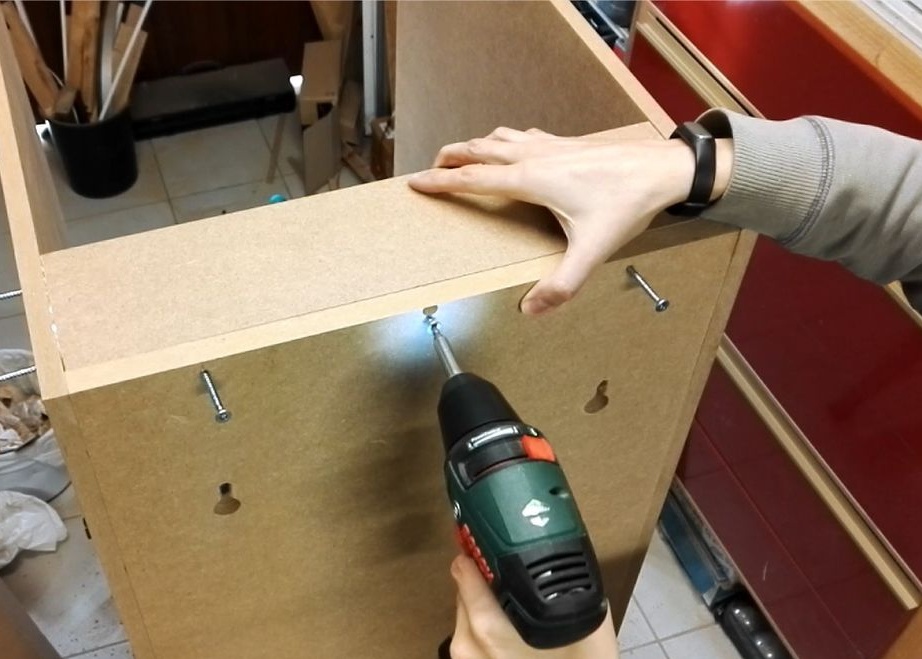
Now you need to connect the wheels using the bars.At the ends of the bars drills a hole for wooden dowels. Installs dowels in the holes, and mounts bearings on them. Part of the dowel should protrude above the bearing. According to the scheme on wheels makes a seat for bearings and holes for dowels. Assembles a wheel. Fastens with screws.

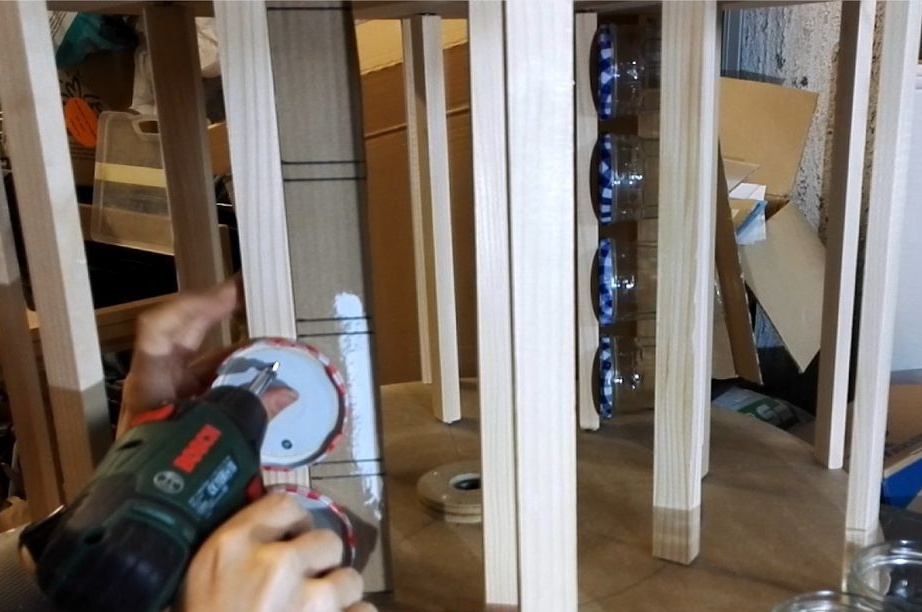
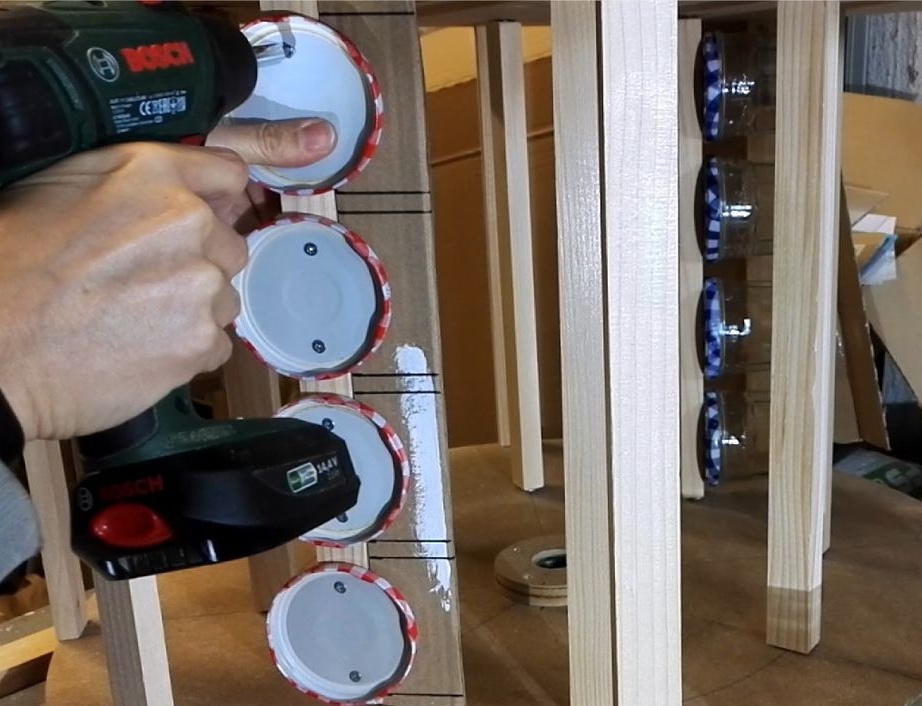
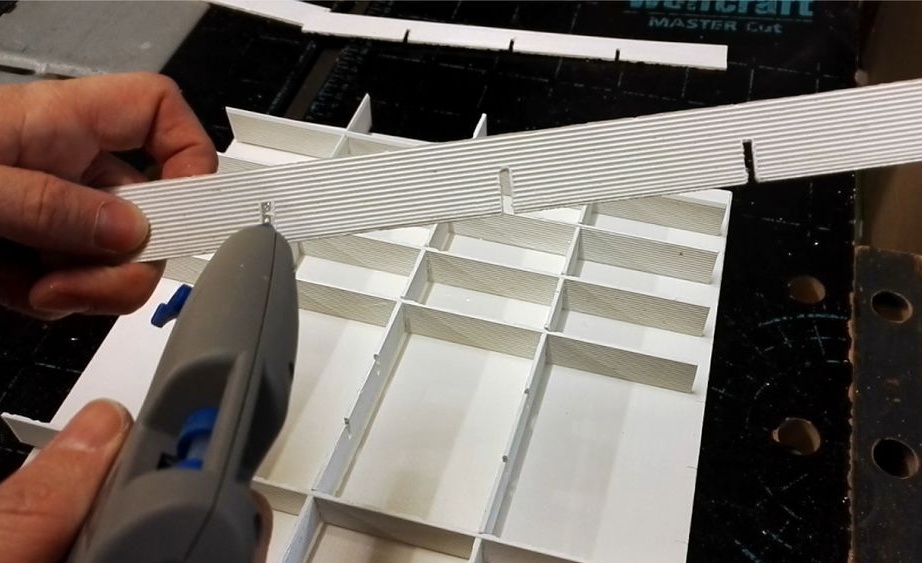
Step Five: Installing Cans
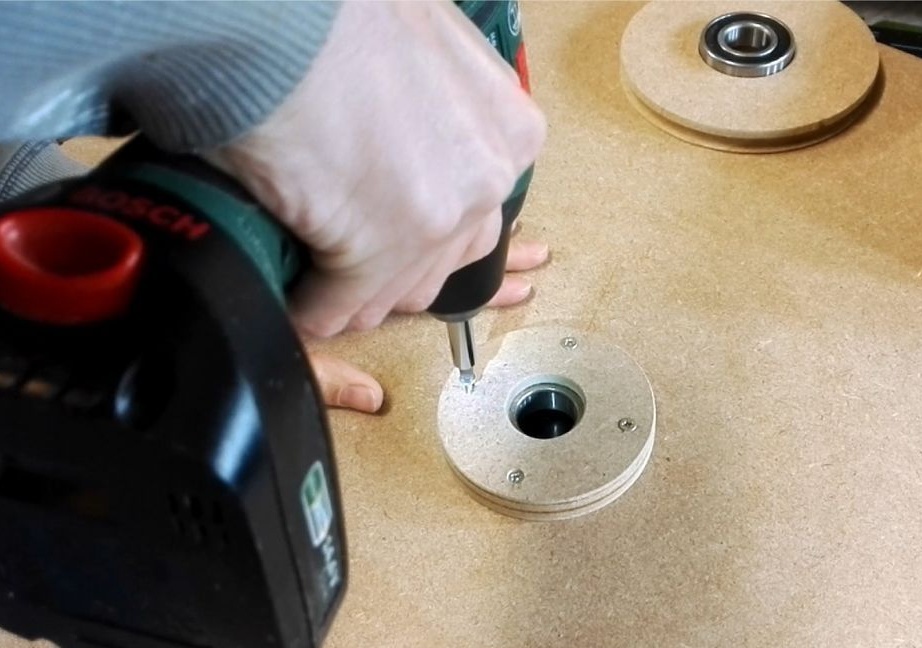
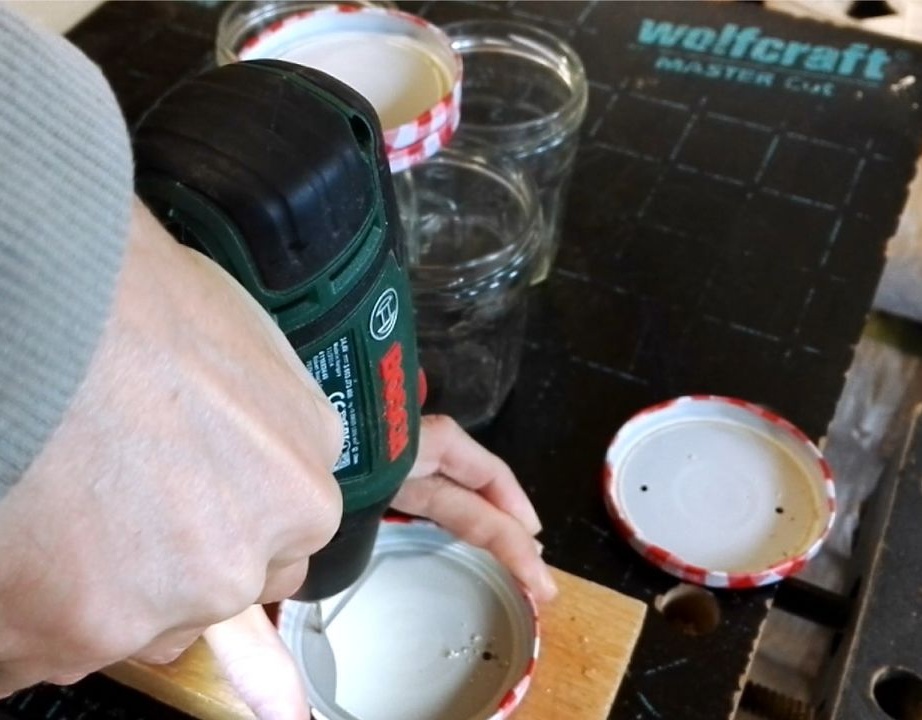
On the bars fastens the lids of the cans four in a row. Screws the cans into the lids.
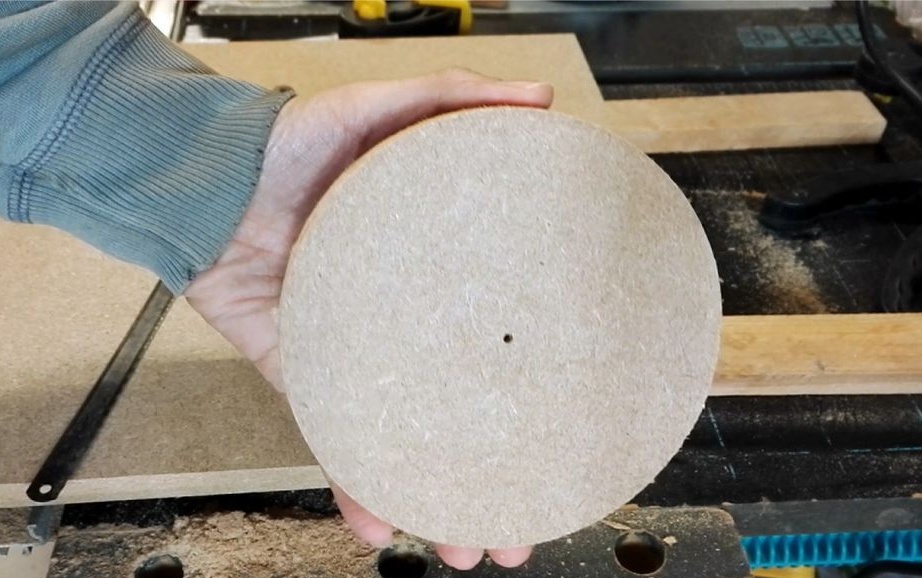
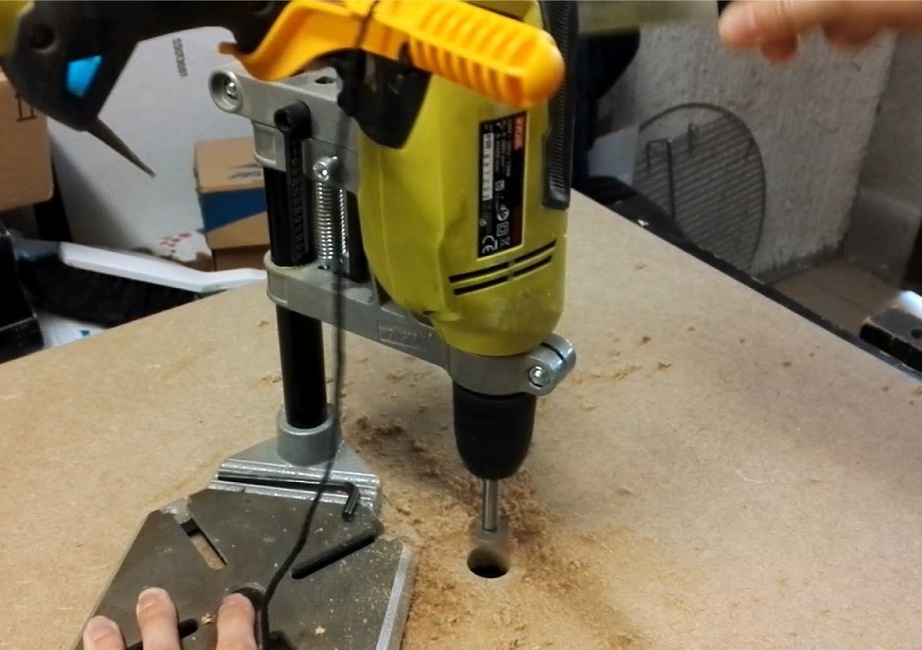
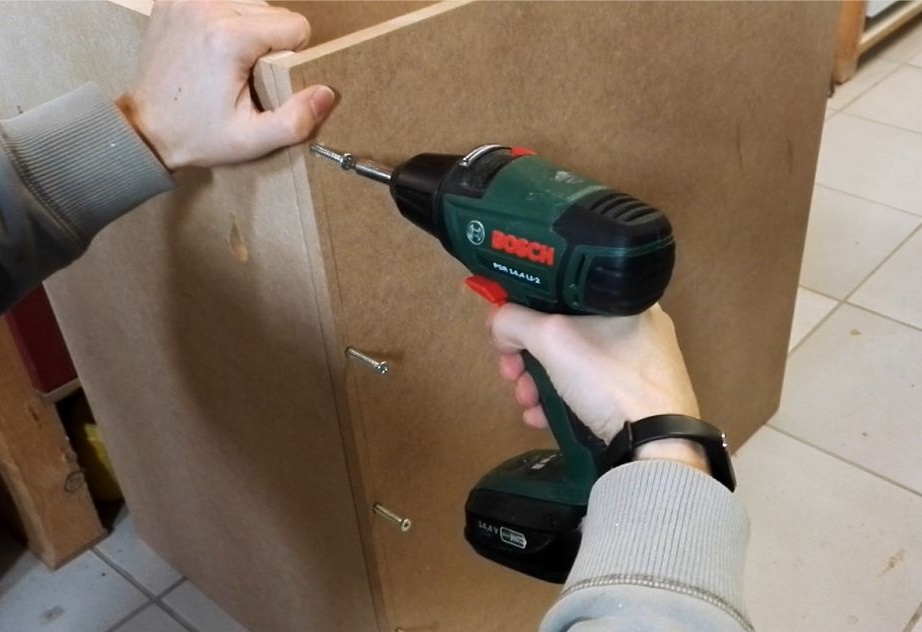
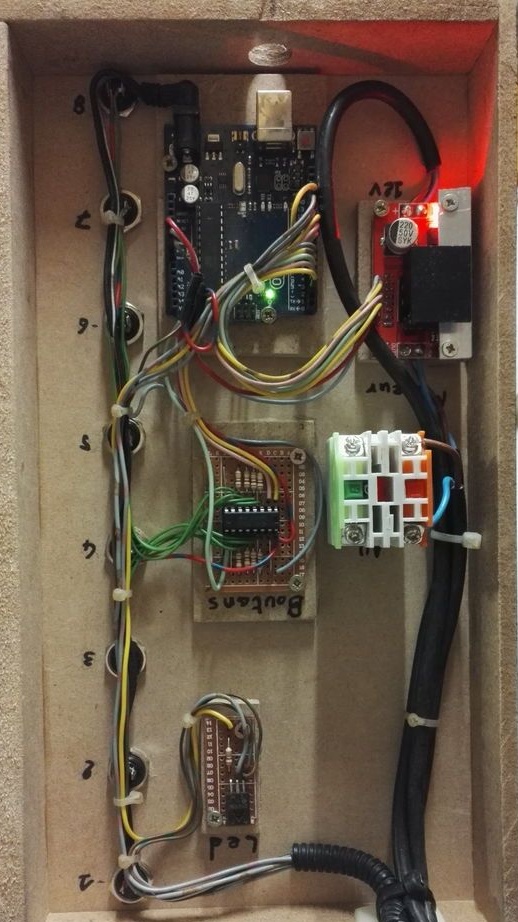
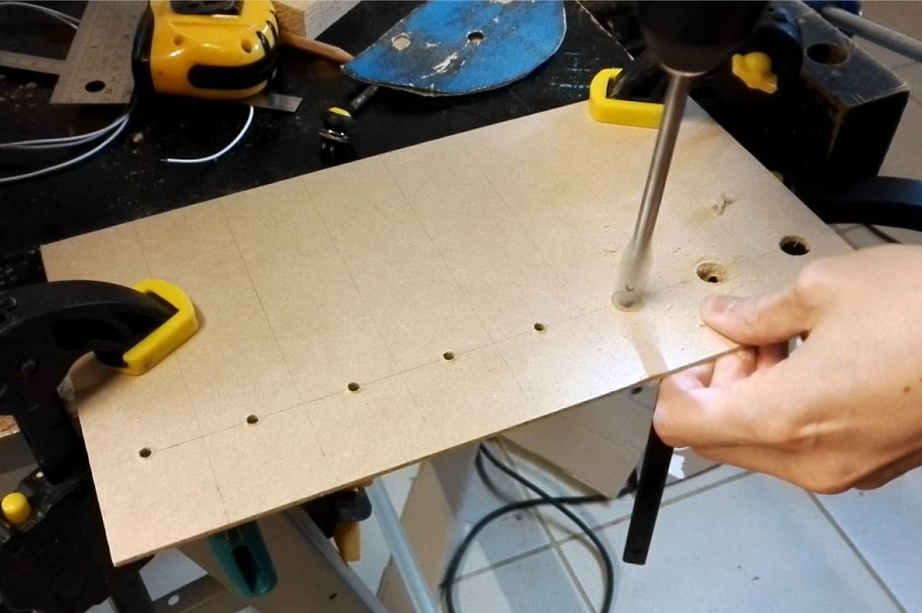
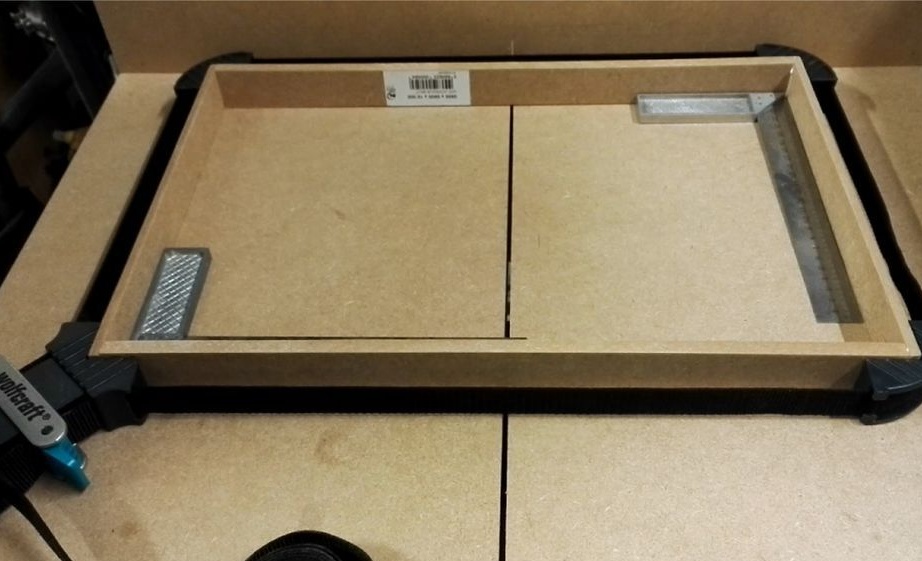
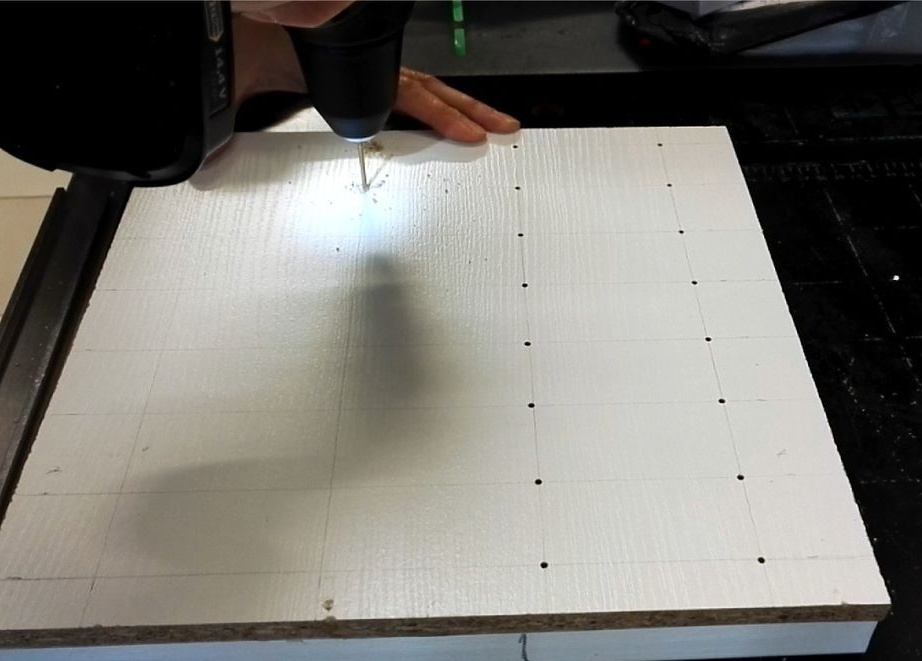
Step Six: The Case
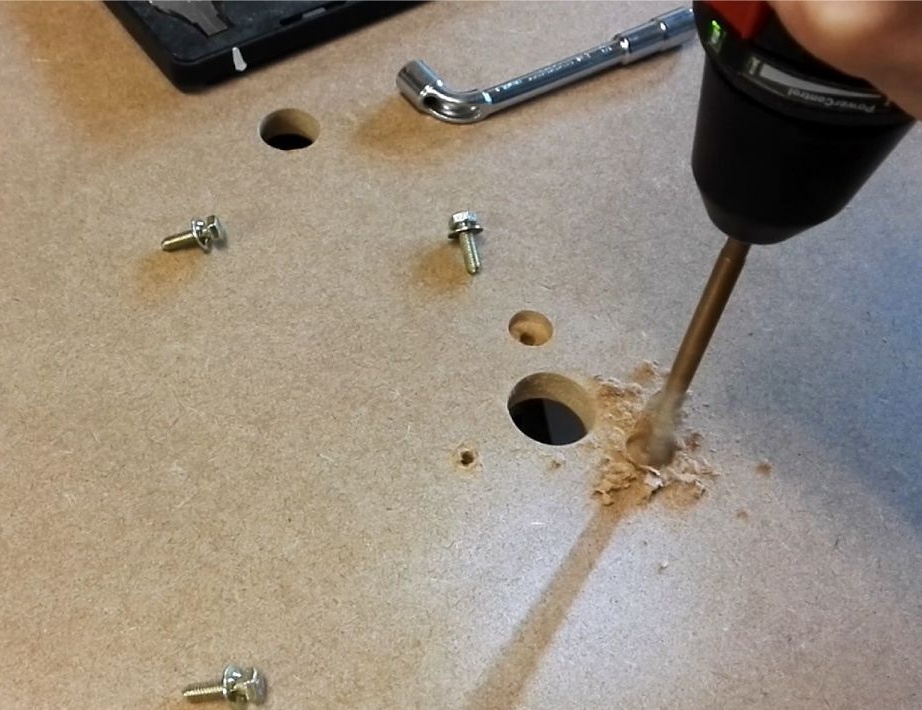
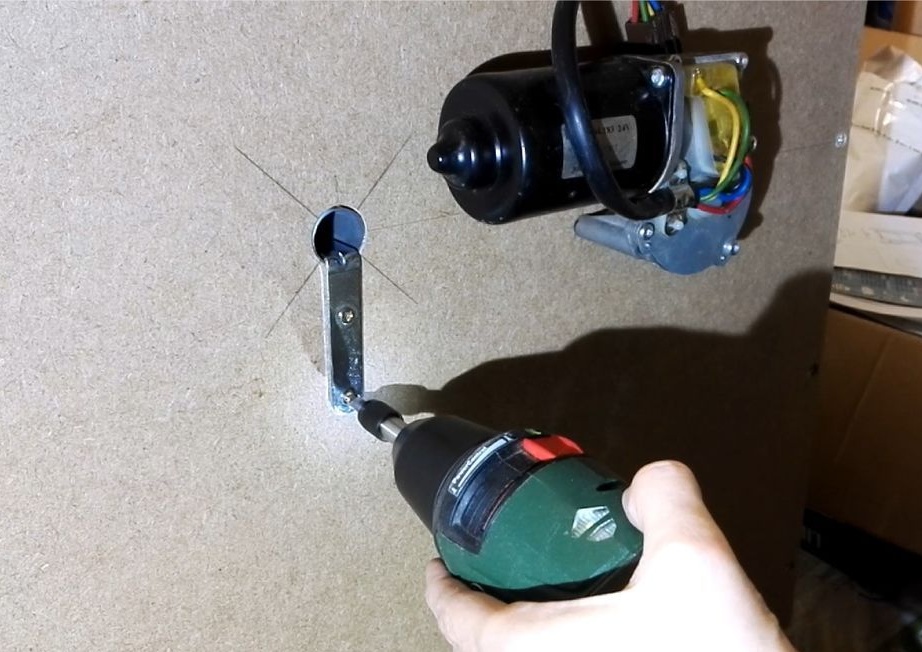
The master also made the case from MDF. I drilled holes for the axis on the side surfaces. Made holes for mounting the engine.
Seventh step: reed switch
To fix the position of each position, the master uses a reed switch.
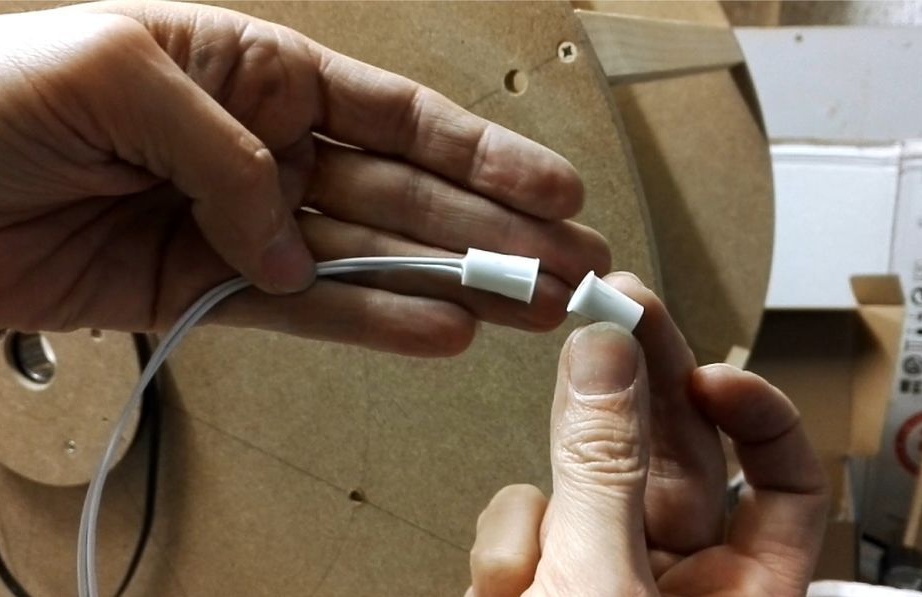
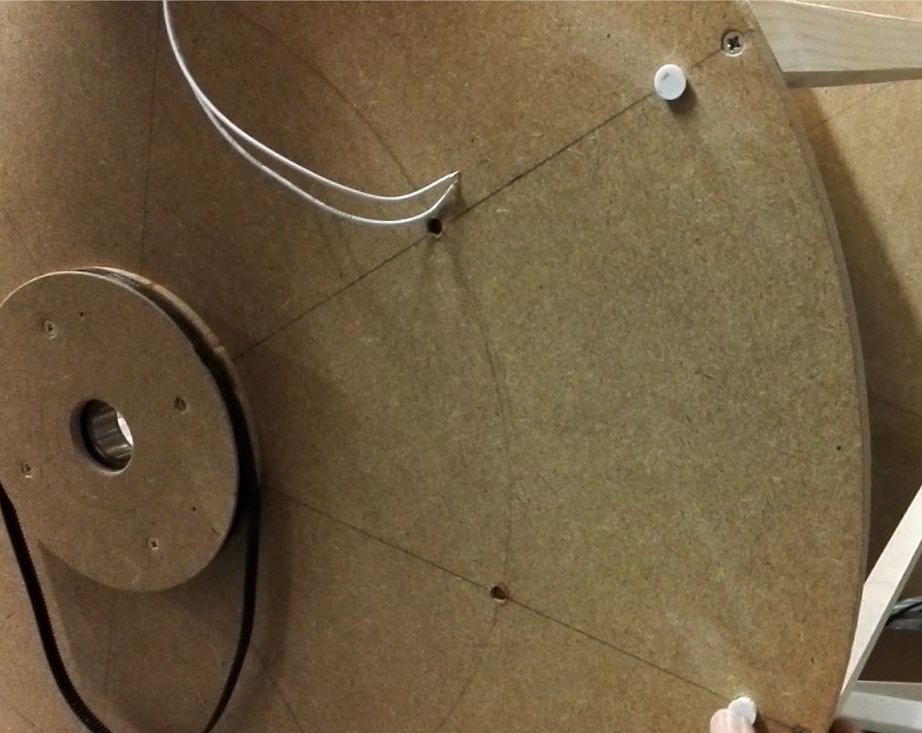
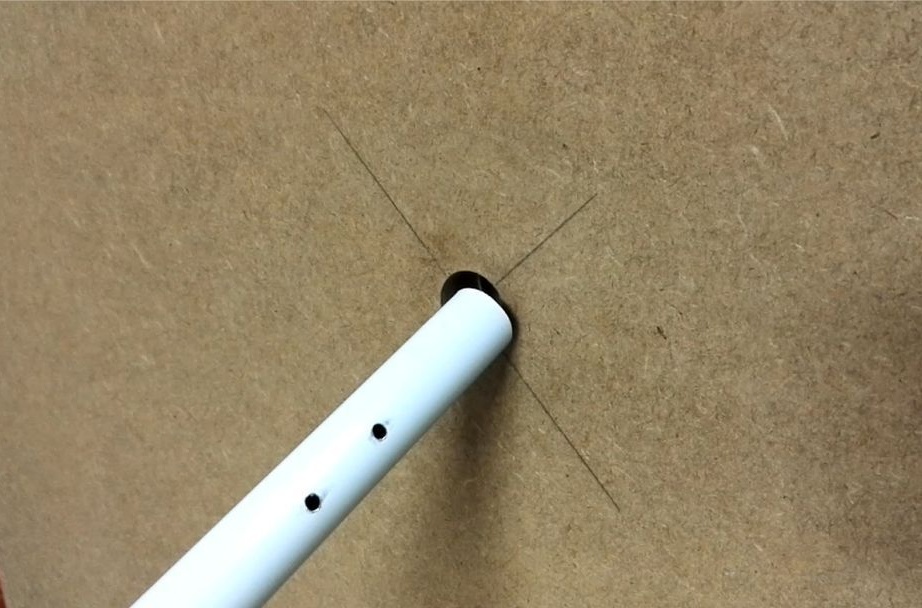
Step Eight: Axis and Light
The axis is made of a metal tube. At the ends, the axle is attached to the wheels with the help of a corner. An LED strip is glued on the axis.


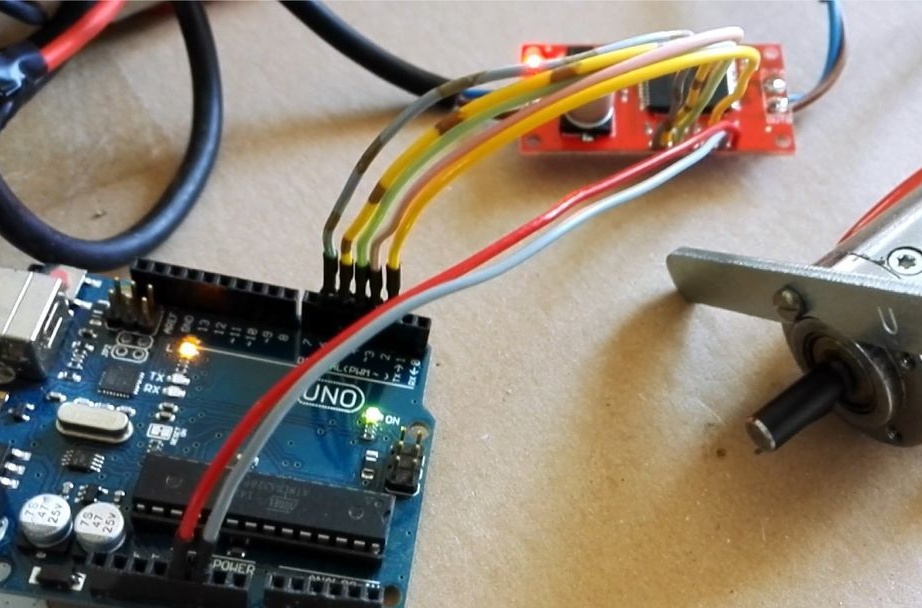
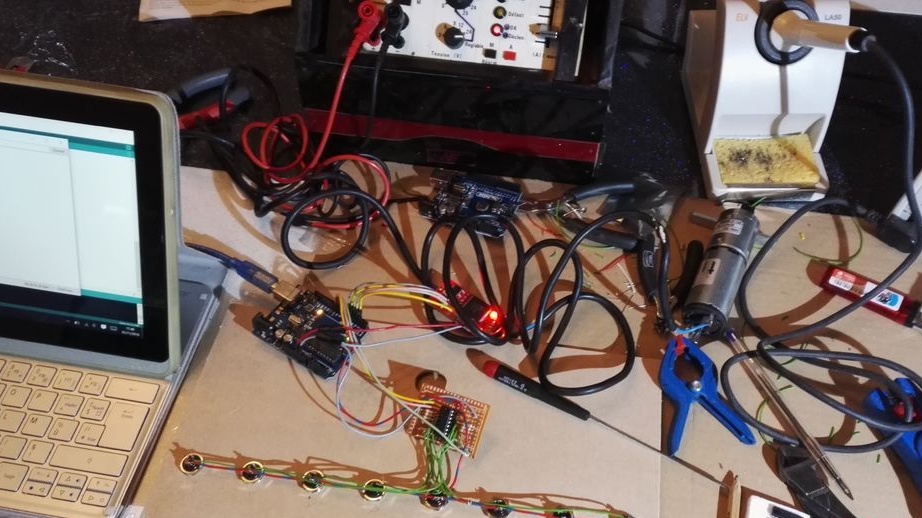
Step Nine: electronics
Organizer controlled by Arduino. For the engine, the master installs the VNH2SP30 module. With it, you can change the direction and speed of movement.
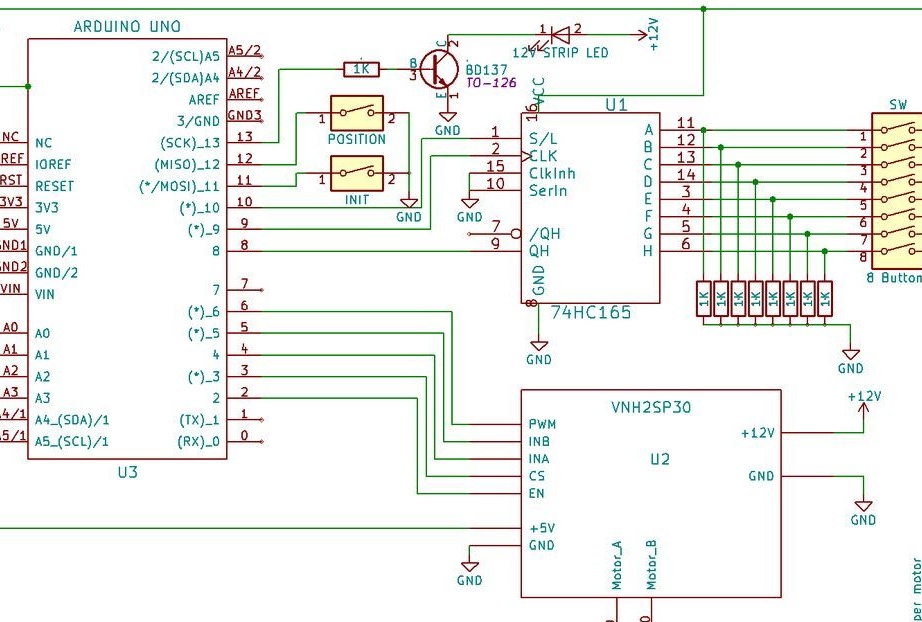
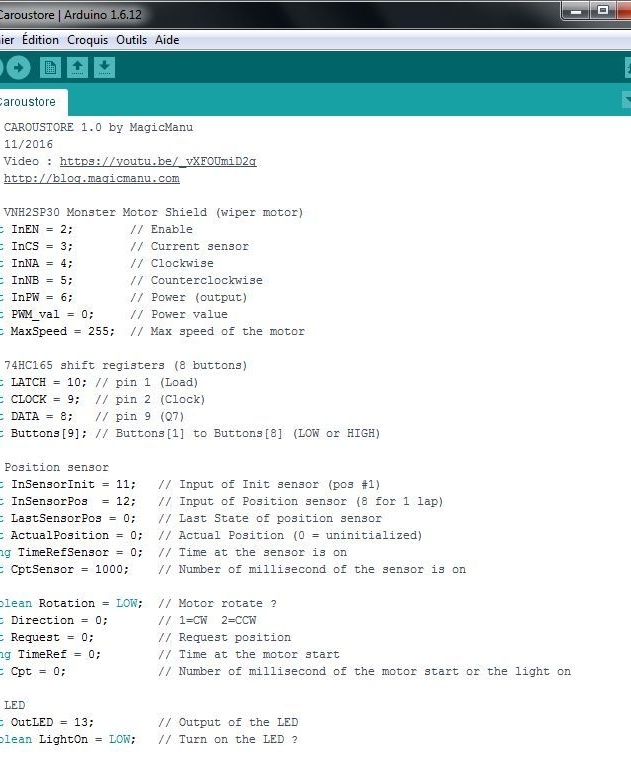
Download the code for Arduino and the circuit below.
Schema.Caroustore.pdf
Caroustore.ino
Step Ten: Control Panel
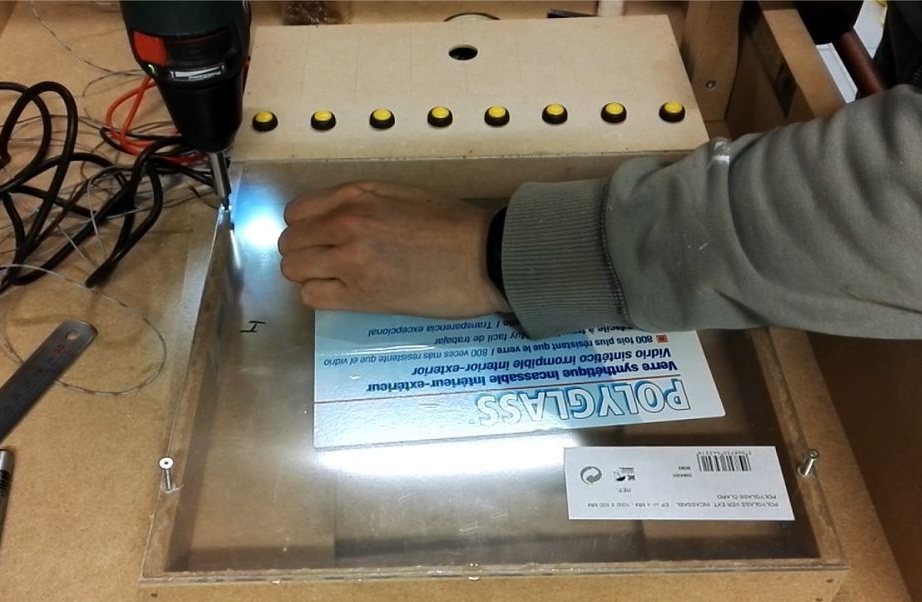
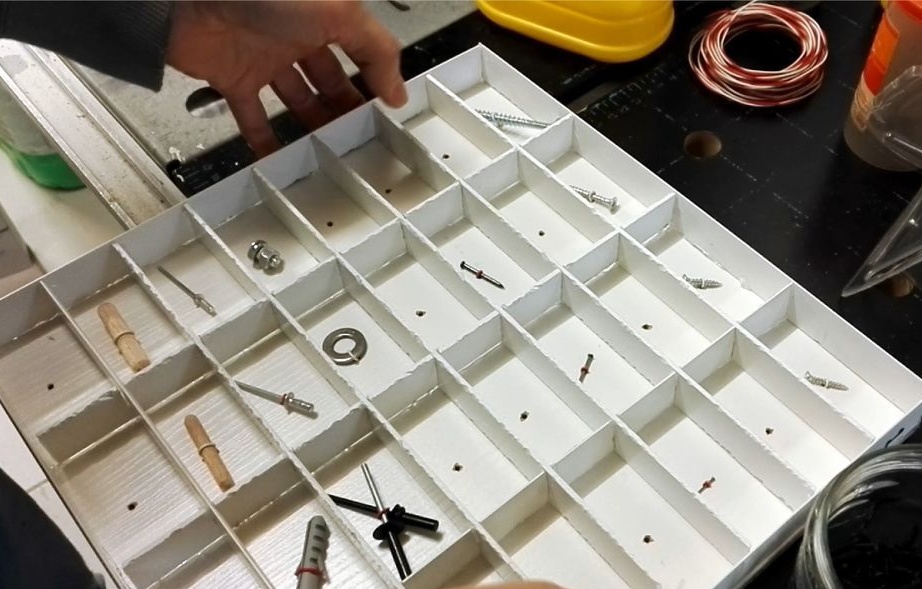
The control panel is made of MDF. On the left are eight rows with samples of fasteners. Each row has four denominations. The samples are covered with transparent plastic on top. On the contrary, each row is set control button.
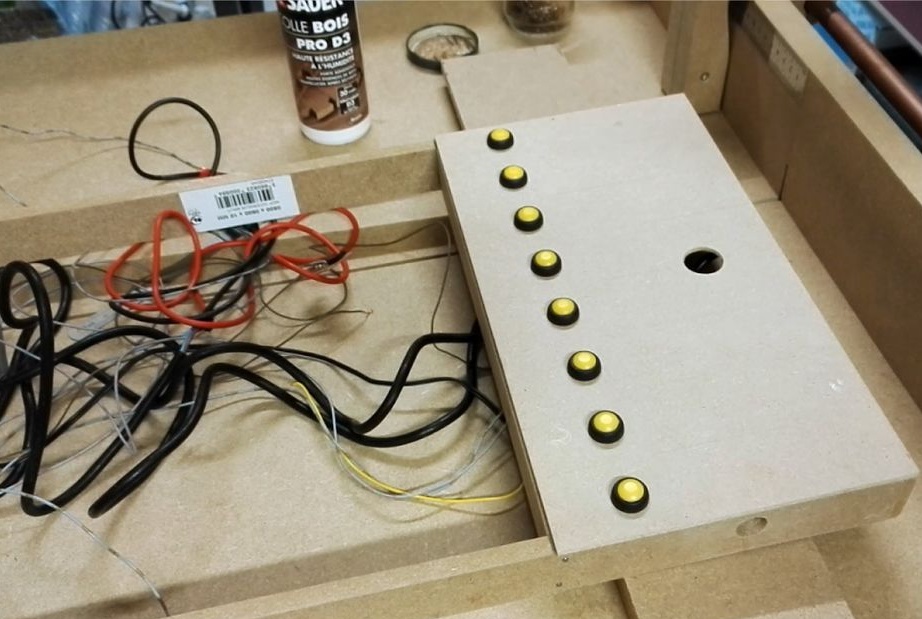
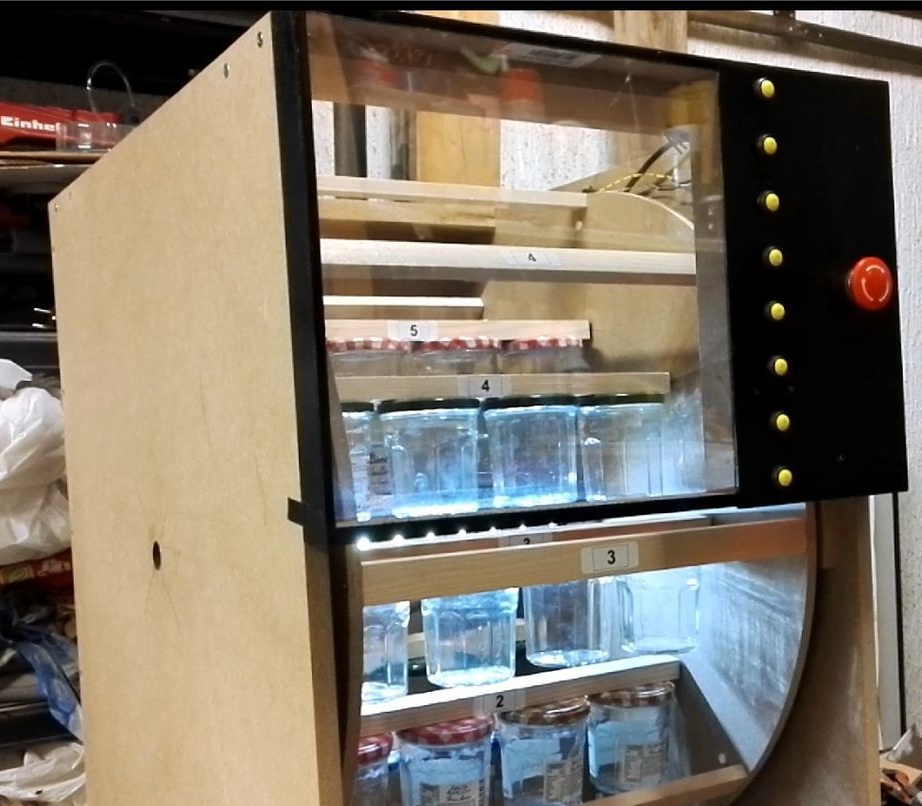
The master made trays for samples from plastic. On the contrary, a number stuck to each row. If necessary, you can easily add or remove a denomination.
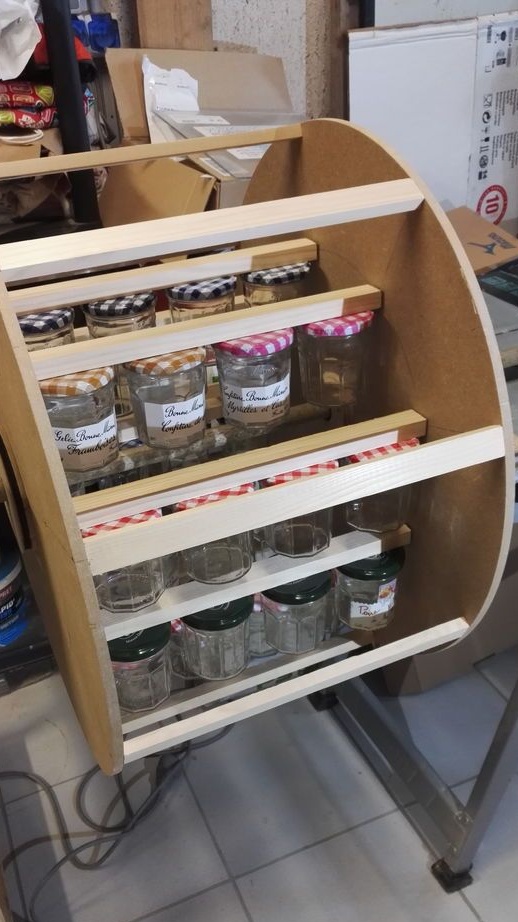
The organizer is ready. Fasteners, radio components or even sweets can be loaded into cells.
The whole process of making the organizer can be seen in the video.
P.S. In my opinion, such an organizer can find application in many areas. Slightly smaller in size and you can install it in the kitchen under spices, radio amateurs can use it to search for electronic components, and children can choose the right sweets.
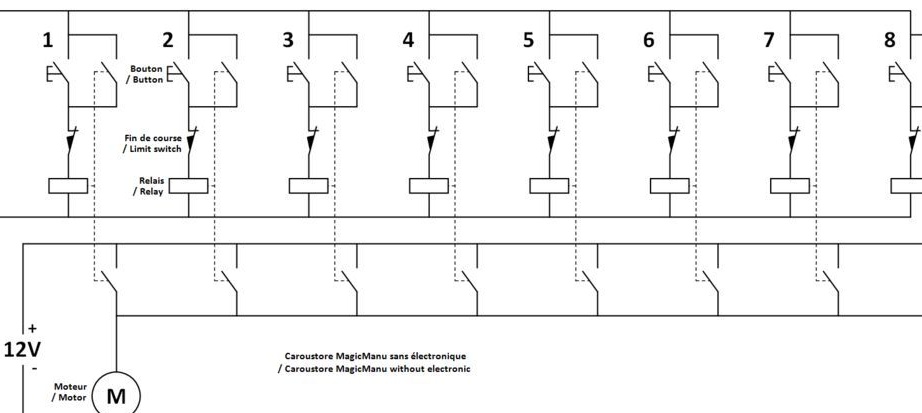
In the comments to the organizer, the master posted the diagram without Arduino. This simplifies and reduces the cost of the project.