
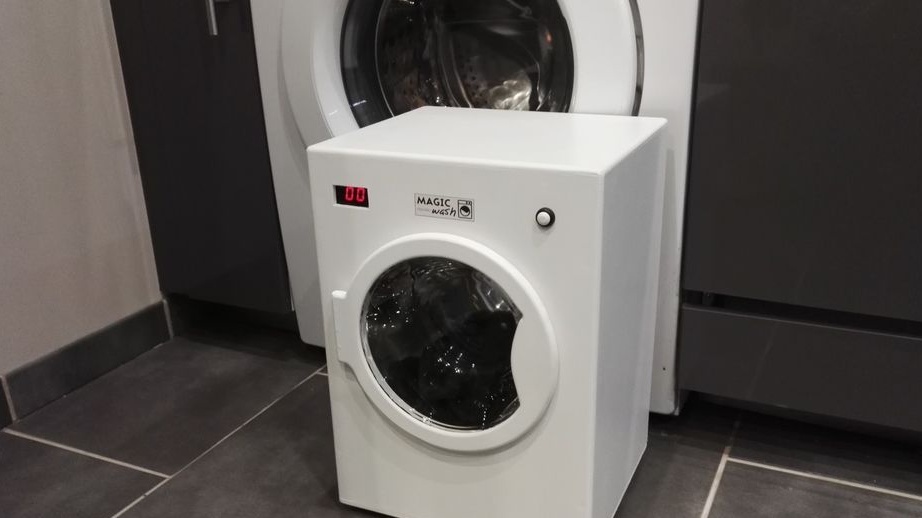
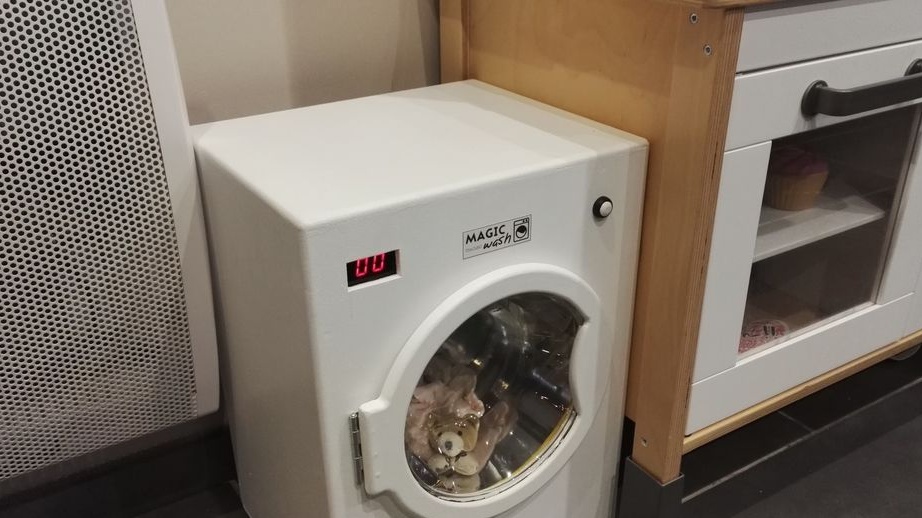
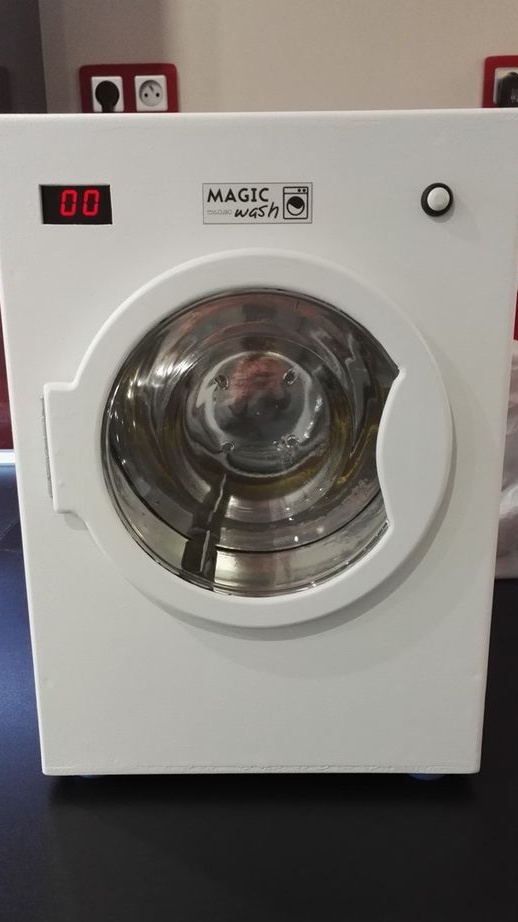
Master made an interesting toy for his children. In addition to the store and the doll house, the master made an acting model washing machine (without water). The machine is controlled by Arduino and is powered by a 12 V battery.
Technical characteristics of the machine.
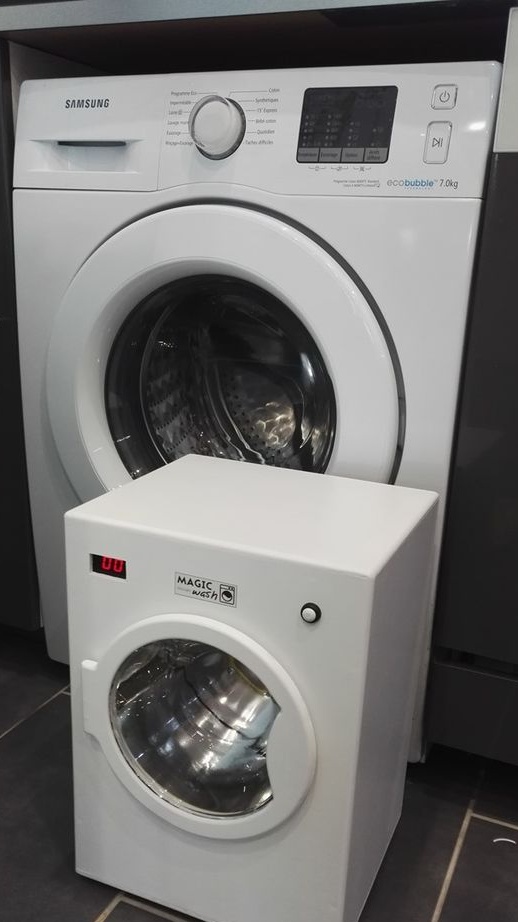
-Scale: 1/2
-Dimensions: width 30 cm, height 40 cm
-Weight: 6 kg
Digital display of information.
-Drum rotation in increments of 10 seconds (no more than 60 seconds)
-Accelerate and rotate the direction of rotation every 10 seconds
- Immediate engine stop when opening the door (display on displays)
-Display username at startup
-Auto Standby after 5 minutes
At the end of the process, a beep sounds.
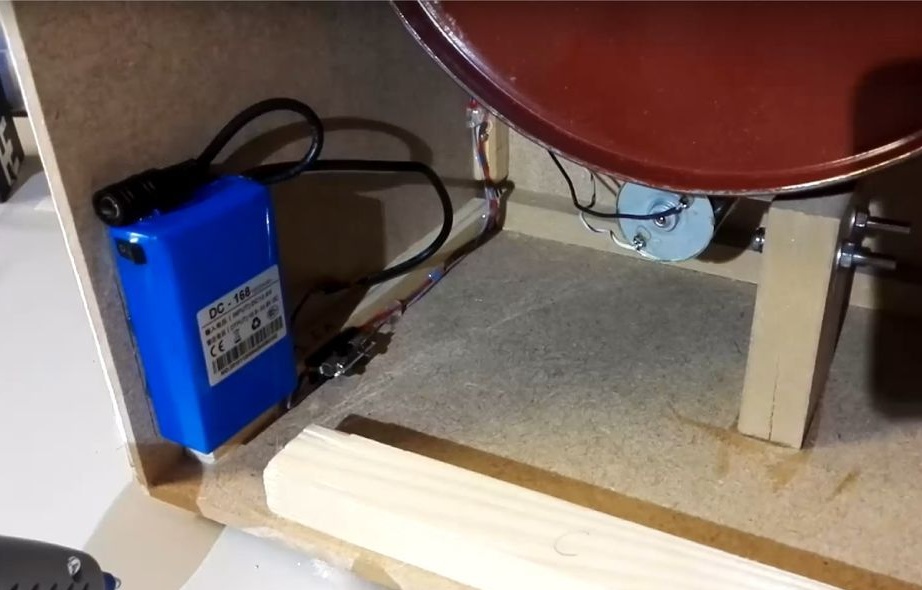
12V rechargeable battery
It is controlled by a microcontroller (Arduino Nano)
Tools and materials:
-Motor-reducer 12V 300 rpm;
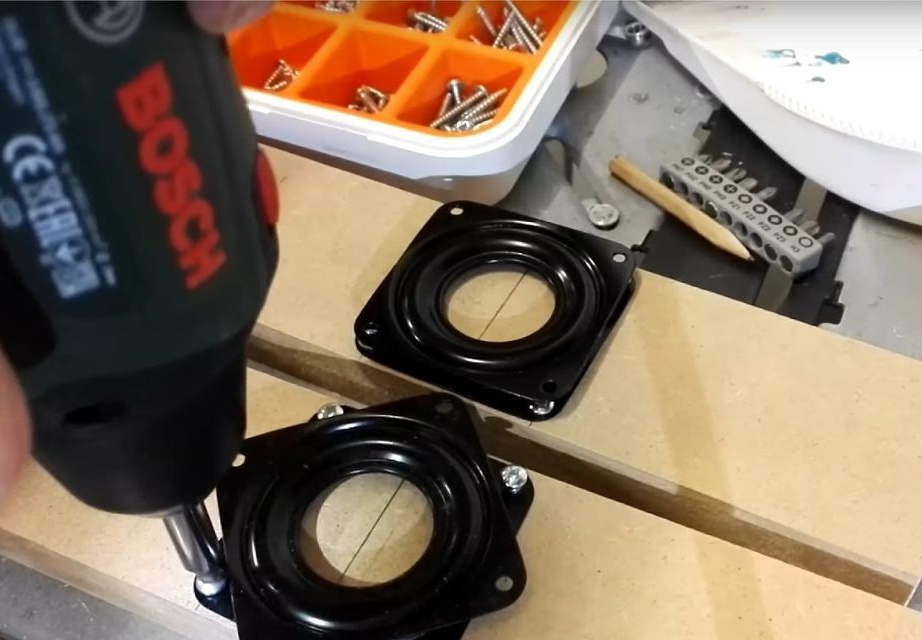
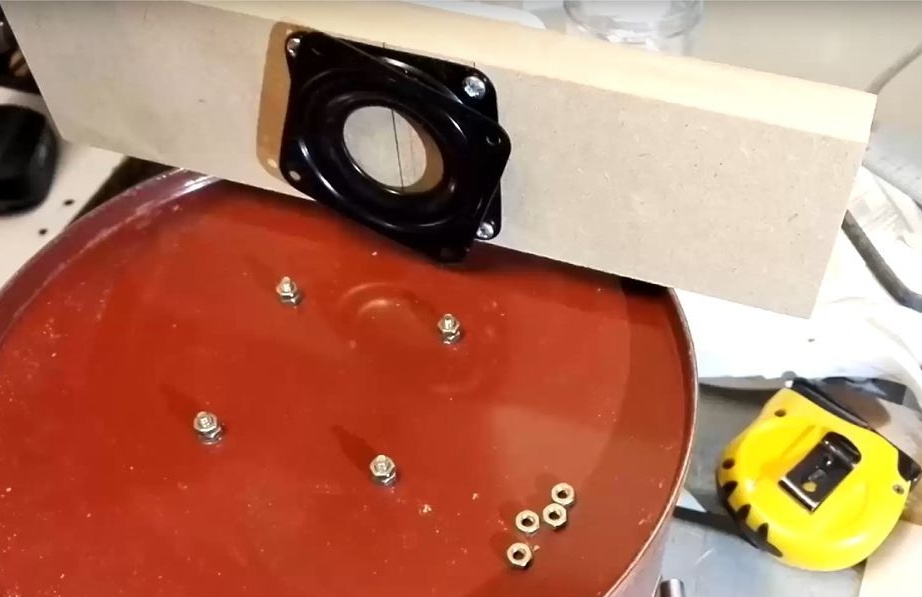
- Support slewing bearing;
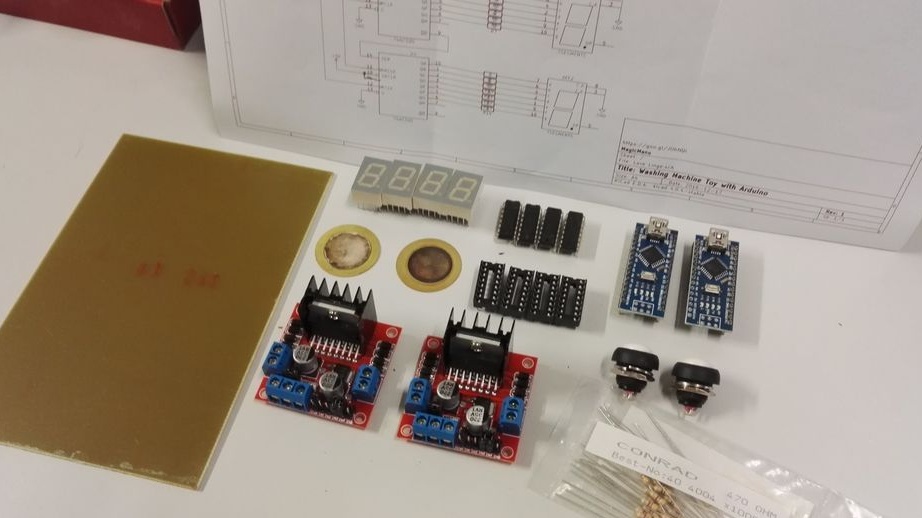
-Driver engine L298N;
-Glass cup;
-Button;
-Hinge;
MDF;
-Chrome vinyl;
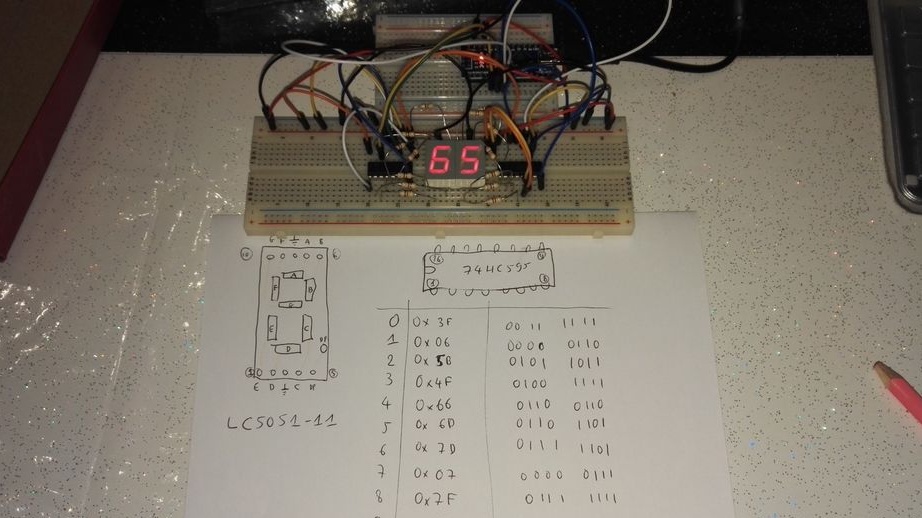
7-segment indicator;
Chip 74HC595;
16-pin DIP package
470 ohm resistors
-Printed circuit board;
-Buzzer;
Reed switch
-Metal can;
-Fasteners;
-Glue;
-Wood sticks;
-Bottles are plastic;
-A circular saw;
-Drill;
-Screwdriver;
-Saw;
-Glue gun;
-Face saw;
-Hammer;
-File;
-Pliers;
-USHM;
Cutter;
-Paint;
- brush;
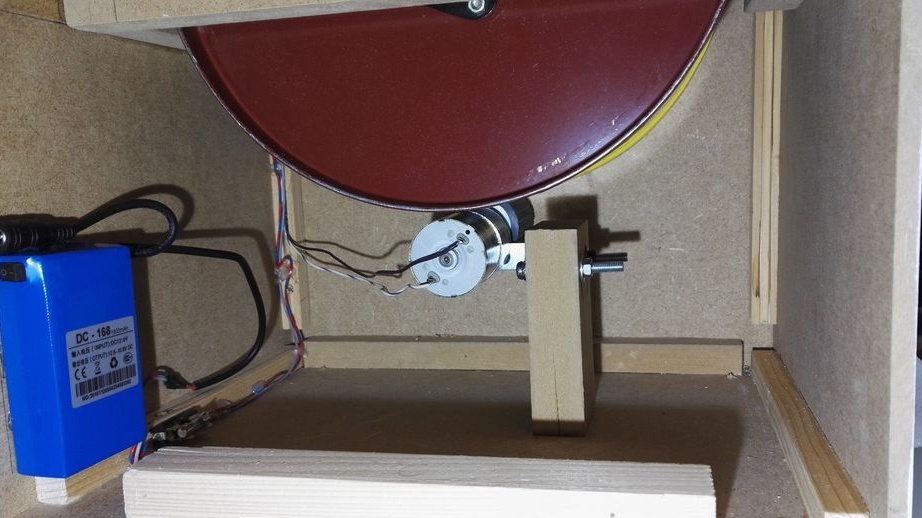
Battery 12V and 1800 mAh;
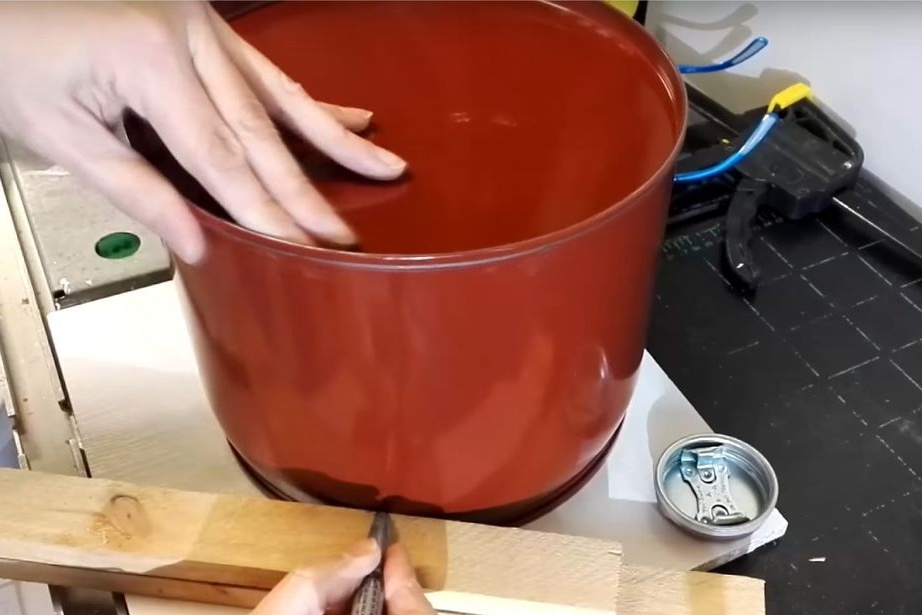
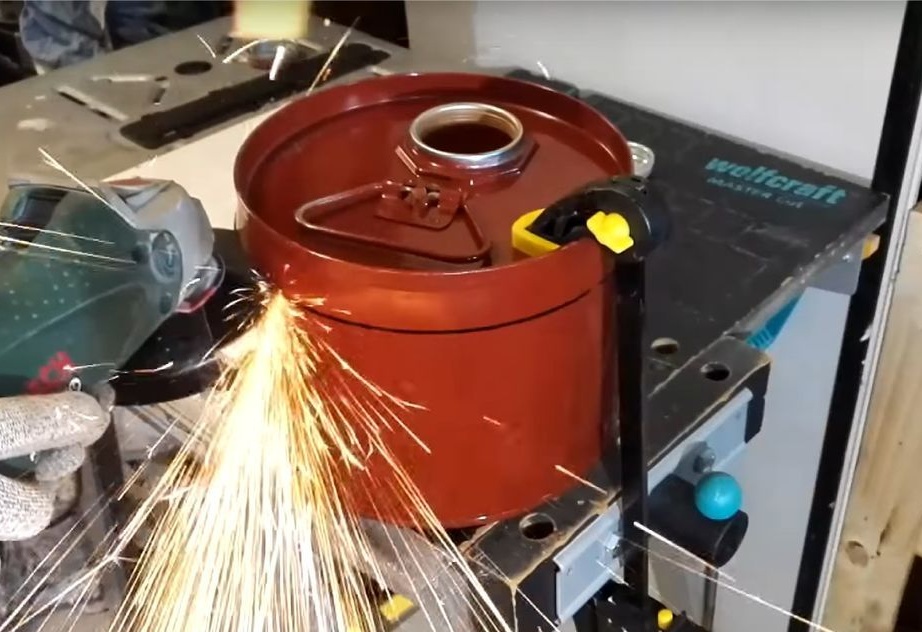
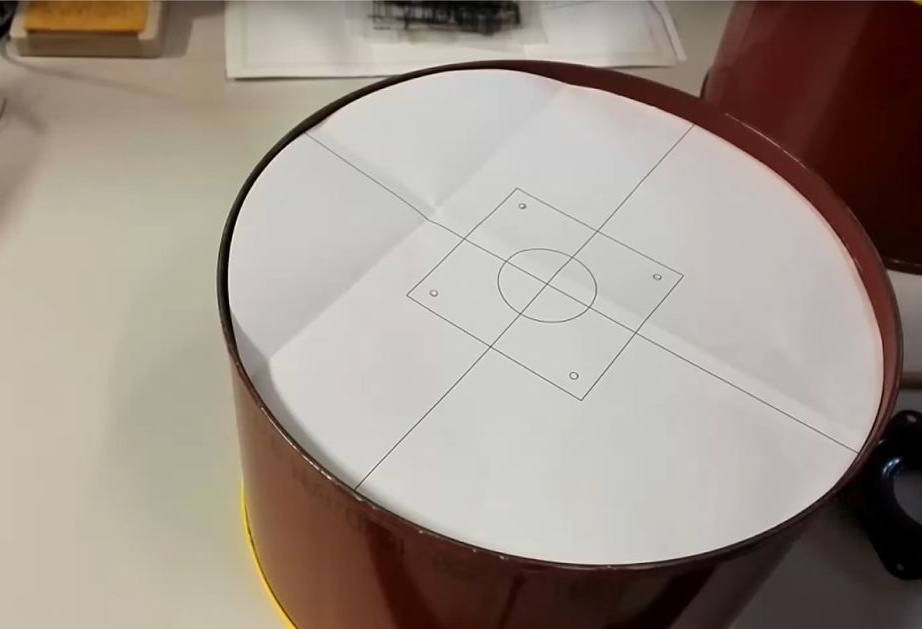
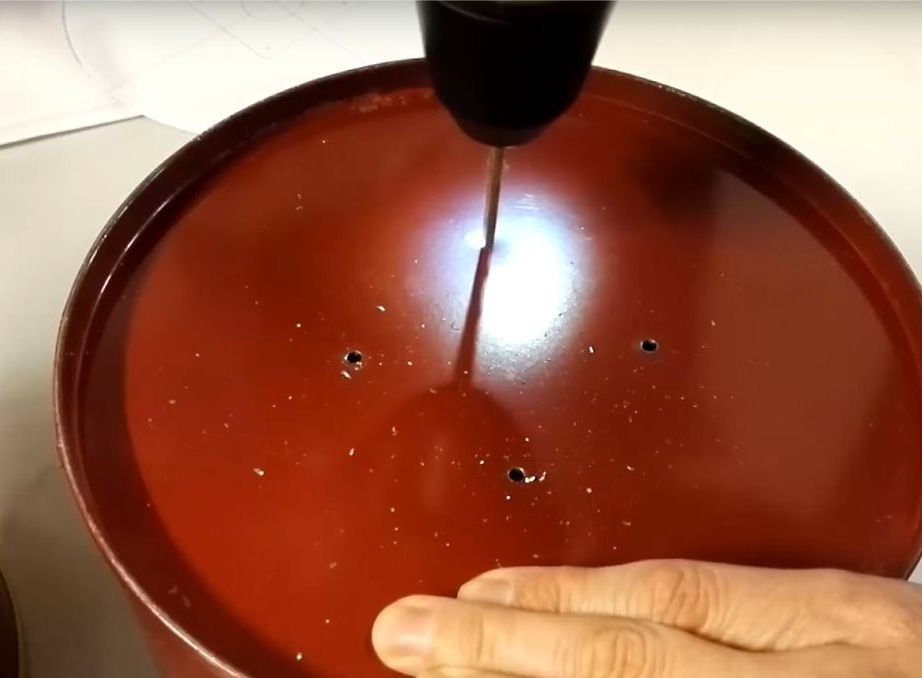
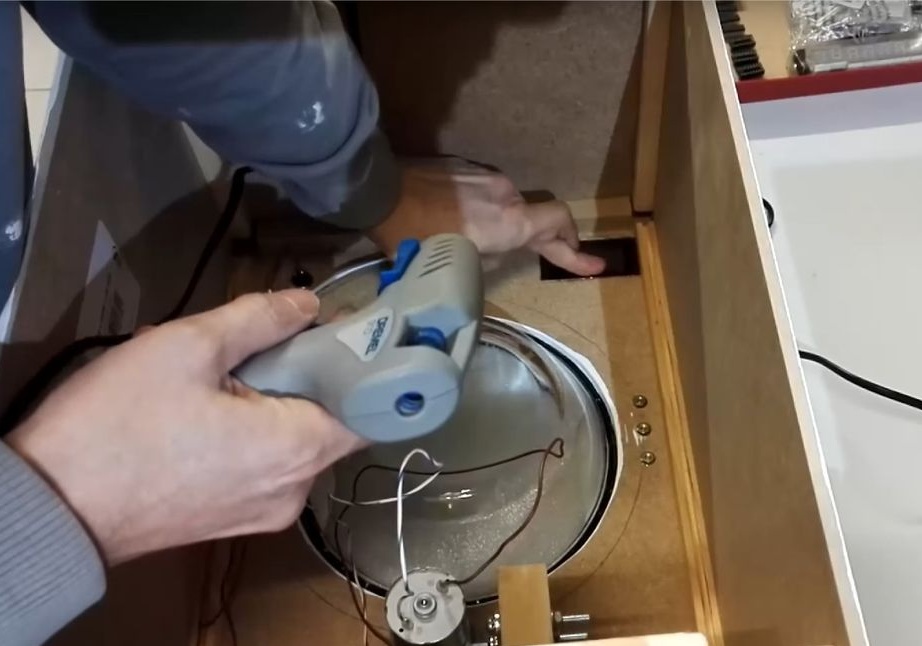
Step One: The Drum
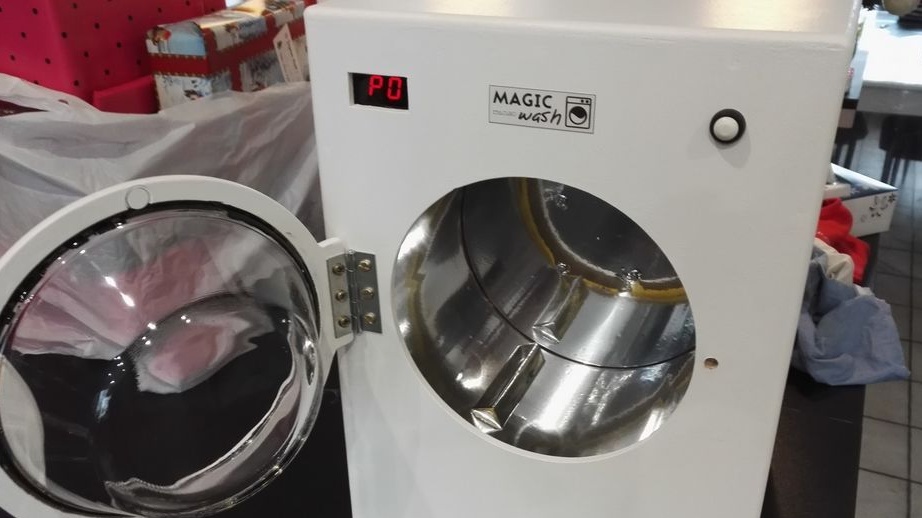
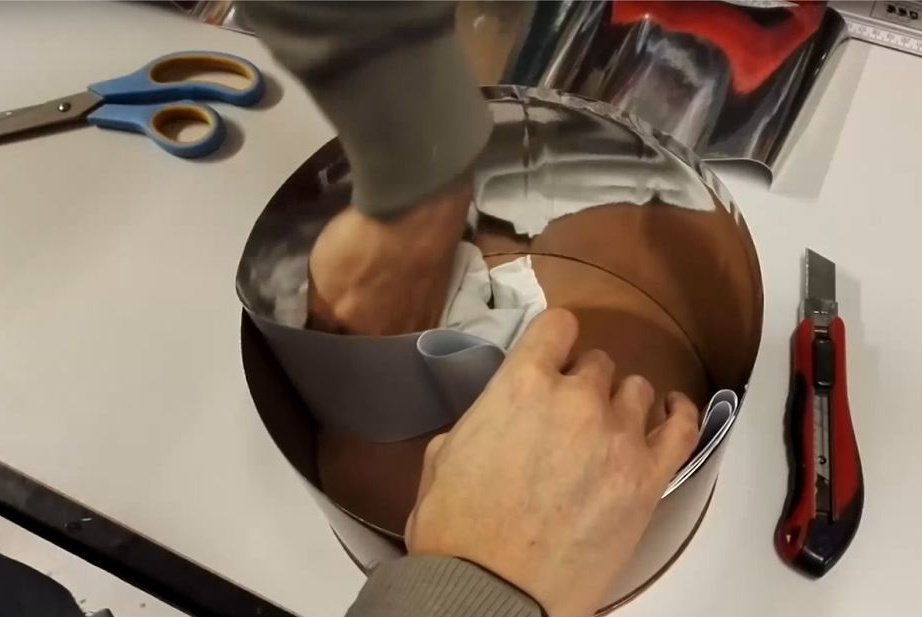
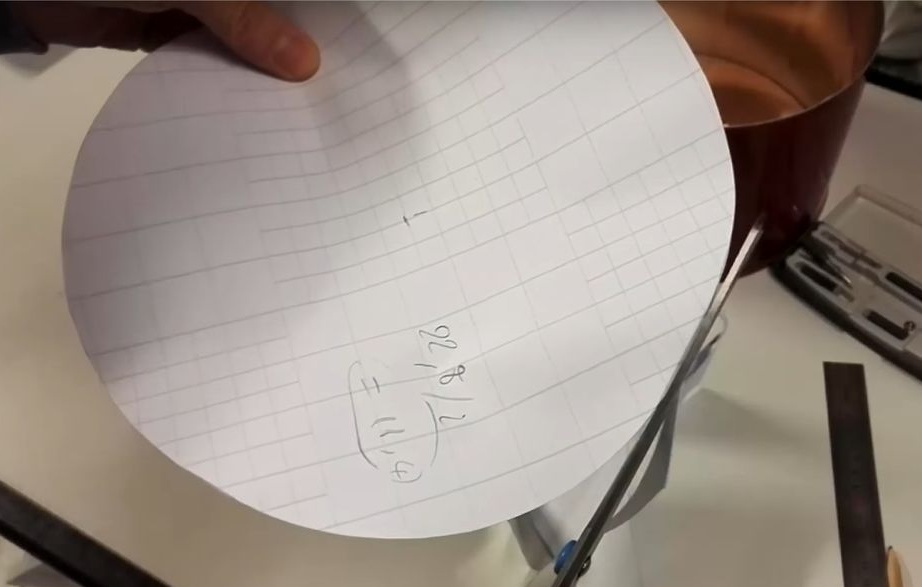
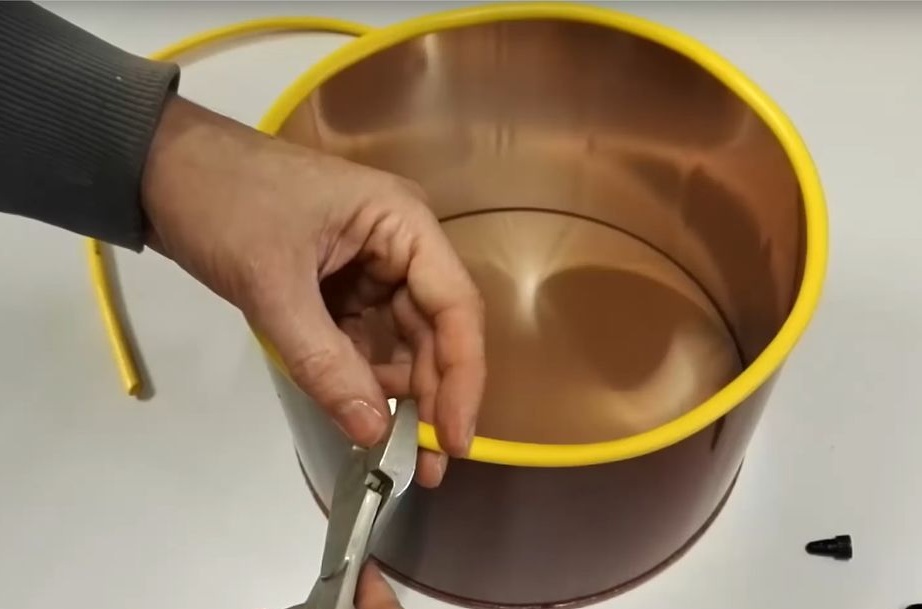
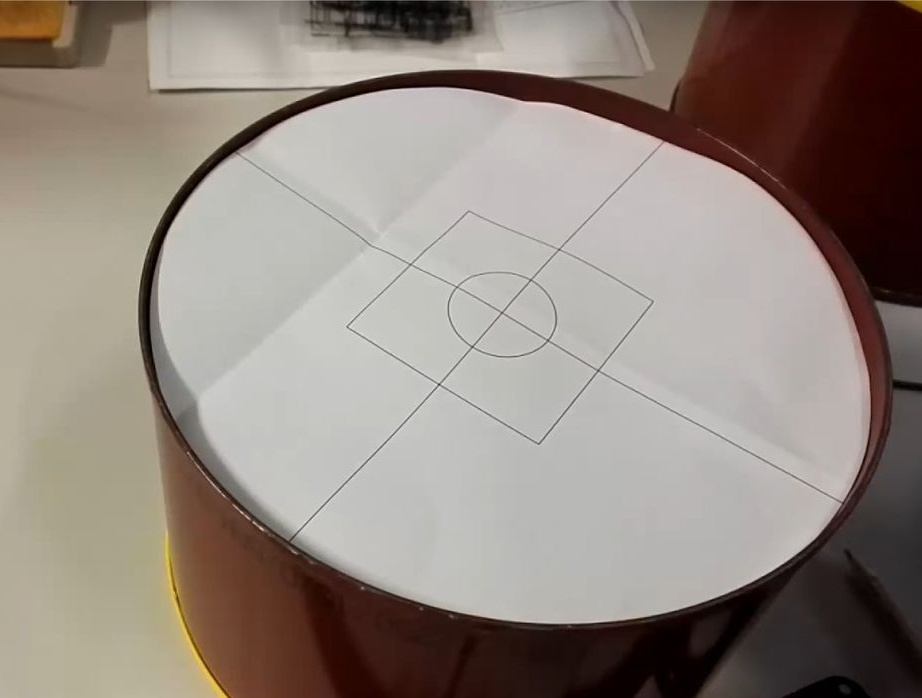
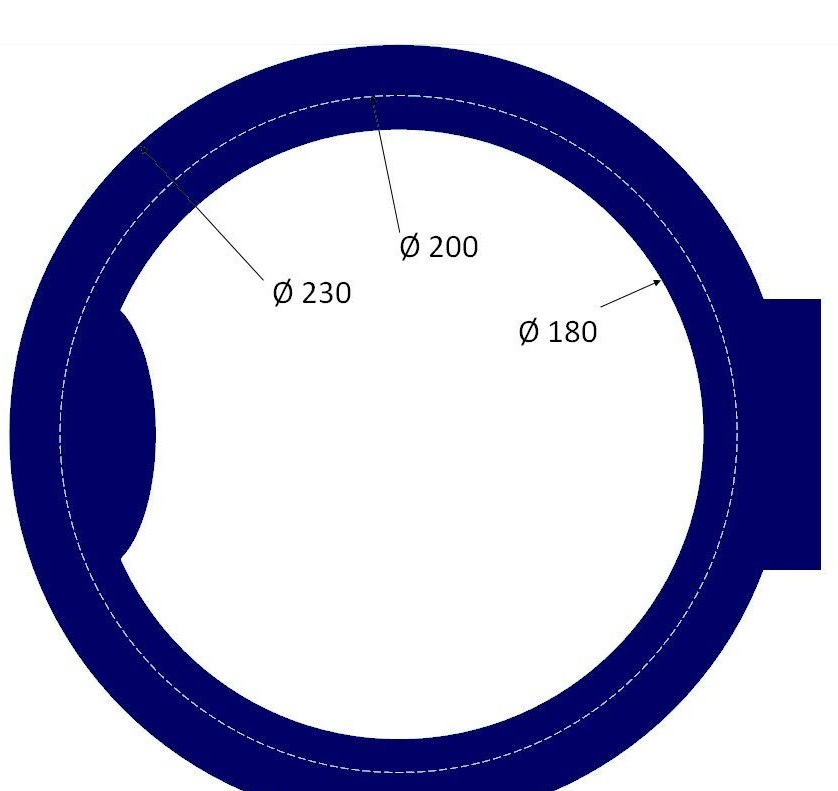
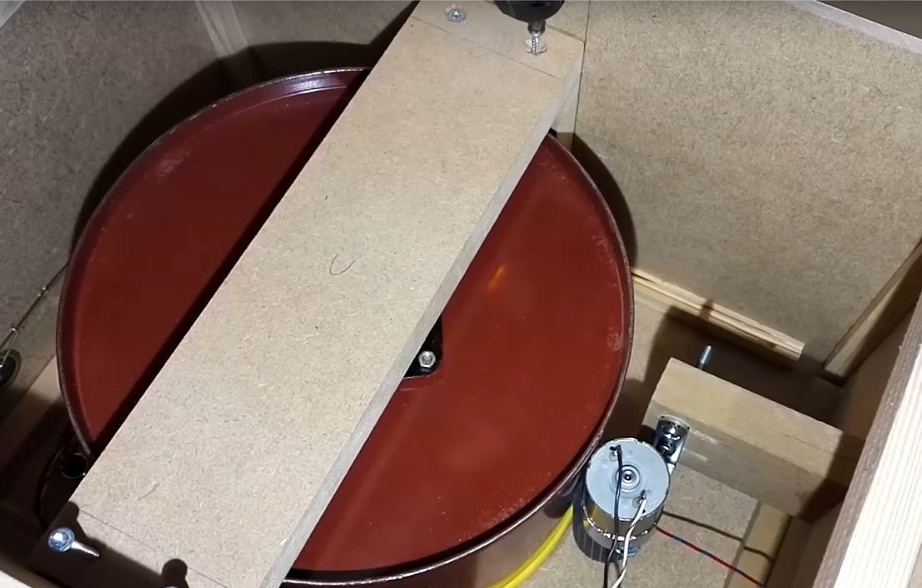
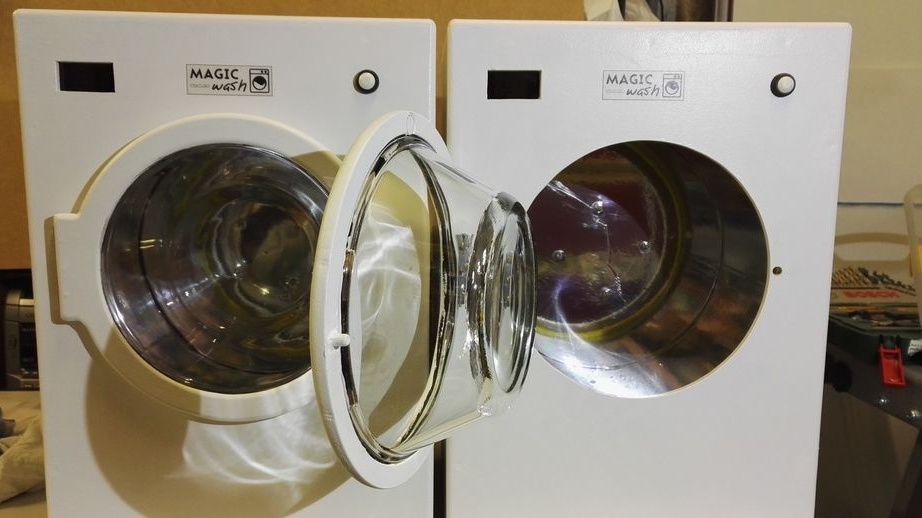
The master made a drum from a metal can. Cut off the top of the can. Covered the walls inside with a silver film. The edge of the can was closed with a cut cable sheath. In the center, I drilled holes for mounting the bearing.
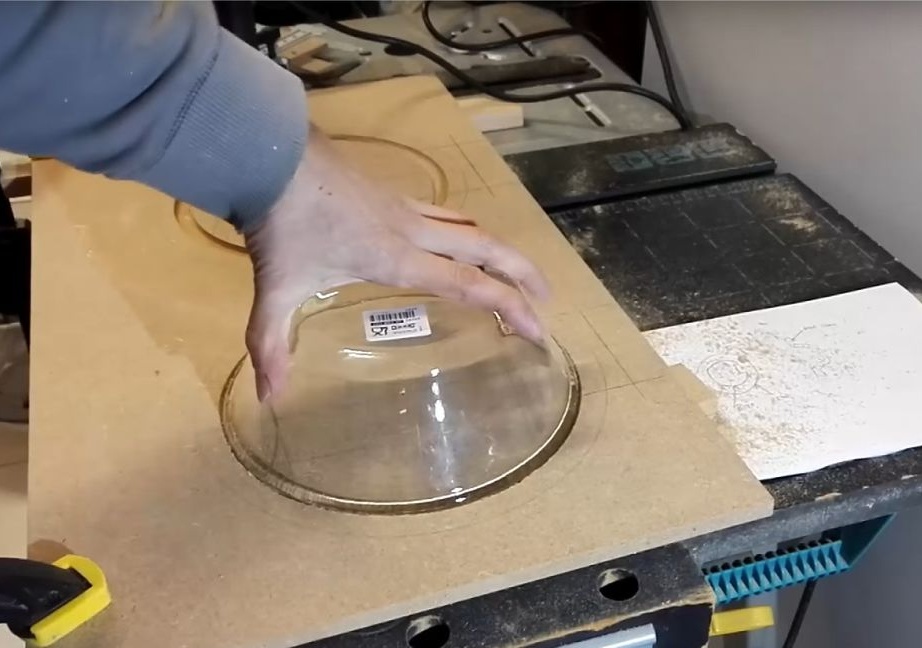
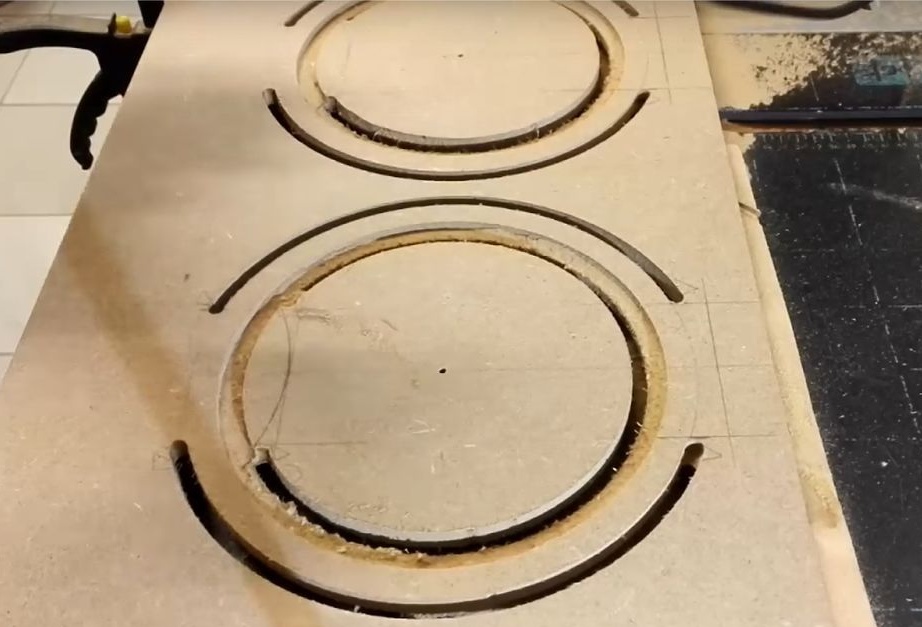
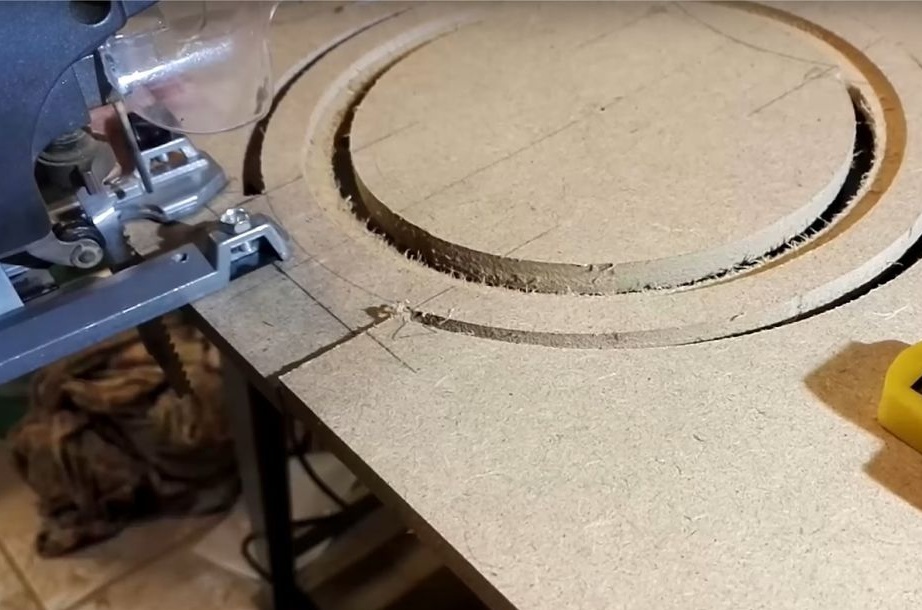
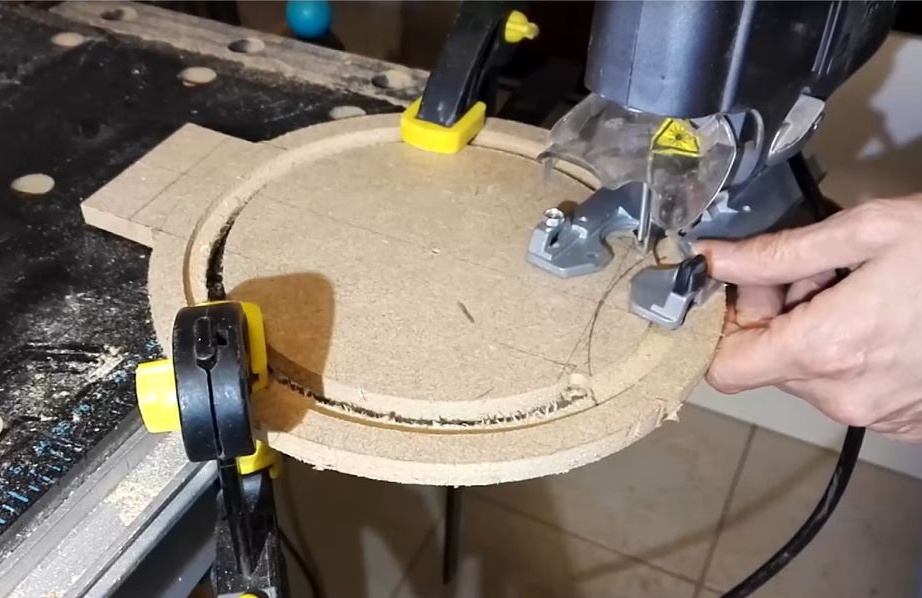
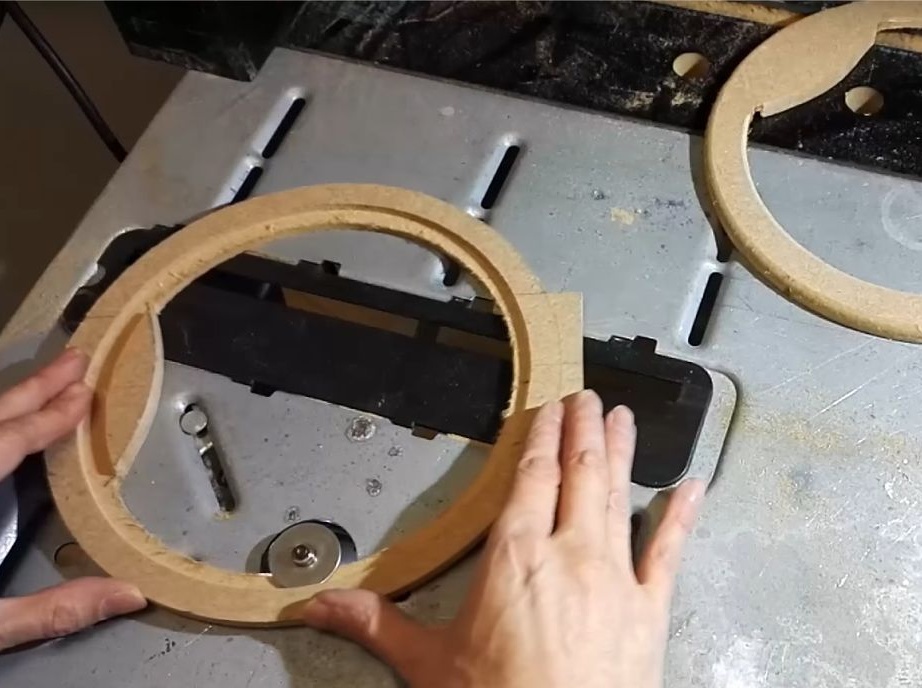
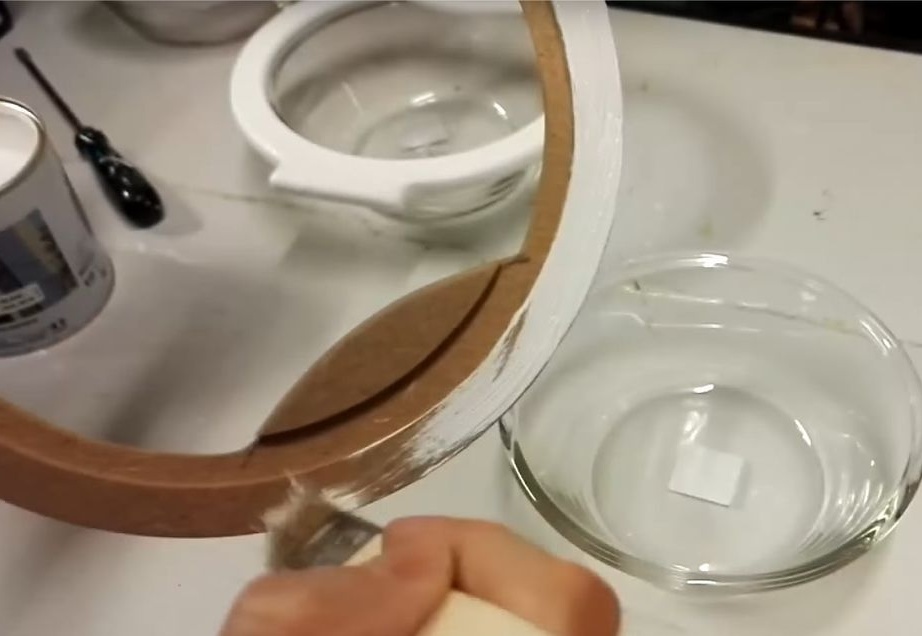
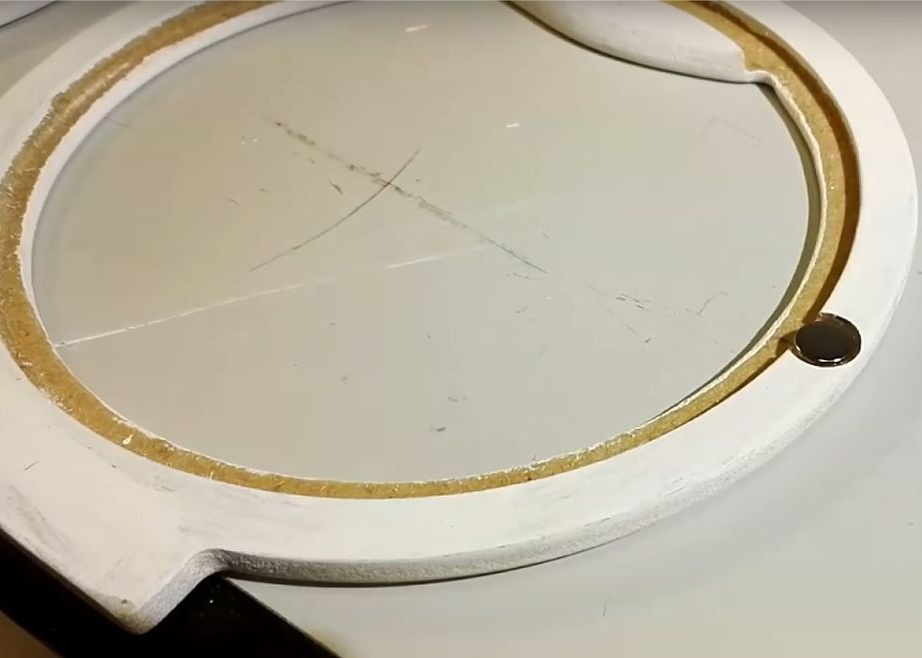
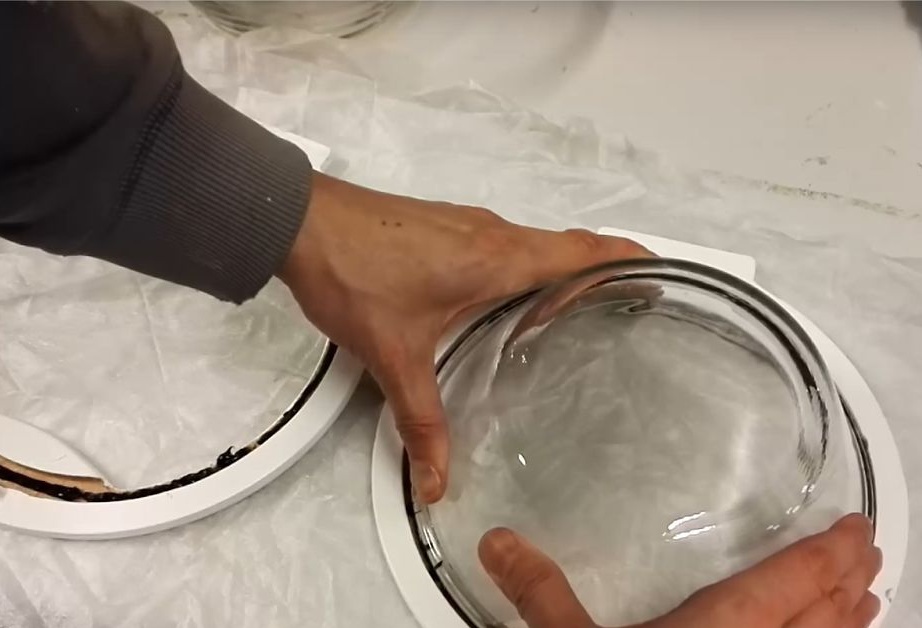
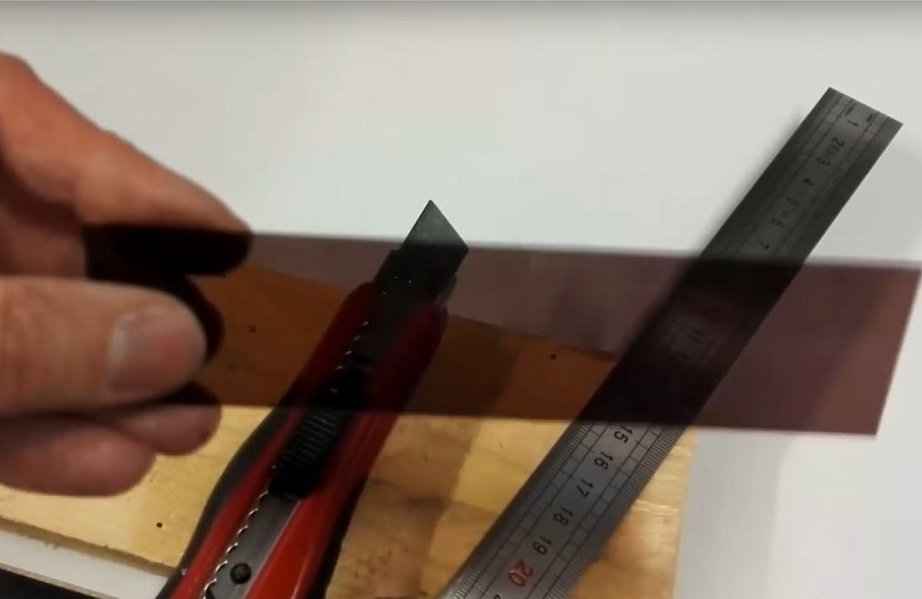
Step Two: Hatch
From the MDF cuts the hatch. A deep glass plate will be inserted into the hatch. Paints the hatch with white paint.

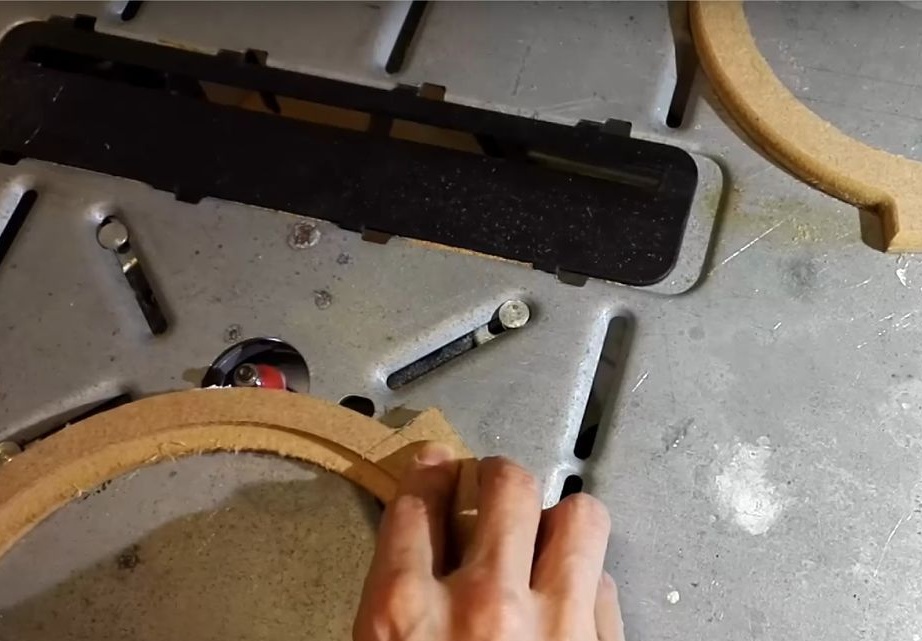
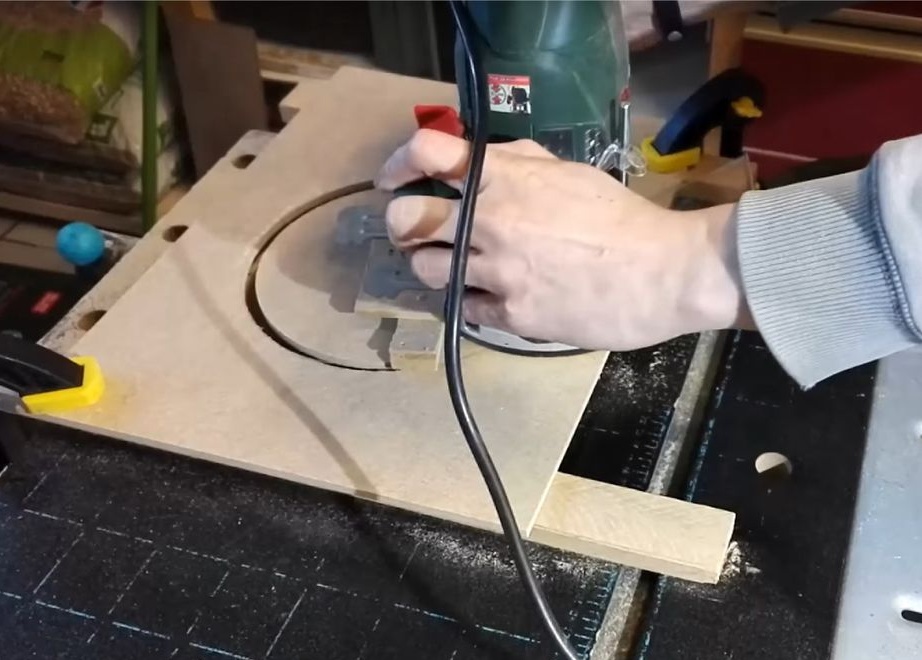
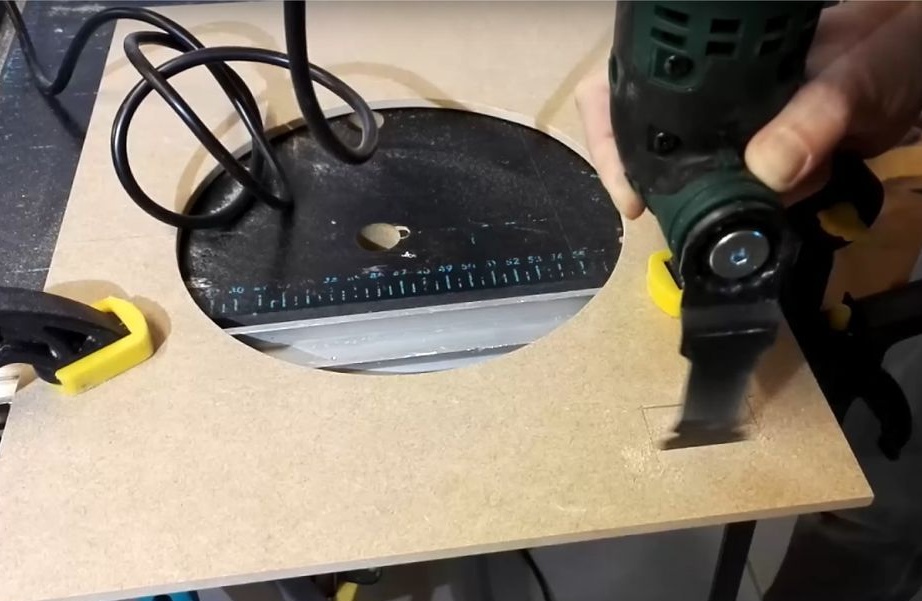
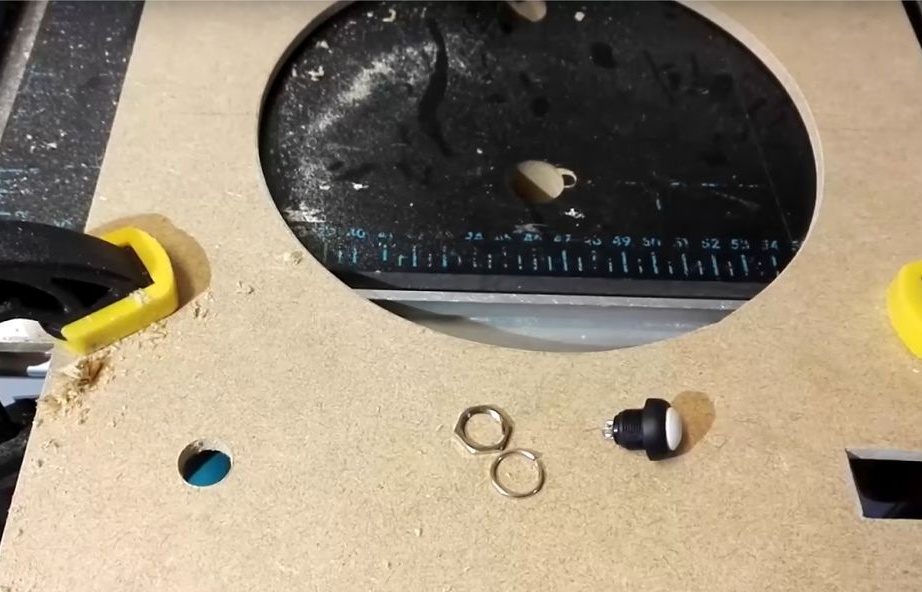
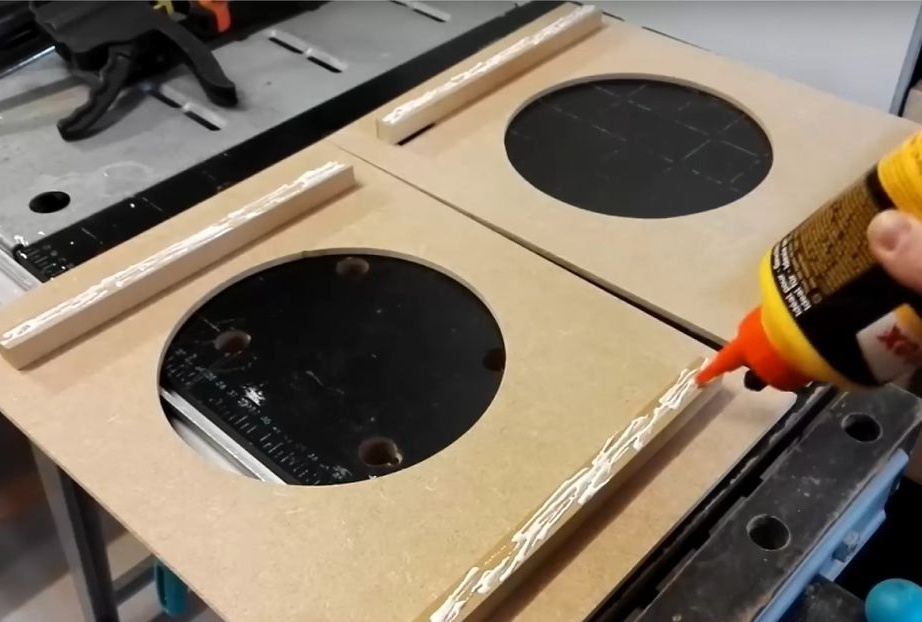
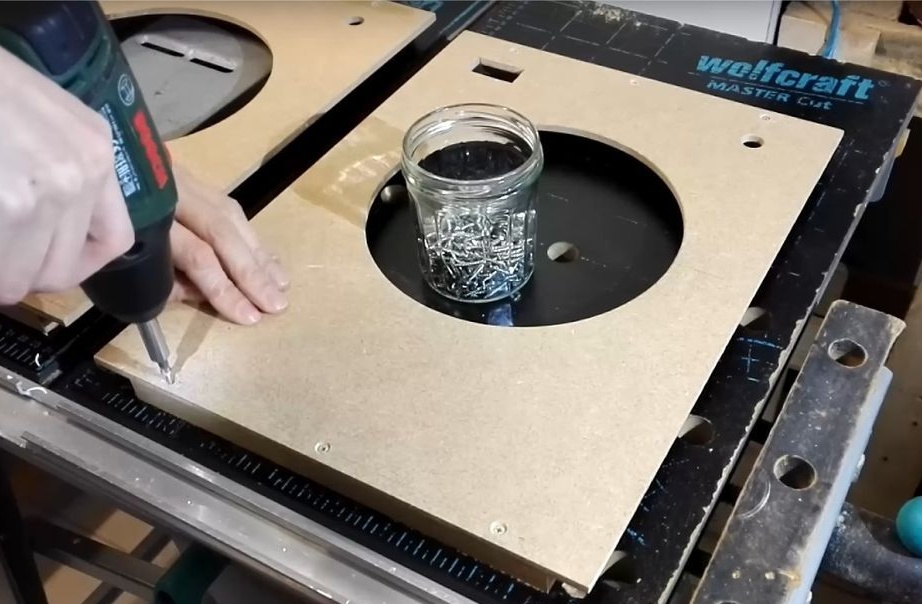
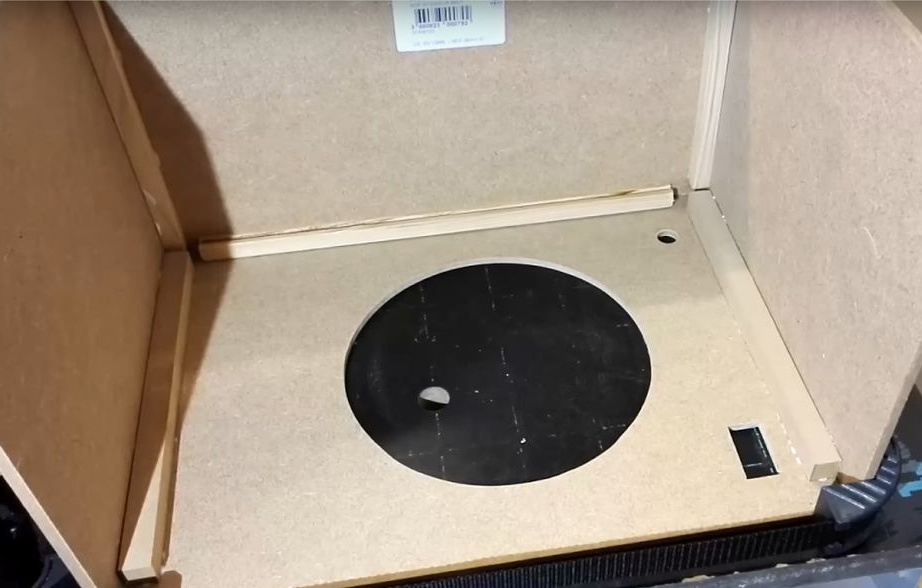
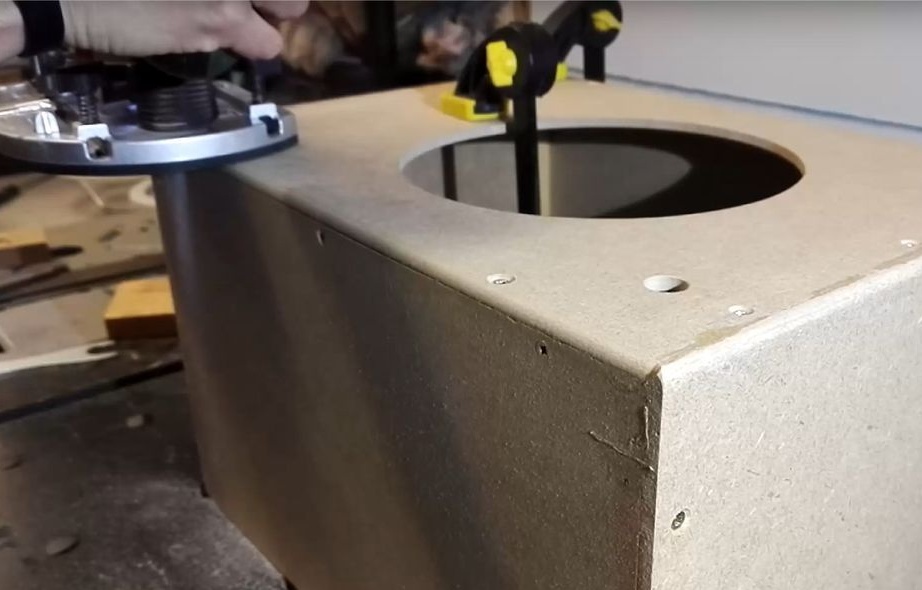
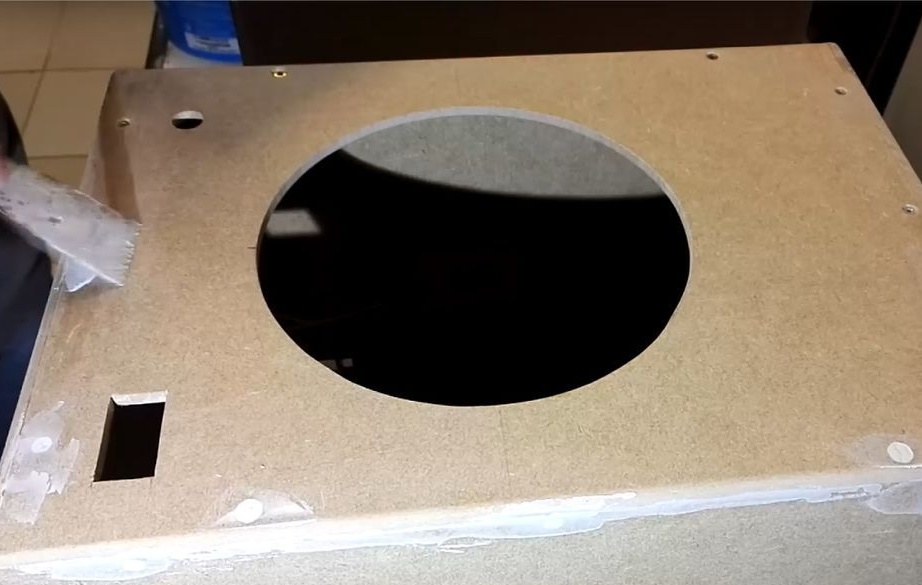
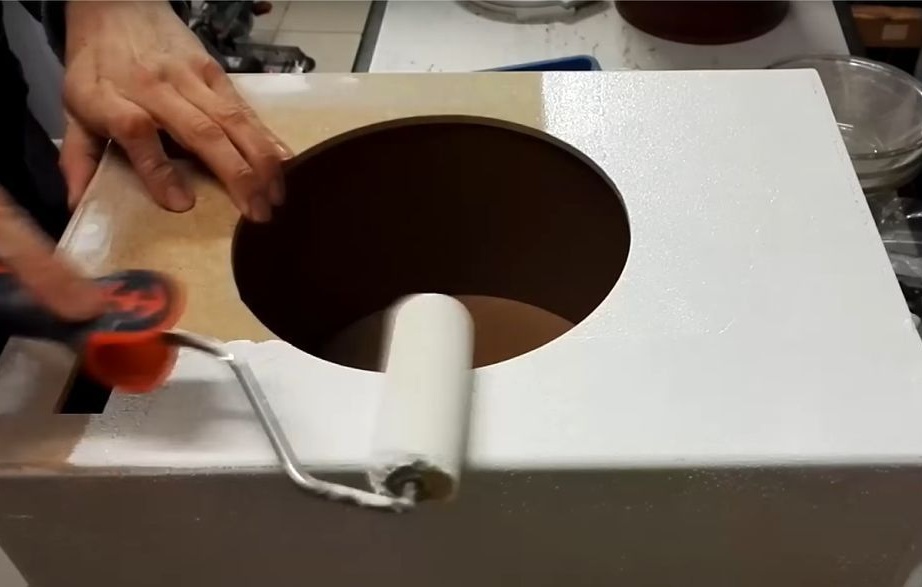
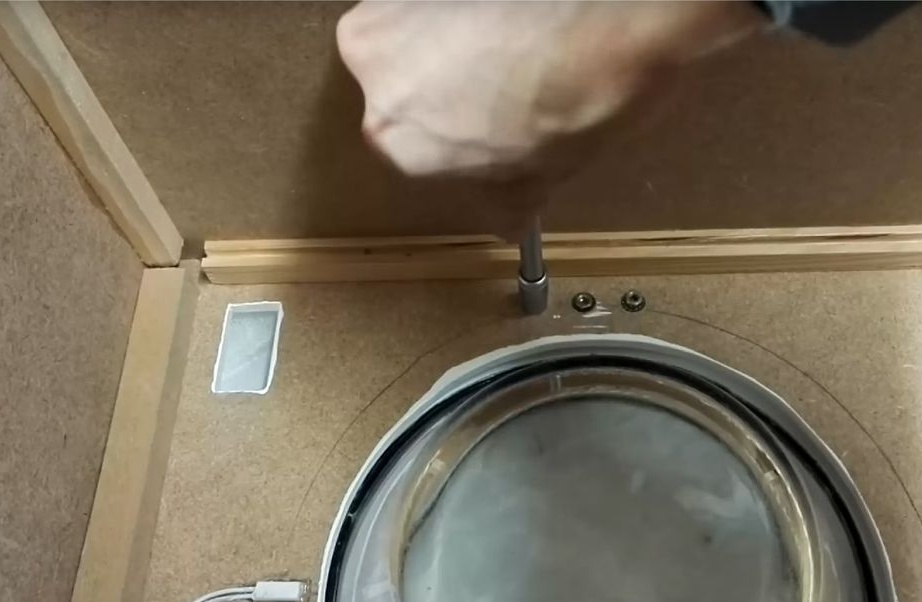
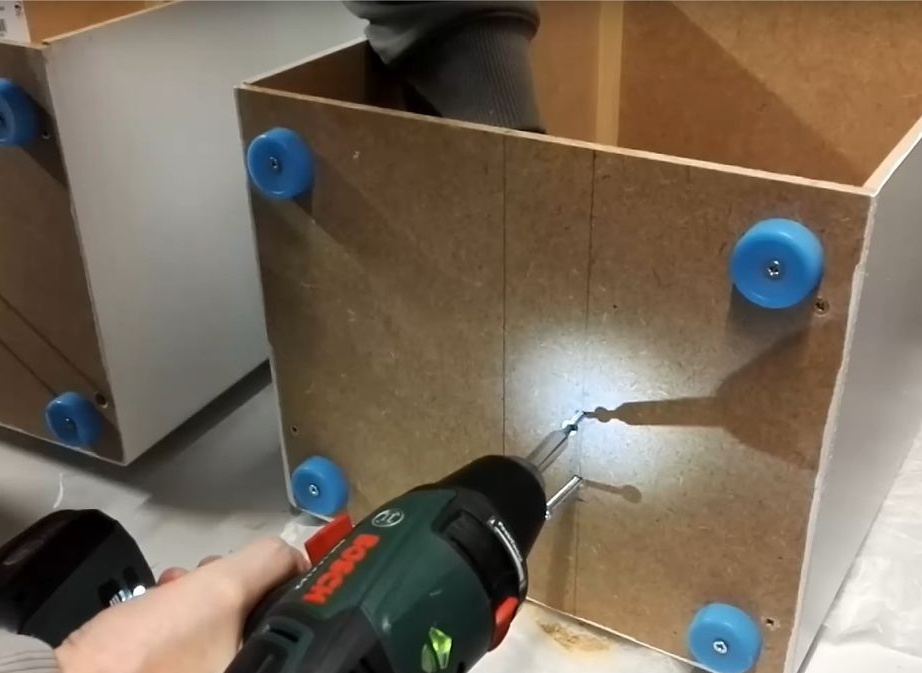
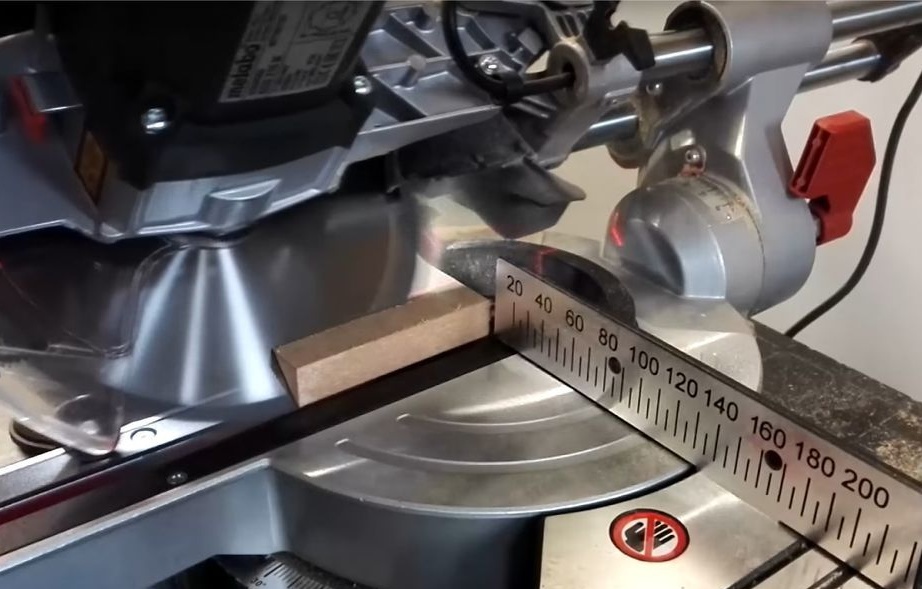
Step Three: Case
The case is also made of MDF. Cut sheets to size. Strengthens the inside with a rail. Cut holes for the hatch, button, display. Assembles the body. It is covered with paint.

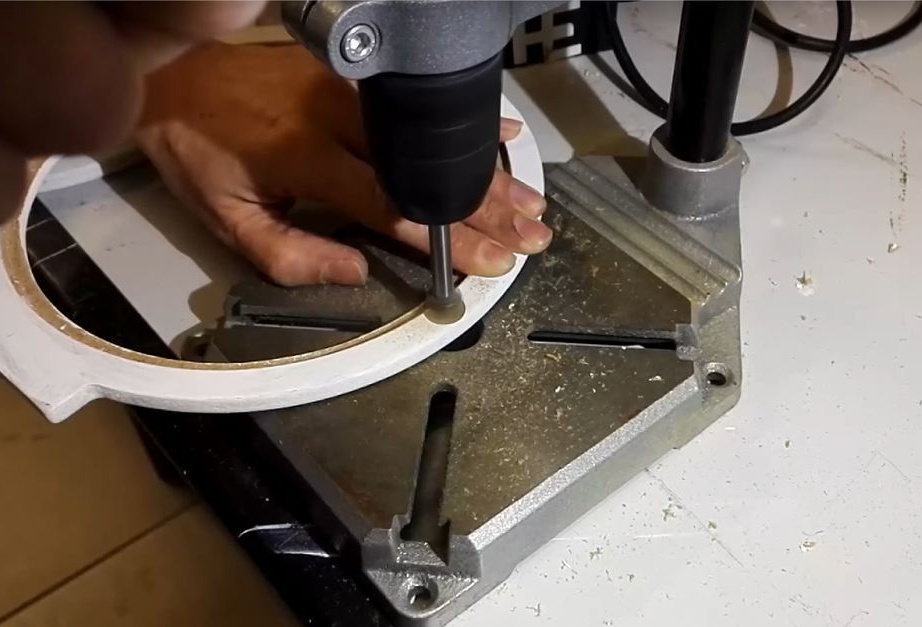
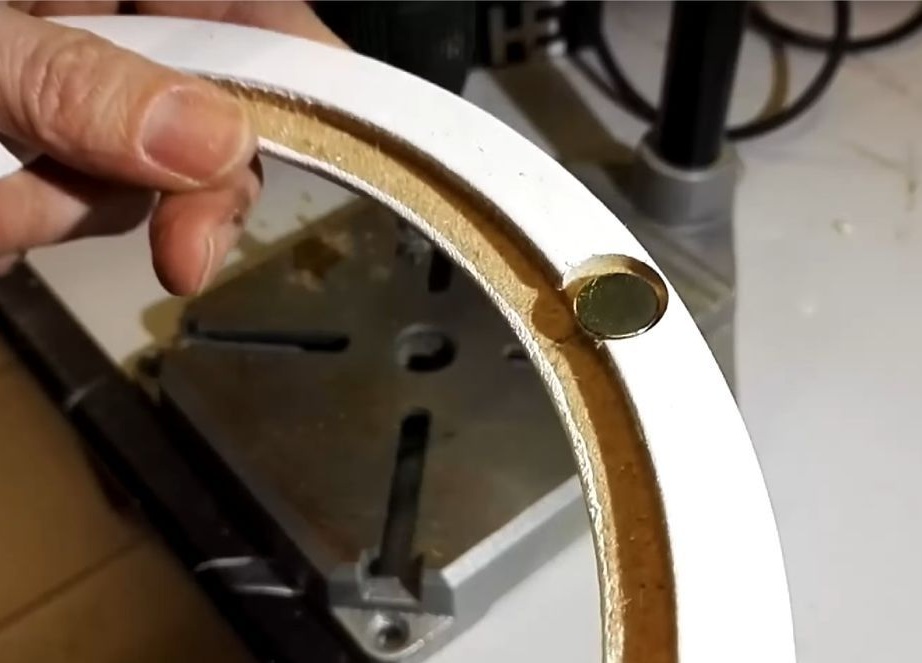
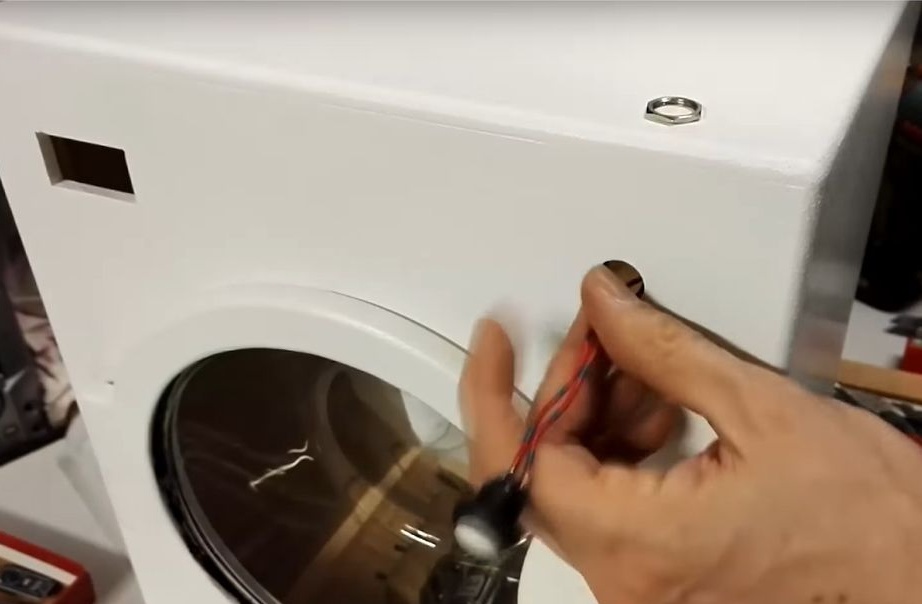
Step Four: Reed Switch
Installs a reed switch on the hatch.
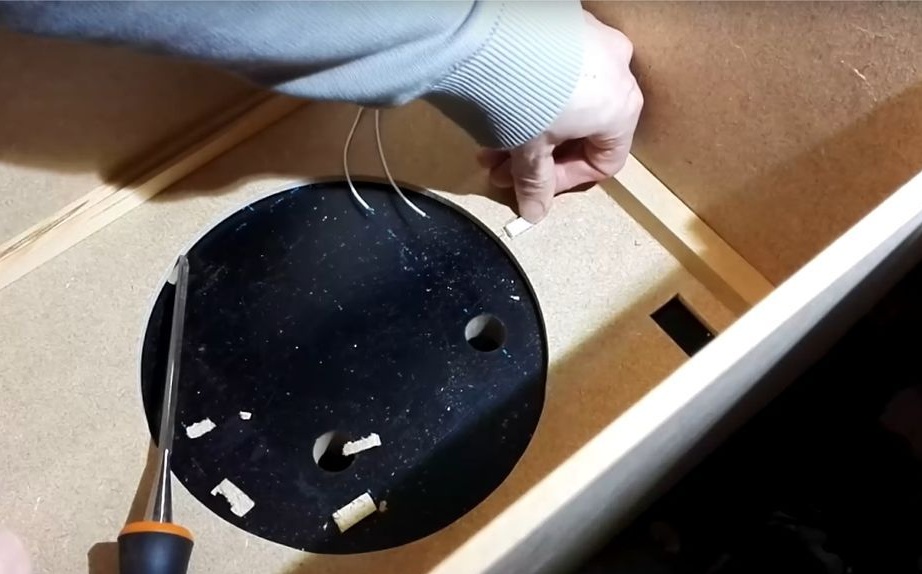
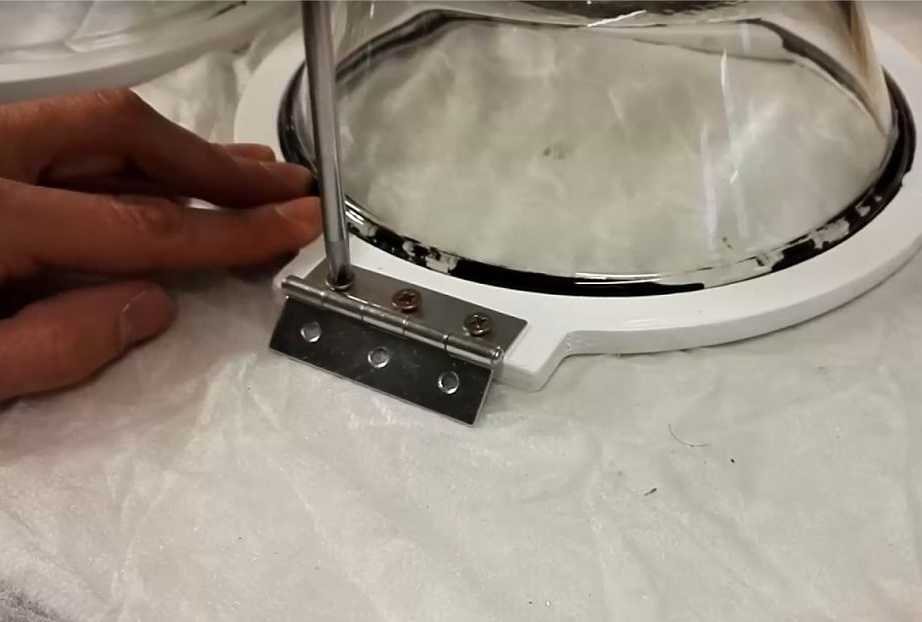
Step Five: Installing the Door
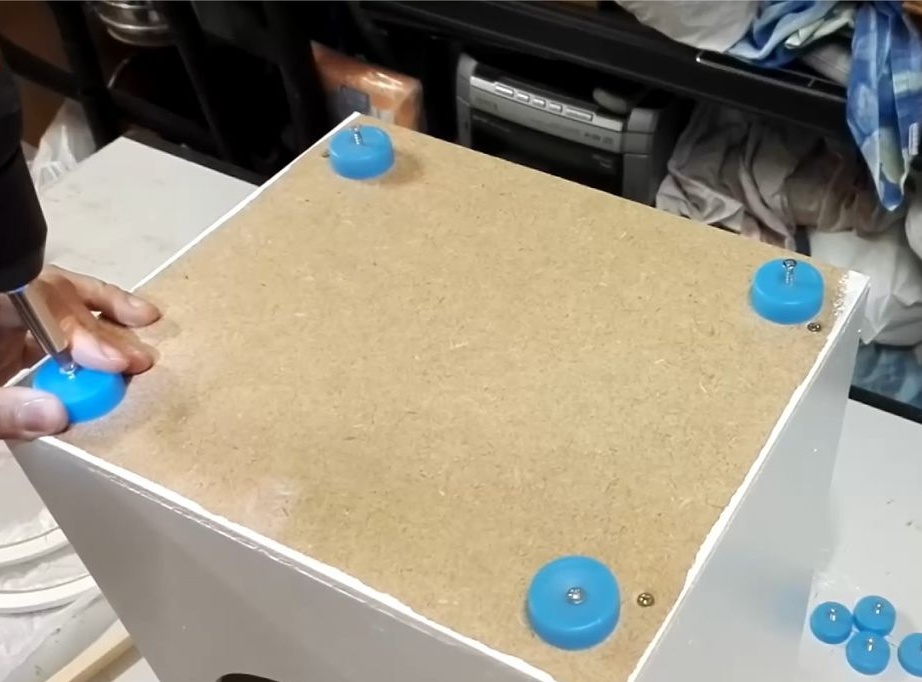
Sets the door. Inserts a button. Cuts and glues the display glass. Screws the legs of the bottle caps.
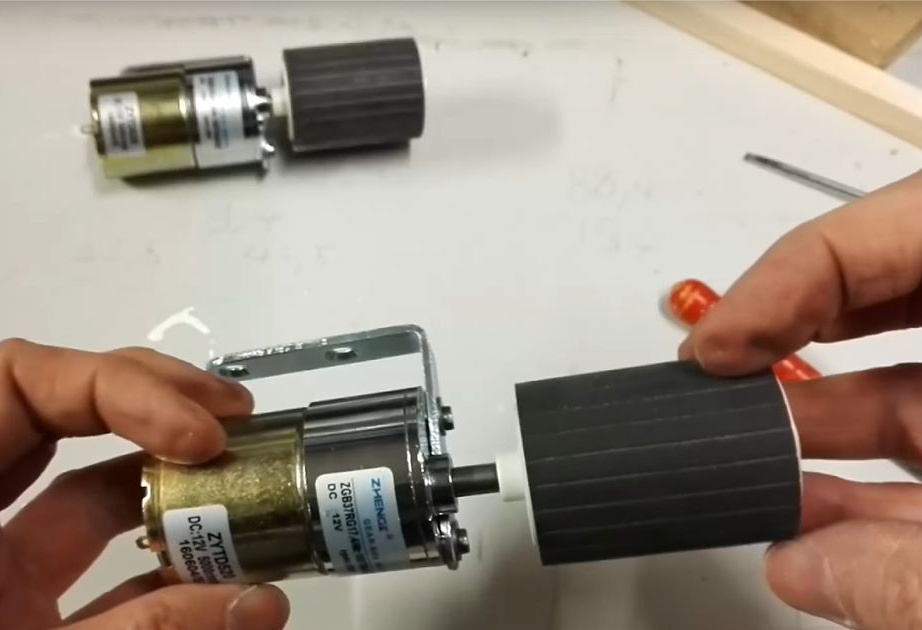
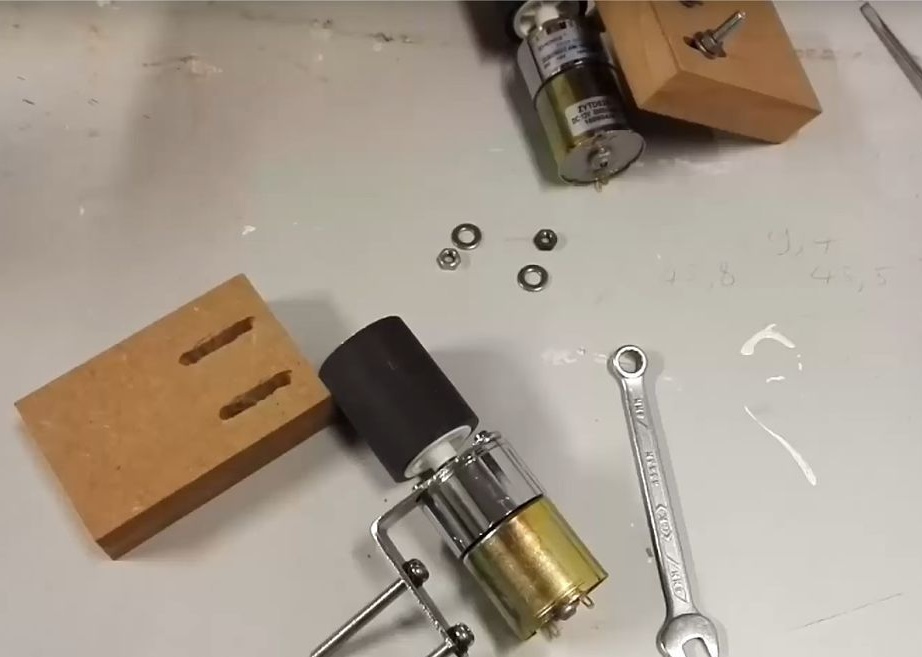
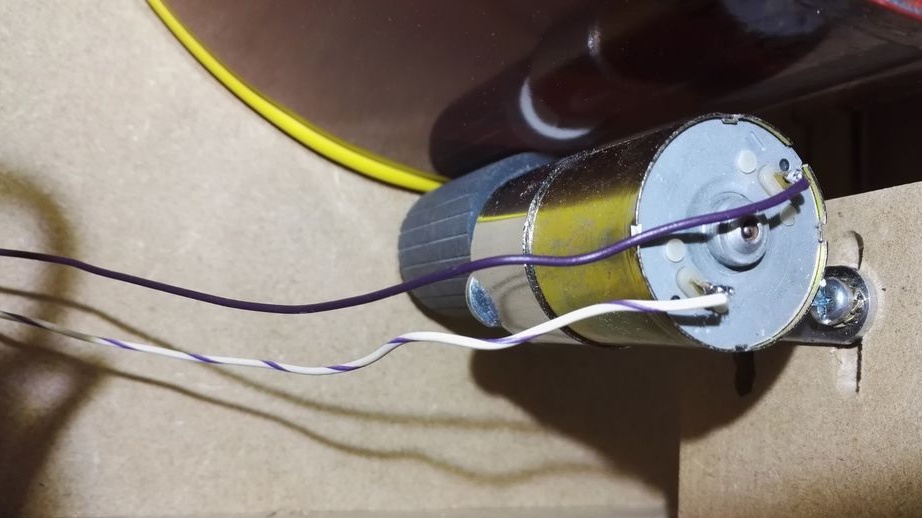
Step Six: Engine
To rotate the drum, the master uses a 12 V 300 rpm geared motor.A roller from an old printer is installed on the motor shaft. For mounting, I made a height-adjustable bracket.

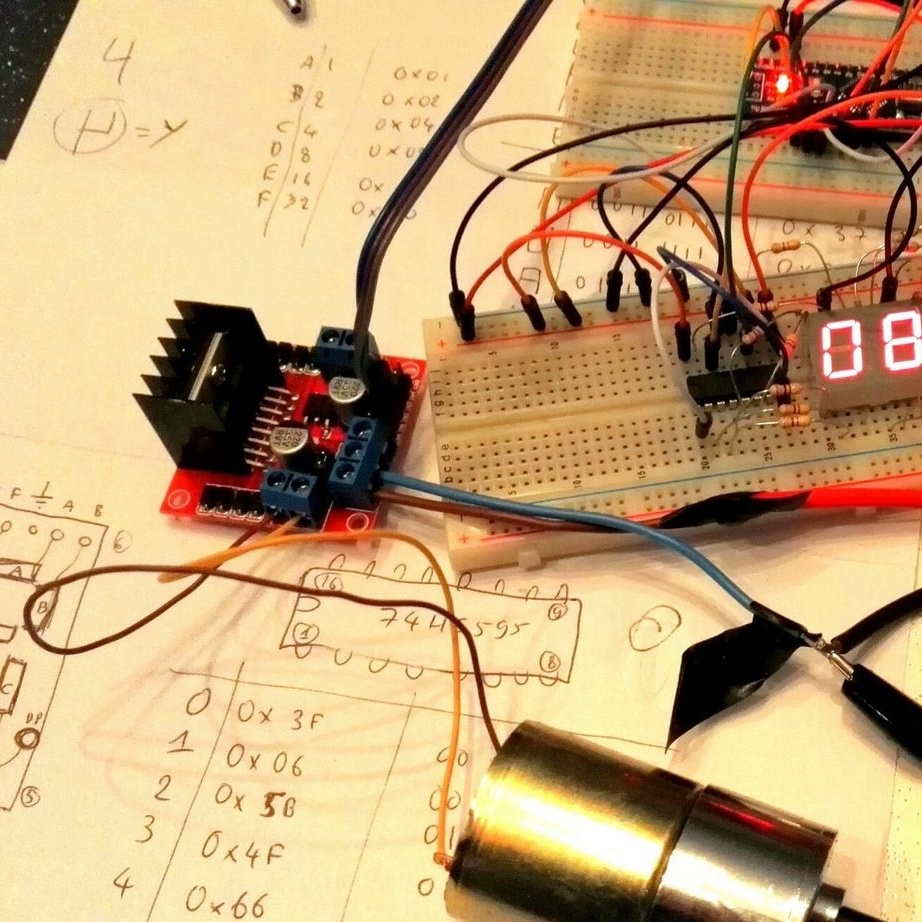
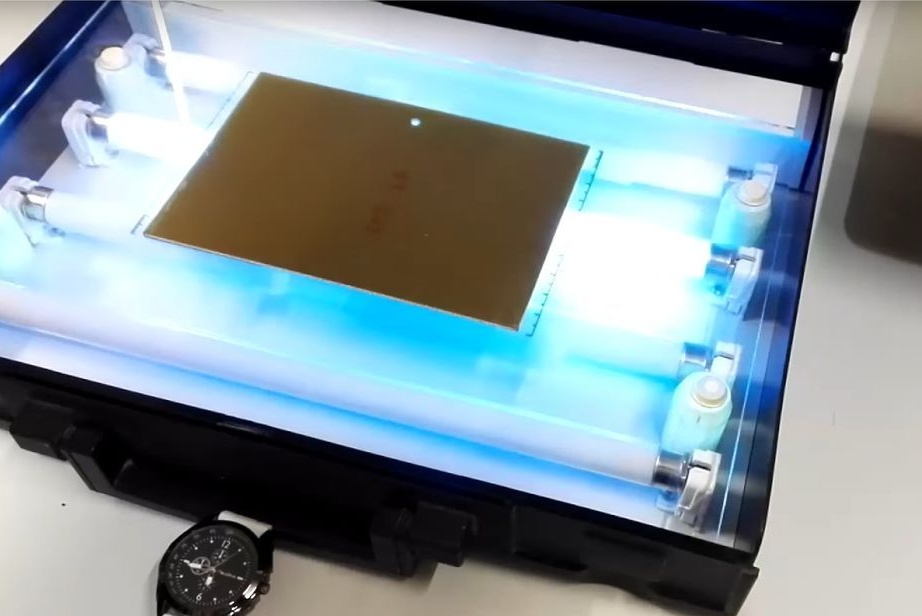
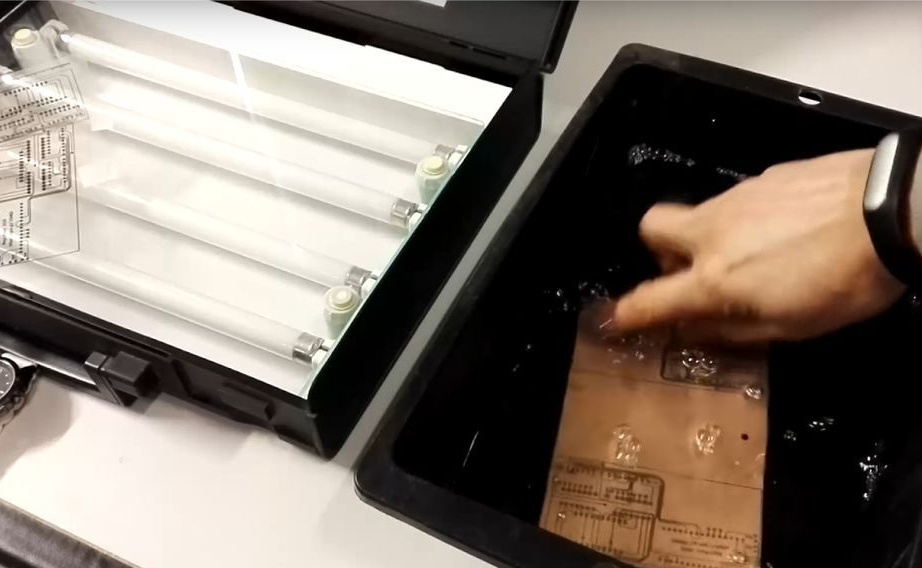
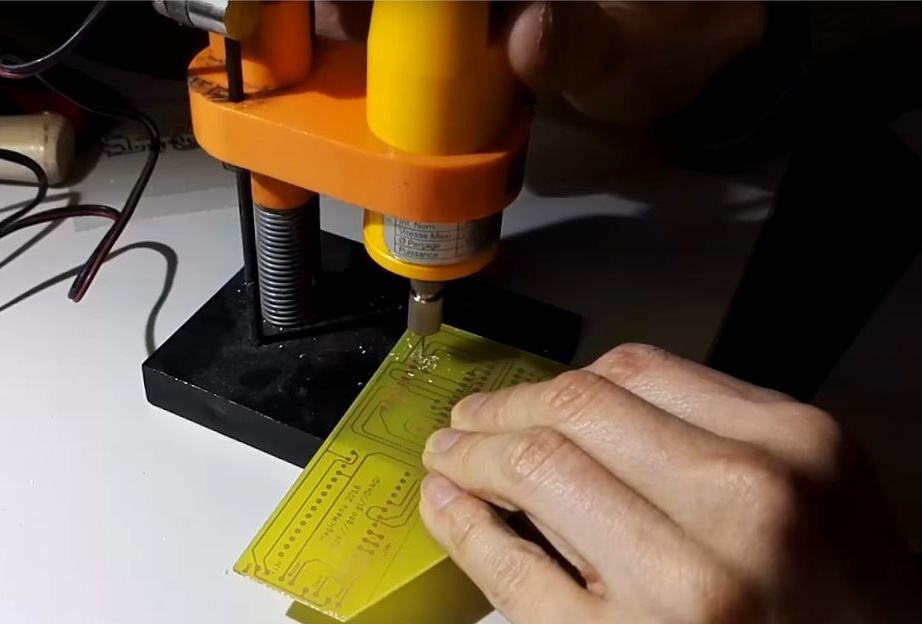
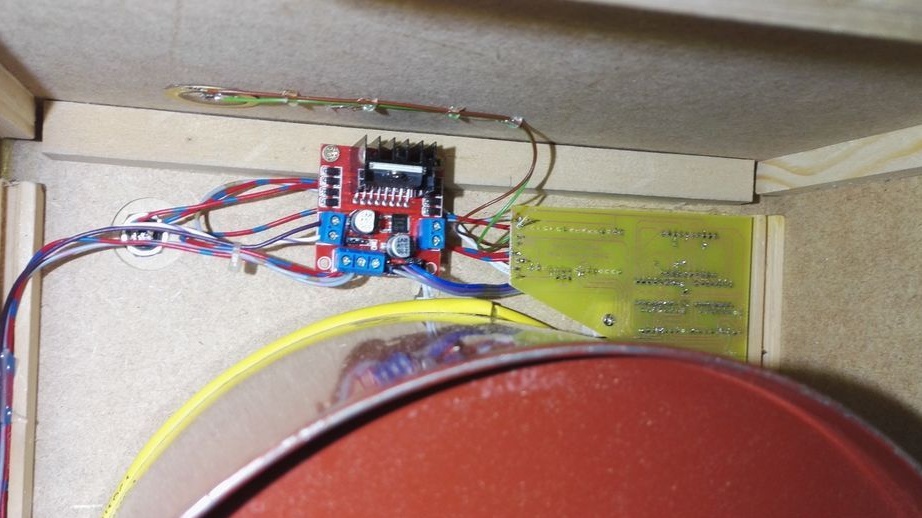
Seventh step: electronics
To control the engine, the master used the L298N driver. The master makes the circuit board on his own. Then it collects the electronics according to the circuit. Loads the code. Installs everything in the enclosure. Connects the battery. In order for the battery to work longer, the master previously removed the power indicators from the driver and the Arduino board.
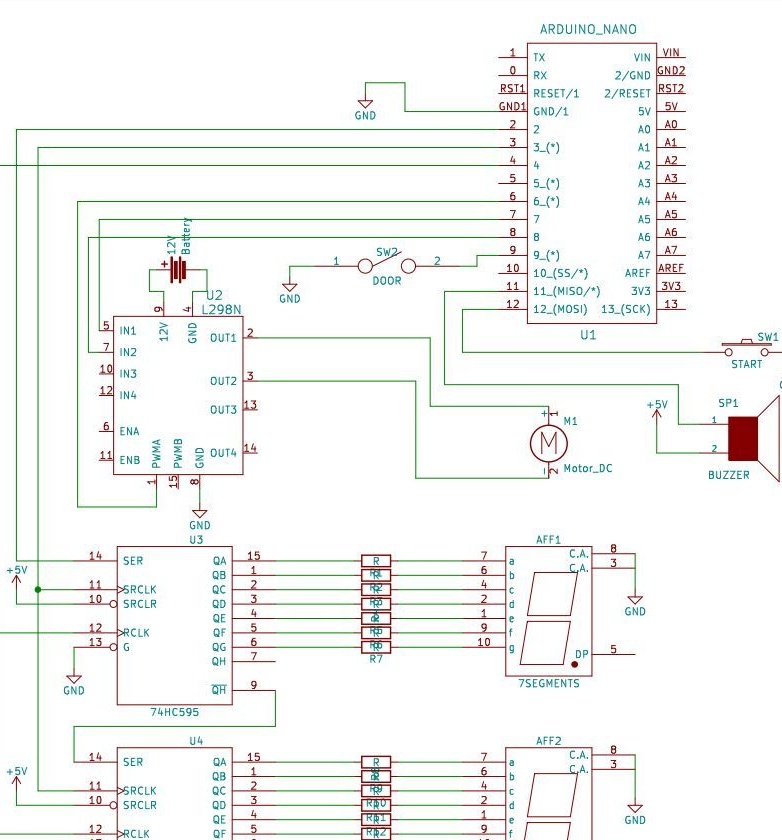
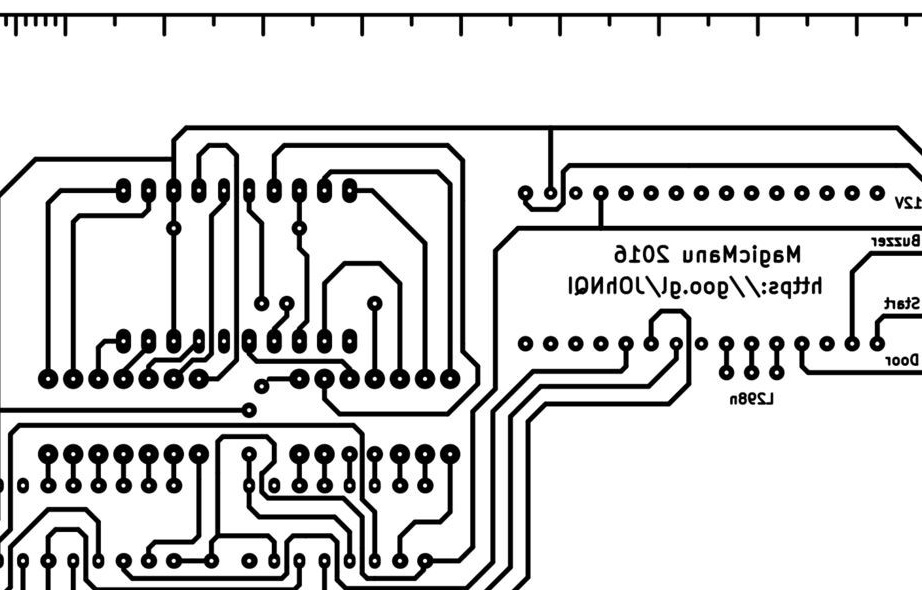
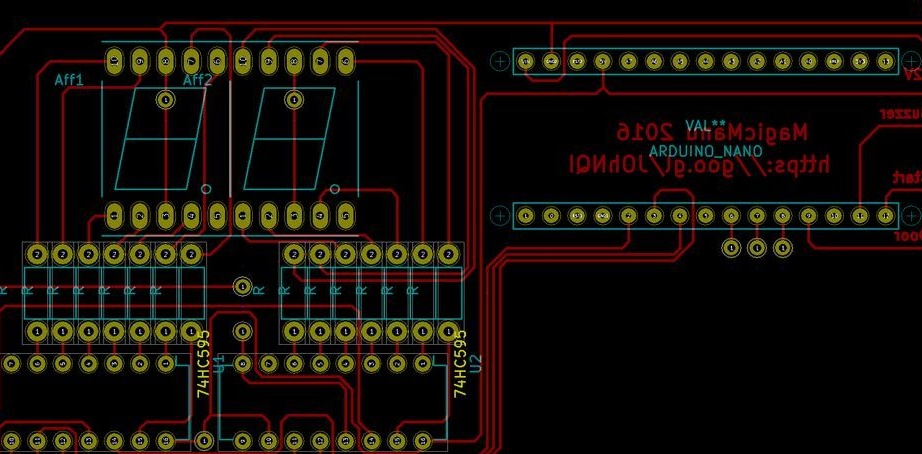
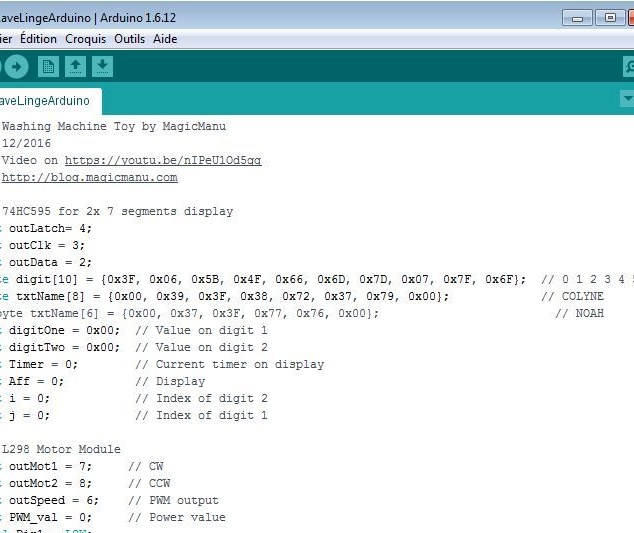

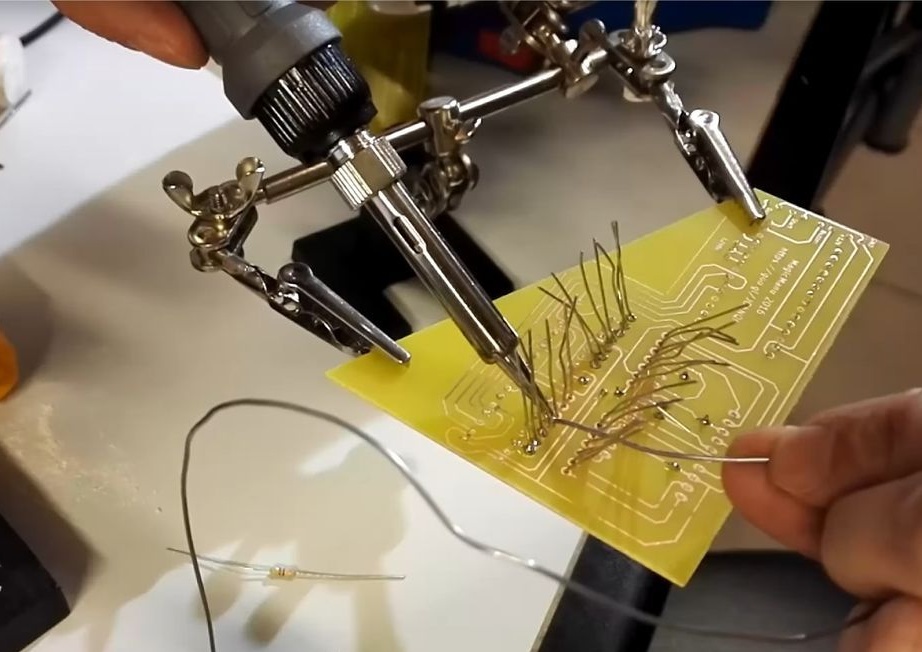
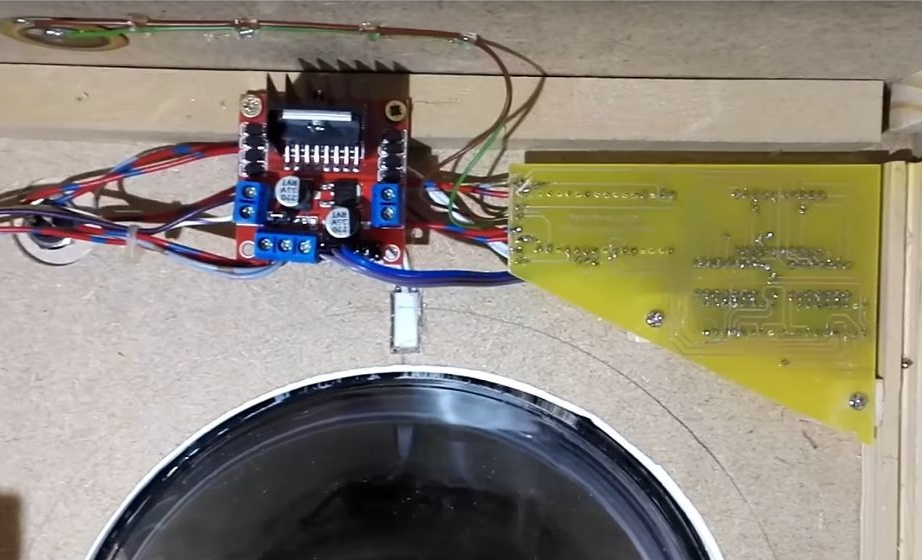
Links to the code, circuit diagram and board can be downloaded below.
PCB_washing_machine_magicmanu.pdf
LaveLingeArduino.ino
schema_washing_machine_arduino.pdf
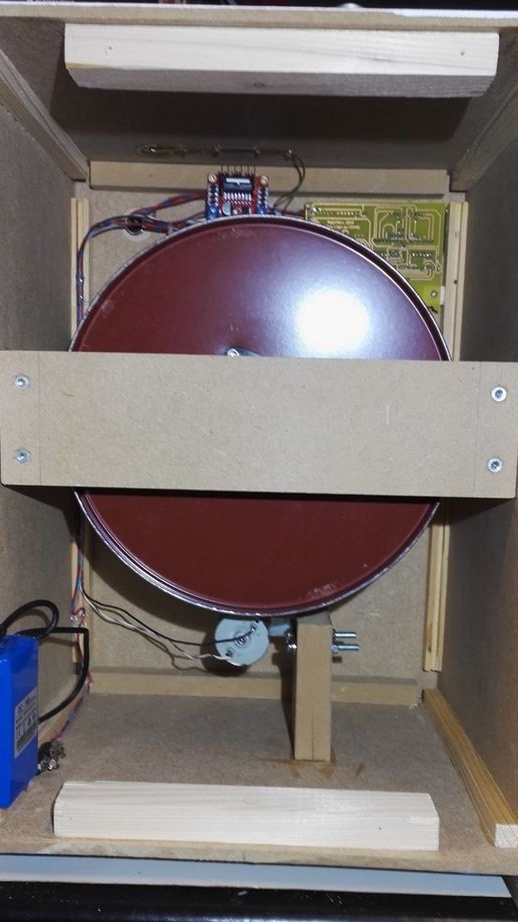
Step Eight: Installing the Drum
The master attaches the drum to the slewing bearing. Inside the drum sets three rails. Installs the back cover.


Children's washing machine is ready.
A video on making a children's washing machine can be seen below.