
Today we will do a rather banal thing that each of you has seen and each of you has used. But we will try to execute it in such a way as to surprise everyone. I hope we can do it.
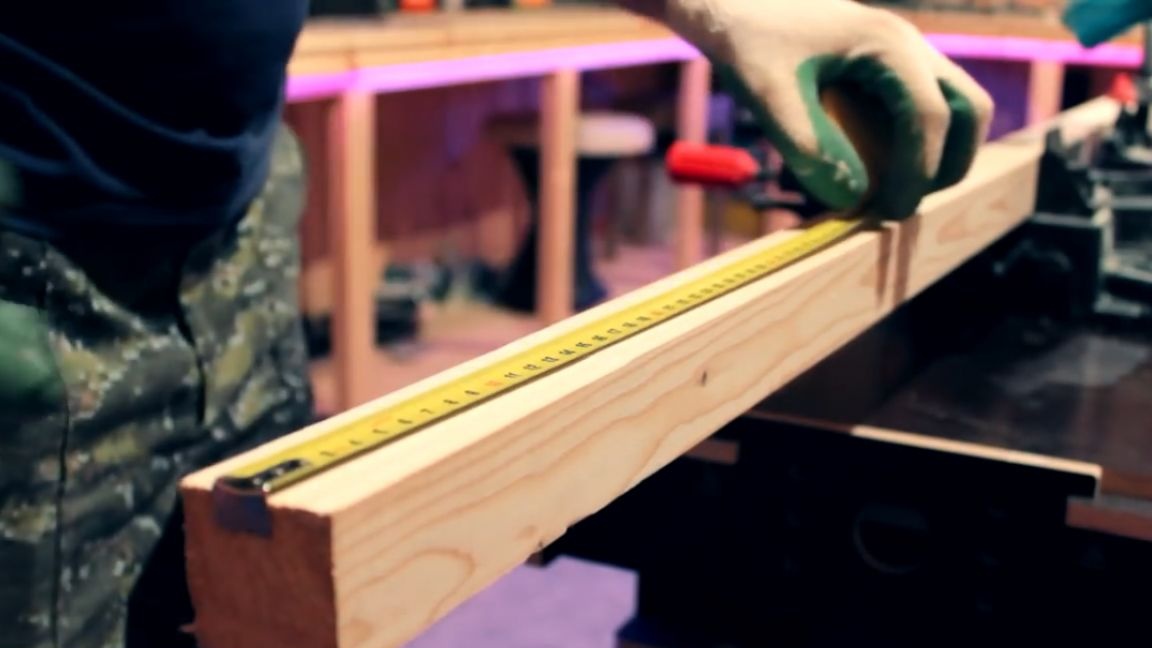
At the very beginning we replace the saw blade of 24 teeth with a disk of 48 teeth.
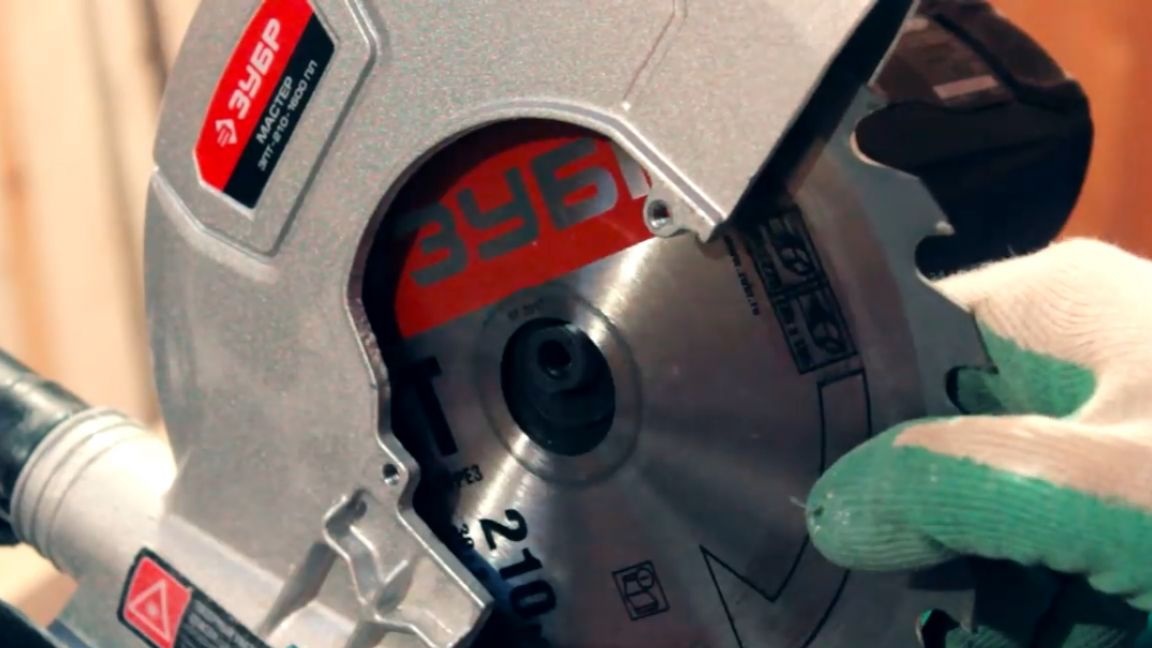
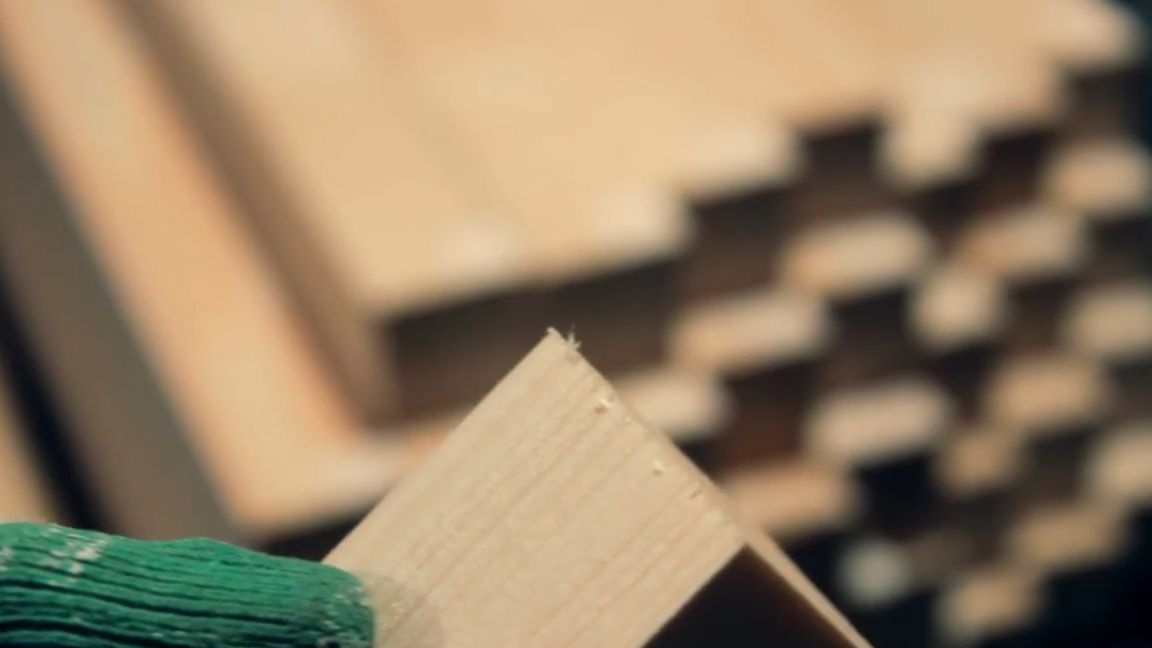
This is necessary for more delicate cutting, but today you cut a lot, in principle, as always, but you need a perfectly smooth and clean cut. First of all, we measure a segment of 40 cm of a bar 40 by 40 mm. And cut off these 2 pieces.
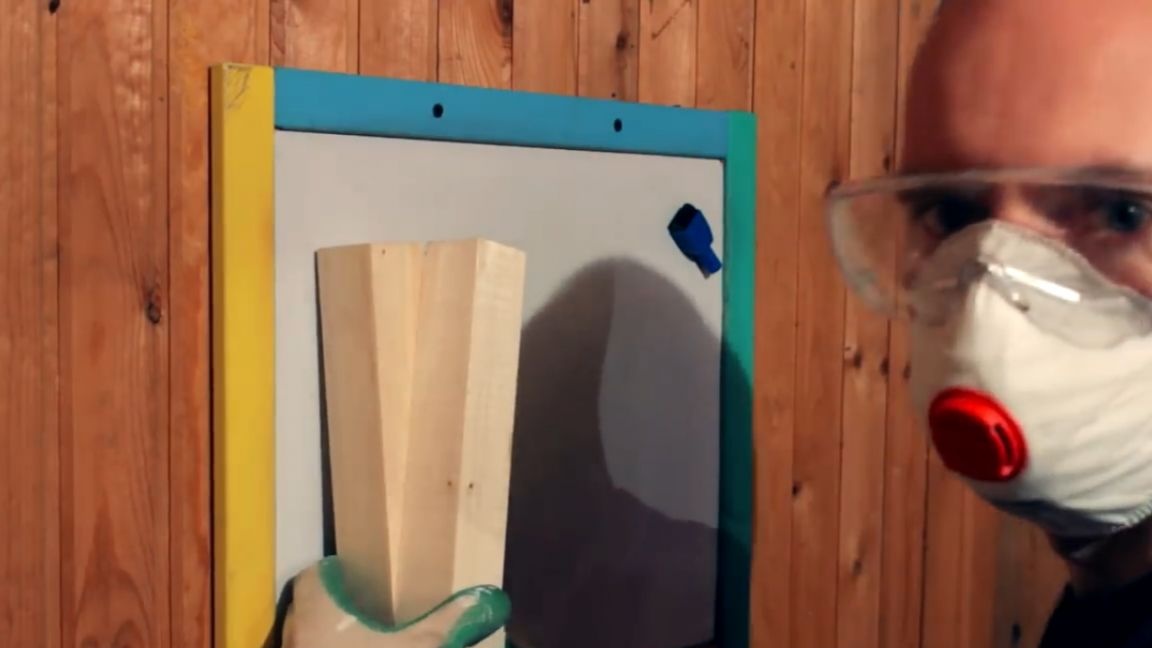
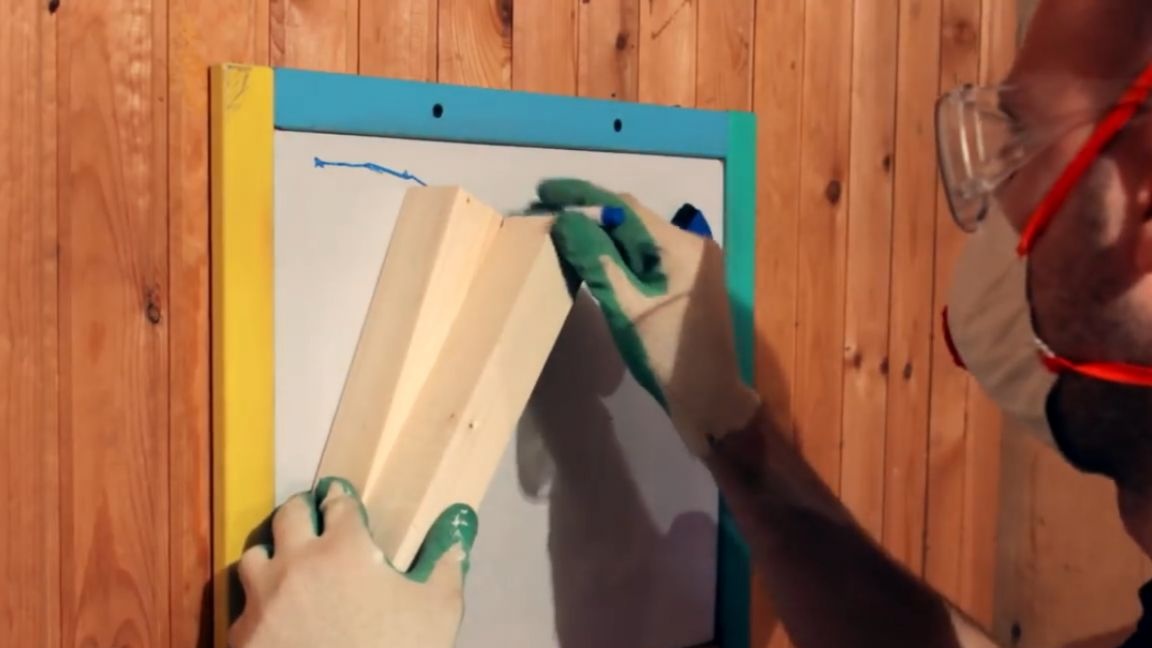
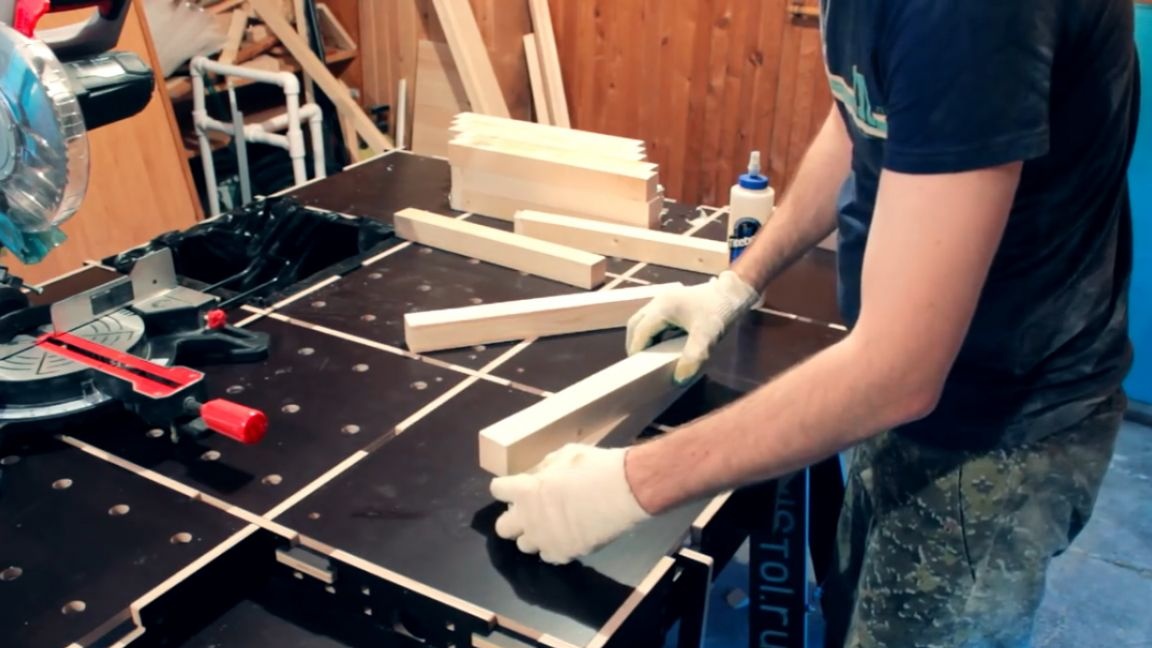
Today's design will have a special geometric shape, so the calculation will have to be done, so to speak, on a living one. To do this, take 2 sawn off bars and combine them as shown below.
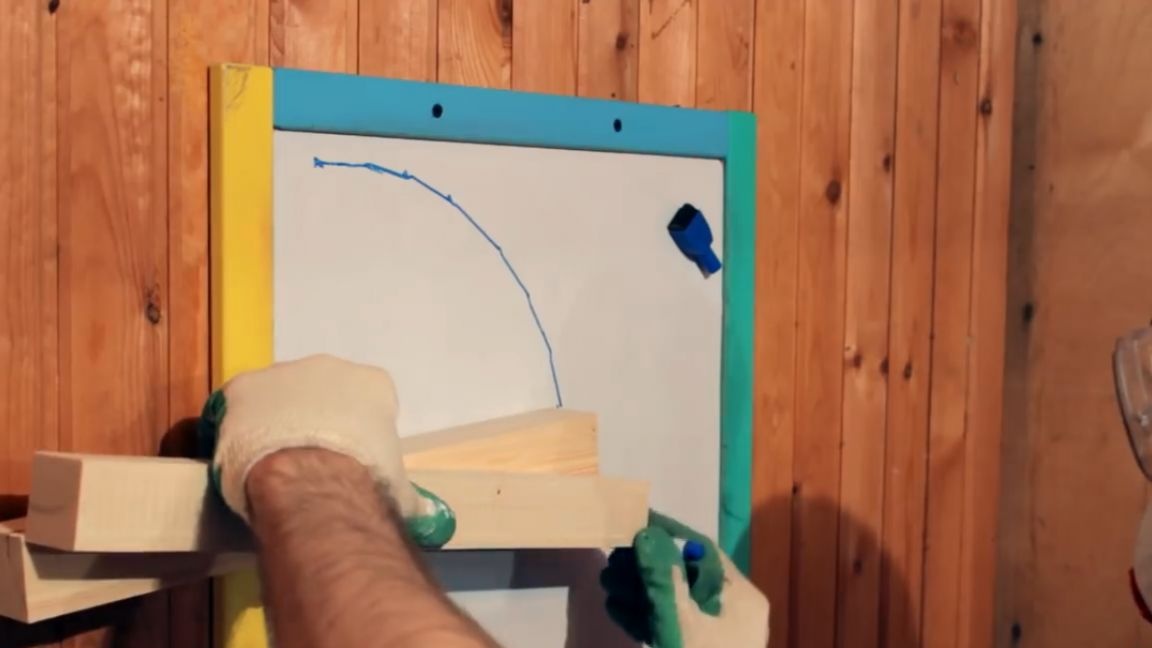
Then move on to the makeshift marking board. On the board, we will need to calculate the total length of our structure and the number of bars needed for this project. To do this, apply both bars to the board, draw two lines, move the bar to the second line, and continue to the 90 degree angle.
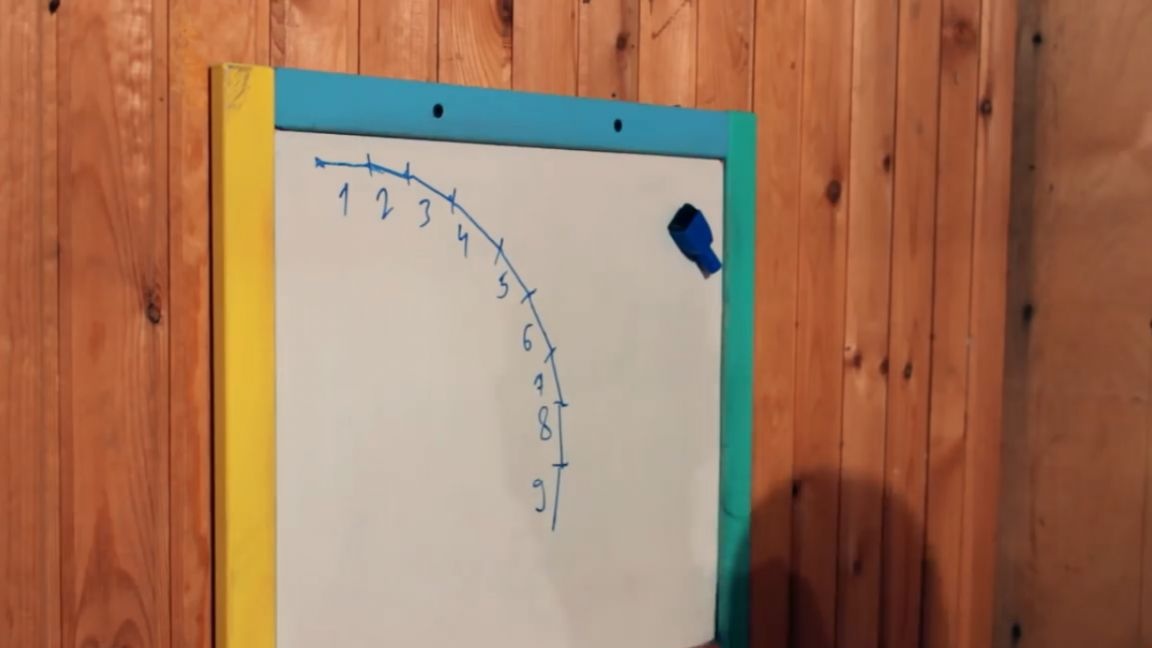
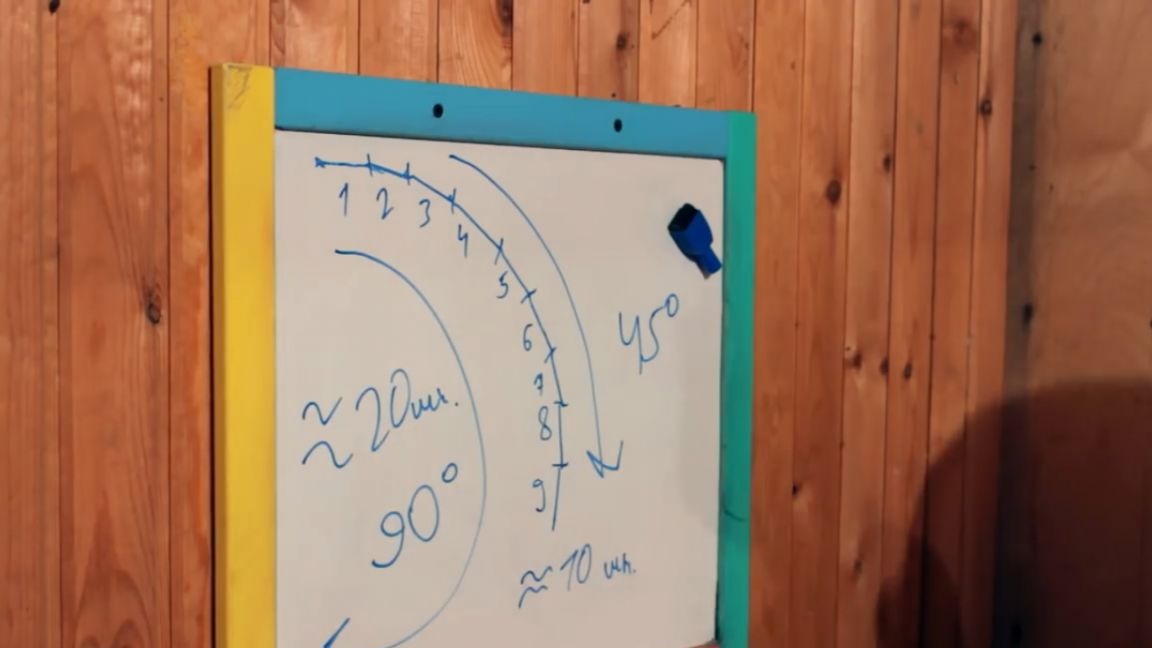
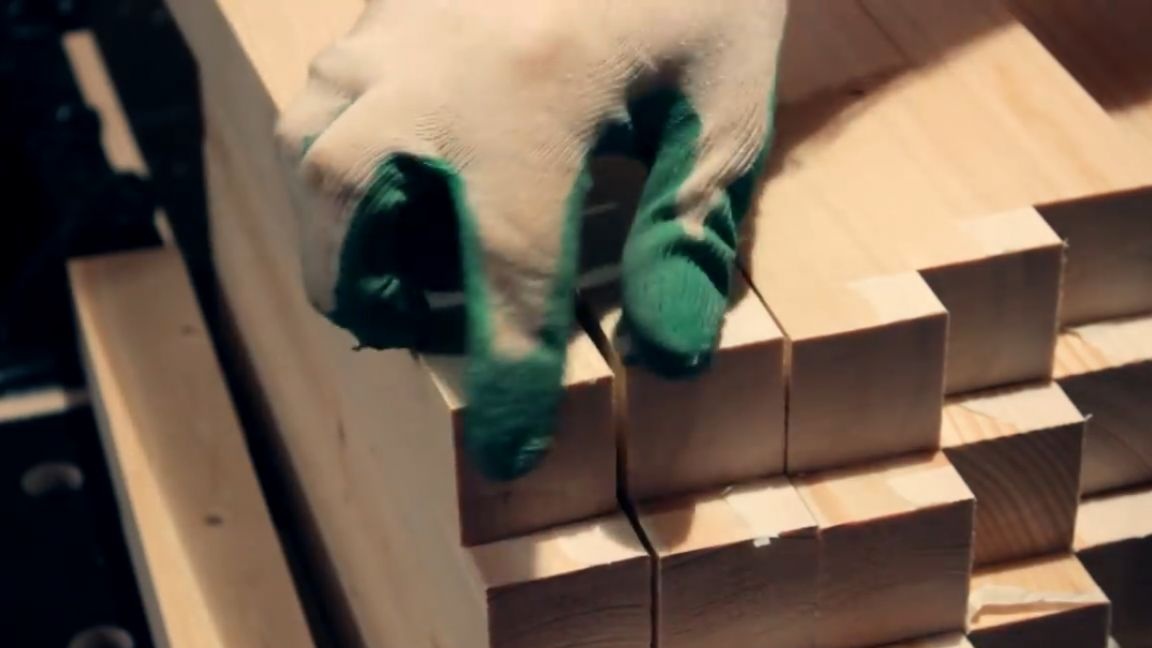
After that, we consider the estimated number of bars and add 1 in reserve. After that, we multiply the resulting amount by 2 and think that we need 20 pieces, approximately, only by one spiral. And since the spiral will need two, respectively 40 pieces.
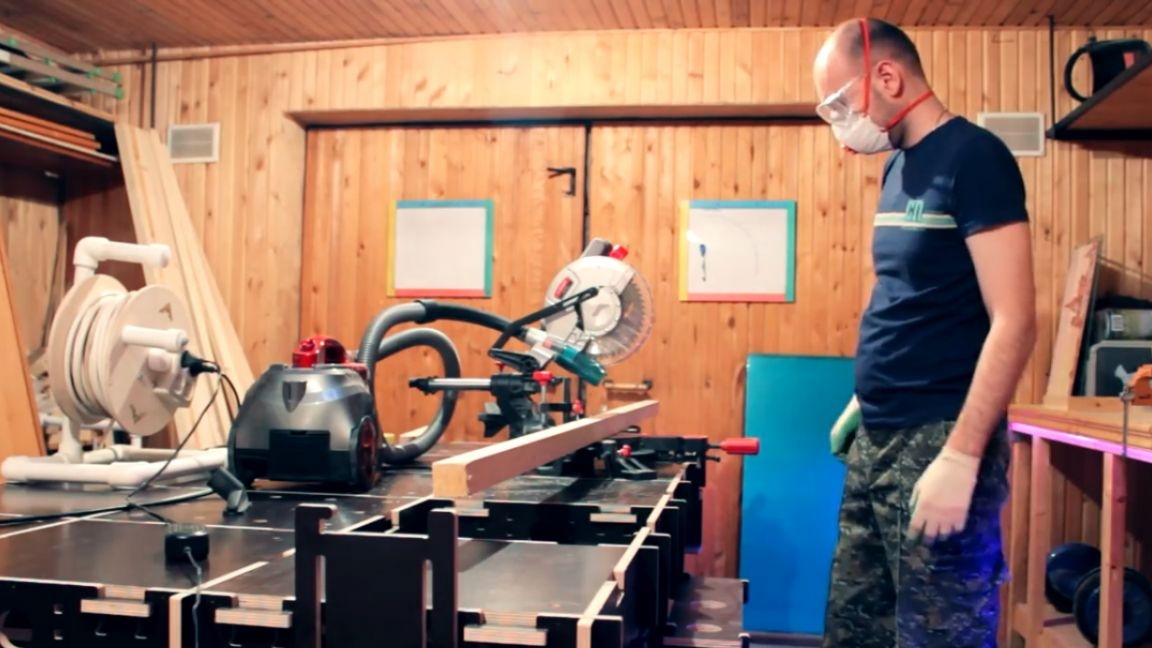
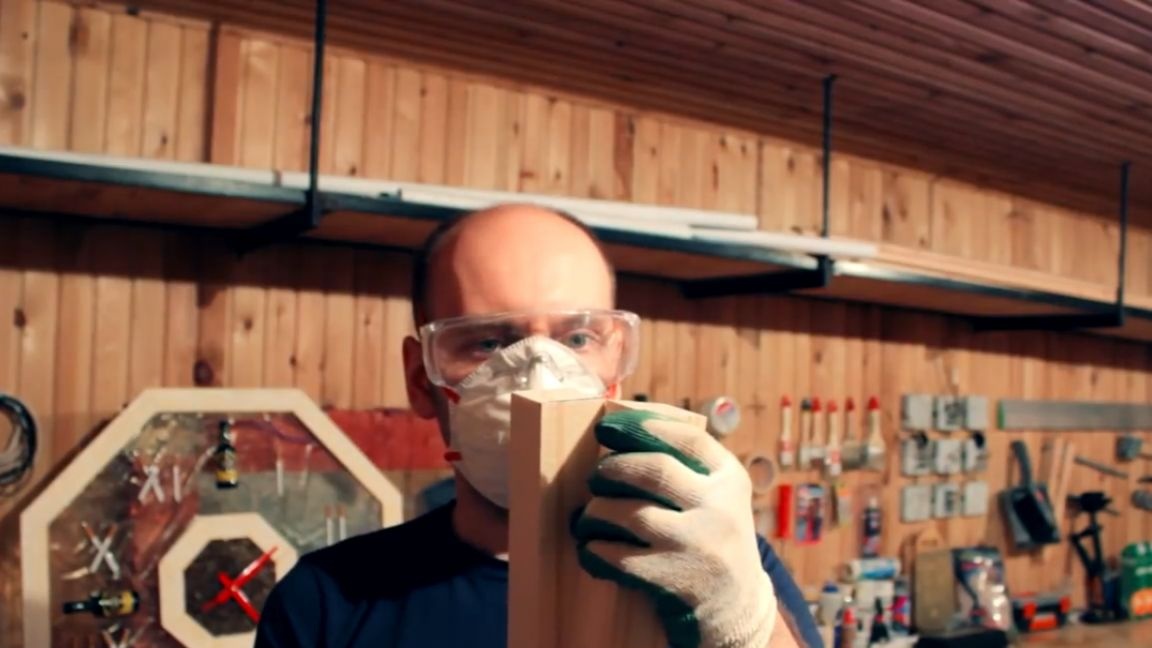
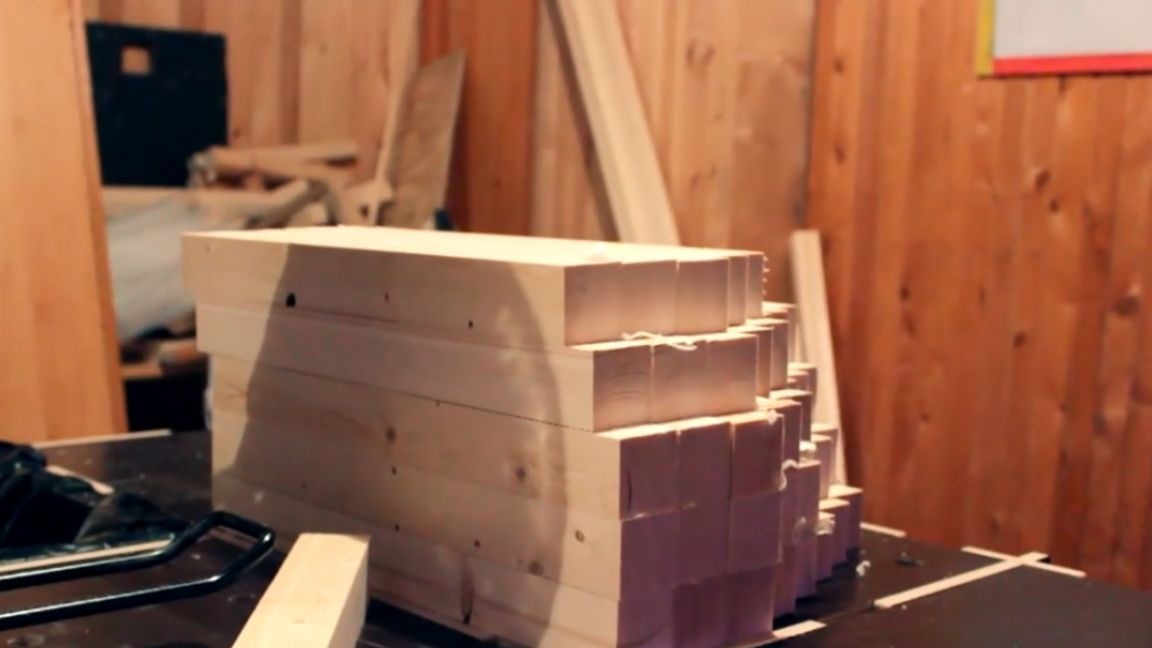
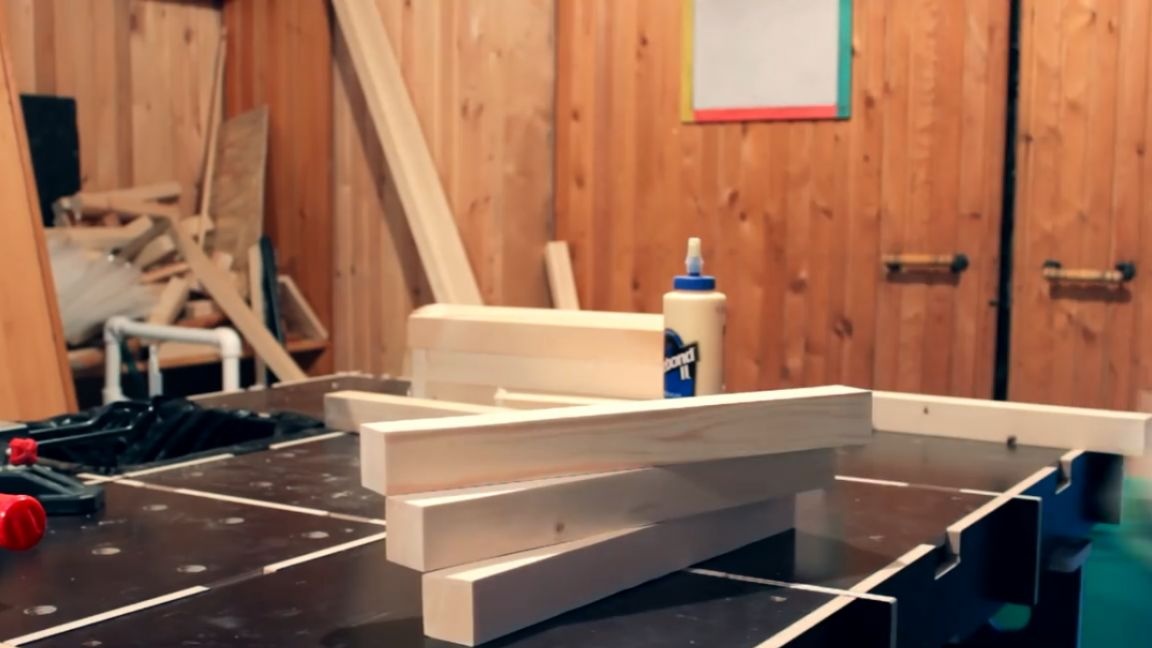
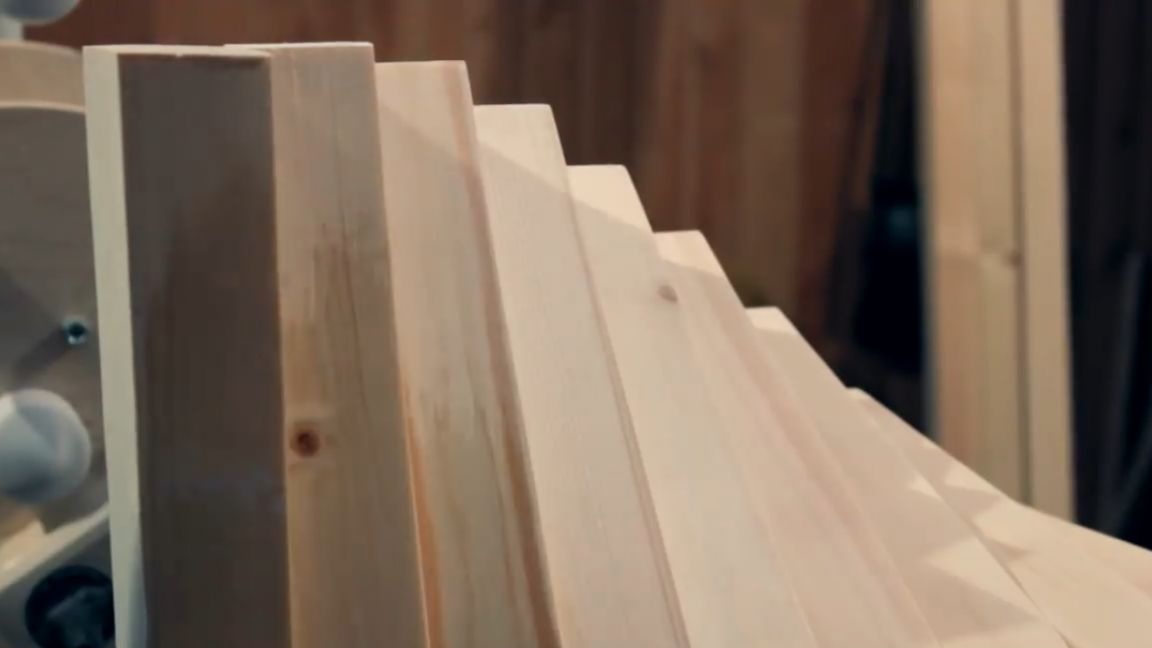
Now that everything is more or less clear, you can start building. After sufficiently long cutting, 40 workpieces of the same length were obtained. The cutting time has increased due to the fact that each cut master glued masking tape. Even though the author uses the new saw blade for delicate cutting, he still tears wood fibers, so there was no way to do without masking tape, and with masking tape we get an almost perfect cut.
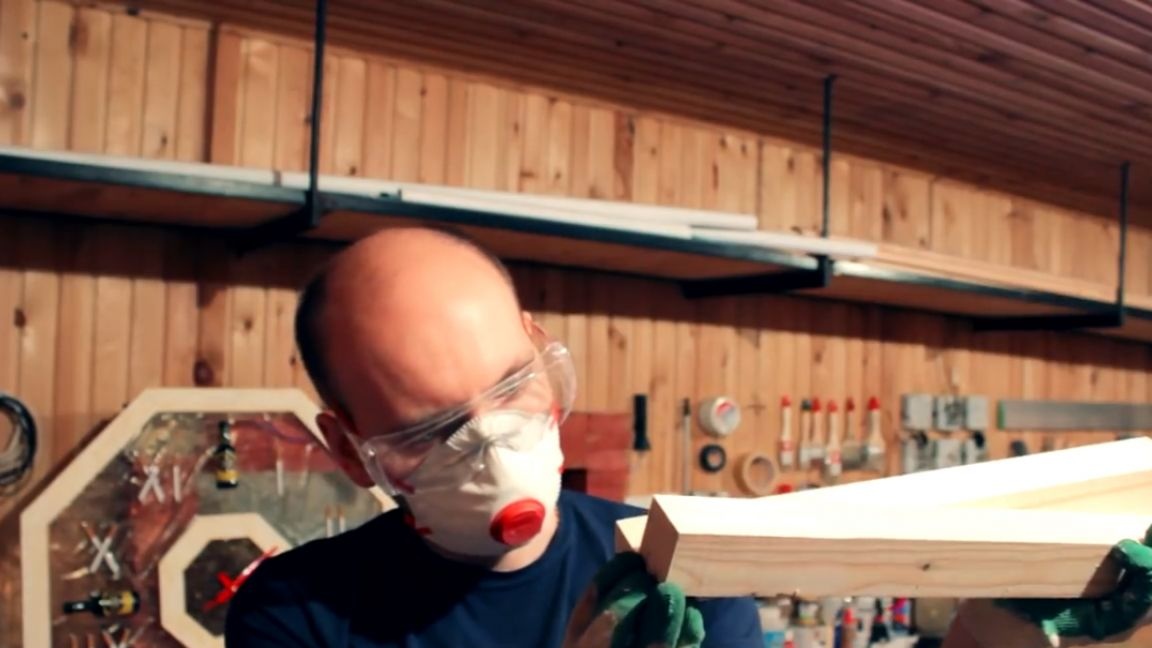
For the next stage, of course, a thickness gauge would be very useful for us, but since the author did not find one, he will use an ordinary grinder and 180 grit sandpaper.
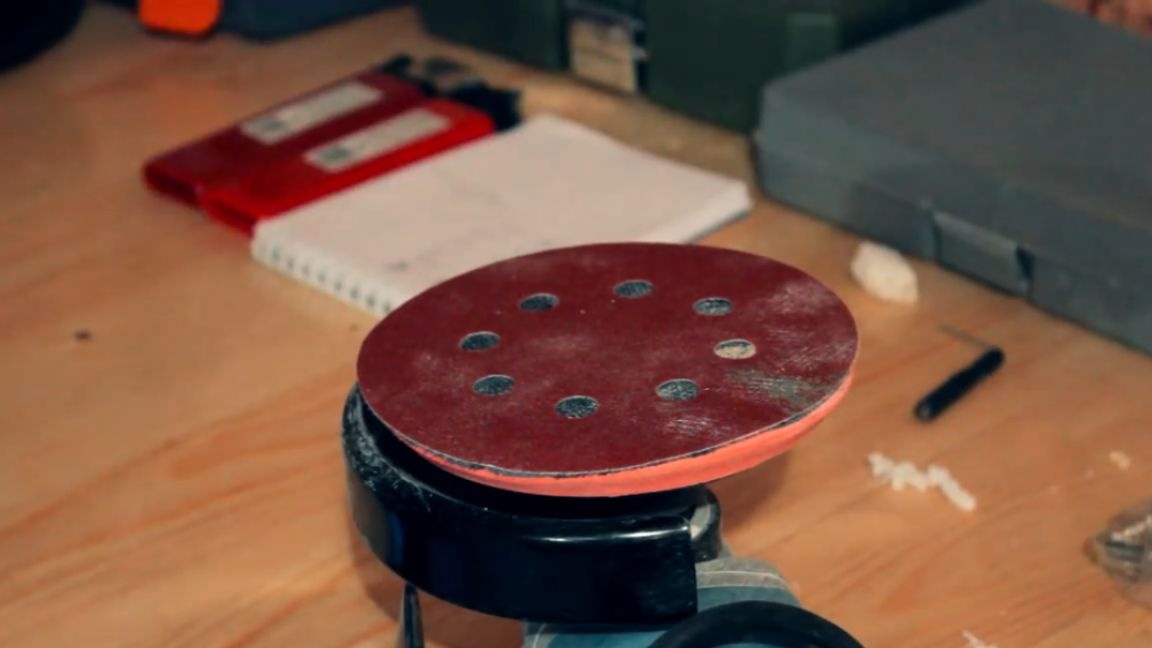
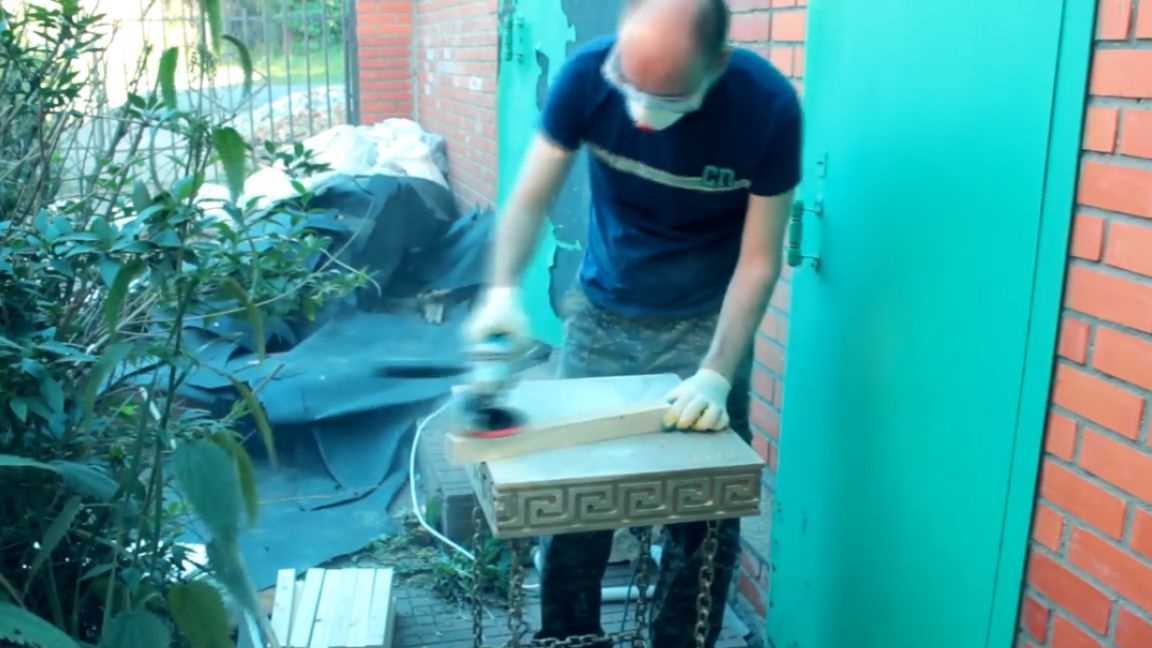
So, grinding took us the most time, and in the end everything was covered with wood dust.
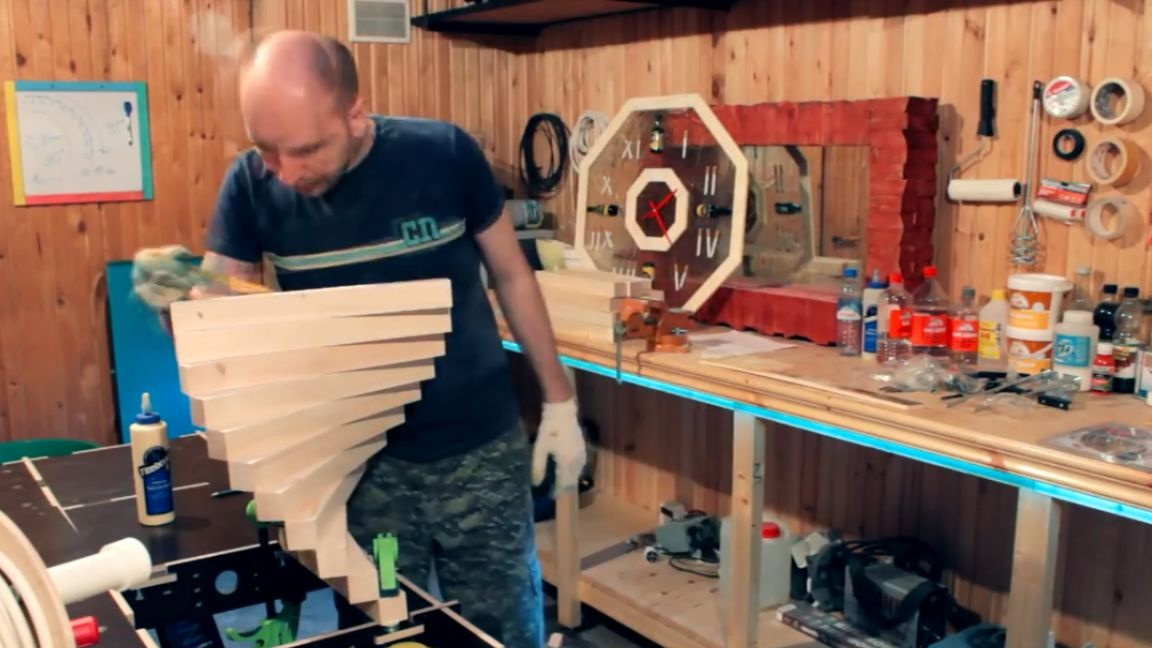
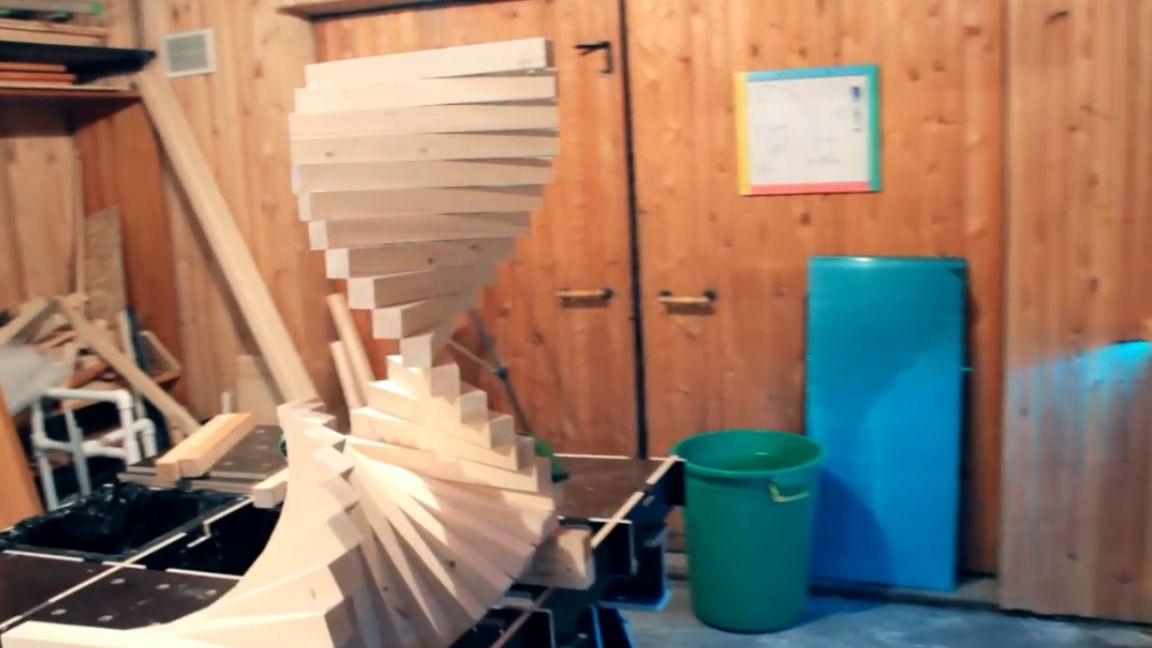
Now we pass to the most interesting moment - we will assemble our design. To clearly apply glue to the parts to be glued, we first apply a small markup. By this markup it will be clearly visible where it is worth applying the glue.
The glue must be applied, departing from each line by about 5 mm, so that it does not climb outside.The gluing process started not bad, but after 4 bars, the author realized that the design does not have sufficient stability, and it was necessary to solve the problem of fixing it. It was decided to fix it directly to the workbench, so that its design allows this to be done. But the higher the structure got, the harder it was to glue.
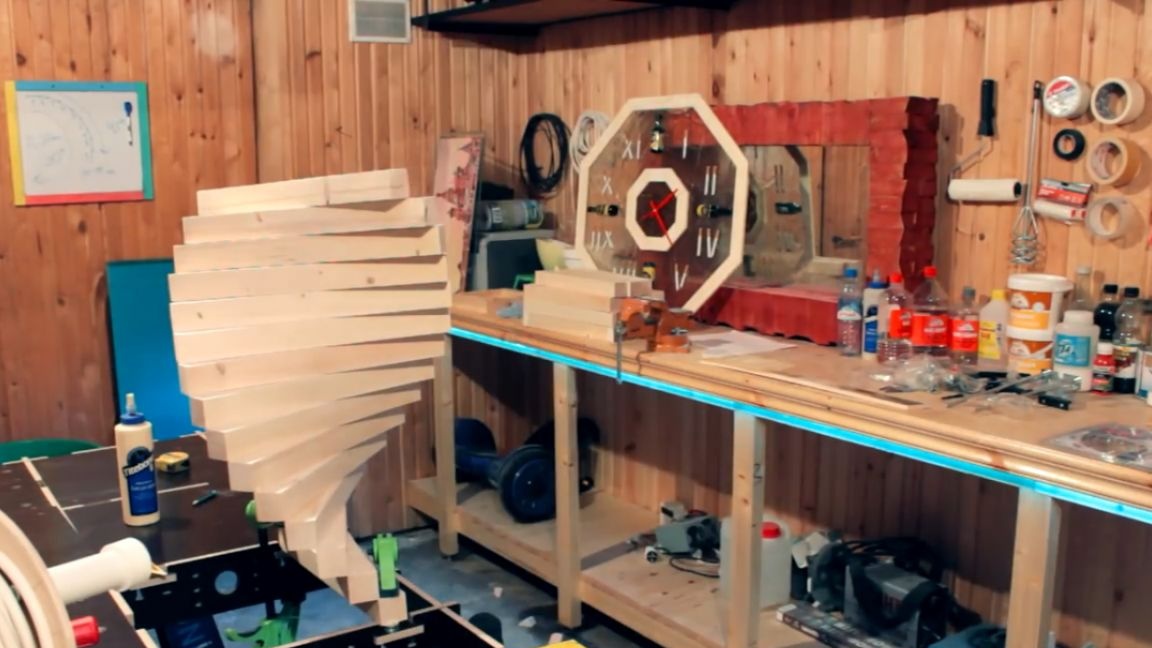
Having glued the first spiral, it was necessary to wait for the glue to completely dry. And in order not to waste time in vain, the author decided to sort out a little the garage.
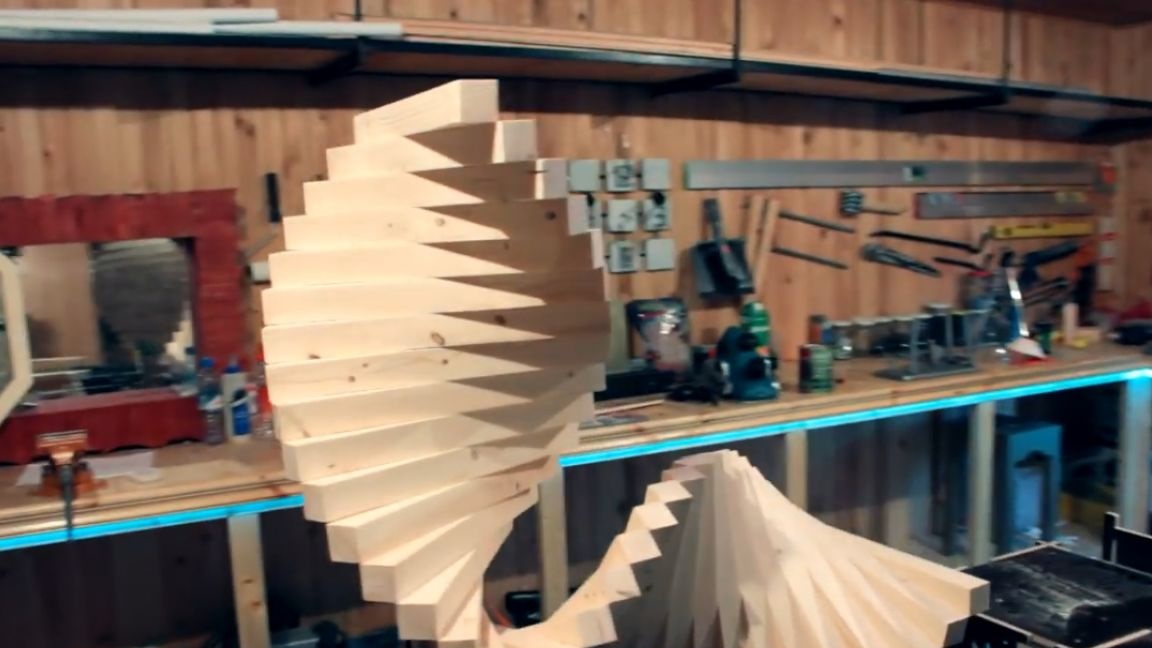
The next day, when the first wooden spiral dried up, it was necessary to figure out how to glue the second spiral to it at an angle of 90 degrees. After a little thought, the master came up with the following design. A little stick on a spiral, put or lay it horizontally, and lay a few bars. After that, we clamp with two clamps and you're done, you can fence the second part.
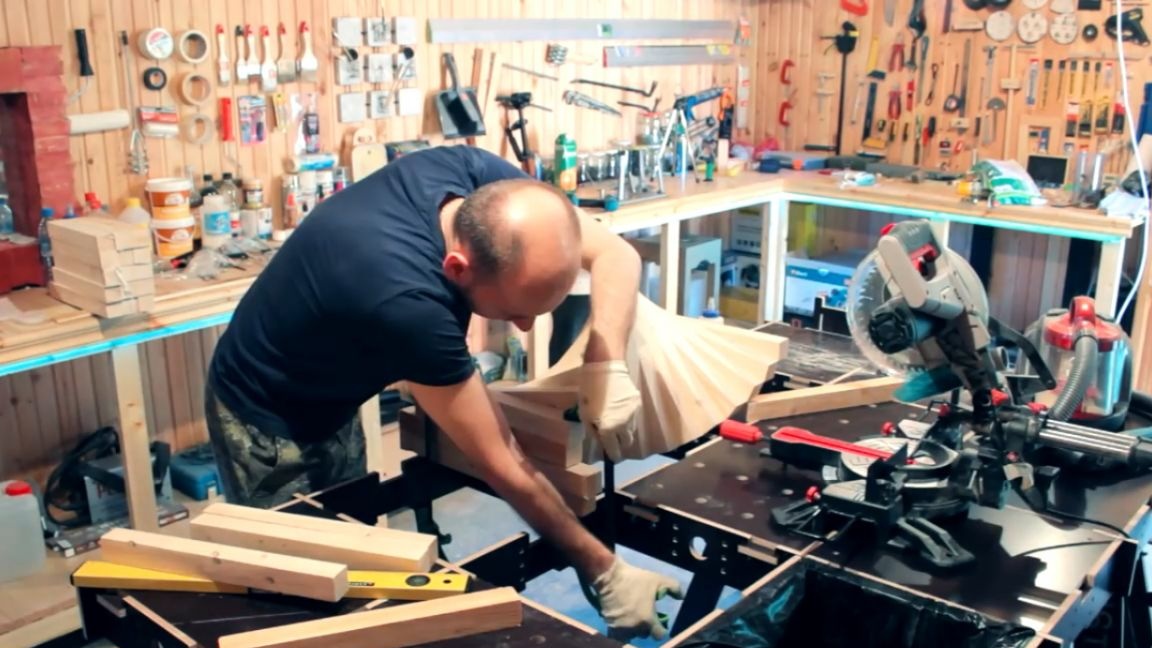
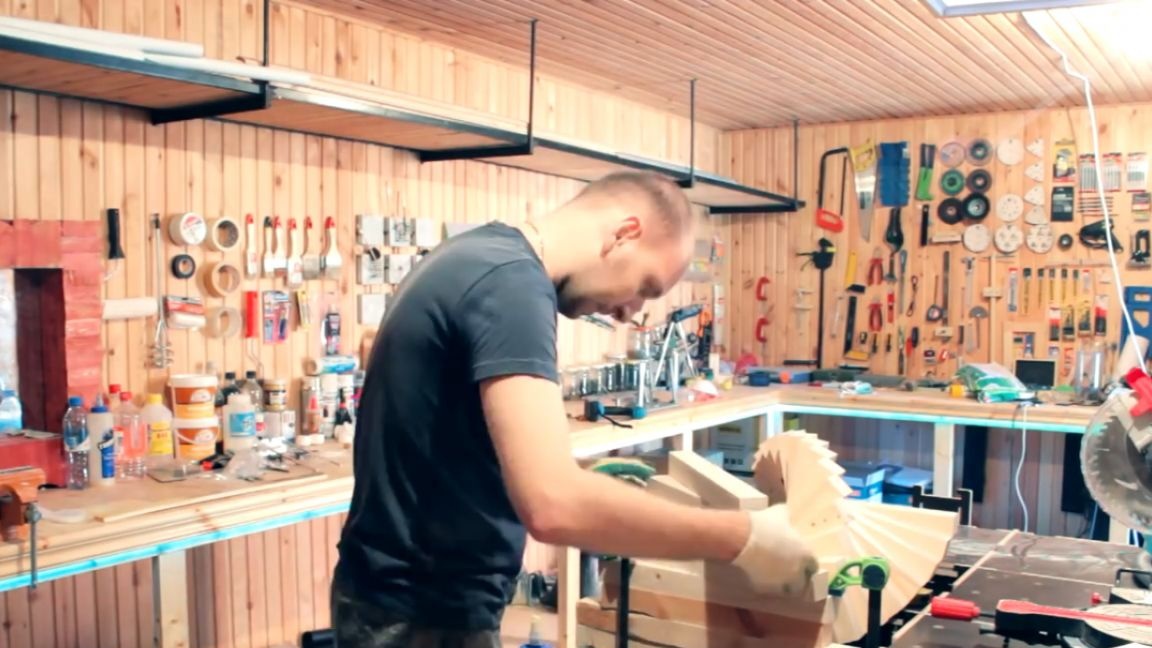
Fence the second part will be a little easier, since you already know what pitfalls can meet you when gluing the bars. Perhaps one of the most important pitfalls is the imperfectly flat surface of the bars. Therefore, when gluing, it happened that they tumbled in one direction or another. I had to change the sides of the bars or just change the bars in order to achieve the most even level.
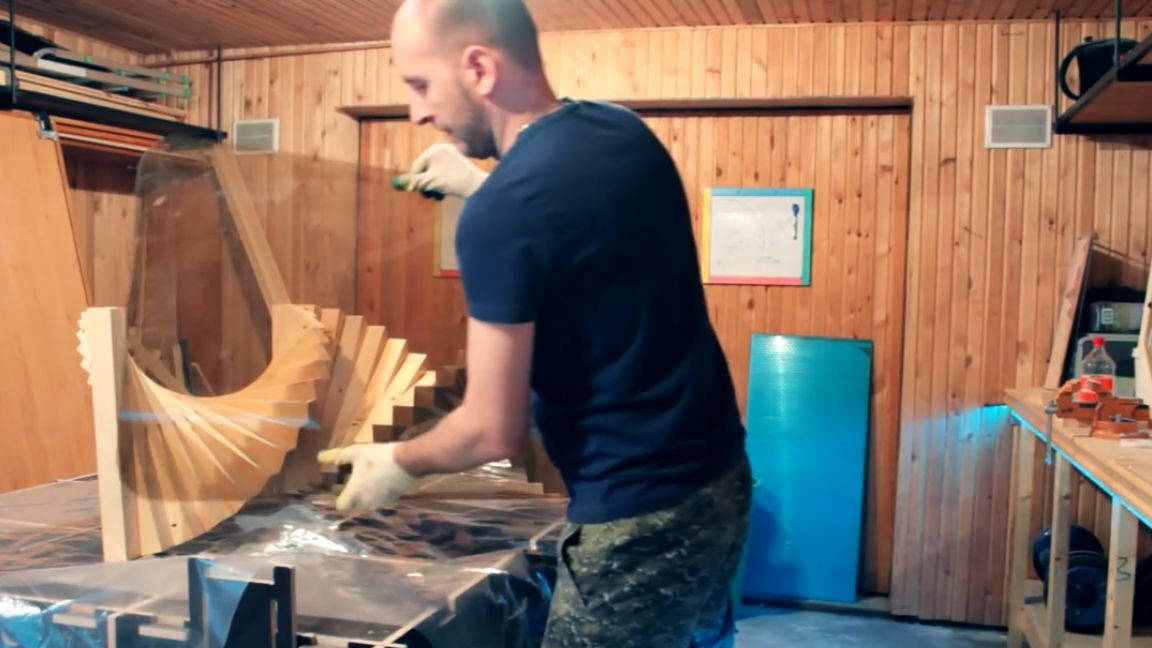
After several hours of work, we get just such a design, in which you can stick a little.
Also, after waiting for the glue to completely dry, remove the clamps and put the spirals horizontally. In order not to paint over the wood texture, as is often the case, this time it was decided to use furniture oil.
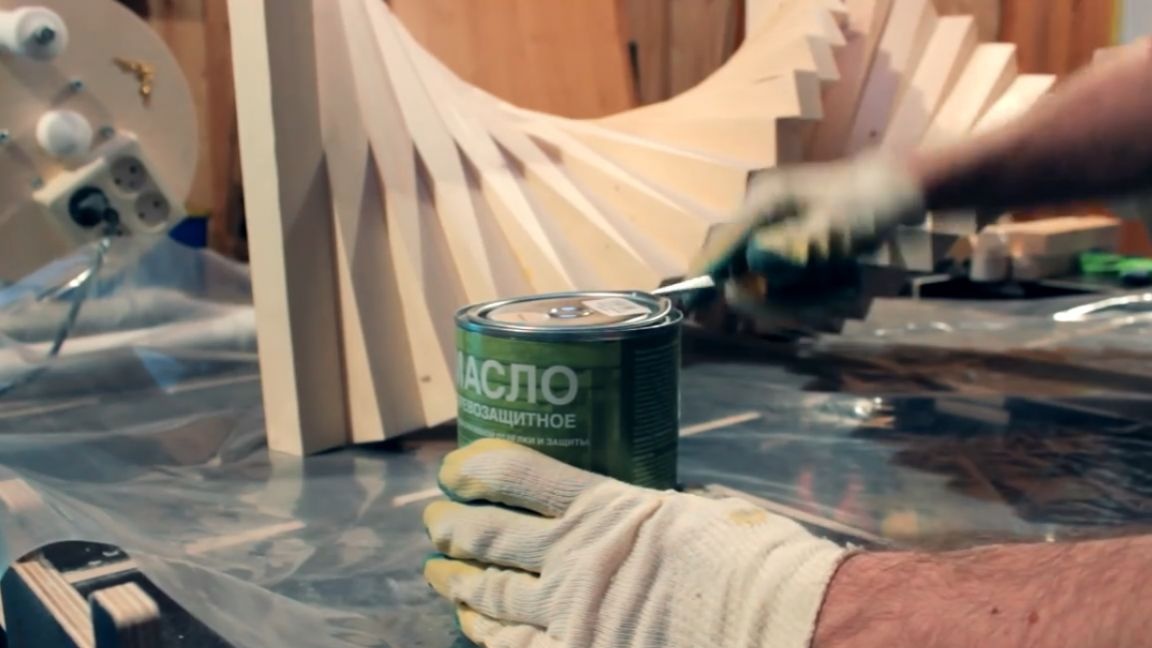
When applied, the effect is weaker than that of the varnish, but on the touch a straight wood is obtained.
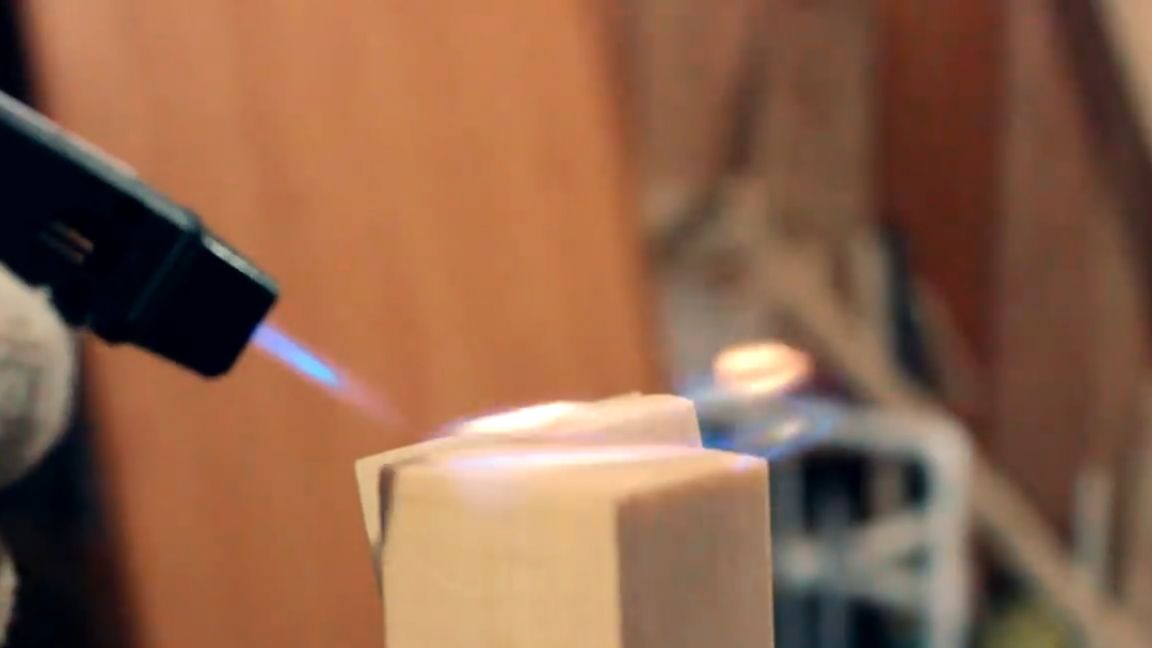
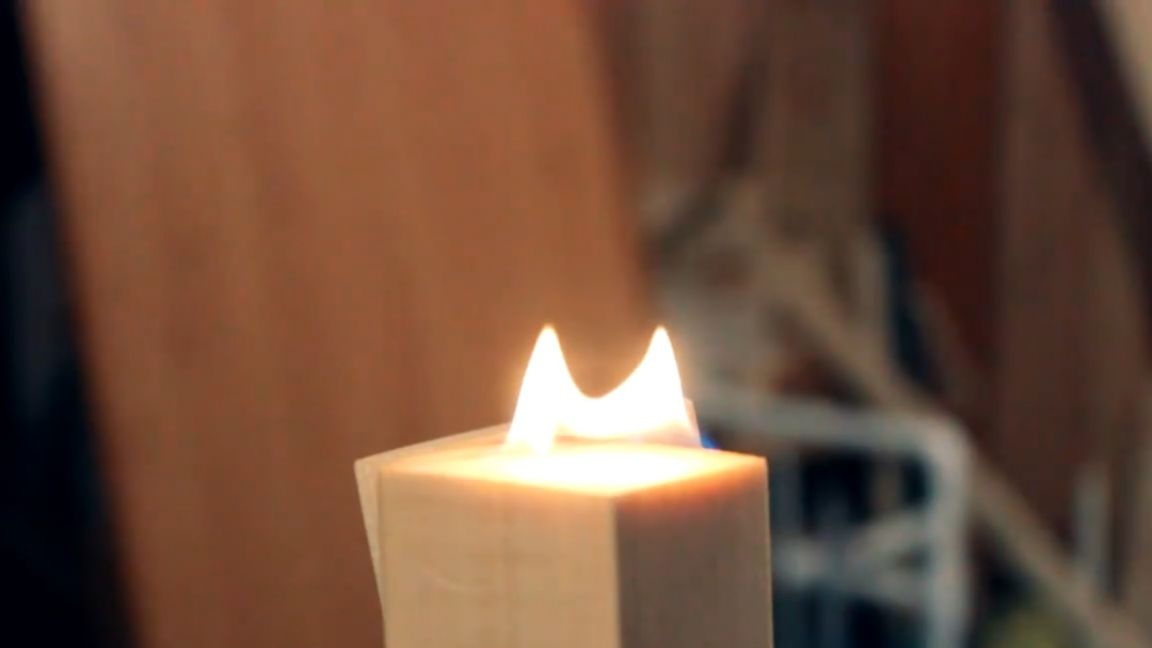
Having well painted over the entire structure, we need to quickly dry the places to which we will glue the glass. The author did not come up with anything better, so he well warmed up these places with a lighter, set fire to oil to burn out and put out. The method is dangerous, but working.
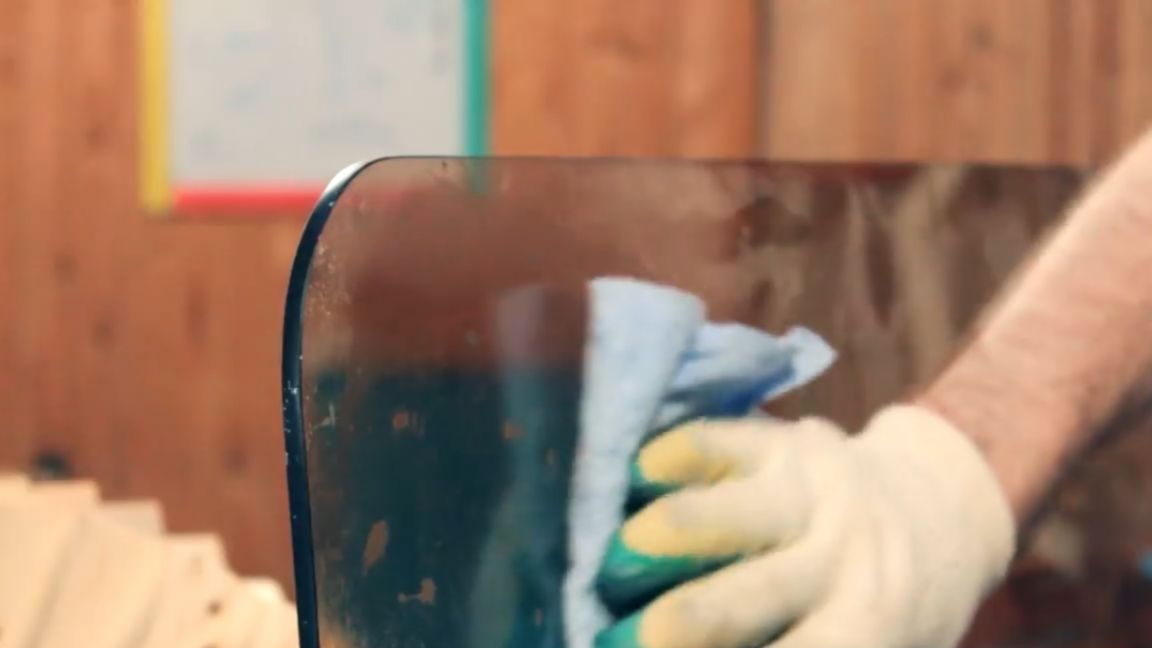
The master, as always, went to a familiar glazier and bought a rectangular dark glass from him, which the client refused. It certainly fell through the warehouse and already managed to get covered with some garbage, but a little solvent on a rag, and the glass takes on the appearance of a new one.
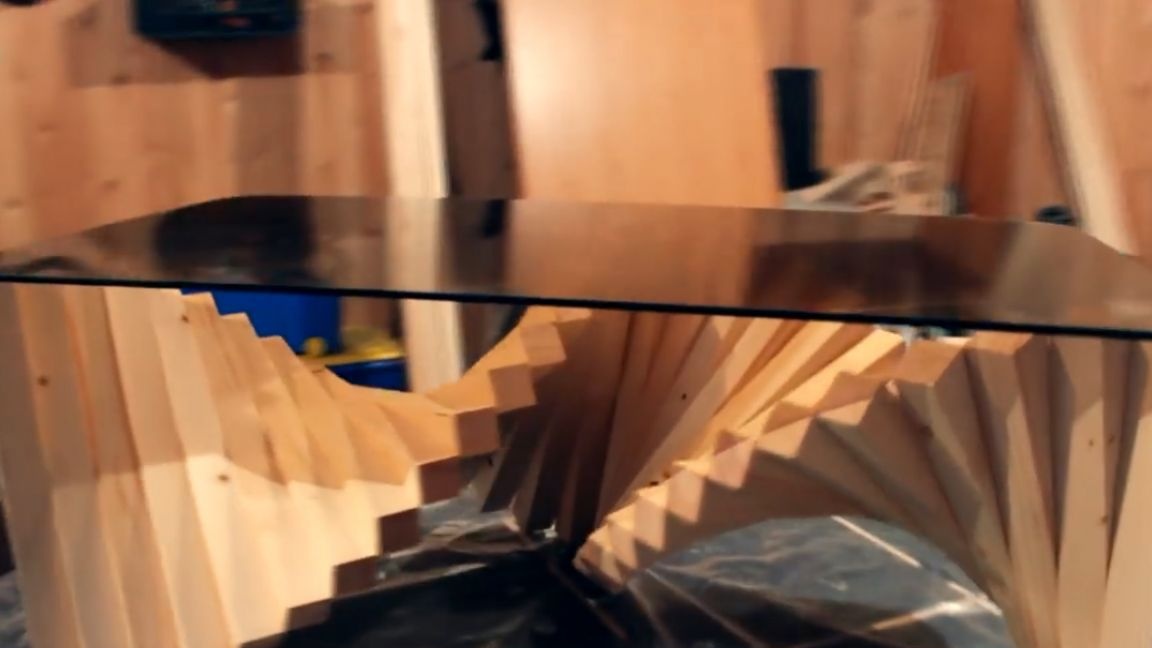
Having thoroughly wiped and degreased the back side of the glass, apply glue to 3 vertical bars. The author uses proven transparent glue, which has already glued glass to wood.
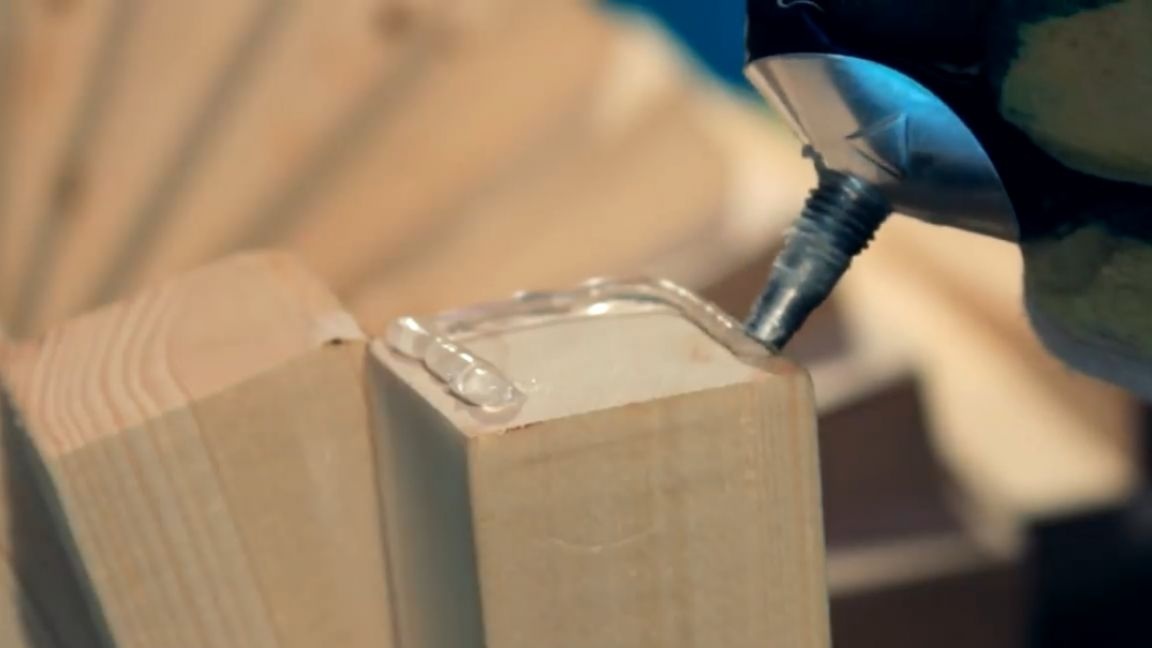
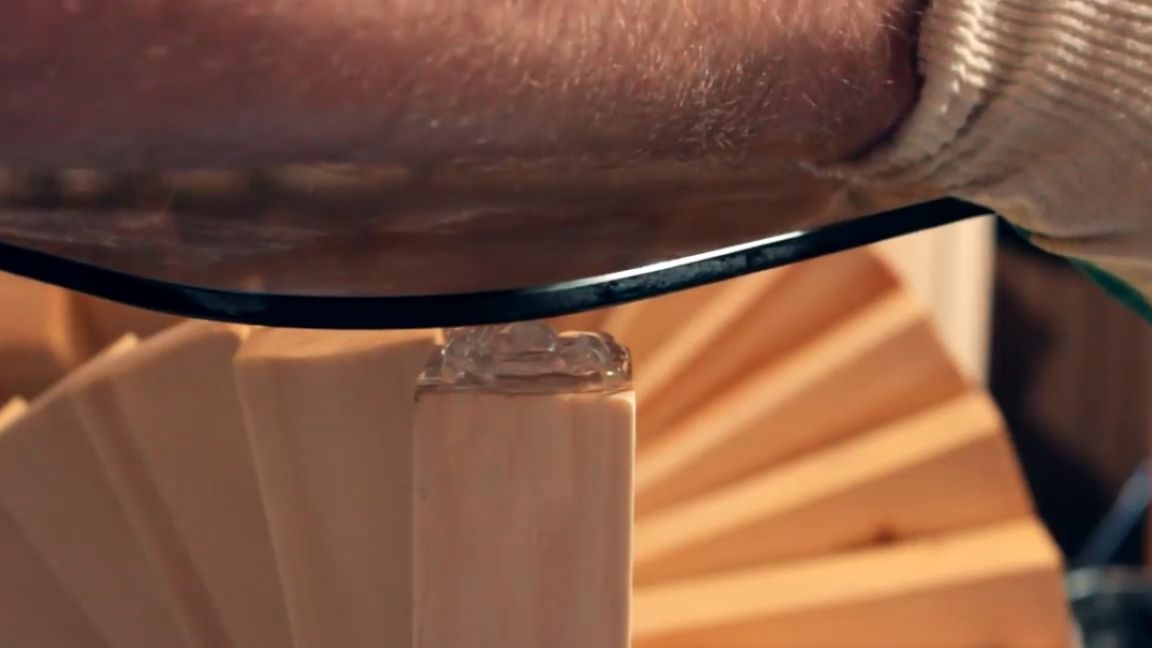
After applying the glue, lower the glass and push it well so that the glue is evenly distributed. We are waiting for complete drying, and the glue that has come out is cut off with a knife and removed with a solvent. After that, we get perfect and invisible bonding.
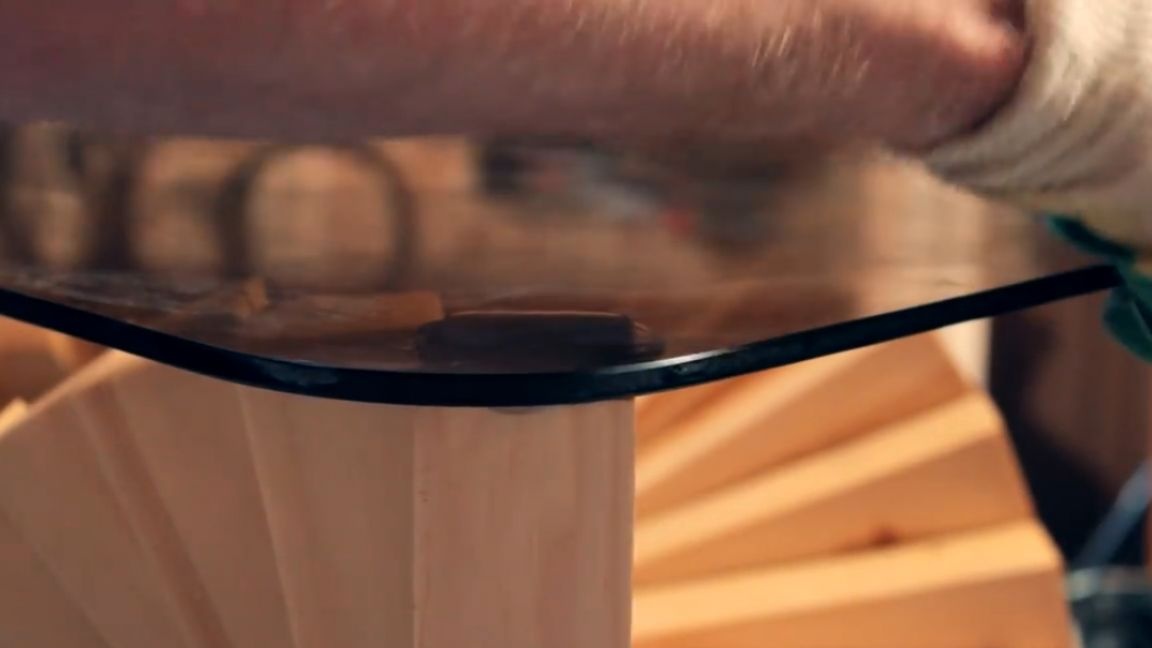
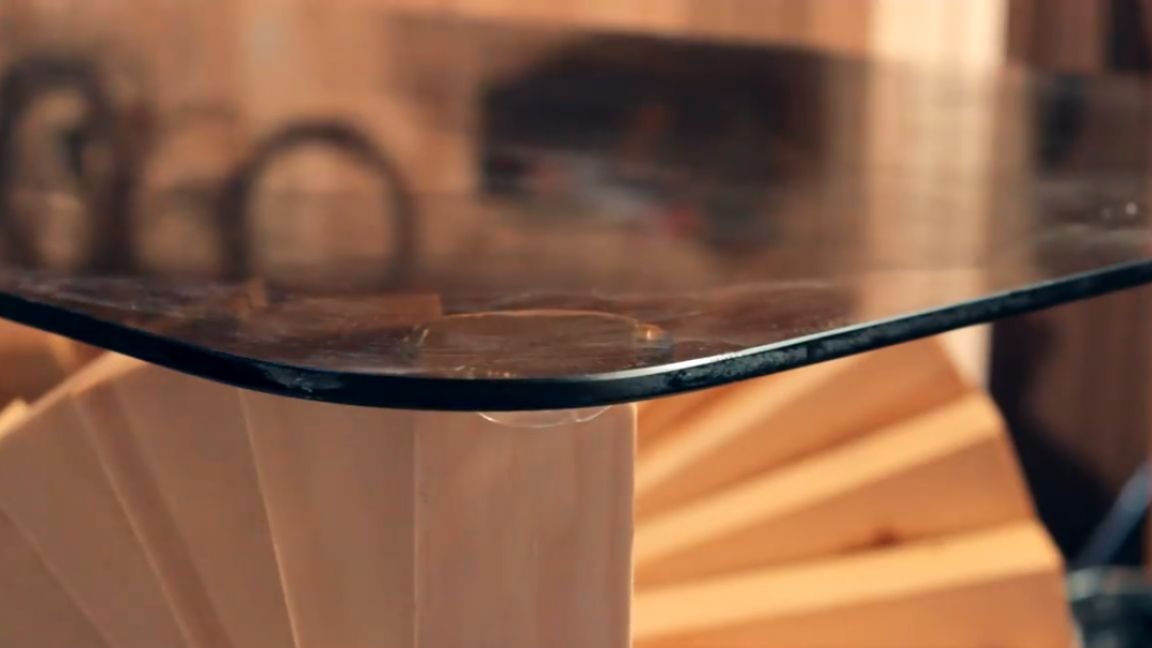
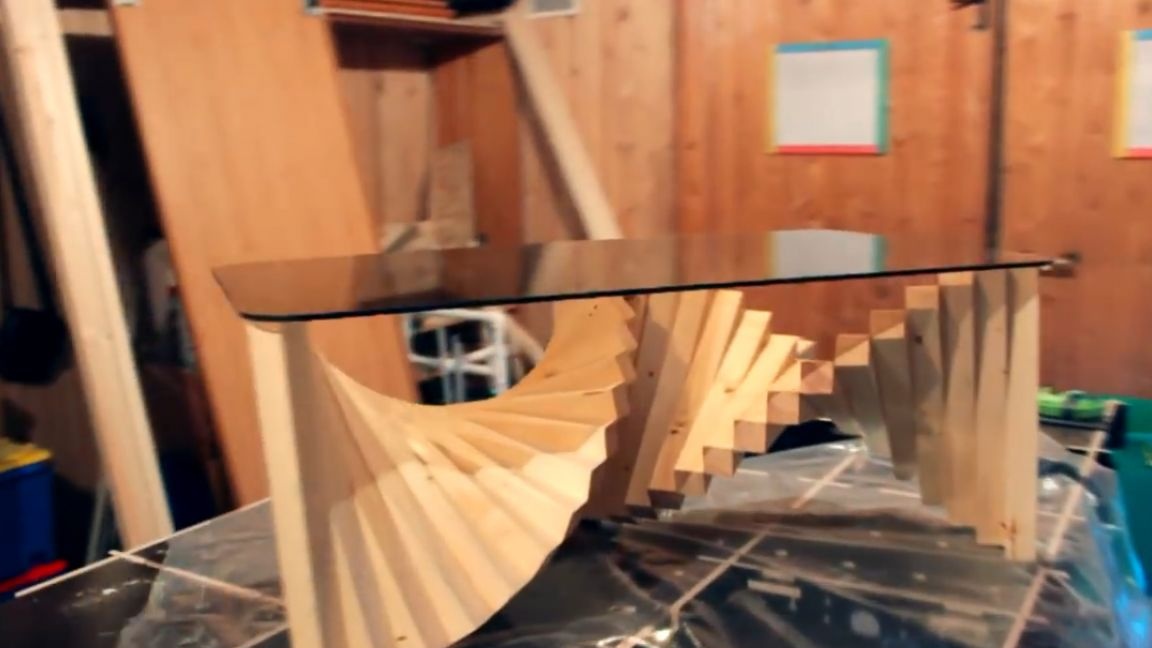
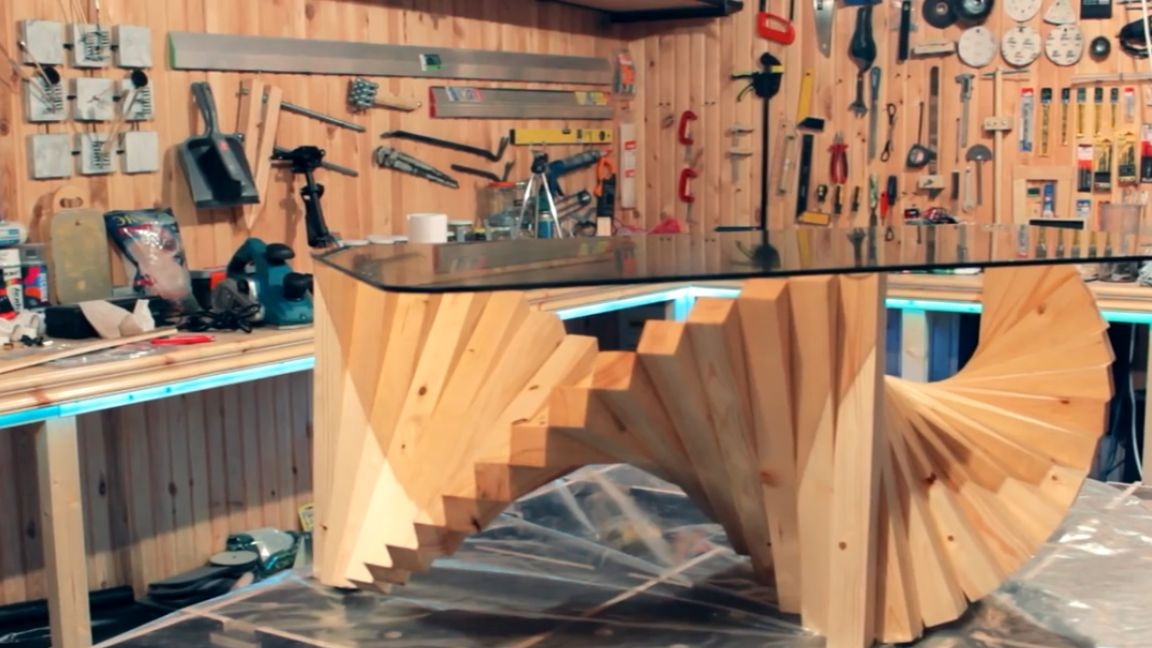
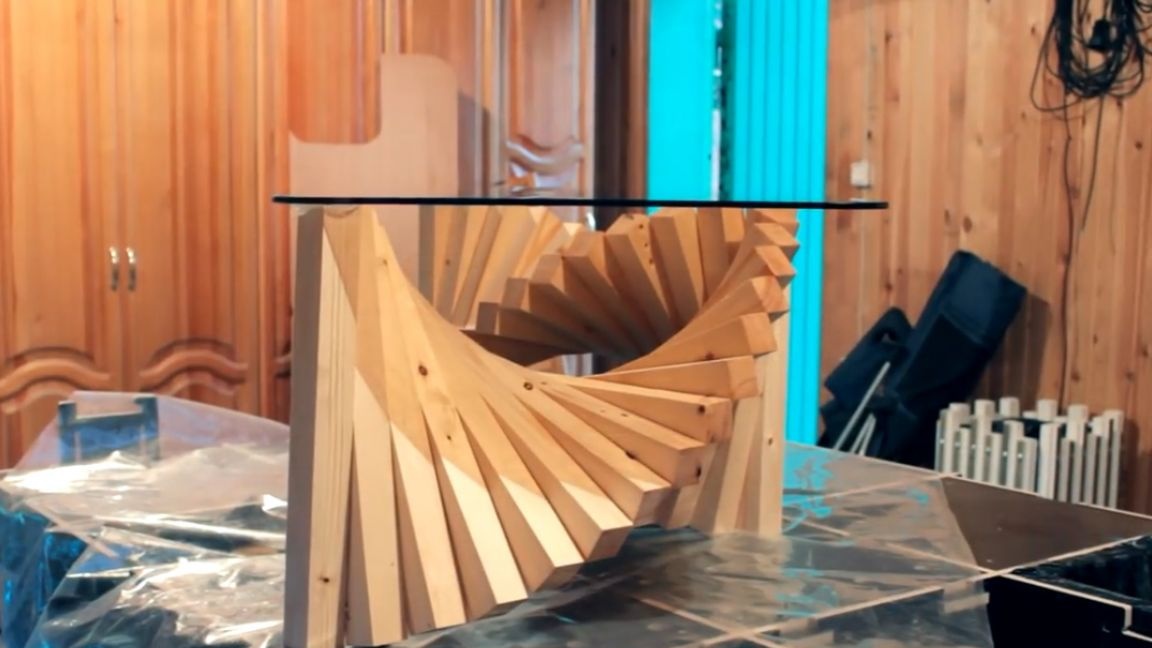
As a result, we have, as you already understood, a 3d coffee or coffee table whose height is 40 cm.
Thank you for attention. See you soon!
Video: