
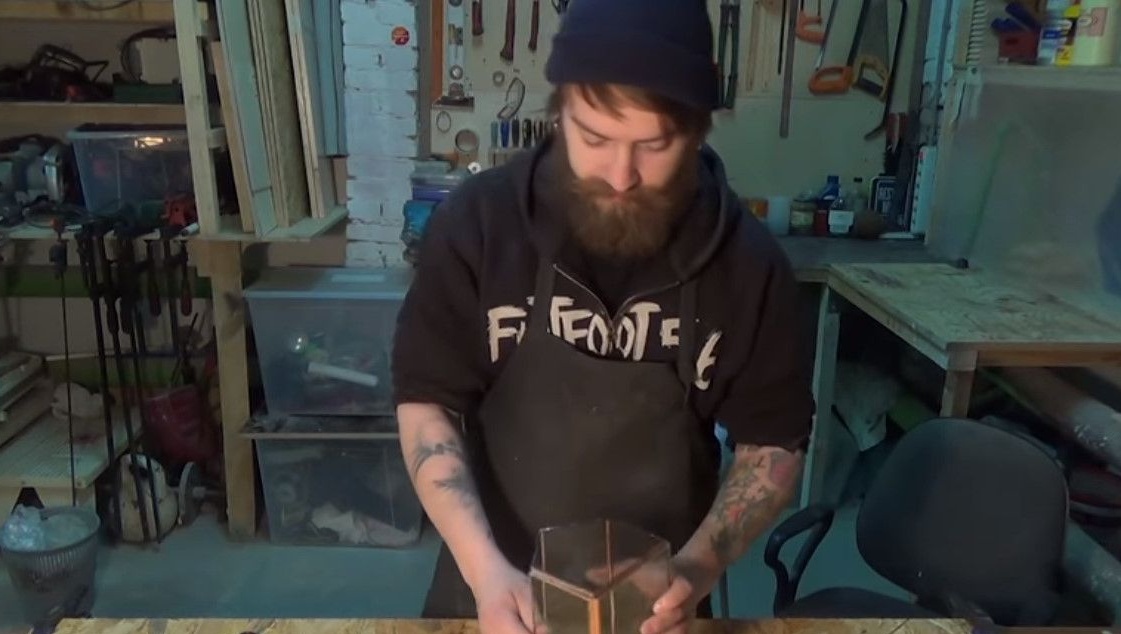
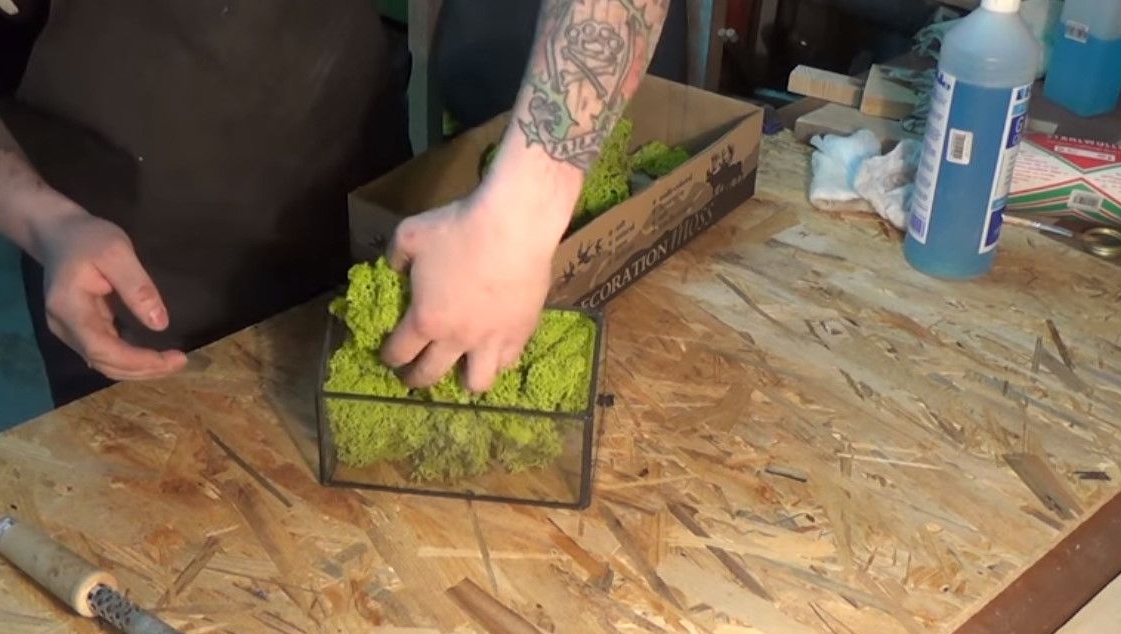
In this article, Danya Kraster will tell us about the soldering of glass terrariums in as much detail as he himself cut it.
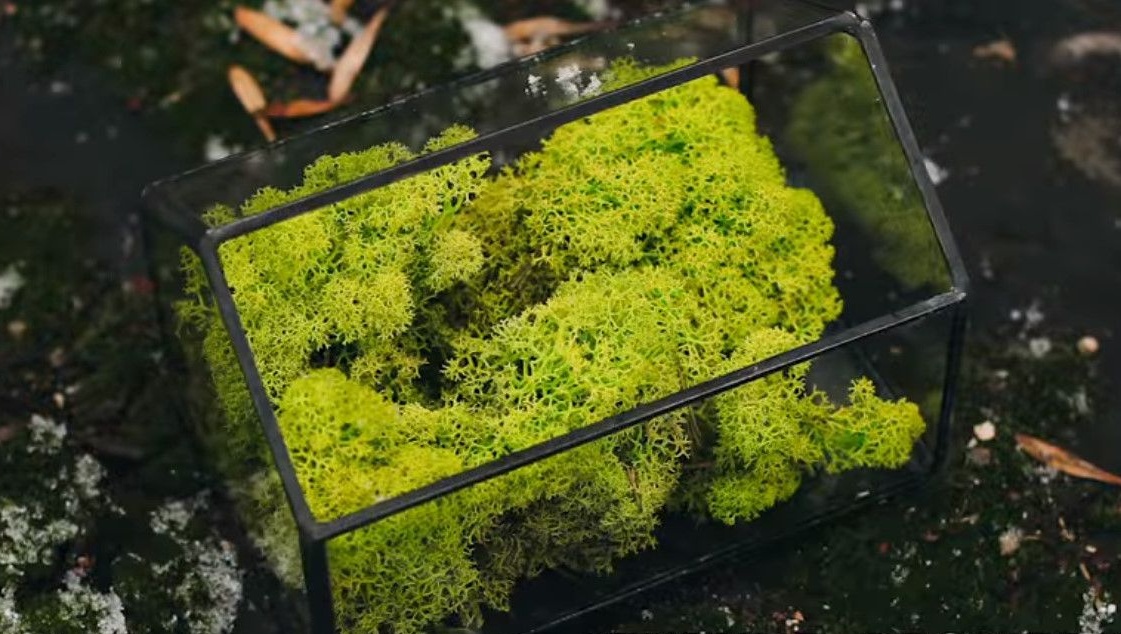
In fact, these are florariums for ornamental plants. But for some reason, they firmly took root under the name of terrariums.
They are also a special case of stained glass windows made using the Tiffany technique. There was a man who came up with a way to make non-flat stained-glass windows.
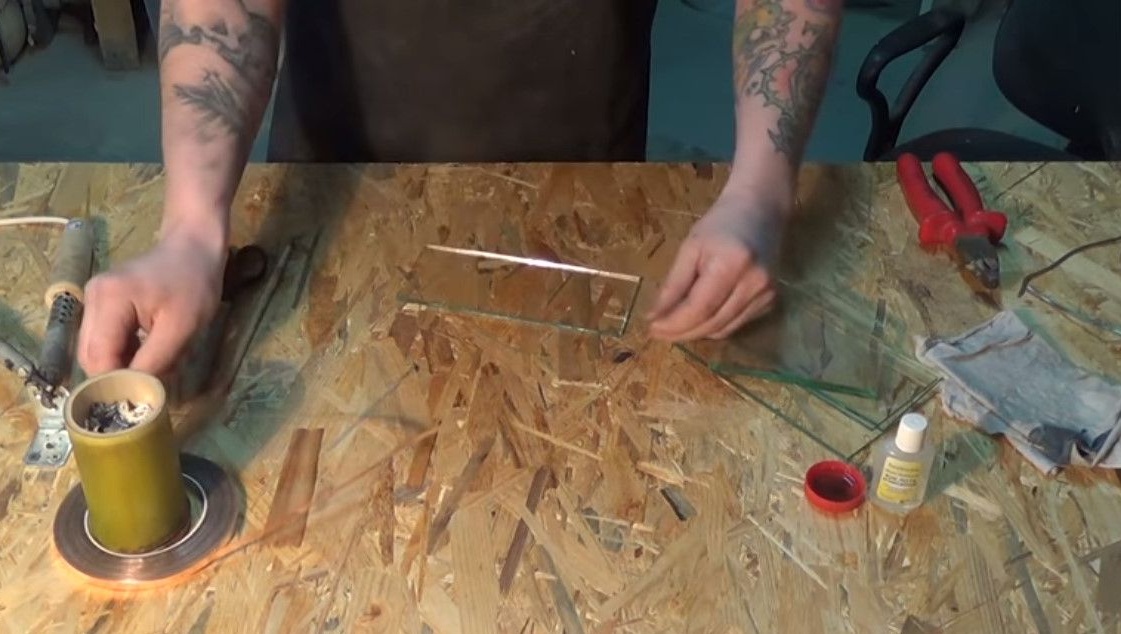
A little about glass. Danya doesn’t cut them on her own, this is a real problem if she is dealt with without experience.
Need a glass cutter, special rulers, a table, a place to store sheets of glass, and glass splinters - a little pleasant.
In short, we order glass from an ordinary glazier, who does it professionally.
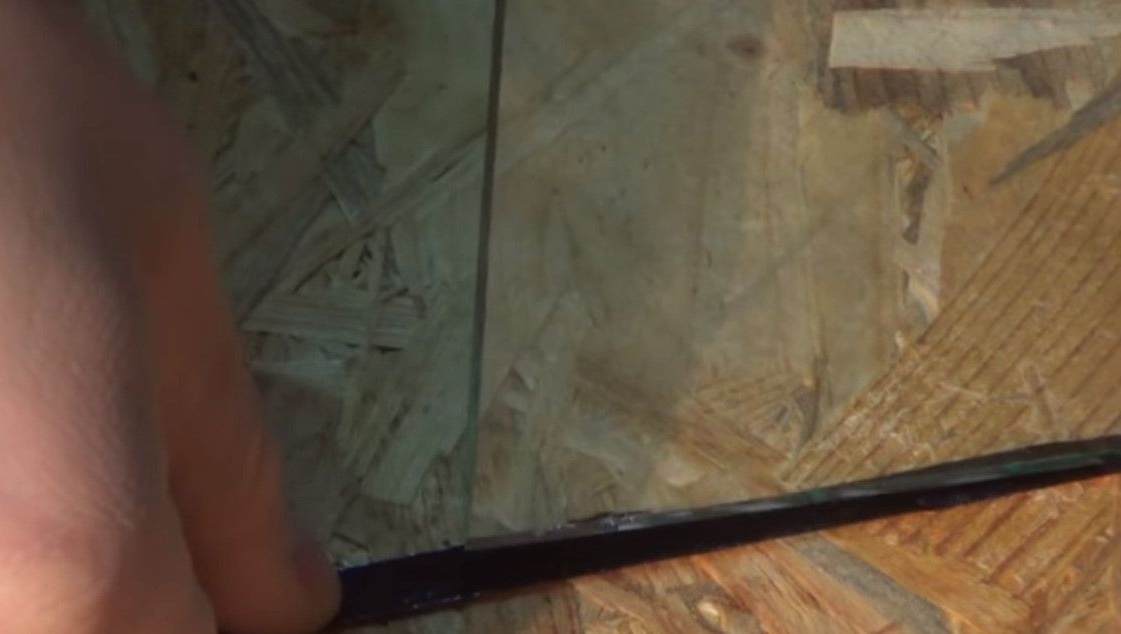
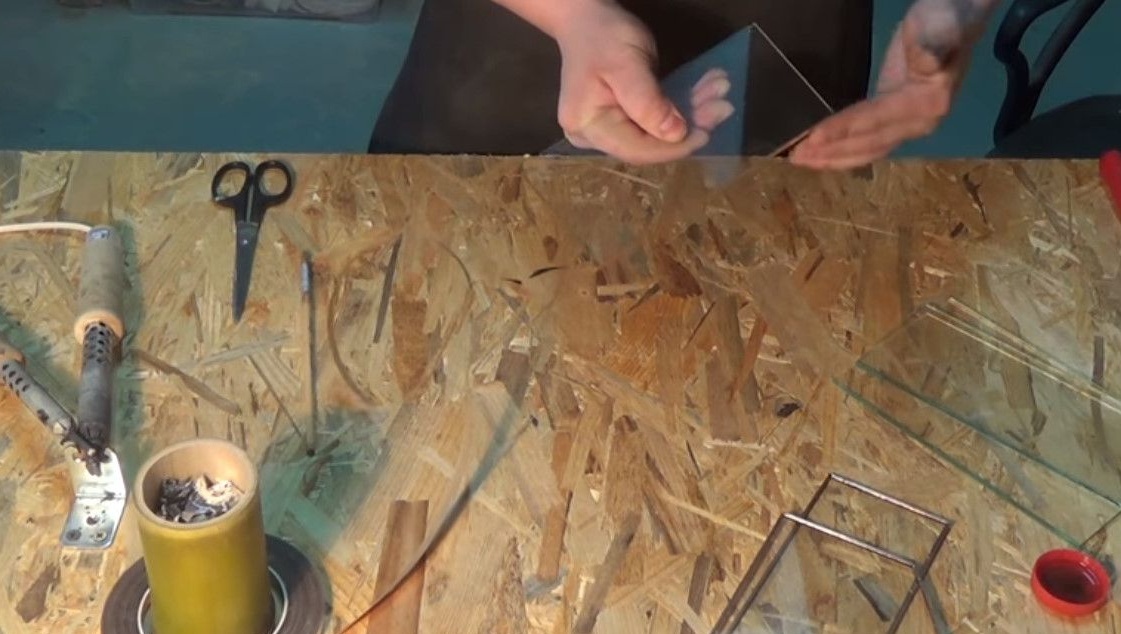
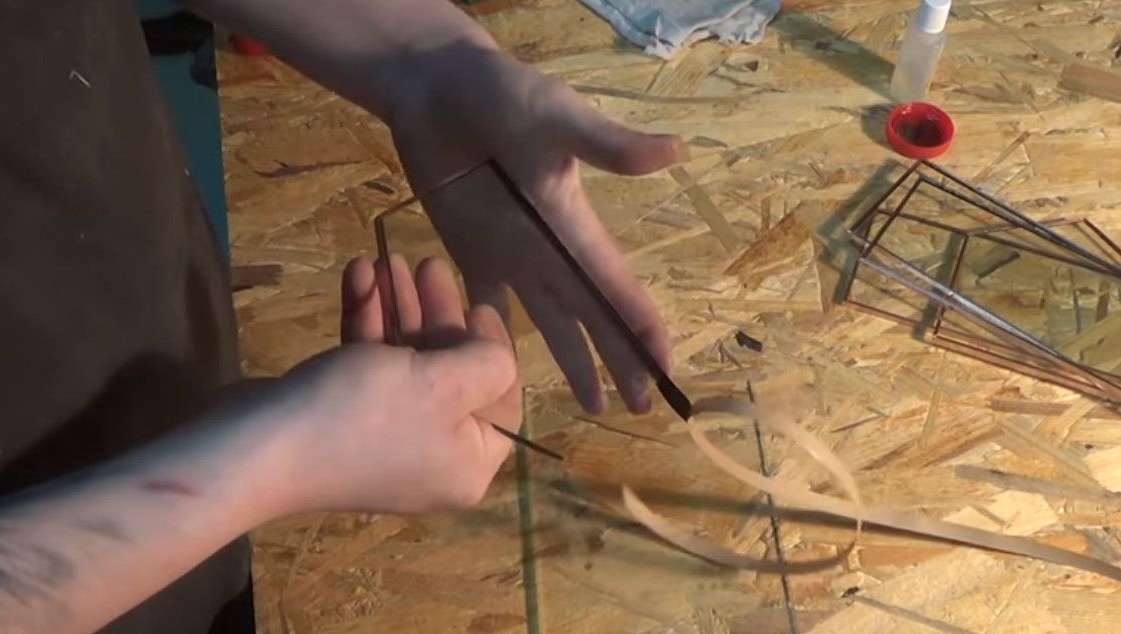
It is important to ensure that the edges of the glass have even chips. If there are shortcomings - they can be removed with the 400th sandpaper along with water, so as not to breathe glass dust.
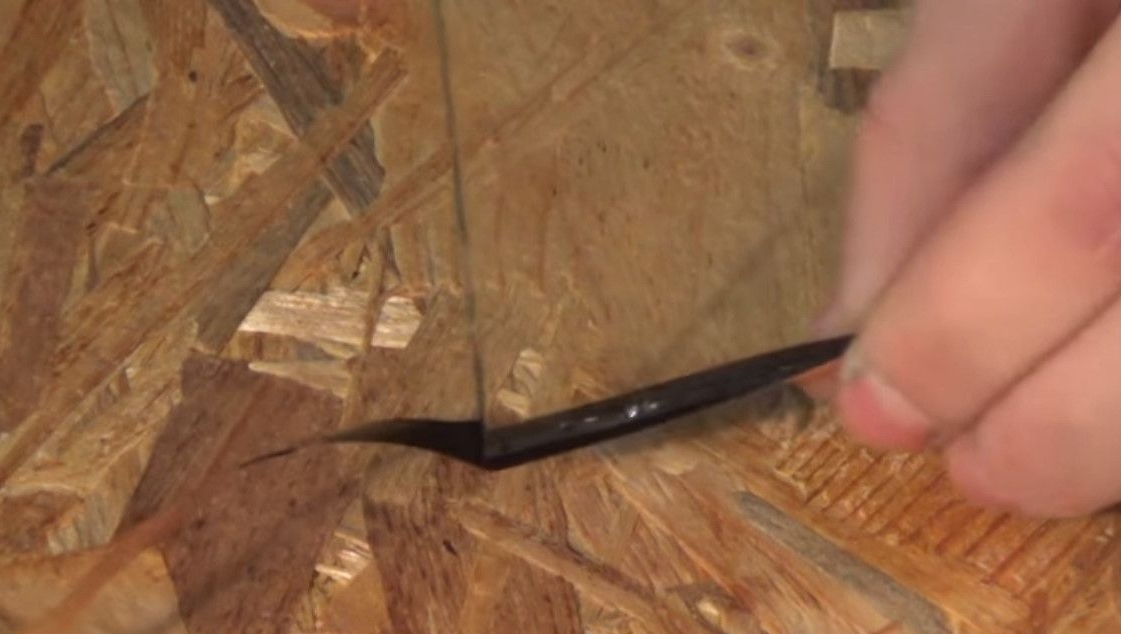
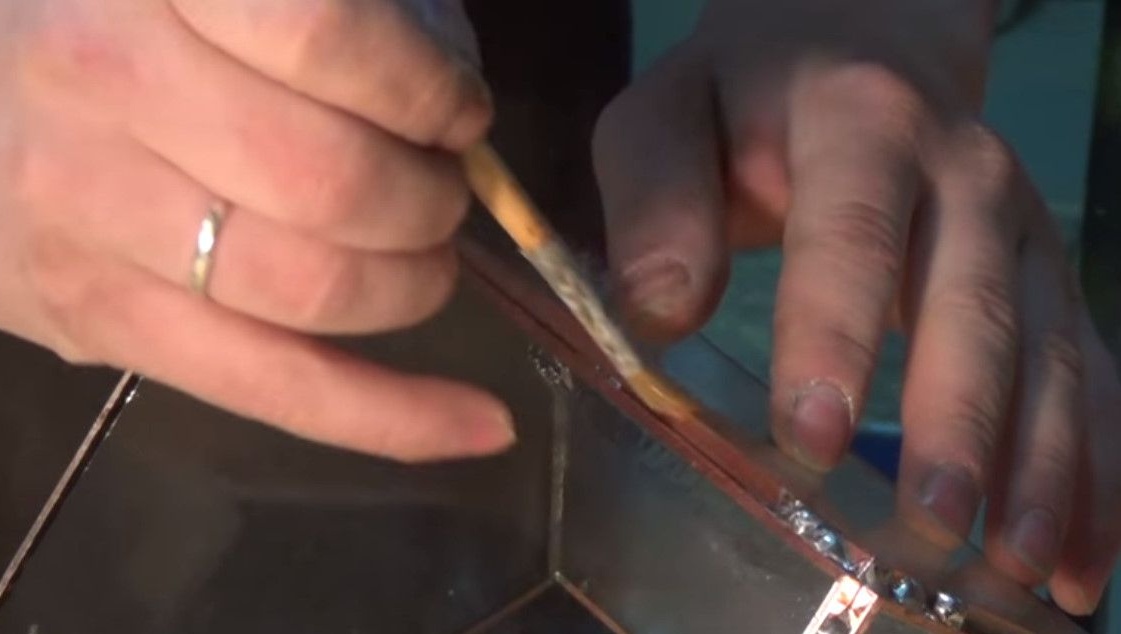
When all the faces of the future terrarium are prepared, the ends must be glued with a special copper tape. By the way, not every stained glass store can be found.
If you want to cover the seams with a patina that will color them black, Dania recommends taking the tape on a black backing.
After all, the substrate is visible from the edge.

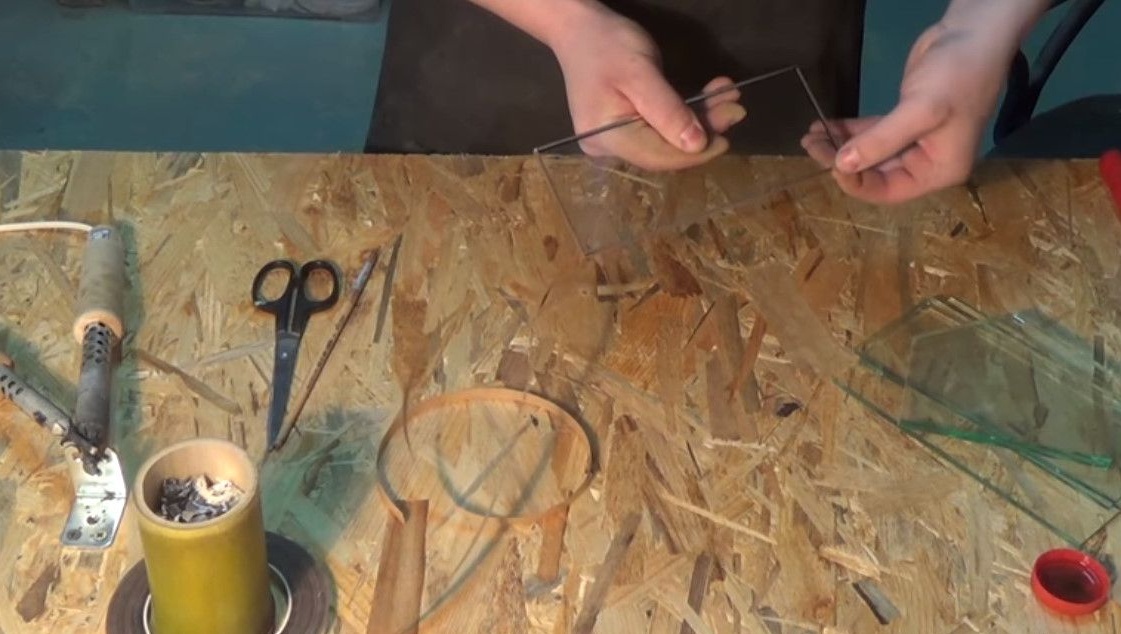
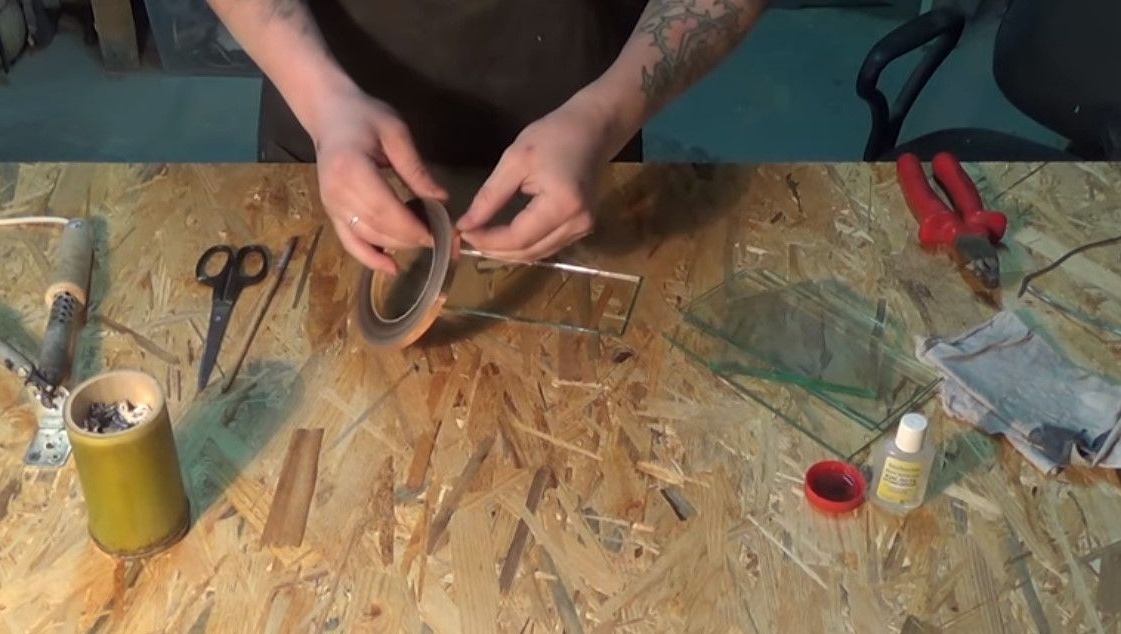
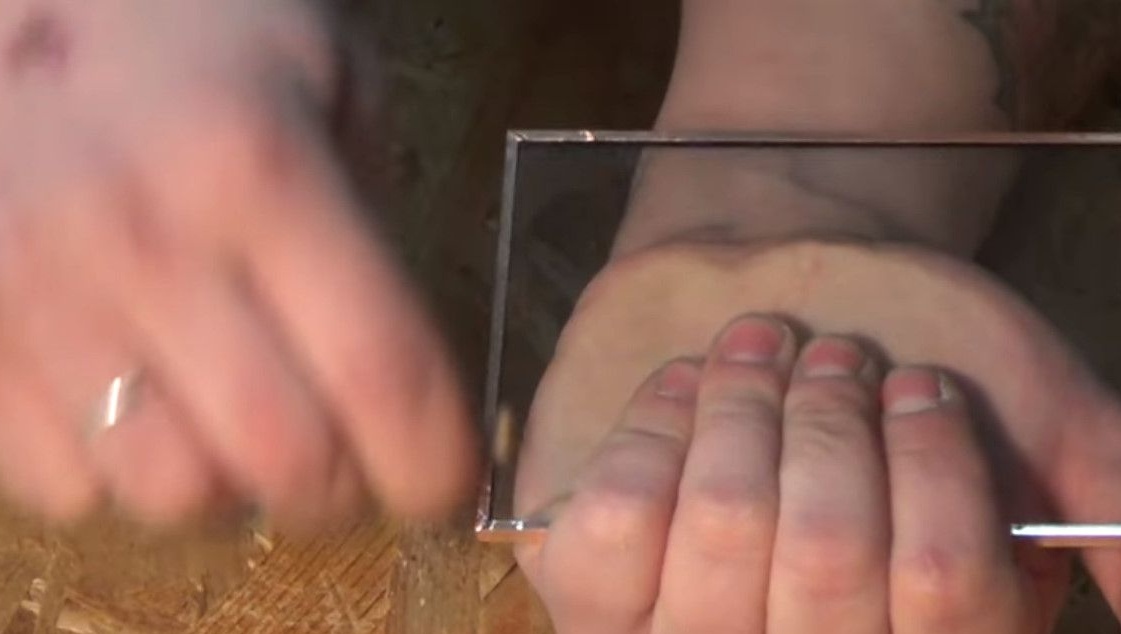
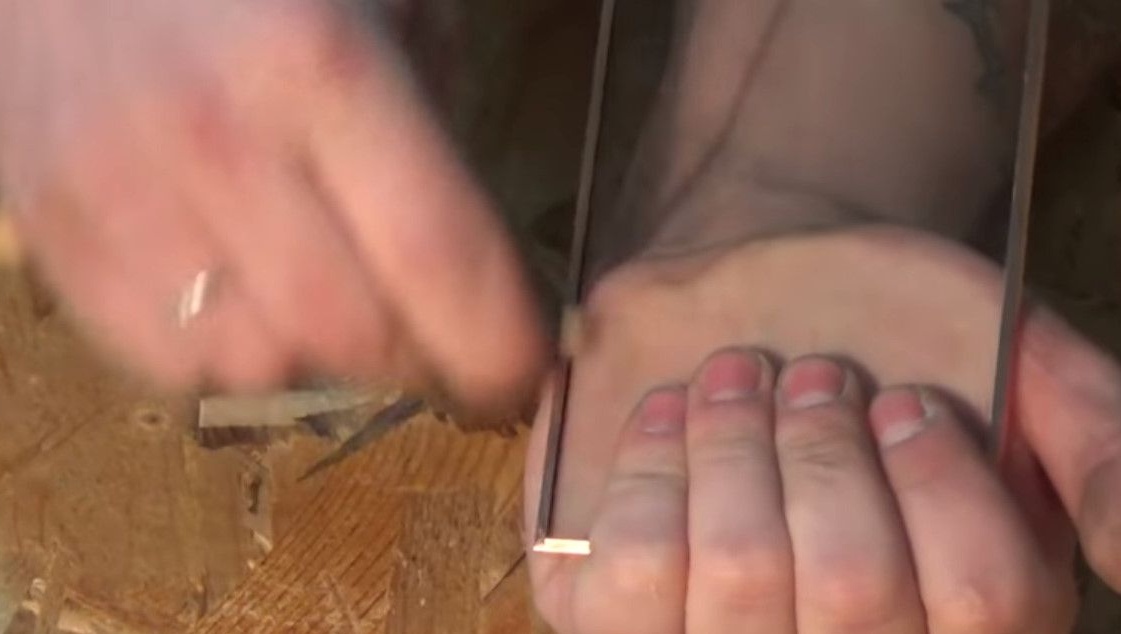
The author uses a copper tape with a width of 8 millimeters and a glass thickness of 4 millimeters. In principle, the width of the tape is different. But for a high-quality and durable seam, the overlap should be about two millimeters.
We glue so that all the stripes of the tape lie evenly. Some people prefer to do this, resting the edge on the table. Danya does it on weight, it seems to be convenient.
A little tip. If you put something heavy in the center of the coil of tape, it will properly unwind, and not spin and overlap.
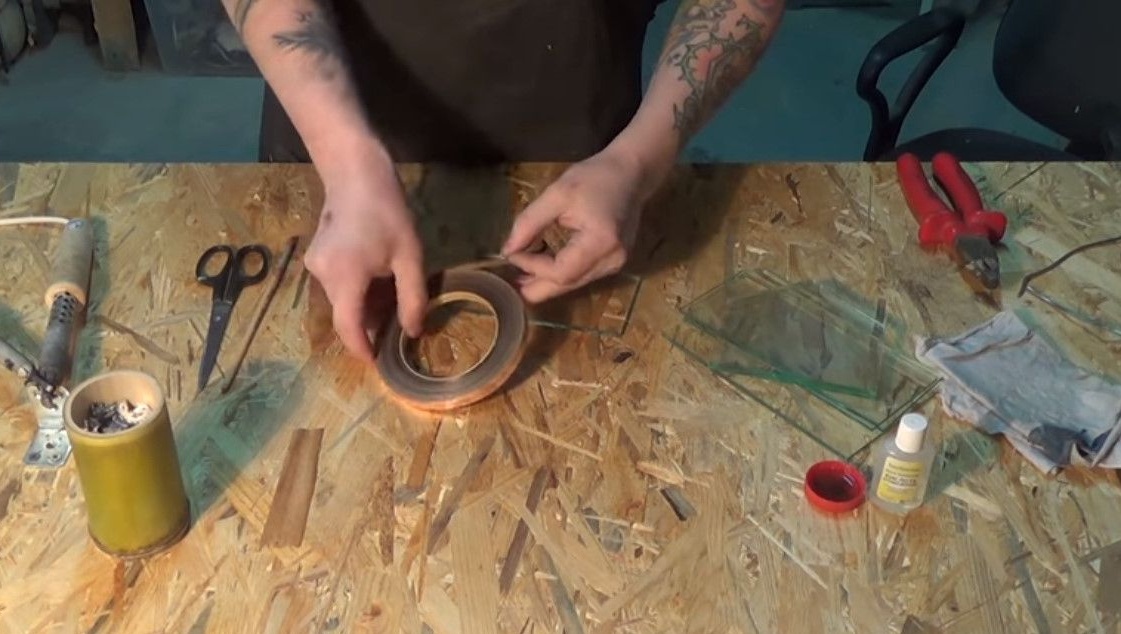
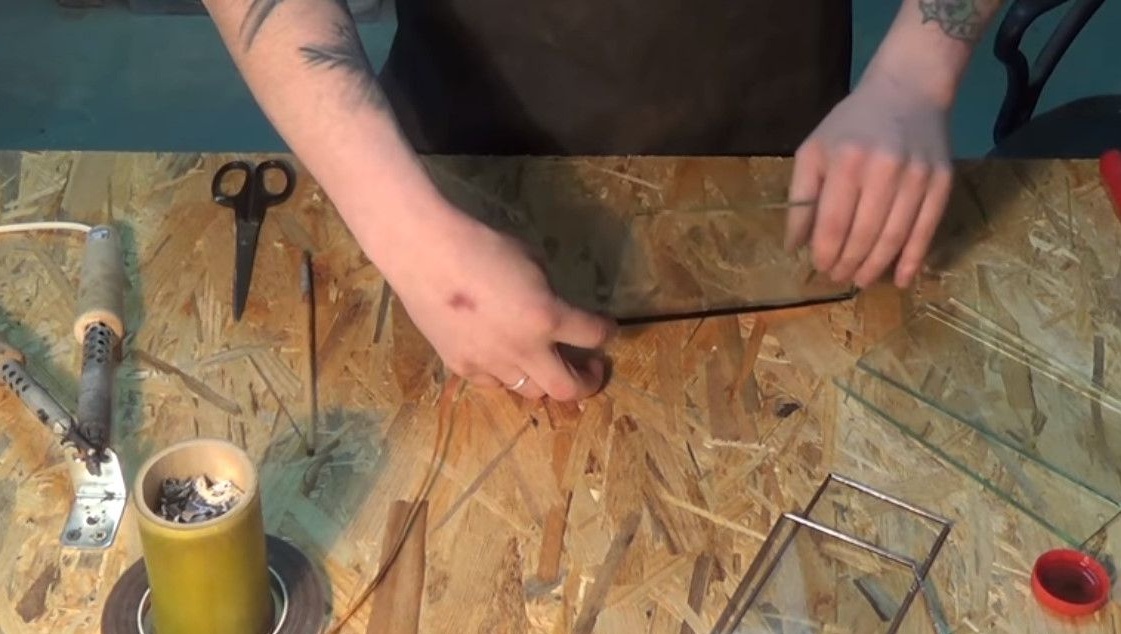
After gluing all the faces, they need to be pressed to remove all the folds, air bubbles and simply better glued to the glass itself.
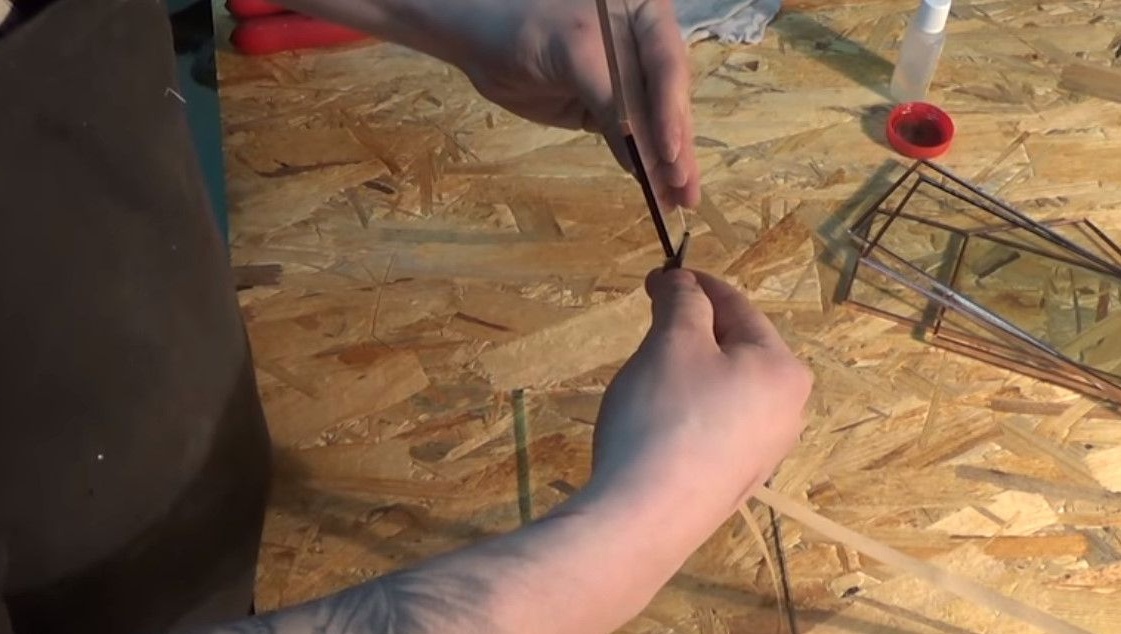
For this, special plastic irons are sold. But it’s easier not to bother and make it the blunt side of a pencil or brush.
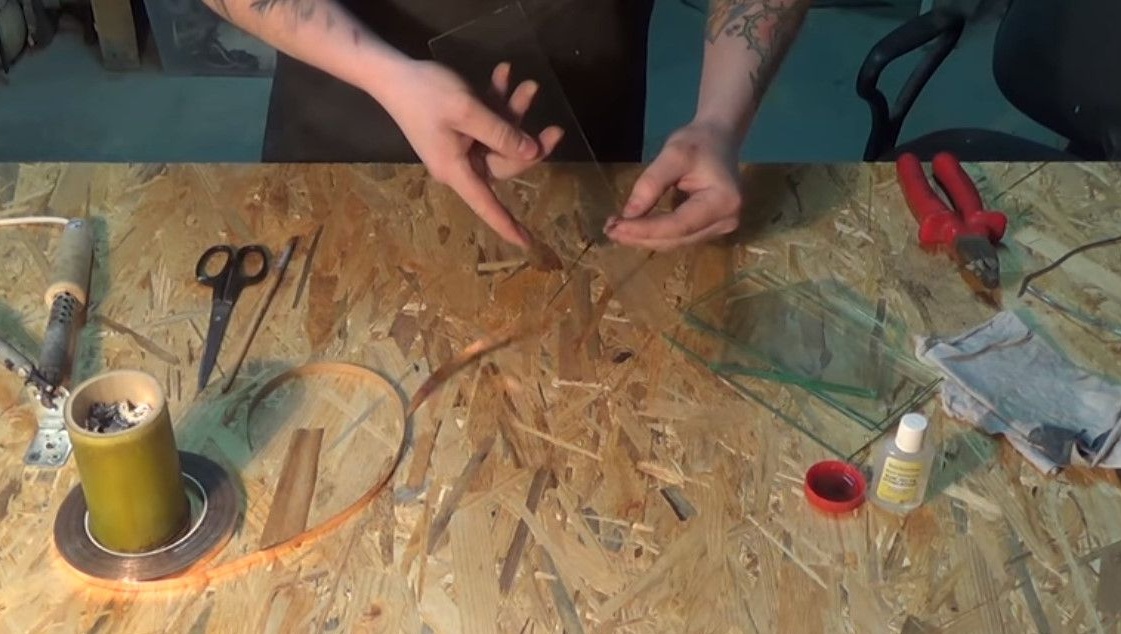
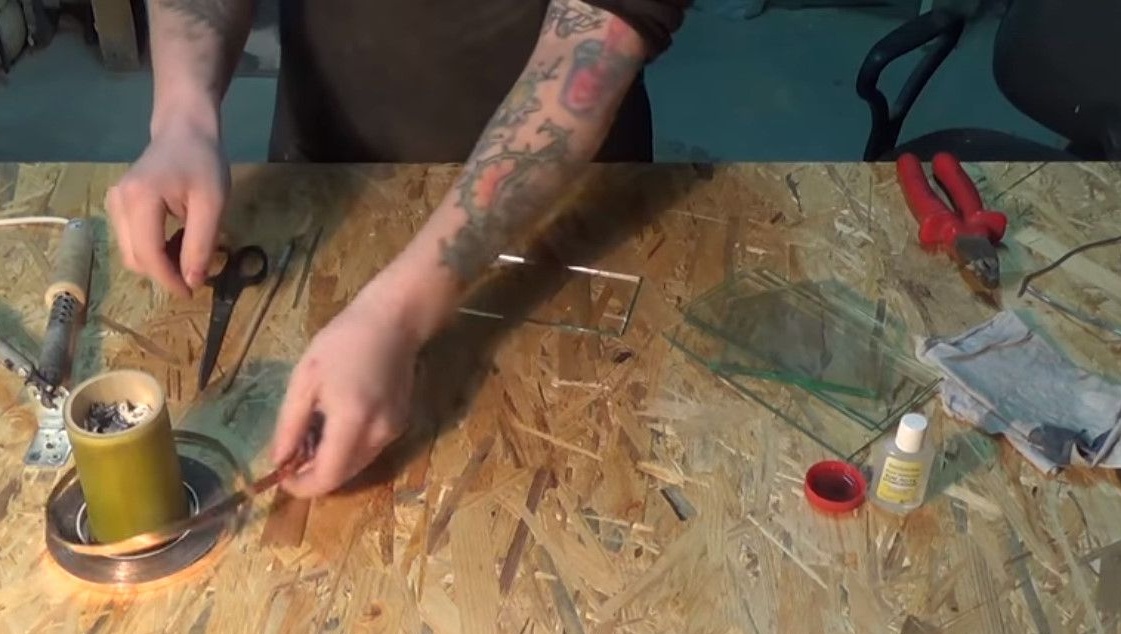
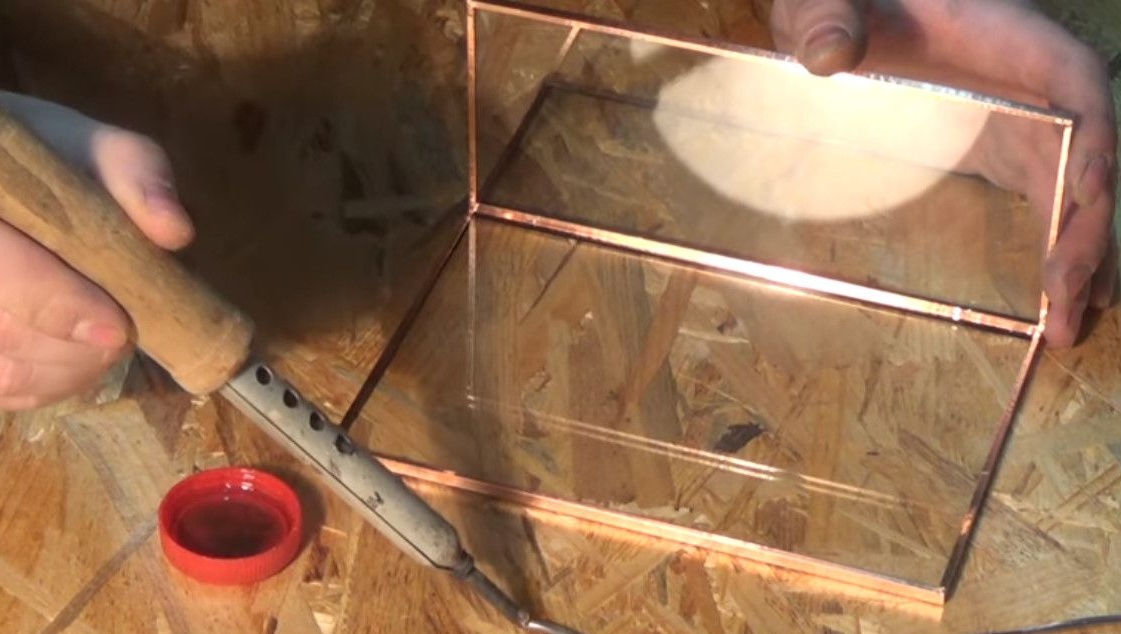
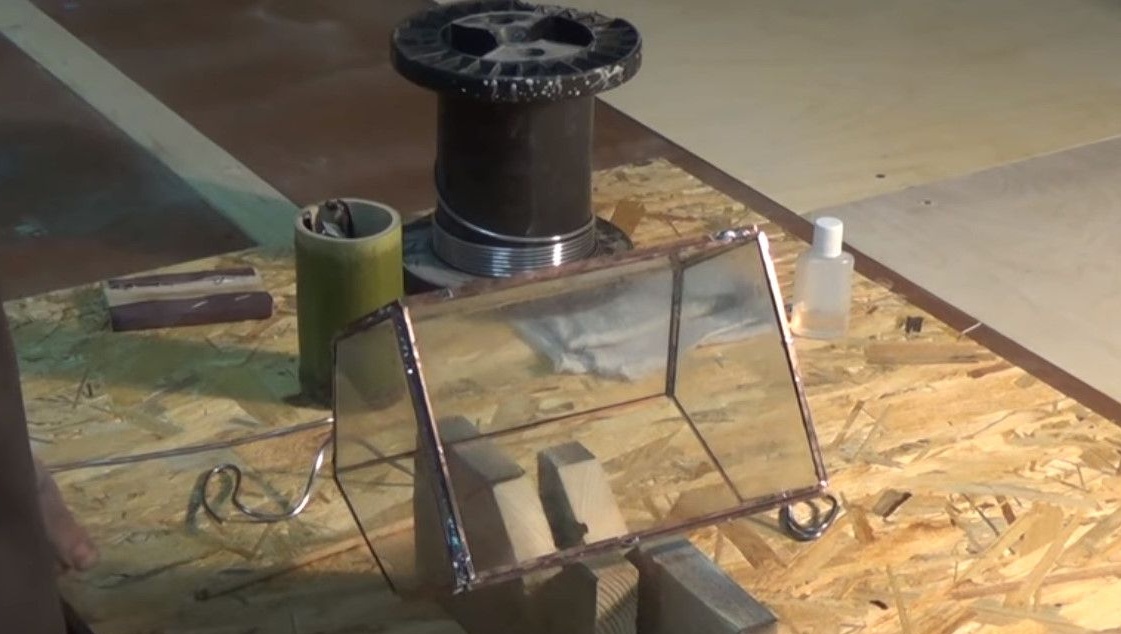
Let's proceed to the assembly. To do this, you need a brush, a 40-watt soldering iron, soldering acid and solder.
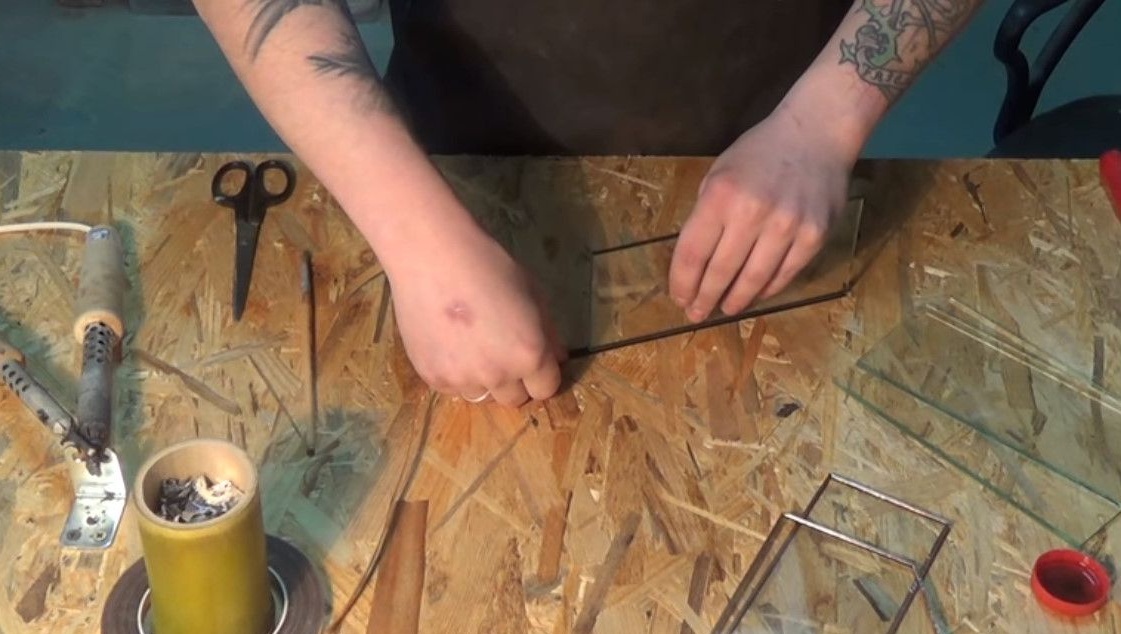
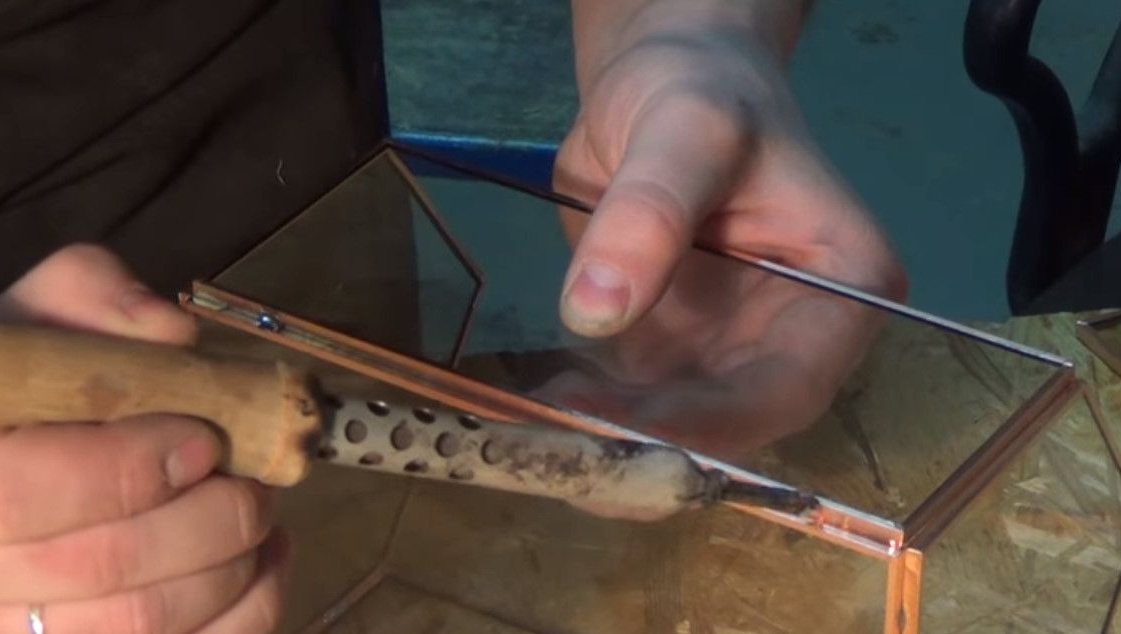
We put two faces to each other as they will be connected.
We smear two points for the preliminary connection and drip the solder there.
Something about solder. Dania advises taking POS-61 3 millimeters, without rosin inside, as optimal for soldering terrariums.Because rosin is not needed here, 3 millimeters, because a smaller diameter weakly fills the seam, and a larger one melts worse. POS-61 is the optimal in terms of the ratio of characteristics and price for these cases.
You can connect the dots both inside and out. How is it more convenient for you at different stages of assembly.
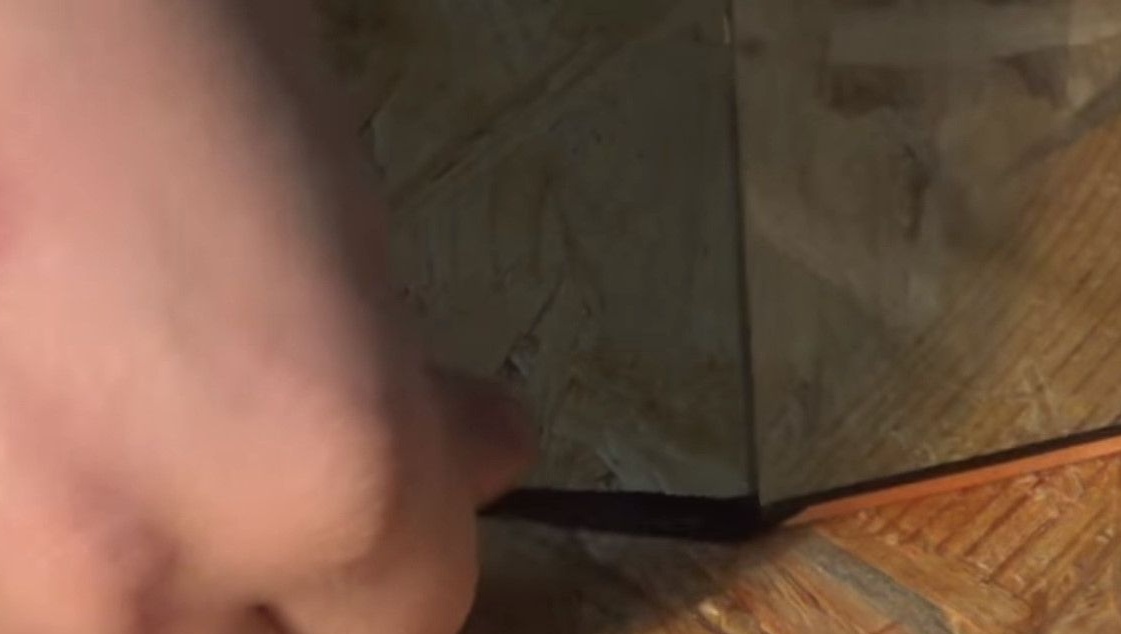
When joining faces, make sure that they are pressed as tightly as possible by the corners to each other. Otherwise, when soldering the seam from the outside, the molten solder will drain into the mold. And this will cause unnecessary problems.

If you notice an uneven docking, just fix it. Even after assembling the whole figure, you can replace a scratched or broken face. But it will be much more difficult.
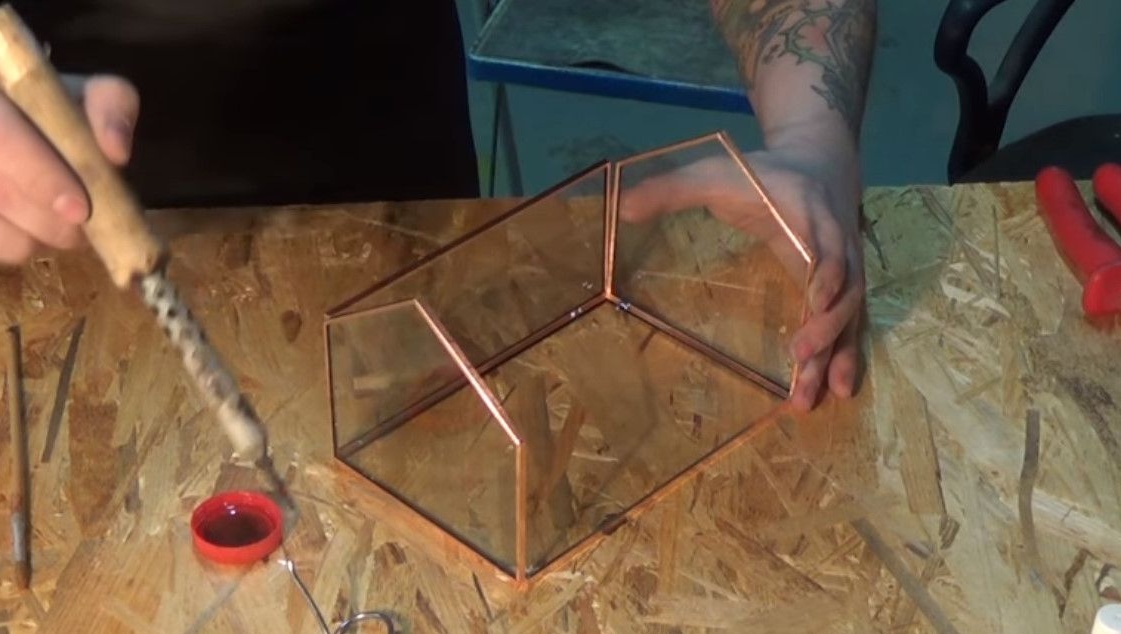

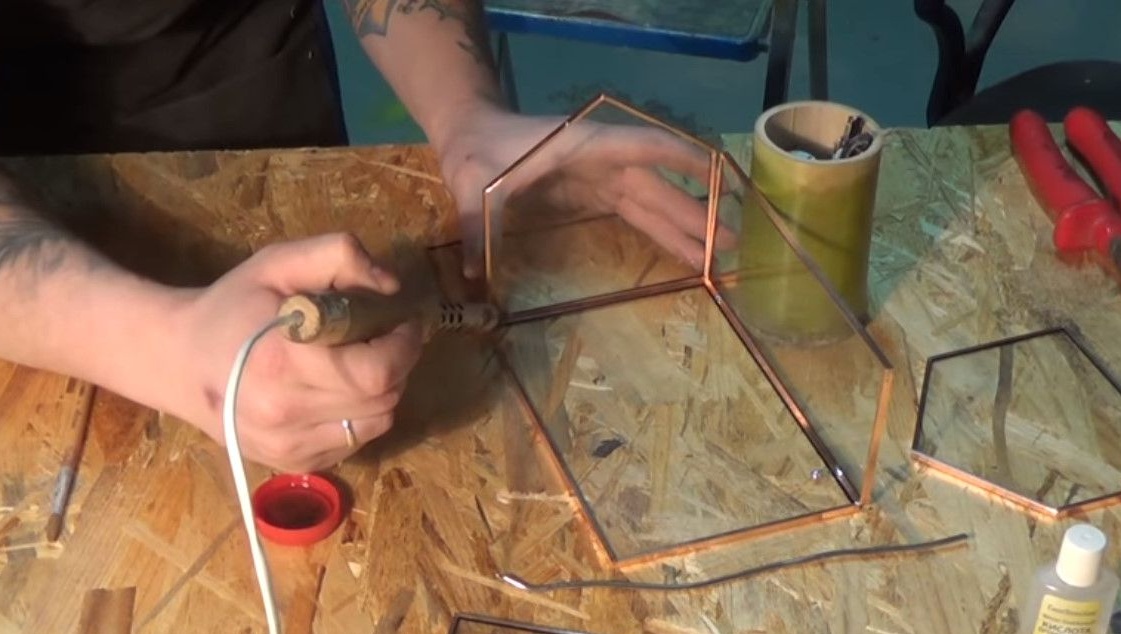
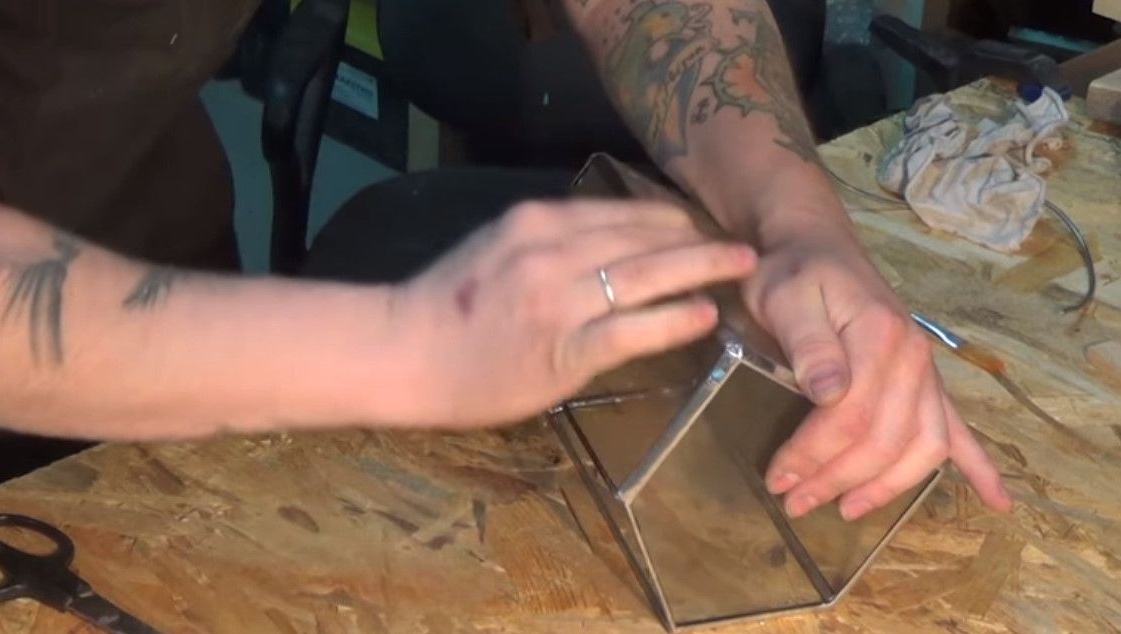
So, we have assembled the house. Each edge is held at two points. The design itself is already quite strong.
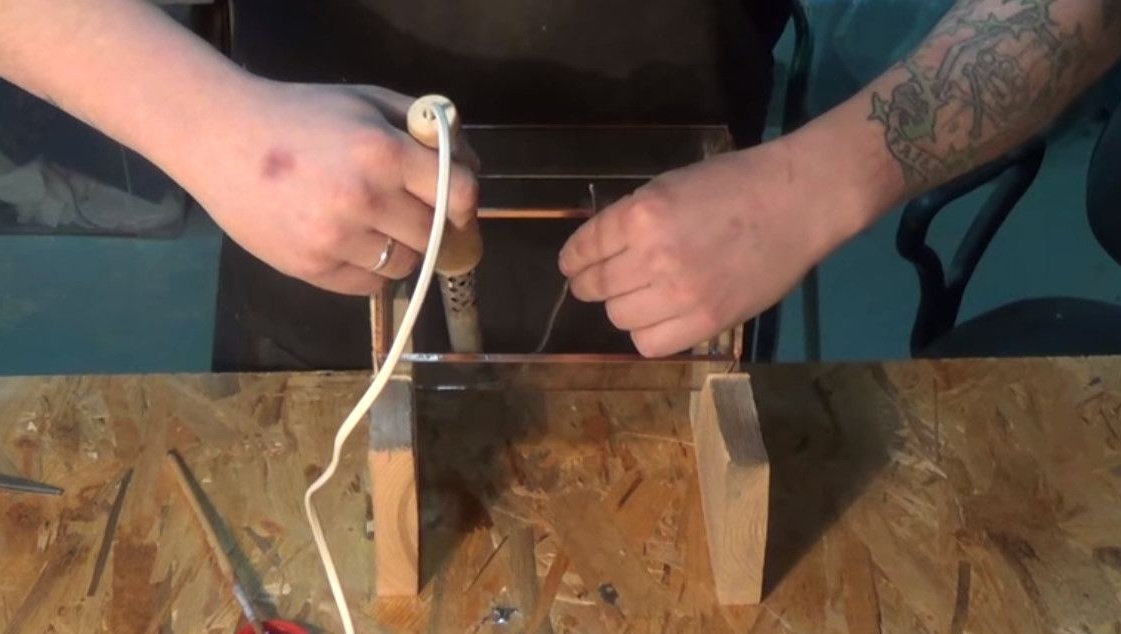
We pass to the second stage of soldering. To do this, you need a more powerful soldering iron. 80 watts will be able to warm a very greasy sting, it is easier to work with it at times than picking with a past "toothpick".
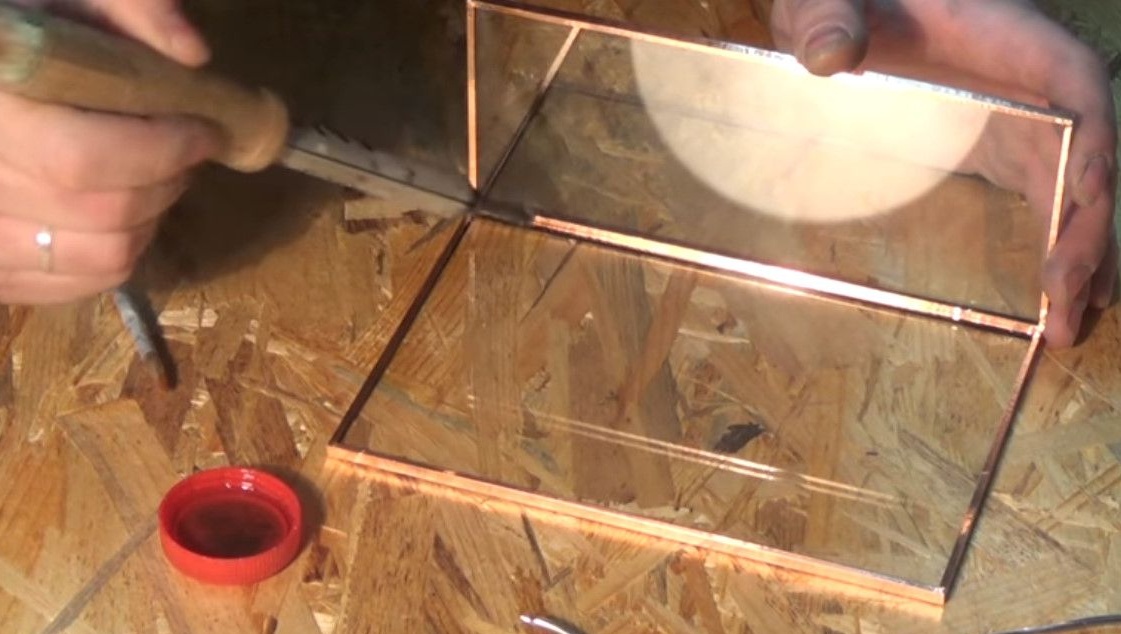
We begin to solder the inner ribs. It is easier to do this from the inside because when filling the external seam, the solder will not drain into the inside of the figure.
Something about flux. The author has tried many different things. Paste, soldering liquid with the inscription "soldering acid", flux zil and others. But phosphoric acid is not better for these purposes.
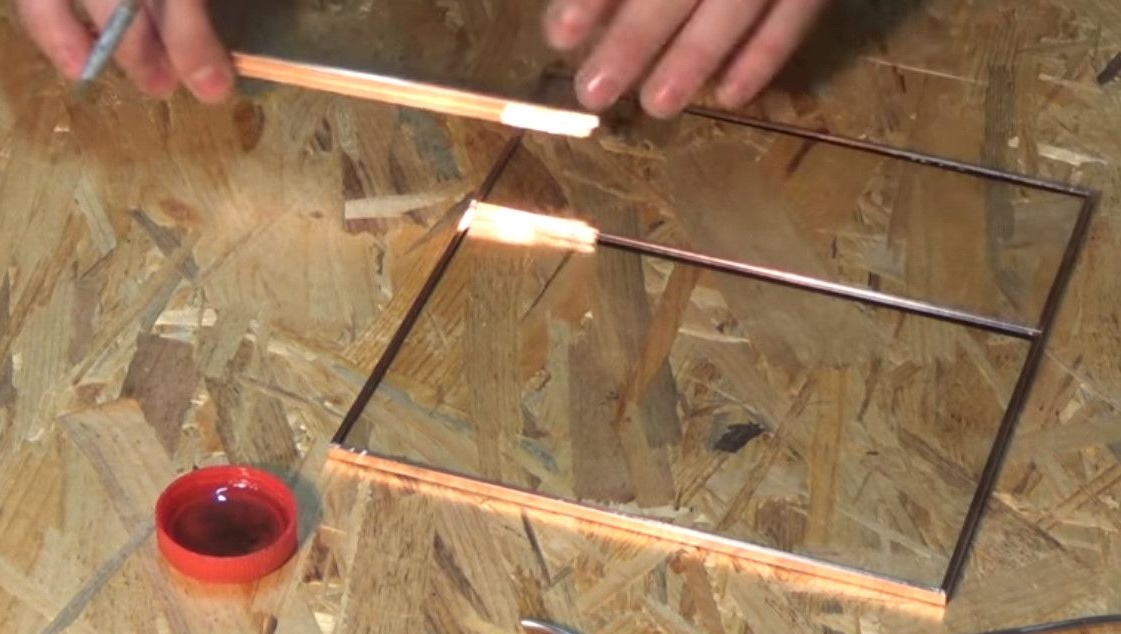
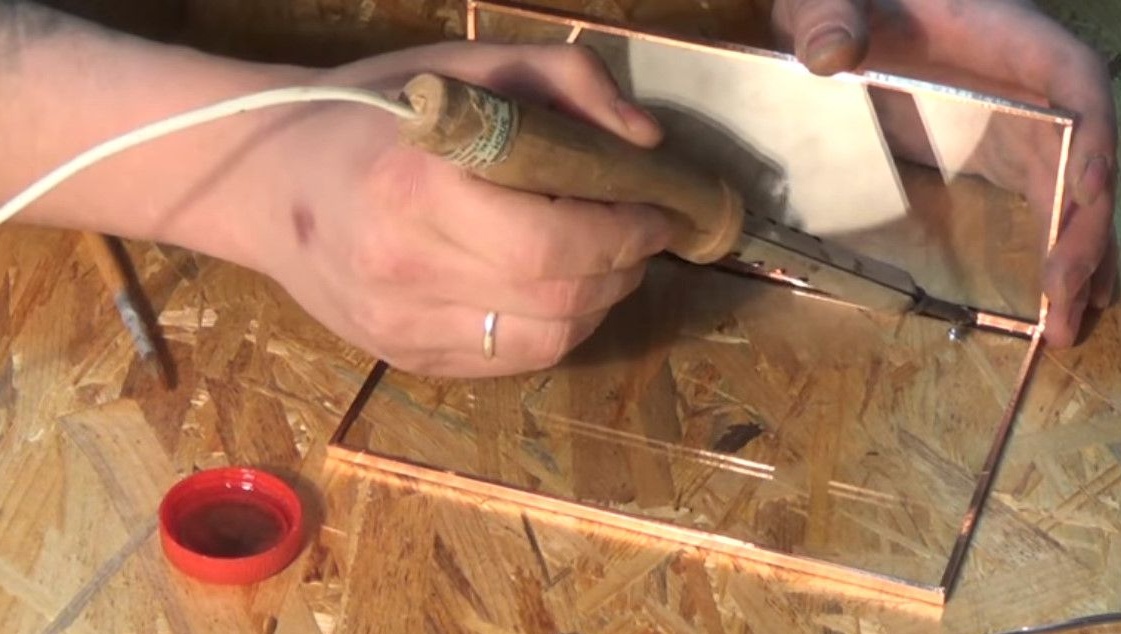
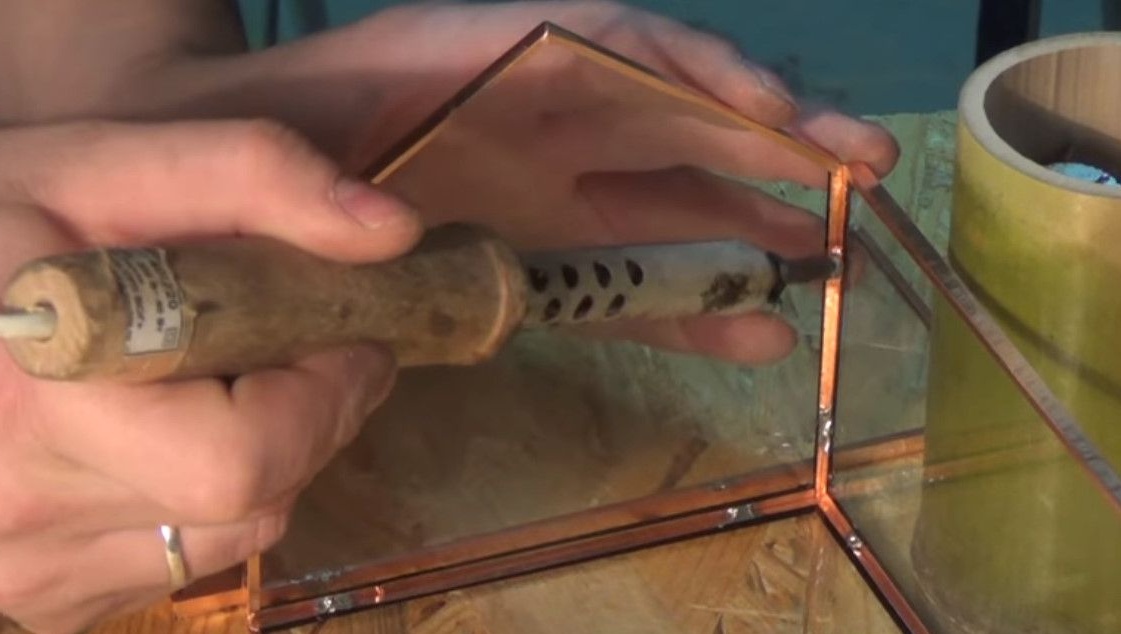
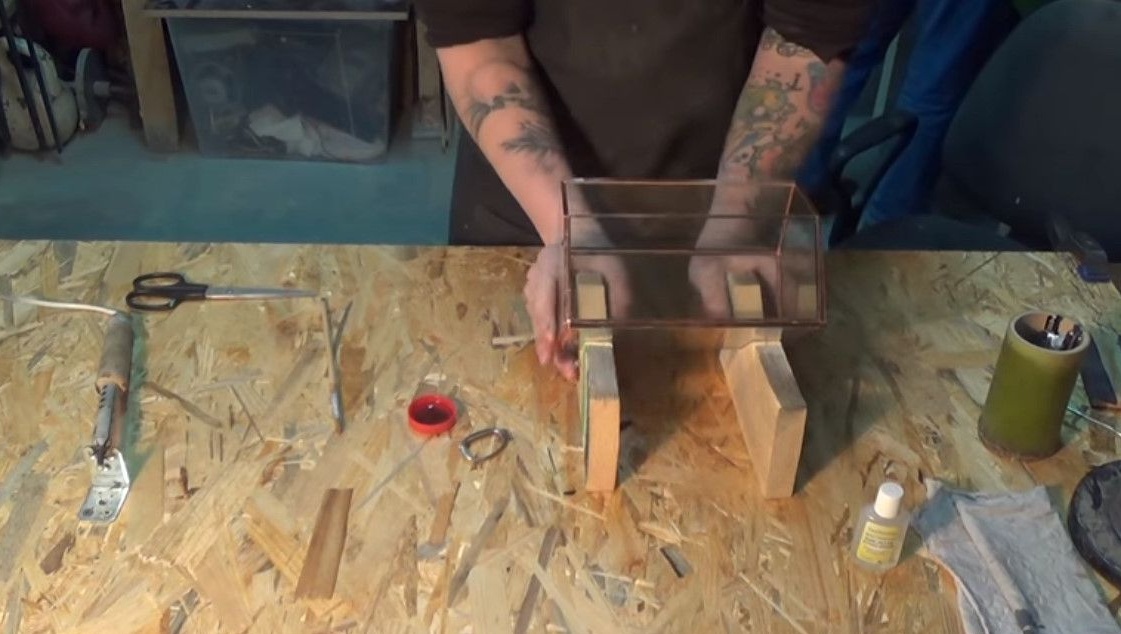
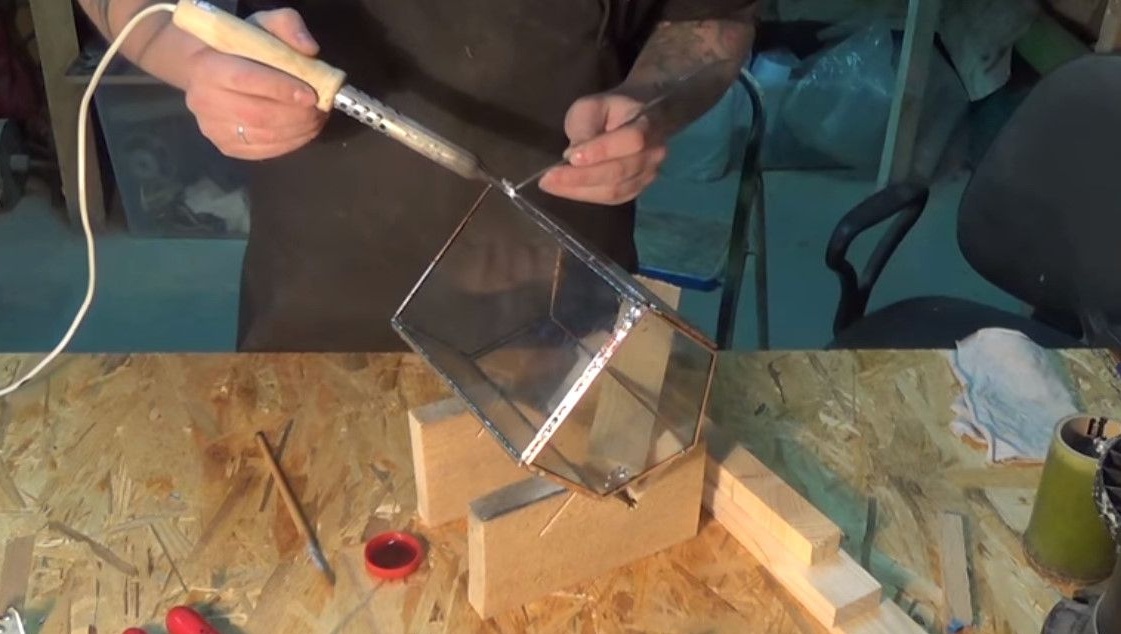
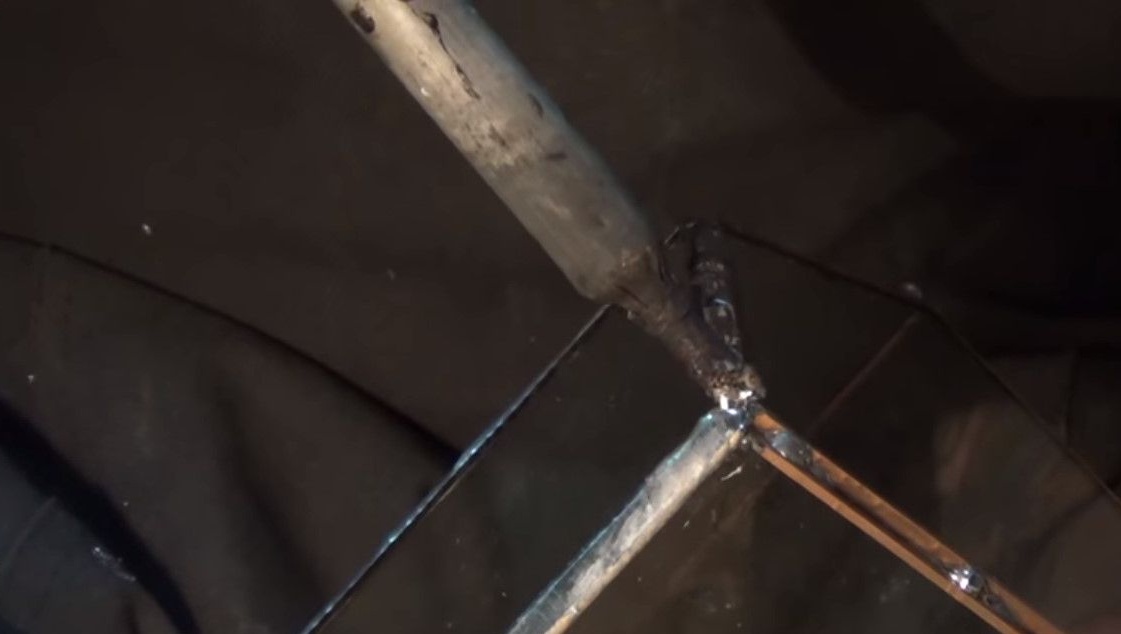
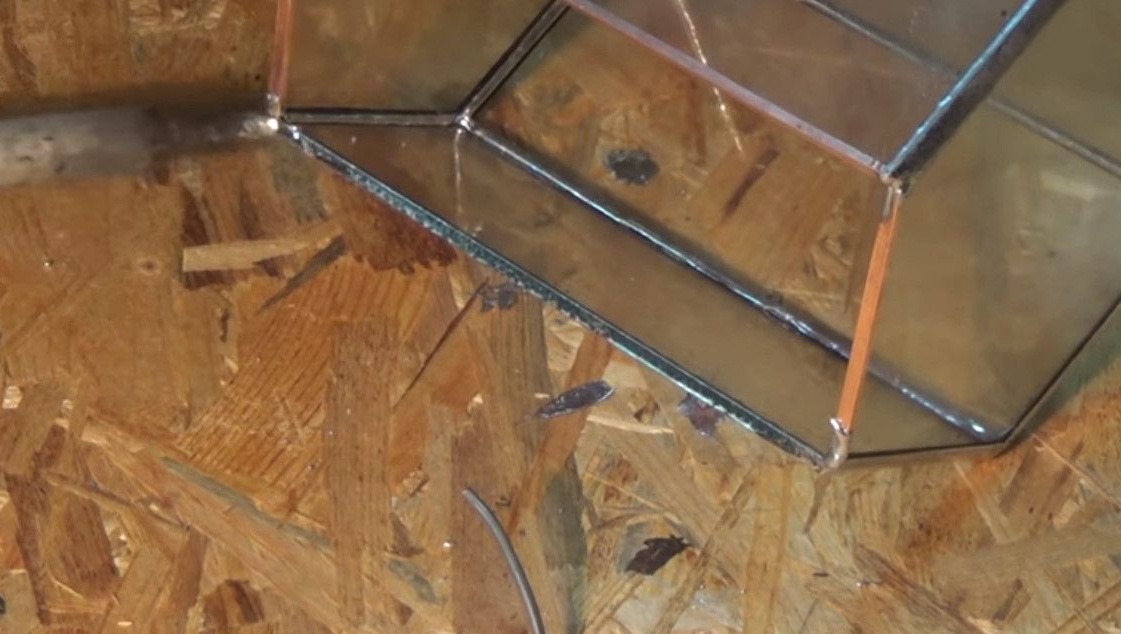
All internal seams are soldered and the most difficult part begins. External seams. For clarity, sets on makeshift stops so that the upper rib is aligned with the horizon.
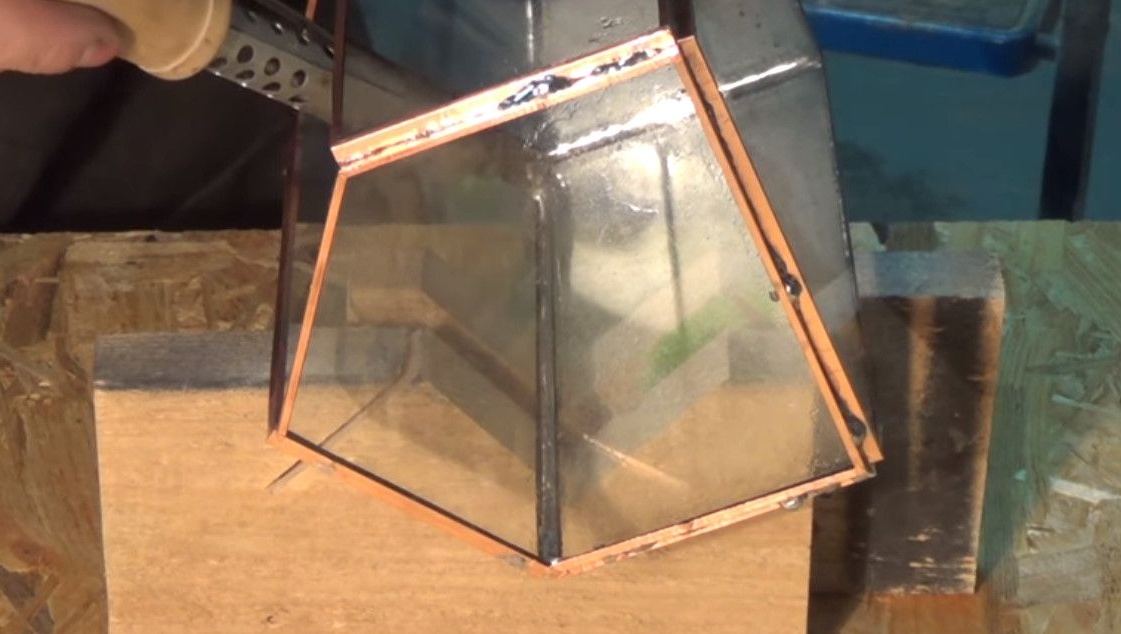
Solder in the molten state is very moody. And at the slightest slope there is a chance that the edge of the terrarium
it will turn out either drop-shaped, draining sideways or down.
First of all, we tack on the tape that comes on the edge, on both sides. Then we begin to fill the seam.

There are many ways to do this. For example, drops, immediately in full thickness, or in layers.
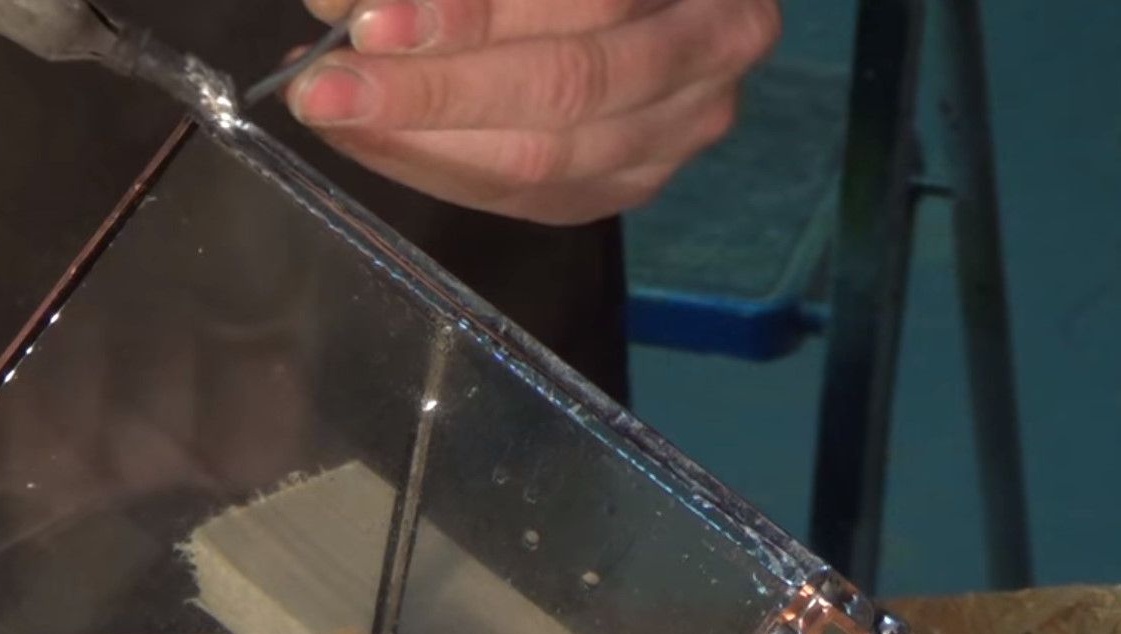
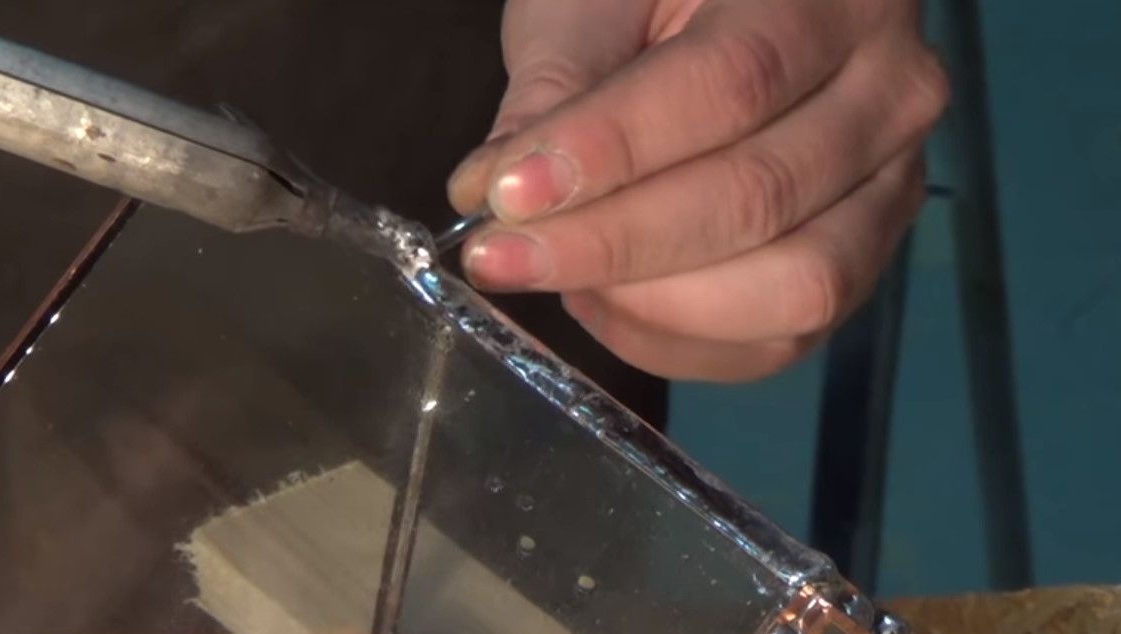
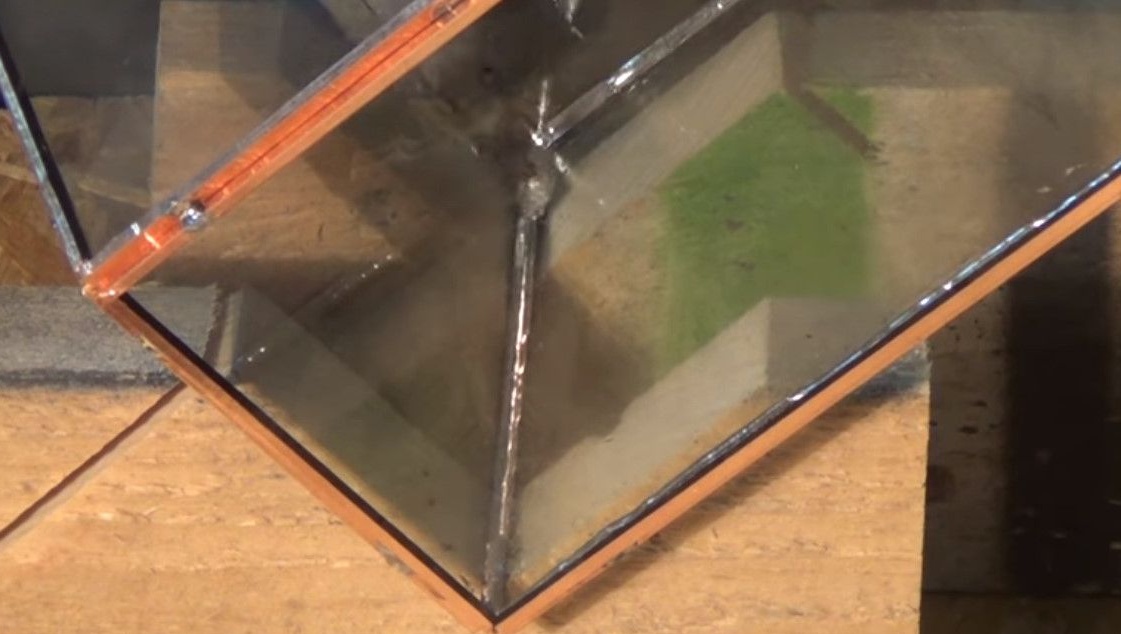
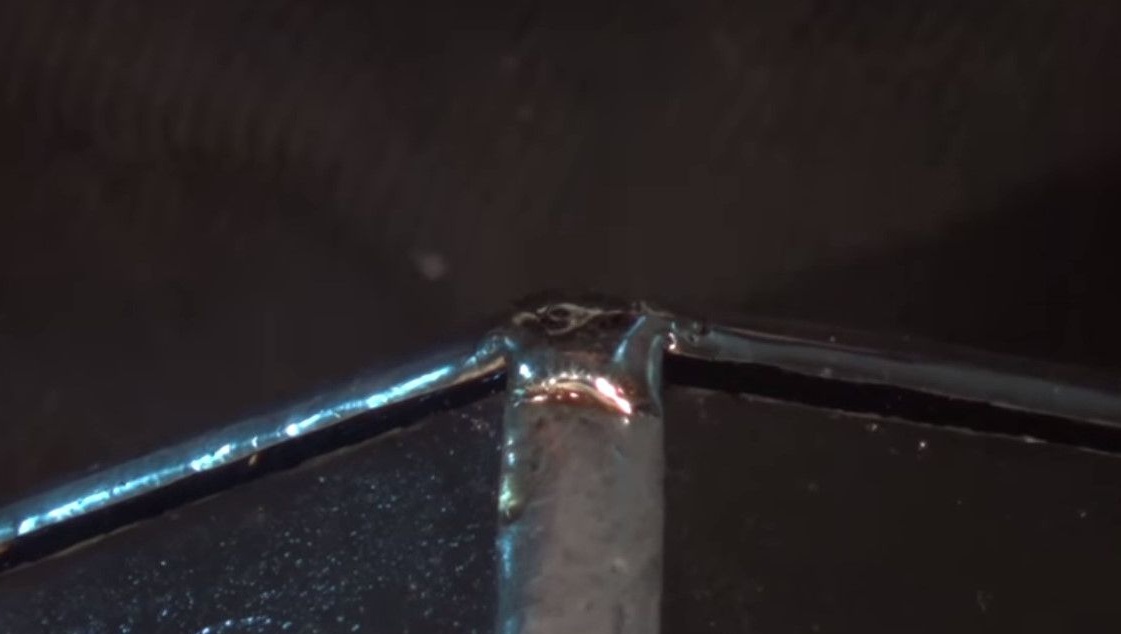
The most important moment. After the desired thickness of the seam is gained, spend along the entire length and align it. To make it smooth and uniform.
Watch out for the luster of the solder. If you pick it with one seam, the glass and the seam will cool for a very long time. The scatter marks on the solder show how it hardens from the edges to the center. After waiting for this moment, you can move on to the next edge.
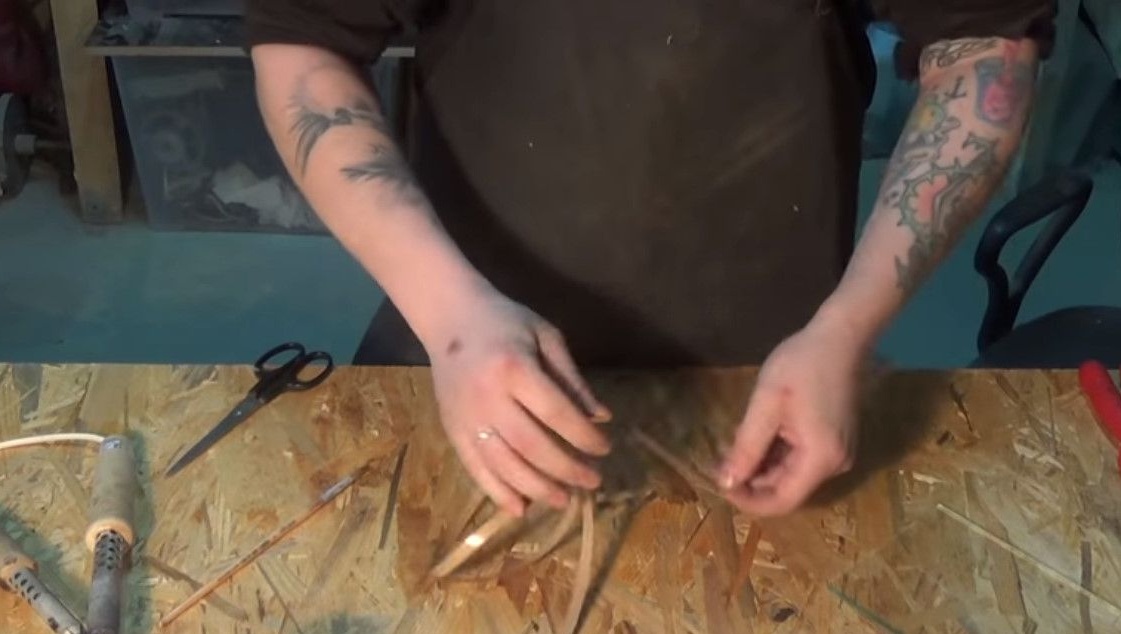
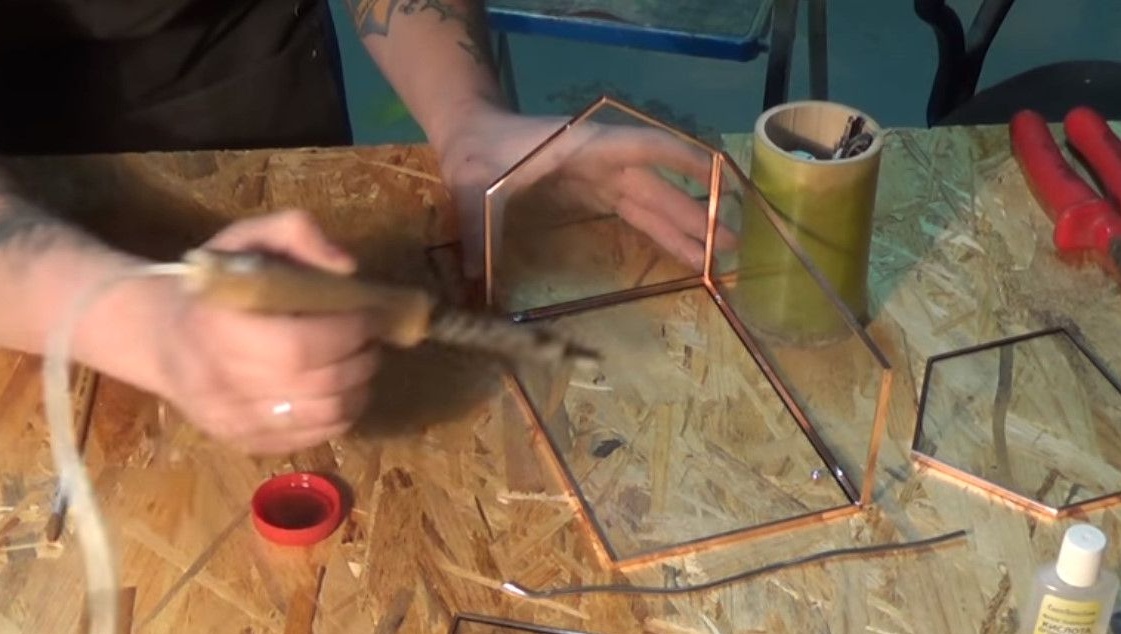
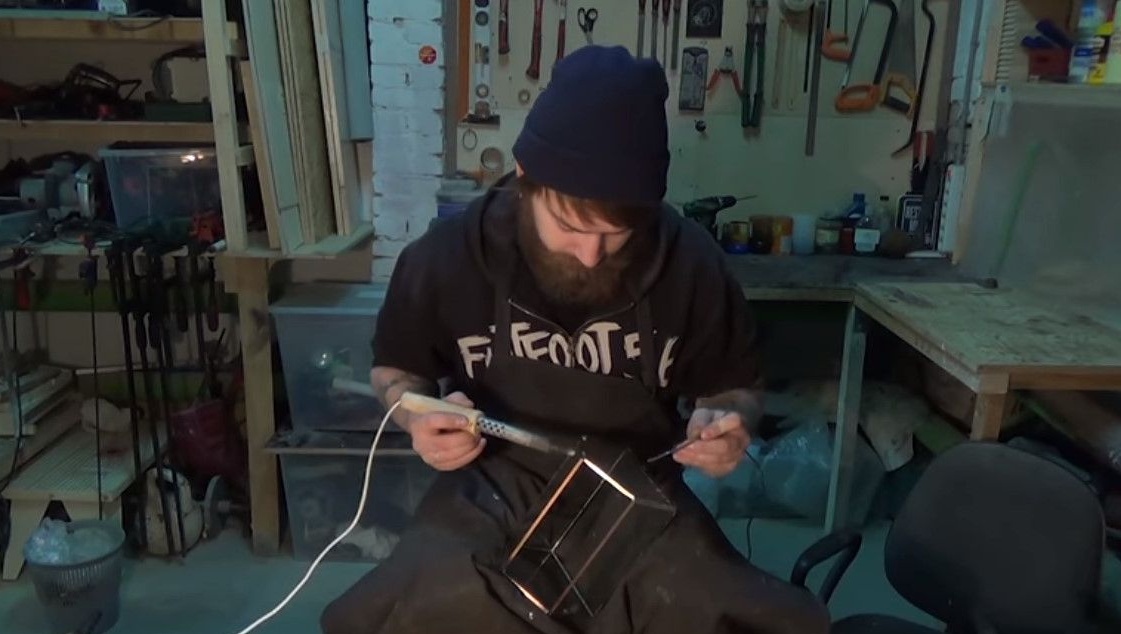
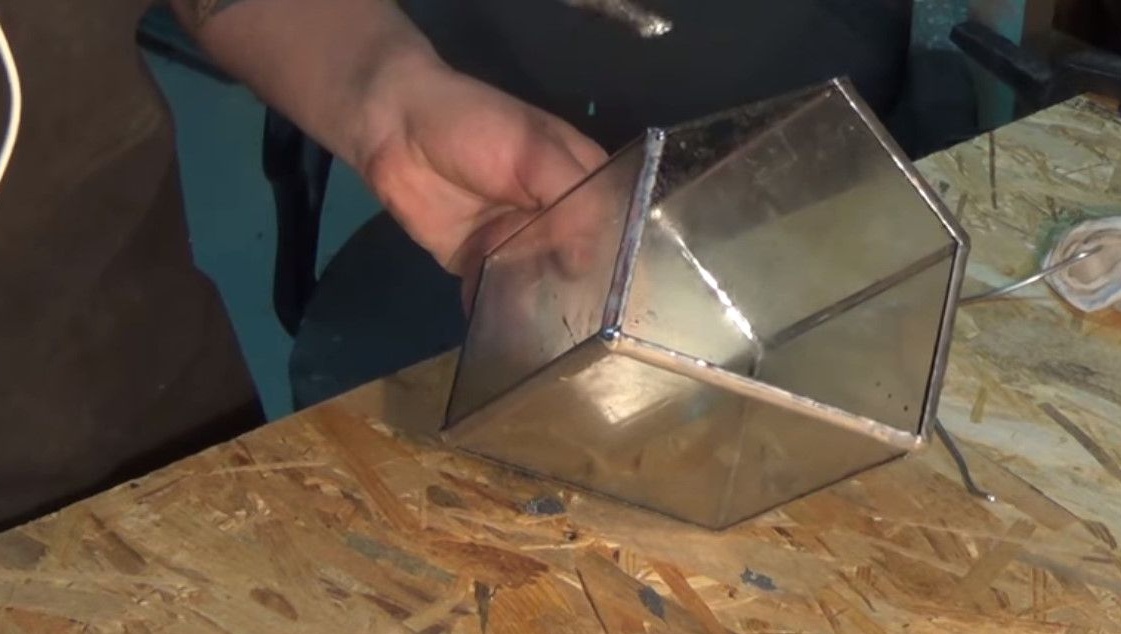
Stands for different faces should not be done, because there are many shapes, and they have even more angles. So we solder on the knee using a dense fabric lining. It was even so that solder dripped between the toe and the sneaker.
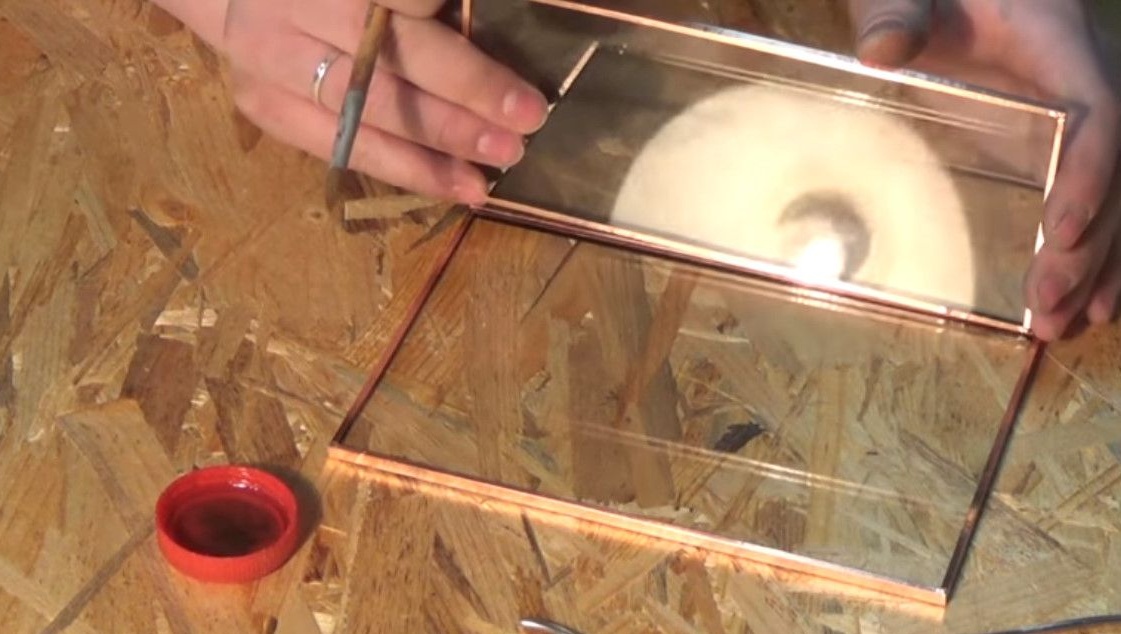
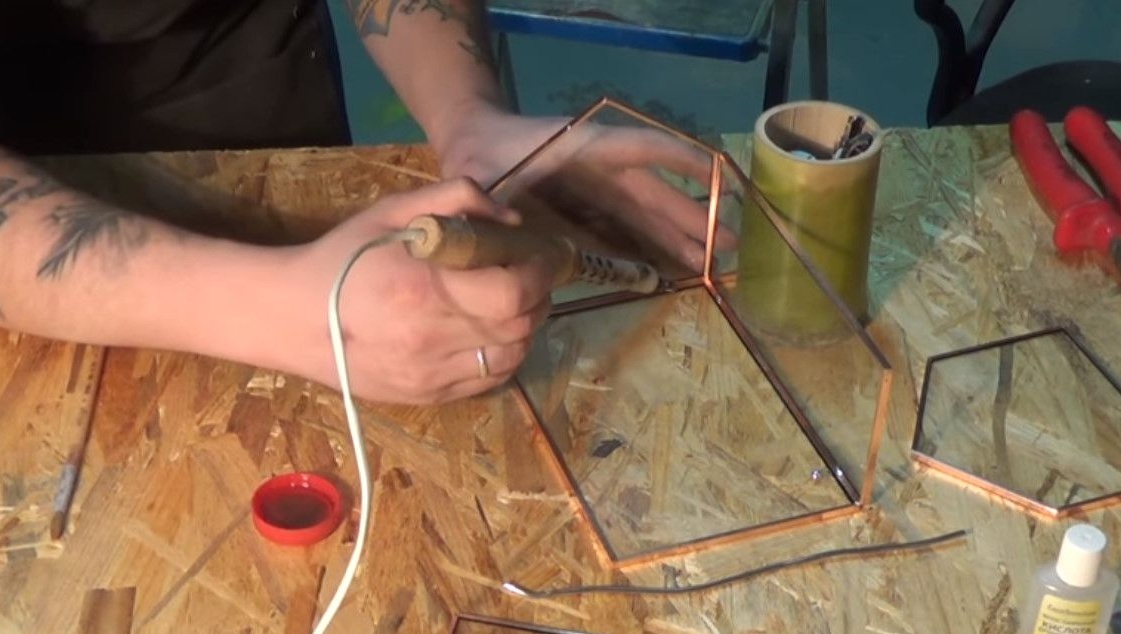
After soldering the external seams, solder the tops.
Now the last stage of soldering. Tinning of edges of open faces.
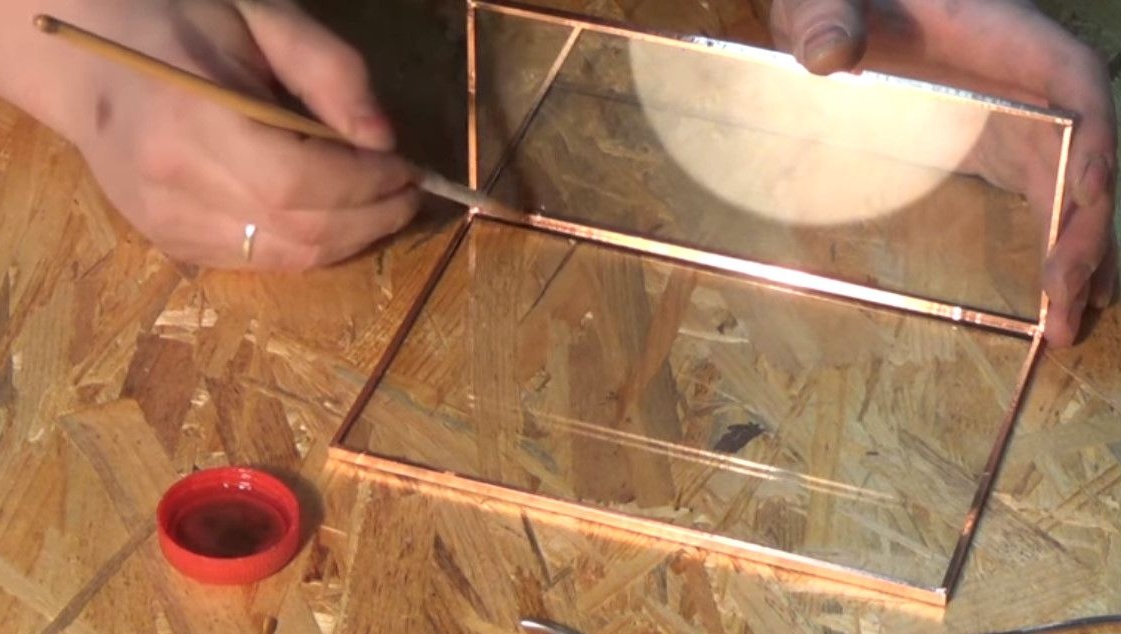
Solidly coat them with flux and tin on each side.

After this, there is the last chance to remove the flaws. Remove droplets on the internal seams, if any, and possibly push the seams where they rose.
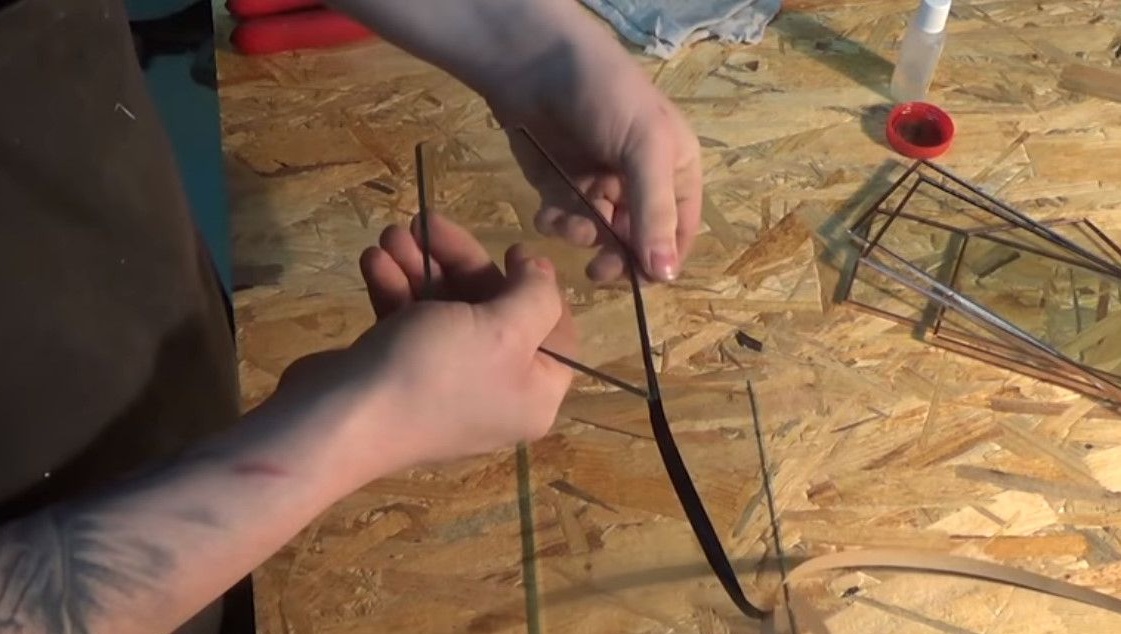
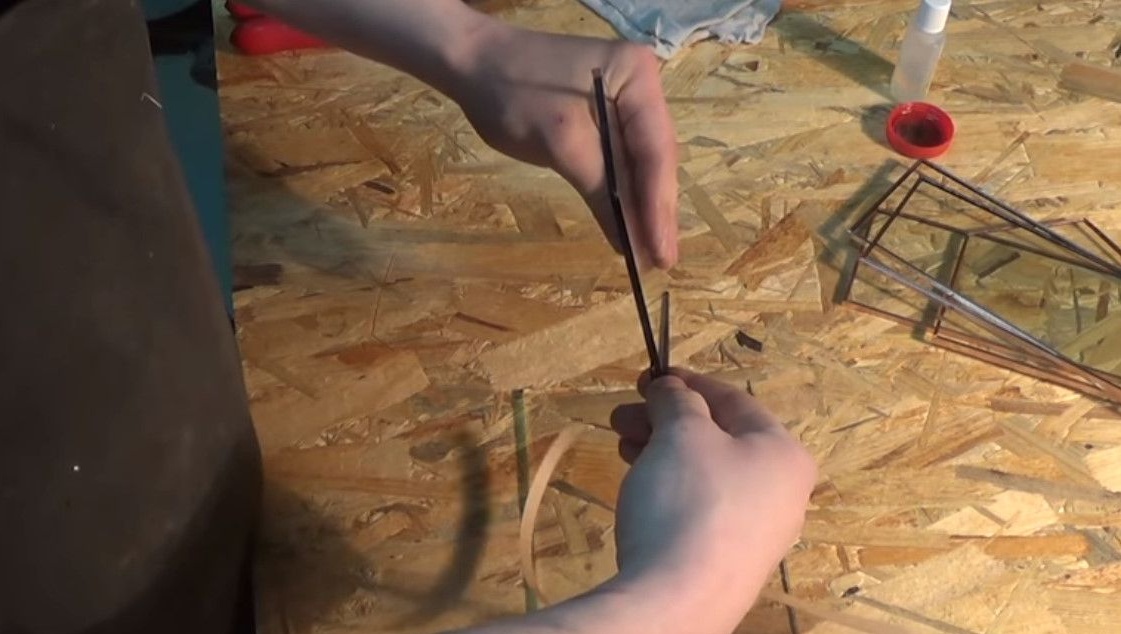
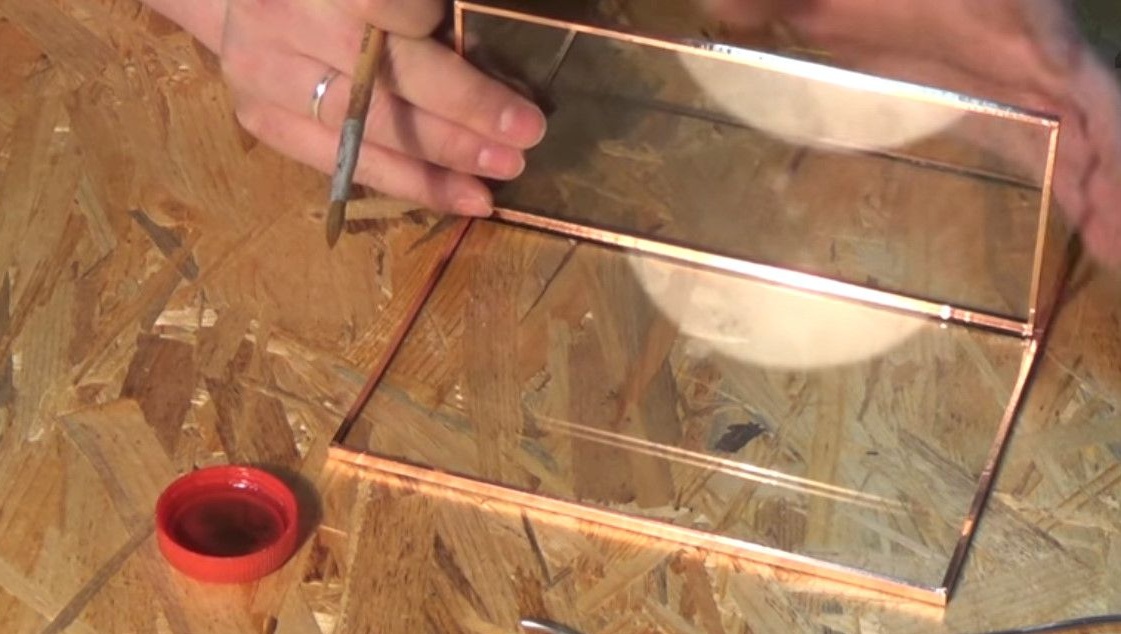
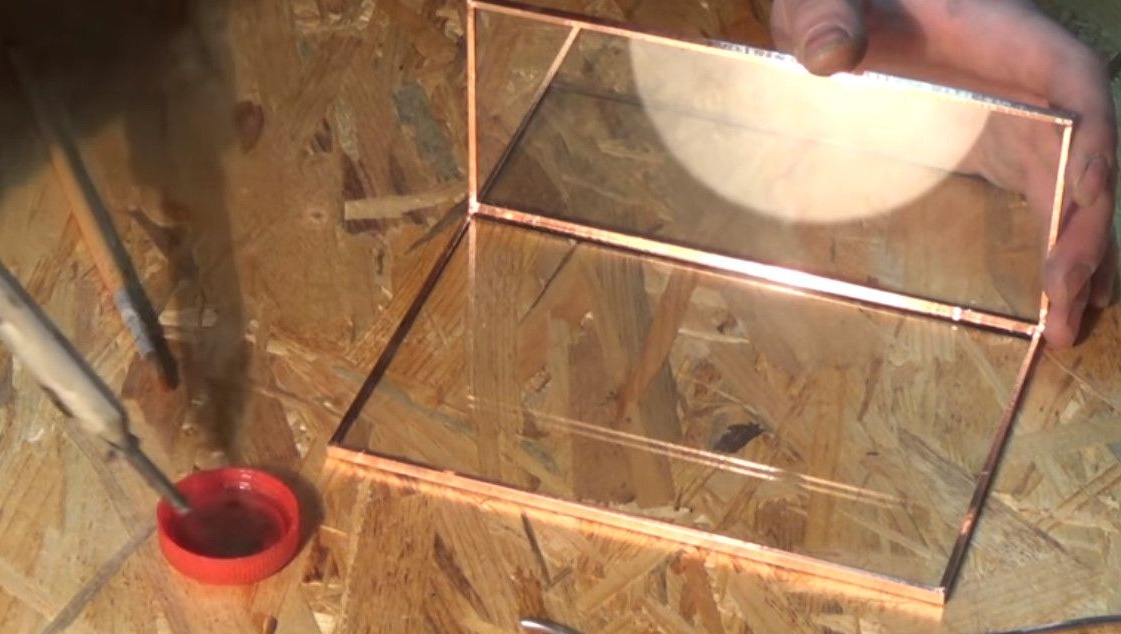
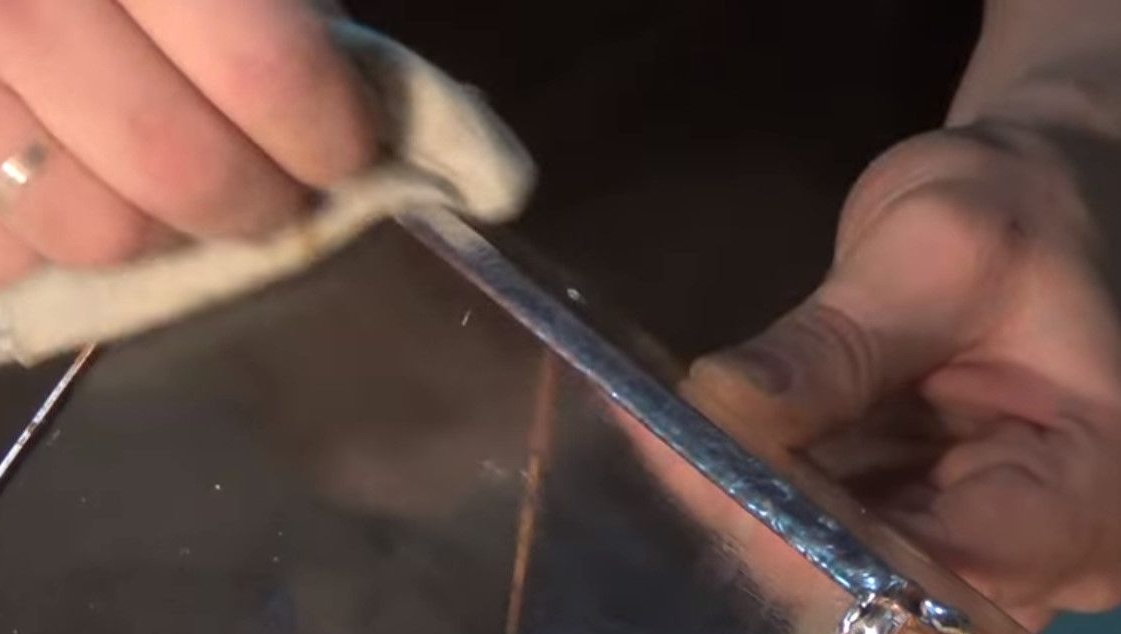
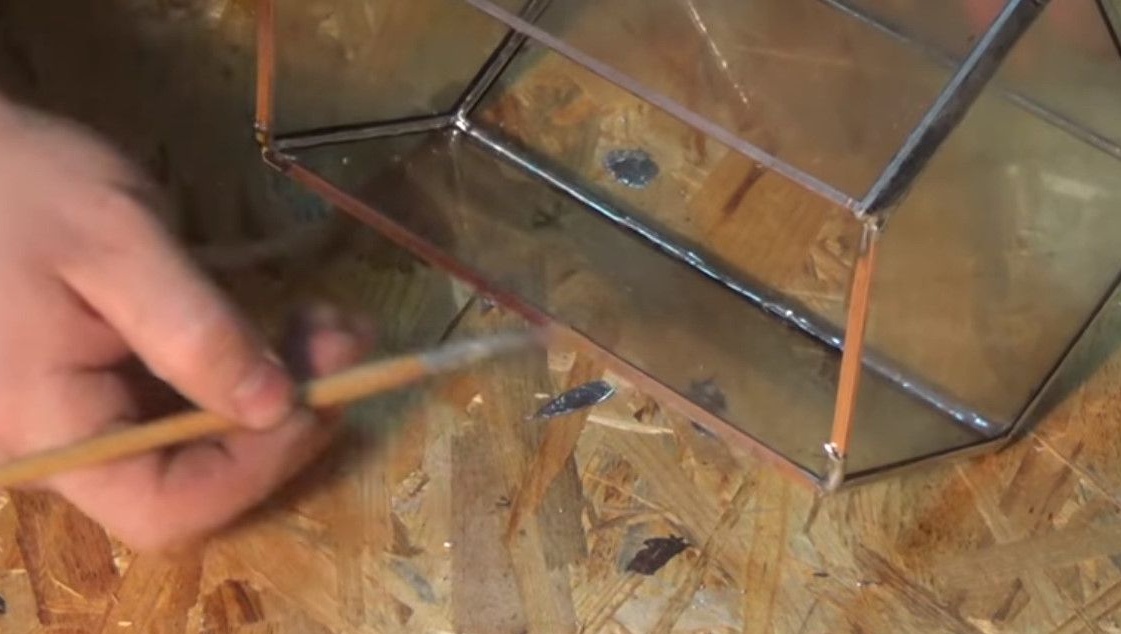
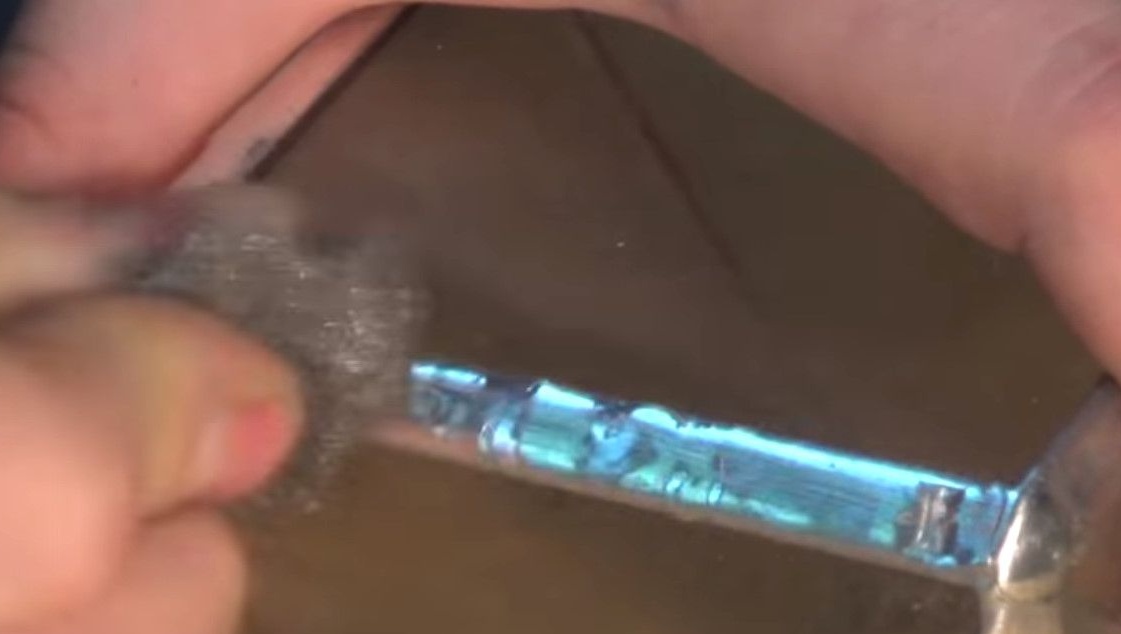
We proceed to the preparation of stitches for patination. To do this, it is best to use steel wool. Oddly enough, except for her, the author did not find anything better that copes with polishing the seam and does not scratch the glass.
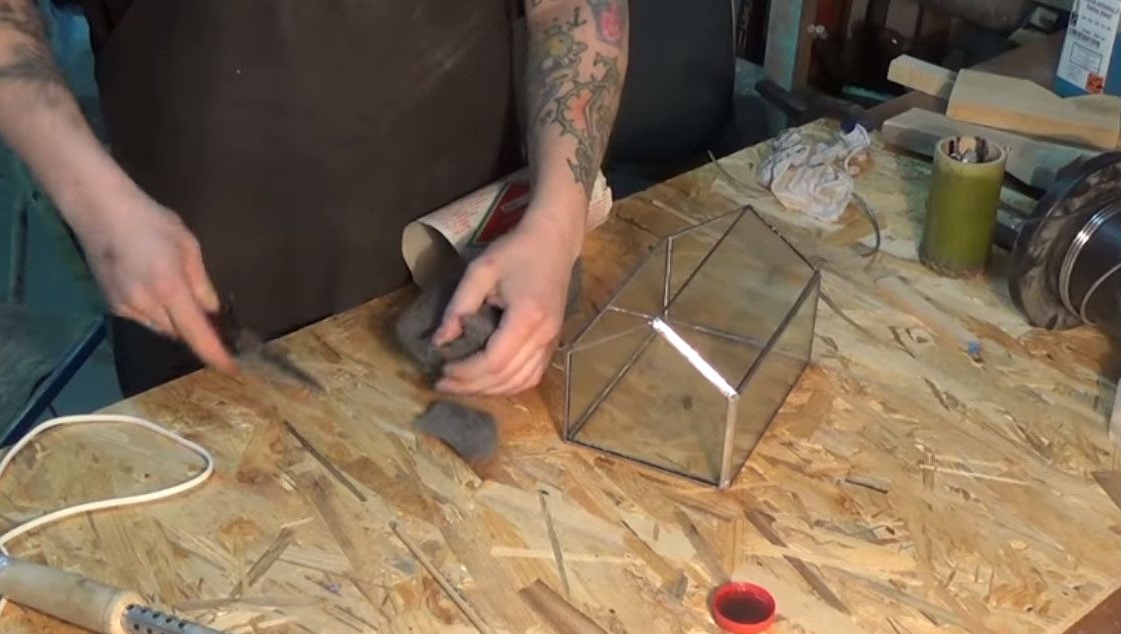
Grated all the seams, proceed to applying a protective coating to the seams.
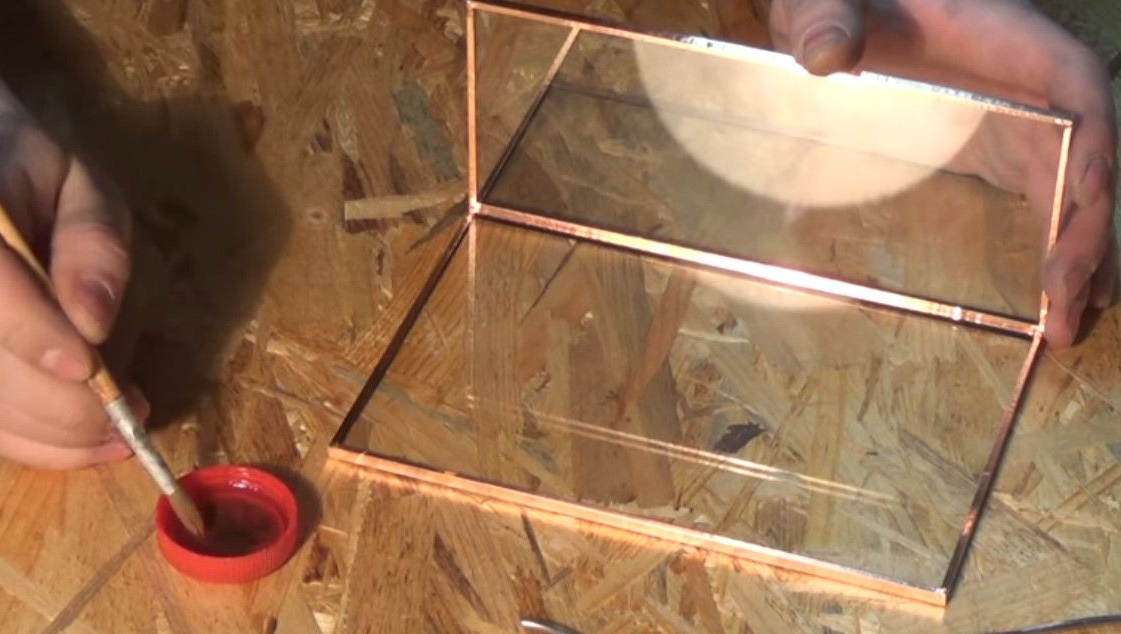
In the cap you may notice a blue liquid. This is a special stained glass patina for lead solders.
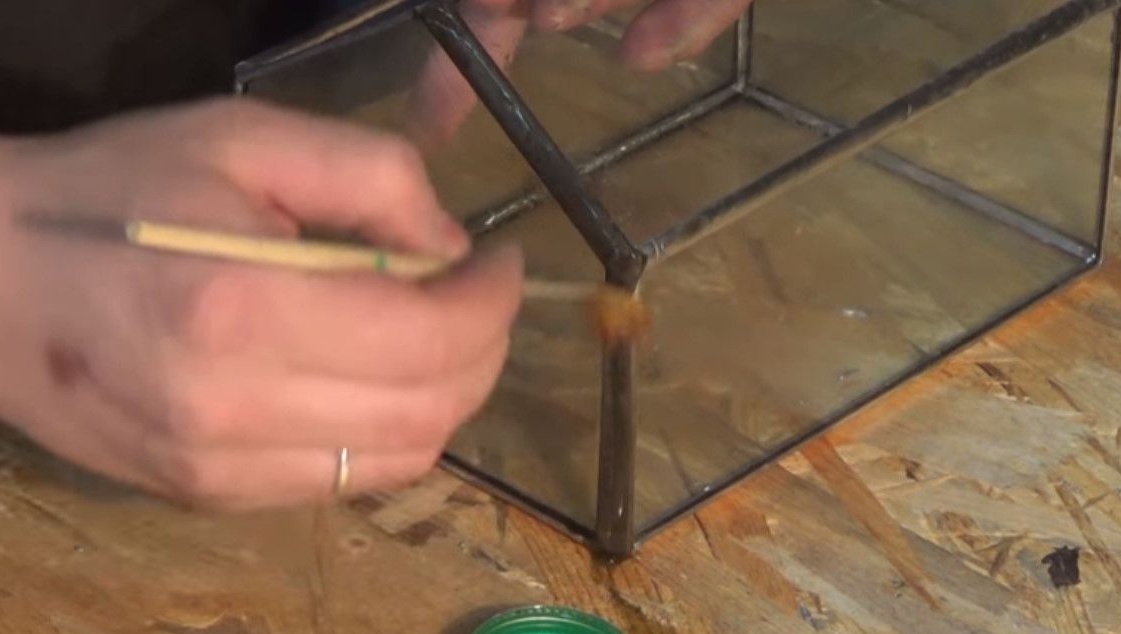
We coat the seams of the terrarium inside and out. During the chemical reaction, the seams instantly darken.
This is done not only to improve the aesthetic appearance of the product. But also so that lead does not oxidize in air.
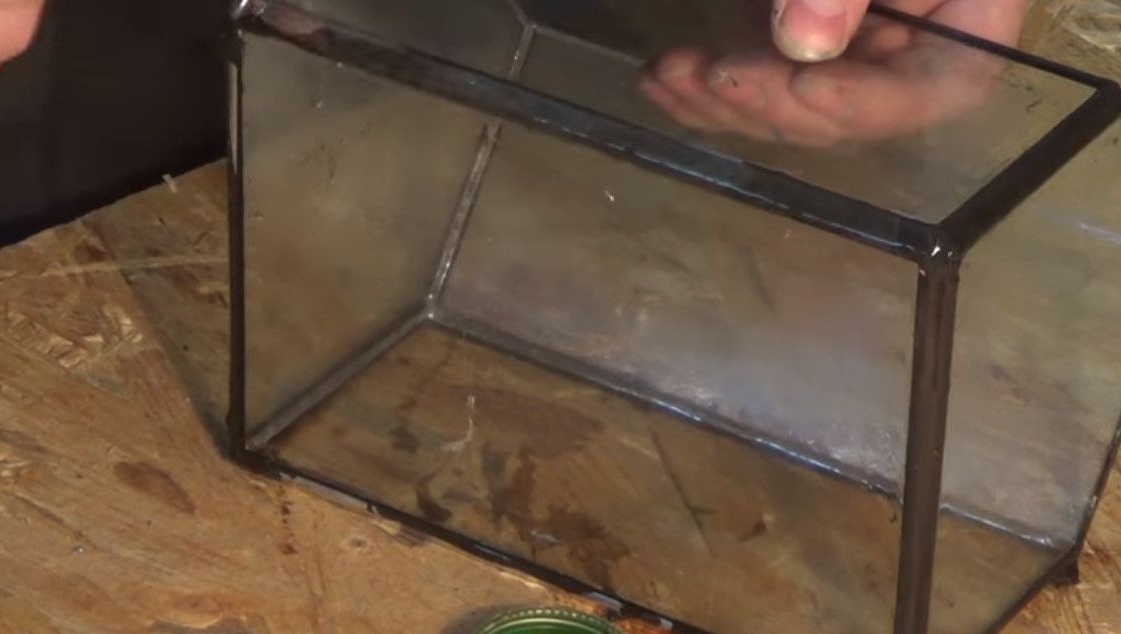
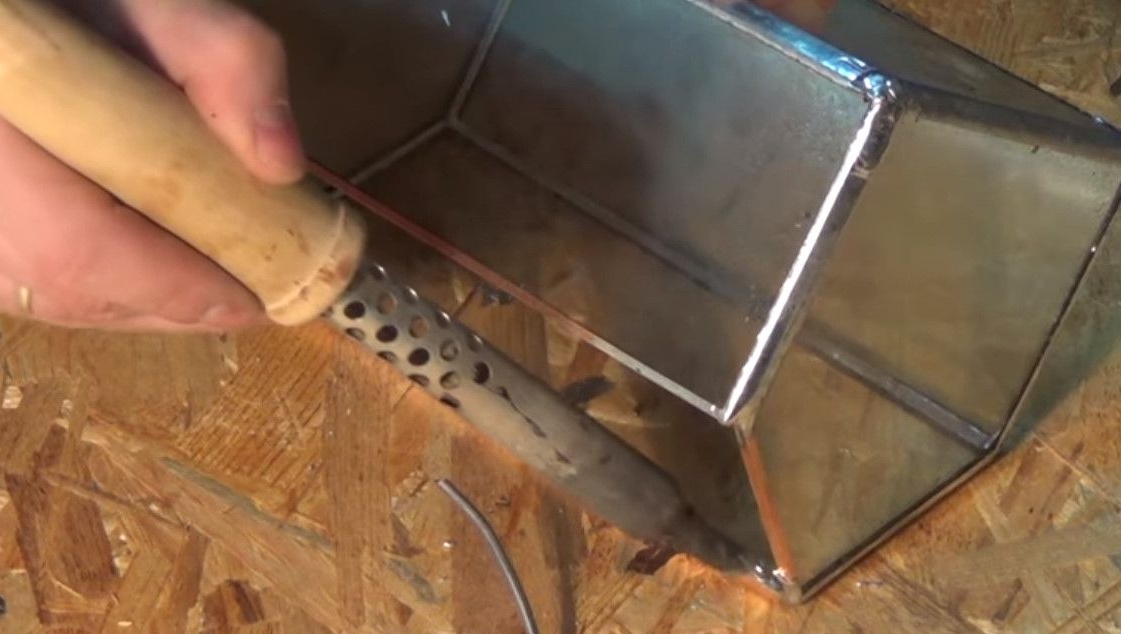
After a good spread, the terrarium should be thoroughly rinsed under water.
Remove excess patina, soldering acid and any slag.
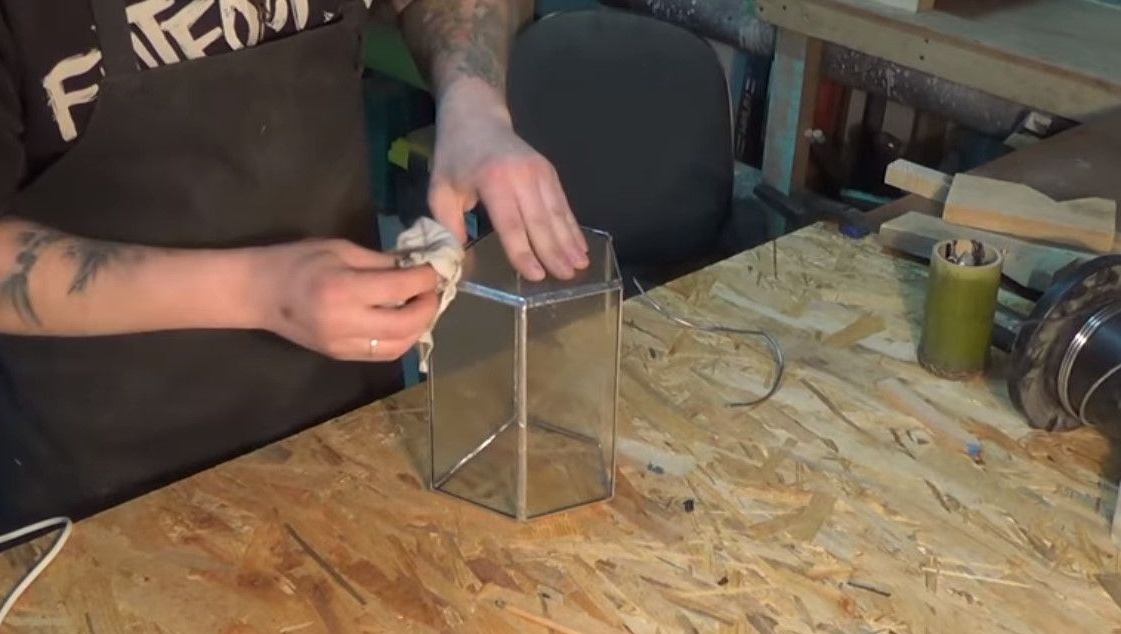
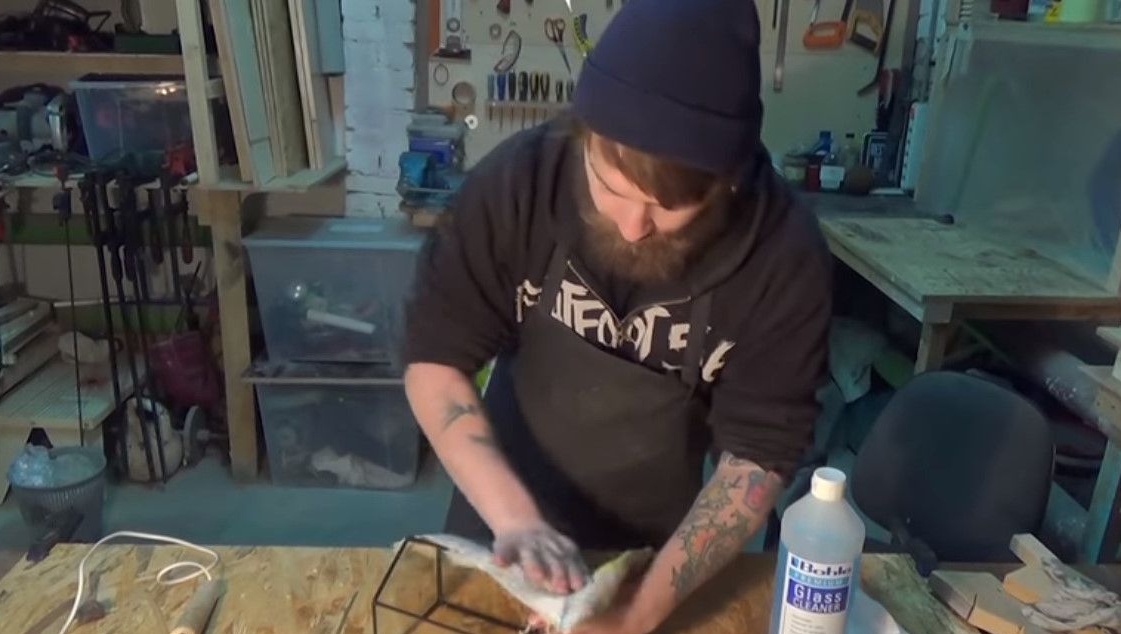
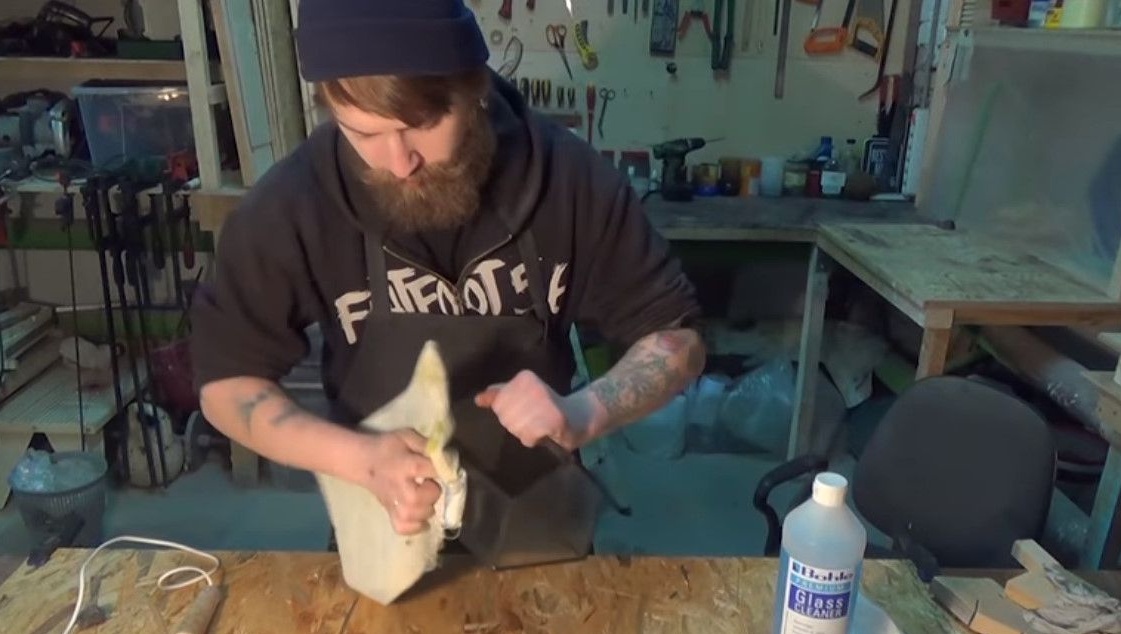
And that's not all. At the end of the procedure, the terrarium should be washed. Some say this is the most boring process.
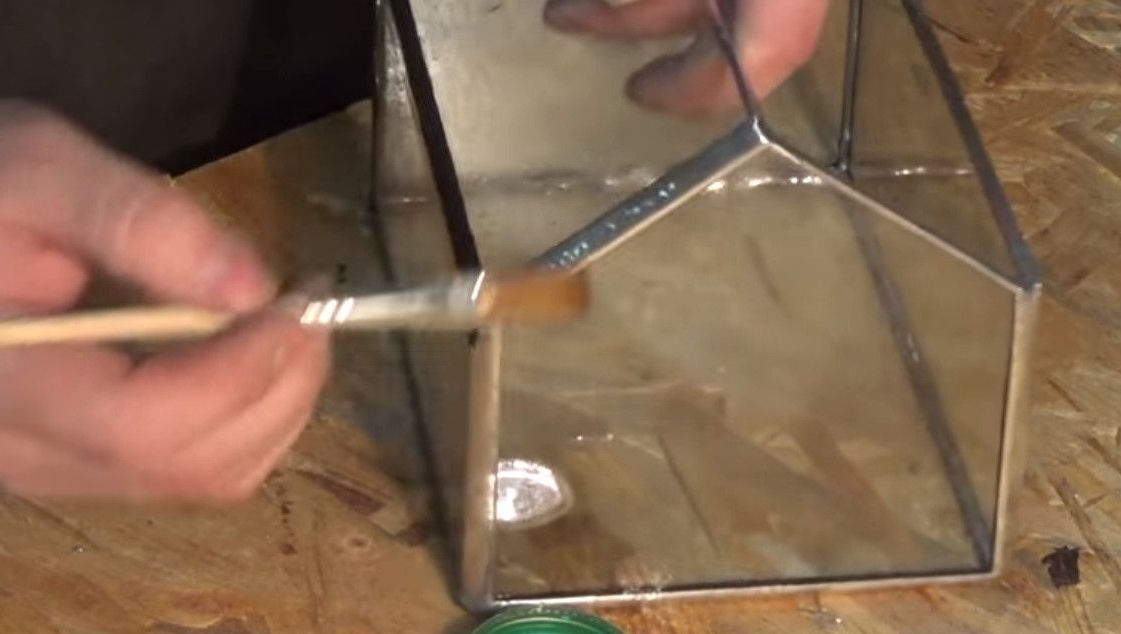
We wipe dry and use a special alcohol-containing product for stained-glass windows.
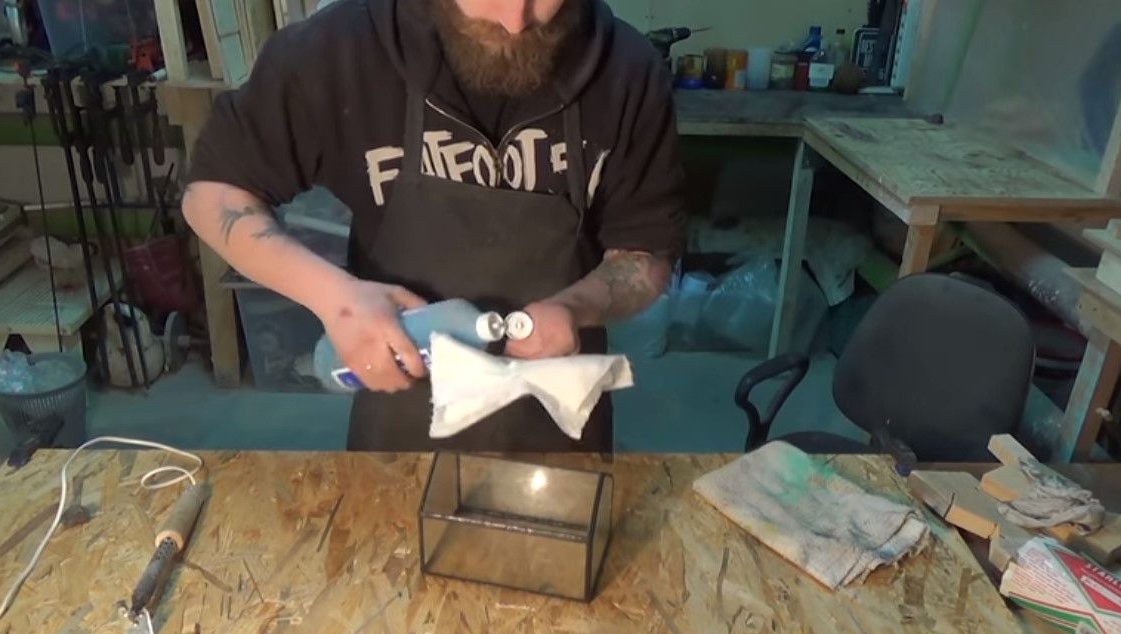
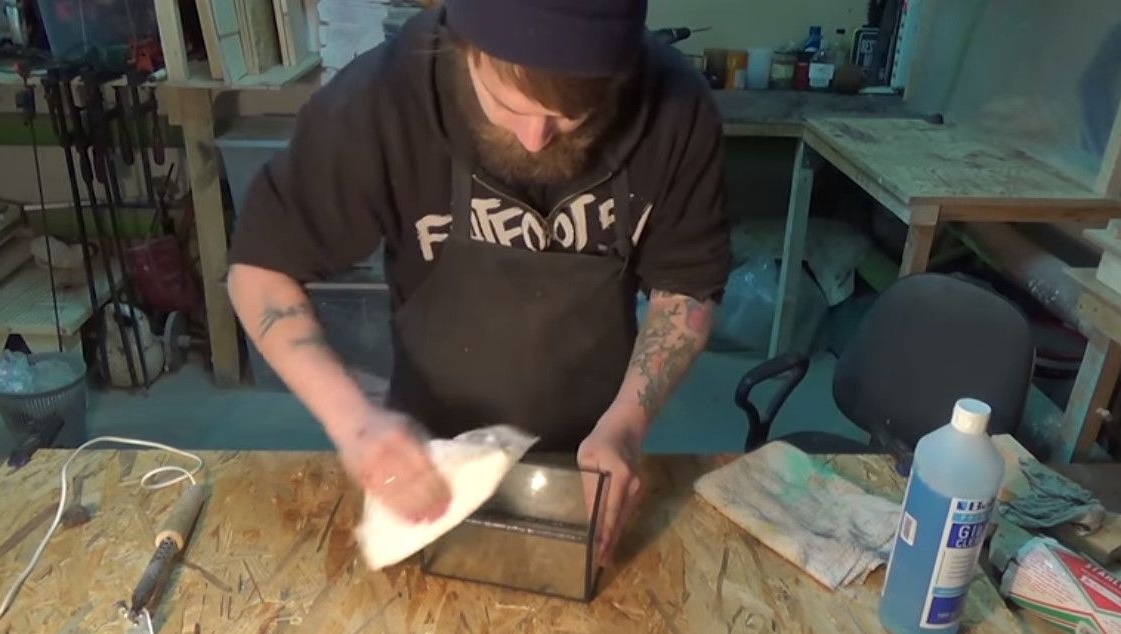
We clean all the edges. It may take more than half an hour.
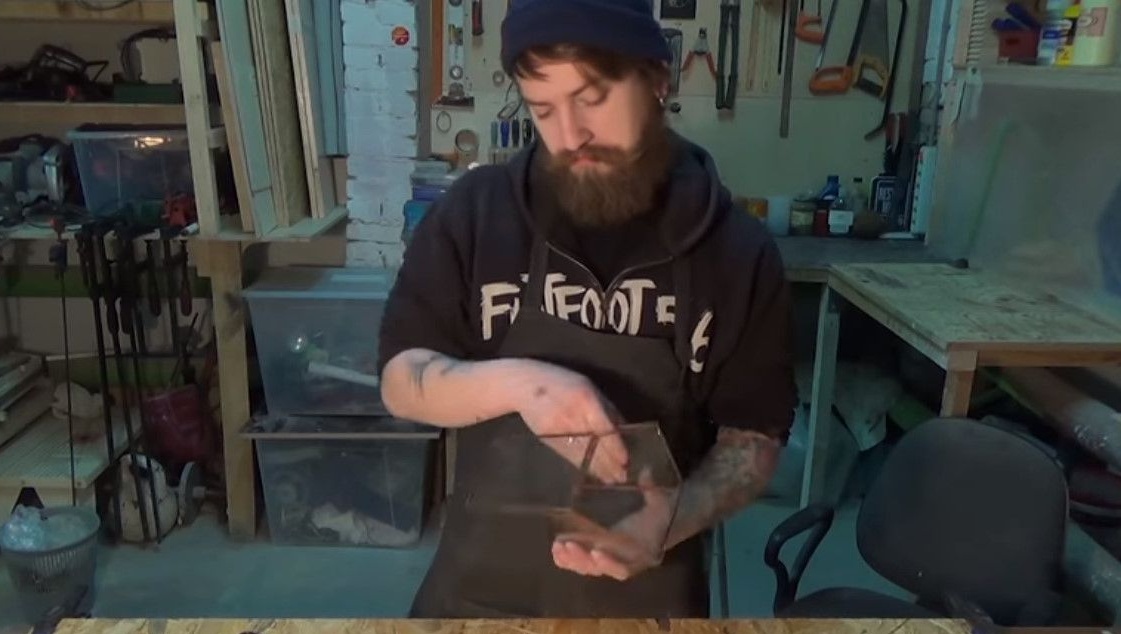
Voila, the cool home decor item is ready!
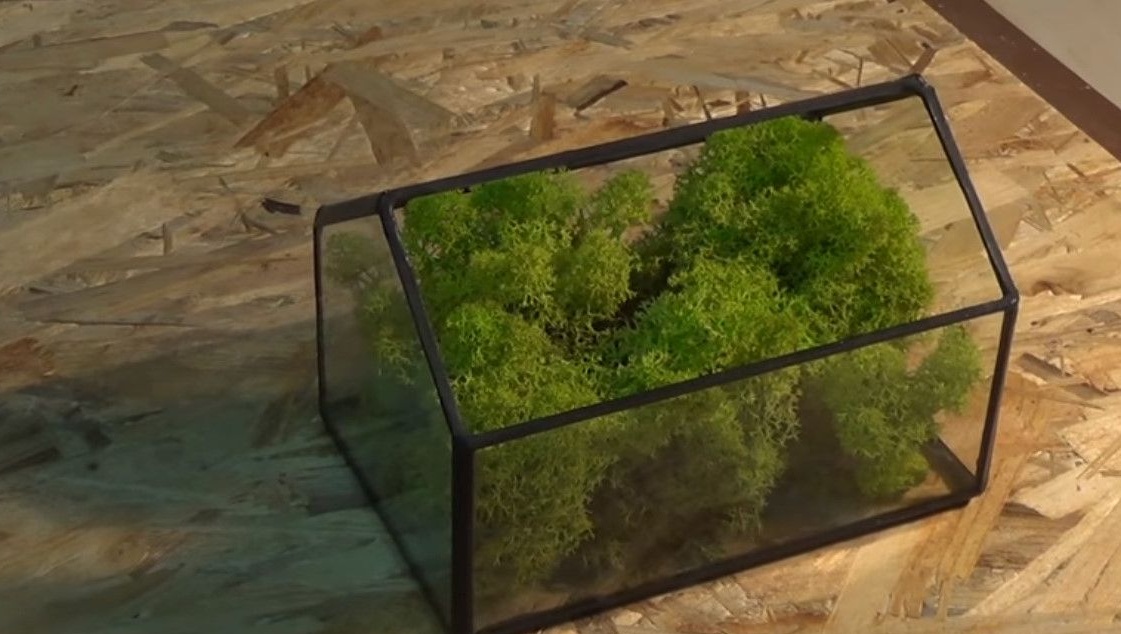
The technology was introduced by Dania Kraster.All good homemade!
Link to the original video - under the text is the "source" button.