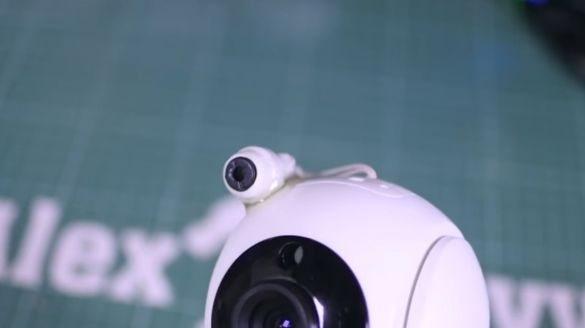
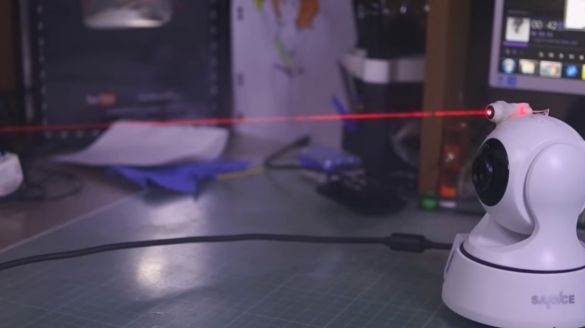
In this article, AlexGyver will show you the process of creating a high-tech cat toy.
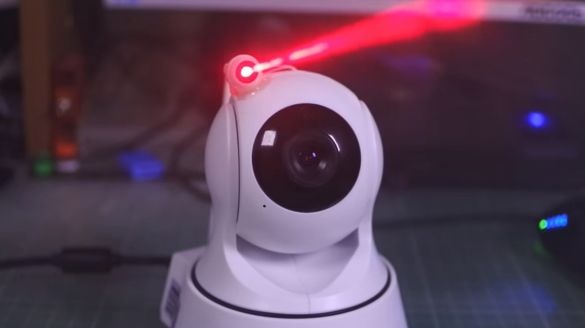
More specifically, it will be a remotely controlled laser. Well, or an attempt to attach a laser to a webcam and control it online (oh, touch it, since the author made a device for a cat). Although, a doggie can also be entertained like that.
When the owners leave their home, our smaller friends get bored. Cats usually choke and get fat, or roam wherever they fall, in search of adventure on their tail.
In this article, we will make a high-tech cat toy. With it, you will get the opportunity to play with him from any place where there is Internet access.
The solution is simple, it does not require a lot of money.
Materials and tools.
1. PTZ webcam.
2. The capacitor is 6.3 * 470.
3. Resistor 10K.
4. Laser pointer.
Glue gun, soldering iron, solder, screwdrivers.
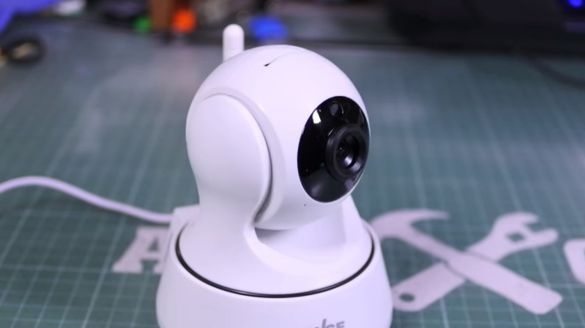
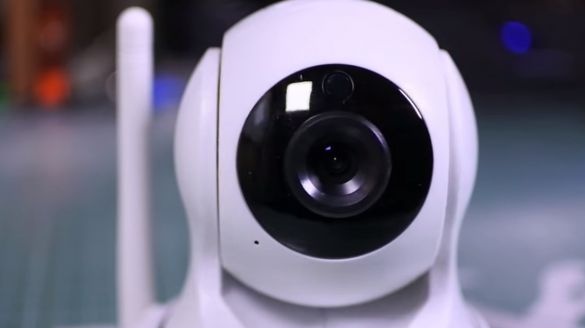
We purchase a cheap webcam (1300 rubles) with two axial swivel mechanisms, and fix the laser module on it from a cheap pointer (50 rubles).
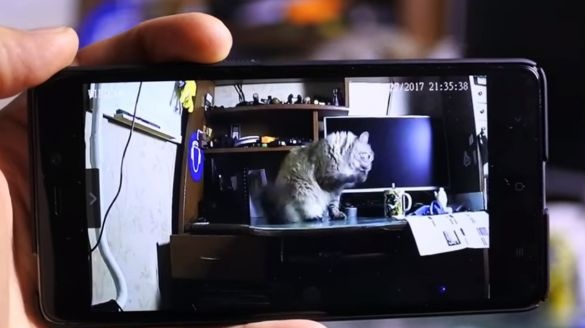
The webcam itself is connected to a WI-FI router, then you can control the direction of the camera and laser via the Internet. The laser can also be activated remotely. In addition to the rotary mechanism, the camera has a built-in microphone with a speaker.
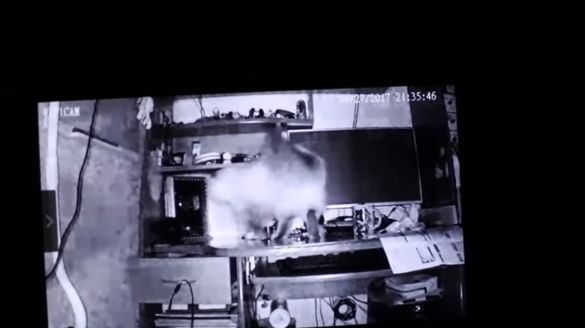
There is a built-in infrared light that allows you to see perfectly even in complete darkness, within the room.
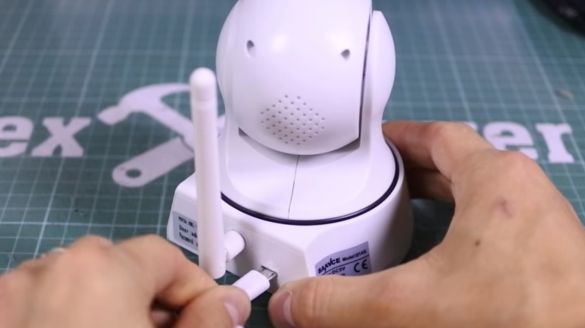
The camera comes with a power supply and a USB-MicroUSB adapter
By the way, since it is powered by USB, you can use powerbank.
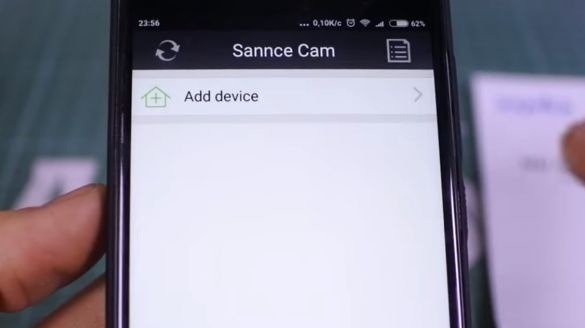
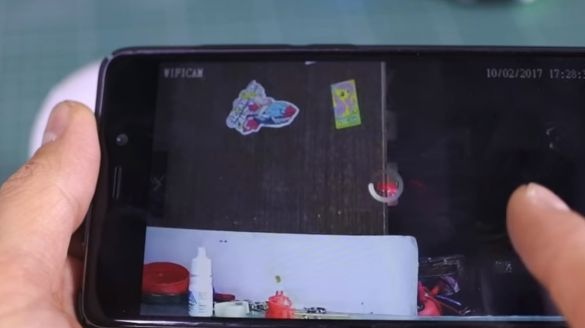
Download the Sannce Cam application, add the device, configure the Wi-Fi connection, and then follow the instructions.
We will not describe in detail, for different manufacturers the sequences differ slightly.
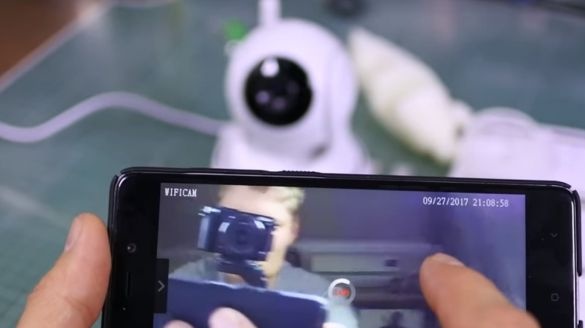
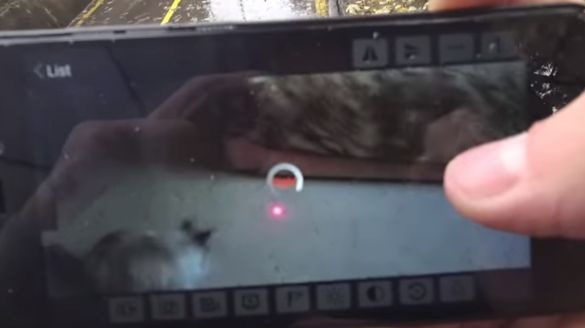
We are connected, and the camera has earned. Honestly, controlling using a phone’s sensor is not very convenient.
Using a mouse and laptop will be much more comfortable. Just with a smartphone, you often miss transport, and your pet misses you at home.
Although there is a slight delay in the transmission of video signals and control commands, but it does not hinder much fun.
The horizontal angle of the webcam is slightly less than 360 degrees.
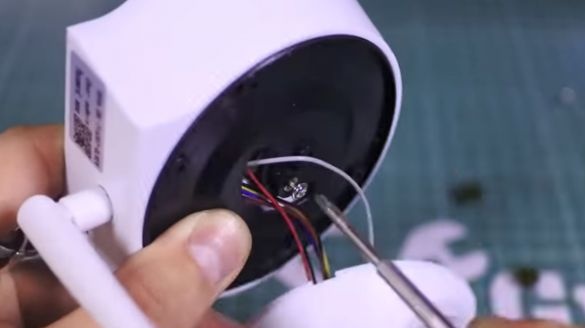
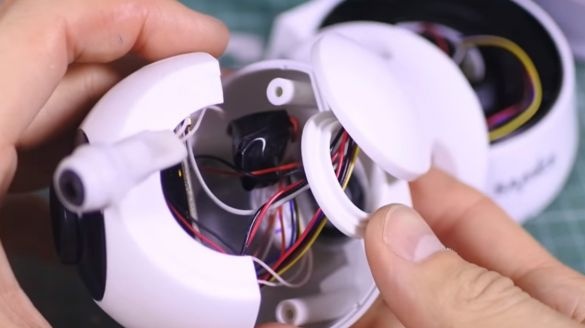
This budget camera, unfortunately, does not have a controlled output, with which you could turn the laser on or off. In order to prevent the laser from constantly glowing, we will have to disassemble the camera and find a way to control it.
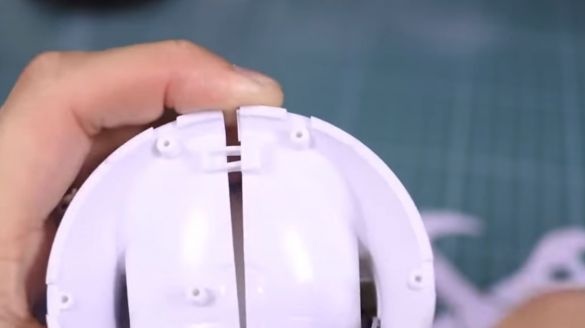
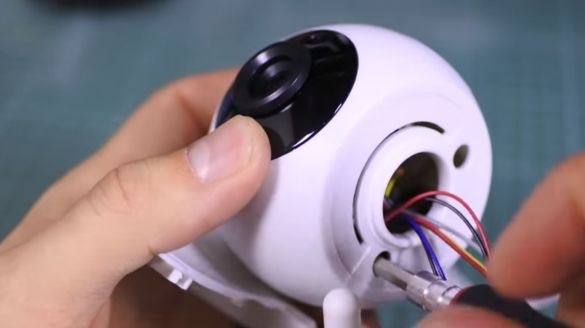
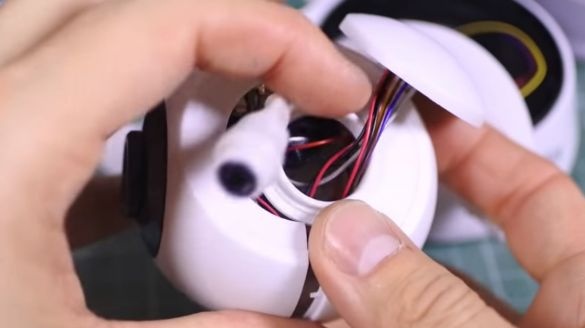
Getting to the showdown.
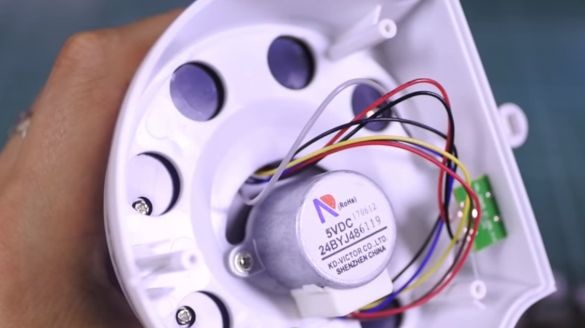
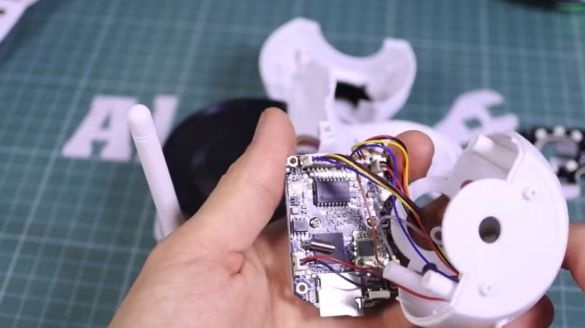
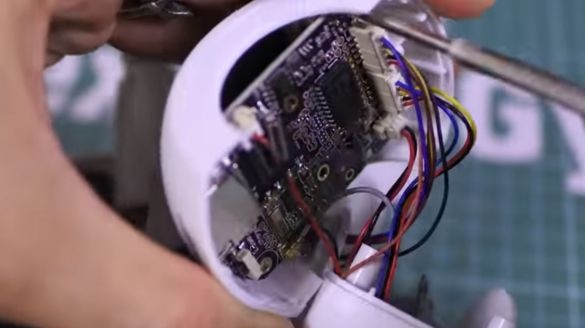
The camera rotates with two stepper motors.
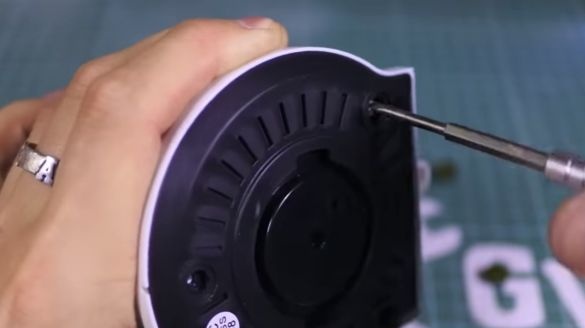
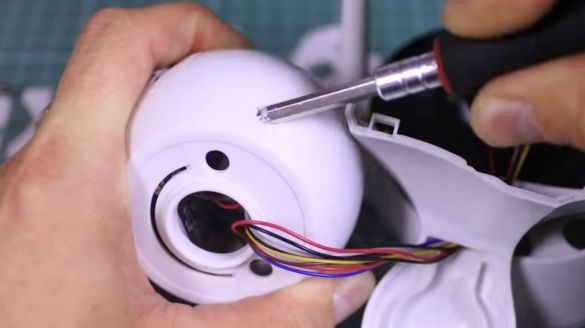
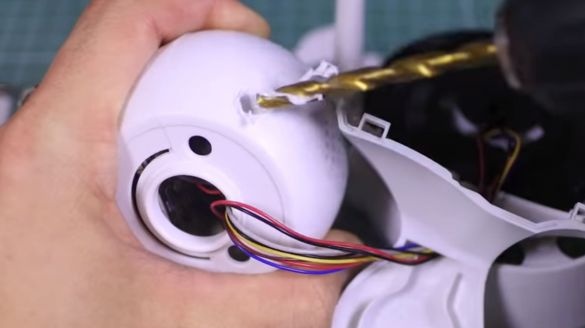
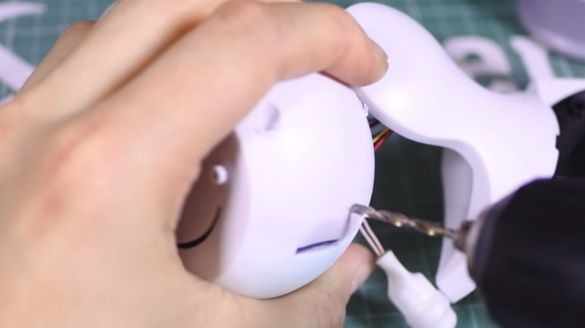
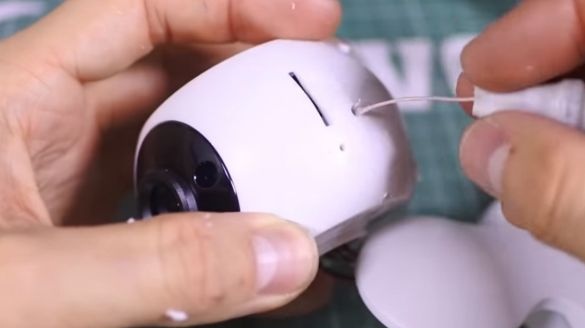
The screwdriver was too thick, and the screws sat deep, and the author slightly drilled holes in the back wall.
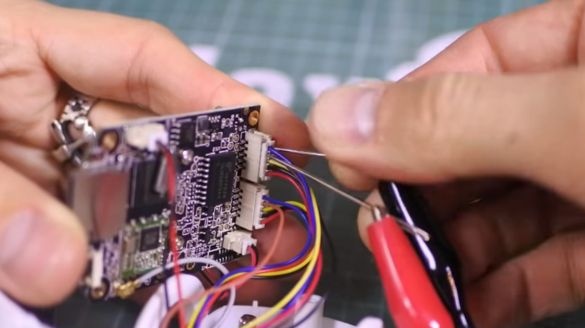
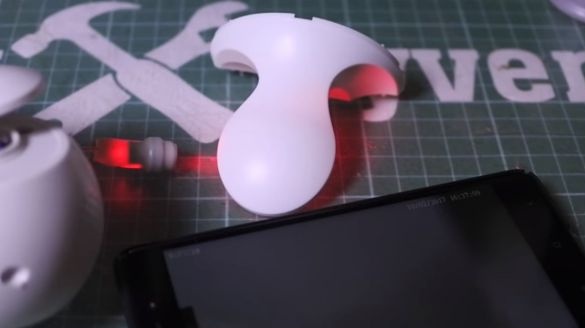
So, the camera is completely disassembled.
Let's start the search for control signals, and we can control the engines with a smartphone.
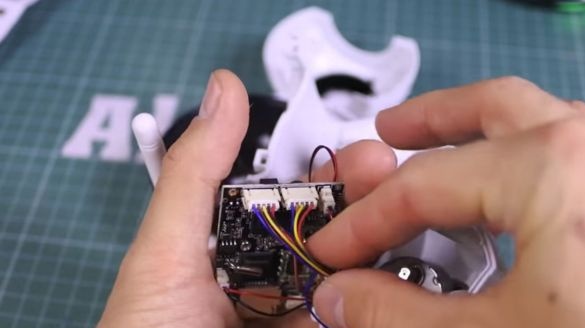
You can try to search for the necessary signals on the terminals of the stepper motors.
The motors are unipolar, five wires are connected.
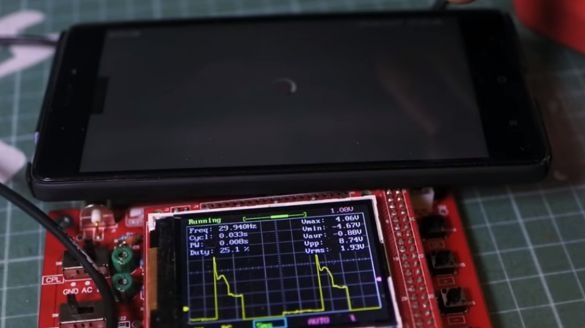
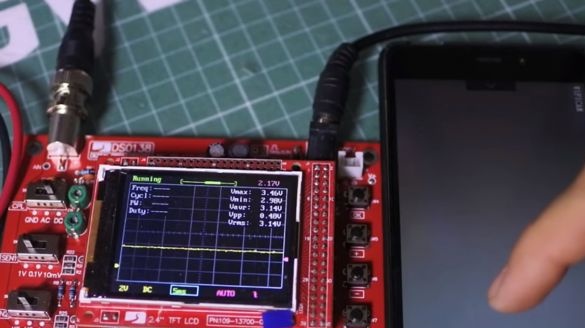
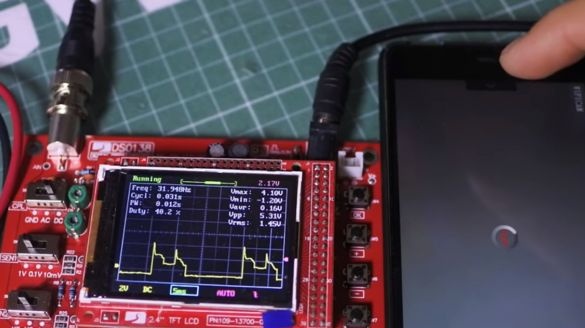
We connect the oscilloscope to the two extreme terminals.
At the time of engine rotation, jumps (a square wave) from 0 to 5 volts are visible on the oscilloscope screen.
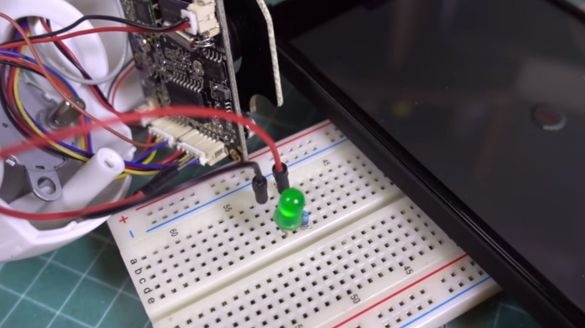
If we connect the LED through the resistor to these terminals, we will see the LED blink rapidly.
But the signal is present only while turning the camera. But we need the laser to glow a few seconds after the end of the turn. So that we have time, for example, turn in the opposite direction, stop, and the cat continued to see the luminous point.
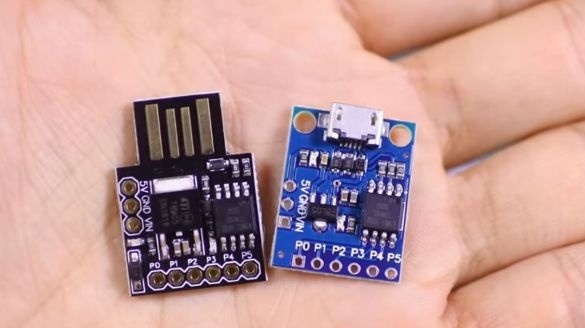
At first, the author wanted to use digispark, but this made the task a little complicated. But I want to make the scheme as simple and cheap as possible.
Continuing the search, we connect to the negative power cable of the USB connector and the rightmost terminal of the engine connector.
The oscilloscope showed + 5V DC, falling to zero at the moments of rotation of the motor.
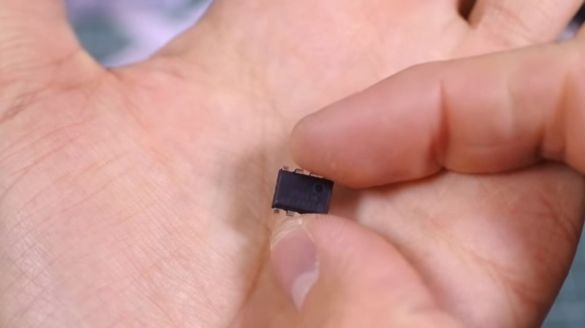
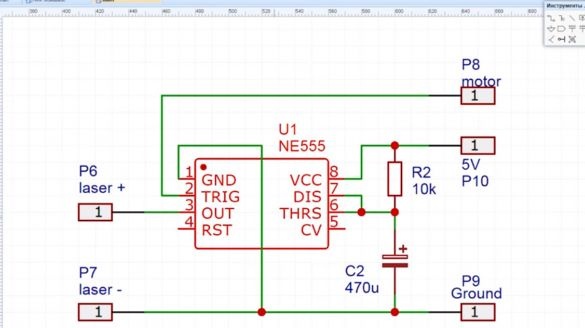
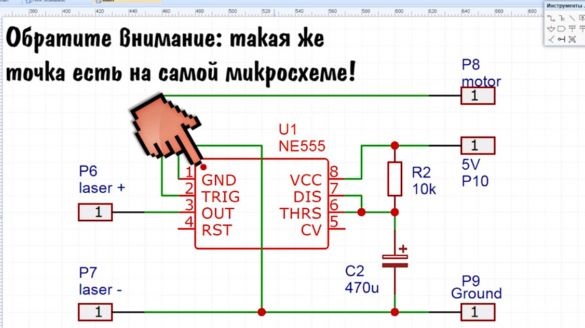
It would be logical to take the simplest timer 555, the red price of which is 10-15 rubles.
The trick is that this timer has a trigger pulse and is a logical zero.
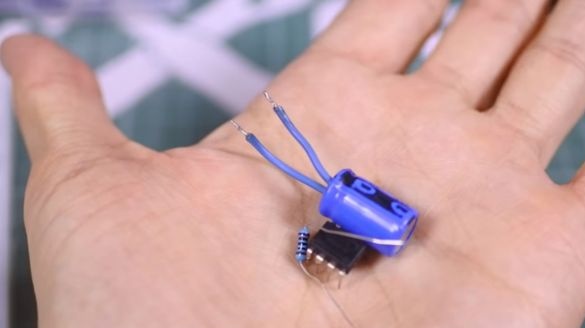
To adjust the on-time, the timer needs a 10 KOhm resistor and a 6.3 V electrolytic capacitor at 470 uF (10 rubles).
Let's assemble the simplest circuit of these three components.
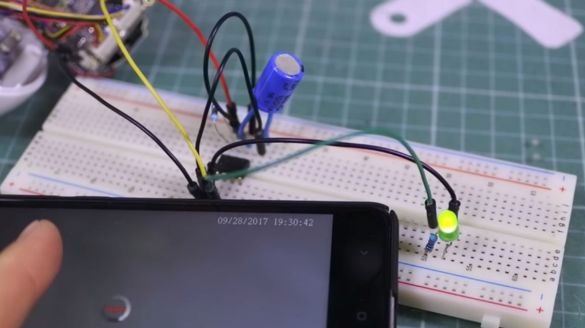
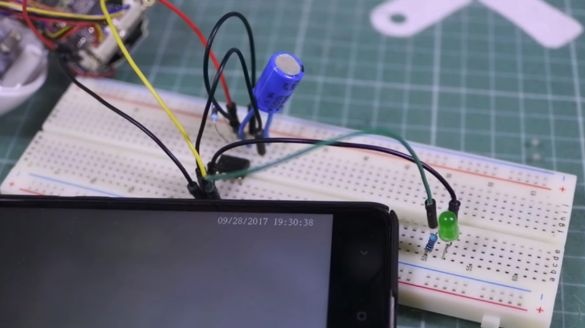
For starters - on the layout, instead of the laser, for now, install an LED with a resistor.
Everything is fine! The LED turns off a few seconds after the end of engine rotation.
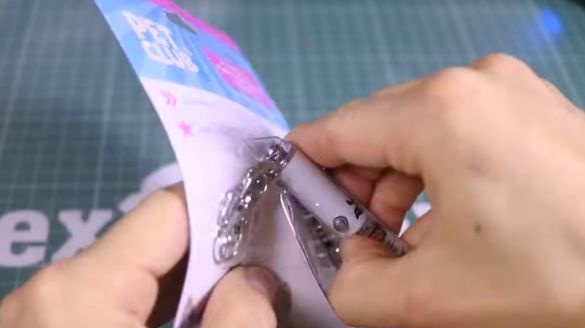
Now replace the LED with a laser. We will use a cheap laser pointer for 50 rubles.
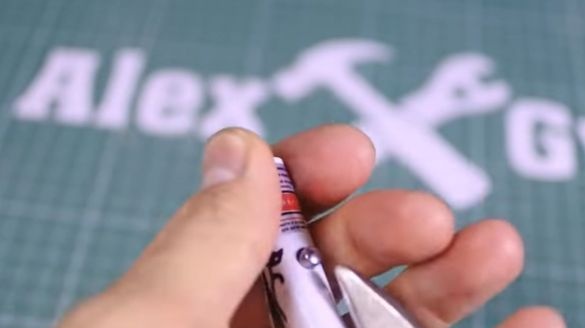
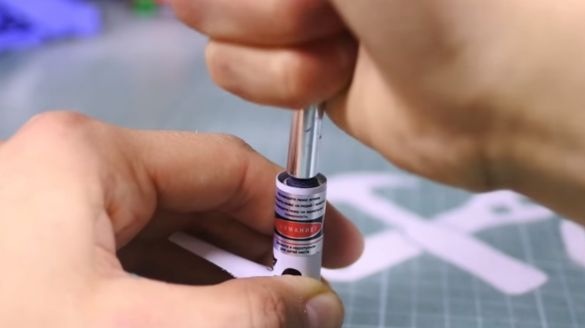
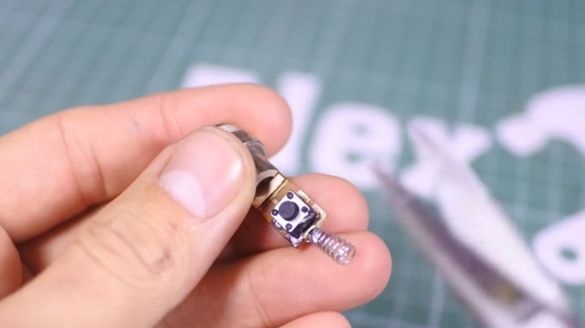
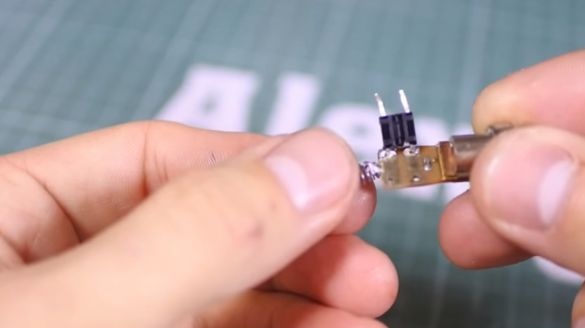
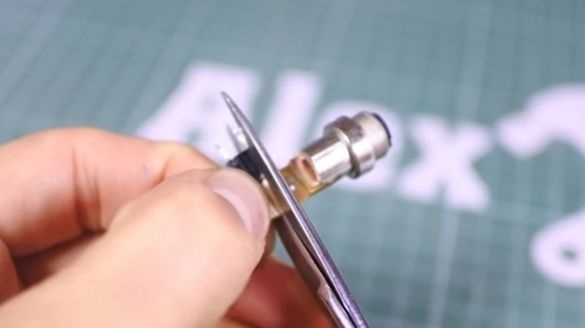
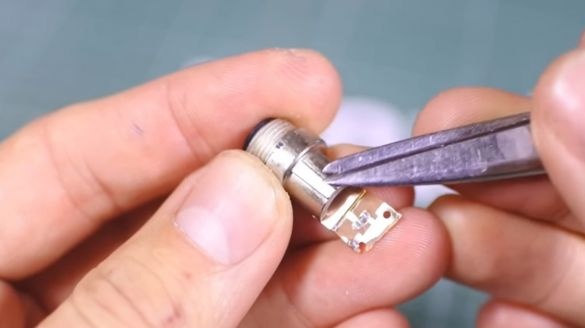
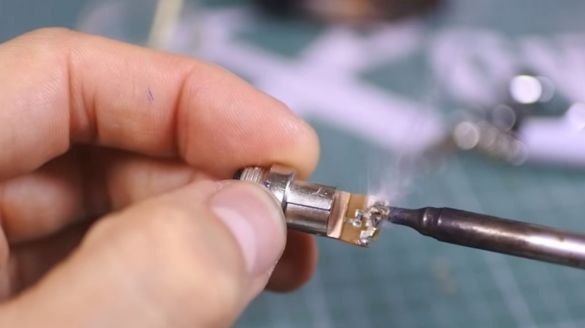
We disassemble its body, we need to get a board with a laser and a lens.
The board is already ready for operation with a voltage of 5 V; a current-limiting resistor is already installed on it.
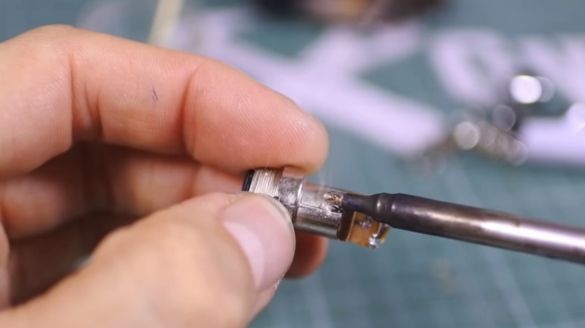
We remove the extra button and a piece of the board.
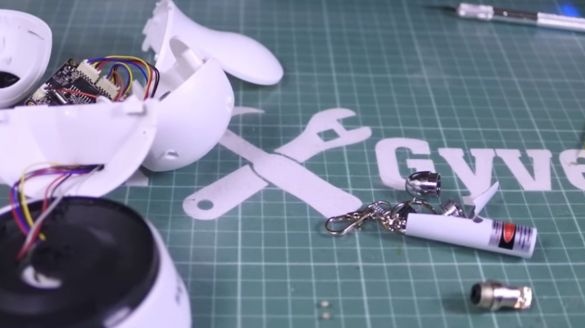
This is how many work things Alex had to take apart before the screw in order to create this project.
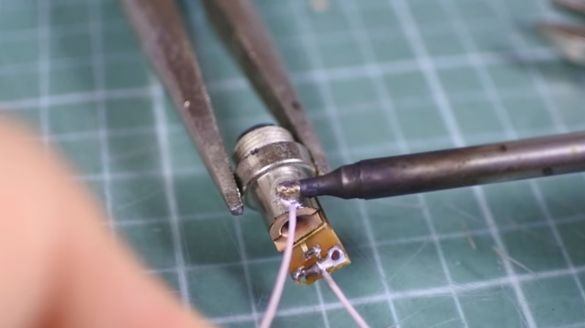
There is still a contact on the board for connecting the negative power wire. We solder the plus to the laser module case. We tin the minus pad and the radiator, solder the wires.
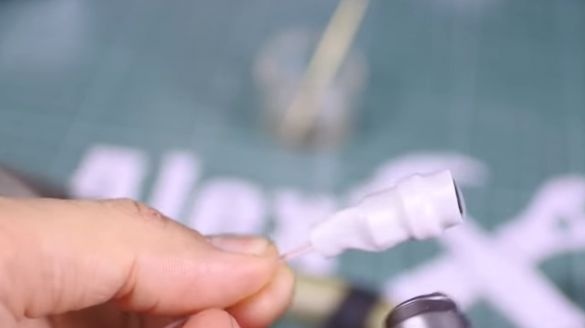
We put white shrink on the resulting product to match the color of the webcam body.
We carefully look at the circuit and begin to solder the delay module.
The fourth and fifth legs of the timer are not involved, they can be bitten.
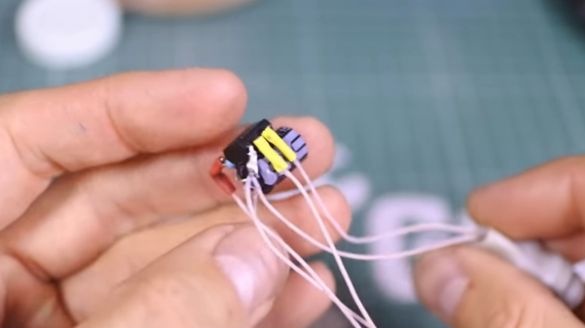
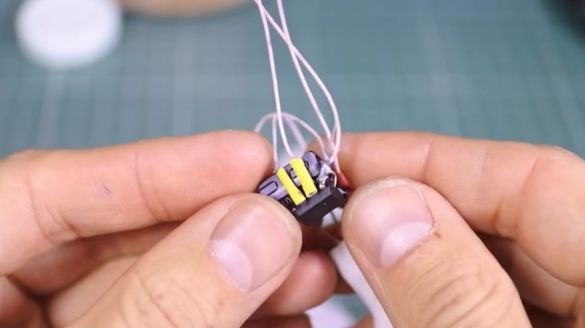
Our circuit is elementary, it makes no sense to make a printed circuit board. We simply solder with mounted mounting for compactness.
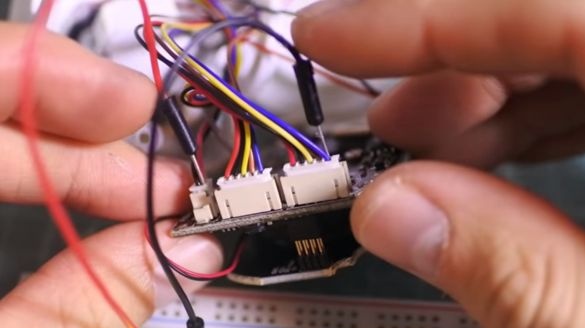
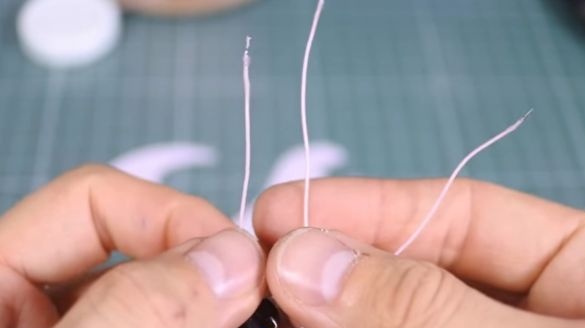
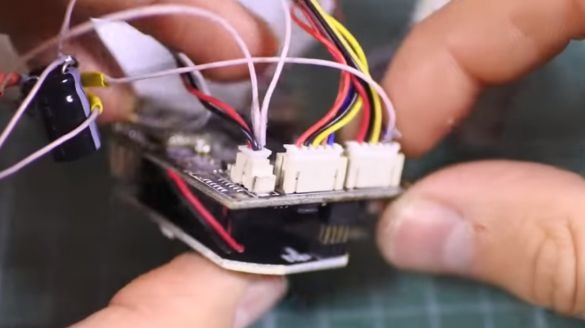
The laser is connected directly to the circuit. There are three wires left that connect to the main board of the camera.
Everything according to the scheme is +5 V, earth and signal.
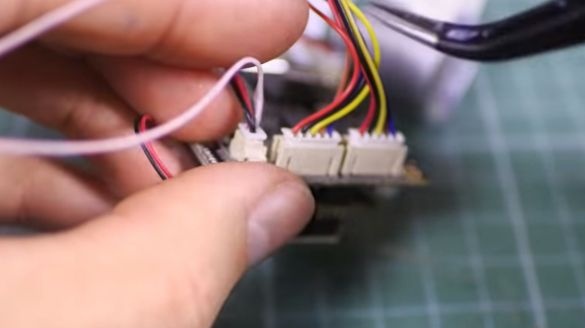
In order not to violate the integrity of the soldering of the camera board and not to smack its connectors, the ends of the wires are simply tinny.
And insert directly into the camera plug, firmly pressing them in the connector to the contacts.
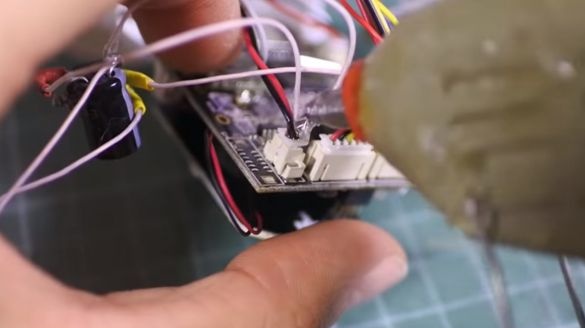
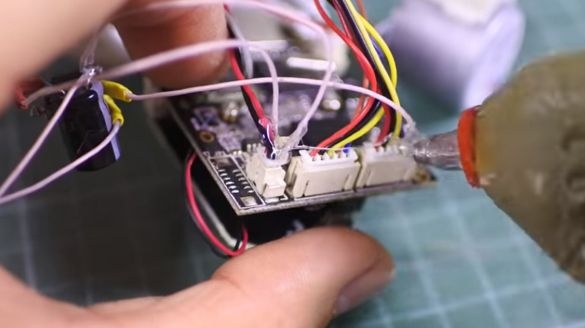
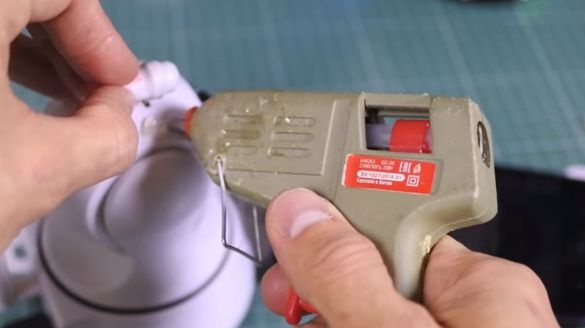
We strengthen the created collective farm with hot snot, in order to avoid the wires falling out of the plug.
You can check!
We used only the horizontal axis engine to control the laser. If necessary, you can connect a second, vertical motor to the same board, dividing the outputs from the motors by diodes.
The duration of the laser glow is regulated by the capacity of the electrolyte. The larger it is, the longer the laser will shine.
Space in the camera to accommodate our tiny little scheme is full.
But for the laser itself it was no longer found.
We will fix it outside the case. We drill a small hole for the wires near the intended installation site of the laser.
We bring the wires of the module out.
That's it, assemble the camera in the reverse order.
The last thing left is to shoot the laser and fix it to hot glue.
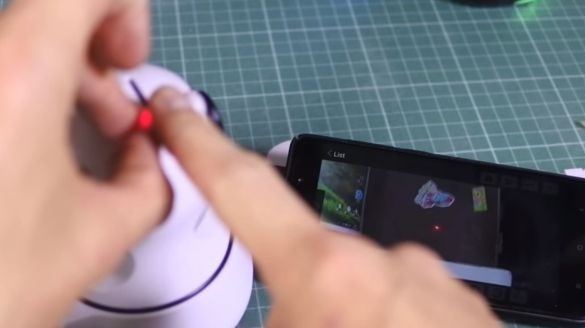
We turn on the camera and combine the point where the laser hits, with the center of the picture on the smartphone.
Finally we fix after shooting a good layer of glue.
Now everything worked perfectly!
How to attract the attention of a cat if he is sleeping, or in another room? The camera has an audio function, and two-way. Turn on this mode on your smartphone and call your favorite!
For you, the idea was implemented by AlexGyver, many thanks to him for his efforts!
All successful homemade products.
Original video:


