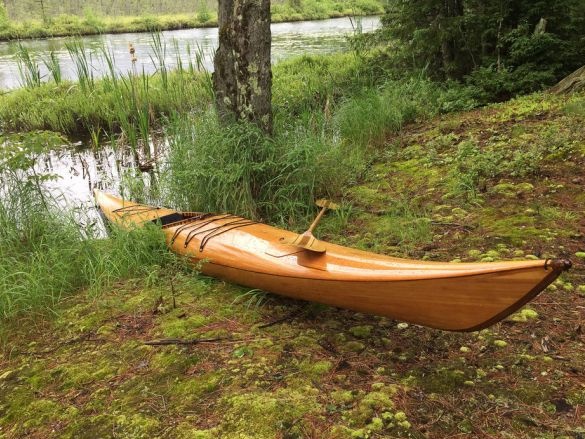
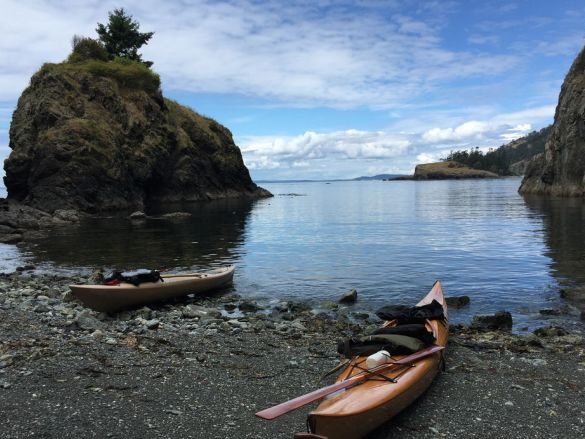
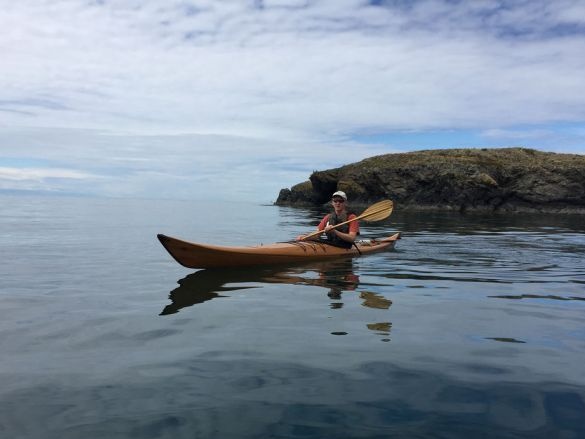
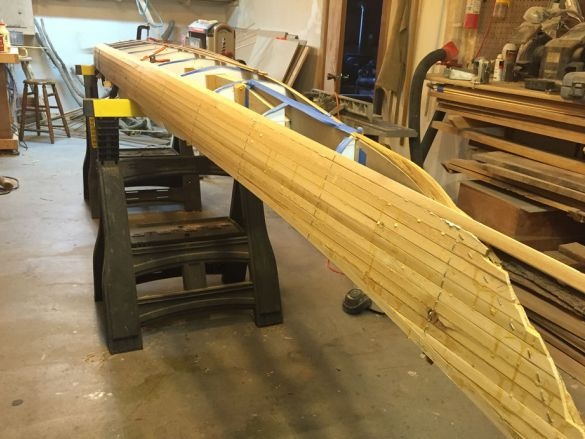
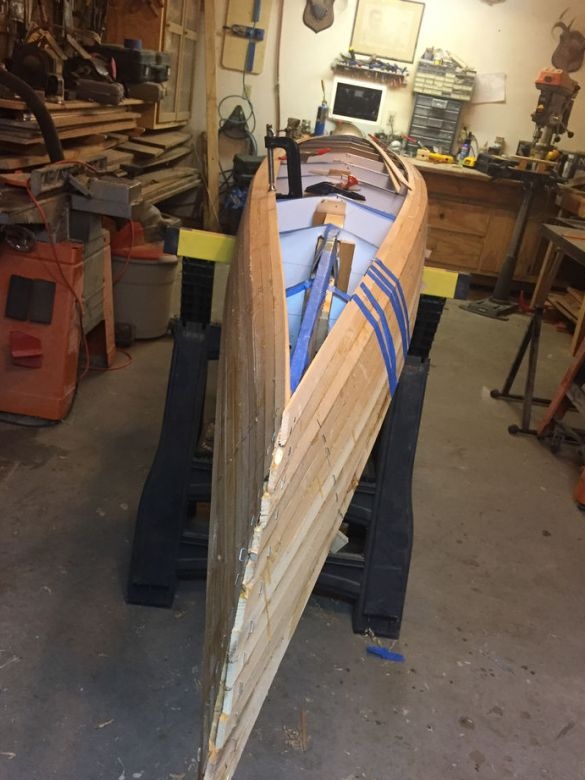
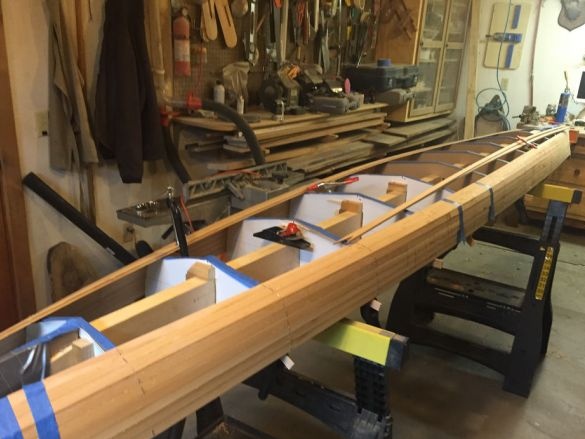
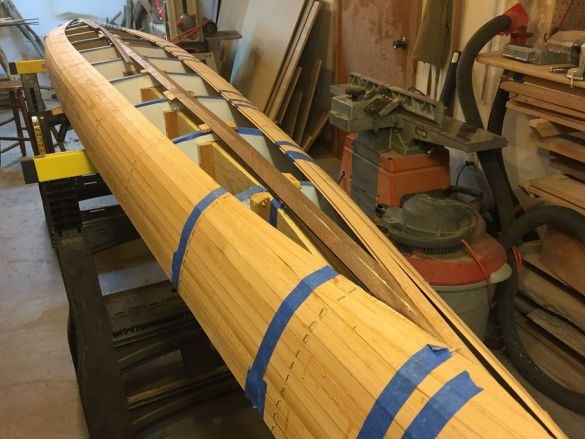
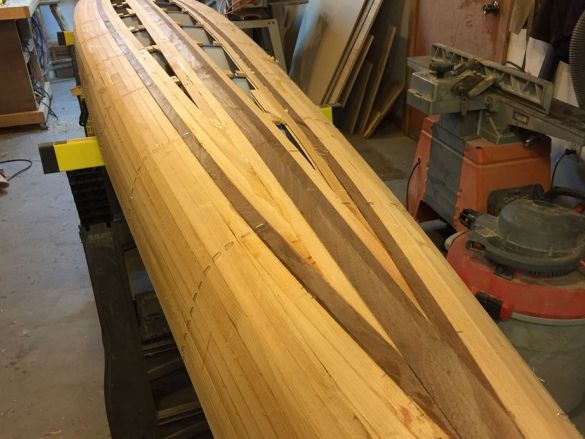
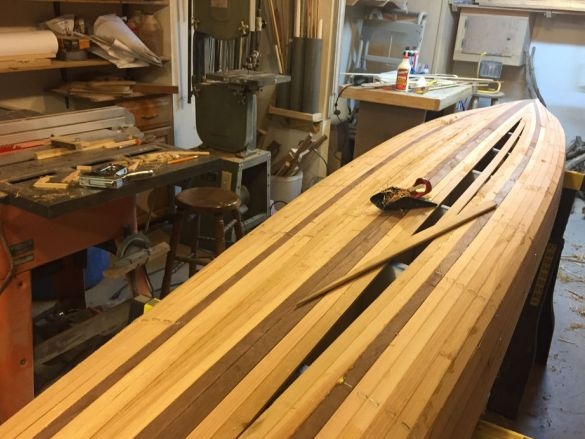
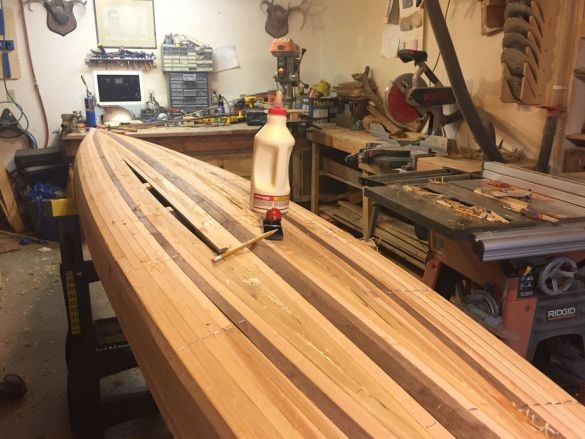
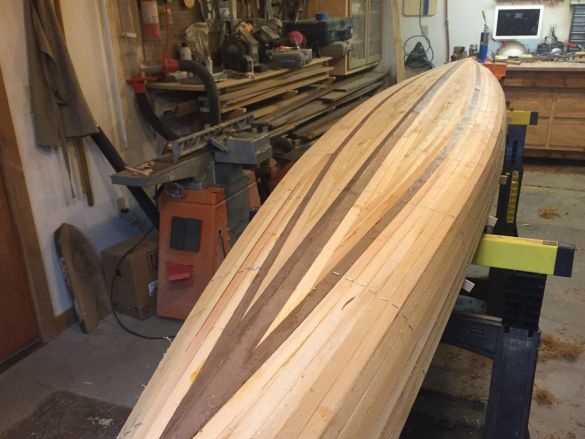
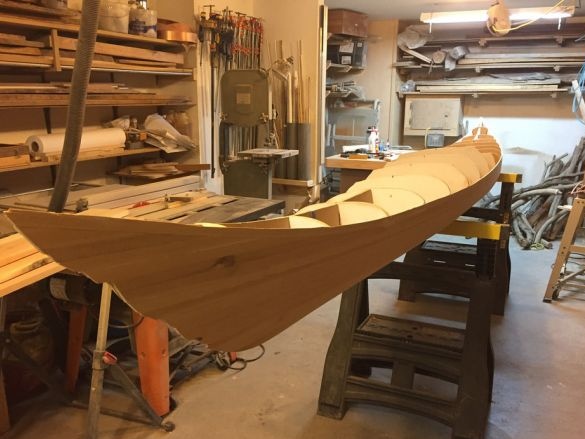
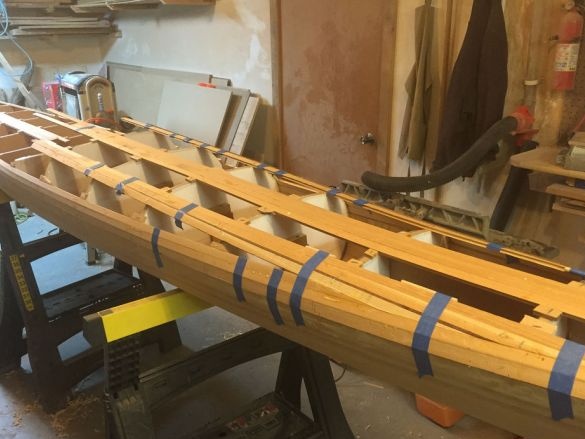
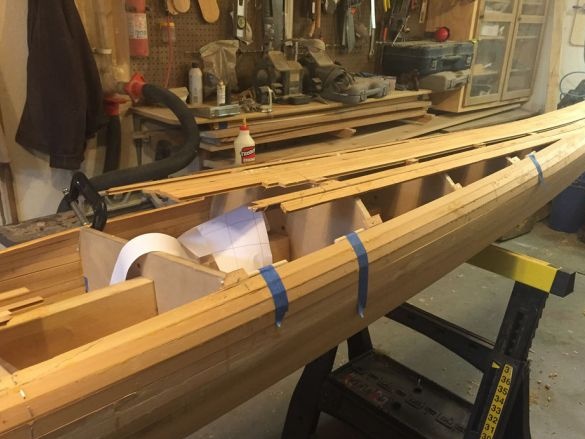
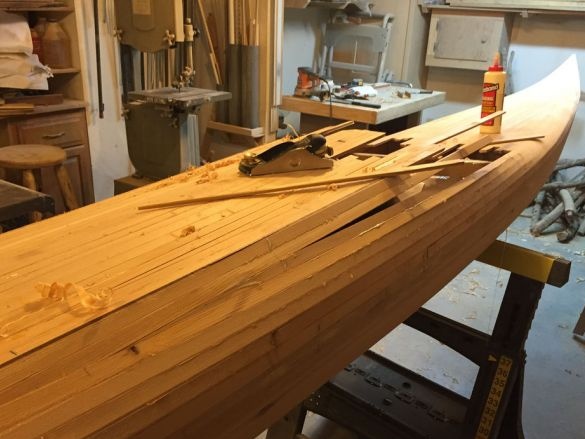
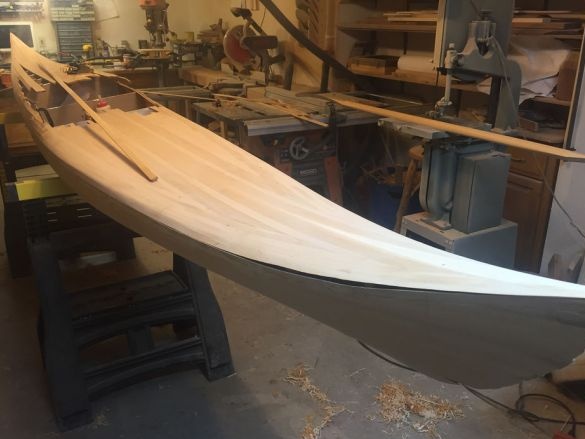
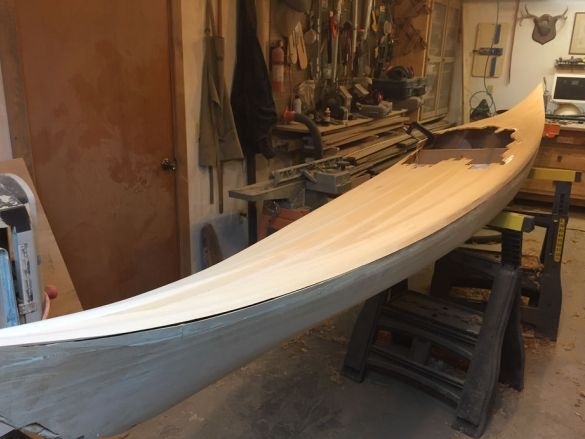
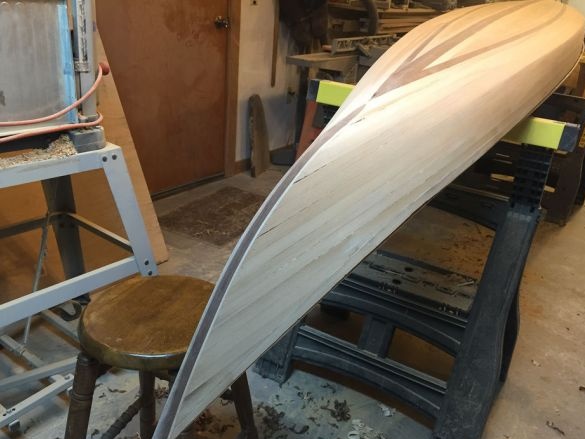
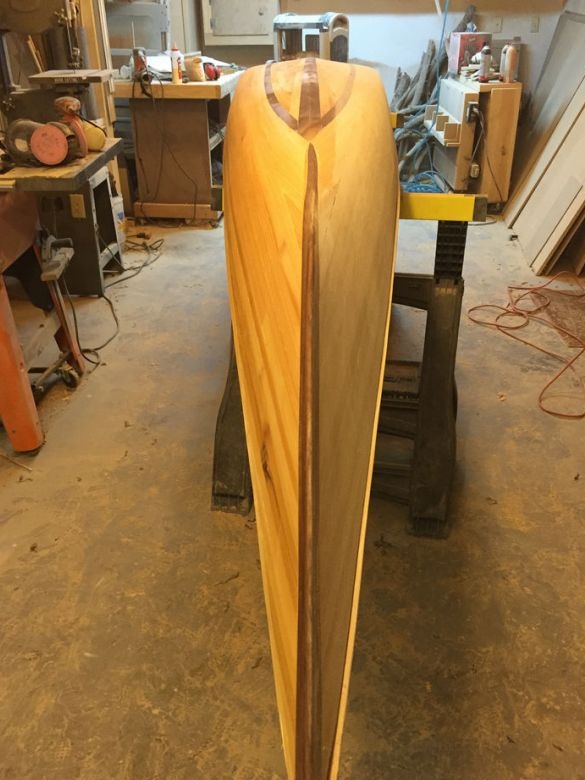
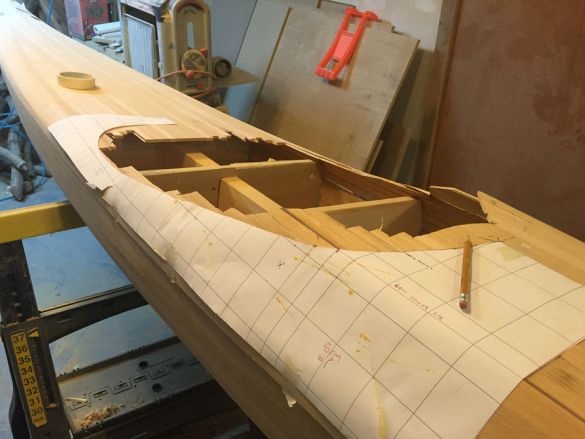
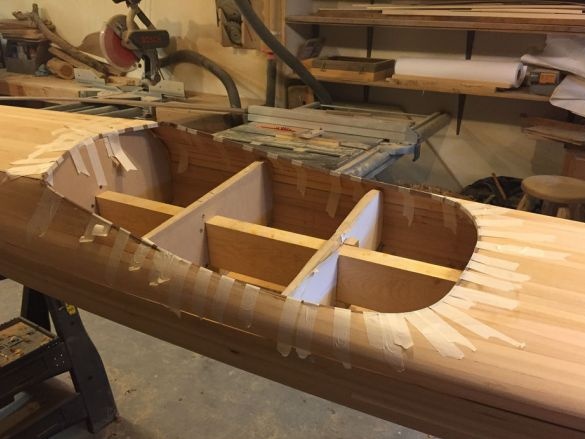
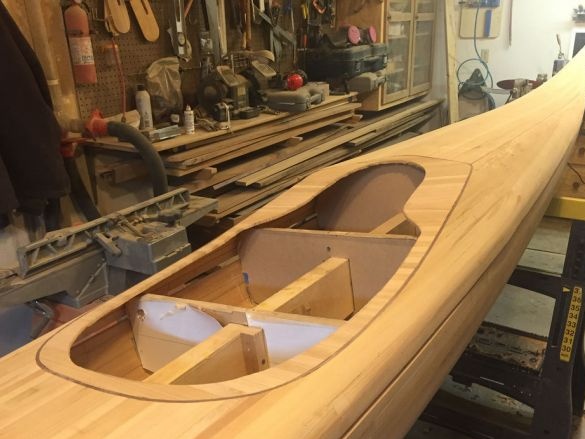
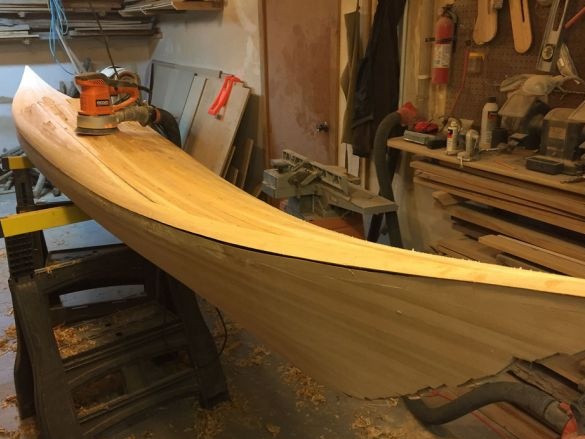
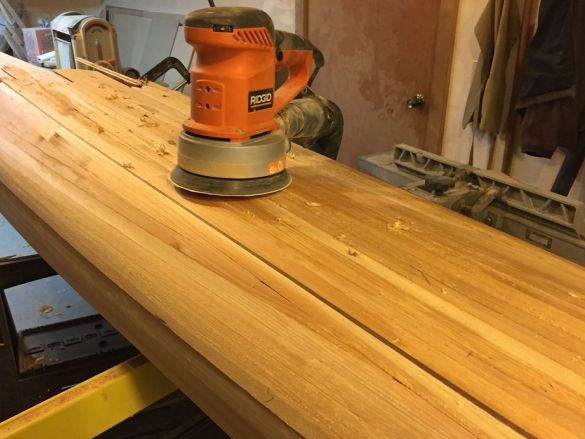
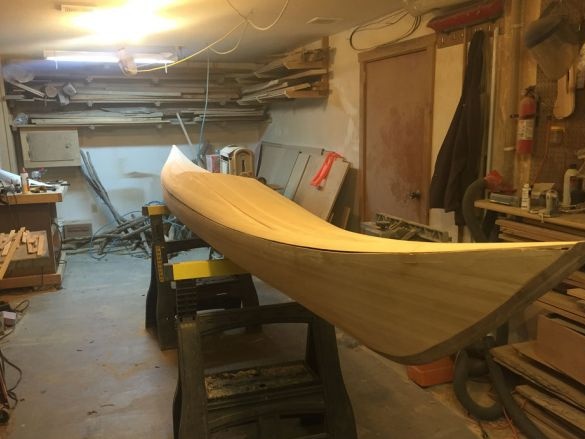
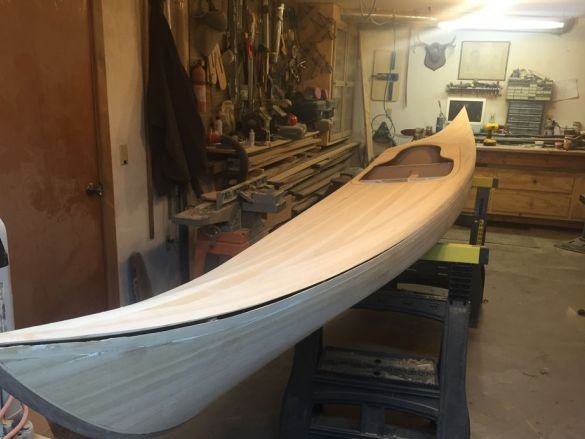
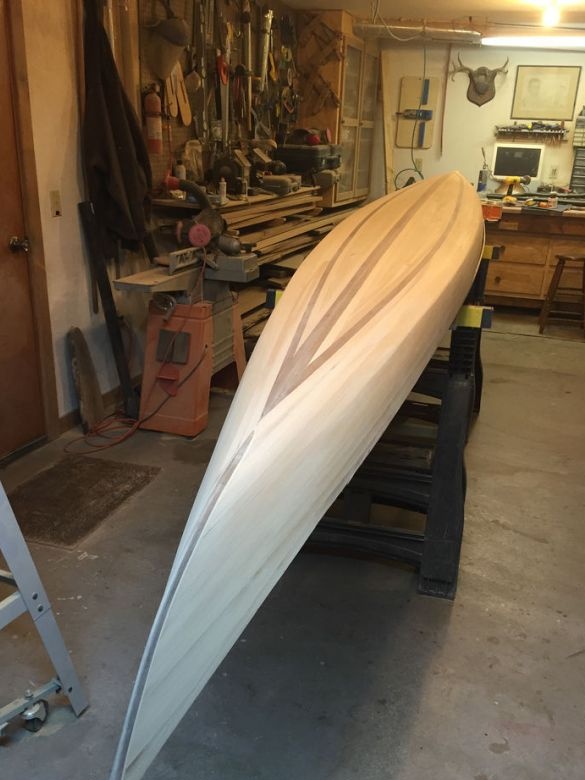
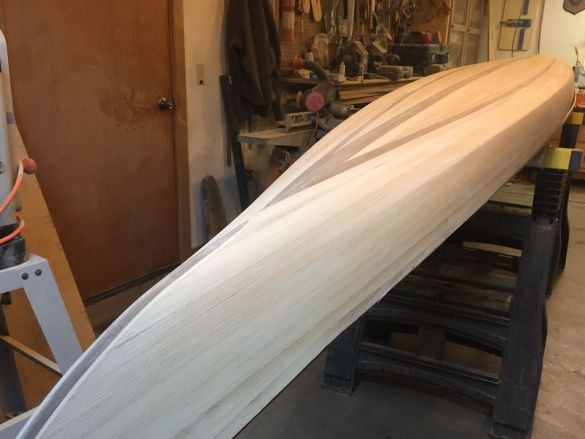
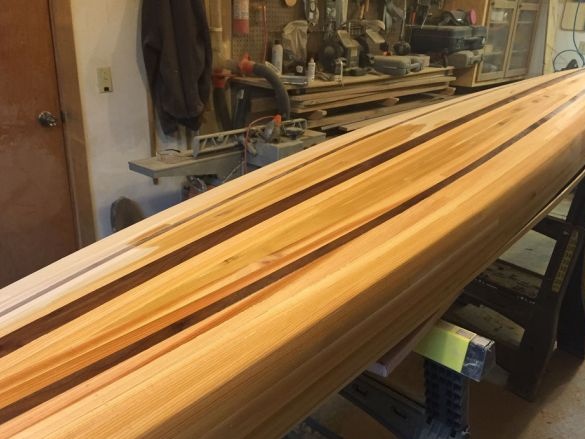
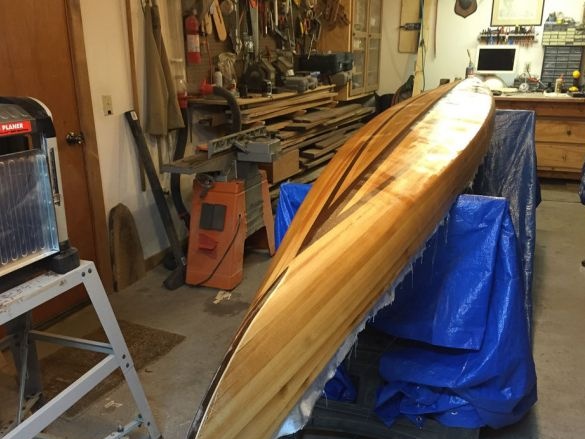
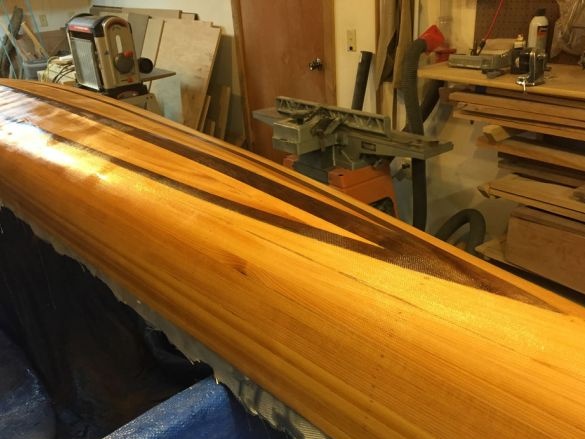
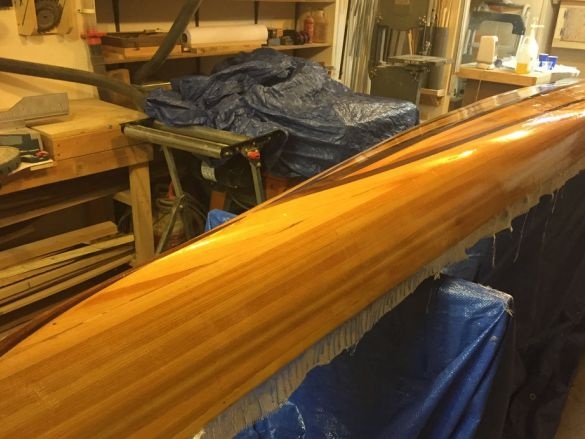
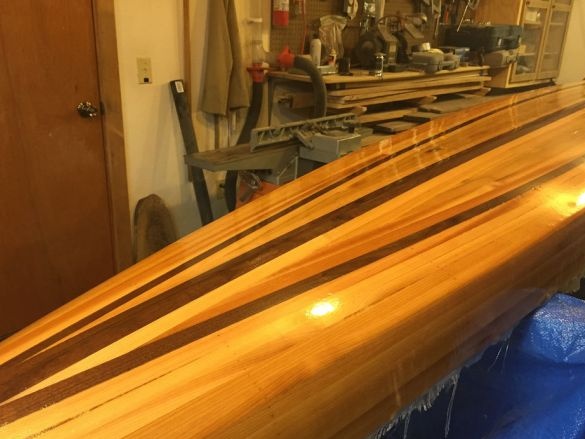
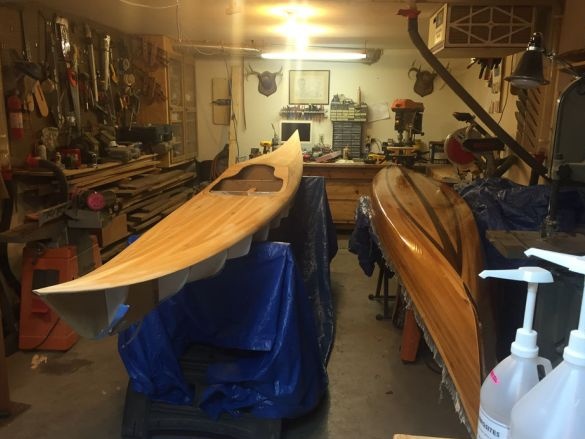
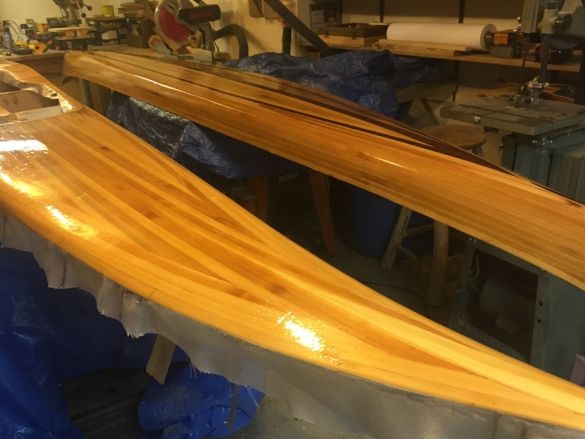
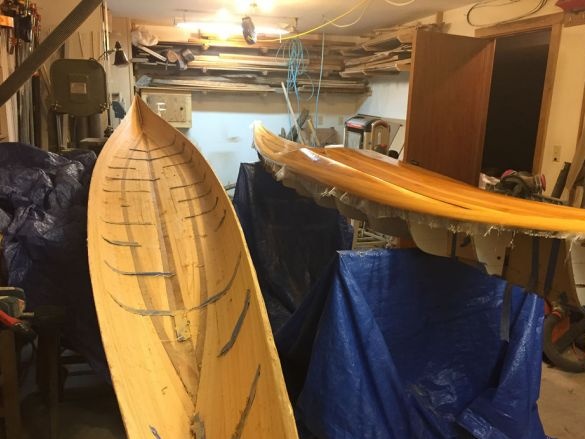
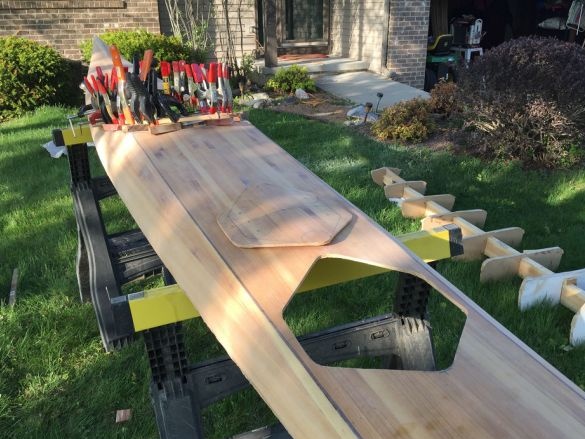
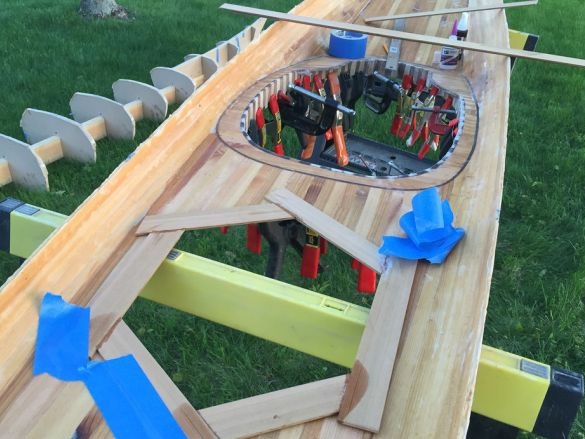
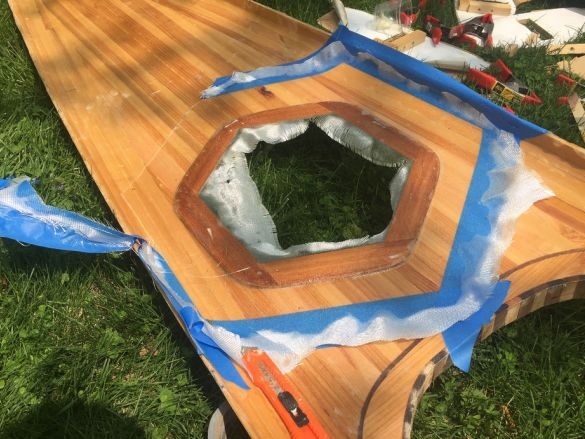
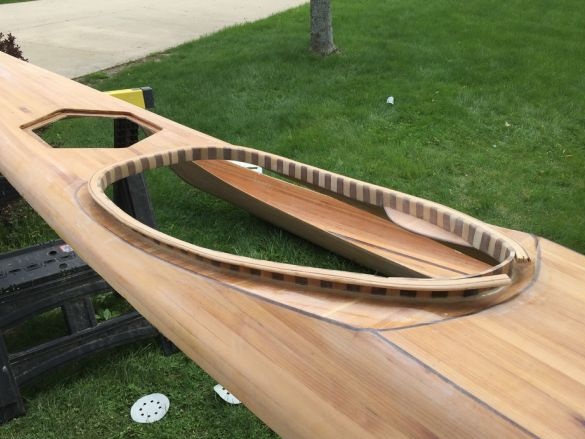
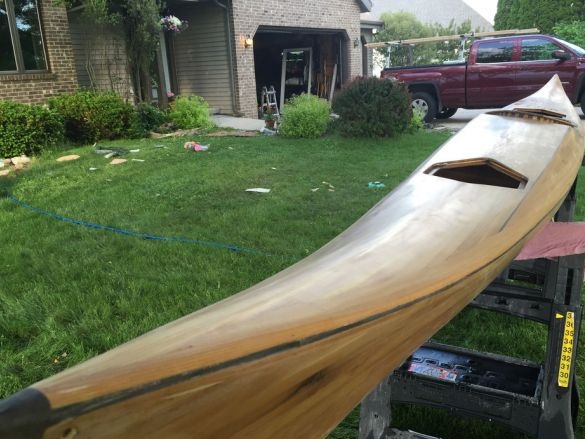
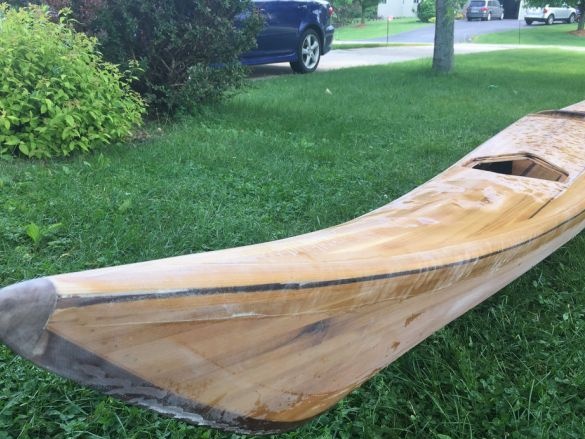
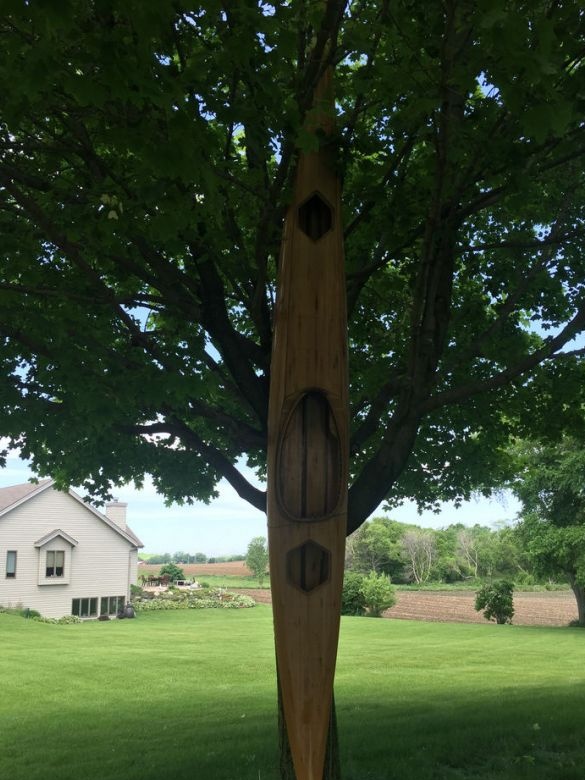
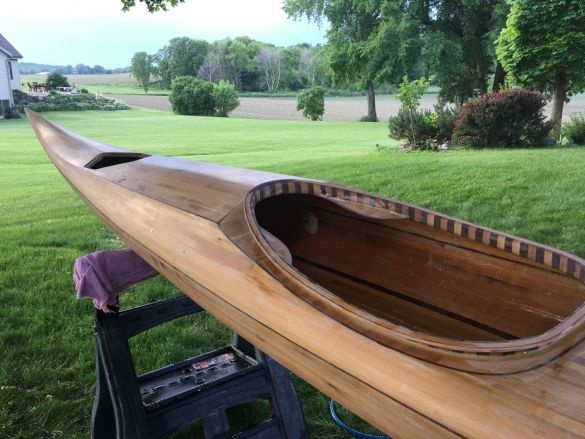
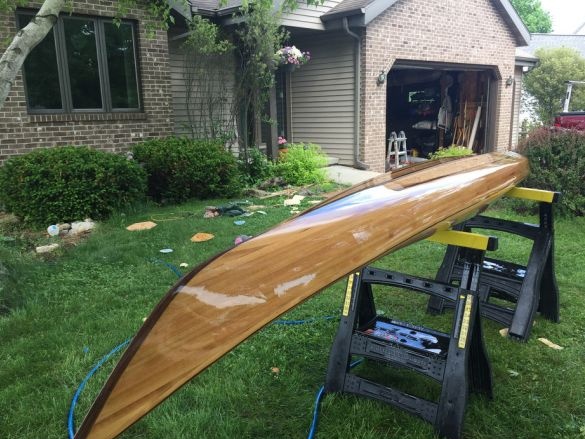
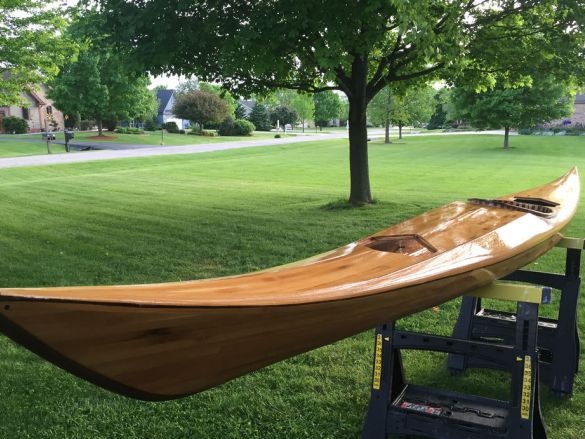
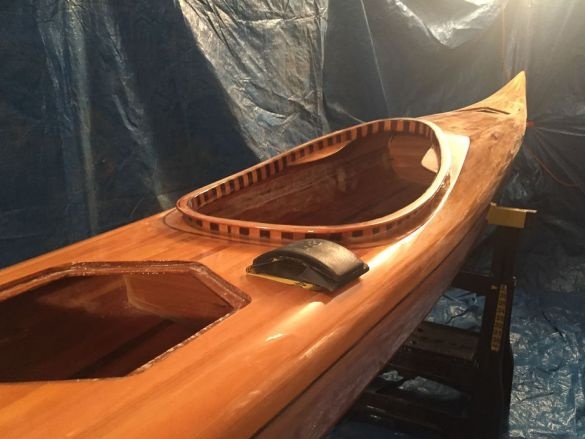
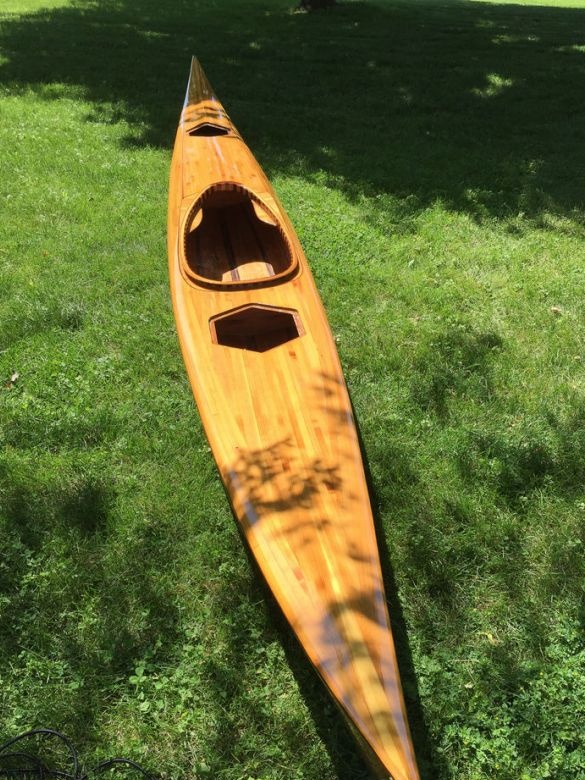
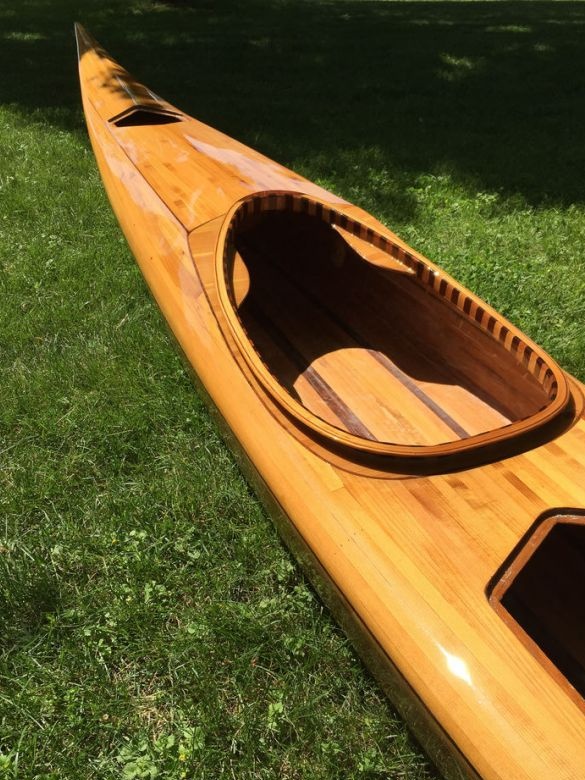
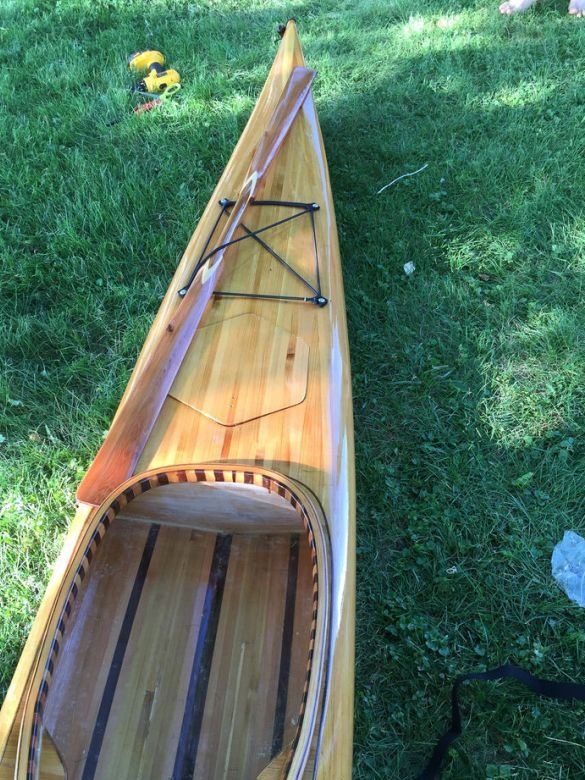
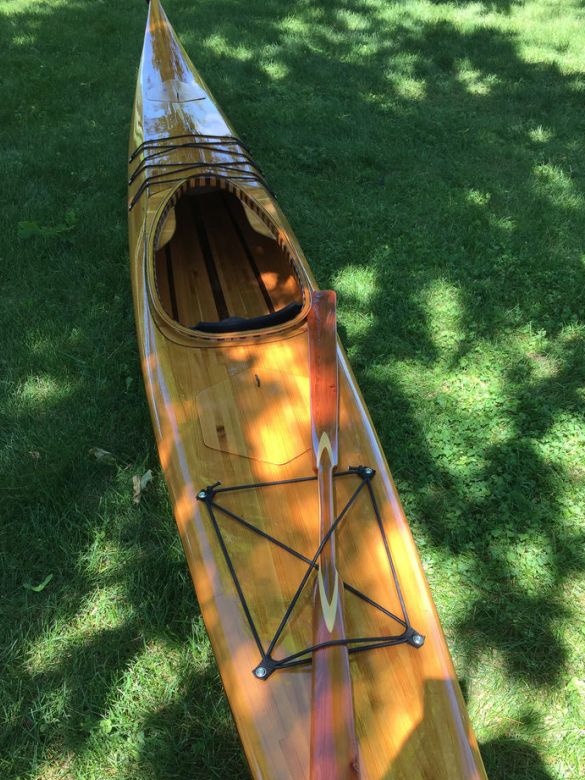
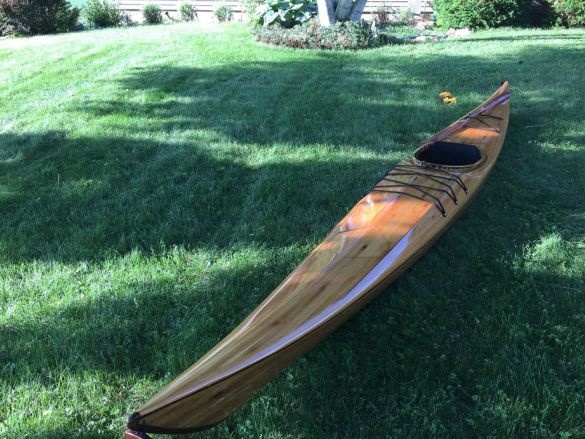
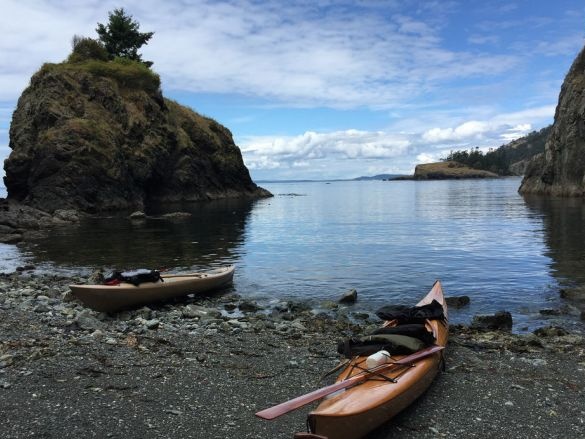
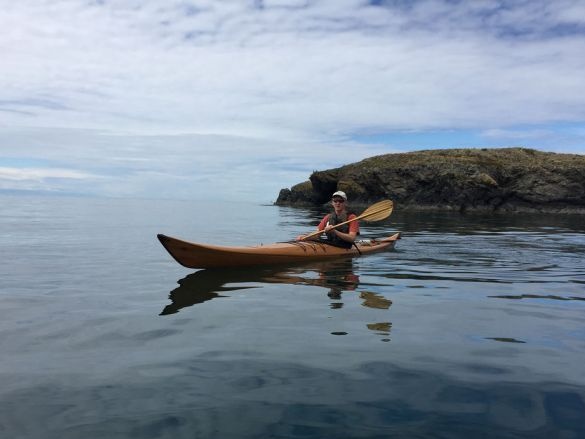
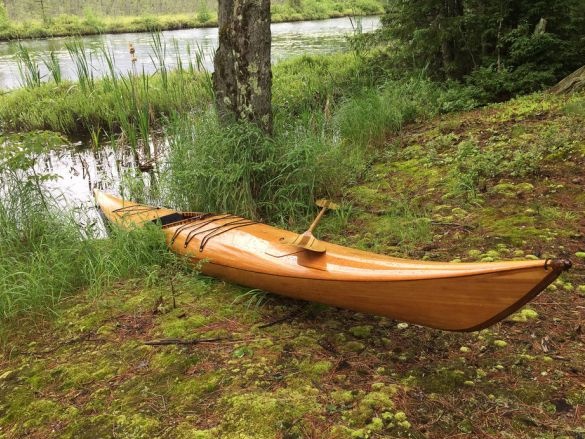
According to the master, a kayak built in this way is durable and light. The weight of the boat is about 15 kg, while a purchased plastic boat weighs about 21 kg. Light weight makes it easy to move the boat overland and maneuver on the water. Construction the kayak took 6 months from the master and cost about $ 600.
Tools and materials:
-Wood (cedar, pine, walnut);
-A circular saw;
-Roulette;
-Marker;
MDF;
-A screwdriver;
-Fasteners;
-Glue;
-Scotch;
- Clamps;
Epoxy resin;
-Glass cloth;
-Skobel;
-Sandpaper;
-Sander;
-Hammer;
-Plane;
-Chisel;
- Putty;
-Brush;
-Compass;
-Saw;
- Planing machine.
Step One: Design
When designing, the master used material from the book by Nick Schade.
Step two: keel
The keel is the lower beam, passing in the middle of the bottom of the vessel from the bow to its aft end, and serves to ensure the strength of the hull and ensure stability.
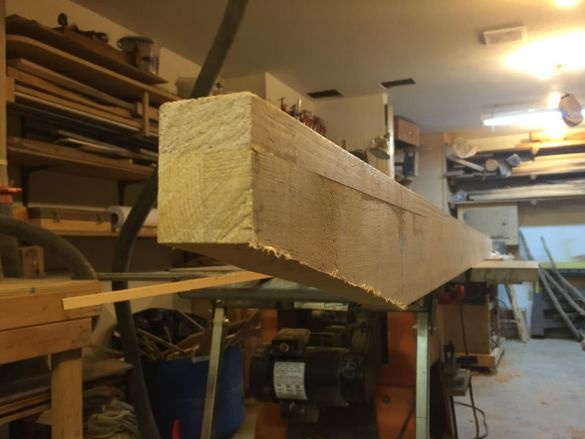
For the keel, the master takes a beam of coniferous wood. Cuts the beam of the desired length. Samples in the central part and bevels along the edges. Top mounts rail.
Step Three: Stringers
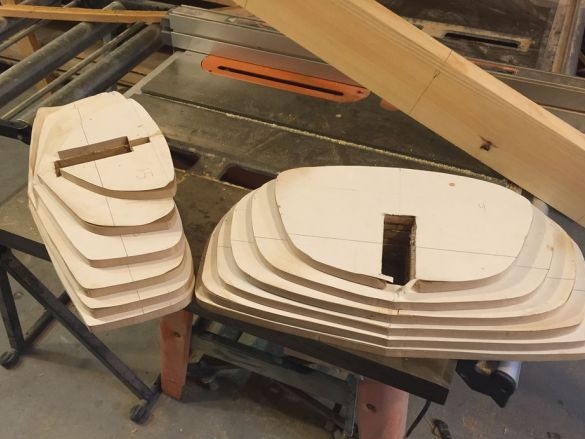
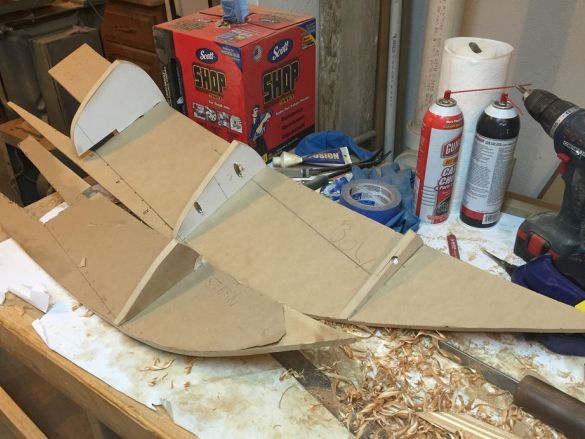
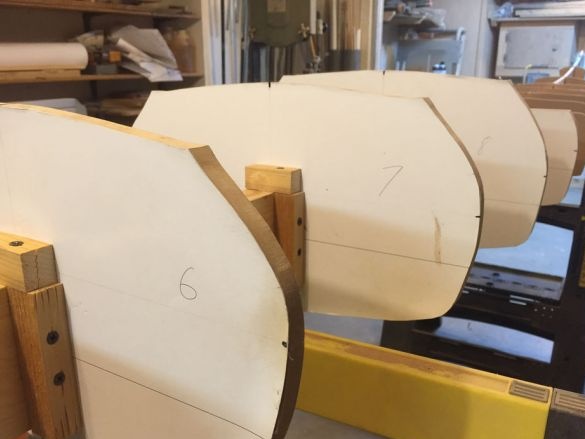
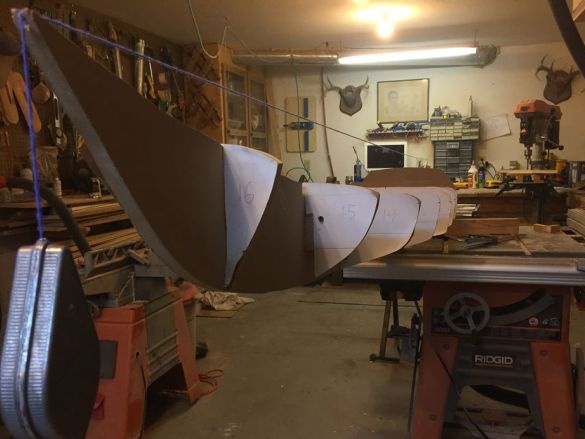
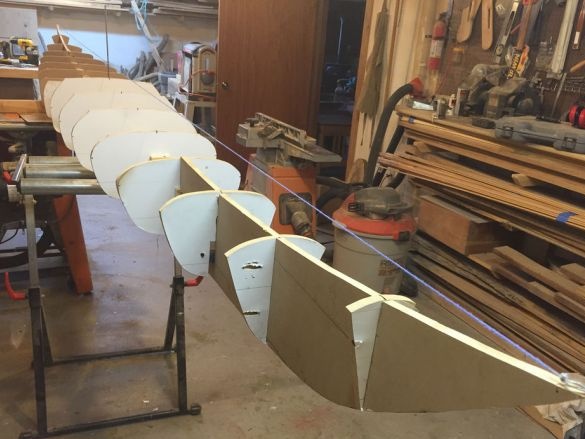
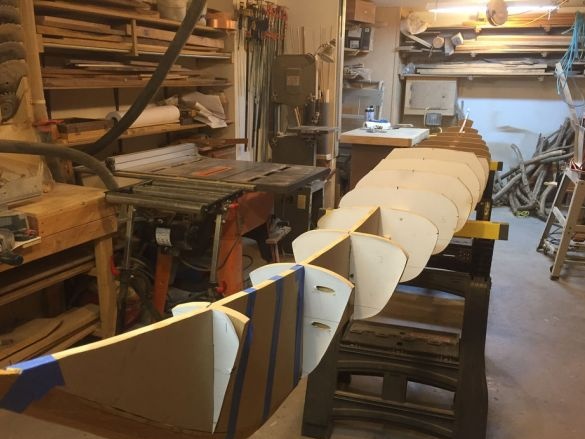
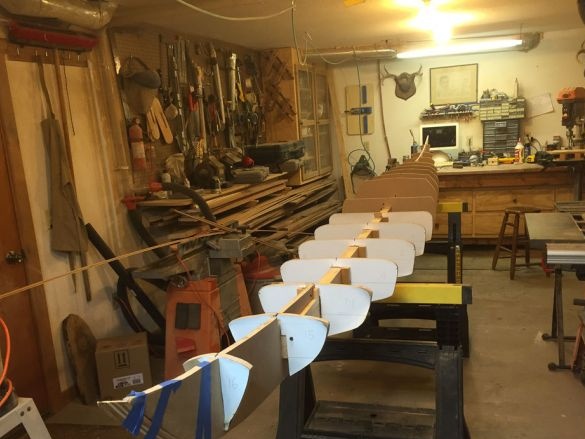
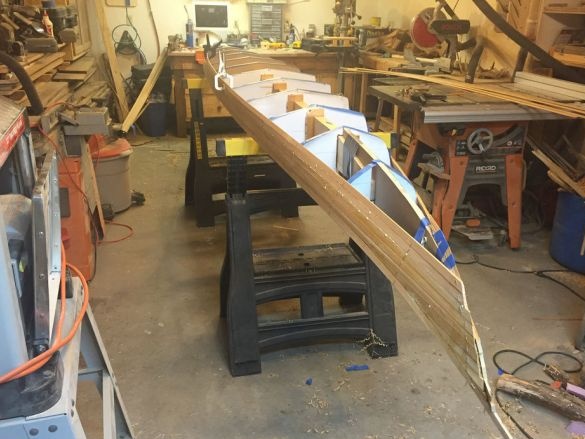
Cross ribs made of MDF. The master makes templates from paper, sticks them on MDF and cuts them out. In the middle part of the ribs makes cuts.
Threads into the cutouts of the ribs. It is important to correctly position the ribs on the keel. After fitting glues parts.
Step Four: Reiki
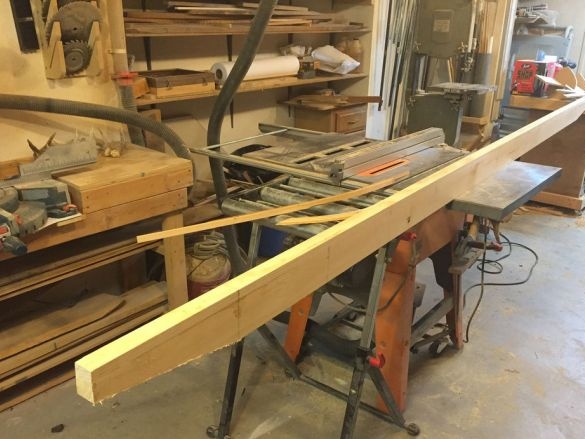
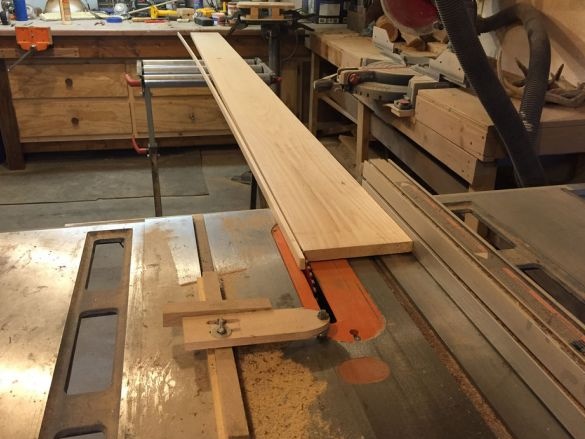
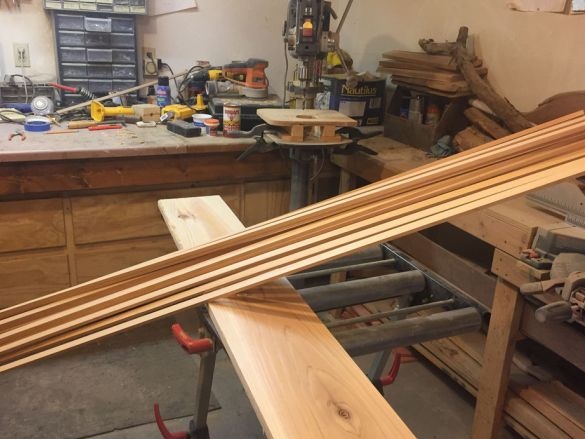
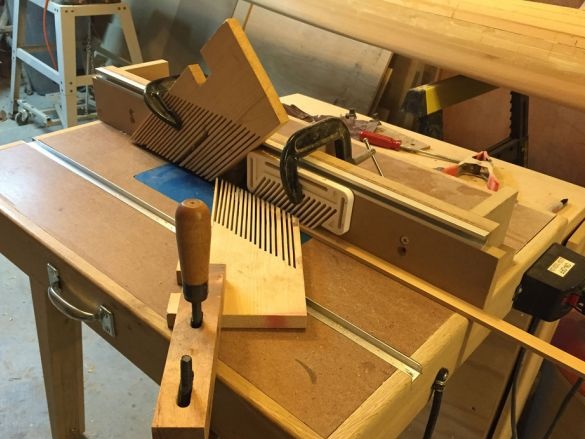
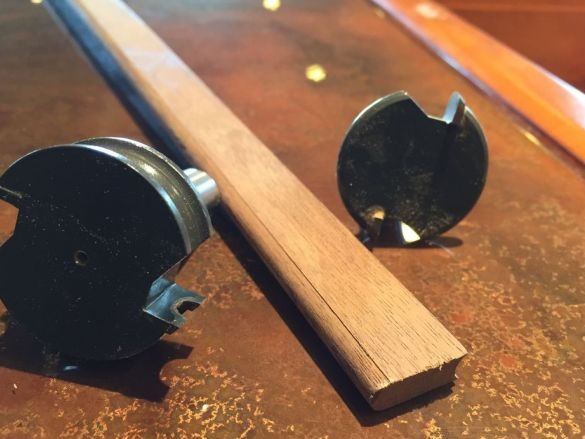
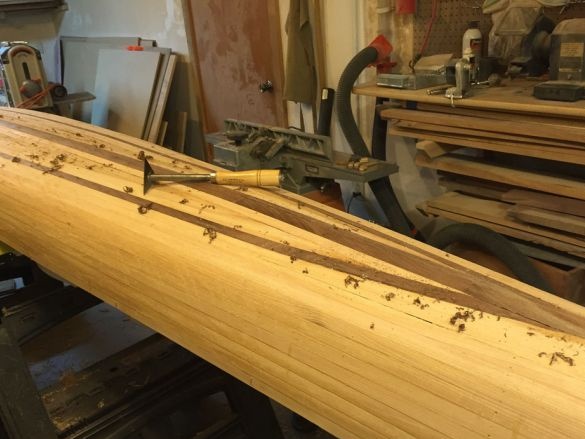
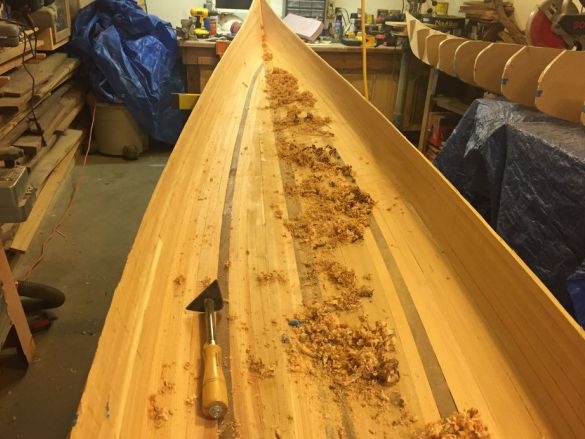
To cover the kayak, the master uses cedar and walnut. Adjusts the width of the boards on the planer. Cuts boards into slats.
Step Five: Stem
A stem is a beam, which is the base of the bow of the vessel, or the base of the stern.
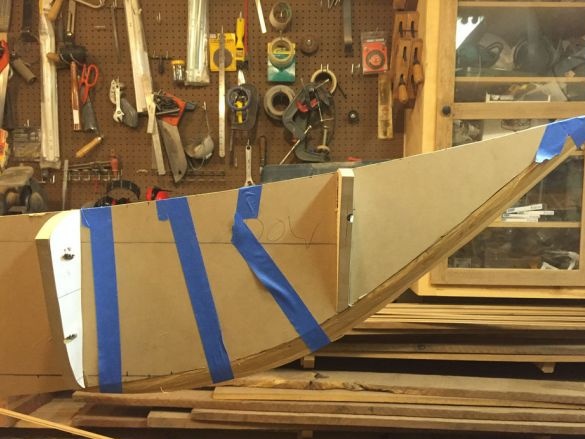
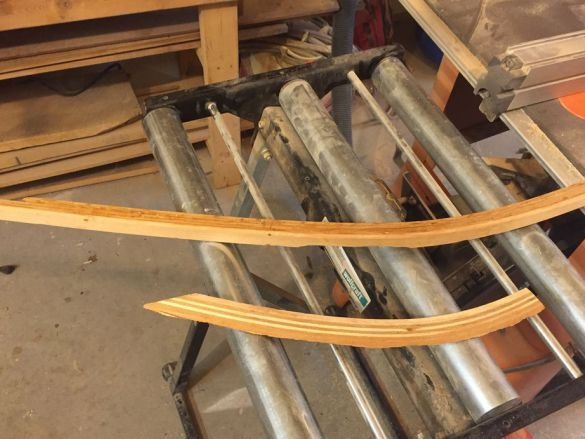
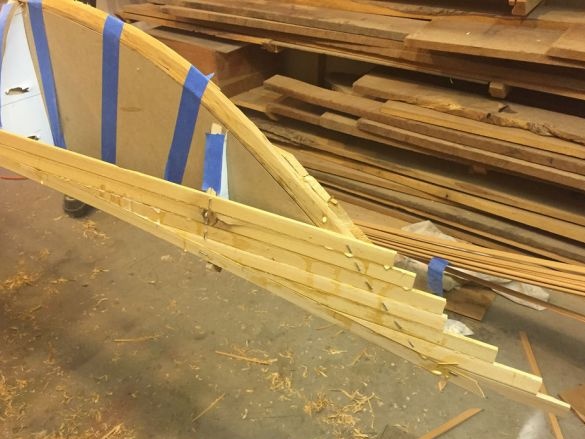
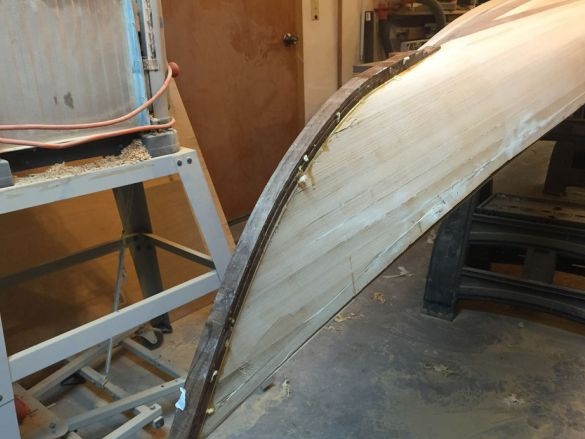
The master made the stem by gluing several cedar battens and shaping them using a template. Then fixed them in the bow and stern.
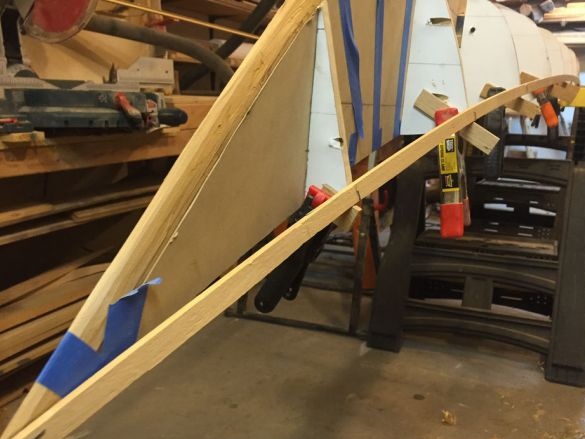
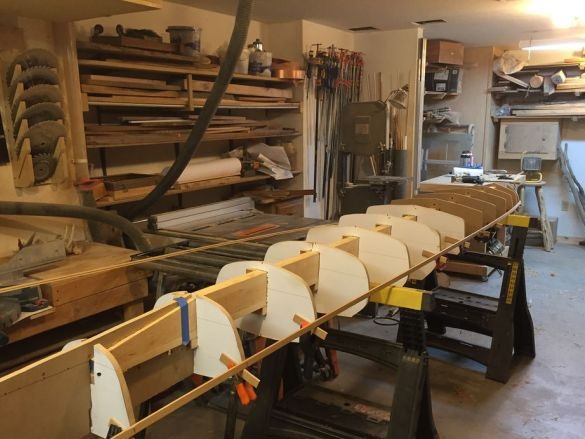
Step Six: Top Rail
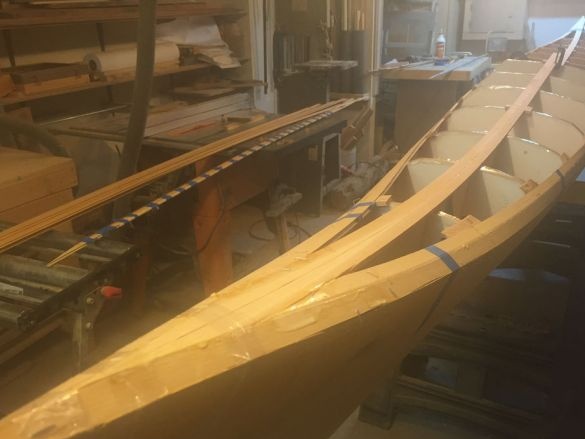
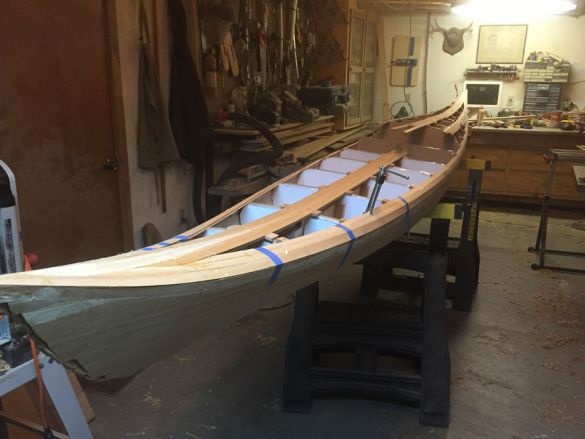
Secures the top rail. The rail is bent and other rails will be installed on it.
Seventh step: sheathing
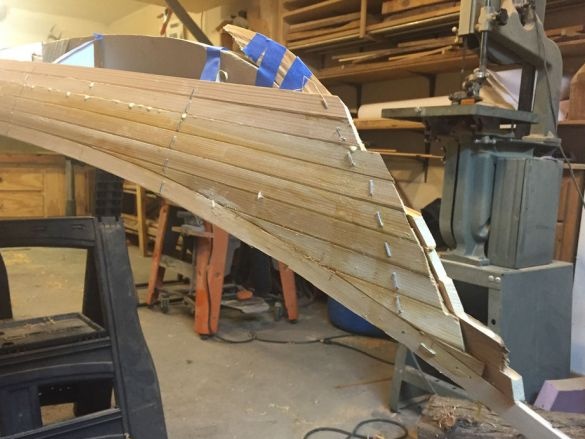
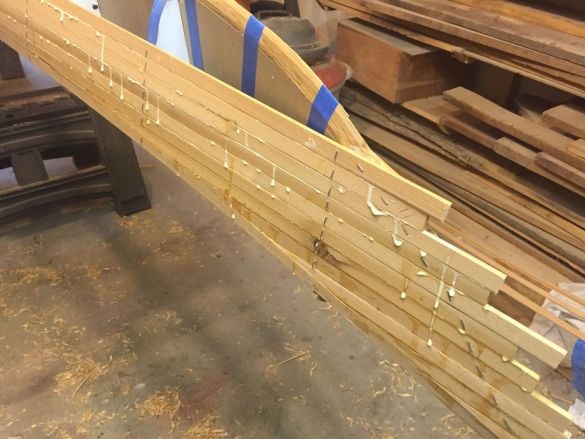
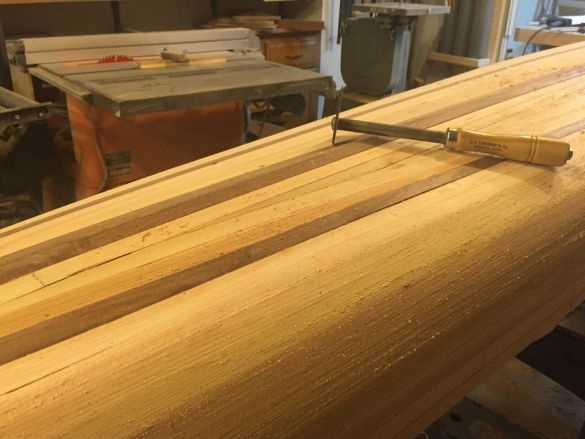
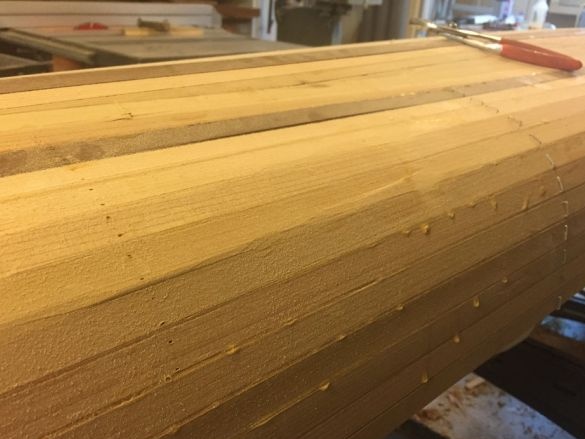
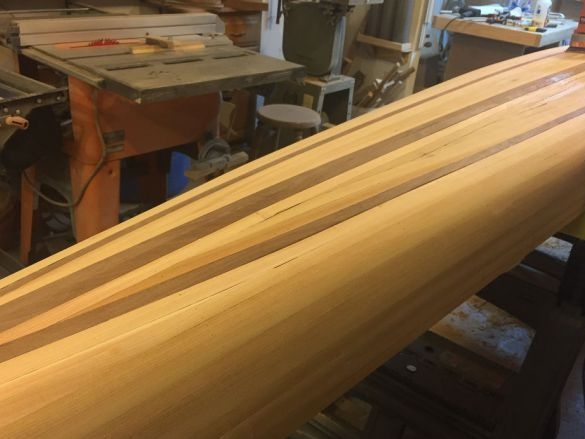
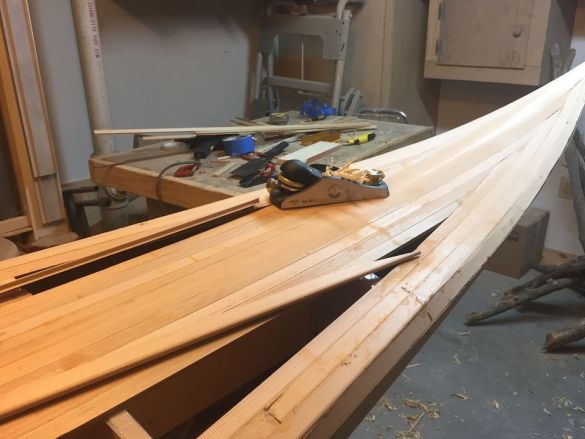
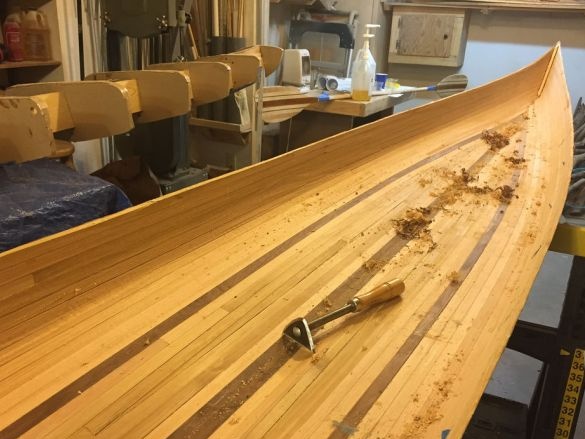
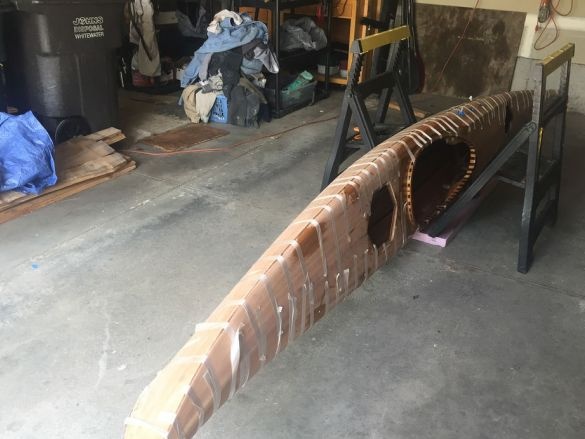
With the help of staples and glue, it fixes the rails along the sides.
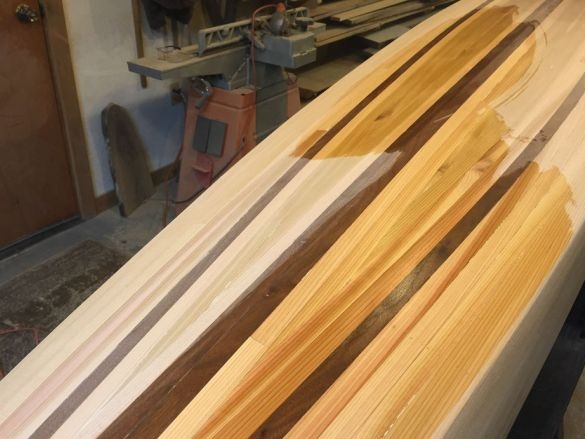
Makes inserts from walnut slats.
After the glue dries, it cleans the sides.
Step Eight: Deck
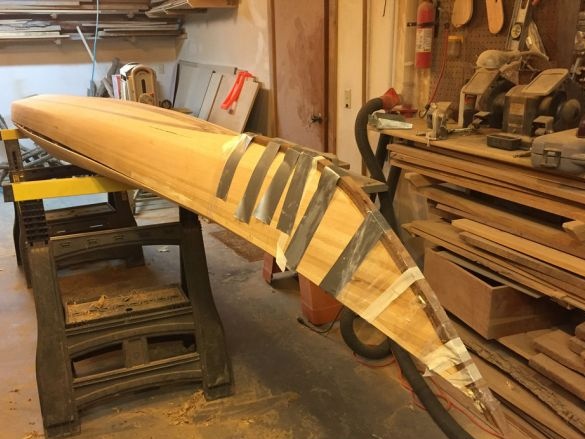
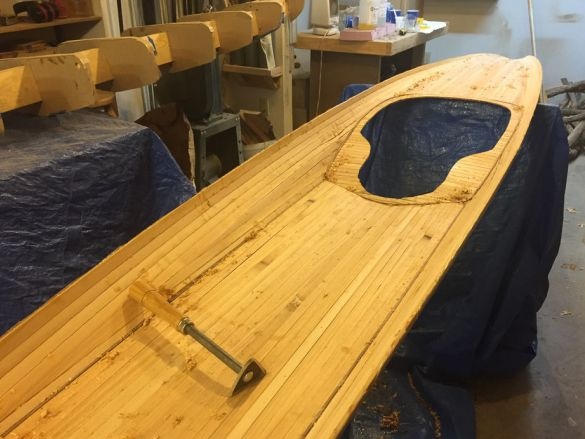
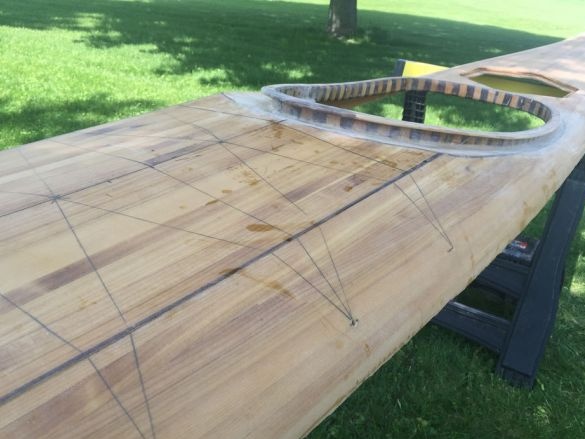
The deck is made as a separate part. Turns over the boat. Lays at the top of the strip in the shape of a boat. Fastens them with tape and then glue.
Step Nine: Pads
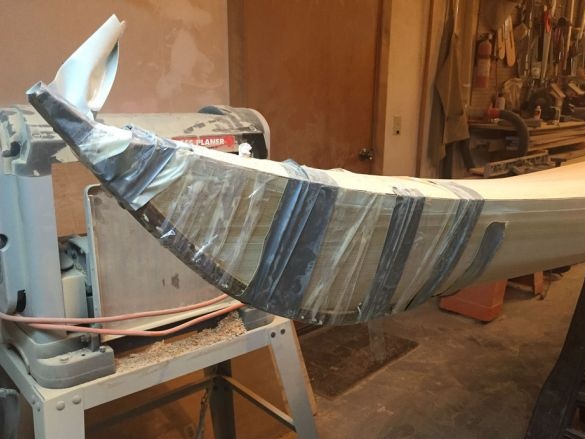
On the stem and stern, glues walnut pads. After the glue dries, it processes them, gives them the desired shape.
Step Ten: Cockpit
Cockpit is a deep open space in the middle or aft of the deck.
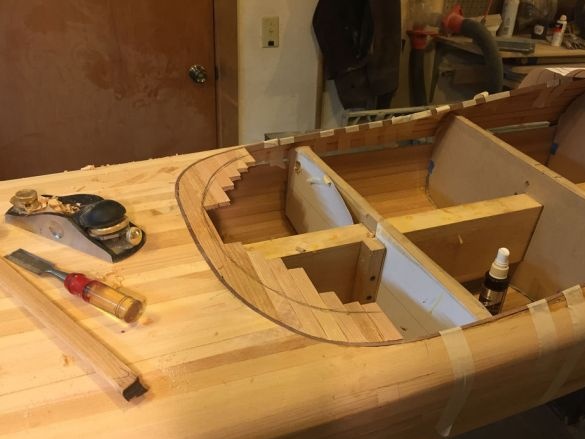
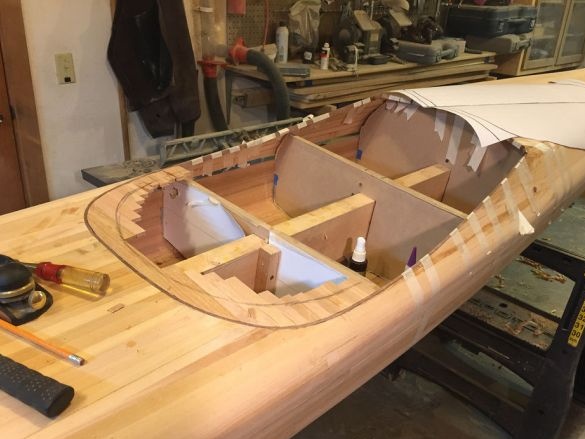
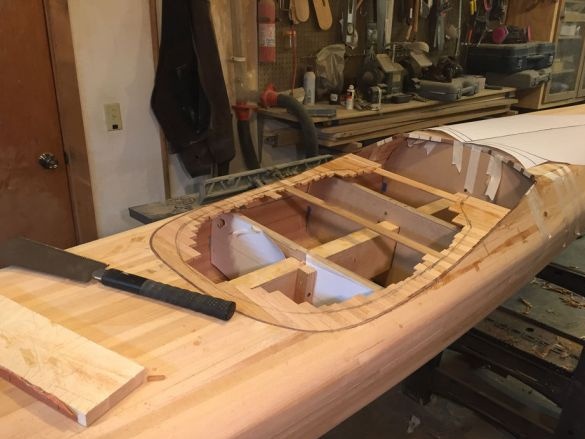
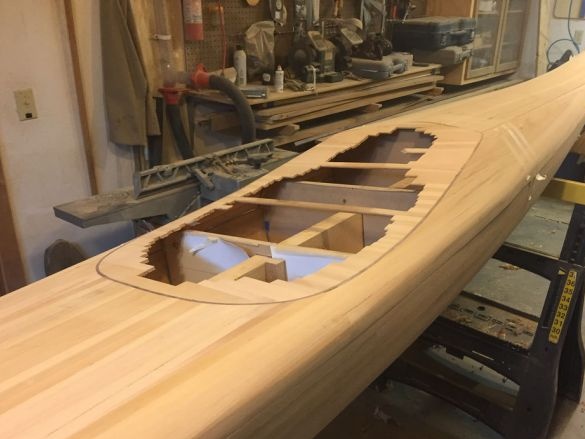
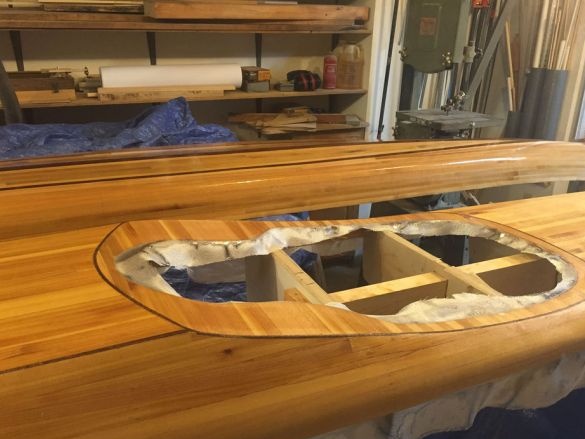
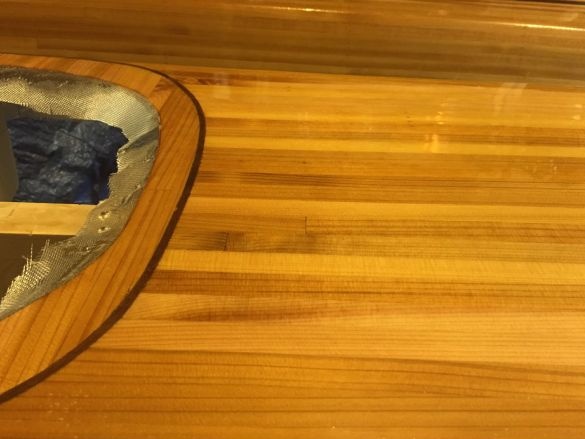
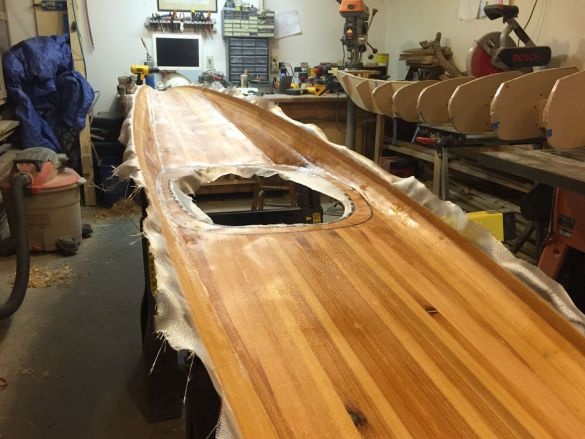
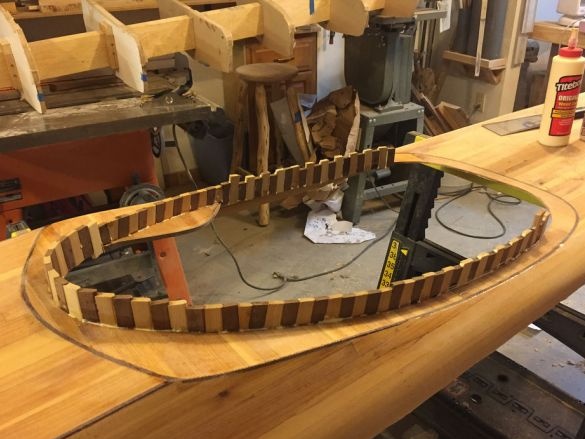
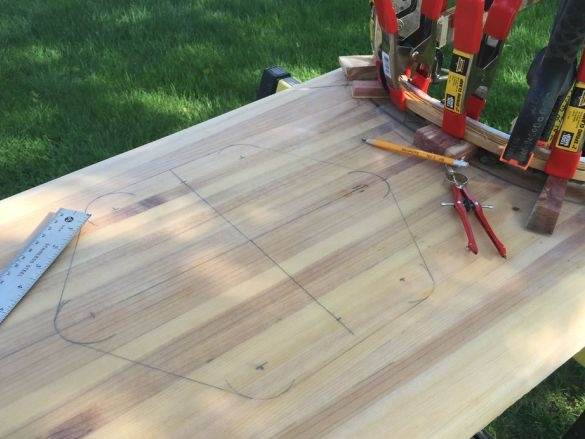
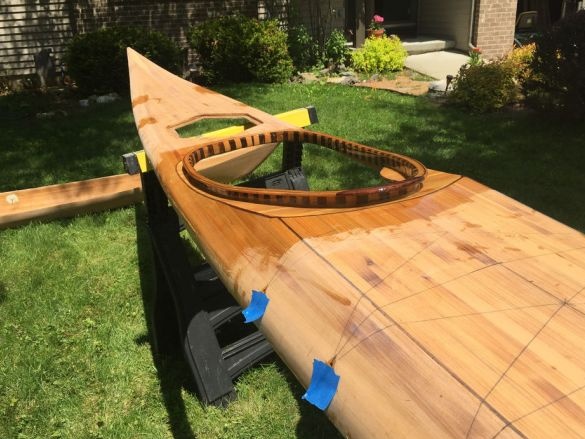
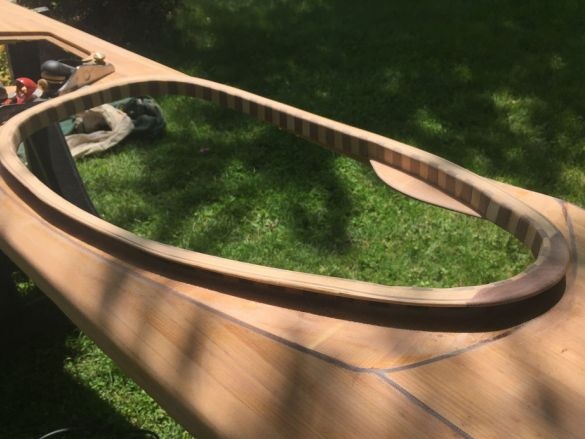
Of paper makes a pattern. Makes a hole in the pattern. Glue walnut along the edge.
On the perimeter of the cockpit glues pieces of reiki. Then it processes their edges, gives the cockpit the desired shape.
Step Eleven: Grinding
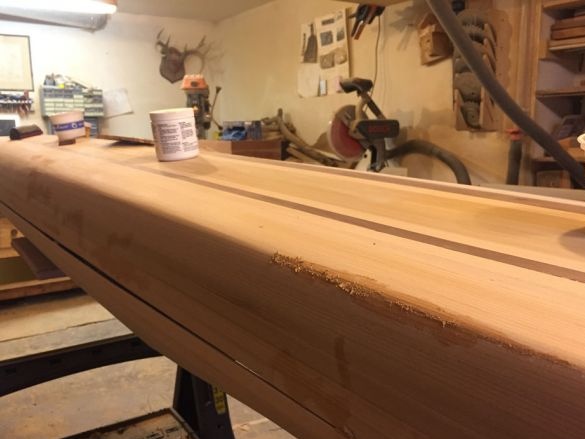
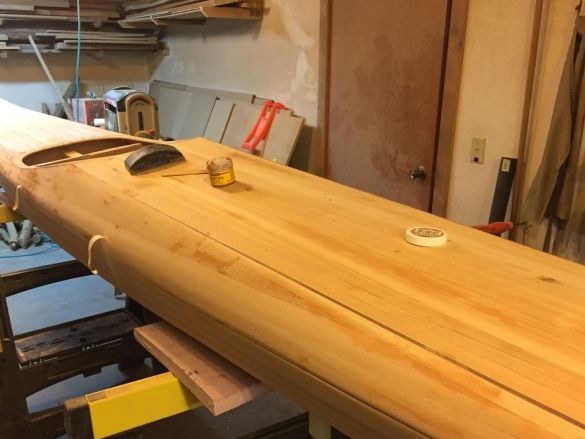
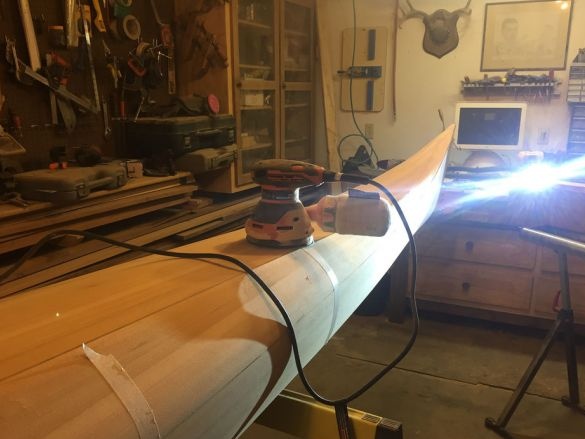
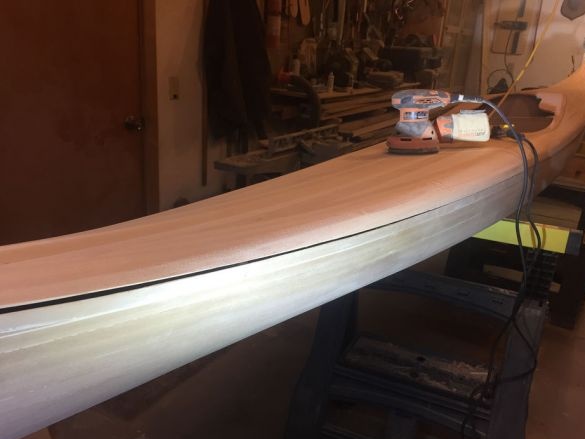
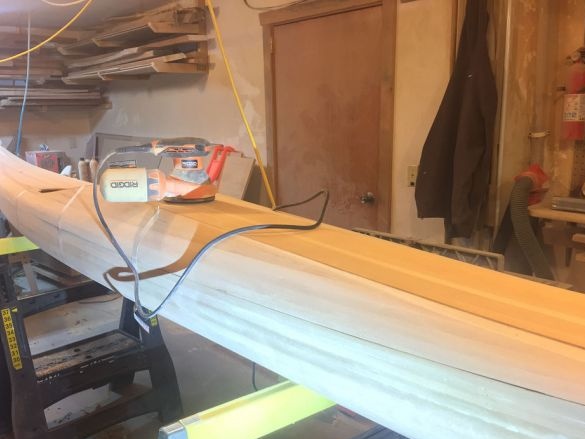
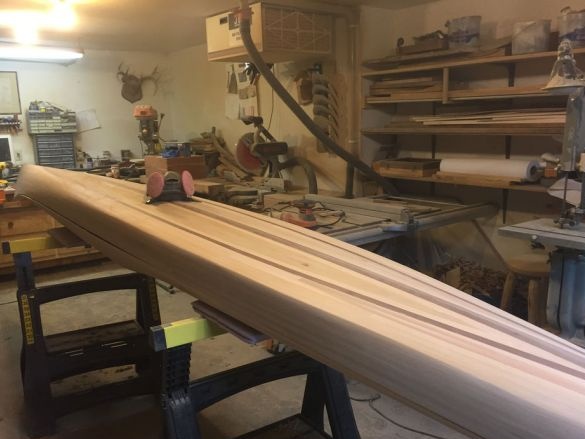
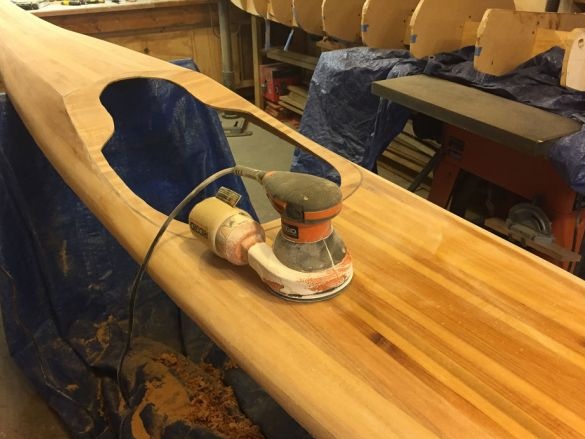
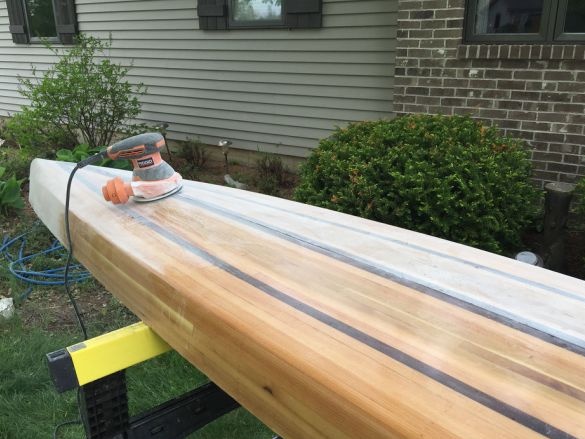
Grinds all parts of the kayak. Then putty and grind again.
Wets the surface of the boat. After drying, grind with finer sandpaper.
Step Twelve: Fiberglass
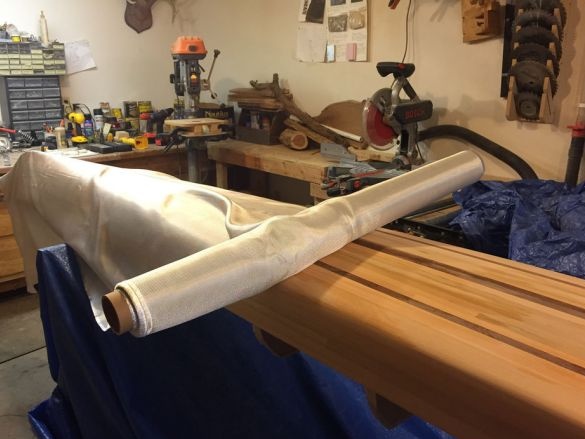
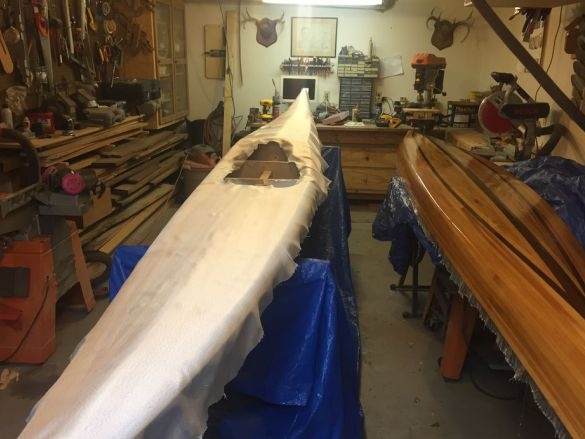
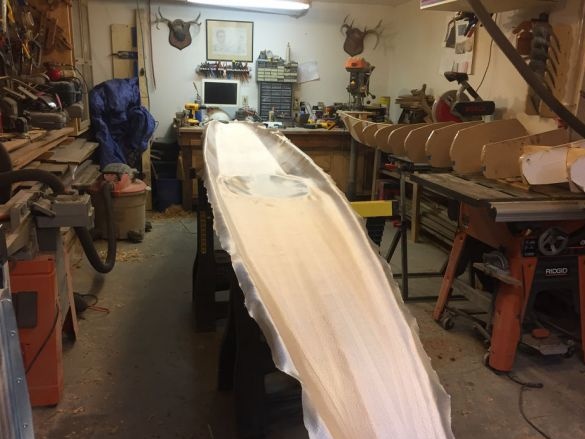
Now you need to paste the surface of the boat with fiberglass.
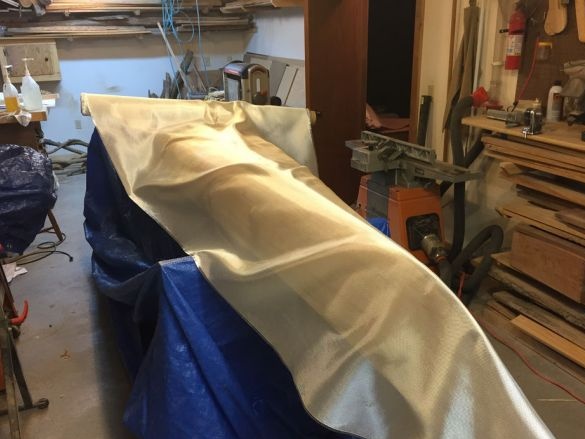
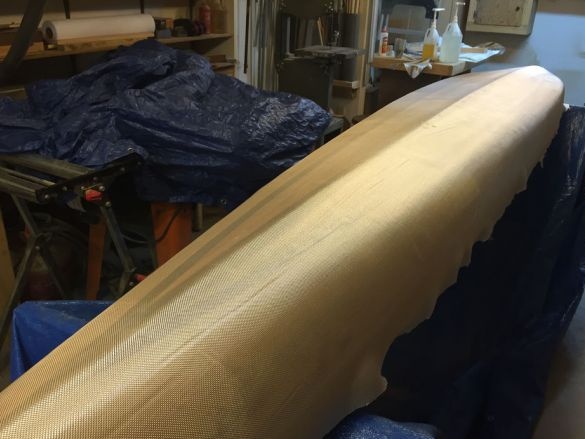
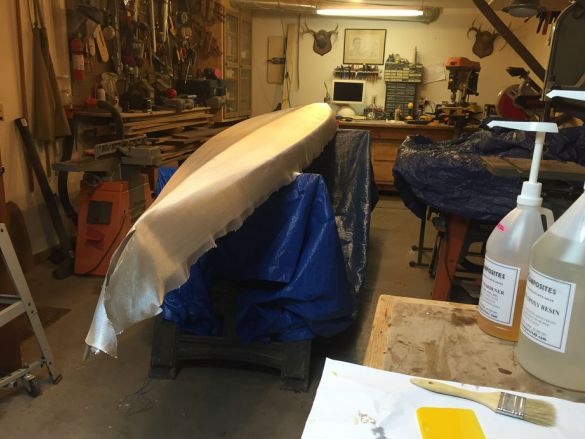
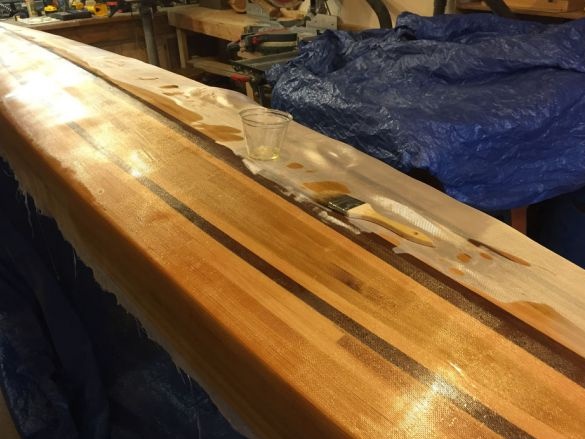
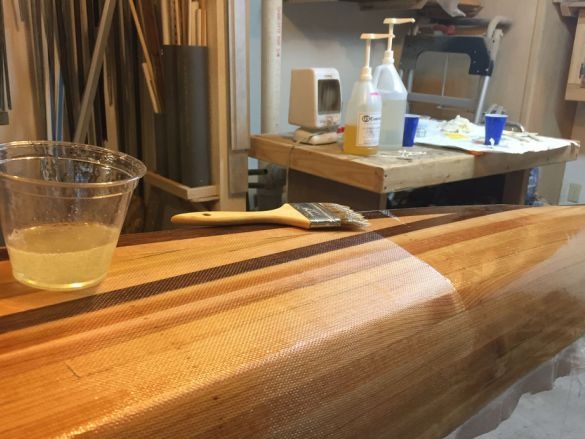
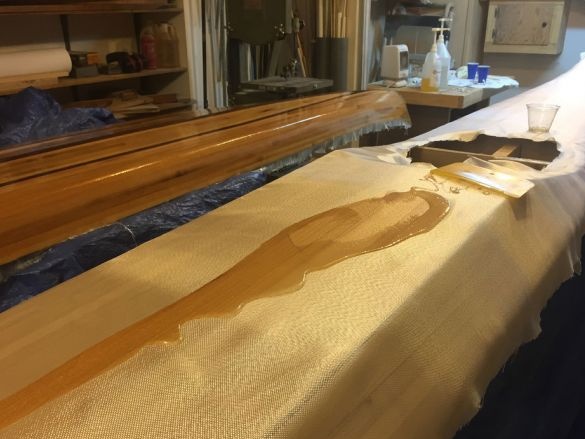
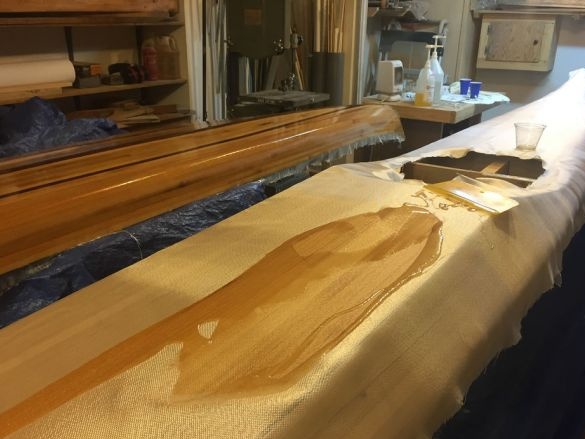
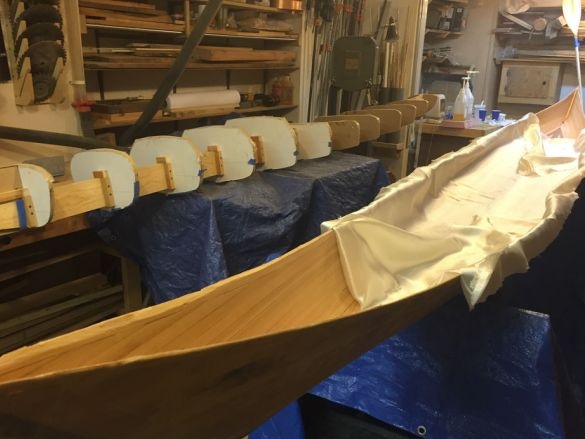
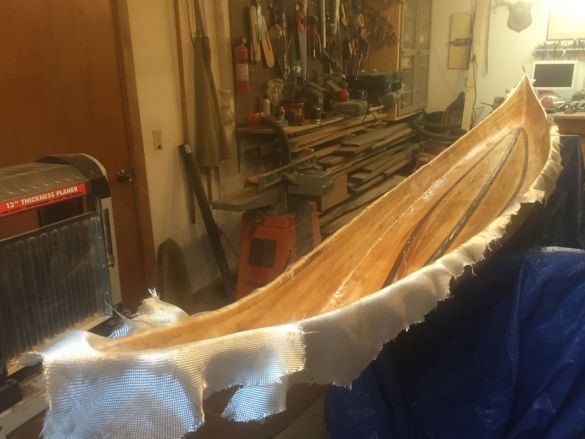
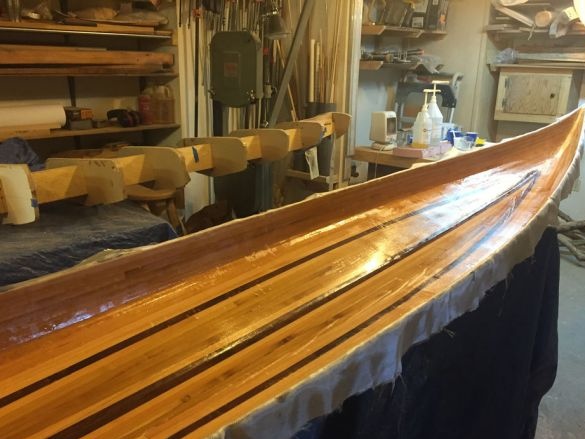
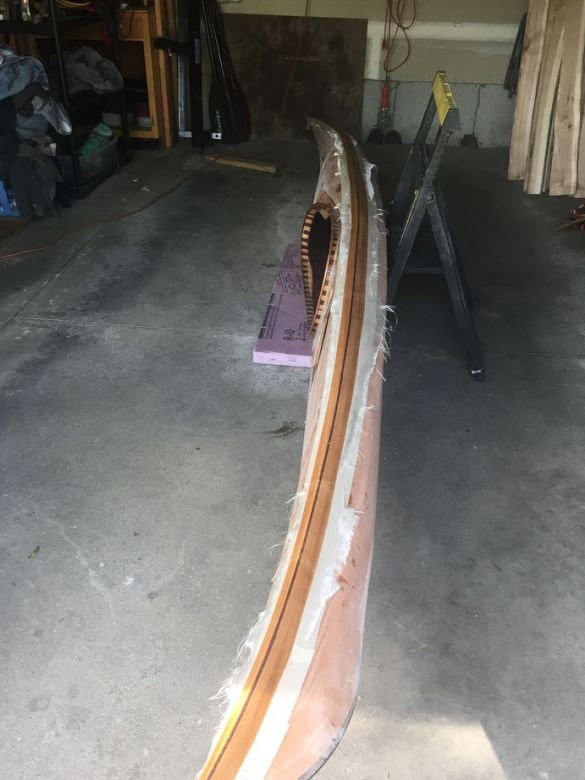
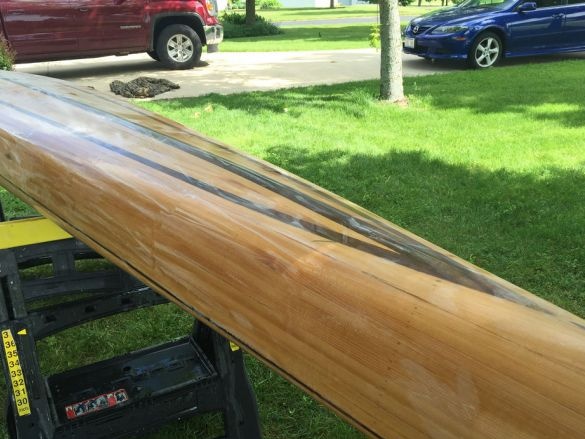
Knead epoxy. Covers the hull and deck with fiberglass and applies epoxy. Evenly smoothes the resin on the surface, removes excess.
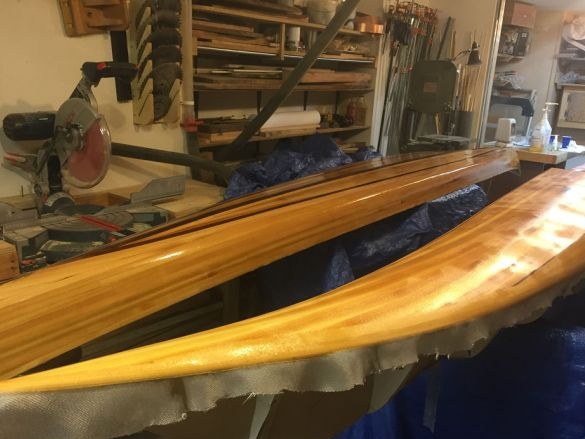
After drying, the resin applies another layer of epoxy.
It also covers the deck of a boat.
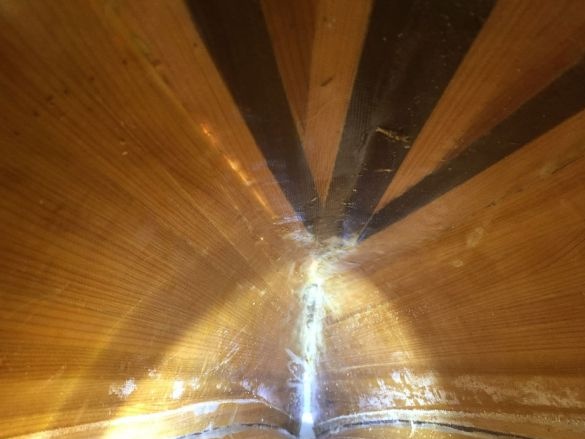
Step Thirteen: The Inside
Grinds the inside. Wraps it with fiberglass.
After drying, polishes the boat.
Step Fourteen: Cockpit
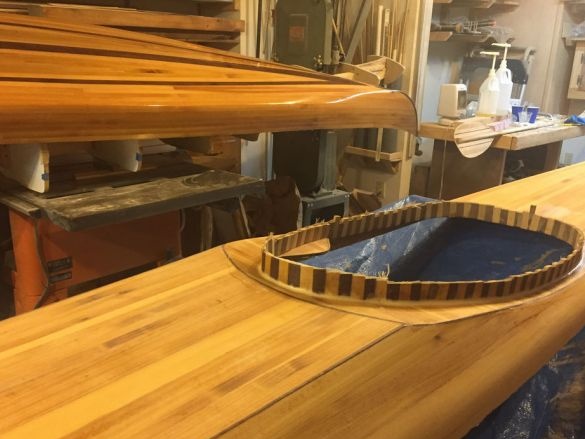
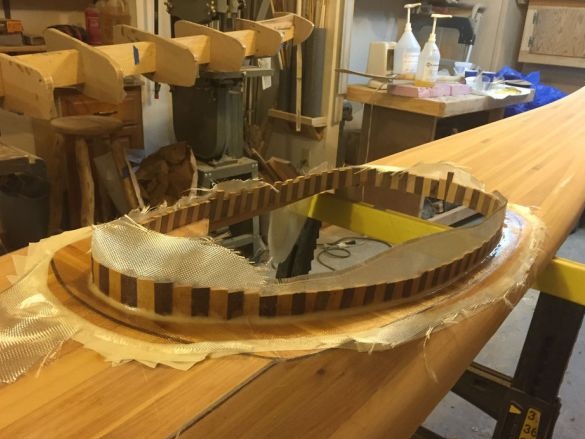
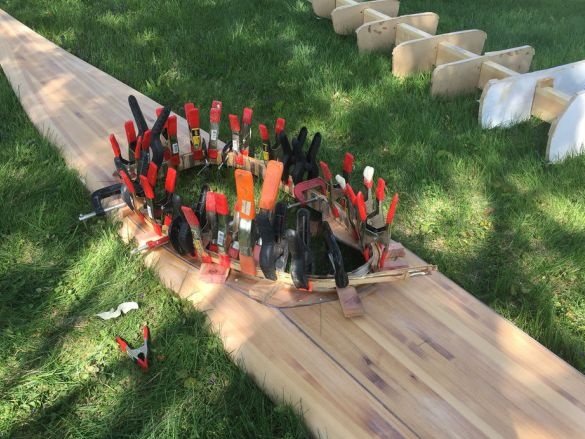
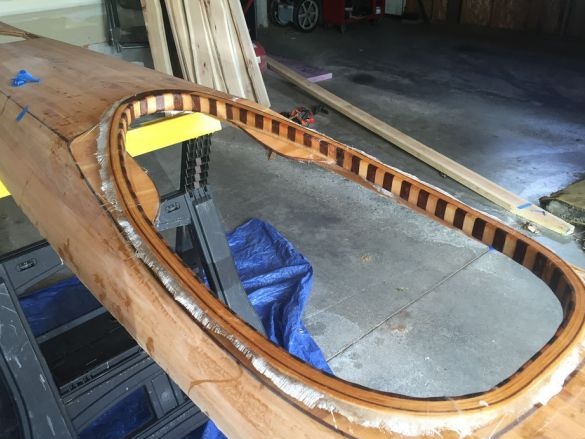
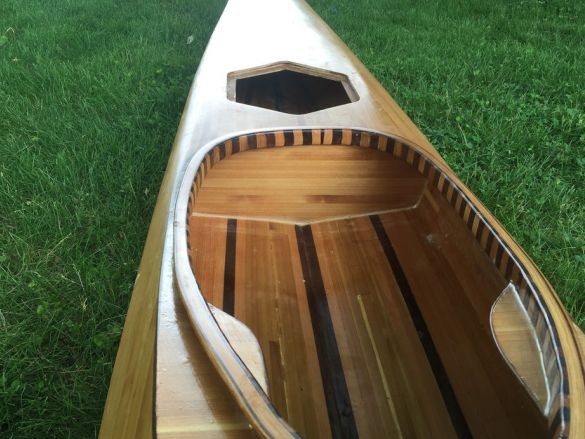
Next, the master glues alternating pieces of walnut and cedar vertically around the cockpit.
Pastes over with fiberglass.
Step Fifteen: Hatches
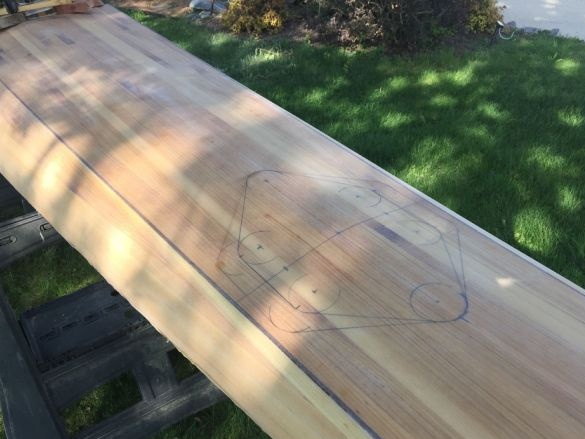
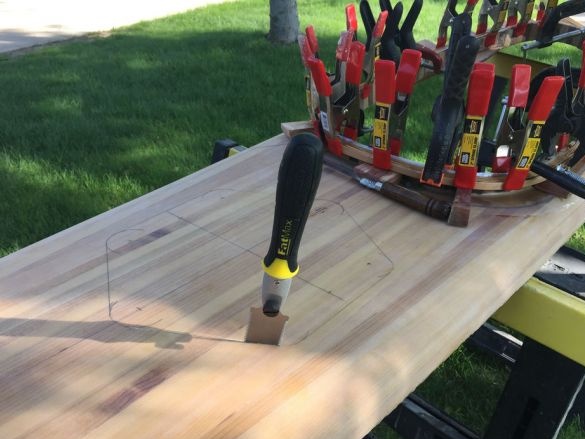
Cut hatches in the deck.
Glues support rails around the perimeter of the hatches. Makes covers.
Step sixteen: connecting the parts of the boat
It connects the hull and deck of the boat after fitting the joint. Glues a nut insert at the junction. Sticks fiberglass to the joint. Coats the joint from the inside with epoxy resin.
Step Seventeen: Grinding Again
Grinds the boat again.
Step eighteen: varnishing
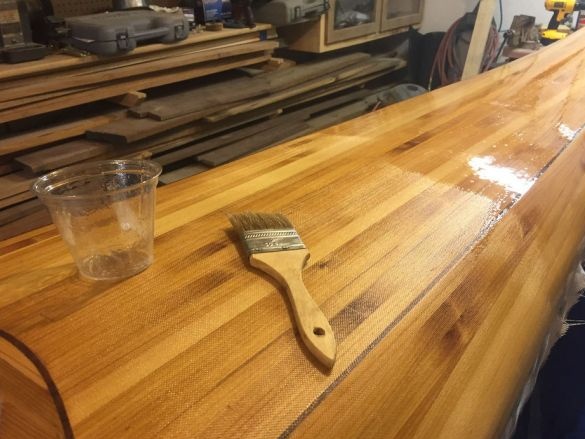
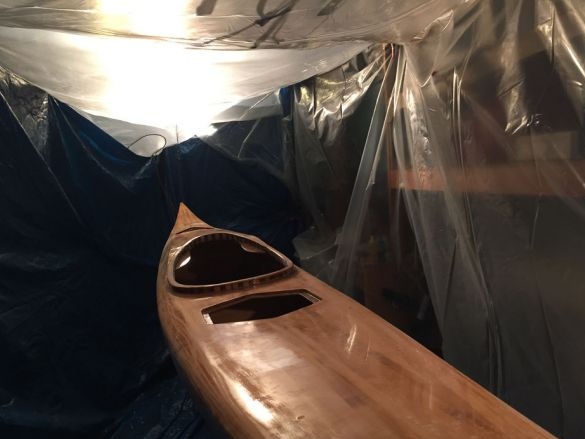
It makes a tent out of polyethylene. Apply varnish to the boat in six layers.
Step Nineteen: Snap
Now it remains to equip the boat with a seat, paddle, etc.
The kayak is ready, you can go on a trip.

