
In this article, Konstantin, How-todo workshop, will show you how to make a Gauss portable gun.
The project was done just for fun, so there was no goal to set any records in the Gauss building.
In fact, Konstantin was even too lazy to count the coil.

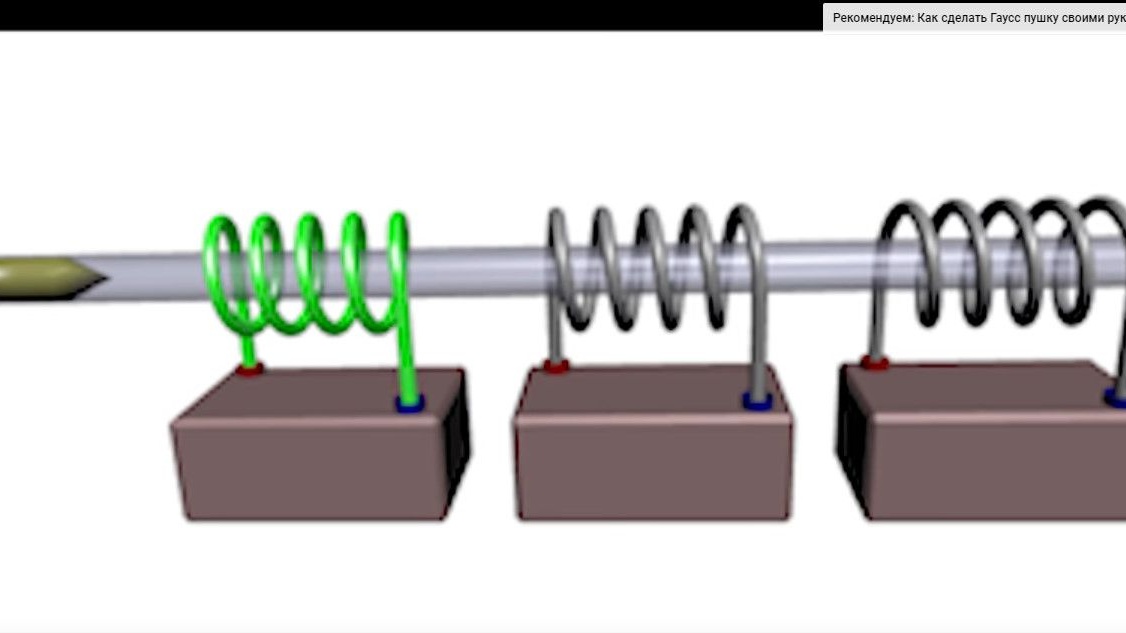
Let’s start by refreshing the theory. How does a Gauss gun work at all?
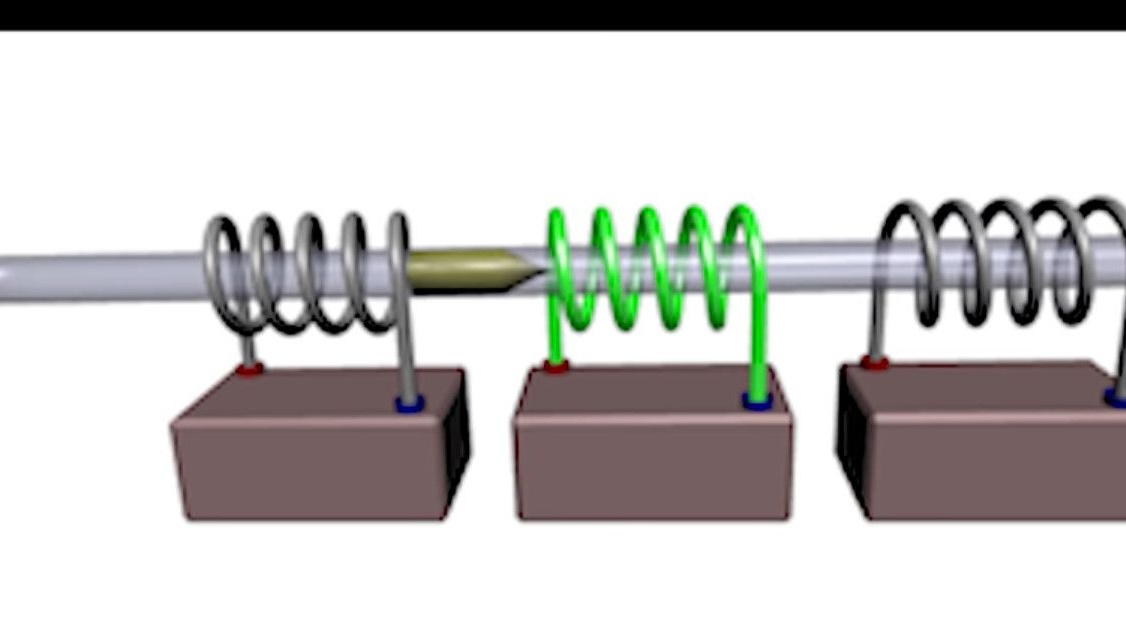
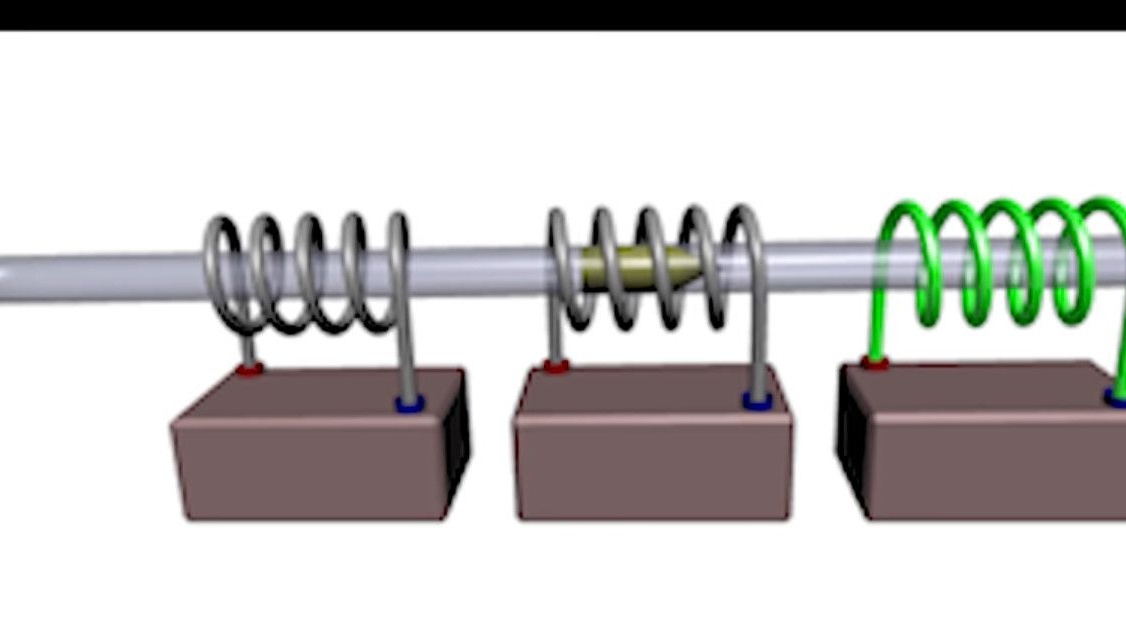
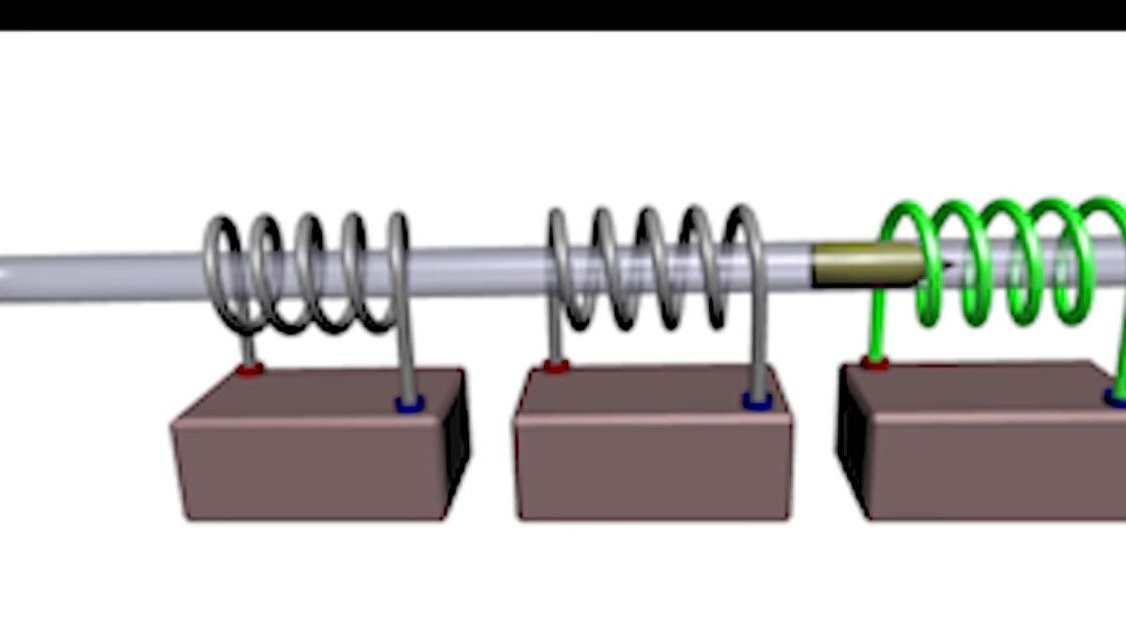
We charge the capacitor with a high voltage and discharge it to a coil of copper wire located on the barrel.
When current flows through it, a powerful electromagnetic field is created. A bullet from a ferromagnet is drawn into the barrel. The capacitor charge is consumed very quickly and, ideally, the current through the coil stops flowing when the bullet is in the middle.

After which she continues to fly by inertia.
Before proceeding to the assembly, you should be warned that you need to work very carefully with high voltage.
Especially when using such large capacitors, this can be quite dangerous.
We will make a single-stage gun.
Firstly, because of simplicity. Electronics it is almost elementary.
In the manufacture of a multi-stage system, it is necessary to somehow switch coils, calculate them, and install sensors.
Secondly, a multi-stage device would simply not fit into the conceived gun form factor.
For even now the case is completely clogged. Similar crushing pistols were taken as a basis.

The case will be printed on a 3D printer. To do this, start with the model.
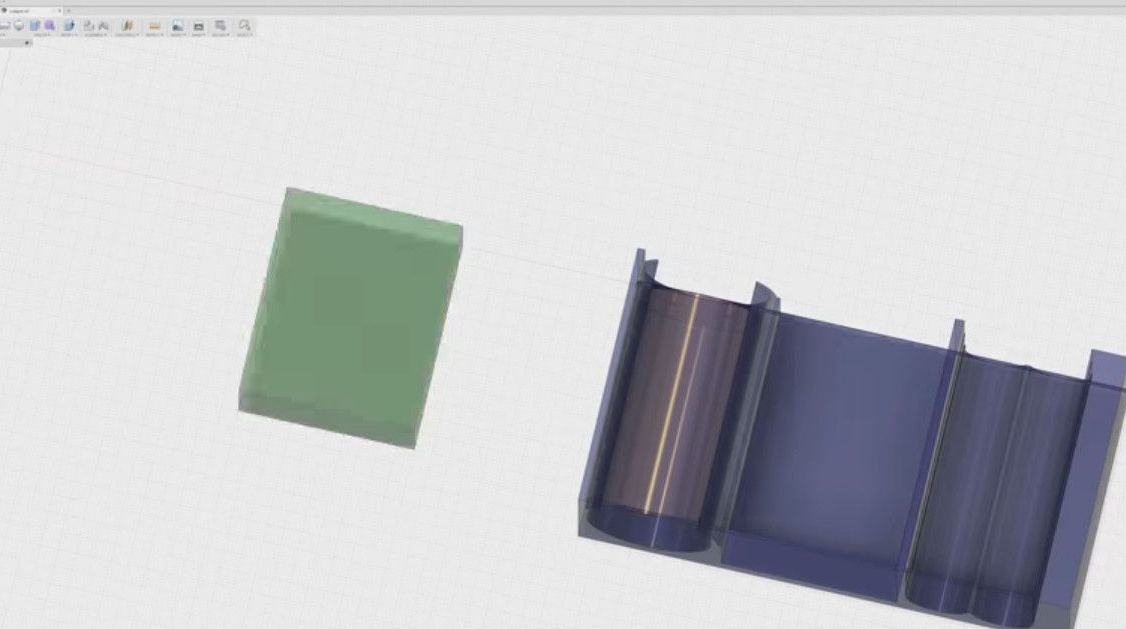
We make it in Fusion360 all the files will be in the description, if suddenly someone wants to repeat it.
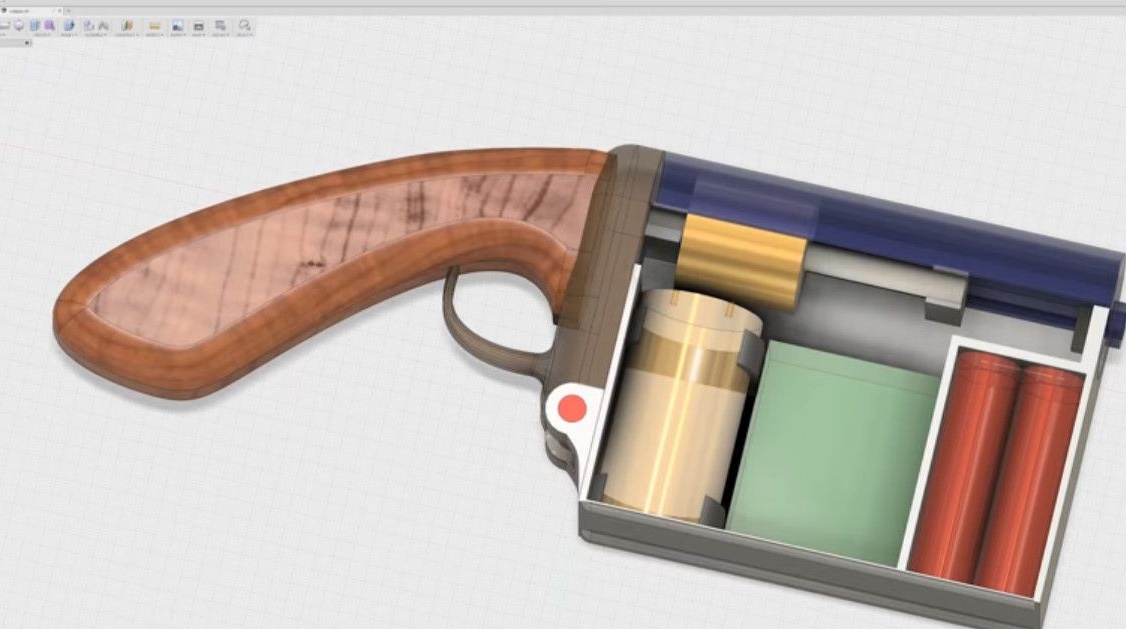
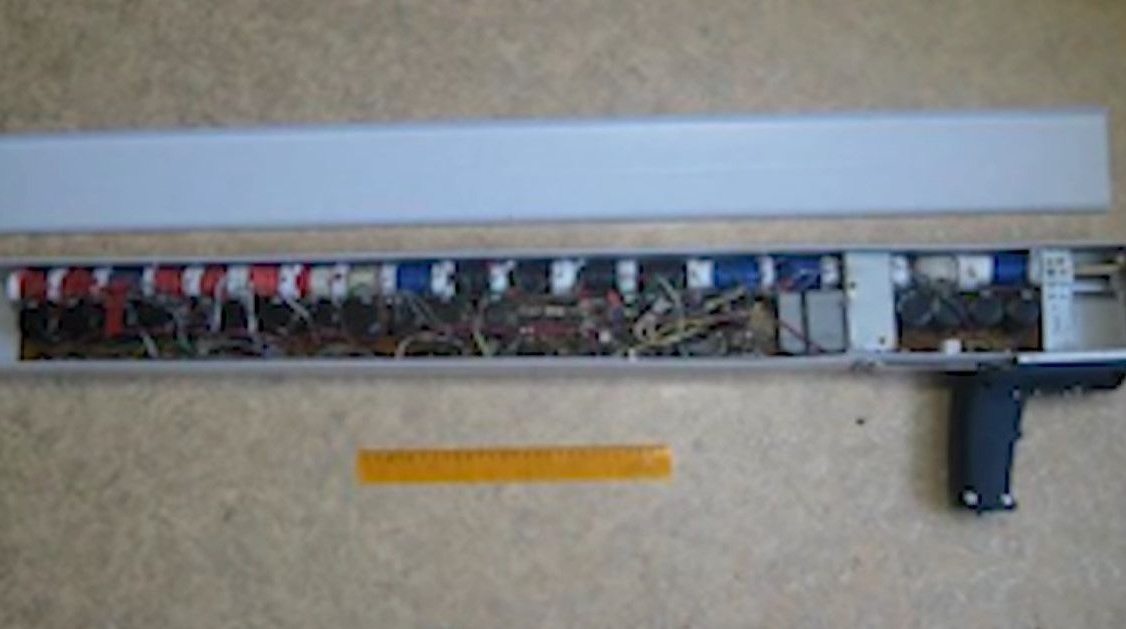
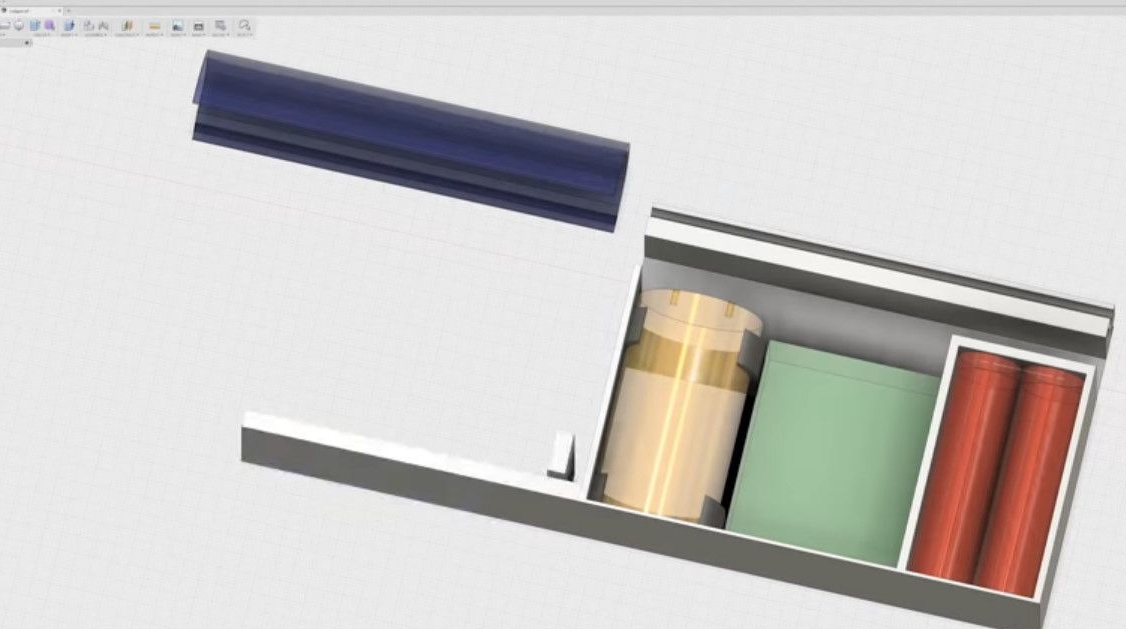
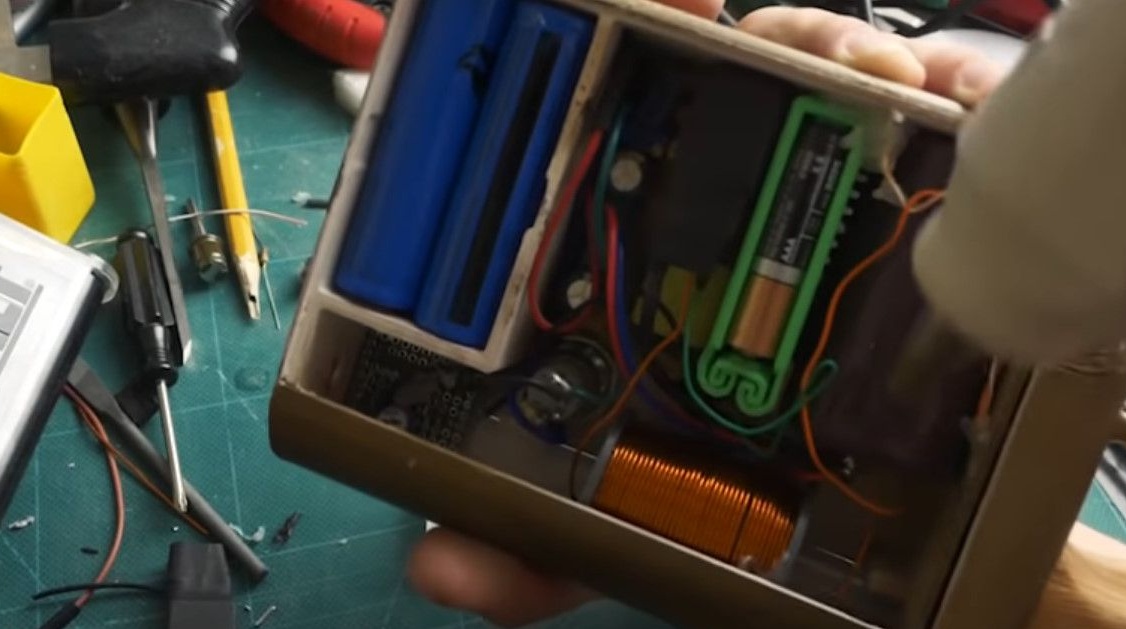
We will try to put all the details as compact as possible. By the way, there are very few of them.
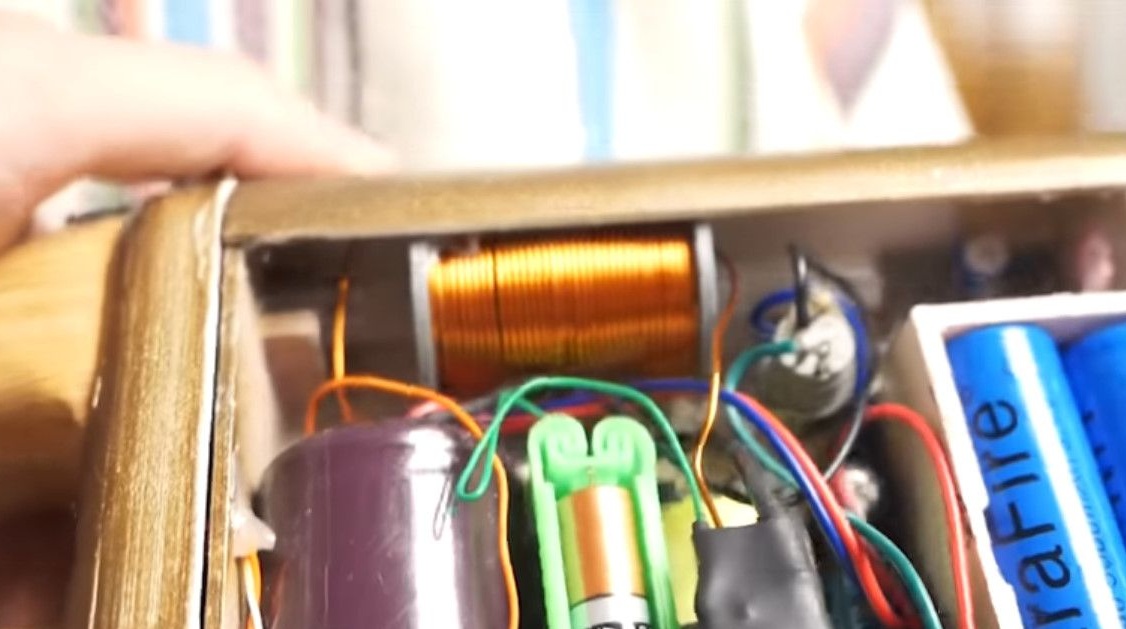
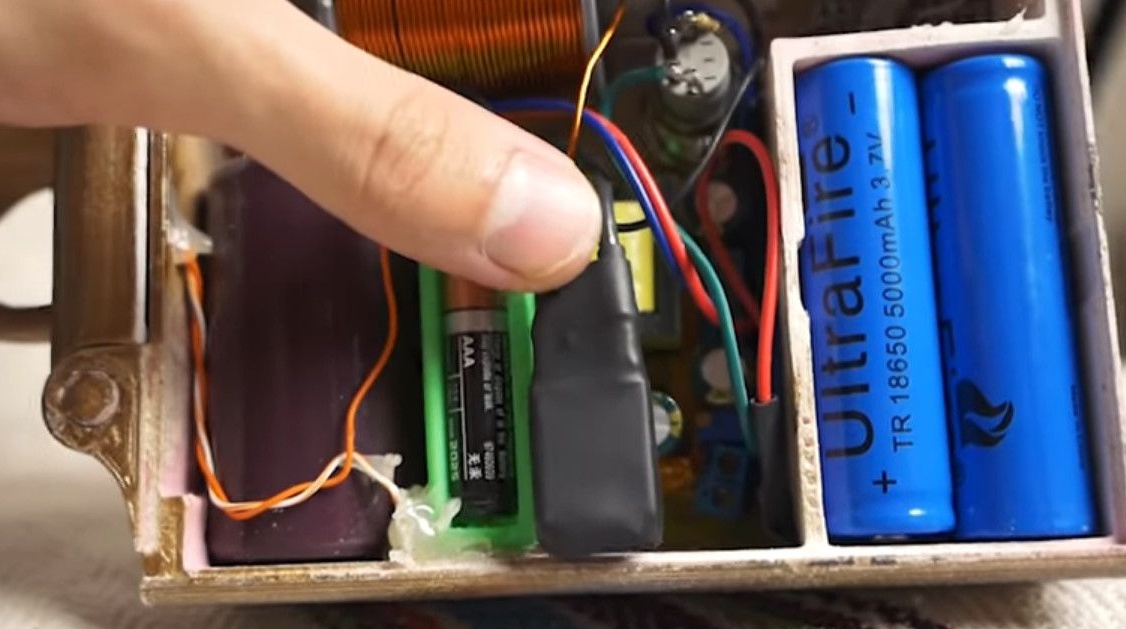
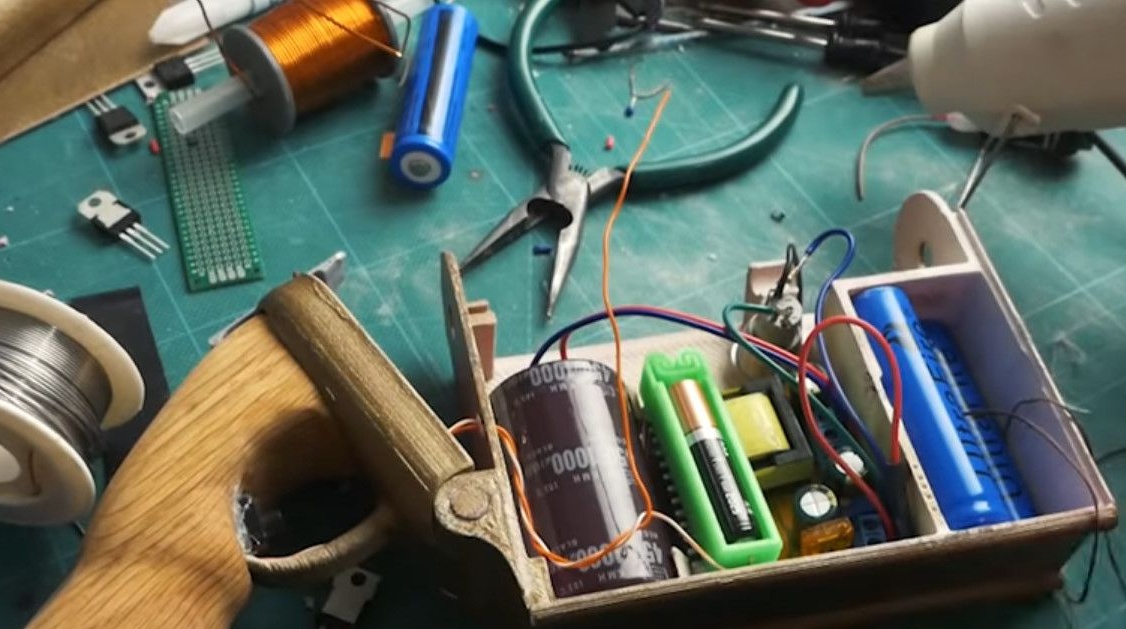
4 18650 batteries, giving a total of approximately 15V.
In their seat, the model provides recesses for installing jumpers.
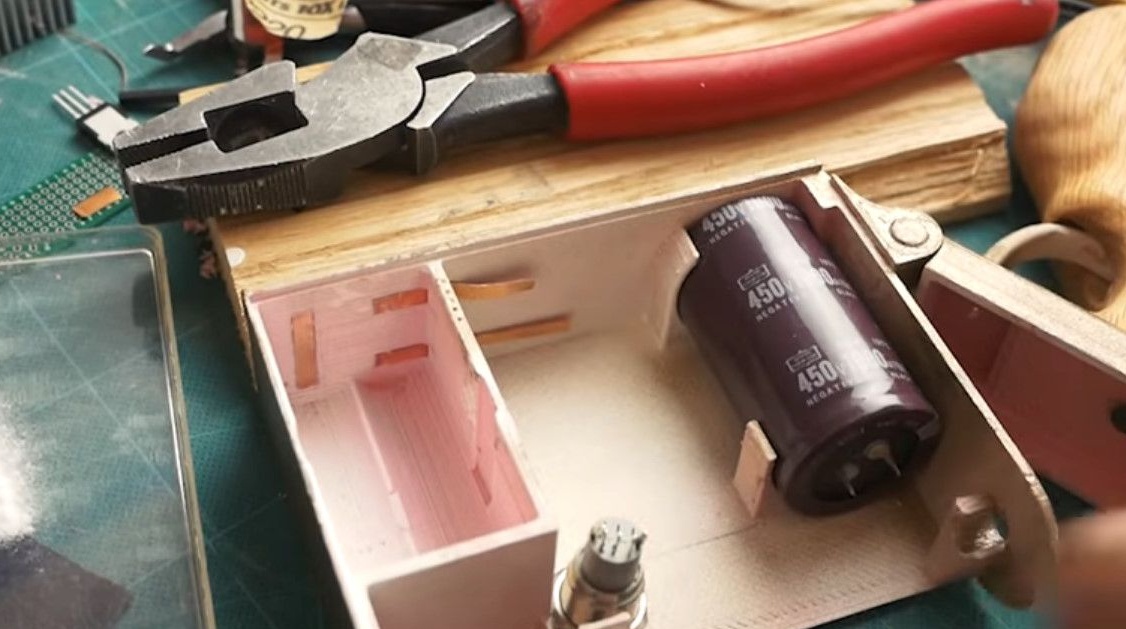
Which we make of thick foil.
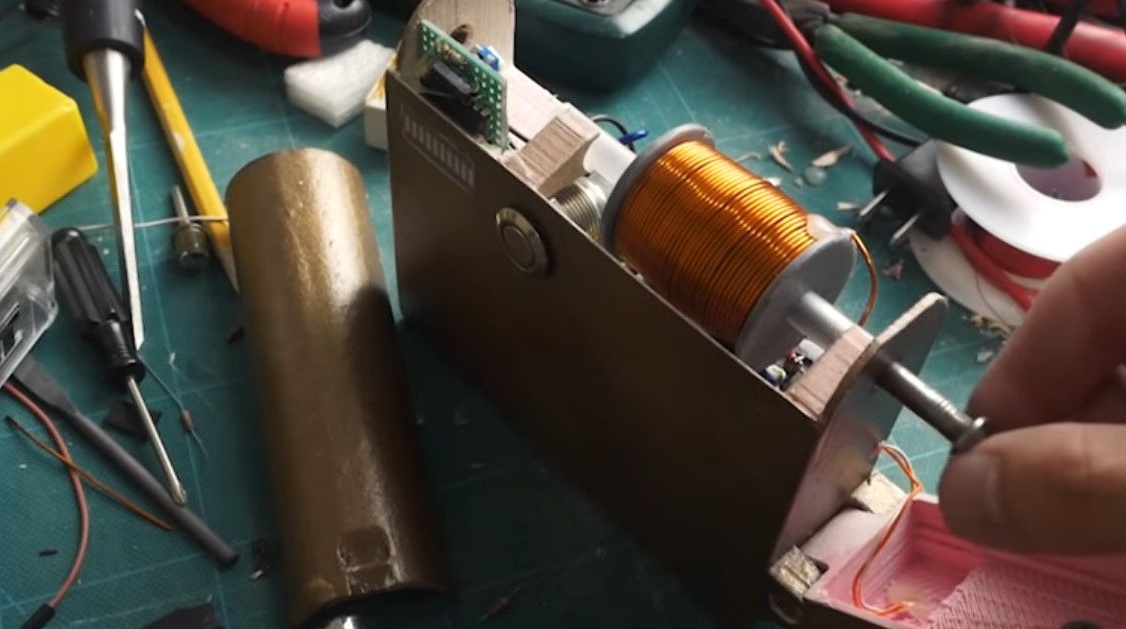
A module that boosts battery voltage to about 400 volts to charge a capacitor.
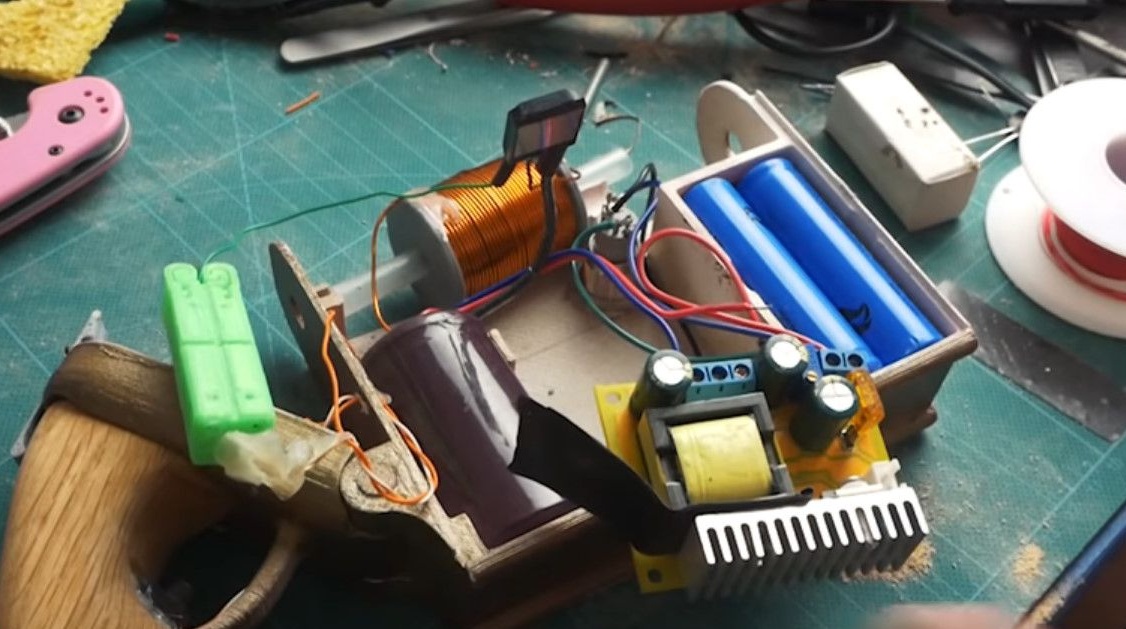
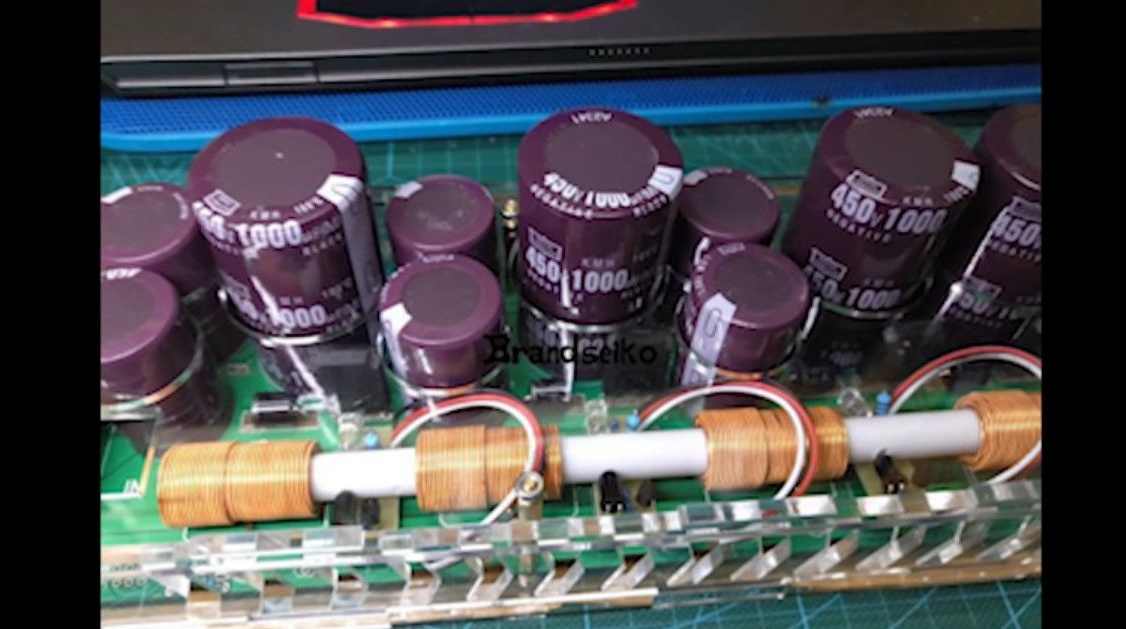
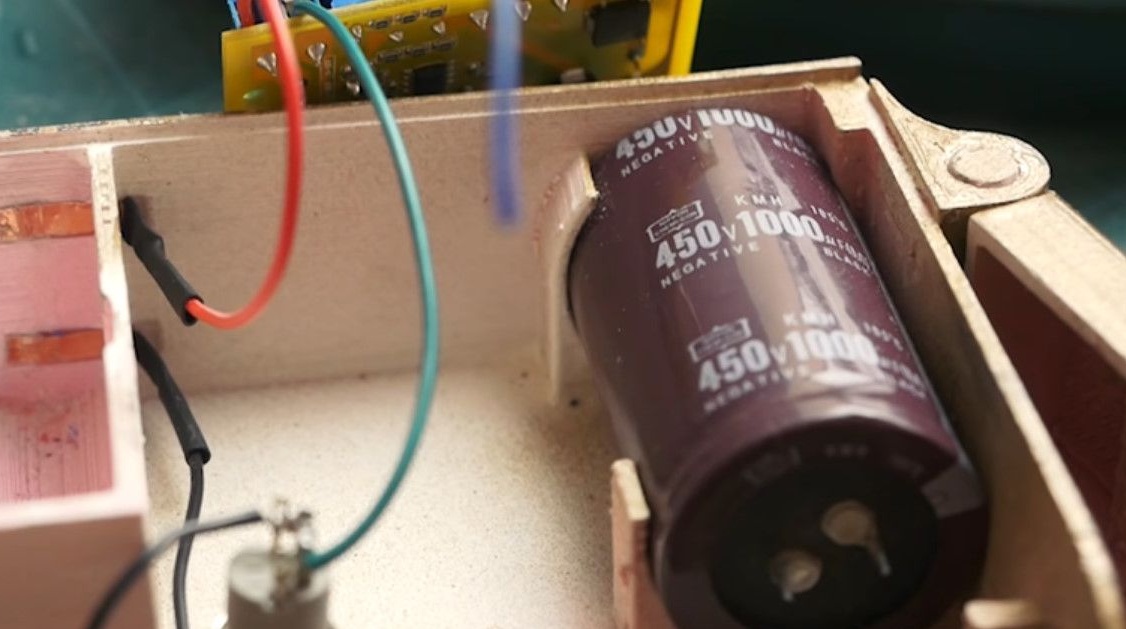
The capacitor itself, and this is a bank of 1000 uF 450 V.
And the last one. Actually a coil.

The rest of the little things like a thyristor, batteries for opening it, the start button can be positioned by a canopy or glued to the wall.
So there are no separate seats for them.
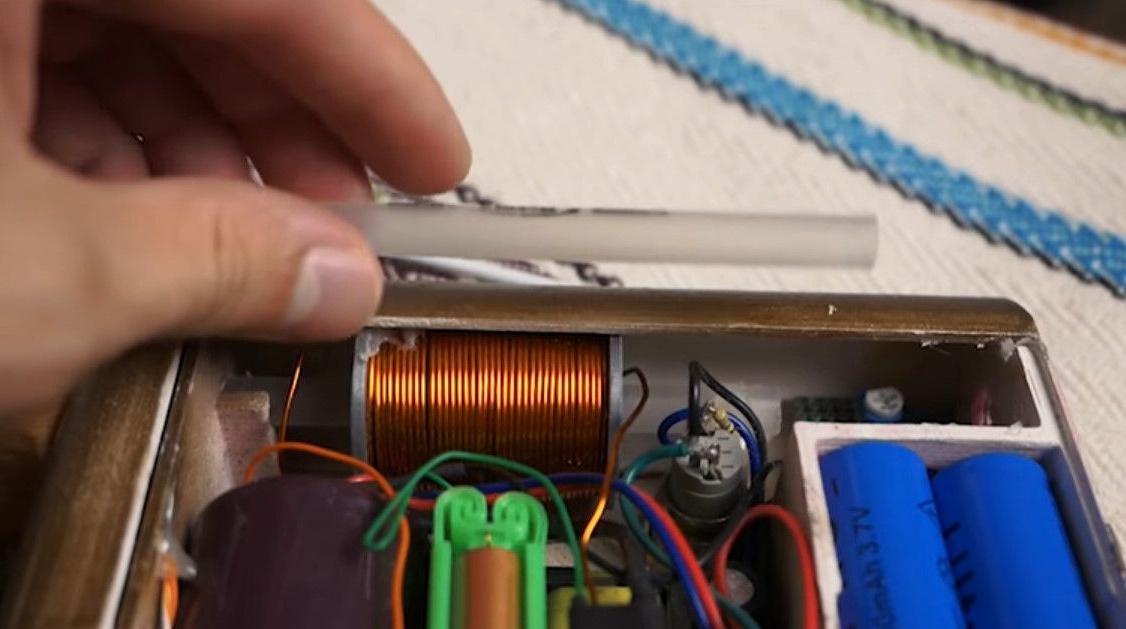
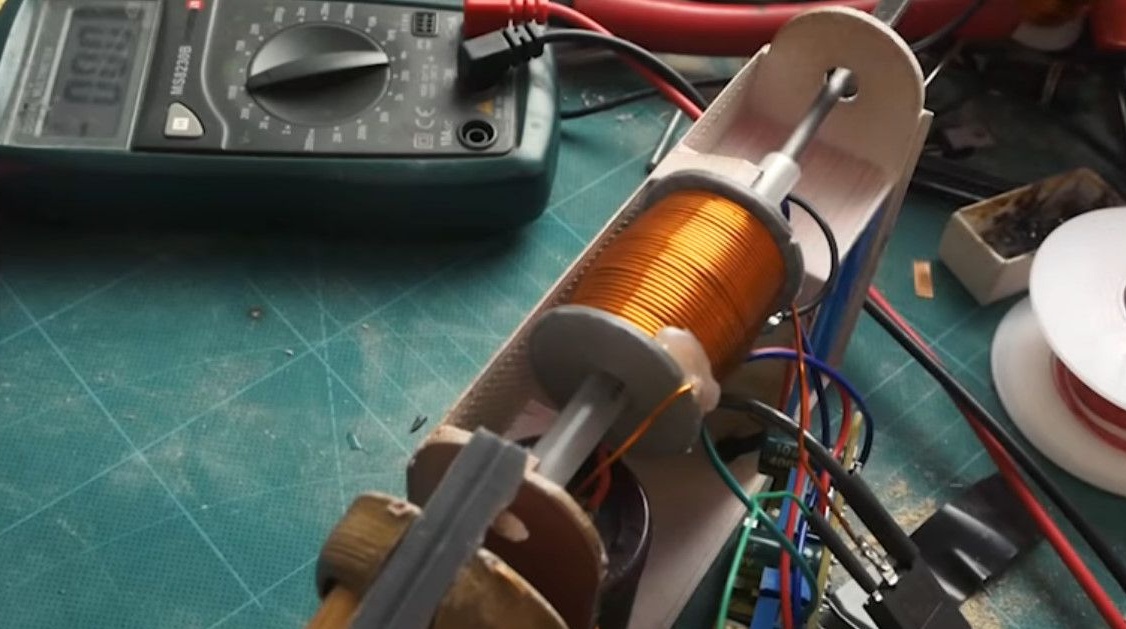
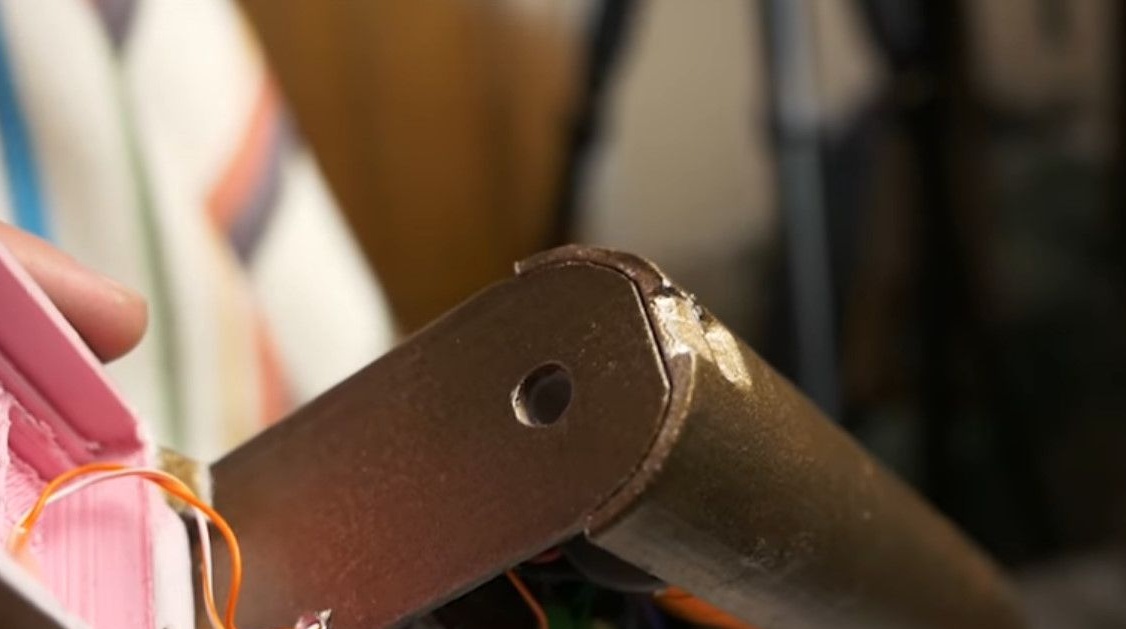
For the trunk you will need a non-magnetic tube.
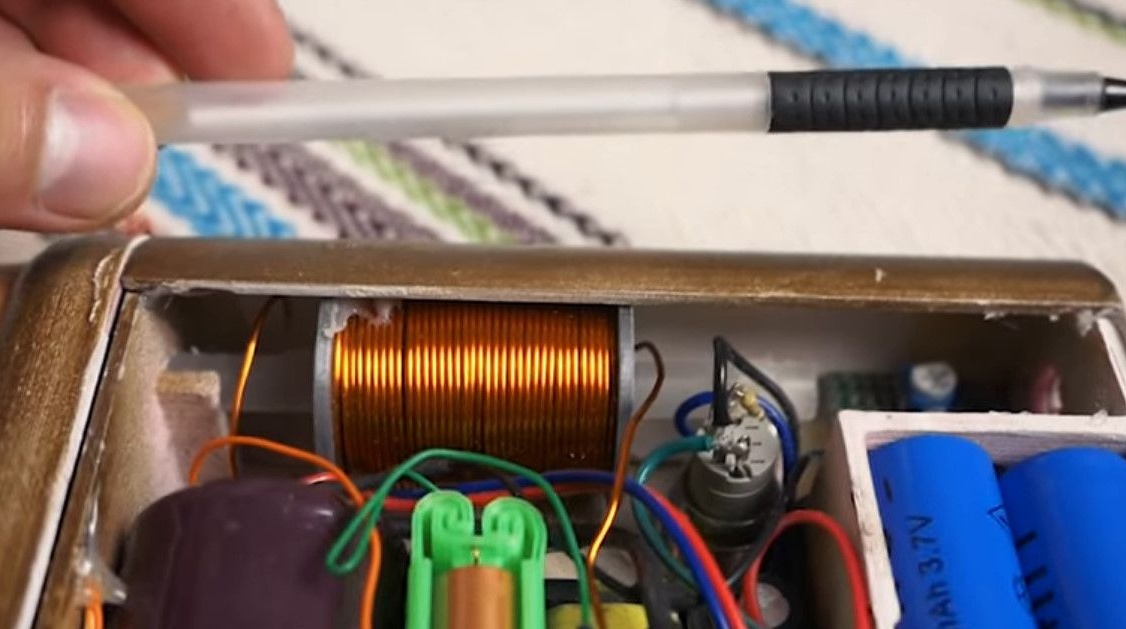
We will use the body of the ballpoint pen. This is much simpler than letting you print it on a printer and then grind it.
We wrap a copper varnished wire with a diameter of 0.8 mm on the coil frame, laying insulation between each layer. Each layer must be firmly fixed.
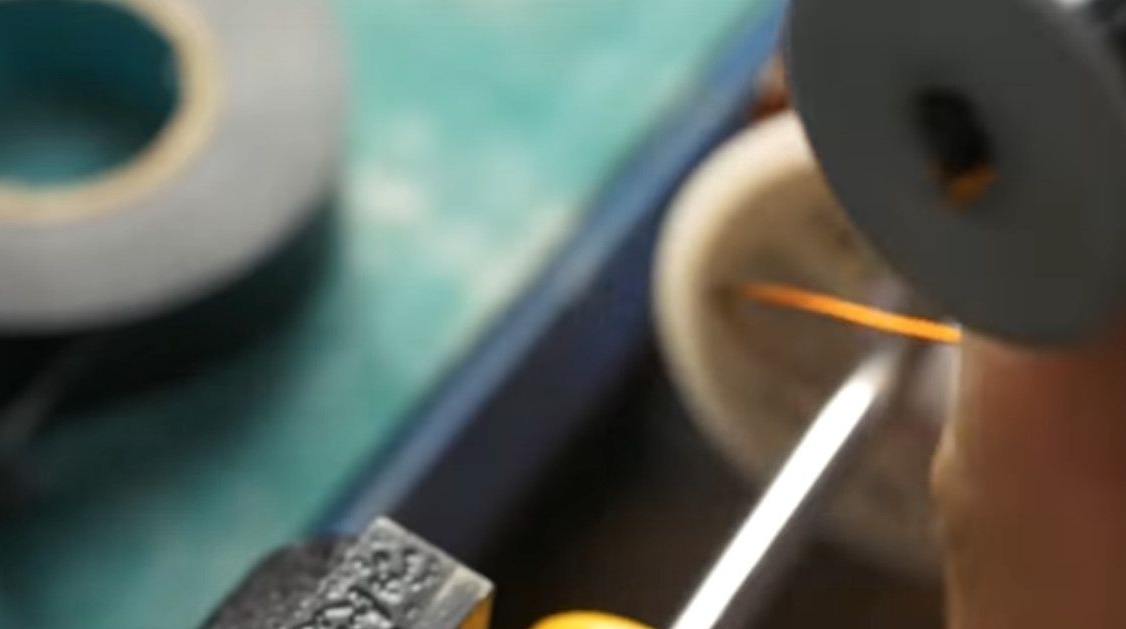
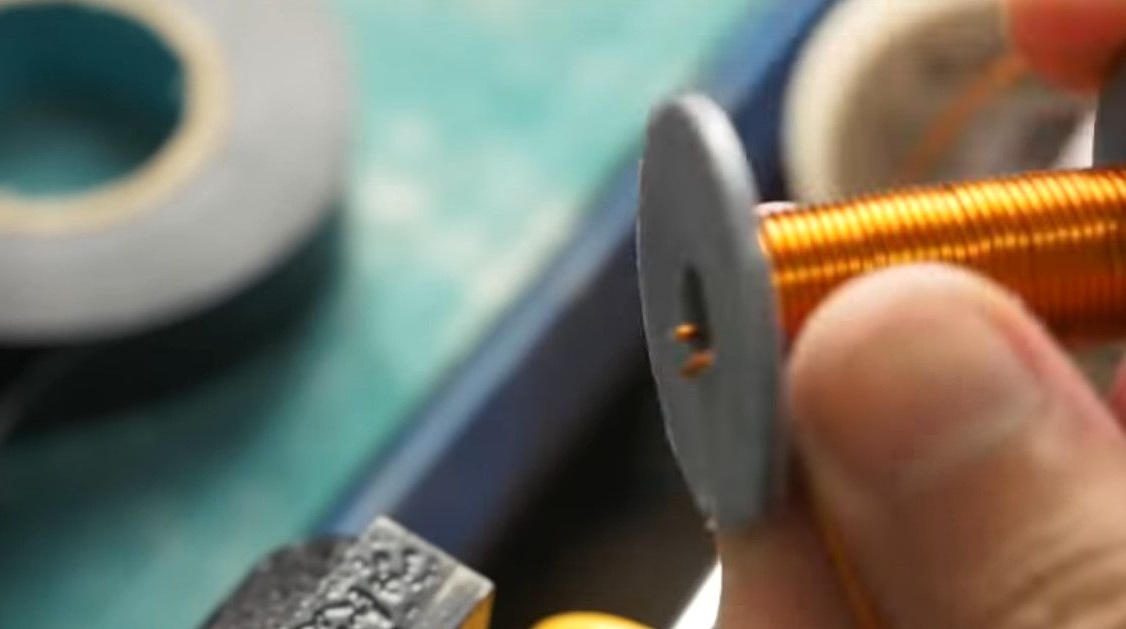
We wind each layer as tightly as possible, turn to turn, make as many layers as fit in the body.
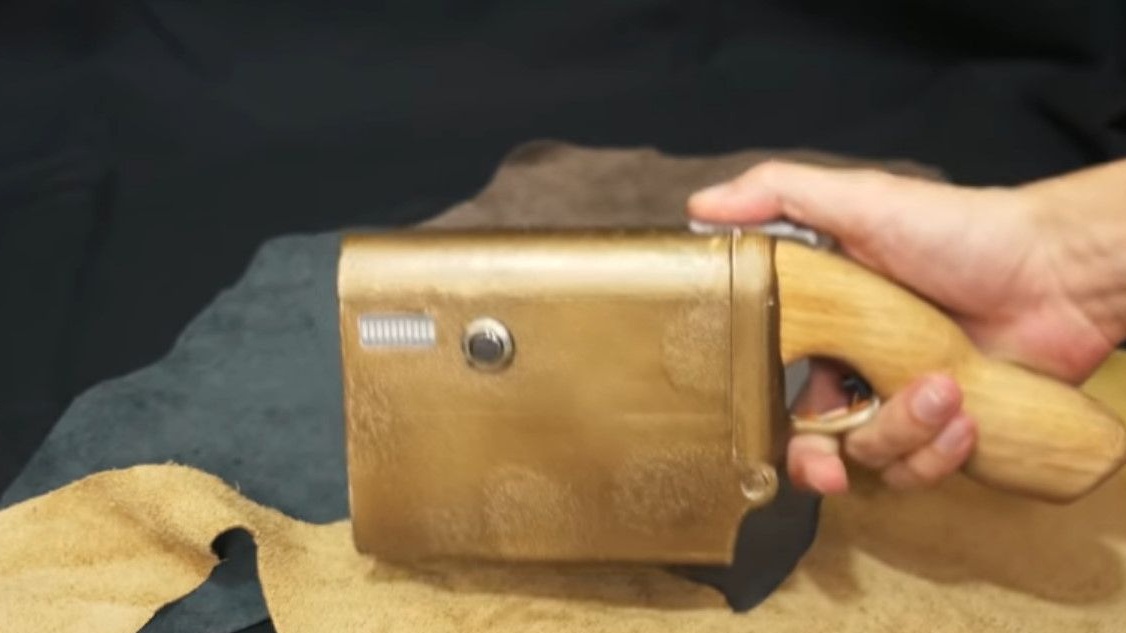
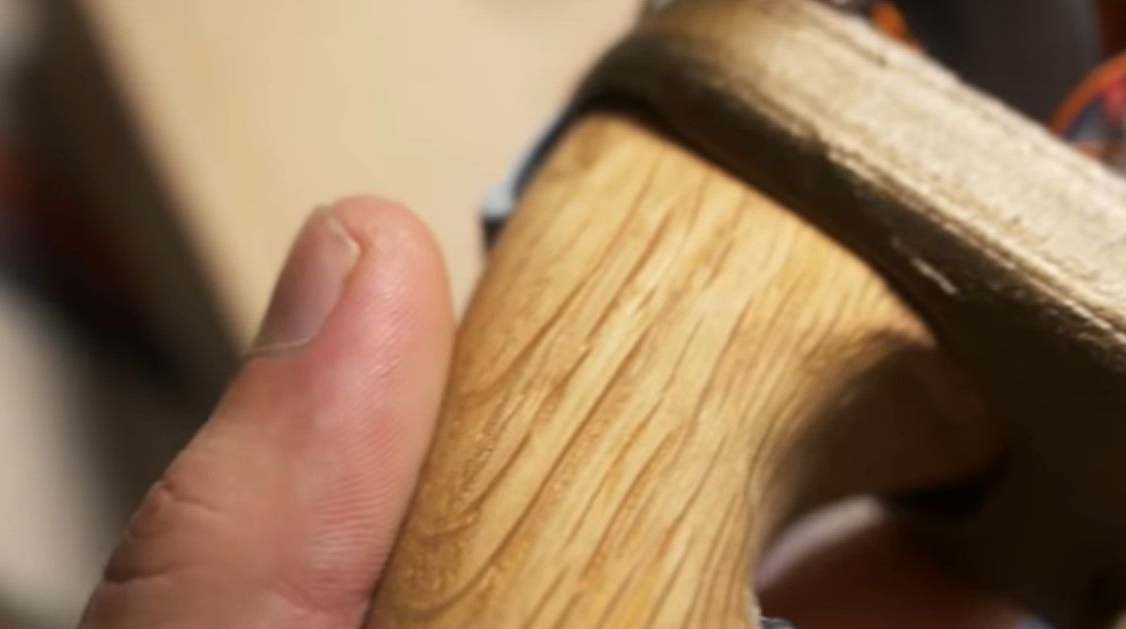
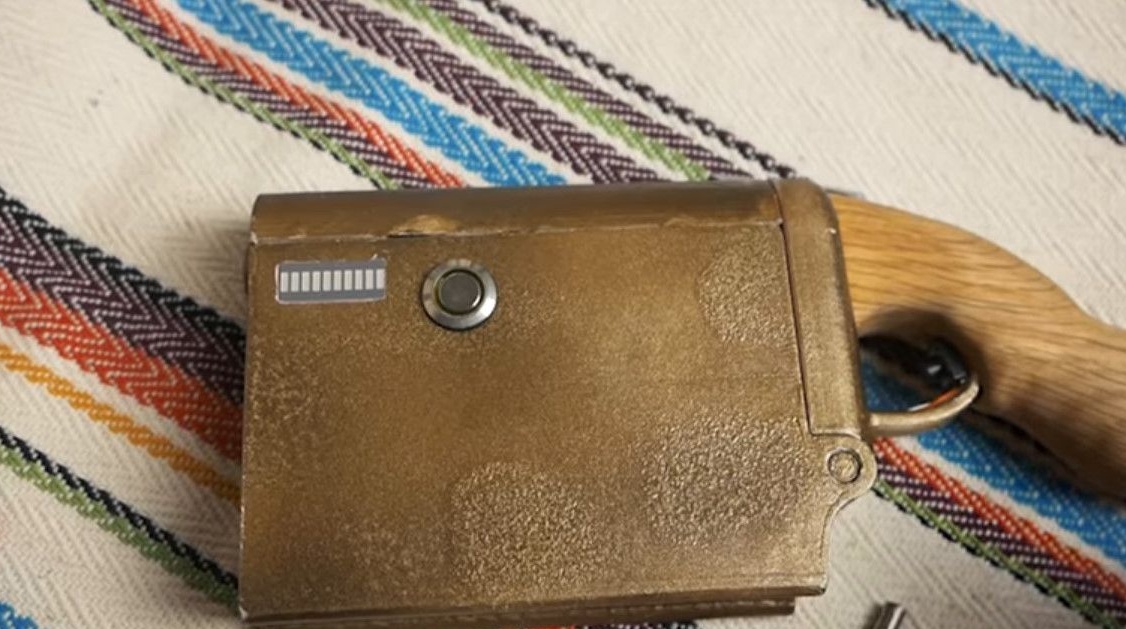
The handle will be made of wood.

Model ready, you can start the printer.
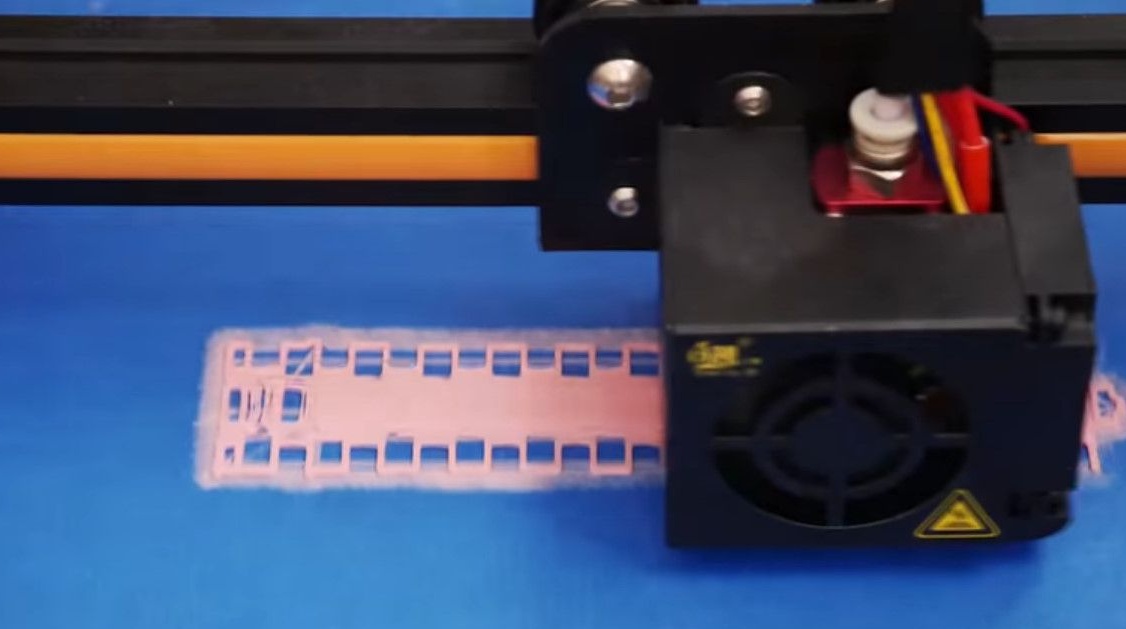
Almost all parts are made with a 0.8 mm nozzle and only the barrel holding button is made with a 0.4 mm nozzle.
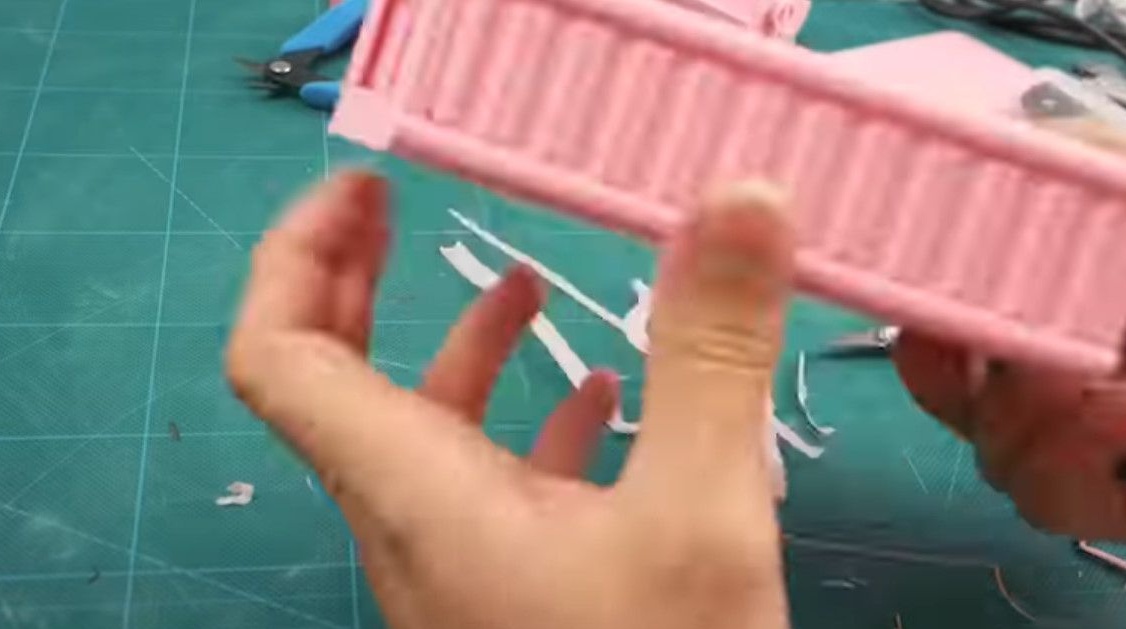
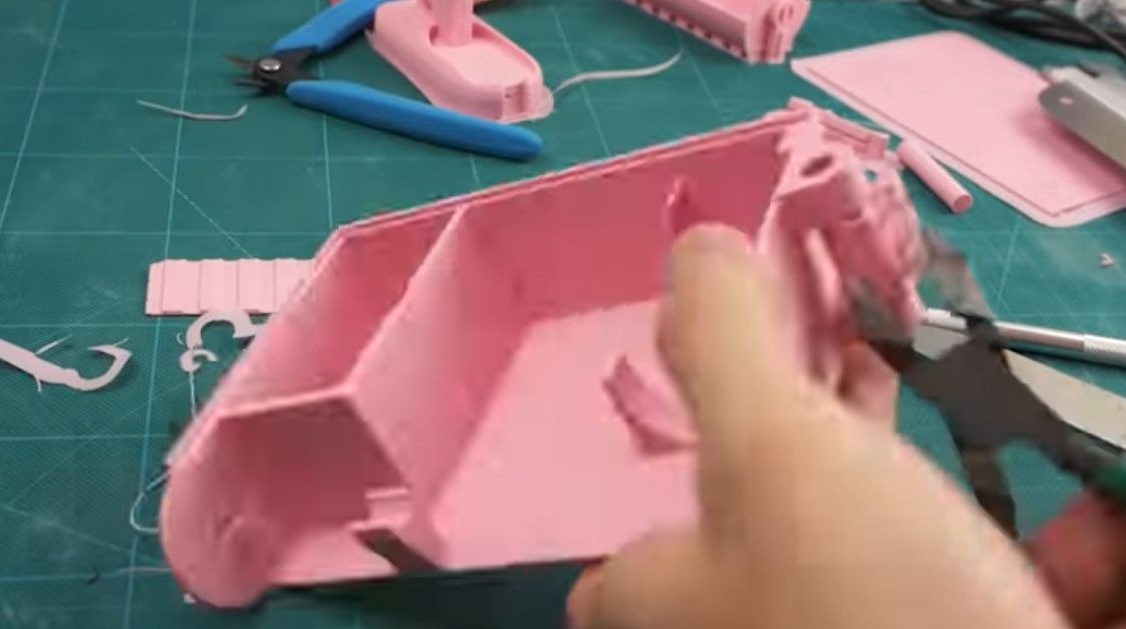
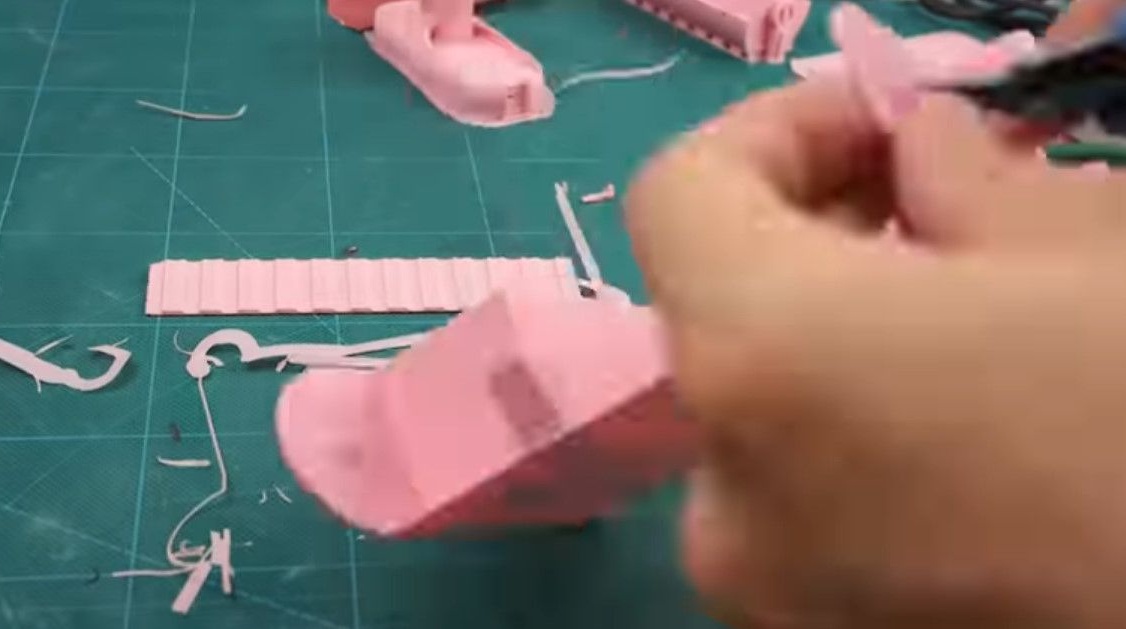
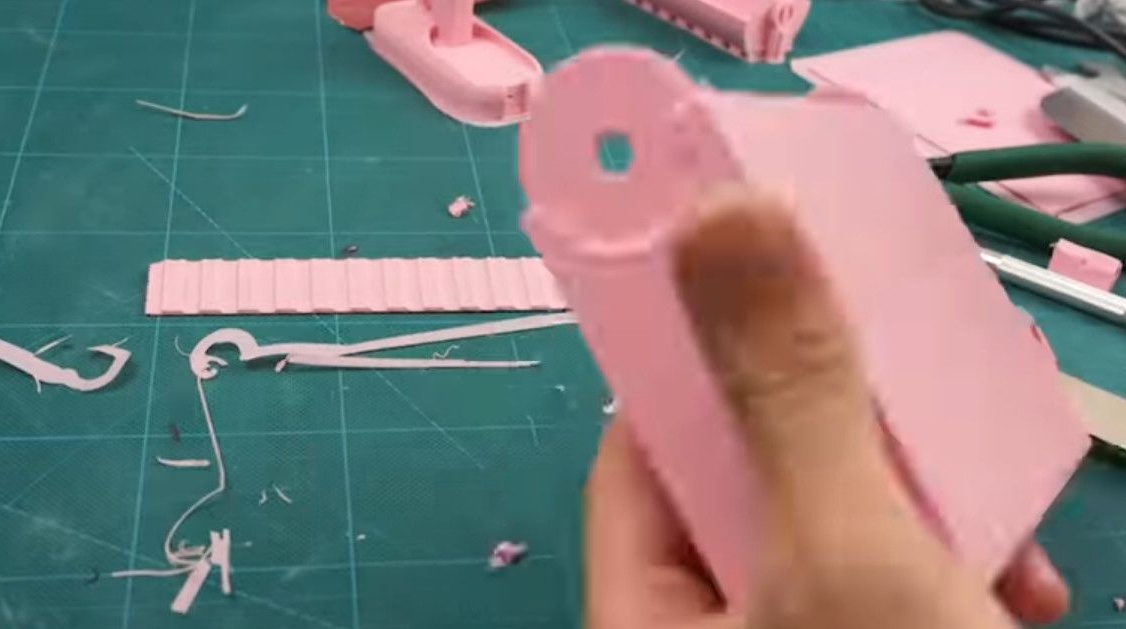
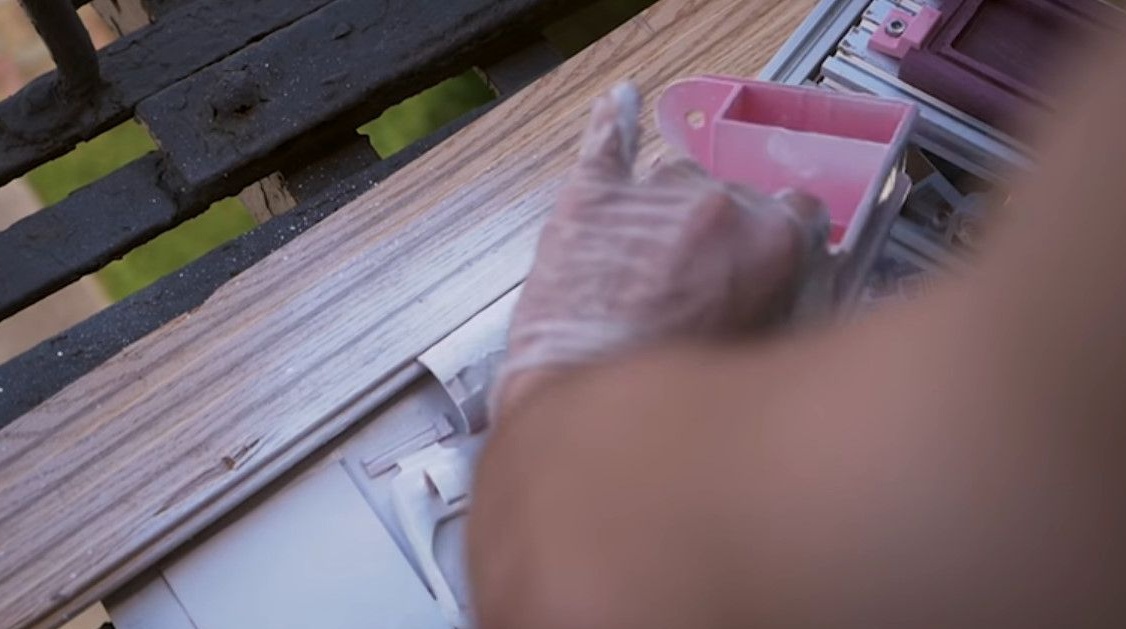
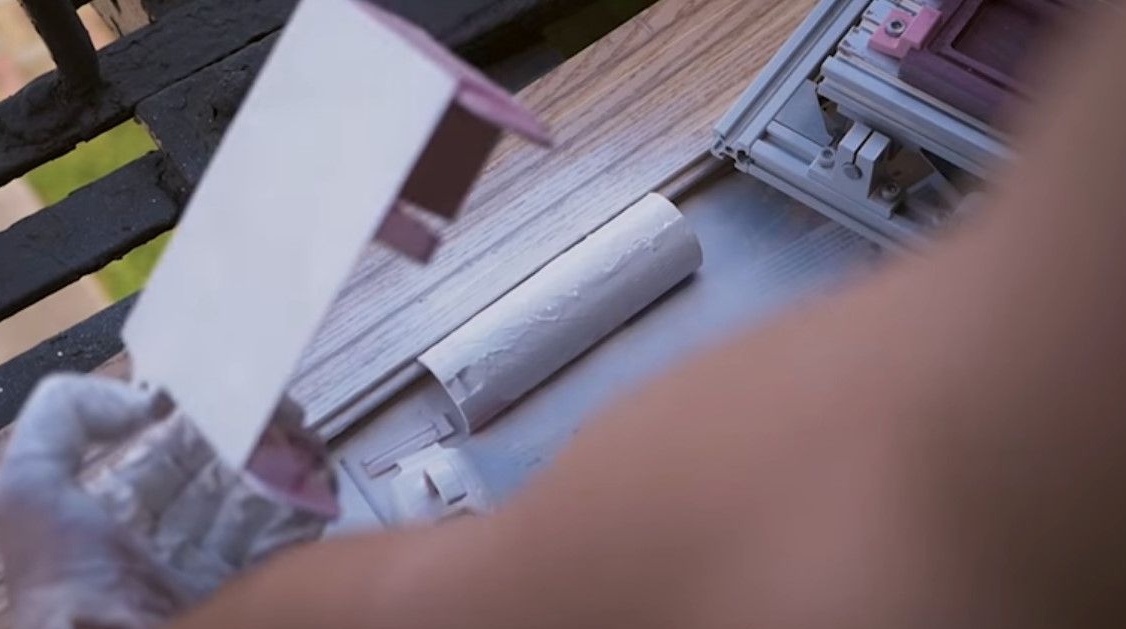
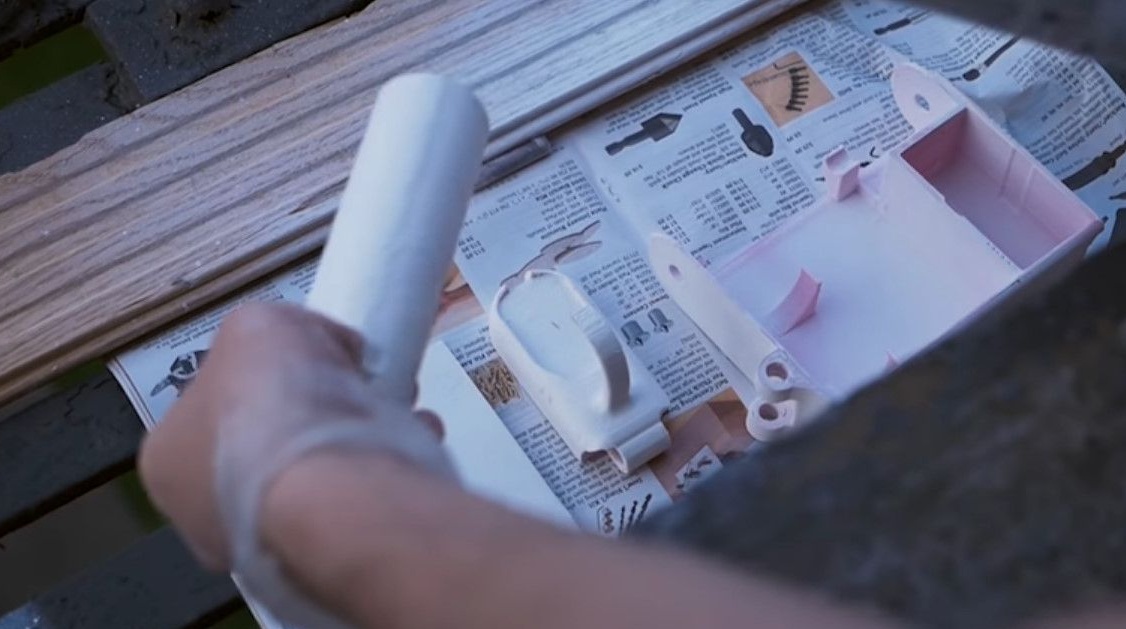
Printing took about seven hours, so it turned out that there was only pink plastic.
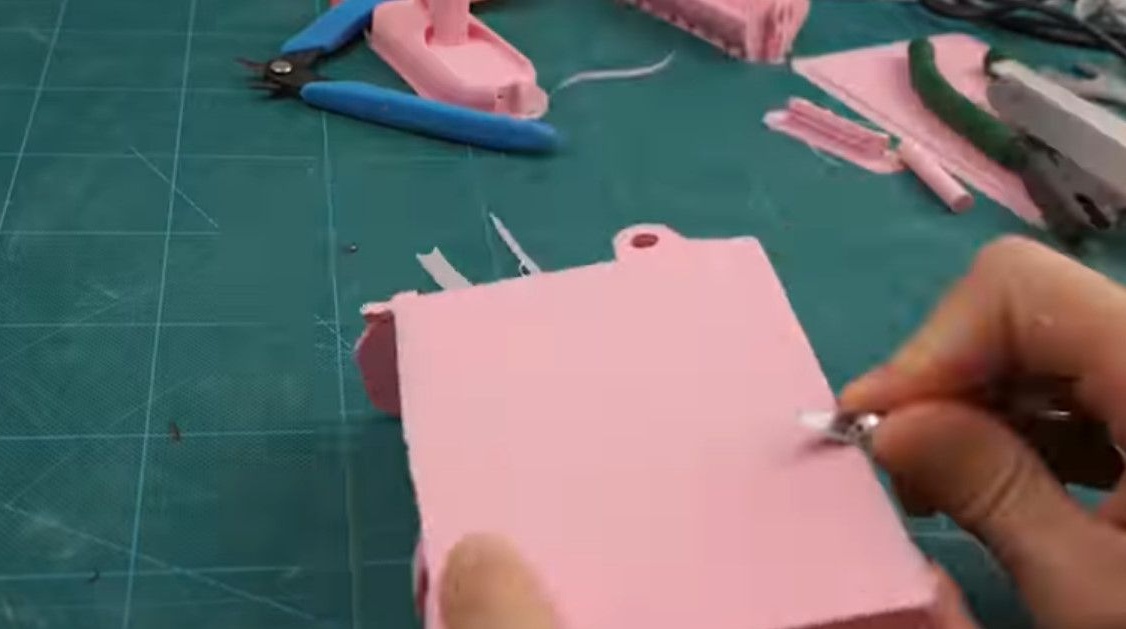
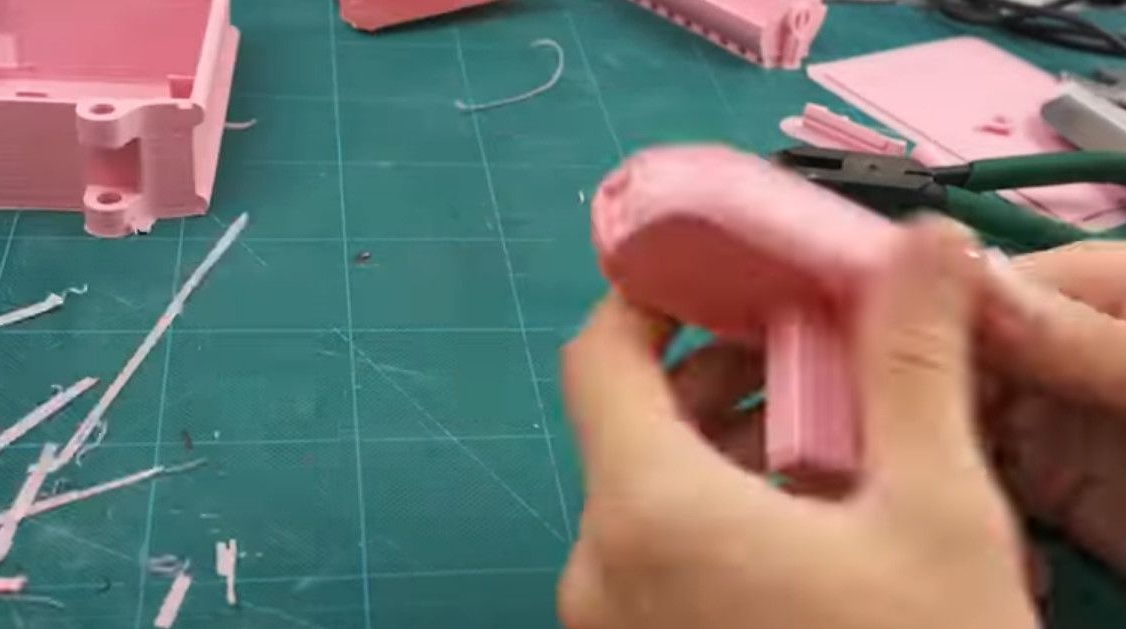
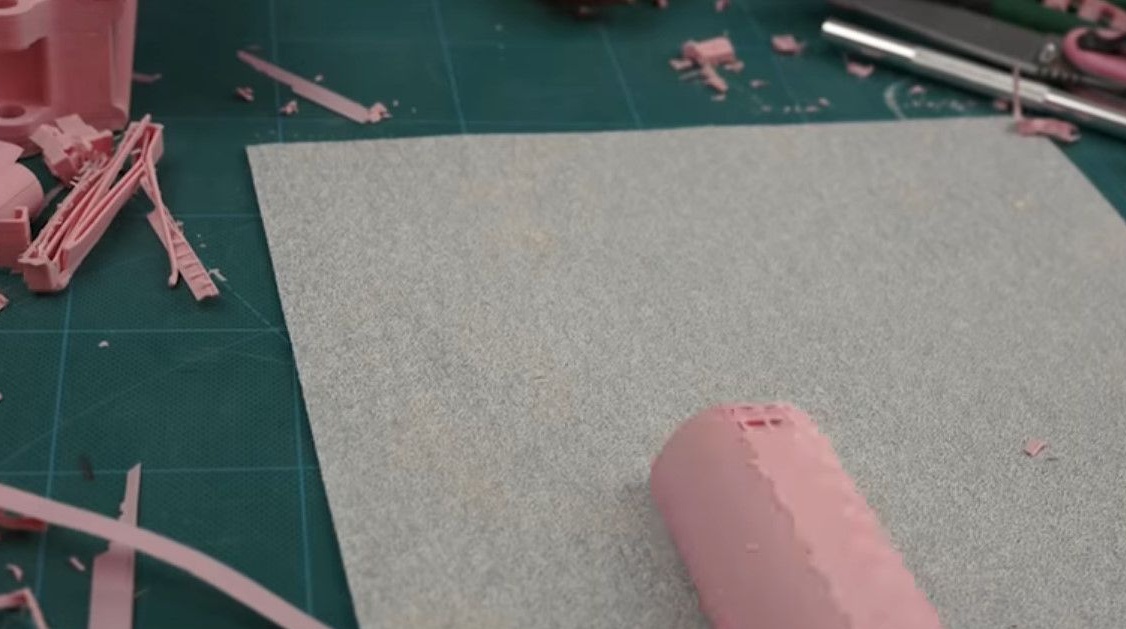
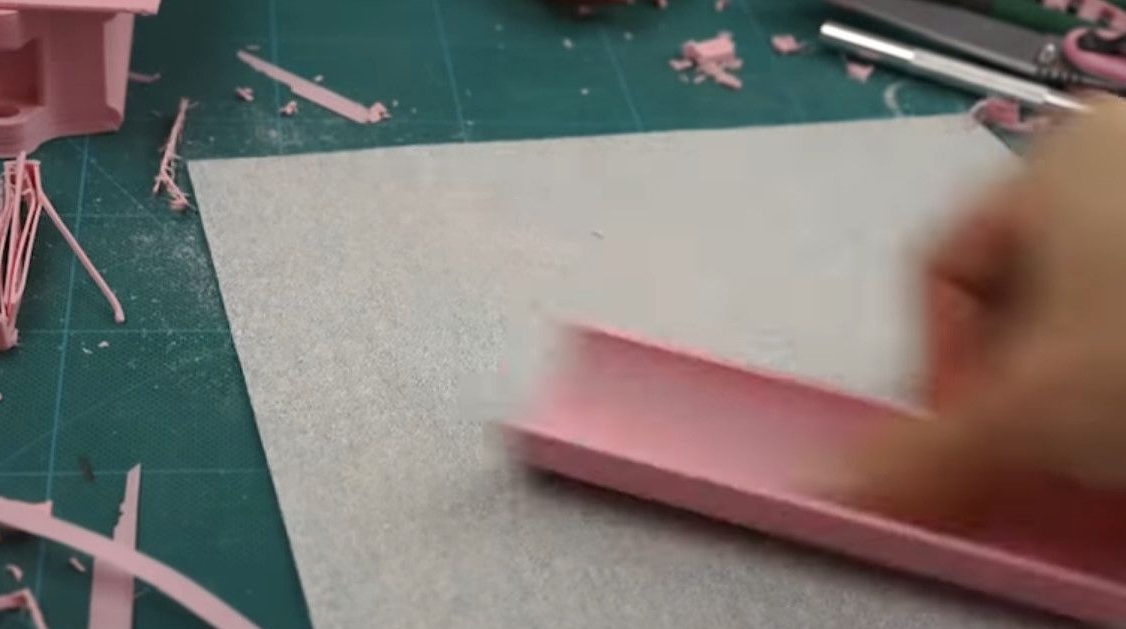
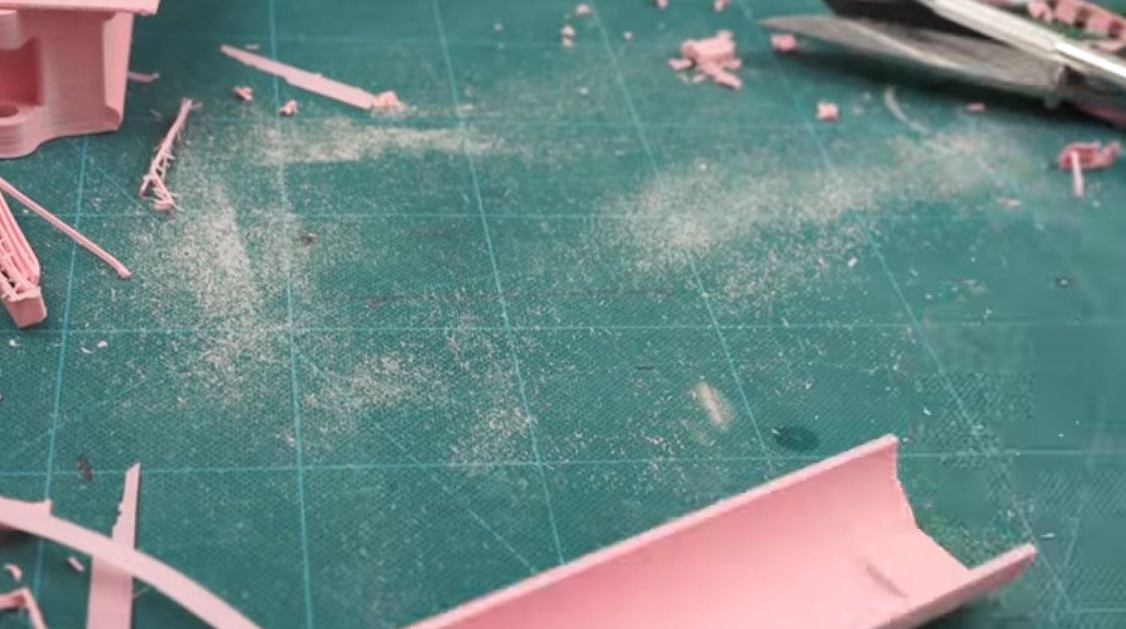
After printing, carefully clean the model of supports. In the store we buy soil and paint.
It did not work to use acrylic paint, but she refused to lie normally even on the ground.
For painting PLA plastic, there are special sprays and paints that will hold perfectly even without preparation.
But such paints were not found, it turned out clumsily of course.
I had to paint half leaning out the window.
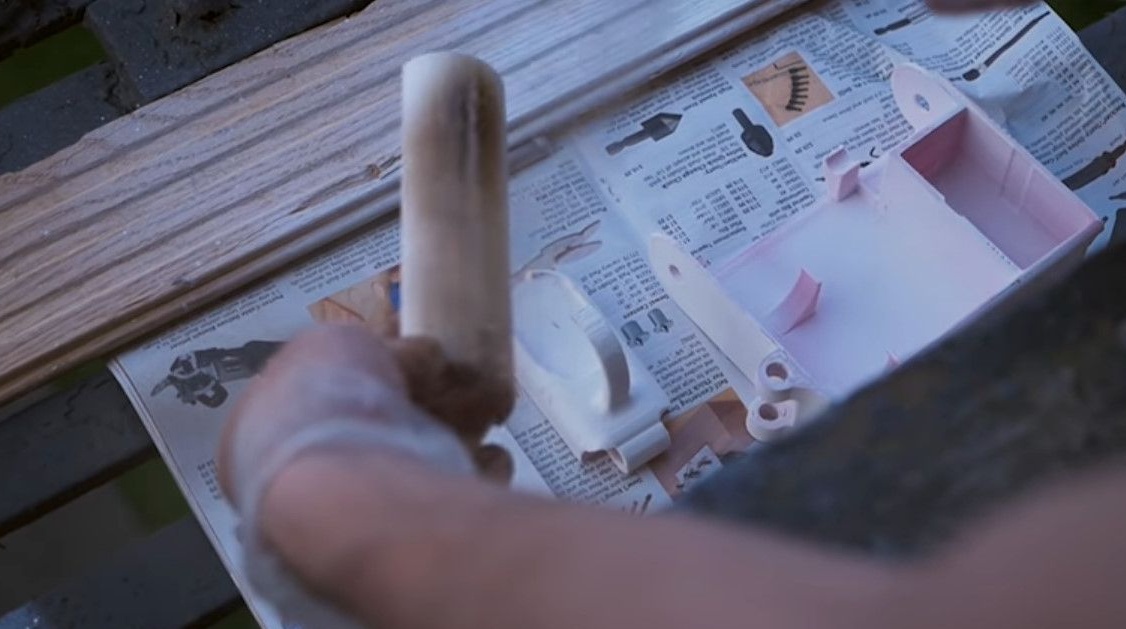
We say that an uneven surface is such a style, and in general it was planned.
While the printing is in progress and the ink dries, we will deal with the handle.
There was no wood of suitable thickness, so we glue two pieces of parquet.

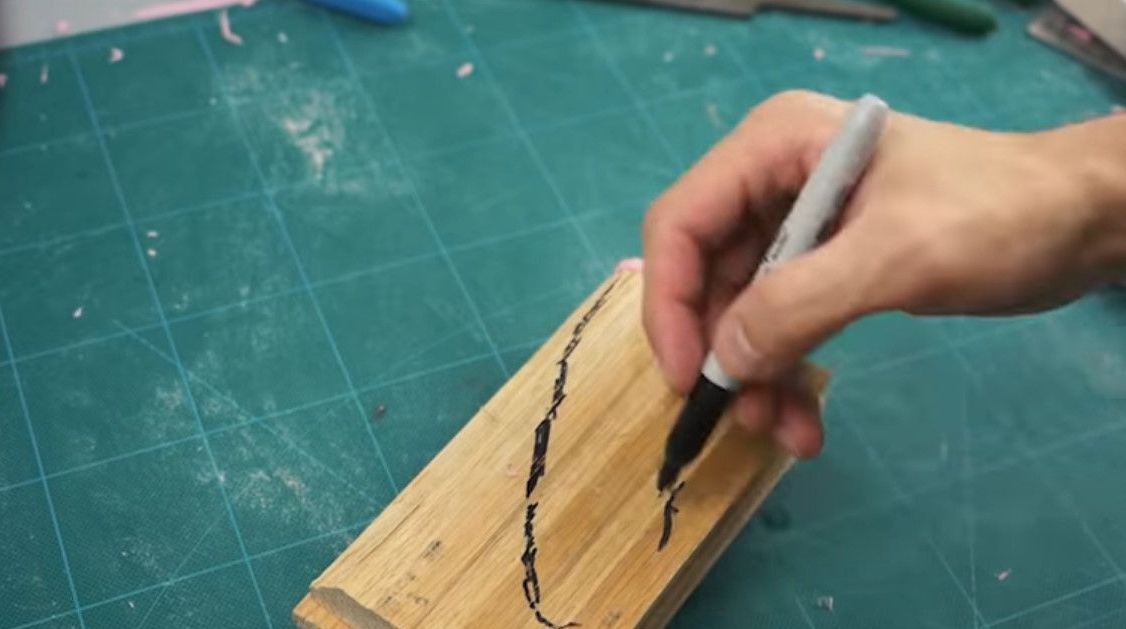
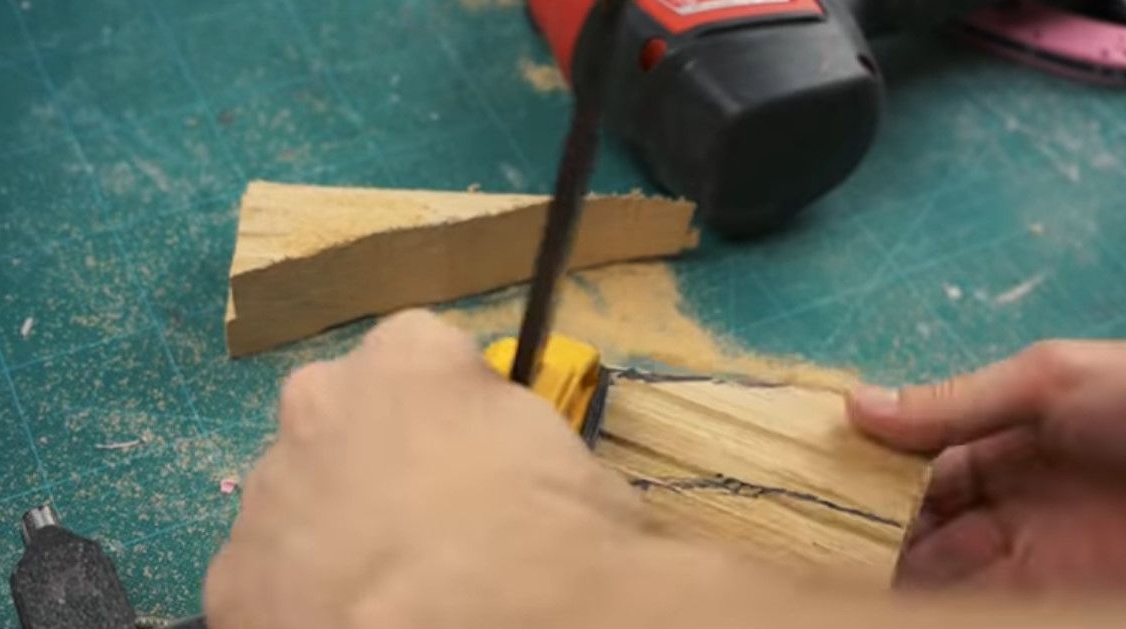
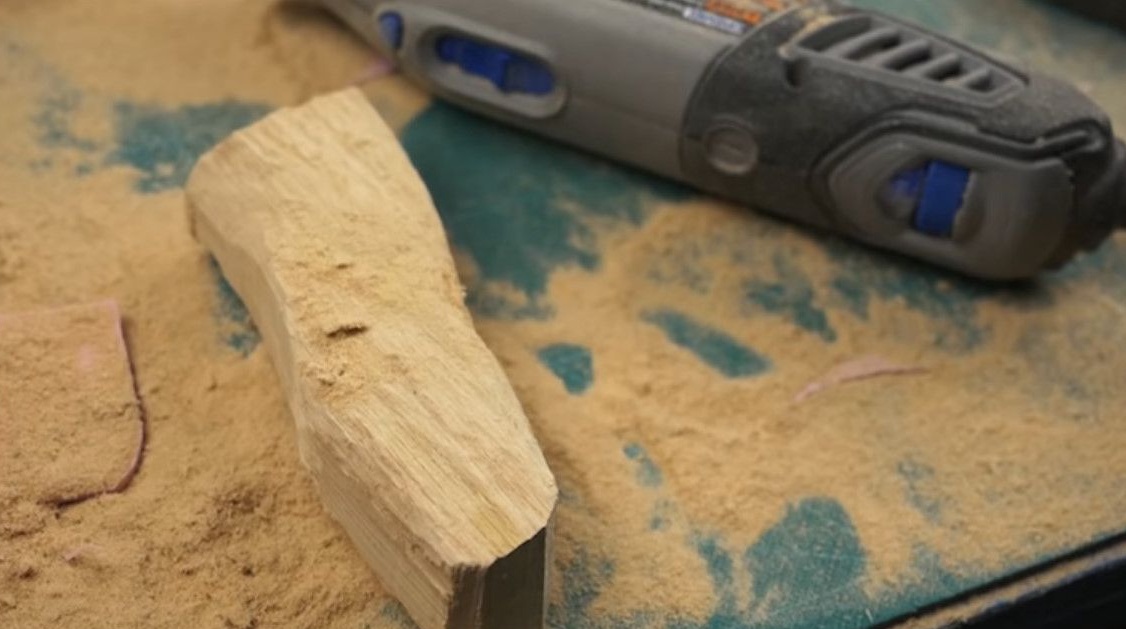
When it has dried, we give it a rough shape with a jigsaw.
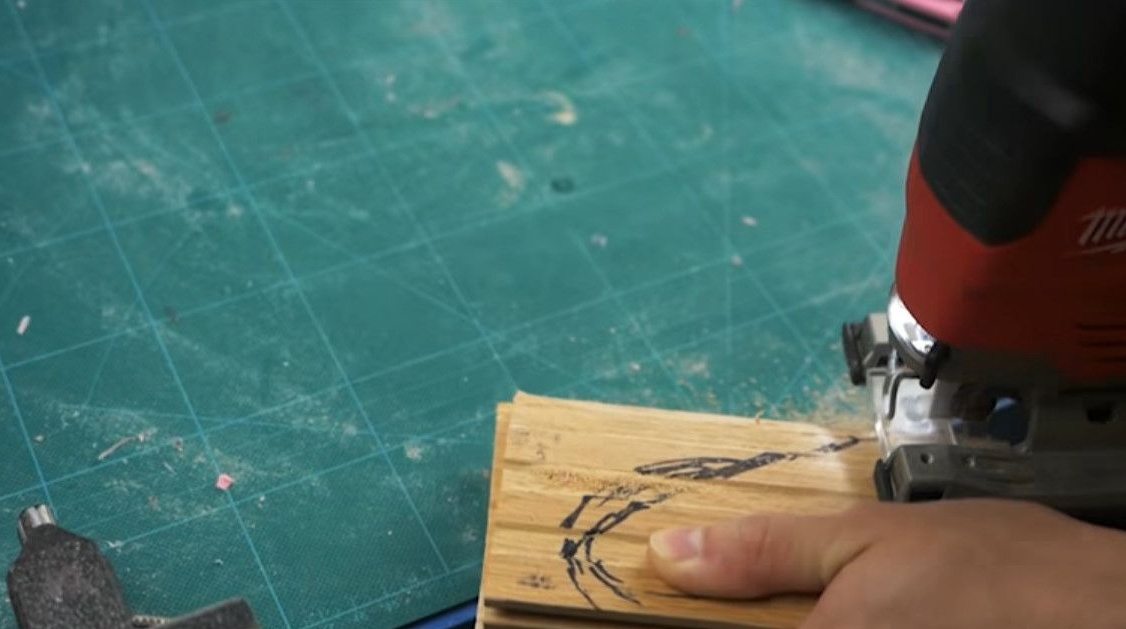
We’ll be a little surprised that the cordless jigsaw cuts 4 cm of wood without any difficulties.
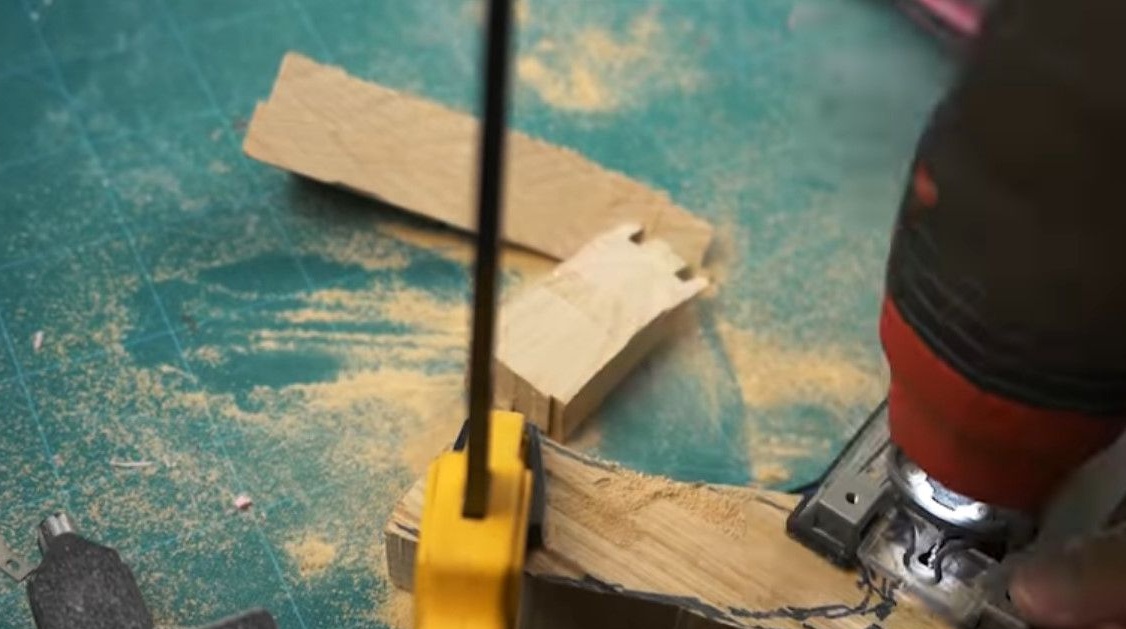
Next, with the help of a dremel and a nozzle, we round the corners.
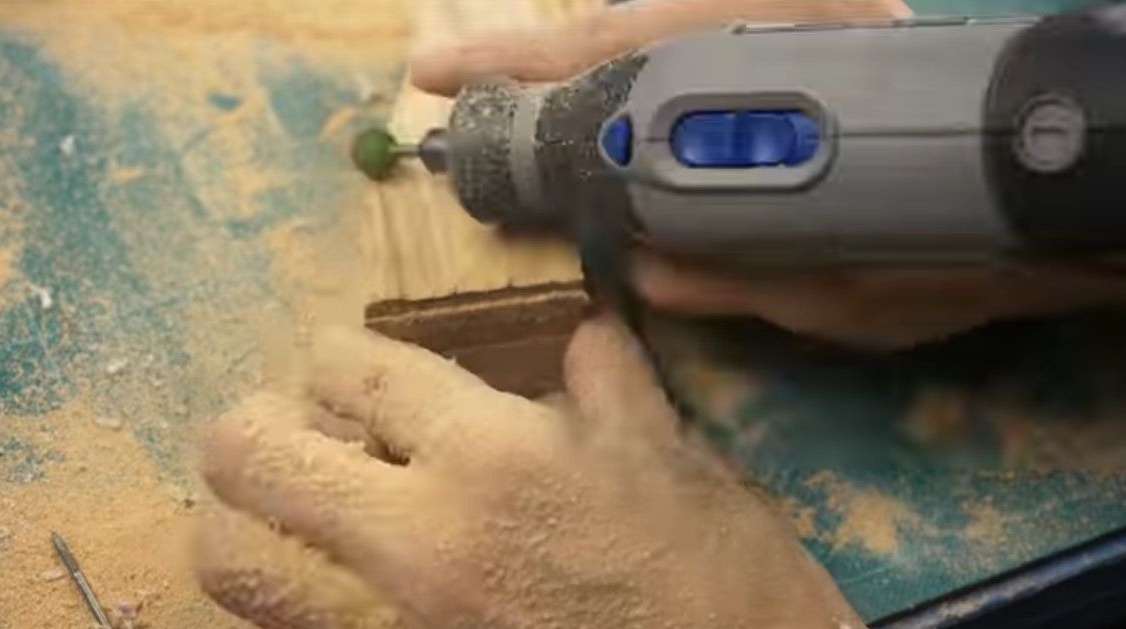
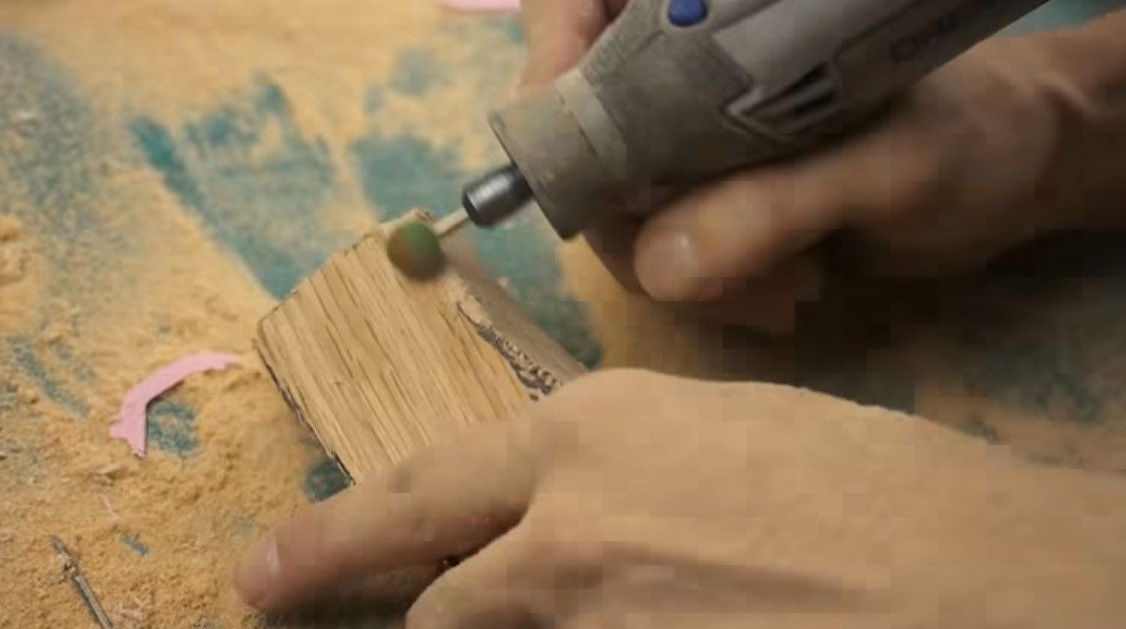
Due to the small width of the workpiece, the tilt of the handle is not quite the same as wanted.
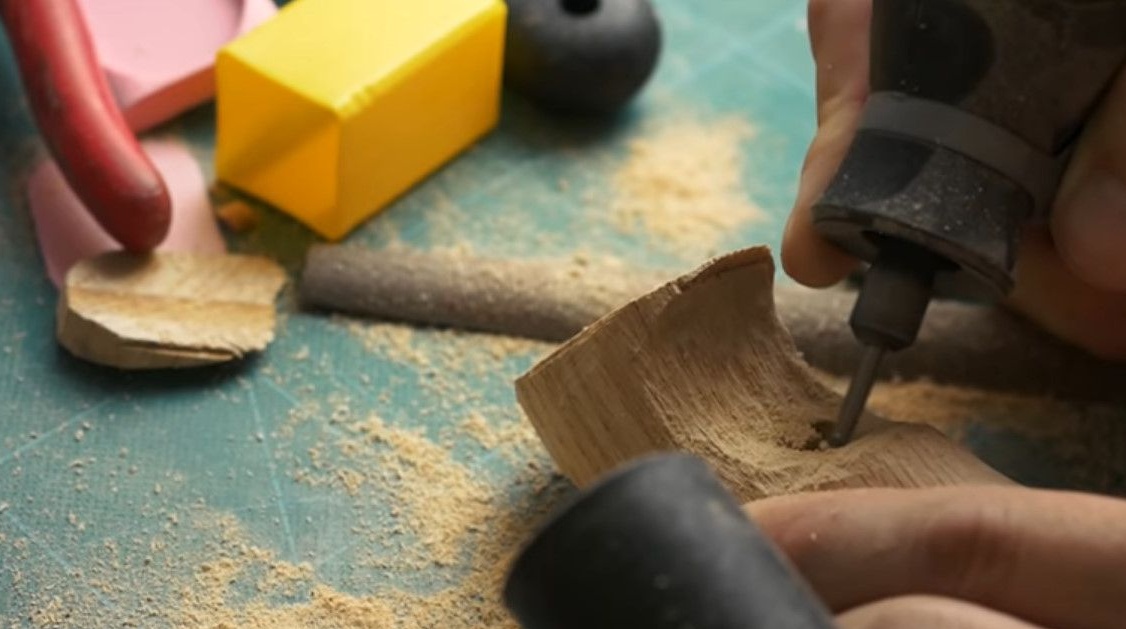
We smooth out these inconveniences with ergonomics.
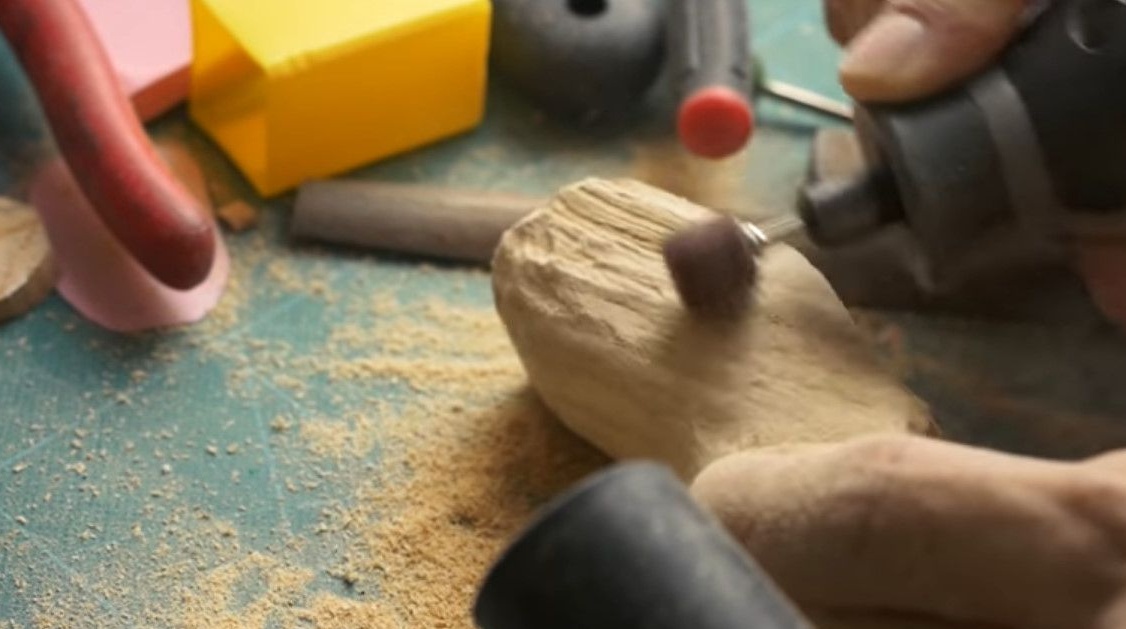
We erase irregularities with a nozzle with an emery cloth, manually we pass the 400th.
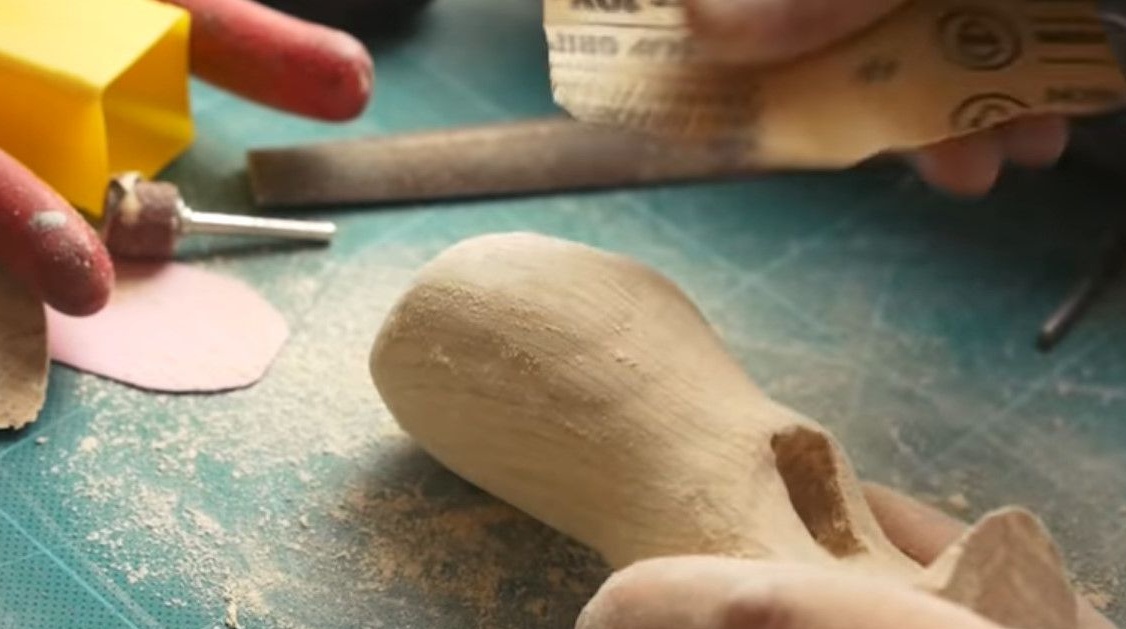
After stripping, coat with oil in several layers.


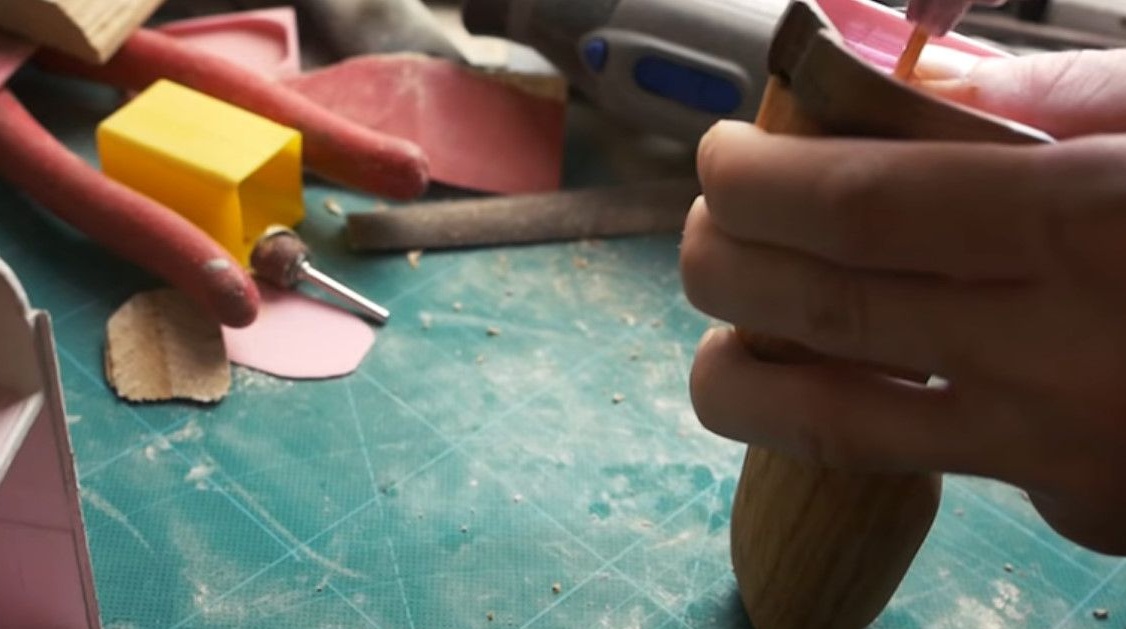
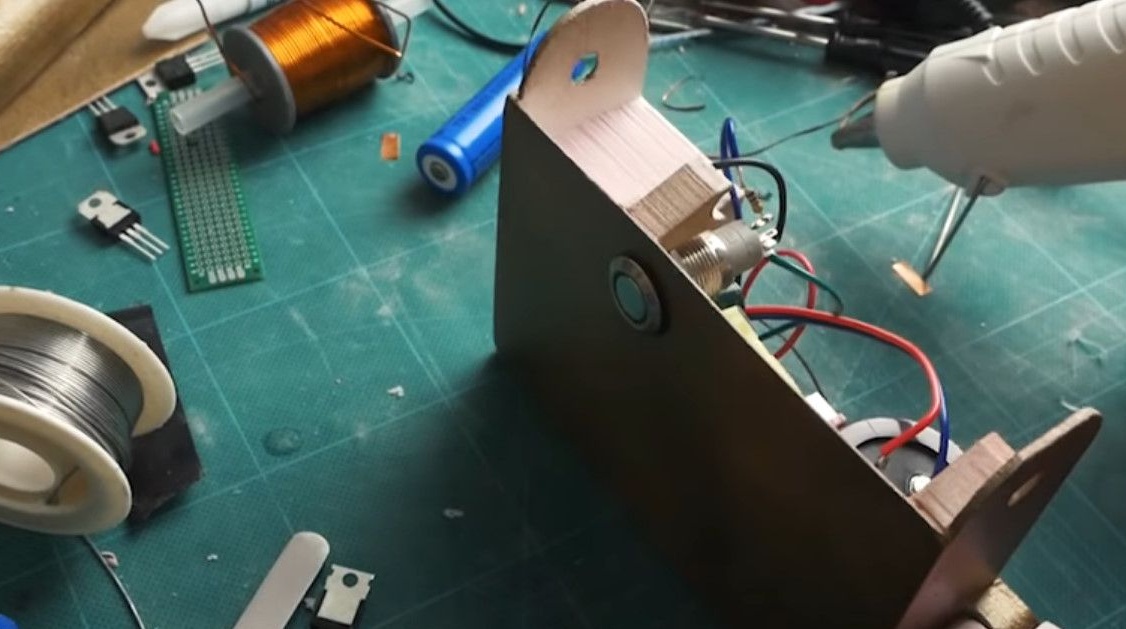
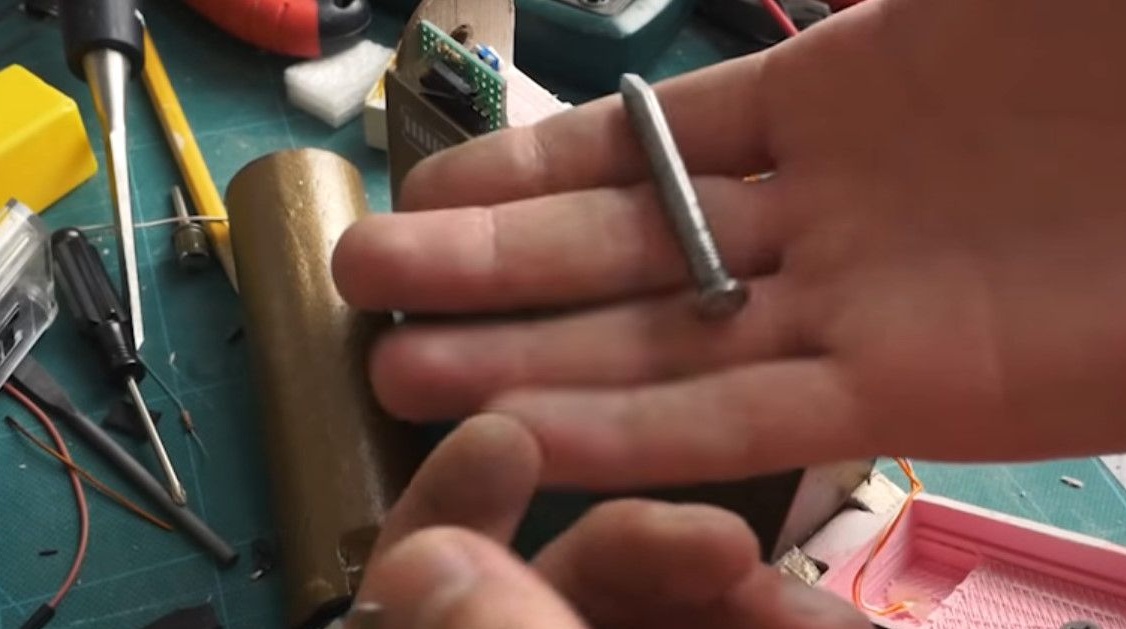
We fasten the handle to the self-tapping screw, having previously drilled the channel.

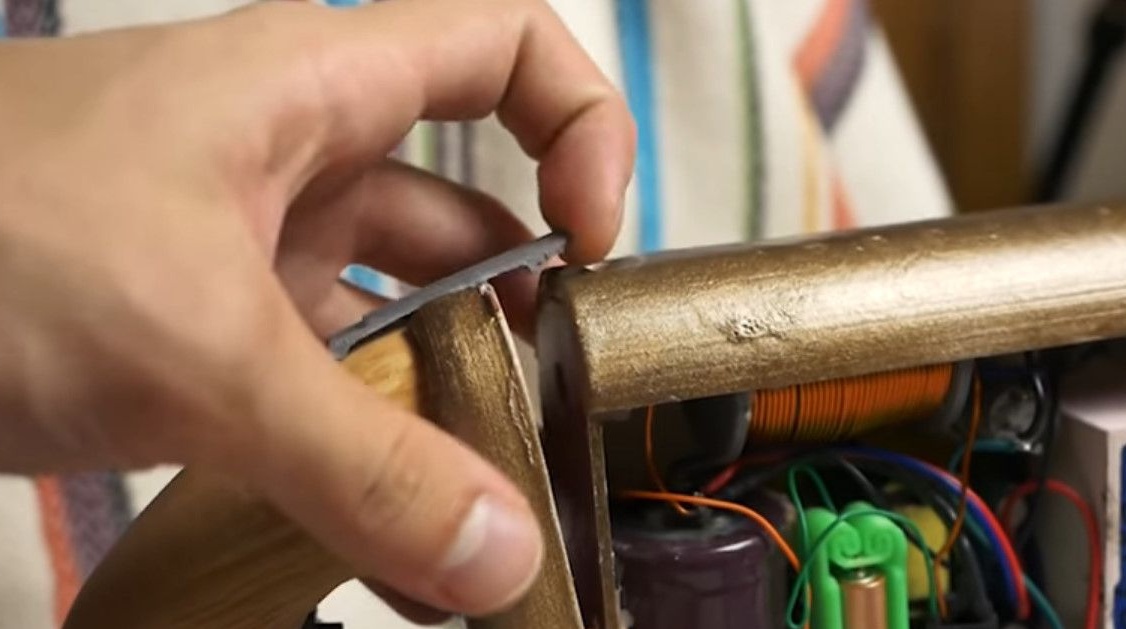
By finishing sandpaper and needle files we fit all the details to each other so that everything closes, holds and clings as needed.


You can go to the electronics.
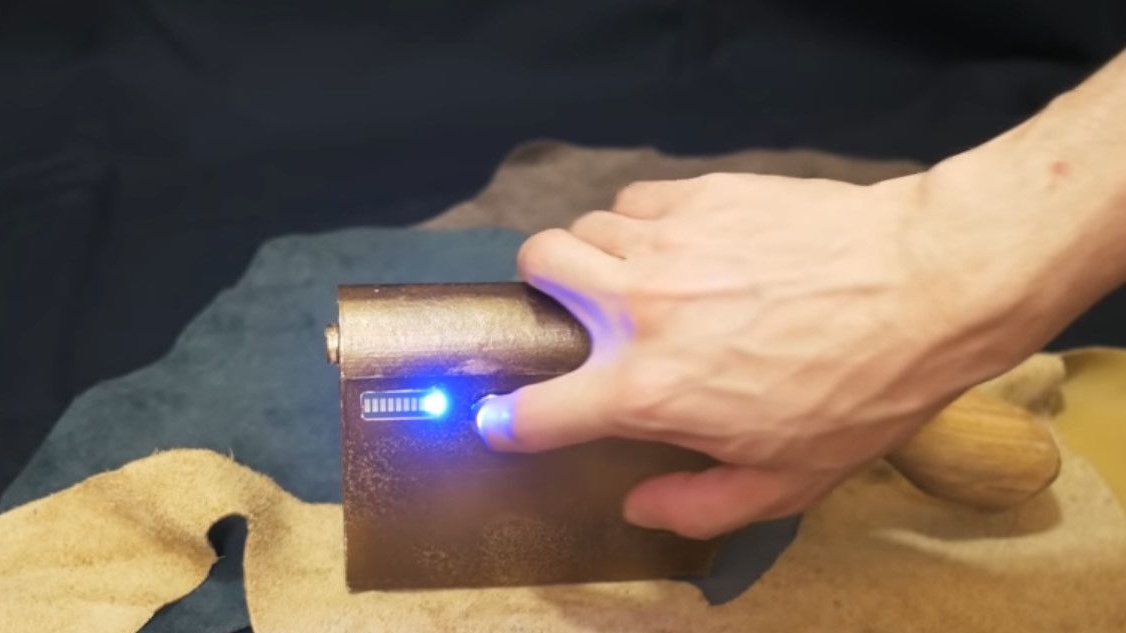
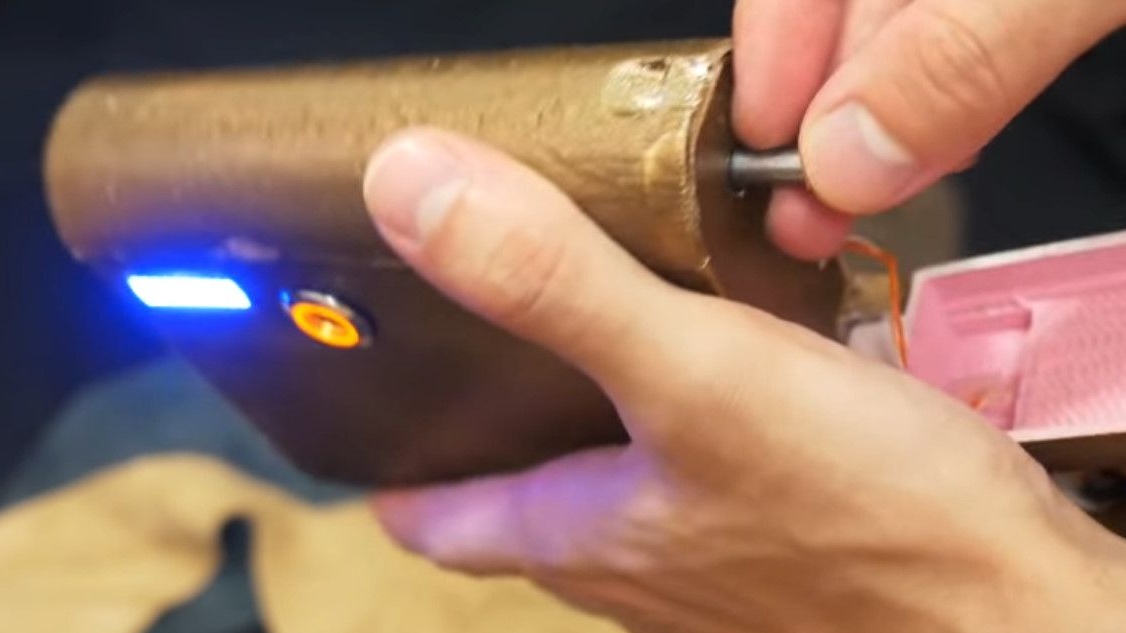
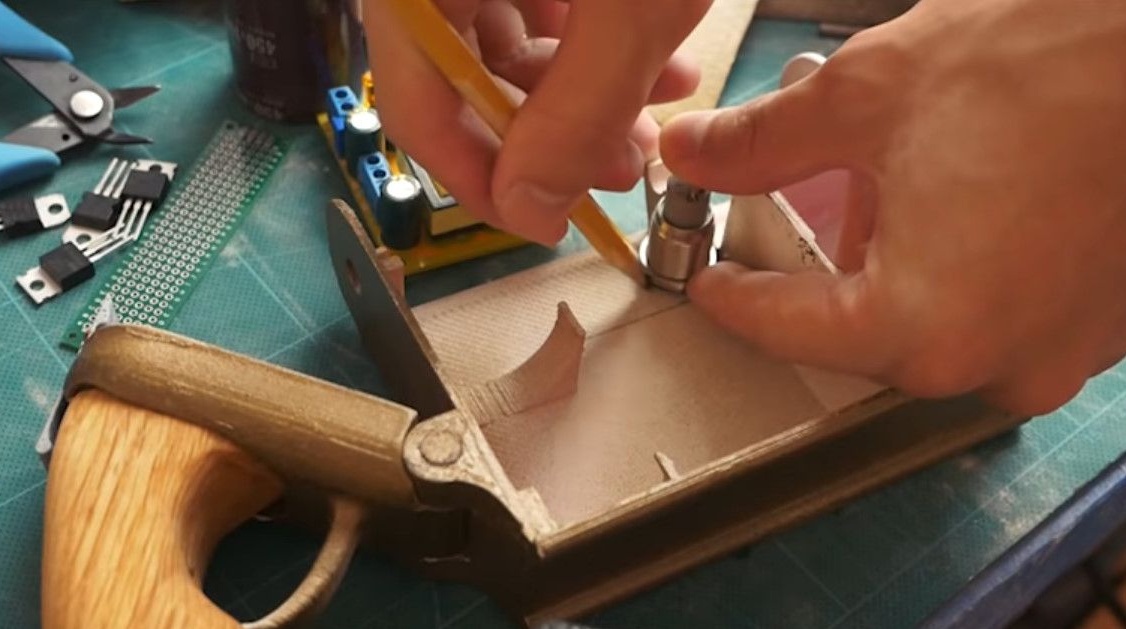
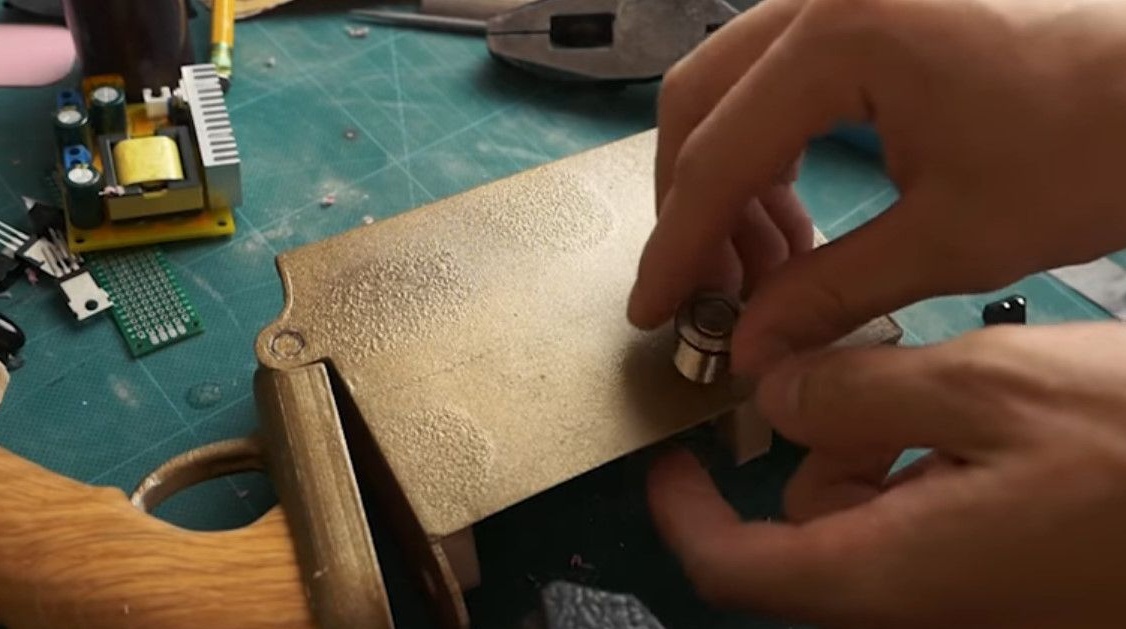
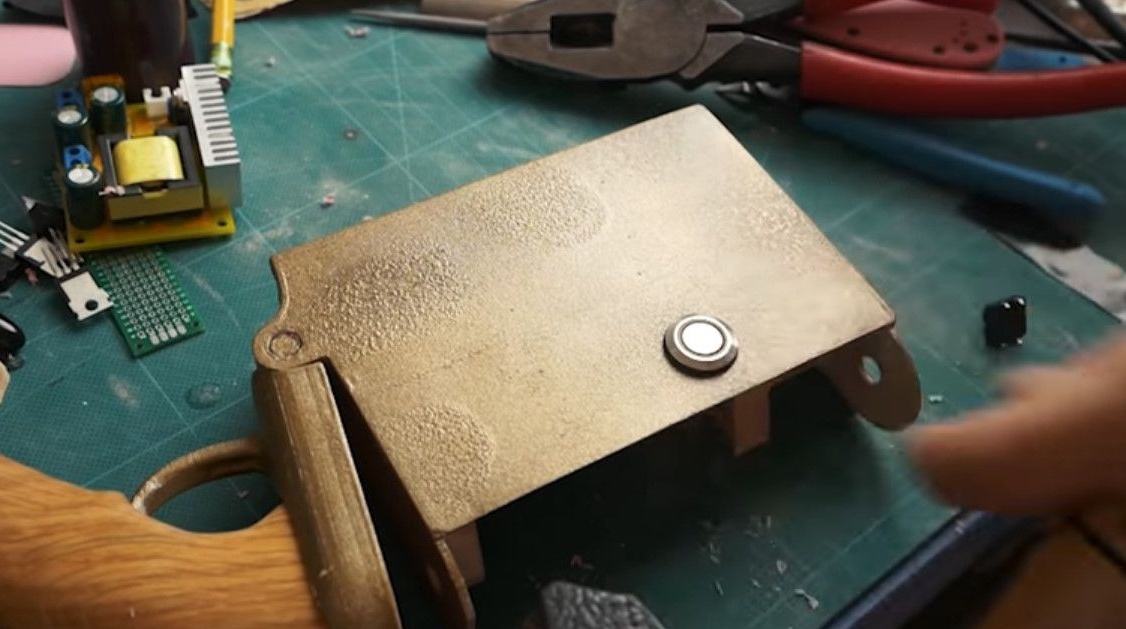
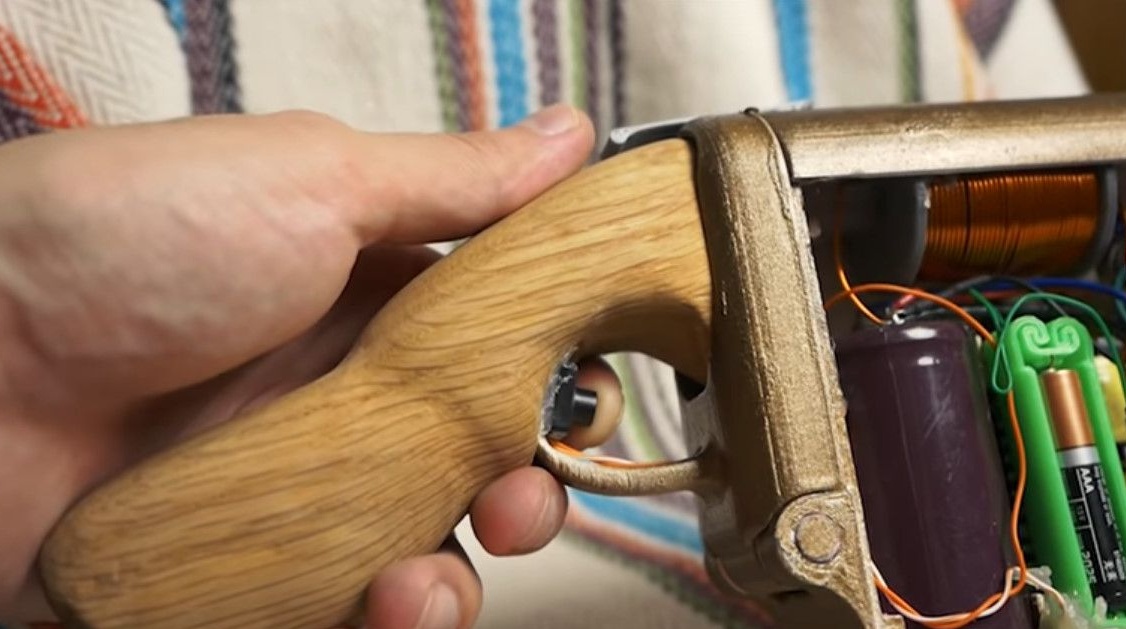
First of all, install the button. Approximately figuring so that in the future it does not particularly interfere.
Next, we collect the battery compartment.
To do this, cut the foil into strips and glue it under the battery contacts. We connect the batteries in series.
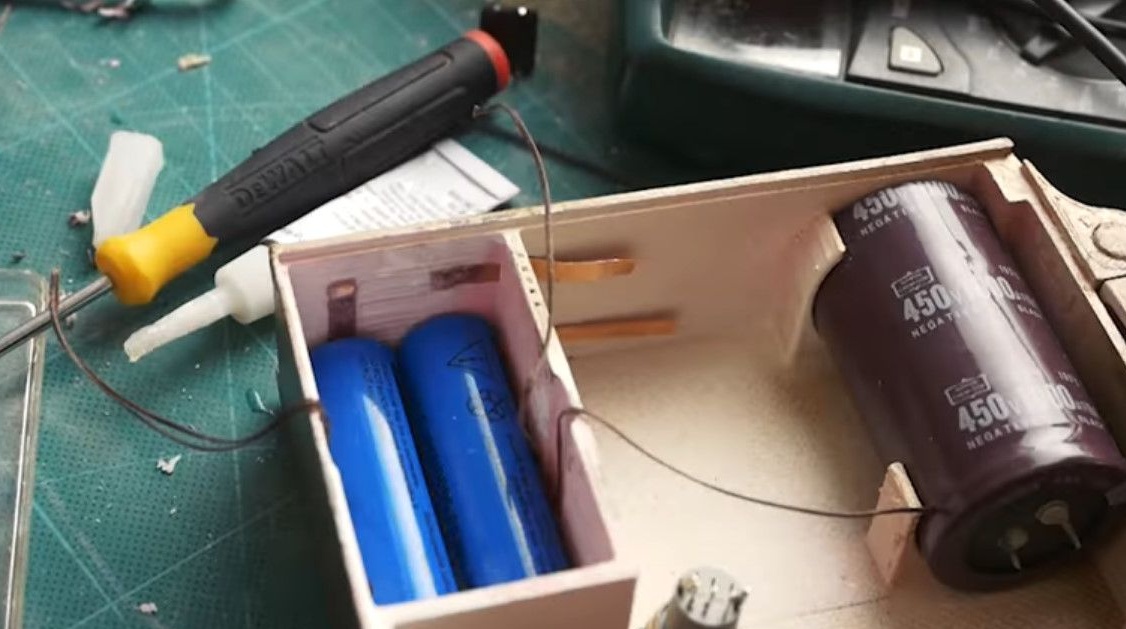
All the time we check that there is contact reliability.
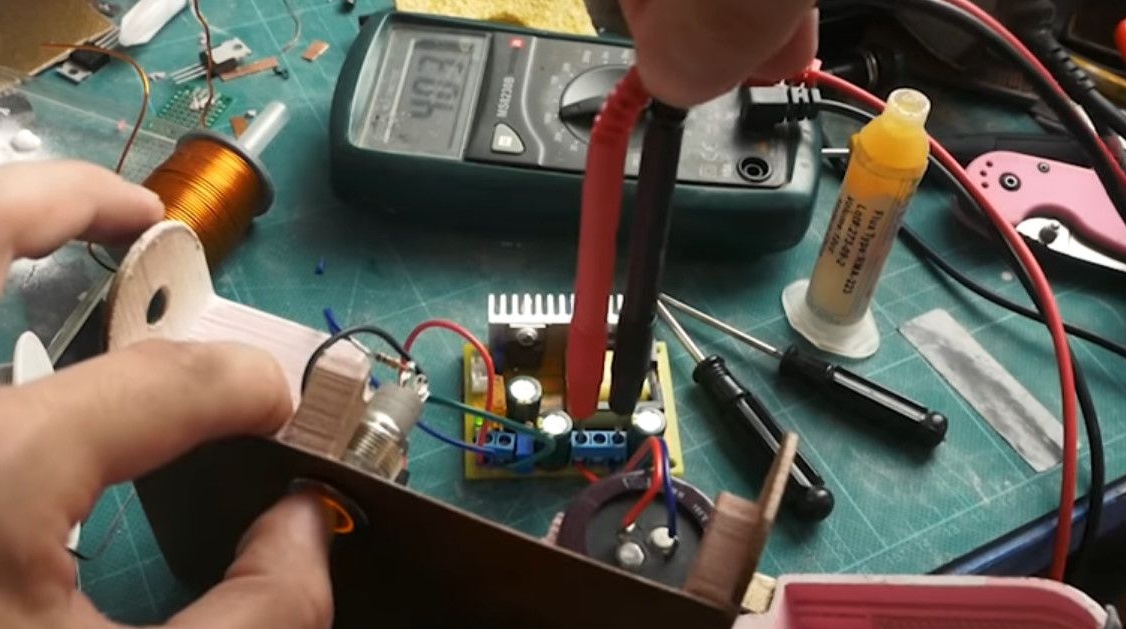
When this is over, you can connect the high-voltage module through a button, and a capacitor to it.
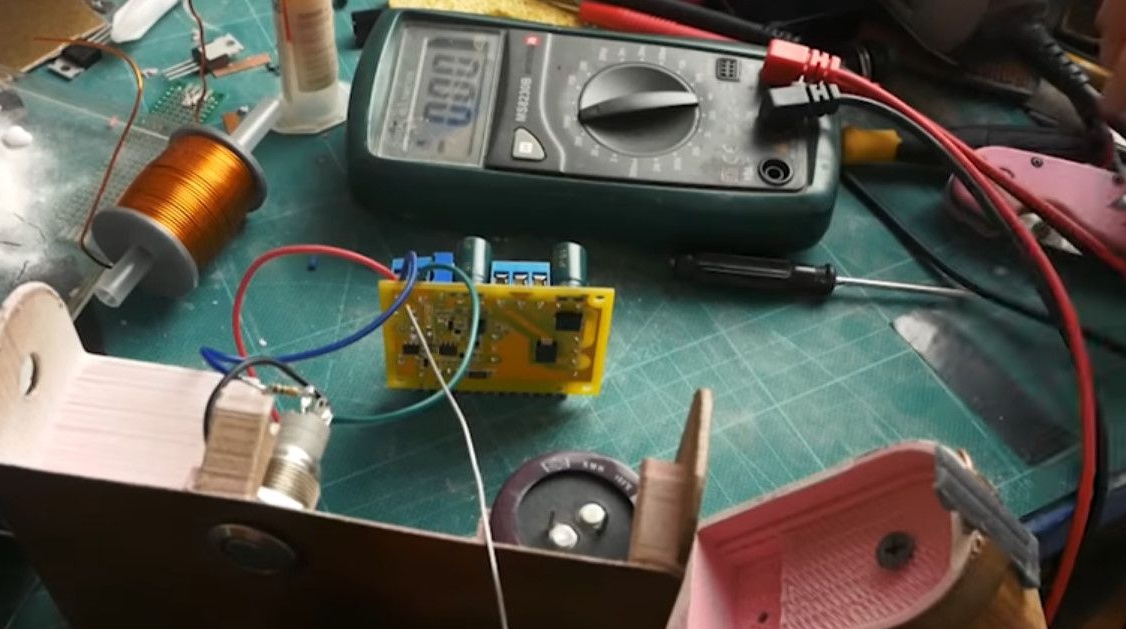
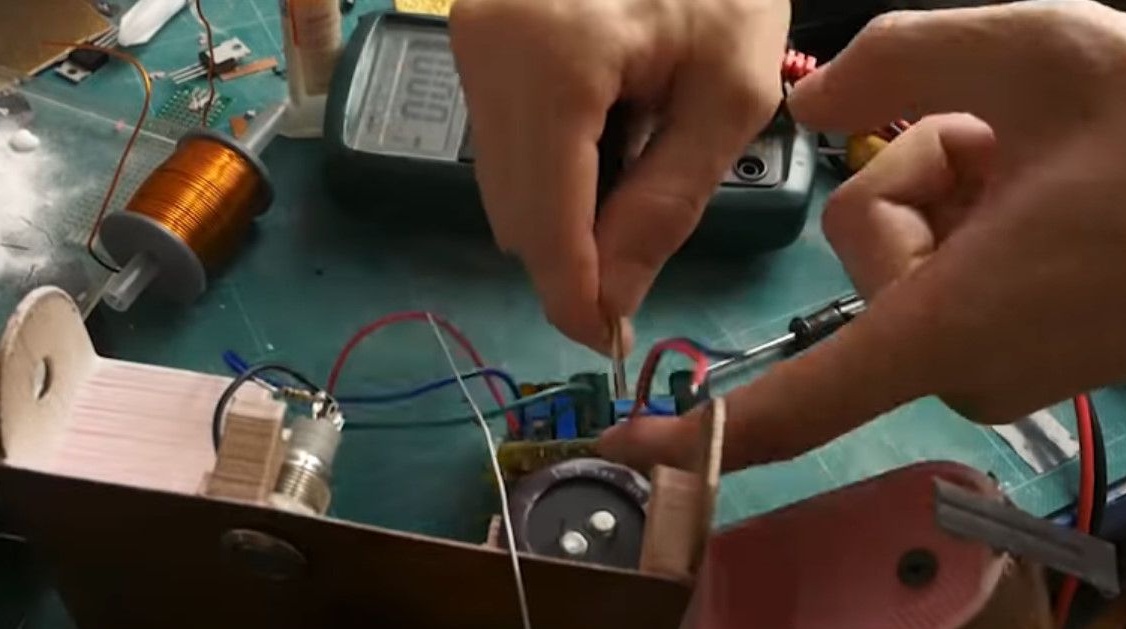
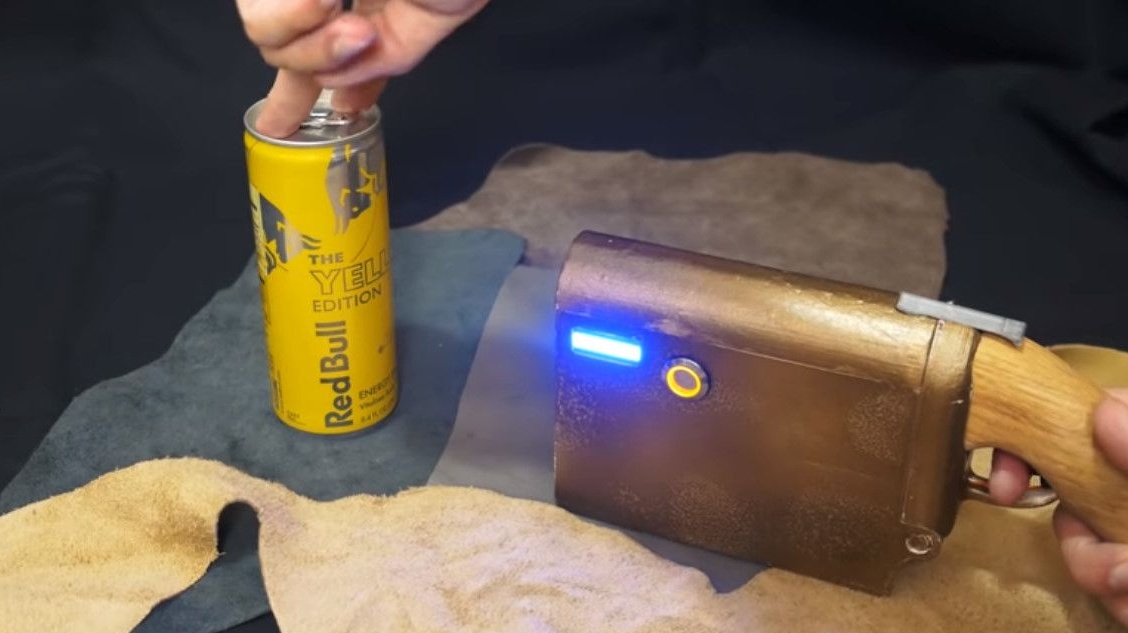
You can even try to charge it.
We set the voltage to about 410 V, to discharge it to a coil without loud popping of making contacts, you need to use a thyristor, which works like a switch.
And so that it closes, a small voltage of one and a half volts on the control electrode is enough.

Unfortunately, it turned out that the boost module has a midpoint, and this does not allow taking control voltage from already installed batteries without special tricks.
Therefore, we take a finger battery.
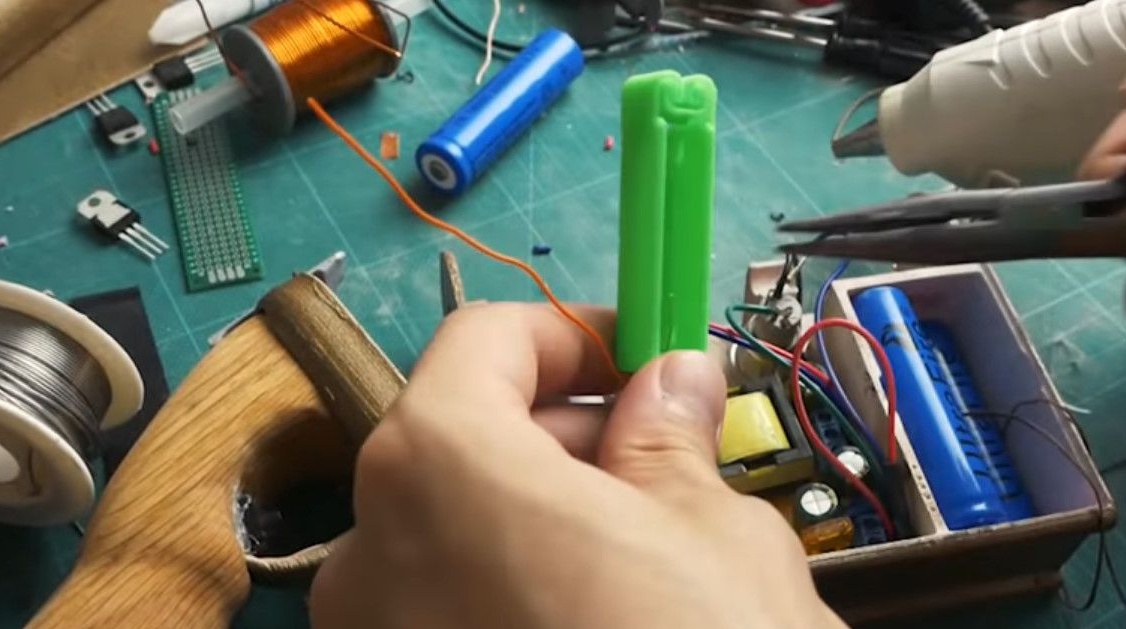
A small clock button serves as a trigger switching large currents through the thyristor.
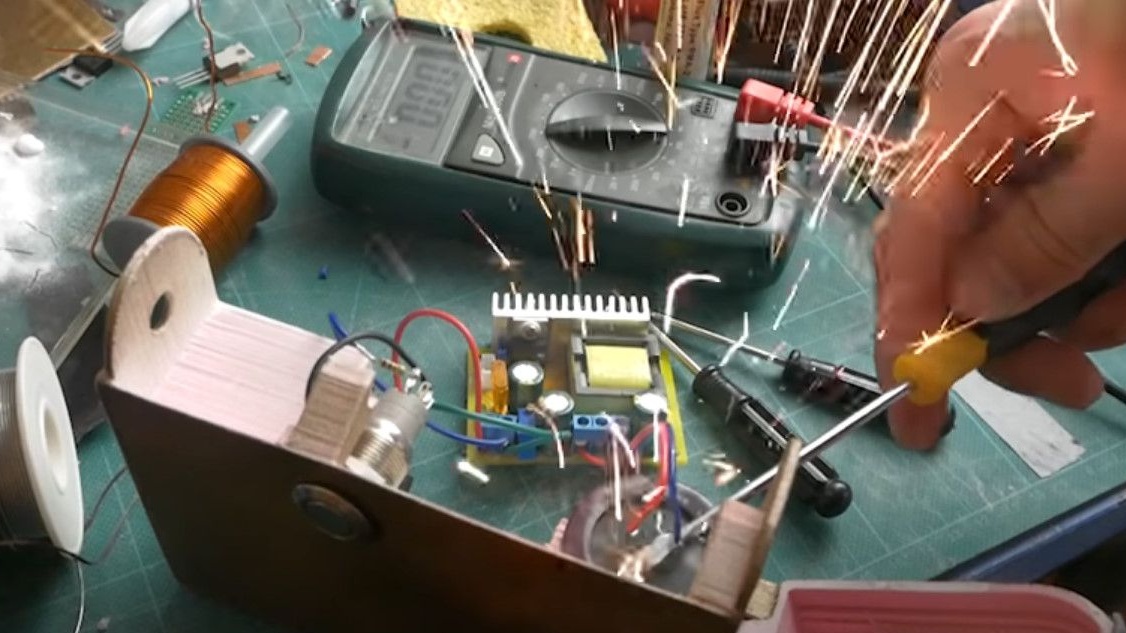
That would be all over, but the two thyristors could not stand such bullying.
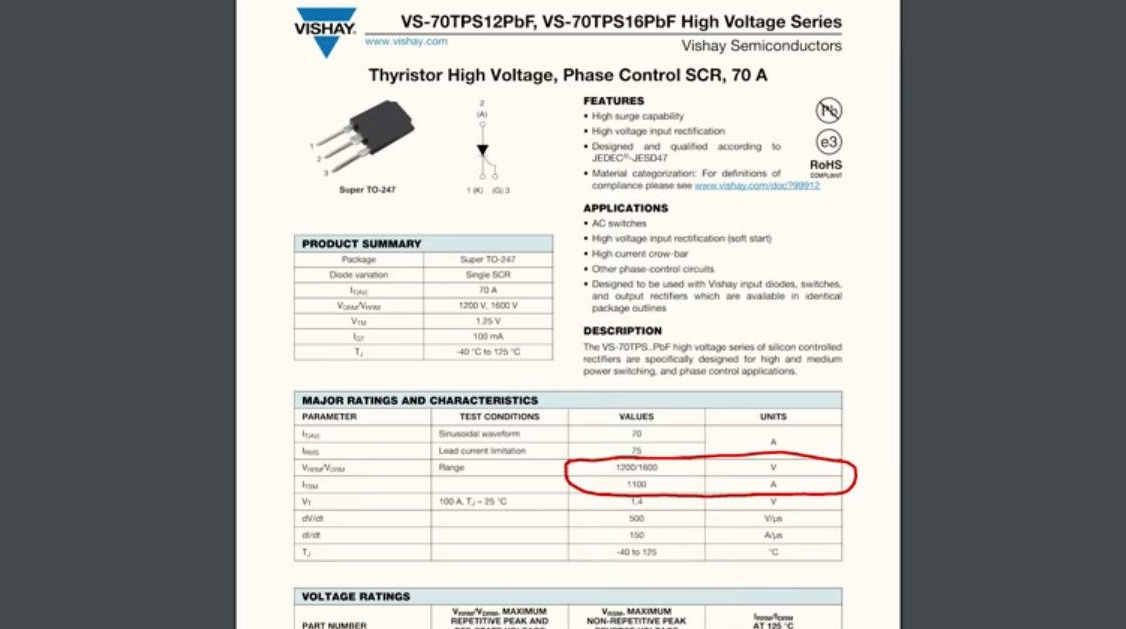
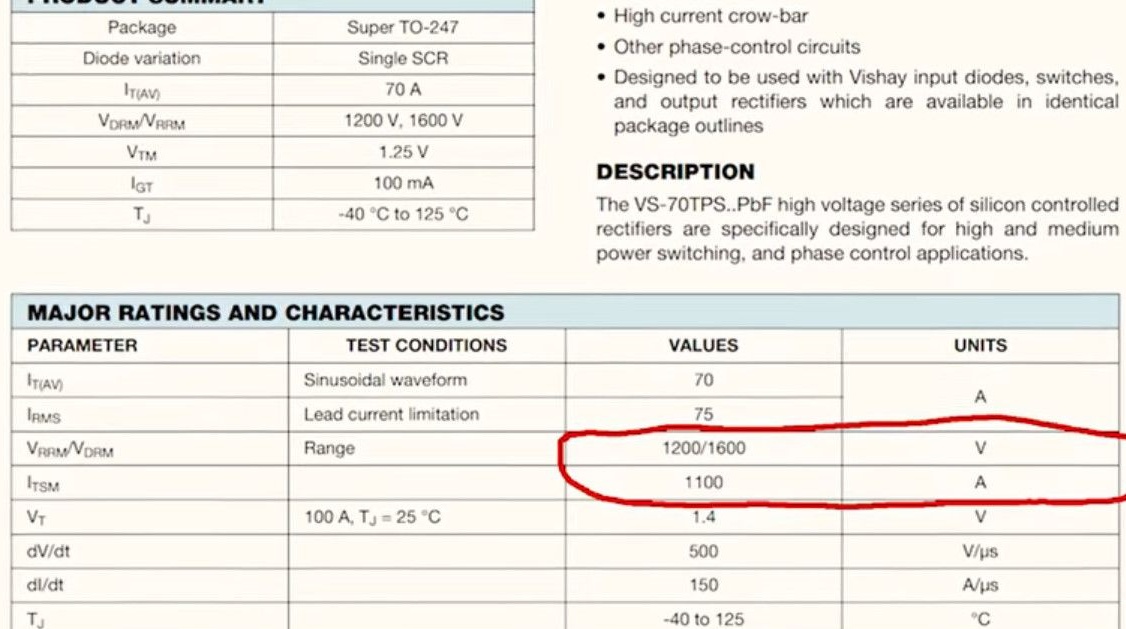
So I had to choose a more powerful thyristor, 70TPS12, it can withstand 1200-1600V and 1100A in a pulse.
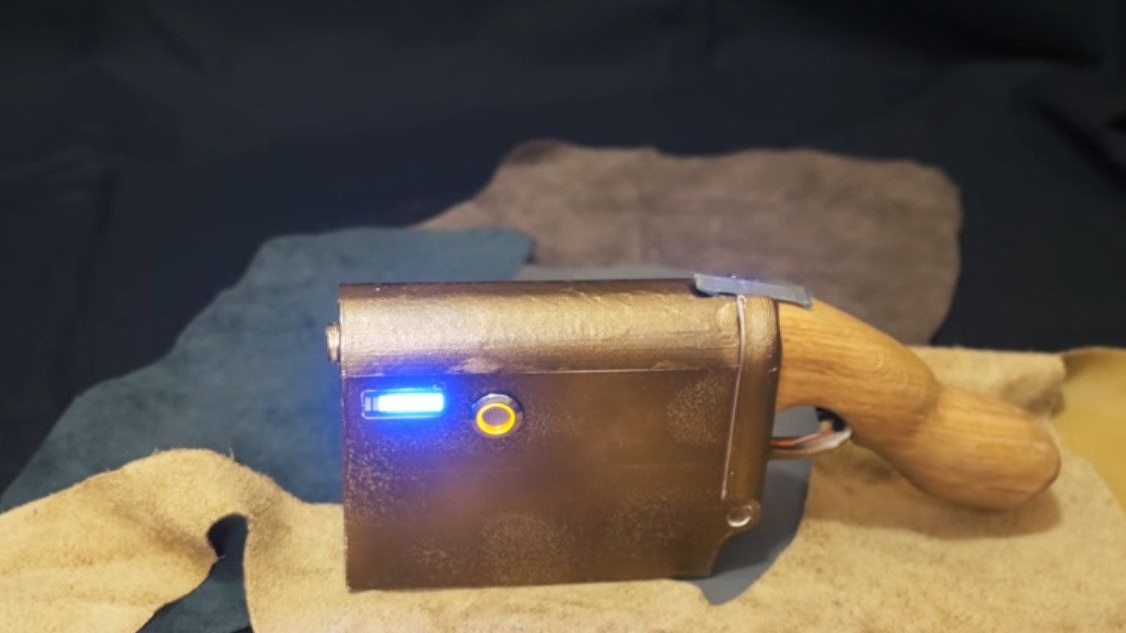
Since the project still froze for a week, we will buy more details in order to make a charge indicator. It can work in two modes, igniting only one diode, shifting it, or alternately igniting everything.
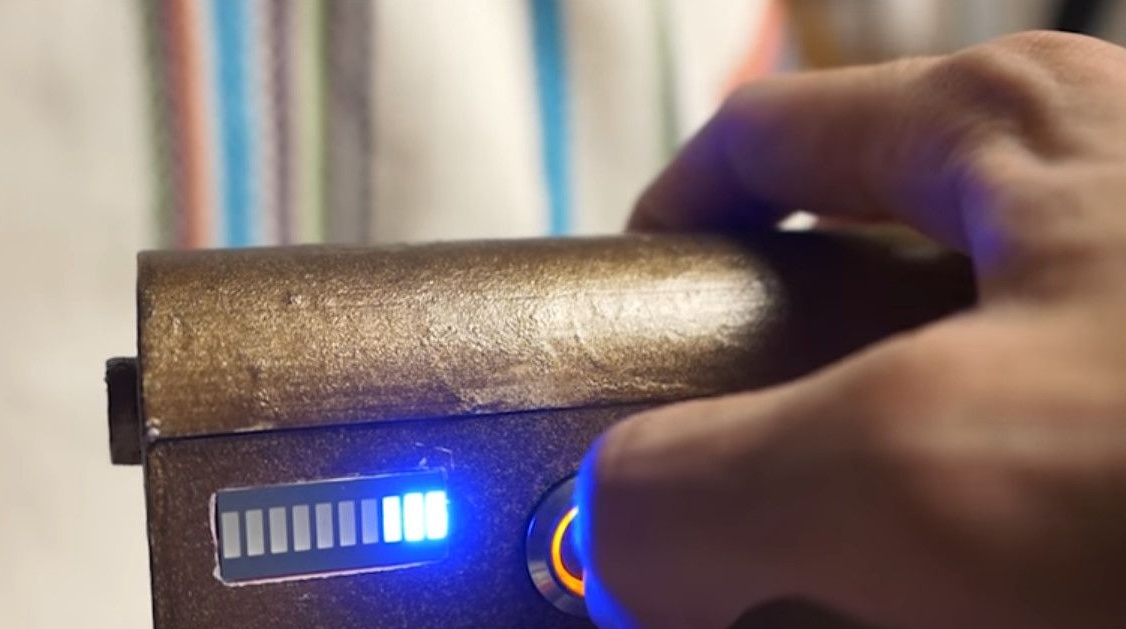
The second option looks more beautiful.
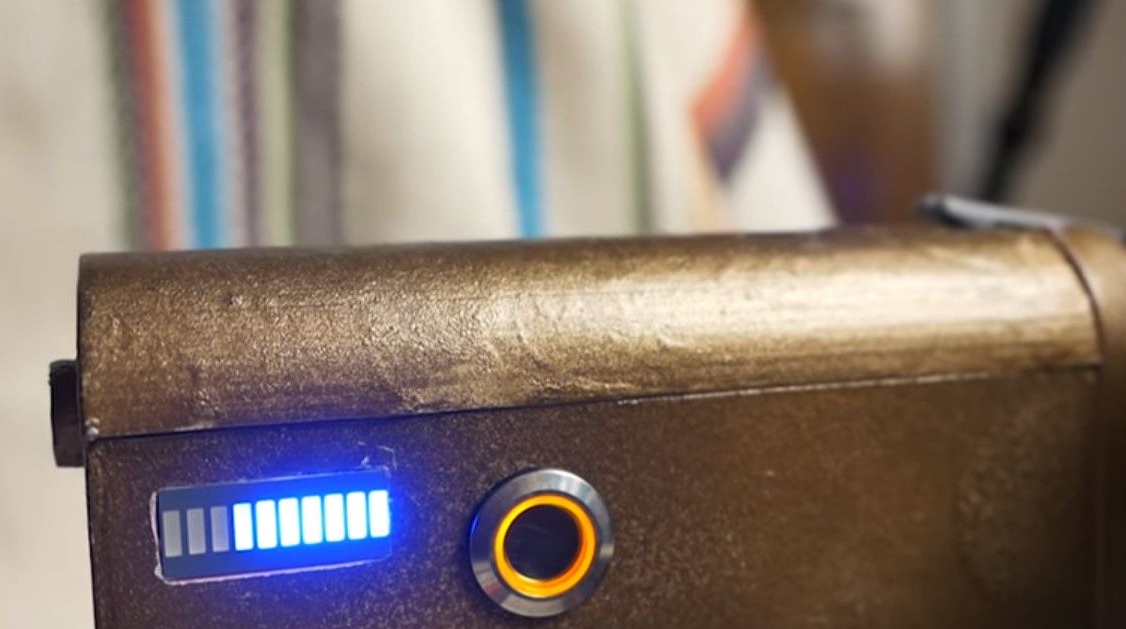
The scheme is quite simple, but in Ali you can buy a ready-made such module.


By adding a couple of megaohm resistors to the indicator input, you can connect it directly to the capacitor.
The new thyristor, as planned, easily passes powerful currents.

The only thing is that it does not close, that is, before the shot it is necessary to turn off the charging so that the capacitor can completely discharge, and the thyristor will return to its original state.
This could have been avoided by a converter with a single-half-period rectifier.
Attempts to redo the existing success did not bring.
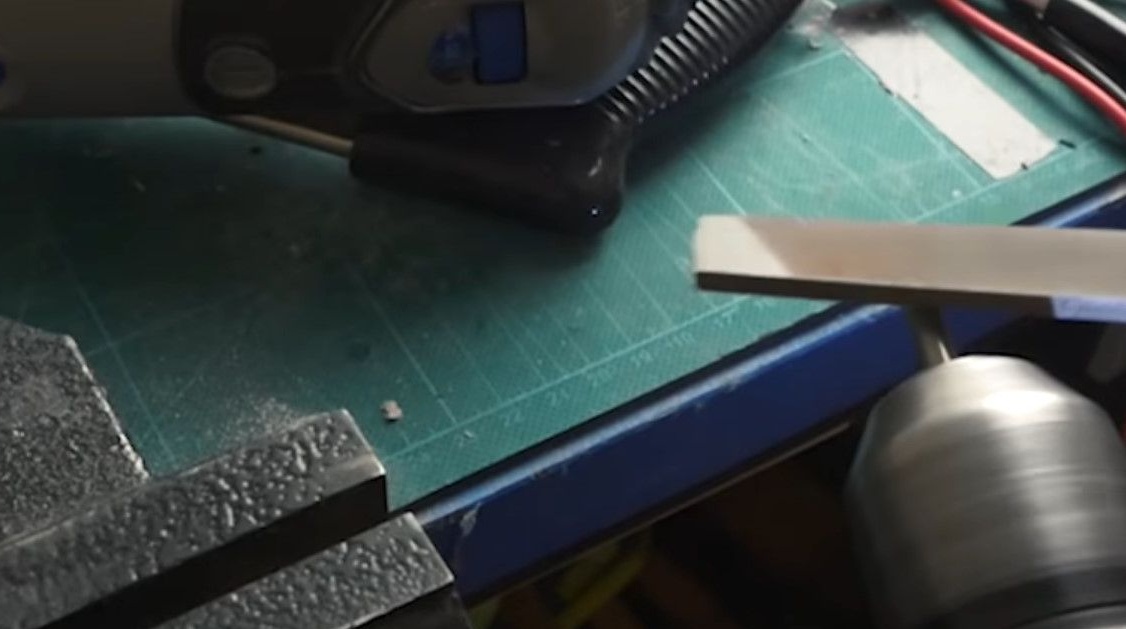
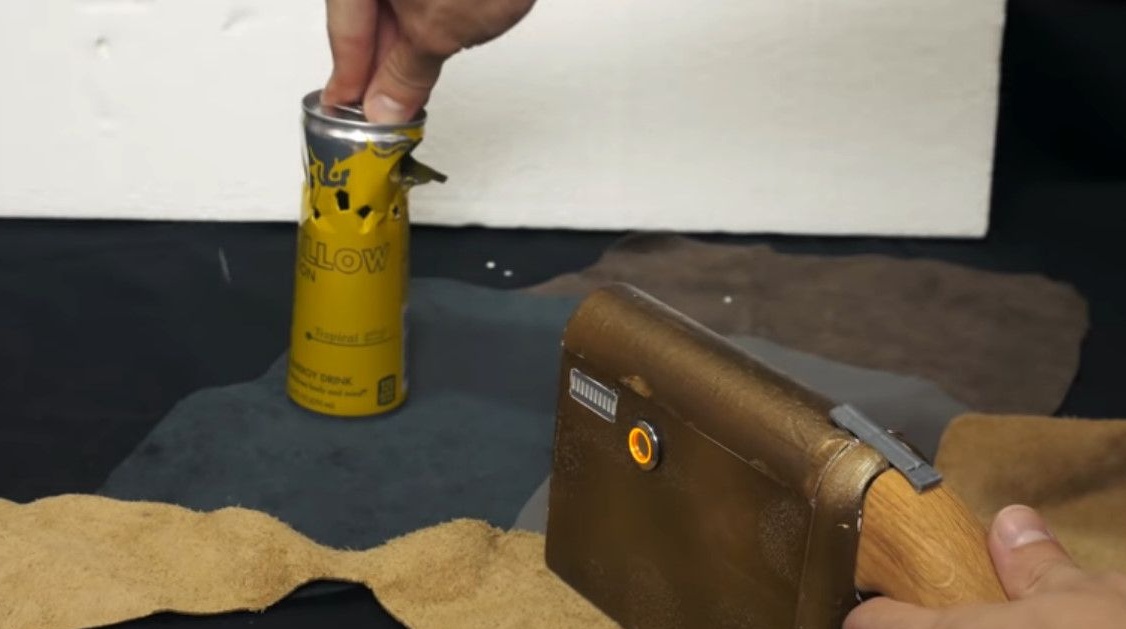
You can start making bullets. They must be magnetized.
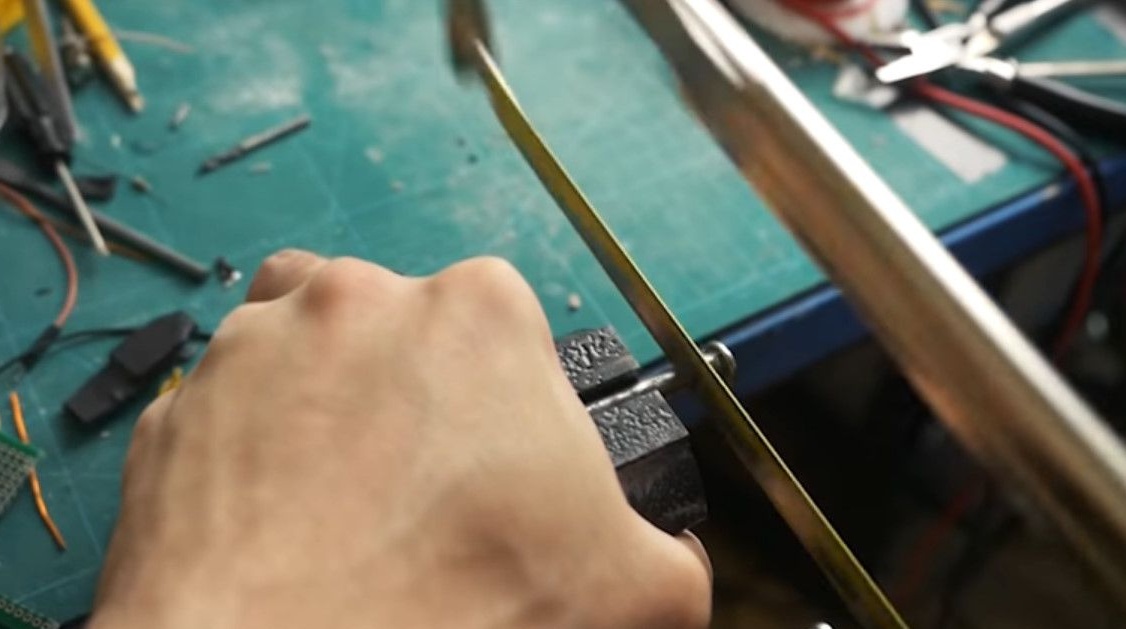
You can take such wonderful dowel nails, they have a diameter of 5.9 mm.
And the barrel goes perfectly, all that remains is to cut off the hat and sharpen it a little.
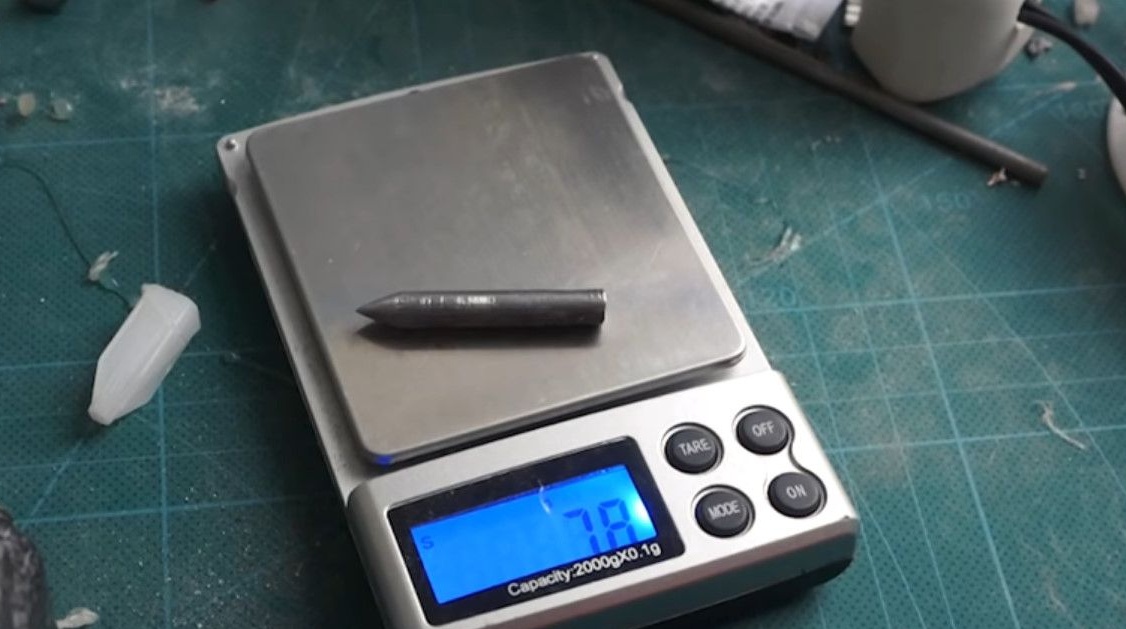
The weight of the bullet was 7.8 g.
Unfortunately, there’s nothing to measure speed now.
Finish the assembly by gluing the body and coil.
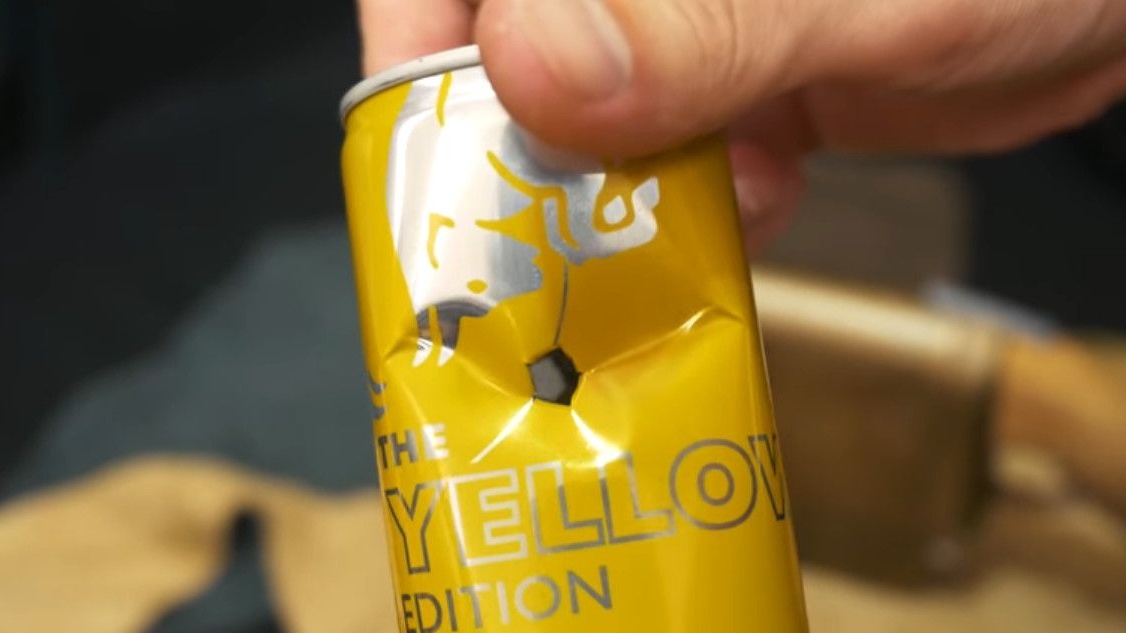
You can test, this toy is not bad for aluminum cans, it pierces cardboard boxes, and in general you can feel the power.
Although many claim that the Gauss guns are silent, she claps a little when fired, even without a bullet.
When large currents pass through the coil wire, although this happens in a split second, it heats up and expands slightly.
If you impregnate the coil with epoxy, you can partially get rid of this effect.
Homemade was introduced to you by Konstantin, How-todo workshop.