Greetings to all whose hands are growing from the right place, as well as their sympathizers! This time I want to suggest that you slightly improve the most common power tool that almost every artisan has. It's about the electric drill.
It seemed that you can still add to this tool, which shoved everything that is possible and impossible? Here and drilling with a punch like a punch, and adjusting the speed (which by the way a lot of questions, but more on that next time), and a ruler for drilling to a given depth, and so on. However, a hand drill, unlike a drilling machine, has one drawback - it is problematic to drill a strictly vertical or horizontal hole, it is difficult to control the perpendicularity in two planes. Surely many came across a situation where they had to ask someone to coordinate the position of the instrument higher, lower or to the right or left. For example, in order to insert a latch into an interior door, you need to drill an ø22mm hole in the end of the canvas. strictly horizontally, and if eye drilling is a matter of drilling along the blade axis, then I even managed to flood the horizon with horizontality while drilling along the conductor.
What I bring to your attention is to the disgrace - you need to install two bubble levels on the electric drill - linear for horizontal and circular for vertical drilling. I will make a reservation right away, the idea is not mine, but it was read many years ago in some of the magazines. It simply offered to fasten the level to the instrument, which I myself did repeatedly - I fastened with an insulating tape (yes, blue) a peephole taken out of the level, slipping under the edges of the splinters to match the axes. Then the insulating tape was gradually erased, unwound, and in the end the peephole was safely lost. It is because of this that I decided to make this device overhaul.
For homemade we will need:
1. Bubble levels - linear and circular
2. Drill
3. Chisel
4. Glue
5. Reference level
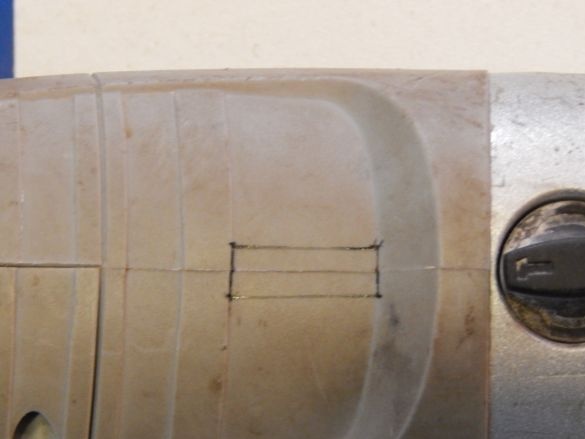
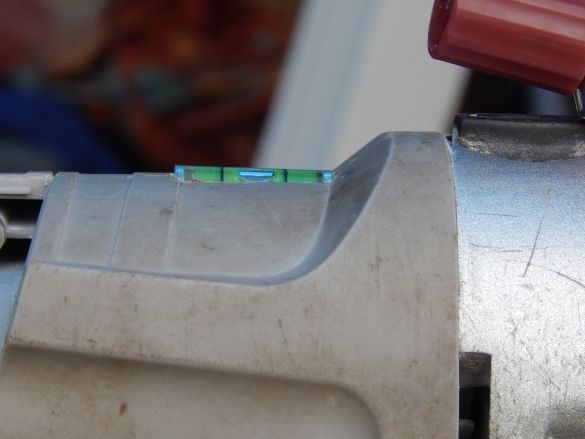
First, mark up the window for setting the linear level. The dimensions of the eye that I managed to get (from the plastic shield of Vi-ko) are ø8x25mm. Taking advantage of the fact that axial is clearly visible on the plastic molding of the body of the drill, we dance from it 4 mm in both directions.
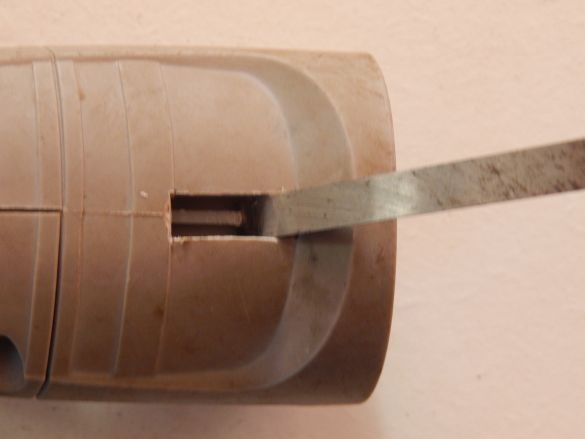
We cut out the window with a chisel, especially without going deep as there is a stiffener inside, on which you need to put a peephole.
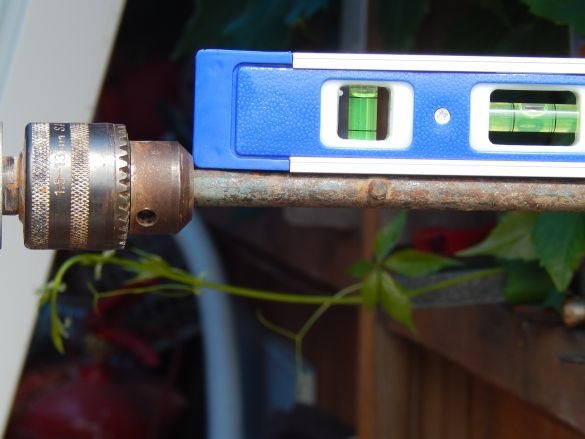
We clamp the rod into the drill chuck, the other end of which is clamped in a vise by the control level.
In this position, lubricate the cut window with glue and insert the eye, respectively exposing the air bubble in the desired position.
Let the glue dry and proceed to the next stage of modernization.
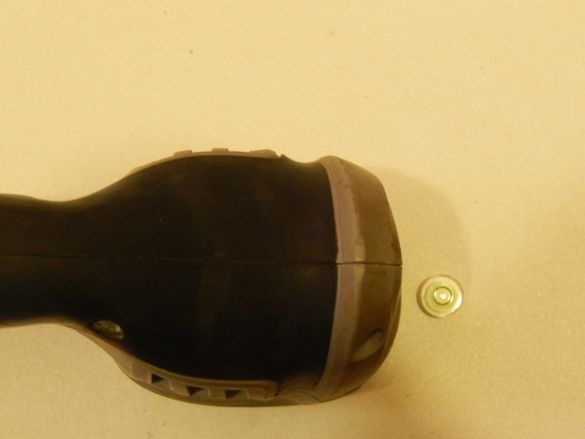
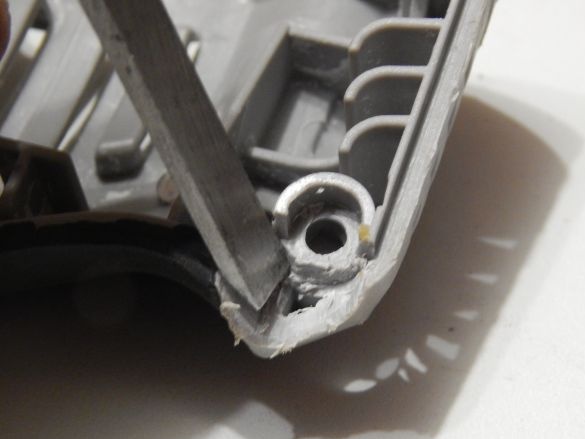
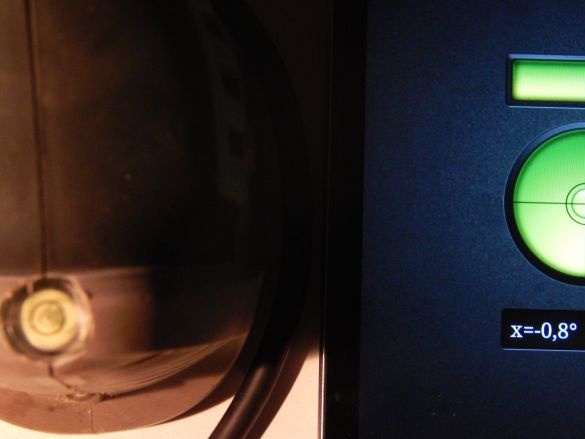
We cut a circular level into the “back of the head” of the drill, the dimensions of which are ø14x8mm. (They were ordered by Aliexpress for a sundial, but were a bit late) To do this, first cut a small area to drill a hole of small diameter (the relief on the handle is quite complicated),
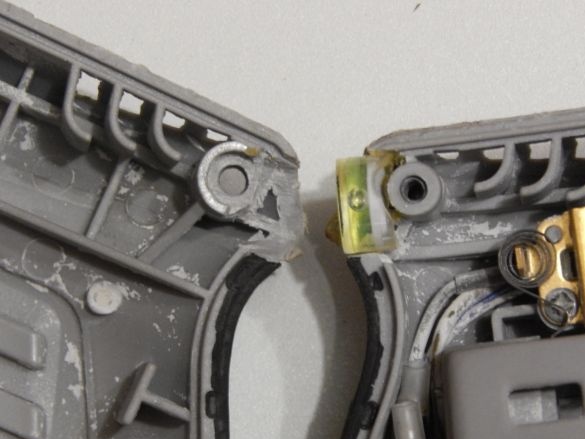
Chisel select the hole under the eye. There is not much space there, but for the peephole, if you sharpen it a little, it will be enough.
The eye is glued naturally only to one side of the body.
Adjustment is done until the glue has dried.
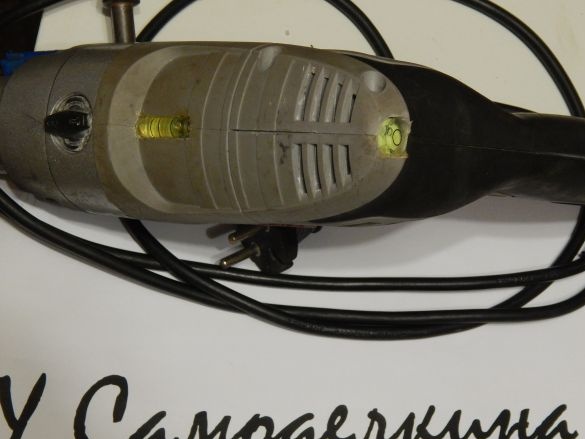
In final form, an electric drill looks like this:
Well, in conclusion, I want to say that this is not the end of work on this drill. As they say to be continued ...


