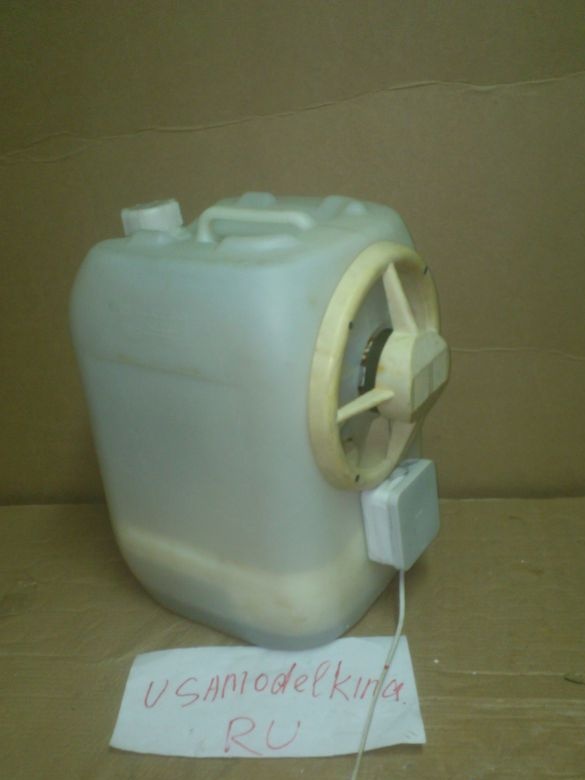
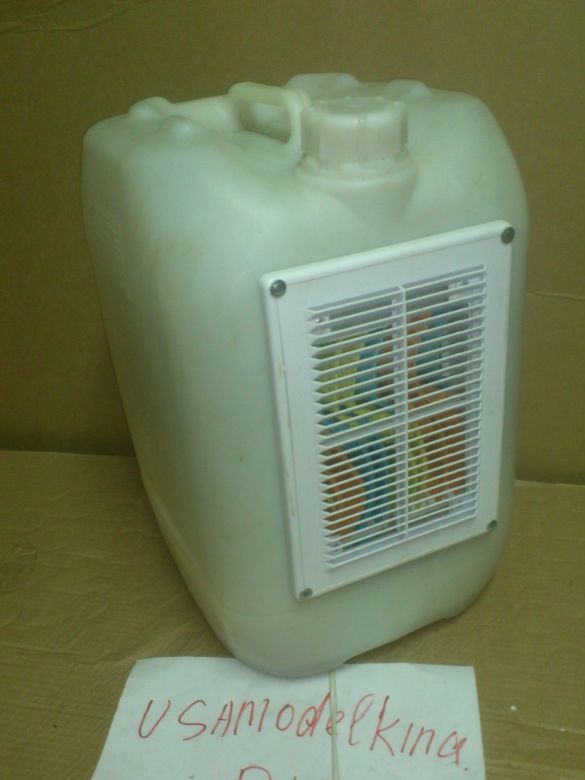
Today I want to talk about my attempt to make ... air conditioning!
Of course, my product cannot be called a full-fledged air conditioner! Rather, it is an evaporative air cooler.
Create air conditioning in artisanal conditions is hardly possible. But again summer came, and with it the heat! My workshop was hot too. The fan gives little effect - only at a short distance from it there is a cool effect. A little further, it’s just a stream of warm air! And in my "brains of the master" sunk "idea-fix" - try to make some kind of cooling device!
I immediately discarded the idea of chillers using cold water or ice - their “charging” will require too much work and time, and the work cycle between services is too short!
Having experimented with Peltier elements, I also rejected this venture. The efficiency is too small for them (if you use them as a cooler). The lion's share of energy is converted into heat !!! And only some small part - in the cold! That is, they warm several times more than they cool! In a small room, I would have to make some efforts to divert the hot air out! (To make some kind of thermally insulated duct, install additional fans .... It’s not worth it, given the low power of the device obtained at the output .... And their power supply is still the task!))) After all, they consume serious currents at low voltages, which means you need a powerful power supply (an additional heat source, by the way))))).
There is only one thing left - to try to assemble an evaporative type cooler, the action of which is based on intensive evaporation of the liquid. Everyone knows that during evaporation (the transition of a substance from one state of aggregation to another), this substance absorbs energy! That is why we feel a chill if the wind blows on our skin - because the wind carries away particles of moisture secreted by our sweat glands. Our sweat is provided for this - evaporating, it cools the surface of the skin.
I personally observed this effect, cooling drinks during "outings". It is enough to lay the bottles on the ground in the heat, cover with a wet rag and do not let it dry completely - constantly moisten it. After some time, the bottles will become much colder than the surrounding air !!! And than the water with which the rag was wetted !!
That is, it WORKS !!!
“Googling” on this subject, I learned that air conditioners working on this principle are even produced in series and are widely used in countries with a dry climate! In our area, they cannot be used intensively, due to the high relative humidity! Indeed, for intense evaporation, the air must be dry! And if it already contains a large amount of water vapor, evaporation will be weak ...
But, still WILL, I thought! ))). Indeed, the relative humidity in our country is not 100%! Wet things, hung in the shade, still dry! (And, for example, on the Antalya coast of the Mediterranean Sea, I was faced with the fact that the shirt hung after washing in the shade remained the same wet even in the morning even at an air temperature of +35 degrees !!!! There is simply no evaporation !! Hot air has already absorbed yourself from the sea as much moisture as you can hold !!! And you can dry something there only in direct sunlight and the breeze!)
.... Well then !! Since I’m not sure about the result, then I need to do a prototype from the fact that I’m lying around !!)))). So that it would not be a pity then ...
And I decided to make my air conditioning from the following:
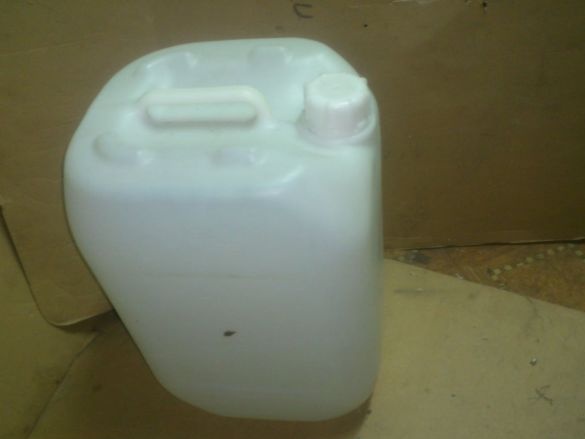
1. Plastic canister with a capacity of 30 liters.
2. Fortochnik fan times of the USSR.
3. Trimming a plastic box for electrical wiring.
4. Cutting foam.
5. Old ventilation grilles.
6. The old charger from the Nokia.
7. Submersible pump for the aquarium (had to buy!))))
8. Dropper (System for intravenous injection. I also had to buy)))
9. Sponge wipes.
10. Box for outdoor wiring.
First of all, you need a fan that will provide air flow and promote evaporation. Since Soviet times, I have been lying around an old ventilating fan, which the builders then inserted into the kitchen vents. The tenants, as a rule, took them out and they were lying around unnecessary.))) So I had one. Lying around as unnecessary - and throwing the hand does not rise, and use .... the hand does not rise too!)))) So, I was even glad - at least I will get some benefit from it!
I didn’t even bother with the choice of the case!))) Water will have to be poured into it, moreover, its dimensions should allow it to be placed in it. So - it will be a big canister, which "I have")))).
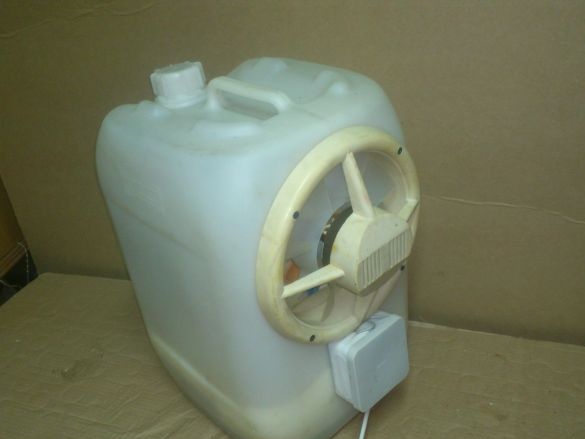
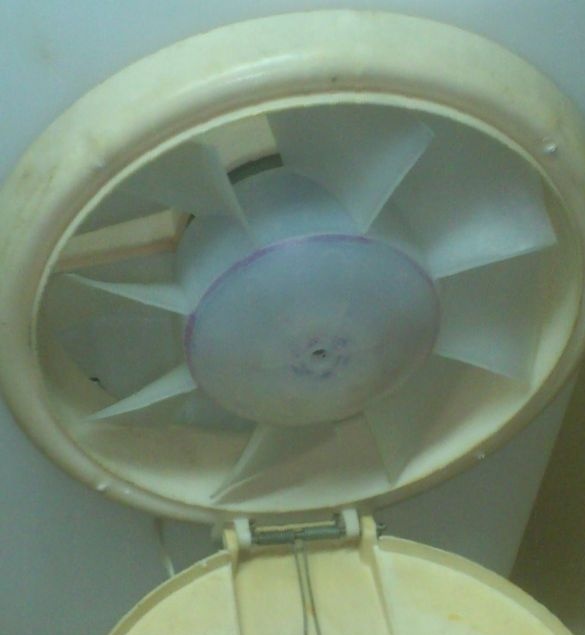
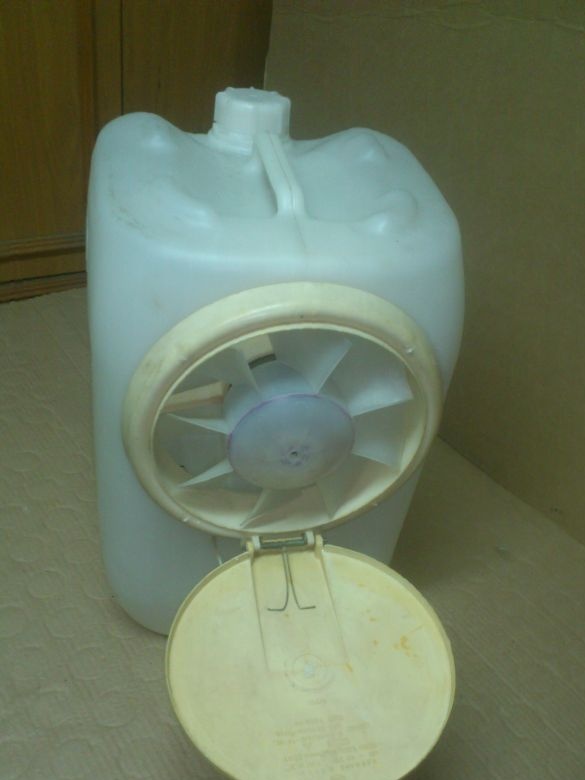
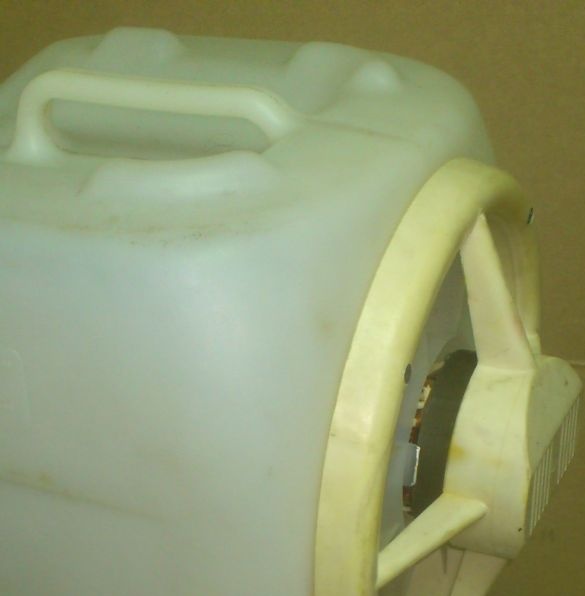
I began by cutting a round hole in the side of the canister and placing a fan there:
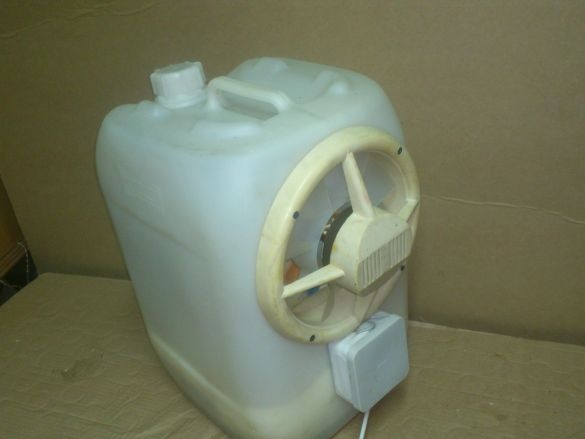
Initially, in the "raw version" I decided that the fan would suck in air from the canister. Apparently, the moment worked, then the fan will remain with the cover, and in the transport position it can be closed. (.... uh ... but why ???))))). But, having thought, I nevertheless decided that the fan should pump air into the case - after all, it would not be useful for him to wash himself with moist, wet air, possibly still with splashes of water. Therefore, I removed the cover from it, and installed it on the contrary, with the motor out:
The release of humidified (hopefully cooled))) air will be from the back of the case. Initially, I thought just to drill holes in the walls of the canister, but, thinking, decided not to do so. After all, inside should be access for maintenance! In conditions of high humidity and settled dust, dirt and mold will accumulate there .... Therefore, you need to make a kind of "door", and a replaceable evaporative "cassette" ...
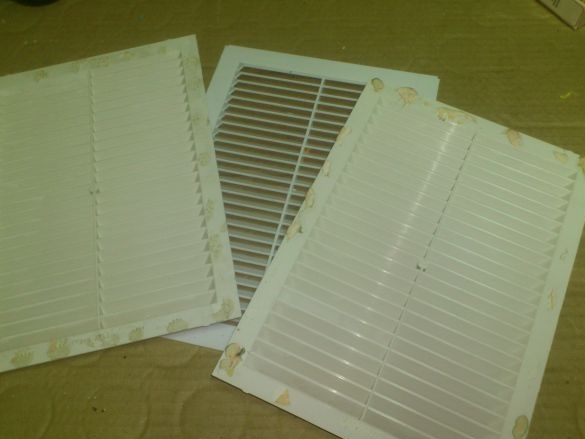
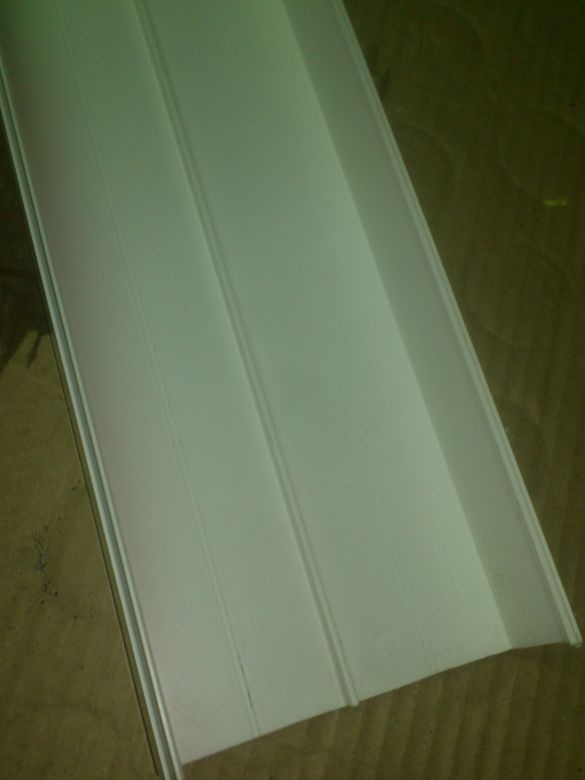
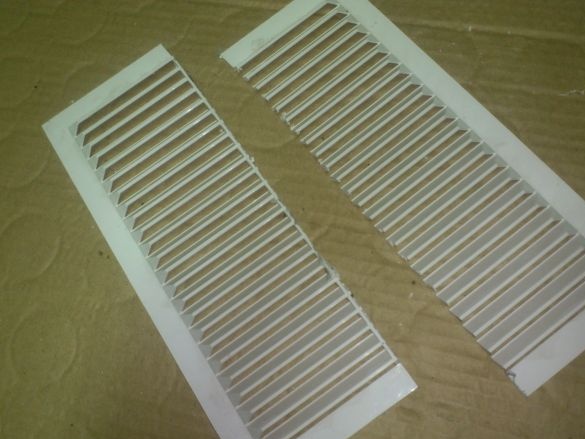
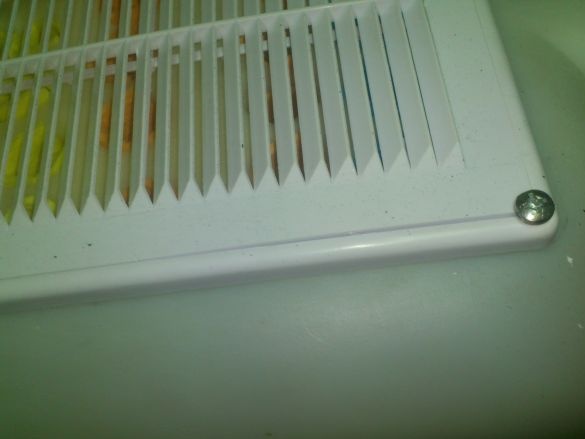
Having rummaged in my "stocks of the necessary garbage", I found several old ventilation grilles:
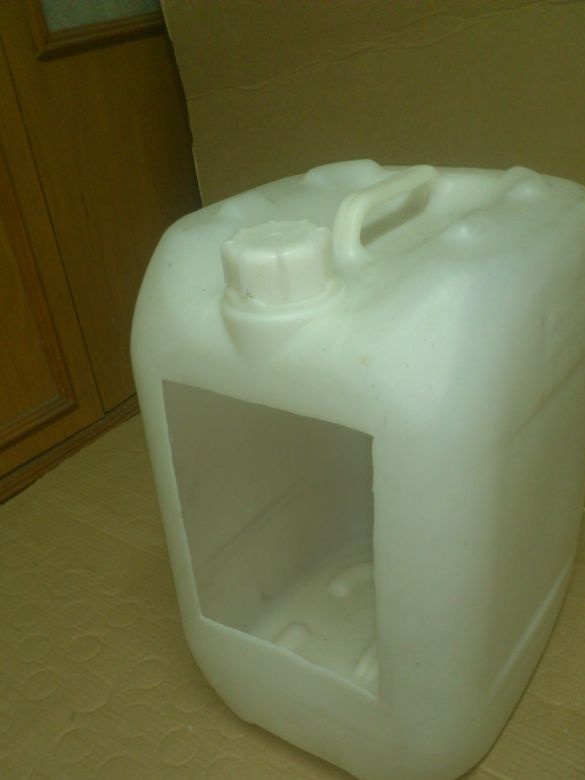
Without presenting the device of the evaporative part in detail, I nevertheless decided that this grate would be installed in any case. At least because it will provide protection against possible splashes of water. Therefore, I cut a square hole in the opposite side wall of the canister to fit this grill:
And only then I realized that I would definitely do it anyway! After all, I just put the fan in the "seat", but to fix it, you need access from the inside with a screwdriver and screws!)))
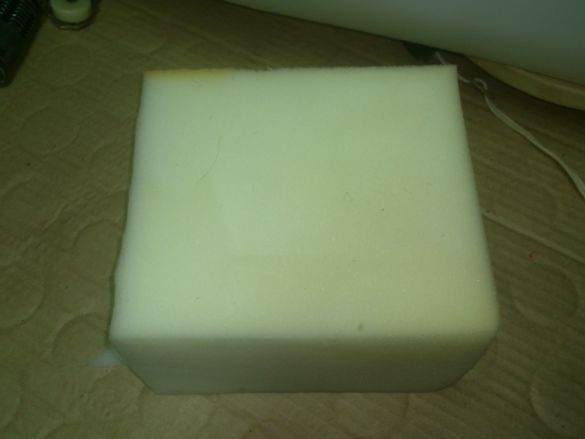
We proceed to the manufacture of an evaporative cartridge. (Somehow by itself this name was assigned to her.))) Initially, I decided to make it out of foam rubber. Fortunately, I once picked up a whole large bag of his scraps at a furniture factory to use as washcloths in my knowledge. The trimmings were of various sizes, but all of a large thickness:
Thinking, I decided that foam rubber still couldn’t draw moisture capillary in the quantities I needed, and therefore I need a pump that delivers water up. There was an idea to make up something home-made ... (and even even thought up something) ... But, turning to the services of “friends from the Middle Kingdom”, I saw a ready-made solution for them for a penny ... The pump was bought, fortunately, in a hurry it wasn’t - the weather changed and the rest of June it was chilly rains.))))
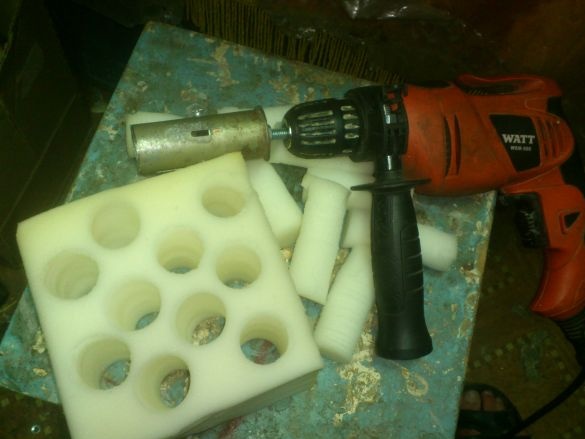
In the meantime, I experimented with an evaporative cartridge. It turned out (and it was supposed)))) that blowing air through the foam (and, especially, wet) is simply not realistic. I decided to drill holes in it. It is to drill, because if you burn them, for example, with a soldering iron, then the edges will be melted! And I need "open pores" there.
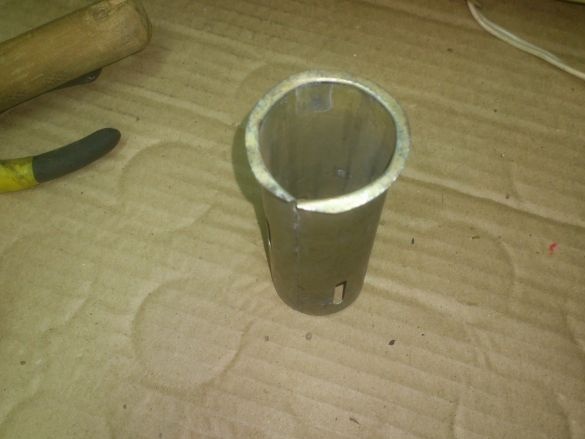
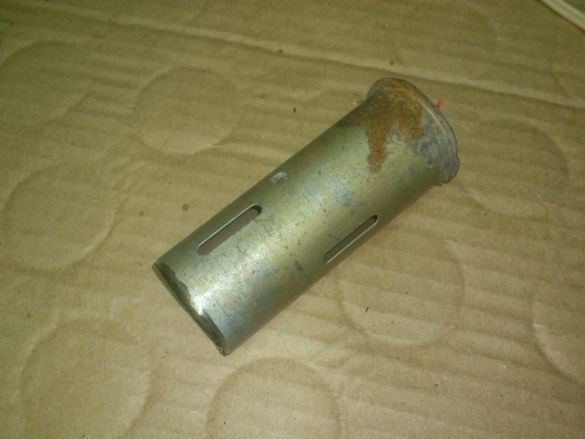
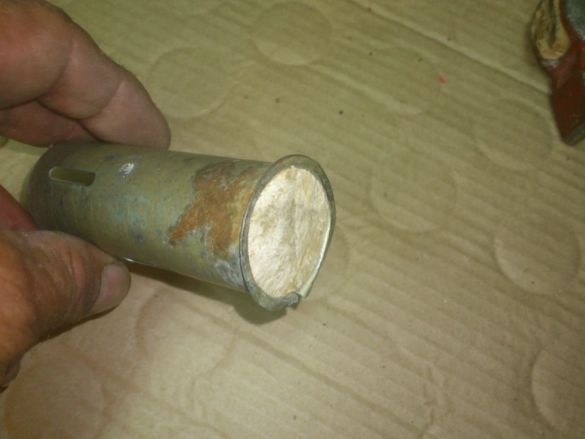
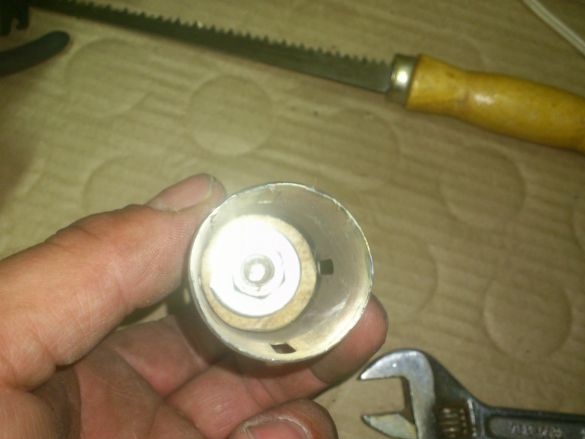
I made a “foam rubber drill” from such a tin cylinder (I don’t know what it was from. Most likely - the case of a control lamp of some ancient devices), which was lying in the scrap metal:
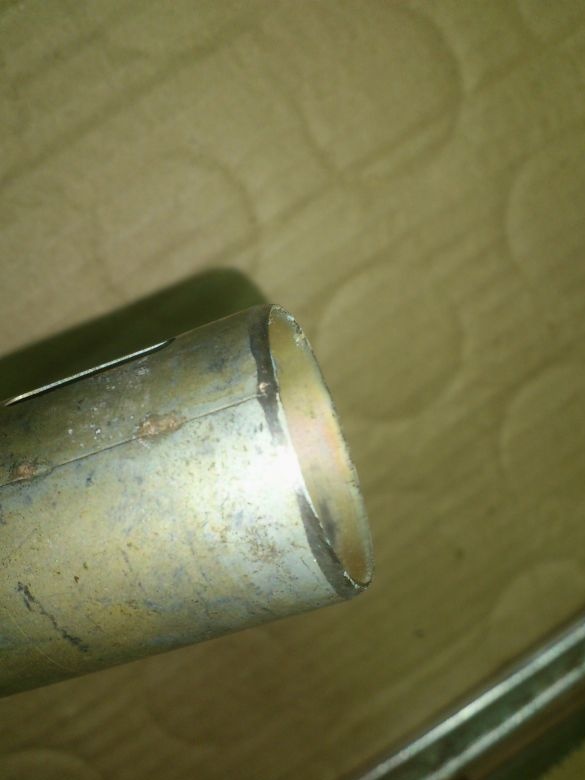
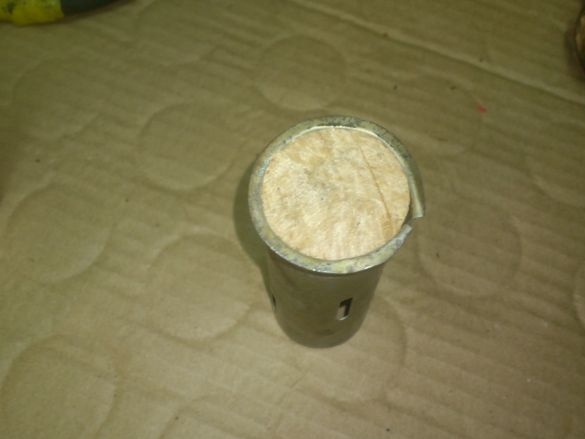
I imprisoned one of its edges:
It remains to figure out how to fix it on a drill ...
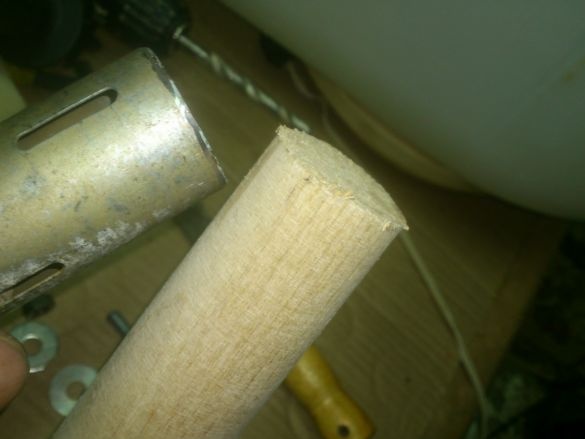
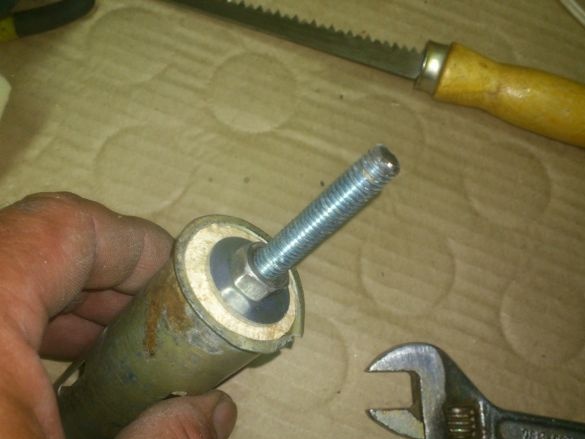
The solution was easy. I noticed that inside you can tightly hammer a stalk from a shovel. (I always have in stock a lot of various cuttings from garden tools. This is a very good "raw material" for making various handles for files and other chisels and screwdrivers))))
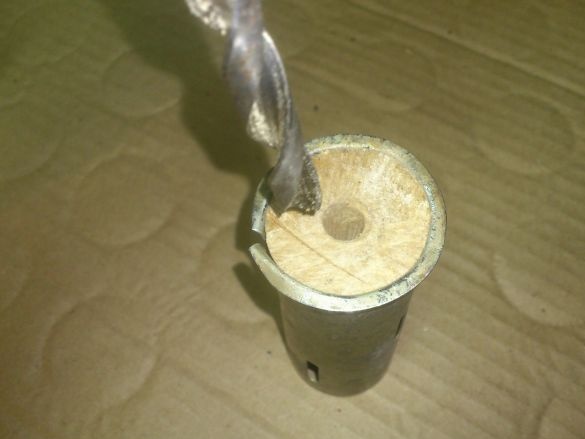
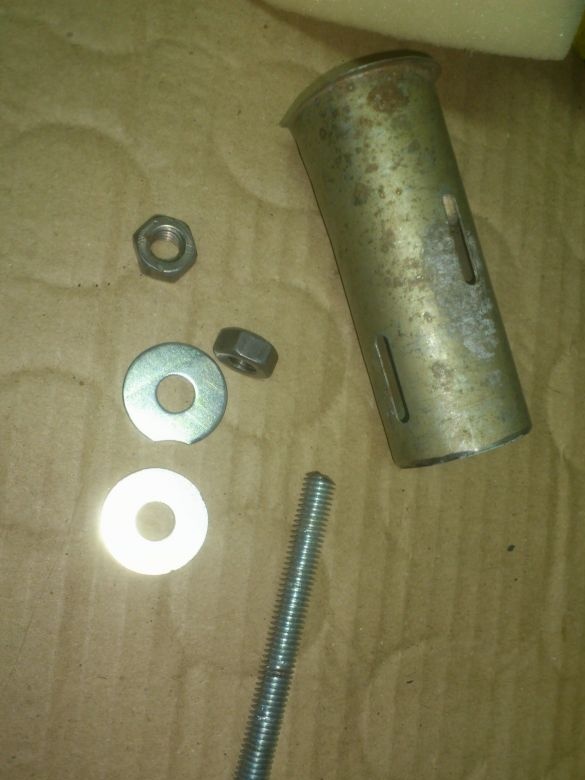
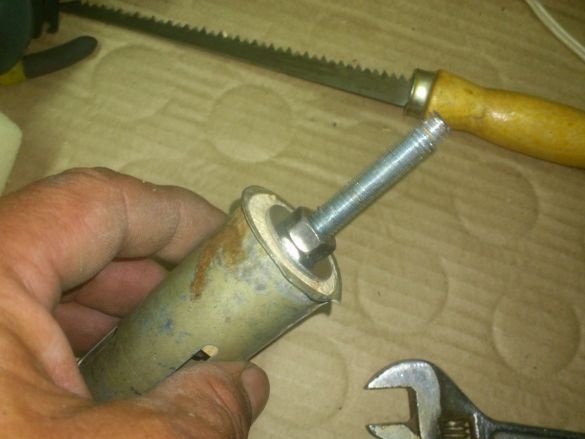
A piece of cuttings was driven inward, an axial hole was drilled in it, and a piece of M10 pin was inserted into it and clamped with nuts on both sides. It turned out to be a pretty strong shank:
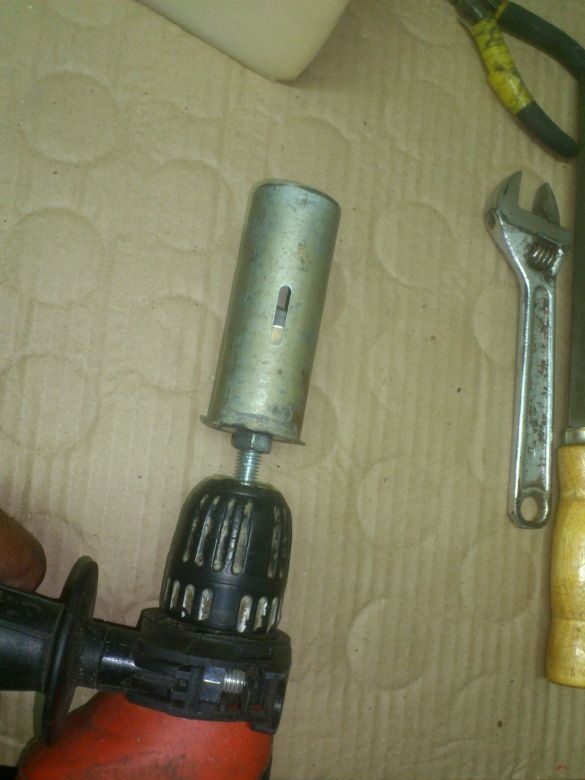
Clutching it into a drill, I easily drilled holes in the foam:
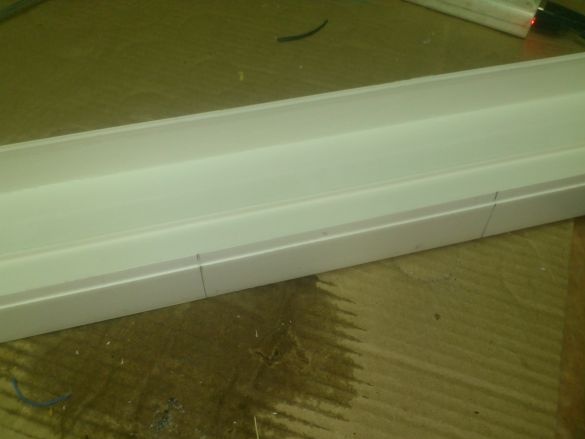
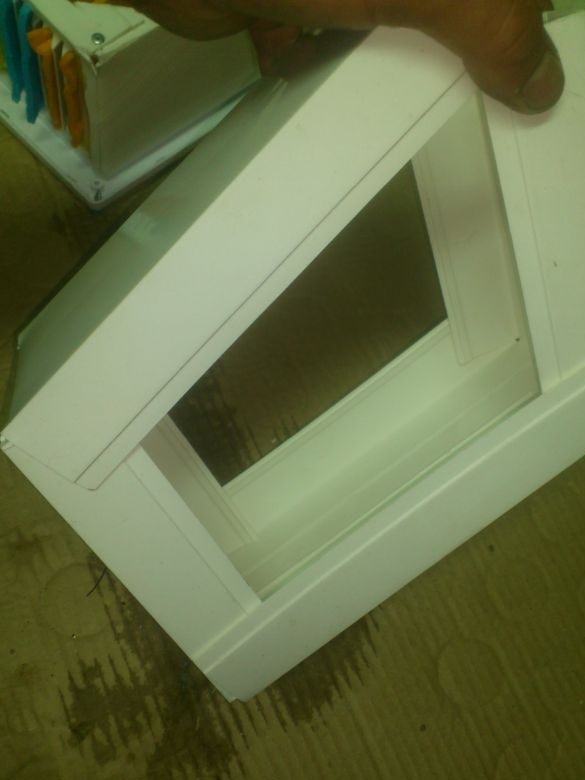
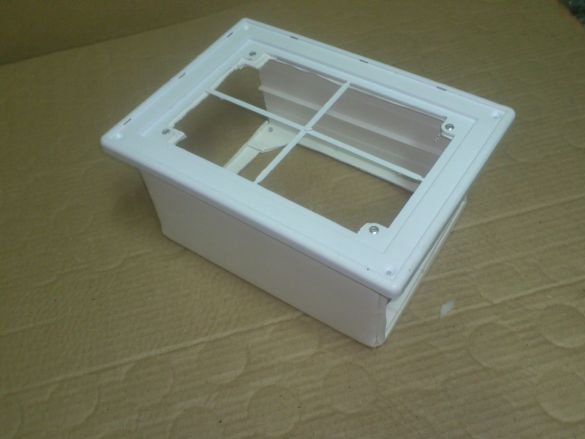
Now the case ... I decided to make it from the scraps of a plastic box for large electrical cables:
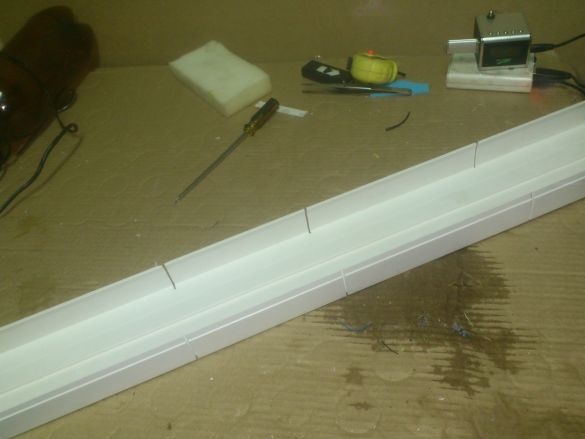
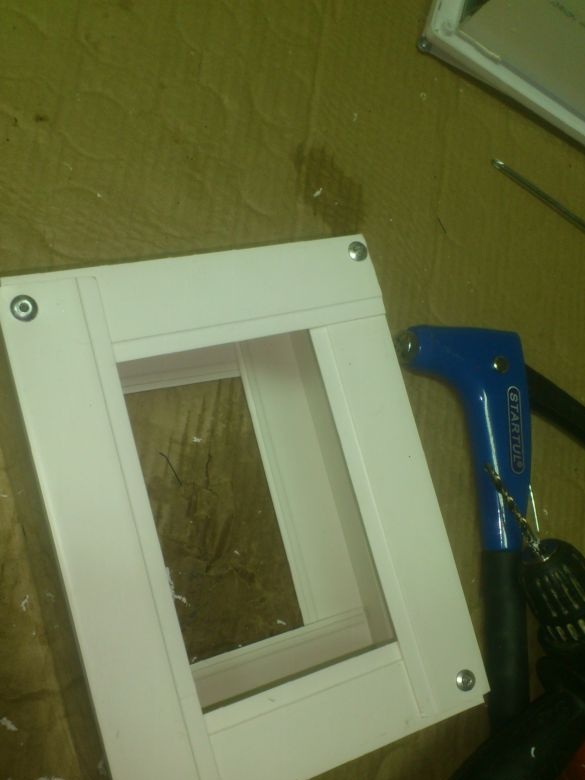
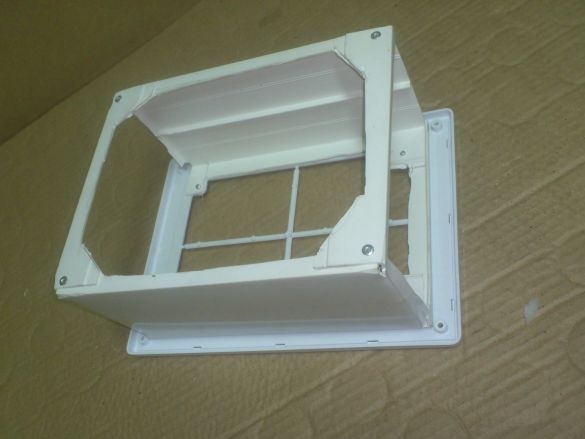
Having riveted the resulting box with exhaust rivets, I cut the side walls of the box to a minimum and riveted the base of the ventilation grille with the same rivets on one side:
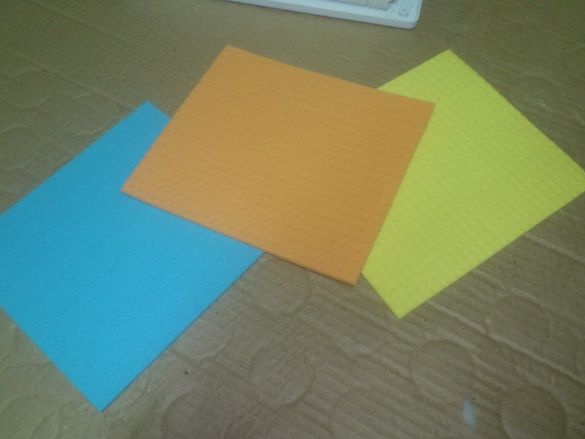
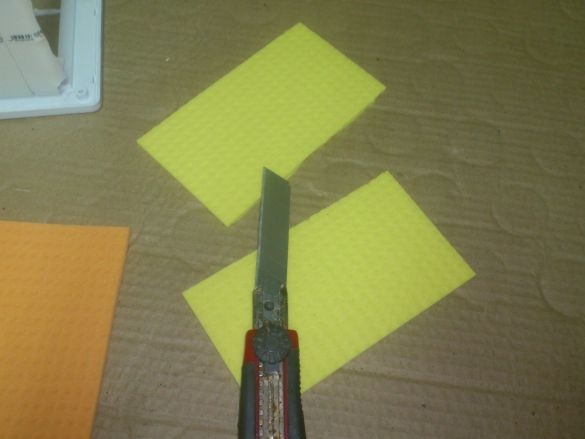
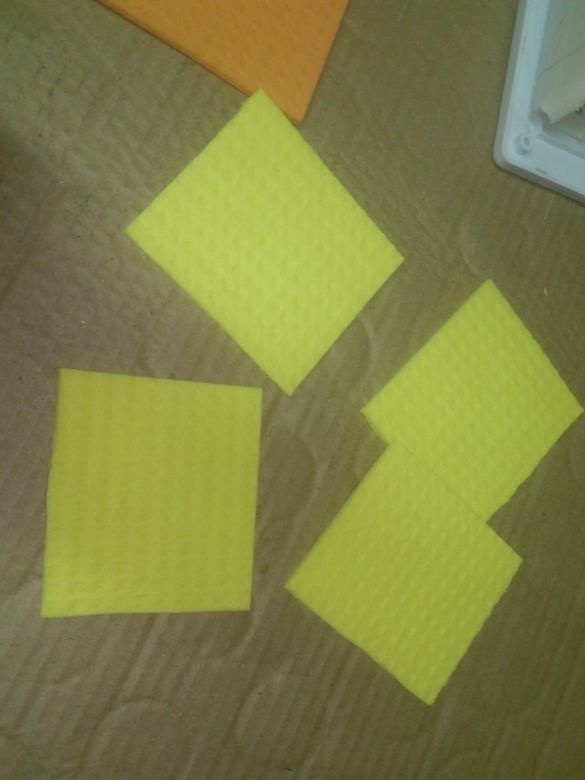
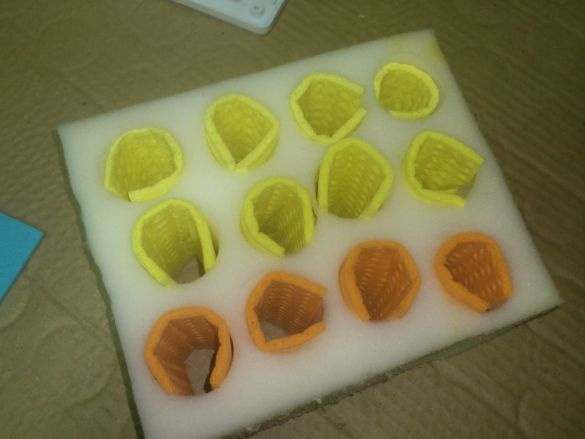
I inserted my holey foam rubber into the resulting cassette, and experimented by sending a stream of air from the fan through it and pouring water on top. Another problem "crawled out" - as it turned out, foam rubber is not able to hold water droplets sufficiently strong. And at the exit, the air stream just makes a huge amount of spray. I need not evaporation, but evaporation! It occurred to me to use a hygroscopic sponge with a denser structure at the point of contact with the air flow. To do this, we bought these sponges, cut them, rolled them into a tube and inserted them into the holes in the foam:
Experiments have shown that this is what you need !!! They are completely saturated with moisture, but do not allow drops to break off their surface, because the "excess water" simply goes down the foam, flowing around the tubes from the sides.
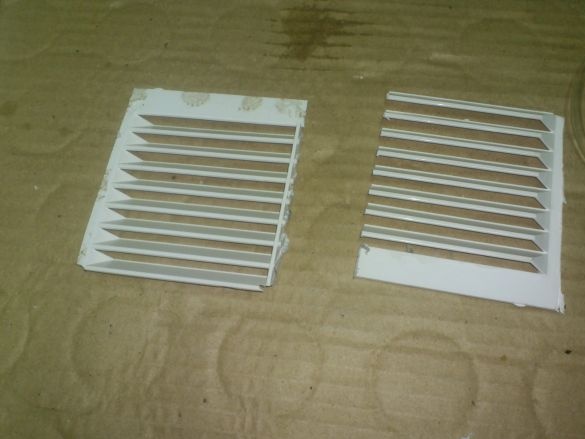
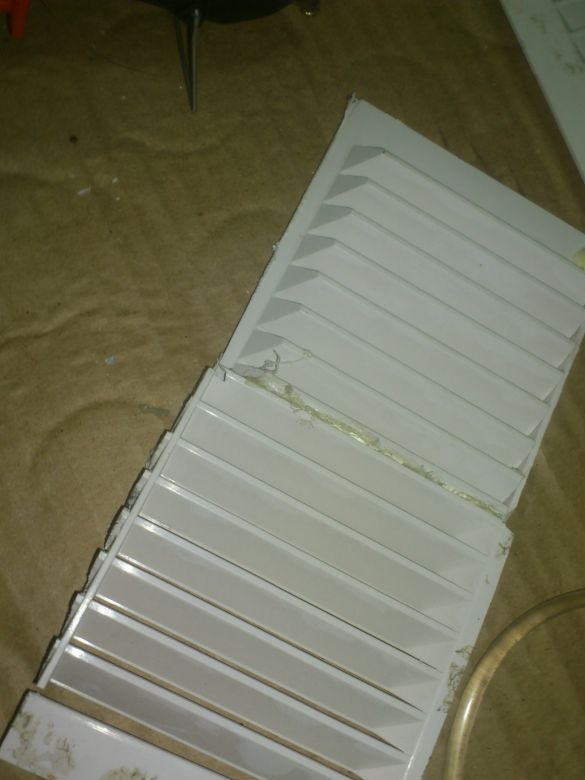
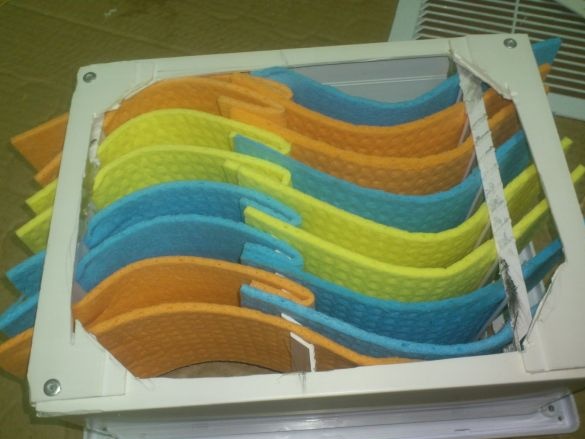
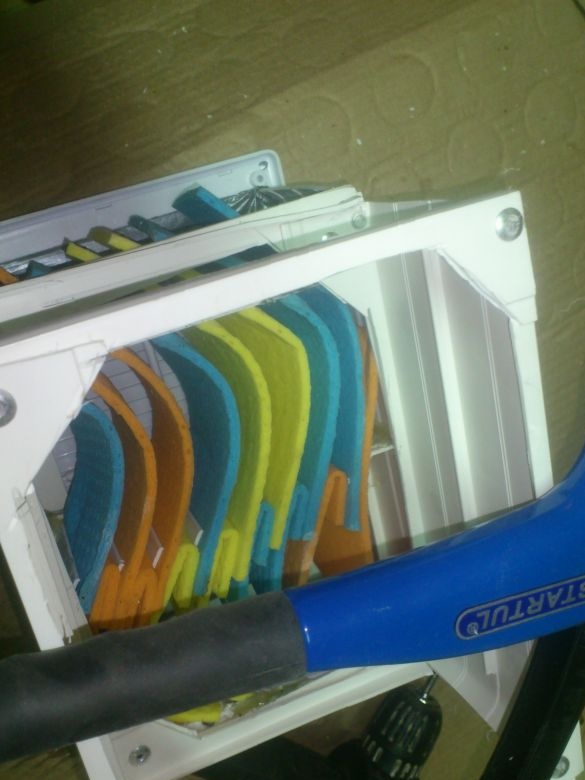
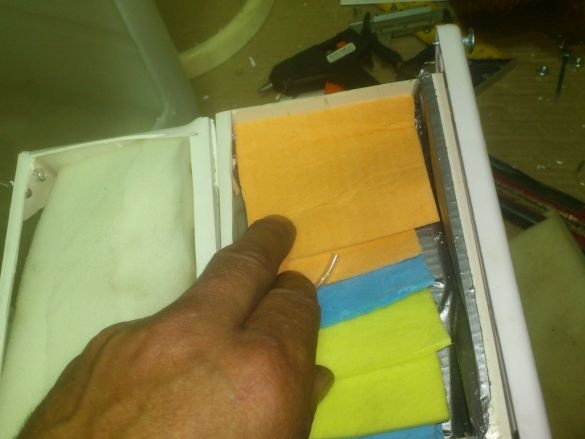
Since several packs were bought for napkins, the idea arose to make a different type of cartridge out of them. For this, I made another one of the same case. Then he sawed one of the grids in half and pasted it with hot glue (and where could it be without it!)))) In the upper and lower parts. Since the resulting halves were too long and had to be trimmed, from the scraps I glued another such bar and placed it in the middle. Cutting the napkins, I handed them through the three grids. Since the grilles are in the form of blinds, the napkins are curved in a zigzag pattern:
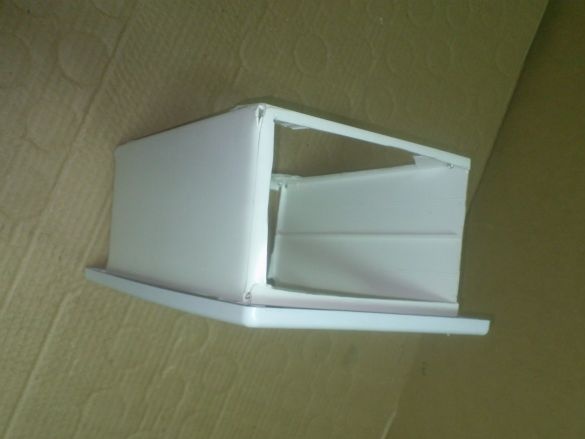
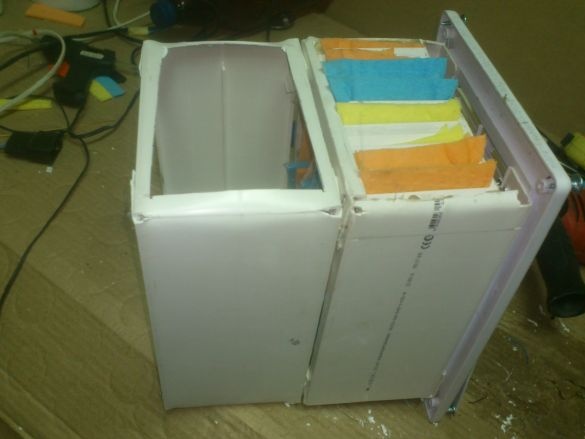
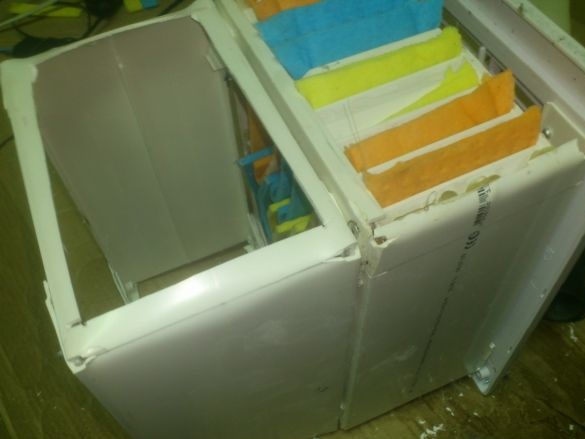
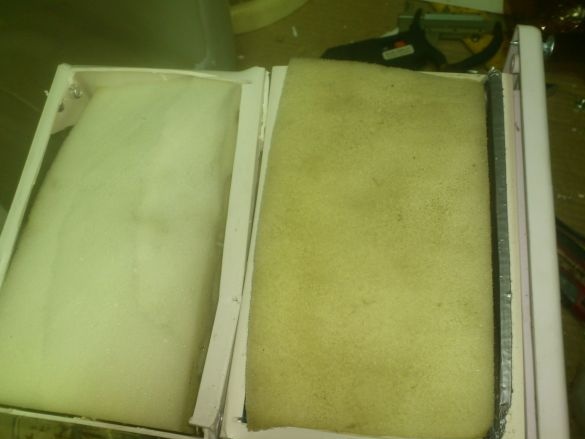
I placed this cassette in front of the grille itself, and the second (under the foam) at the back, riveting them with exhaust rivets into a single whole:
That is, the air pumped by the fan, first passes through the moist tubes in the foam, and then between the curved, moisture-saturated sponges.At the same time, pulling them up and loosening them in the right places, I arranged them so that they slightly changed the air flow direction of movement. So a greater amount of air will “rub against wet walls”, taking away moisture molecules and leaving the dust suspended in it. If the device "gets the right to life", it will be possible to make a second such cartridge to change them for washing.
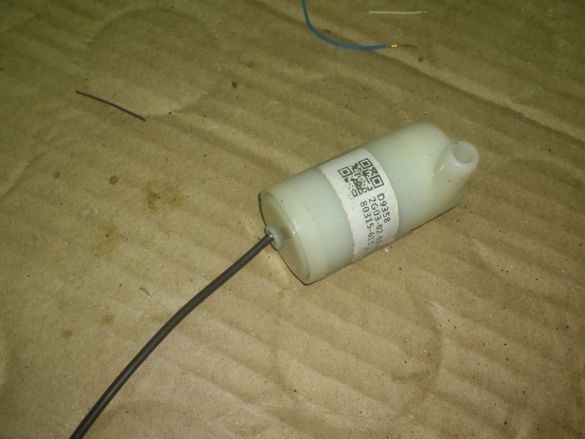
In the meantime, the essence and the matter, came from China submersible mini pump:
The pump turned out to be exactly as I needed. It is designed for voltages up to 6 volts, but when a voltage of 5 volts was applied to it, it provided just the weak flow of water I needed.
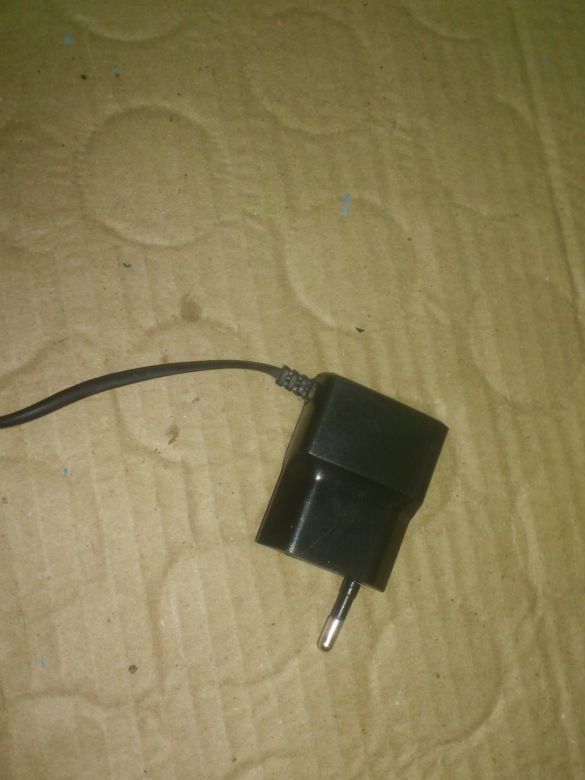
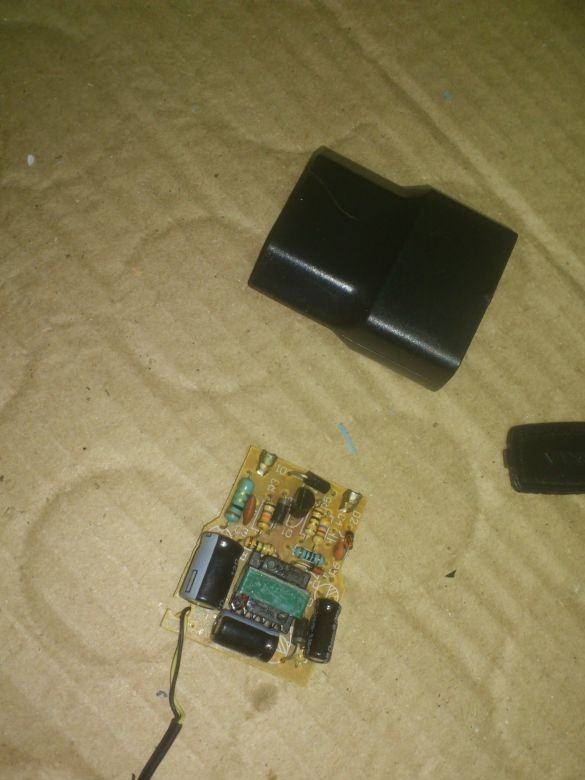
To power it, I used the old “charger” lying around from the old push-button “Nokia”:
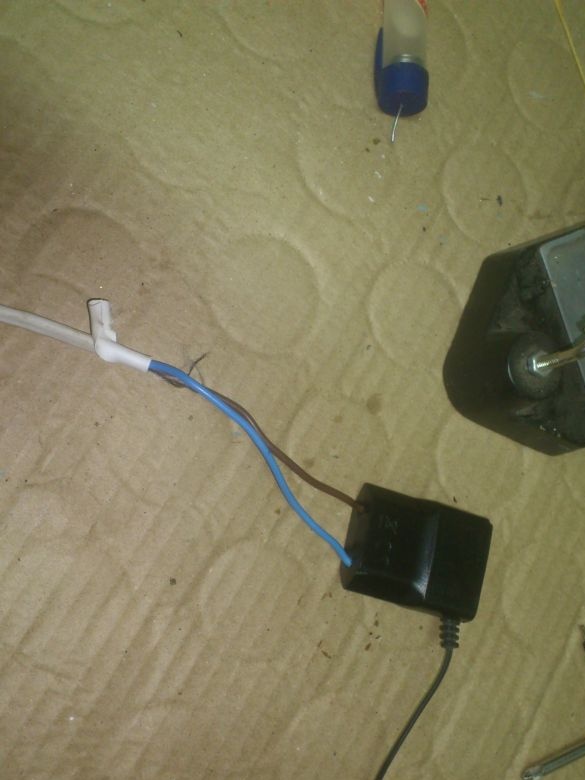
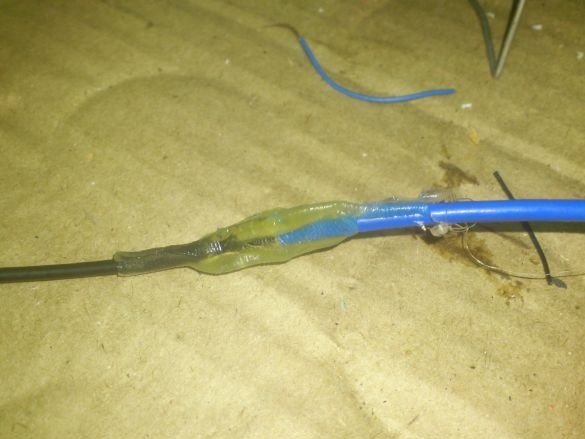
The wire was soldered to the pump wire, the connection was insulated with a heat shrink tube, into which I had pushed silicone before shrinking. Shrinkage made, starting from the middle to the edges. The excess sealant squeezed out at the edges is flattened, providing additional protection against moisture ...
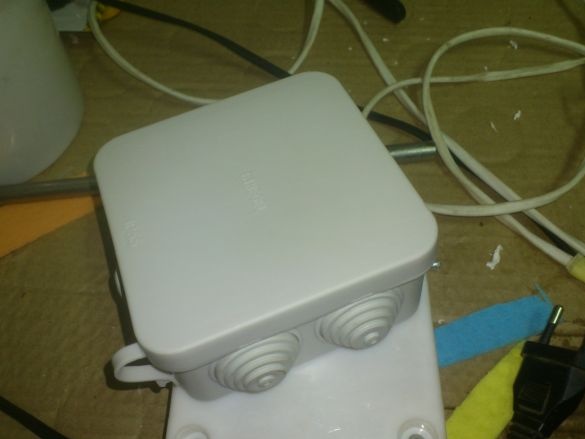
The pump was installed at the bottom of the canister. The wire from it is led out through the hole in which the fan is inserted, and the power supply is placed in a standard box for external wiring, which I fastened with rivets under the fan:
If the product "gets a ticket to life", then there I also cut two key switches with an indication - one to turn on the entire device (so as not to pull from the outlet))), the second - to turn on the pump (But what if I just want to use it like a fan, without dampening the flow!). But for now let’s leave it like that ...
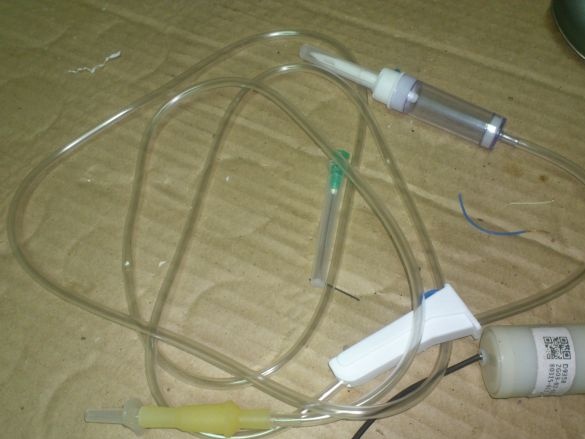
I decided to supply water to the upper part of the cassette through a flexible hose from the system for intravenous injection (in common people - a tube from a dropper)))).
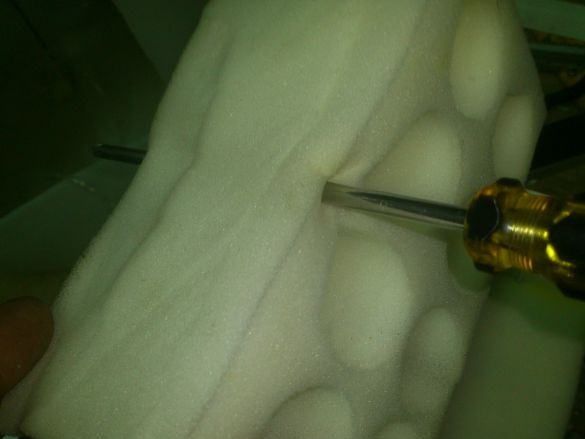
Having pierced a hole with a screwdriver in the upper part of the foam cassette, I passed a hose into it, having previously made a side hole in it with a knife about 10 centimeters from the edge. This hole turned out to be inside the foam rubber, and through it part of the water will go to the "first stage" of the evaporative cartridge, and the end of the hose will let water pass further - into the spongy "second stage":
Just putting the hose on top of the bent upper parts of the jaws, I covered it by inserting a piece of foam on top:
Tests have shown that the pump quickly moistens the entire cartridge with water. Excess moisture drains down, back into the canister.
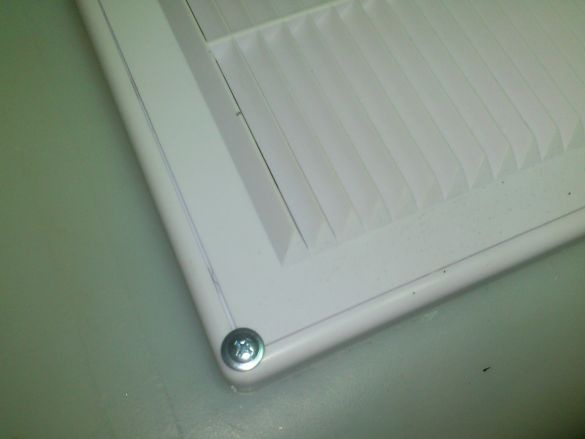
... That's all, actually! It remains to install the cartridge in the canister and secure it. Initially, I wanted to put four threaded rivets in the corners of the “window” and fix the cassette with screws. But, as it turned out, it was in this place that the walls of the canister turned out to be quite thick - about four millimeters. So I just fastened the cassette with galvanized screws with a washer!
They cut their threads, and if they are wrapped carefully, such a connection will withstand a huge number of assembly and disassembly cycles (the cartridge will need to be removed for servicing).
And then it turned out another "cant" !!! The filler neck was right above the cassette !!! And when I tried to fill the water, the water flowed out through the grate out !!! ...
Something needs to be done with this !!! Do not remove the cartridge every time you need to replenish the water level - it's not so simple, because it is wet and flows heavily from it !!!
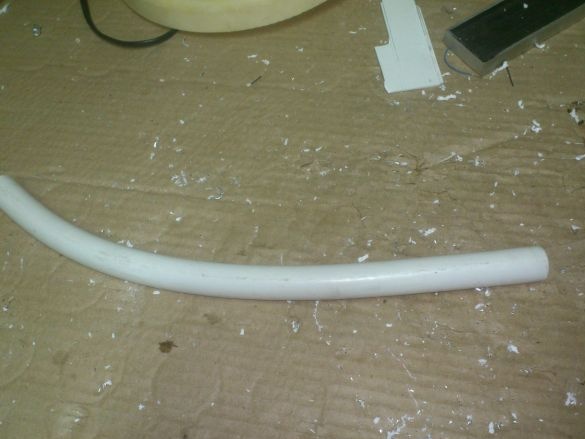
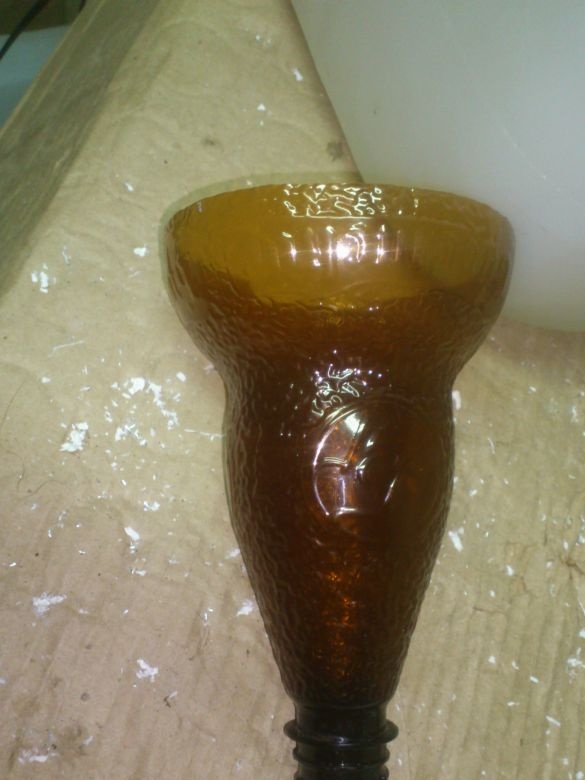
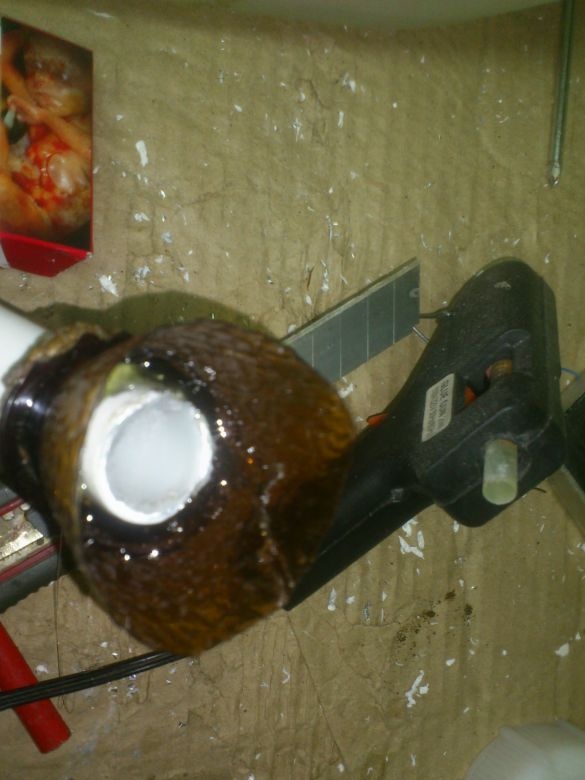
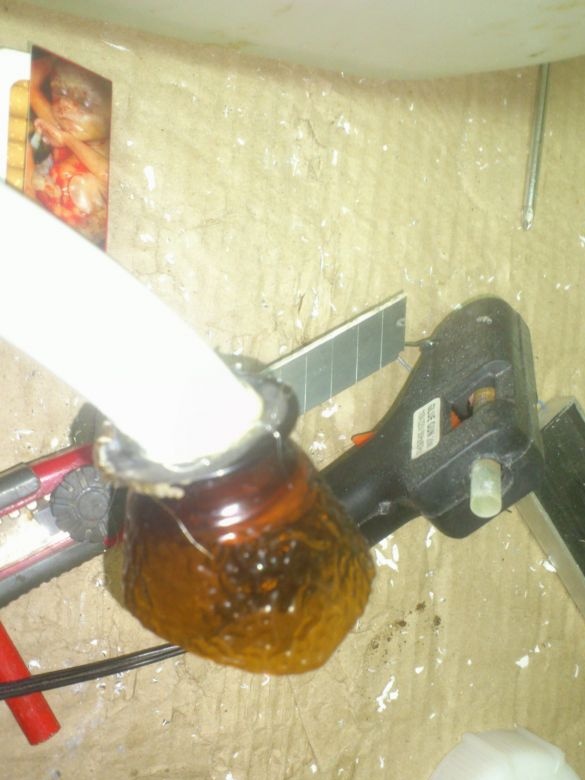
.. The problem was solved with the help of a metal-plastic pipe trimming bent to the side wall. At its end, I fixed a funnel made of the neck of a plastic bottle with hot glue:
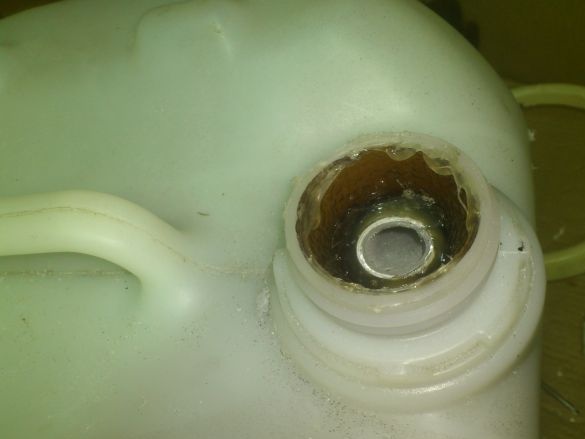
And the funnel itself was glued into the neck with the same glue:
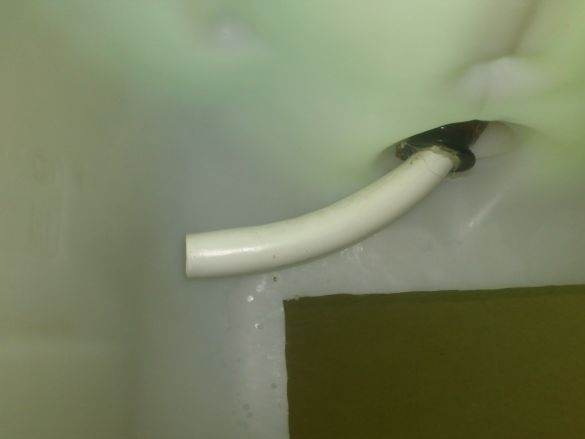
Now the water poured through the neck will be diverted to the side and drain to the bottom of the canister past the cartridge:
And you can control its level visually - the white walls of the canister are quite “transparent”.
So he’s ready ... And filled with water ... But, like evil, in the second half of June the weather turned bad - cold, rainy ....
Finally, one hot sunny day fell with an air temperature of +27.
I tested it in a room with an area of 17.5 square meters, with a ceiling height of 2.7 meters with the window open in the hinged position.(The peculiarity of this type of cooler is that it humidifies the air very much, and, unlike "ordinary" air conditioners operating on the principle of a heat pump, there must be ventilation in the room! Unfortunately, for some reason I forgot to photograph this process .. Just describe.
Placing it on the floor, I put two room thermometers - in front of the fan and in front of the exhaust grille. Both of them showed a temperature of 26 degrees Celsius. After turning it on, the temperature in front of the grate very quickly dropped to 23 degrees and remained at that value. (At the same time, I "tasting the wind with my palm" placed the thermometers at such distances that near them the intensity of the incoming and outgoing air flows was approximately the same.).
That is, it still WORKS !!! ... The air is still cooling, albeit not very much !!!
But for an hour of operation, the readings of the "rear" thermometer decreased by only one degree! That is, for an entire hour of work, my device lowered the temperature in the room by only one degree ...
But I drew attention to the fact that the water level in it did not change in an hour ... (Well ... Or it changed so that it was not noticeable). That is, evaporation was minimal ...
I think all the blame is the high relative humidity. (After all, the whole week before that it was cold (+11 - +16) and it rained continuously! For half a day the air just could not dry !!!)
I did not have a device for measuring air humidity, but I closed the window and turned on my cooler again. So it is - after 15 minutes the room became wet, as in a bathhouse! This was directly felt very strongly - it became difficult to breathe from wet stuffiness, although the thermometers already carried away from it still showed 25 ° C).
Well ... I’ll wait for the settled heat without rains (if this happens this summer), and when the “air dries out” and becomes able to absorb moisture intensively, I will test it again and accomplish it !!!
In the meantime, I will say that the product I got is still entitled to life !! The air flow from it is very, very pleasant! Something like a light breeze from the sea.
By the way, when I installed the grate so that it directed the air up, I pursued a certain goal - to drop water drops “bursting with air” into the canister, if any. But the "side effect" turned out to be much more useful! ))). If the appliance is on the floor, the flow of humidified air from it is very soft and "gently" diverging around the room! The sensations are much nicer than the strong flow coming from a regular fan !!!


