
Creating a functional whistle that can fit in your pocket can be a difficult process that requires some practice, experimentation, and customization, but I hope this guide will inform you well on how to make this whistle.
Materials \ Tools
1. Several direct branches of tiger sumac (or any other wood with a soft core, such as willow, etc.)
2.Manual pruner
3.Shoe
4.A sharp knife
5.Drill
6.drill
Be careful! Since you have to deal with power tools and knives, wear protective equipment.
Step 1: Drill a hole
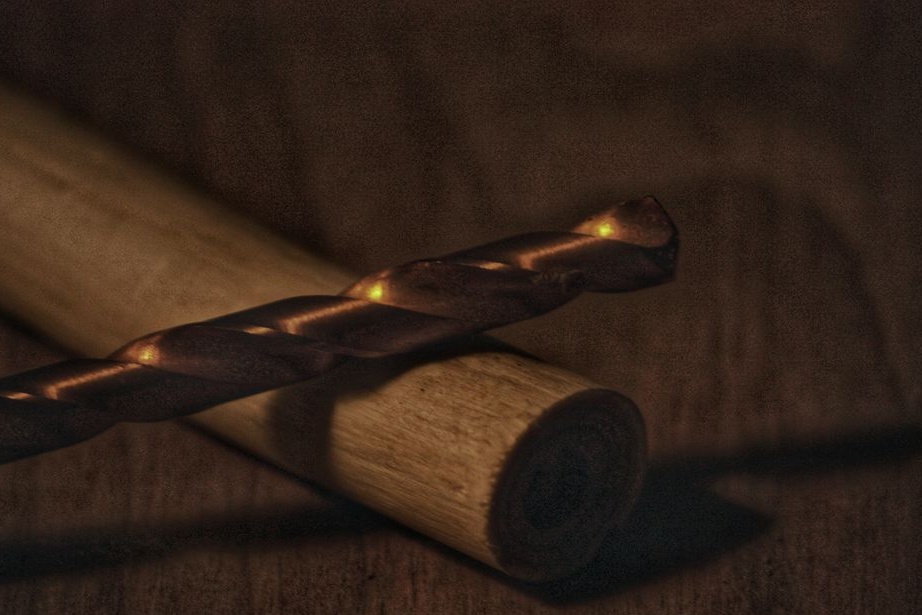
Drill a hole in the middle of the branch evenly. Do not push the drill too much. Take your time to reduce the chance of a branch splitting. Try to drill exactly in the middle as far as you can. If the bit is shorter than the branch, drill on one side and then on the other. You need to drill through.
Step 2: Cut the Bark from a Branch
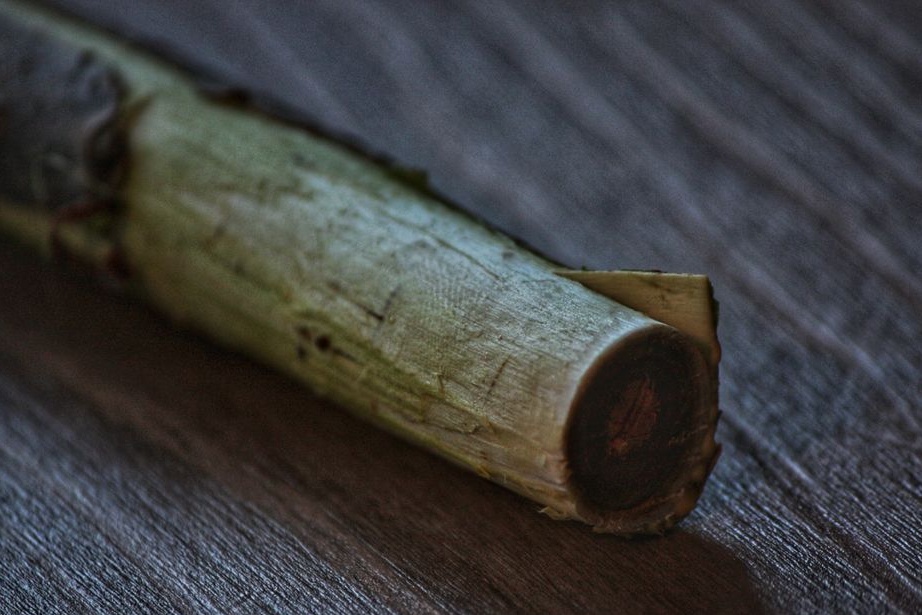
Cut off all the bark from a branch. If sumy is fresh, young, then the bark will be thin, it can be easily scratched with a knife or even nails.
Step 3: Cut out the hole
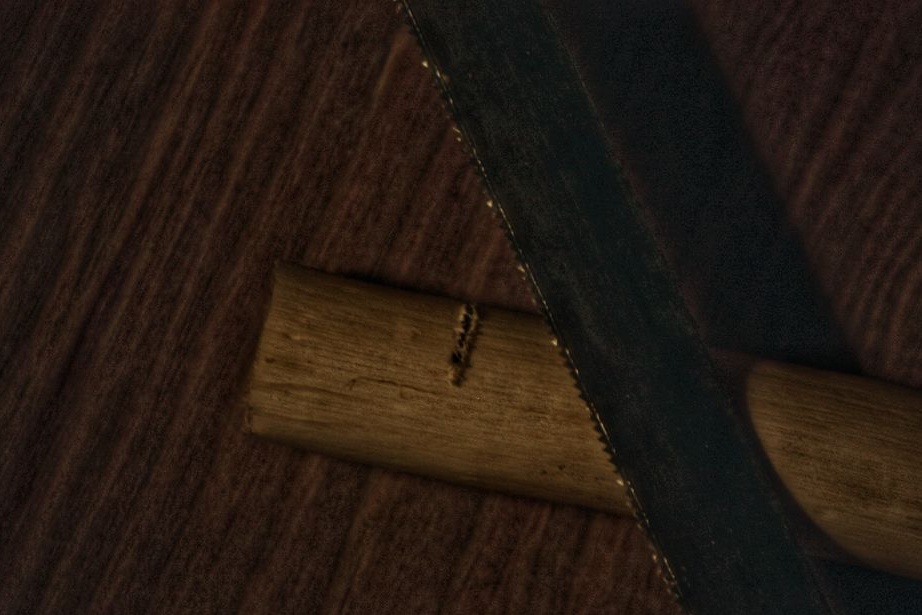
Using a hacksaw, cut half the branch. The cut should be made 2 cm from one of the ends. Keep the cutout clean, straight and accurate.
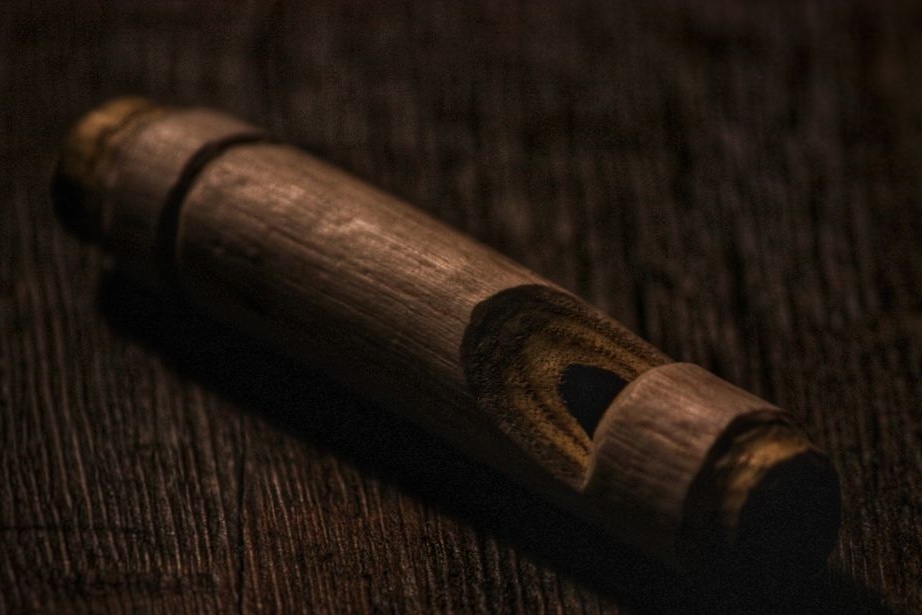
Step 4: Cut out the hole (2)
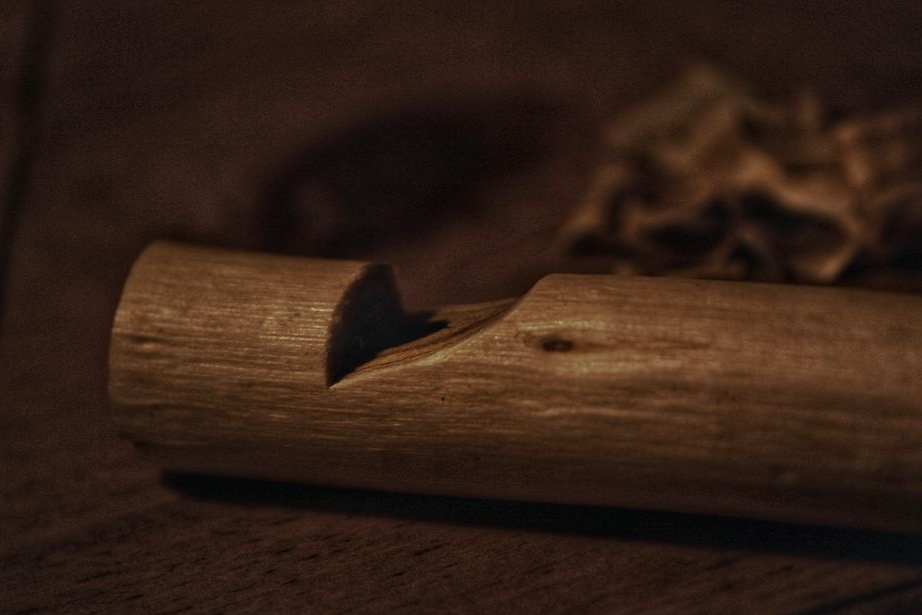
Measure 1 cm from the first cut and mark with a pencil. Using a knife, cut a cutout from this point in the direction of the first cutout (as in the photo). The angle should be between 35 and 45 degrees. Cut carefully, make sure that you do not cut the cut made with a hacksaw.
Step 5: Install the Core
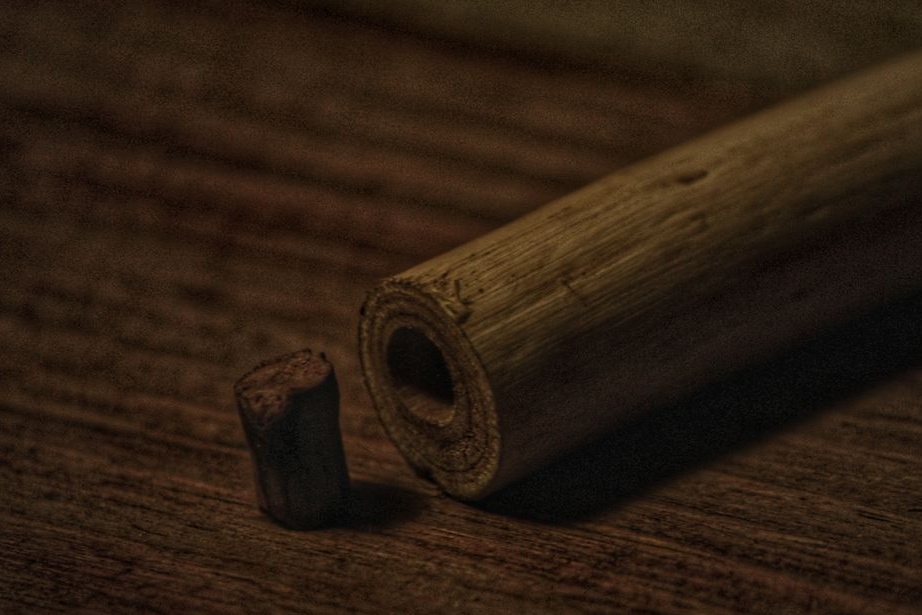
Cut one of the branches (1.5 - 2 cm). Now you need to cut this piece so that it fits tightly into the hole to make the correct diameter, it takes some patience and several attempts. Be very careful when cutting the core to the desired diameter. Cutting such a small object requires caution, precision and a very sharp knife.
Step 6: Install the core (from the other end)
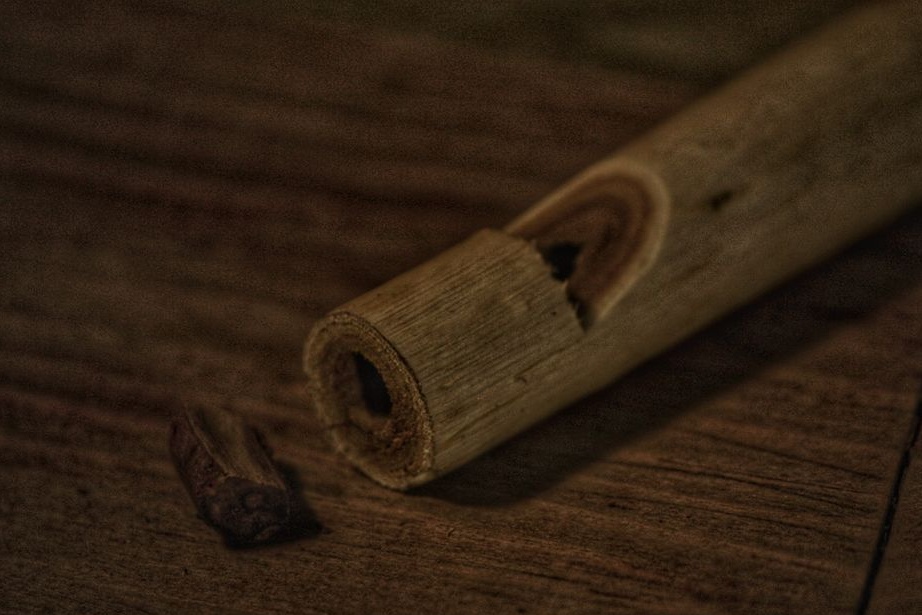
Follow the same procedure as the previous step to create a second core, since you have a copy of the first core, you need to make it look like it, but with a cut (slice 2/5 from the plug) in length. This will create a gap for the passage of air.
Step 7: Finishing Strokes
Cut the ends of the whistle to make it more comfortable. Cut a ring around him to make him look more elegant. Do not be afraid to personalize this whistle by cutting out drawings; if they are not cut too deep, they will not affect the tone of the whistle. Experiment with different core sizes and the total whistle length to adjust the tone and pitch. Thank you for watching this briefing (if not difficult to like). Hope you were able to create this whistle with no difficulties.