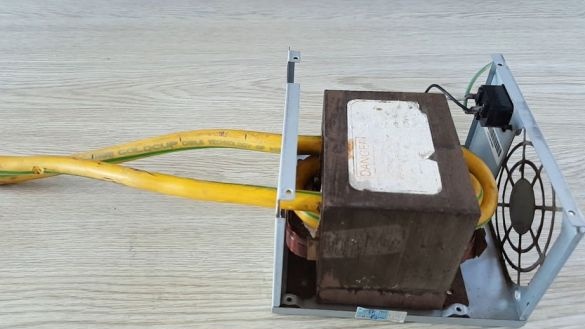
Hello friends! I found an interesting article on the Instructables website on how to do electric arc welding do it yourself, from old waste materials. The author uses power from 12V batteries and therefore welding is poorly cooked, but it can be used instead of a soldering iron, soldered without rosin. But you can still connect the welding to a 240V network and cook as in full welding. I will show, I will try to explain in detail to you how he makes this device (Details in the video below).
Materials \ Tools
1. Transformer 220V / 50Hz
2. Switch (off / on)
3. Copper cable (70 mm)
4. Hacksaw
5. Case from PC power supply
6. Pliers
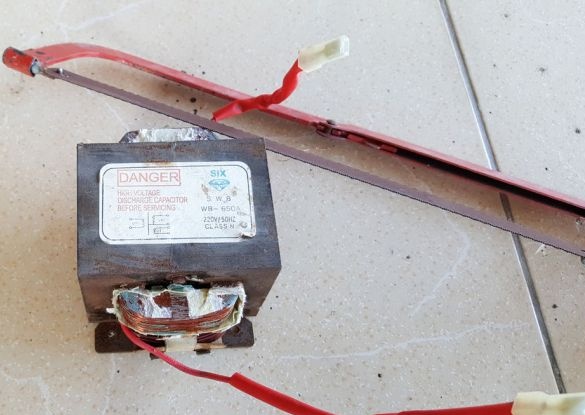
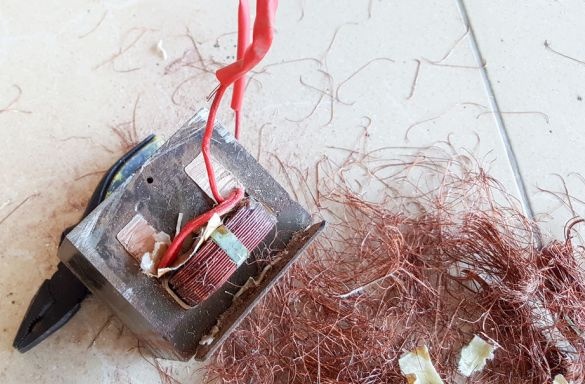
Step 1: Removing the Secondary Winding
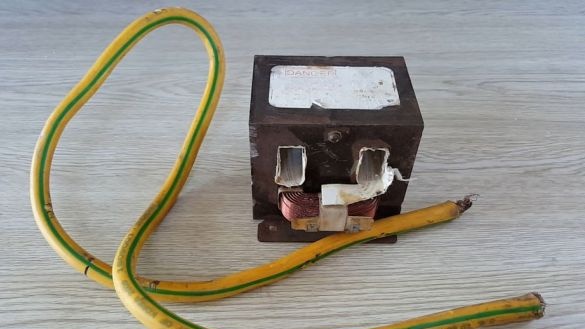
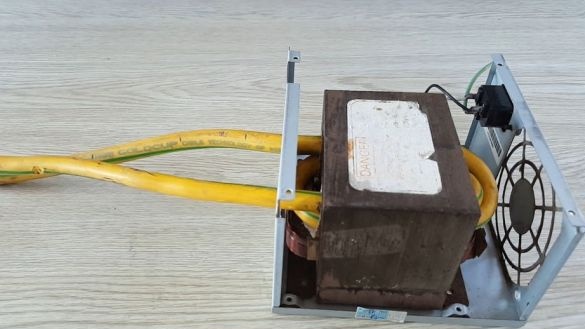
As can be seen in the photo, the author removes the secondary winding. To do this, he uses a hacksaw for metal. Cut carefully, do not damage the other winding.
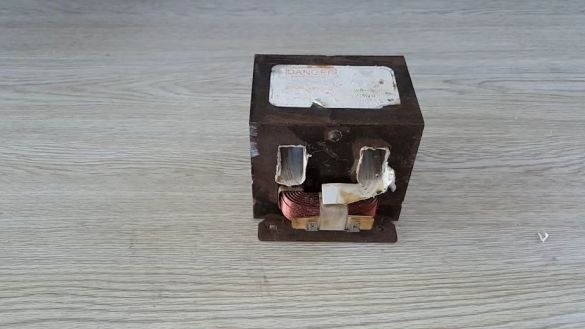
Step 2: Adding a Secondary Winding
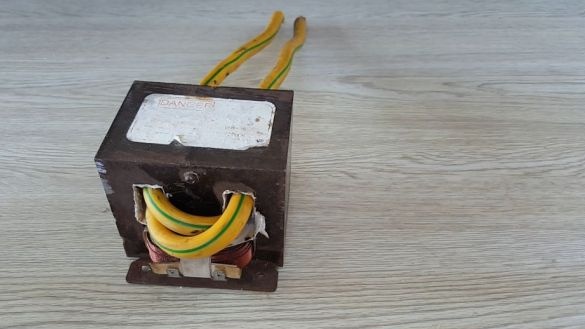
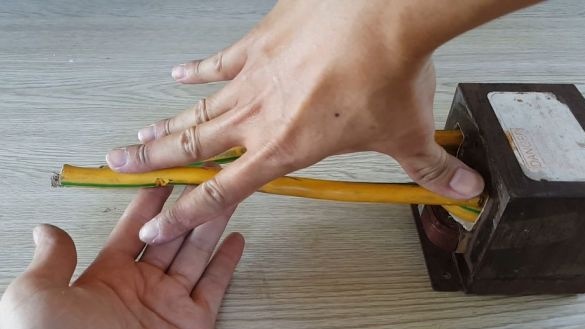
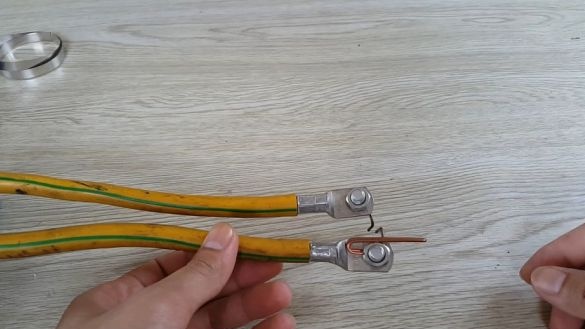
The author uses a 70 mm copper cable, you can use a different type of cable. A cable of 35 mm or more is recommended.
Step 3: Welding body
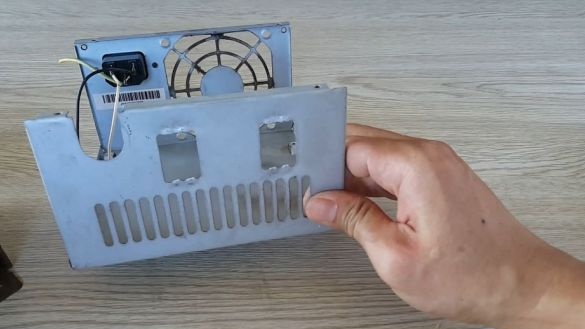
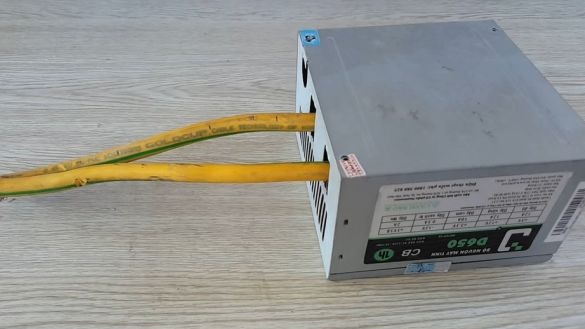
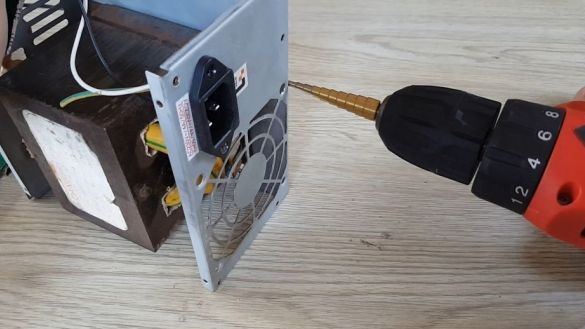
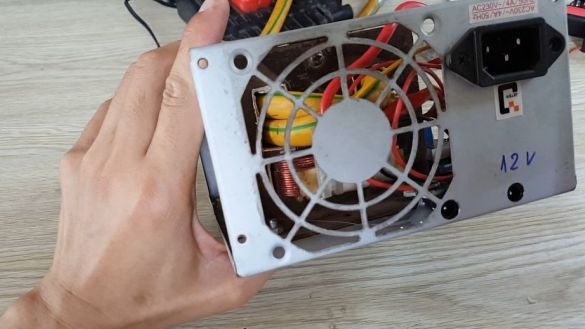
The author uses a computer power supply as a housing for welding. By making two cable holes in advance.
Step 4: Install the switch and the needle
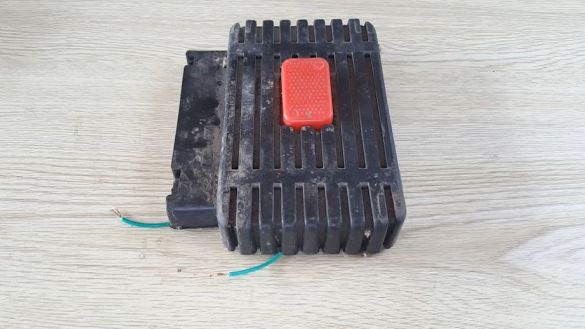
The author uses a pedal from a children's motorcycle, but you can use a different switch. He also added a soldering iron needle. But as I said, you can choose your option.
Step 5: Design
In the final stage, the author collected all the wires in the case, arranged them, well fixed them and drilled two holes for power. I explained to you how, I could, please do not judge strictly. I hope you managed to make this project error-free the first time. Thanks for watching, like if not difficult.

