
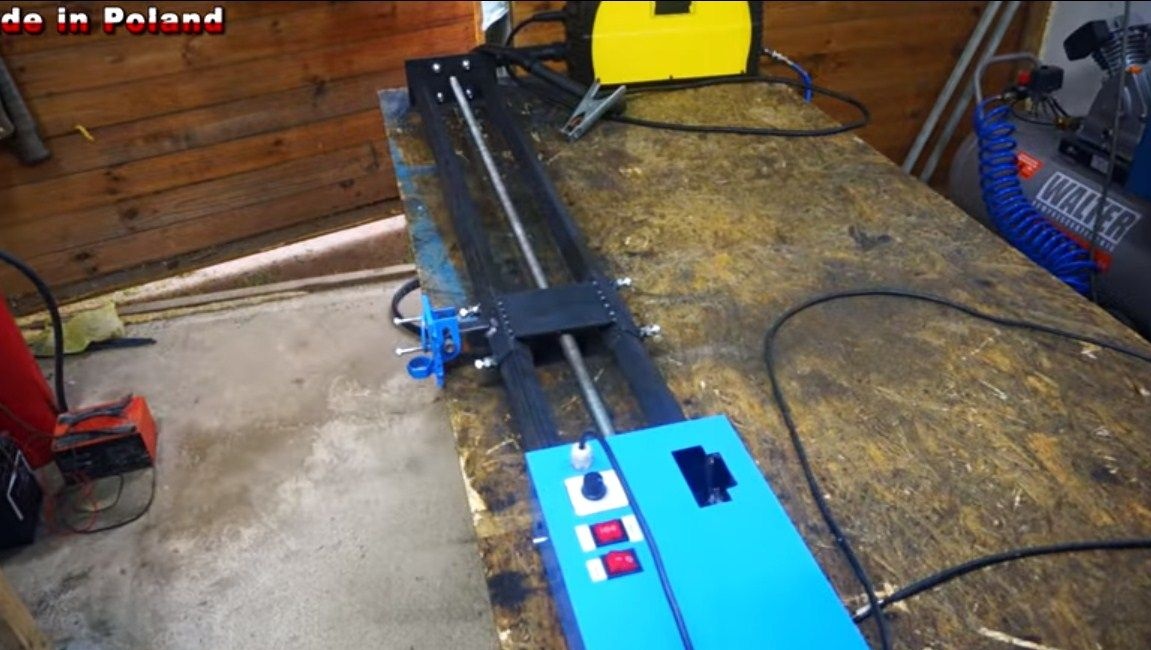
Hello everyone, I present to your attention a unique machine - a motorized one. Thereby adaptation You can quickly, conveniently, evenly and efficiently cut sheet metal. As a basis for homemade a plasma cutter was used, its design suffered only minor changes.
The machine bed is assembled from square steel pipes, plates and other available materials. The working shaft is a threaded rod that rotates on bearings. The device is driven by a 12V engine. As a drive, the author took a working unit from a cordless screwdriver. The machine is mobile, since it runs on a 12V battery, the charge lasts for a long time. So, we will consider in more detail how to assemble such a machine!
Materials and tools that were used by the author:
Material List:
- ;
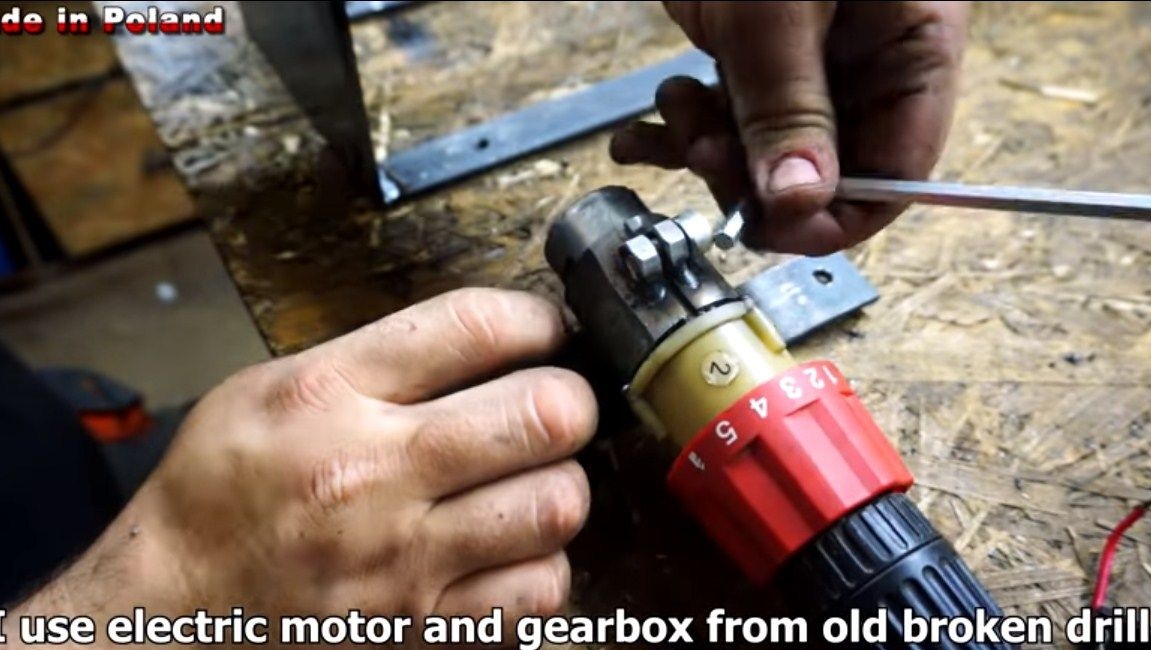
- old screwdriver (motor with gear);
- square steel pipes;
- Sheet steel;
- nuts, washers, etc .;
- bearings;
- threaded rod;
- (for adjusting engine speed);
- switches, wires, etc .;
- epoxy glue or the like;
- paint.
Tool List:
- drilling machine;
- grinder;
- welding machine;
- pendulum saw;
- tap;
- soldering iron.
Homemade manufacturing process:
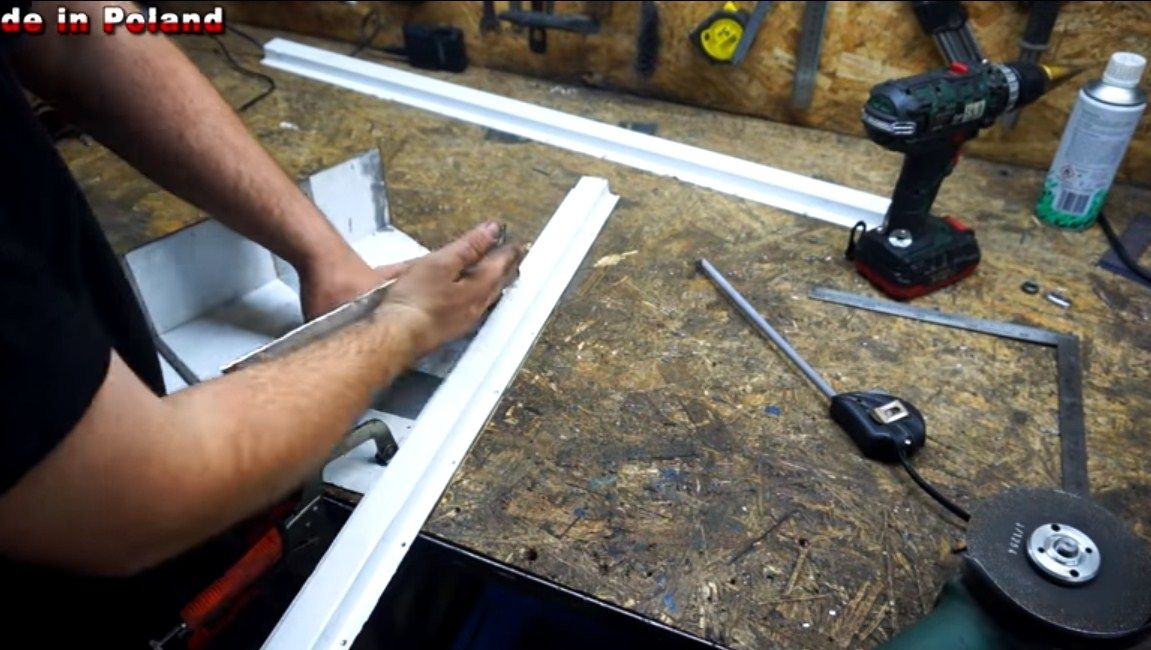
Step one. We make guides
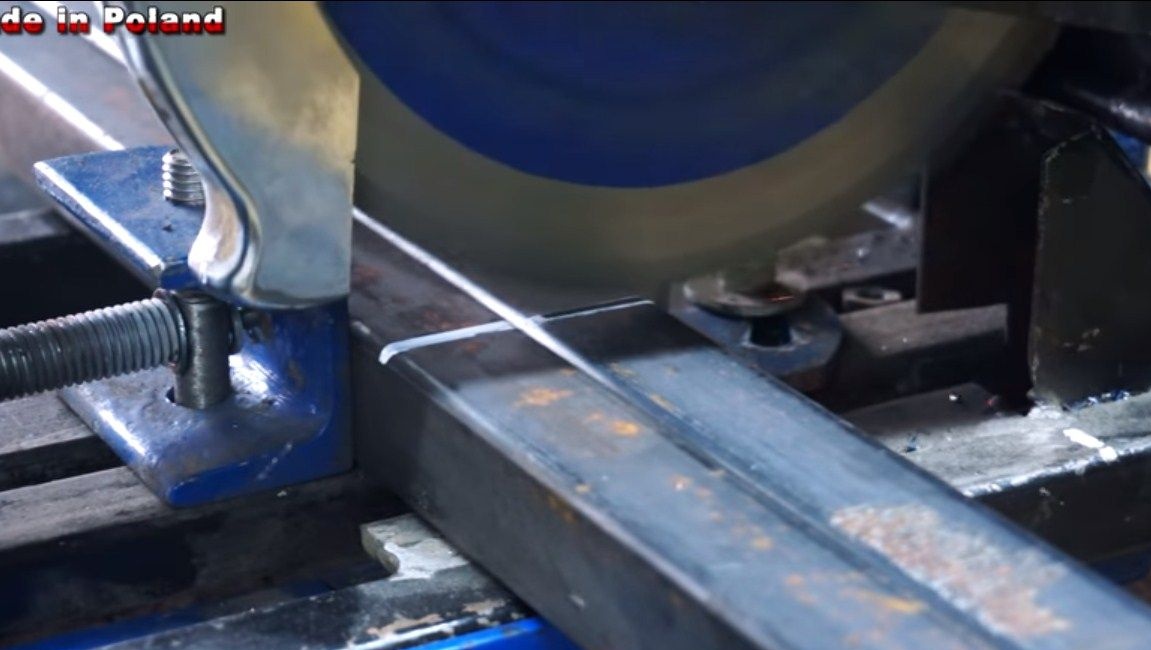
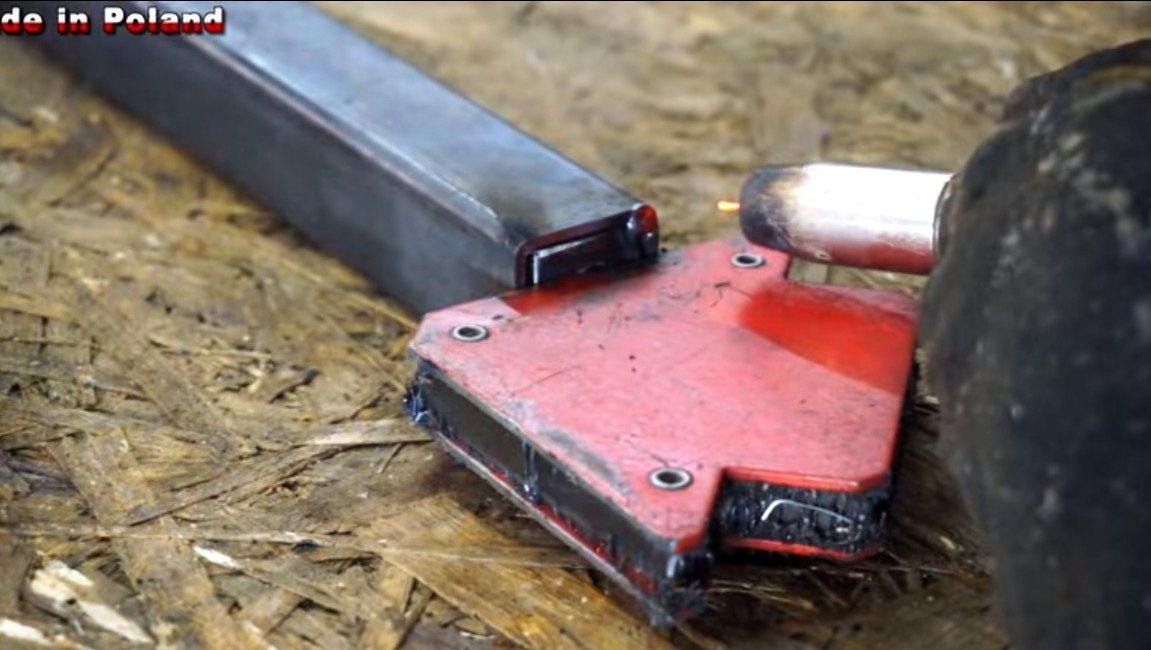
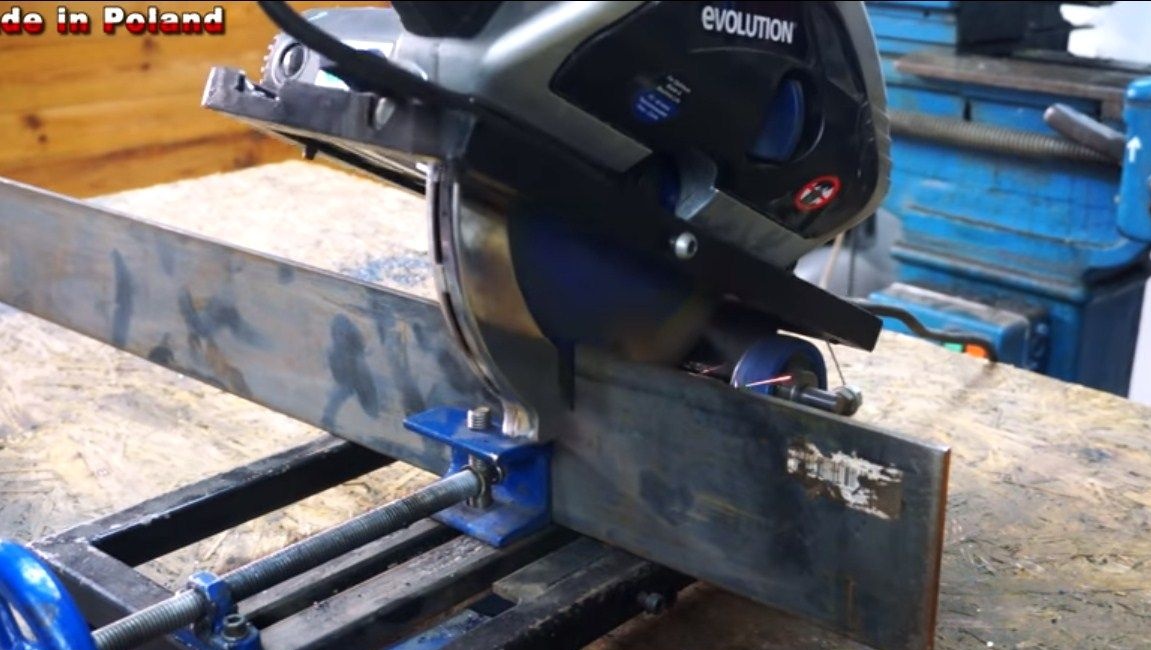
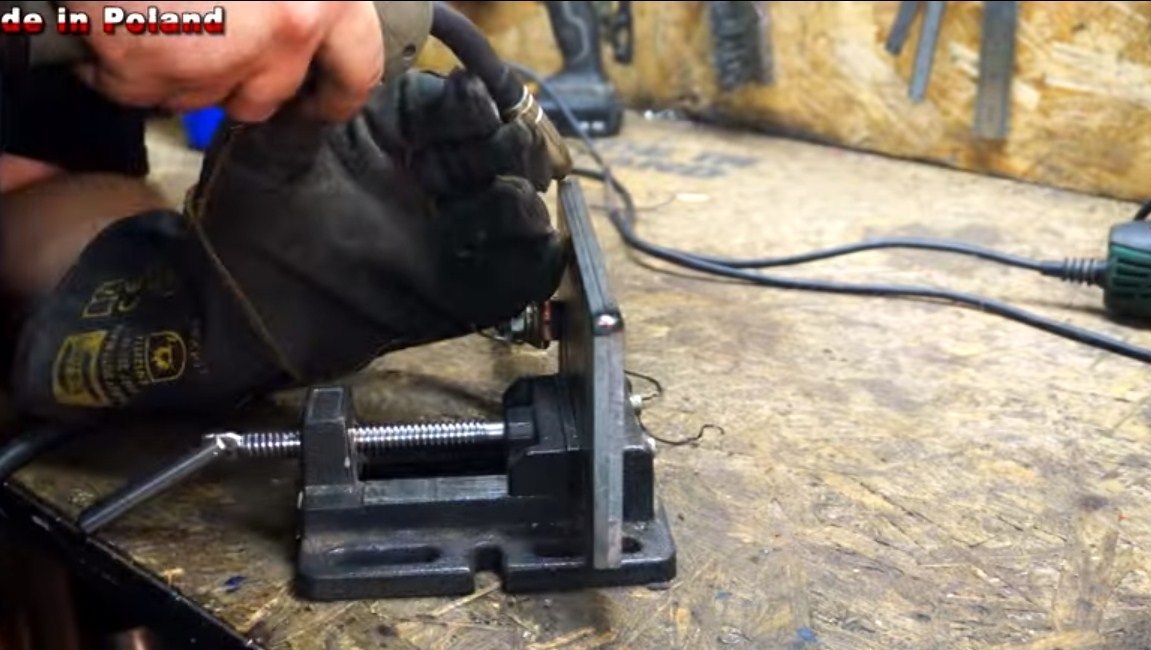
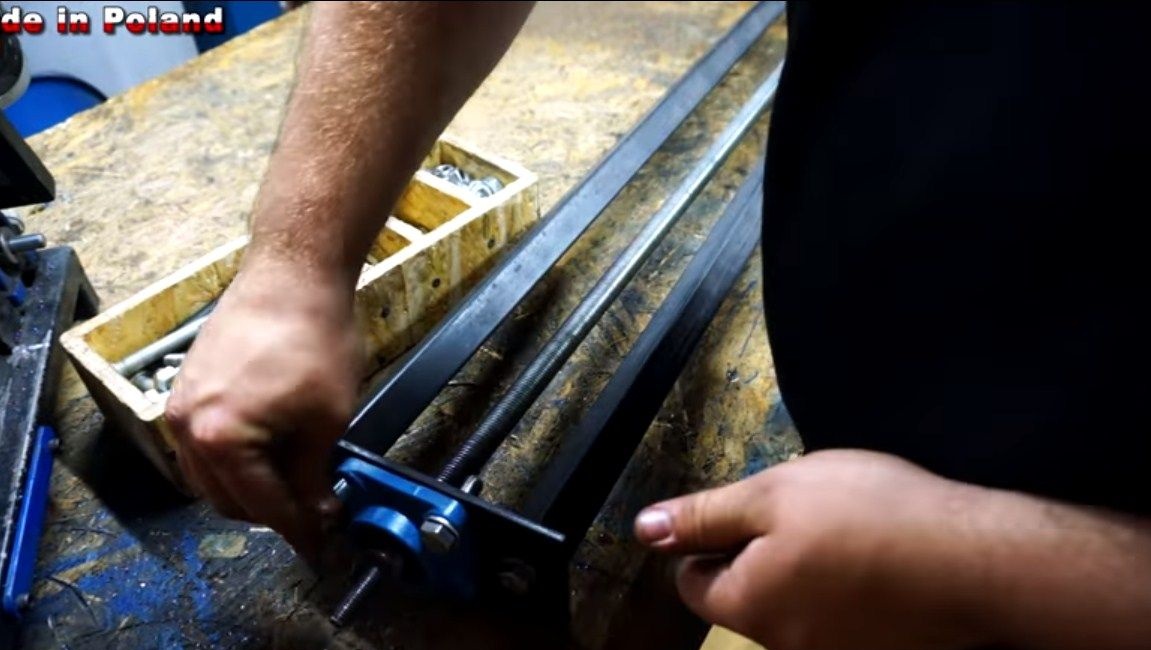
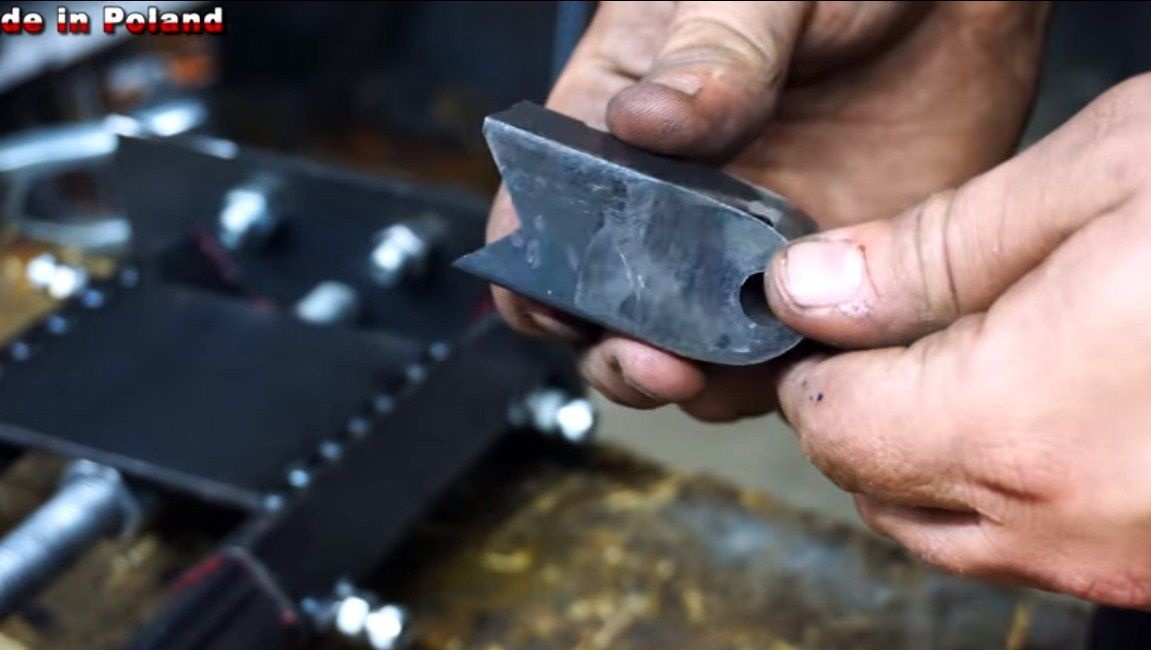
First of all, we will make guides along which the platform with the fixed cutter will move. It will be a kind of rails. The author makes these details out of square pipes. We measure the necessary segments and cut.
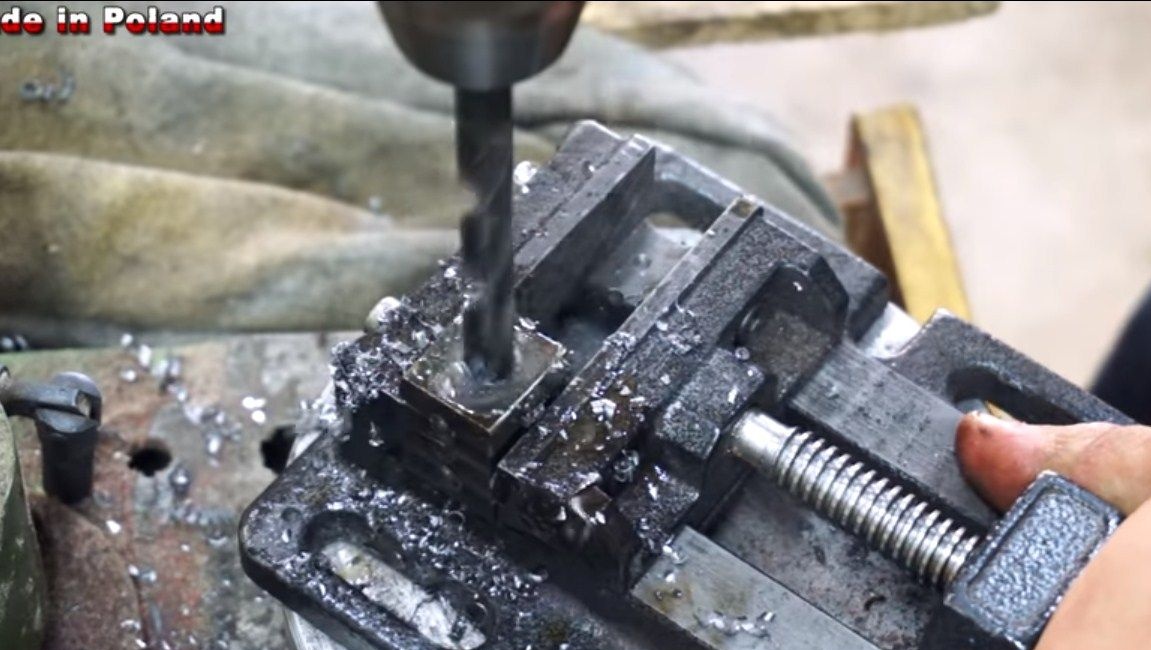
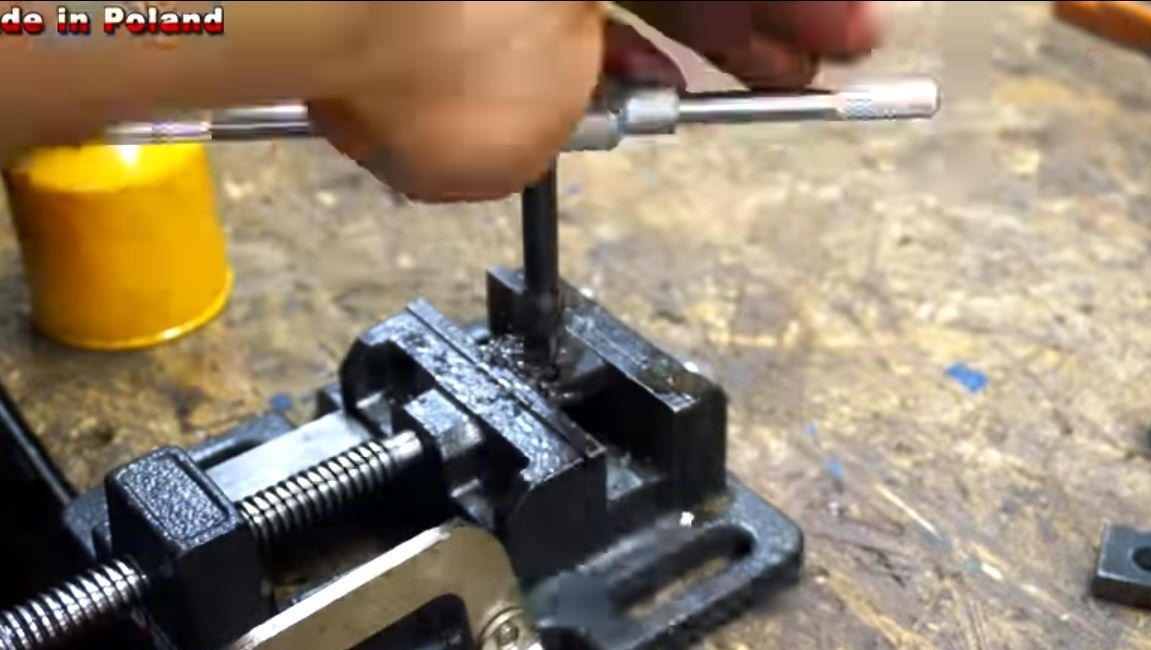
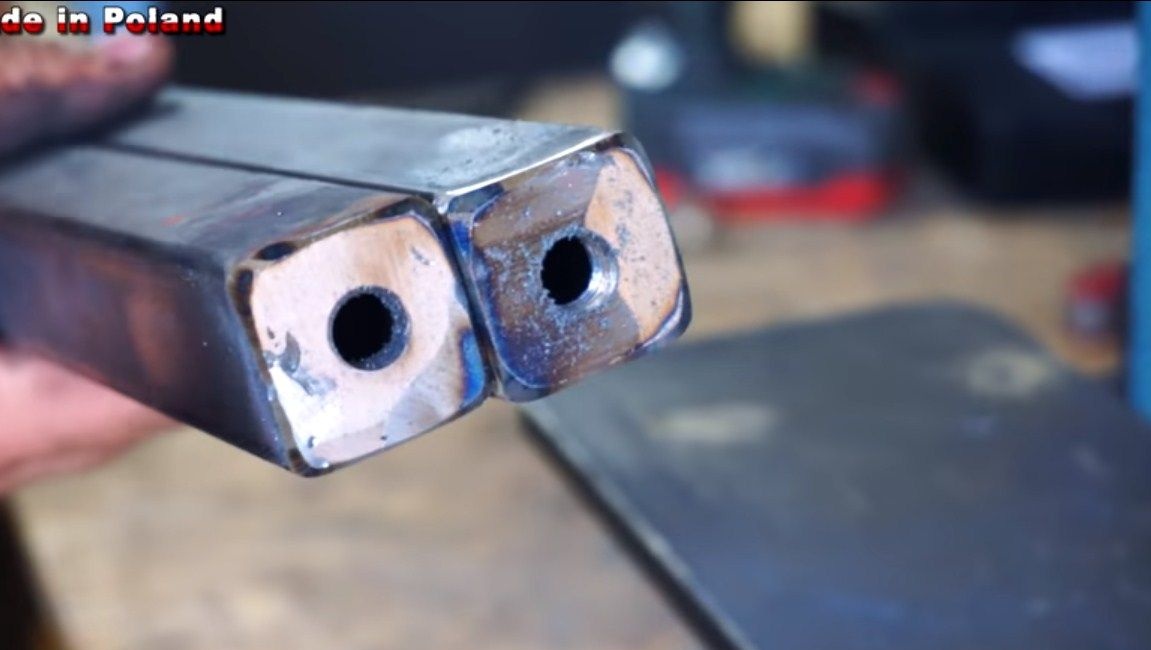
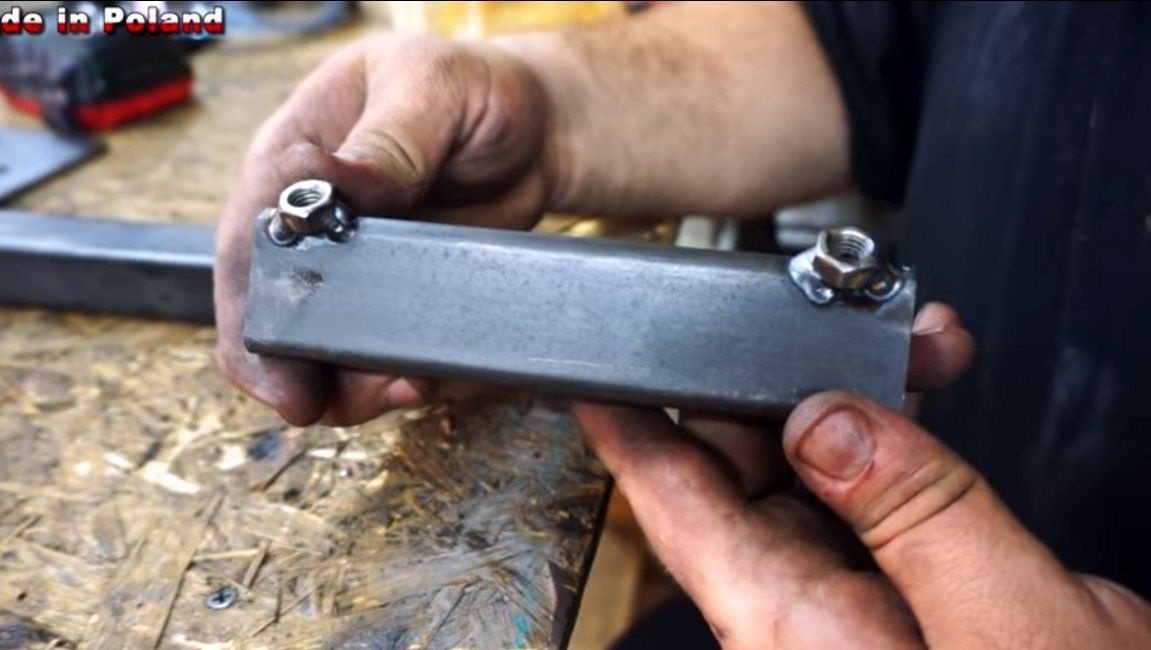
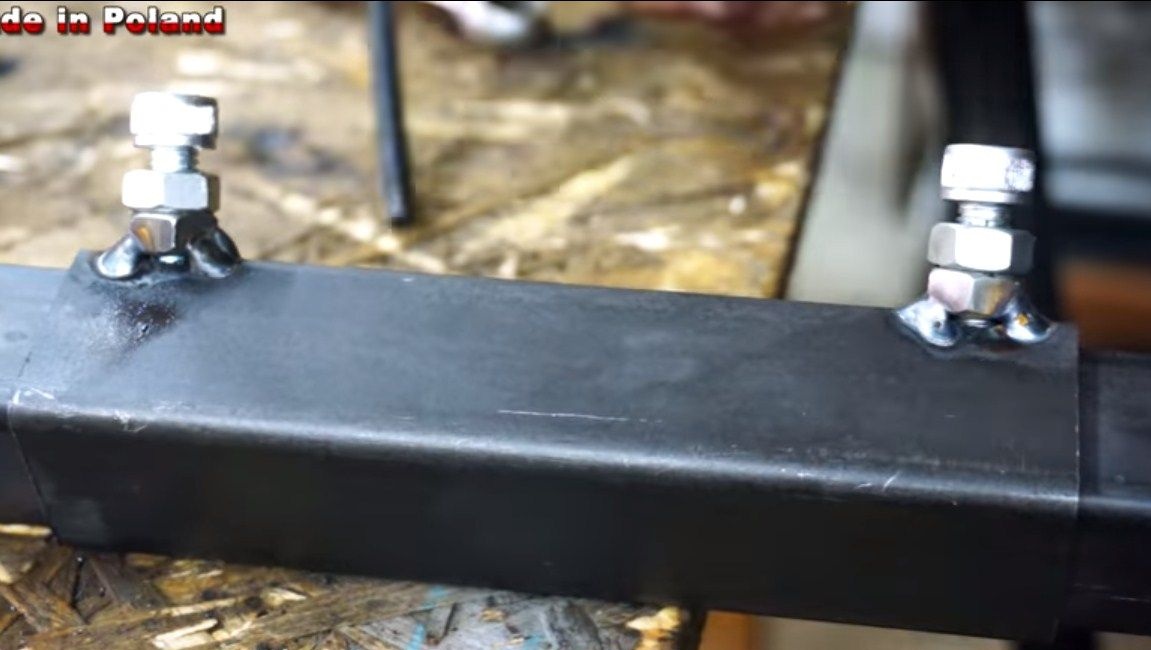
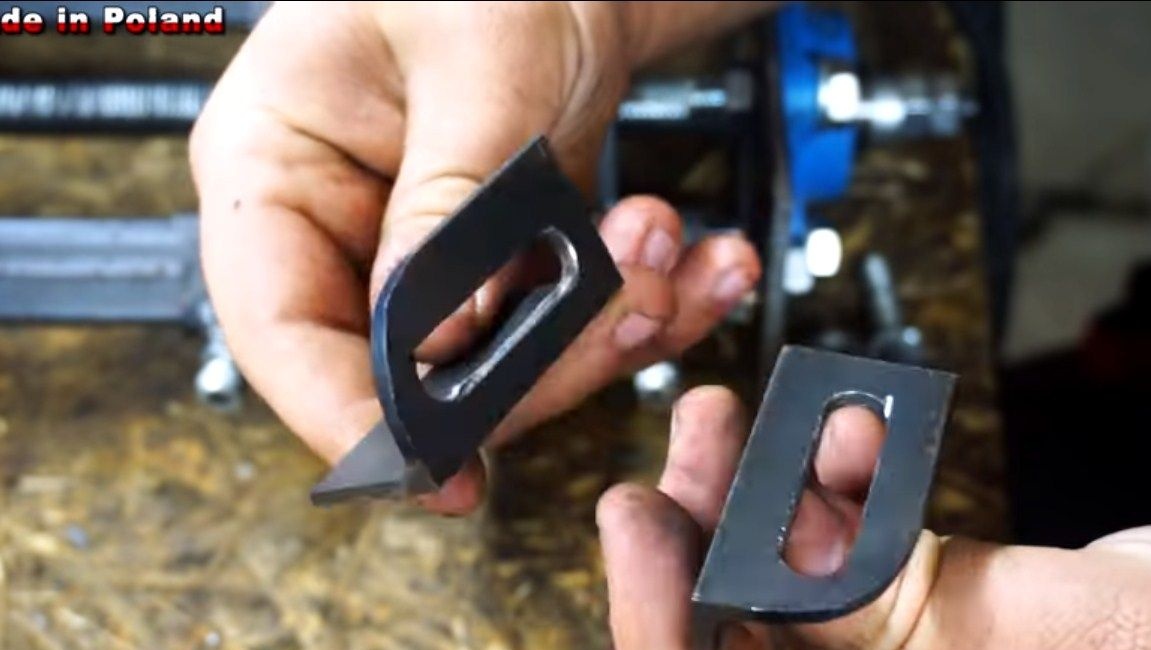
Further, for fastening these same guides, it will be necessary to weld them into the ends of the nut. The author makes these nuts on his own. Just cut the square pieces of plates to size, and then drill holes in them and cut the threads. The resulting nuts are welded into place. When everything is ready, we grind the ends on a belt grinder so that the joints are well adjacent to each other.
Pieces of pipes of a slightly larger size are put on the guides.


Step Two Assembly of the main part of the frame
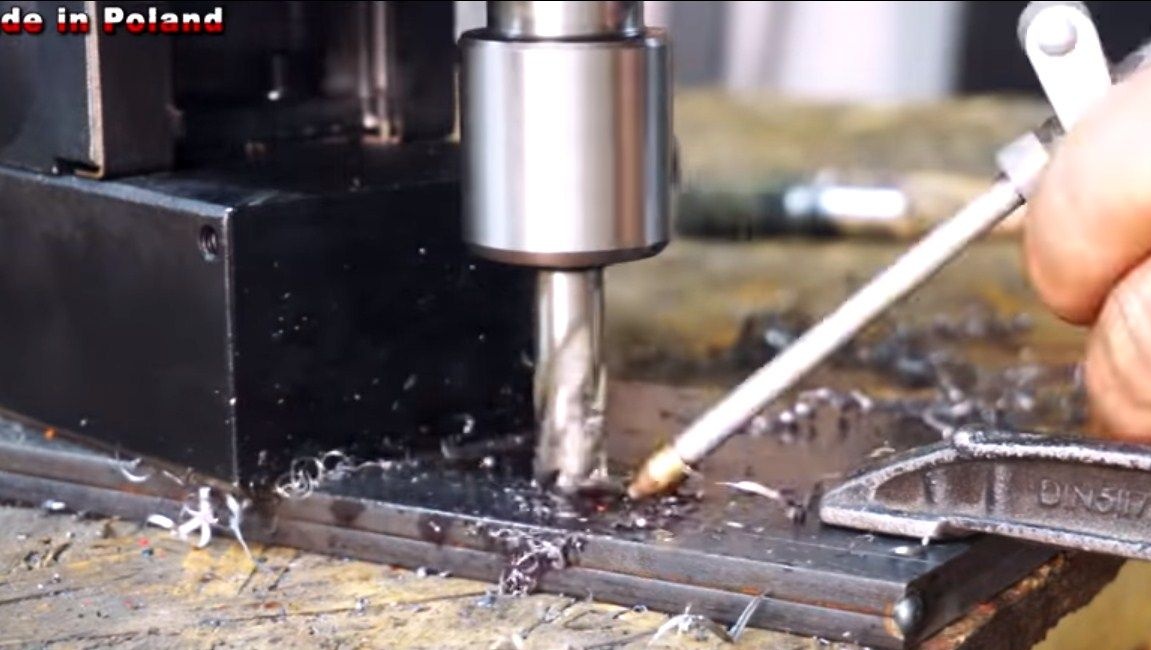
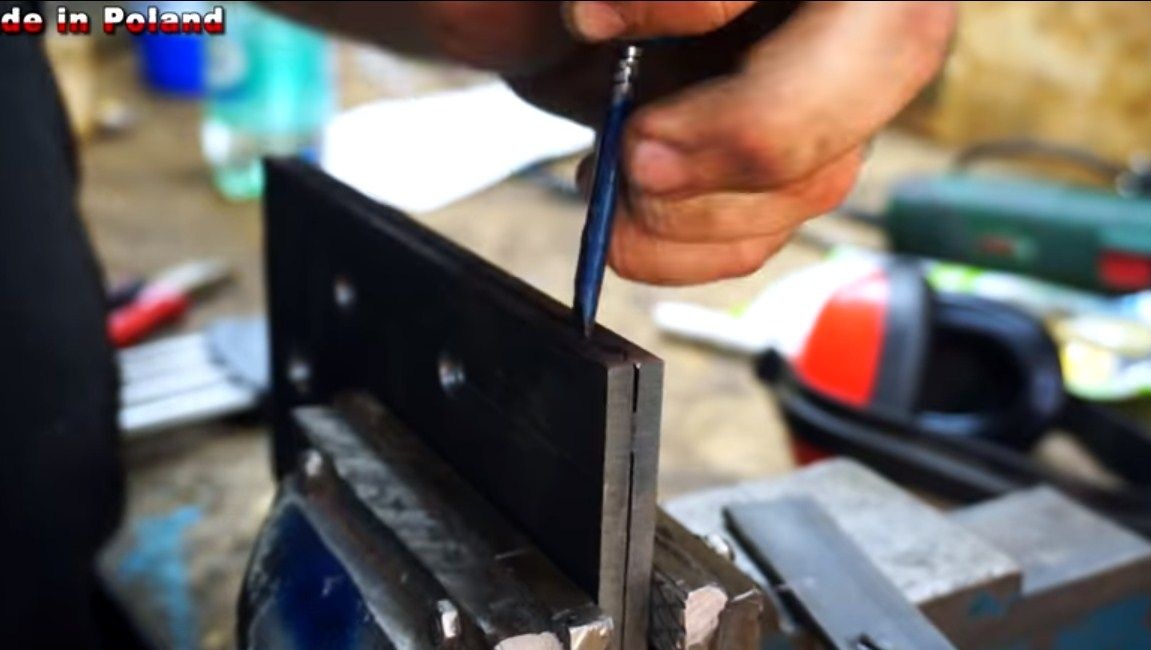
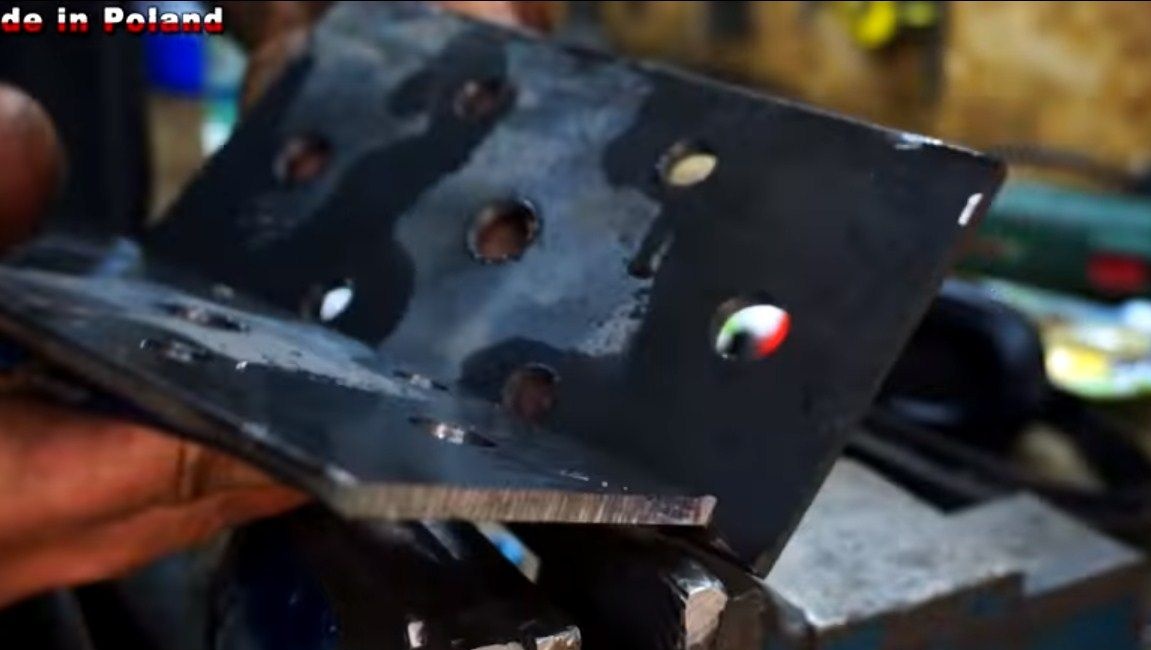
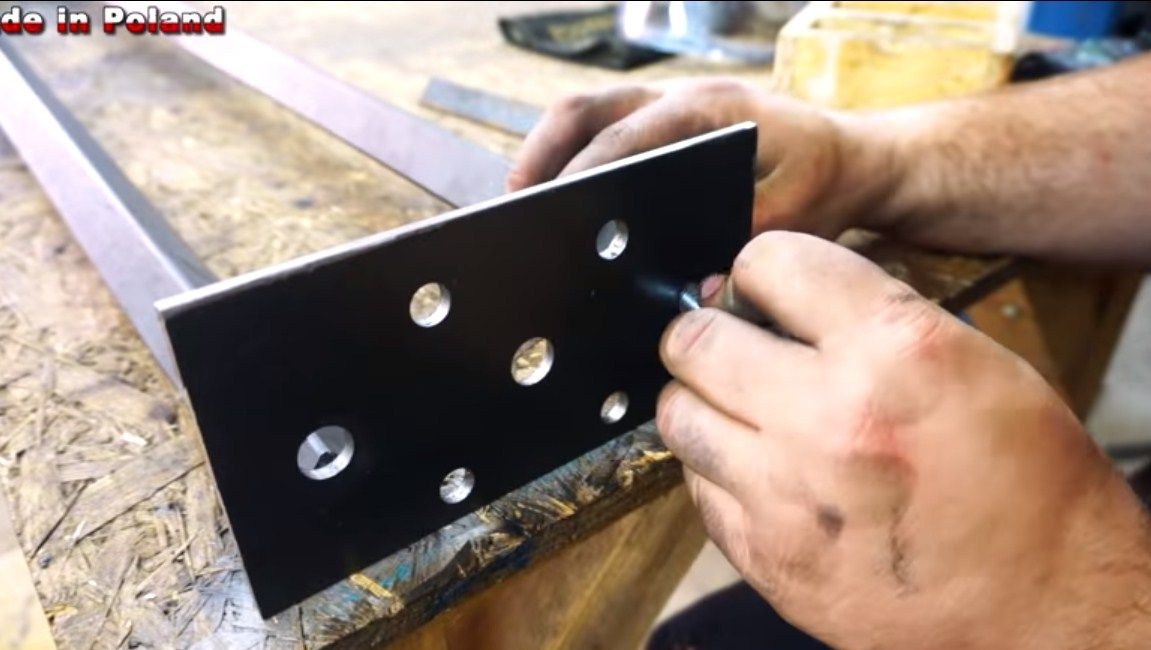
To assemble the platform, we need sheet metal. It will be necessary to make two absolutely identical parts. The author cuts off two workpieces, and then grabs them together by welding, so that after drilling the holes are in the same places. A total of 7 holes will need to be drilled. Four of them will be used to mount the bearing.Two more for screwing on the rails. Well, the seventh hole is needed for the working shaft. When the holes are drilled, just grind the welds with a grinder and disconnect the two parts. We grind them well so that everything is smooth and fits well.
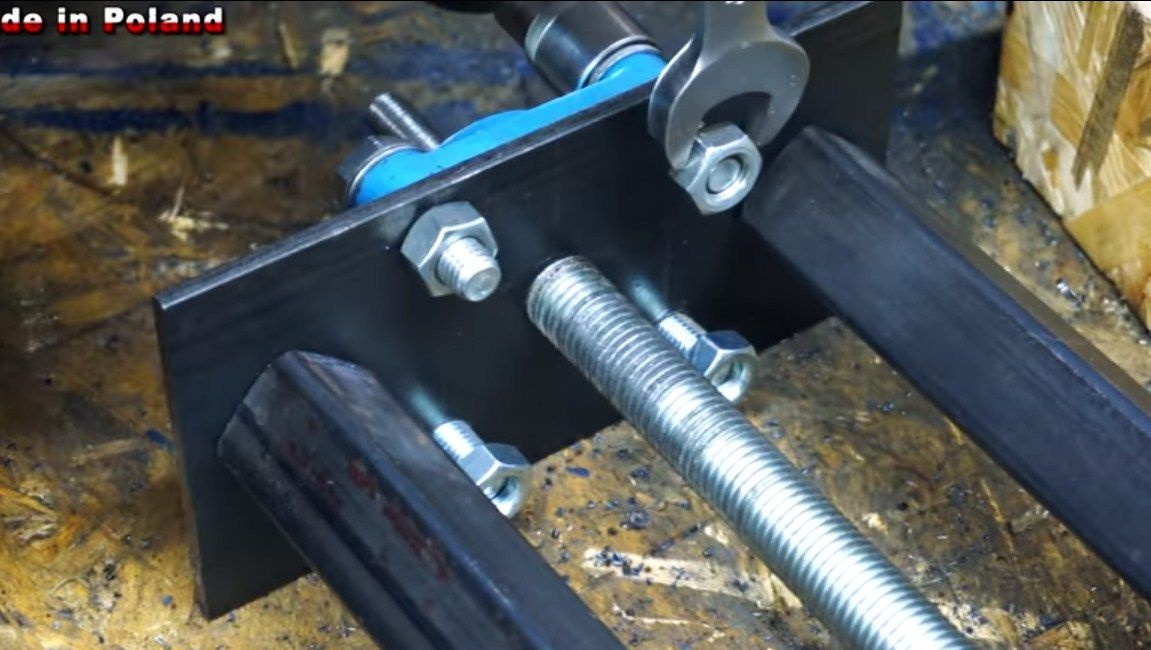
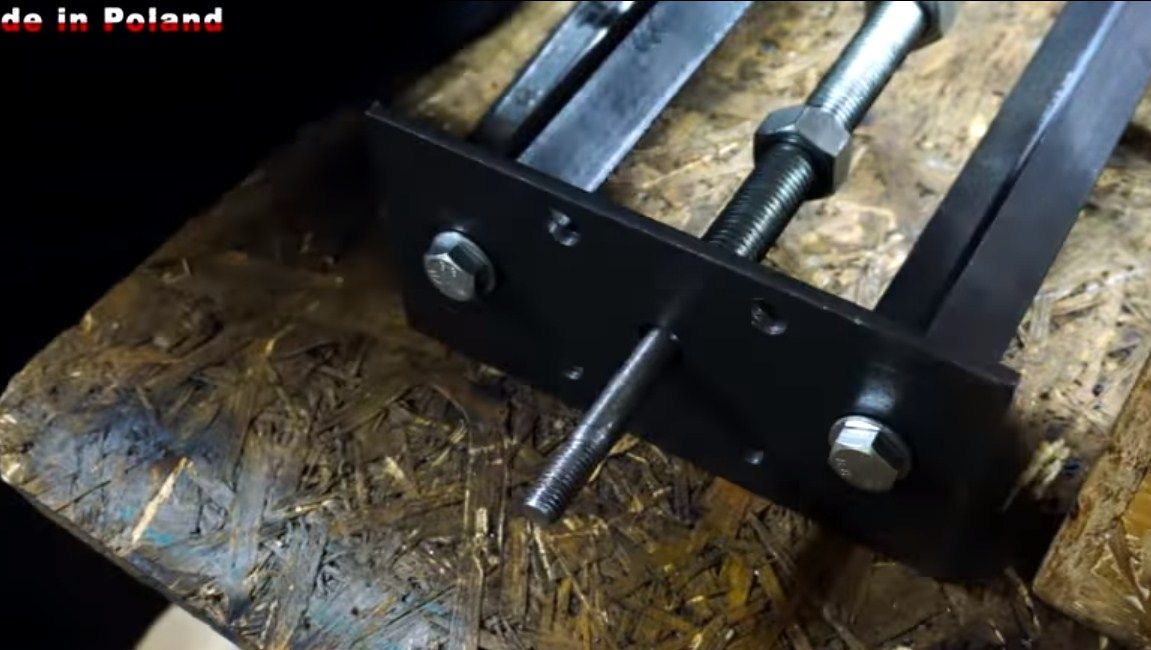
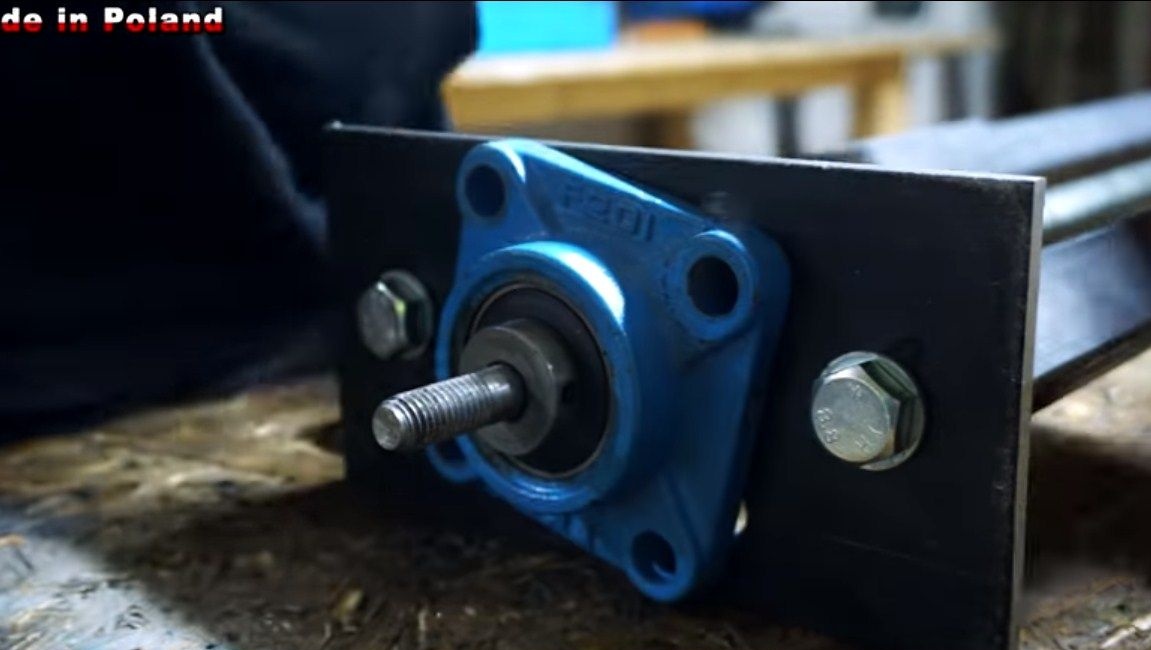
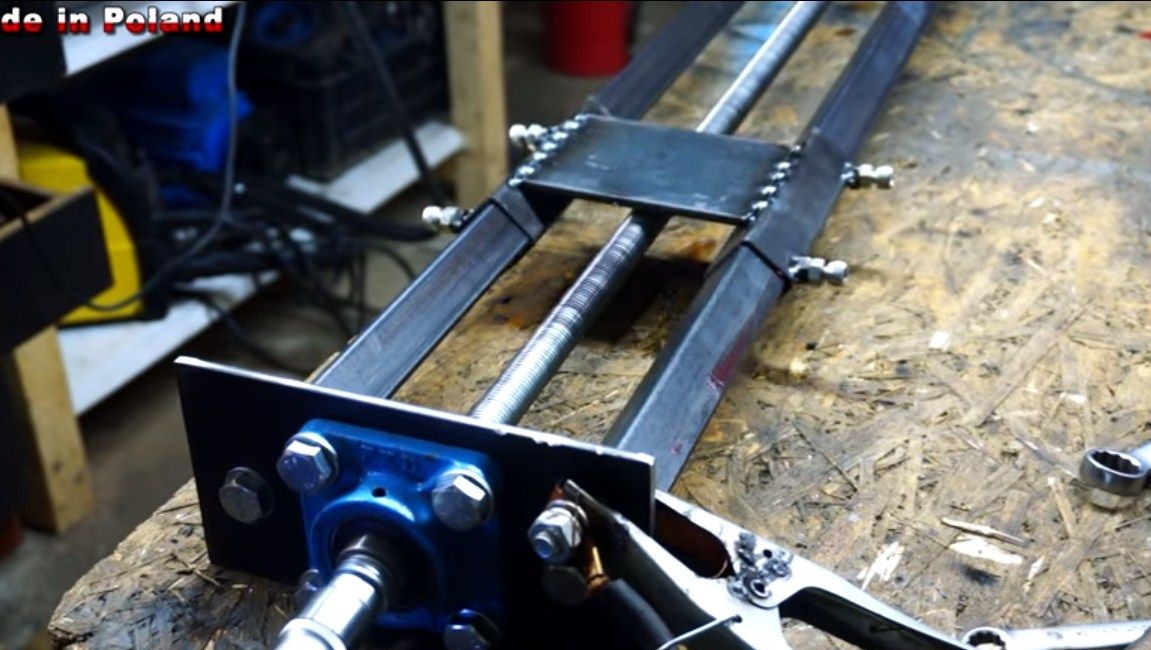
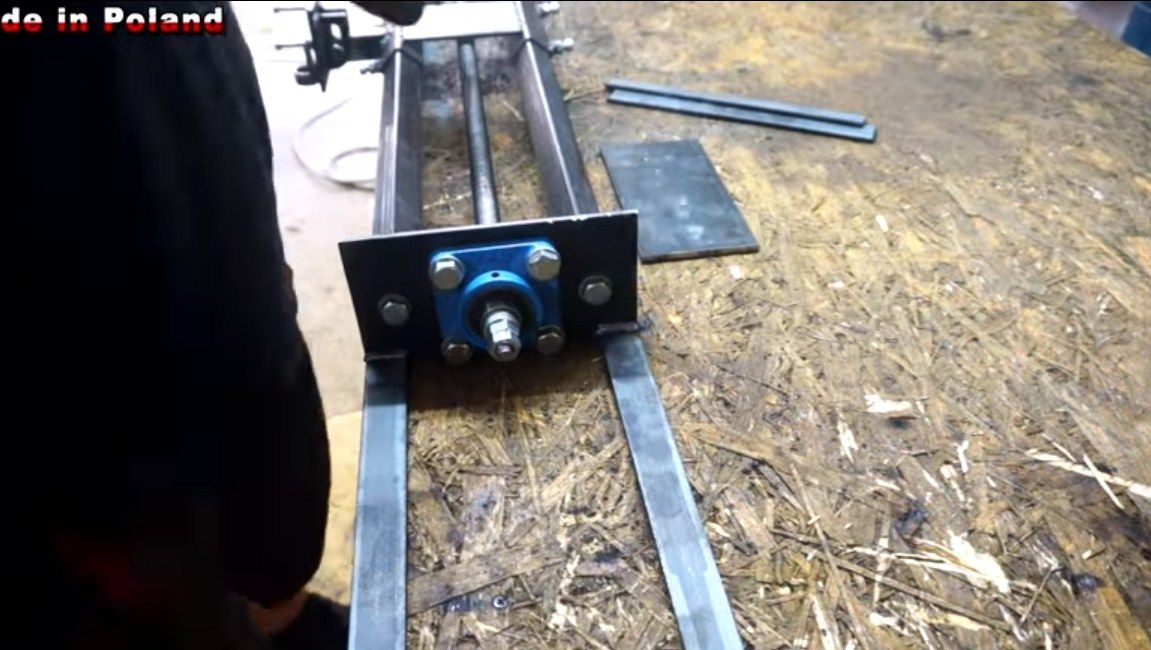
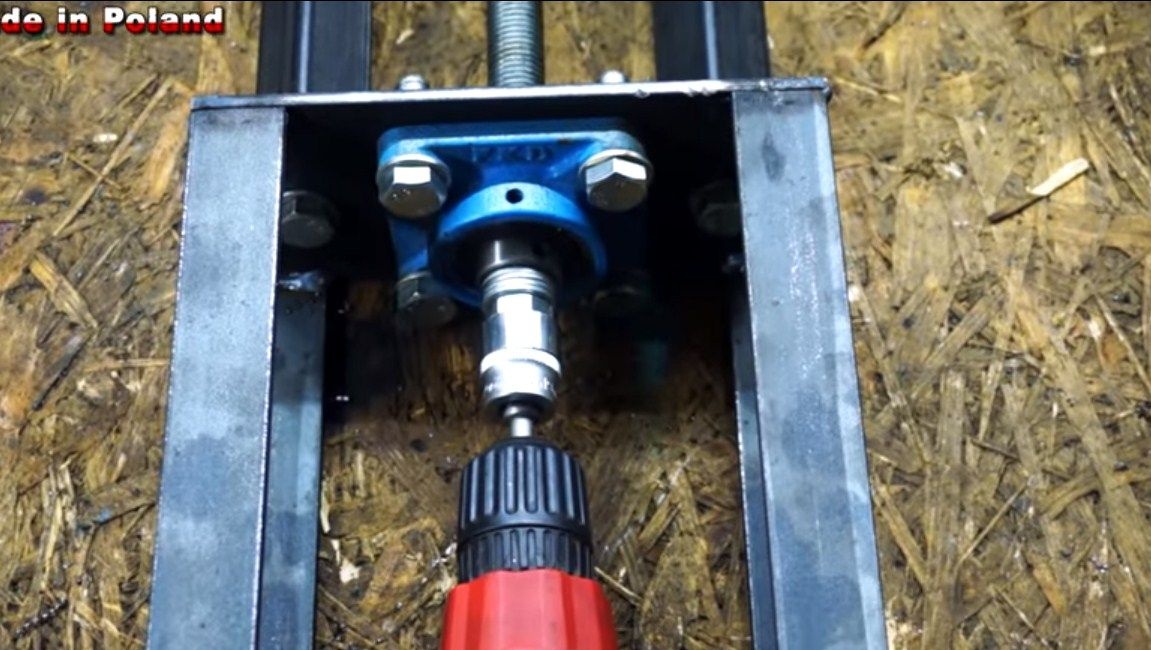
To assemble the entire structure, prepare the working shaft. It is a threaded rod. We assemble the frame by screwing the guides to the plates with bolts. Then they can be welded, but this is not necessary. Install bearings using nut bolts, or cut threads in plates. We mount the shaft on bearings using nuts. We put two nuts on each side of the bearing and tighten it well, now they will not loosen.
Step Three Platform assembly
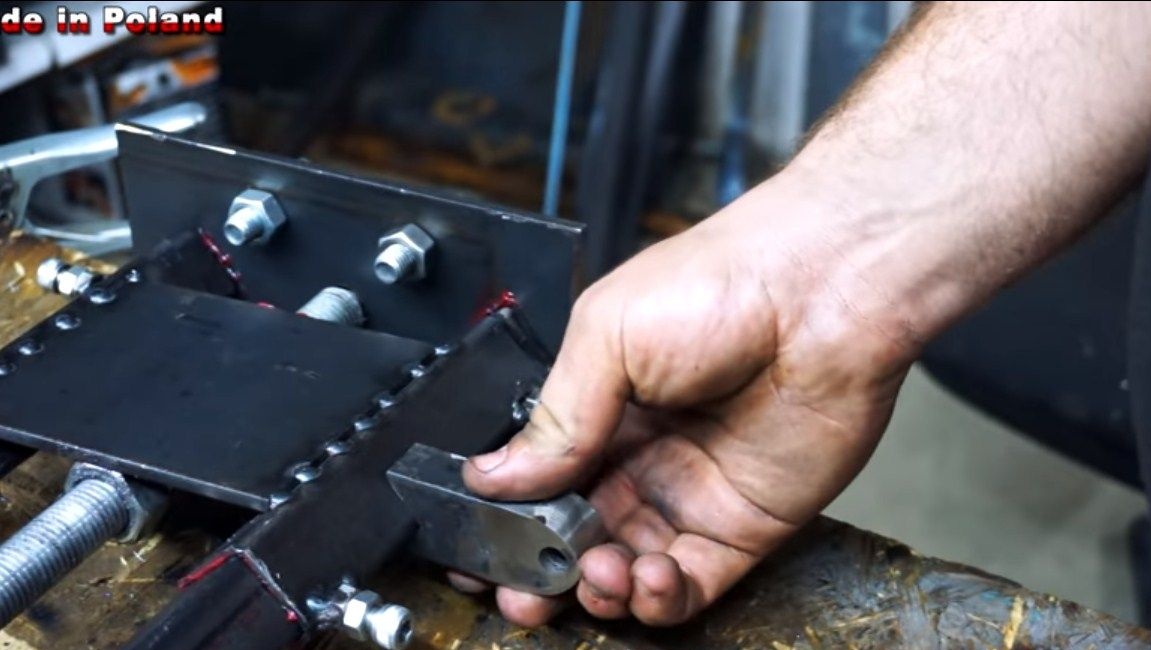
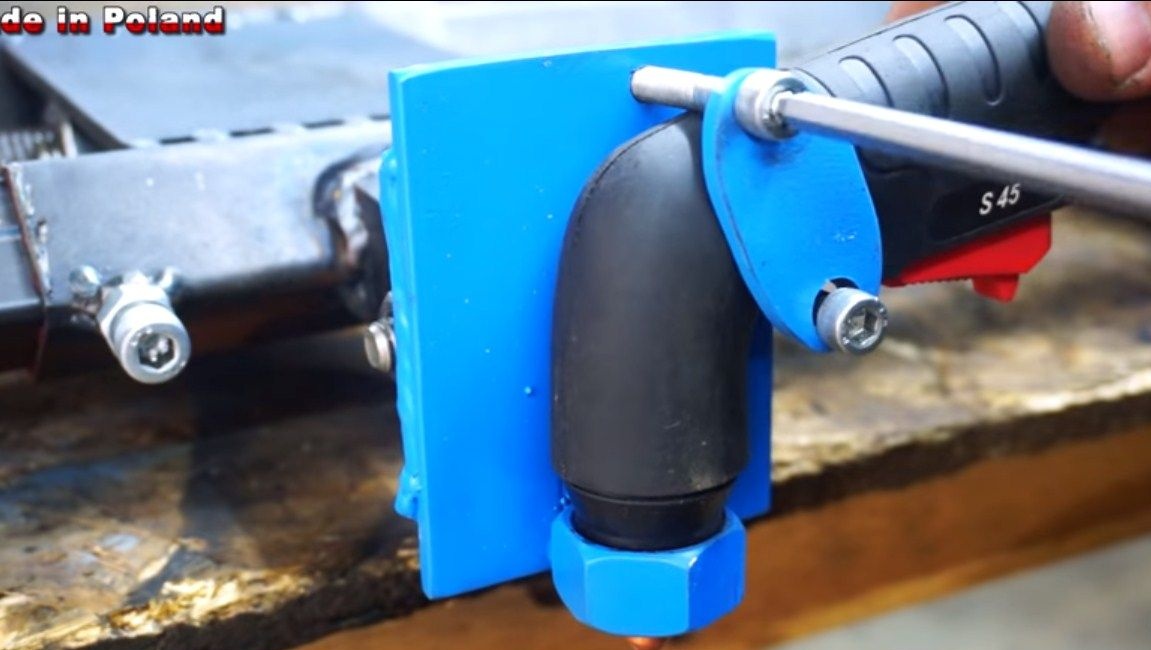
Next, we proceed to the assembly of the platform and bracket, to which the plasma torch torch will be attached. The platform itself is a steel plate, we simply weld it to those pieces of tubes that are worn on the guides.
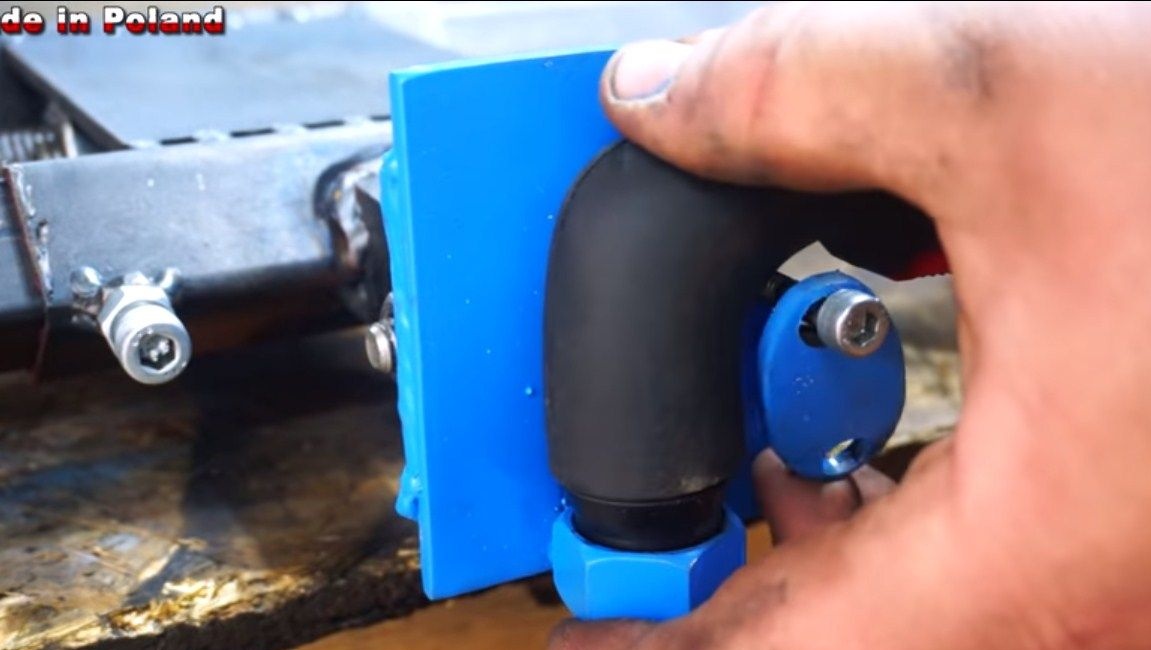
The platform is ready, now weld a bracket for fixing the handle to it. Its shape depends on the structure of the handle. Choose the right distance for cutting, and also figure out how to securely fix the handle. In the author's case, it enters the nut with its bow, and is attached using a plate and two screws.

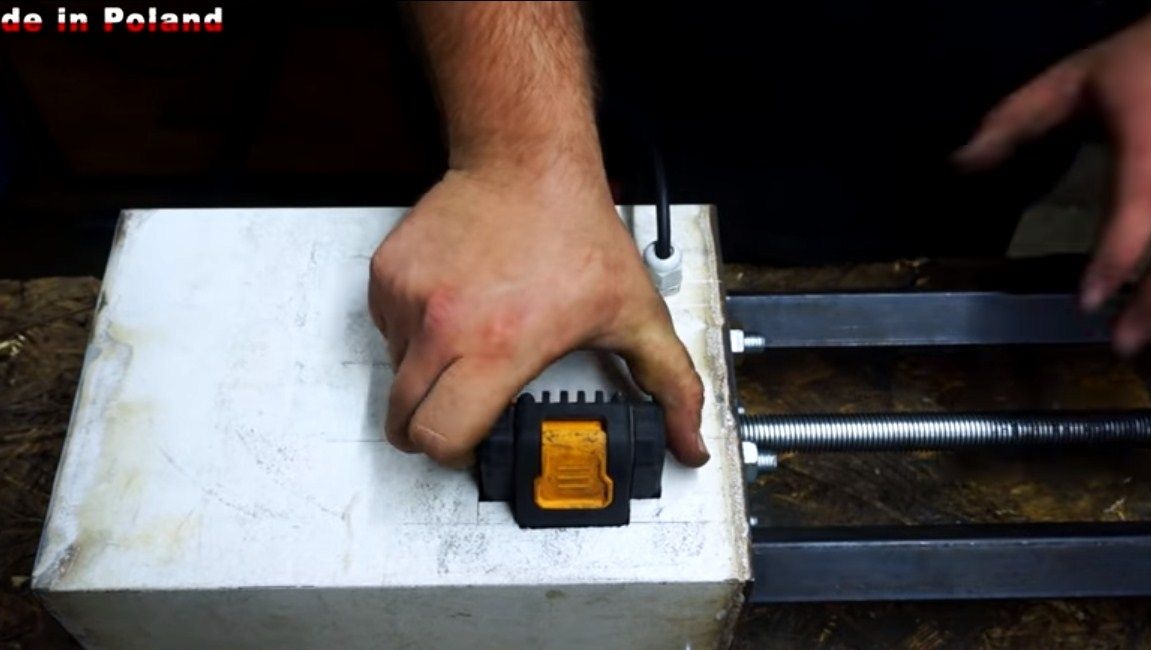
Step Four Engine installation
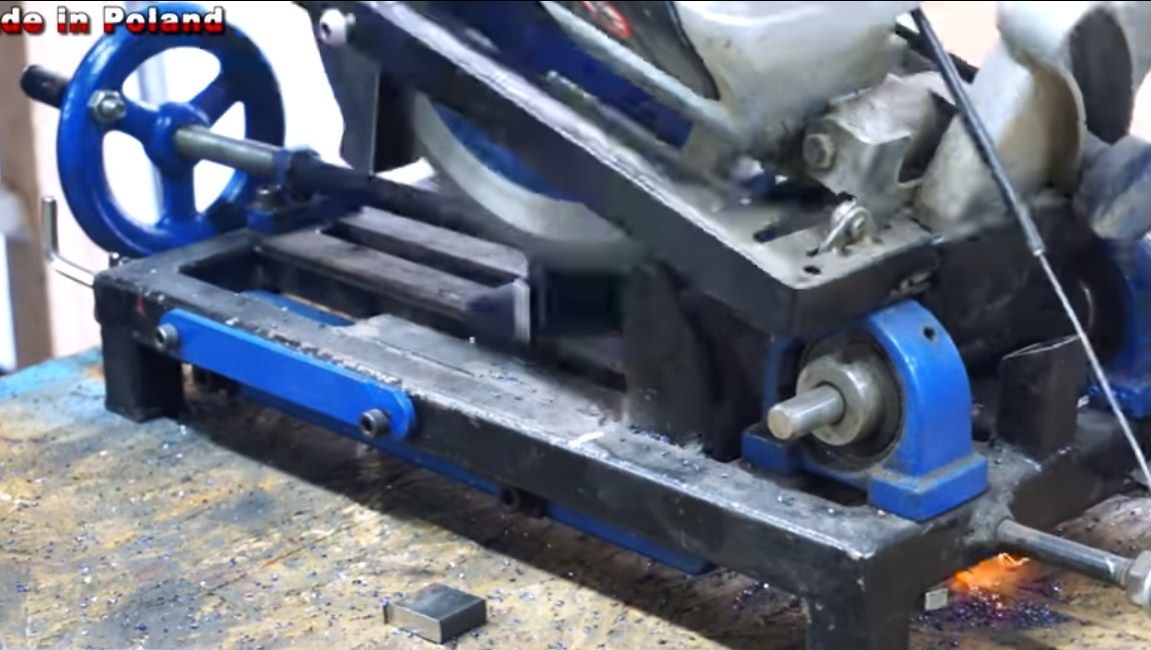
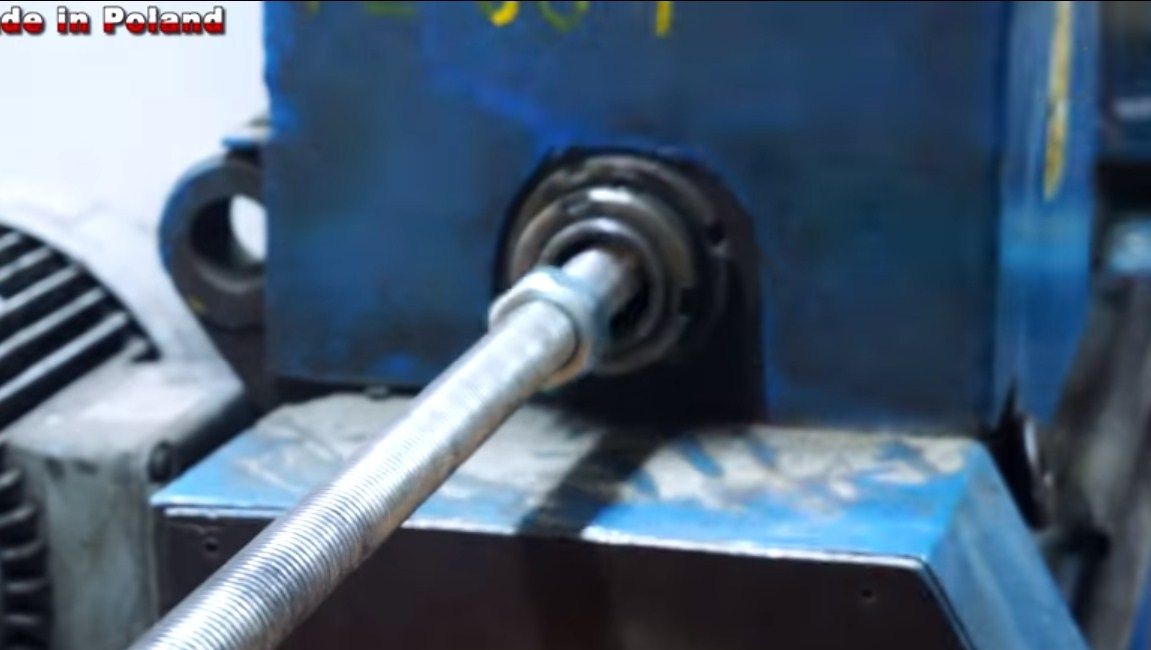
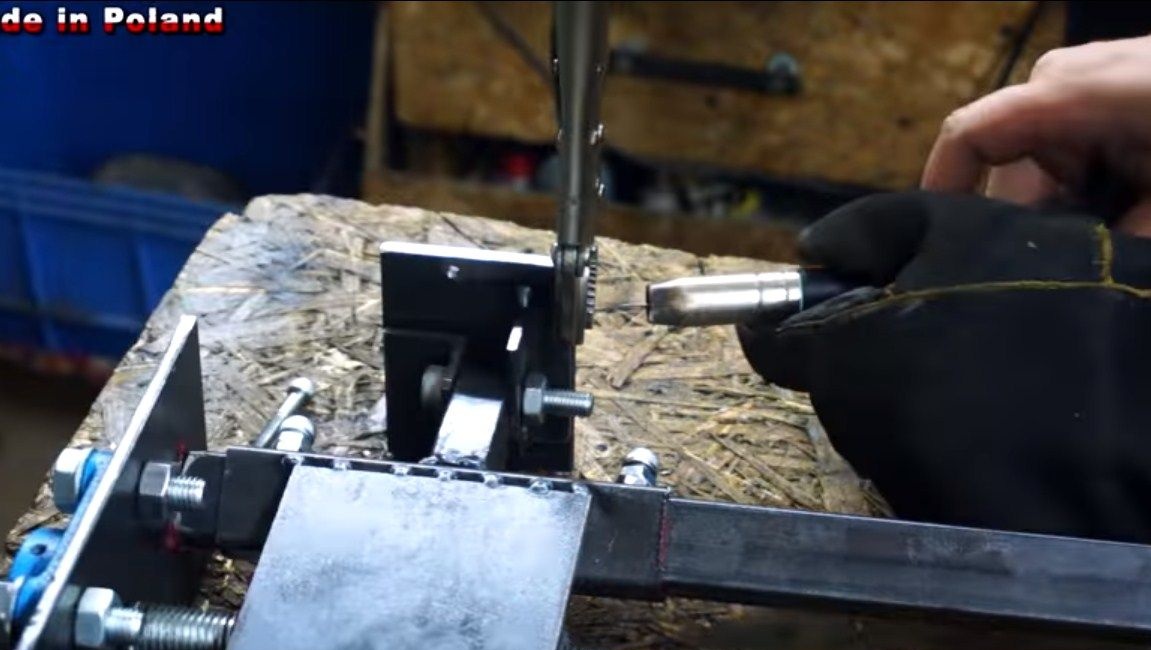
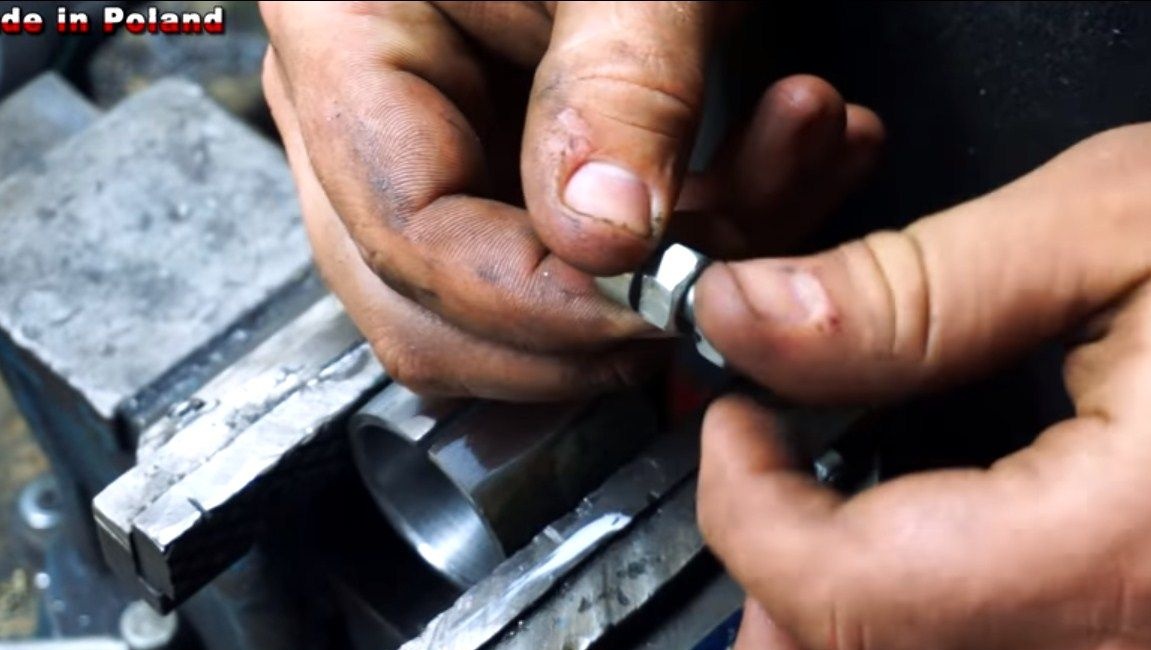
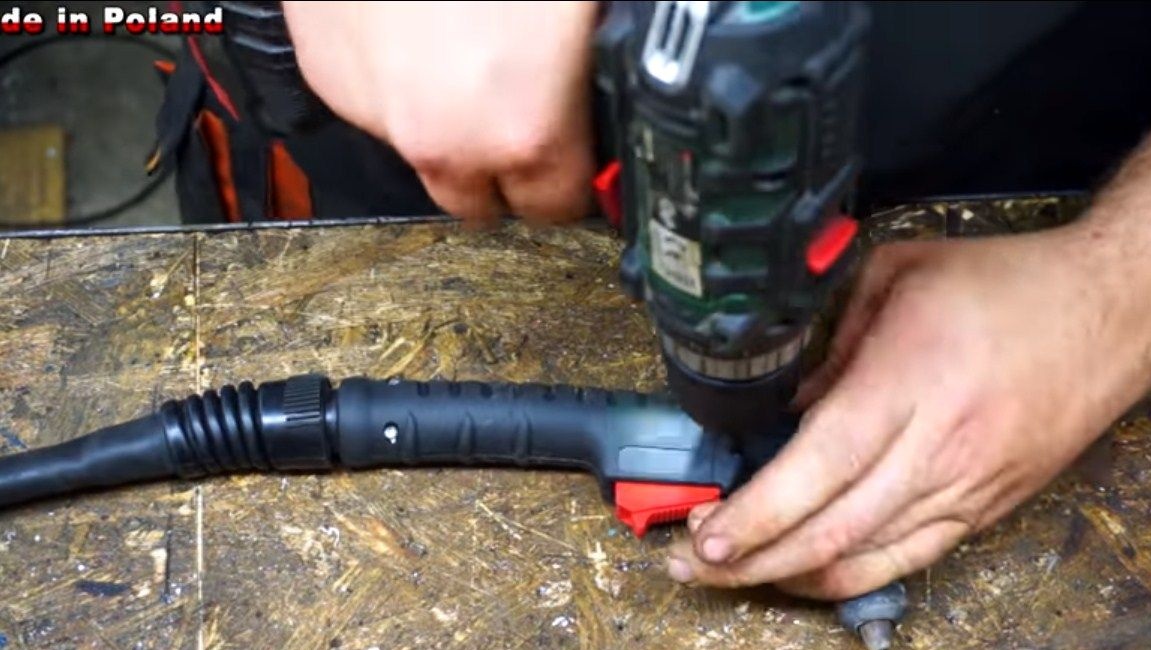
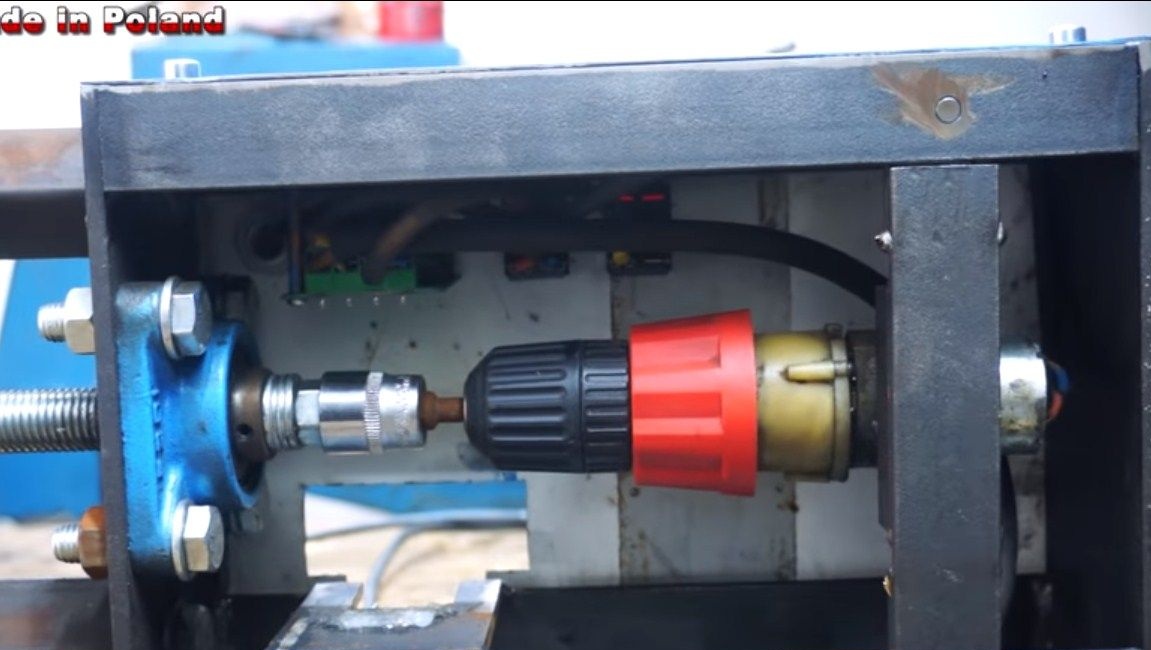
Now we need to fix the engine, which will rotate the working shaft. A motor from a screwdriver with a gearbox is used as a power element. To connect the screwdriver chuck to the shaft, the author adapted the wrench head, just put it on the shaft nuts.
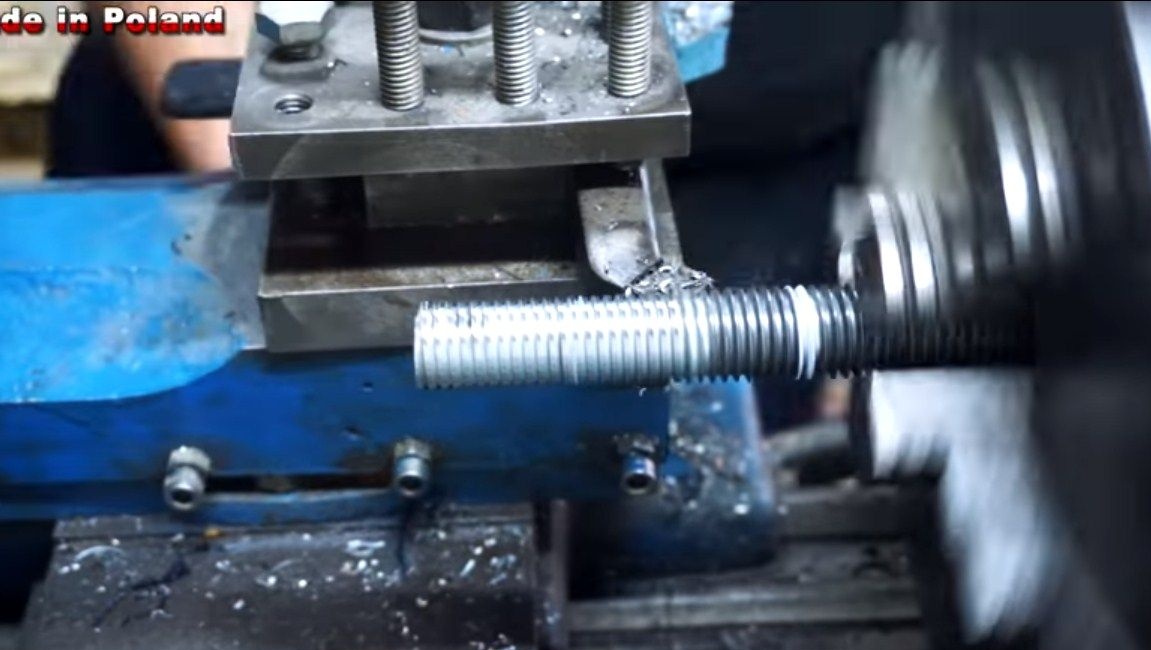
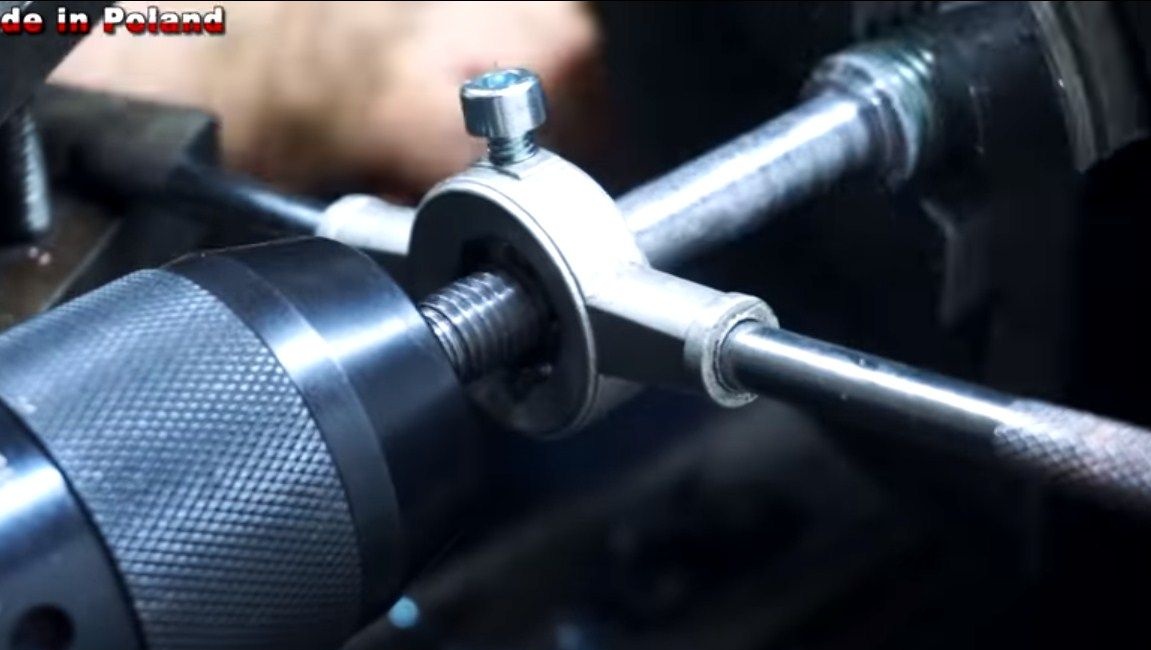
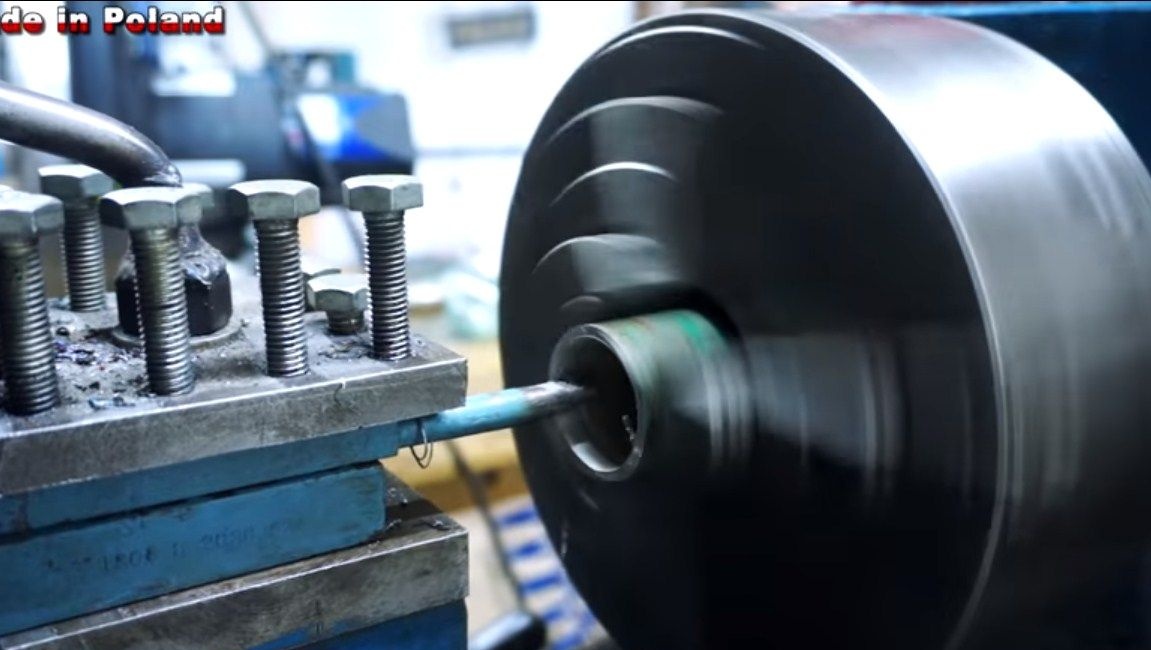
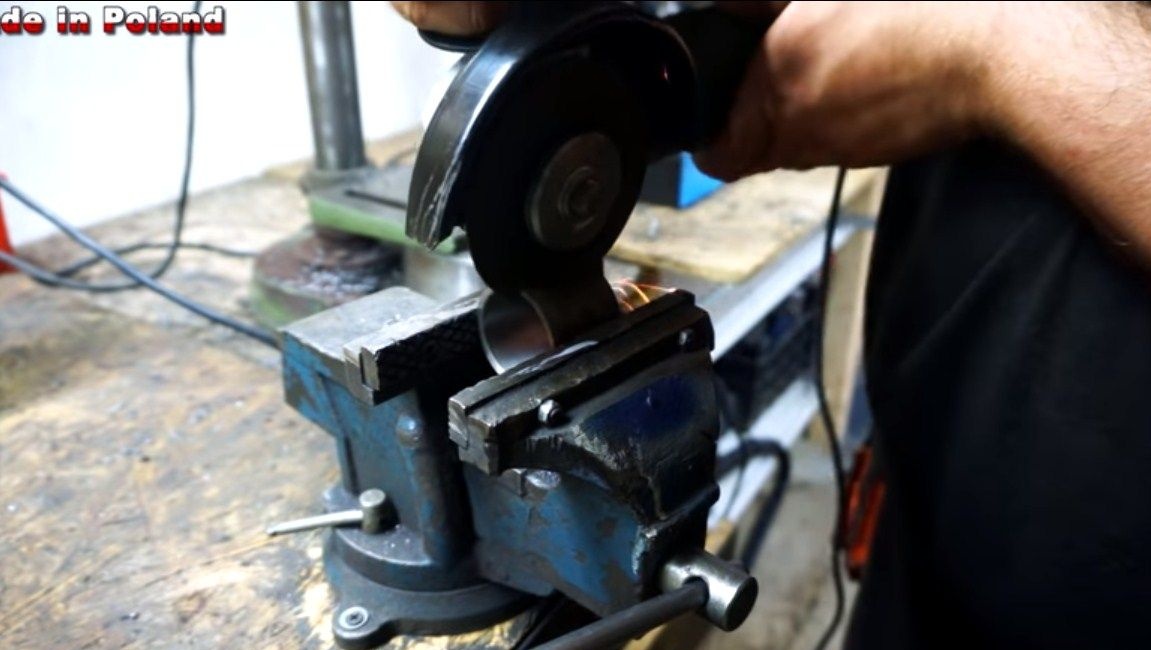
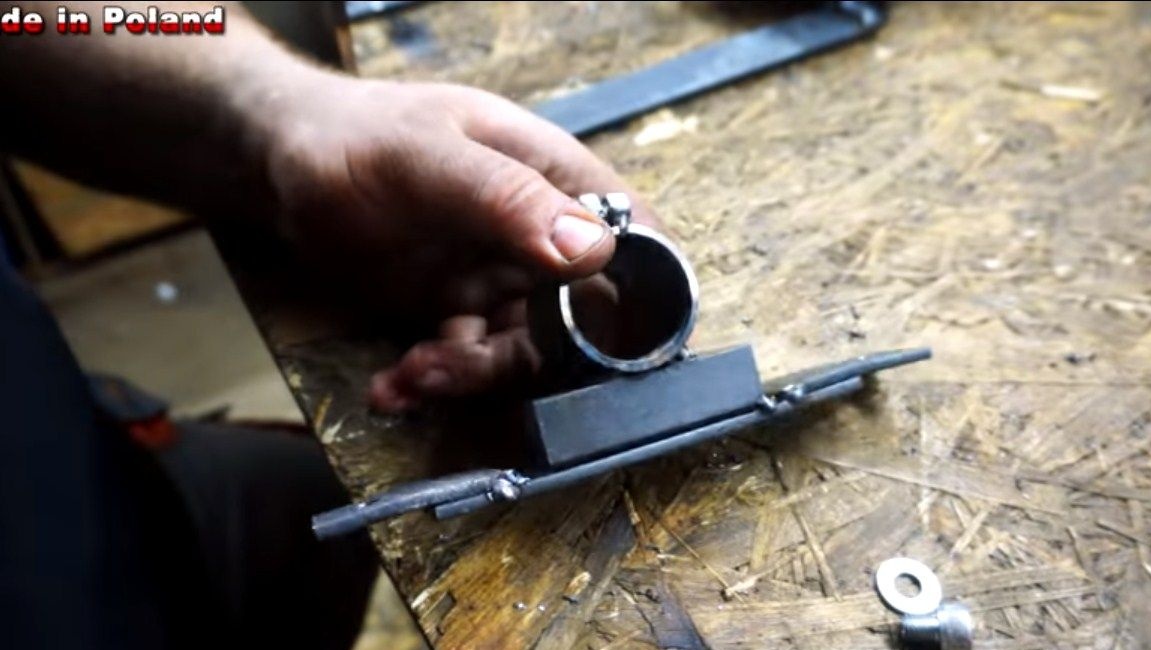
To mount the motor we make a special bracket. For this, the author found a piece of pipe of the right size, wasted it on a lathe, and then cut it in half. After two nuts were welded, we got a kind of clamp that can be tightened with a screw. To fix this whole thing, you need to lengthen the frame. We use steel plates and weld the desired structure. What happened in the end, look at the photo.


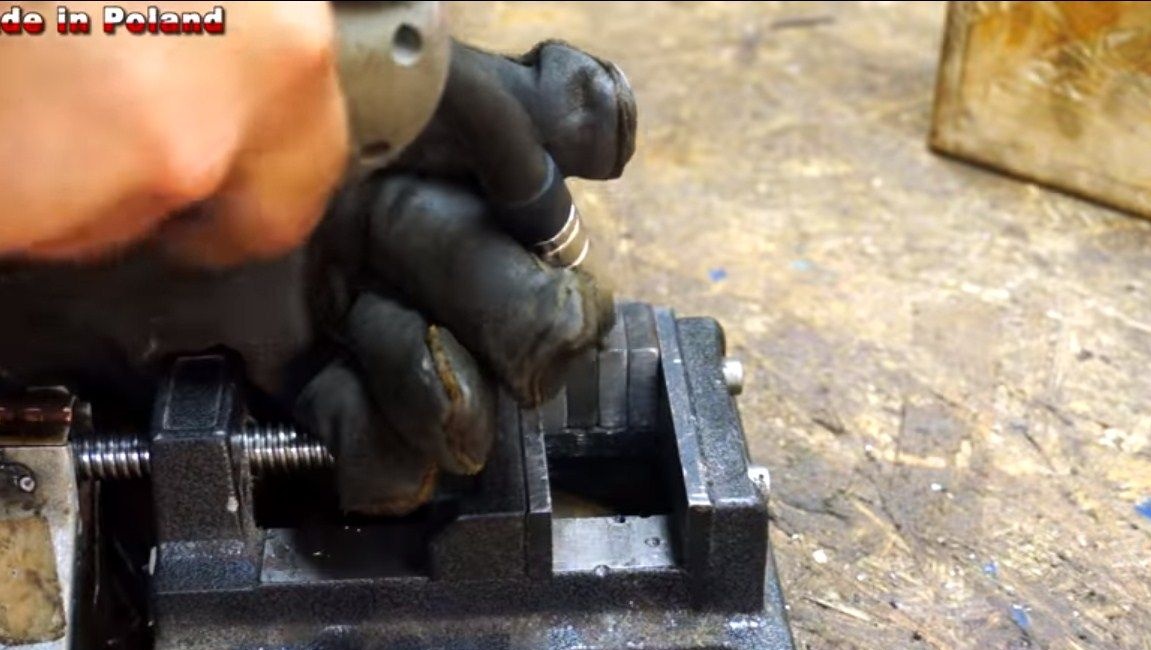
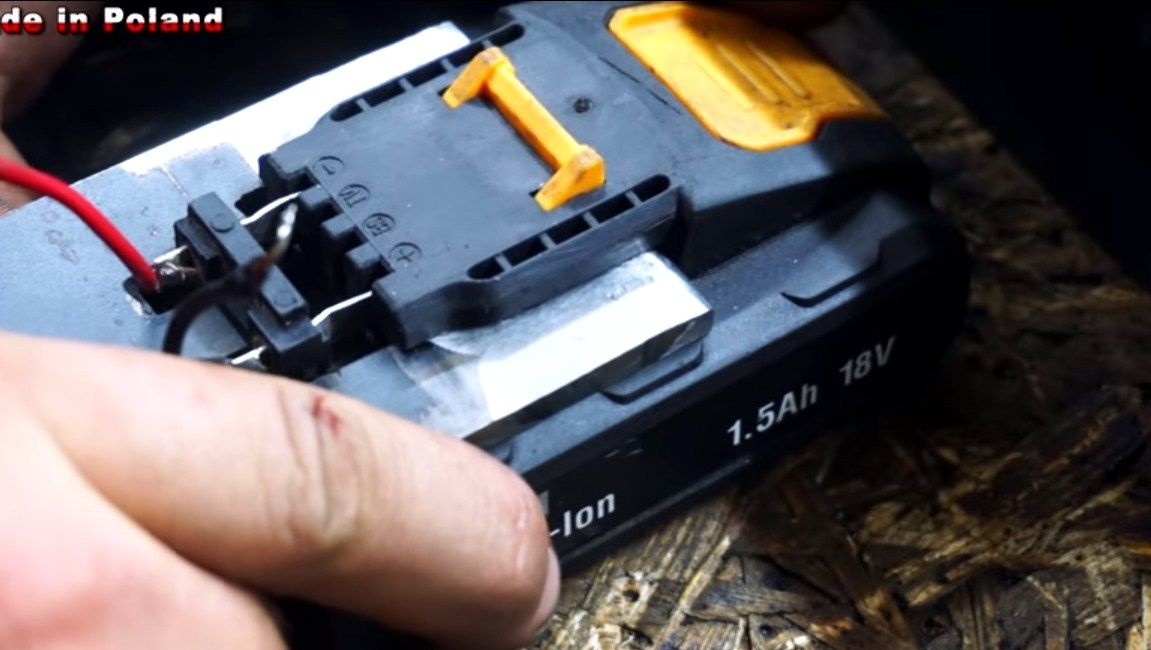
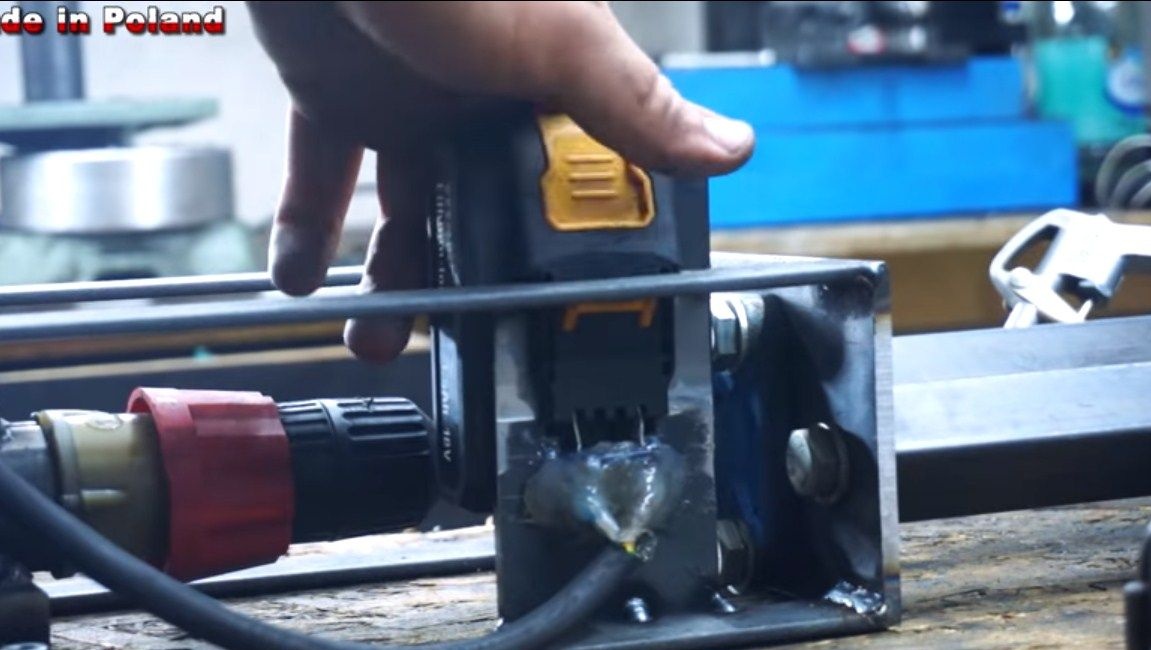
Step Five Battery lock
If you will power your machine from the battery, make a latch under it. The part that holds the battery is machined from a steel plate. Well, then you just have to establish contacts, you can make them yourself or get them from an old screwdriver. The author glued the contacts with epoxy glue. That's all, now with a flick of the wrist, the battery can be removed and charged, and then the same one is easy to install.
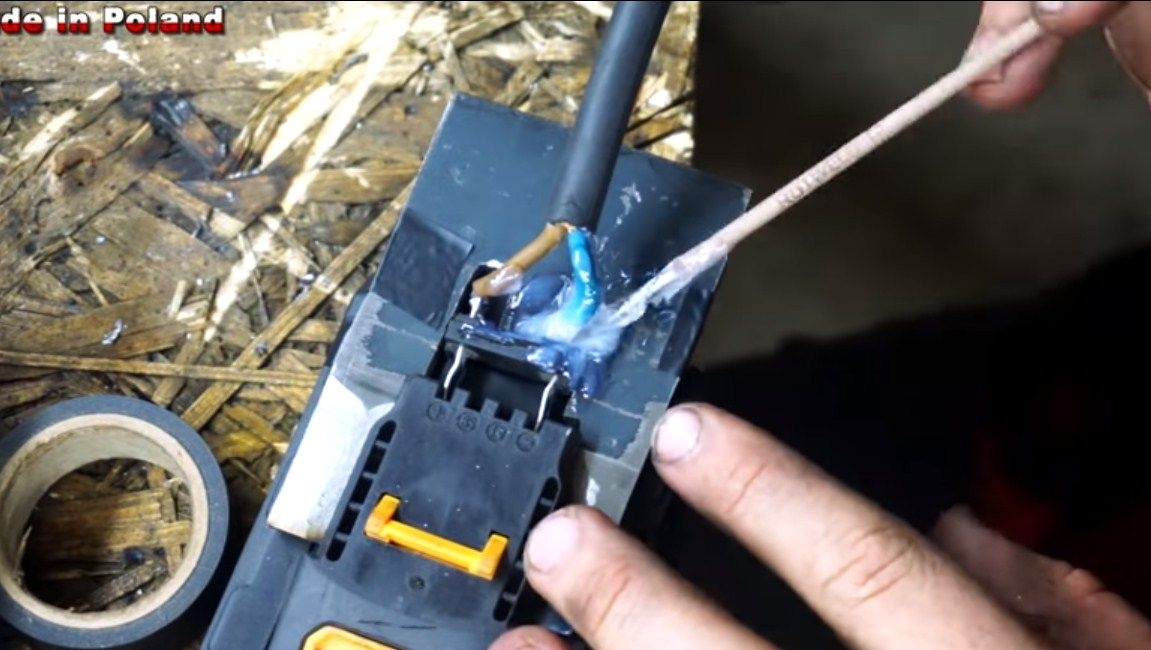
Step Six Modifying the torch handle
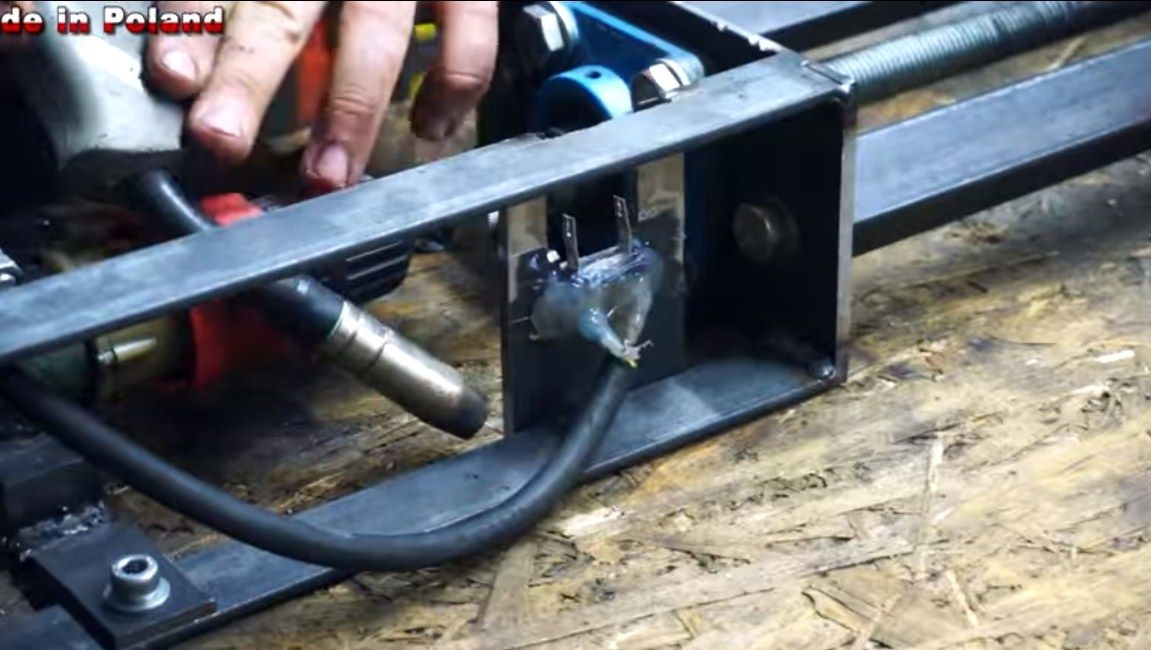
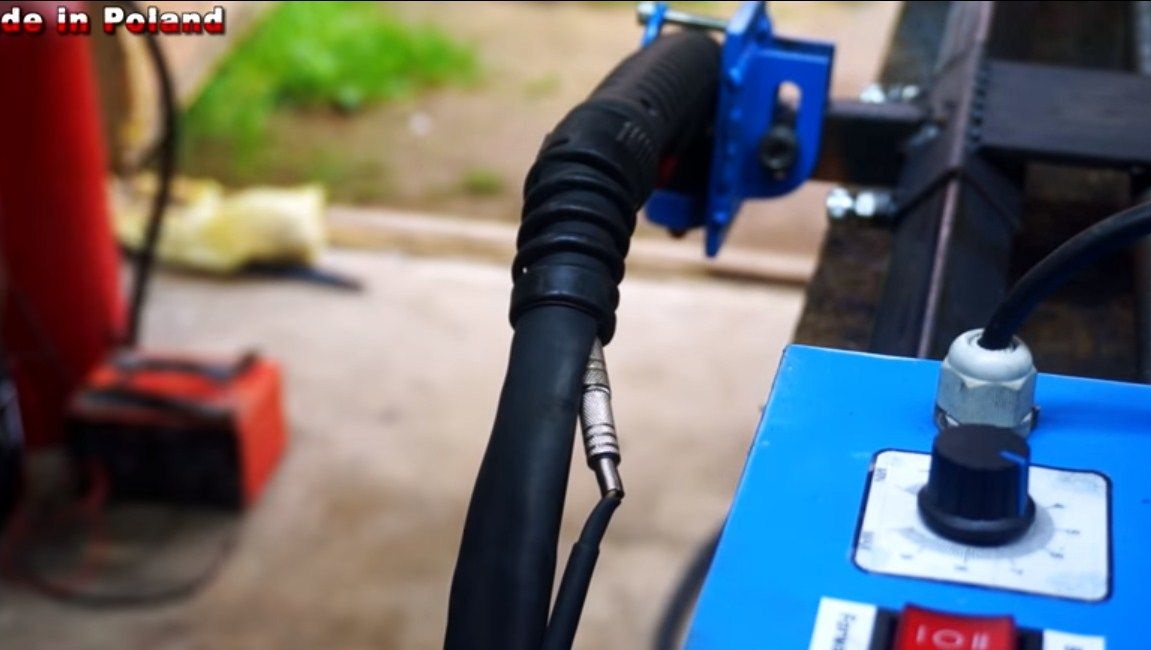
There is a switch on the handle of the torch, but this option does not suit us, so we disassemble the handle and solder two more wires to the switch. We will then connect our switch to them, with which you can control the burner. That's all, now collect the pen back. At the end of the cable it will be useful to install a connector for quick connection of the burner to the machine.

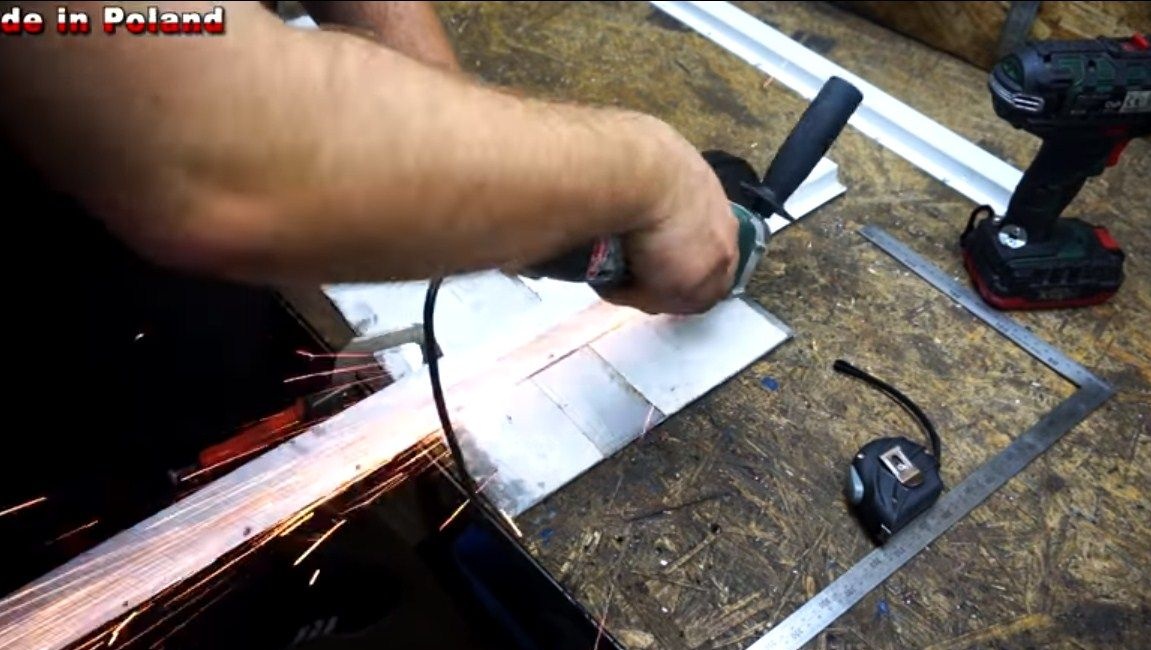
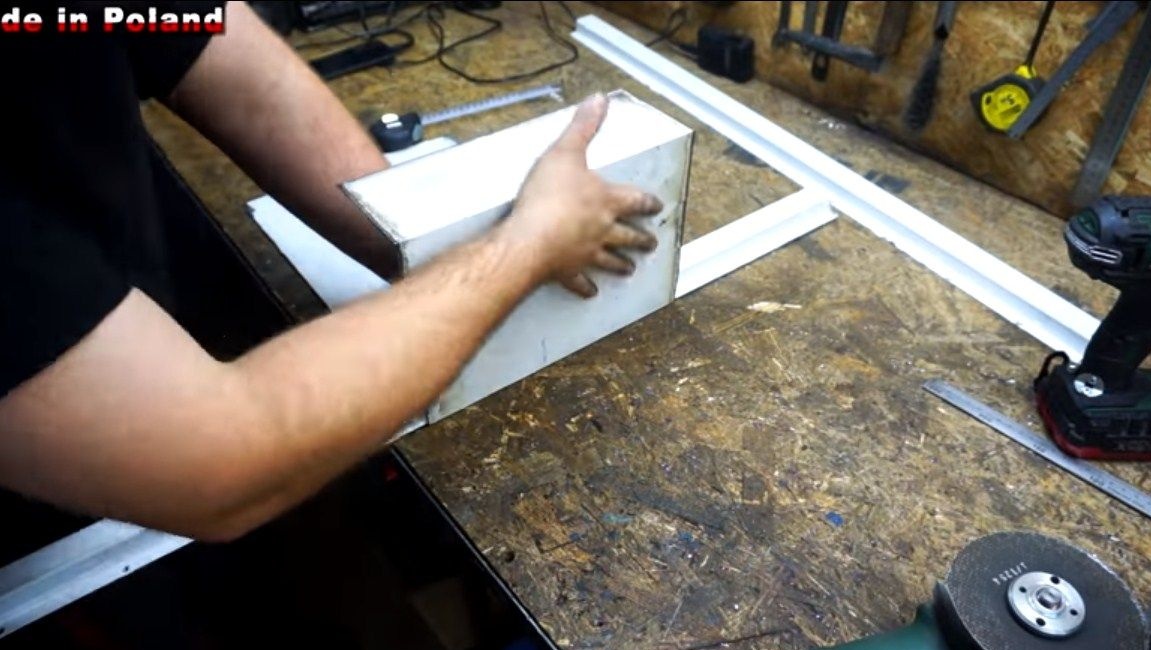
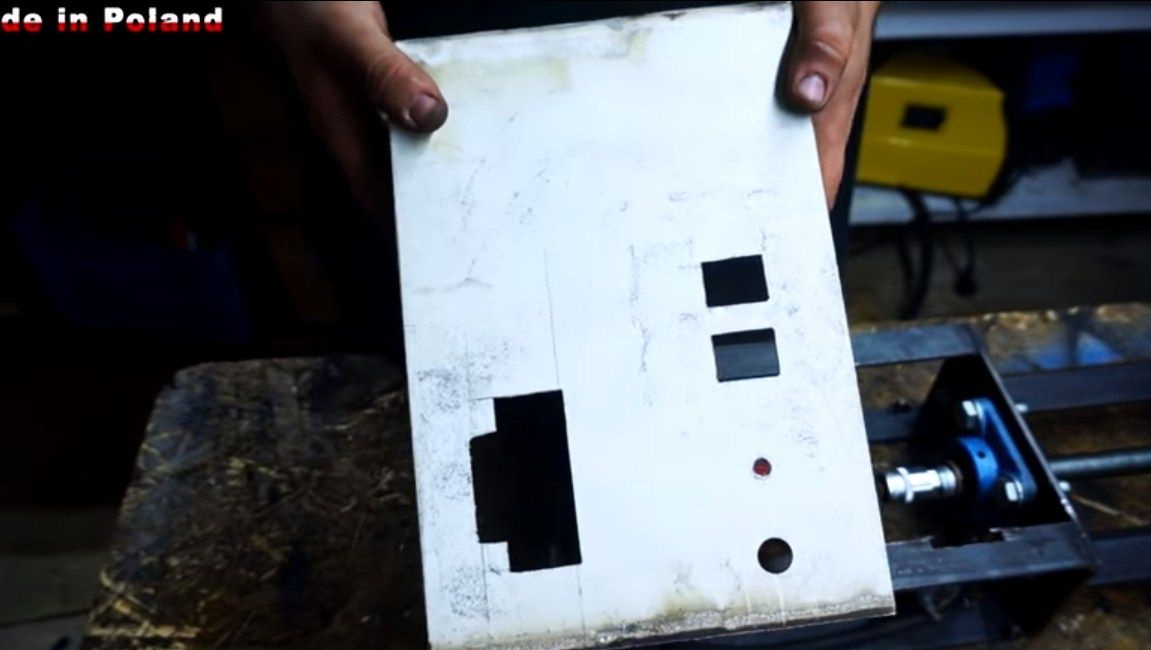
Seventh step. Protective housing
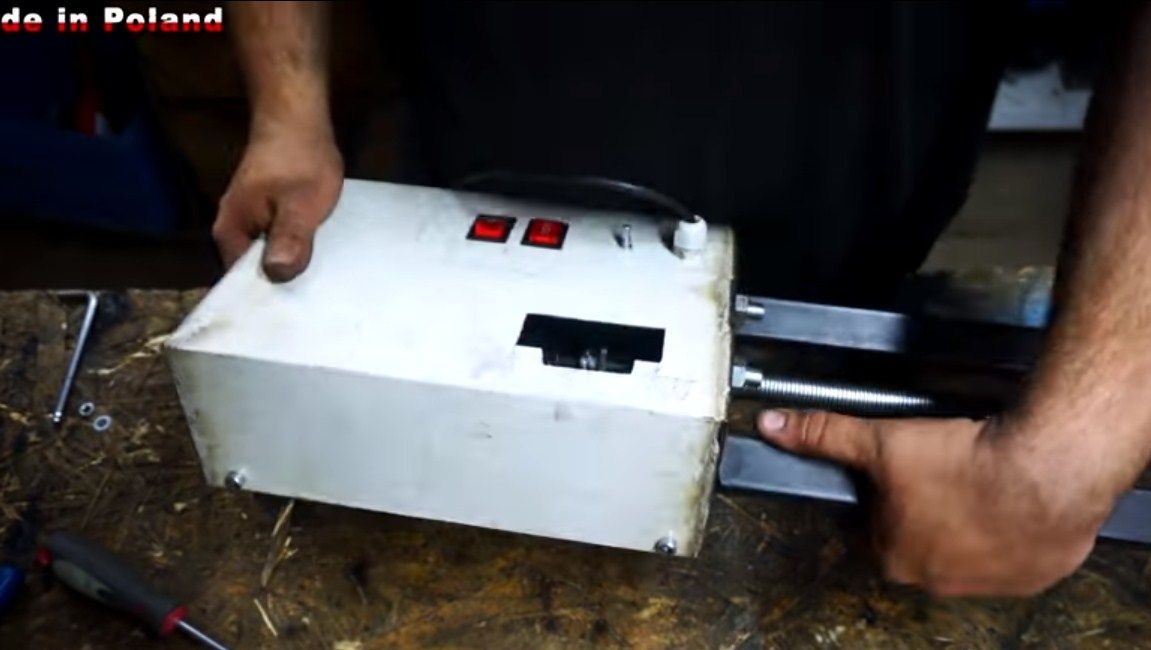
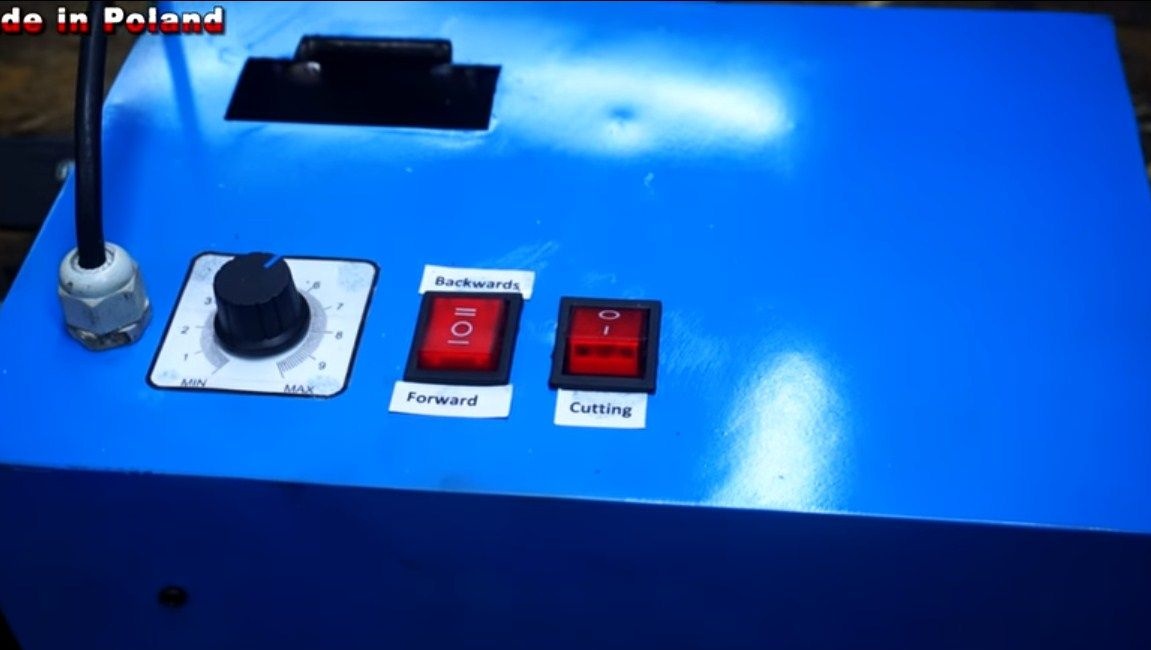
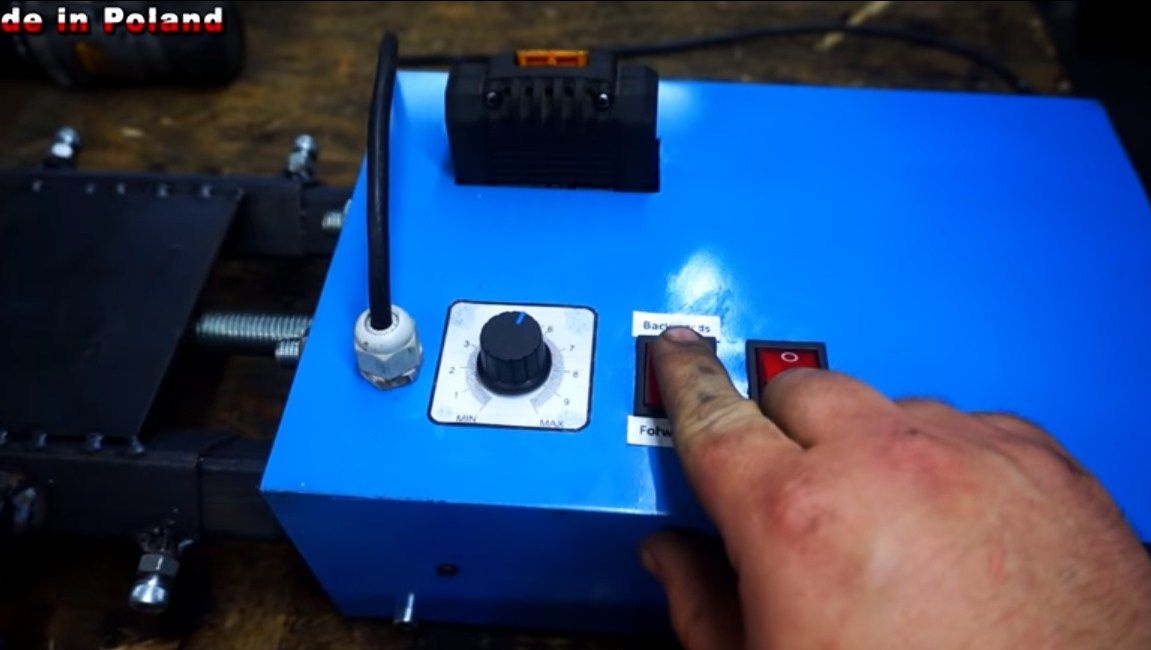
For the compartment where the engine and electronics useful to make a protective case. To do this, you need sheet steel, you can use aluminum sheet. We cut it to the desired size, as well as cut places for installing switches. One switch turns on the engine; it has two positions. In one position, the motor rotates the shaft in one direction, and in the other in the opposite. There is also a switch that controls the torch. And there is also a knob for adjusting the speed.
Well, now we just have to bend the case. To make this happen quickly and beautifully, the author makes cuts on metal with a grinder. We fasten the case with screws.
Step Eight. Assembly and testing
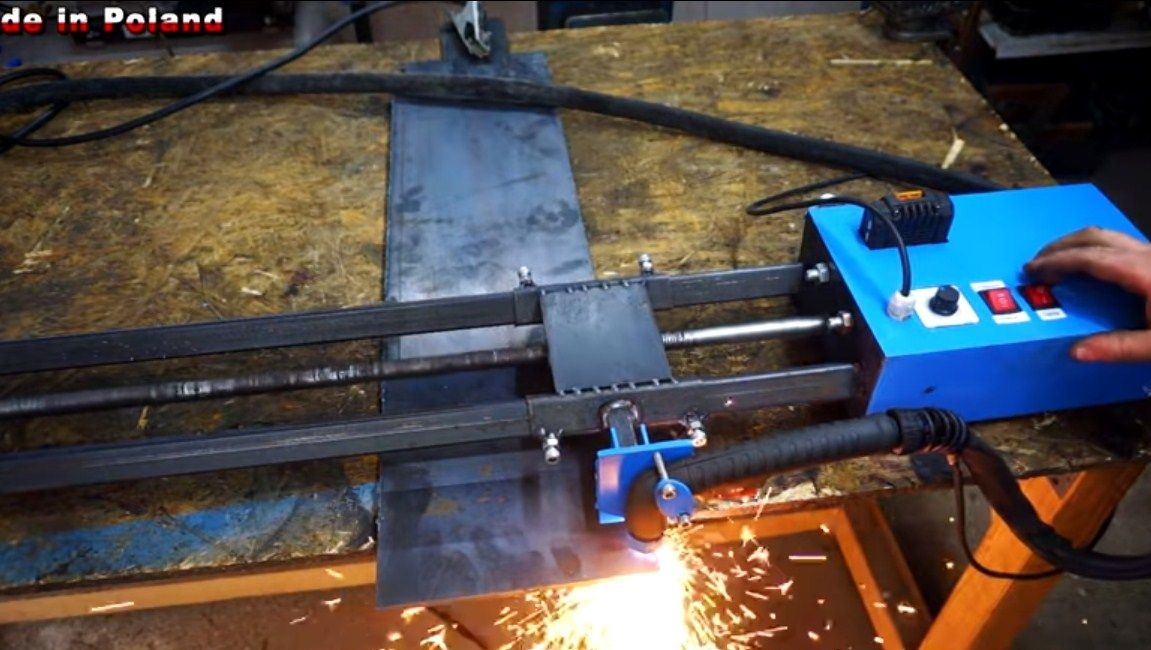
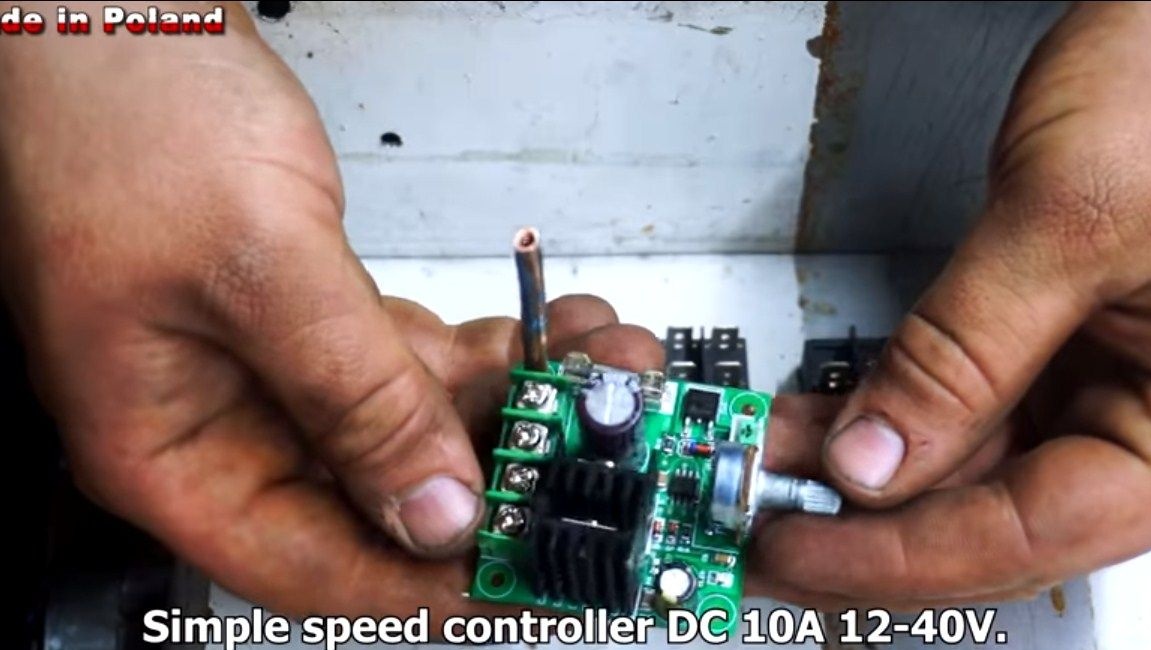
The assembly consists in the installation of all control devices, including the speed controller. With this controller you can control the cutting speed.So, for example, if the metal is too thick, it may take longer to cut and vice versa. Such a controller can be ordered from China, they cost a penny. Typically, controllers come with a control knob. The controller must withstand current up to 10A and operate on a voltage of 12-24V.

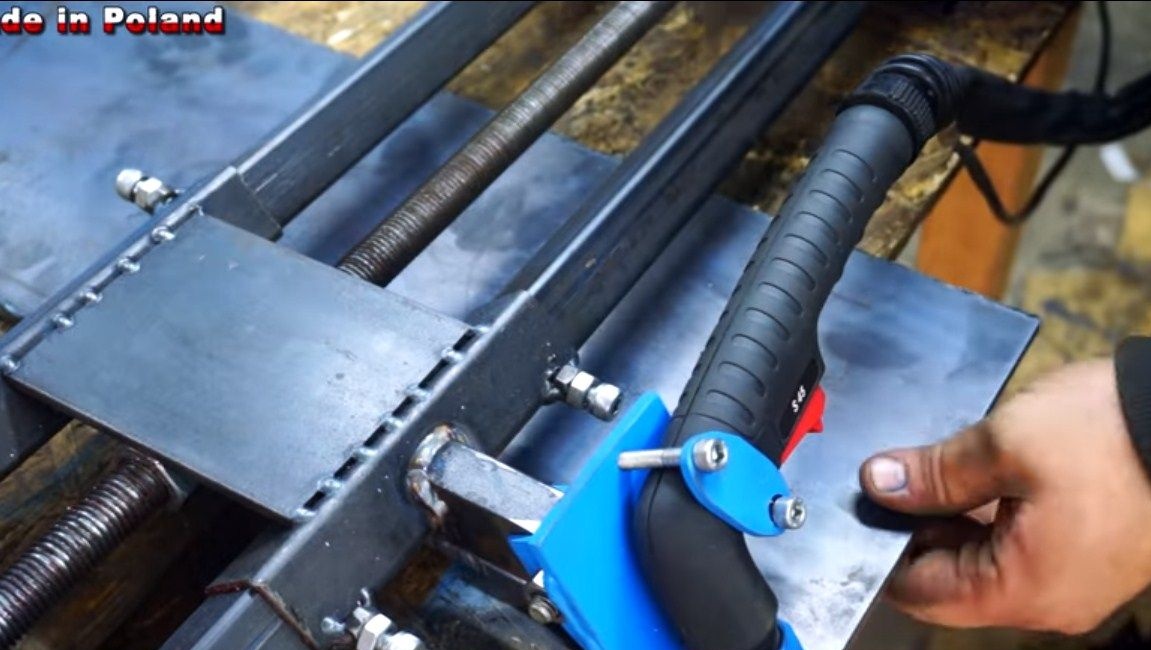
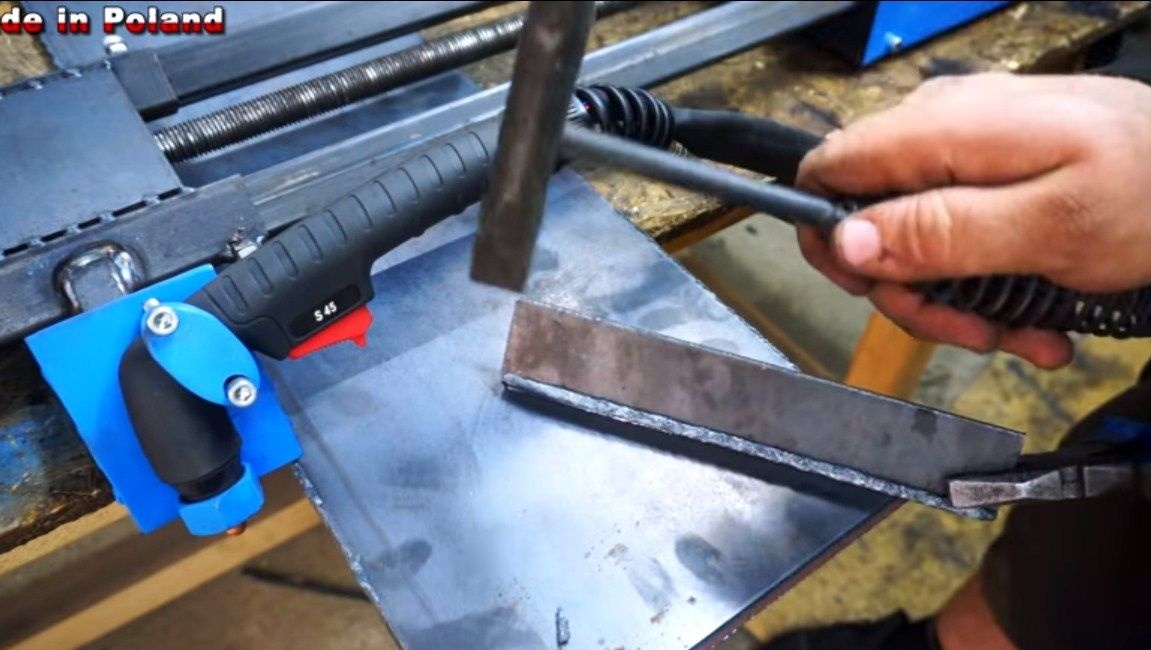
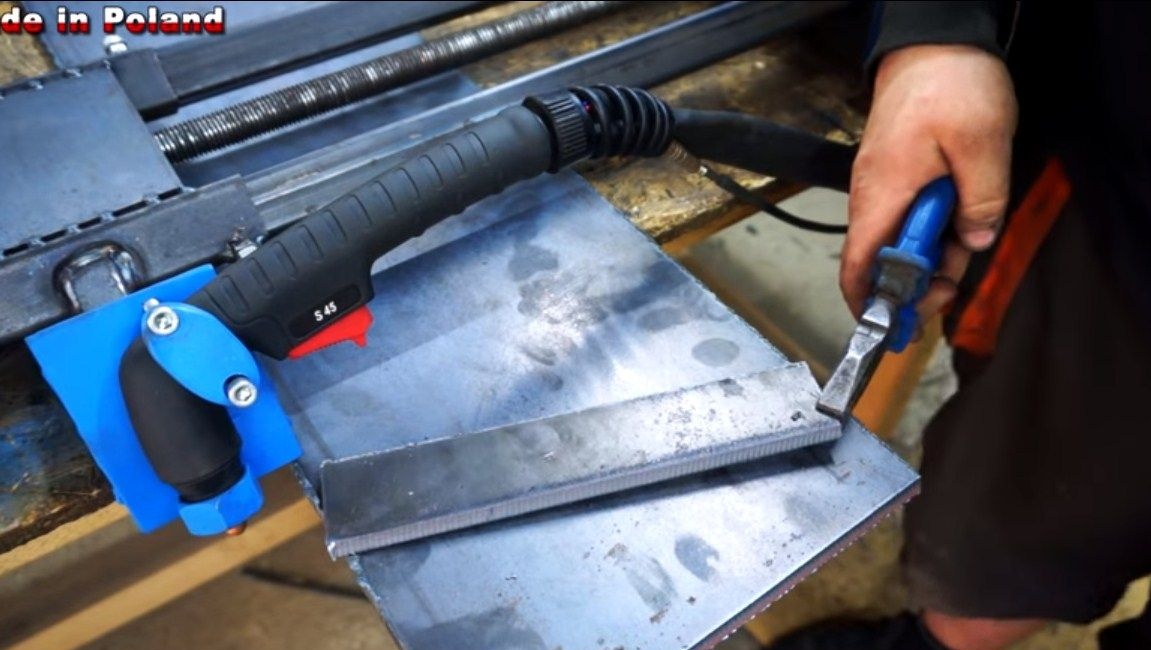
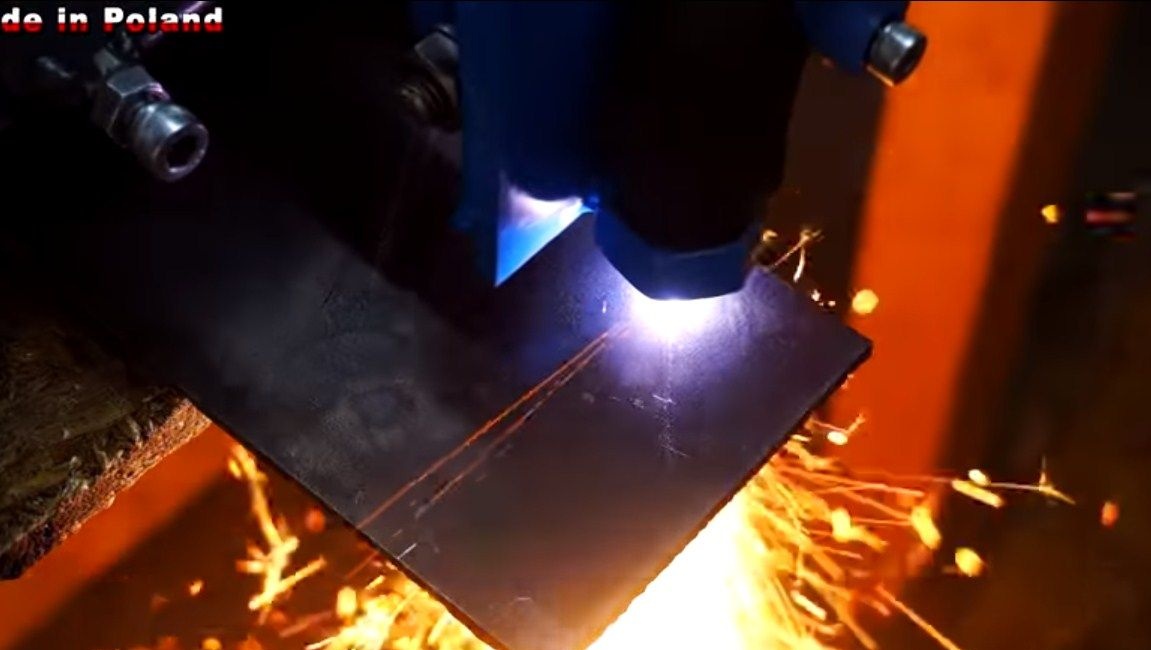
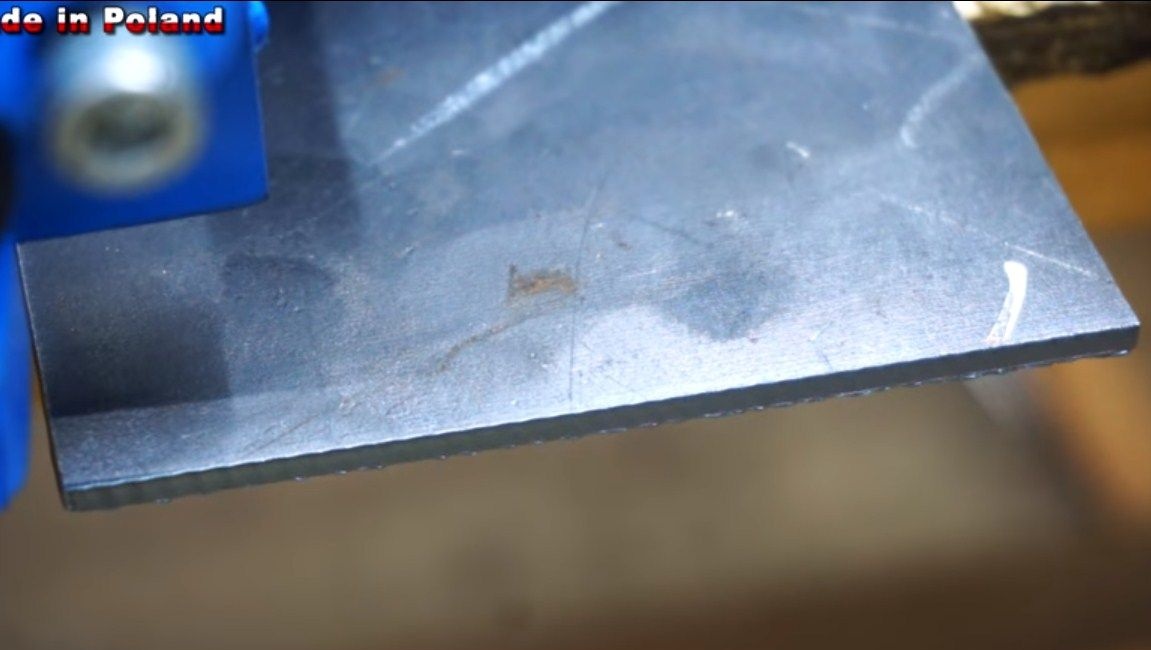
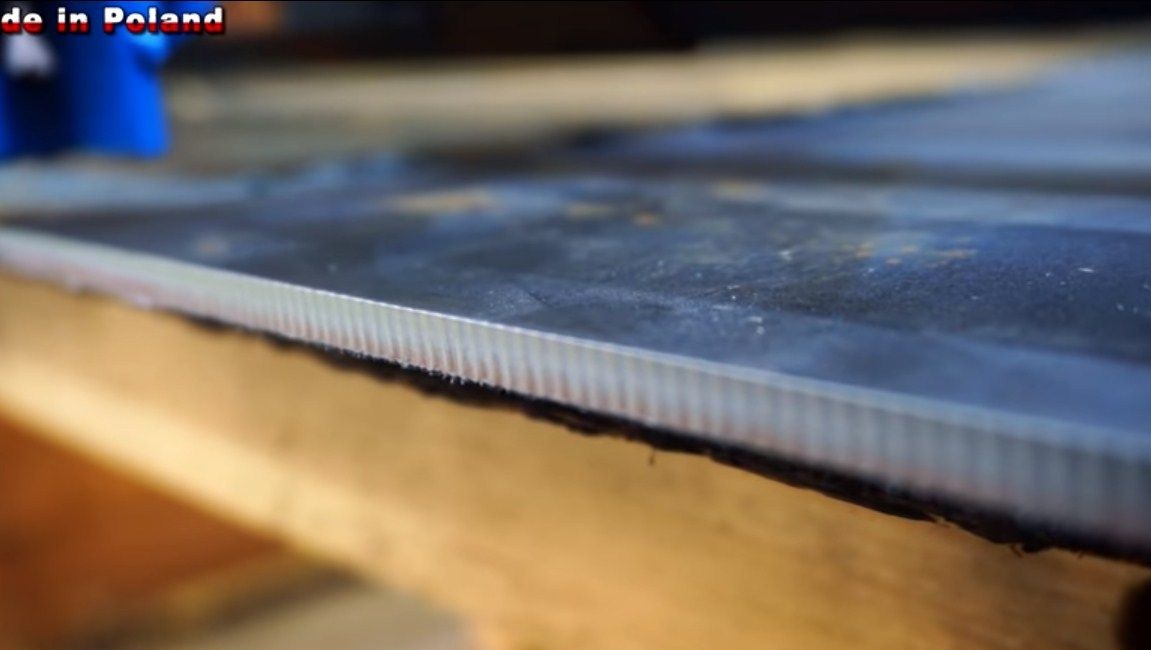
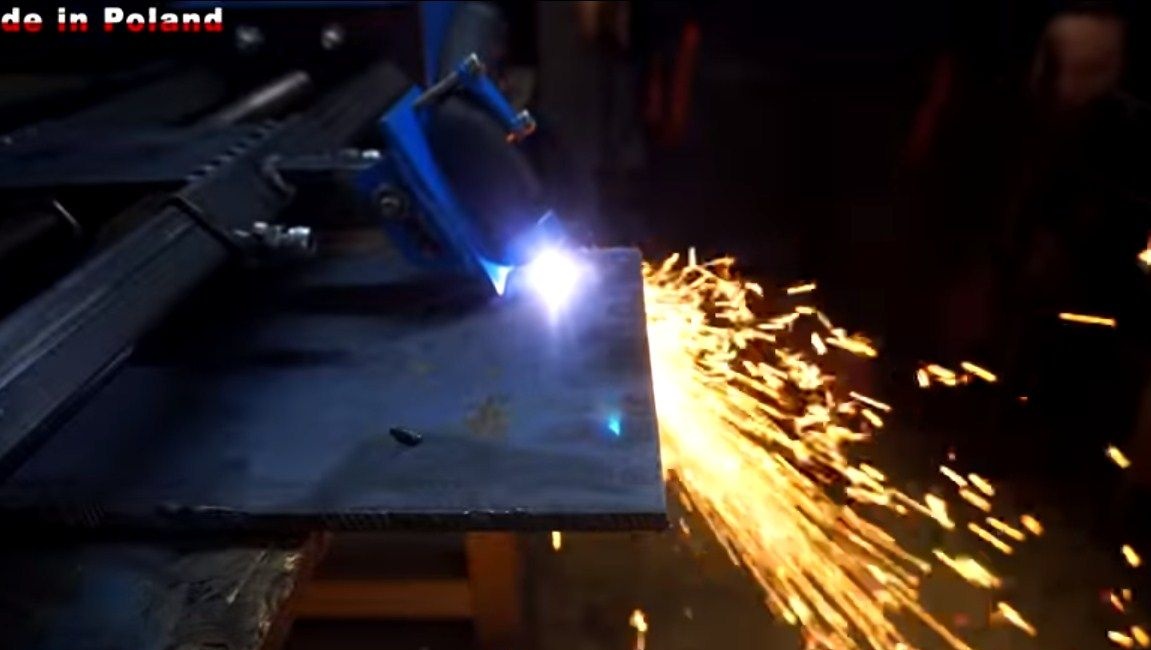
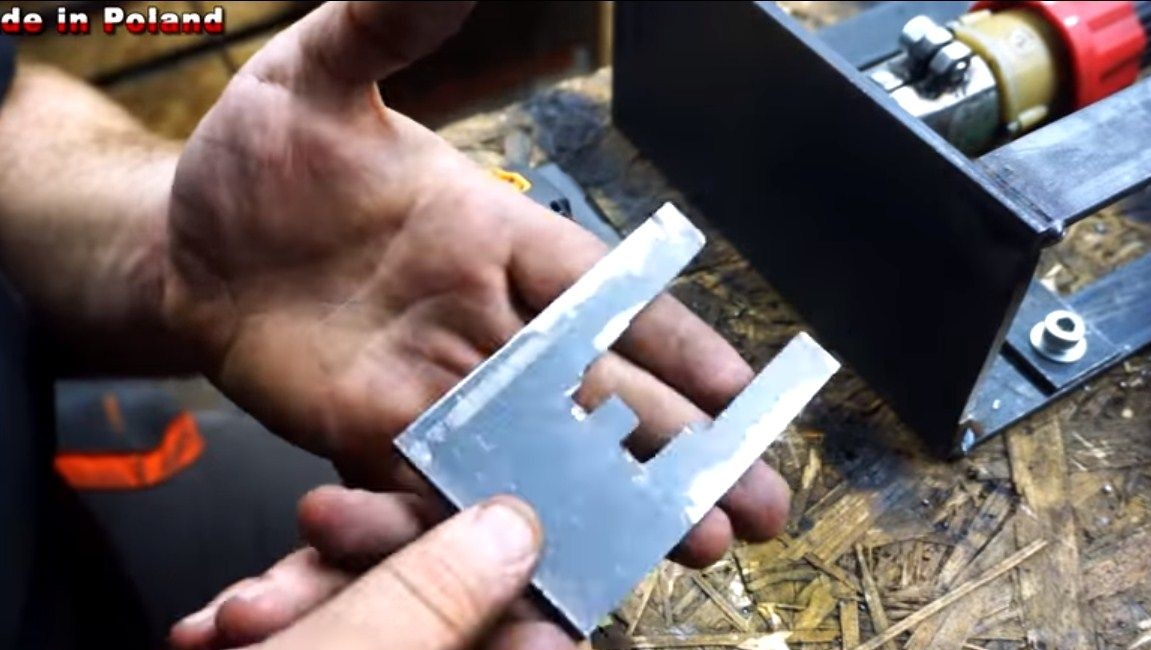
Now you can start the test. Fasten the torch handle and start cutting. Empirically determine the desired cutting speed. The result is very smooth, high-quality, and most importantly - everything is done simply.
The author can install the cutter at an angle on the machine. The result is a cut at an angle. Such parts are then very convenient to weld, since a groove is formed specifically under the weld. That's all, the homemade product is ready, I hope you liked it. Good luck and creative inspiration, if you want to repeat it!