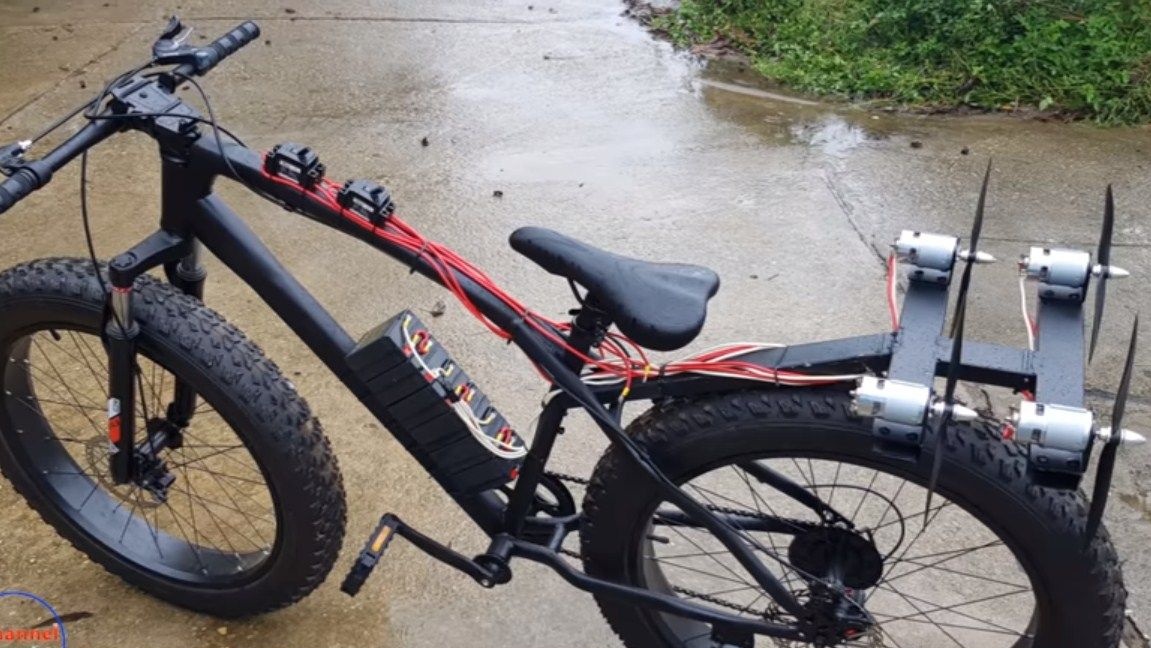
I welcome all fans to craft unusual things. In this manual, we will look at how fairly simple do it yourself can do bike airborne. The author showed through experiment that this is entirely possible.
This whole thing works from batteries, and four are used as a power unit, each of which is powered by 12V voltage. Of course, the efficiency of this design is not very high, so this power may not be enough if you ride a bicycle under a large hill or through mud. But this is not a problem, because the design of the bike does not change and you can always help it with pedals. As for the direct road, the bike rides quite confidently. On such vehicles in the city it is convenient to get to work. So, we will consider in more detail how to assemble such a bicycle.
Materials and tools used by the author:
Material List:
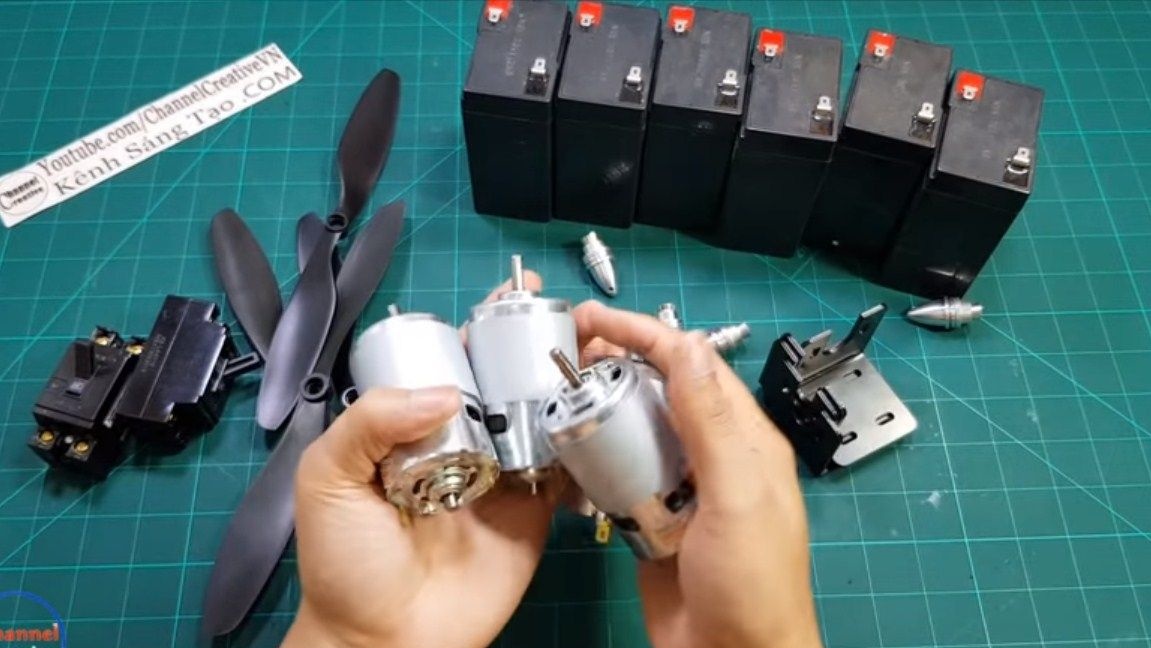
- four ;
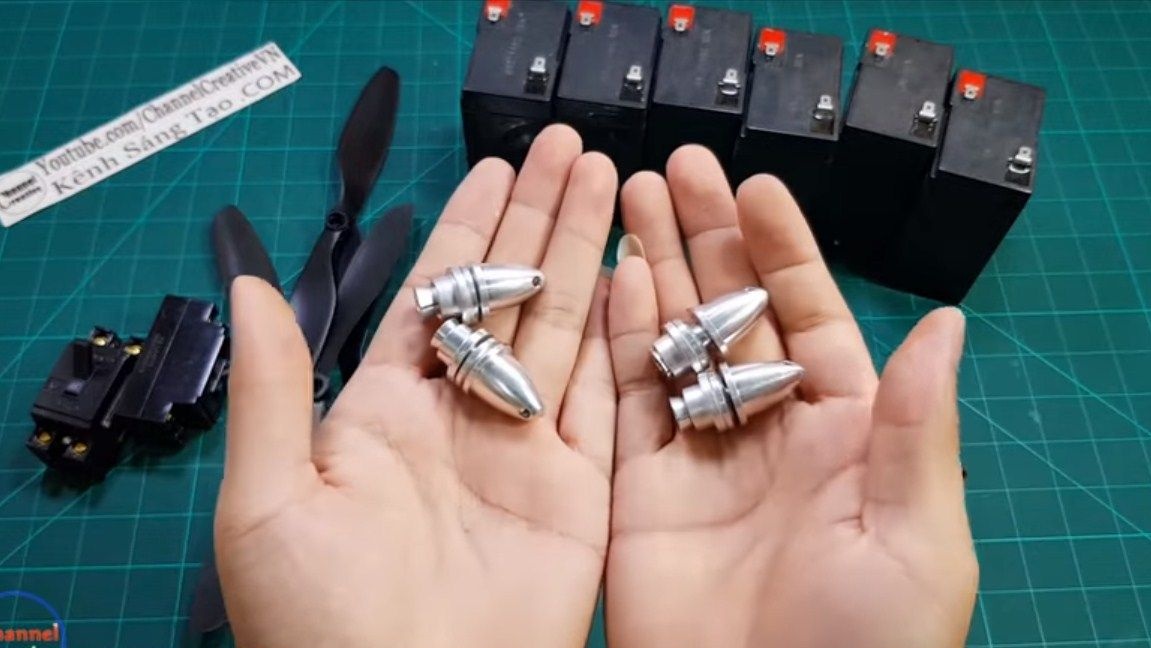
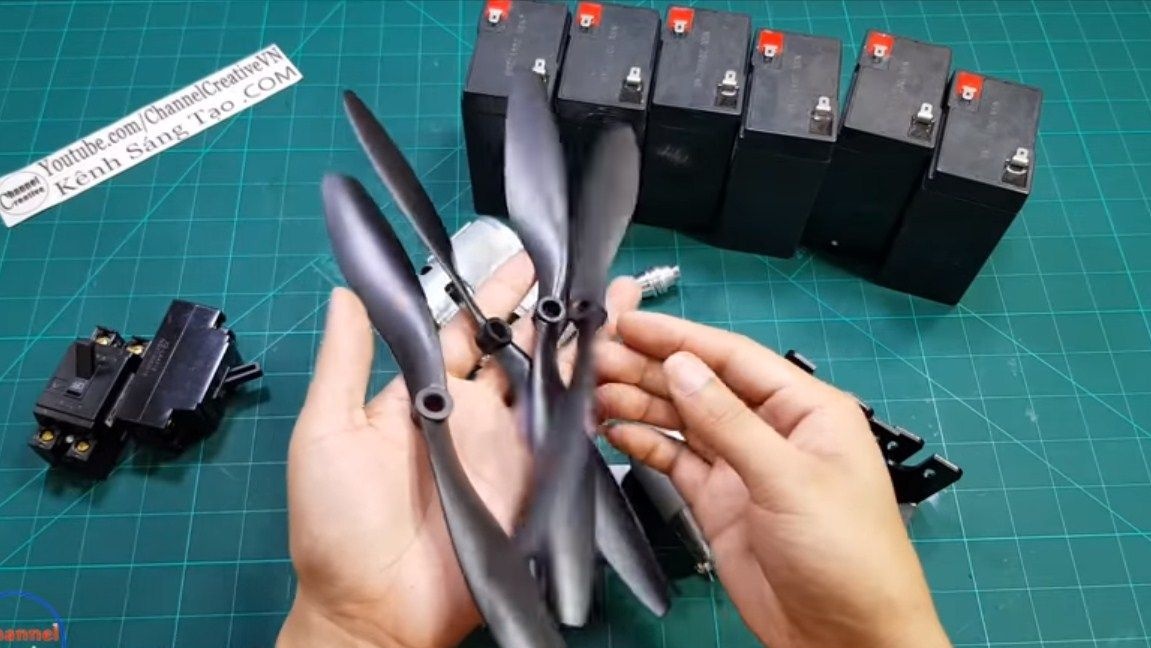
- propellers;
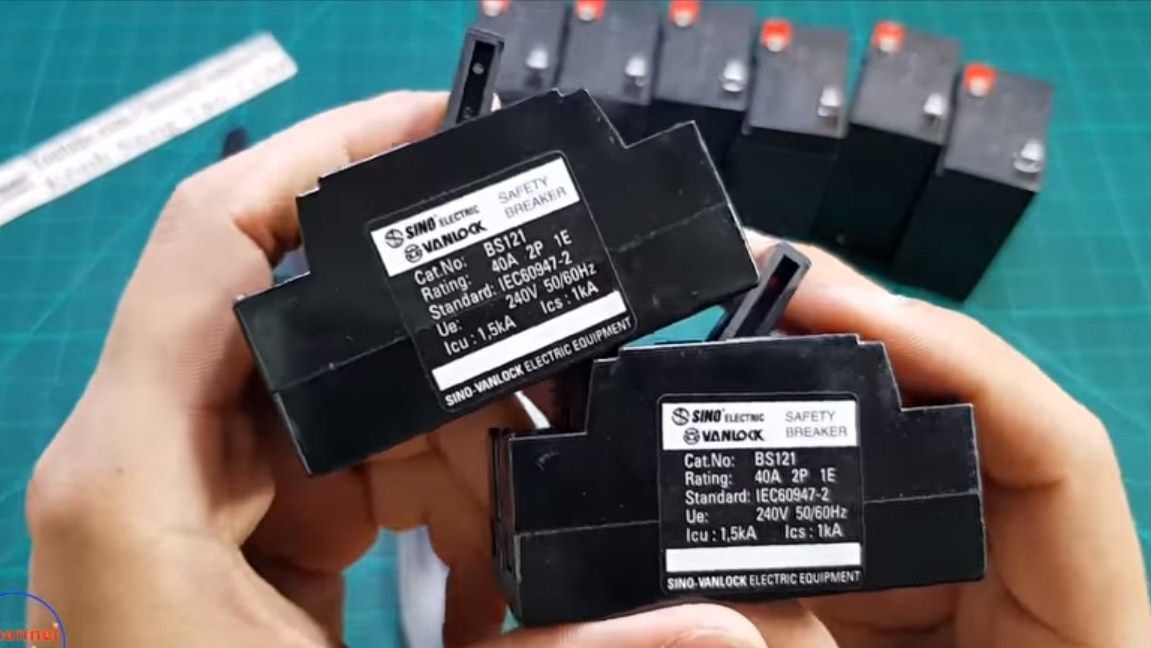
- two switches;
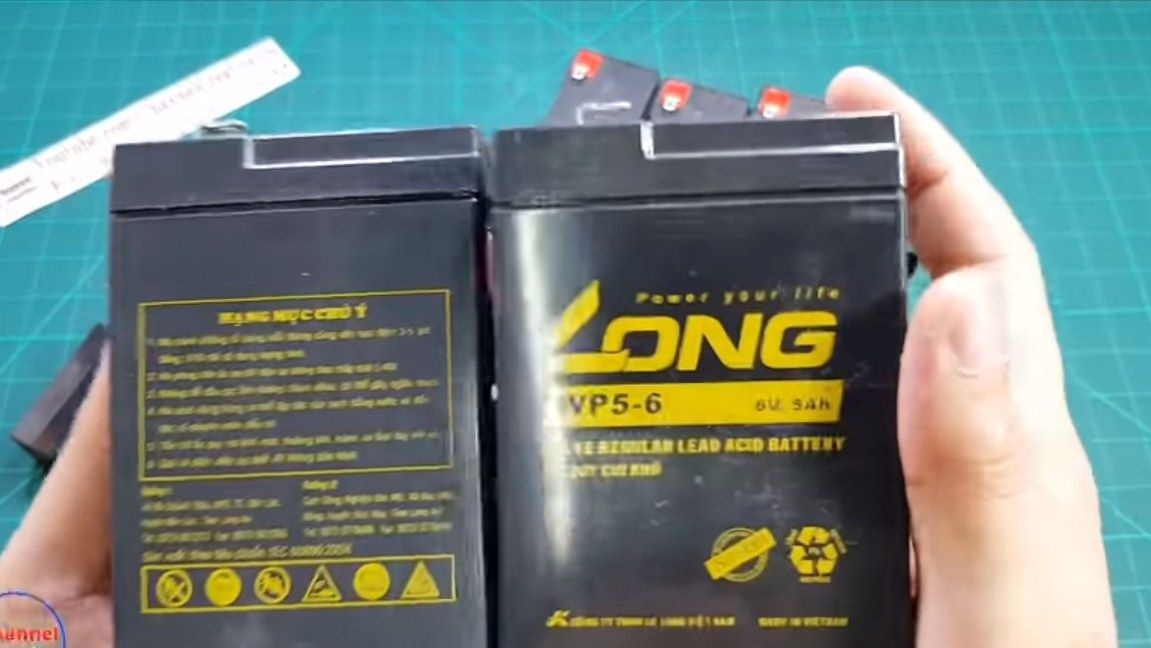
- 6 batteries of 6V each;
- wires;
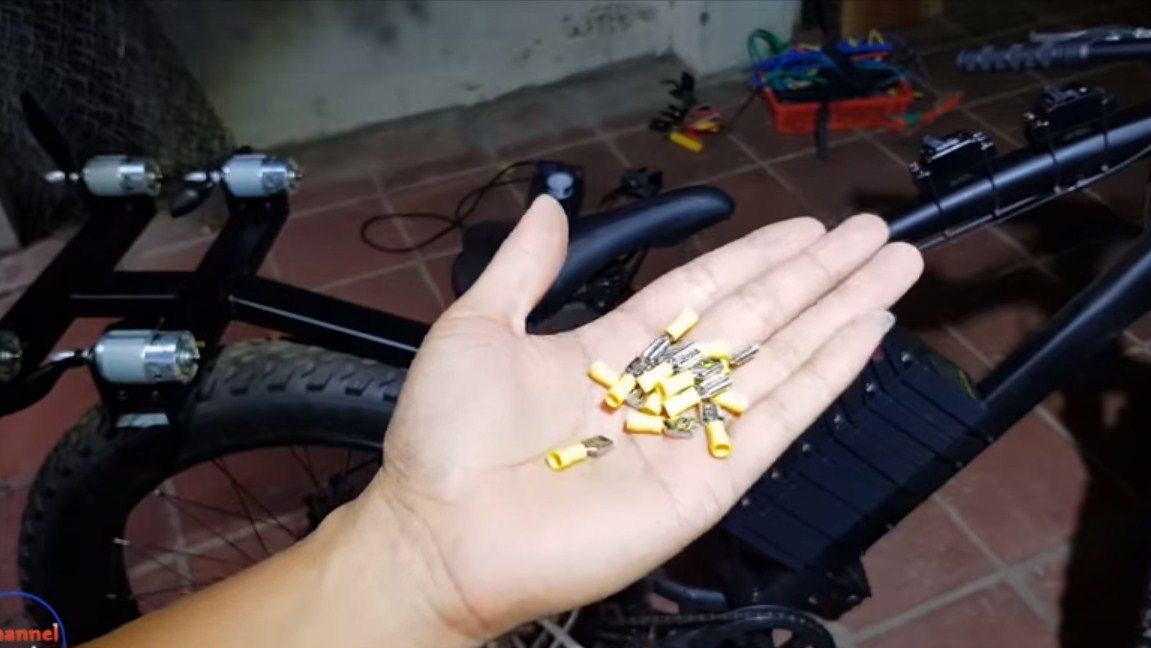
- terminals;
- electrical tape;
- double-sided adhesive tape;
- plastic ties;
- square steel pipes;
- self-tapping screws;
- ;
- paint.


Tool List:
- soldering iron;
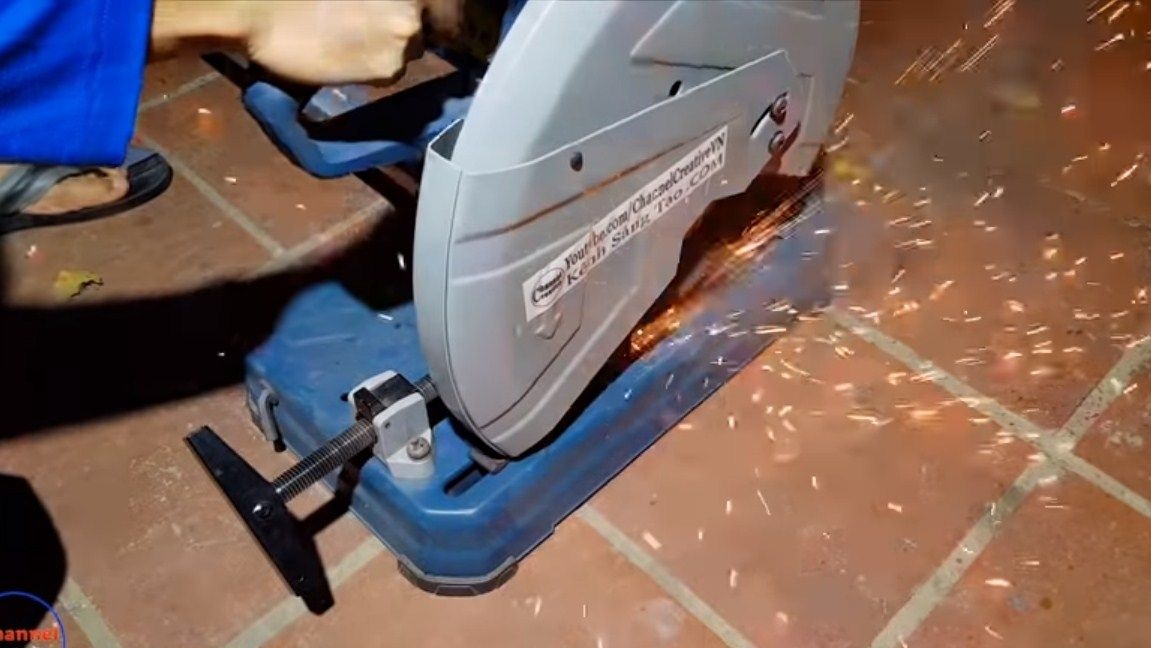
- Bulgarian or pendulum saw;
- welding machine;
- a screwdriver.
Manufacturing process homemade:
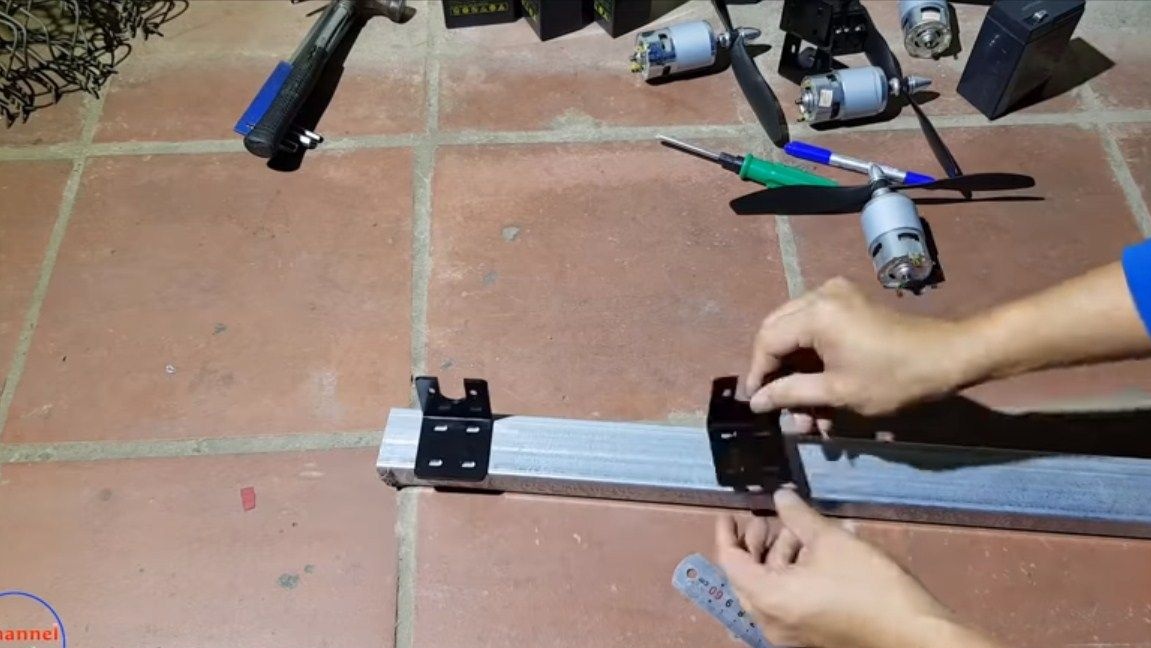
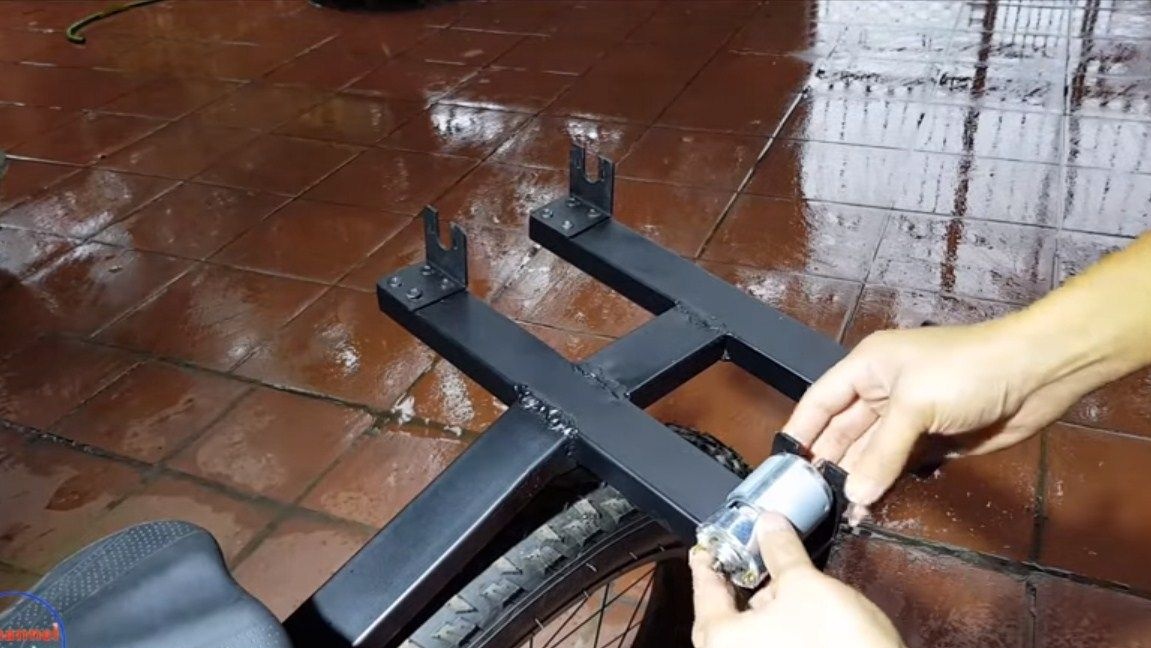
Step one. Let's start making the frame
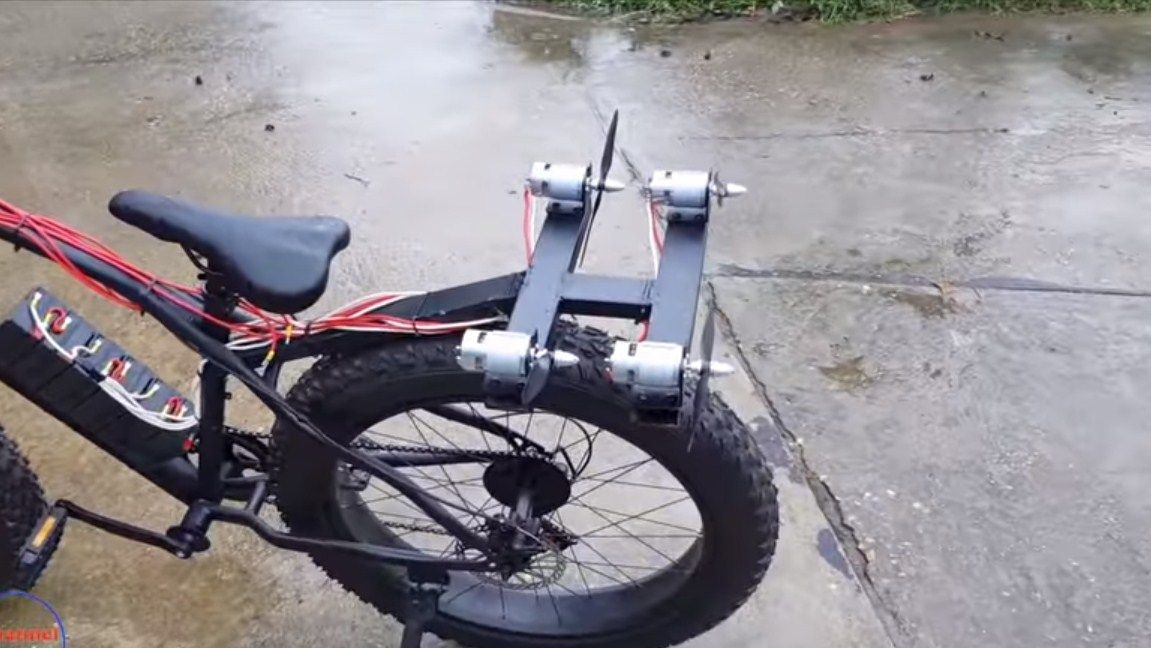
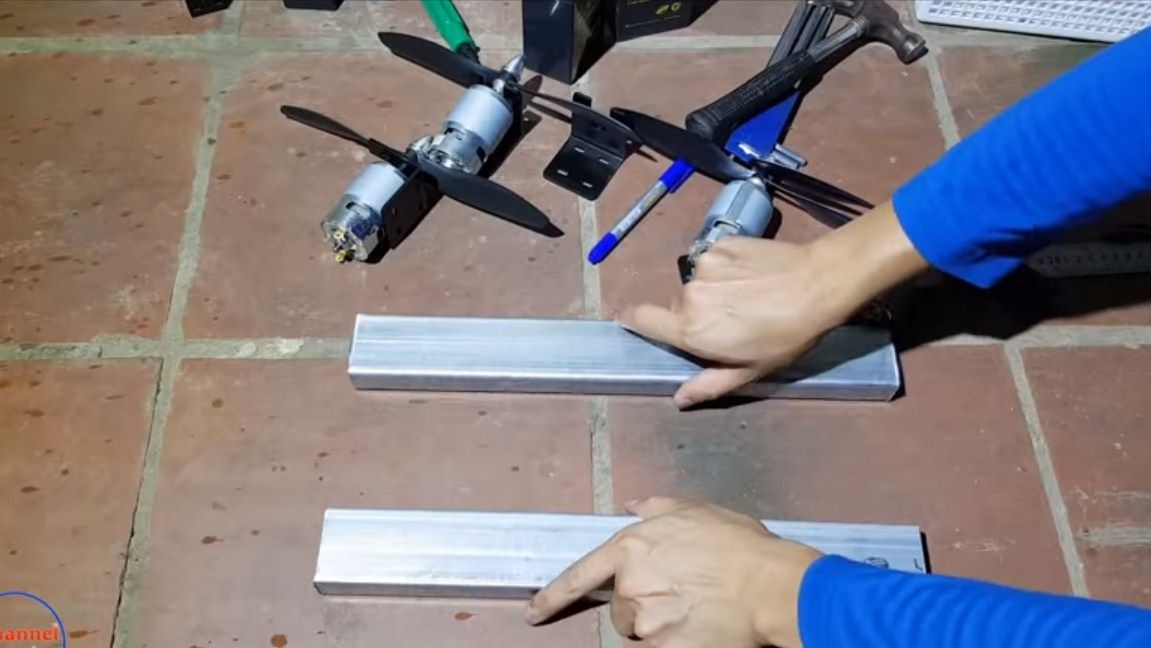
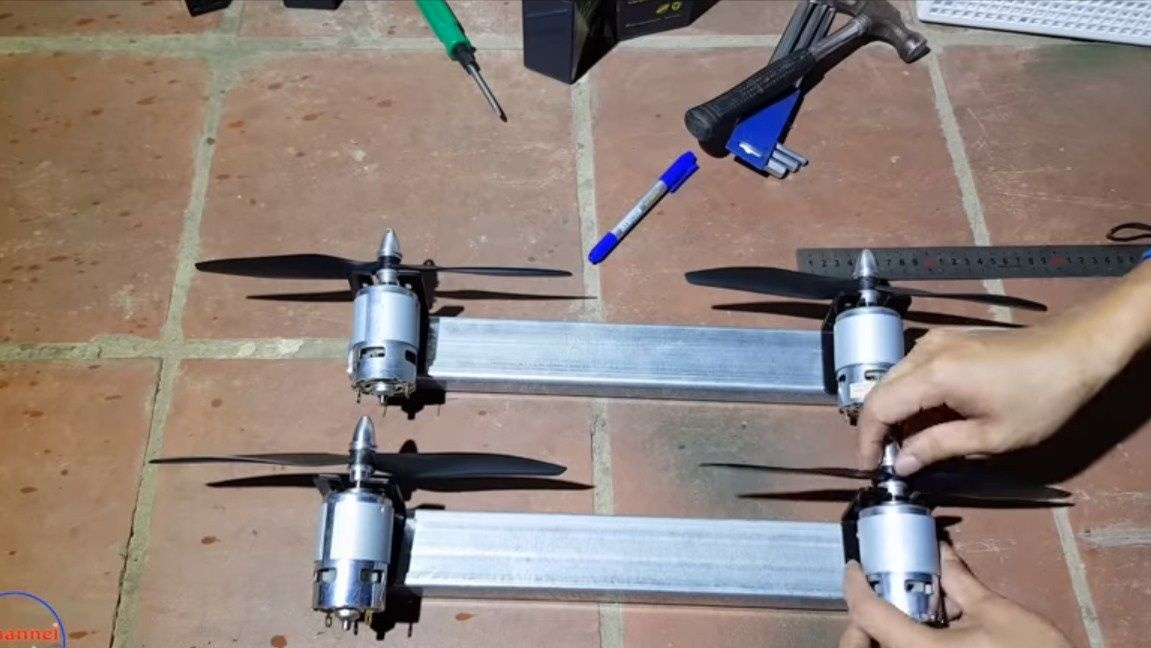
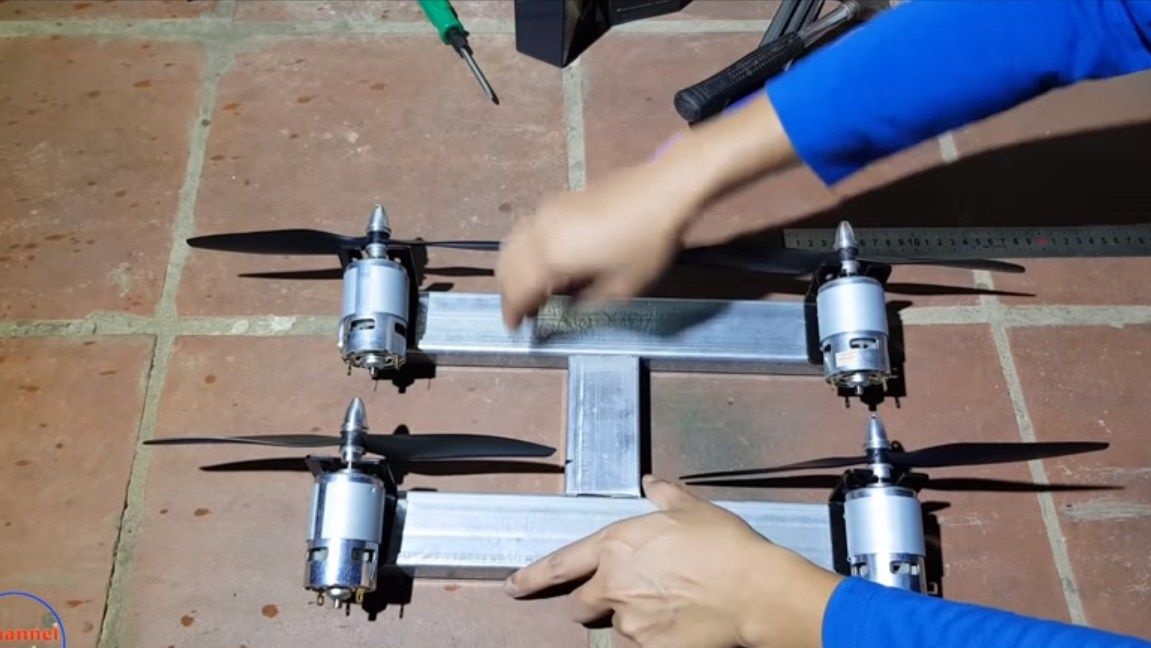
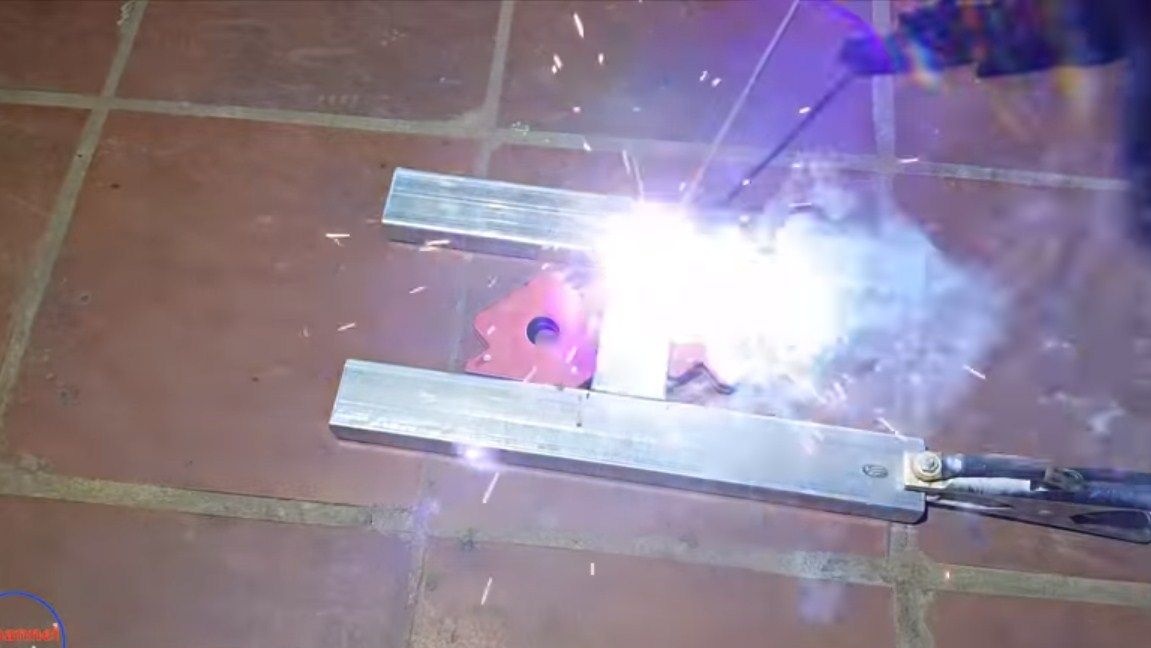
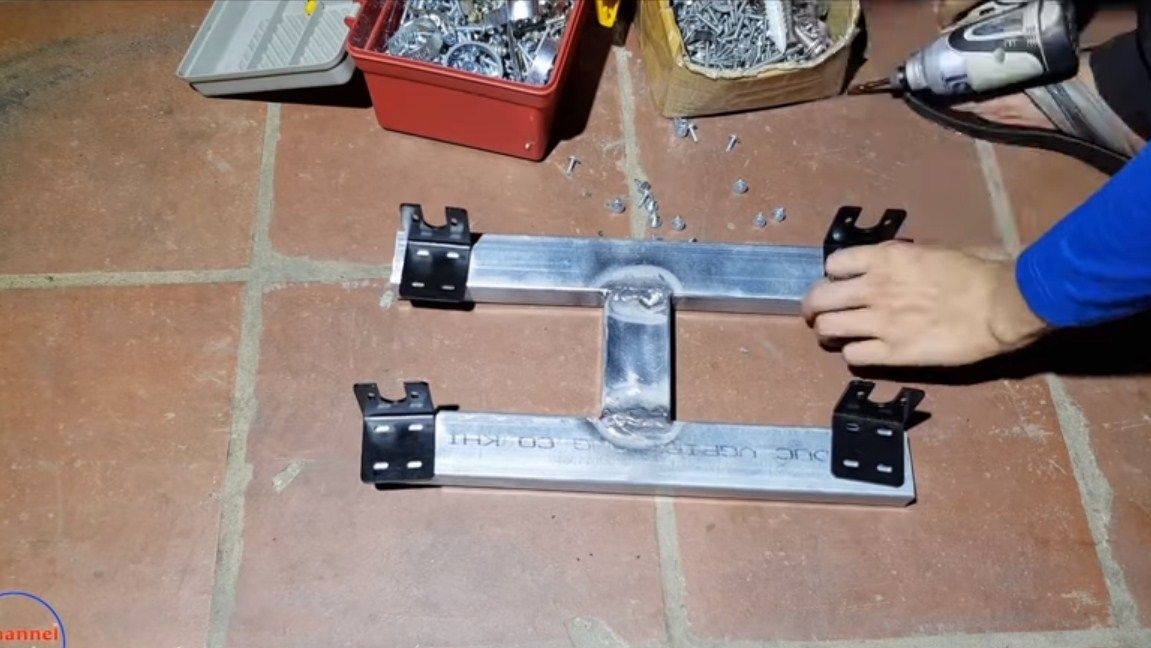
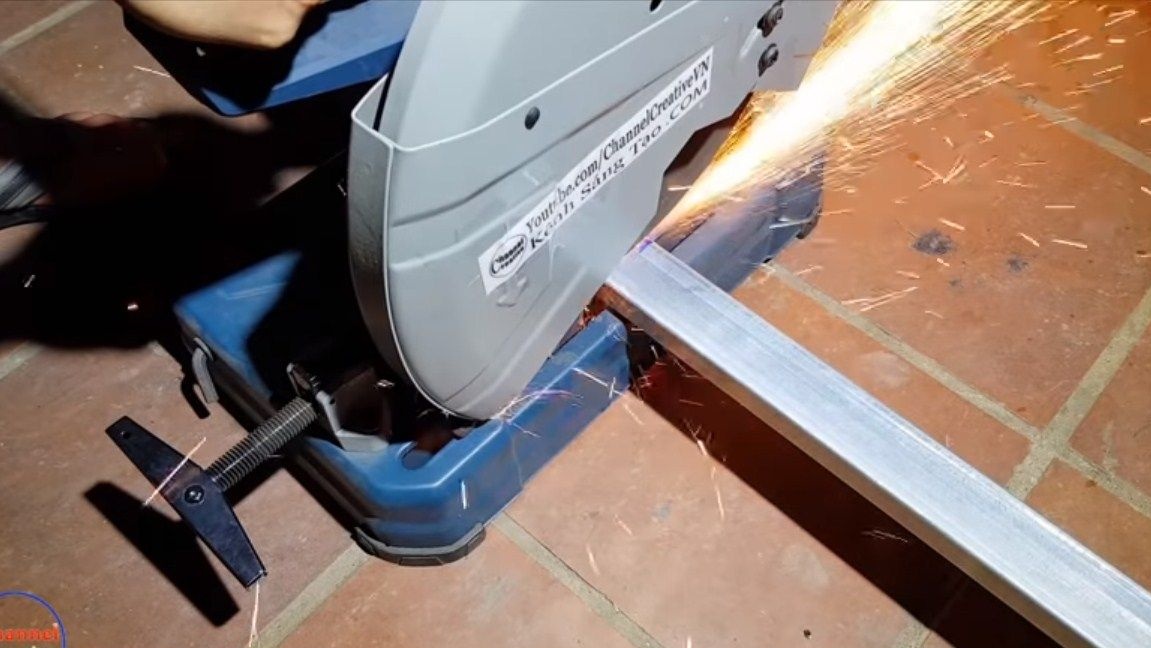
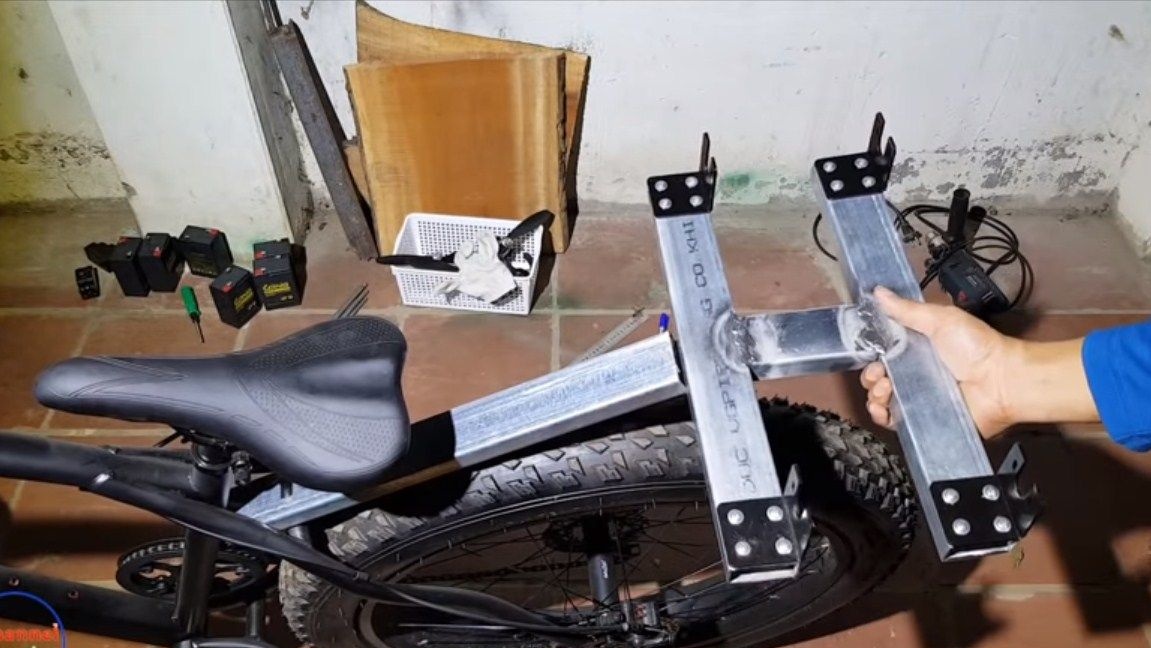
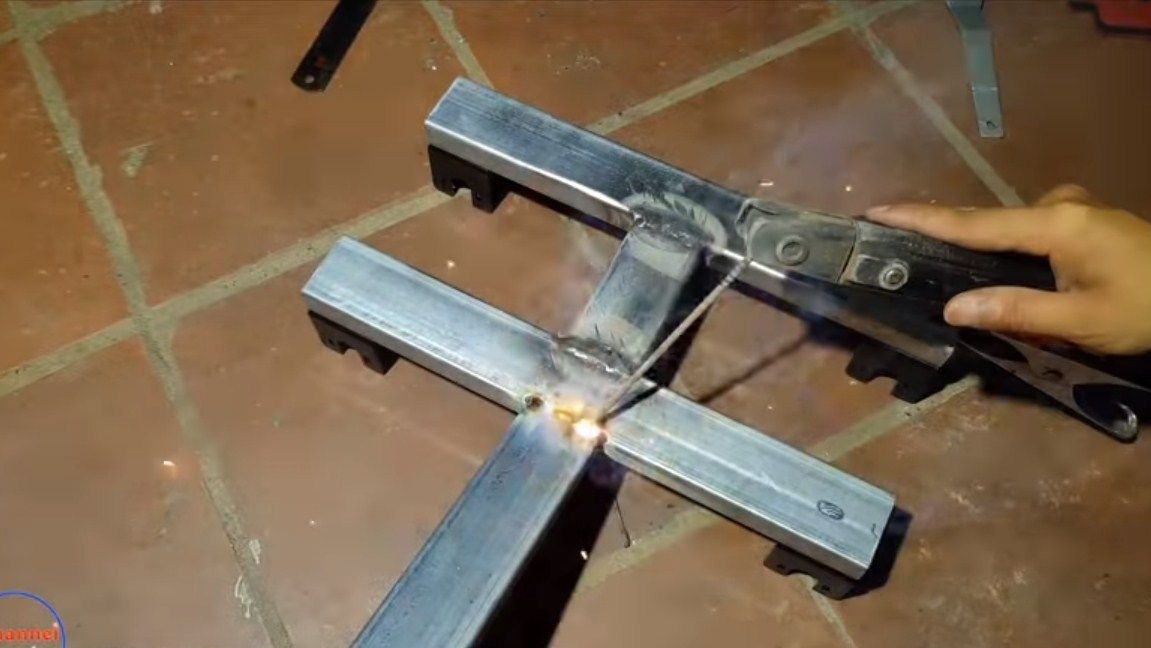
First, we have to make a frame on which we will mount the engines. It should not be particularly strong, since the loads here are small. Square aluminum pipes are suitable, but the author used steel, since they can be simply and quickly connected by welding. To start, mark and cut two pieces. Engines will be installed at the end of these segments, the length must be such that the screws can rotate freely. Next, we need to connect these two pieces, for this purpose another small piece of pipe is used. Well, then just weld the whole structure. We clean the welds with a grinder so that everything looks beautiful.
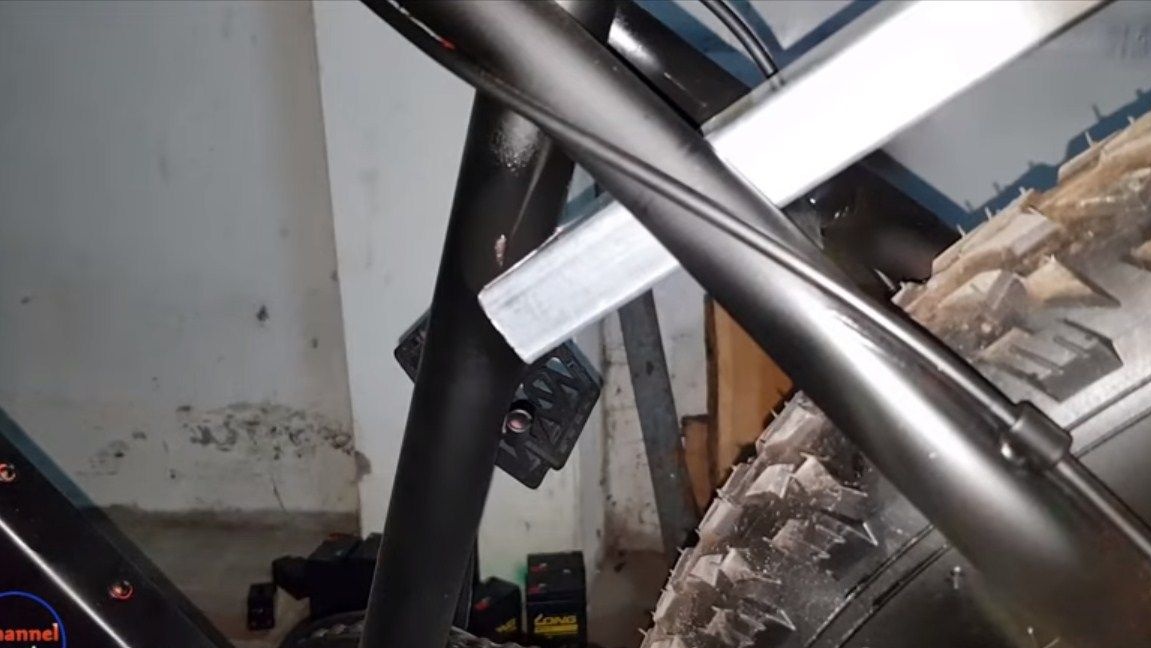
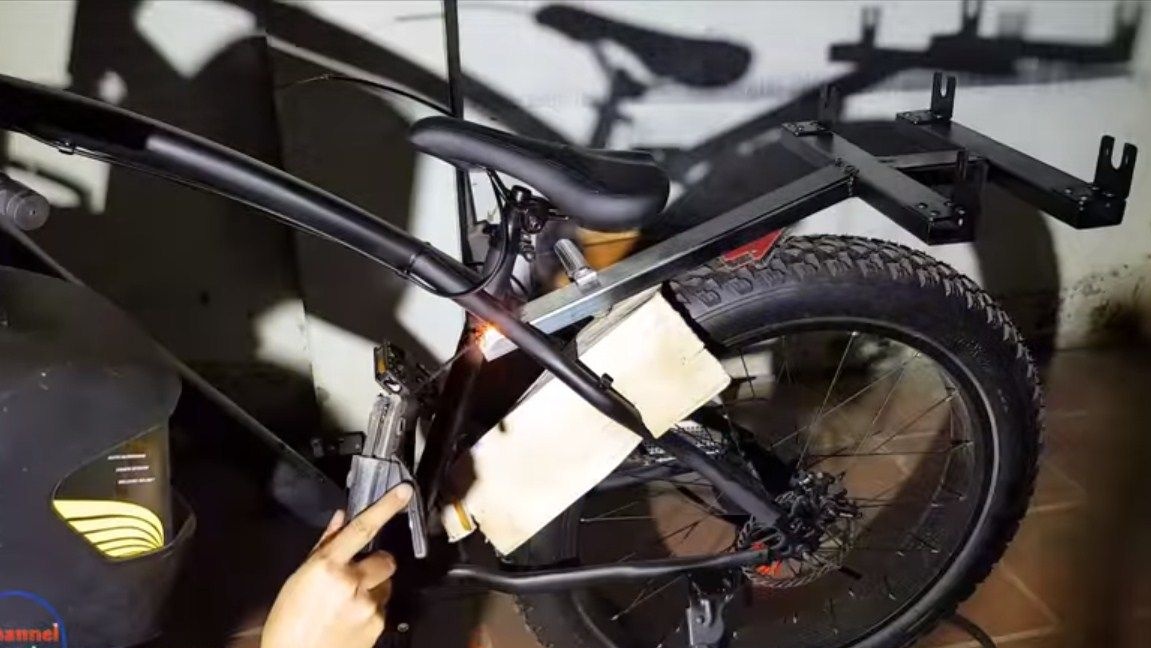
Step Two Fasten the frame to the bike
To attach the frame to the bike, we need another piece of square pipe. Mark the desired piece and cut it off. Further, at the end of the pipe, the author cuts a recess. The bottom line is that with this recess the pipe will dock with the pipe of the bicycle frame. In this case, the parts can be welded well. We determine the desired angle and weld the cut part to the frame. Well, then the whole structure is carefully welded to the bicycle frame.
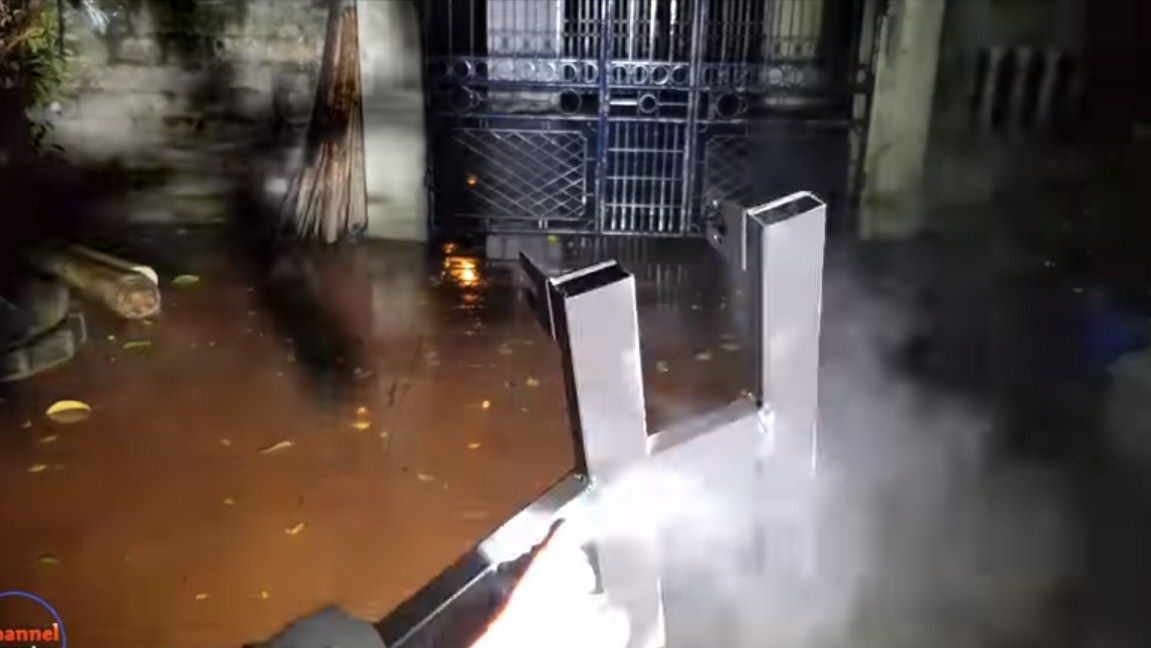
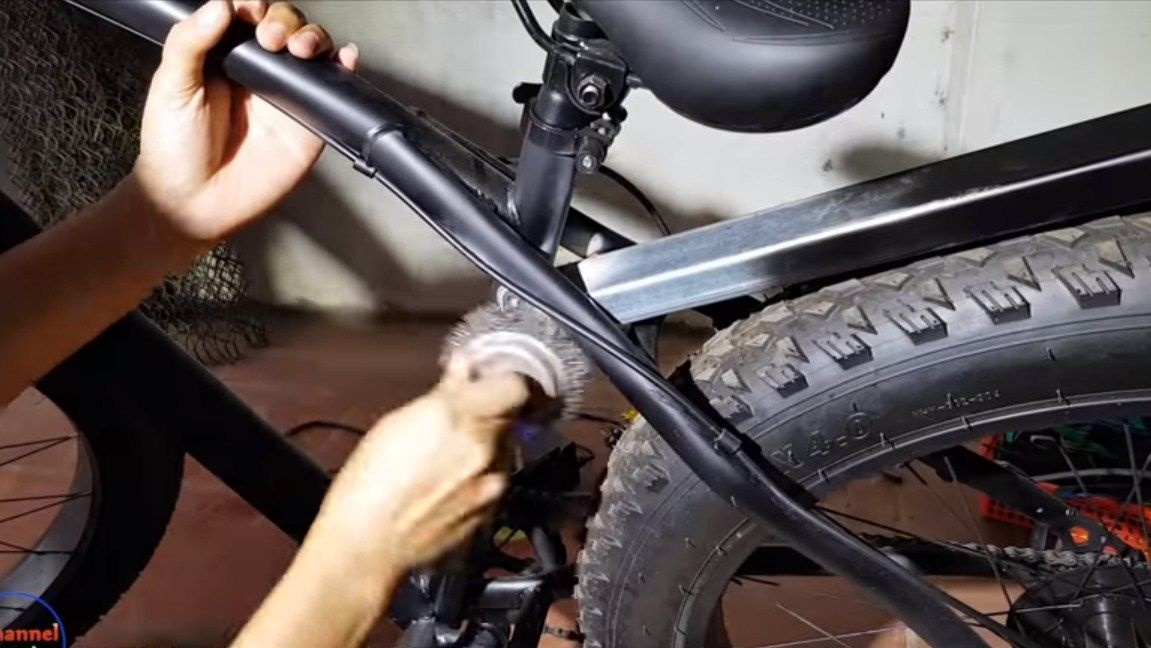
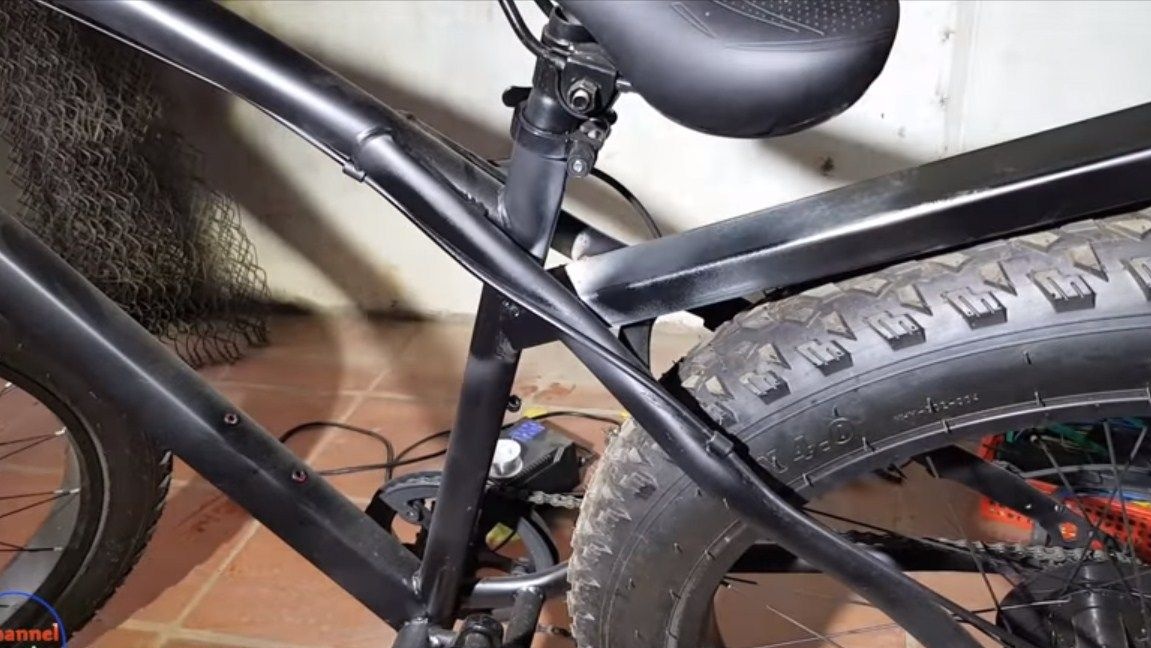
We clean the welds, and paint all the parts so that the steel does not rust and the product looks good.
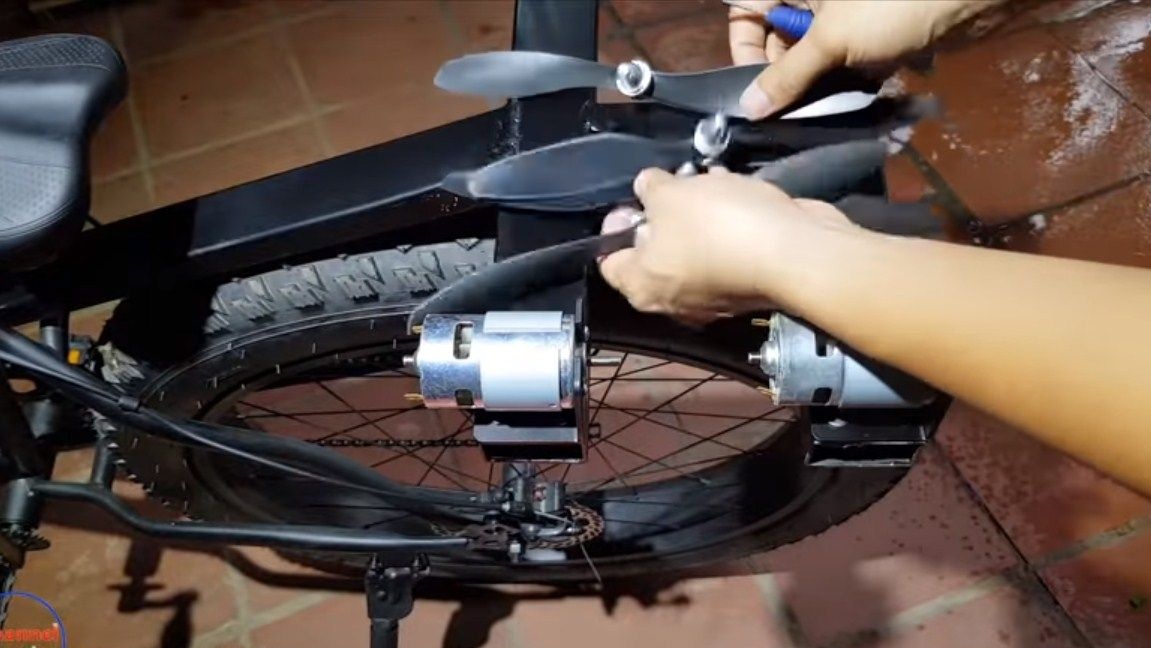
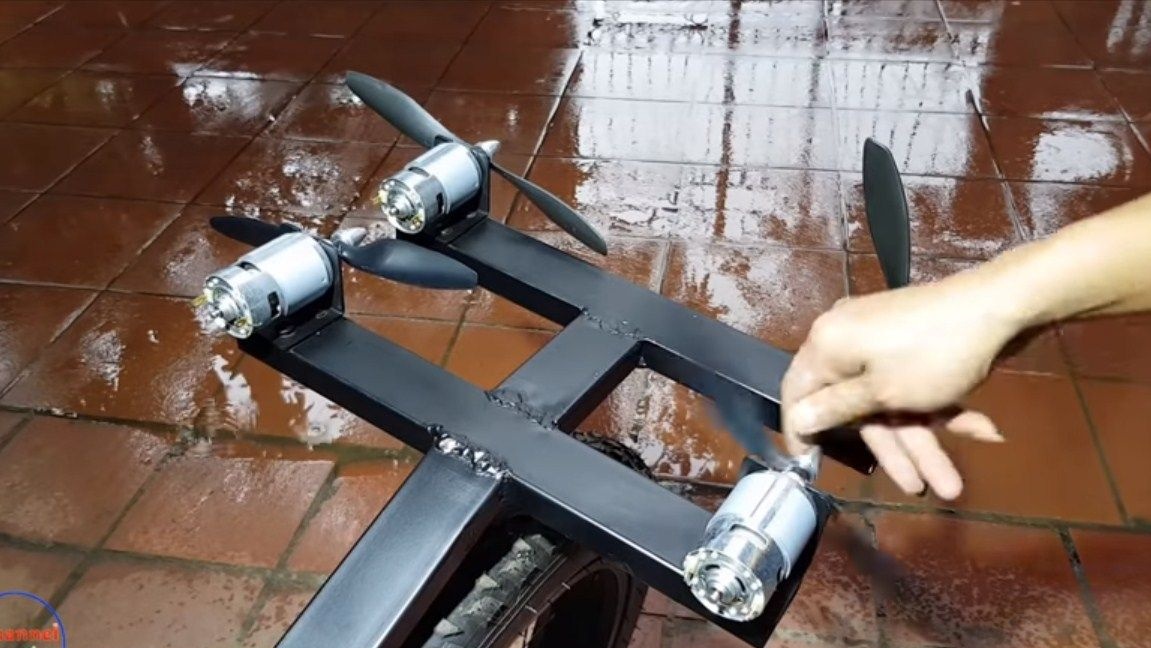
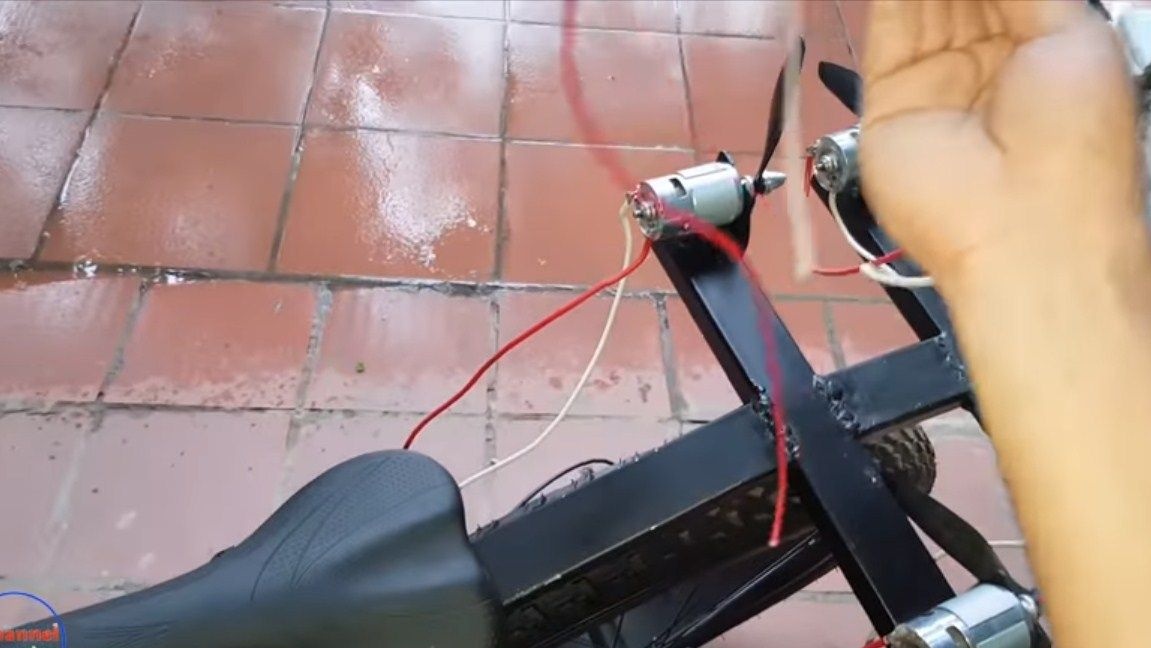
Step Three Install the motors
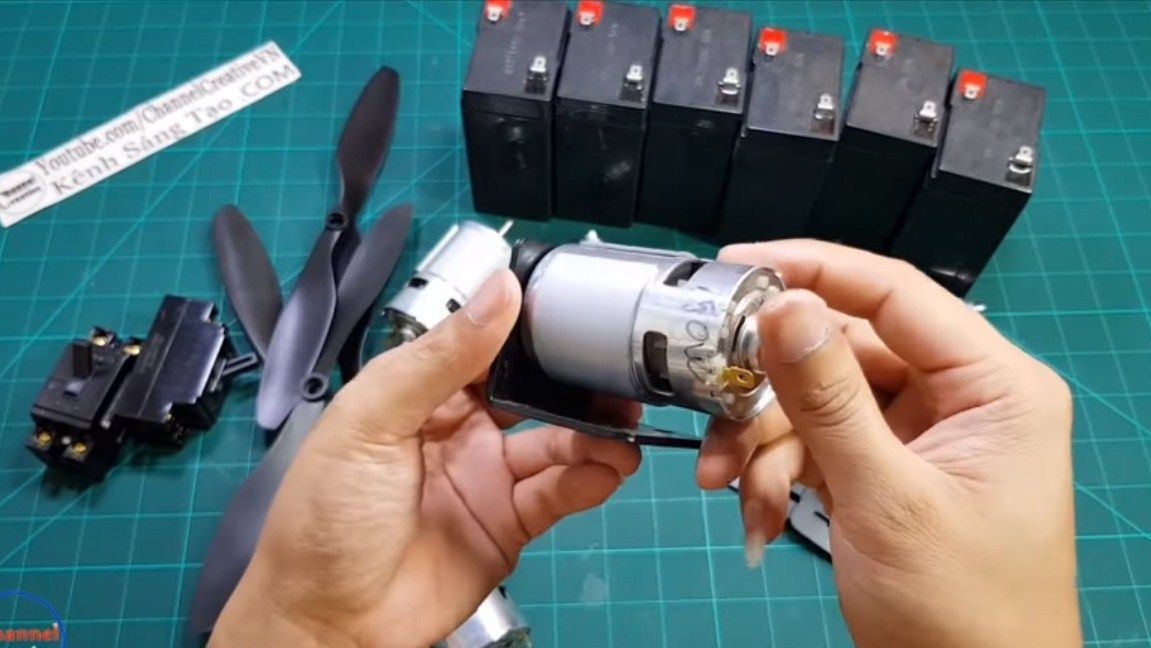
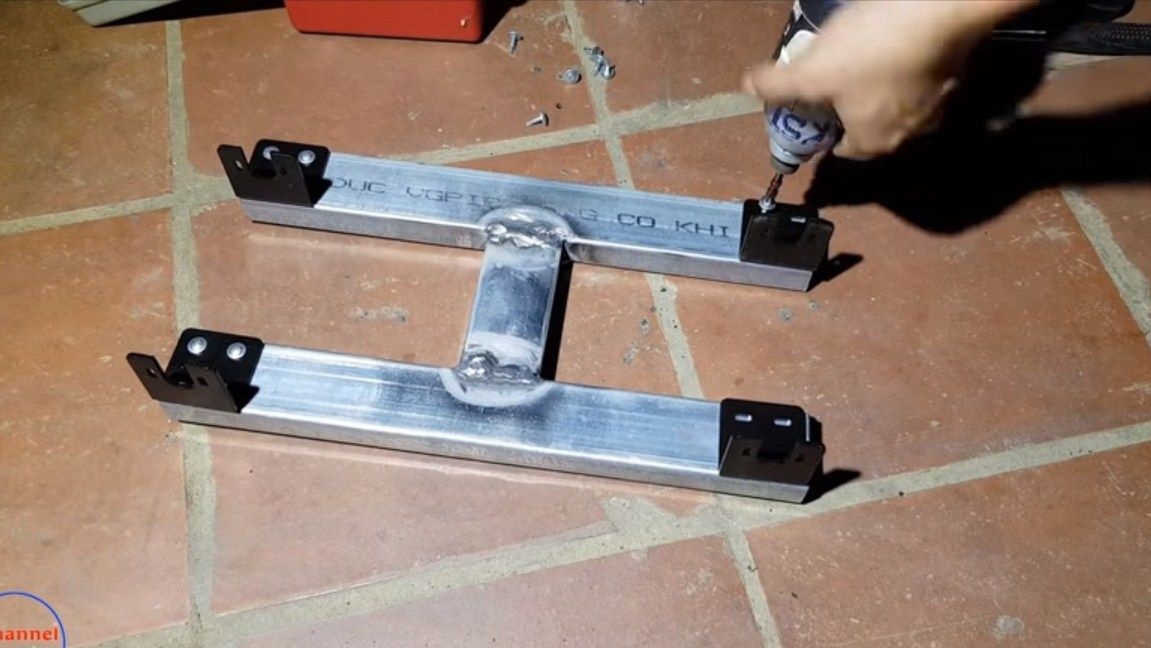
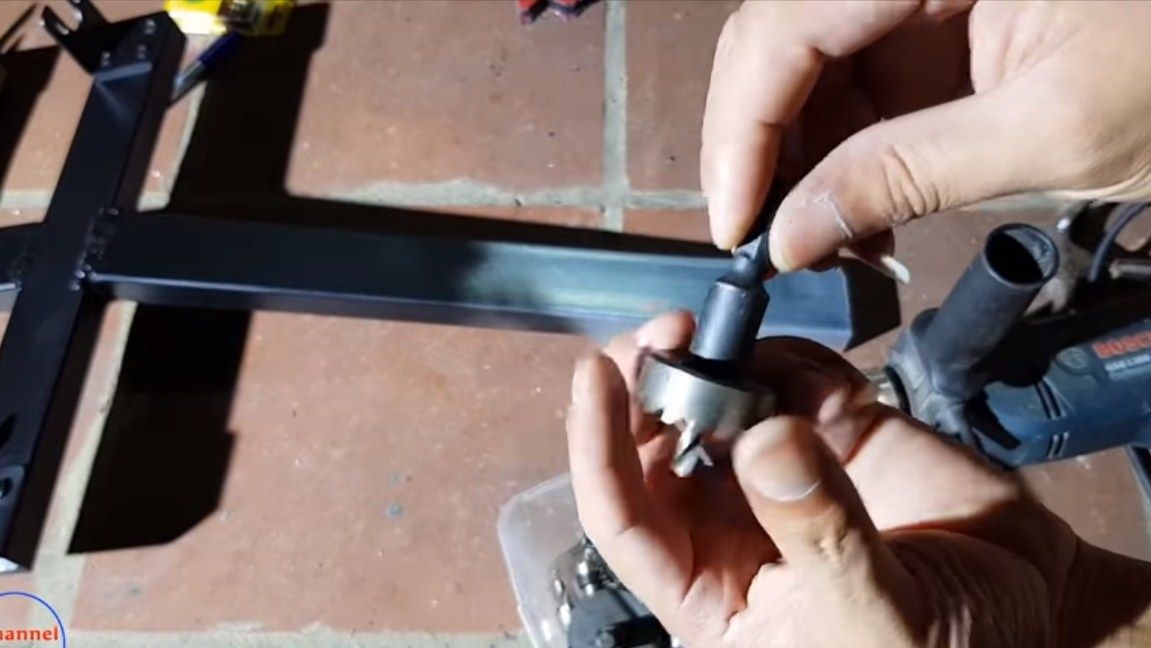
To install engines, it is most convenient to buy special brackets for them. Just fasten them to the frame using self-tapping screws and a screwdriver. Next, you will have to fix the motors themselves. We do this with cogs. The screws must be tightened well or sealant can be applied to the threads so that they do not unwind due to vibration. Well, then install the propellers on the motor shafts. They will have to create increased air pressure behind the bicycle, and as a result will push the bicycle forward.
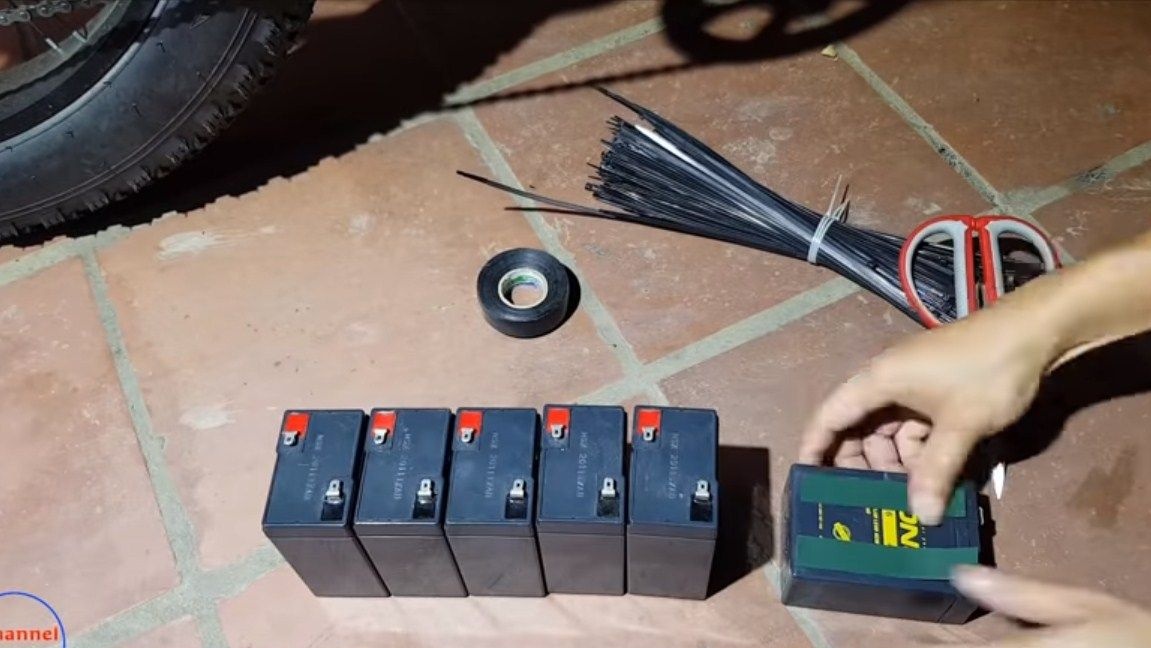
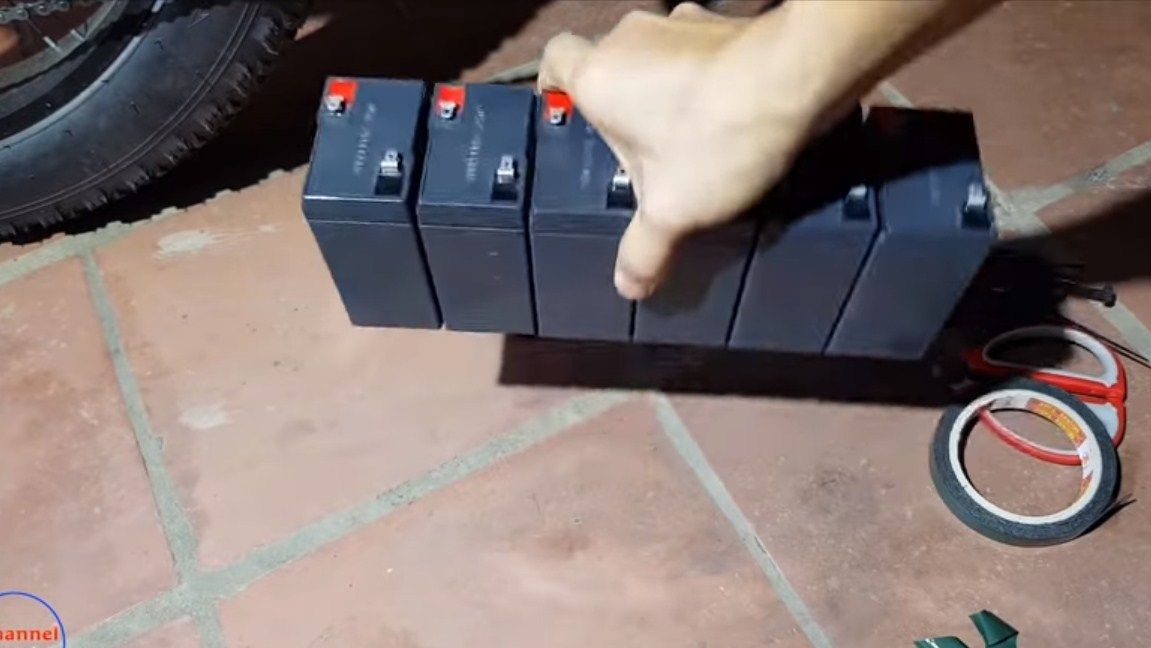
Step Four We assemble and install the battery pack
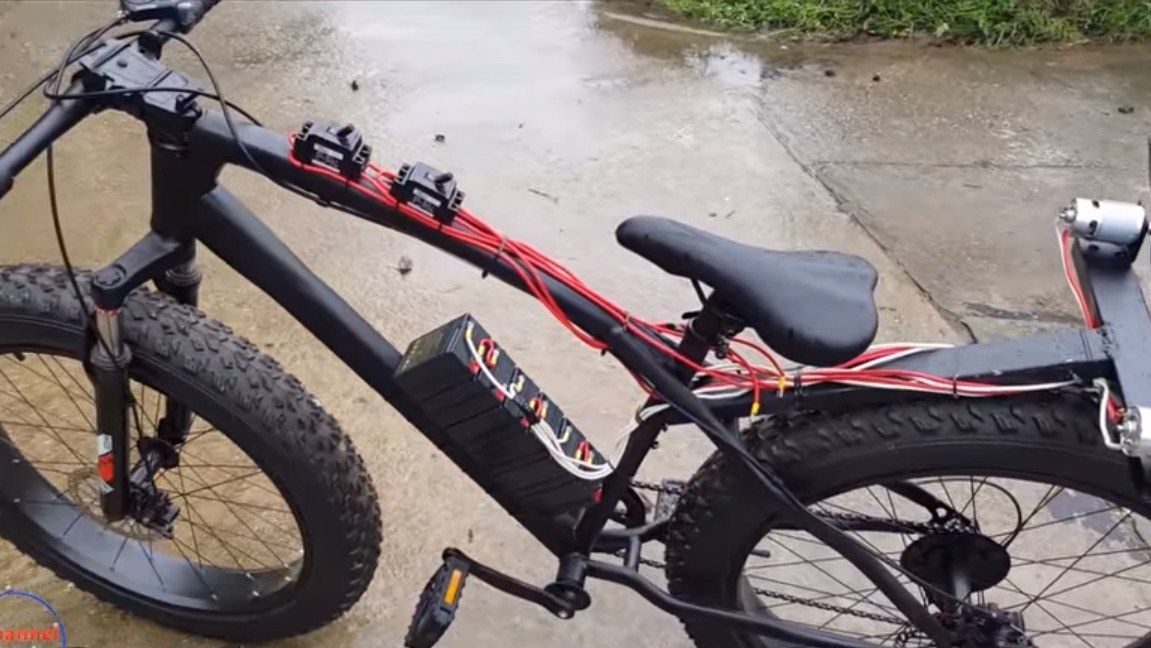
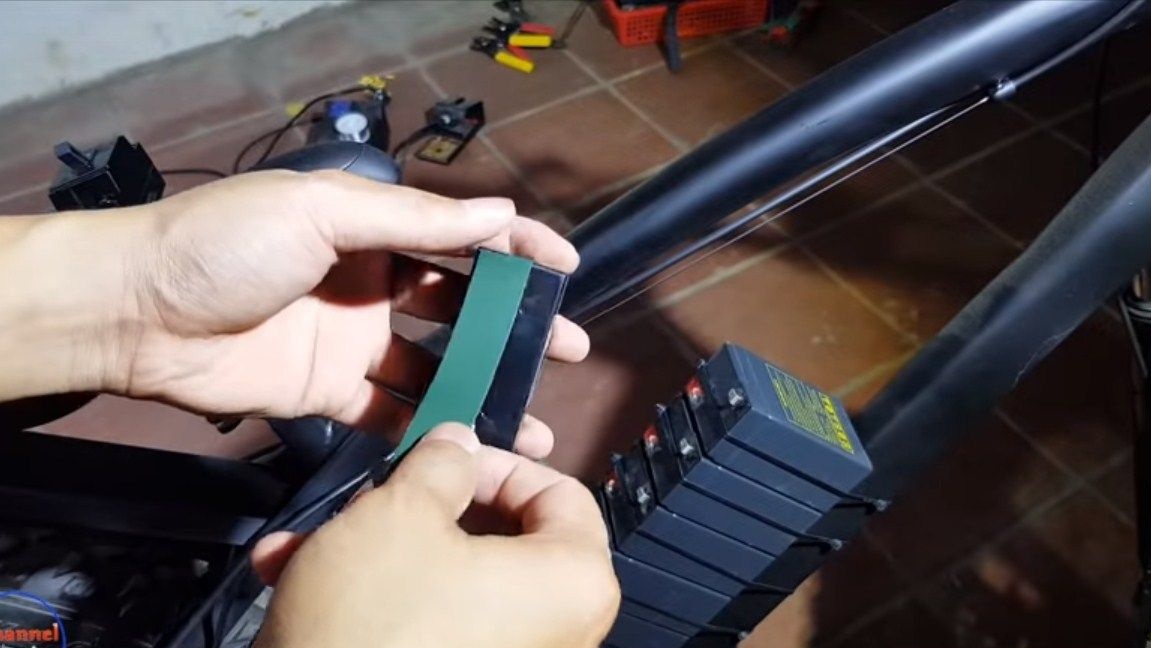
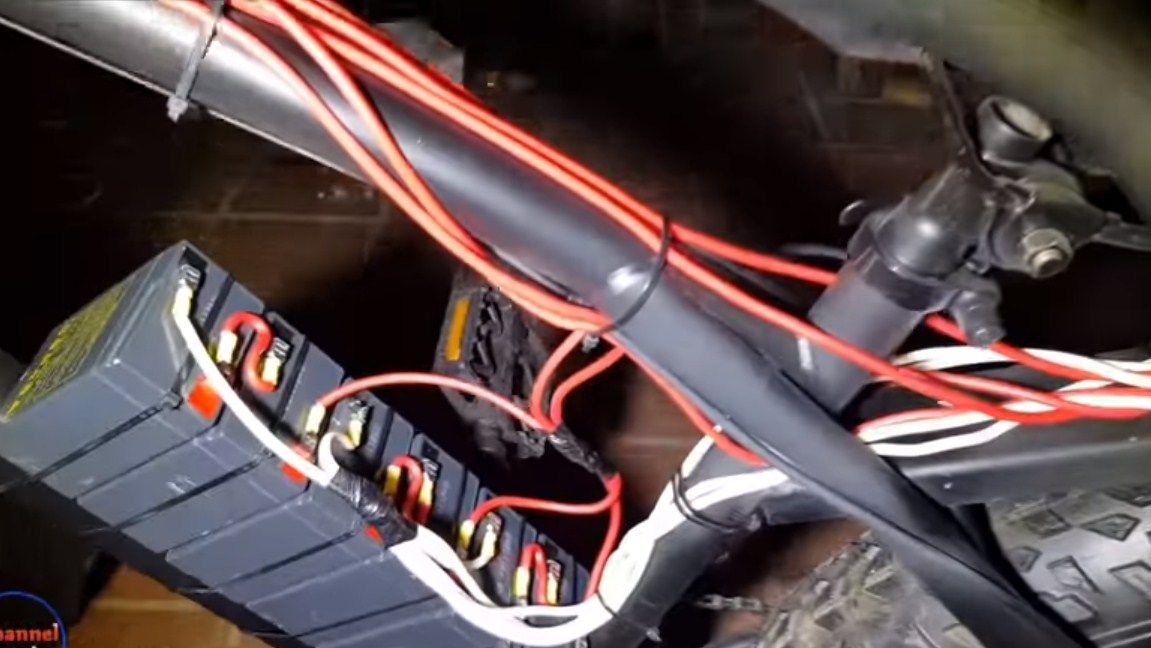
The author used 6V batteries each as a power source, and their capacity is 5Ah. There are 6 batteries in total, we glue them together to make a block. The author uses double-sided adhesive tape for these purposes. It should be nice to keep hot glue as well.
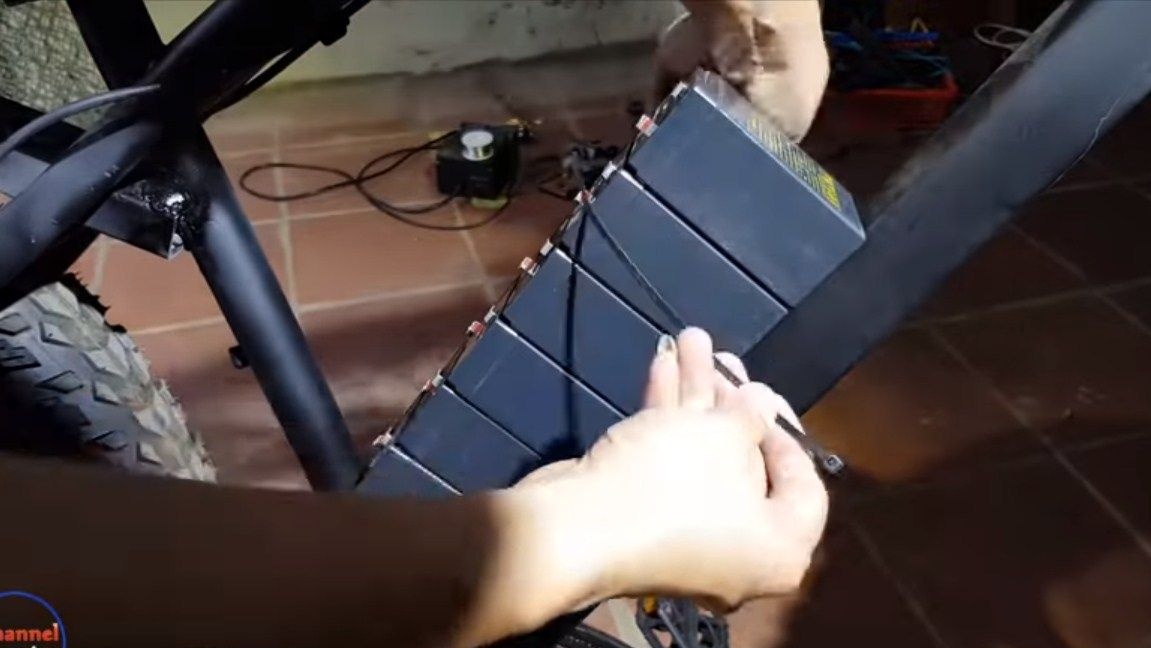
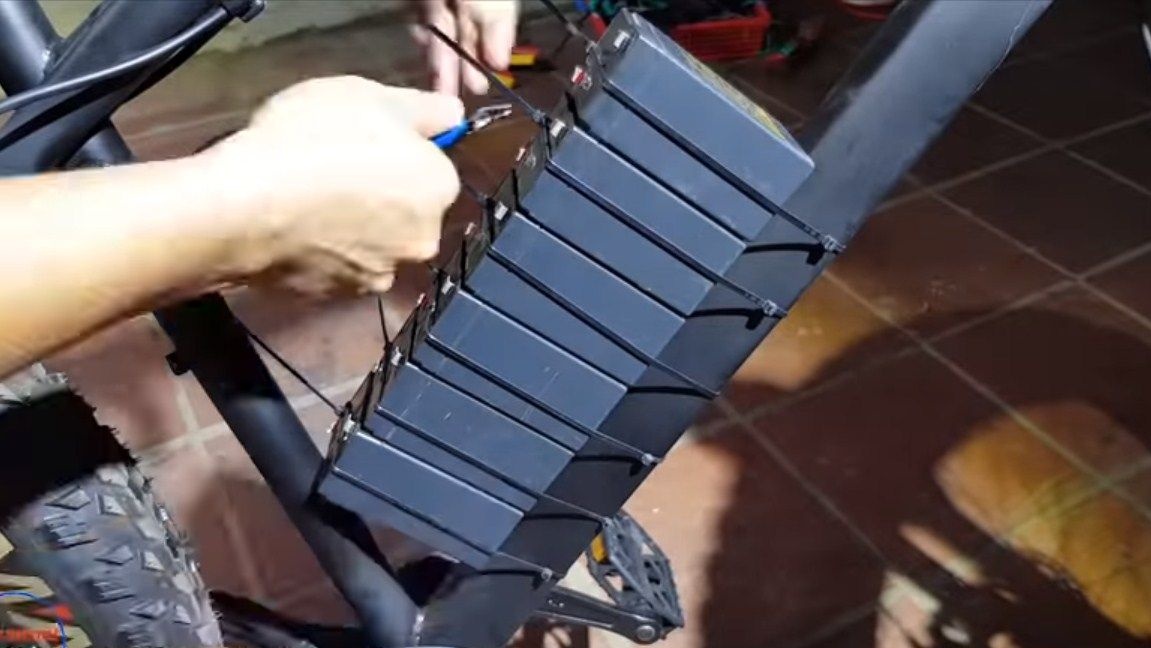
Next, install this unit on the frame. Glue the adhesive tape to the bottom of the batteries, and fix the batteries themselves with plastic ties. Such a fastener will be quite enough.
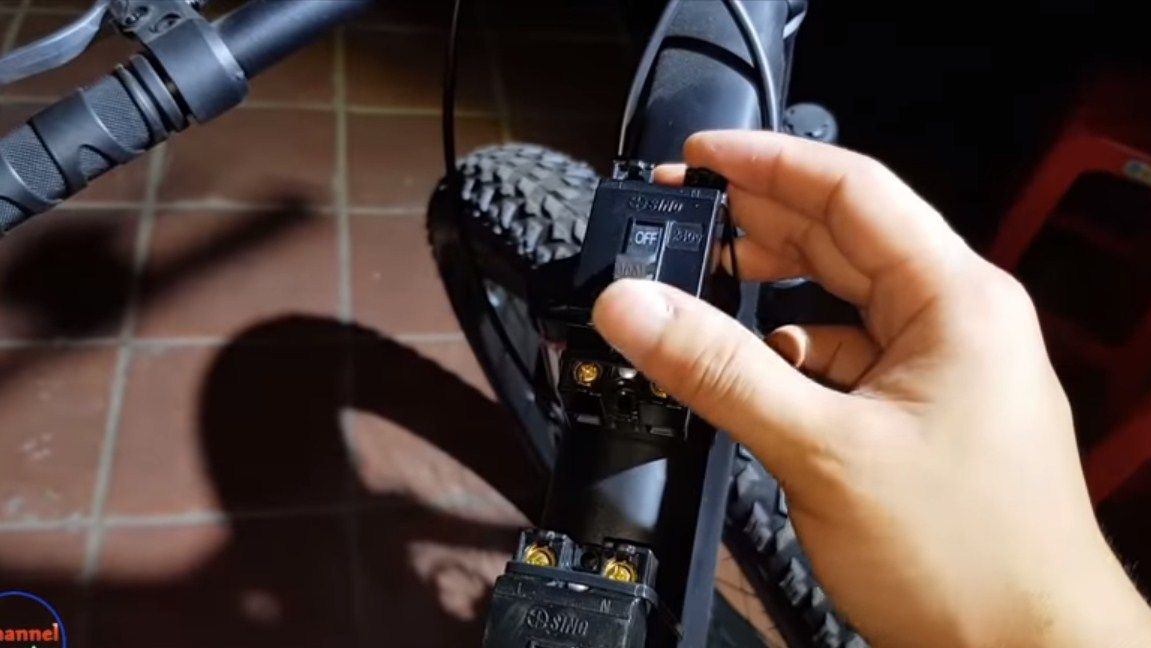
Step Five Circuit breakers
Next, we will install switches on the frame, there will be two of them in total. Each switch controls two motors. We glue them on the frame in the right places, and also fix it with plastic ties.
Step Six Wiring
We solder wires to the contacts of the motors, it is best if they are of different colors, so there will be no confusion. Remember that all screws must rotate in the same direction, that is, they must row forward and push the bike forward.
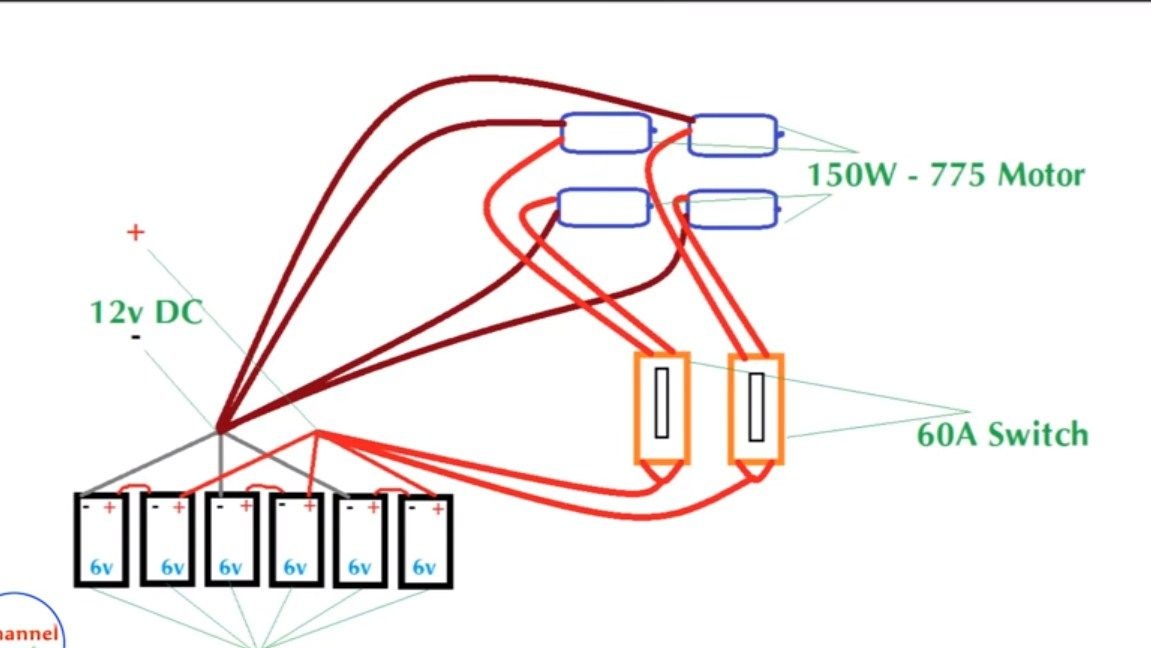
We conduct the wires along the frame where we need to fix with electrical tape and plastic ties. Well, then through the switches we connect them to the batteries, as indicated in the diagram. We connect with the expectation that 12V is supplied to each engine, but in general, these engines operate from voltage up to 24V.

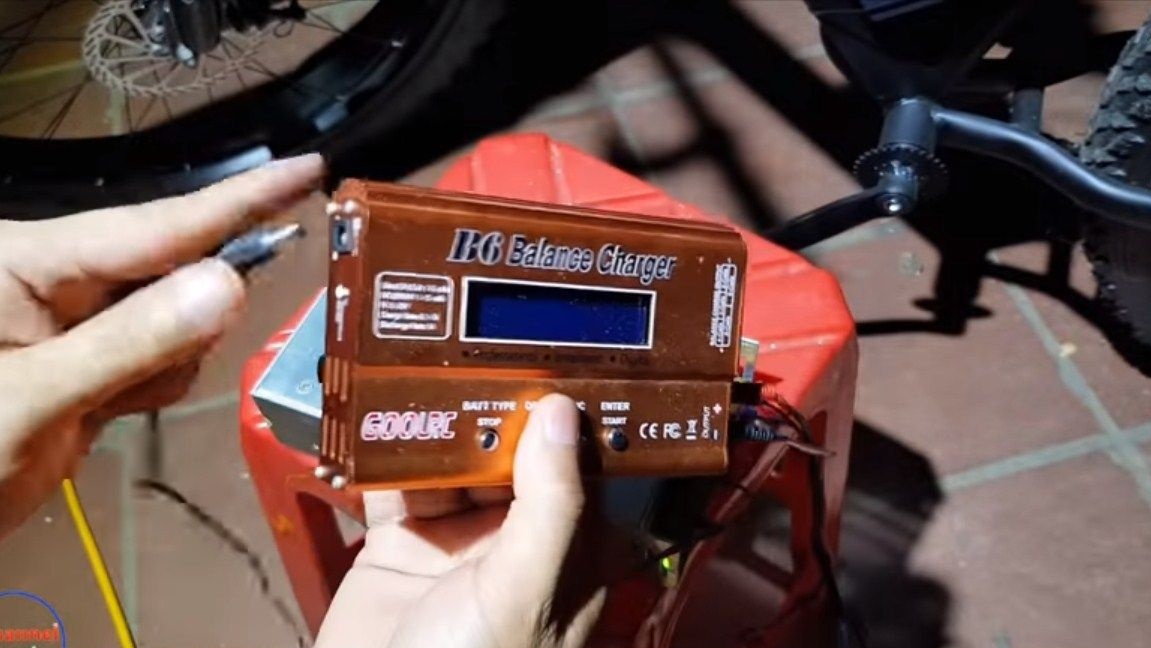
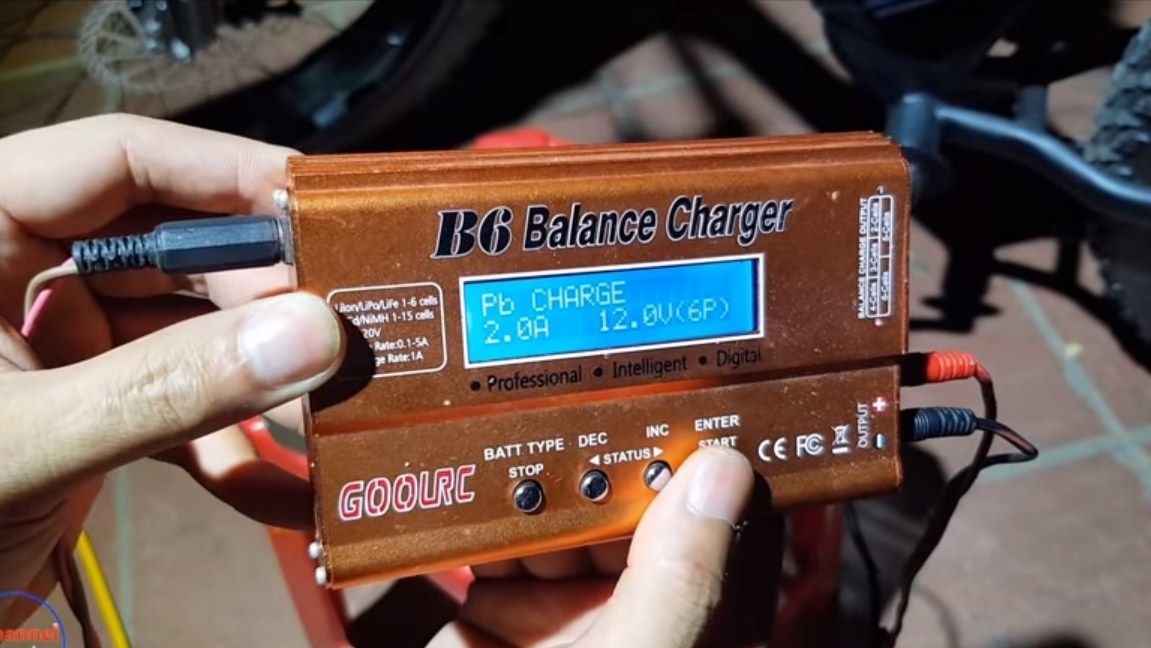
Seventh step. Recharge the batteries
Use the charger to charge the batteries. The author’s charger is very convenient, it allows you to choose the type of battery, set the charging time, current, voltage and so on. Such a charger will extend battery life.
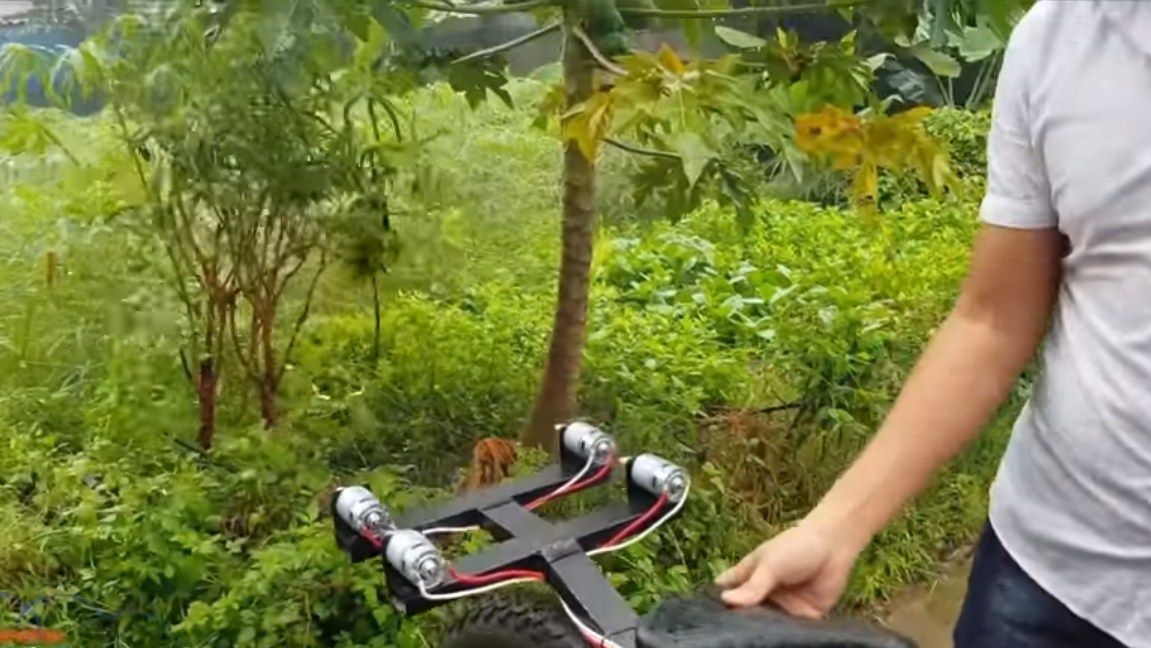
Step Eight. Test!
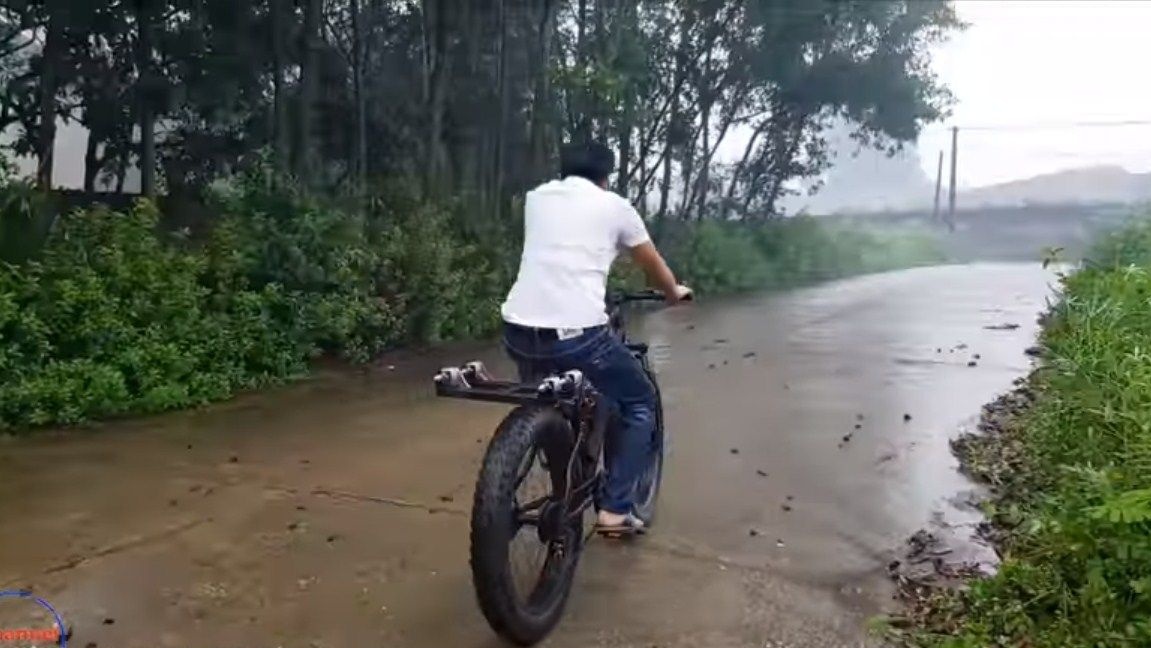
That's all, our miracle home-made is ready, you can experience it. The author turned on the engines opposite the bushes, and they began to bend quite strongly from the powerful current of the wind. Well, then the author got on his bike and rode off without any problems. Of course, the bike does not develop high speed due to oncoming air resistance, but it rides quite briskly. How much battery power is enough remains a question.
That's all, the project is over, I hope you liked it. Good luck and creative inspiration, if you want to repeat this. Do not forget to share your best practices with us!