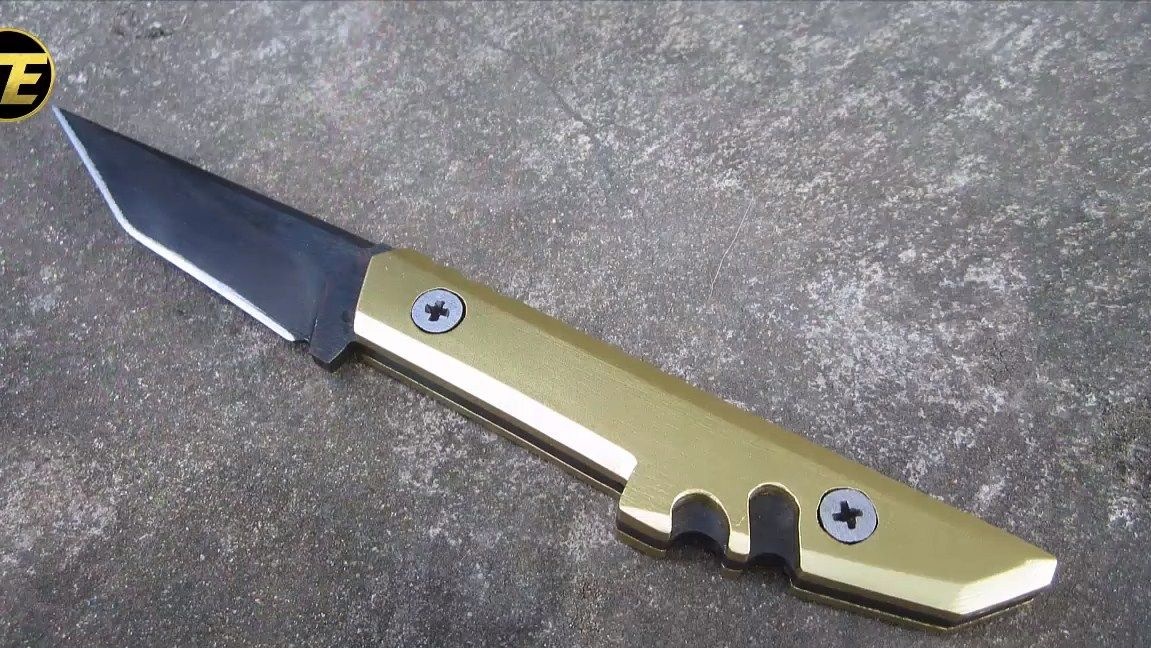
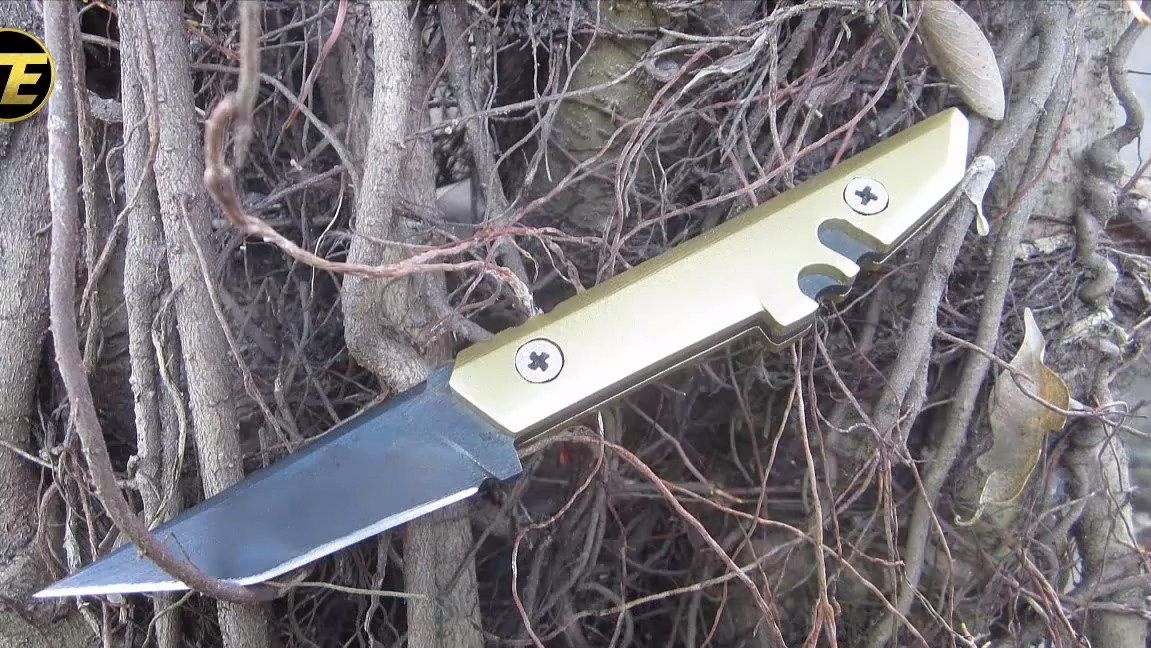
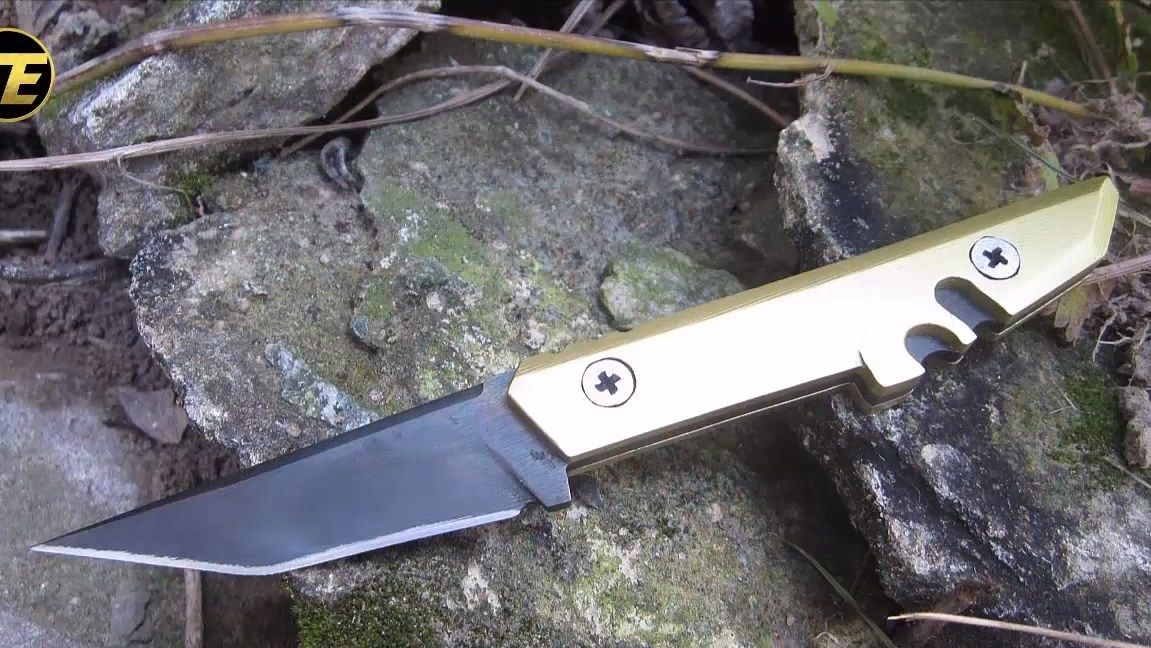
I welcome the masters, in this instruction we will analyze how you can make a simple, stylish and reliable knife do it yourself. A Japanese-style knife called "Tanto" is made. A feature of this knife is that it has a metal handle. This makes the knife reliable, durable, and also relatively easy to manufacture. The quality of the knife will depend on what steel you will use to make the blade. Tool steel is well suited, it has a high carbon content and is well tempered.
An interesting fact is that the knife was made quite qualitatively, but the author used a minimal set of tools. For the main work on cutting metal, the author used a grinder. Well, the bulk of the grinding work is done with a file. So that the metal does not rust, the author did not remove the protective patina from it after hardening, as a result, the blade has a beautiful black color. But the pen was painted in golden color. So, we will consider in more detail how to make such a knife!
Materials and tools used by the author:
Material List:
- sheet steel for a blade;
- sheet steel for linings;
- paint in a spray can of golden color;
- two cogs.
Tool List:
- files for metal;
- grinder;
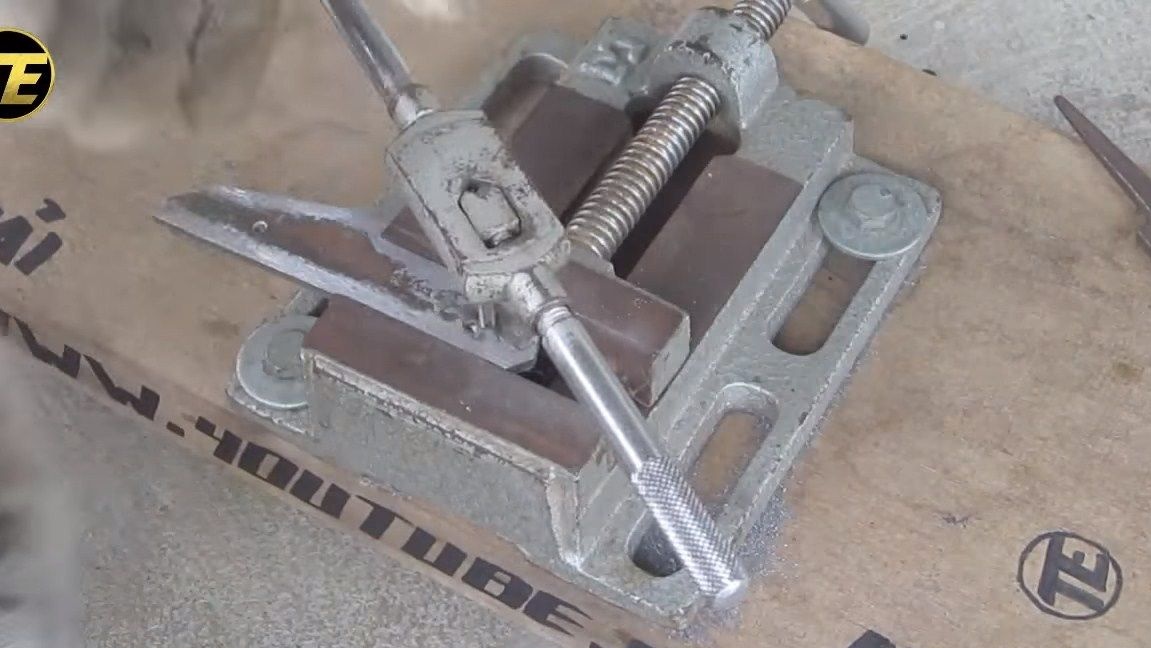
- reliable clamp;
- oil and burner for hardening;
- a drill or a drilling machine.
The process of making a knife:
Step one. Prepare the source material
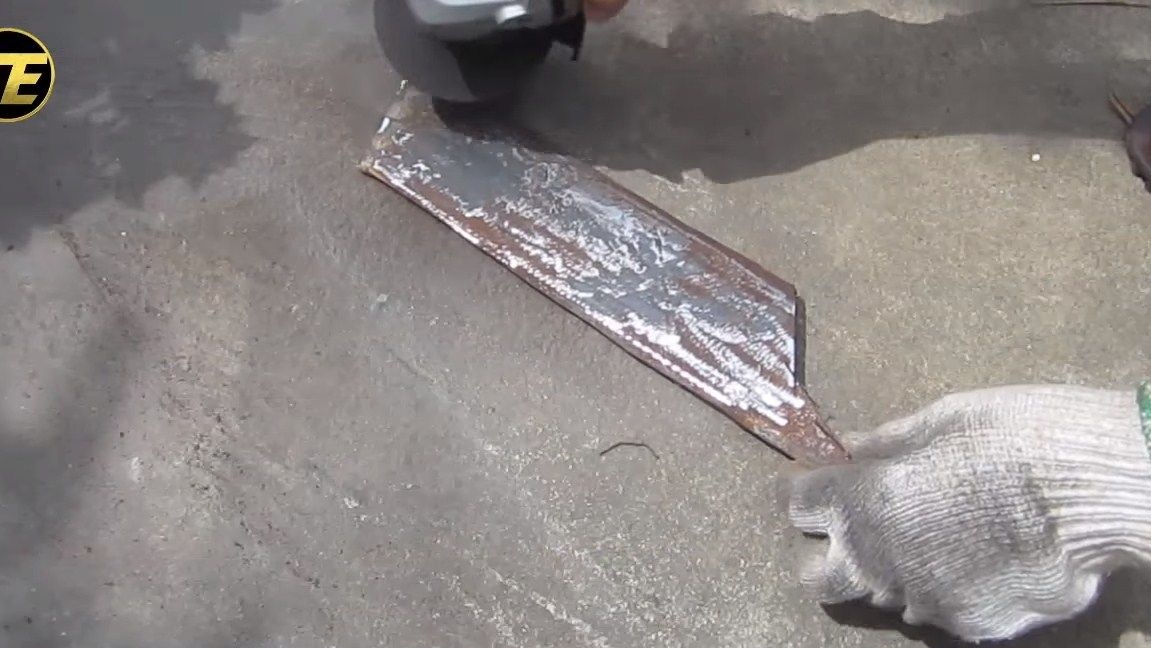
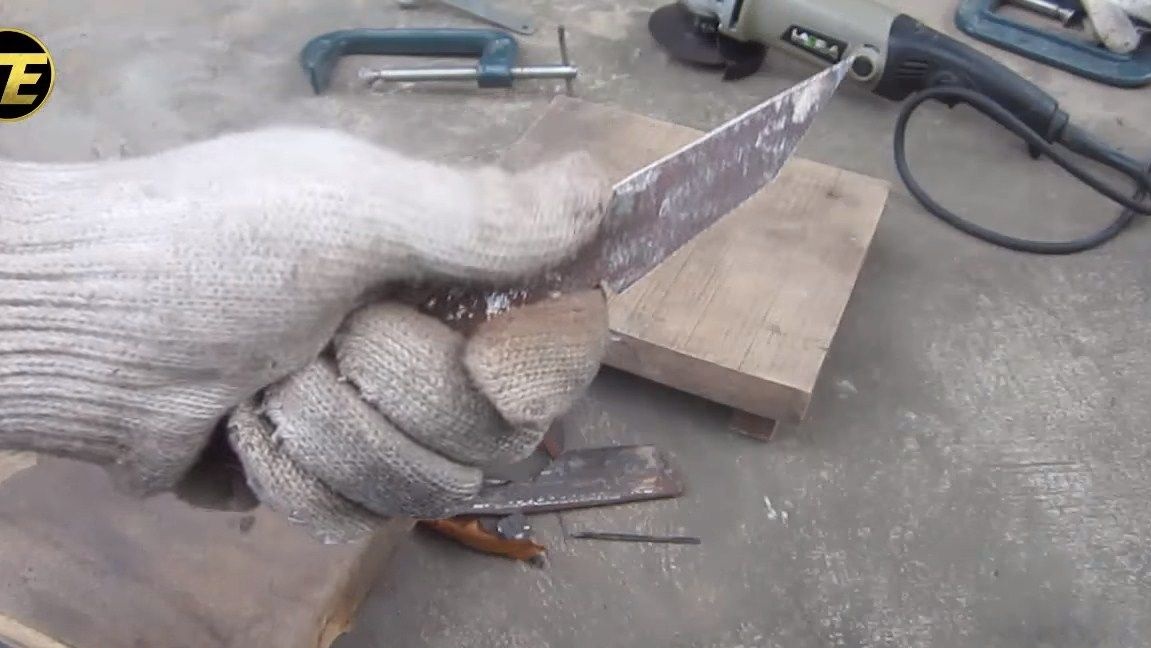
Pick a good steel to make the blade. The quality of the knife as a whole will depend on this. Steel should have a high carbon content in its composition, then it can be hardened, the blade will be durable and will hold sharpening for a long time. Such steel is often used in files, screwdrivers and other similar tools. Typically, when cutting carbon steel, many bright sparks form that fly far.
So, if you find the right material, we clean it from rust, you can walk on it with a grinder with a wire brush and so on.
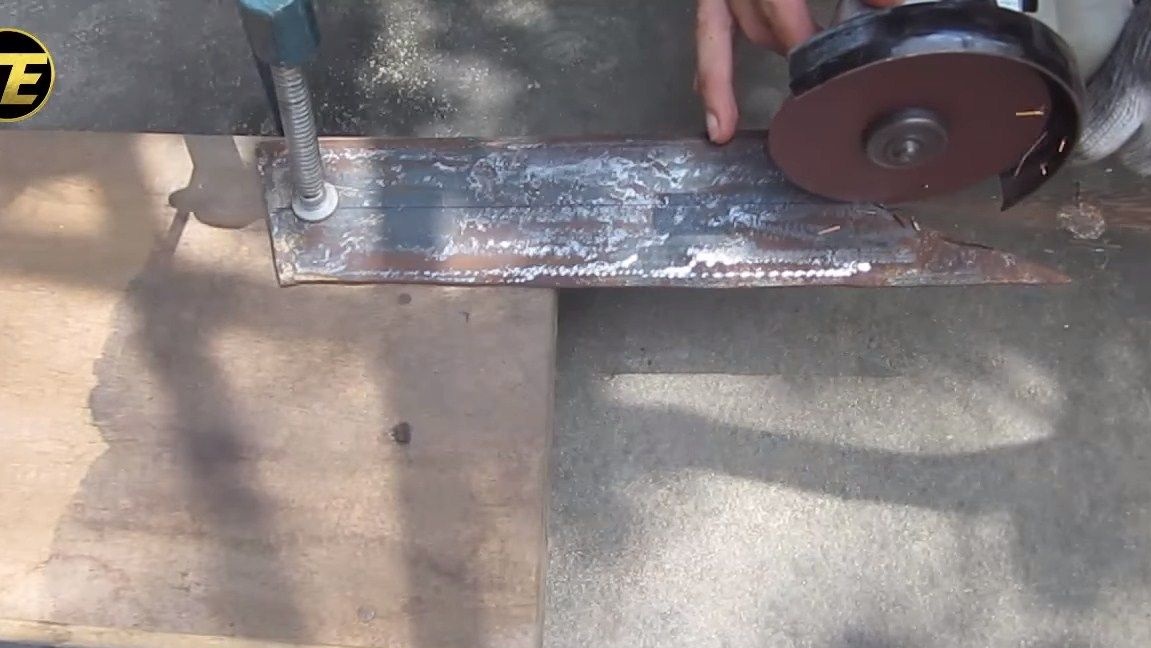
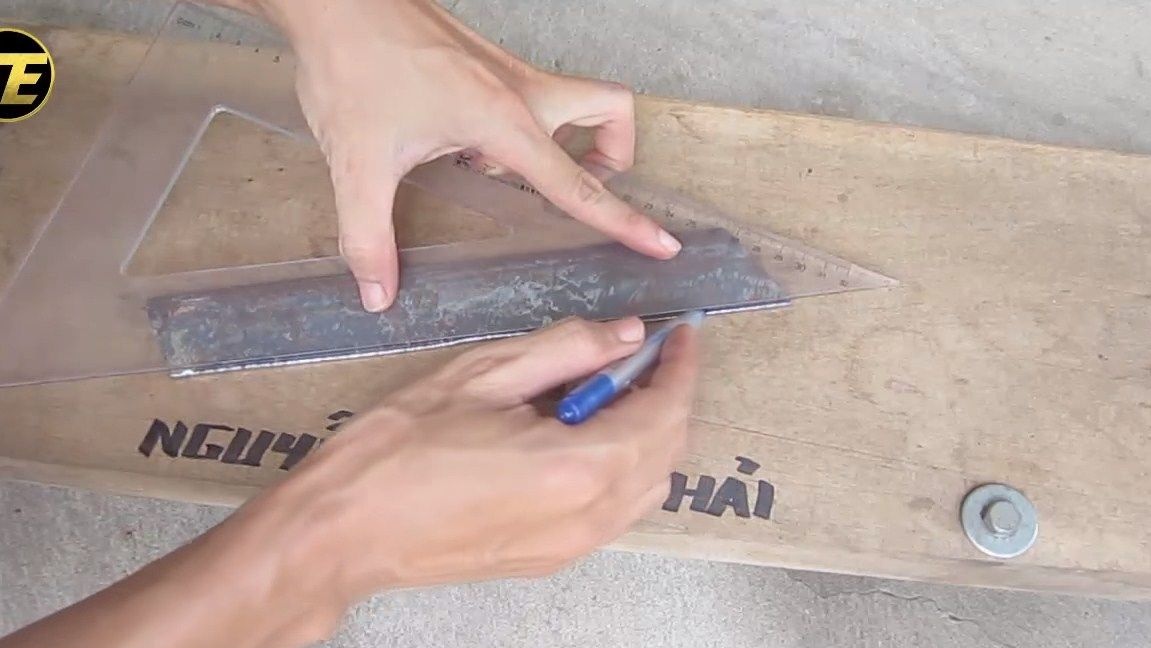
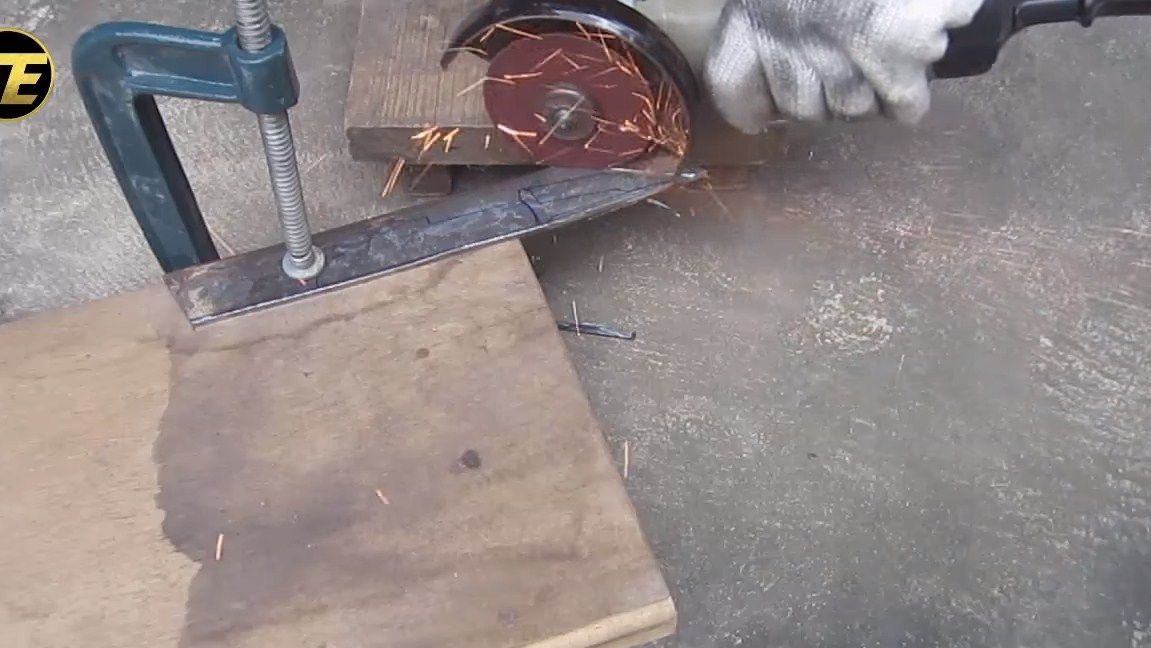
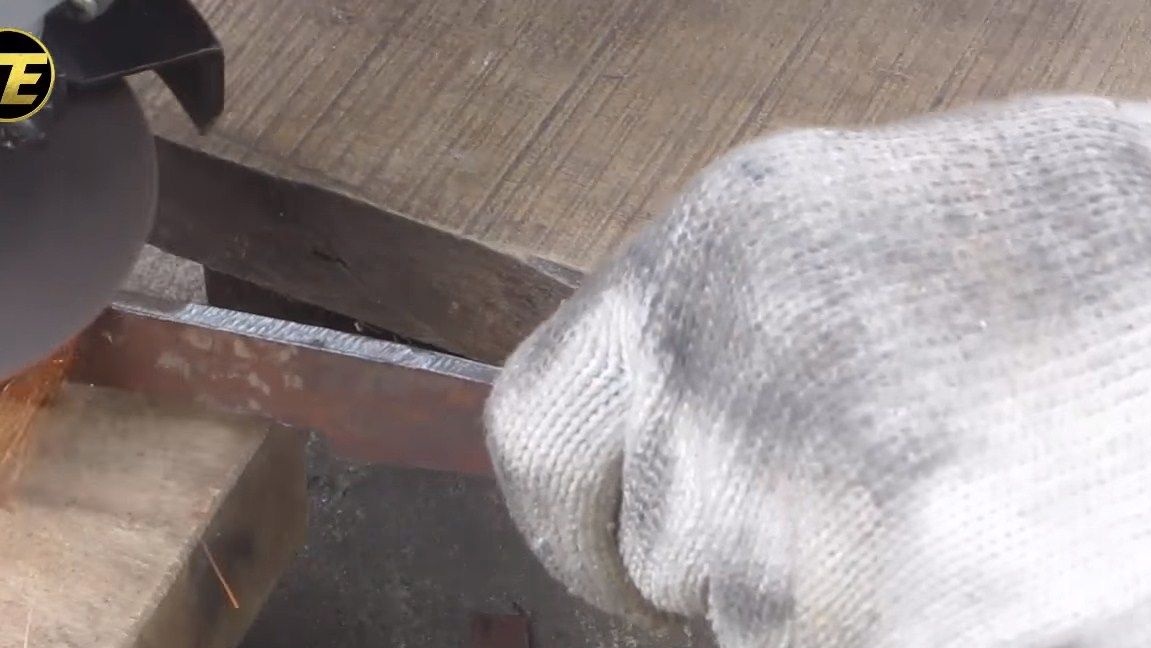
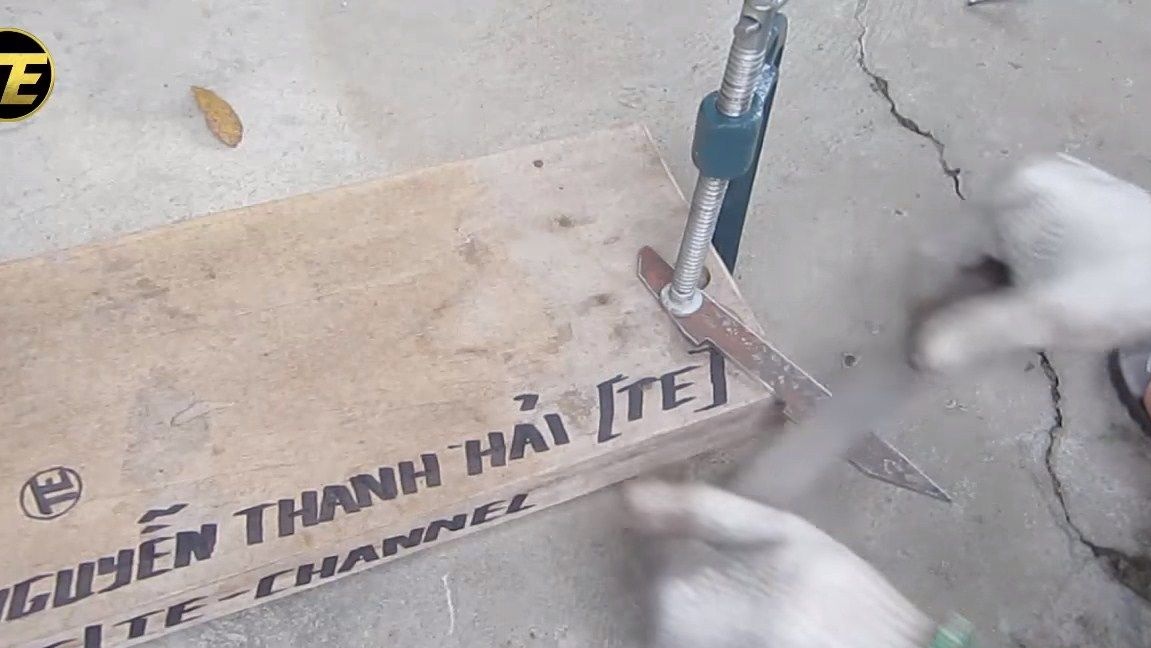
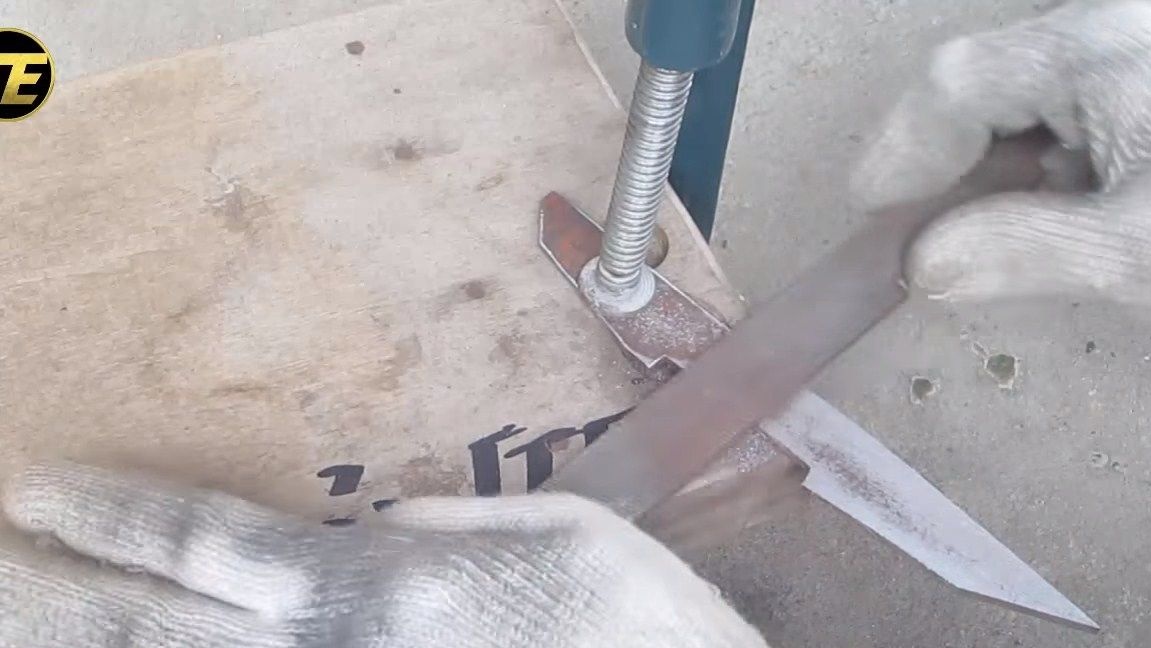
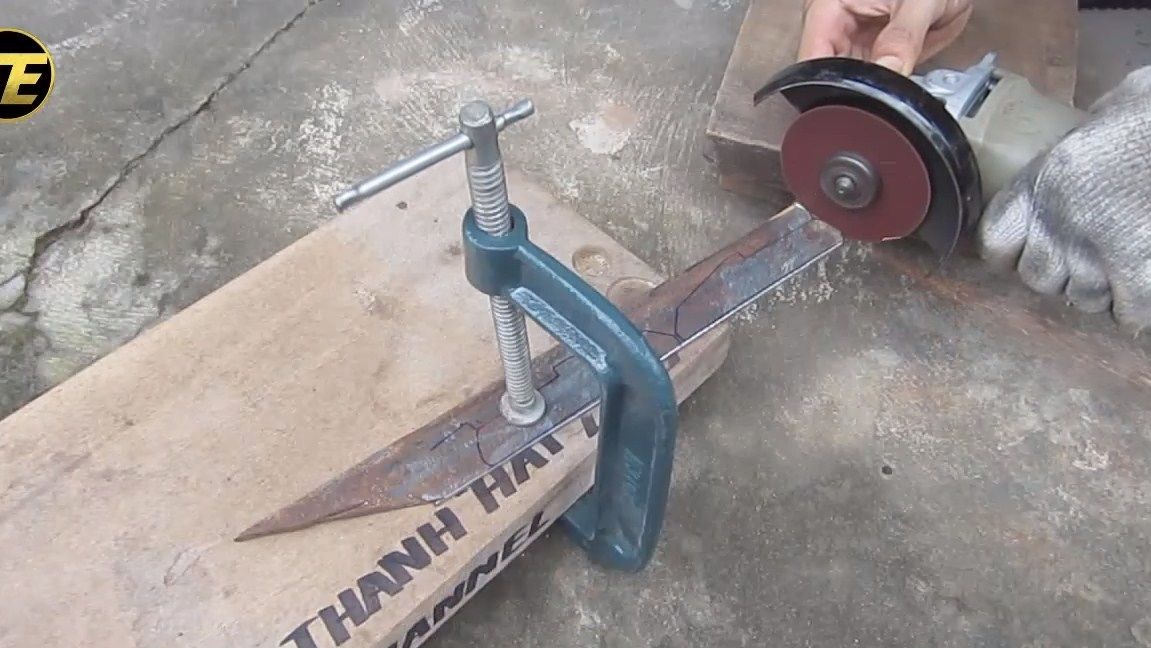
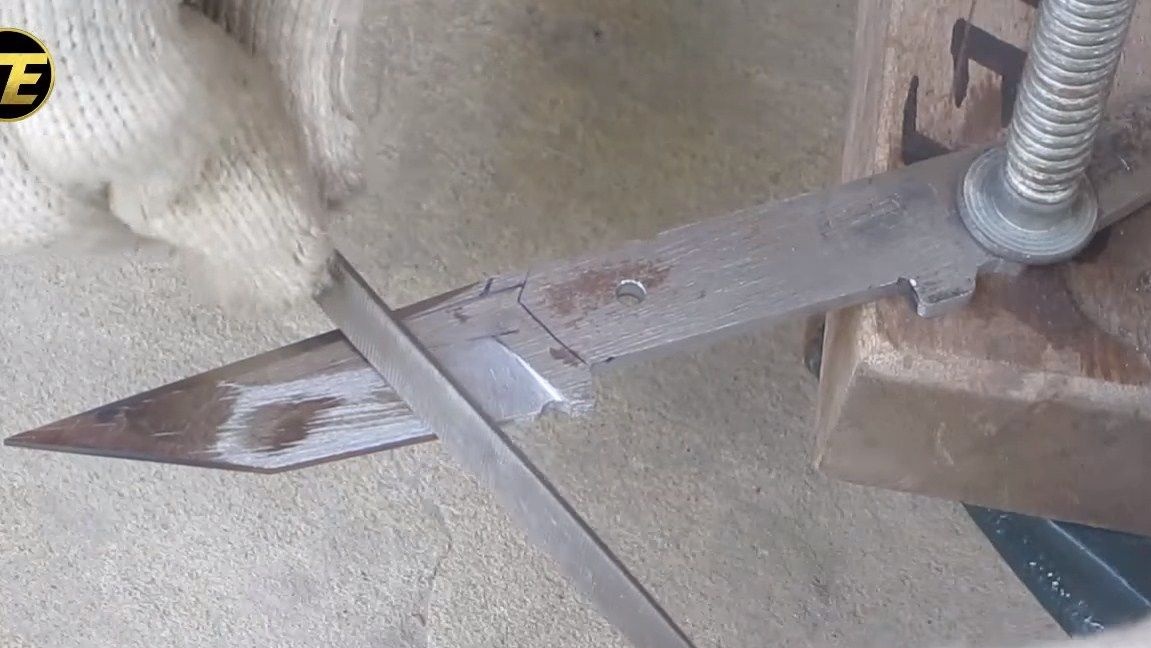
Well, then we need to cut the workpiece from which we will cut the blade itself. To do this, we arm ourselves with a ruler and marker, mark the necessary, and cut the metal. For cutting we use a grinder, and for convenience we fasten the material with a powerful clamp. First we cut off on one side, then on the other.
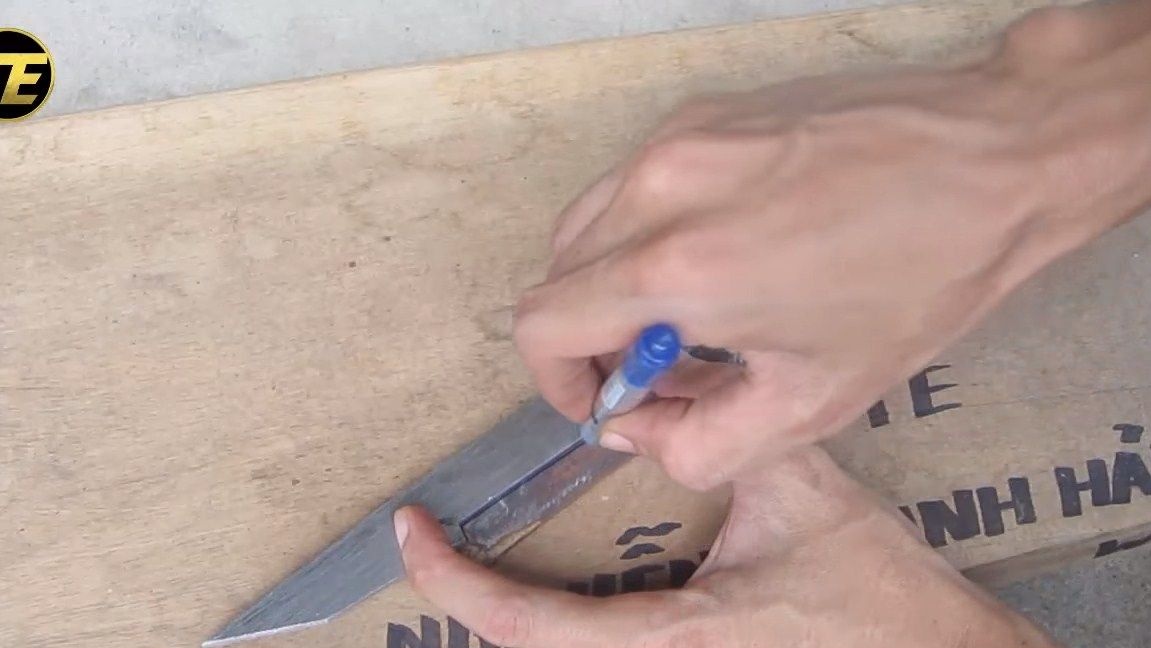
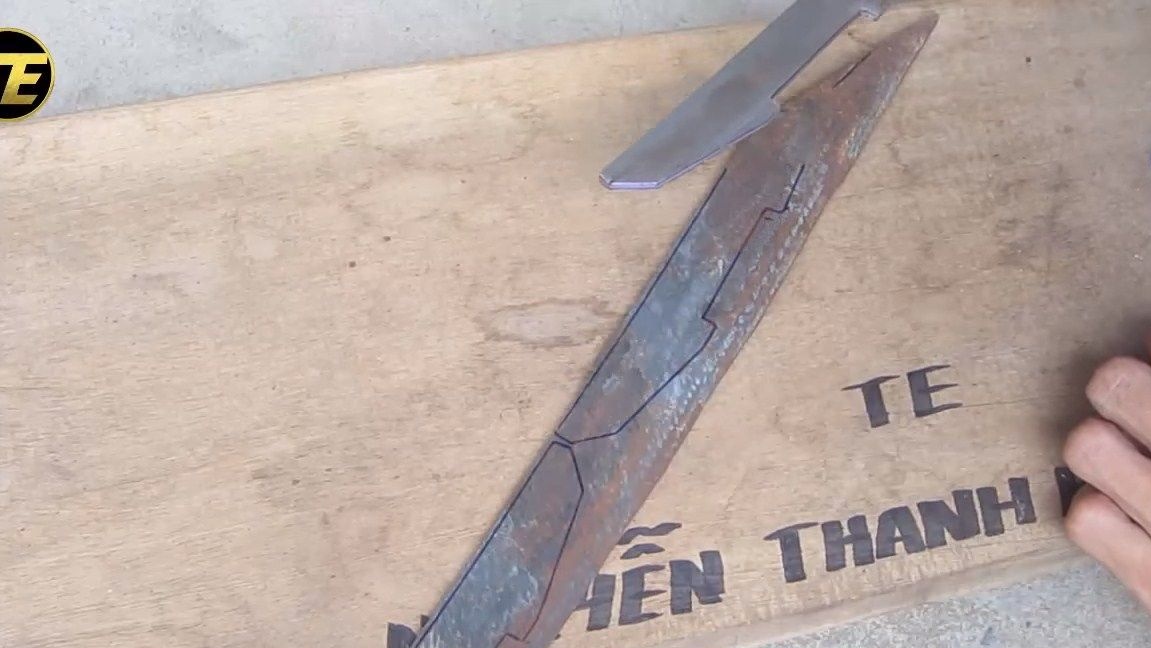
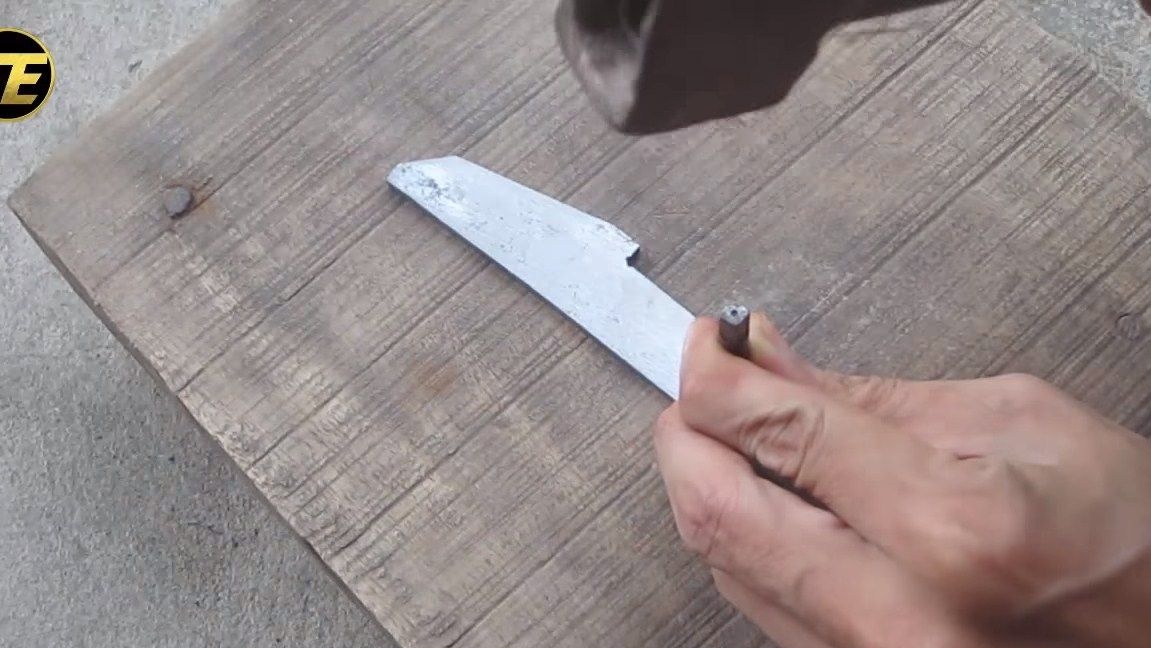
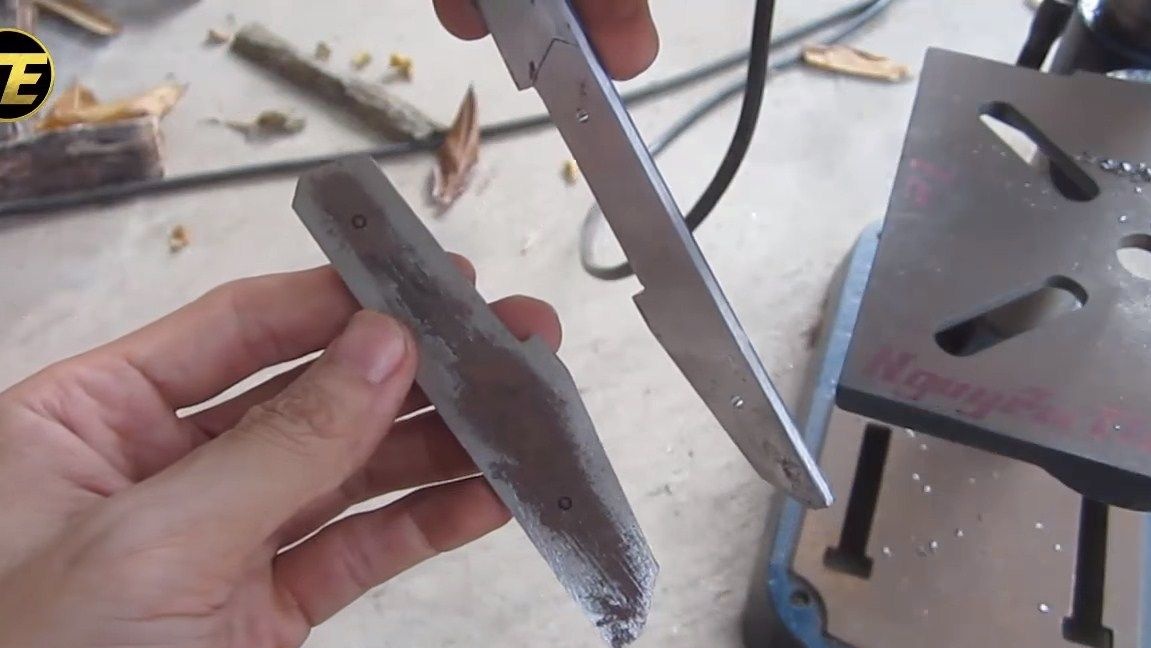
Step Two Cut a rough pattern
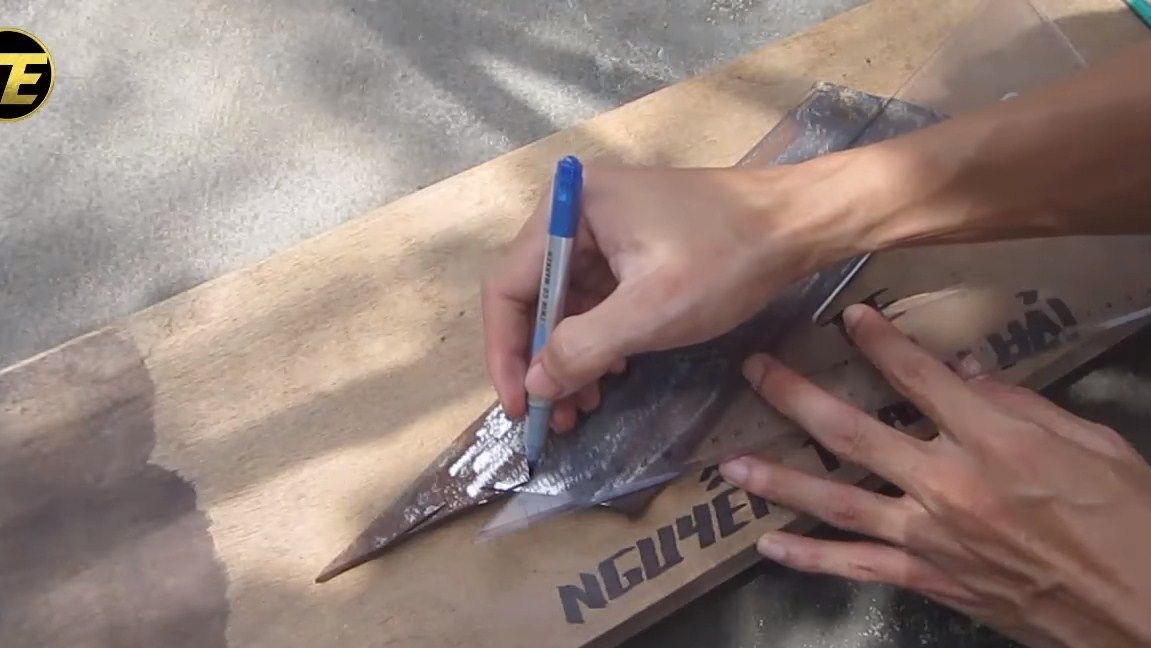
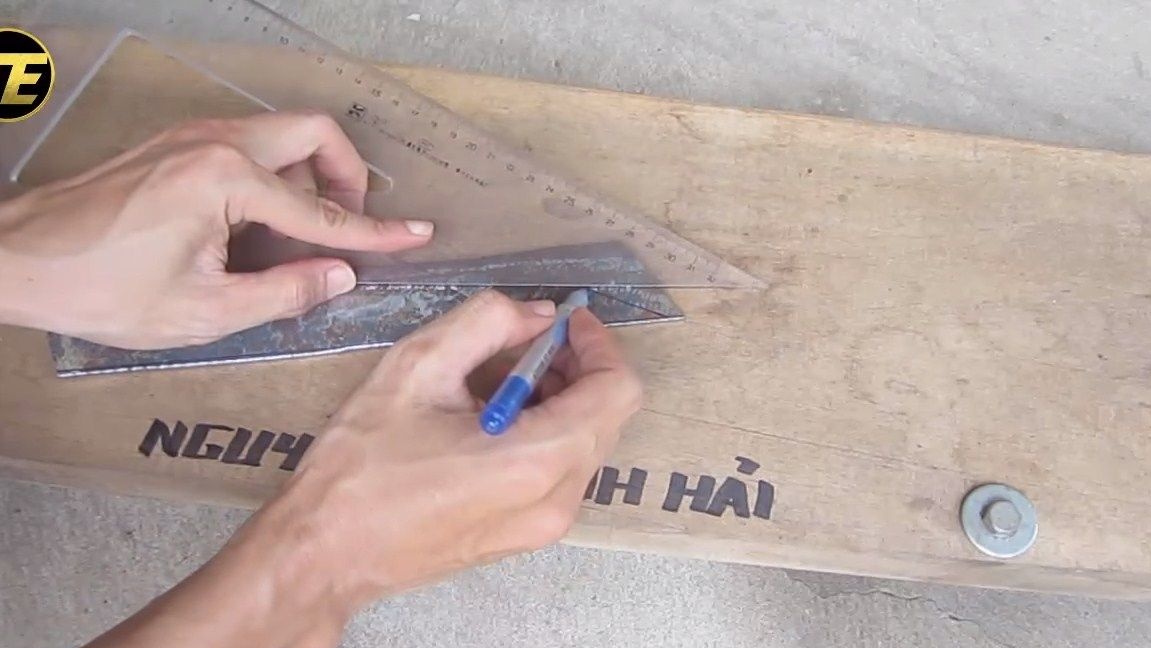
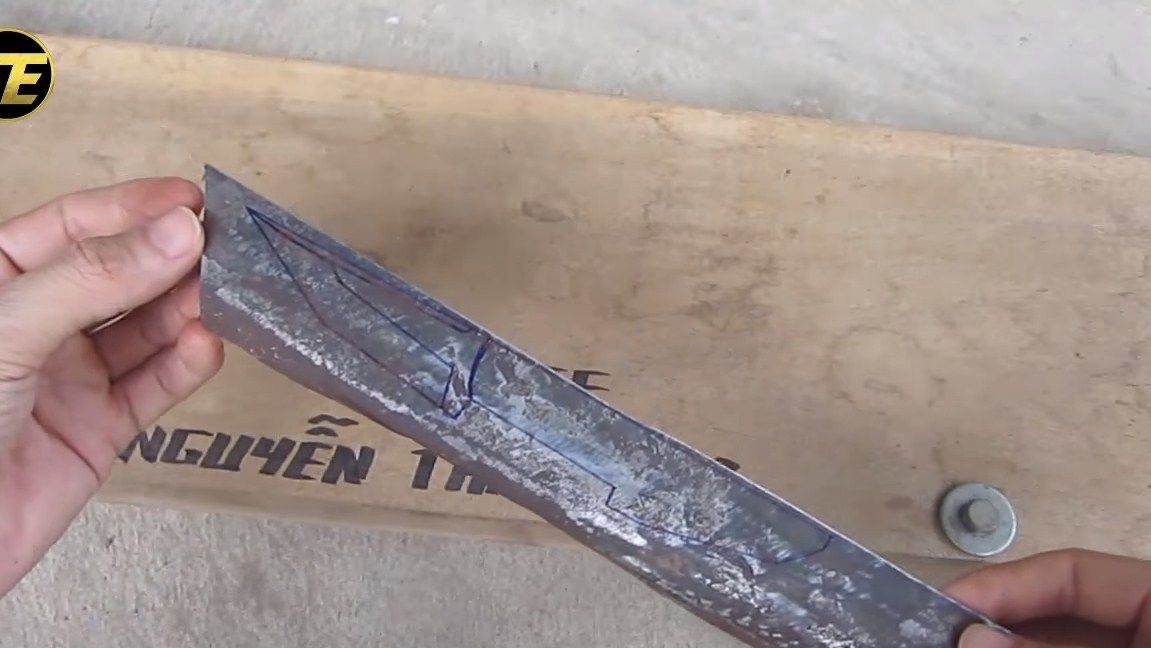
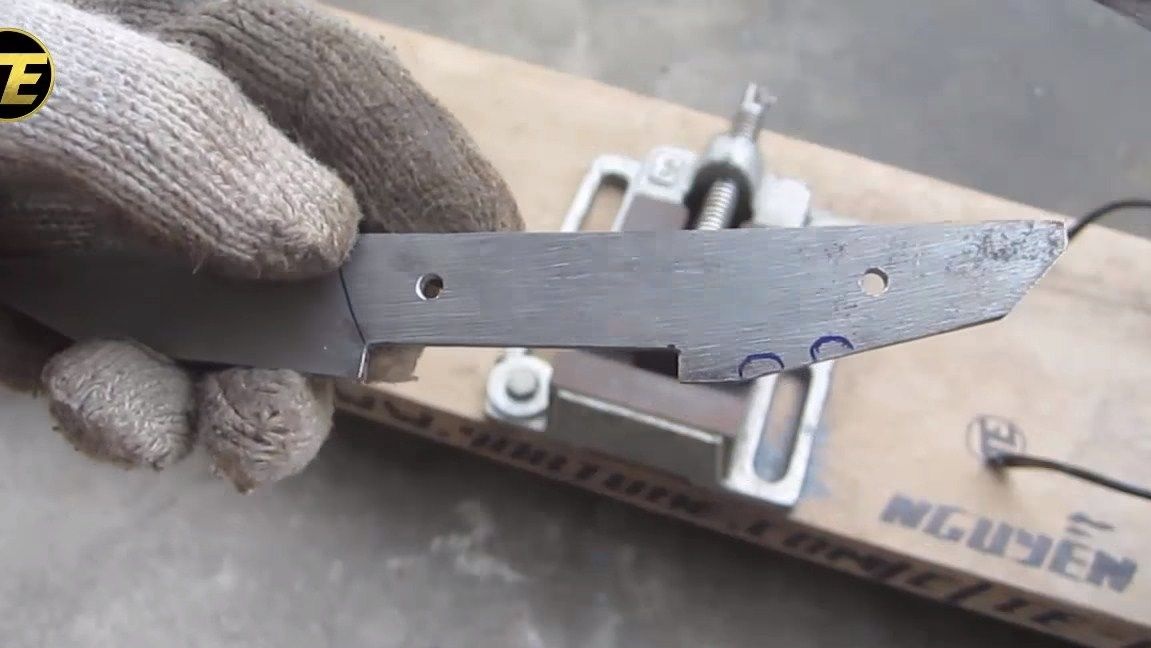
Next, we arm ourselves with a marker and show imagination. We draw on the material the desired profile of the blade.You can also first draw a blade on cardboard, and then cut with scissors. As a result, we get a kind of knife, which will allow us to evaluate the real dimensions and convenience of the manufactured knife.
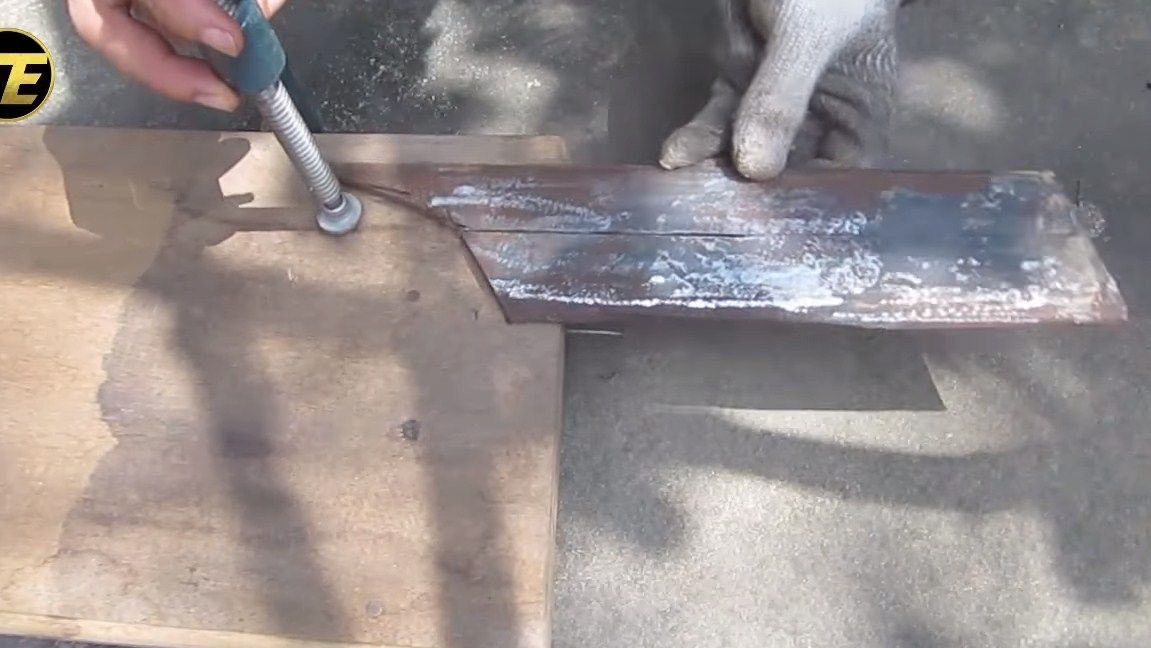
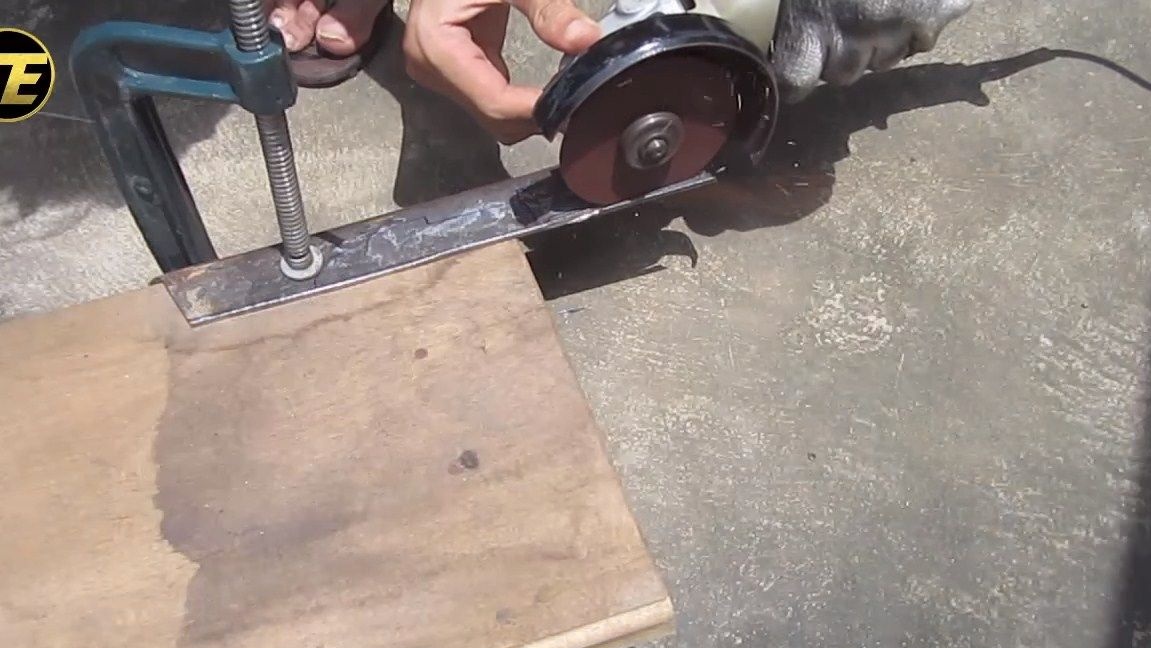
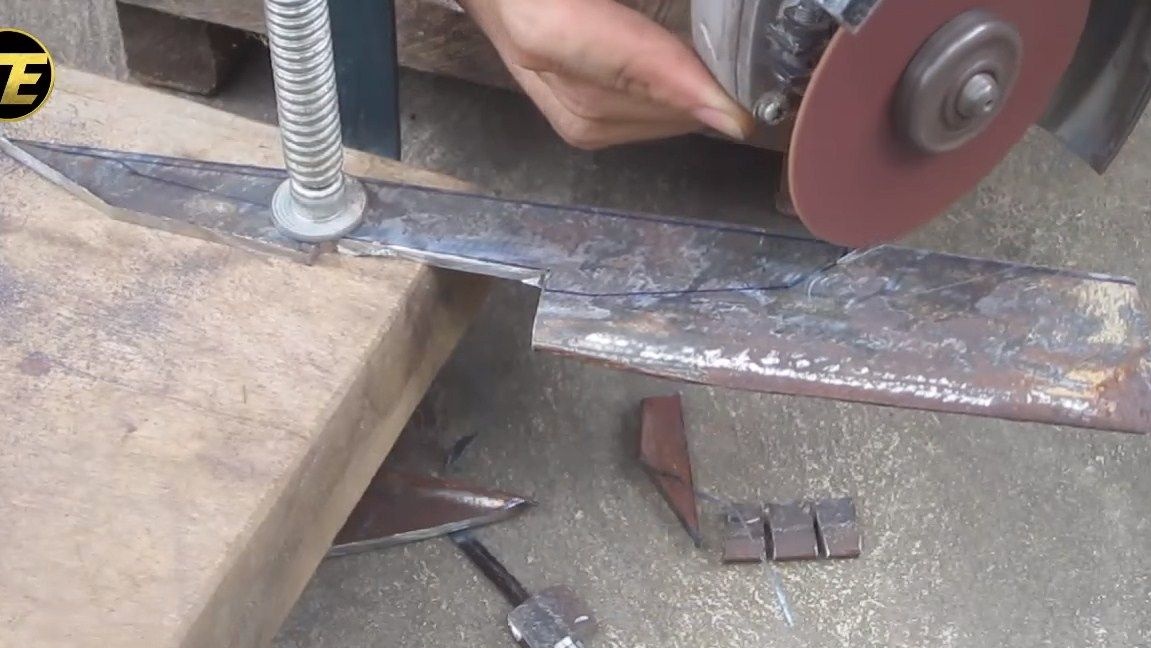
When you draw a profile, it can be cut out, for this the author used a grinder. We simply cut in a straight line, slightly departing from the marked lines. After that it will be possible to process the necessary places with the help of a grinding disk. For such work it is convenient to use a clamp.
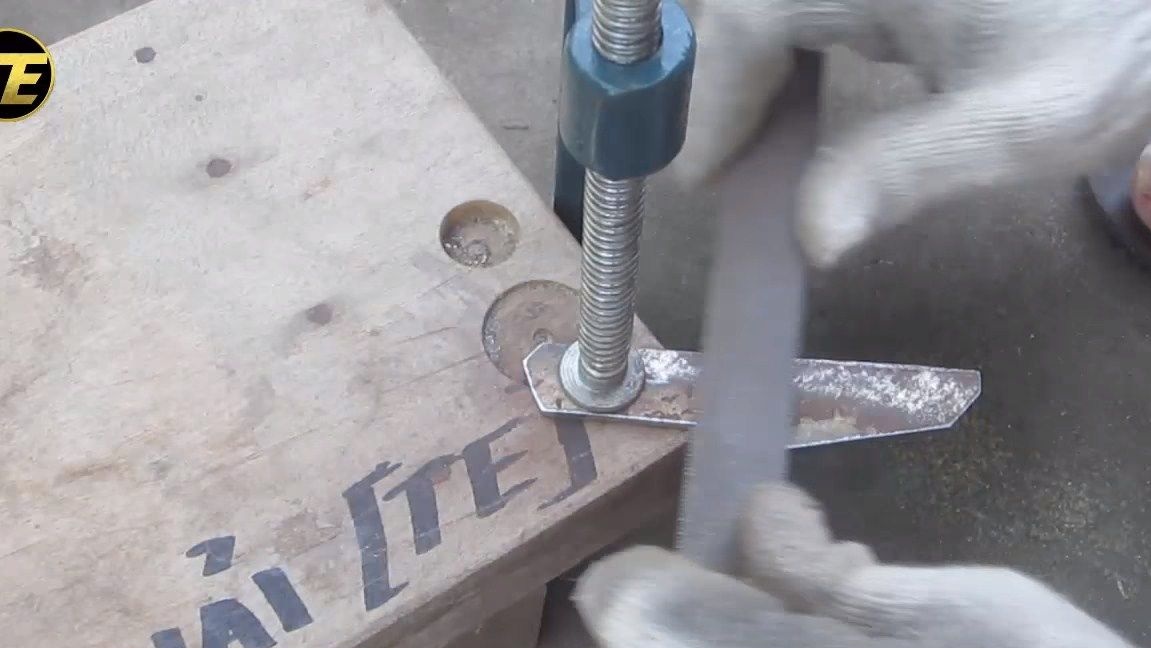
Step Three Grinding
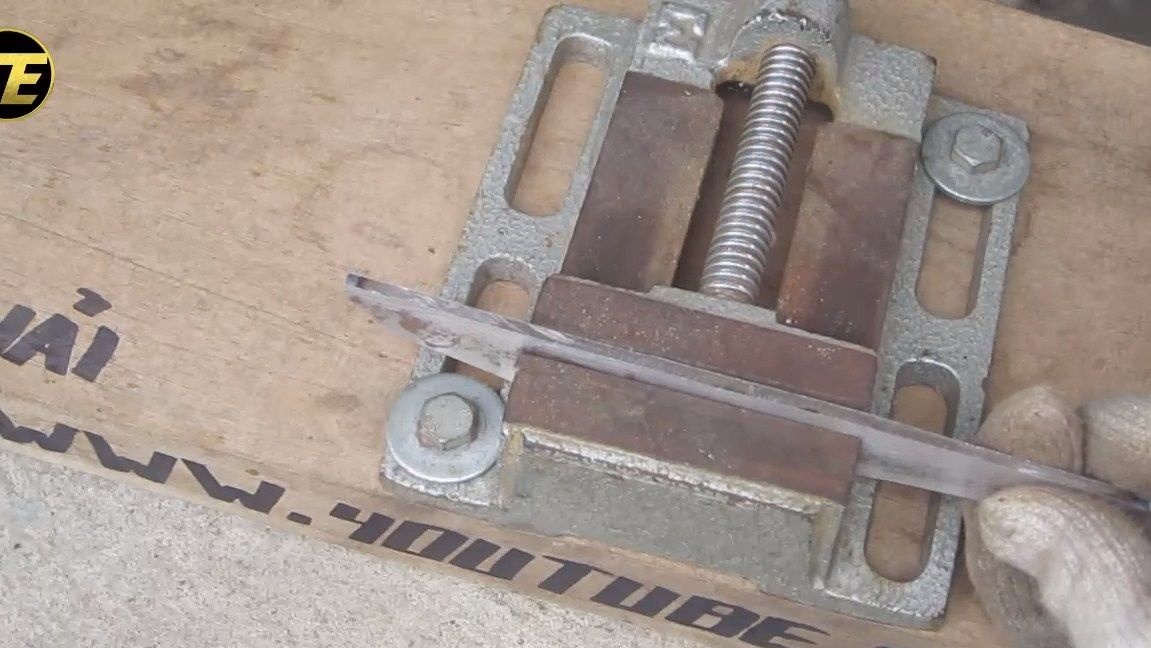
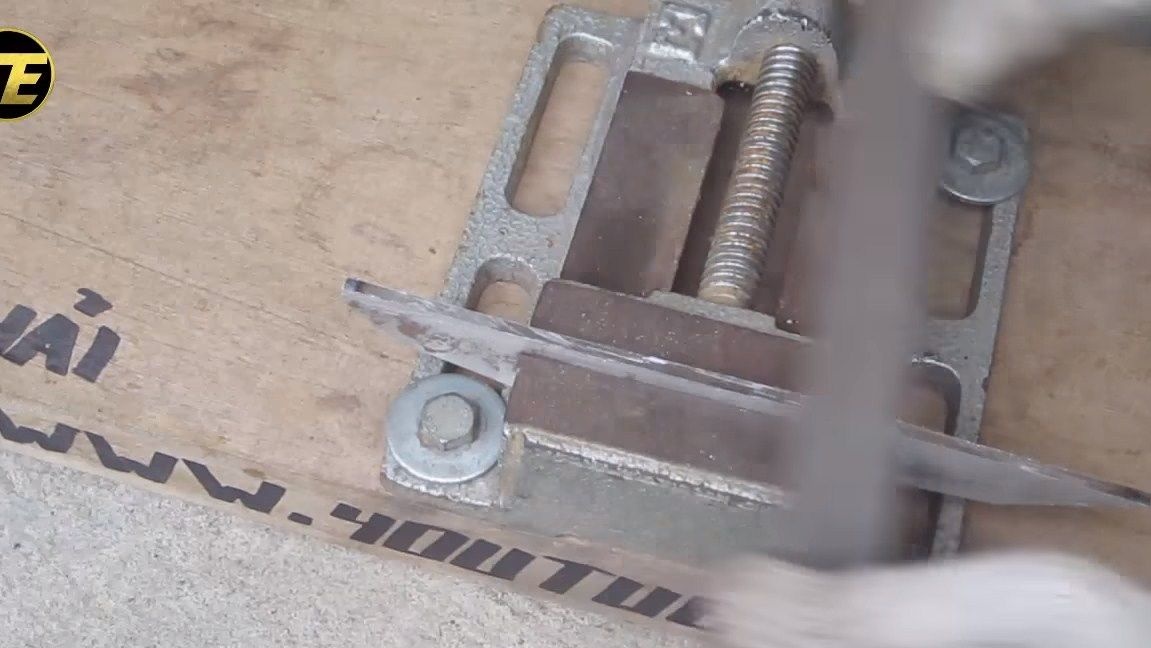
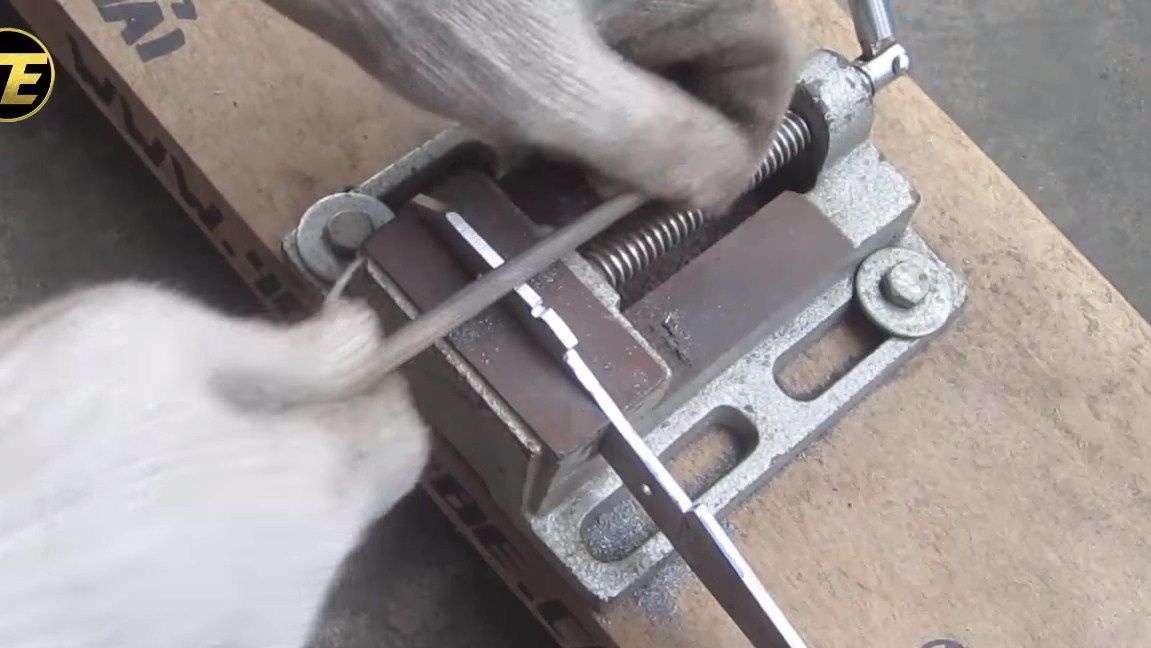
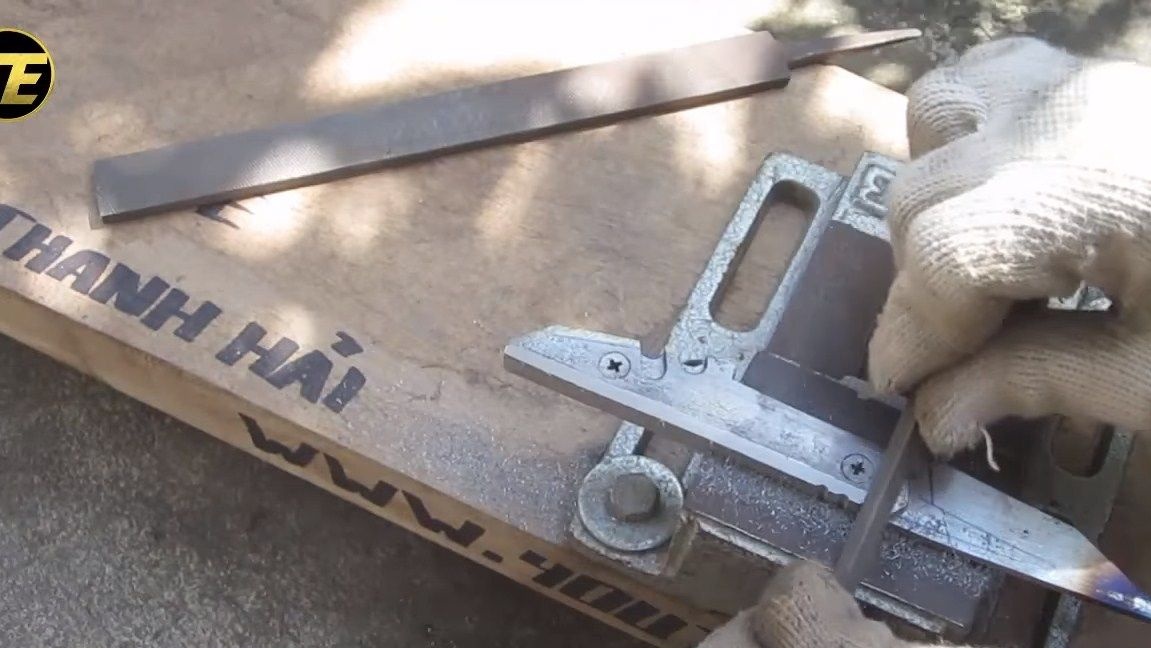
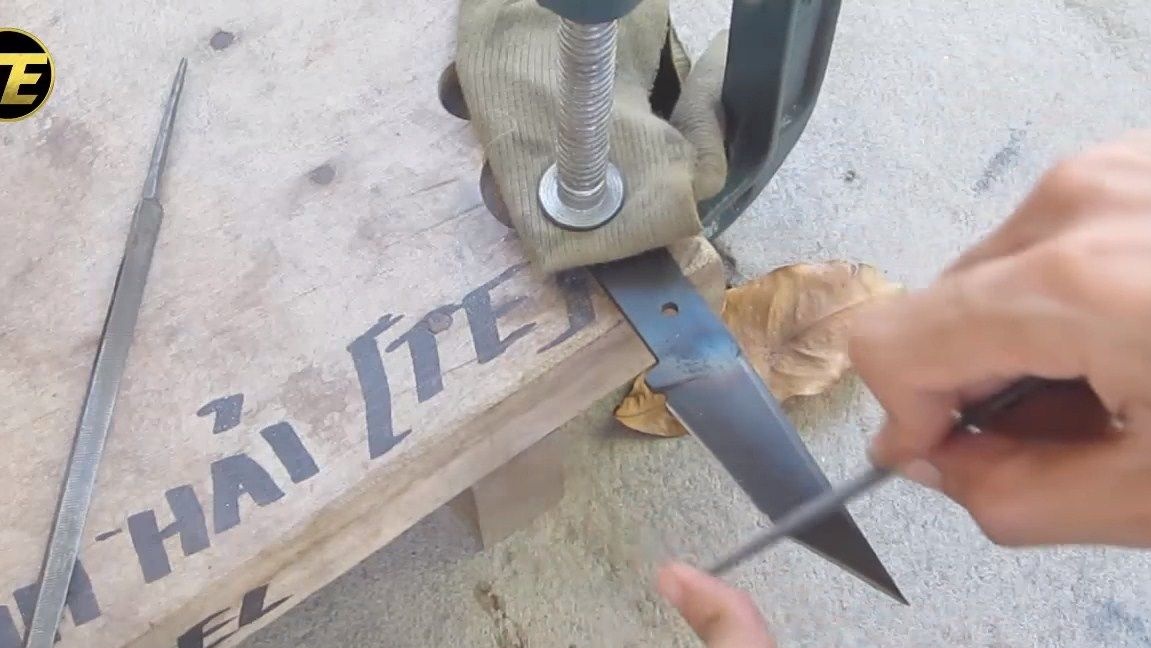
When the profile is cut, you can begin grinding. Our author does not have a belt sander, so the work is done manually. We take a file for metal and slowly grind the product along the contour, and also process the planes. You can also use sandpaper for finer processing.

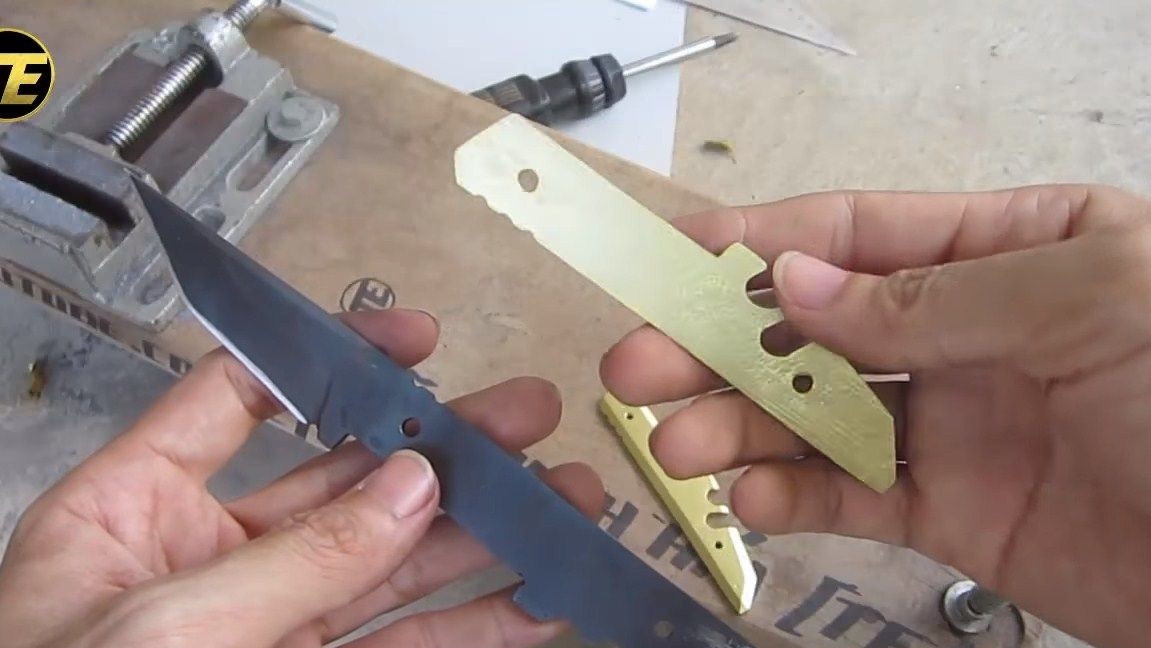
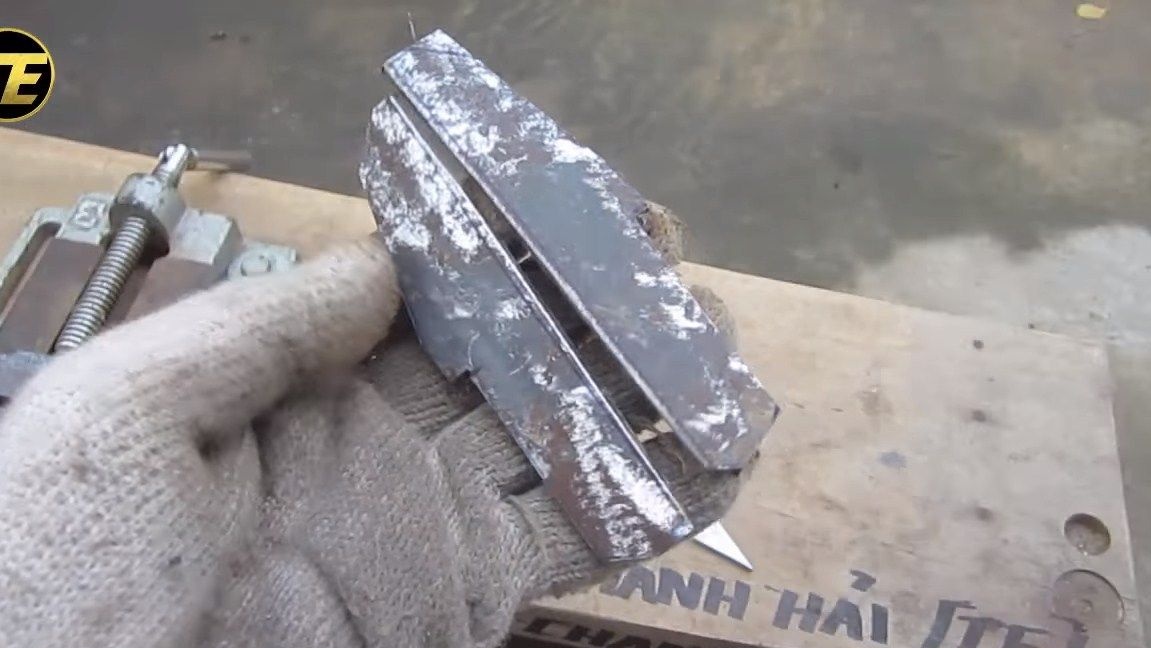
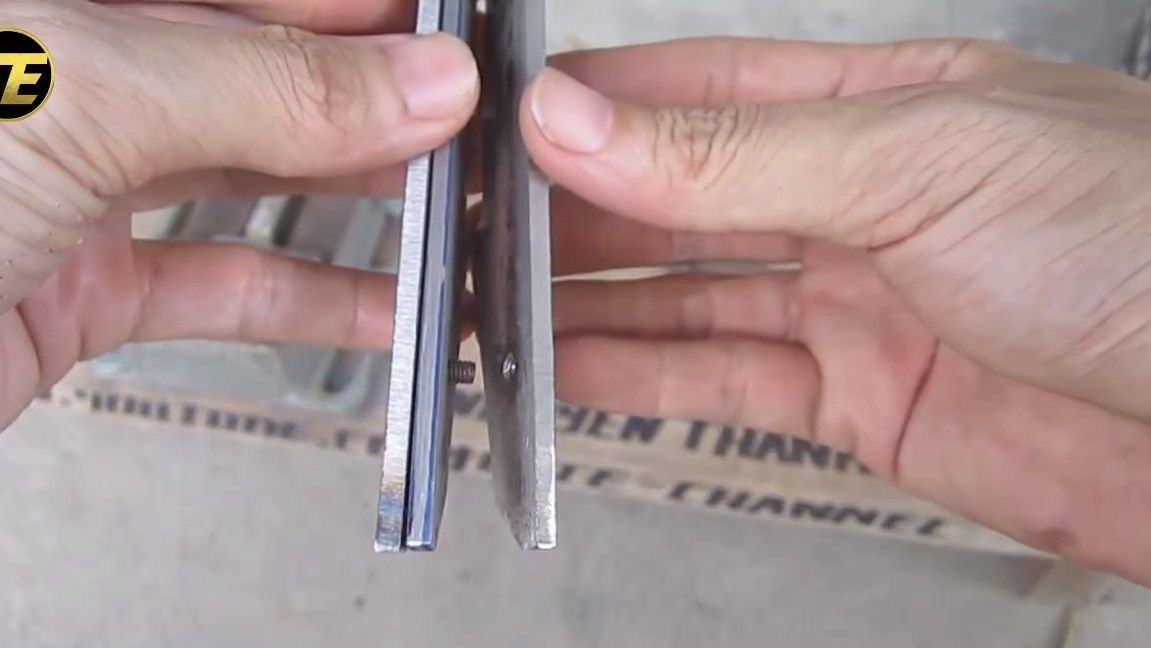
Step Four Handle pads
The author decided to make the pads on the handle steel, and they are attached using screws. Thanks to this approach, the knife is almost eternal. For the manufacture of linings, we take sheet steel, apply the blade and circle the marker in the right places. We need to get two absolutely identical blanks.
We cut everything in the same way as the blade. We arm ourselves with a grinder and slowly cut off the excess. The form here is quite simple, so even a beginner will cope with the task.
Step Five Grinding
Further, the pads need to be slightly modified manually, for this we use good files for metal. We grind until shells and other defects disappear. At the end, you can walk with sandpaper.
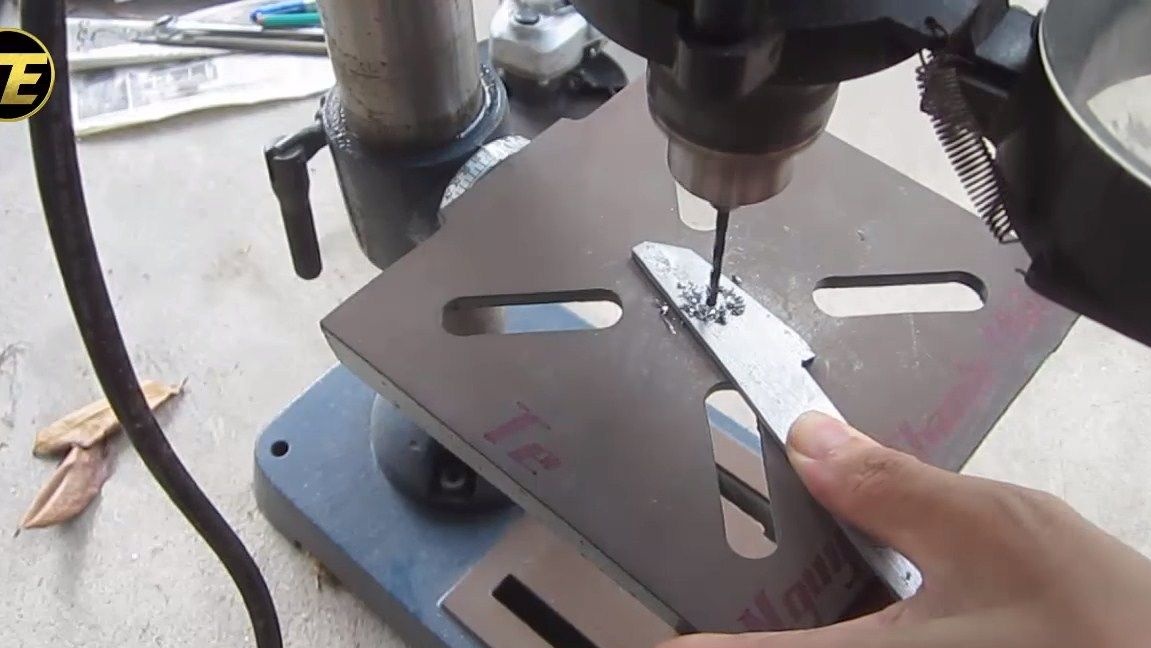
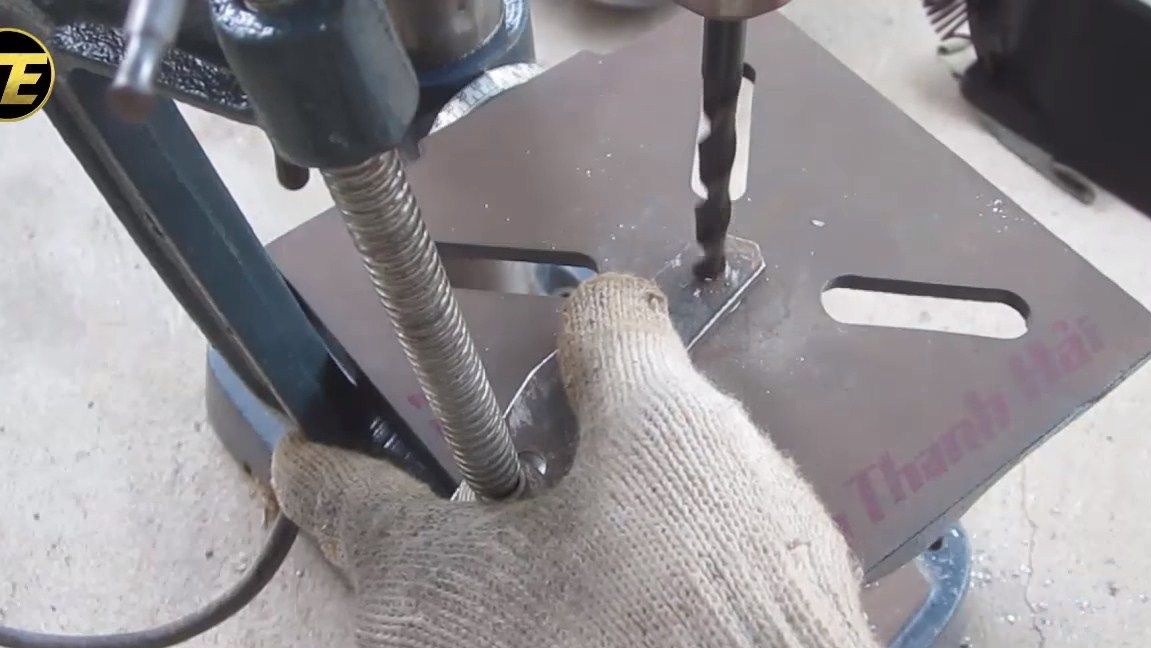
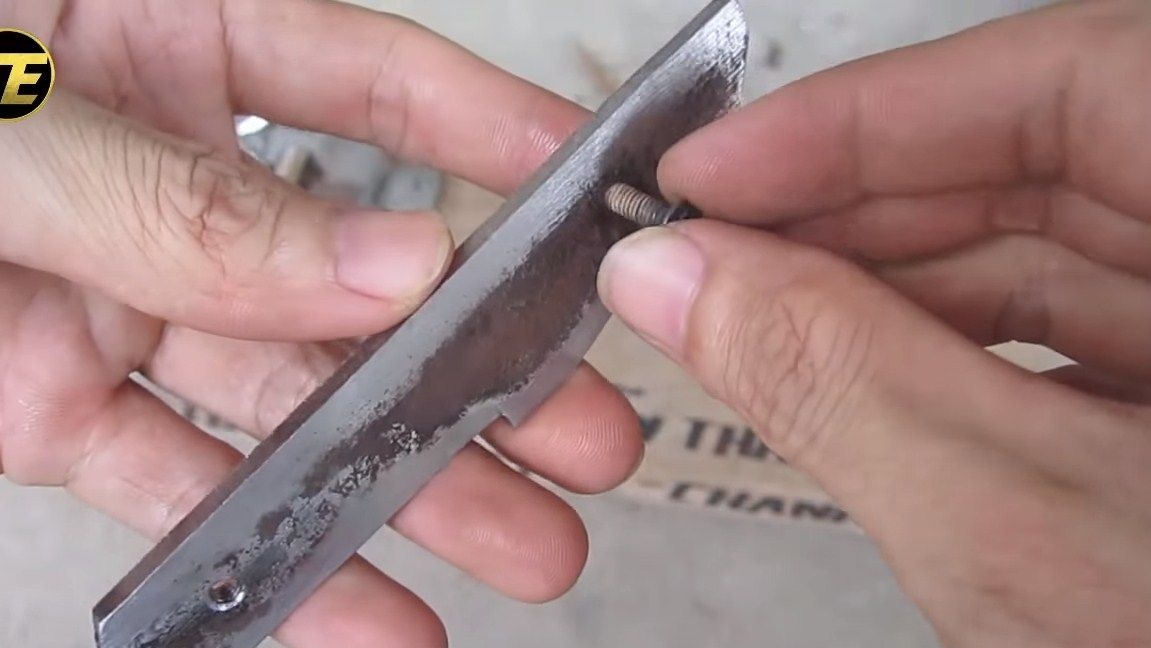
Step Six Holes and thread
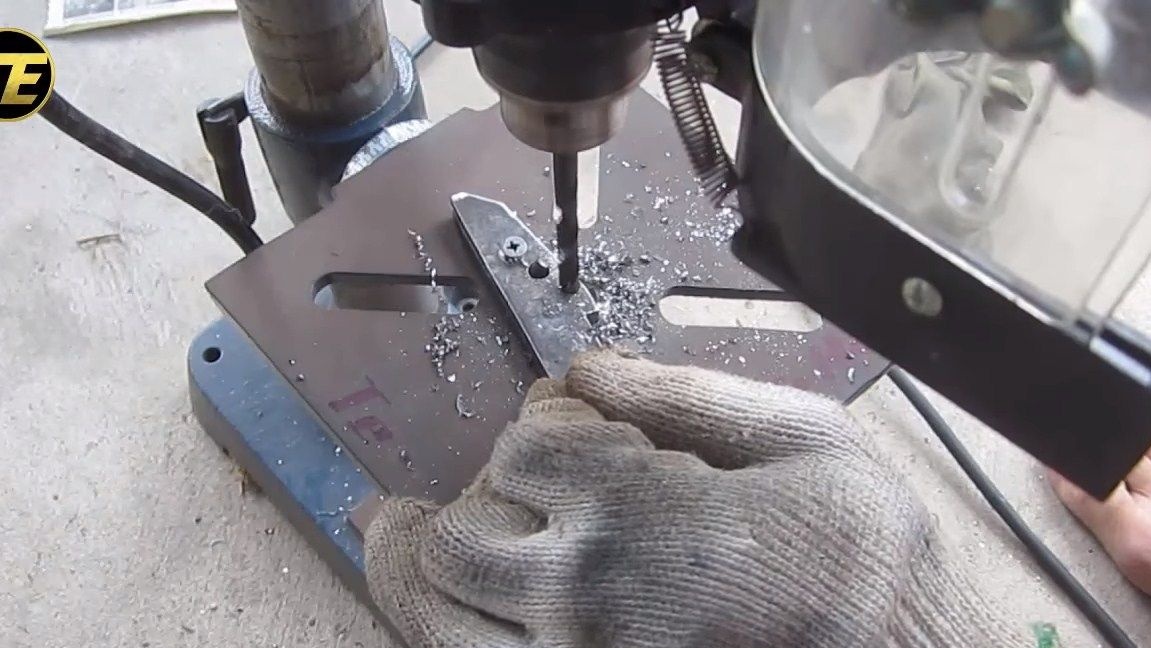
To attach the pads, we need to drill a few holes. To begin with, we plan and drill holes in the blade, and already drill holes in the overlays for these holes. In one pad, drill holes for the screw heads so that they do not protrude above the surface. And in another overlay you need to thread the screws. Then it will be easy and simple to twist the pads with screws.
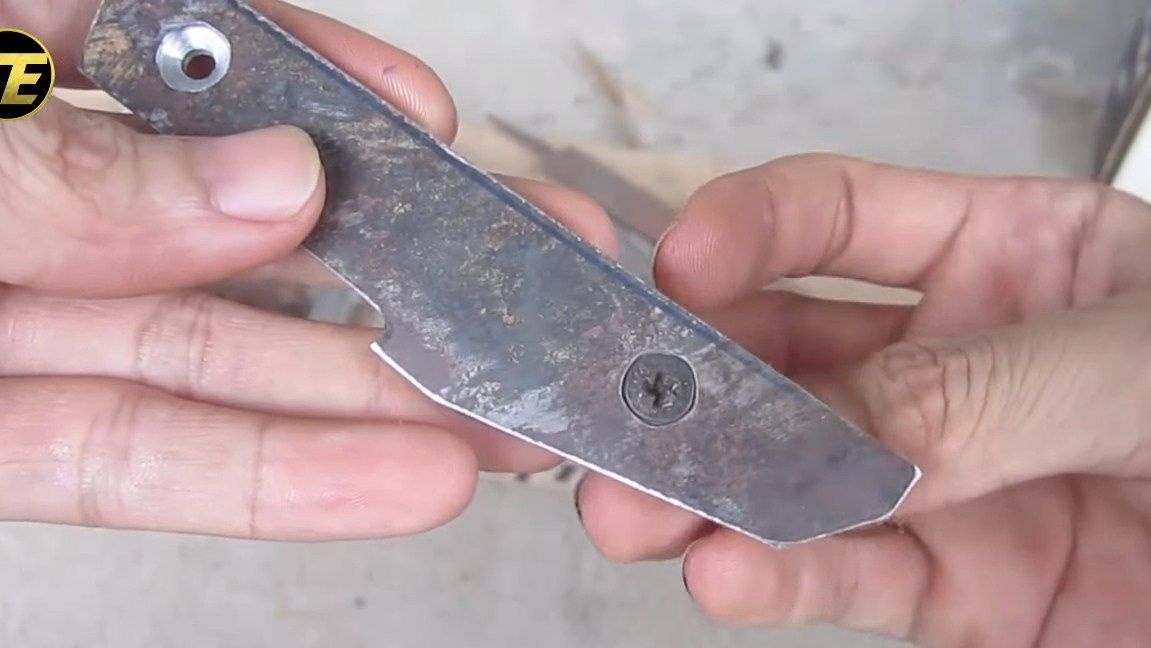
Seventh step. Pen assembly
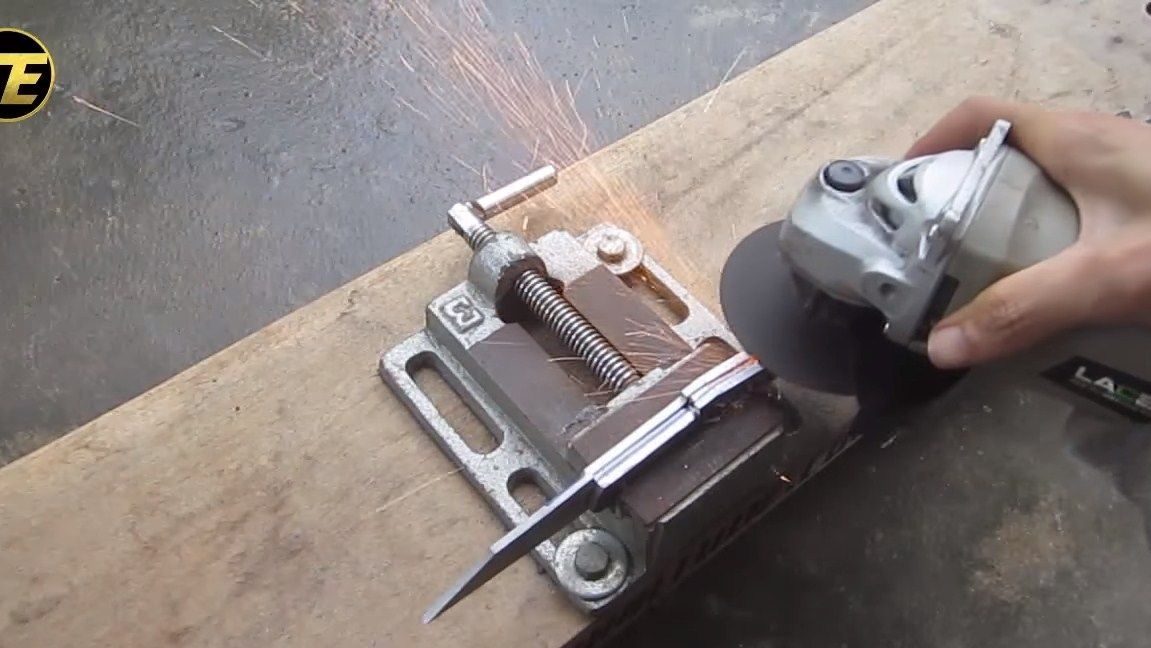
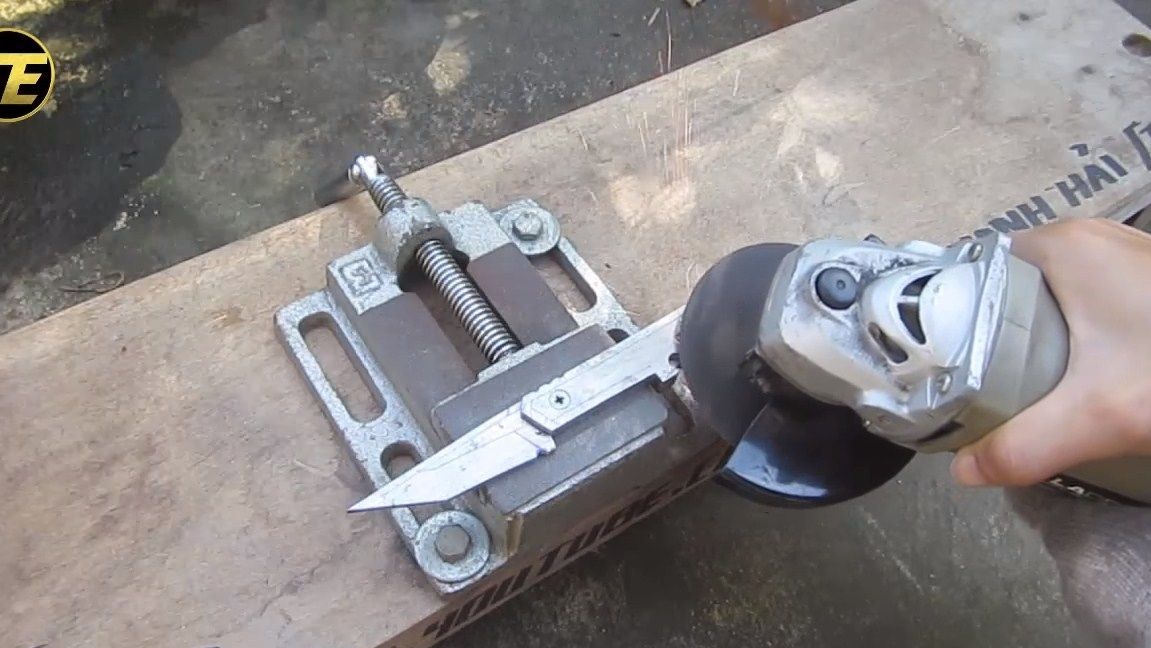
First we’ll assemble the handle, for this you need to tighten the two screws properly. Next, hold the knife in a vice and walk along the contour with a grinder with a grinding disc. As a result, we will make the pads and the blade as a whole. You can also grind the planes and screw caps a little.

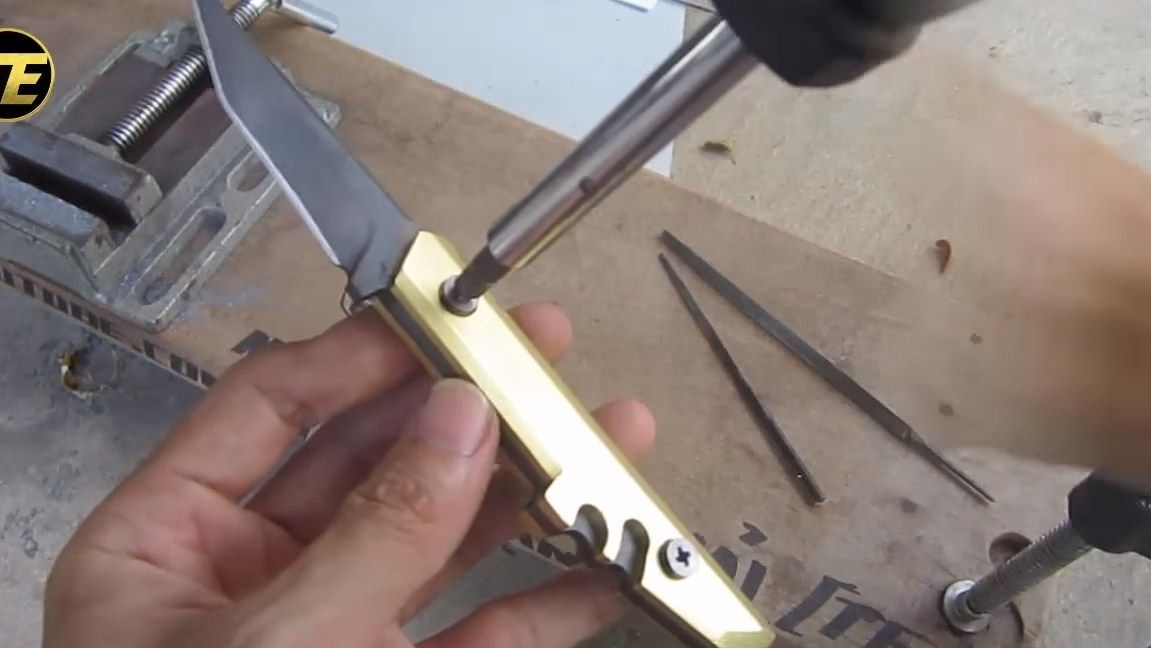
Step Eight. Handle revision
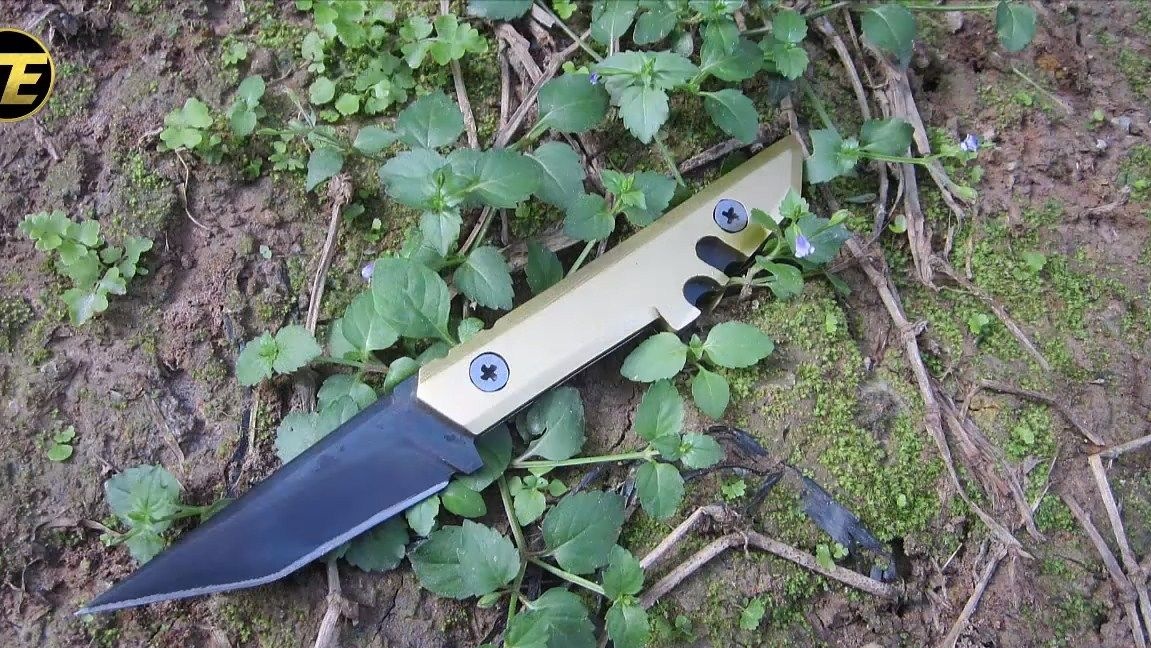
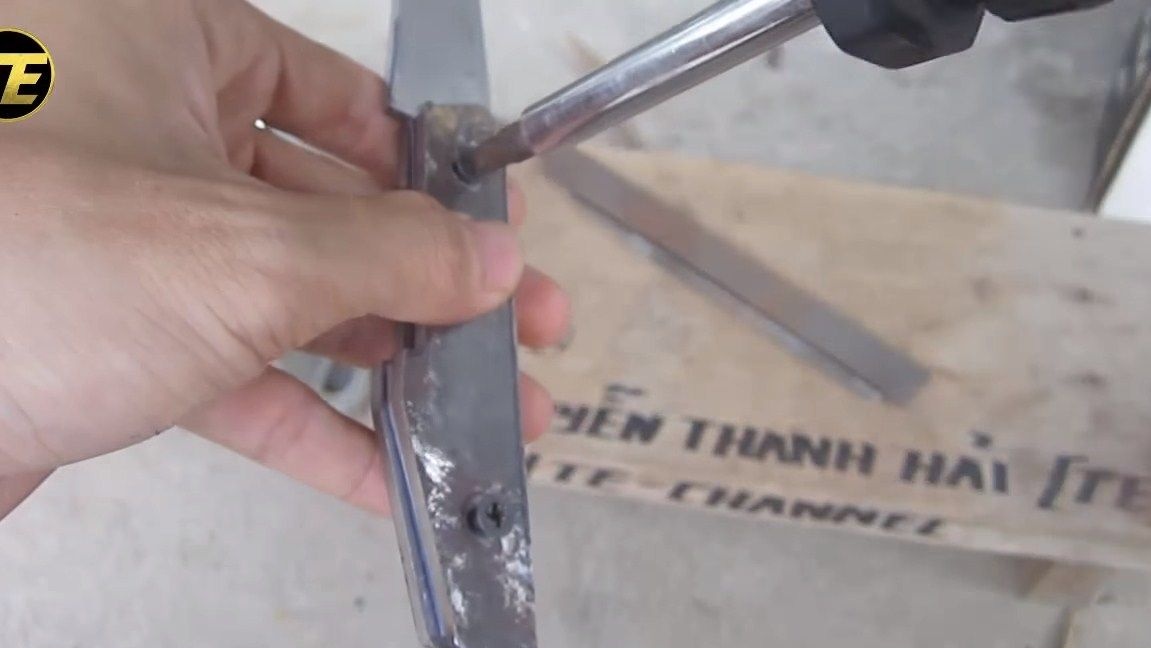
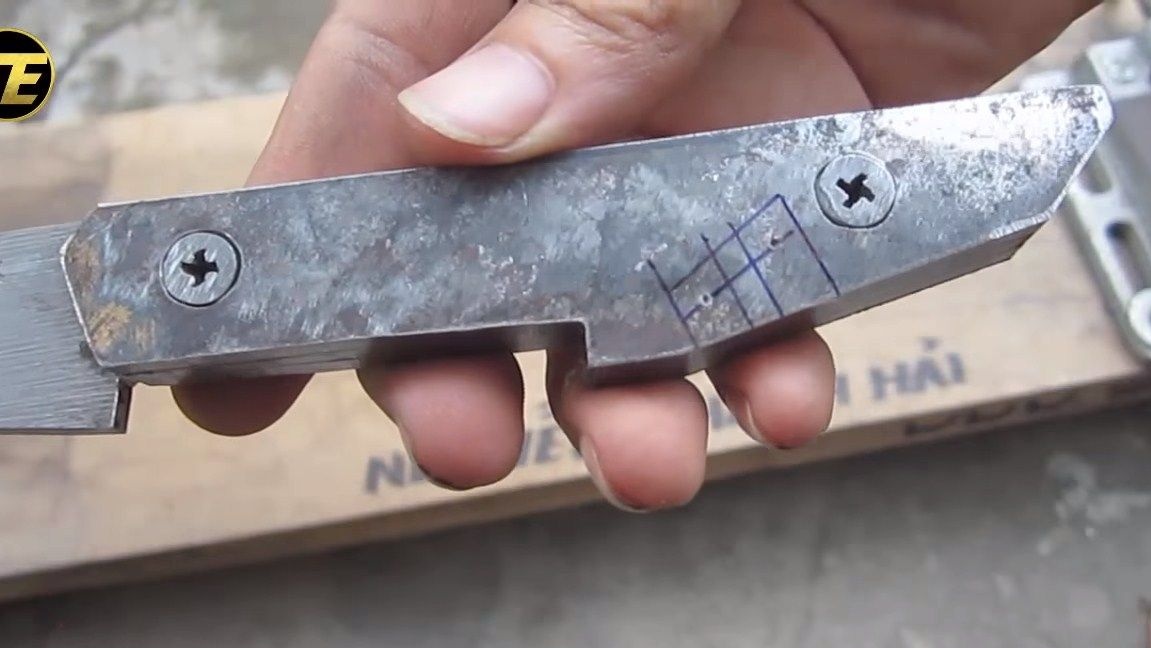
The author’s pen is quite interesting, it has various grooves, recesses and other details, thanks to which everything looks pretty interesting. First you need to make cuts in the overlays. To do this, unscrew the pads and then twist them together. Next, we outline the places and drill two holes. Well, then we grind the grooves to these holes with a file or cut it with a grinder. In the handle of the blade, the author also made small grooves using a round file.
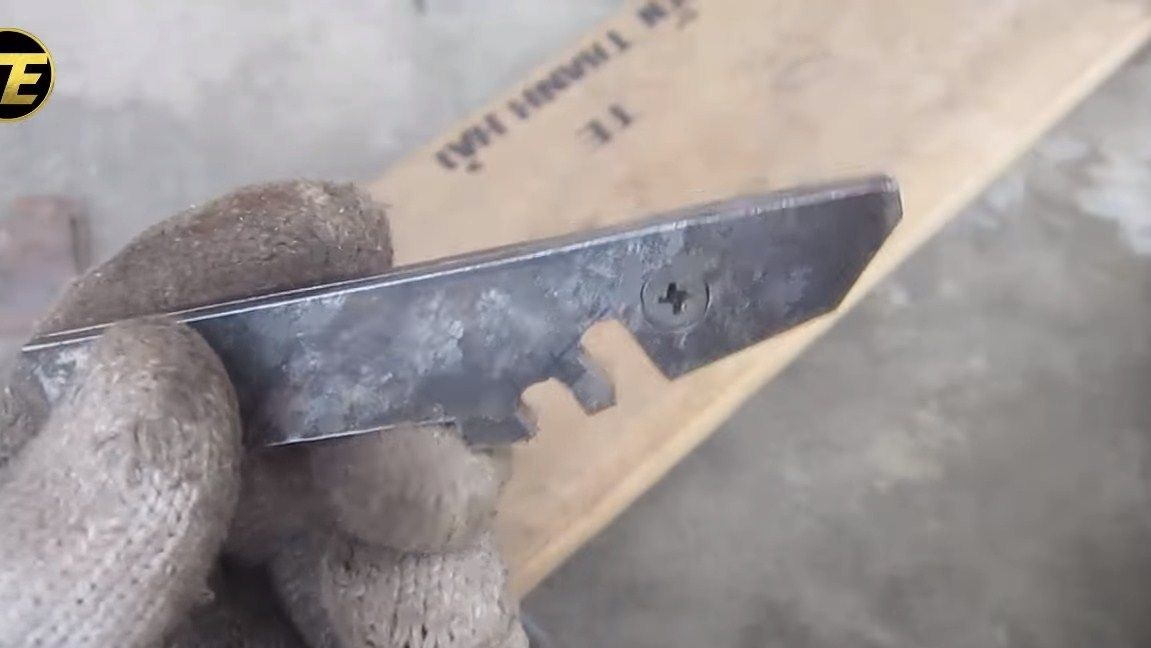
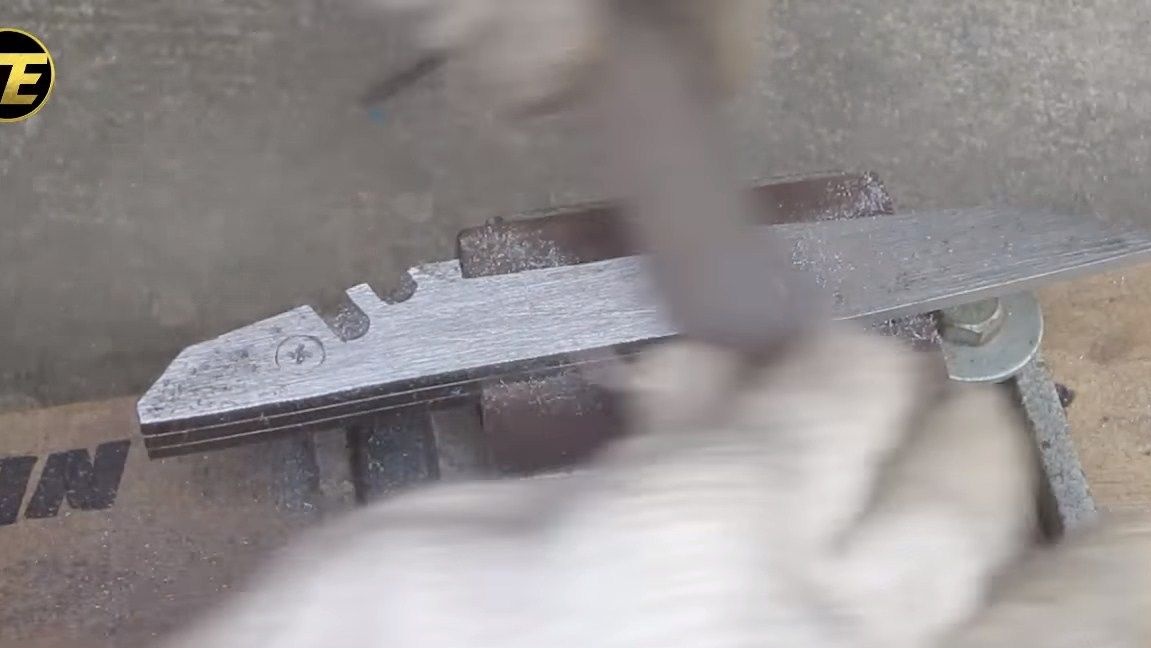


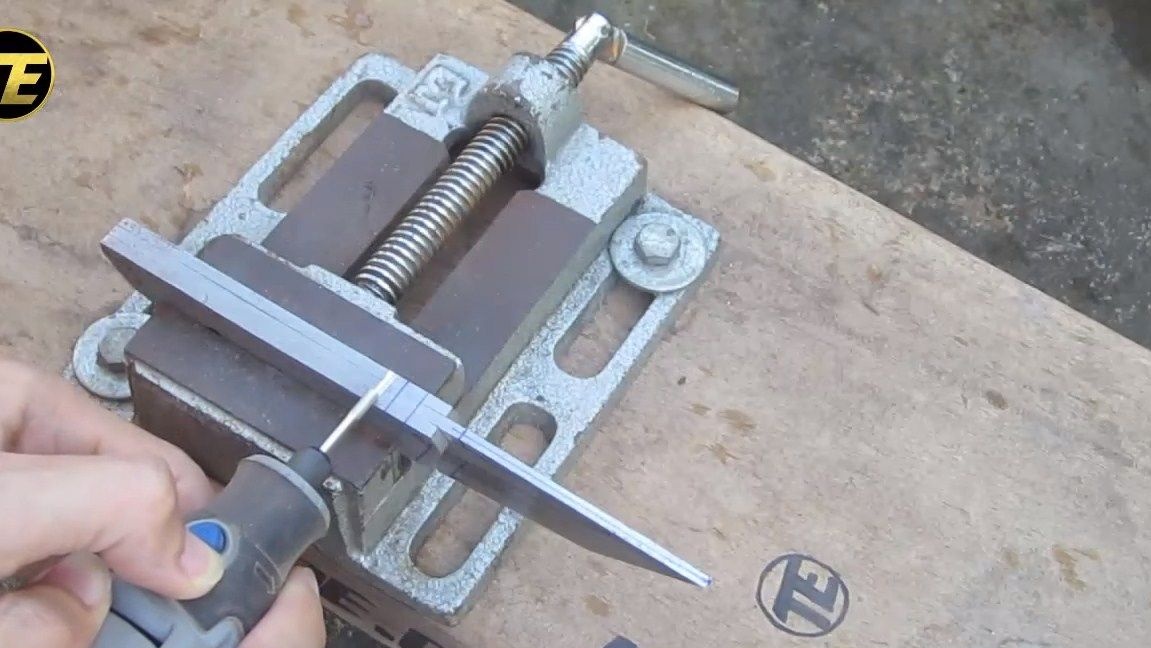
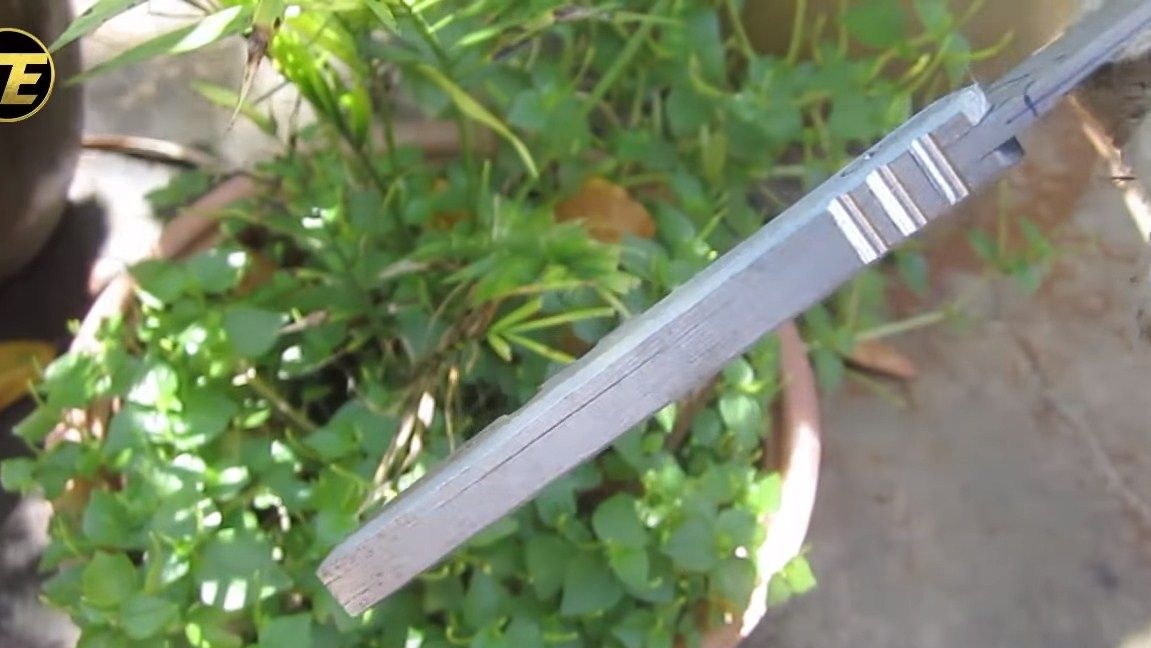
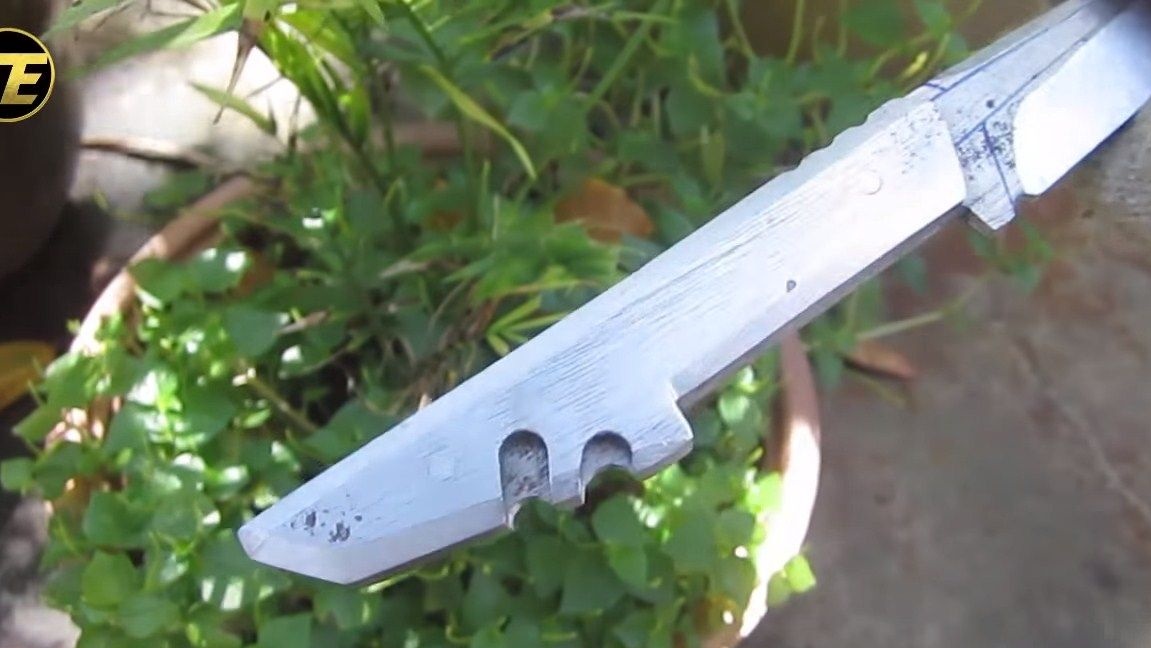
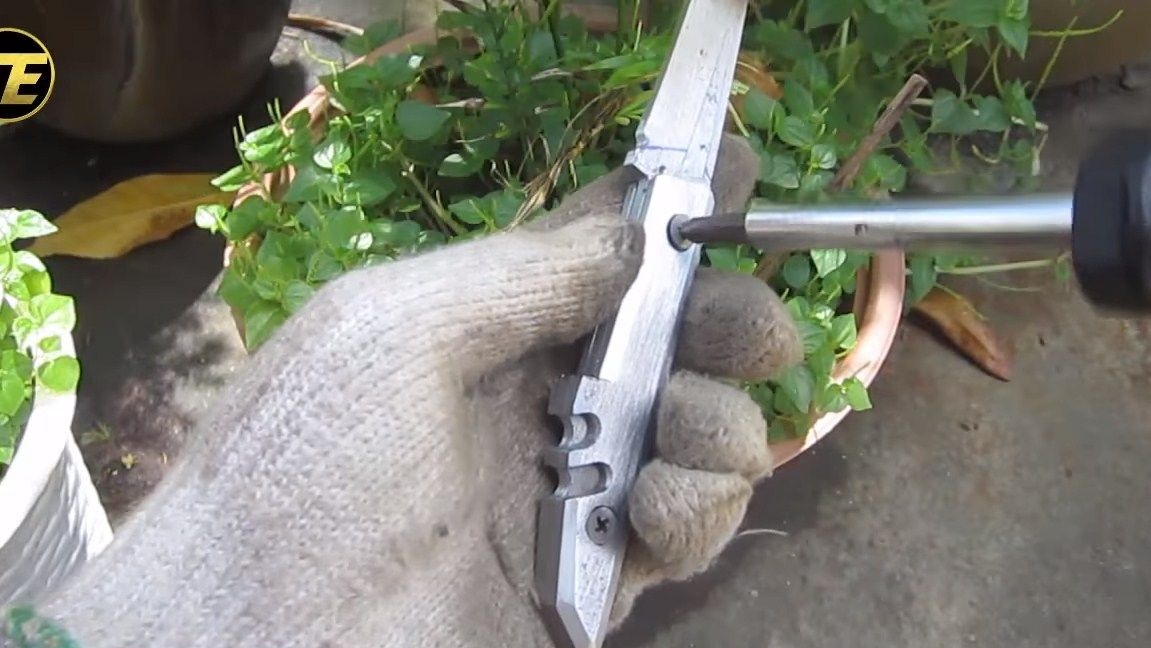
Next, we arm ourselves with compasses and make marks that will make it possible to make bevels on the handle, as well as the blades. At the top of the handle there are grooves, their author makes using a drill. As for the bevels, they are neatly made with metal files.
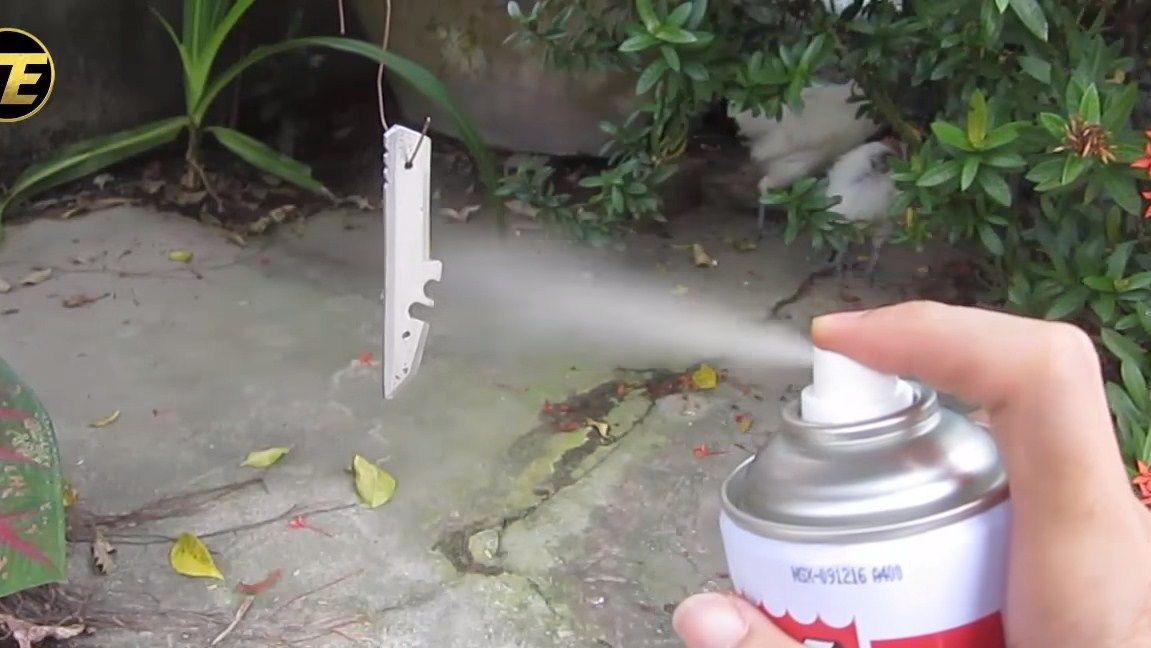
Step Nine. Lining Finishing
Finishing the knife linings is to paint them. The paint will protect the metal from rust, and everything looks pretty pretty. The author decided to choose a golden color in the spray can. The paint should be good, however, the pads can always be unscrewed and repainted. Before painting, carefully clean the metal and degrease, you can use acetone. Apply several layers so that the coating is of high quality.
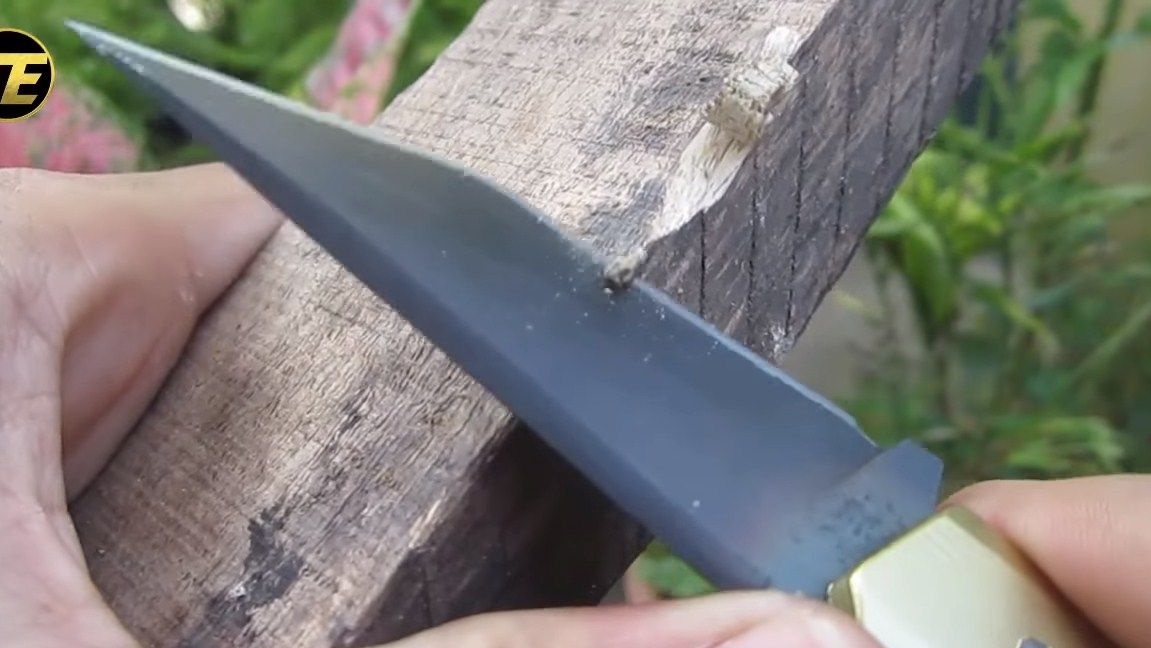
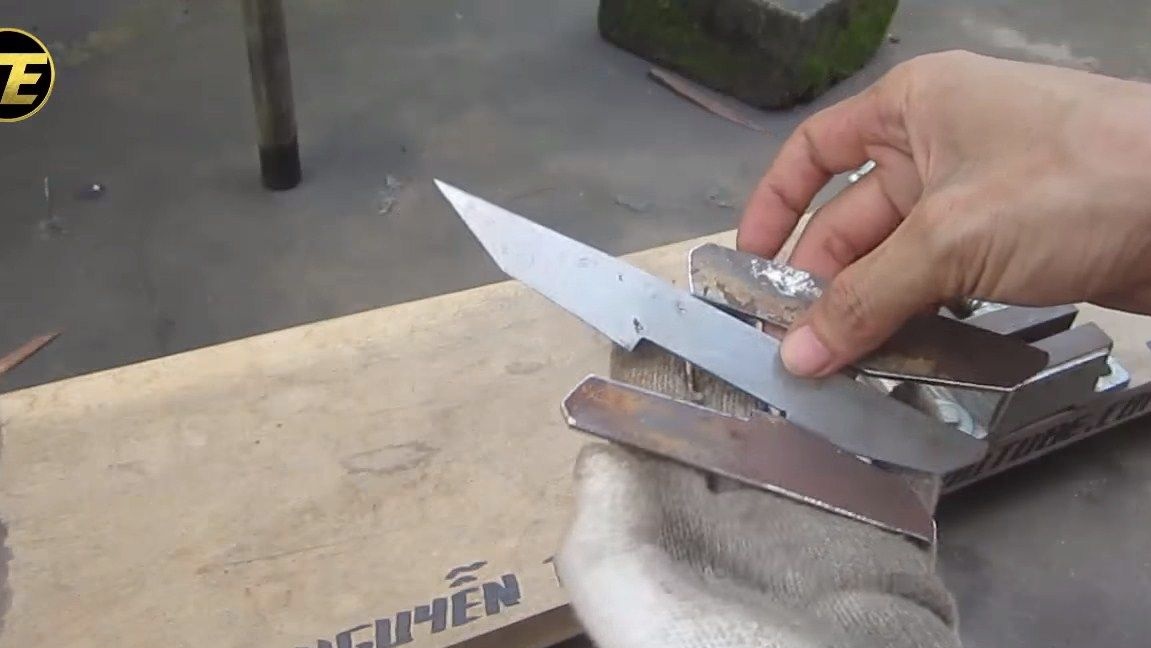
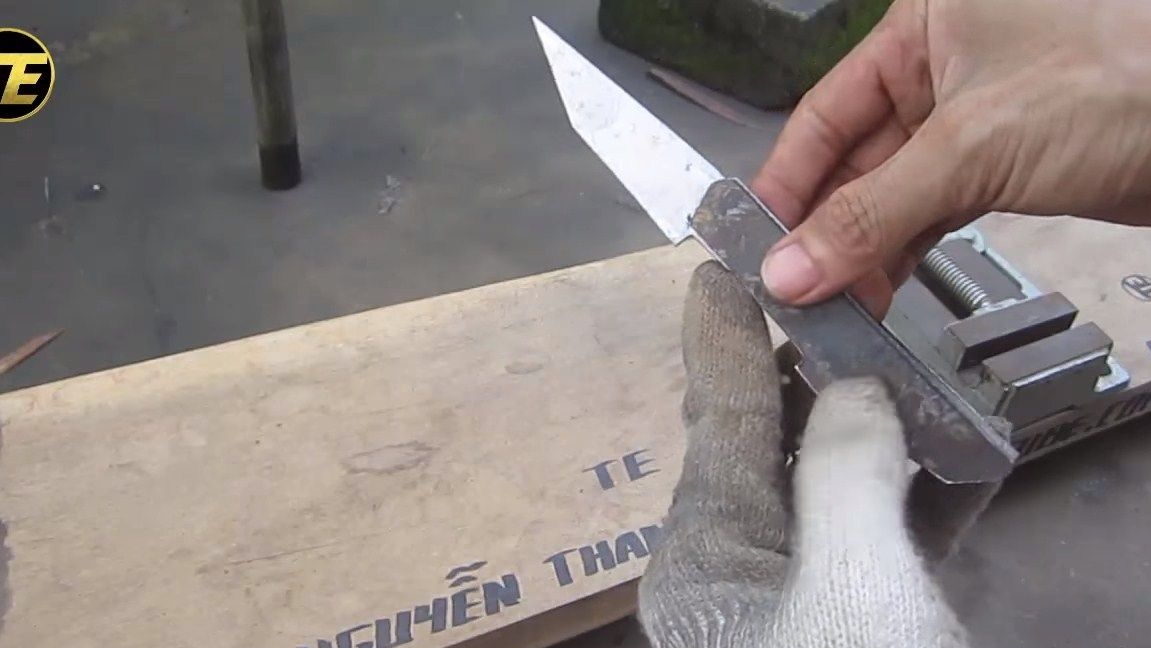
Step Ten Blade finishing
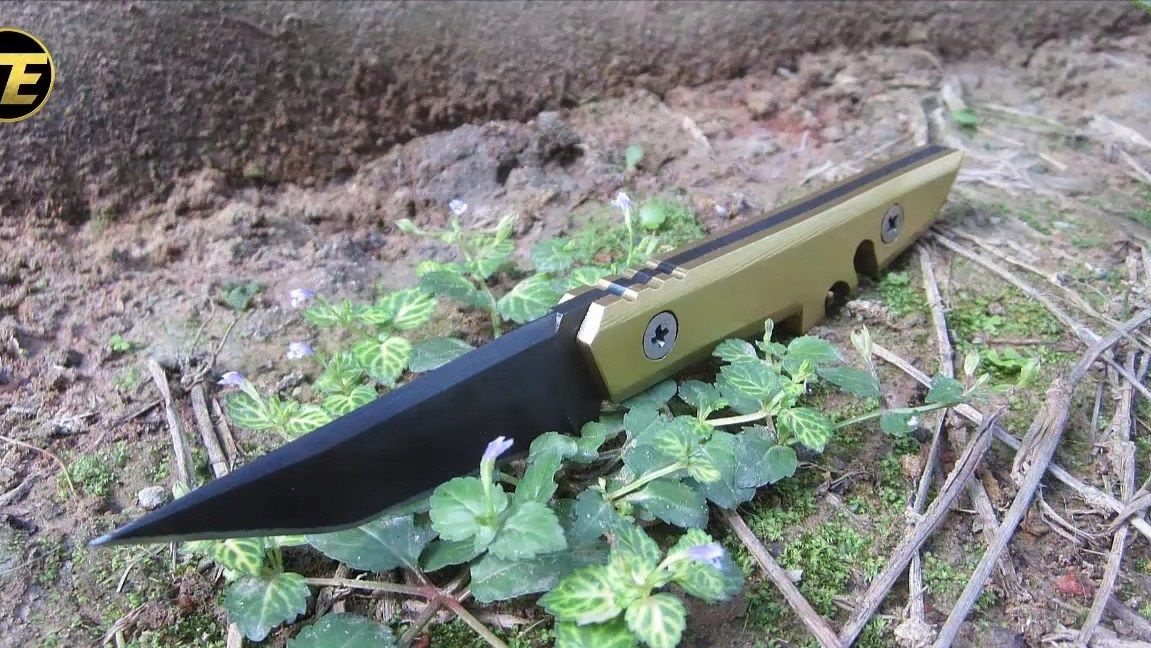
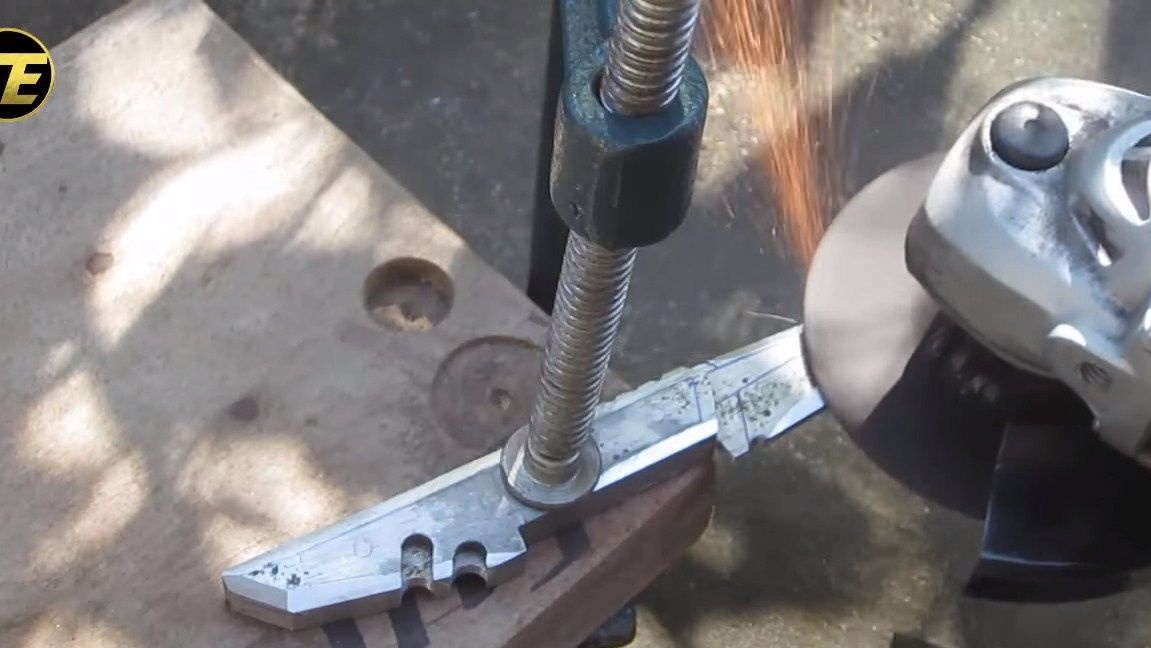
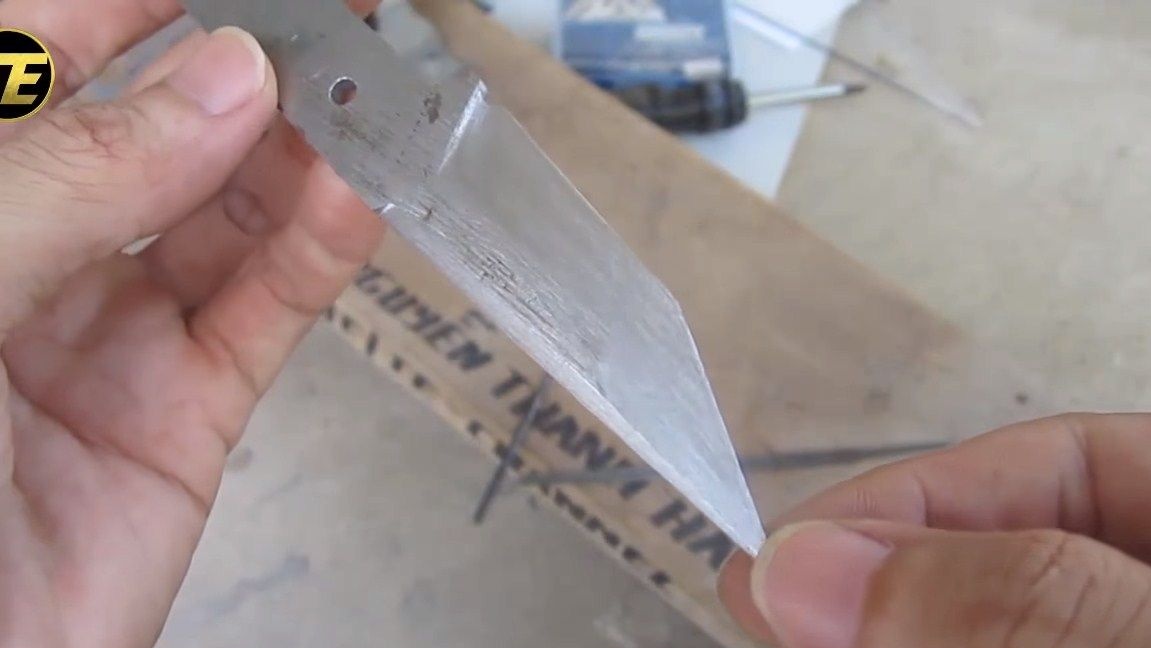
Next, we proceed to finalize the blade, we need to form bevels on the blade. The author does this manually using metal files.If you want to remove a thick layer, you can use a grinder with a grinding disk, but here you need to have experience, since the blade can be easily ruined. Finish off by sanding the blade to remove deep scratches from the file.
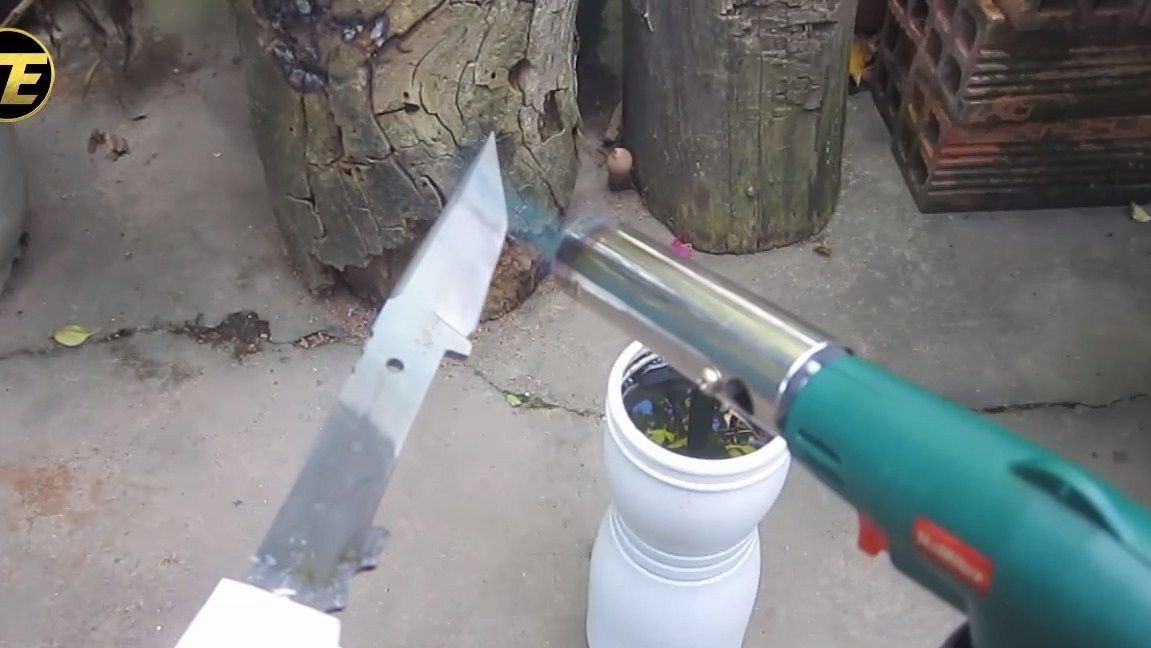
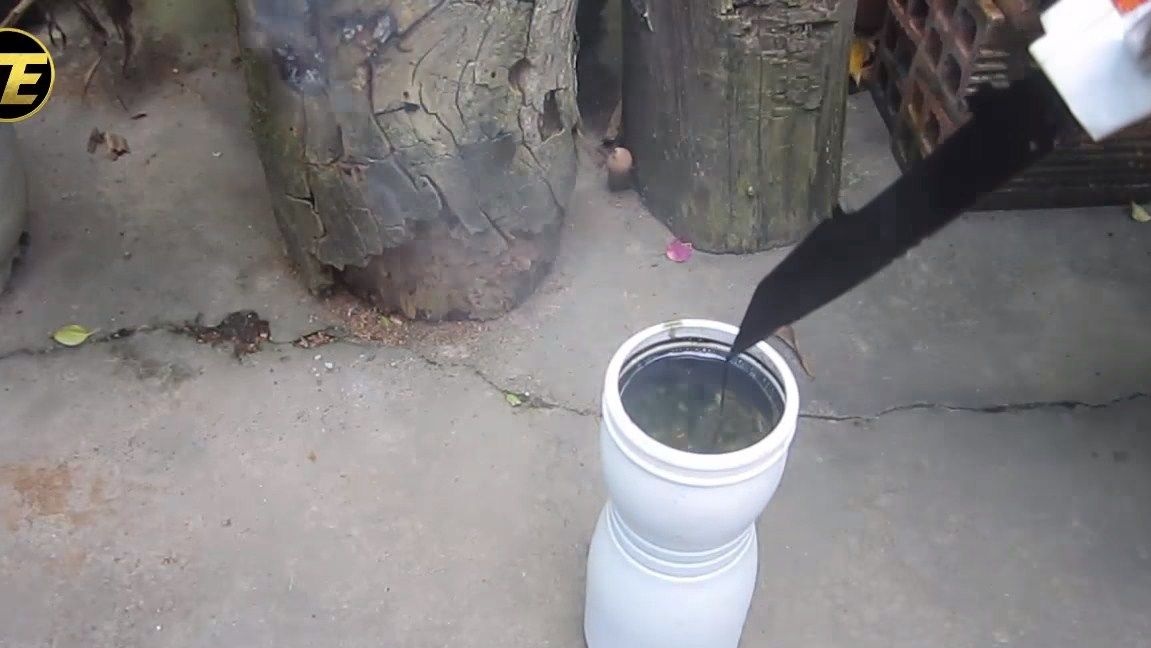
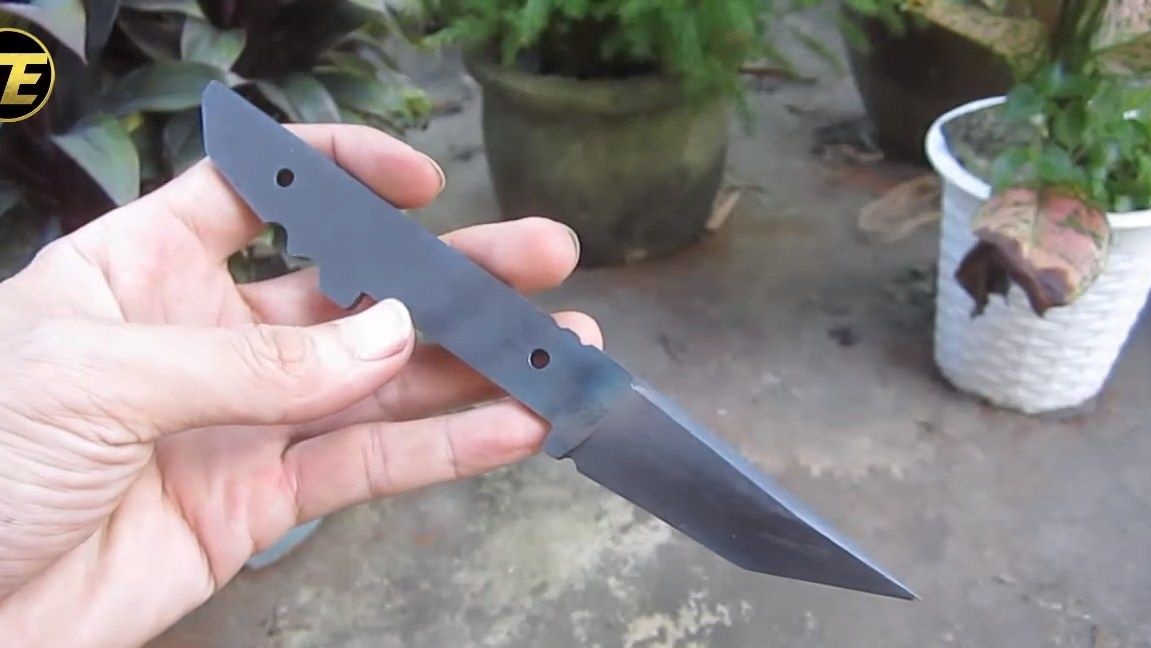
At the end, we harden the blade. To do this, the author heats it with a gas burner and immerses it in oil. In general, each grade of metal is tempered at a different temperature and in a different environment. After warming up, the metal turns black, this coating does not need to be cleaned, it is durable and will protect the steel well from rust. After hardening, sharpen the blade. If the metal is hardened, it will be very difficult or even impossible to make a file, you will need grinding stones.
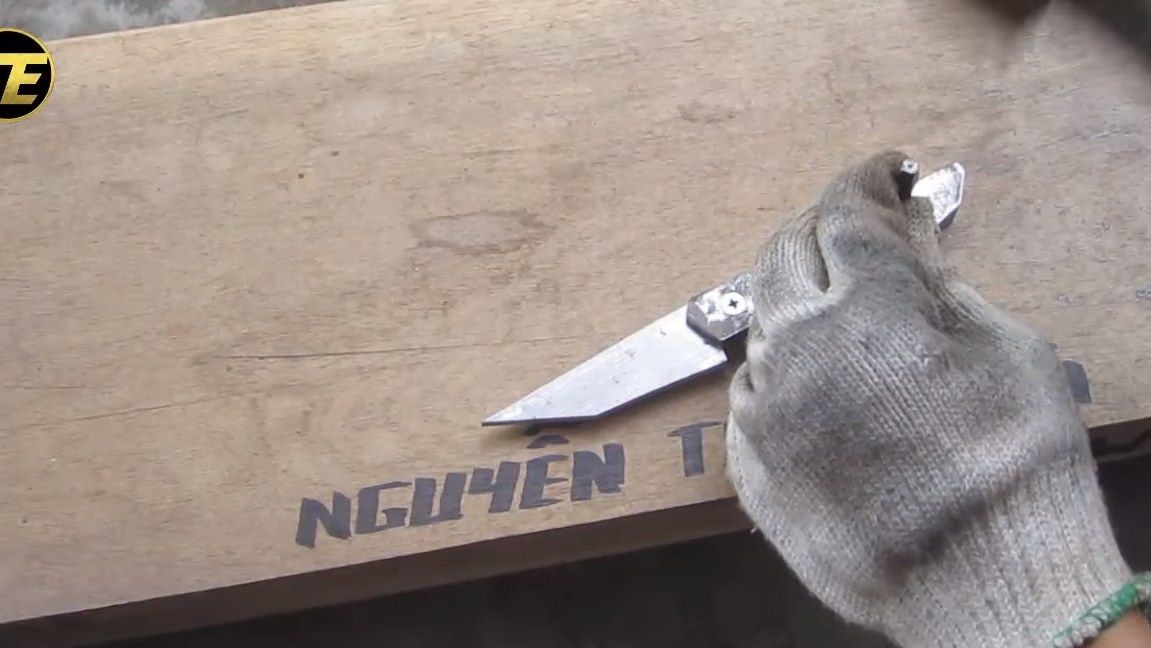
That's all, the knife is ready, it remains to fasten the pads to it using screws. I hope you enjoyed the project, good luck and creative inspiration!