

Hello to fishermen and hunters, I present to your attention a strong, beautiful, high-quality knife that you can make do it yourself. Such a knife will be a great friend for you on tourism, hunting, fishing and other similar events. Despite the fact that the knife looks very high quality, it is not so difficult to do it yourself. You will need a minimal set of tools for this, it will be most difficult to grind and polish if you do not have a grinder, grinder and so on.
But to make the knife strong and high-quality, you need to choose good steel for it. Unfortunately, the author did not indicate which steel grade he used. But nowadays you can buy a blank for a knife of any steel grade. The most important thing is that the steel has in its composition a sufficient amount of carbon for hardening. By the way, good steel is used in old Soviet files, various cutters and other tools. So, we will consider in more detail how to make such a wonderful knife!
Materials and tools used by the author:
Material List:
- carbon steel for the blade;
- wood for linings;
- sheet brass for the handle;
- brass or steel pins;
- epoxy adhesive.
Tool List:
- belt sander;
- orbital sander;
- Bulgarian with cutting and grinding discs;
- grinder;
- drill or drilling machine;
- drill;
- hammer;
- sandpaper;
- Japanese water stone or other sharpening tool;
- forging furnace and hardening oil.
The process of making a knife:
Step one. Cut the main rough profile
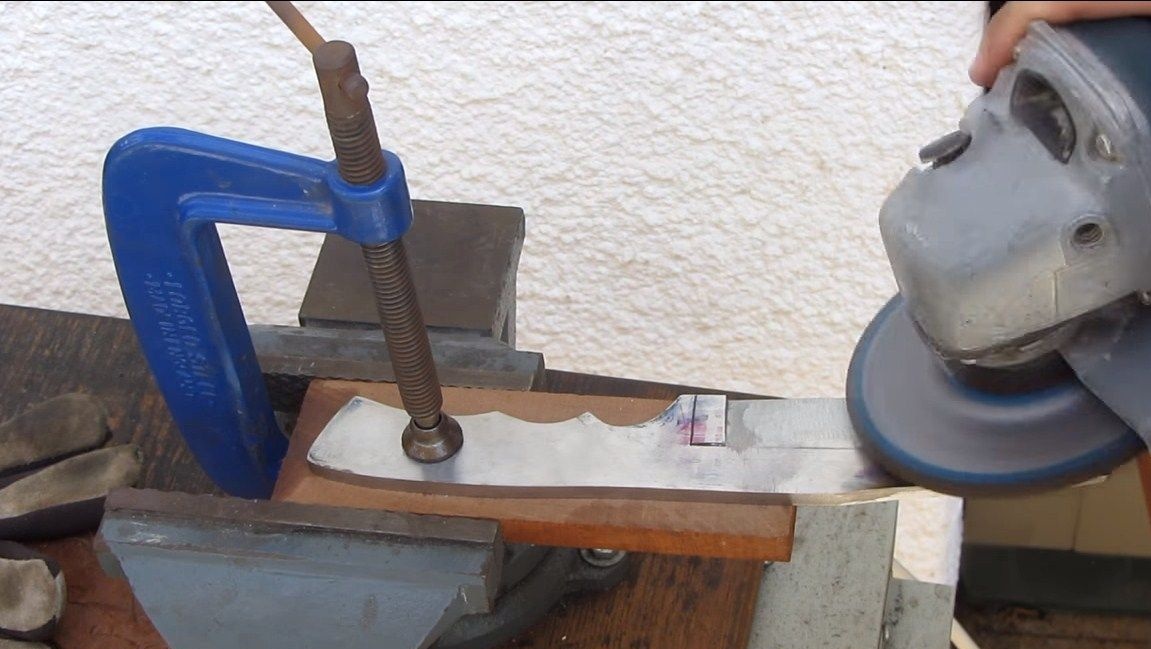
To get started, prepare the source material and apply a template to it. A ready-made template can be found on the Internet, for example, there are quite a lot of them on Pinterest. Scale the image properly and print to the printer, then cut it out. You can cut out a template from cardboard, it will be enough for a long time, and you can also hold such a template in your hands and figure out what the future knife will look like.
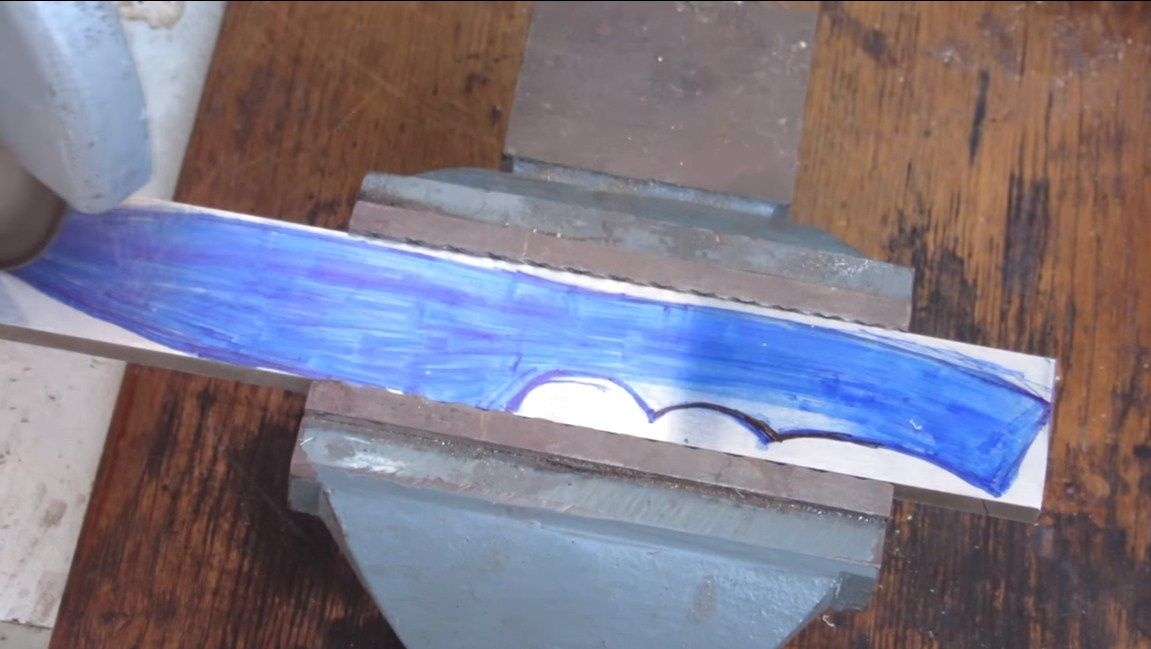
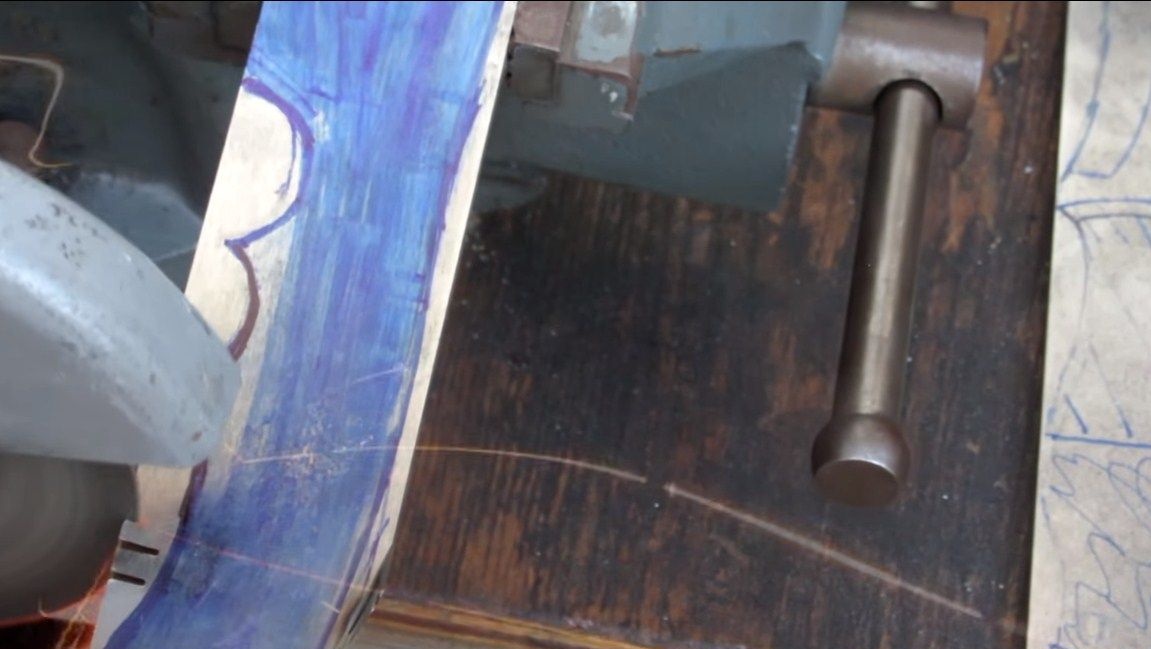
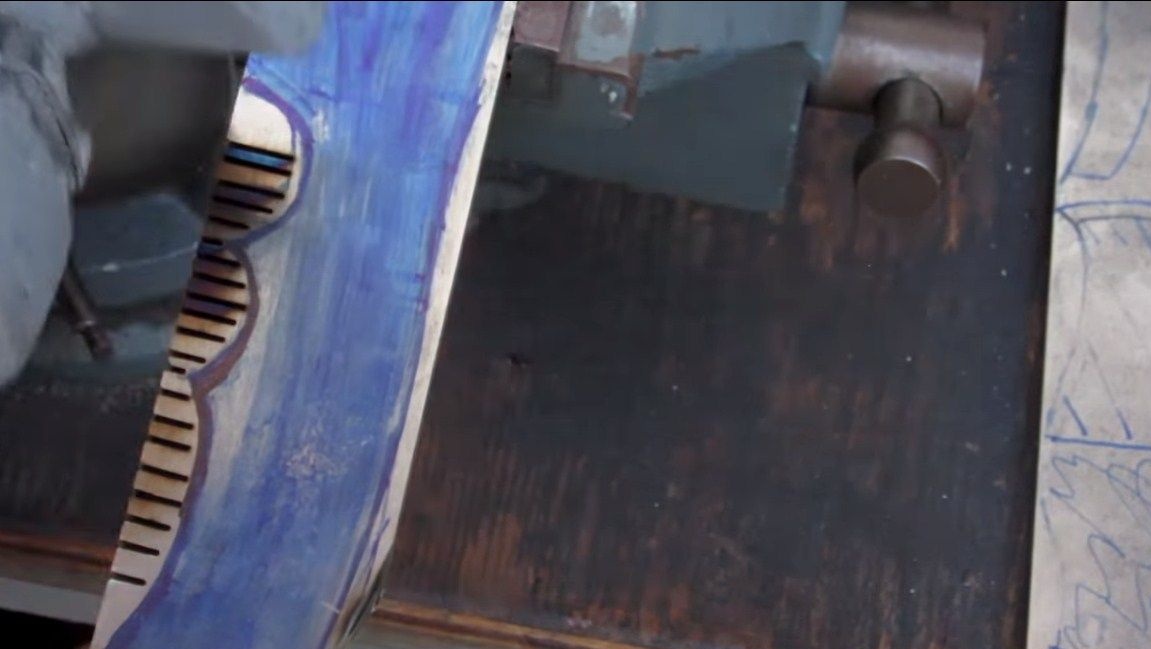
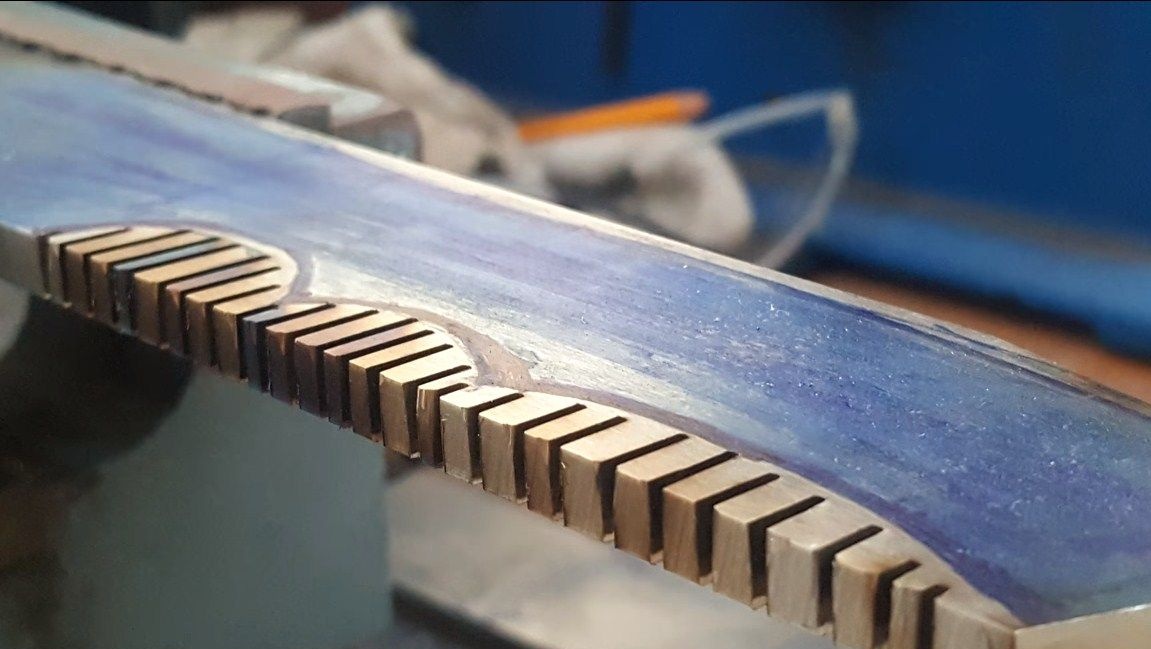
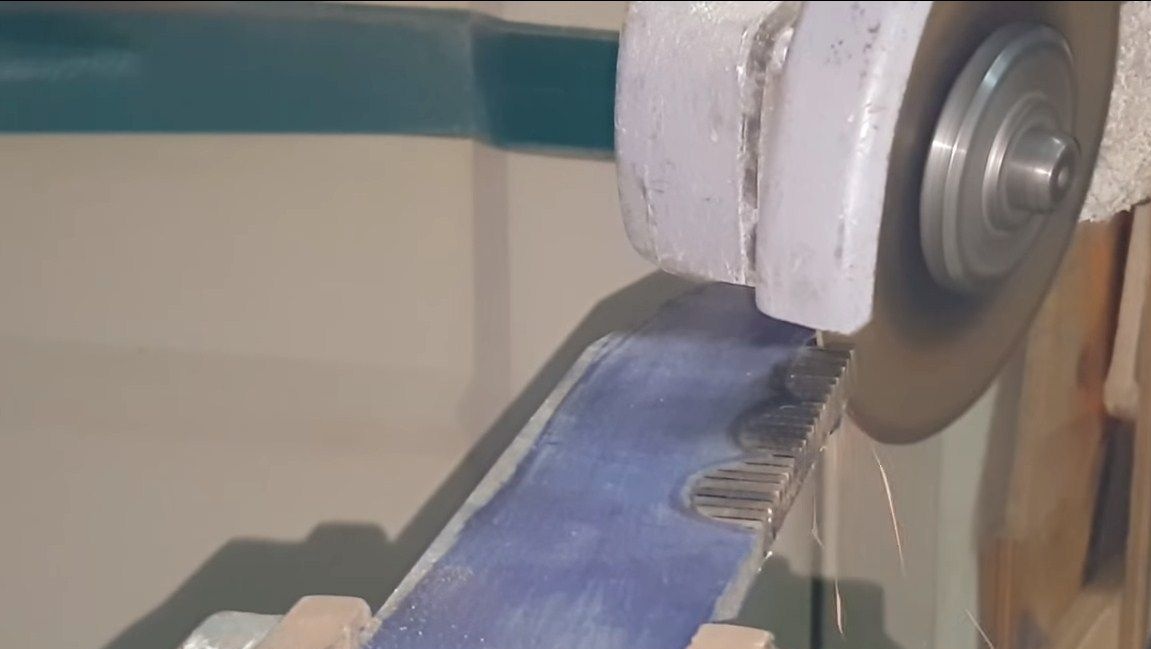
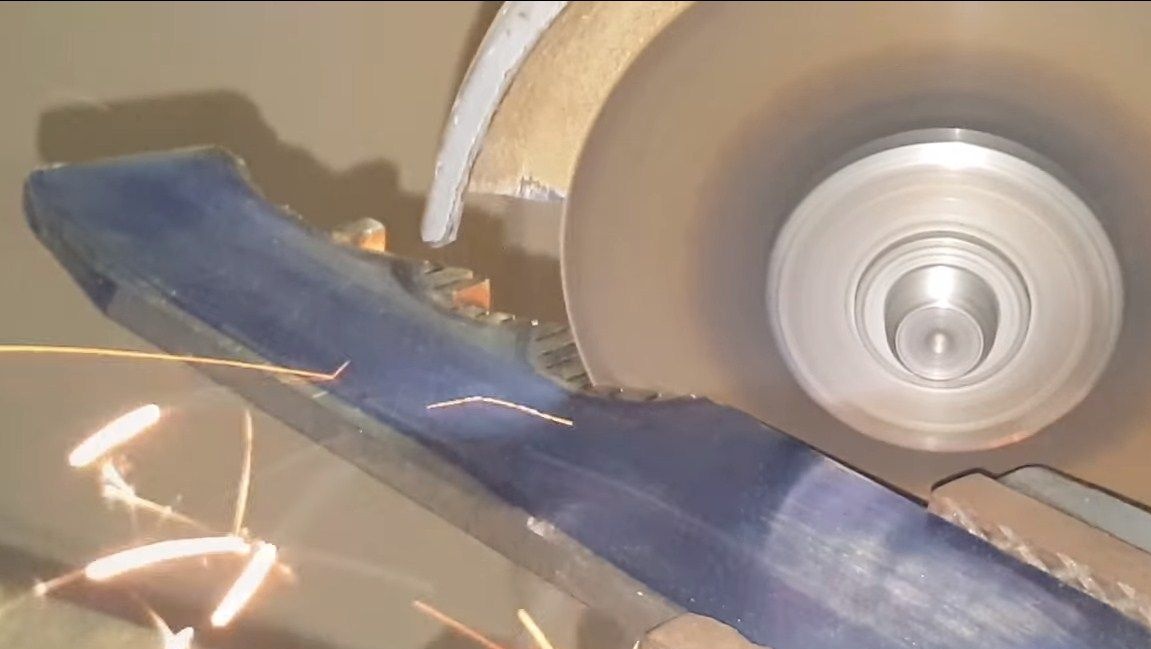
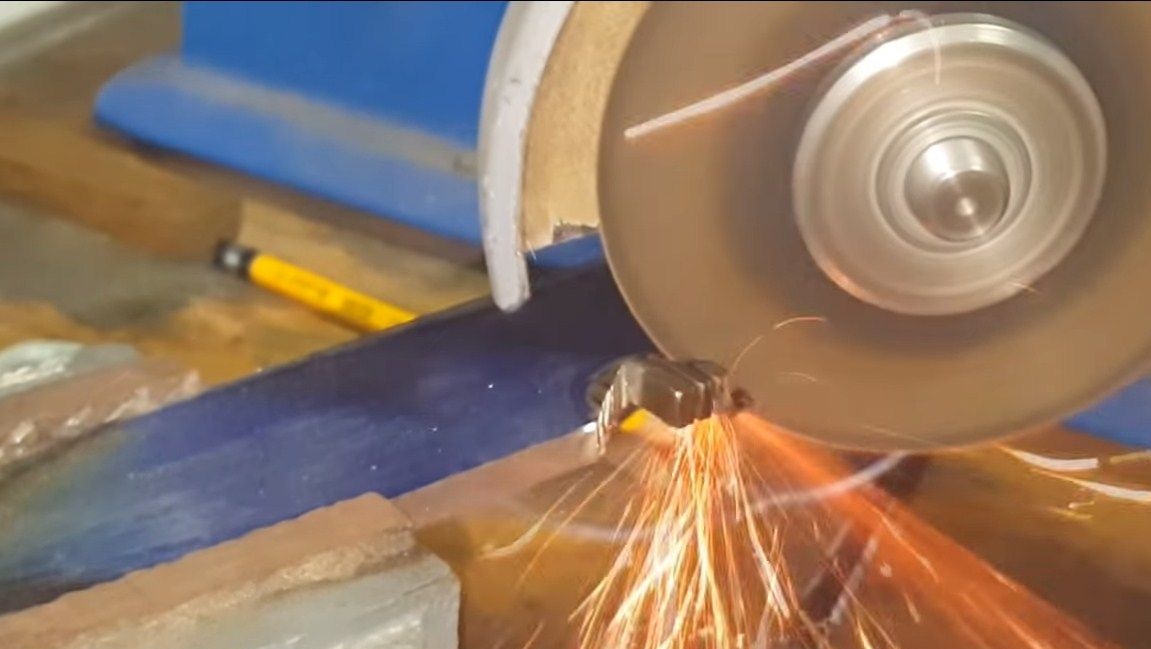
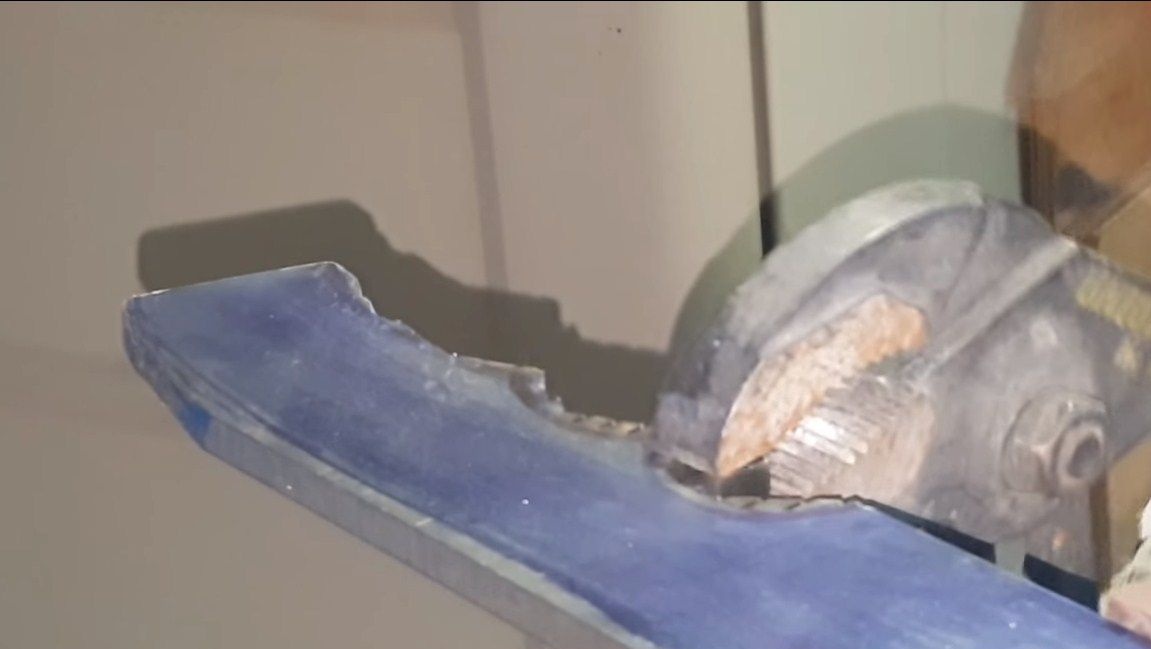
Next, transfer the template to the workpiece. For convenience, the author painted over the “body” of the knife in green. If the template is made of paper, it can simply be glued to the workpiece. We proceed to cutting, for these purposes the author used the usual grinder. The workpiece is securely fastened with a clamp.With straight lines, problems should not arise, but with bends you will have to try. To cut the bends, make a series of transverse slots. After that, you can cut pieces of metal into sectors. Of course, there will be a lot of uncircumcised metal, but now it can be easily removed.
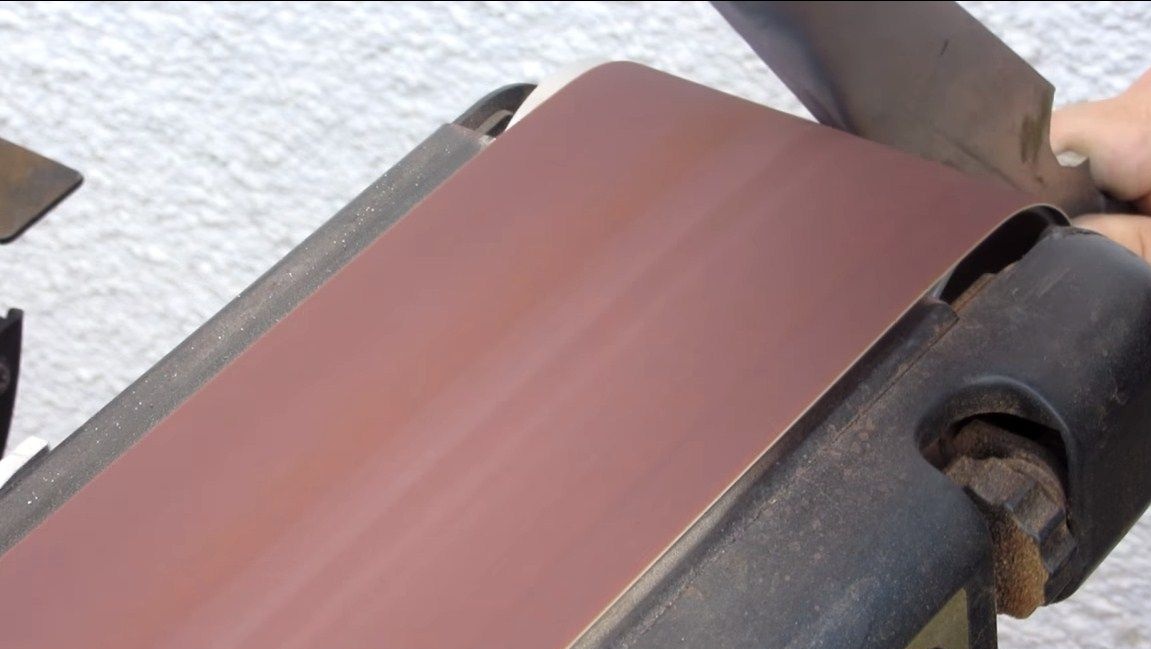
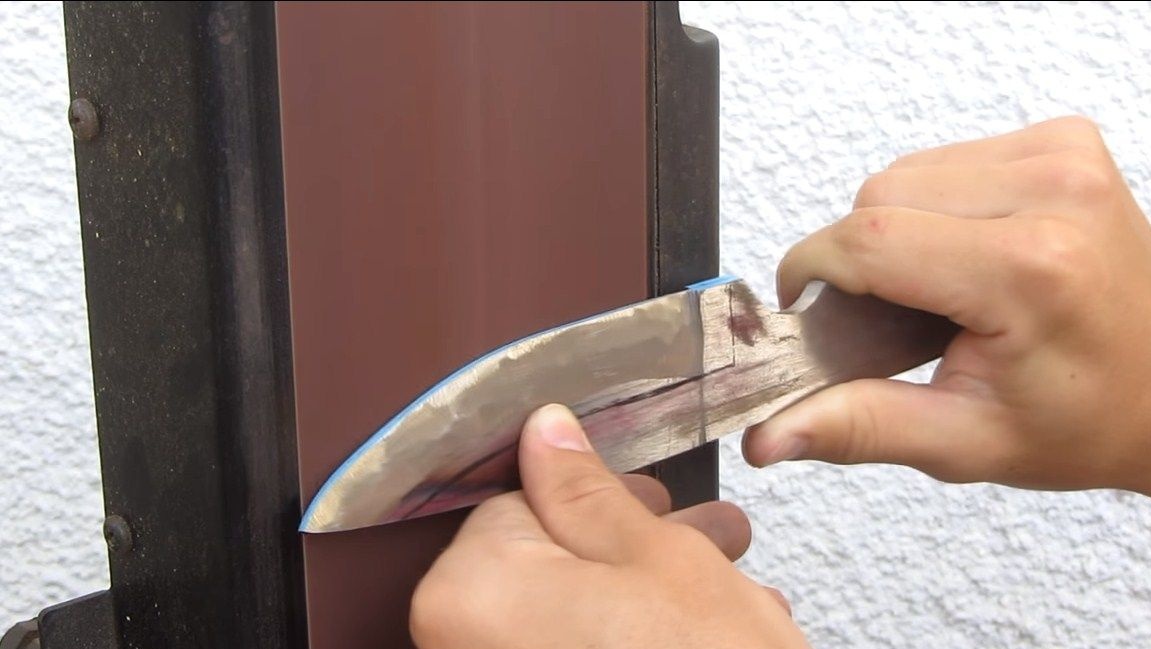
Step Two Primary grinding
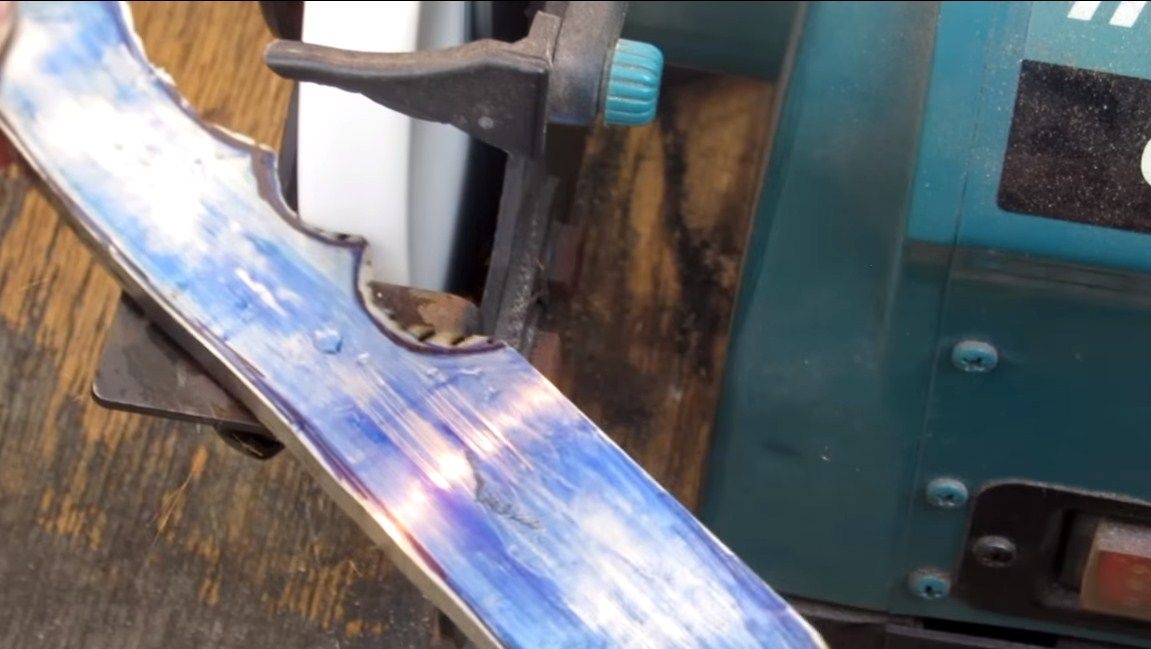
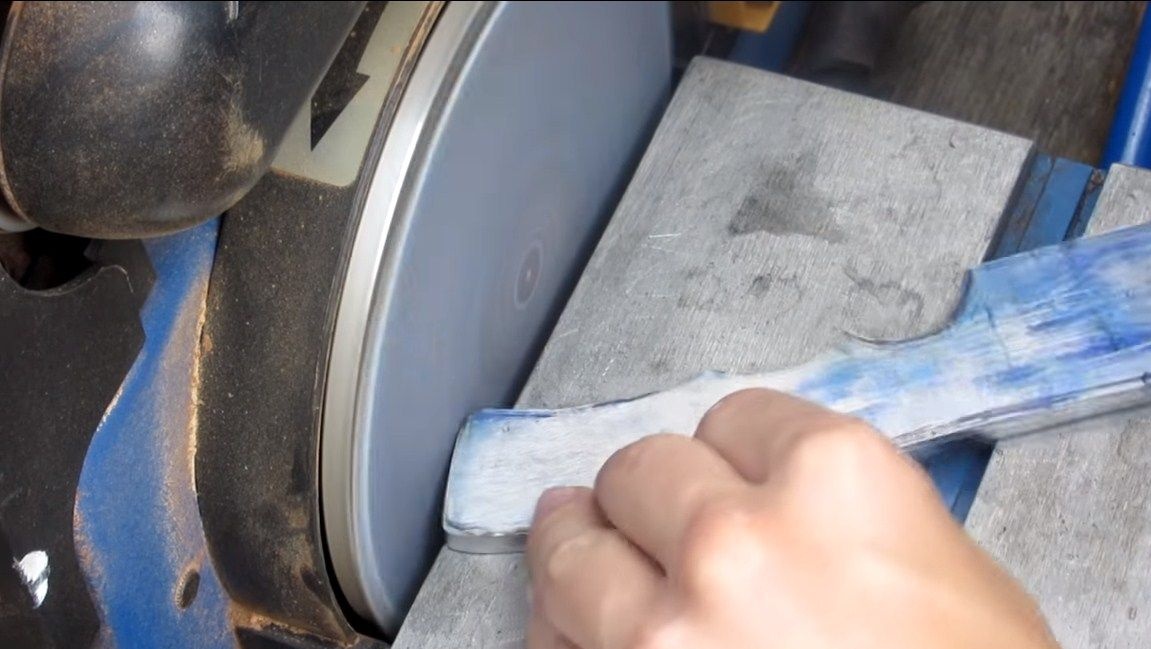
After cutting, we need to bring the outline of the blade to mind. For these purposes, we go with a knife to the grinder, remove all unnecessary. We also go around the contour on a belt sander. Bends can be easily machined with a drill with the appropriate attachment. Best of all, an emery paper nozzle handles this task.
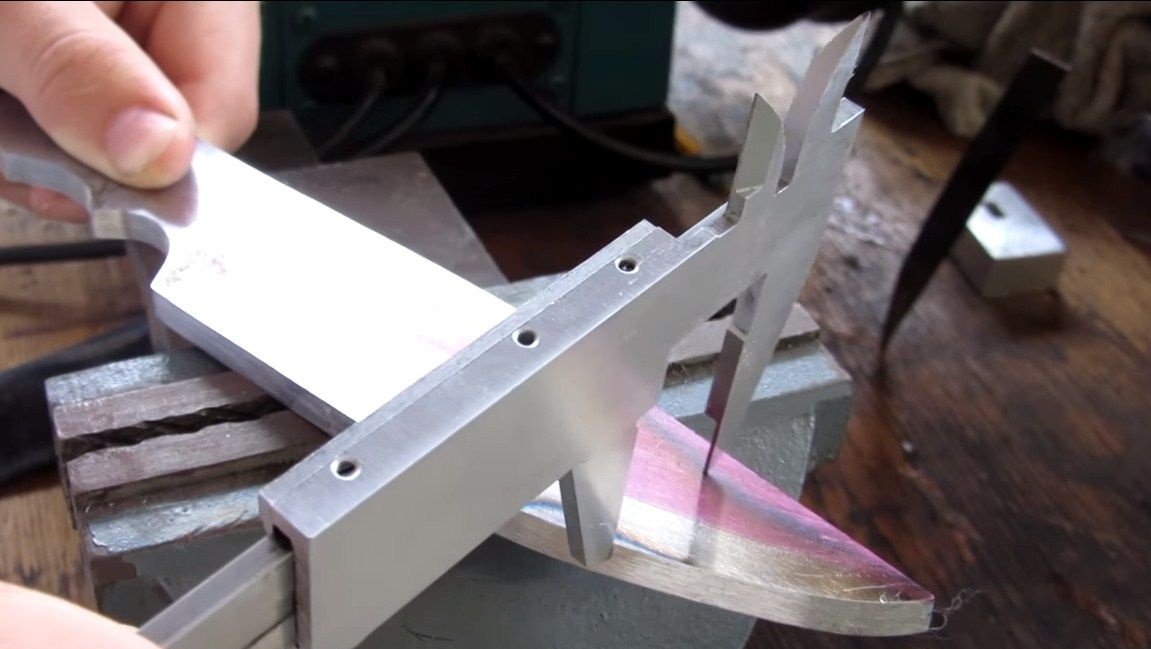
Step Three We form bevels
This is a very crucial moment in the processing of the blade. We need to form the bevels, that is, the angle of sharpening the blade. To begin, we do the marking, for this the author uses a caliper. It is also necessary to divide the future blade into two halves, so it will be very convenient for you to grind metal on both sides of equal thickness. This line is usually drawn with a drill of the same diameter as the thickness of the blade.
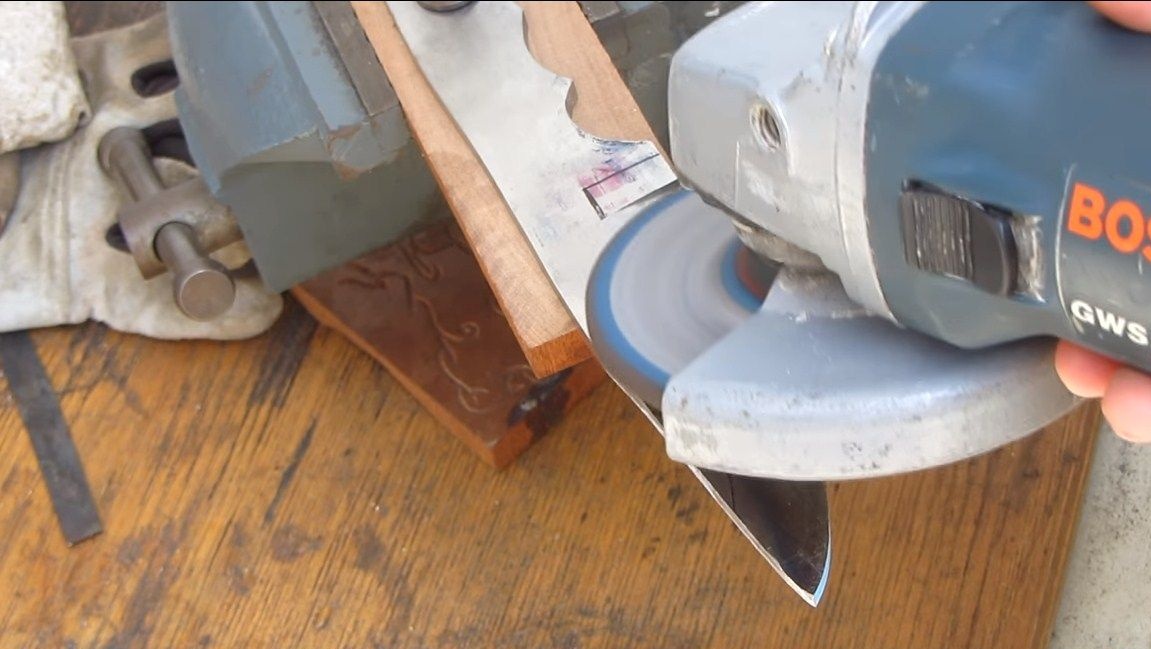
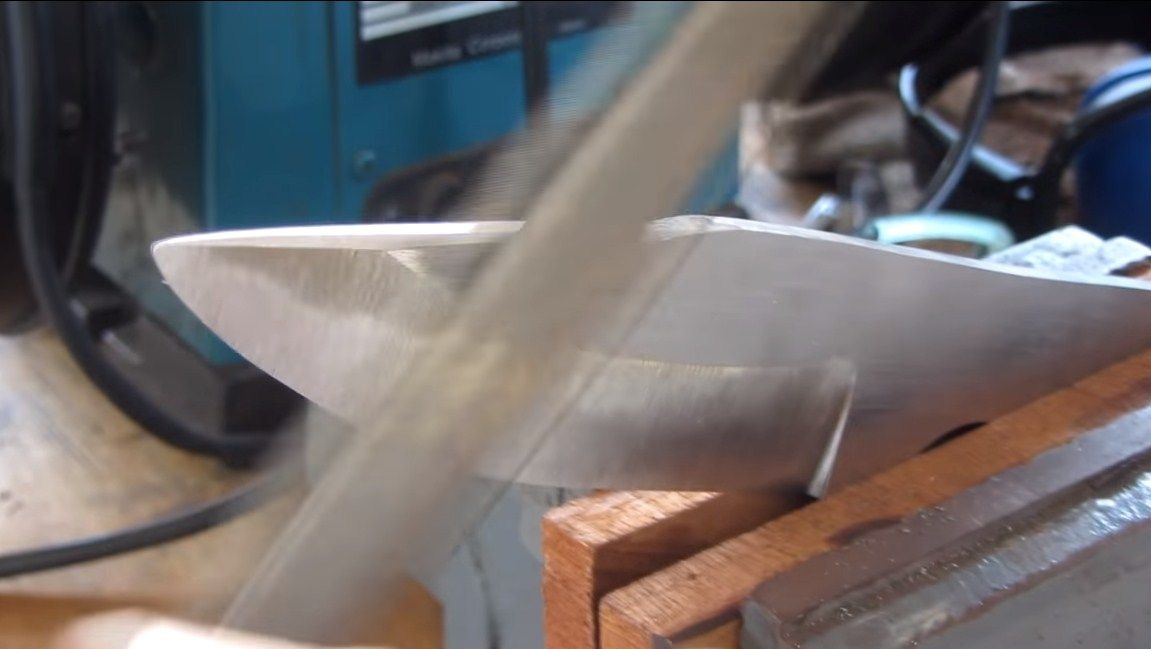
To get started, take a file and apply the end of the bevel on the blade. Well, then we arm ourselves with a grinder with a grinding nozzle and remove the excess metal. When everything is ready, we carry out finer processing on a belt sander. At the end, we go through the bevel with files, grind with sandpaper and polish if desired.
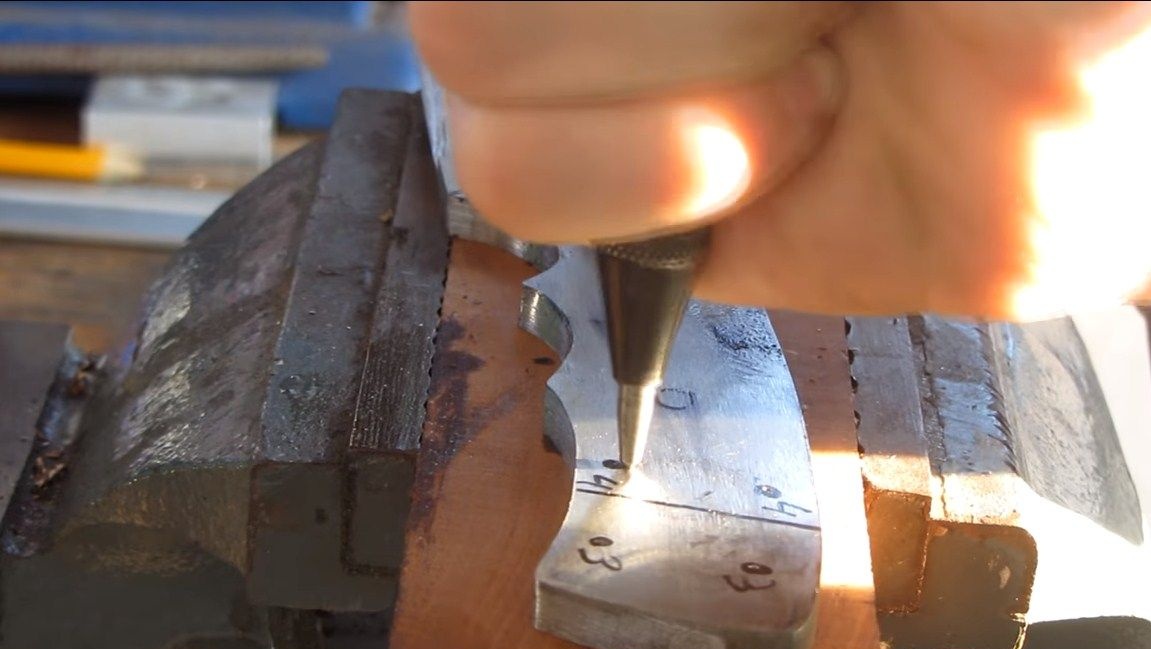
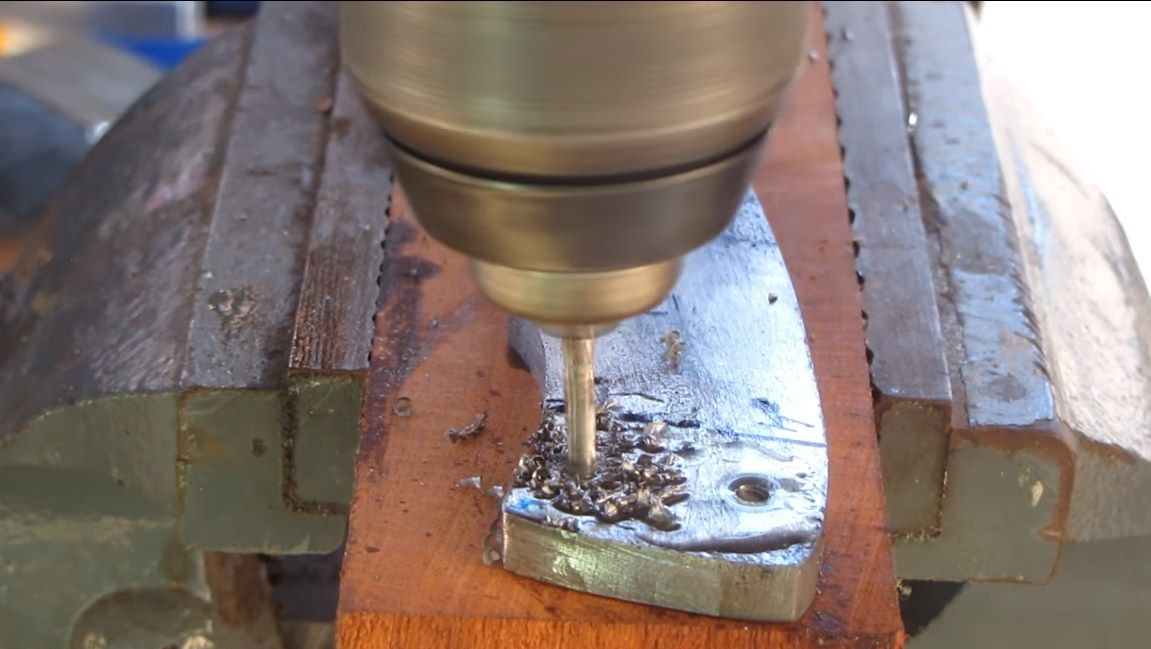
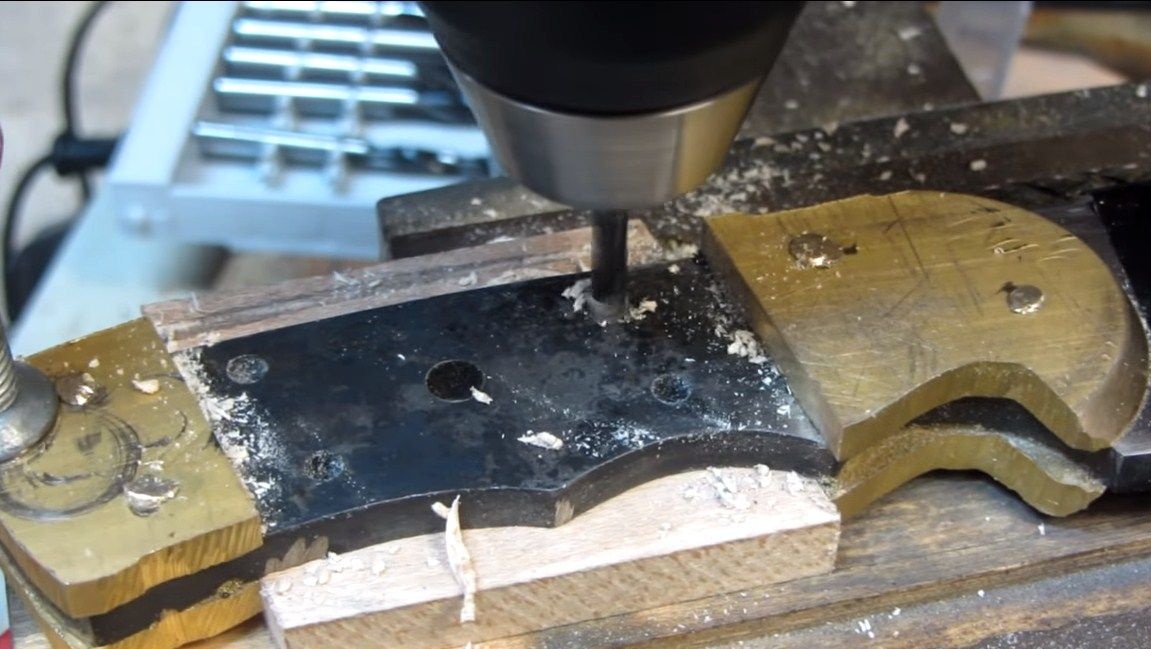
Step Four Drill holes
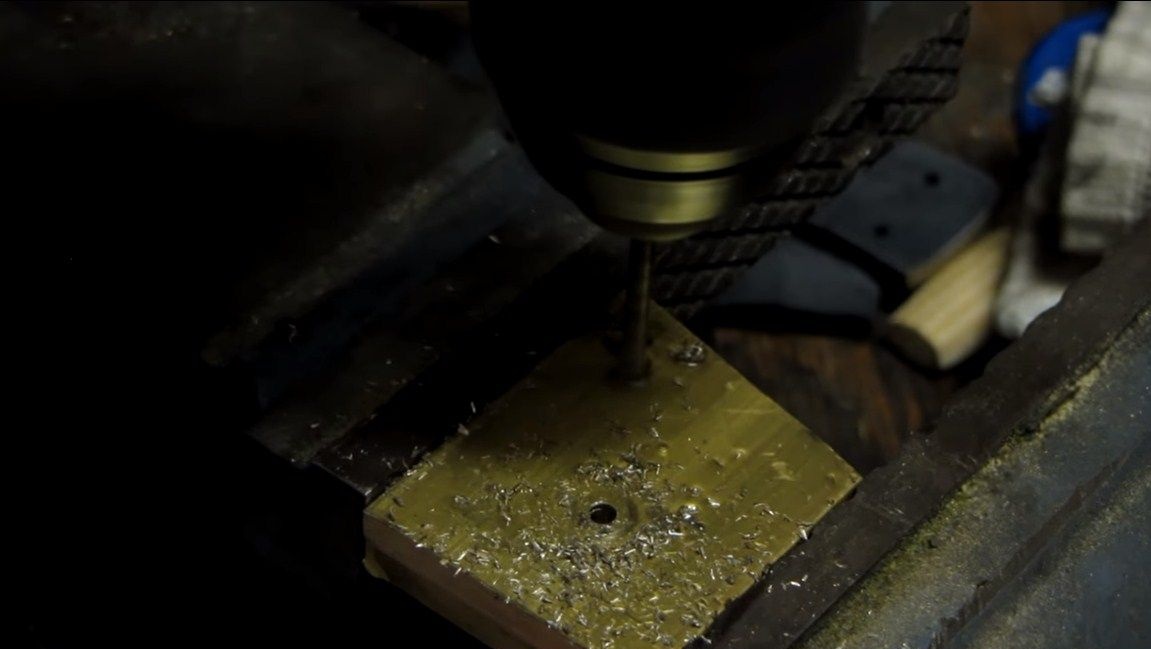
We drill holes for the pins in the handle of the blade. The wider the handle, the more pins to install. The author decided to install 5 pins. We outline places and drill holes. If the diameter of the holes is large, first use a small diameter drill. If the steel is hardened, a carbide tipped drill may be required to drill it. It is easier to drill steel if the drill is lubricated.
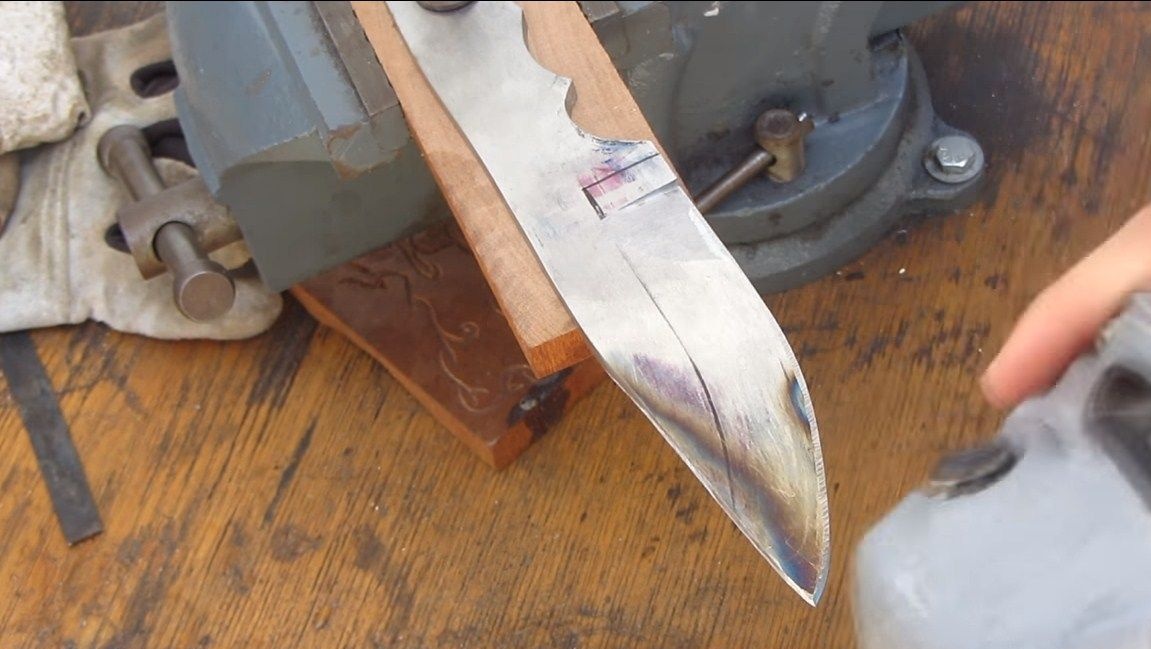
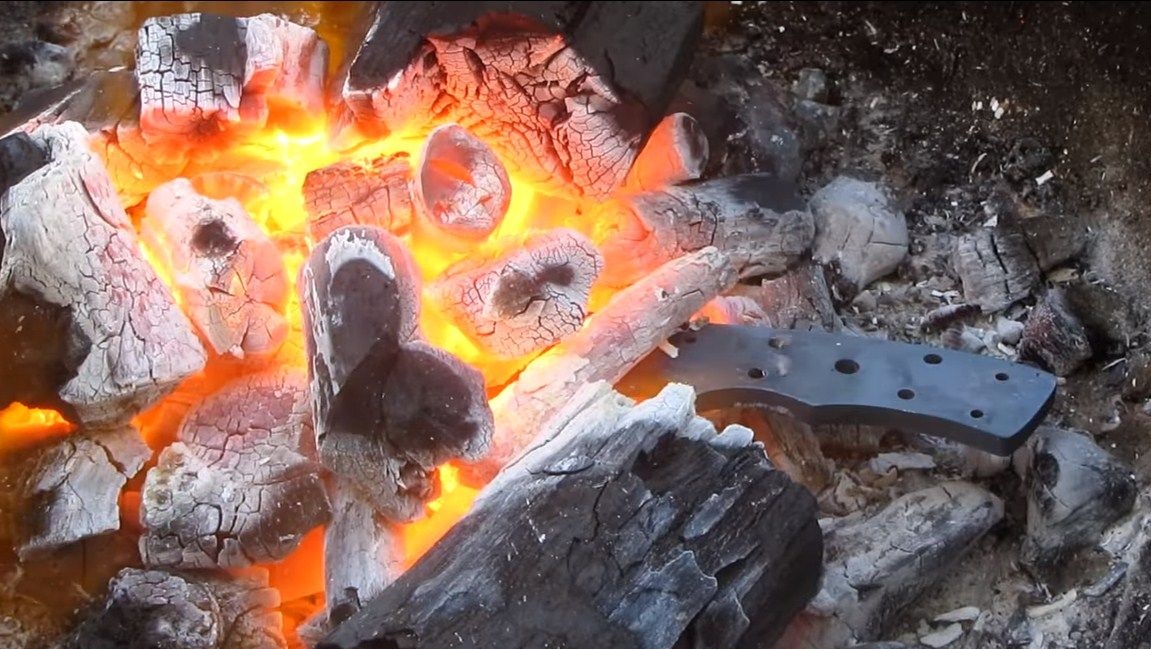
Step Five We temper the blade
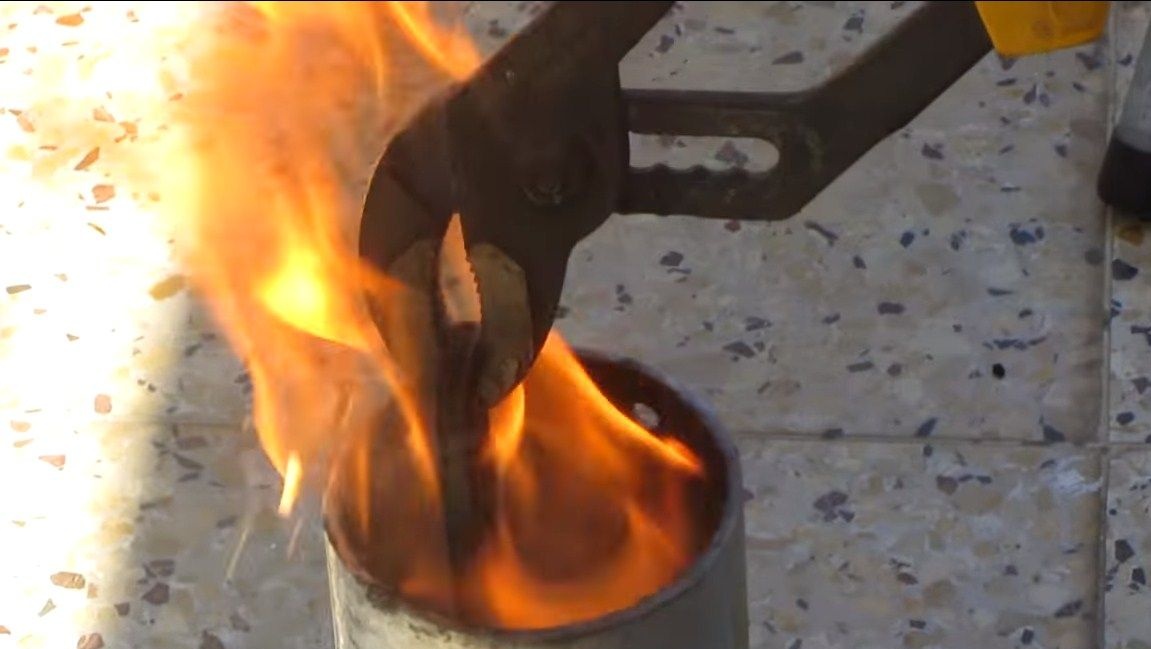
Now the blade can be hardened, for this you will need a blacksmith furnace. In principle, you can simply inflate the coals with a household hairdryer, while the temperature can be obtained more than sufficient. Typically, carbon steel glows yellowish, with this glow it can be cooled in oil. But all brands have become different, as well as hardening methods, this must be remembered.
When the blade is hardened, the metal should not be taken with a file. After this, they usually make another metal vacation, otherwise it will be very fragile.
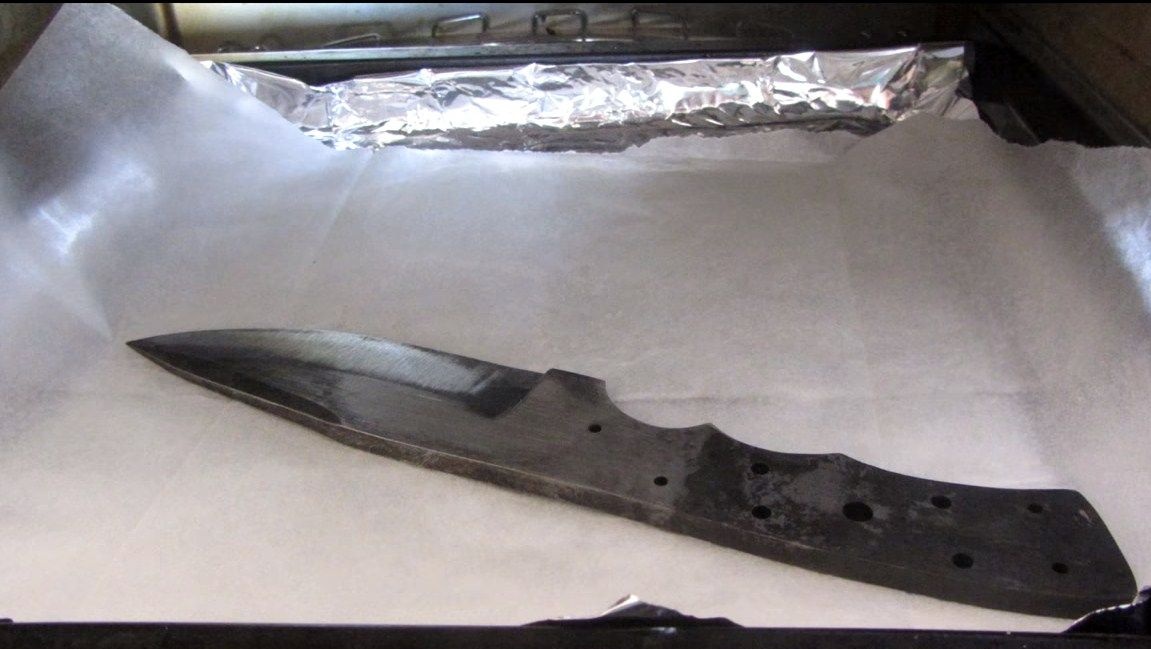
When the blade cools down, we clean it of oil, usually they are washed under running water using detergents. Further, the author polished the blade with fine emery paper to a shine.
Step Six We turn to the manufacture of pens
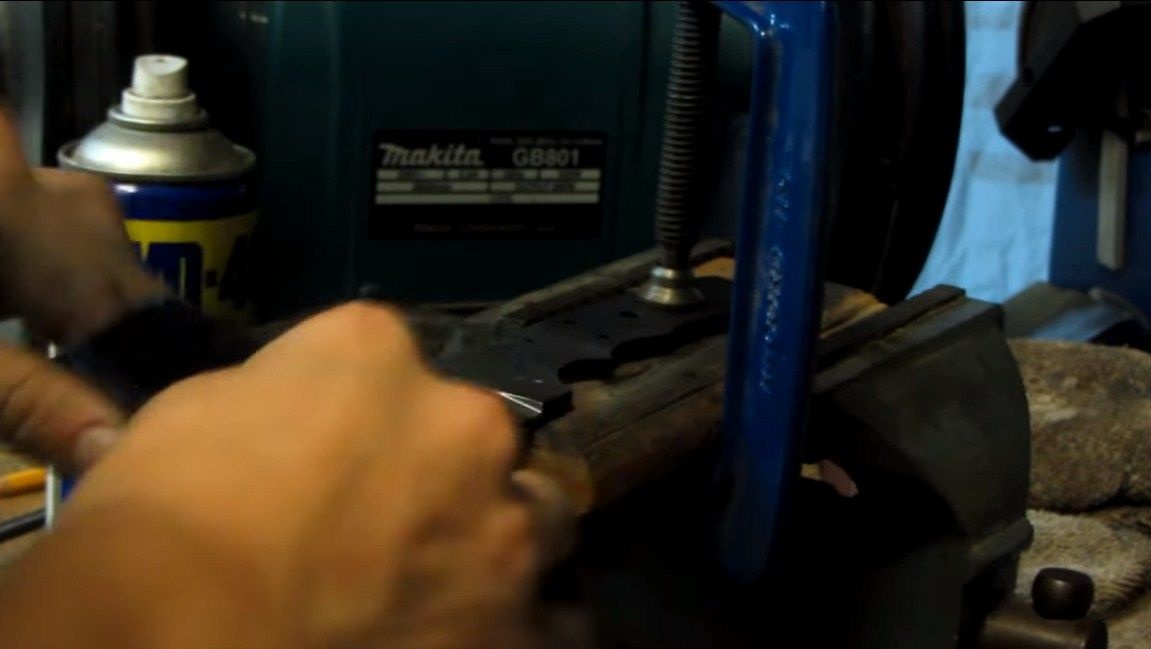
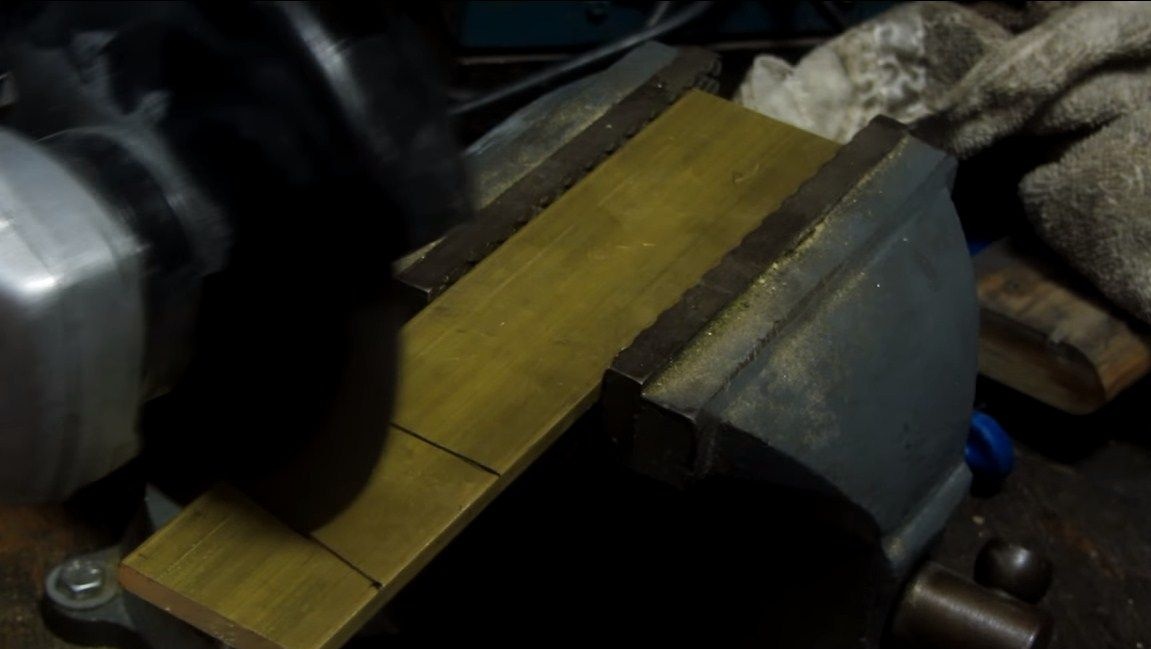
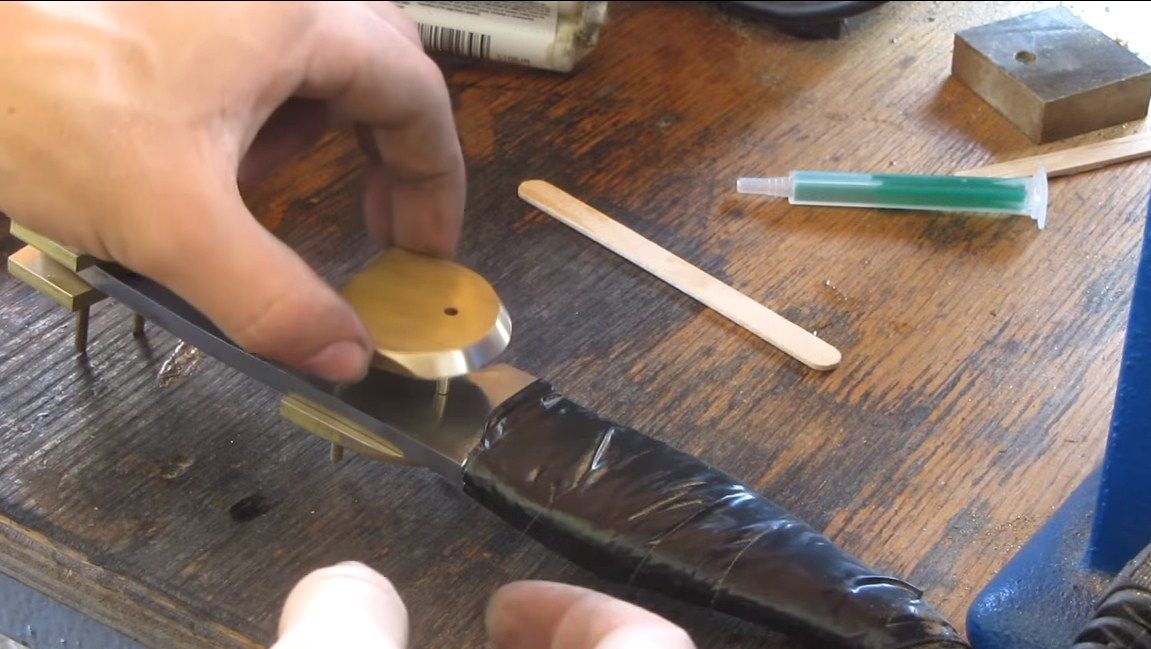
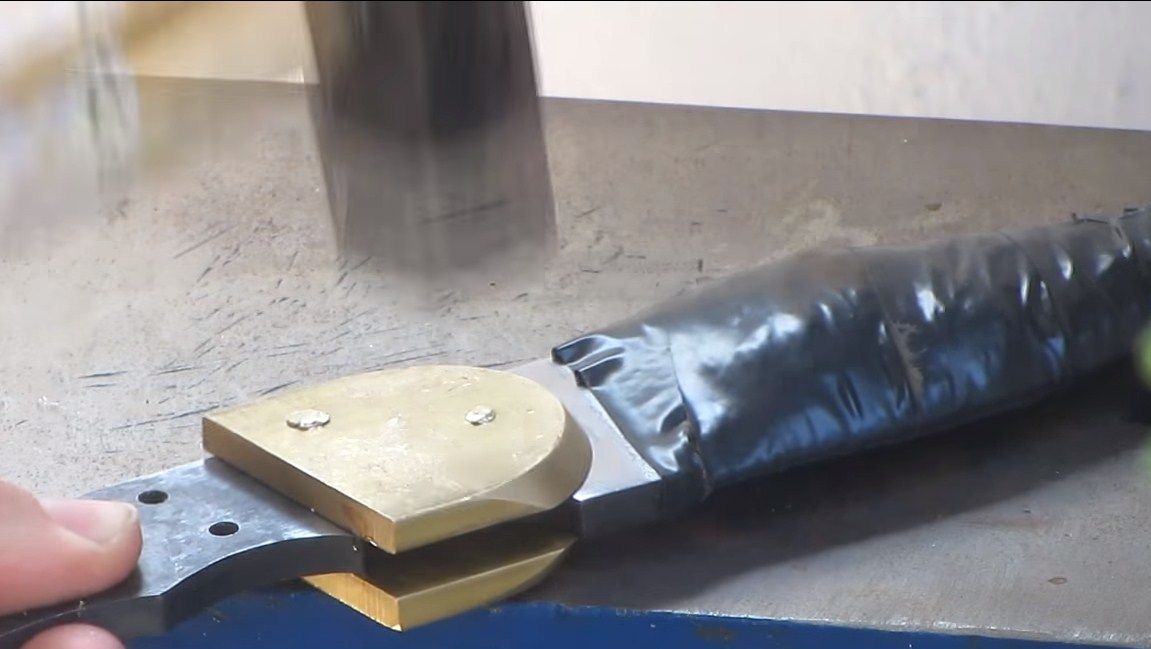
The author’s handle is combined, it consists of brass and wooden plates. First we start with brass plates, for this we need sheet brass, we cut four parts from it for the front and back of the handle. Brass is cut perfectly by a grinder. Next, drill holes in the pads for the pins, and now you can install them on the handle. This will make it possible to fit the products according to the shape of the handle. You will need brass pins, as a result they will become one with overlays. The pins should be of such a diameter that they fit into the material with little effort. After installing the pins, they need to be riveted.
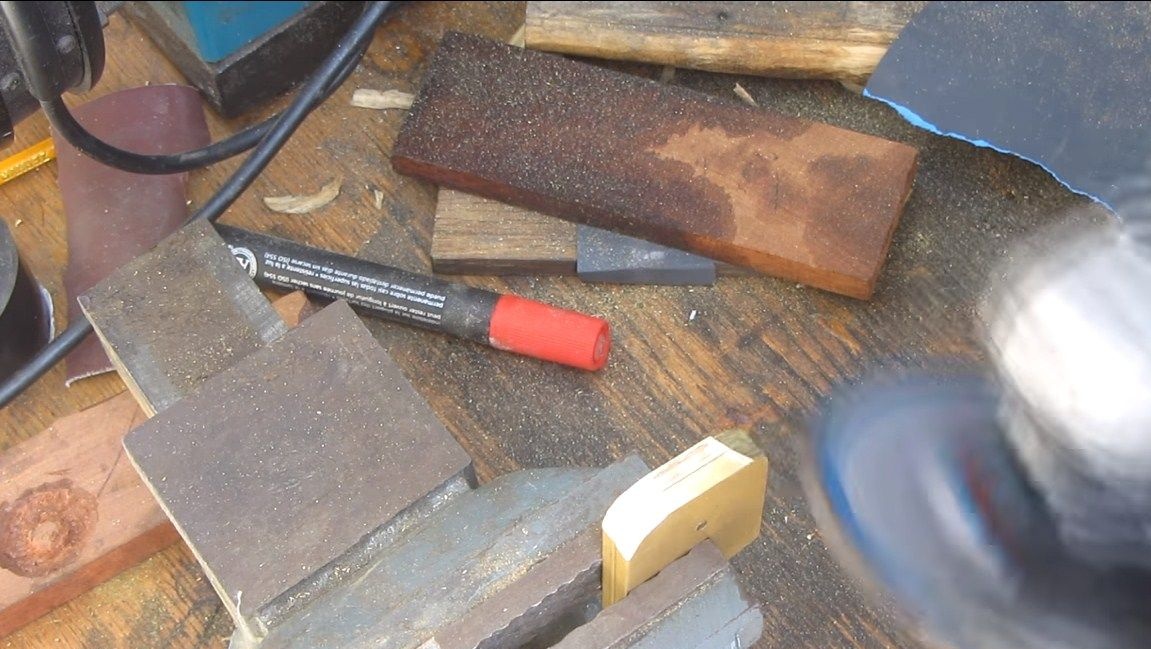

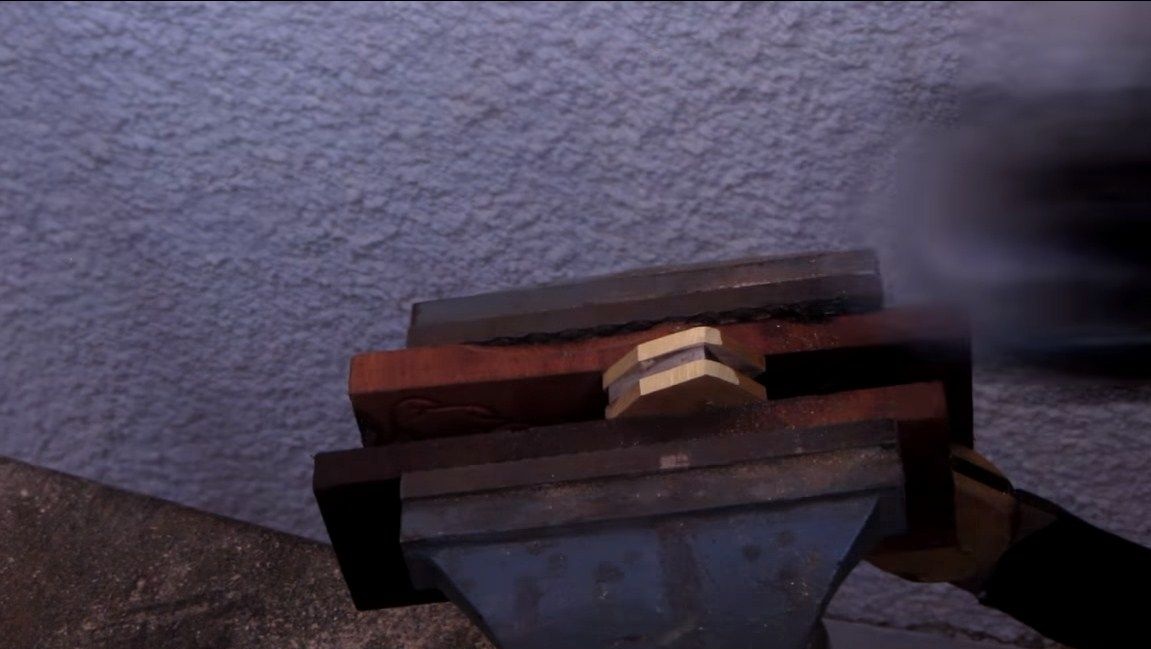
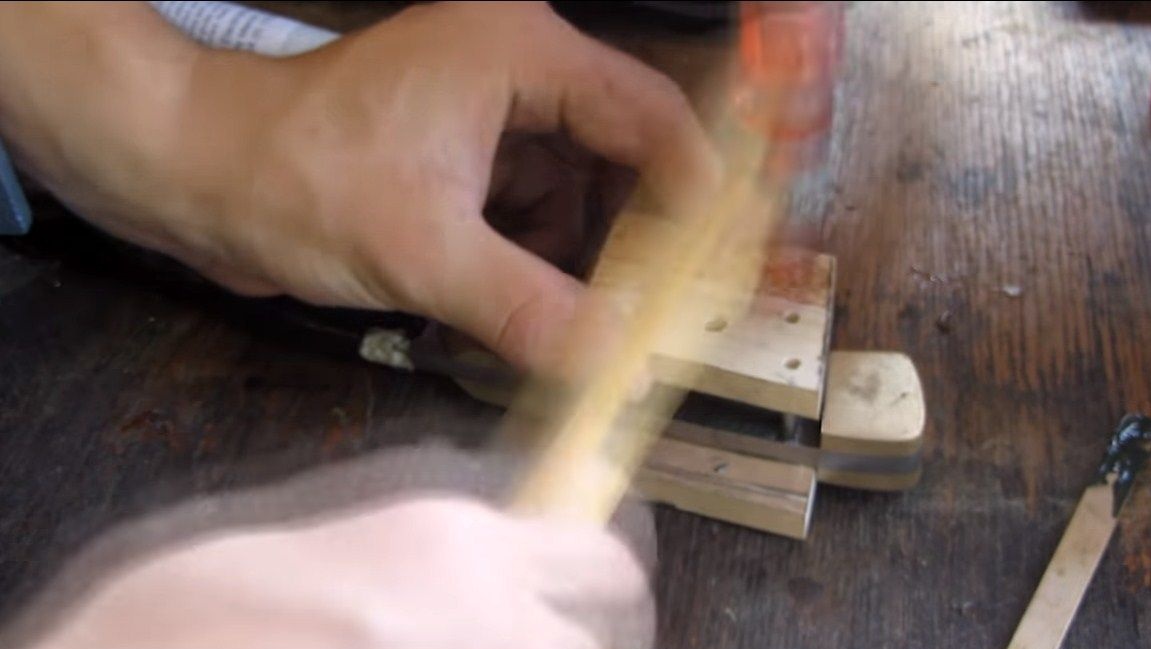
Next, you can proceed to the wooden lining, for this, look for pieces of suitable thickness. We cut the boards to the desired length and drill holes for the pins. The pads themselves are installed on epoxy glue, this is the guarantee of their reliable fastening. As for the pins, the author decided to use steel pins for these purposes, ordinary nails are suitable for such purposes. Riveting these pins is not necessary, since we have everything on the glue. Pull off the linings with clamps and allow the glue to dry completely.
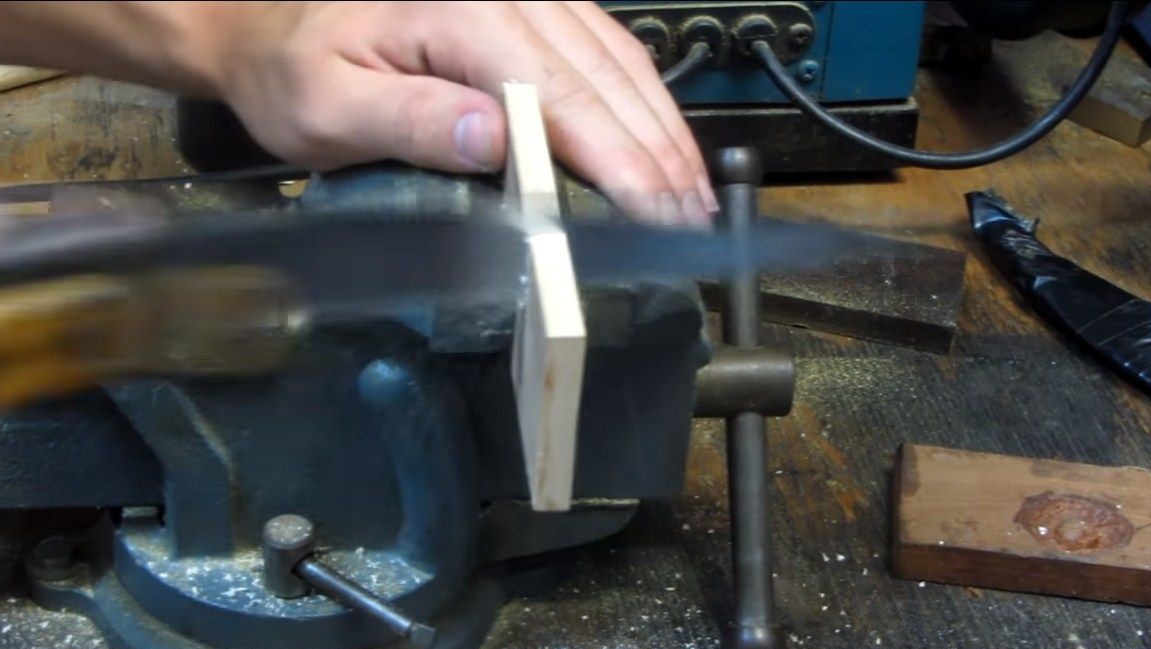
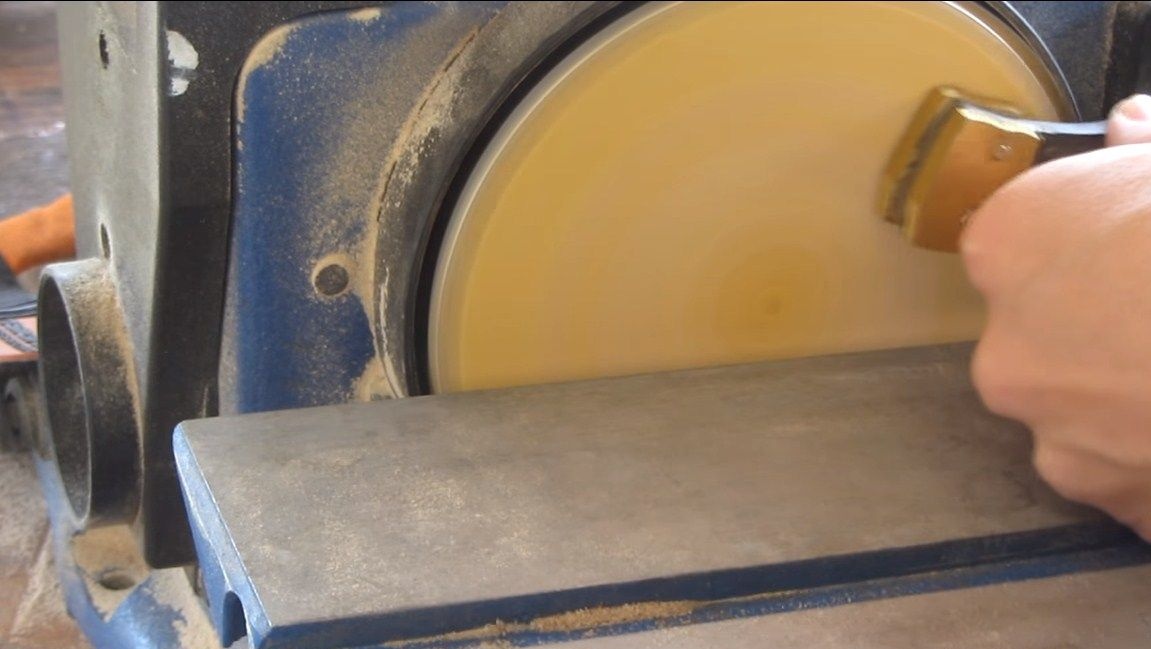
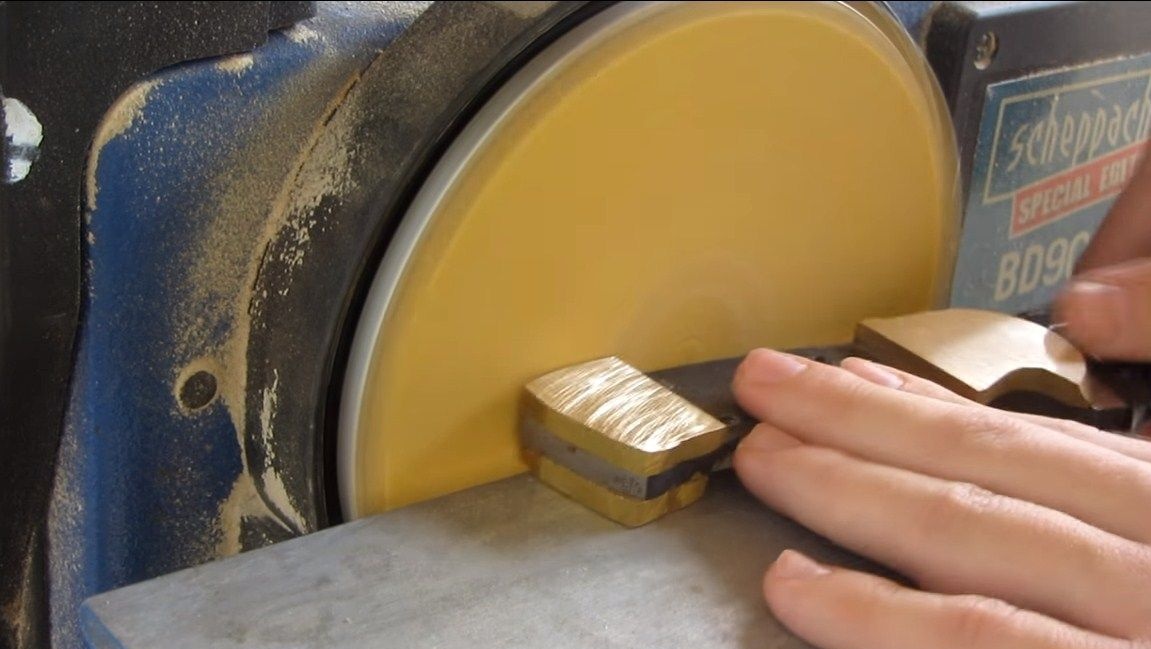
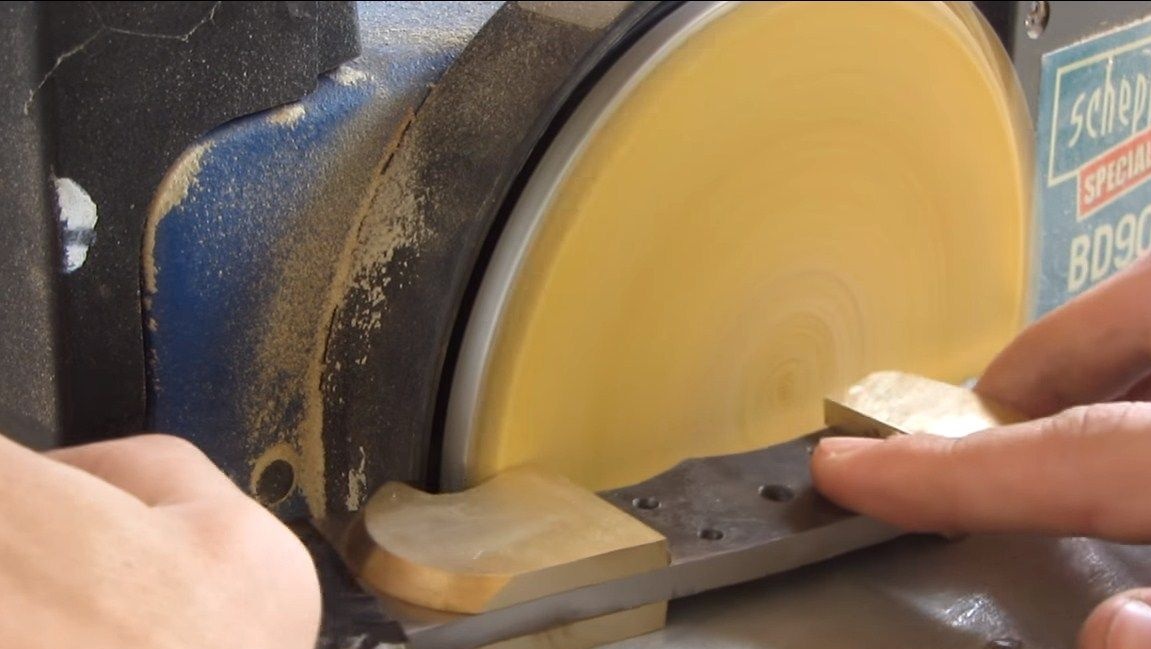
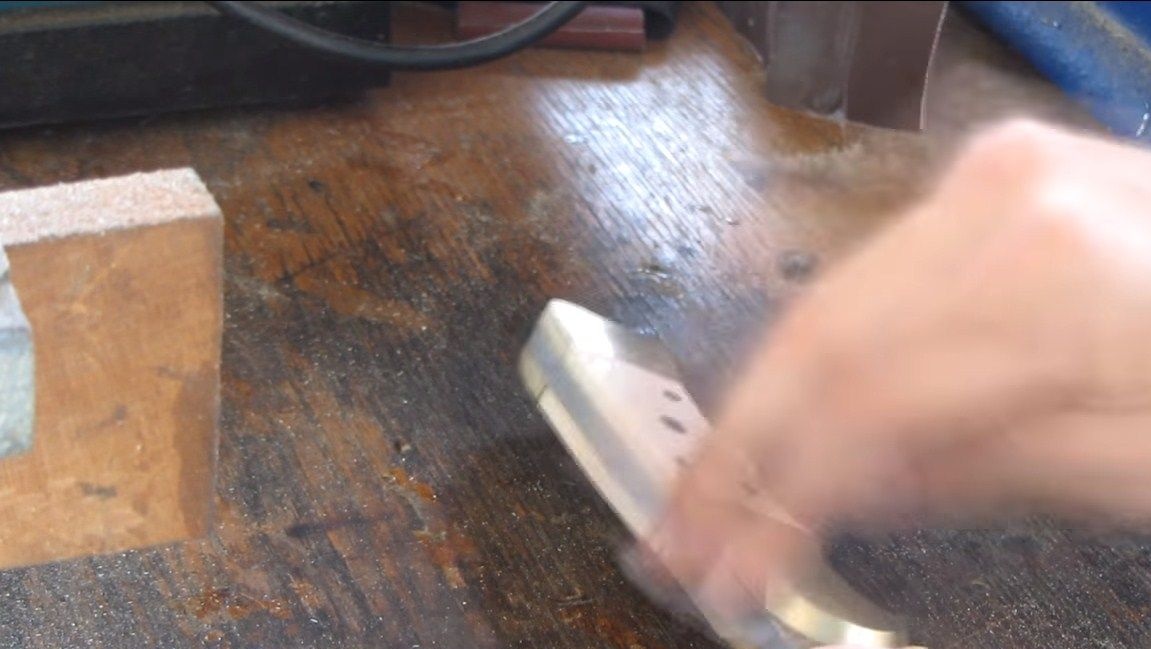
Seventh step. Grinding pen
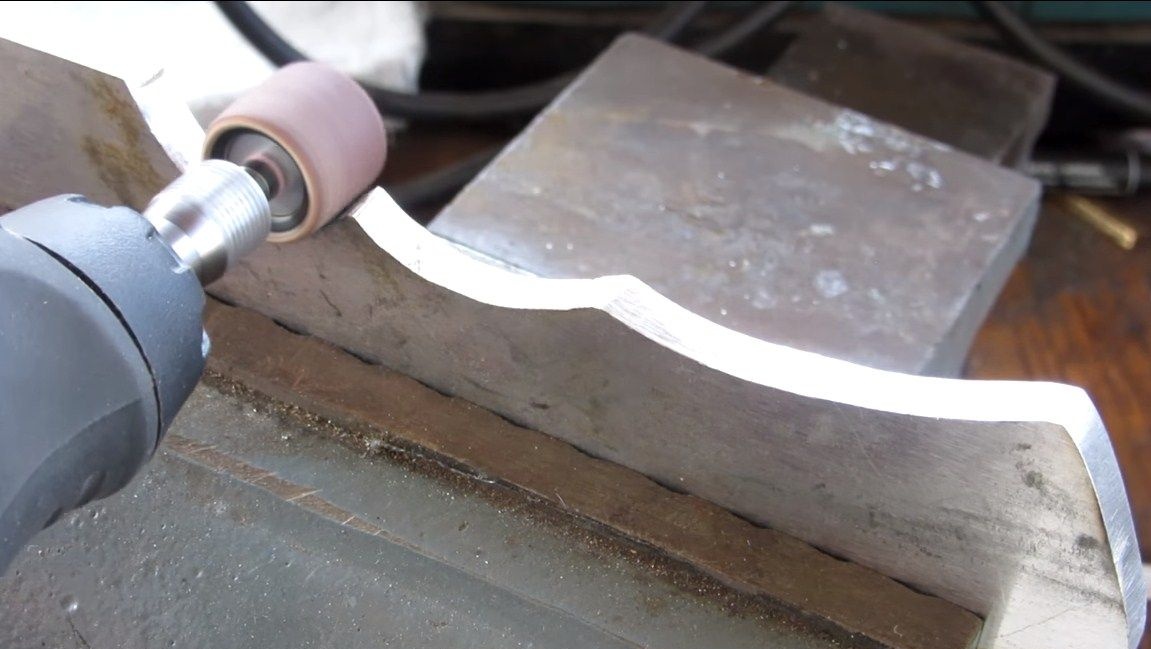
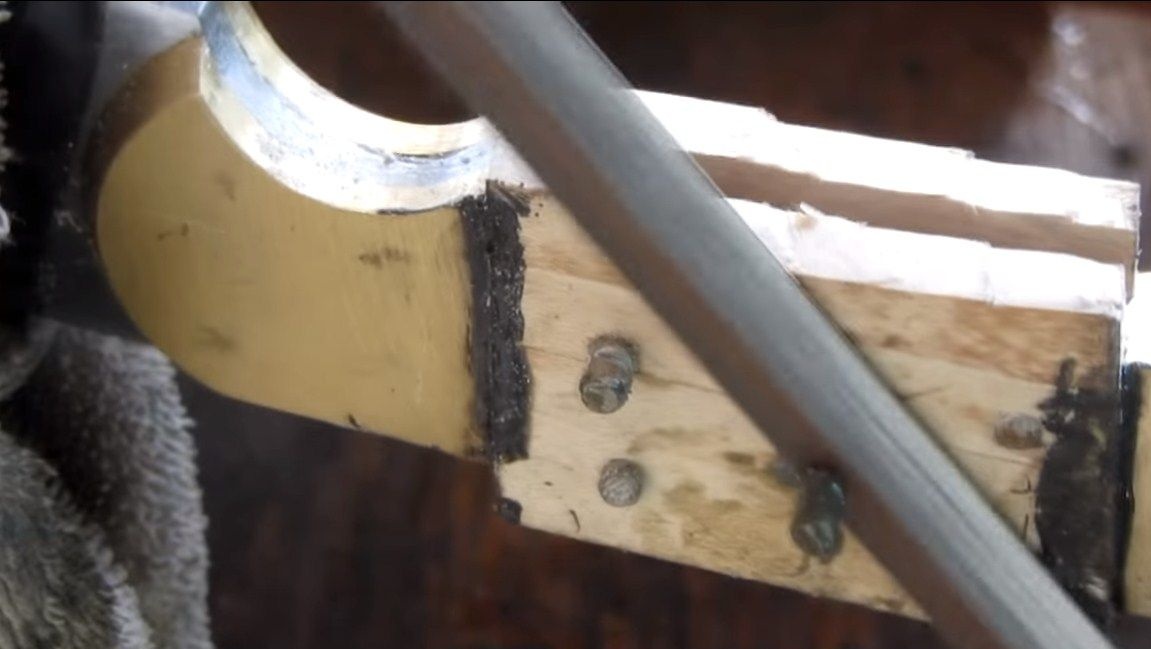
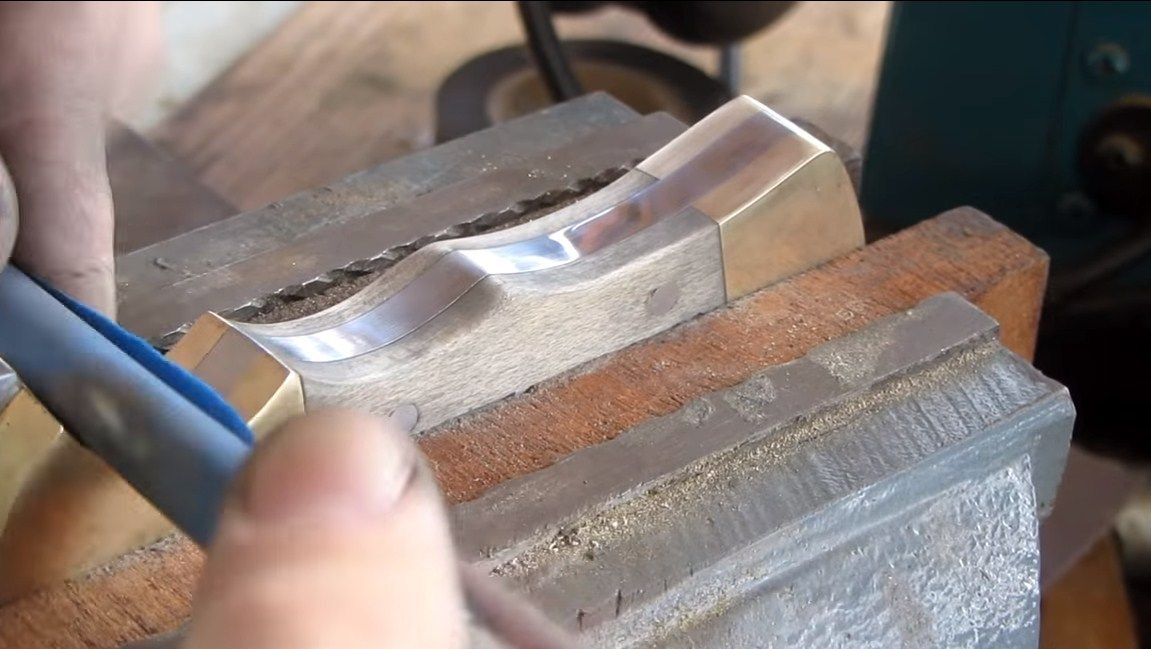
When the glue dries, the handle can be processed.To do this, first cut the pins, this can be done with a hacksaw or file. Next, we go to the grinder and grind the plane, everything should be on the same level. You can also grind the handle in some ways along the contour.

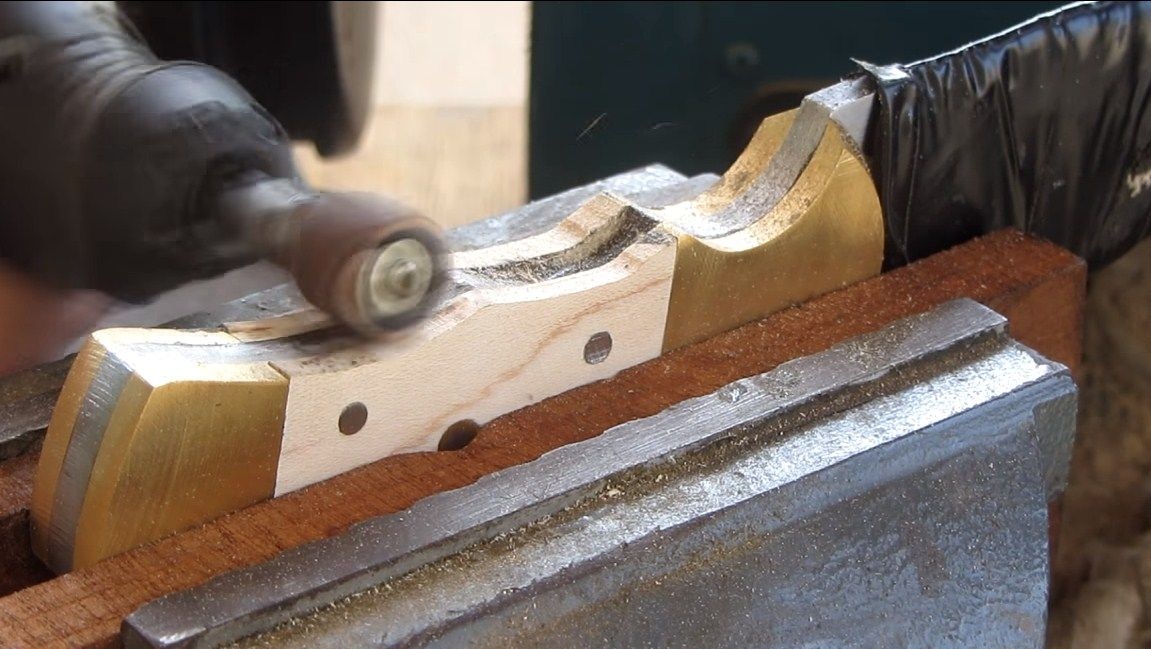
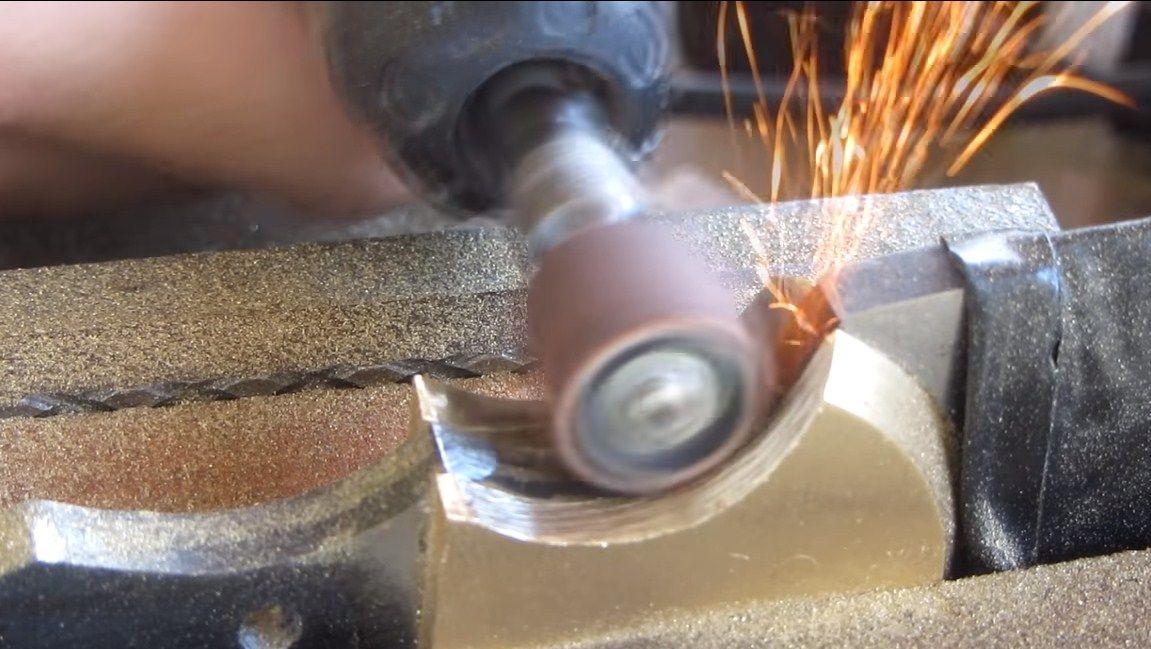
Now we will have those places where we could not crawl with a grinder. To process them, the author uses a drill. The sandpaper nozzle copes with this task perfectly.
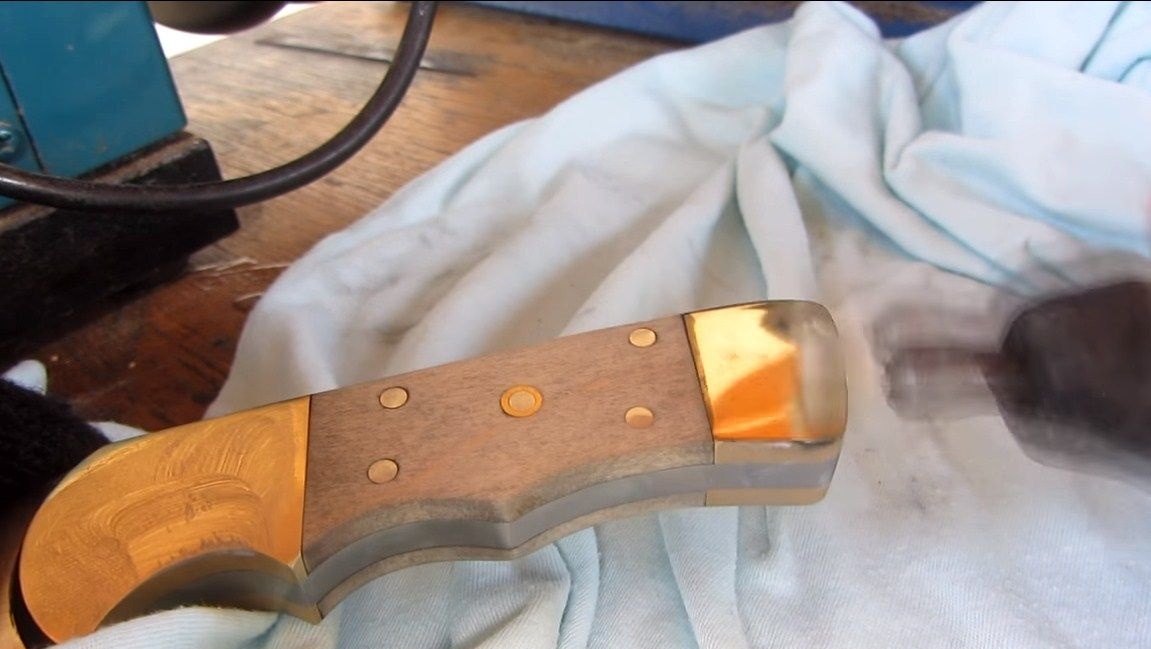
Step Eight. Finishing
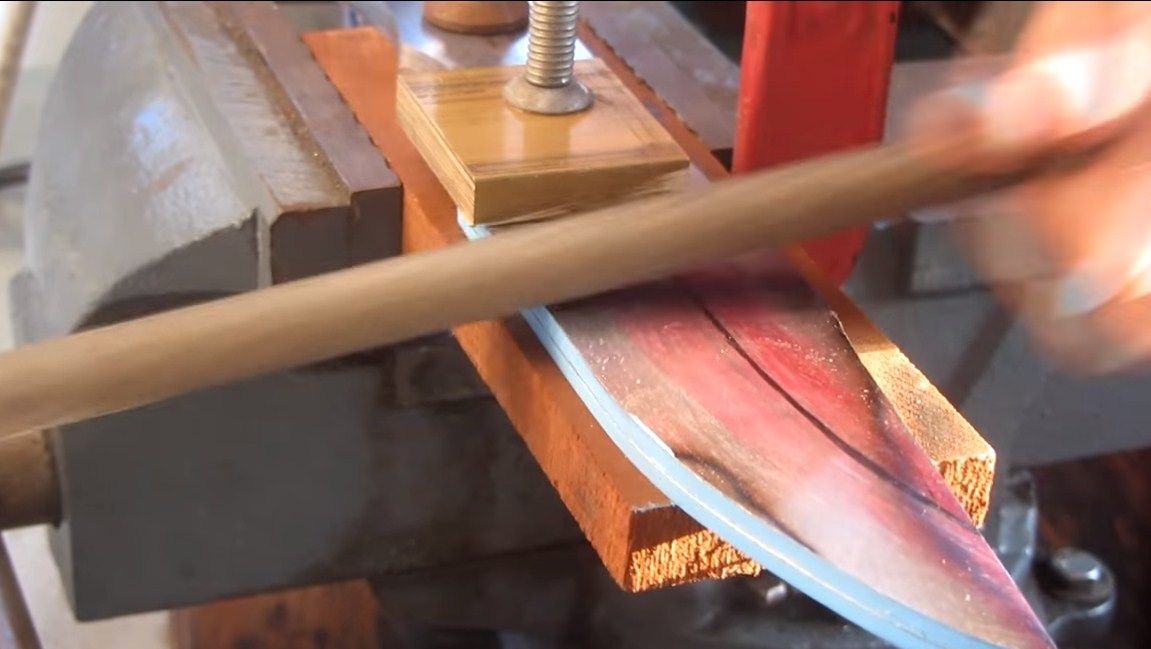
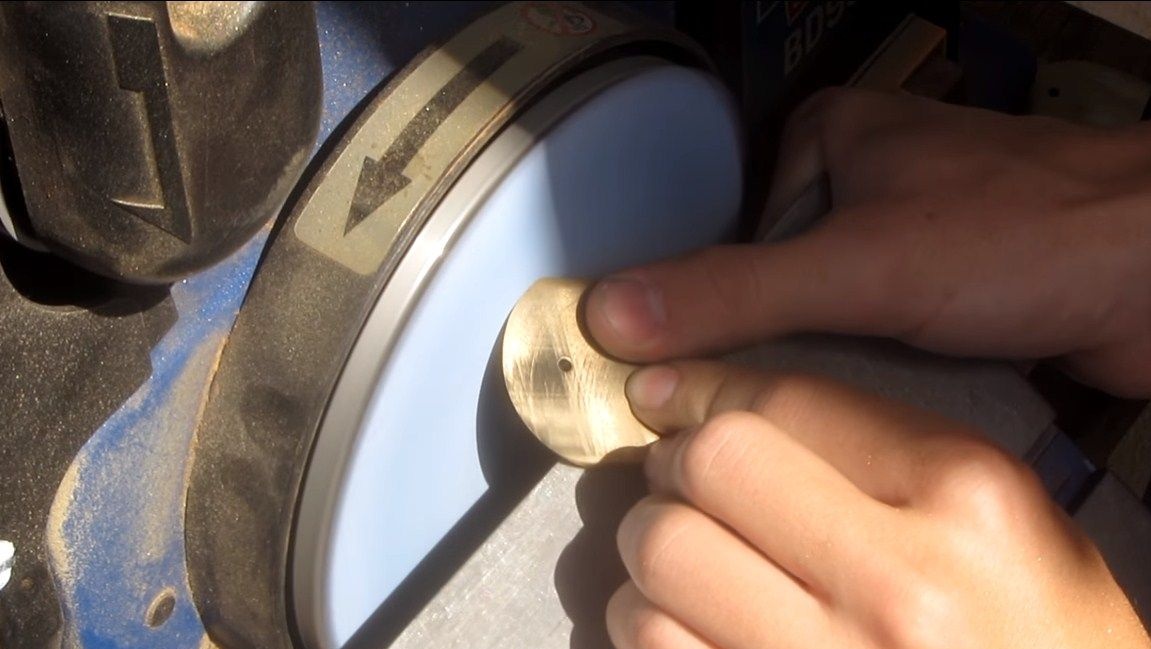
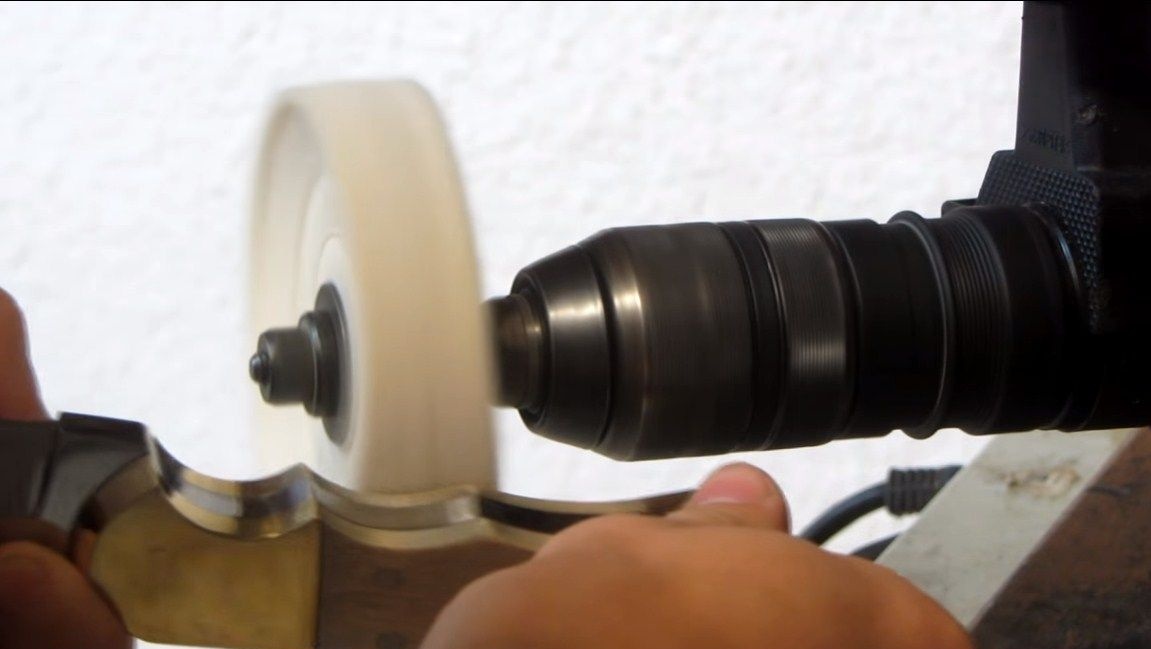
At the end, we put a polishing nozzle on the drill and polish the brass to a golden sheen. Similarly, we go through this nozzle along the contour. If some places cannot be polished, they still need to be finished manually with very fine sandpaper. Well, then polish the wood part or the whole knife with a polishing machine, if desired. When the handle is ready, apply oil to it. This will protect the wood from moisture, and brass will not oxidize.

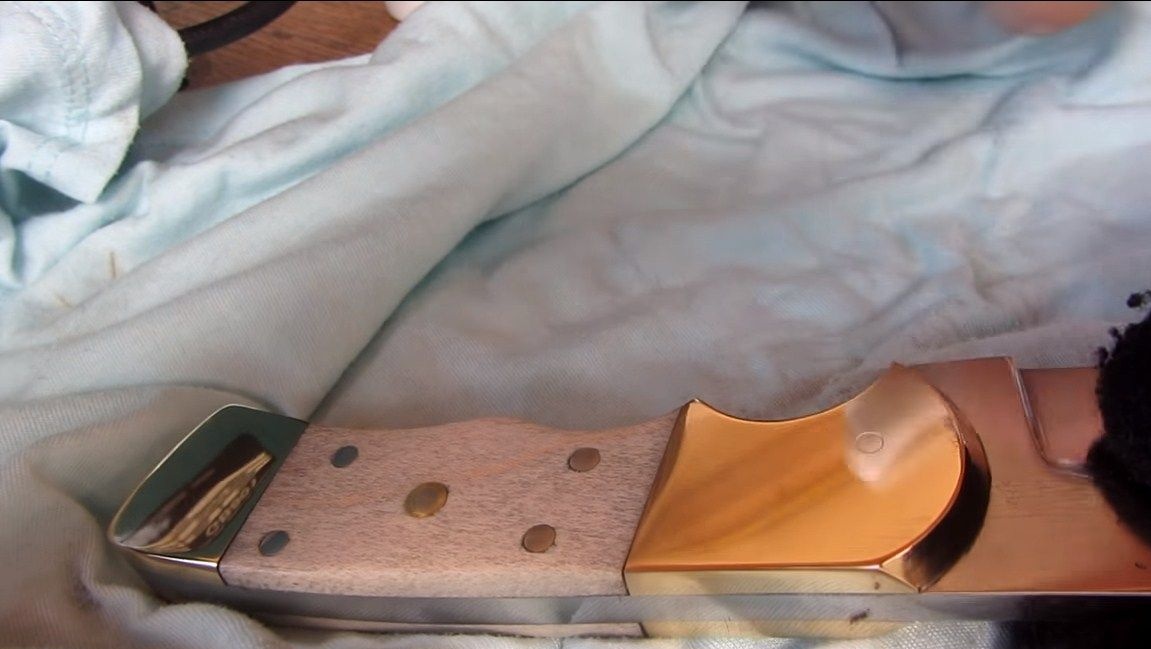
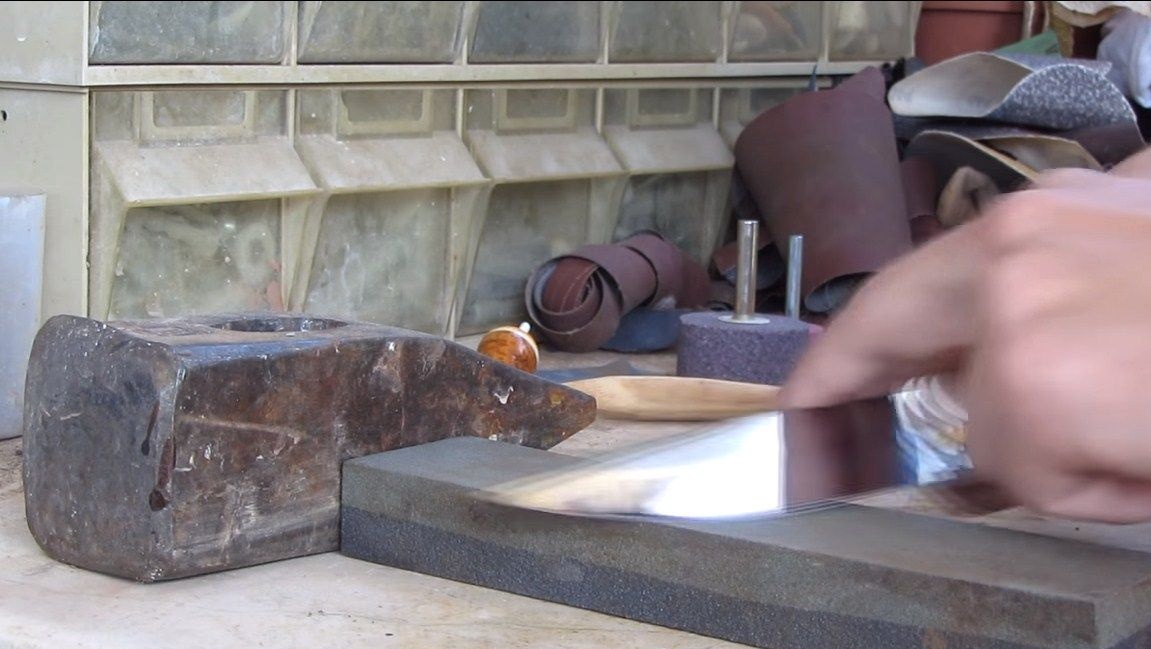
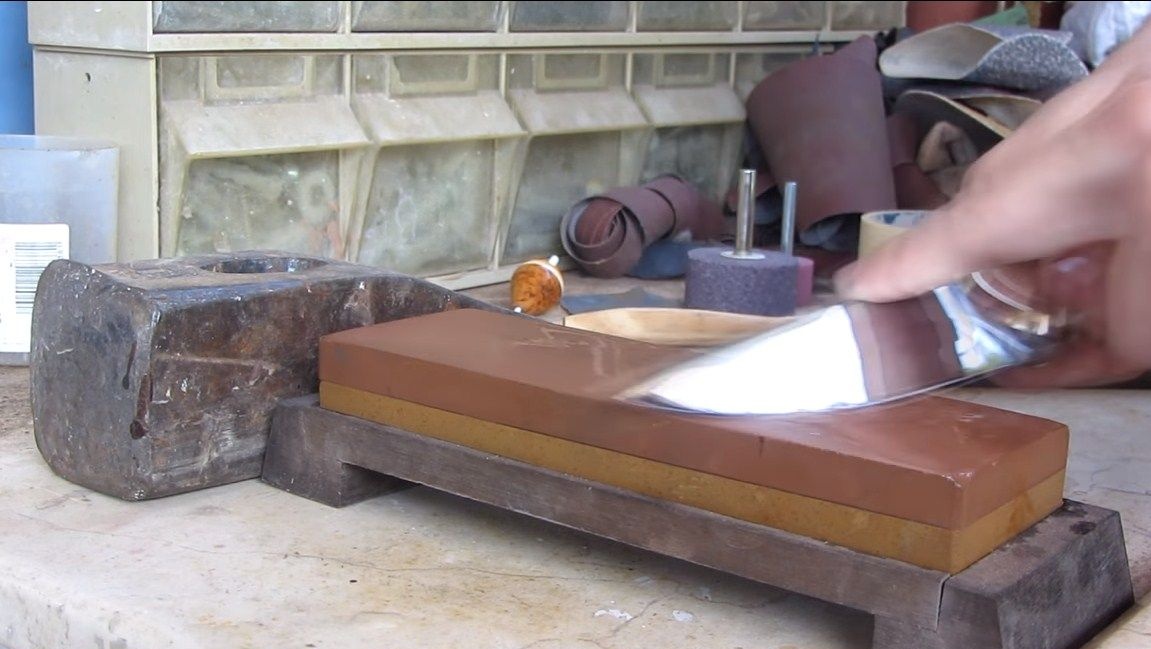
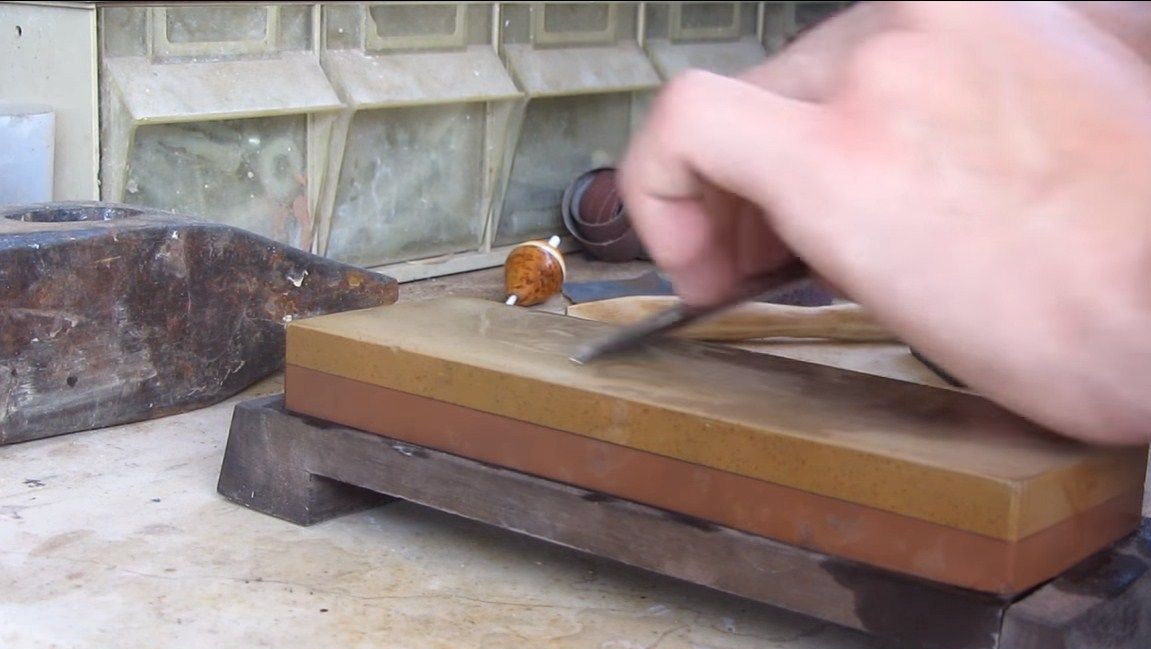
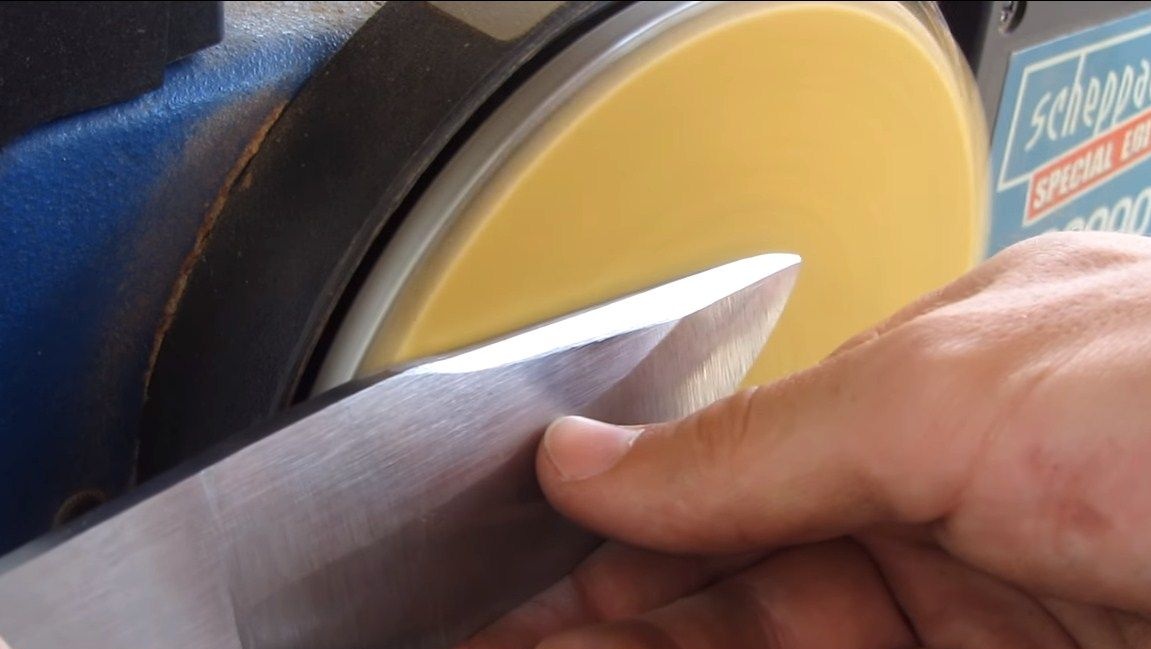
The final step will be sharpening the blade. The author does this using a Japanese water stone. You will need stones of different grain sizes, from coarse to fine. For these stones to work, they need to be watered with water, so they are cleaned of dirt. The knife can be sharpened to the state of the blade.
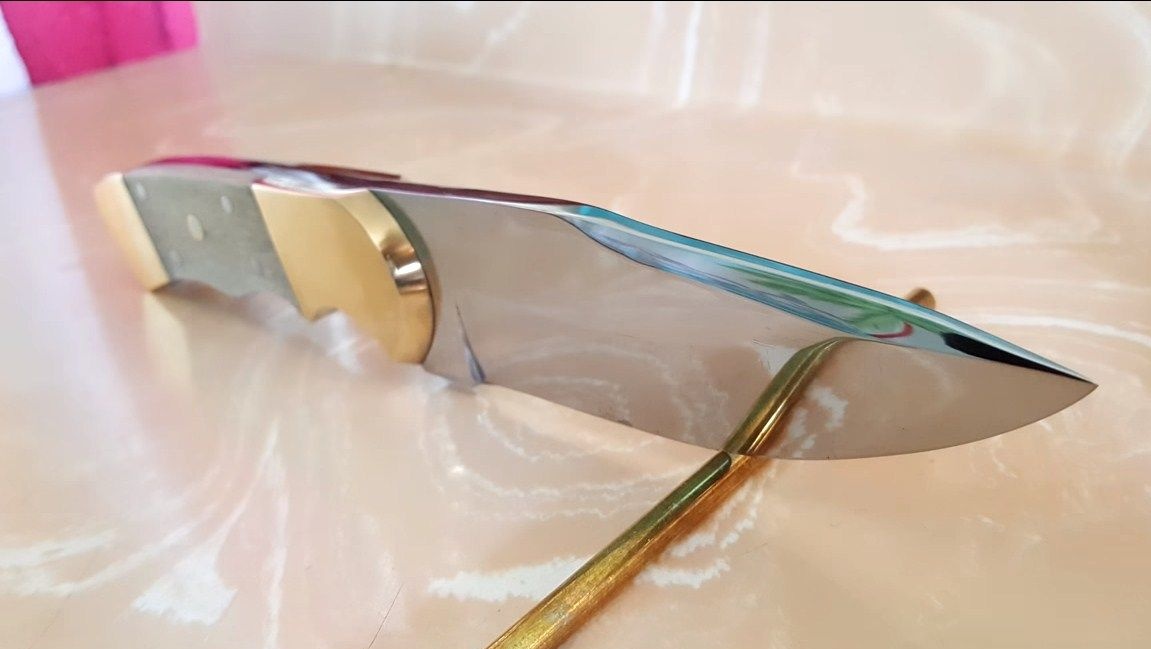
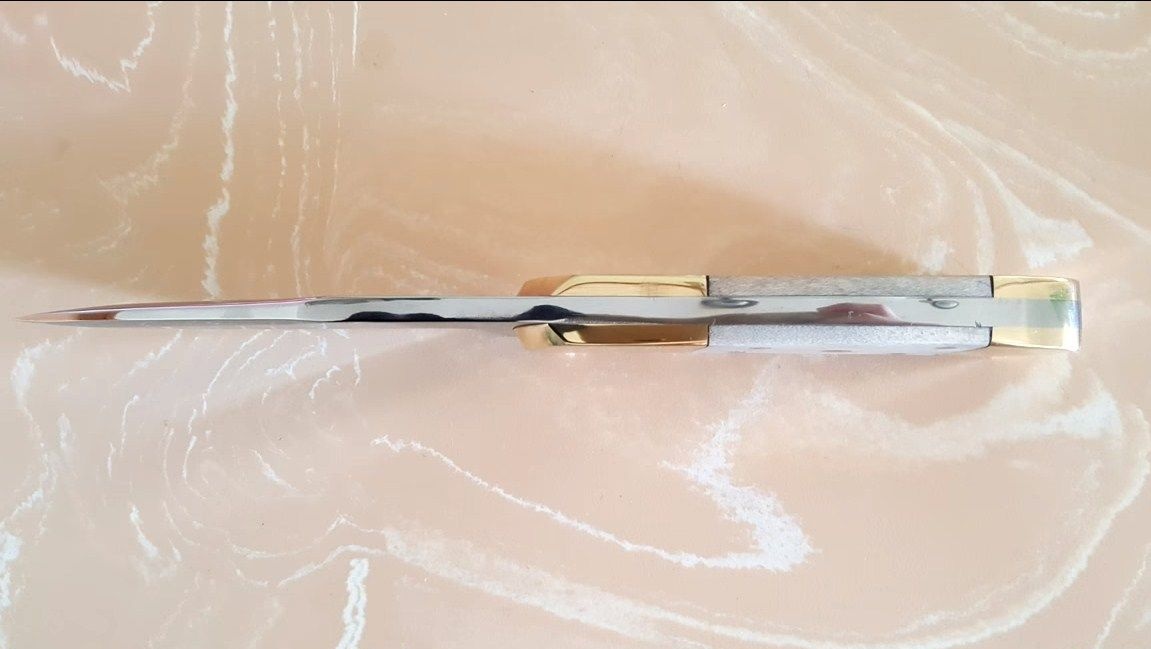
That's all, the masterpiece of art is ready! Our knife is strong, beautiful and very useful. I hope you enjoyed the project. Good luck and creative inspiration!