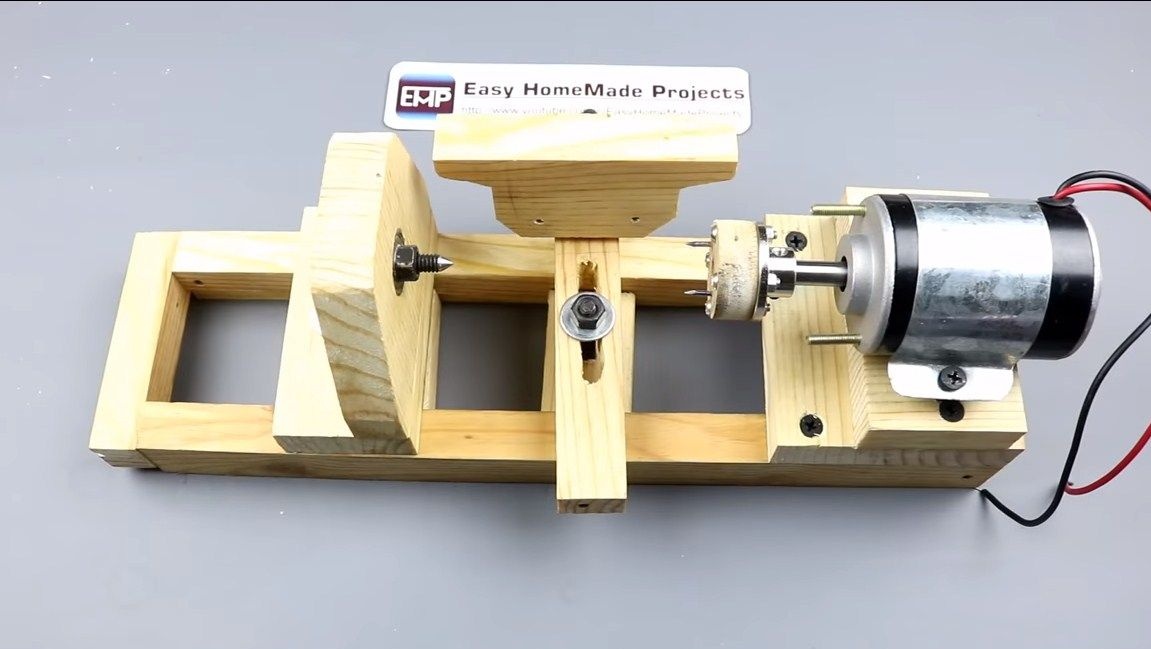
Hello fans to craft, in this instruction we will discuss how to make a small turning machine. With it, you can grind various handles, grind and much more. Everything works from a 12V power supply, which means that you can even power the machine from batteries. The machine makes little noise, so you can use it even in the apartment.
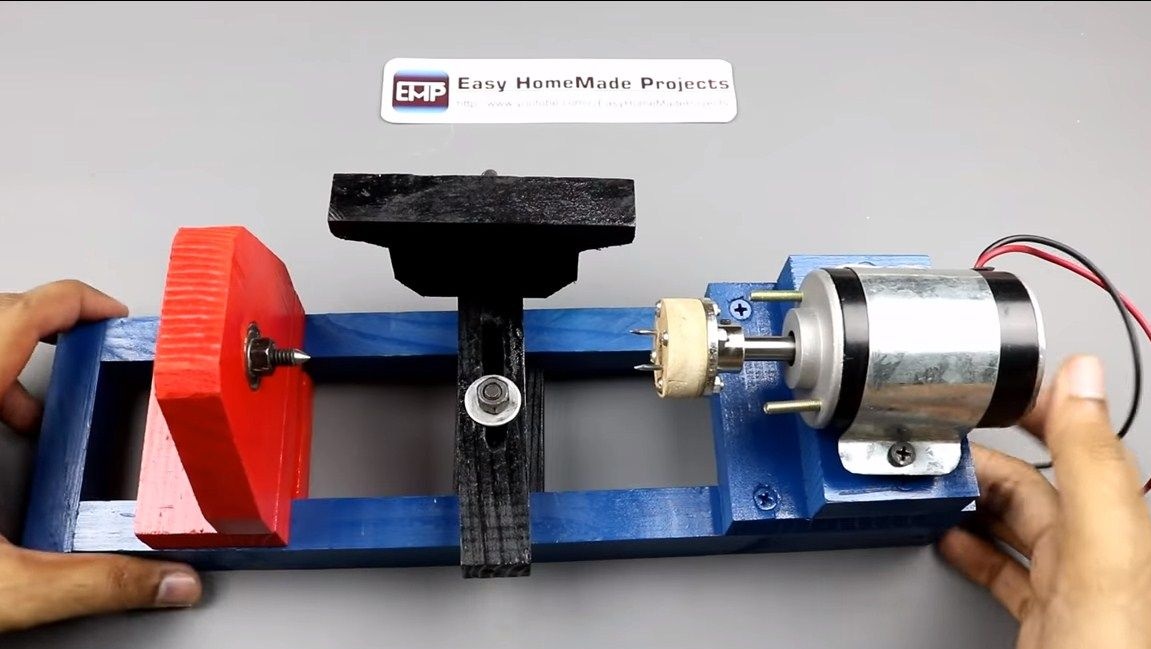
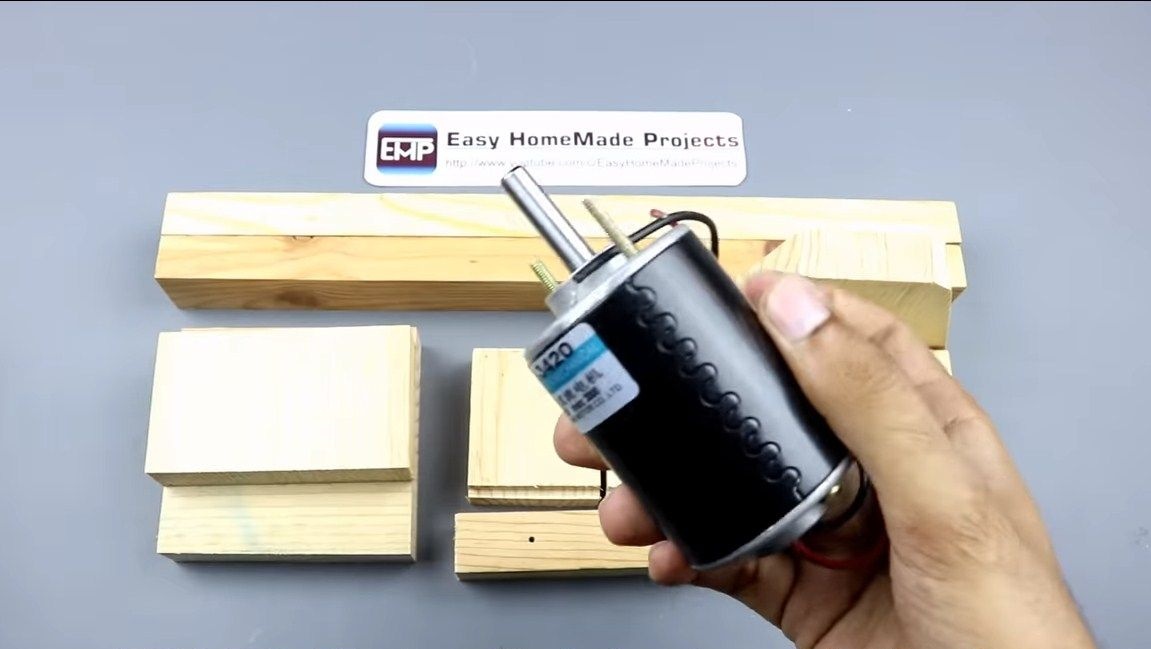
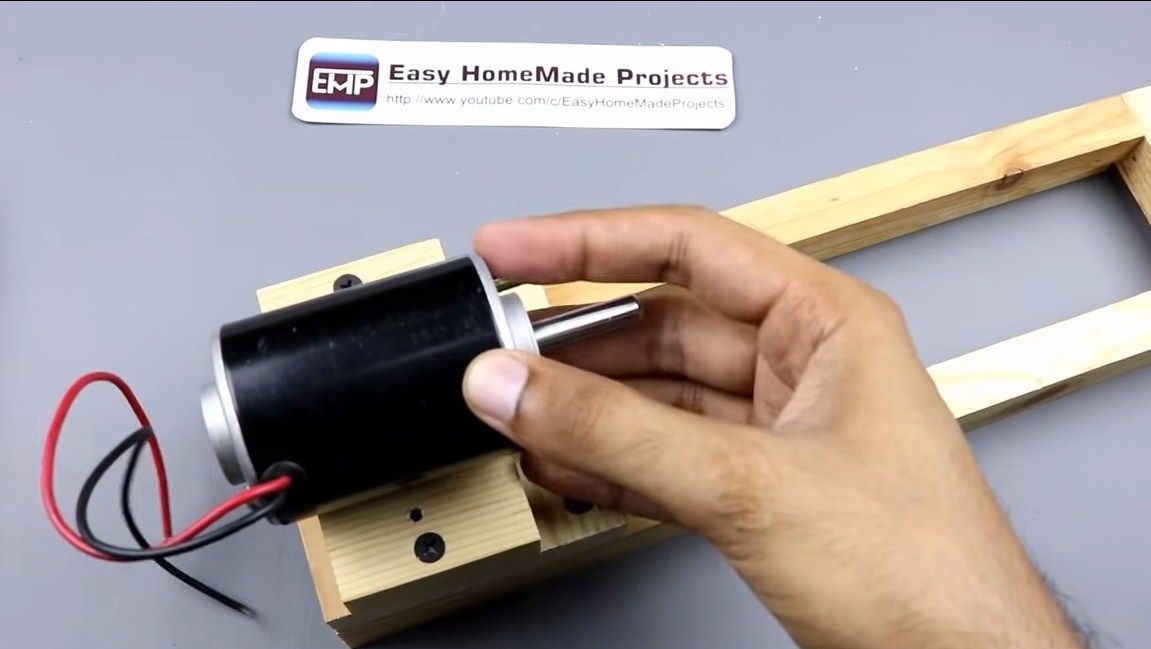
For such a machine, a high-torque engine is needed. The author used a model motor Xd-3420, which can be ordered from China. With a 12V power supply, the engine produces 3000 rpm, and with a 24V power supply all 6000 rpm, but high revolutions are not needed for a lathe. As for the frame, it is made of such an affordable material as wood. Boards or plywood will do. All other materials are easy to get, and they are inexpensive. So, we will consider in more detail how to assemble such a machine.
Materials and tools that were used by the author:
Material List:
- boards;
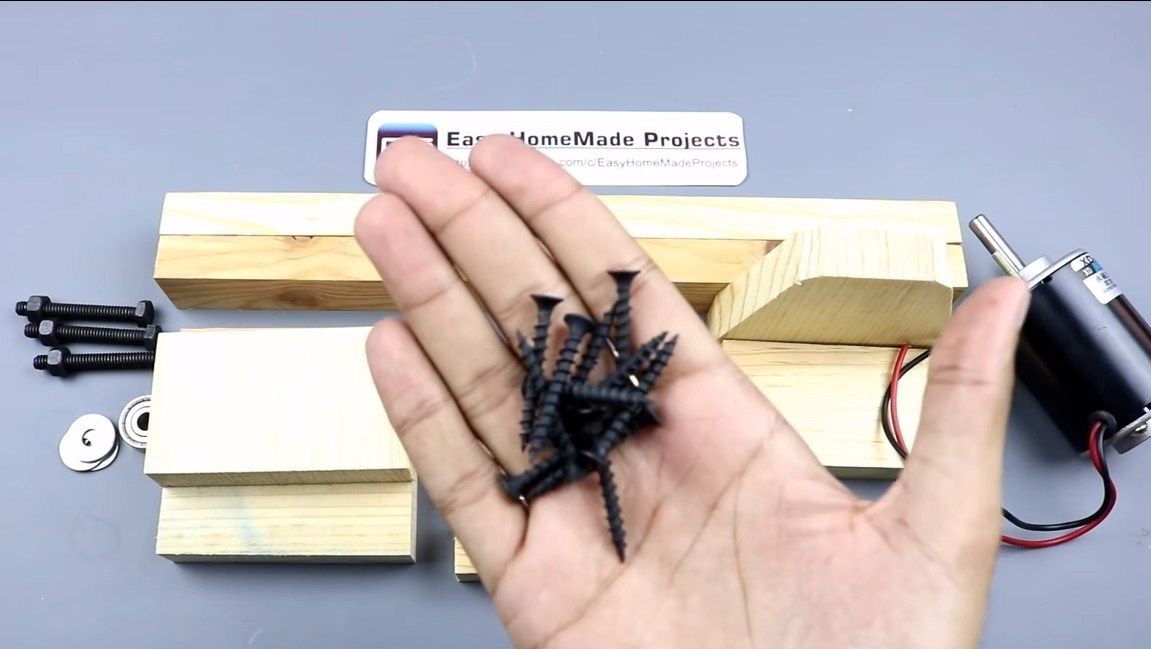
- self-tapping screws;
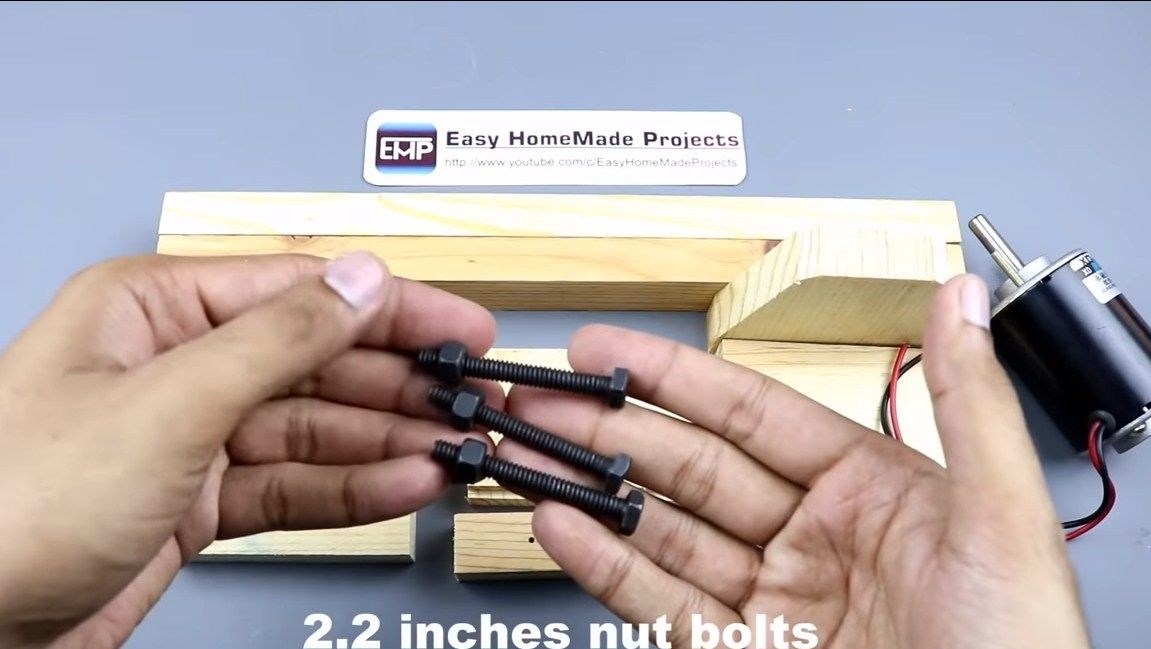
- bolts with nuts;
- a small bearing;
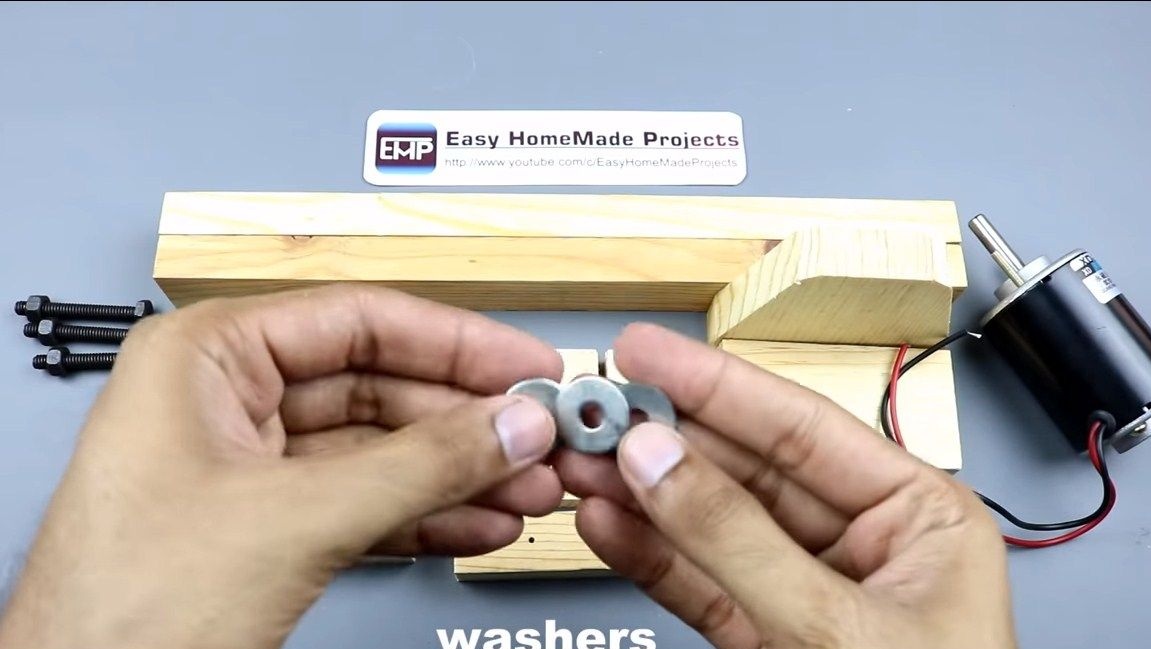
- washers;
- paint for wood;
- XD-3420 engine;
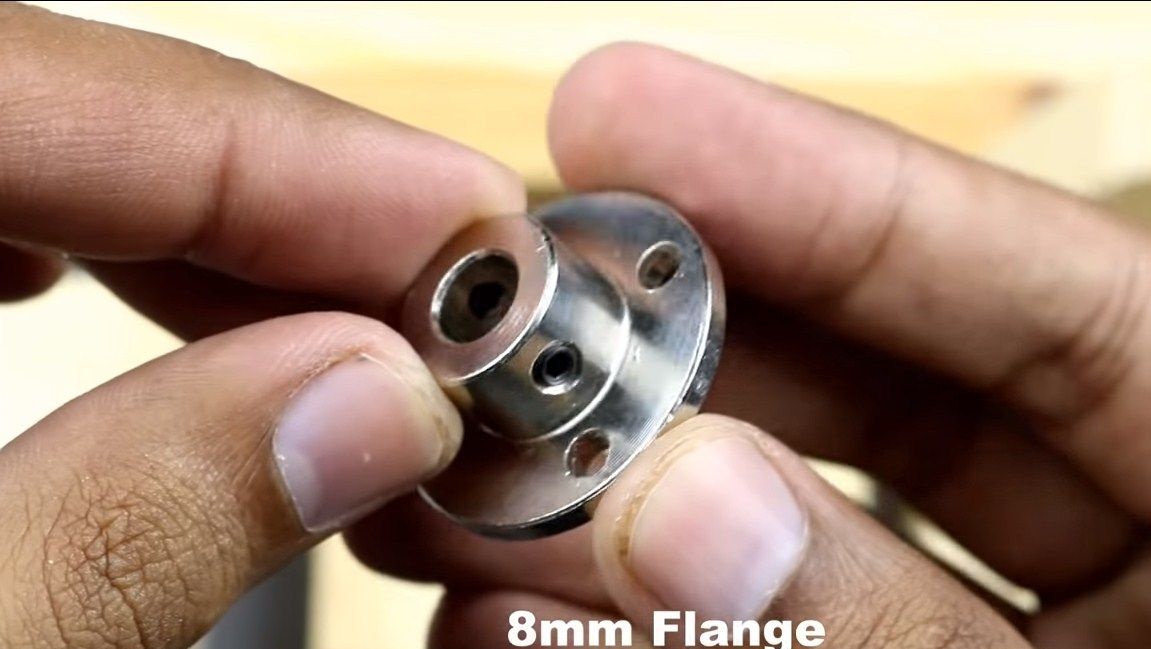
- flange 8 mm;
- thin sheet metal (to make a clamp);
- power supply (DC 12V).

Tool List:
- drill;
- screwdriver;
- wrench;
- a tool for cutting wood.
Lathe manufacturing process:
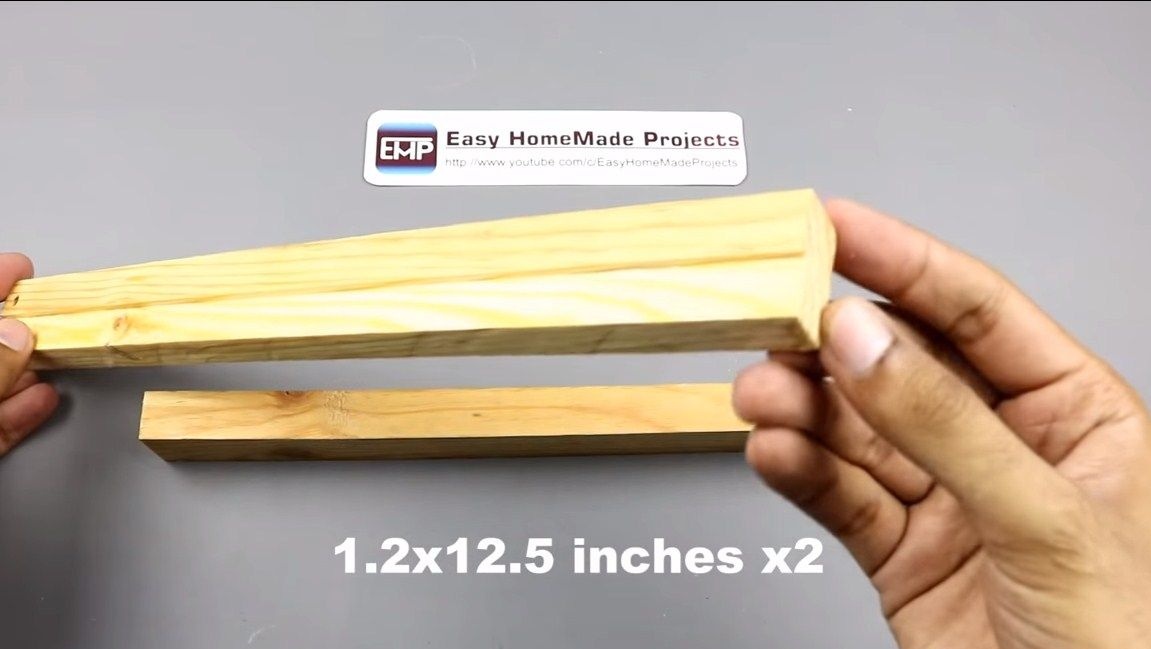
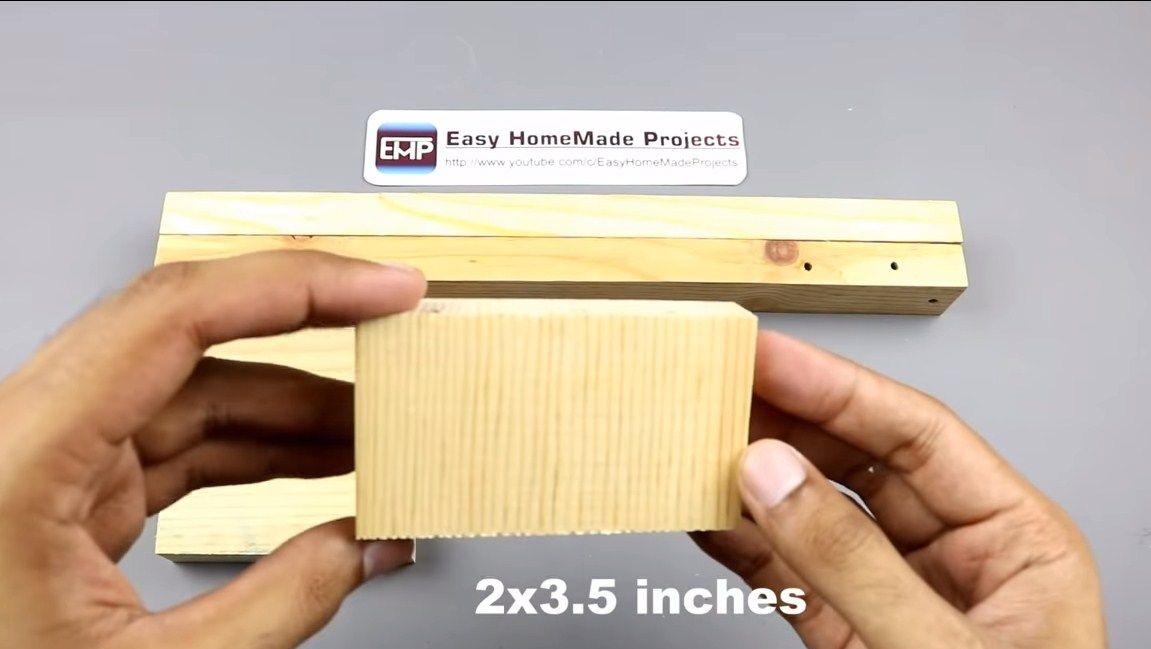
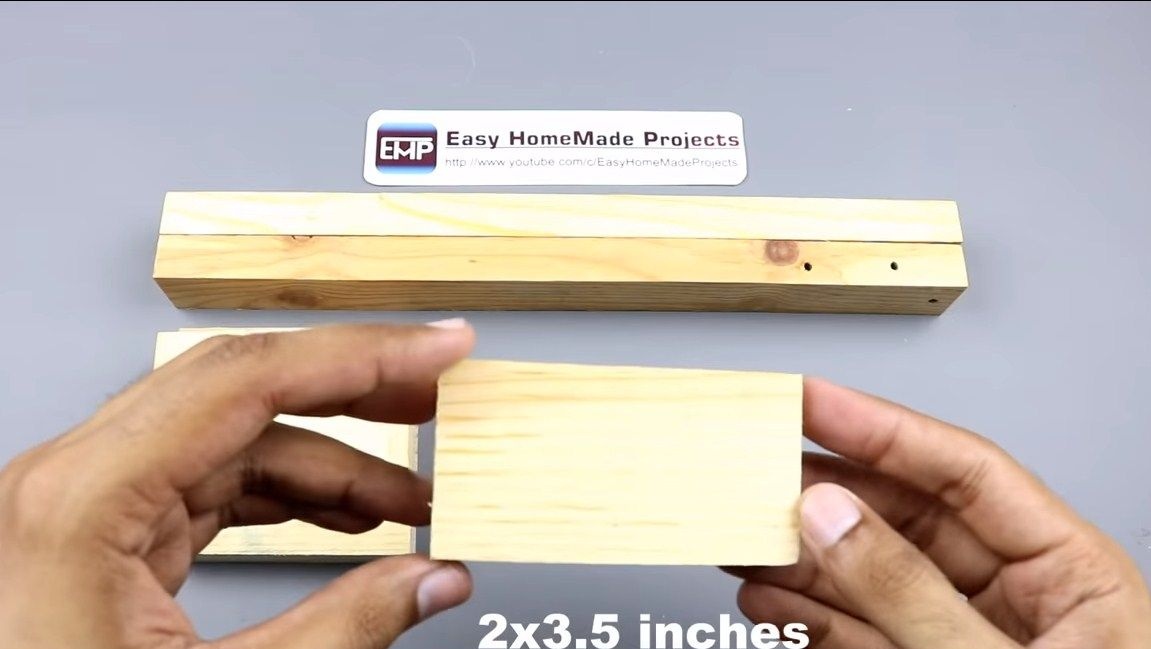
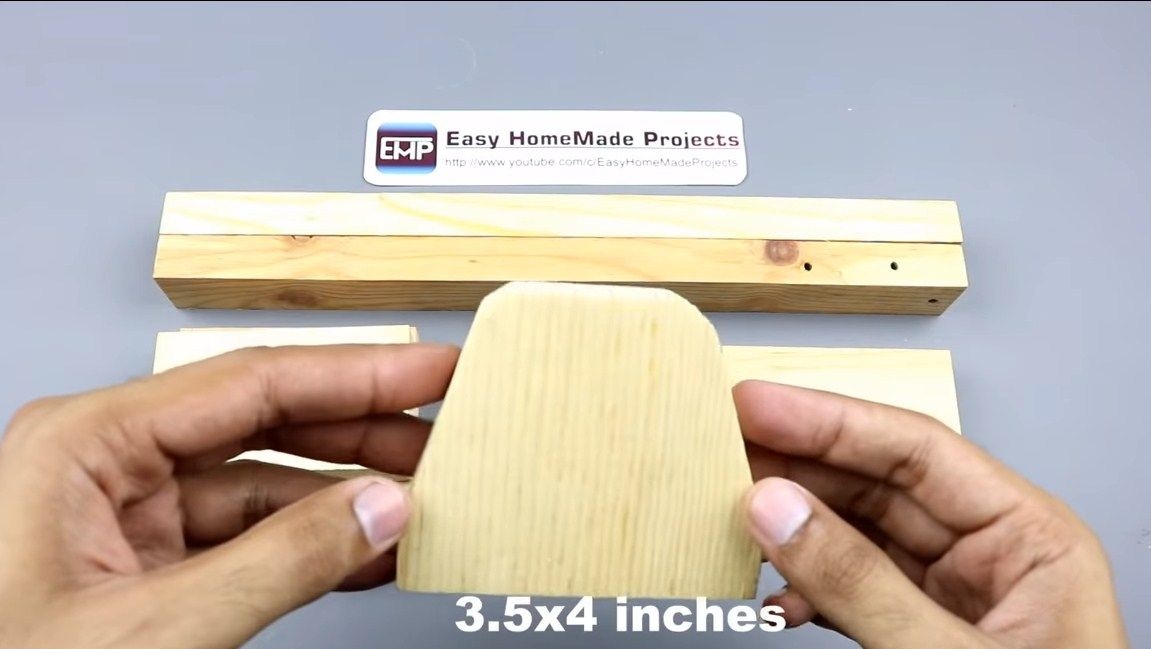
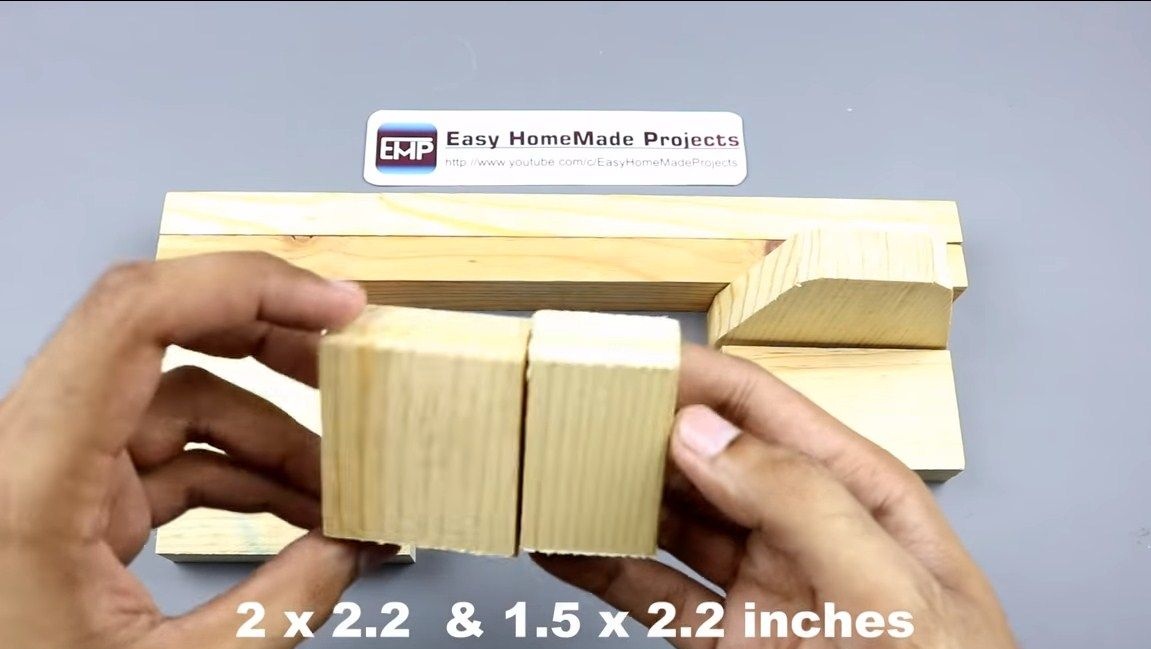
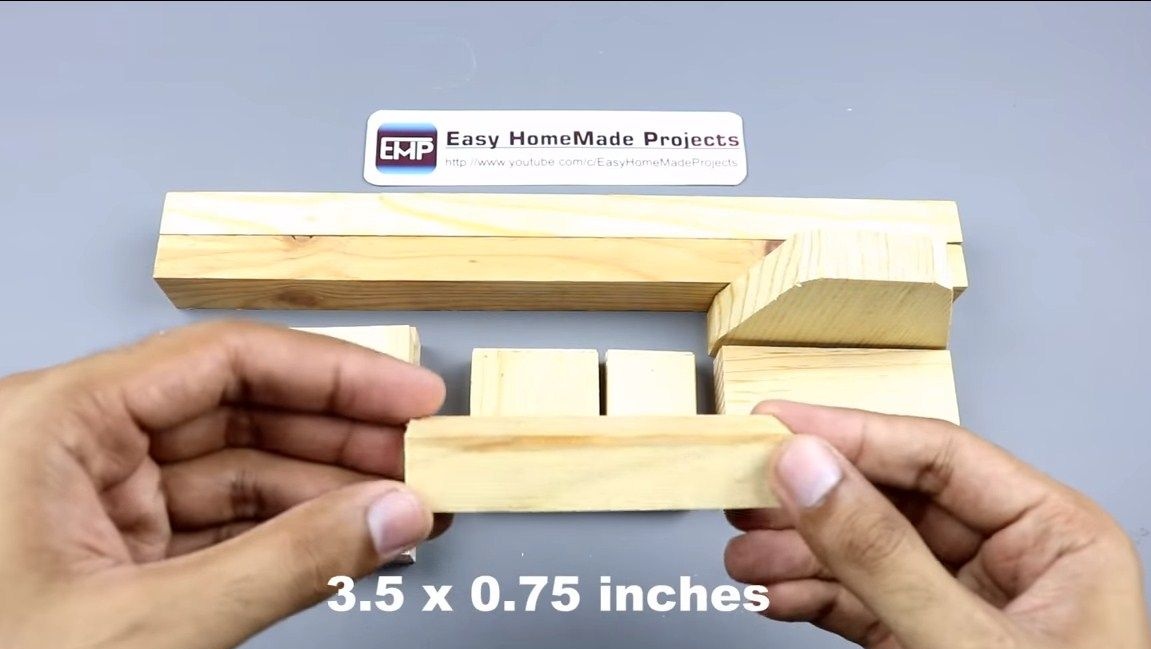
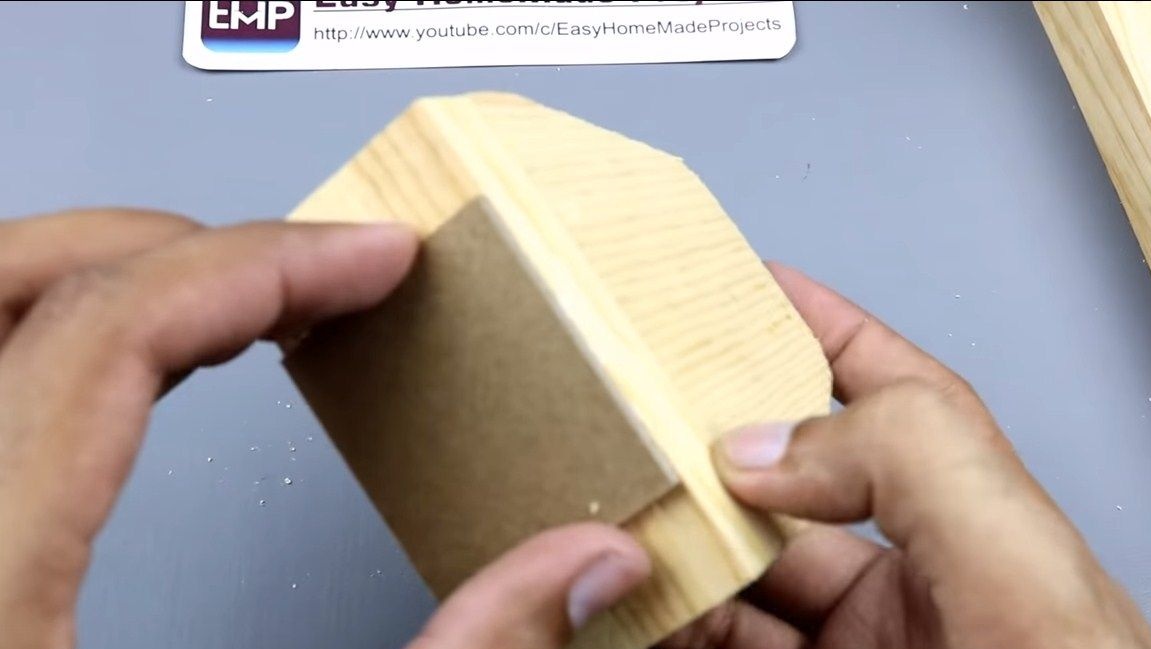
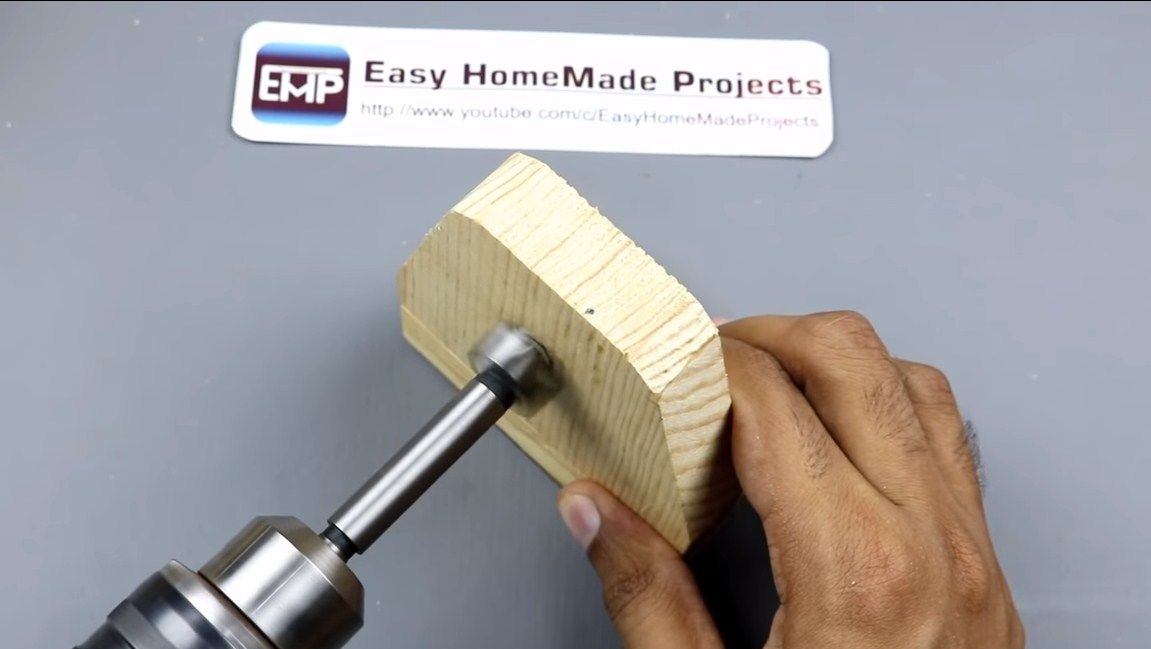
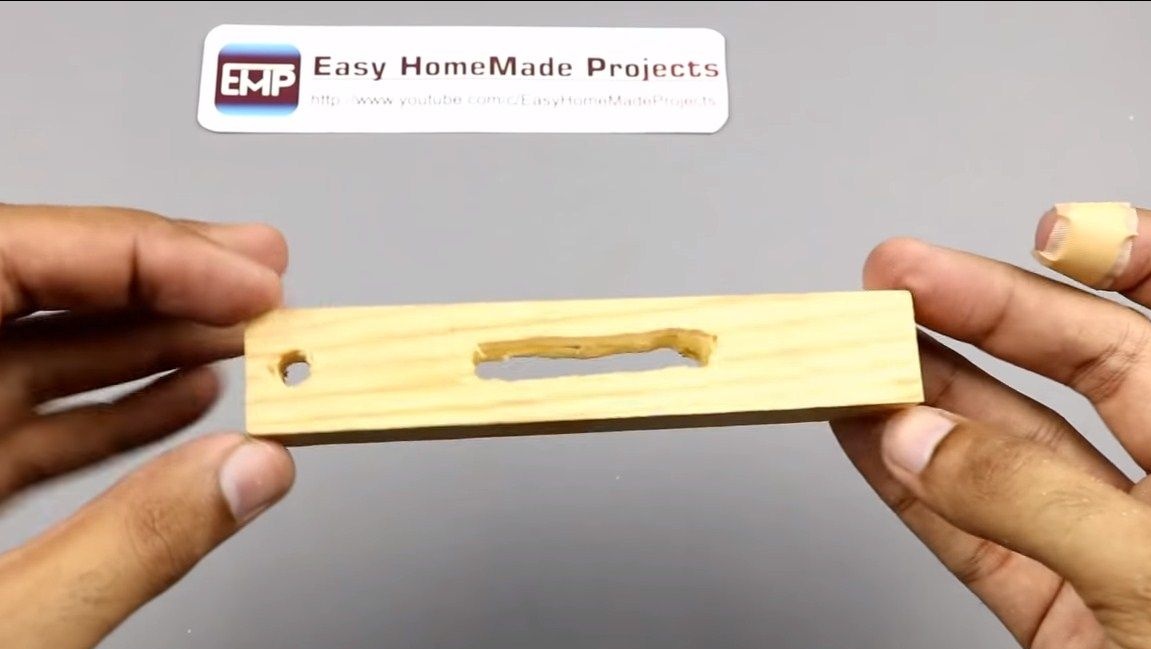
Step one. We cut the necessary materials
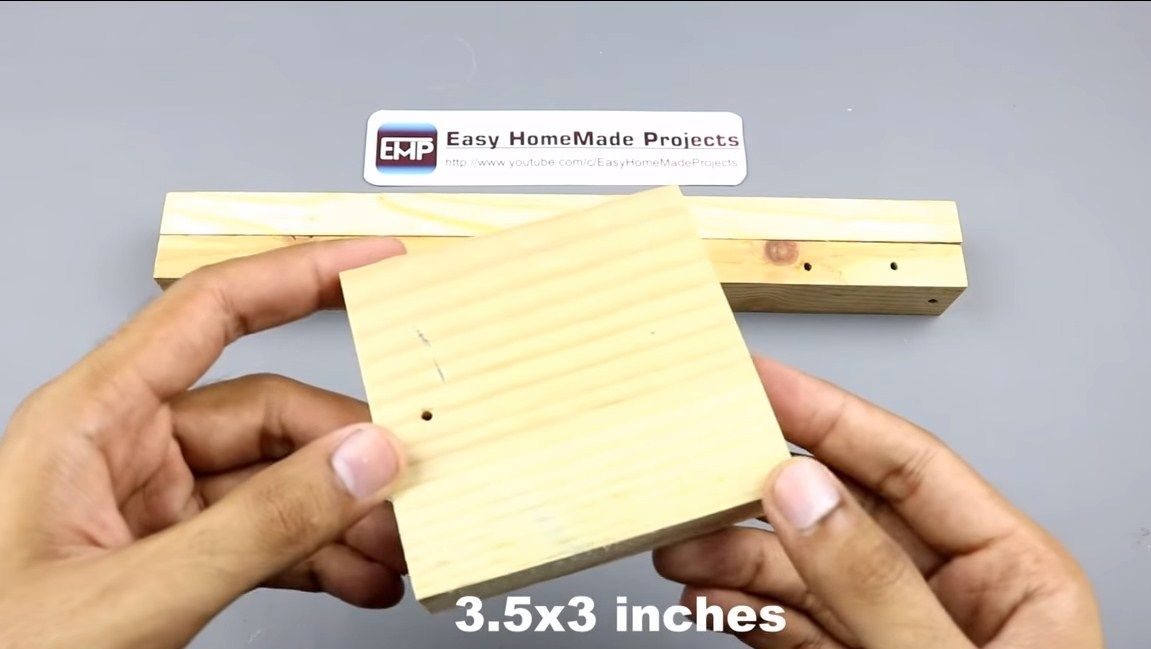
To begin, cut the necessary parts for the assembly of the frame. You will need blocks and boards. How many details should be, and what sizes they should be, you can see in the photo.
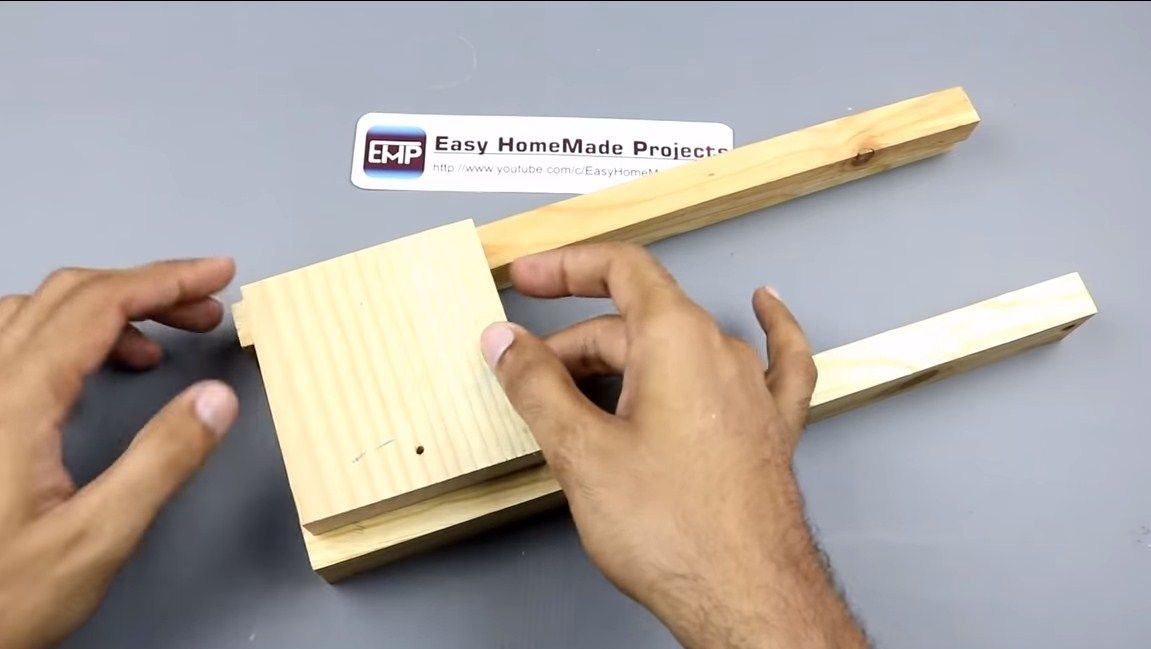
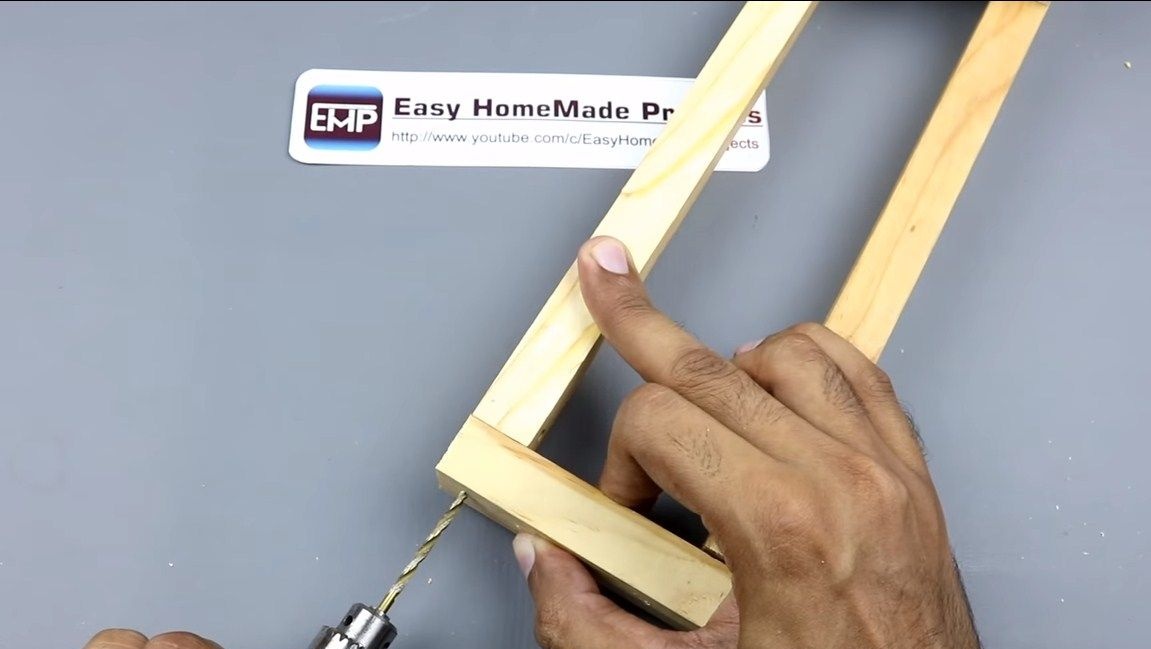
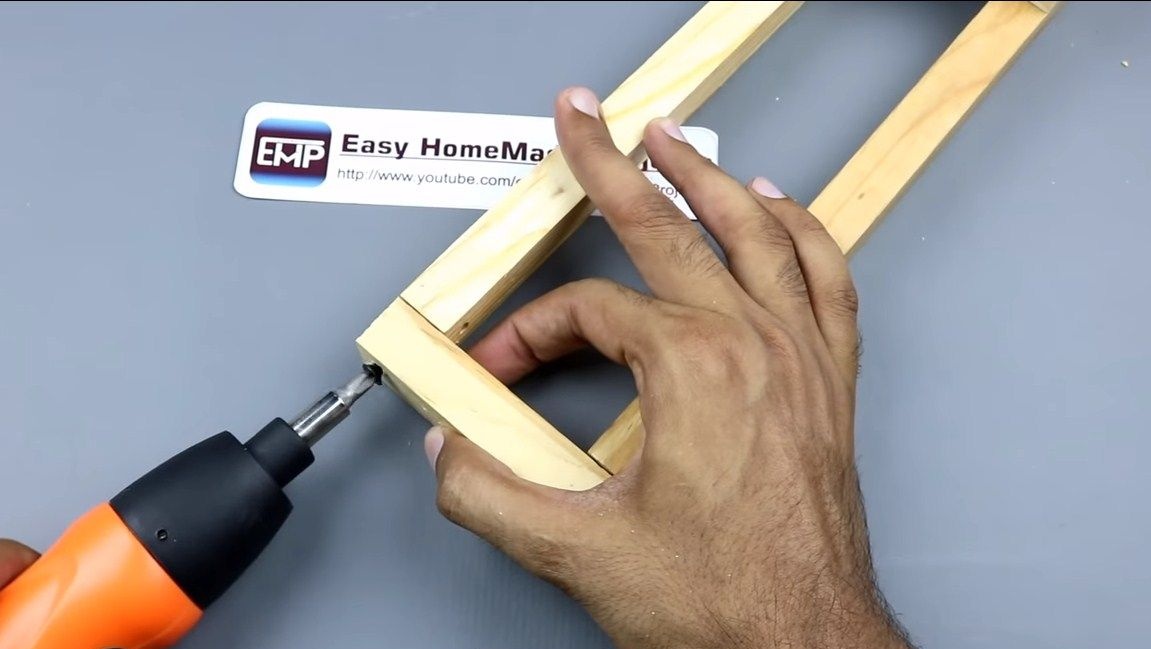
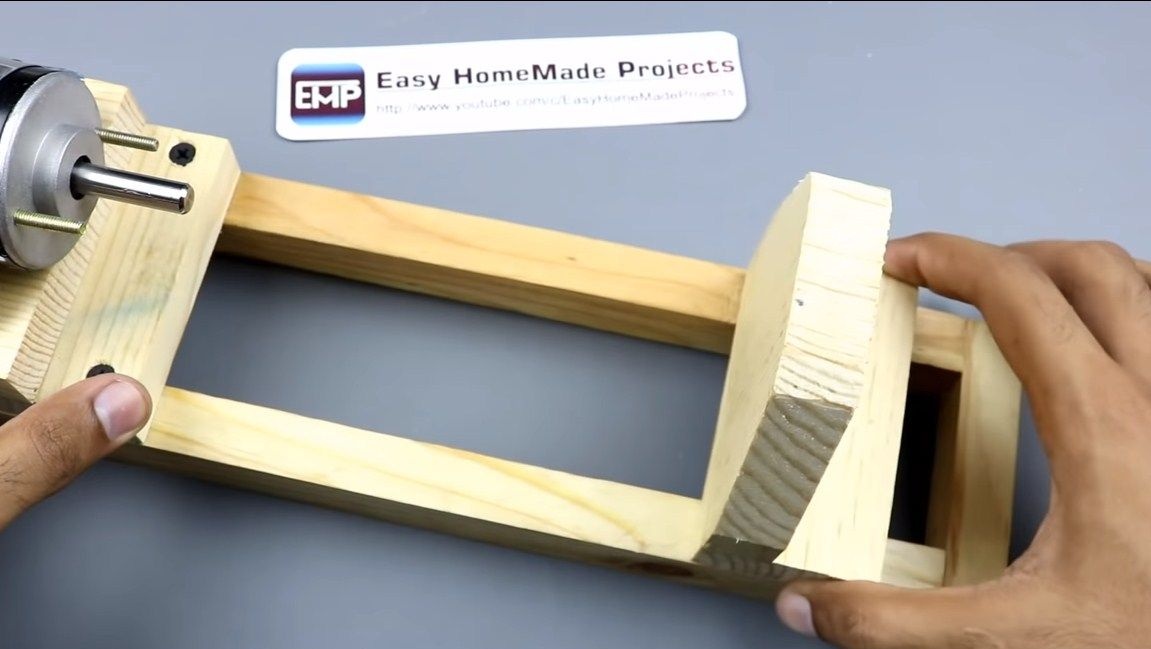
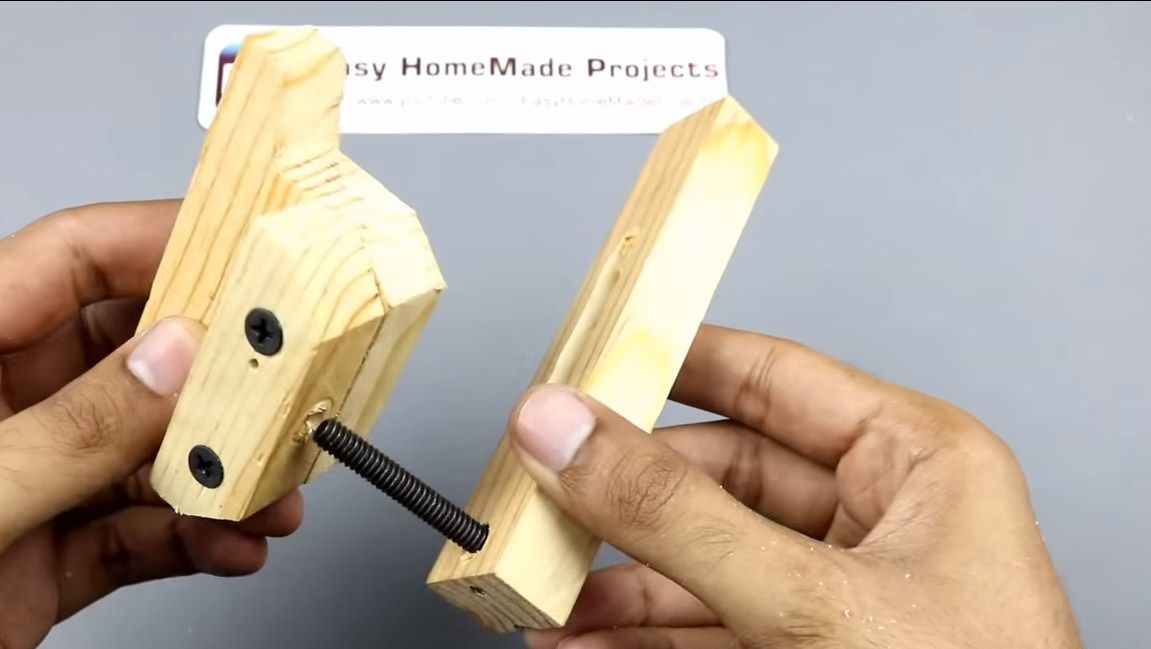
Step Two Getting to the frame assembly
The frame is assembled very quickly and simply, everything is twisted with self-tapping screws. First we take two bars and fasten a square part to them. Next, from the other end of the bars in the same way we fasten the jumper. To fix the engine to the desired height, we fasten one more piece of the required thickness.
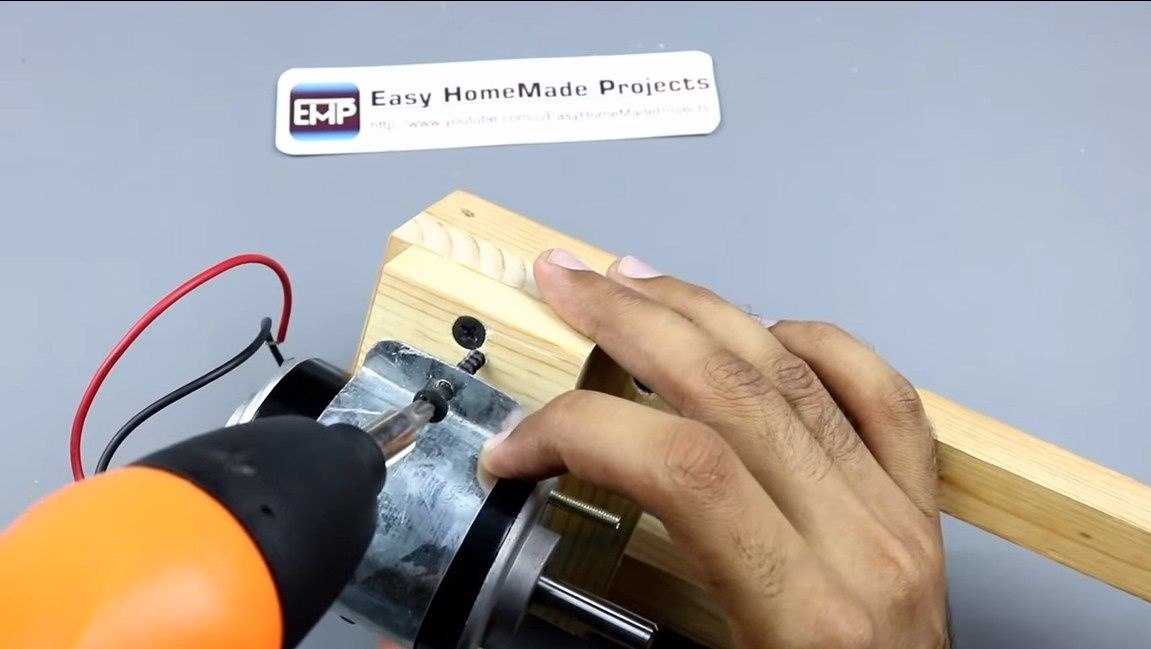
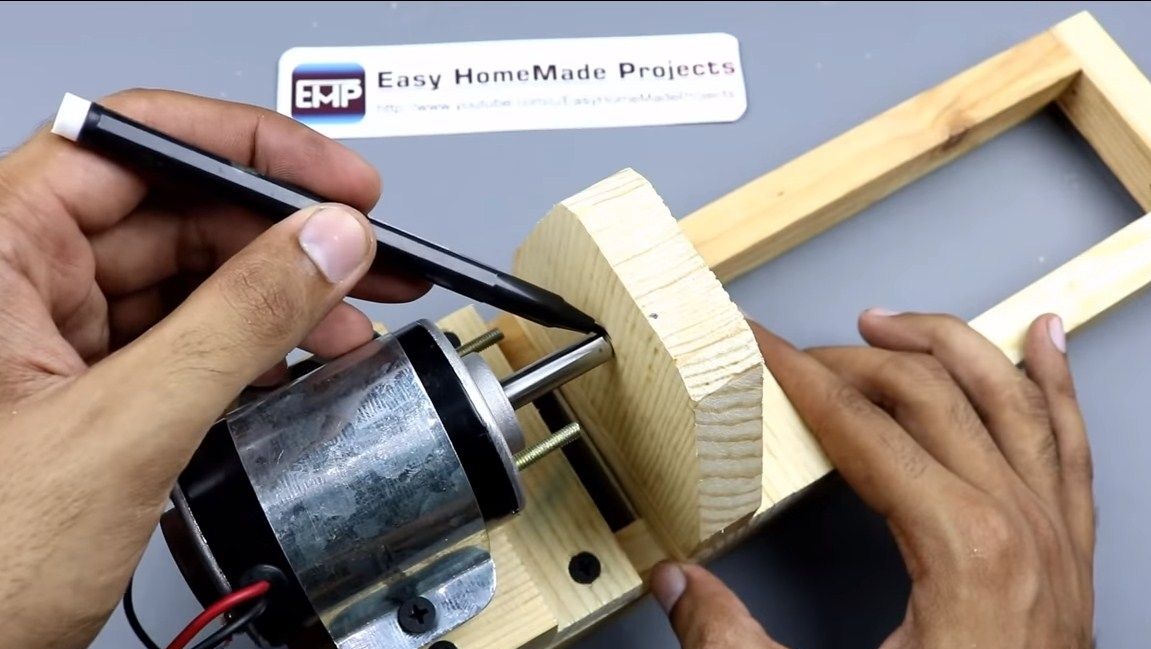
Step Three Engine mount
Now we proceed to install the engine. It is important for us to secure it securely so that it does not move out during work and the alignment is not lost. The author here did not particularly bother and screwed the engine with screws using a clamp made of tin. Additionally, the engine can be glued so that it does not move due to vibration. By the way, special hinges for fastening can be soldered or welded to the engine housing.
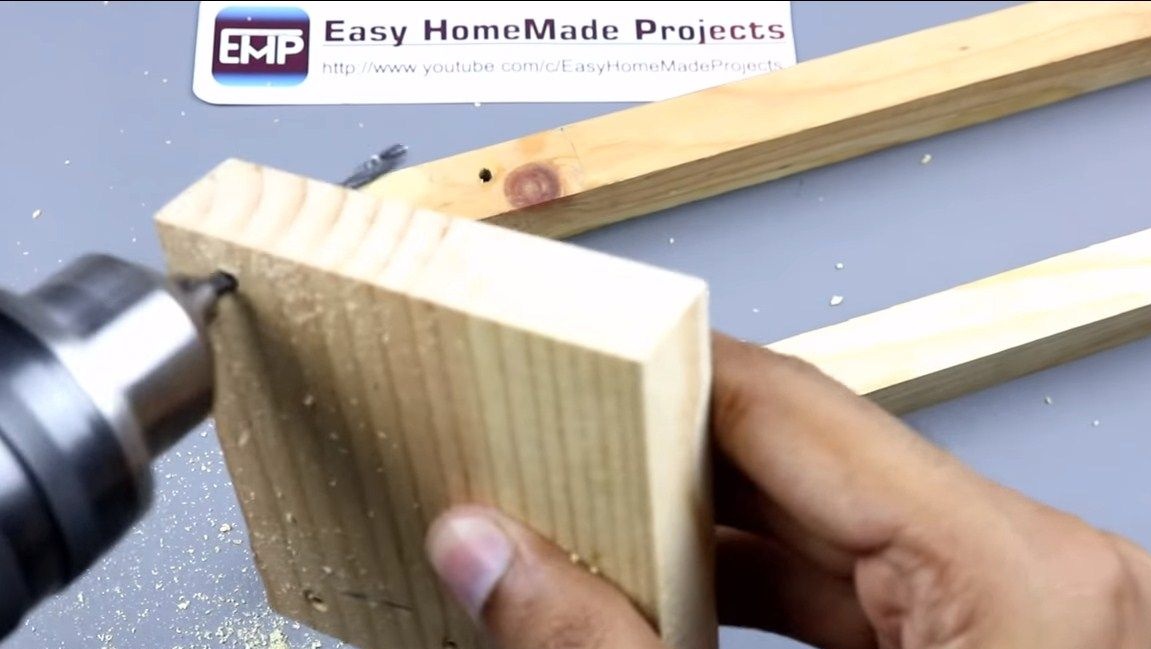
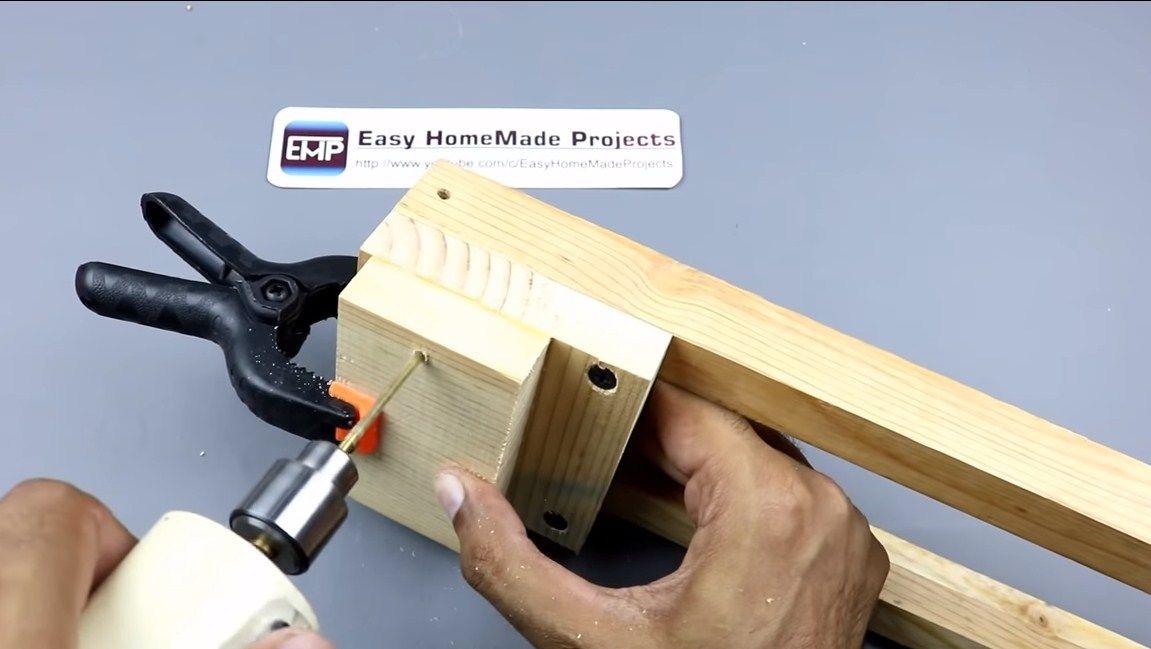
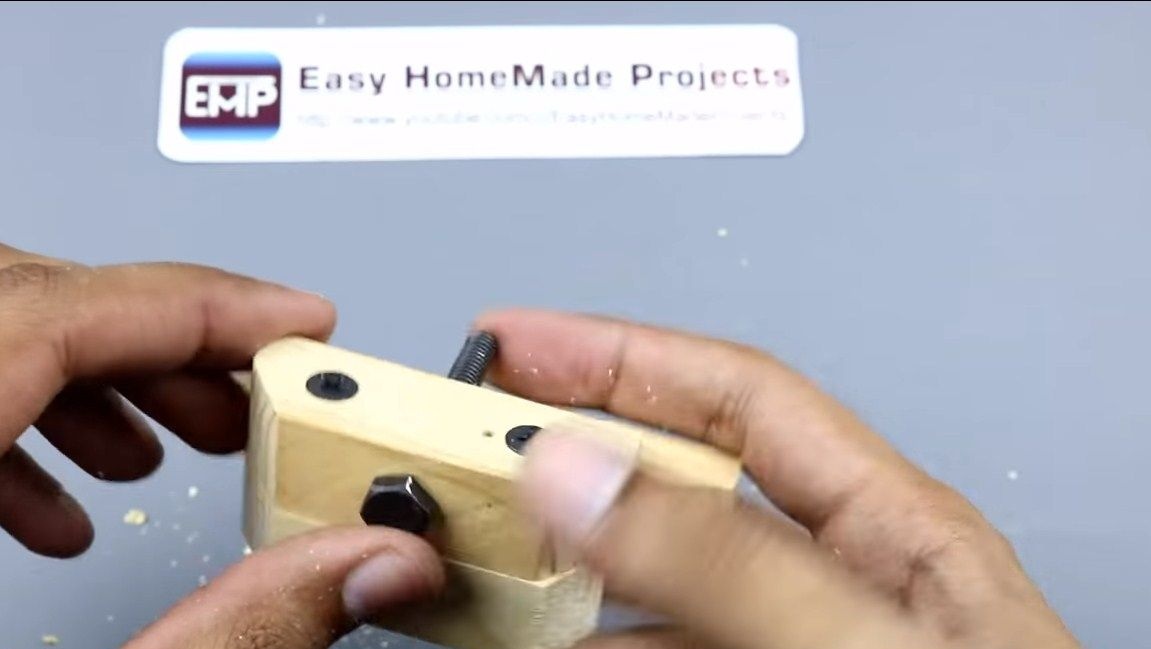
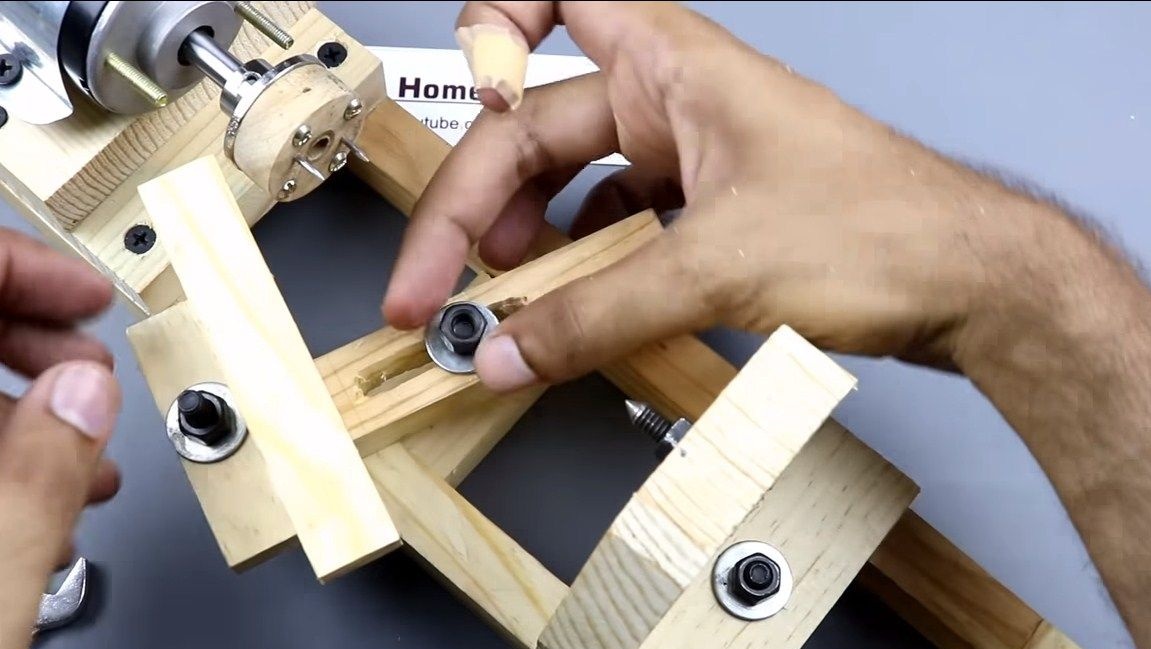
Step Four We put the stubborn part
We install a thrust part on the frame, which will fix the workpiece of the desired length. This part is also assembled from wood, drill holes and twist everything with screws. On the reverse side, another part is installed that will allow the support to be locked in the desired position. A bolt with a nut is used as a retainer.
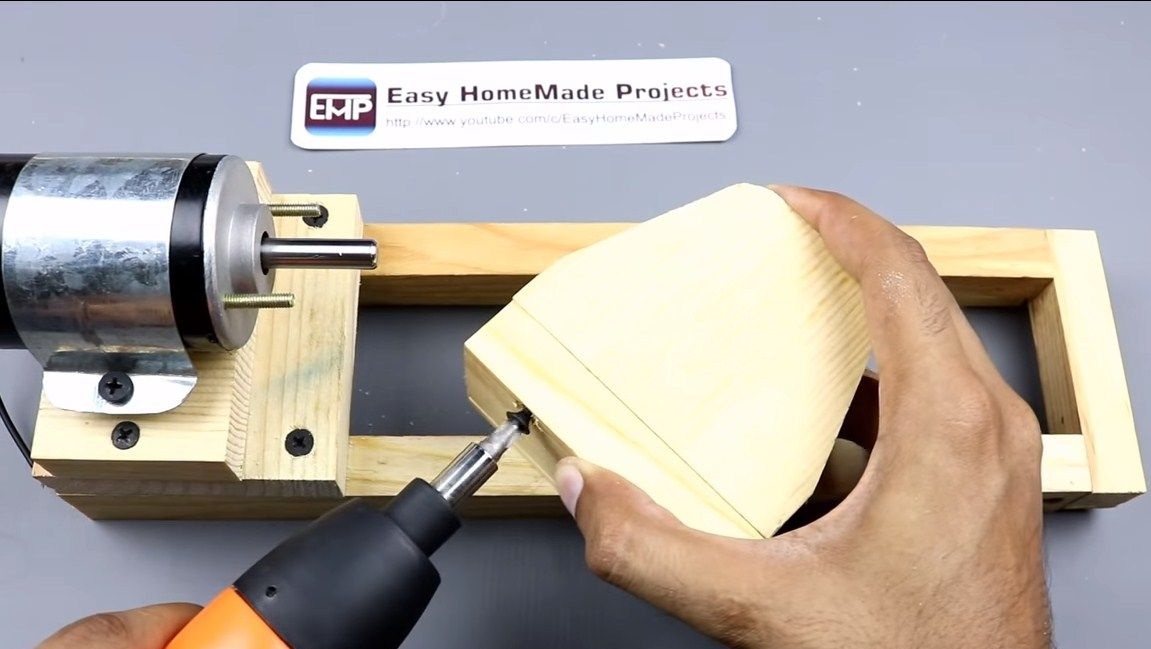
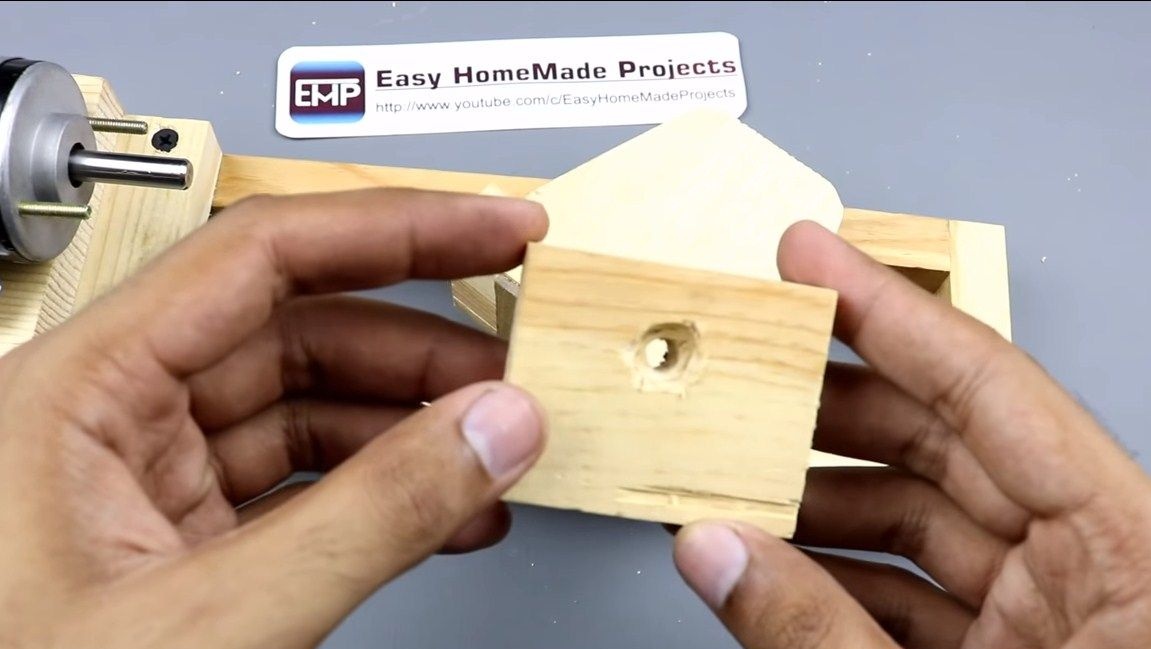
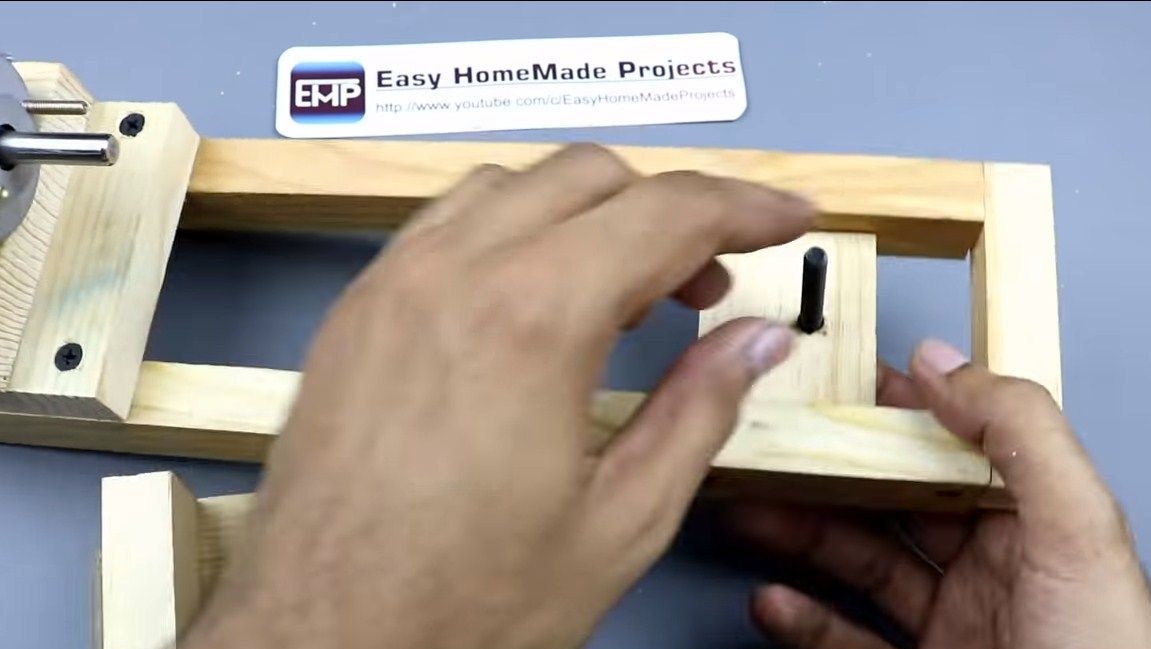
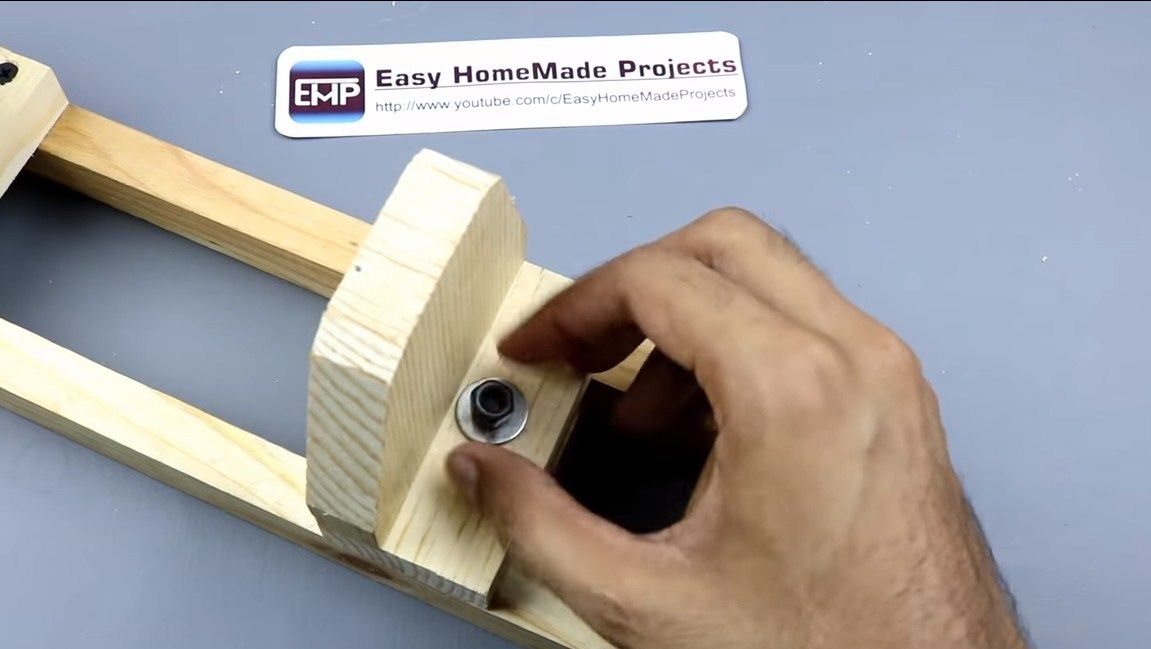
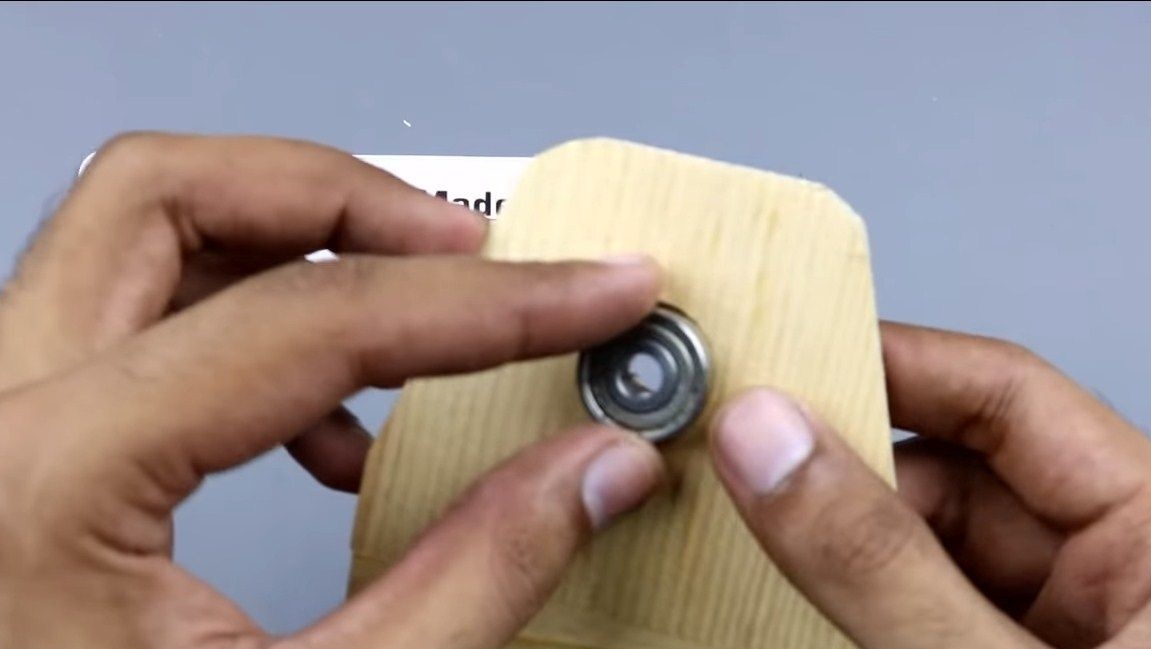
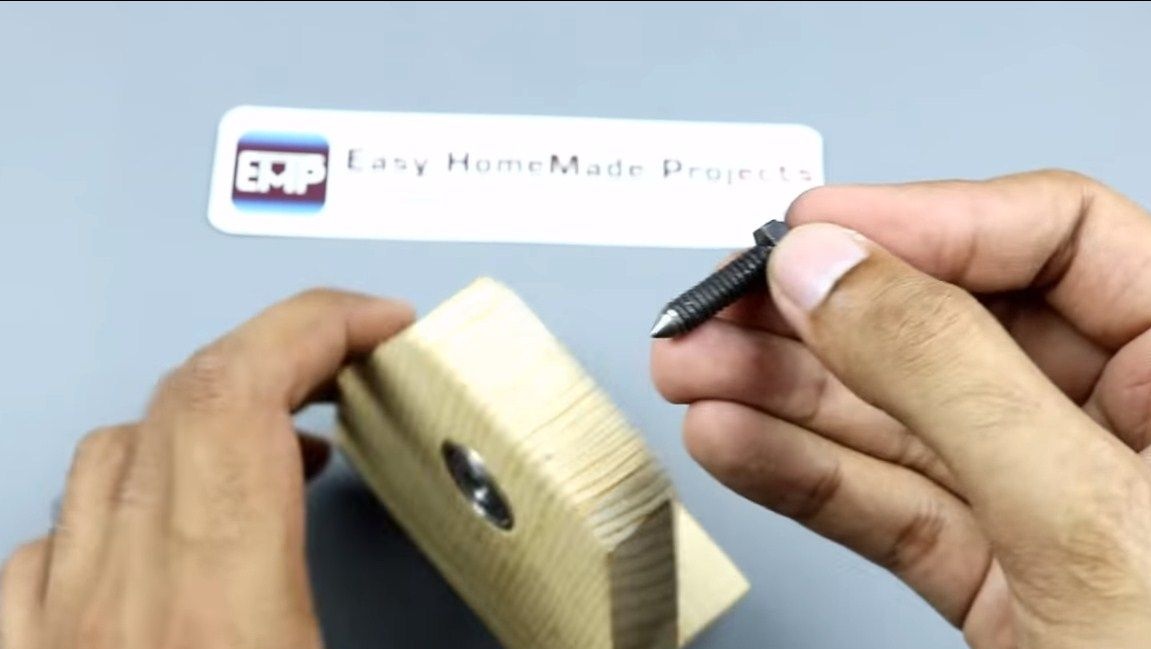
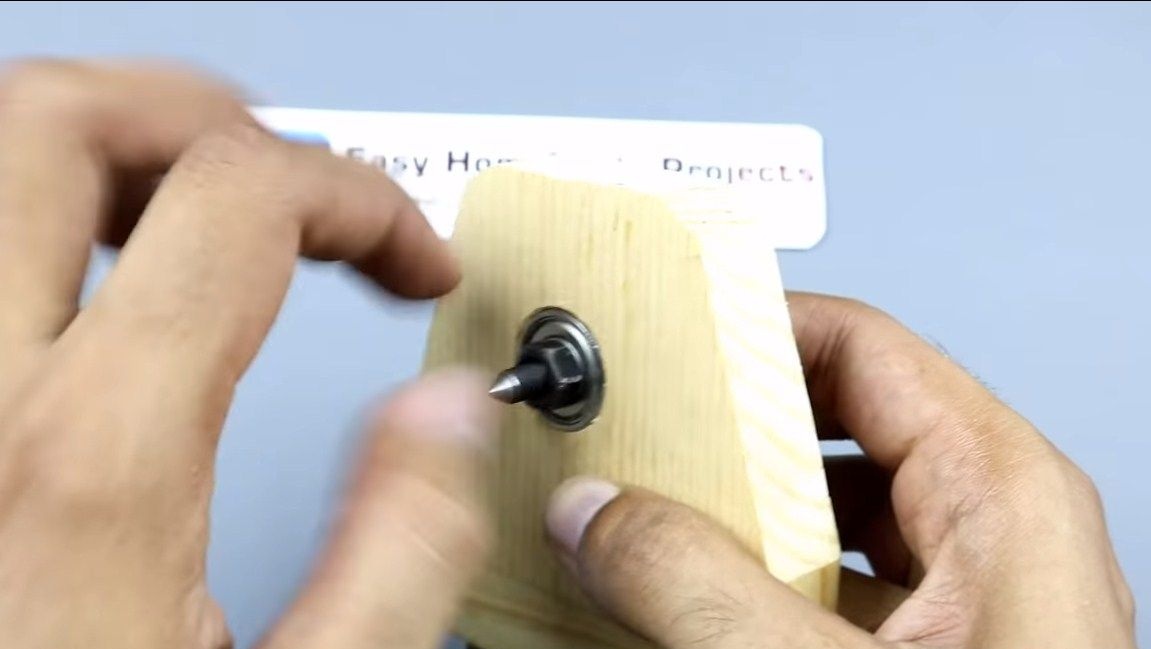
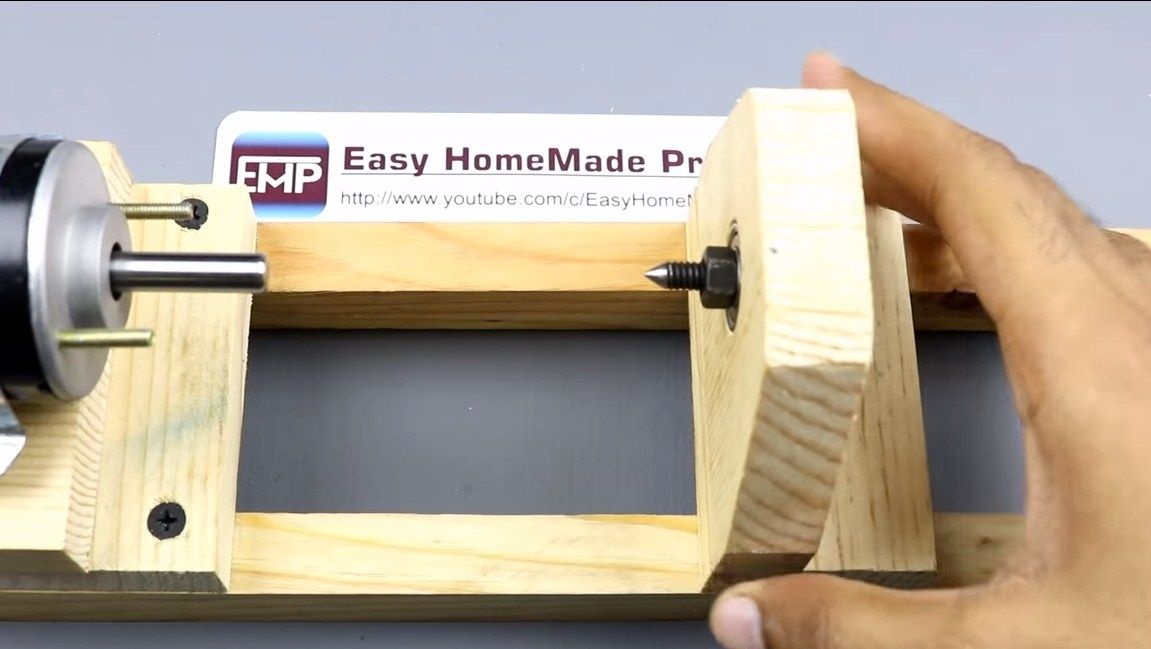
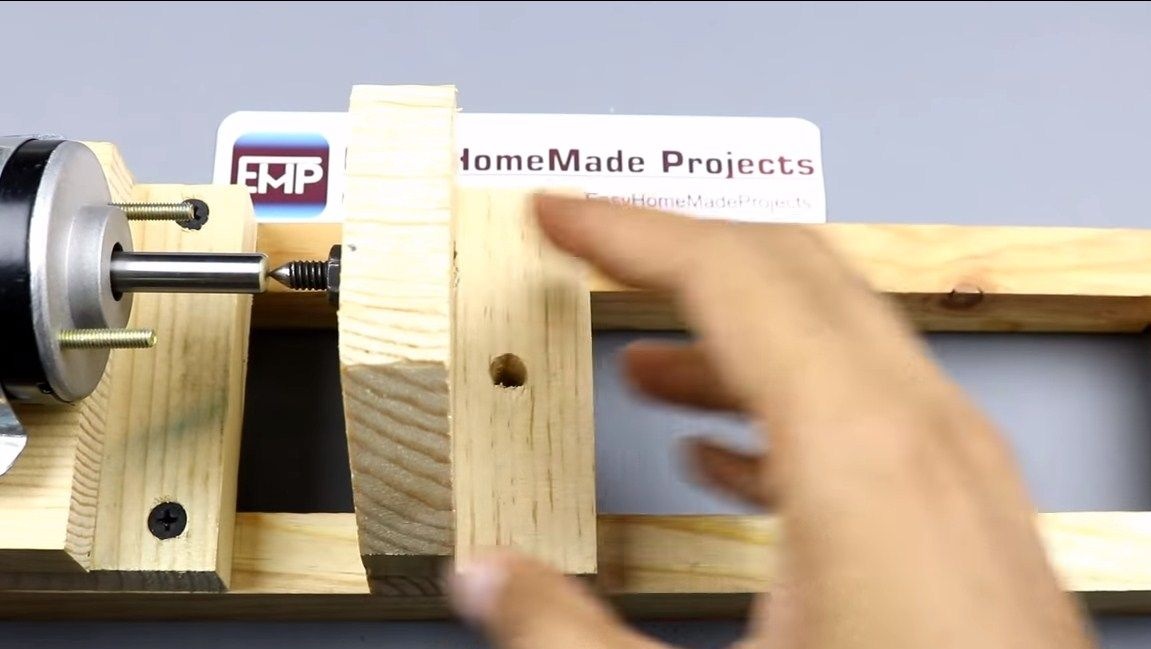
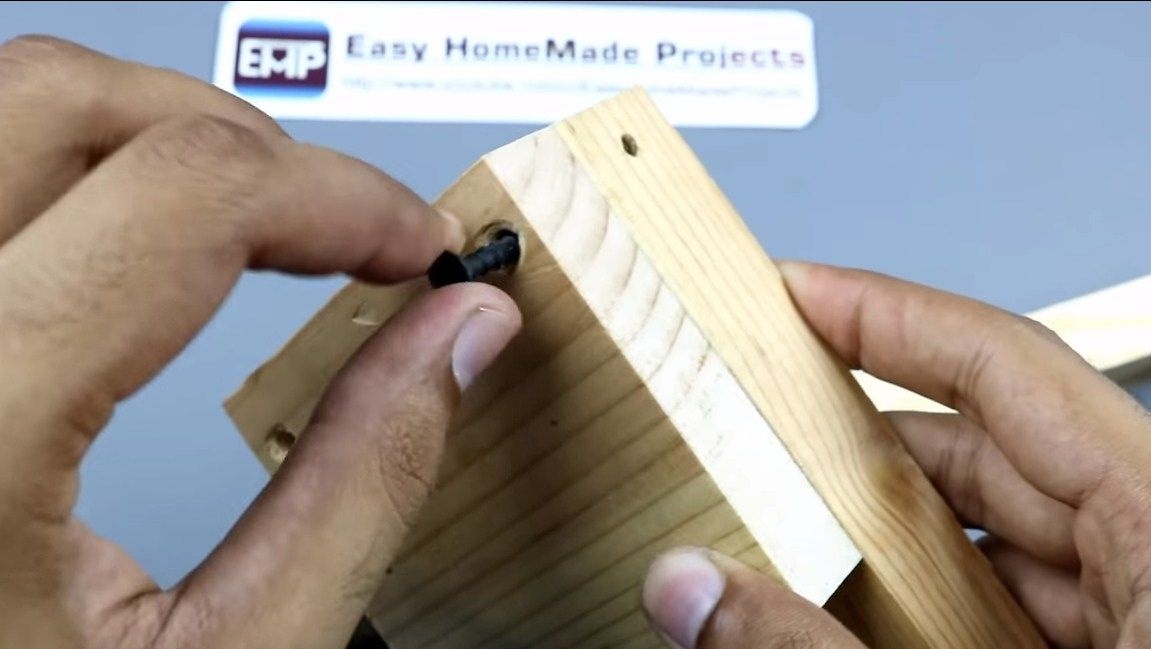
We install a bearing in the thrust part; for this, a hole must be drilled opposite the shaft. Under the bearing itself, cut out the seat. After installing the bearing, insert the sharpened bolt into it and tighten the nut. As a result, we get excellent emphasis.
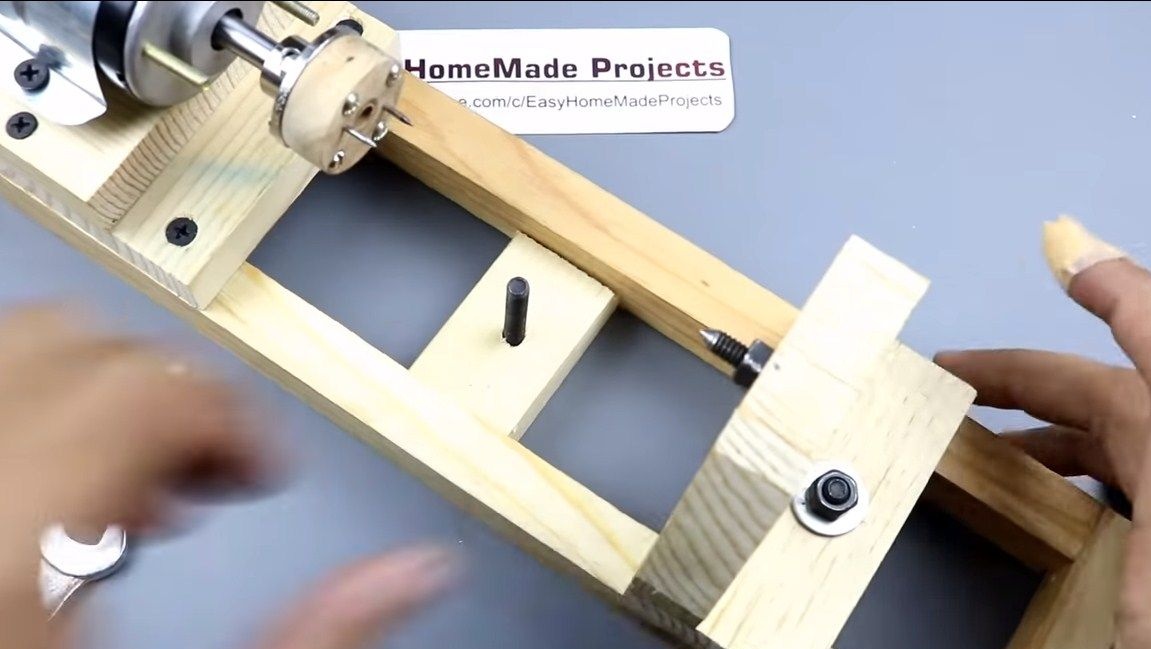
Step Five Holder manufacture
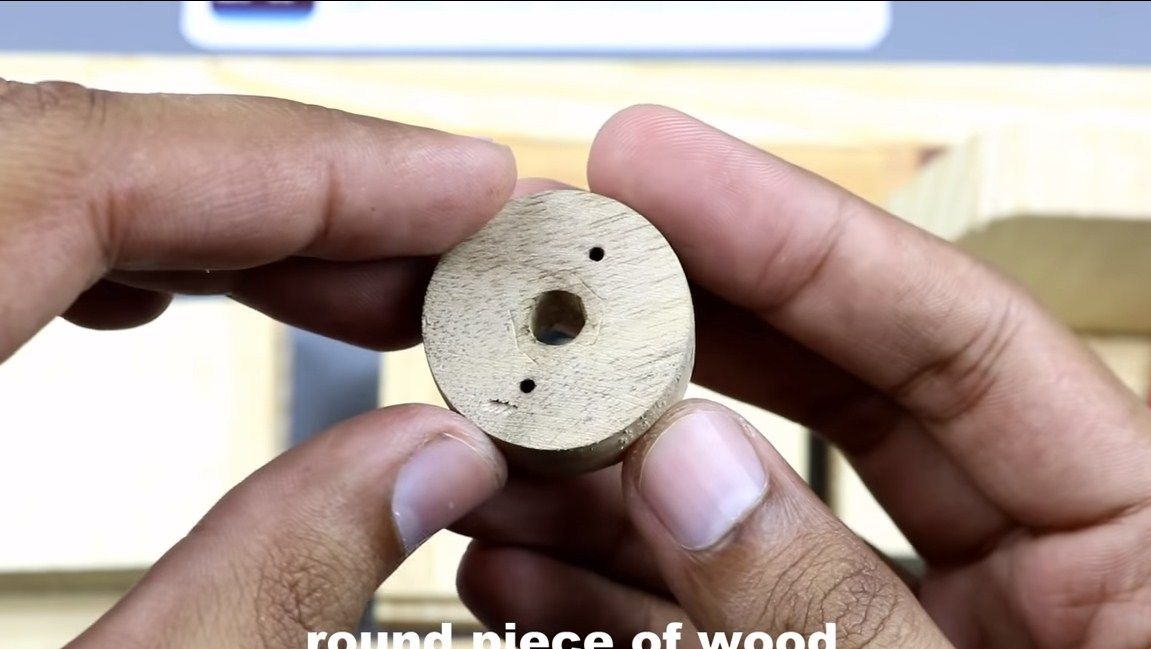
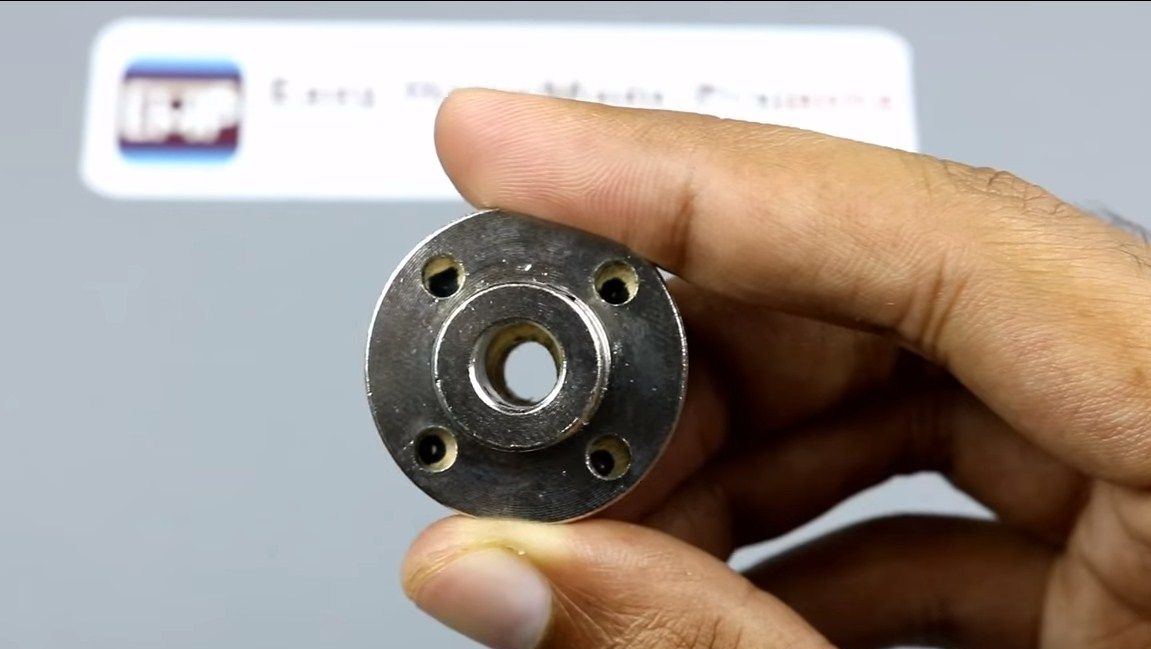
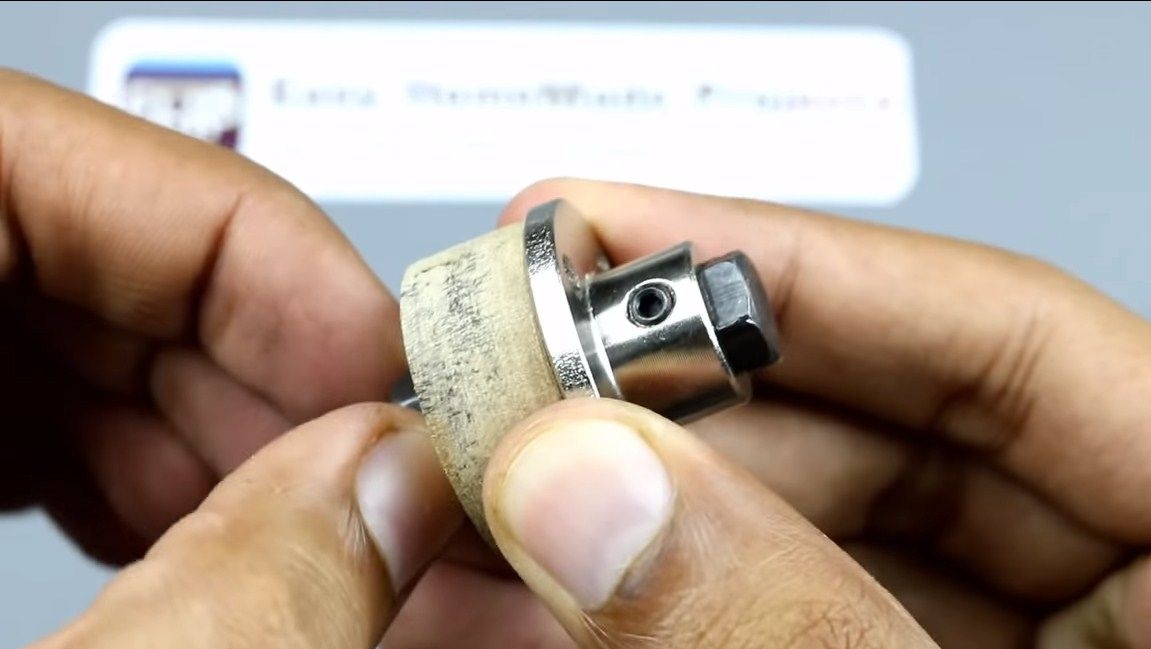
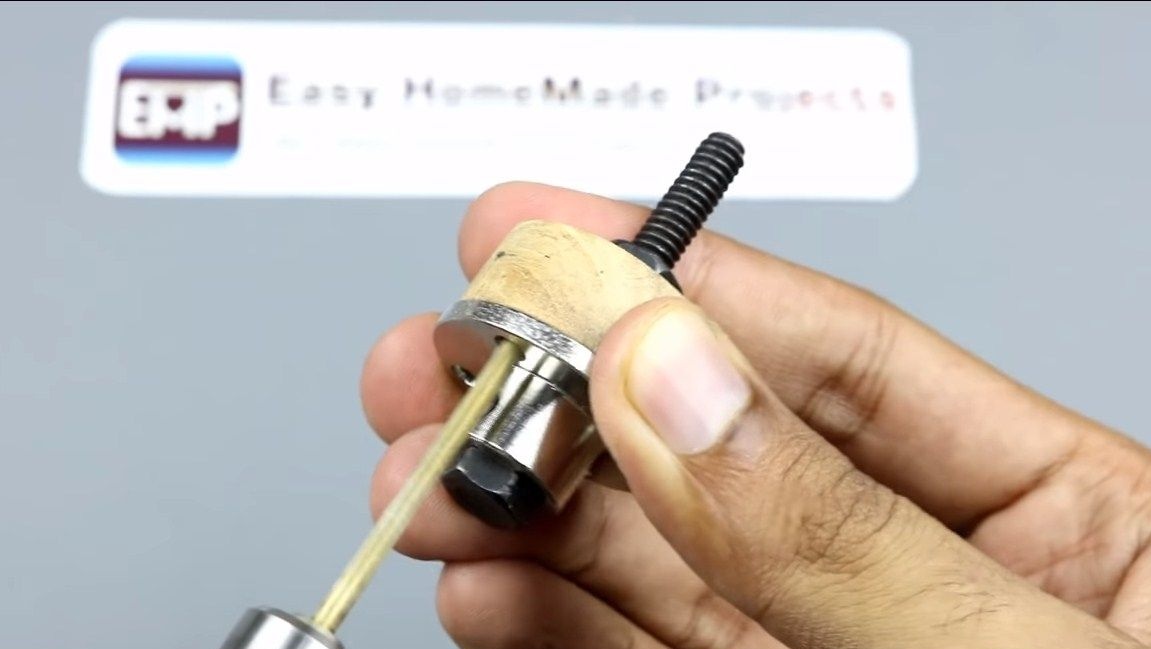
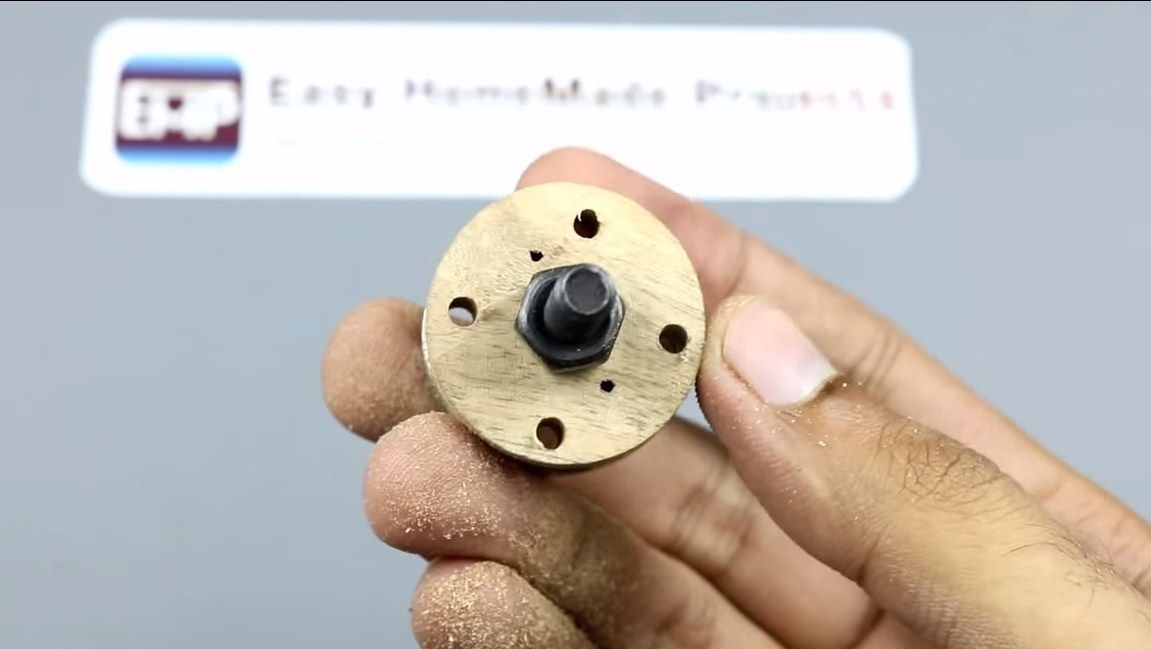
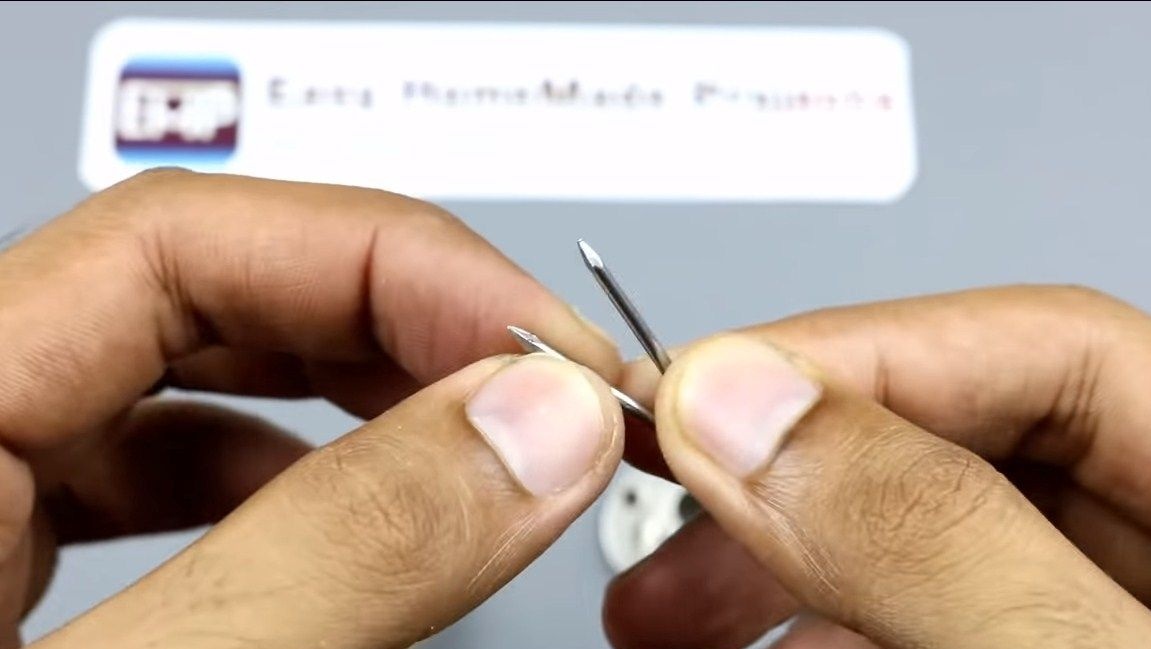
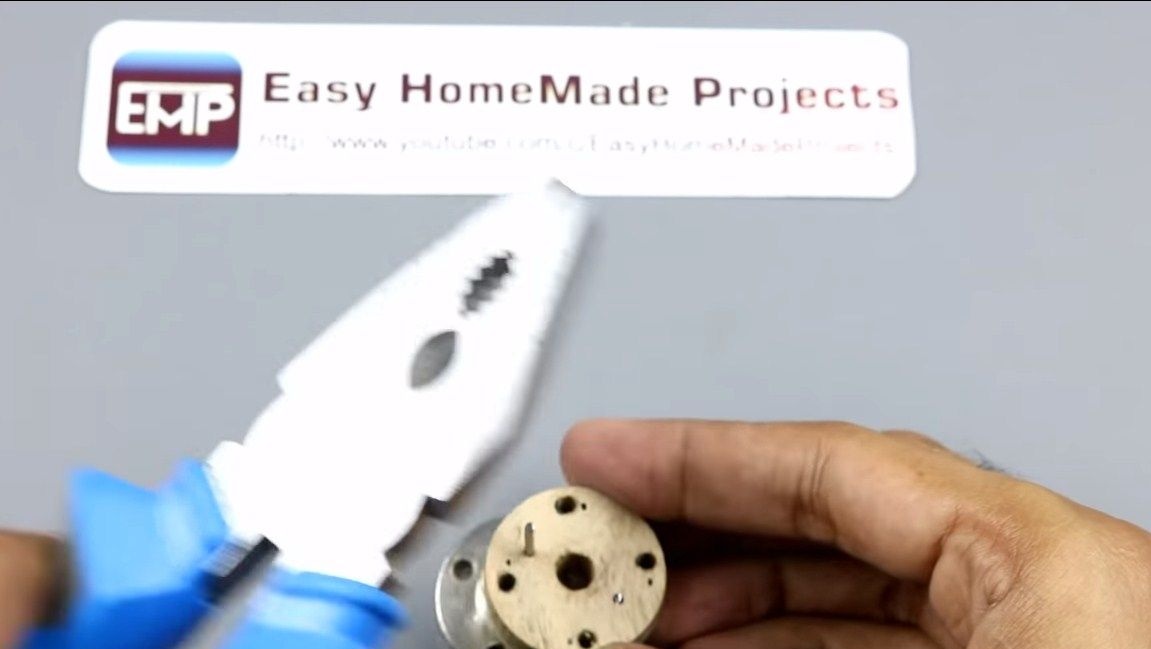
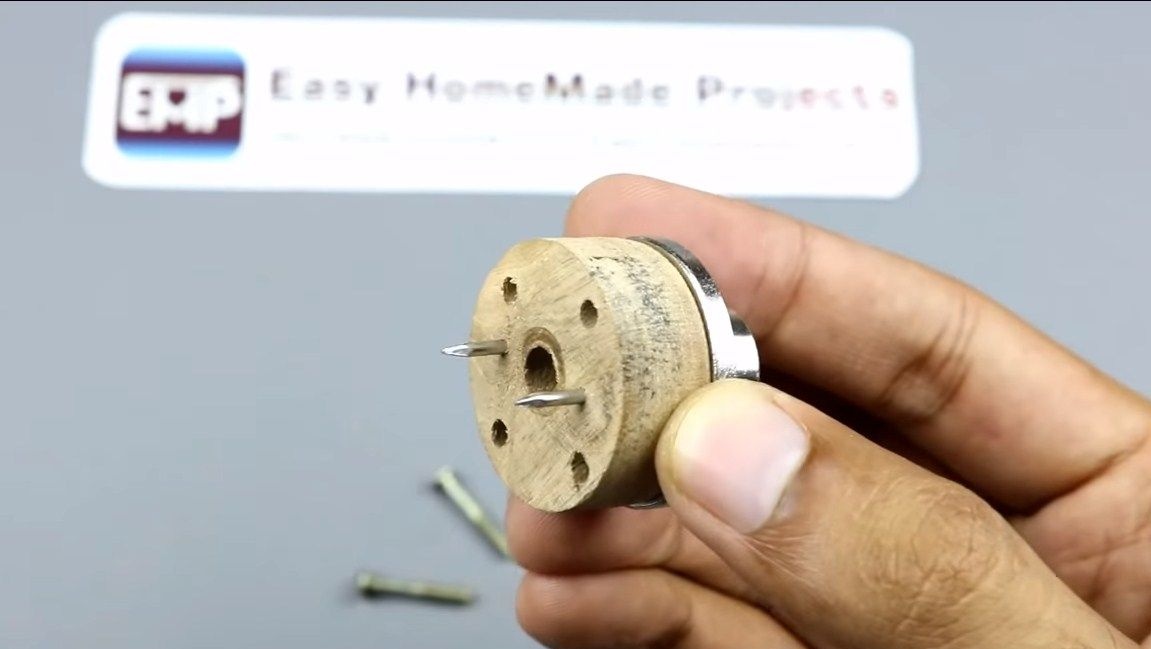
The holder is needed in order to hold the workpiece. It is made of wood, and screwed to a metal flange of 8 mm. As clamps, two pieces of nail are adapted here. We drill holes, hammer in pieces of nails and twist the parts with the help of screws with nuts. Well, then install the holder on the motor shaft. To do this, simply tighten the two screws with a special hex key.

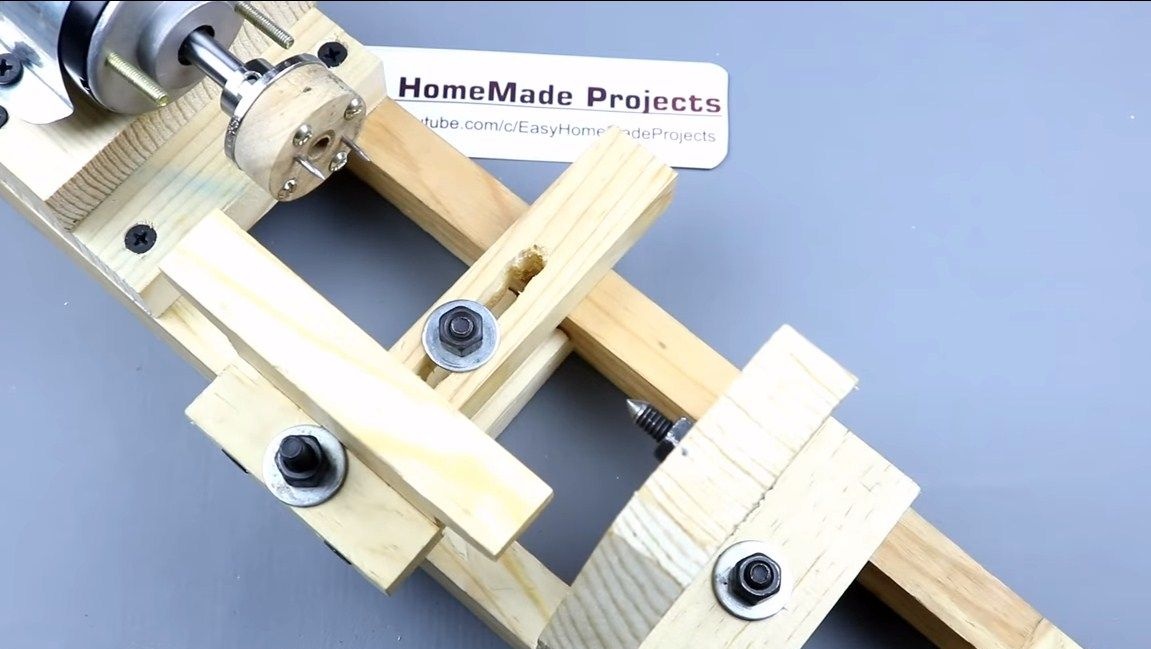
Step Six Thrust pad
Everything is almost ready, now we need to make and install a thrust pad on which we will lean with a knife. We twist it as the author in the photo. This pad must be movable so that adjustments can be made. The author makes a special bracket from wood. We fasten the stop using a bolt with a nut.
Seventh step. Final stage
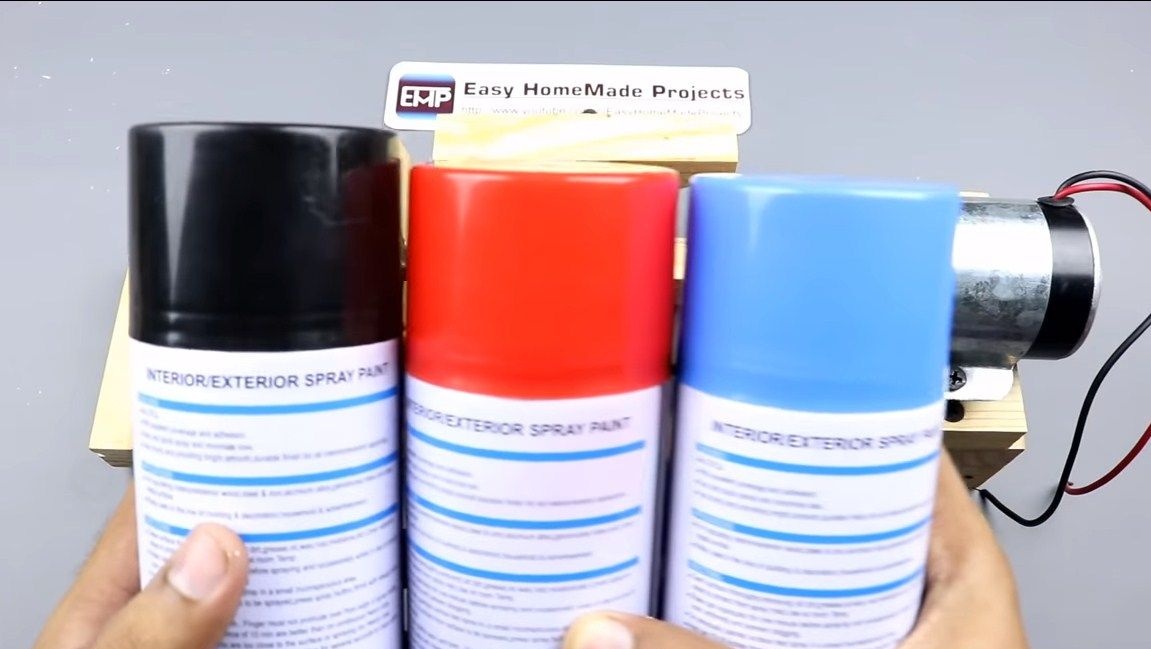
In conclusion, we need to paint our stanochka so that it looks beautiful and lasts a long time. For this, the author uses paint in spray cans. All products are painted separately in the colors you like. It would be nice to grind the details before painting, remove all burrs and so on. After painting, we collect everything back. Stanochka is ready!
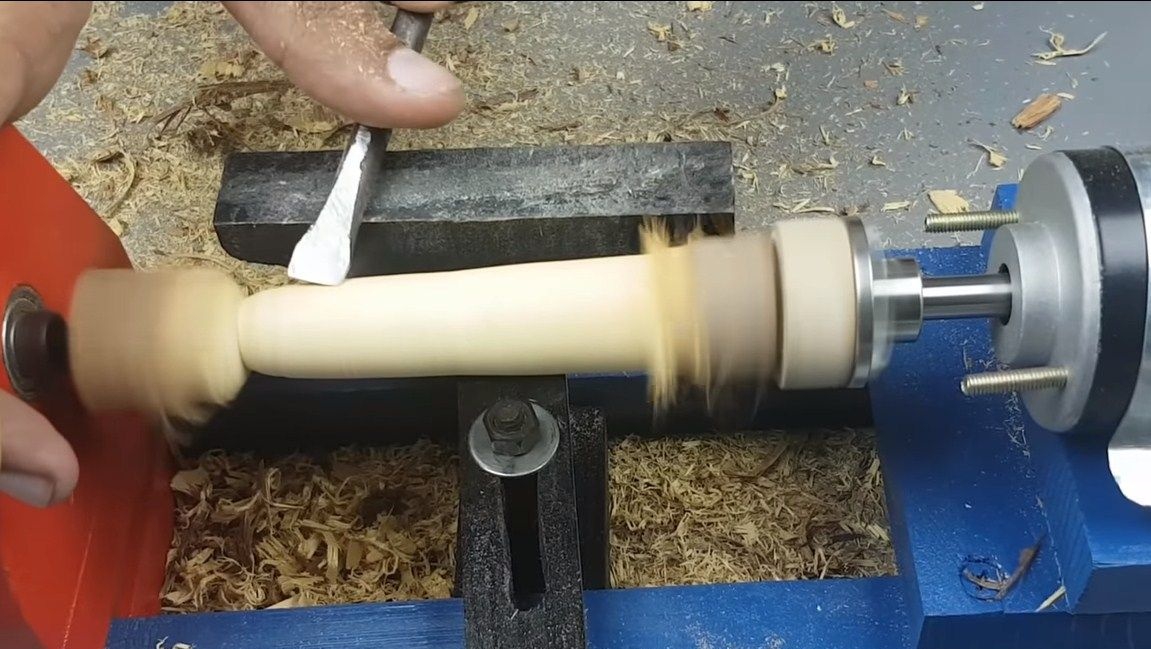
Step Eight. Test
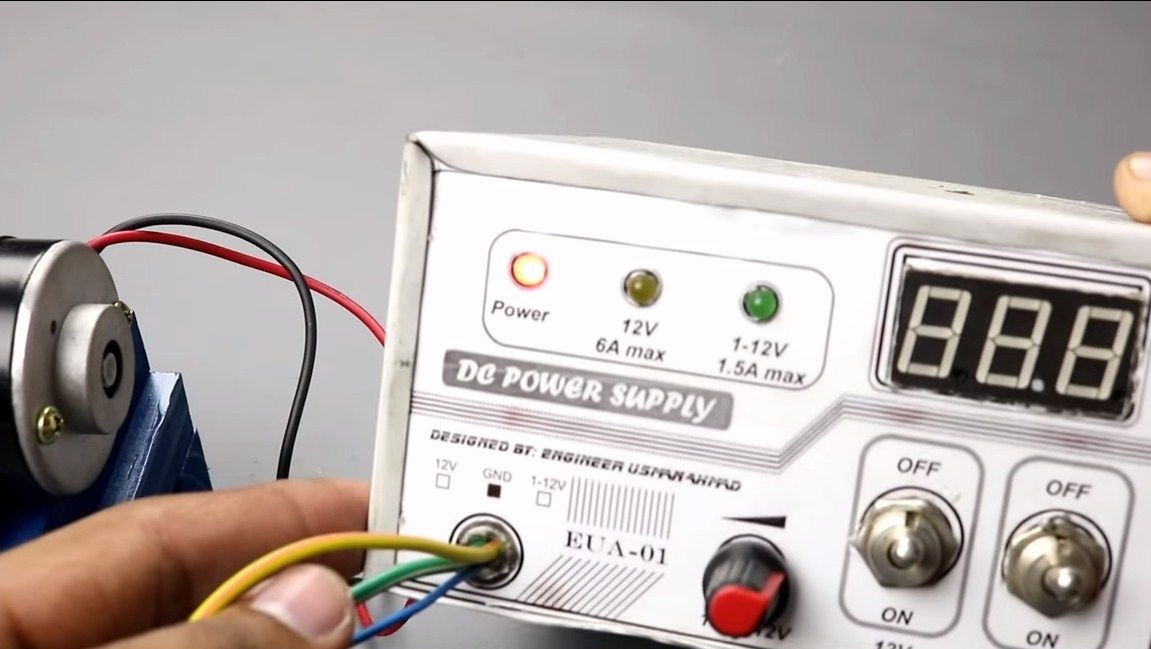
The machine is ready, proceed to the tests. The author used a power supply as a power source. The higher the voltage, the faster the workpiece will rotate. It would be nice to make a speed controller for such a machine. However, you can find a power supply with the ability to adjust.
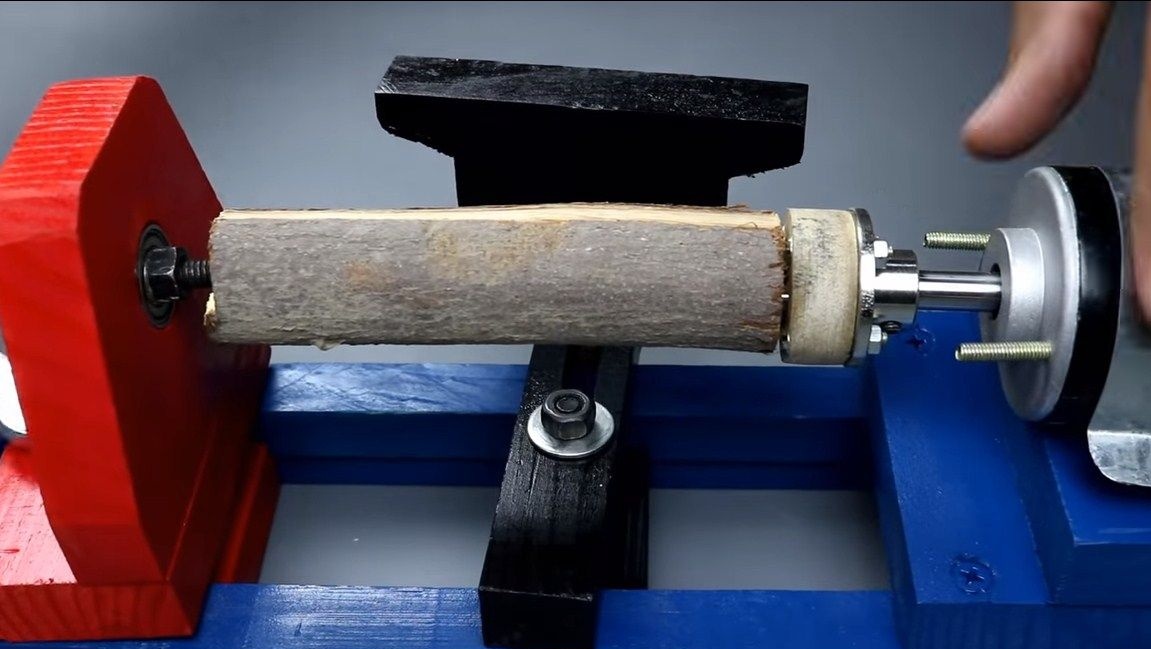
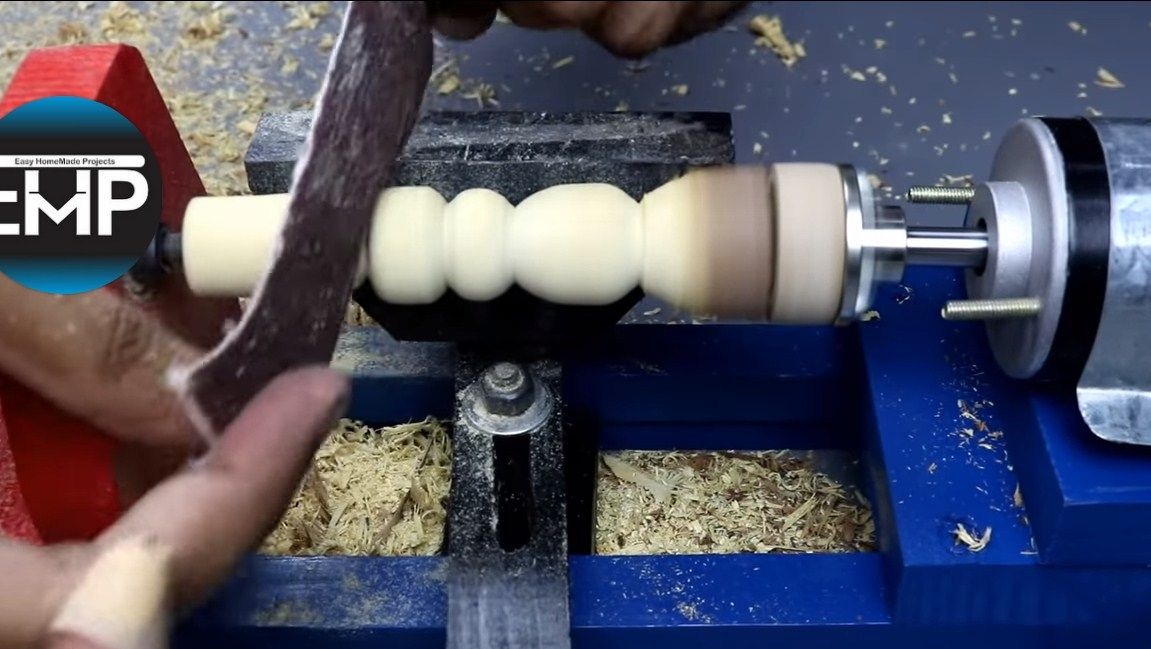
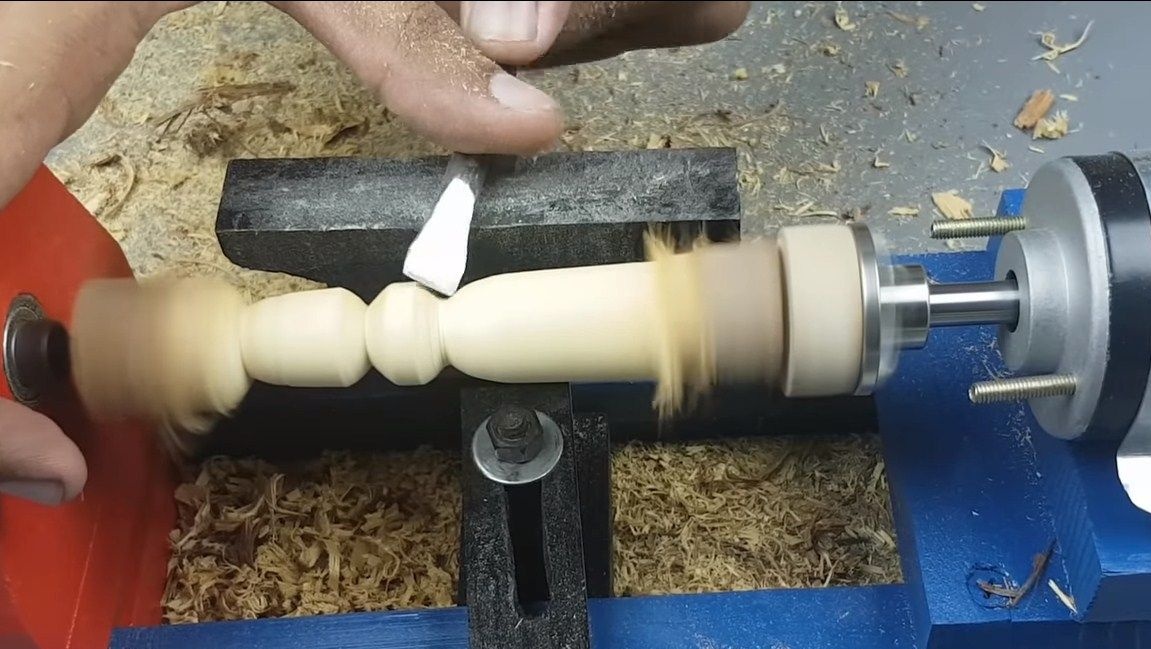
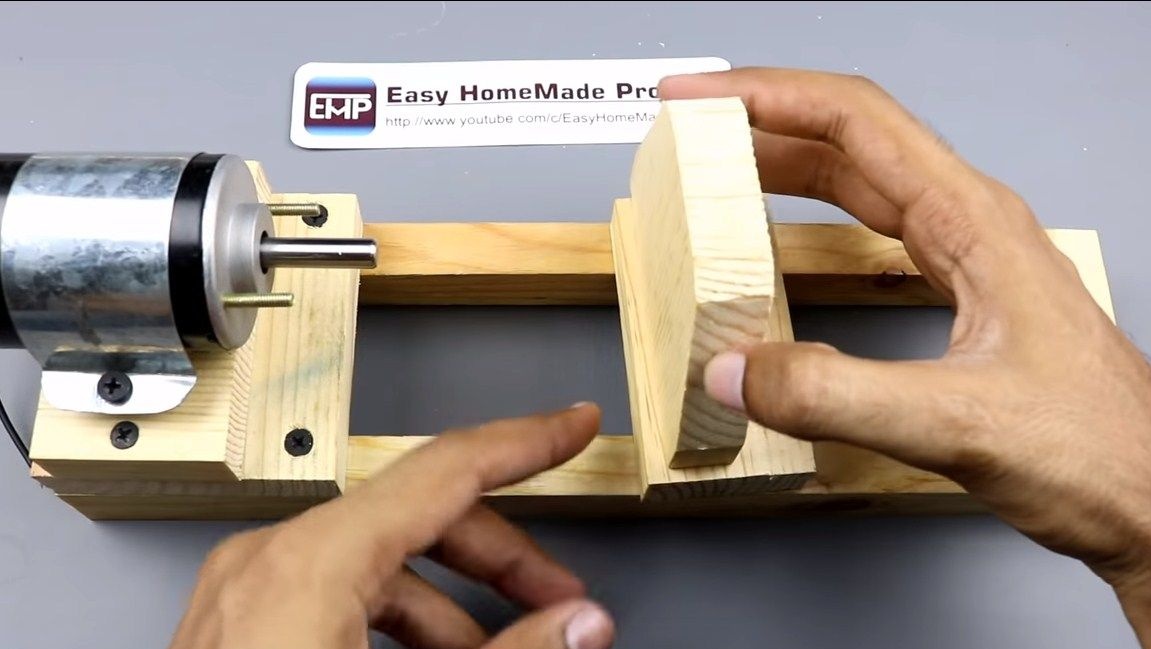
Set the workpiece in the machine, the author chose a piece of stick of soft wood resembling linden. Nails should go into the wood, this will ensure a secure fit. Well, then turn on the motor and get to work. Judging by the video, the author works fine, the power is enough. And this is considering that the motor is powered by 12 Volts, although all 24V can be supplied to it.
That's all, the project is over. I hope you enjoyed it. Good luck and creative inspiration, if you want to repeat this. Do not forget to share your homemade with us!