
Greetings to tourists, hunters, fishermen and lovers to go for mushrooms. It was not by chance that I chose the category, because it is they who perfectly understand what it means to be the owner of a beautiful, strong, high-quality knife. In this instruction we will look at how to make just such a knife do it yourself.
To make this knife, the author used the materials that were at his fingertips. The handle and scabbard are made of wood. A knife from a jointer was used as a blank for the manufacture of the blade, this steel is very strong, holds sharpening well and looks beautiful. Everything becomes accessible tools, the main grinding work is carried out using a belt sander. Read on how to make such a knife with your own hands, and the author even made two of them!
Materials and tools used by the author:
Material List:
- birch cap;
- a nut for the handle;
- epoxy adhesive;
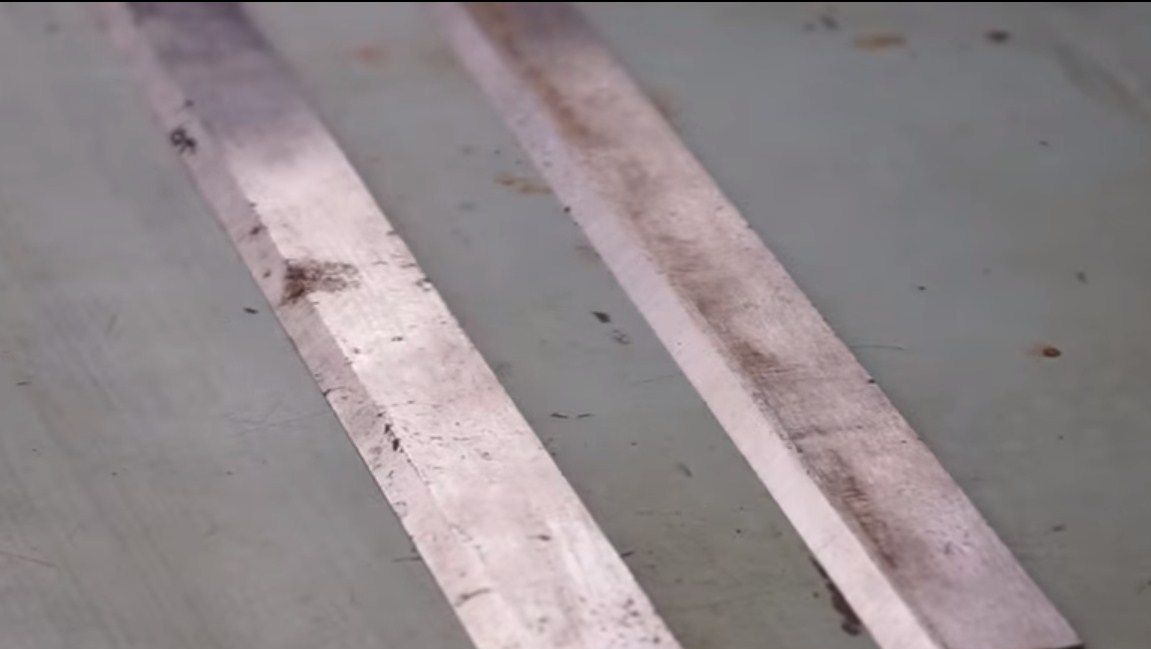
- stainless steel;
- stain;
- oil.
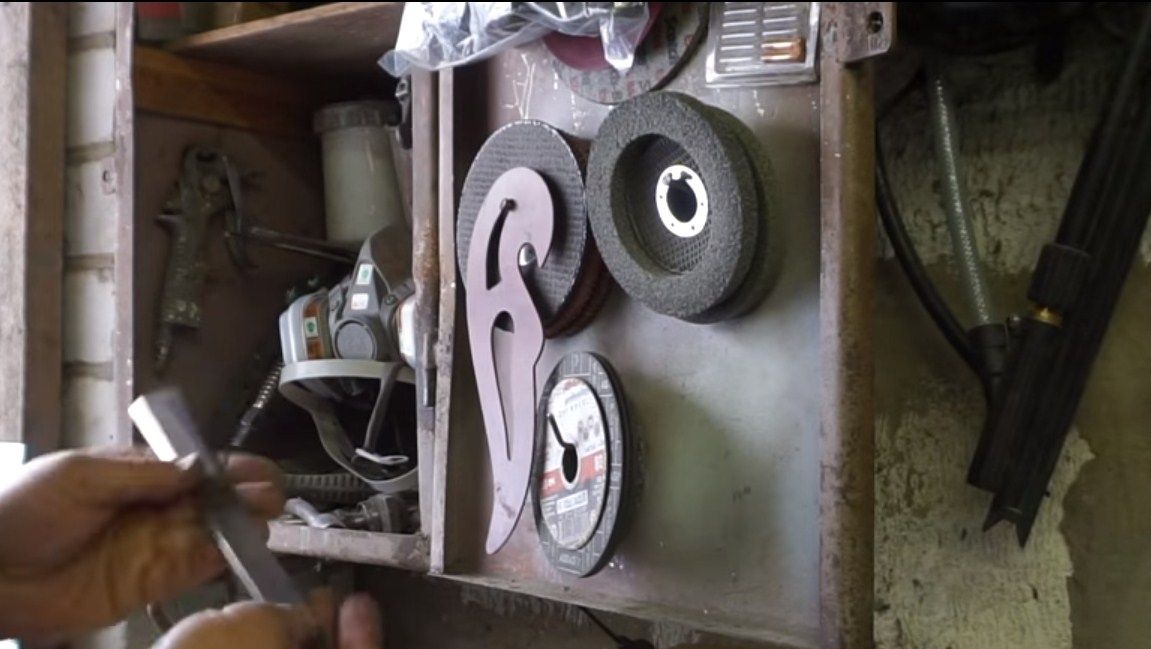
Tool List:
- belt sander;
- polishing wheel;
- scissors for metal;
- vise;
- drill or drilling machine;
- files;
- hammer;
- clamps;
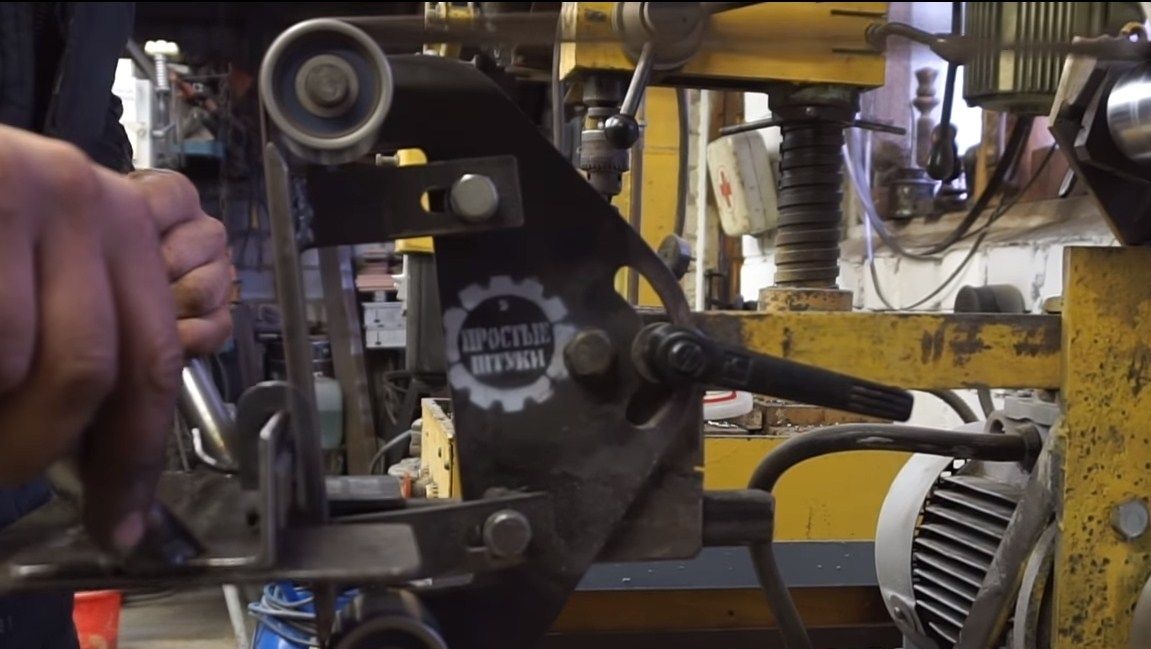
- tape cutting machine;
- sandpaper;
- a chisel.
The process of making a knife:
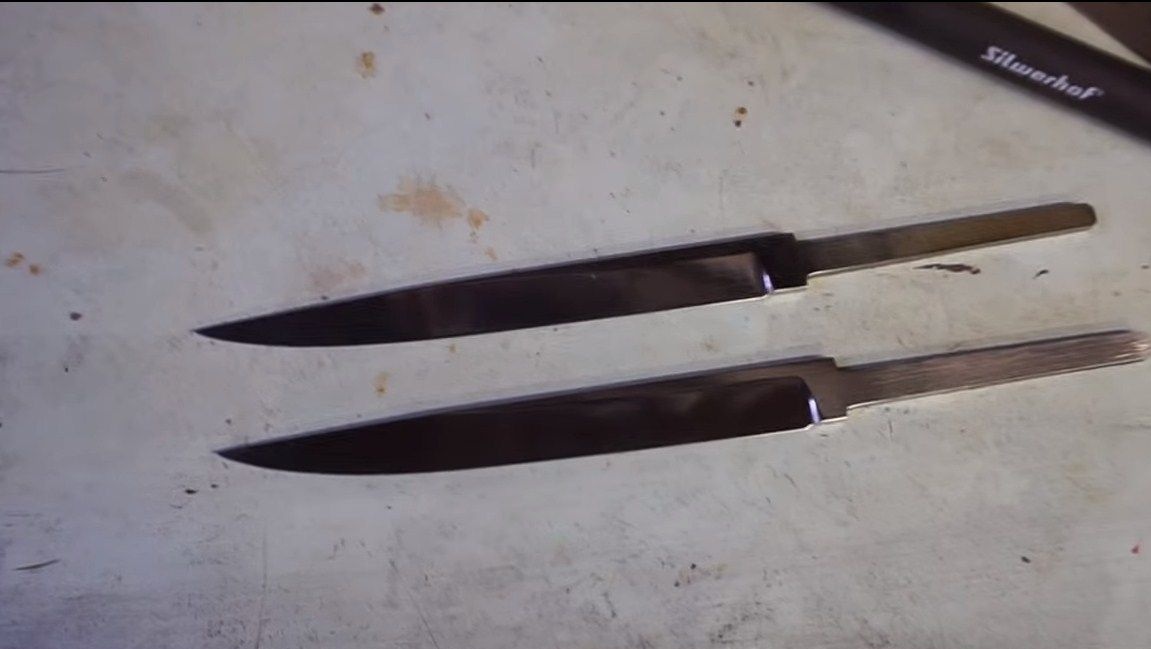
Step one. We form the main profile
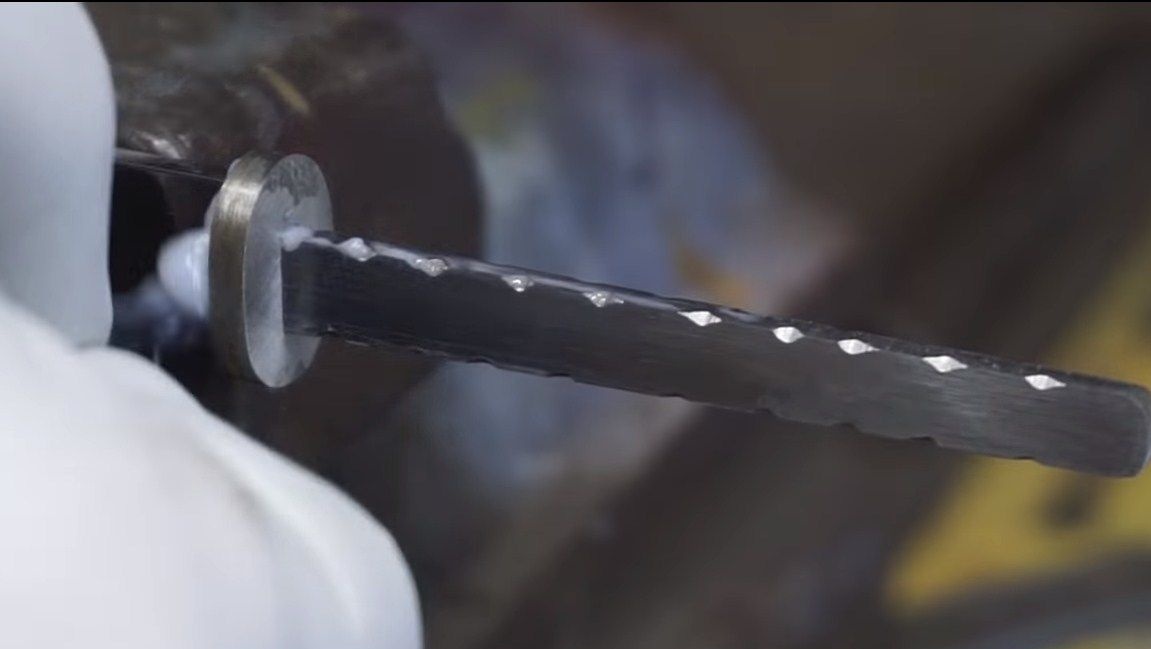
First, take the blank and draw a profile of the future knife on it. In our case, a knife from a jointer is used as a workpiece. Remember that the author does not harden the blade, that is, the metal is already hardened. In order for the knife to maintain its original hardness, it is very important for us not to overheat the metal, so when grinding, we constantly wet the workpiece with water.
The author drew the desired profile of the blade by hand and proceeded to grinding. Since we need to remove quite a bit of metal, the author simply sewed the excess on a belt sander. This can also be done on a grinder.
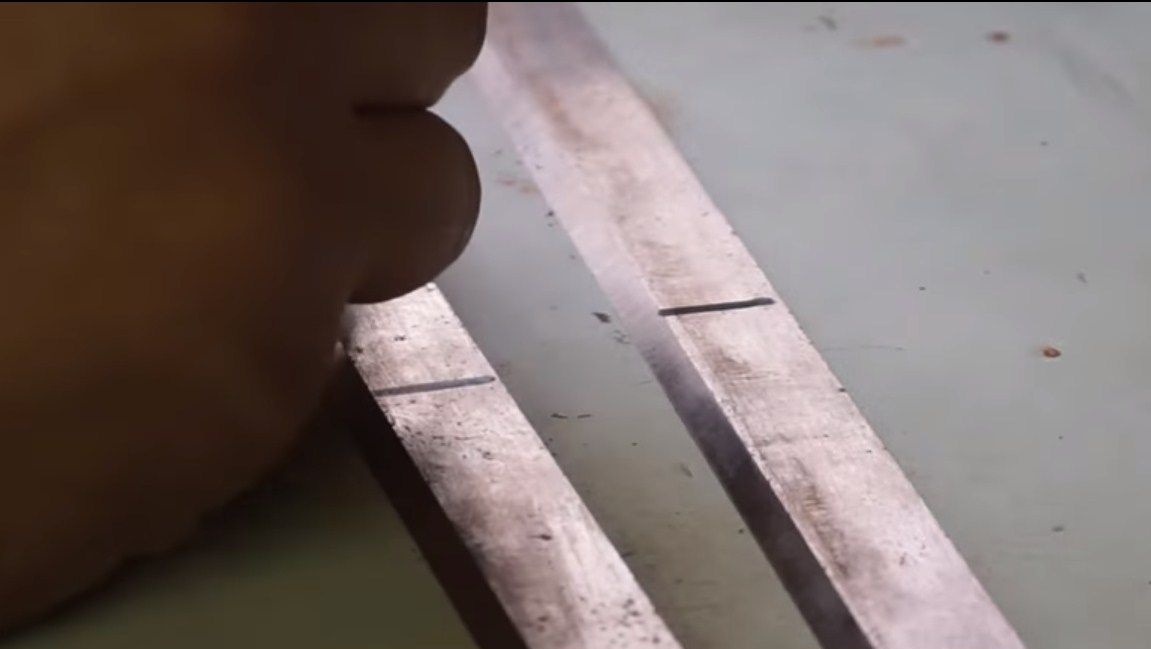
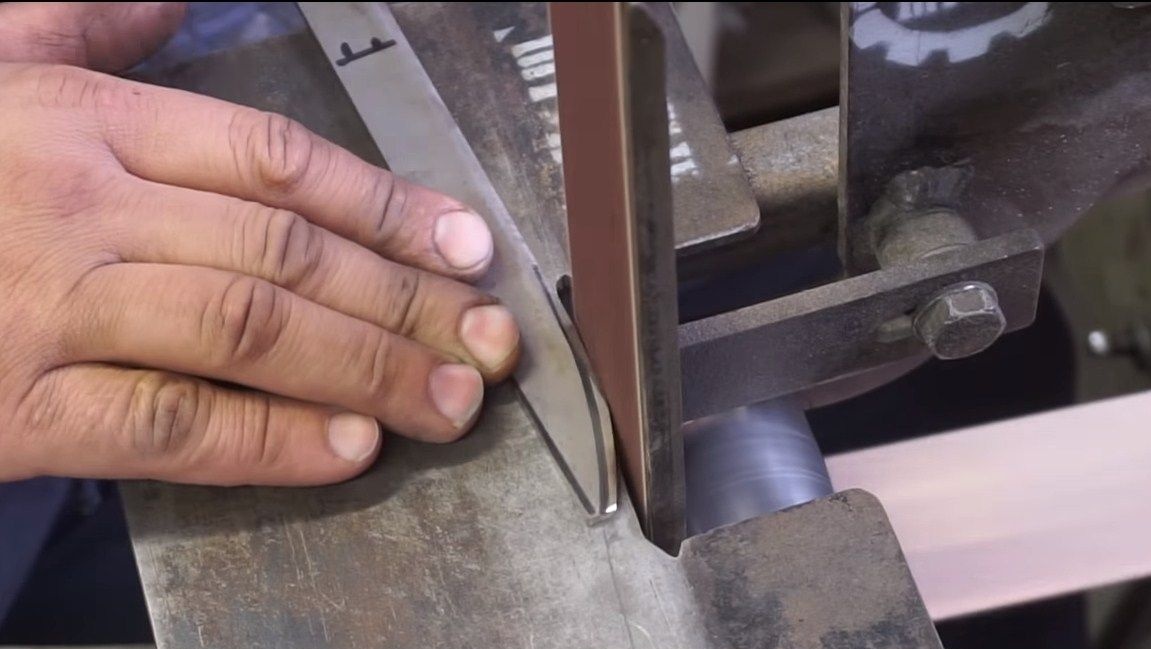
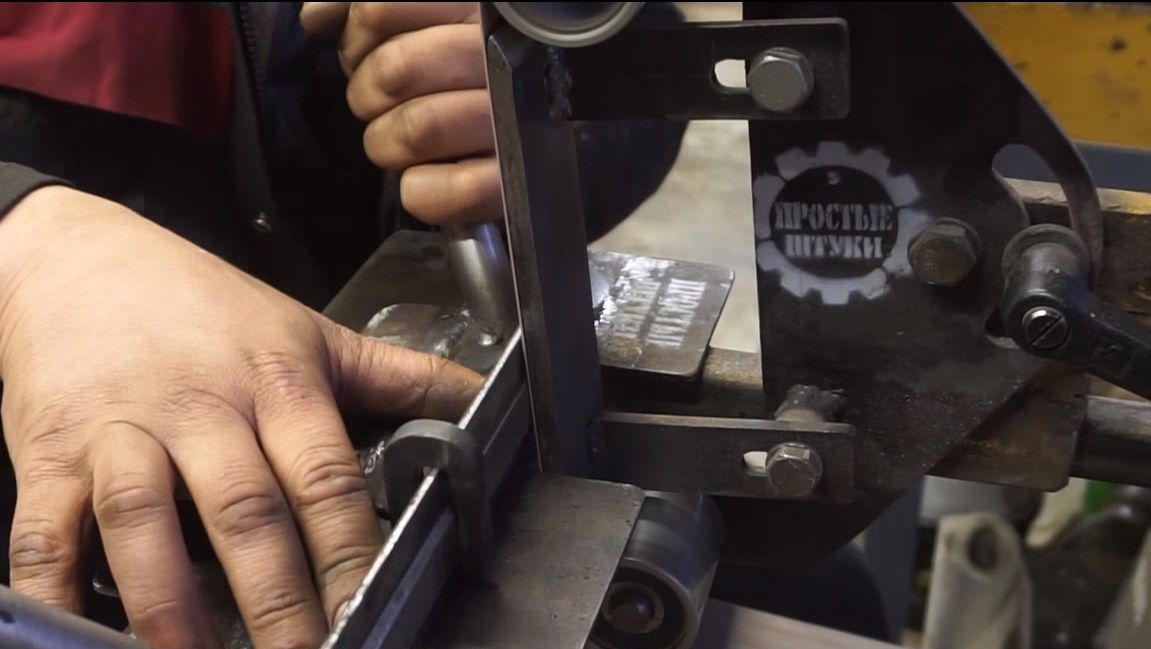
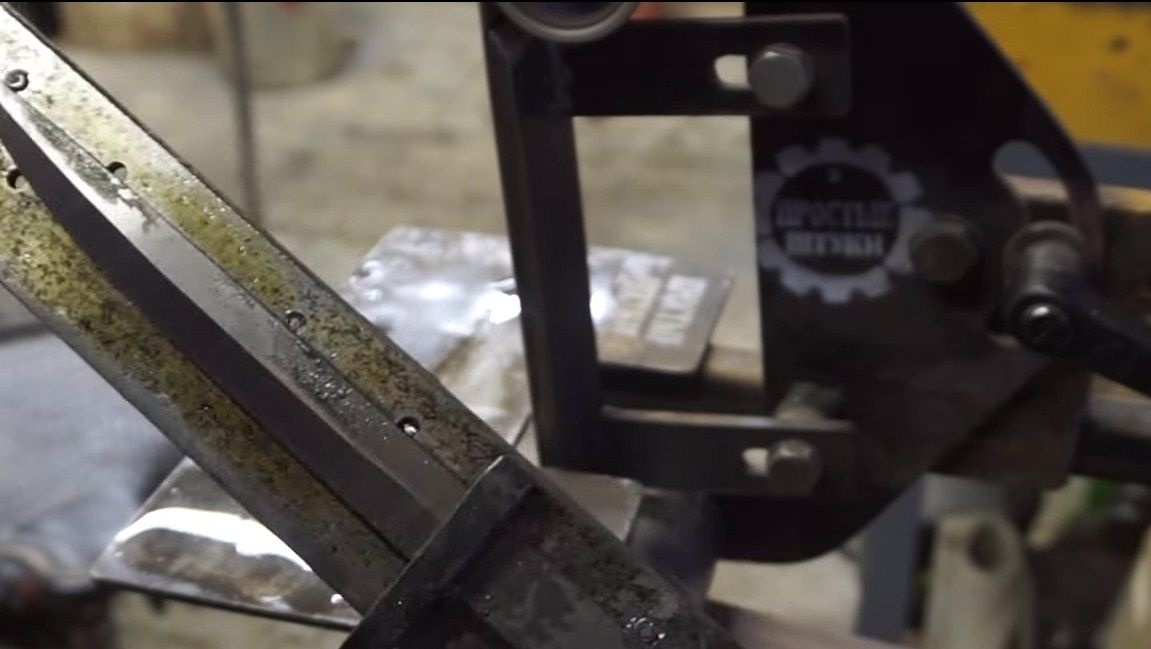
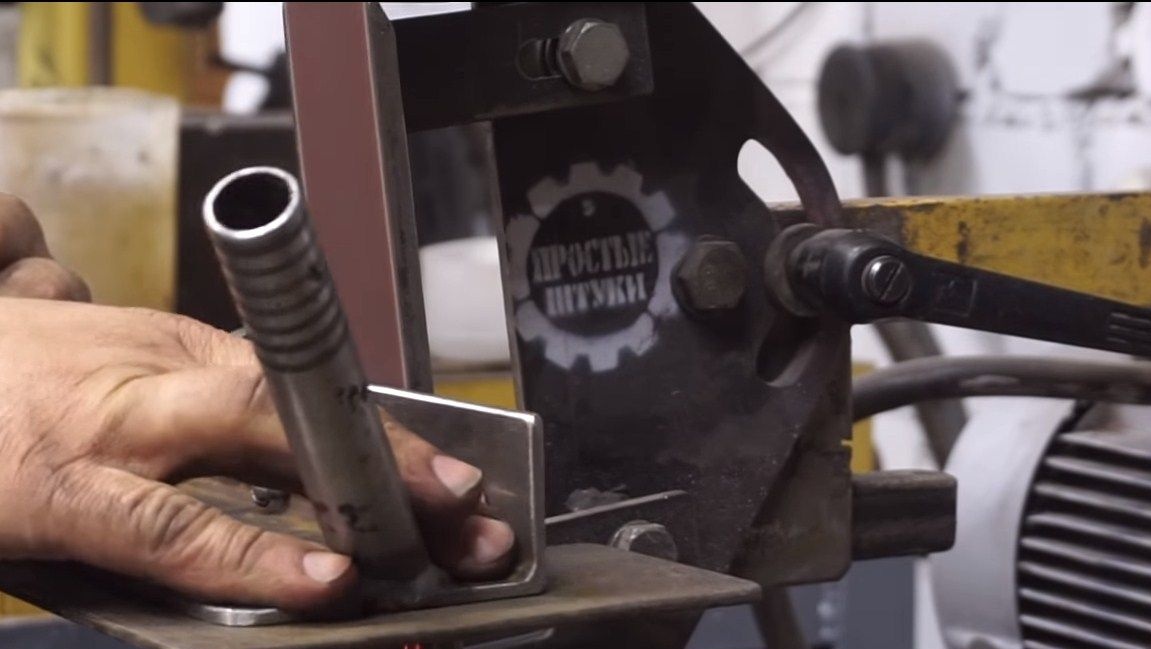
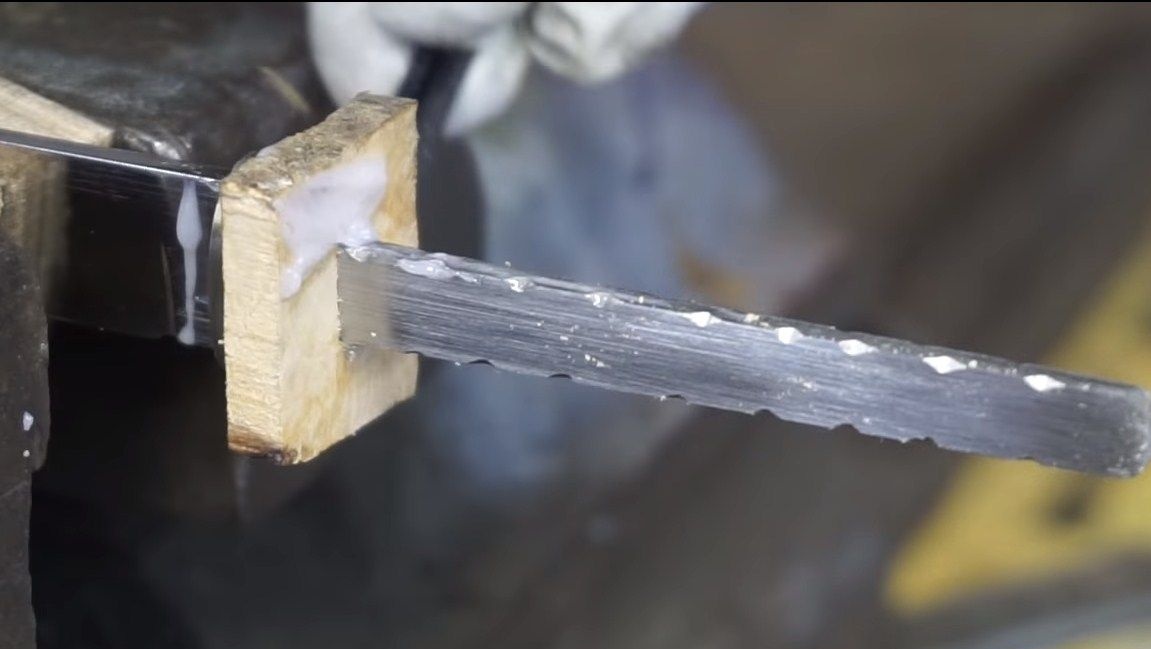
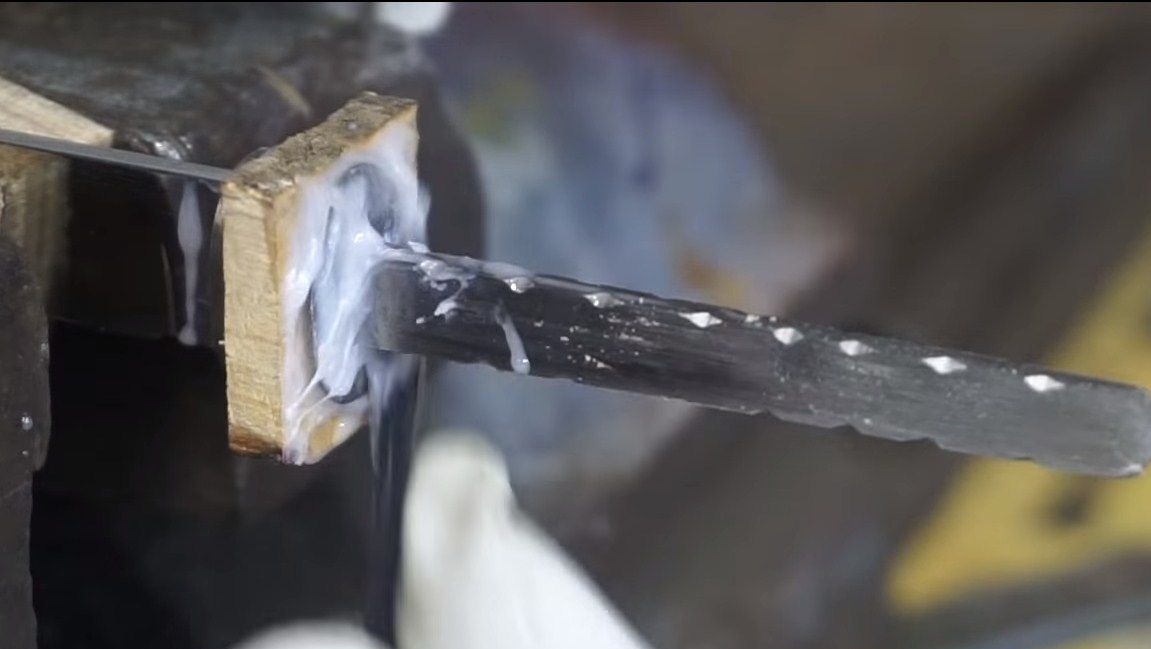
Step Two Bevels
Bevels are most conveniently formed on a belt grinding machine. To do this quickly, efficiently and safely, the author has a special adapt. We fix the workpiece on it, set the desired angle and grind it. The bevels are very high quality. But remember, we can’t overheat the metal, so periodically wet the workpiece with water. The bevels must be symmetrical, so it is recommended that before work draw a line along the blade that will divide the future blade into two equal parts. Then just grind the metal to this line.But the author already has his hand full, he does not need it.
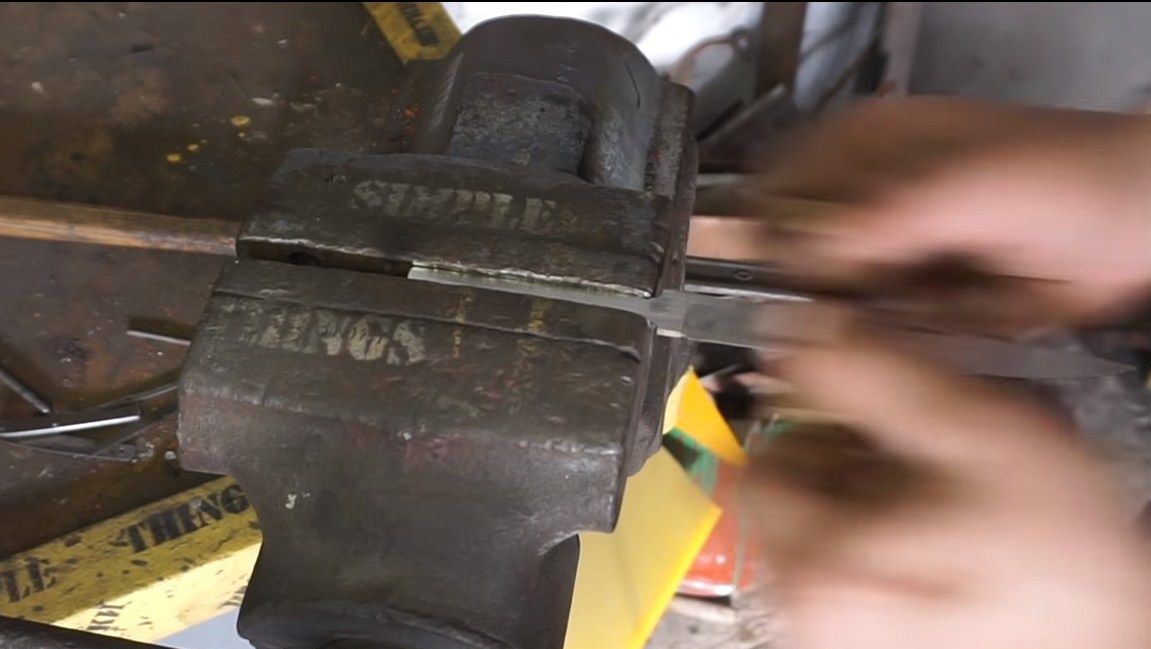
Step Three Shank
Now you need to grind some metal in the handle area to make a shank. This shank will protrude to secure the wooden handle. There is quite a lot of metal here, so it will be faster to grind on a grinder or using a grinder with a grinding disc. When we grind the bulk of the metal, finer processing can already be done on a belt grinder.

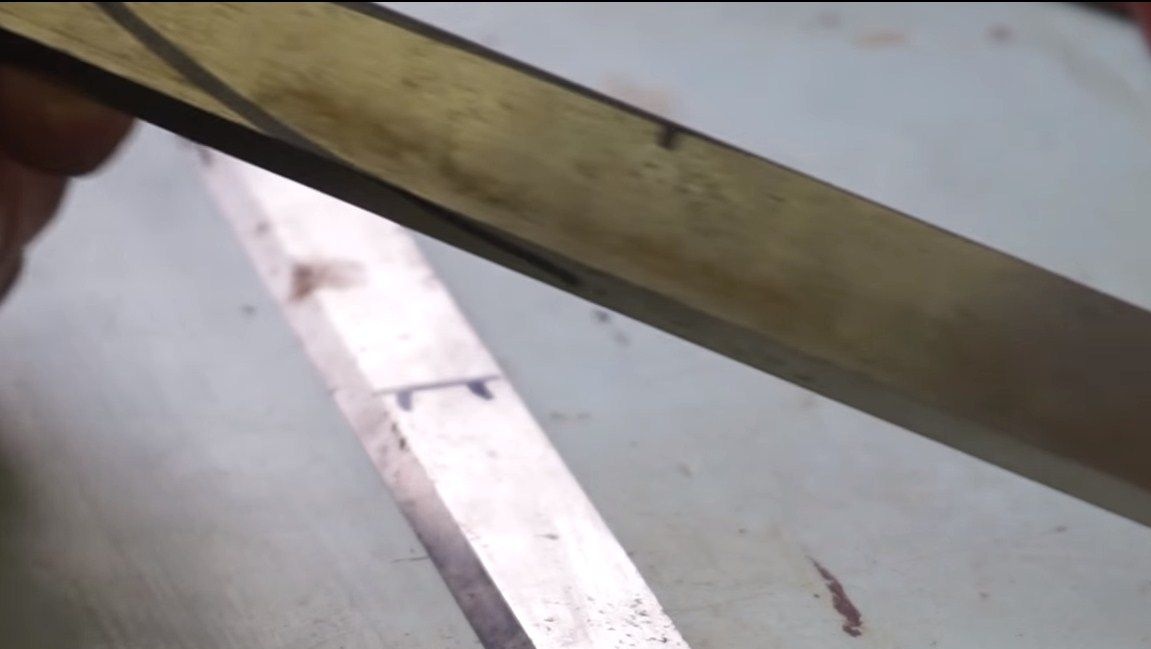
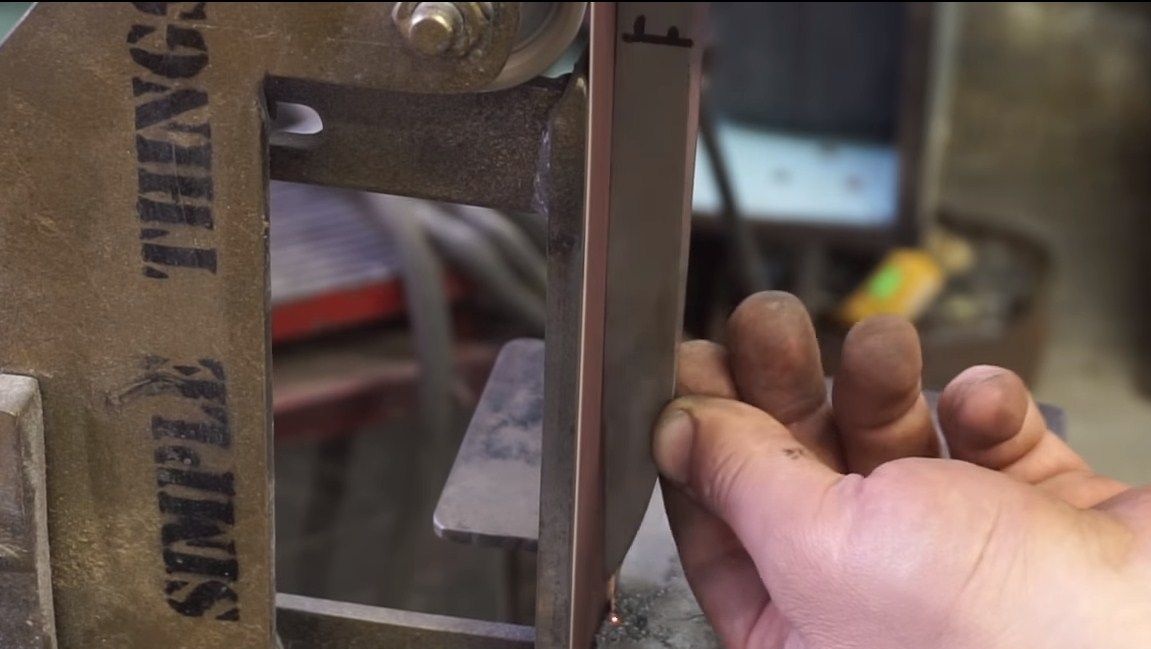
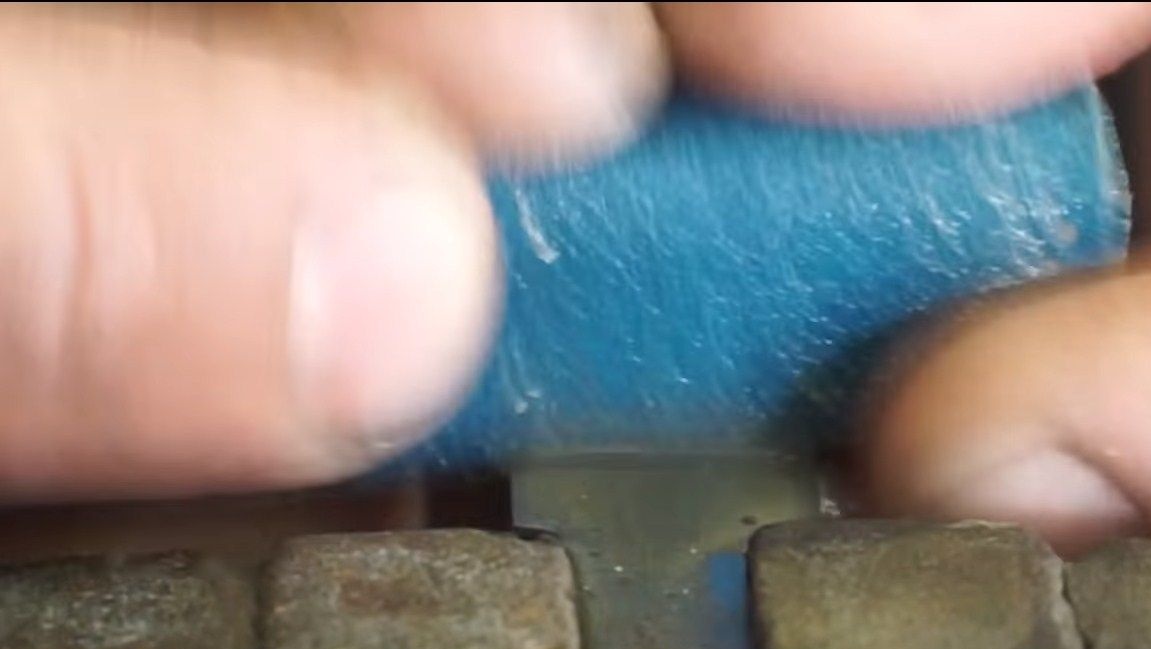
Step Four Grinding and polishing
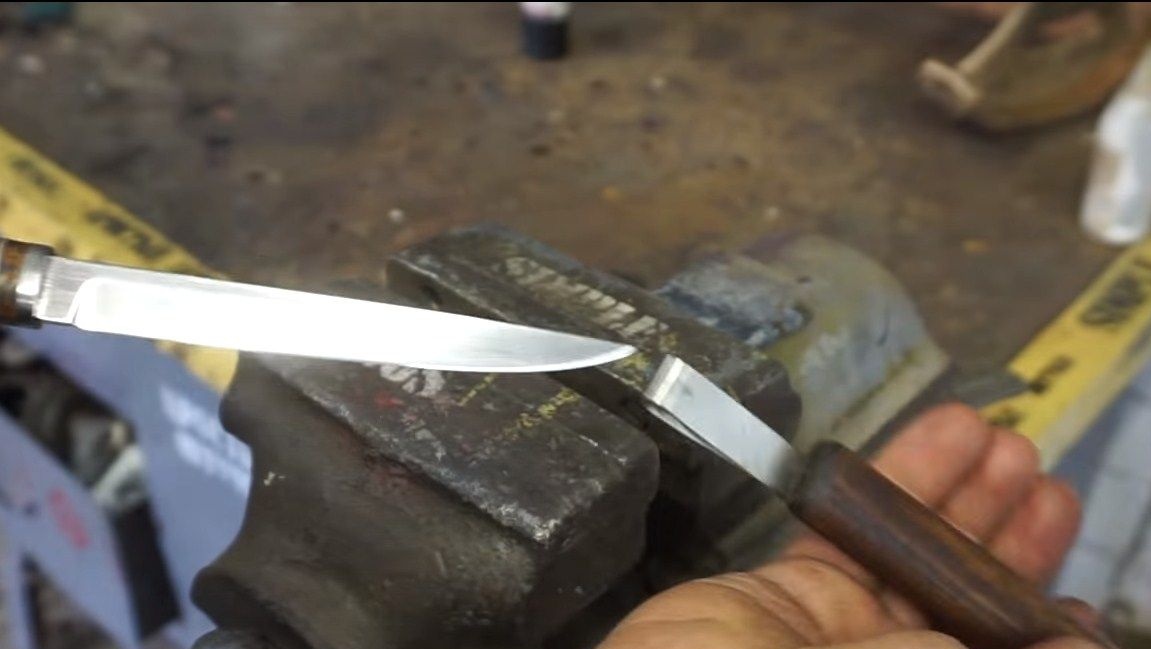
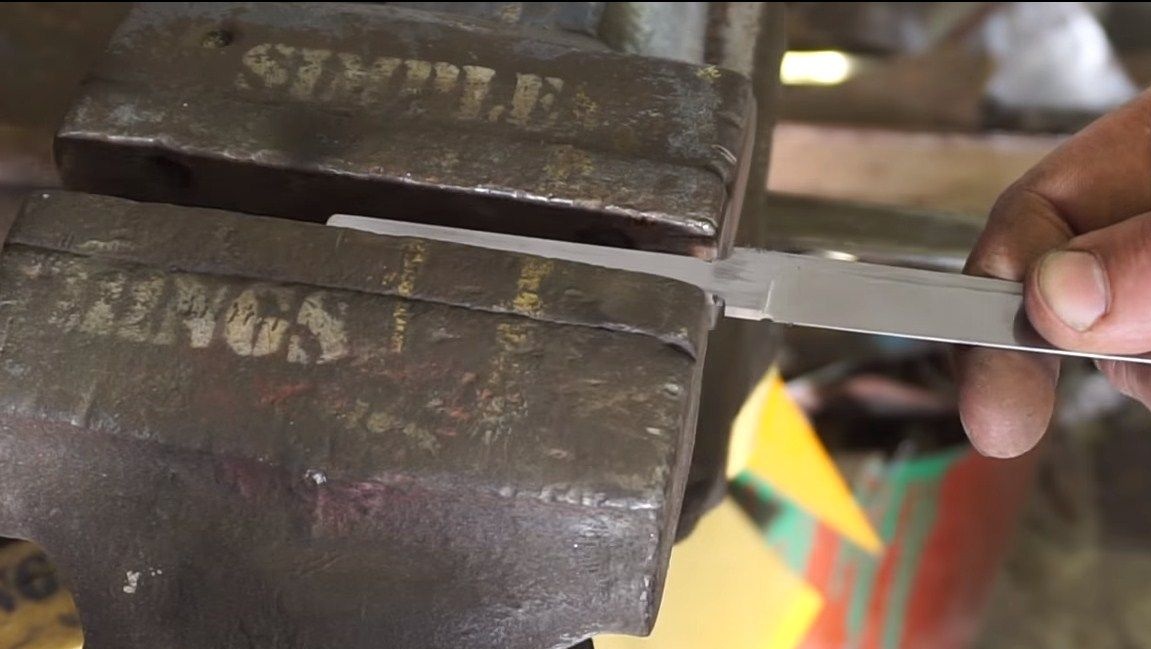
At the end, we grind the blade manually. To do this, we clamp the shank in a vice and arm ourselves with fine sandpaper. Wet the paper in water, it should be on a fabric basis. We grind until large scratches disappear. Once this is finished, you can start polishing.
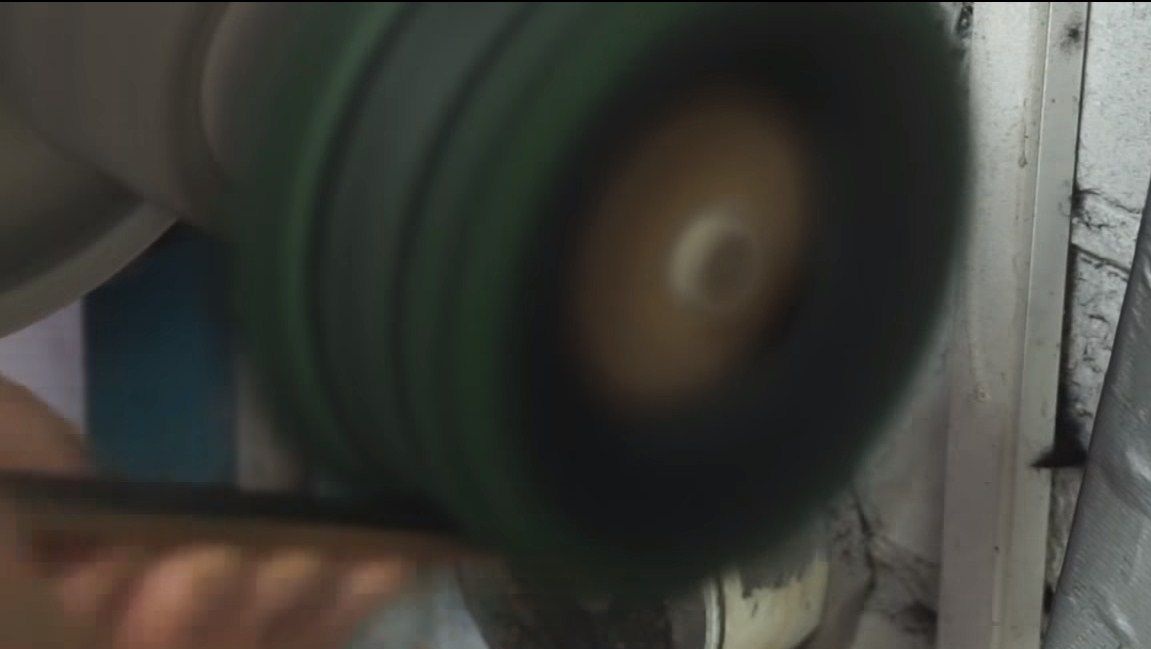
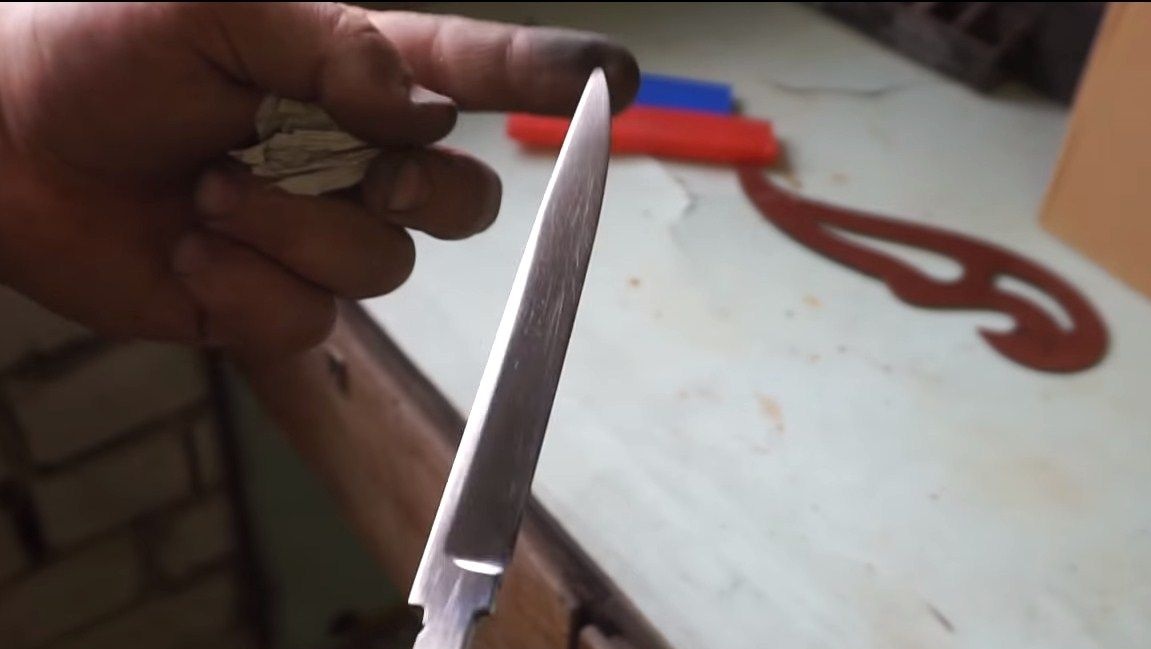
The author polishes on the machine, judging by the color, GOI paste was used here. We bring the blade to a mirror shine, it looks great at the same time. Also remember that when polishing the metal can be quickly overheated by dipping the blade into the water.
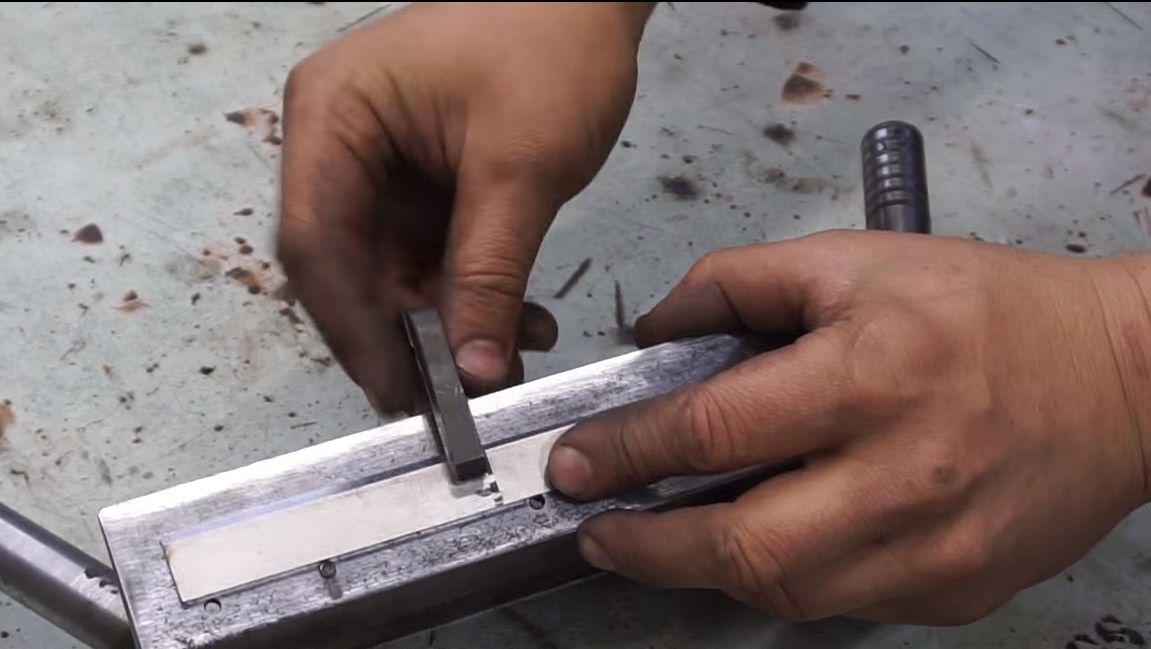
Step Five Getting to the manufacture of pens. the front of
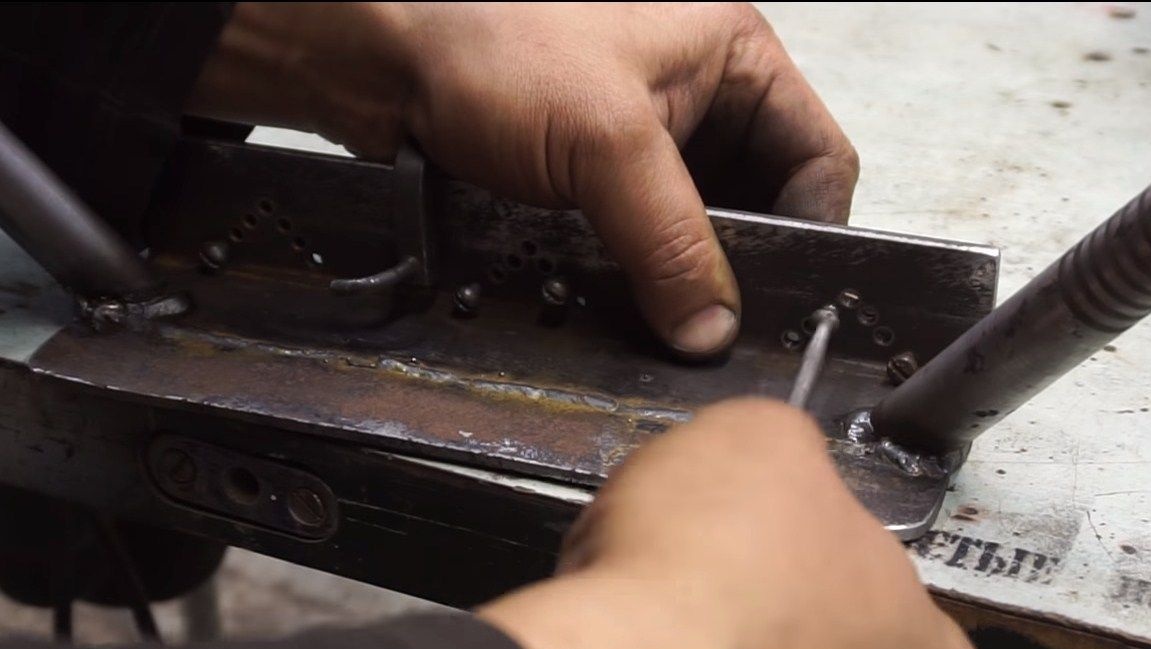
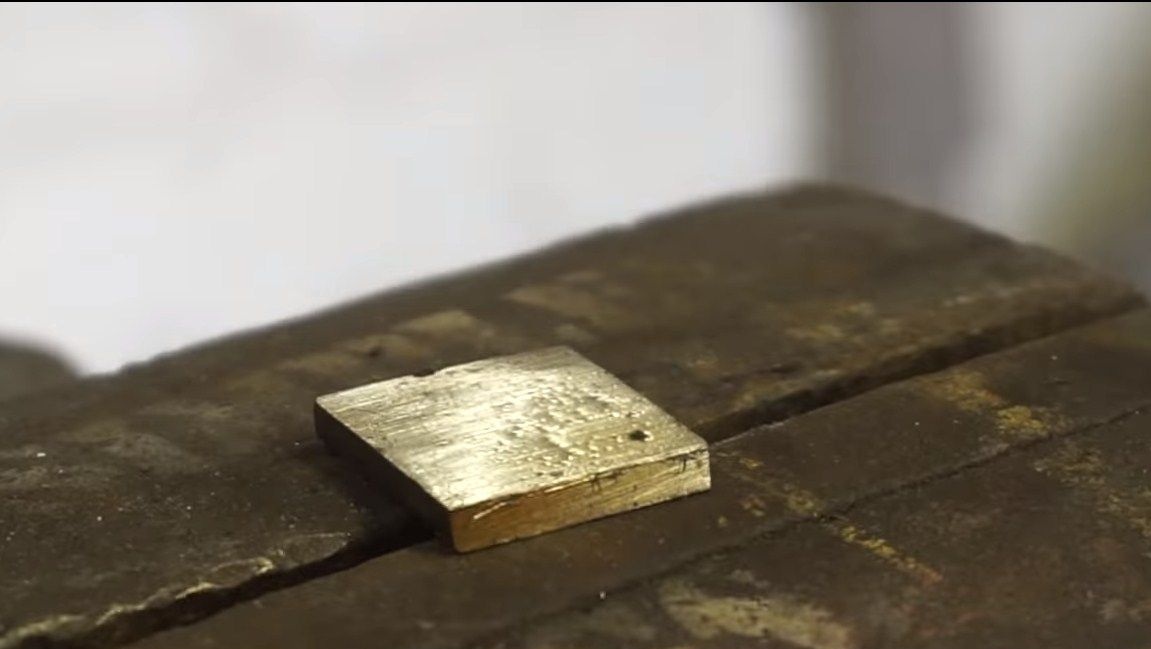
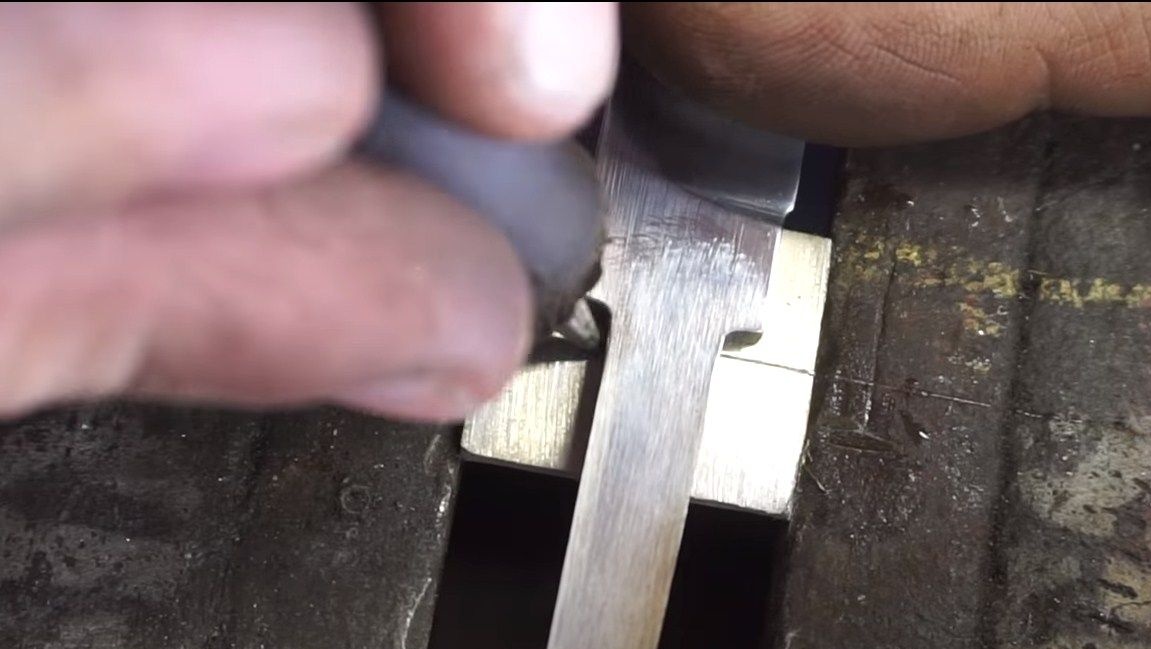
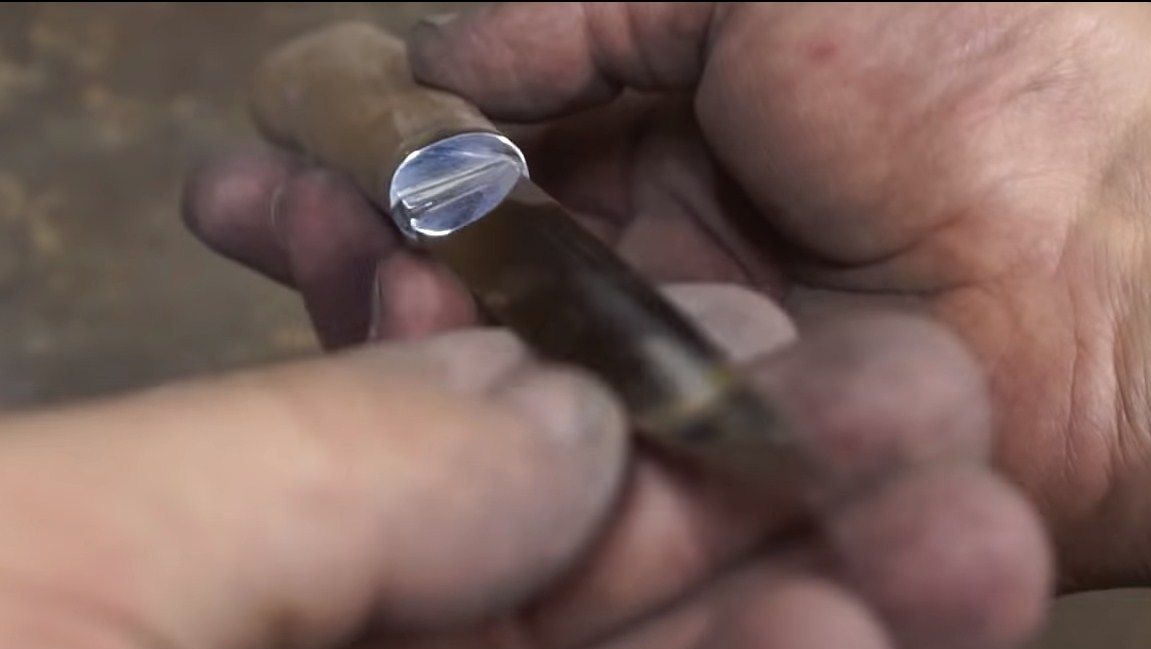
The author’s handle is combined; three types of materials are used in the front. At the very beginning, a part made of stainless steel (or maybe brass) is installed, followed by a part from a birch burl, and then again a metal plate.
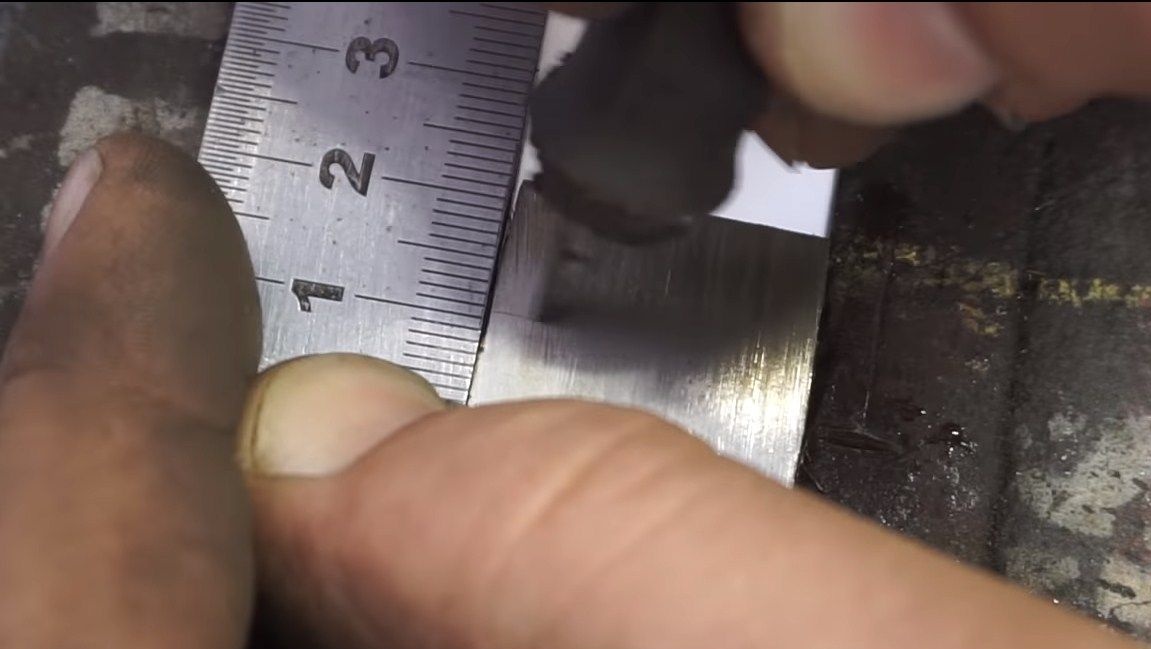
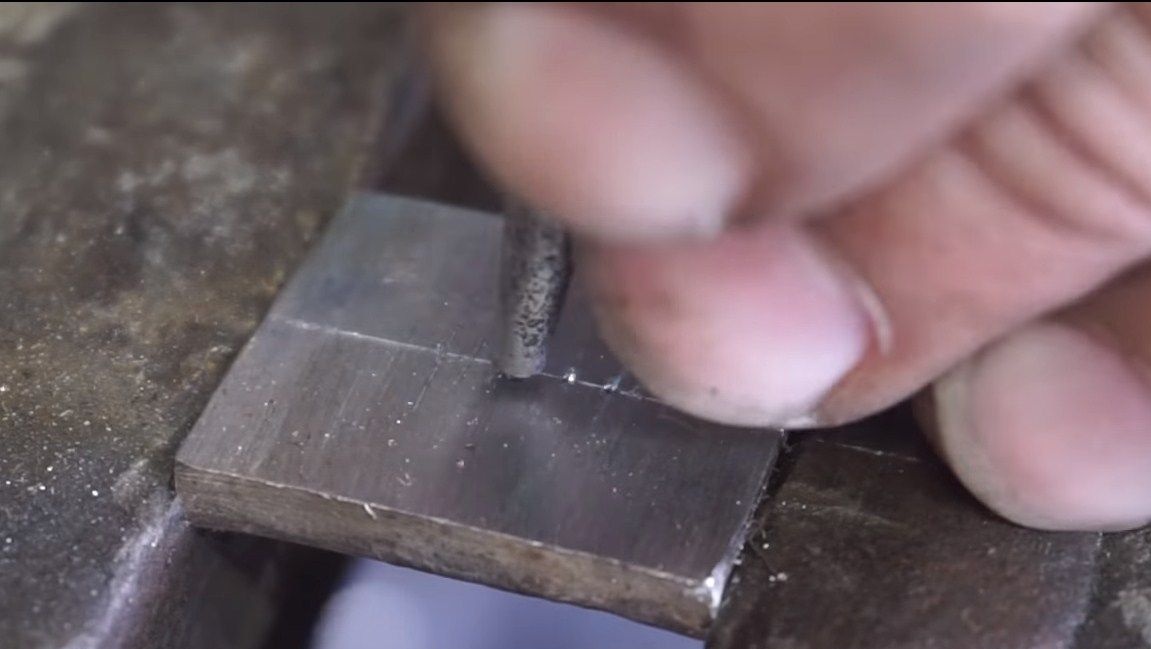
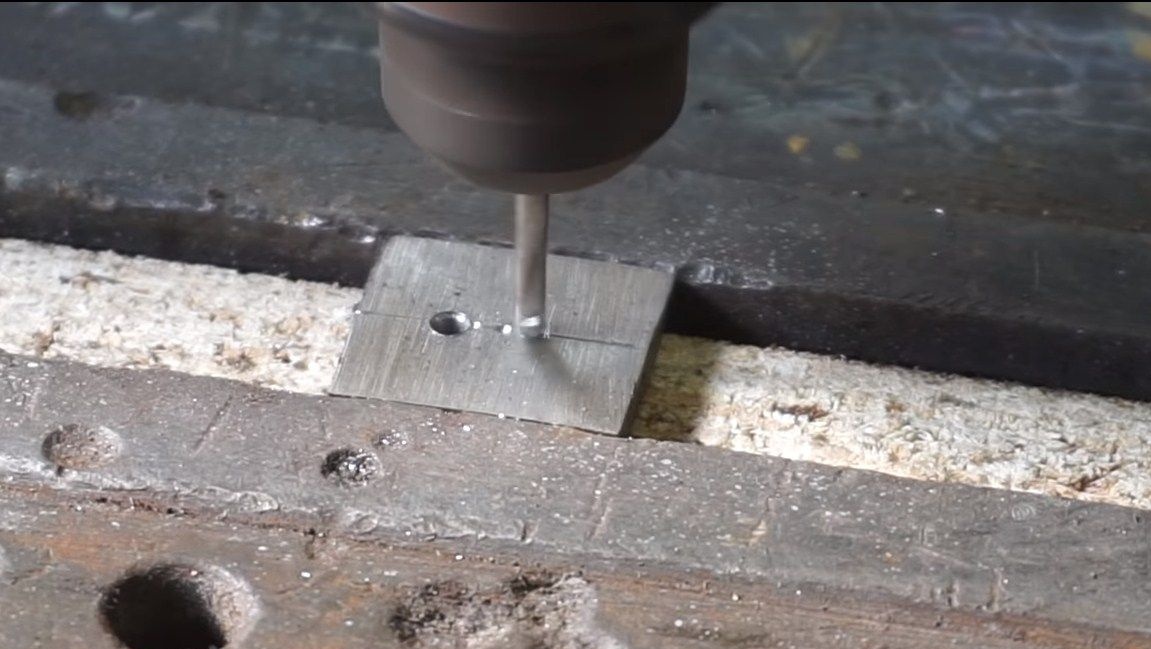
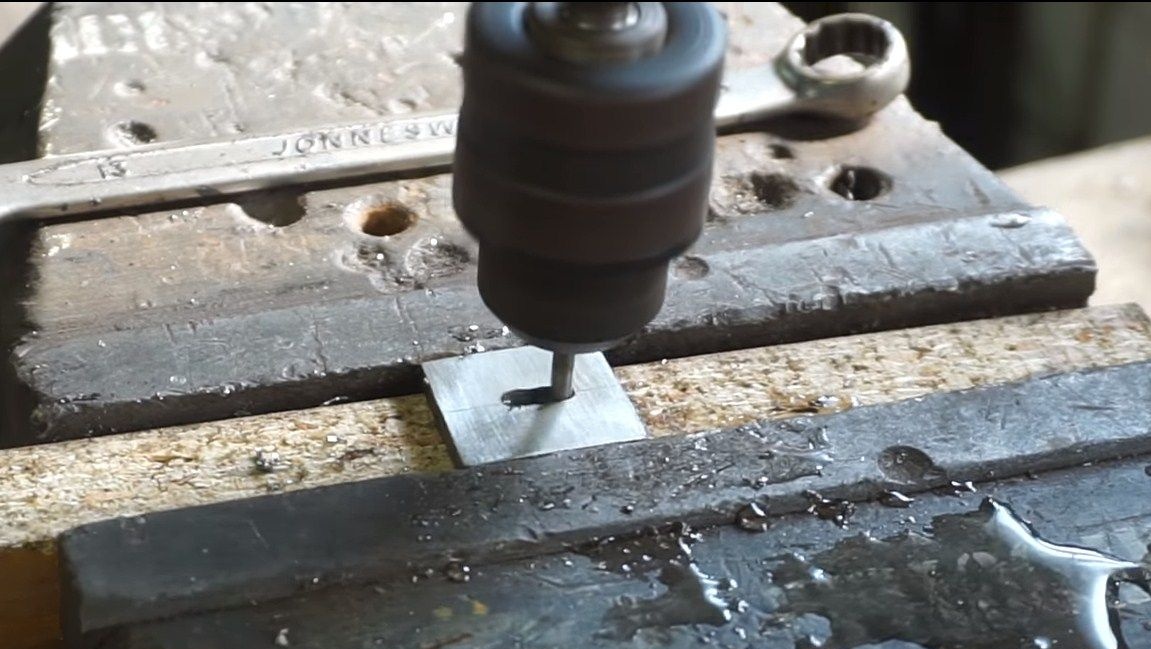
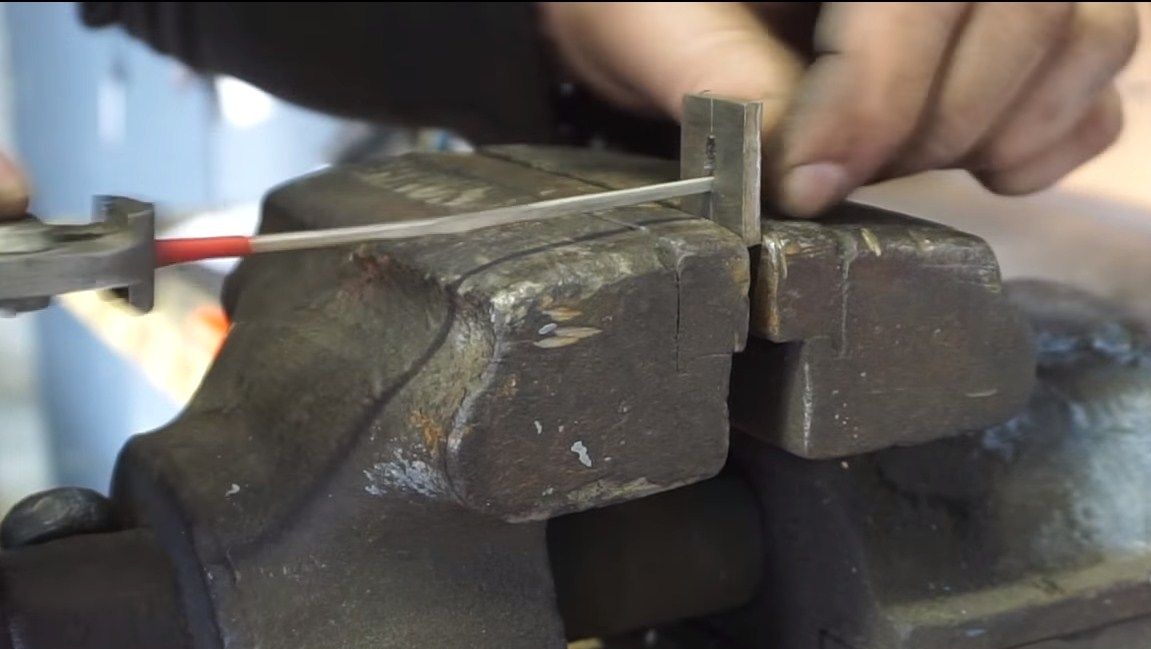
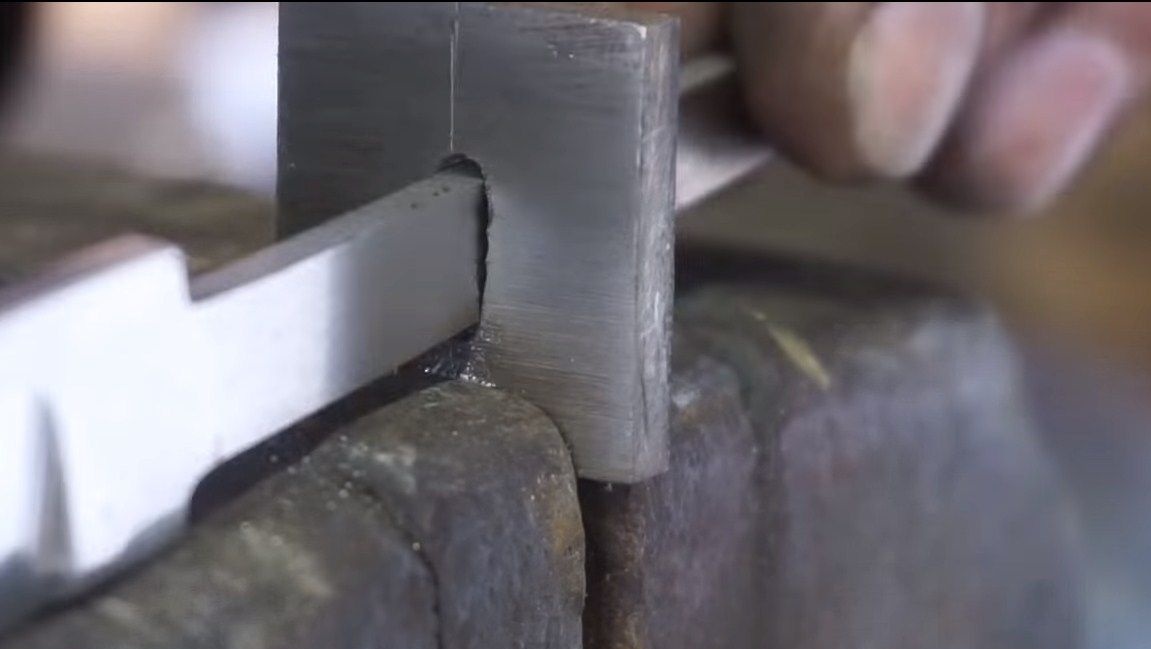
Let's start with the very first part, drill a series of holes in it so that the knife shank enters. Then these holes are bored with a file to the desired one. The second metal part is similarly made.

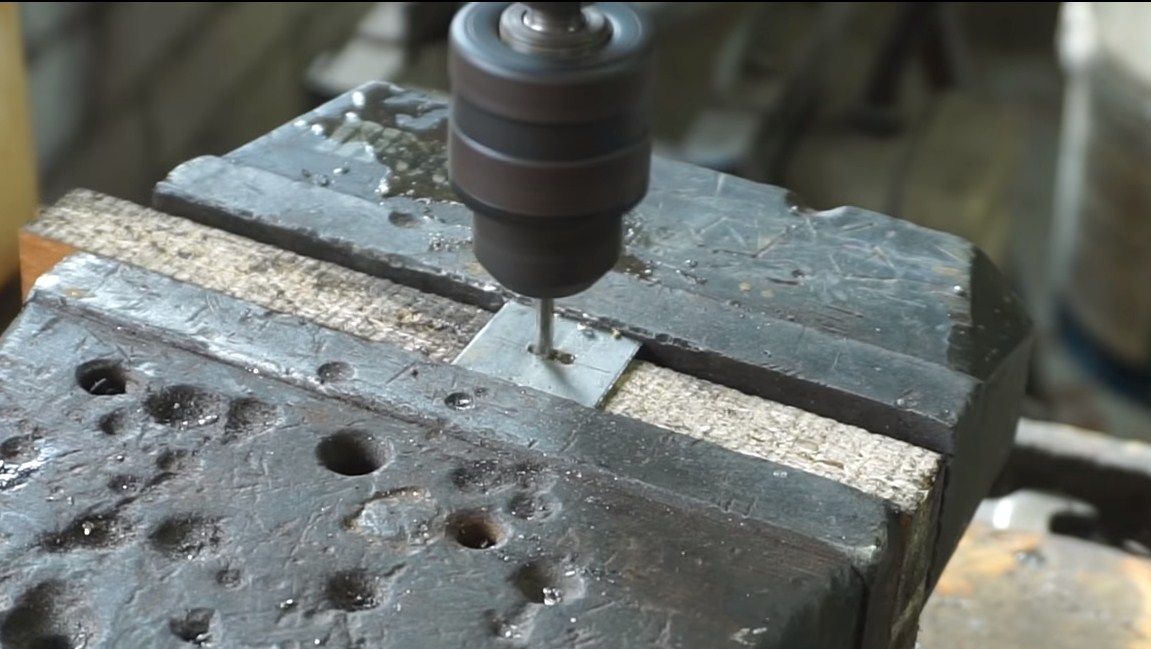
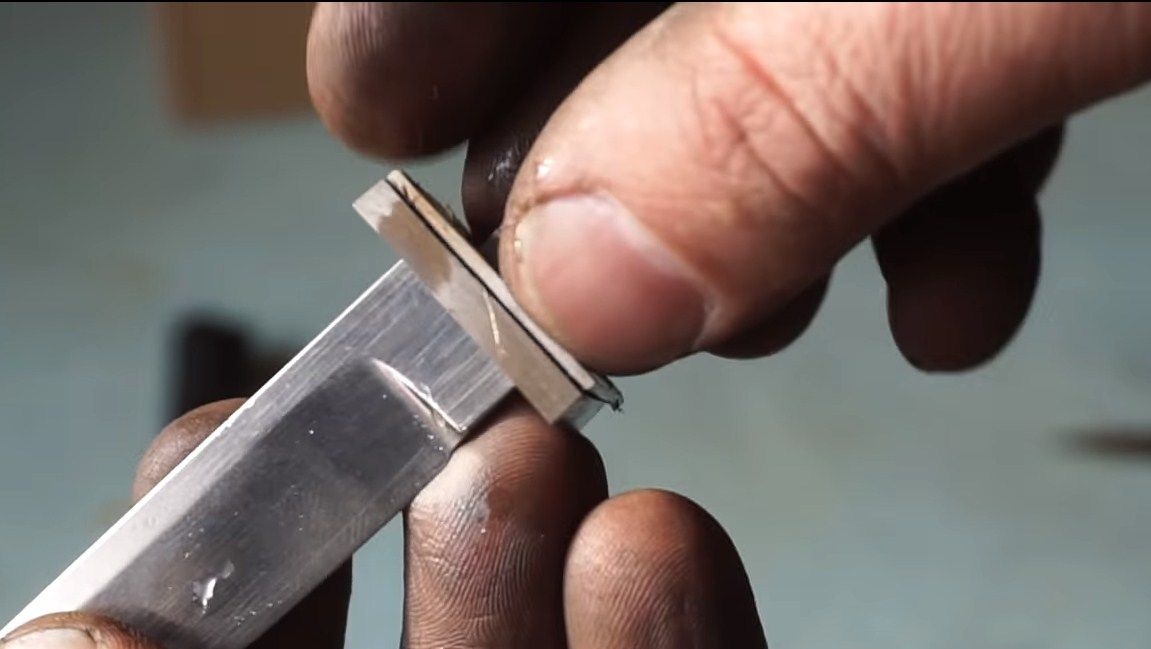
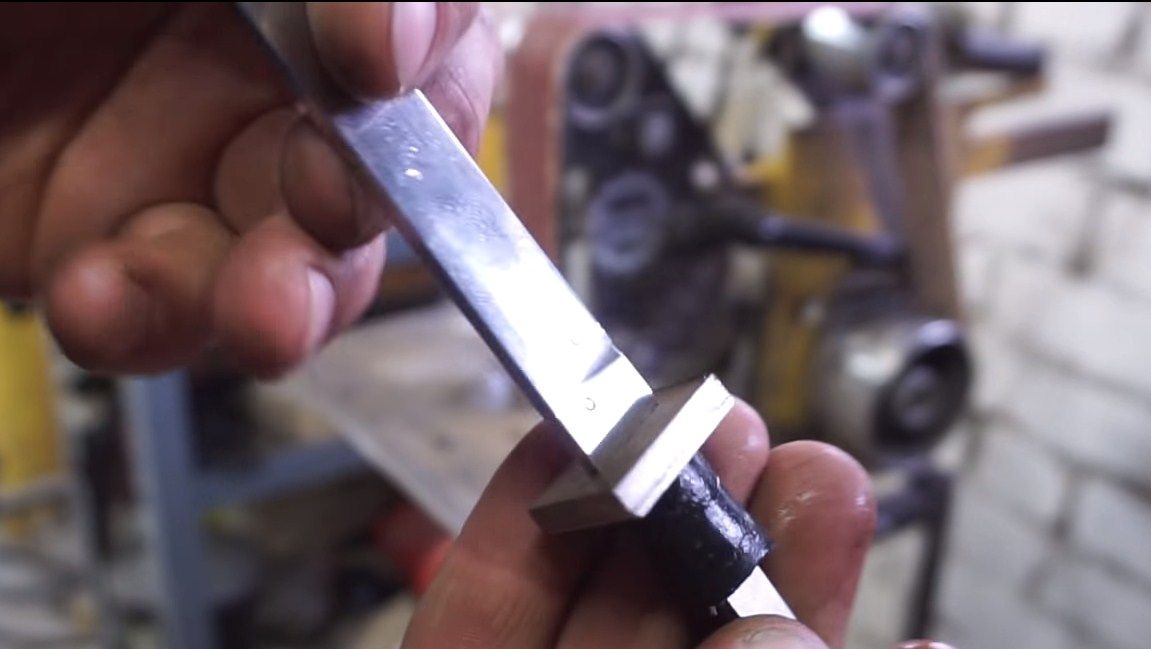
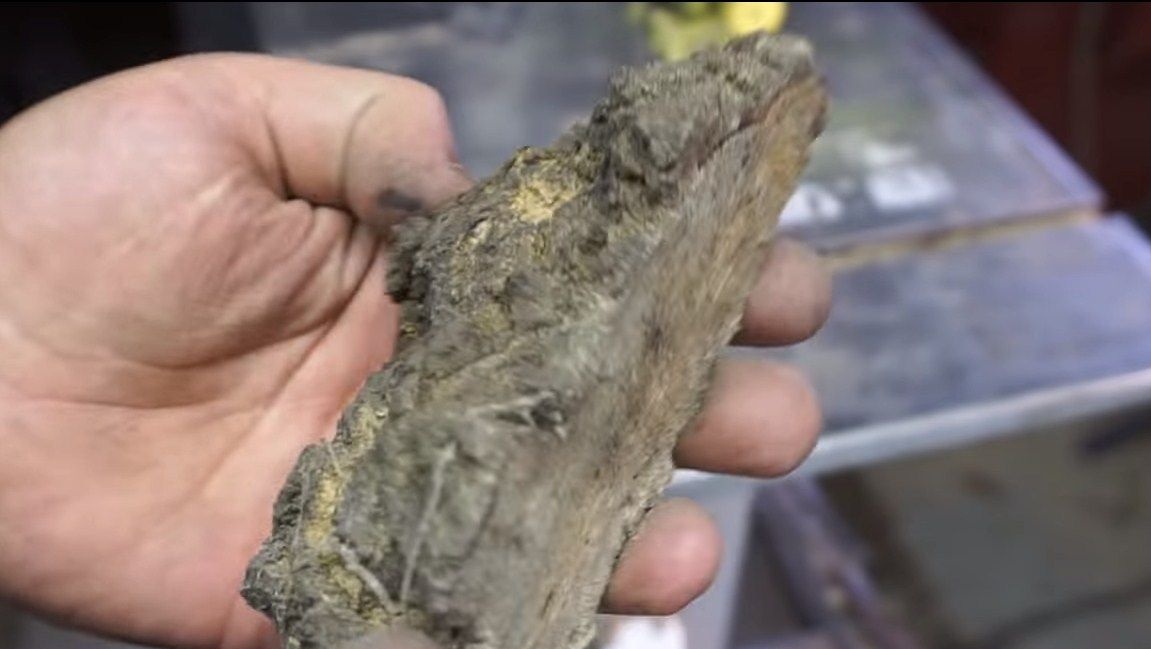

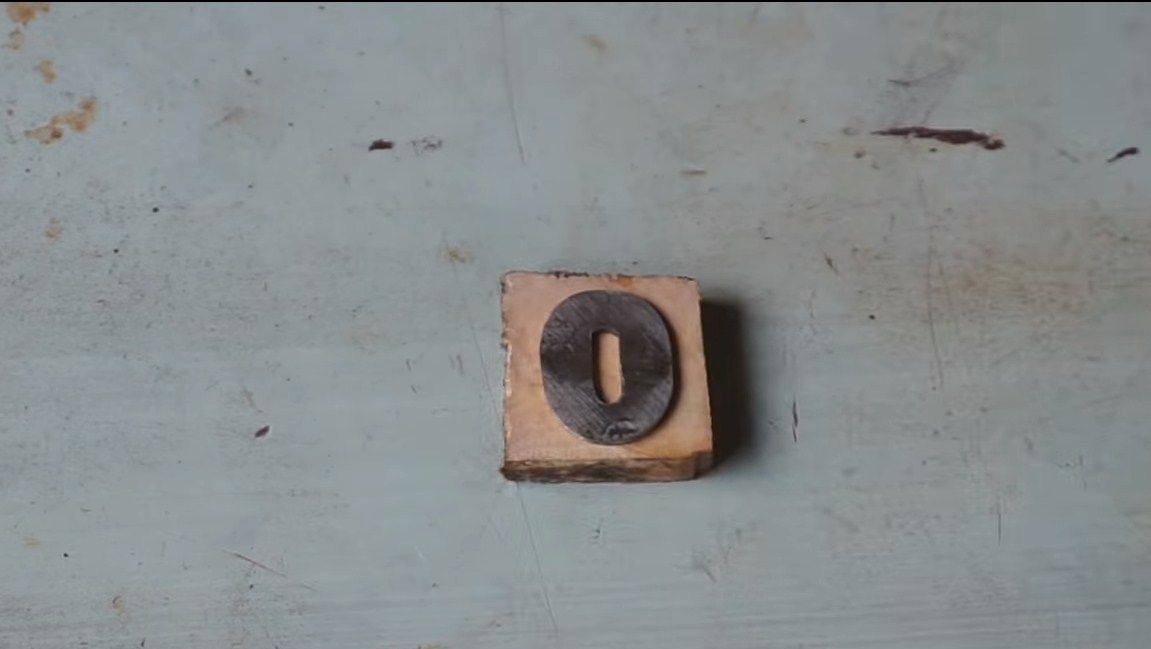
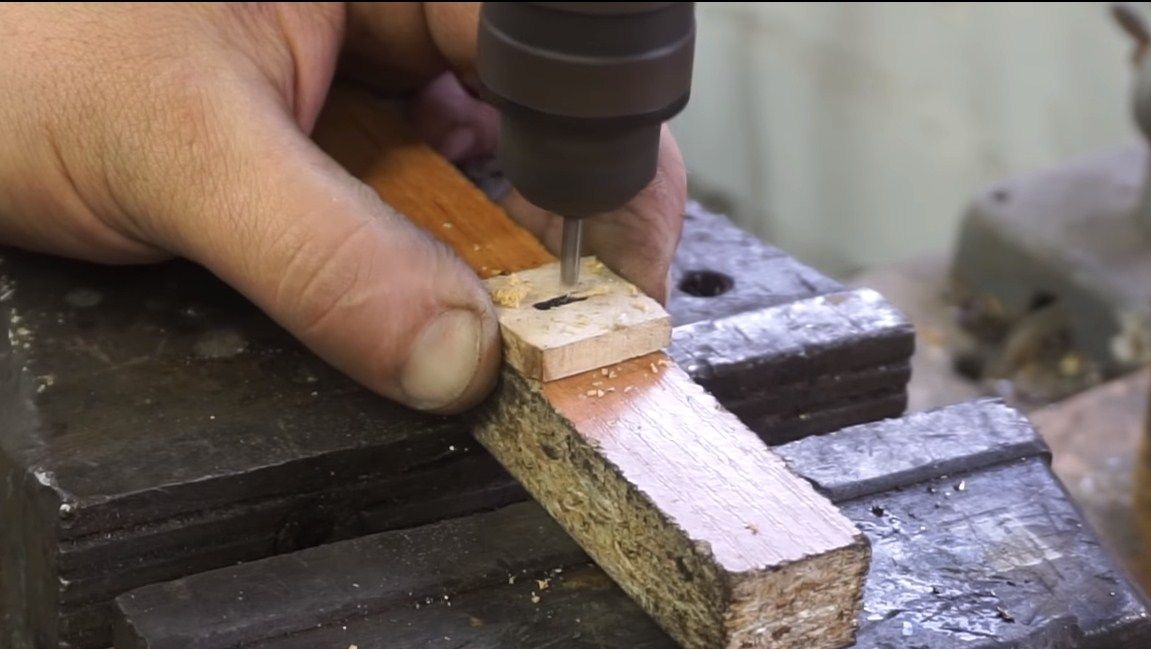
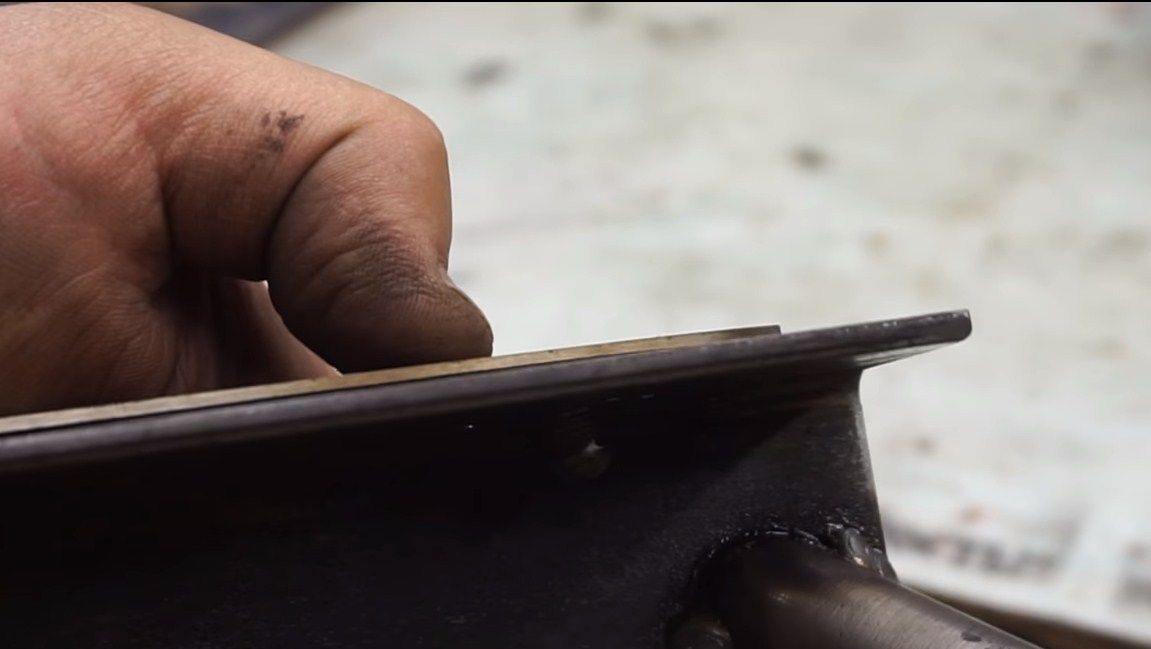
When these blanks are ready, put them on the shank, fix with a piece of rubber hose and then on the belt grinder give an oval shape. The final detail at this step will be a part from a birch burl, it is done in a similar way. This formation on a tree has long been of interest to people, many believe in some kind of mystical power that this material contains. We cut the desired piece on the tape machine, drill, grind and so on.
Step Six Collect the pen
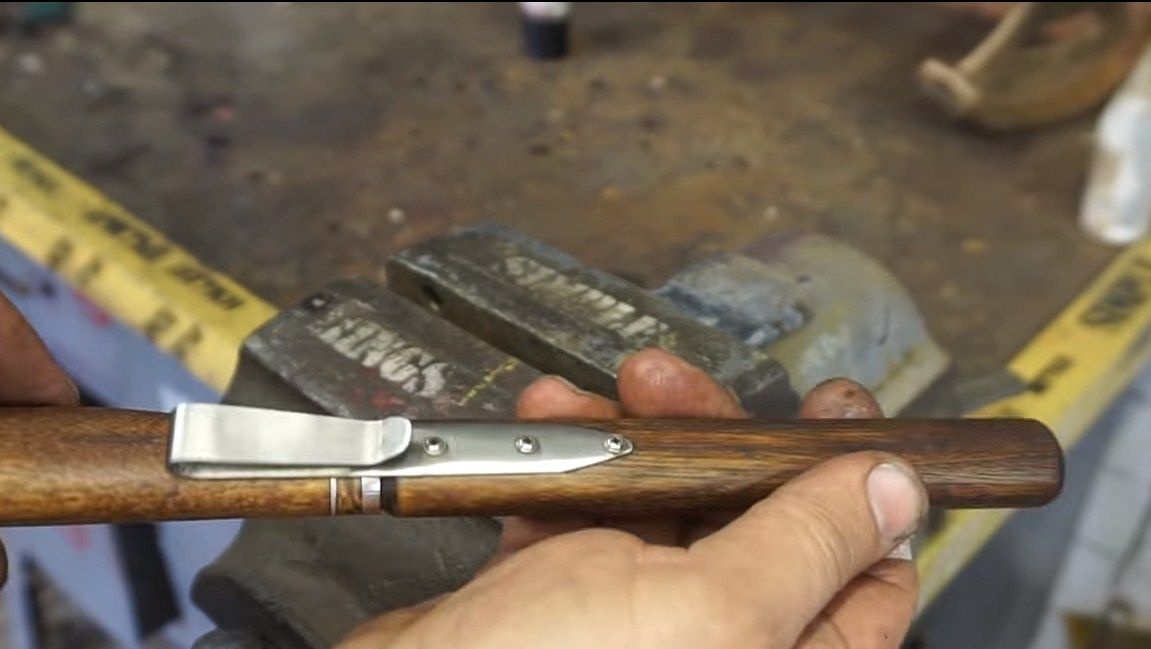
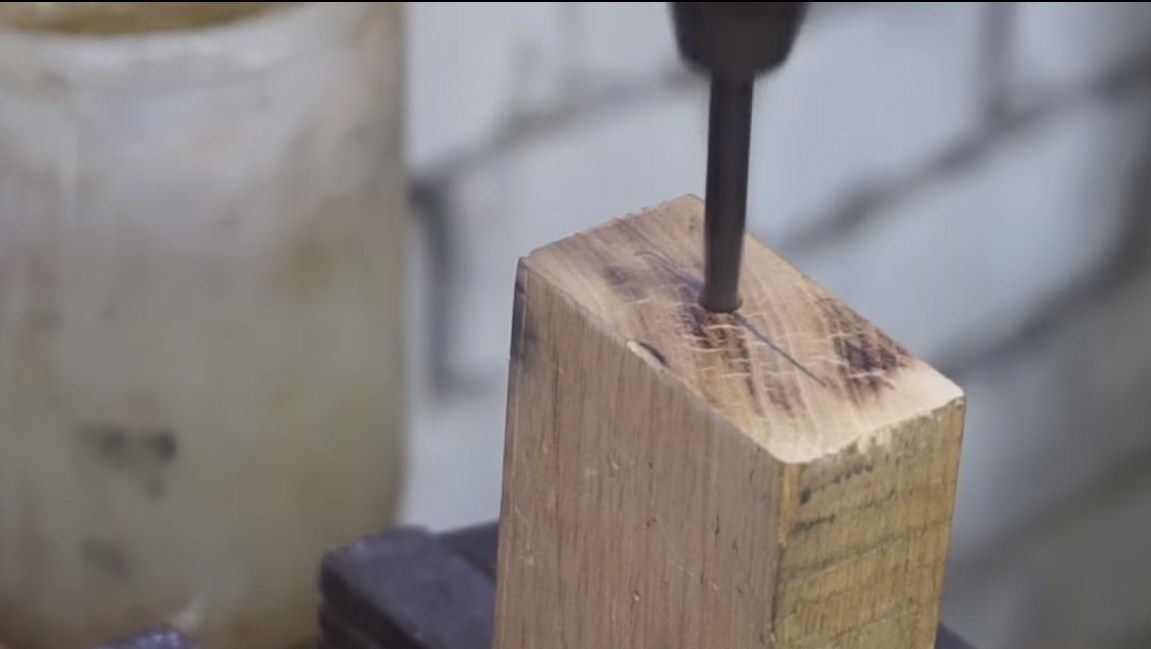
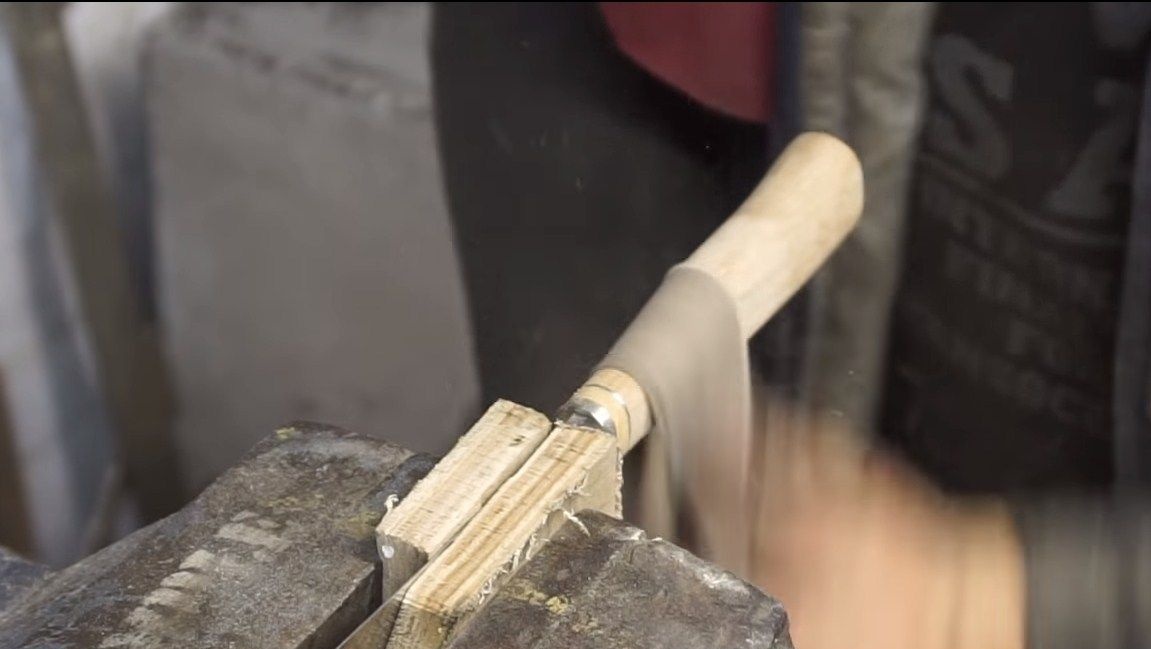
The author decided to make a pen out of walnut. We find the necessary block in size and drill a hole for the shank in it. Next, we dilute the epoxy glue, carefully apply it to all glued surfaces and collect the handle. We carefully press the wooden part onto the shank. Finally, hold the knife in the clamp and let the glue dry completely.
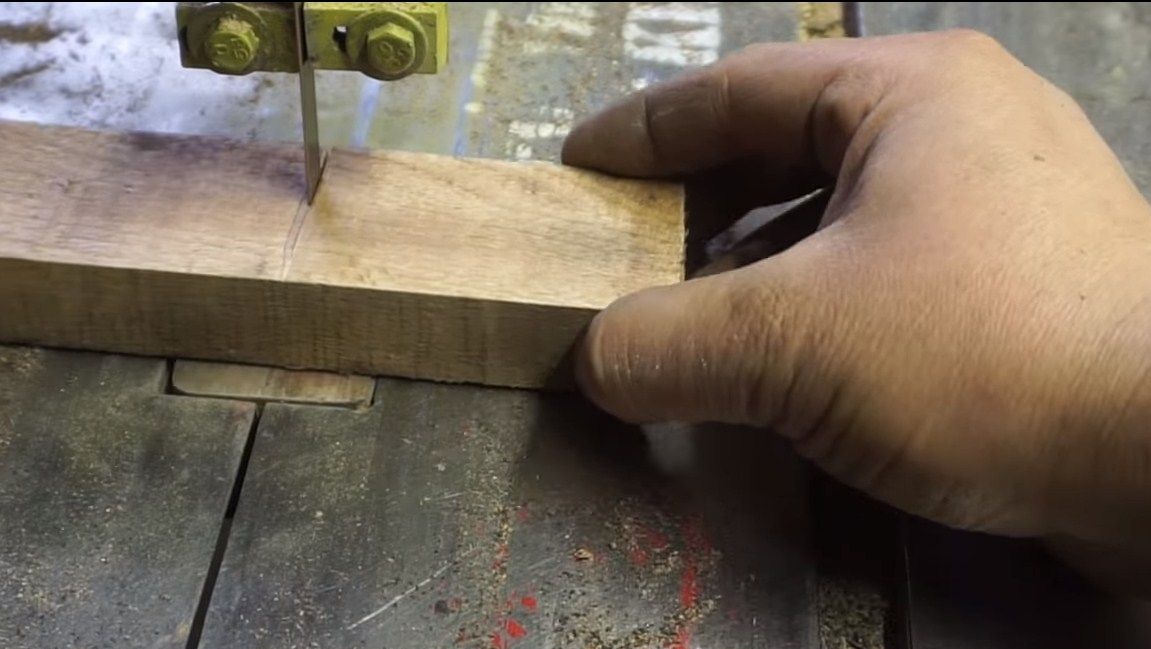

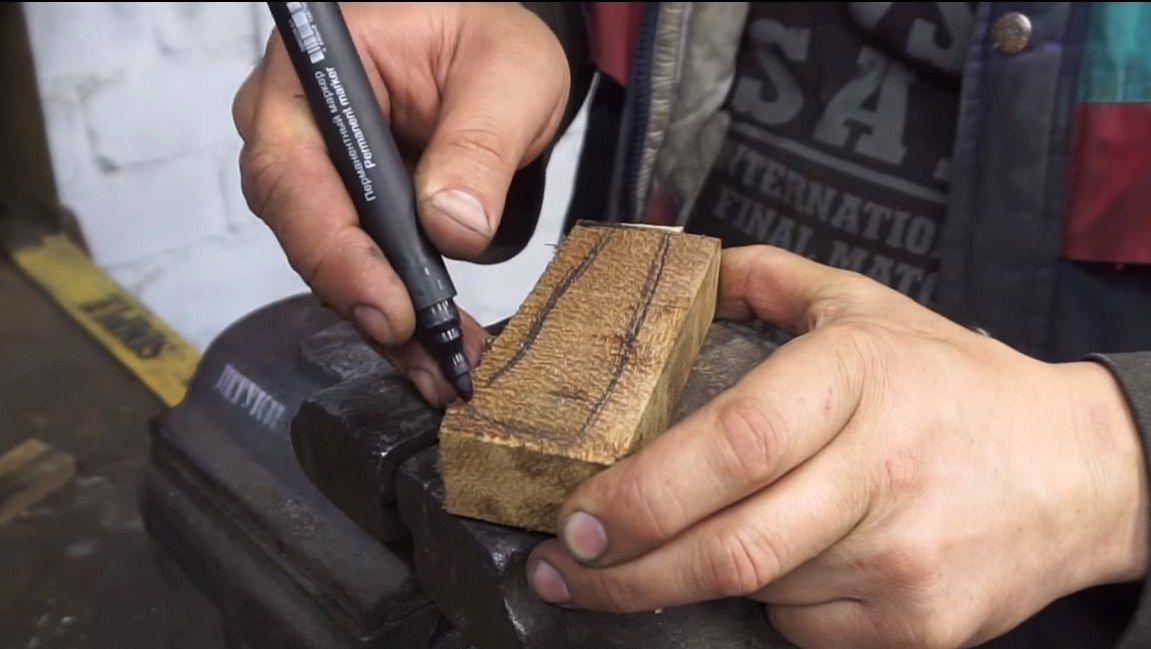
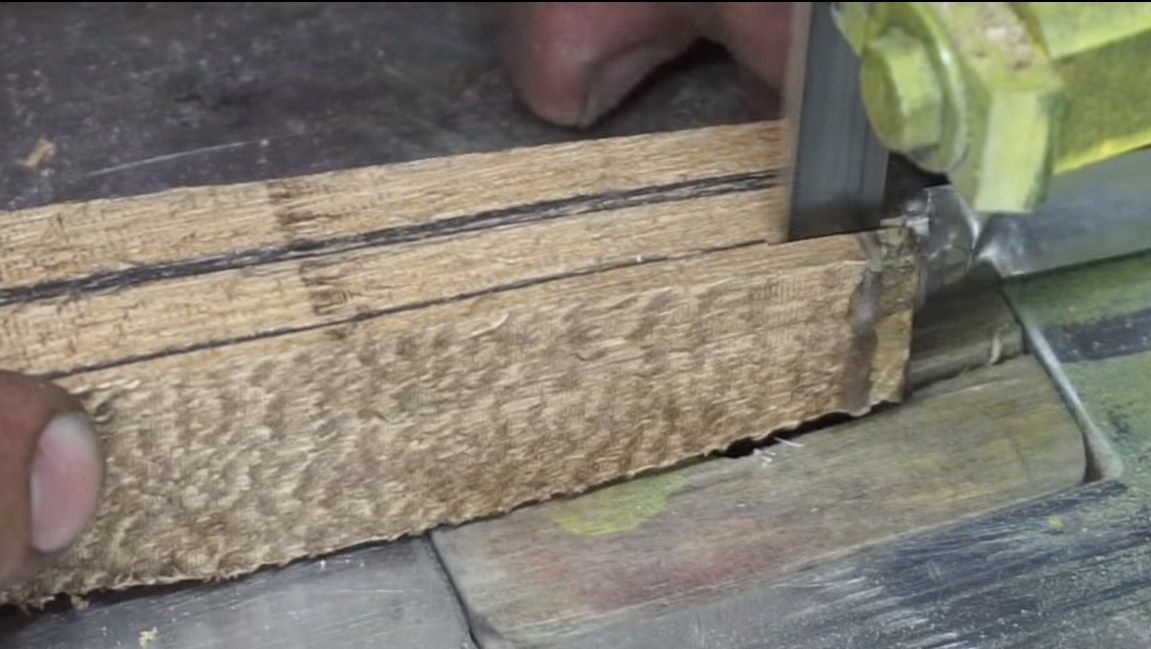
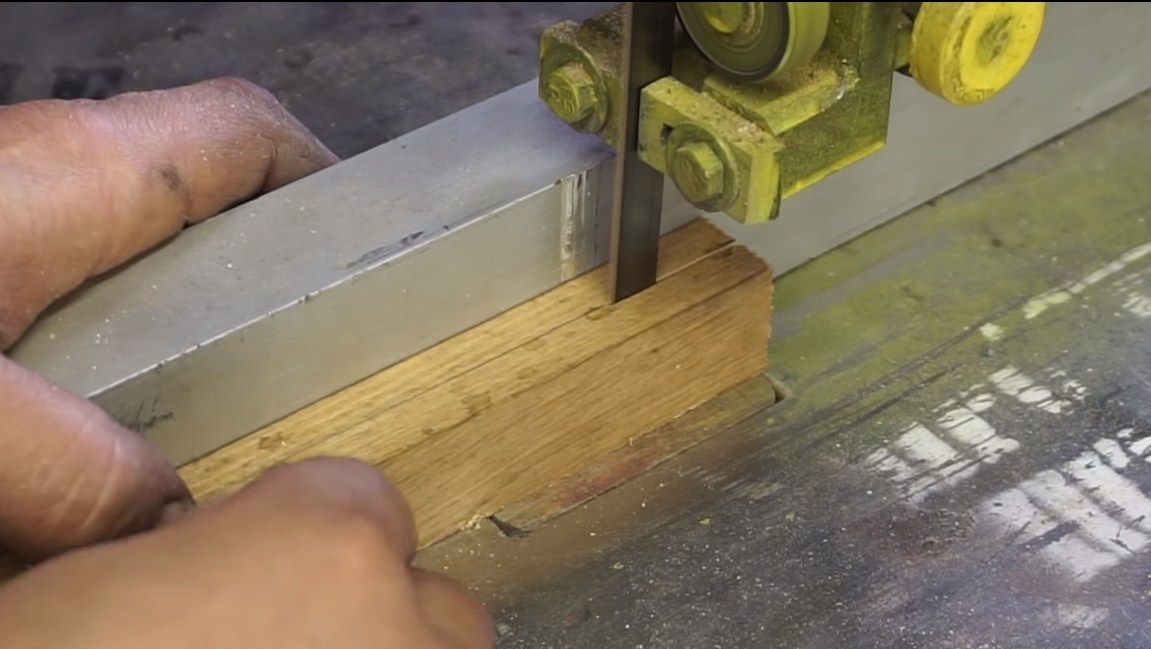
When the glue dries, it usually takes 24 hours, take our knife and draw the desired shape on the handle. Next, we cut the desired profile of the handle on the tape machine, but here be careful and do not hook the knife shank when cutting.
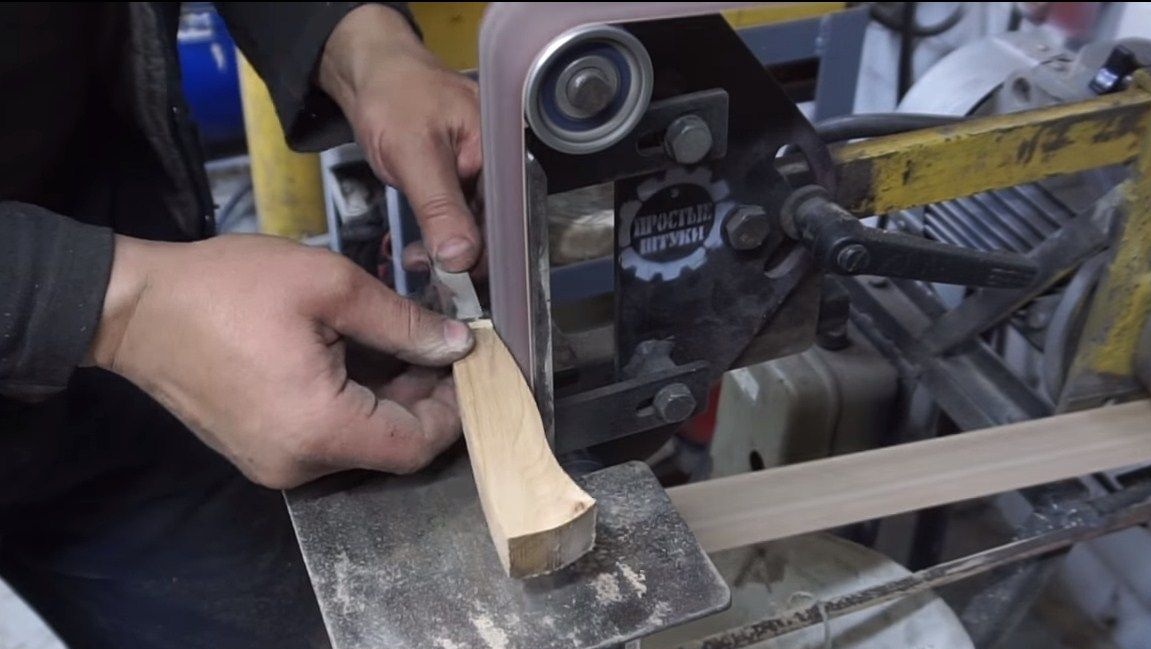
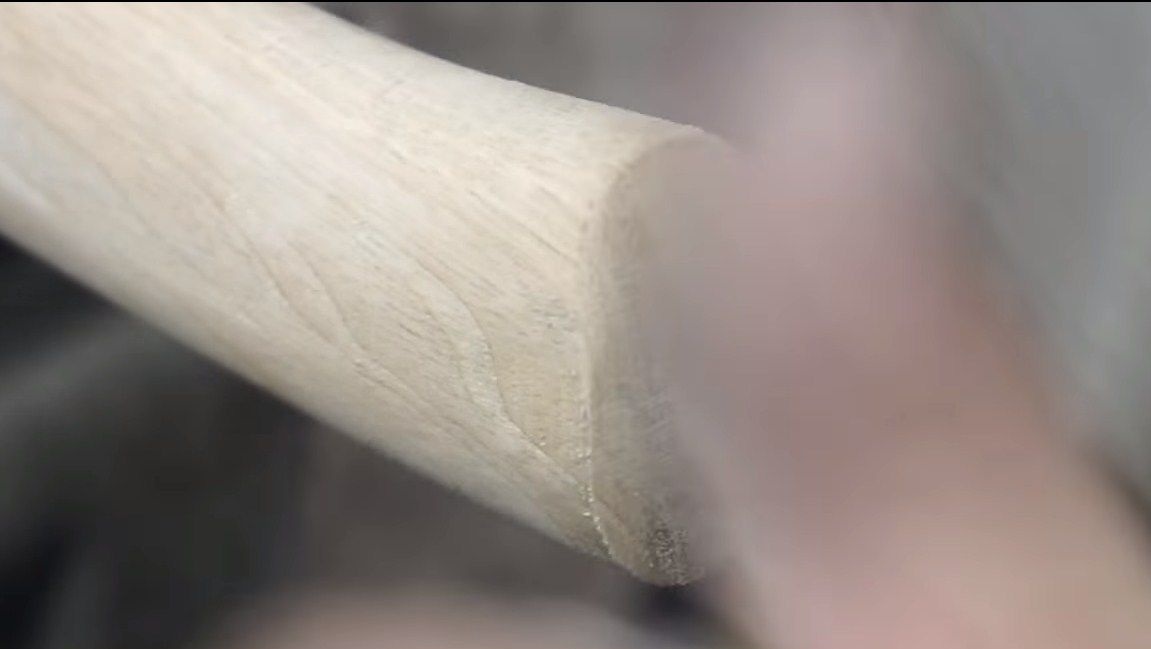
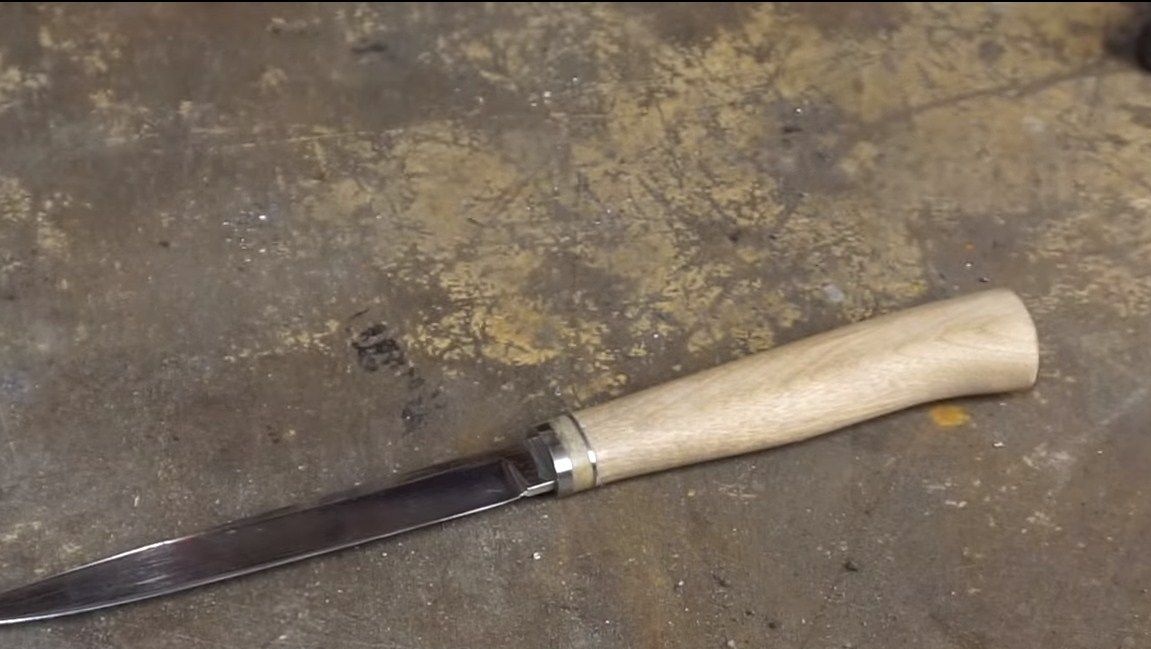
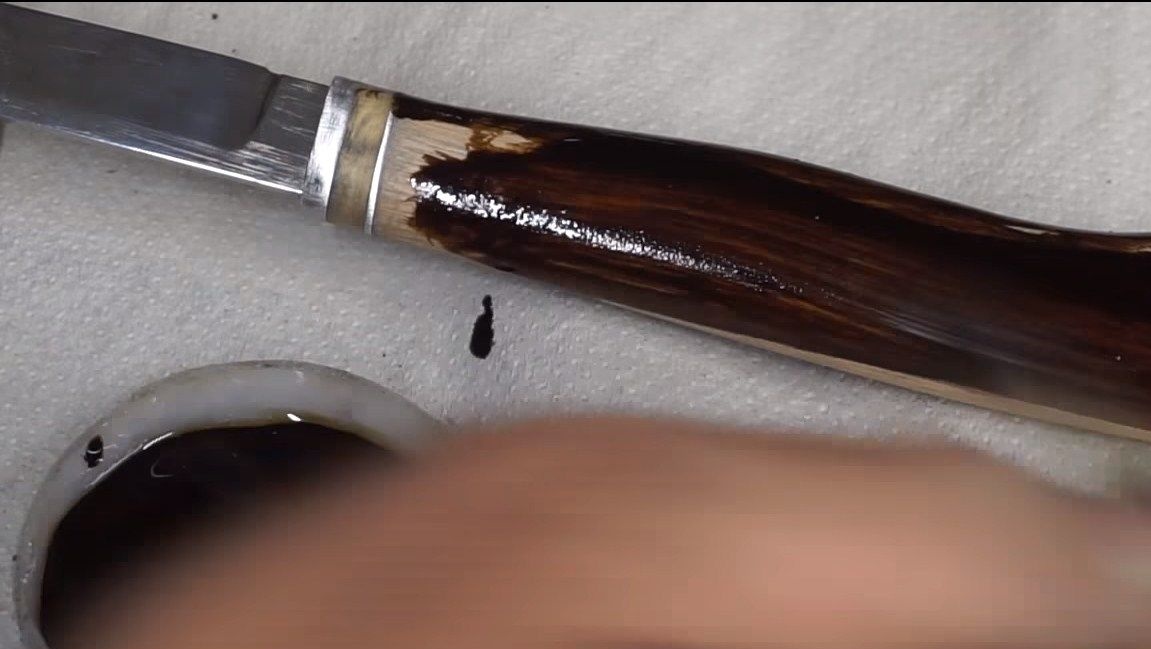
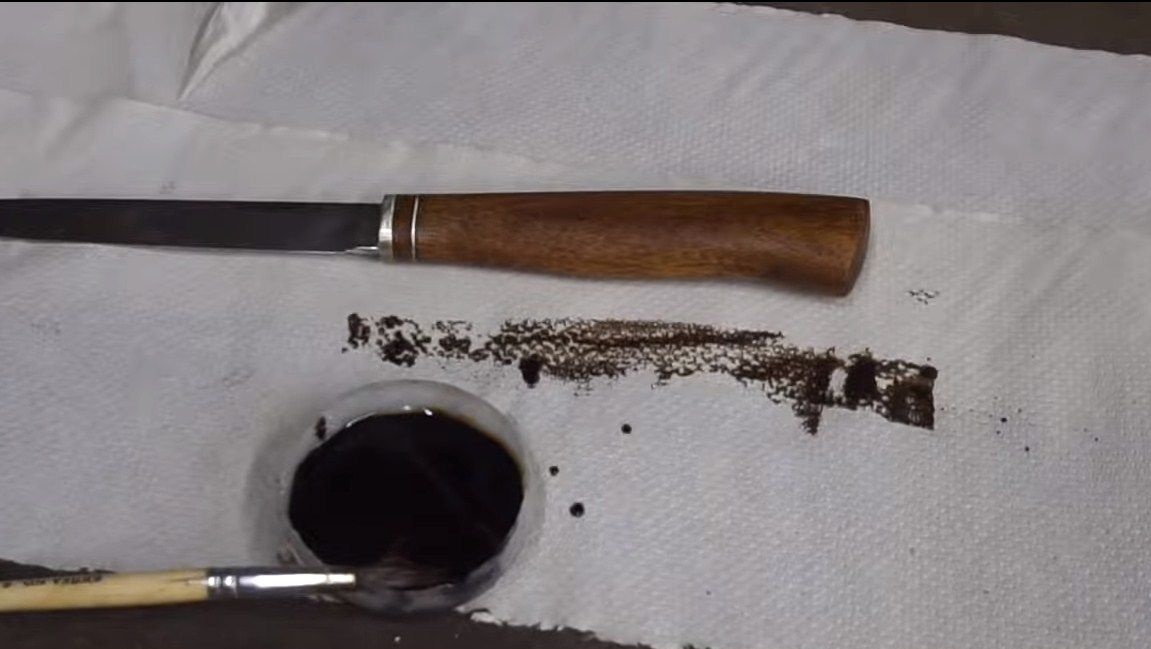
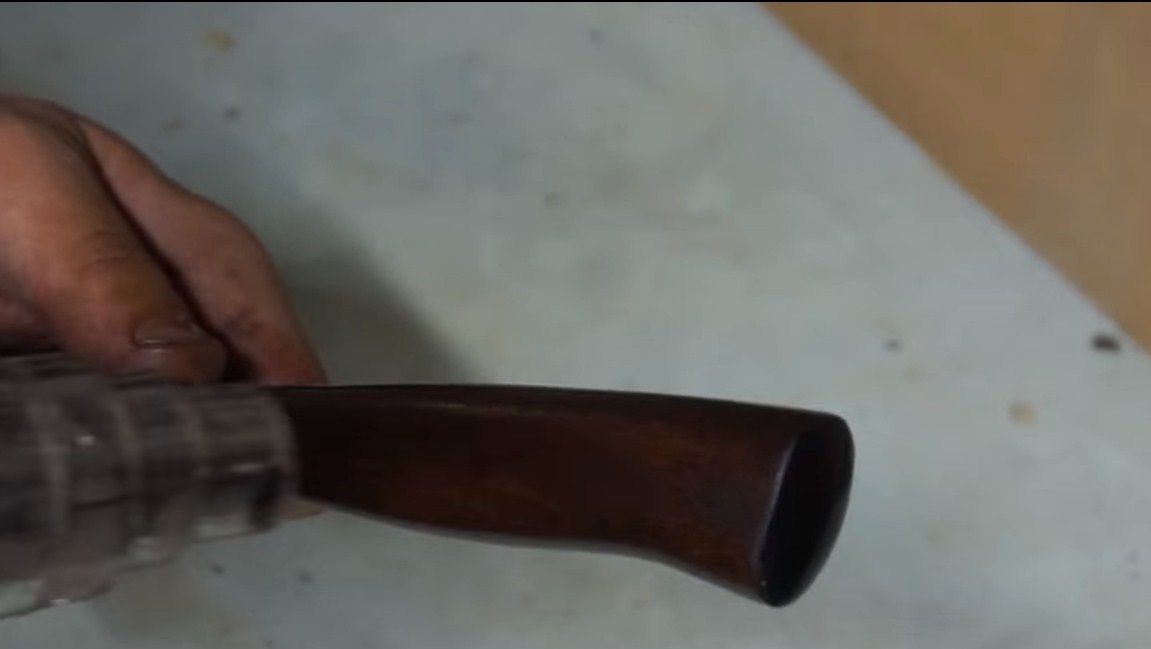
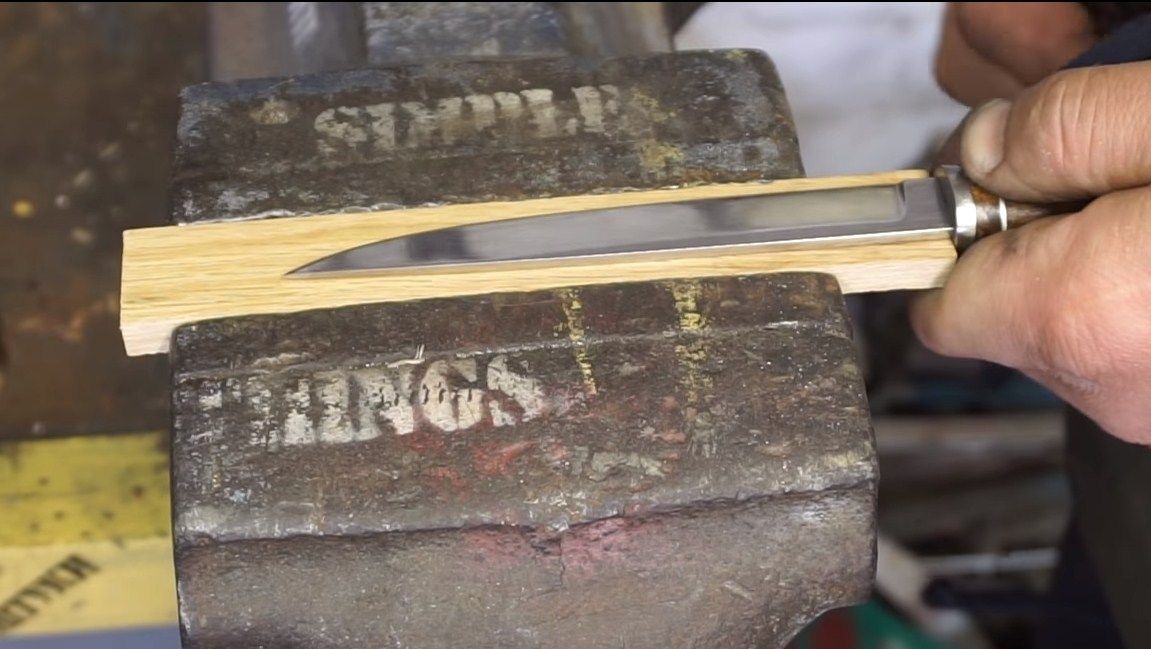
Well, then it remains to polish the handle well. The main processing is performed on a belt sander, and then the author brings the pen to mind manually using sandpaper. When the handle becomes absolutely smooth, saturate it with a stain. When the stain dries, apply a layer of oil and heat it with a hot air gun so that the oil is well absorbed. That's all, now the knife is completely ready!

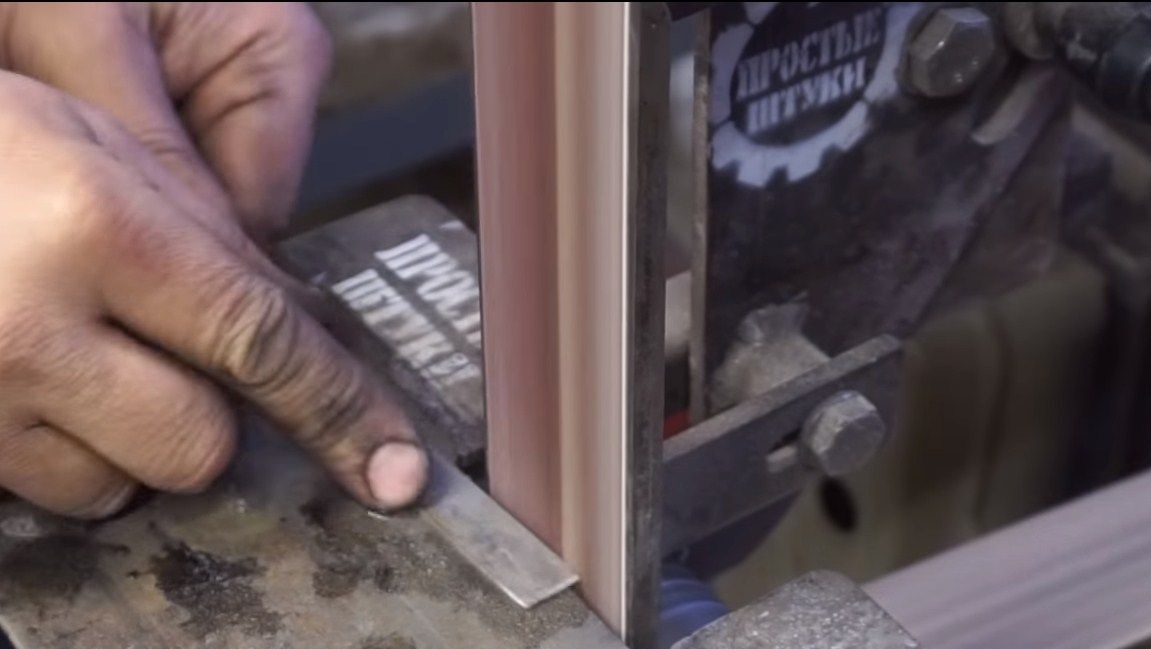
Seventh step. We make a scabbard
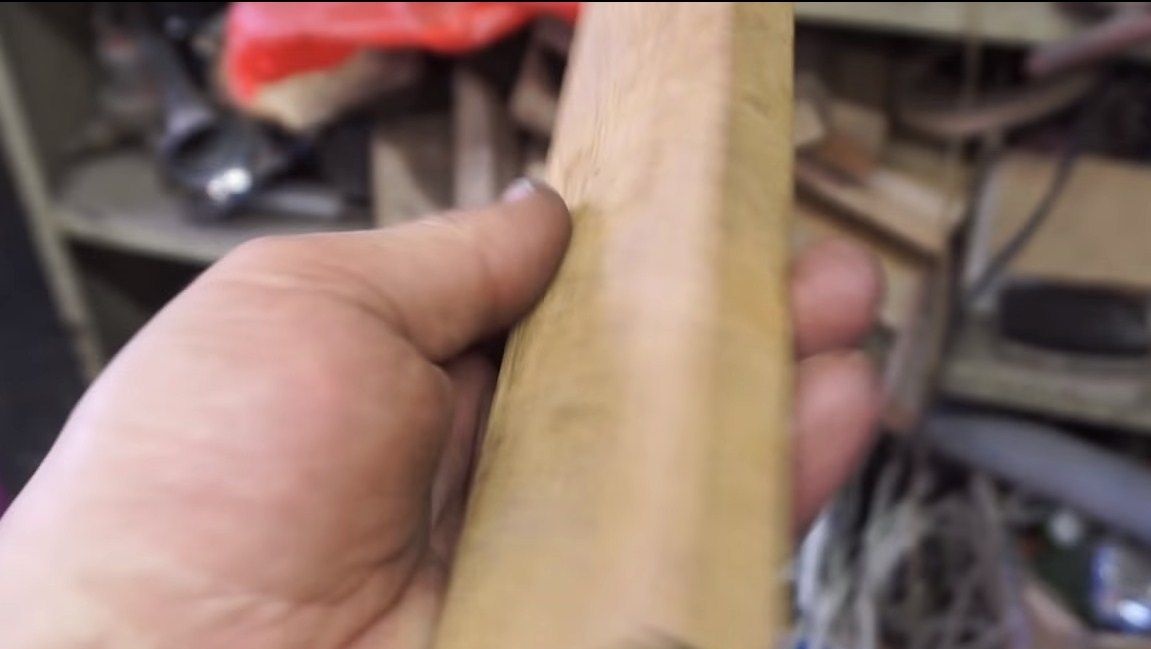
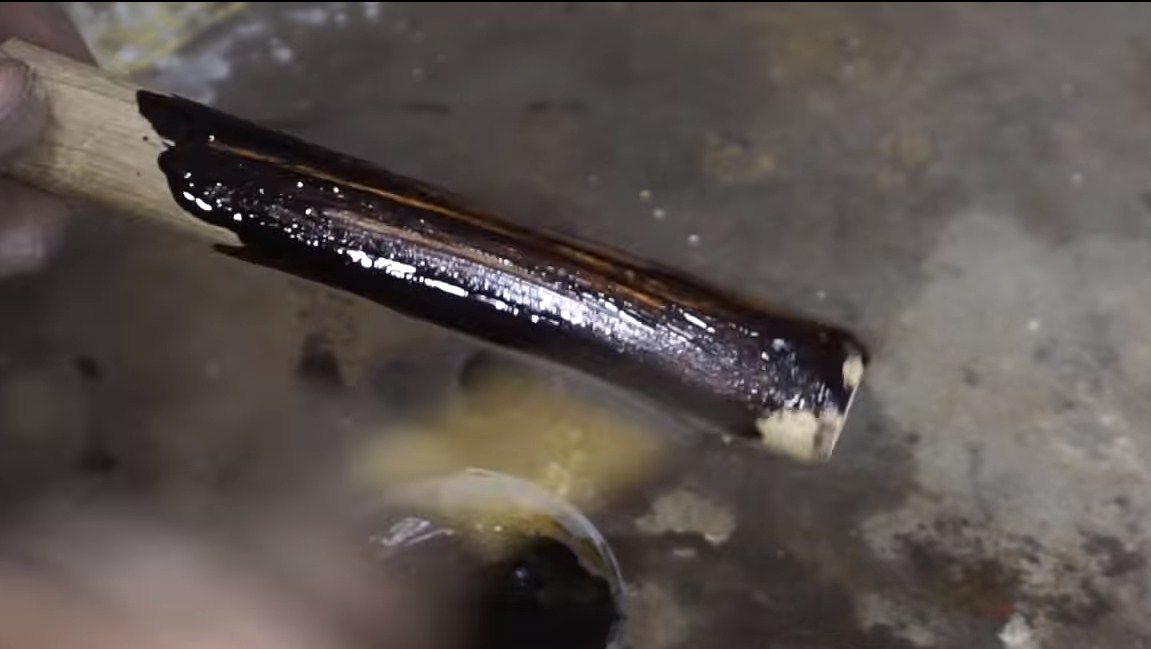
For the convenience and safety of using such a knife, it will need a sheath for it. Their author also makes of wood.
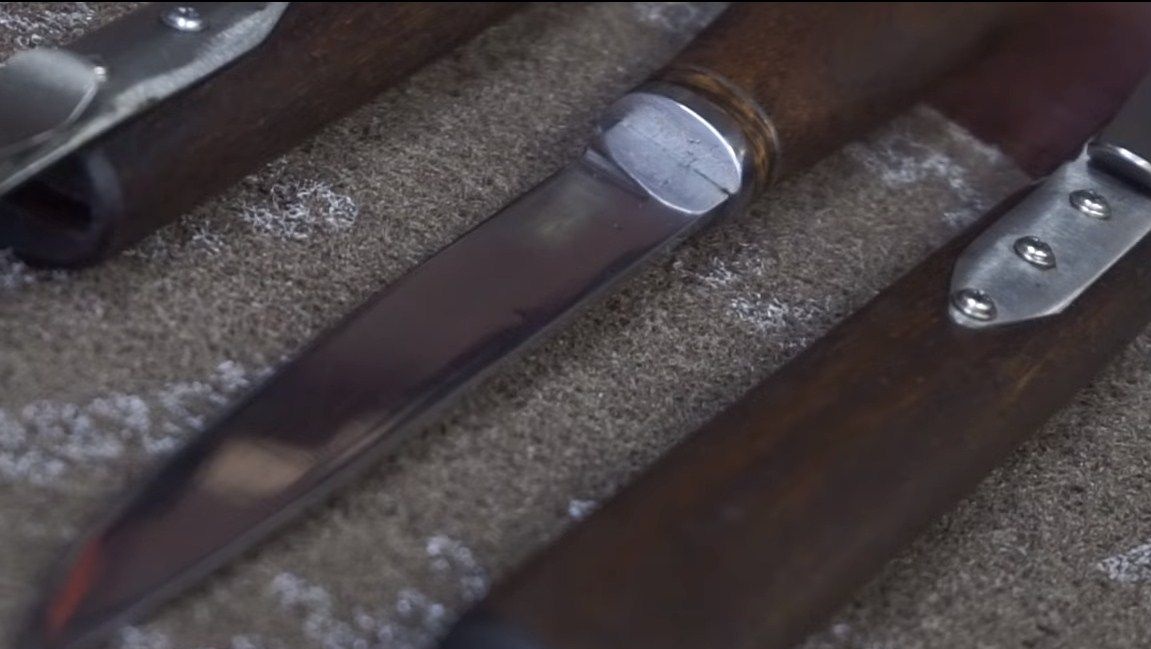
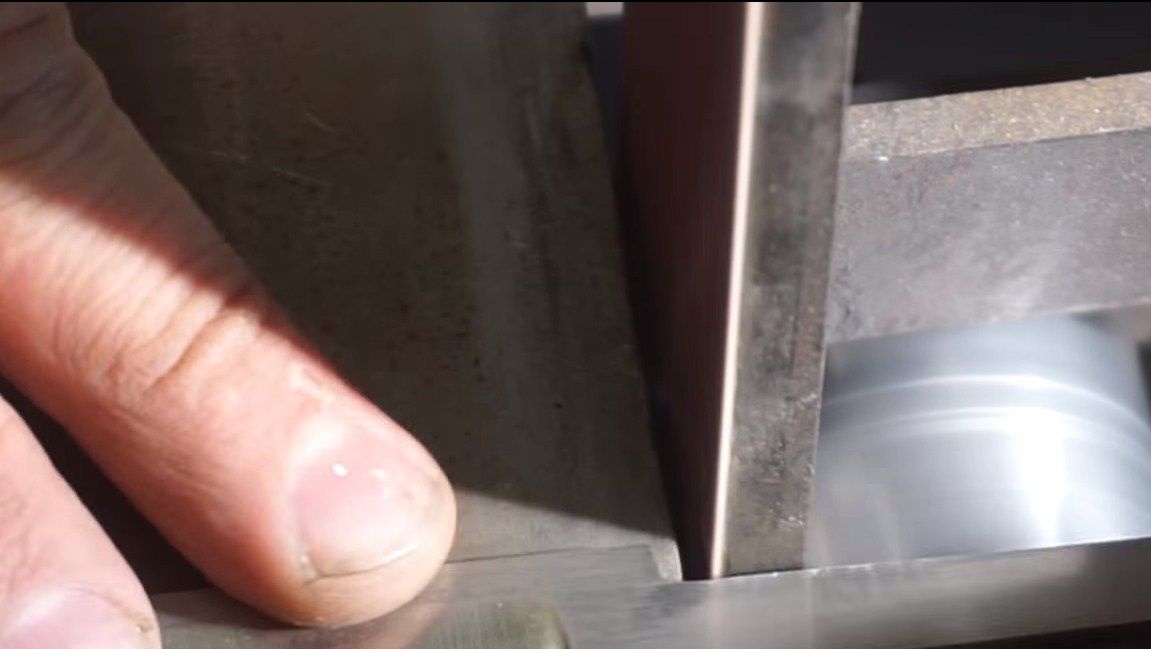
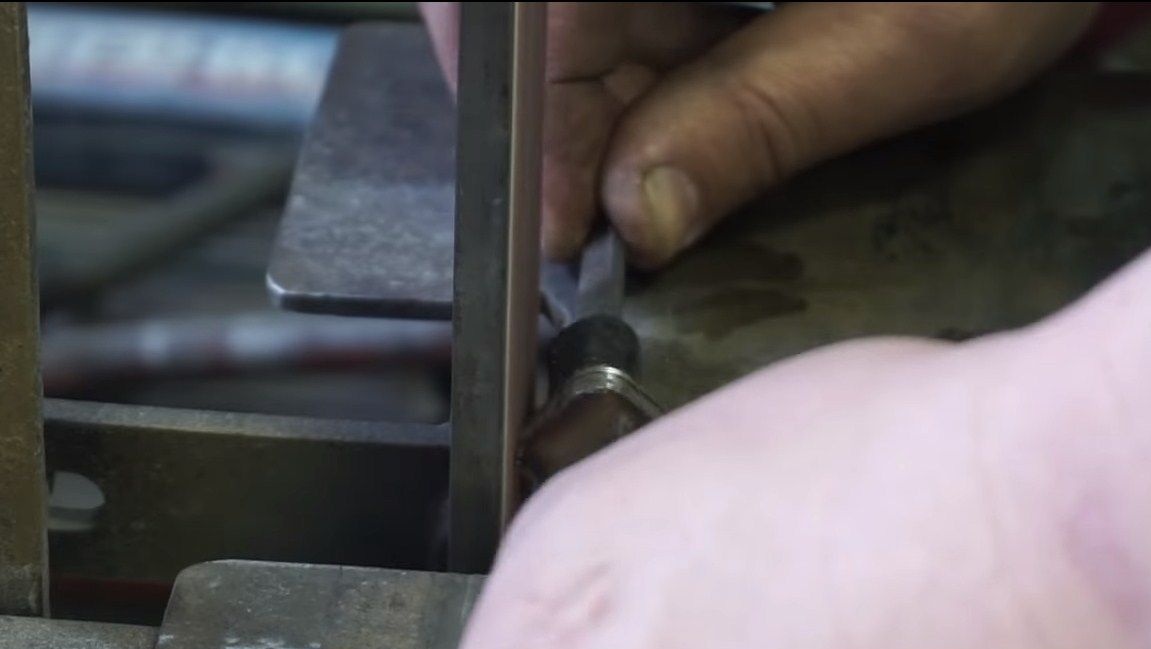
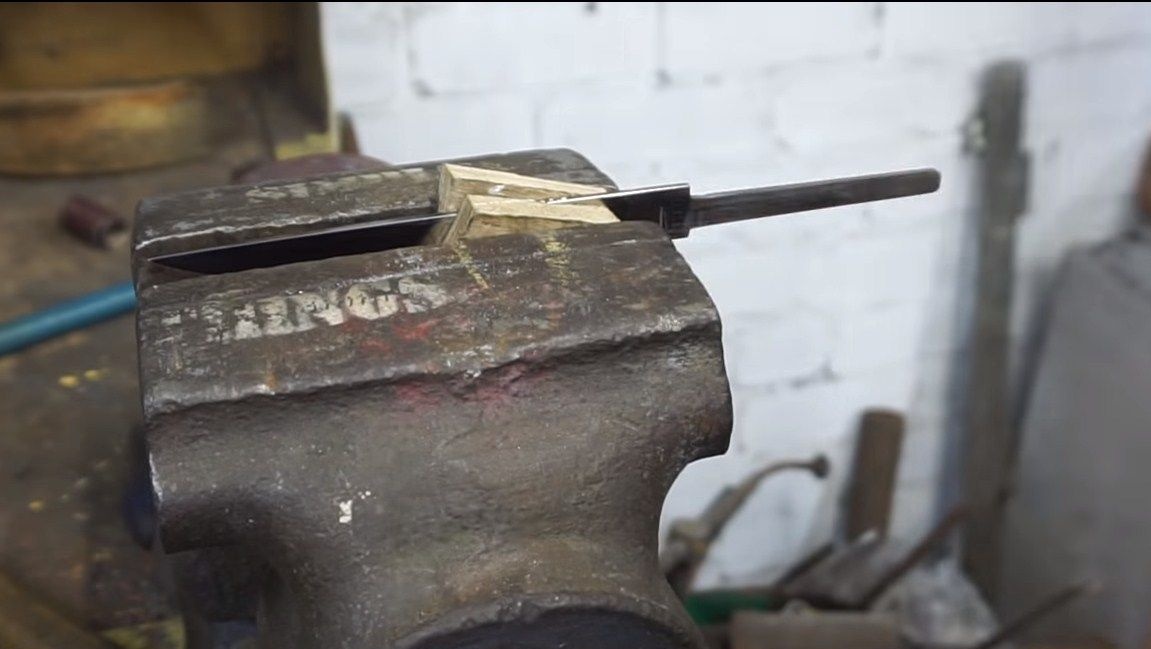
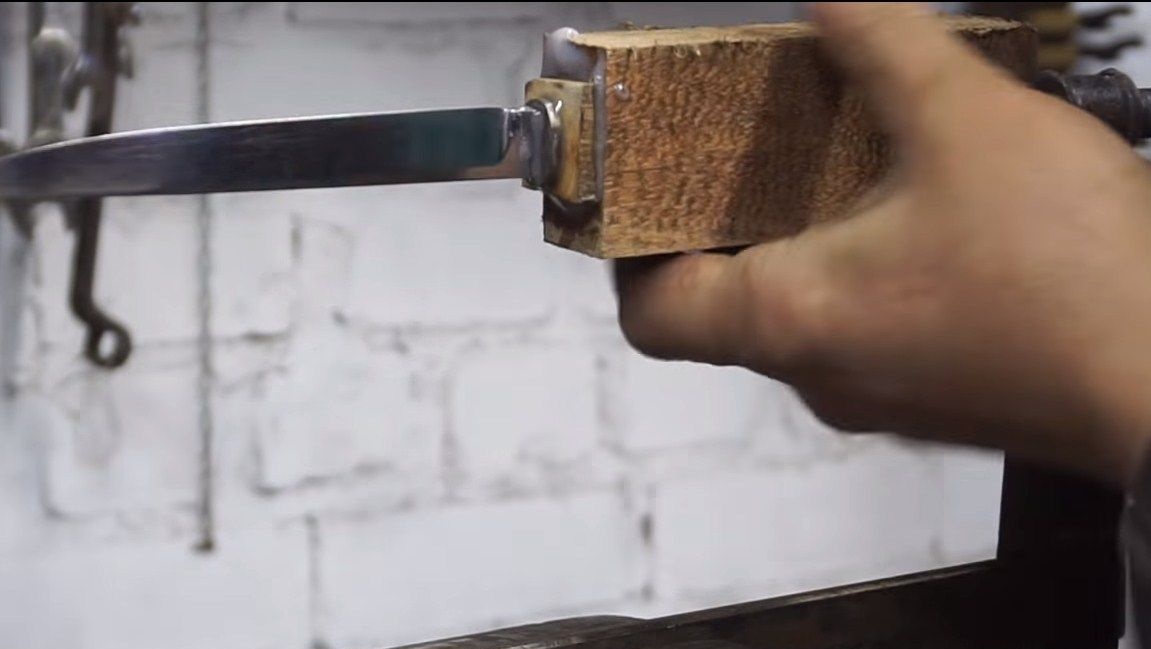
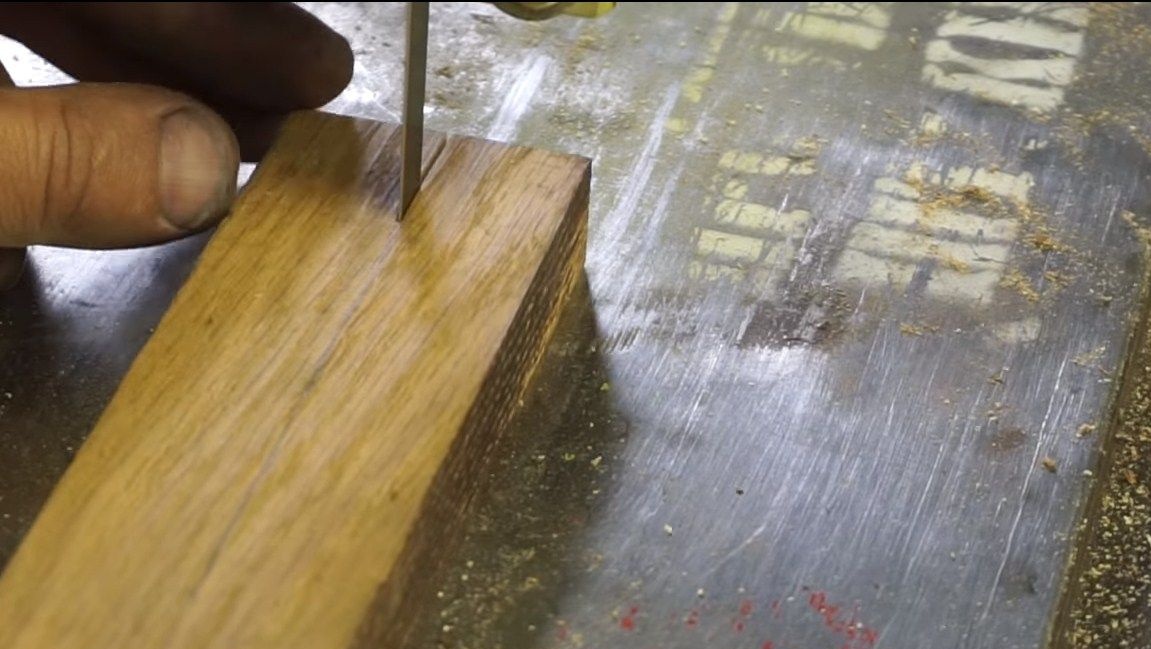
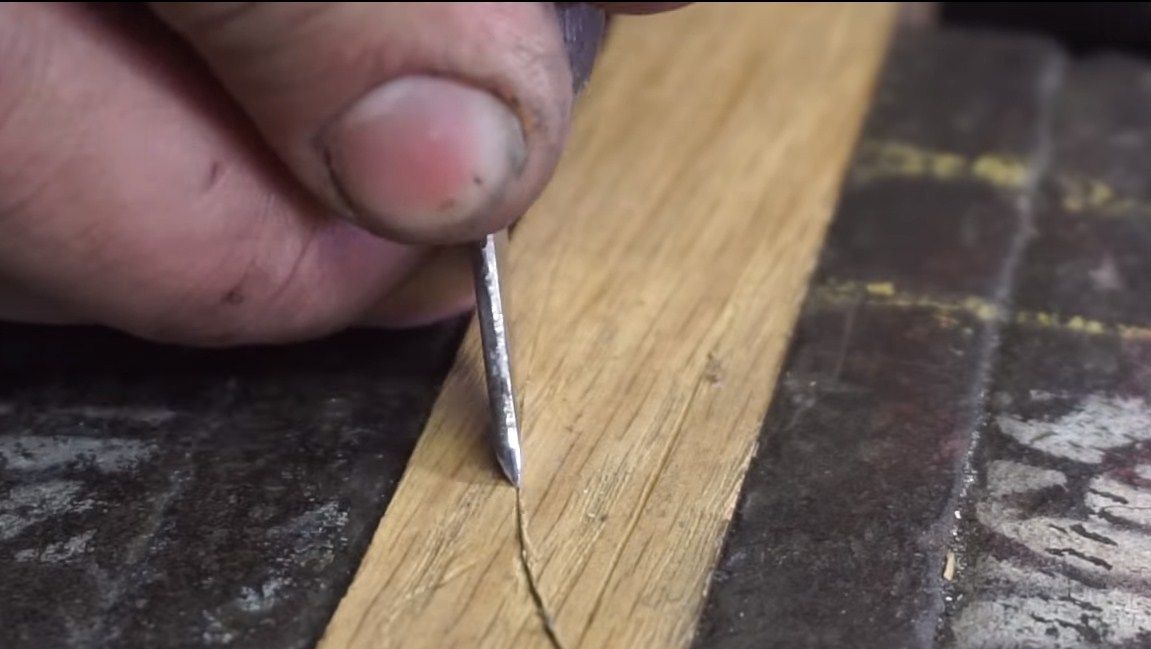
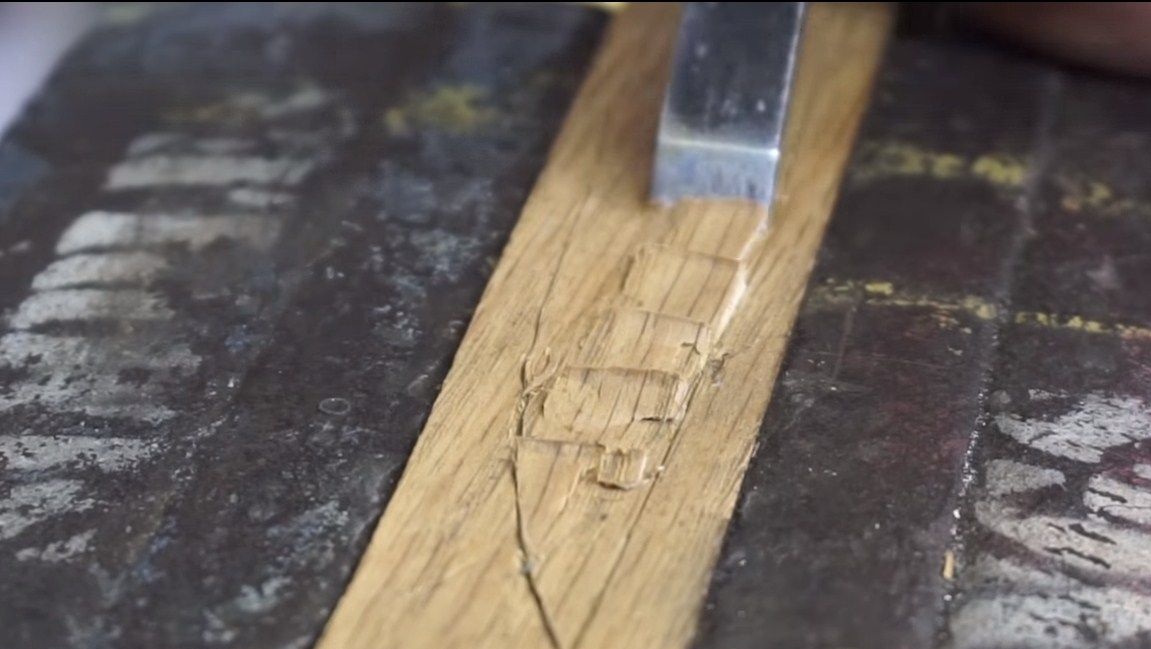
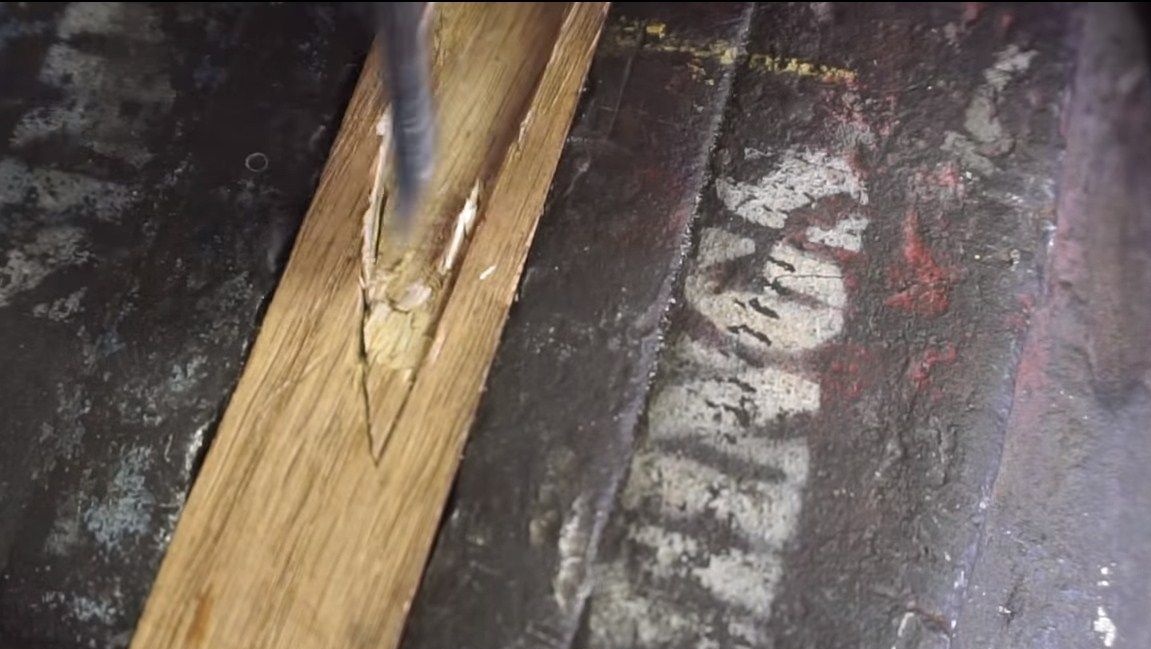
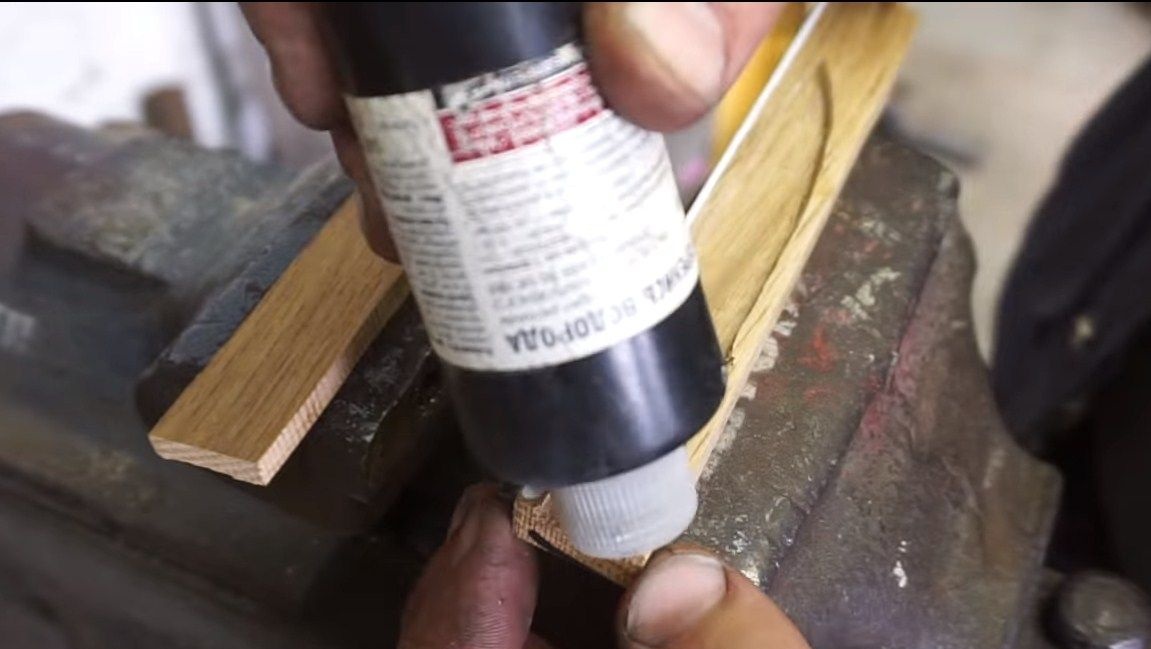
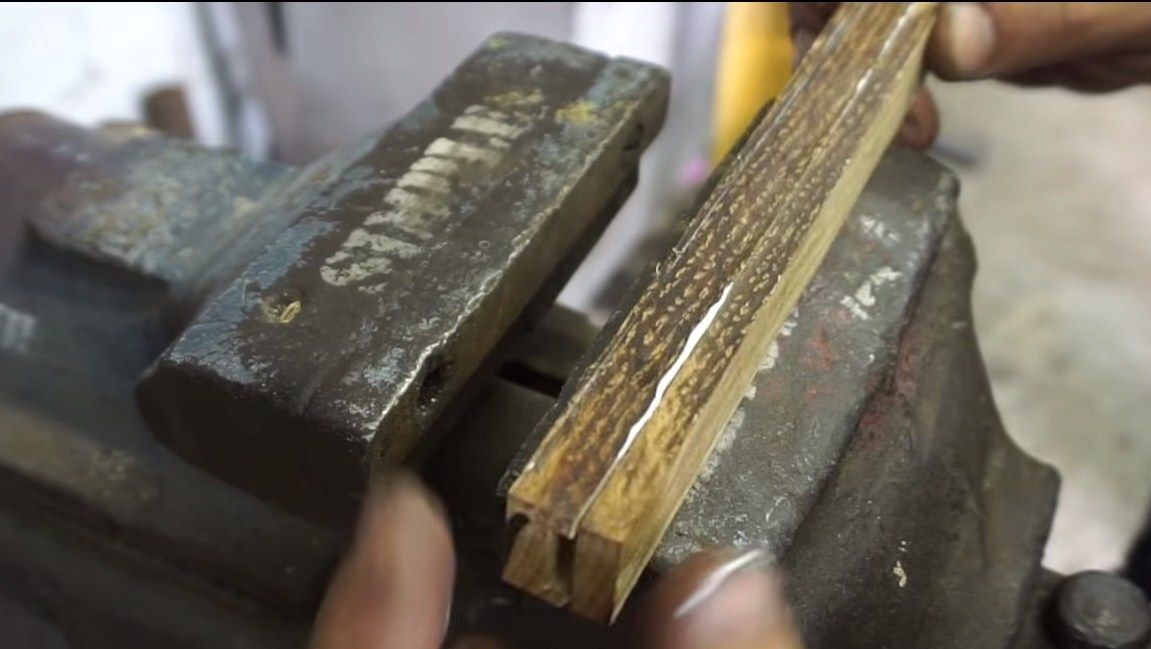
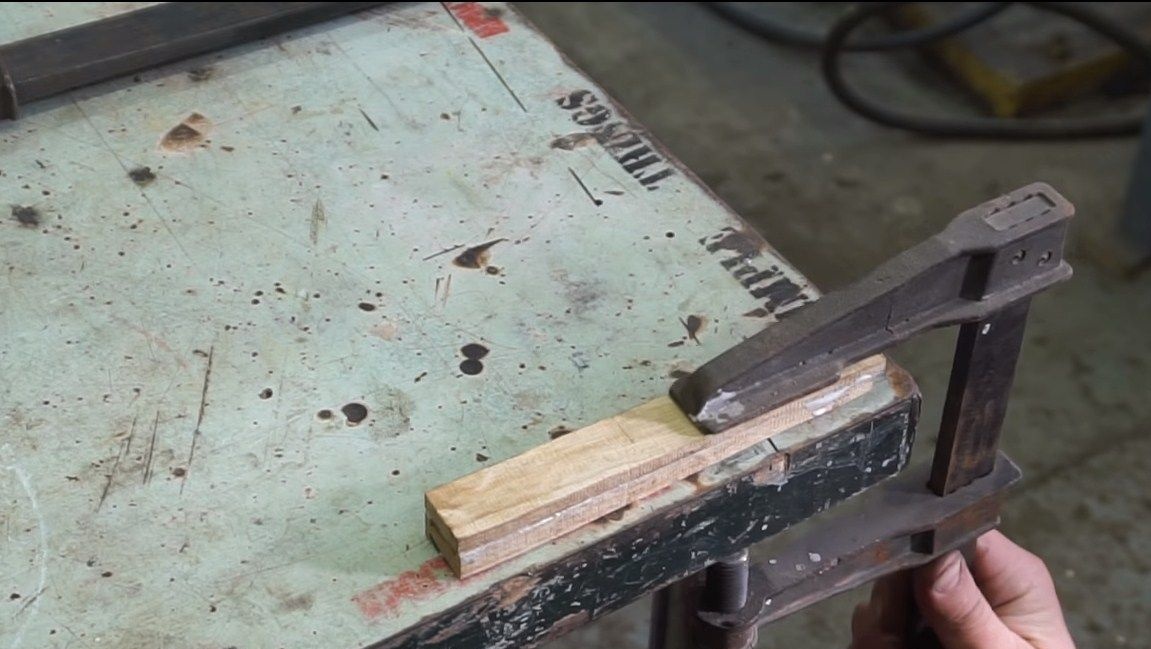
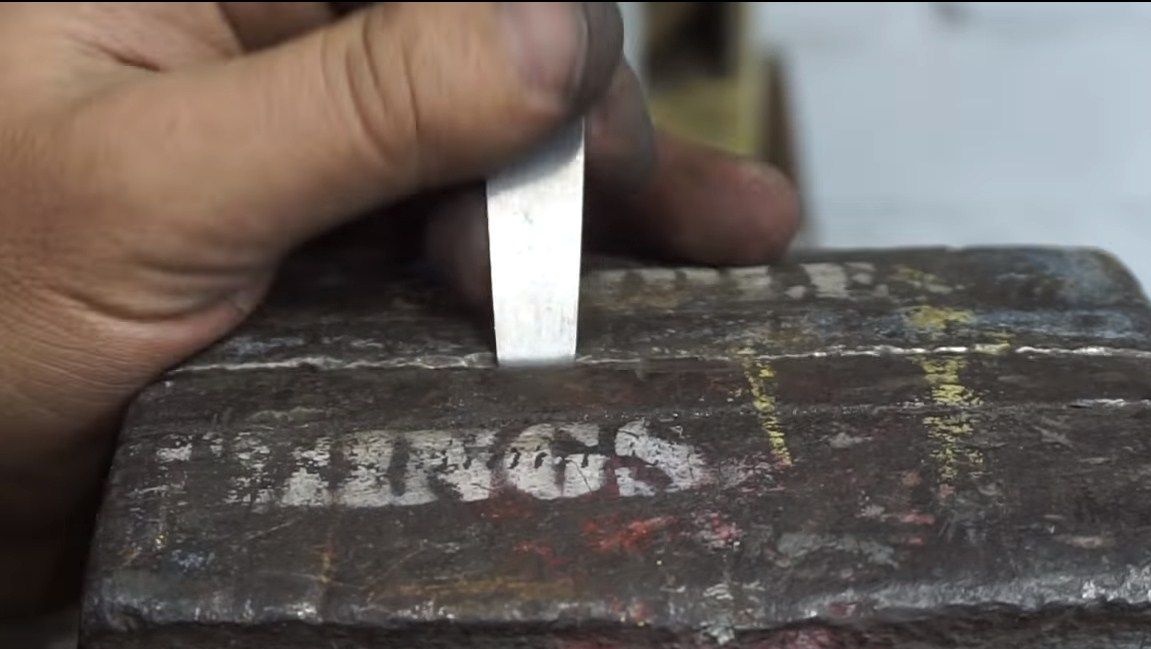
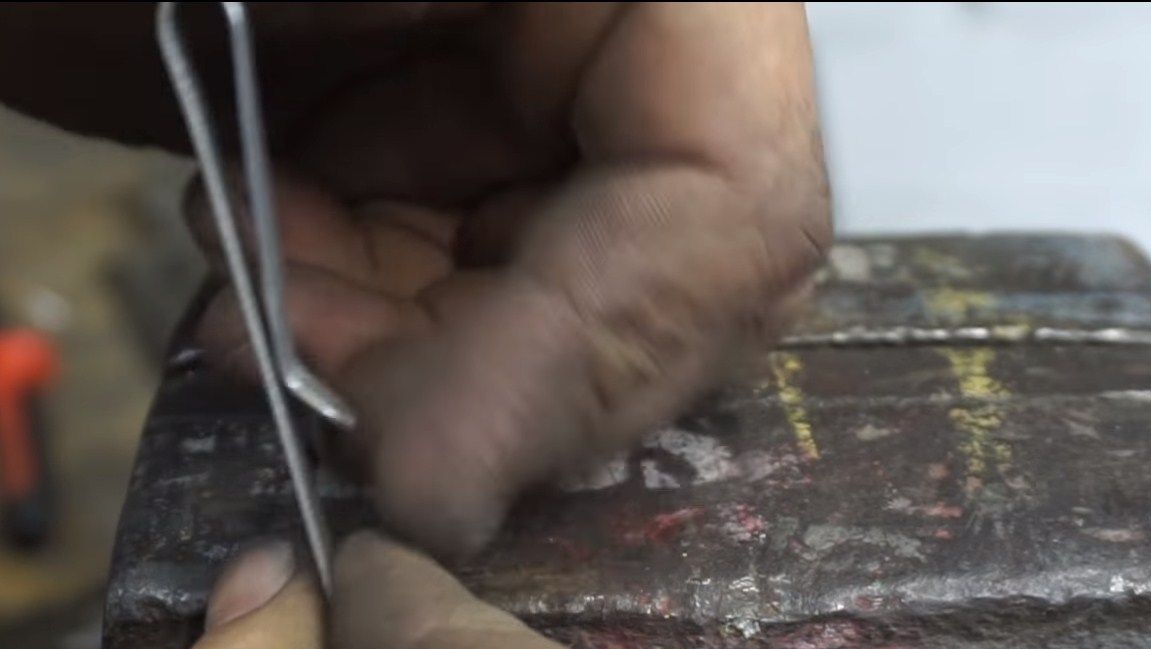
Similarly, take a suitable bar and dissolve it into two halves. We make one half thicker, in it we cut a groove for the blade. The author does this with a chisel. When the cavity for the blade is ready, just glue the other half in place using good wood glue. Clamp the halves with clamps and let the glue dry completely.
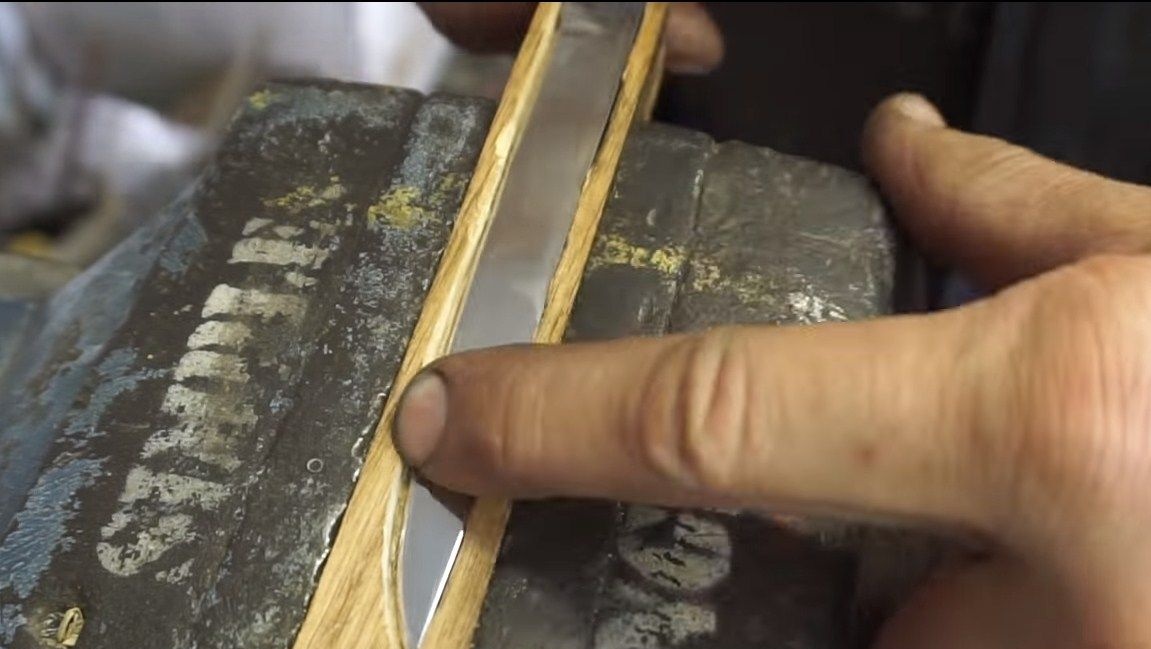
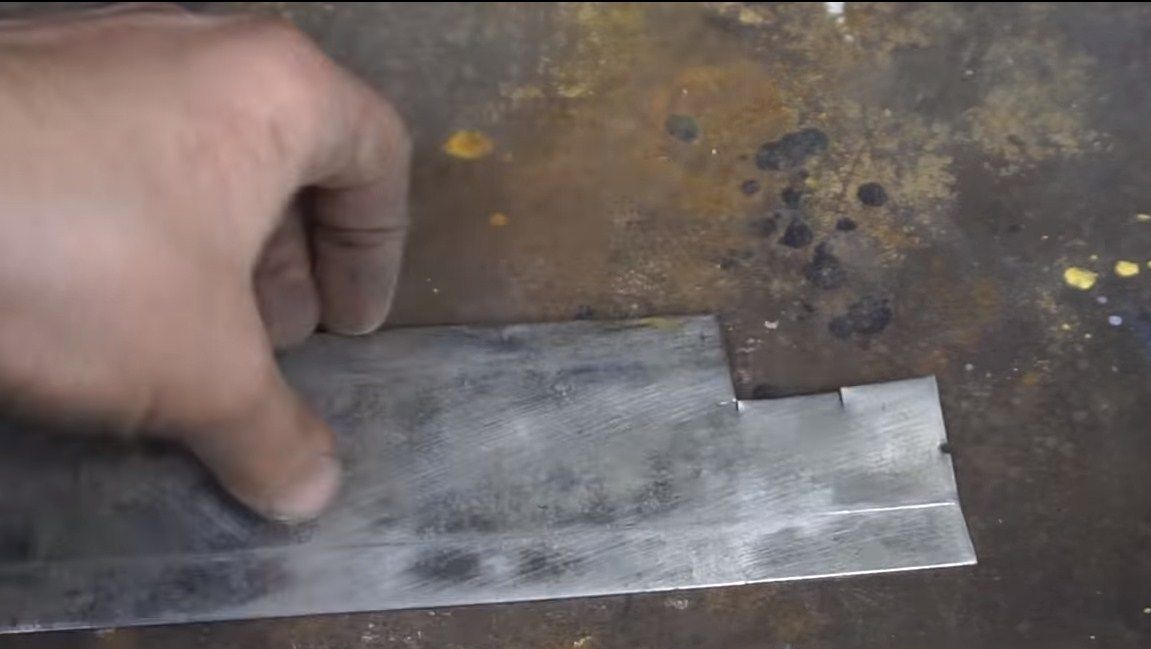

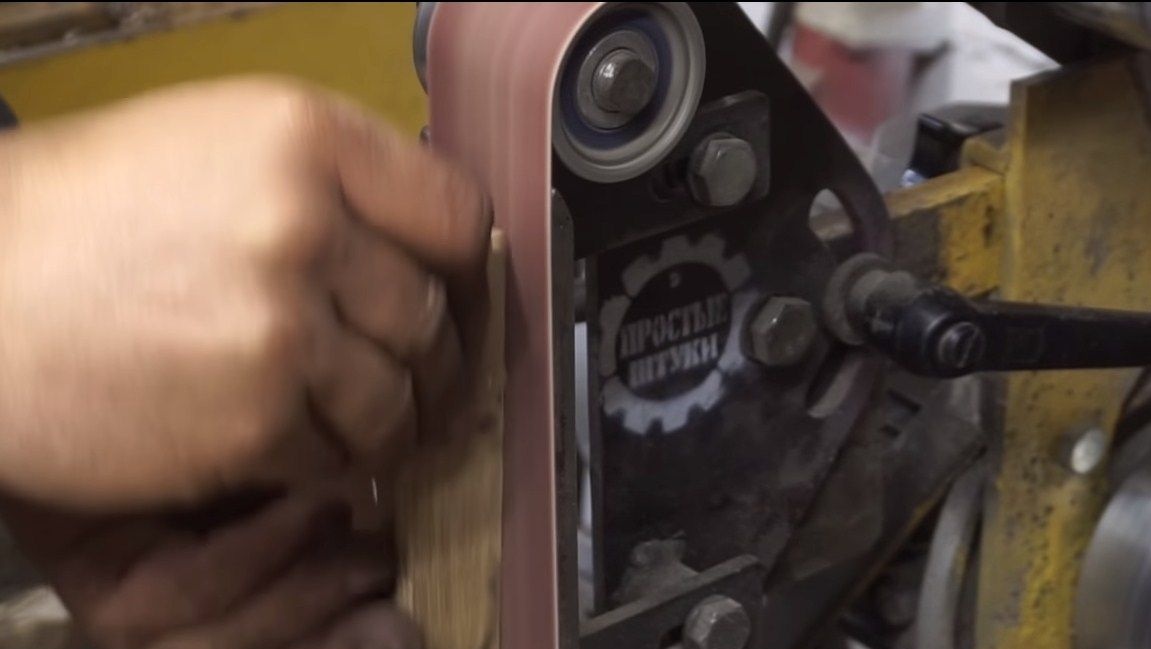
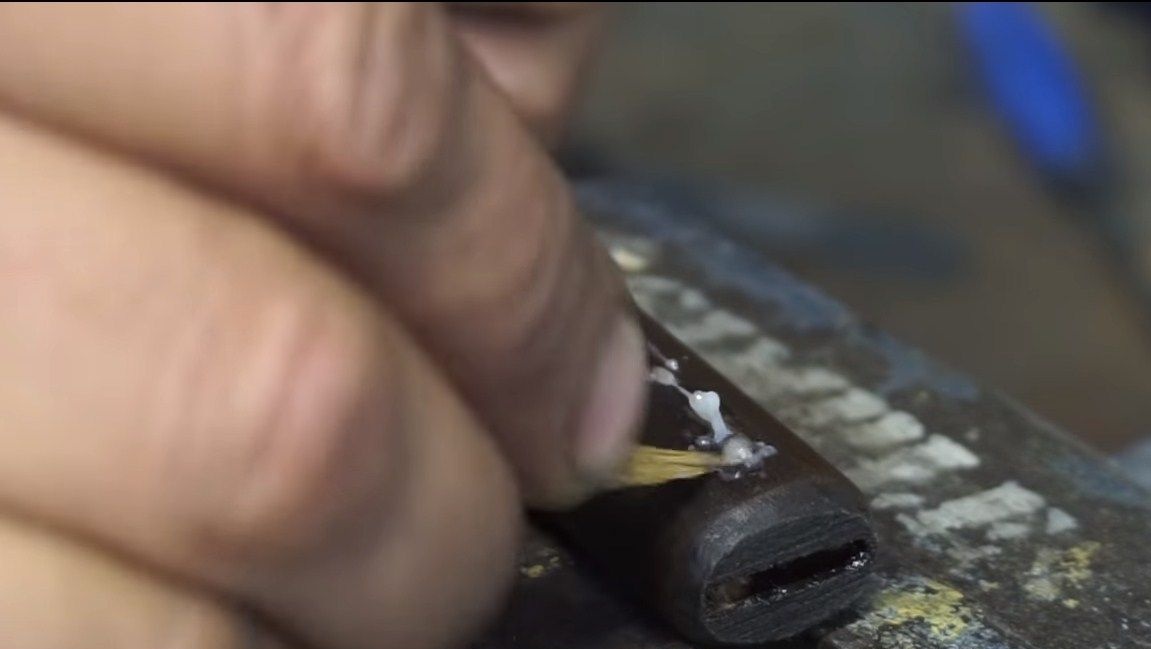
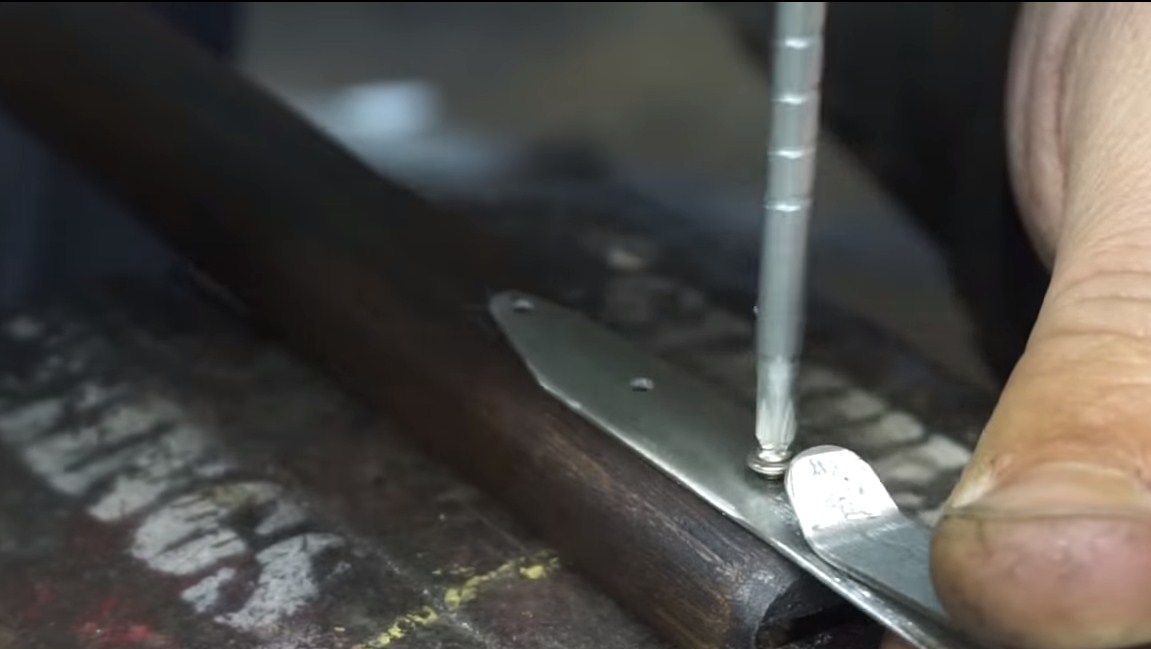
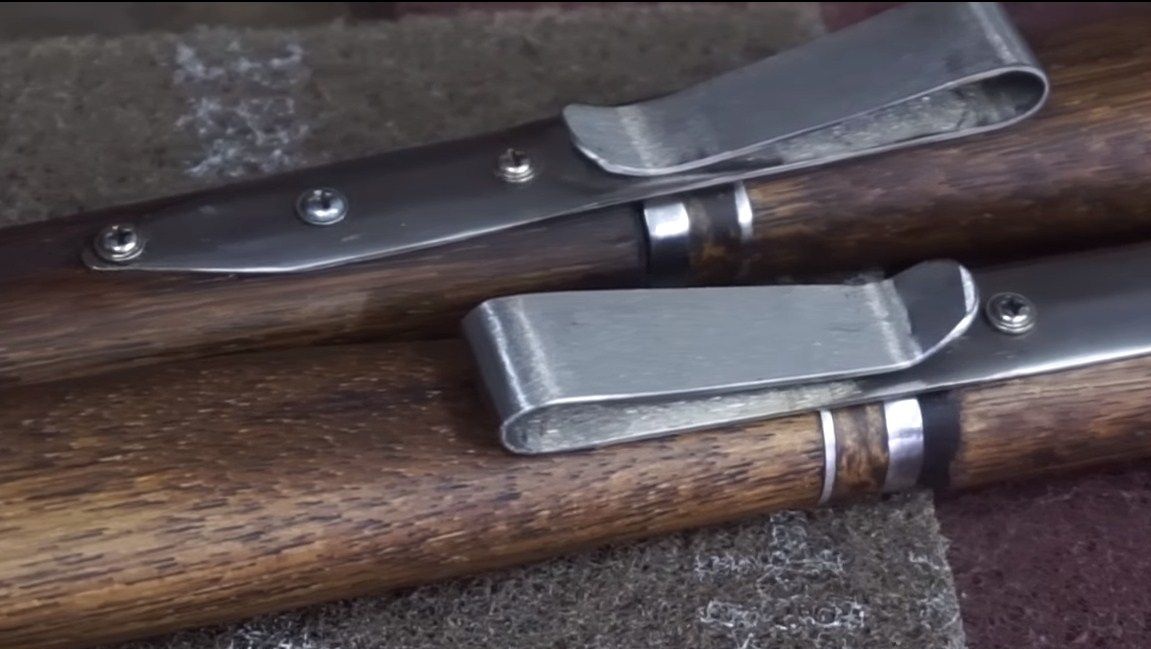
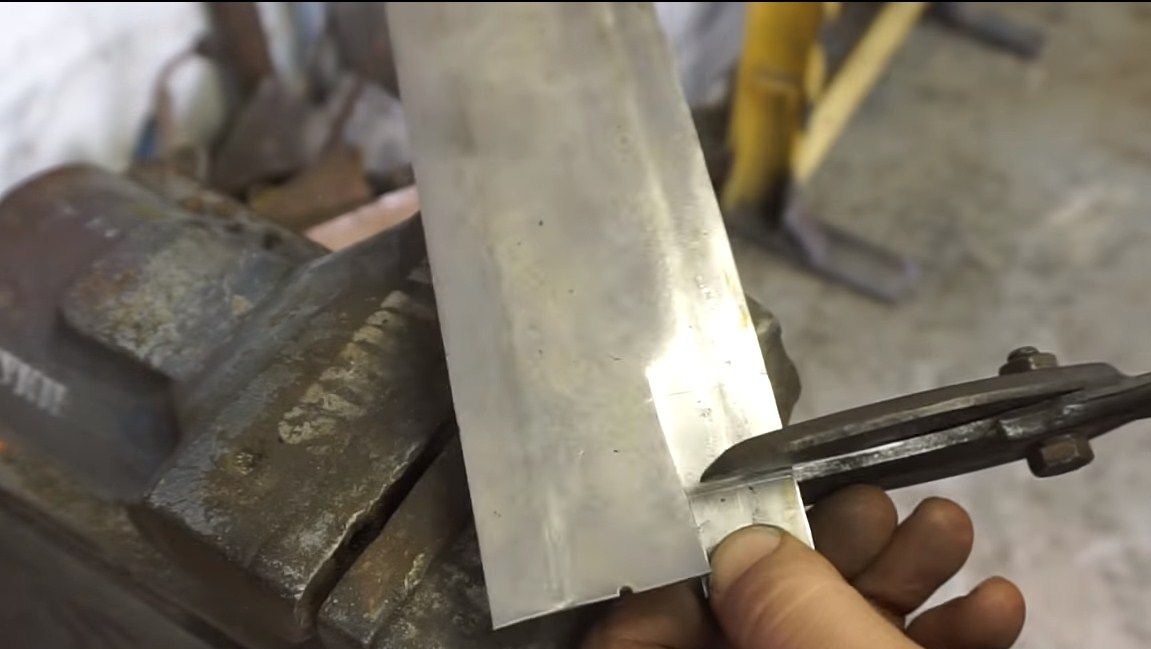
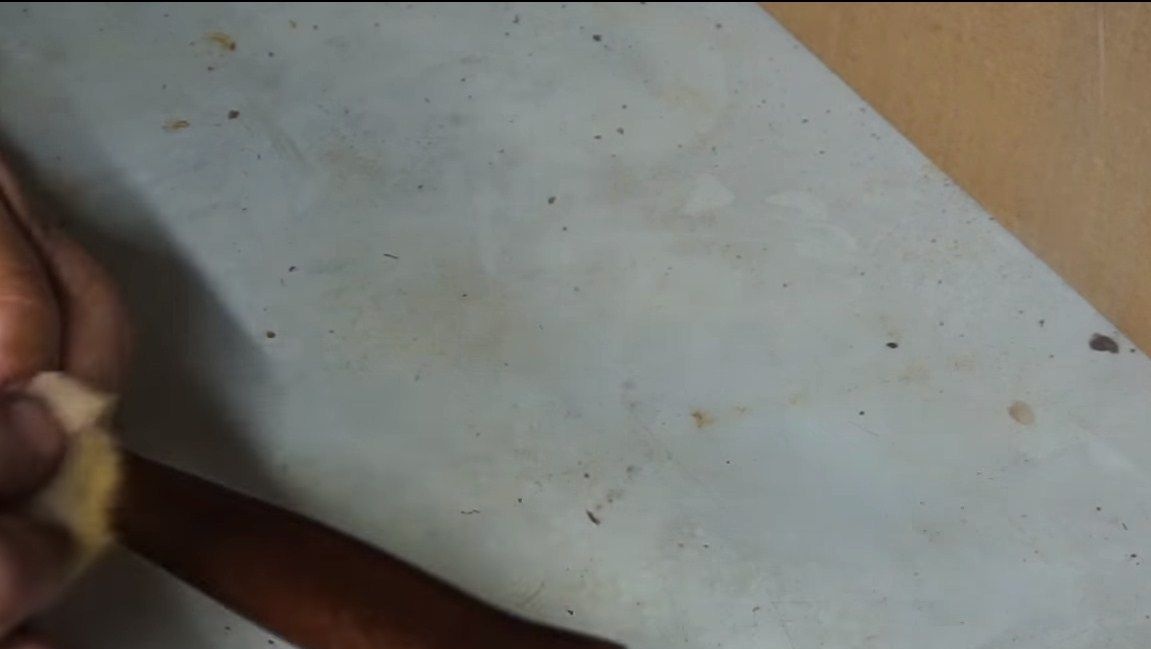
The glue is dry, we grind our scabbard on a tape machine, giving them the desired shape. After that, apply the stain and soak the scabbard with oil. In the end, you will need to install a loop that allows you to hang the sheath on the belt. The author makes this loop from stainless steel sheet.We fasten the loop with screws, filling the holes with glue. That's all, the wonderful knife is ready!
I hope you enjoyed the project and found useful information for yourself. Good luck and creative inspiration, if you decide to repeat it!