Greetings to connoisseurs of knives. In this manual, we will look at how you can simply make a small tanto knife. This design of the knife was invented by the Japanese, and initially it was a battle sword. But experience shows that such a knife profile is excellent for a regular knife. It is convenient, it is easy for them to plan, cut and so on.
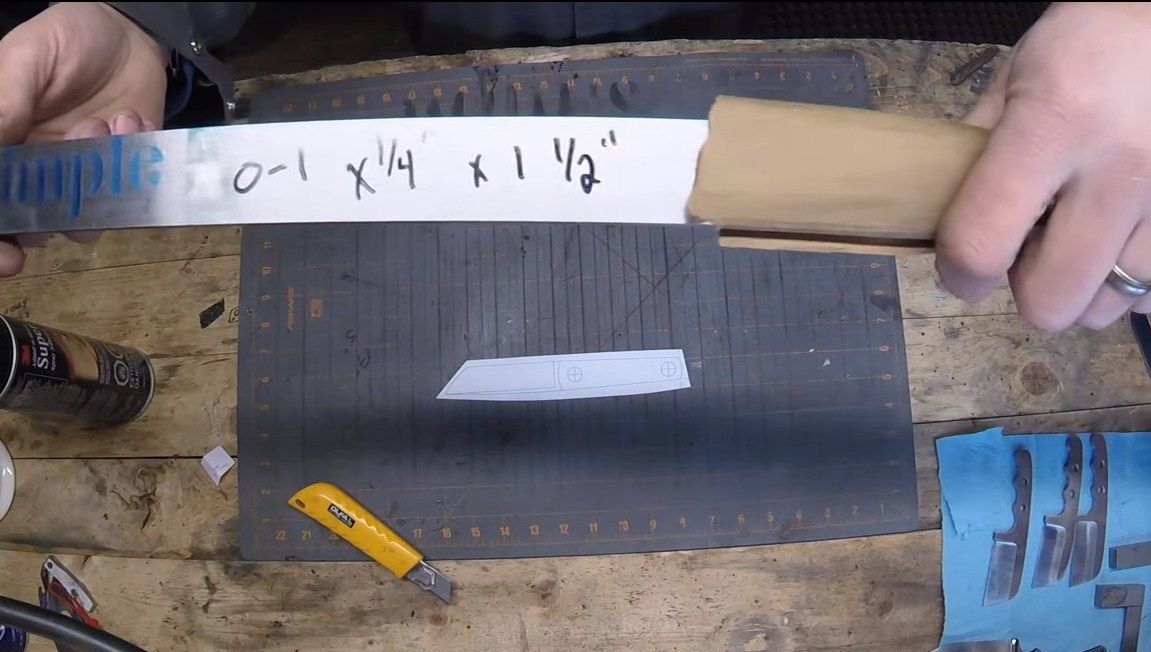
Making a knife is not difficult, it will be the most difficult to make bevels, but if you have a belt sander, then this should not be a problem. The most important thing is to choose quality steel for the knife. The author used good grade 01 steel. This steel is good in that it is very easy to harden, and it can be hardened with a burner and a container with oil. A vacation of steel can be made in a domestic oven. There is a whole 1% carbon in this steel, which means that the metal becomes quite strong after quenching. In addition, the grade of this steel also contains manganese (1.2%), silicon (0.75%), chromium (0.5%), vanadium (0.20%) and tungsten (0.5%).
Thanks to this composition, the steel is hardened to a hardness of 60 HRC. And thanks to the presence of chromium, steel is resistant to rust. So, we will consider in more detail how to make such a knife!
Materials and tools that the author needed:
Material List:
- steel 01 or other similar;
- plastic or wood for linings;
- steel or brass tubes (for pins);
- epoxy adhesive.
Tool List:
- belt sander;
- drilling machine;
- means for polishing;
- vice and clamps;
- blacksmith oven, domestic oven, hardening oil;
- tape cutting saw.
The process of making a knife:
Step one. Prepare and cut the main profile
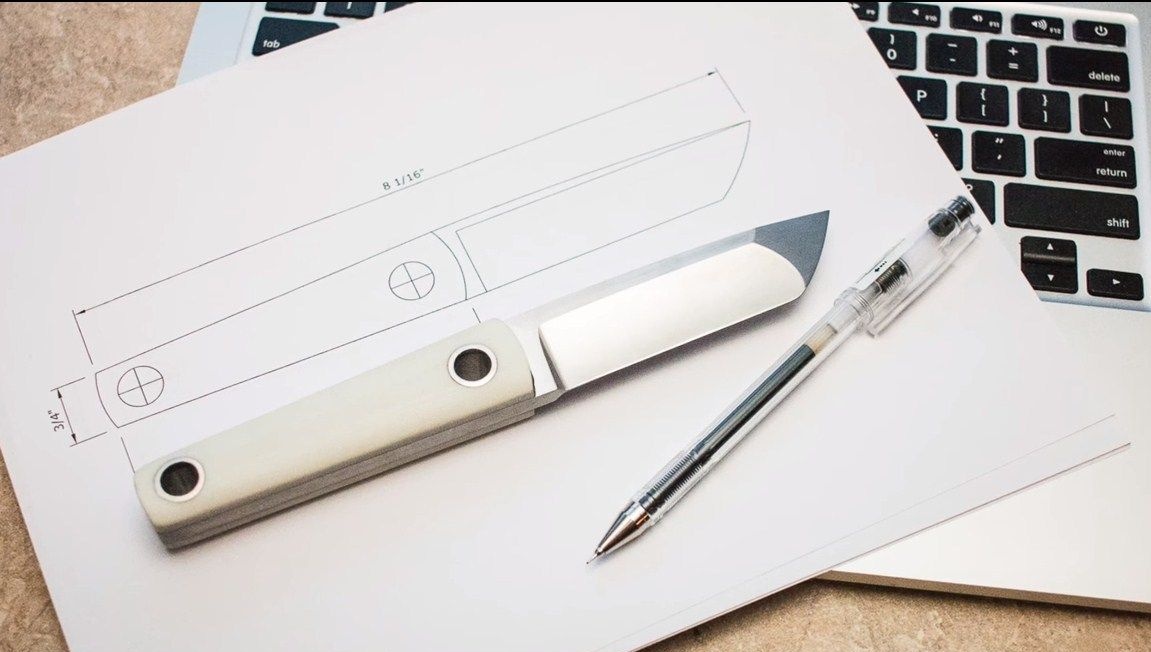
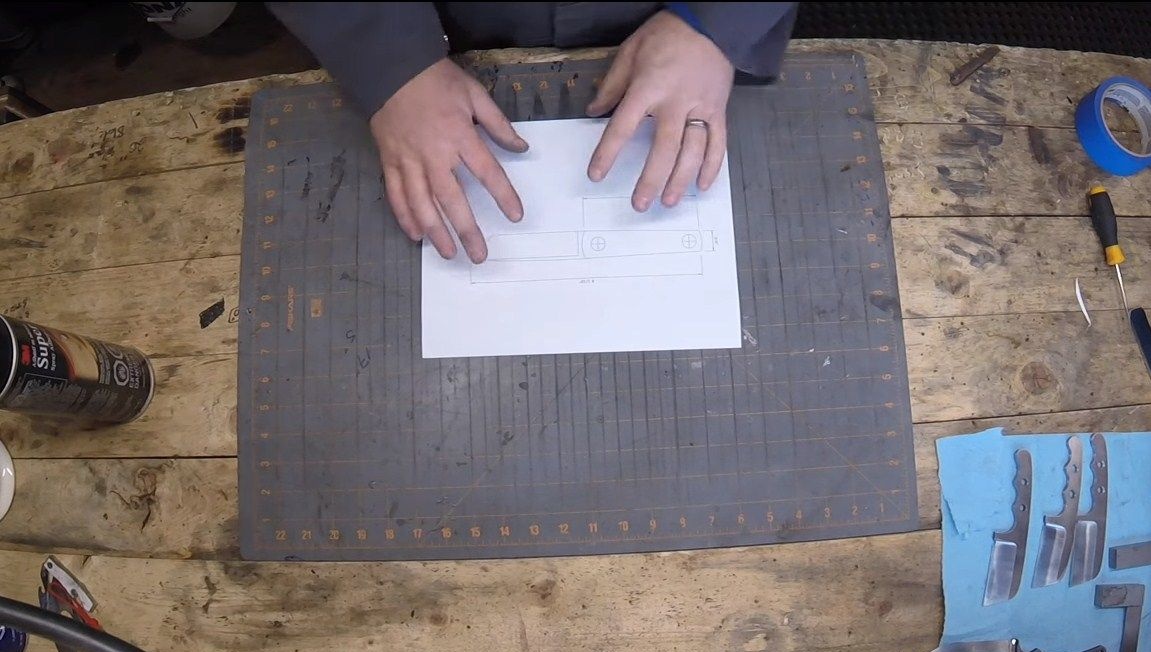
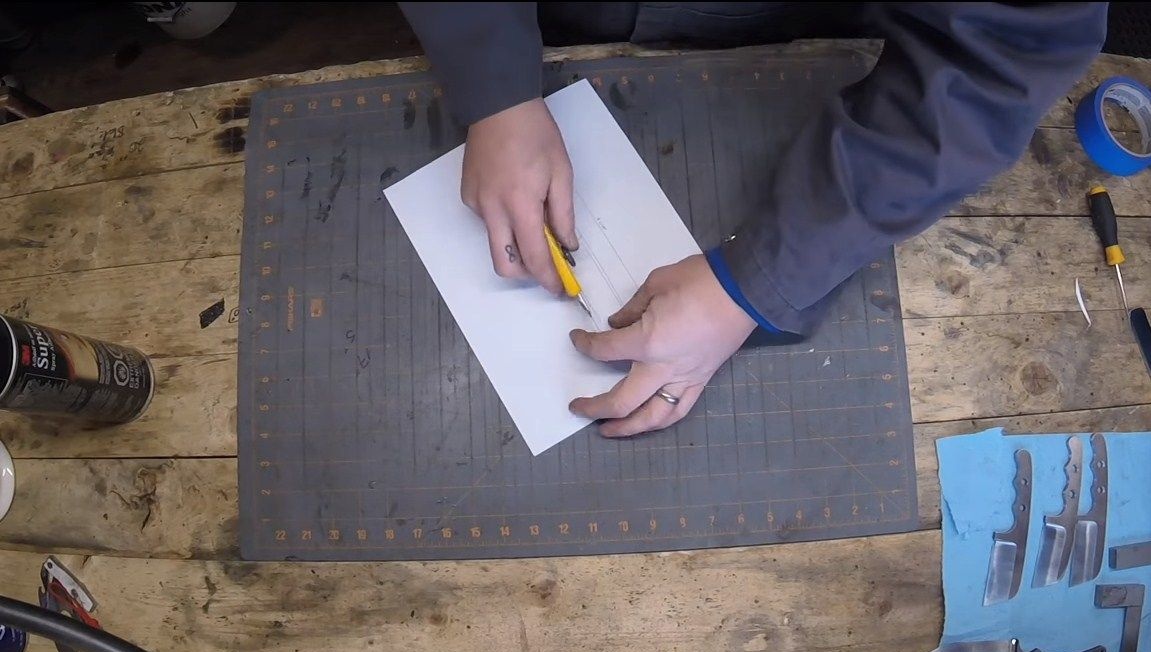
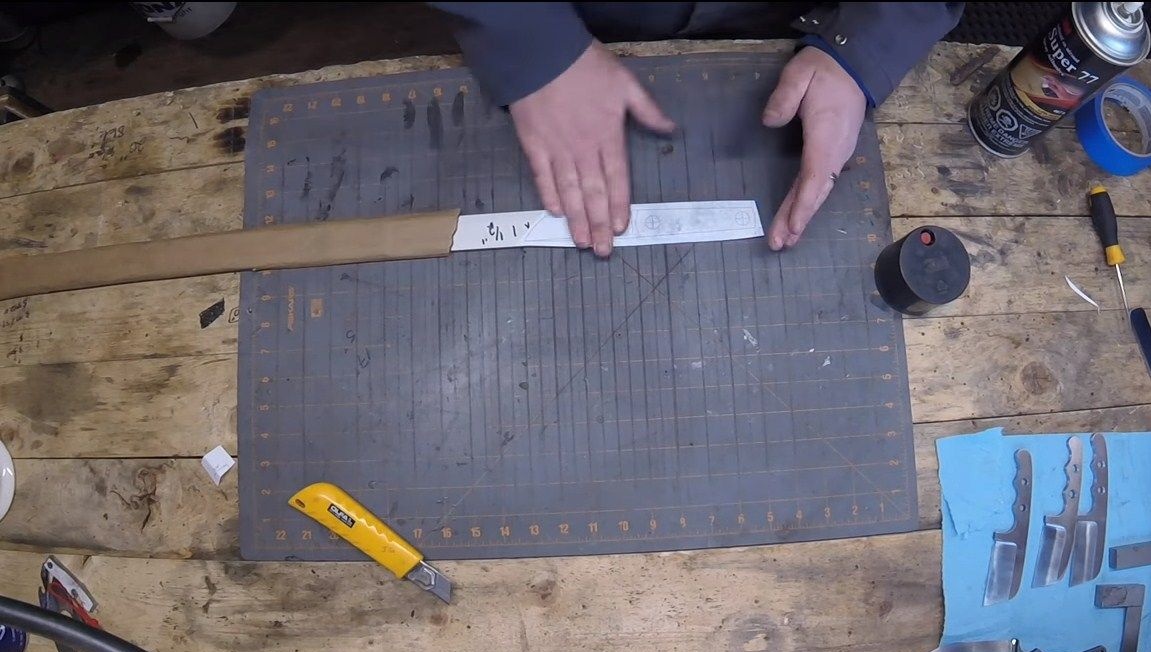
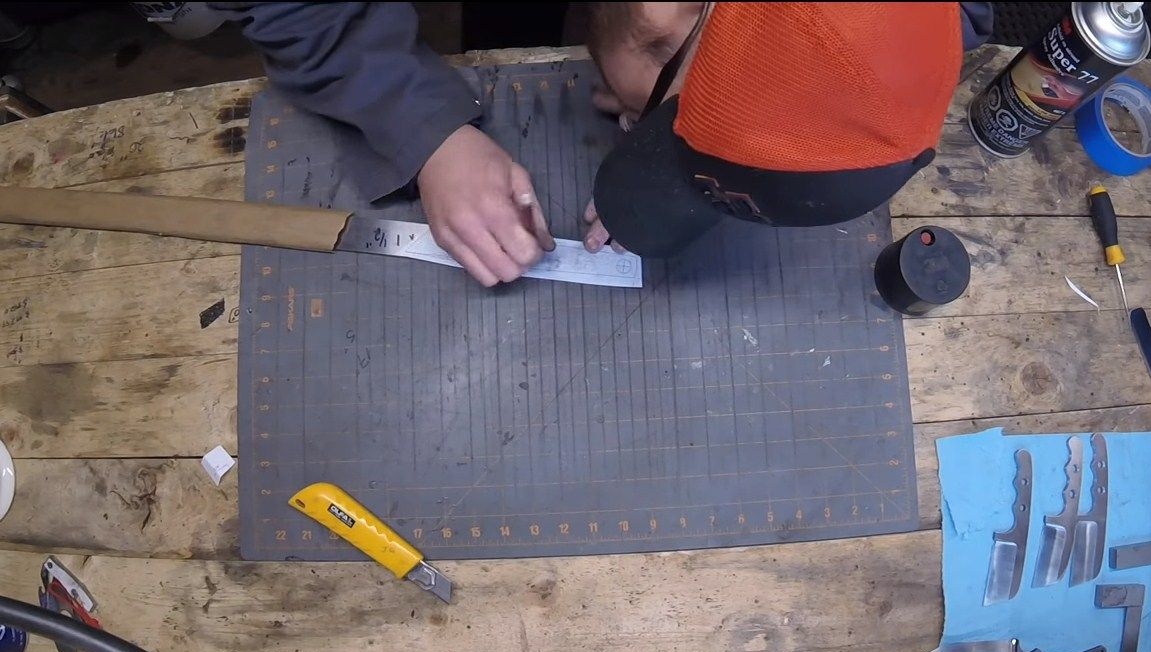
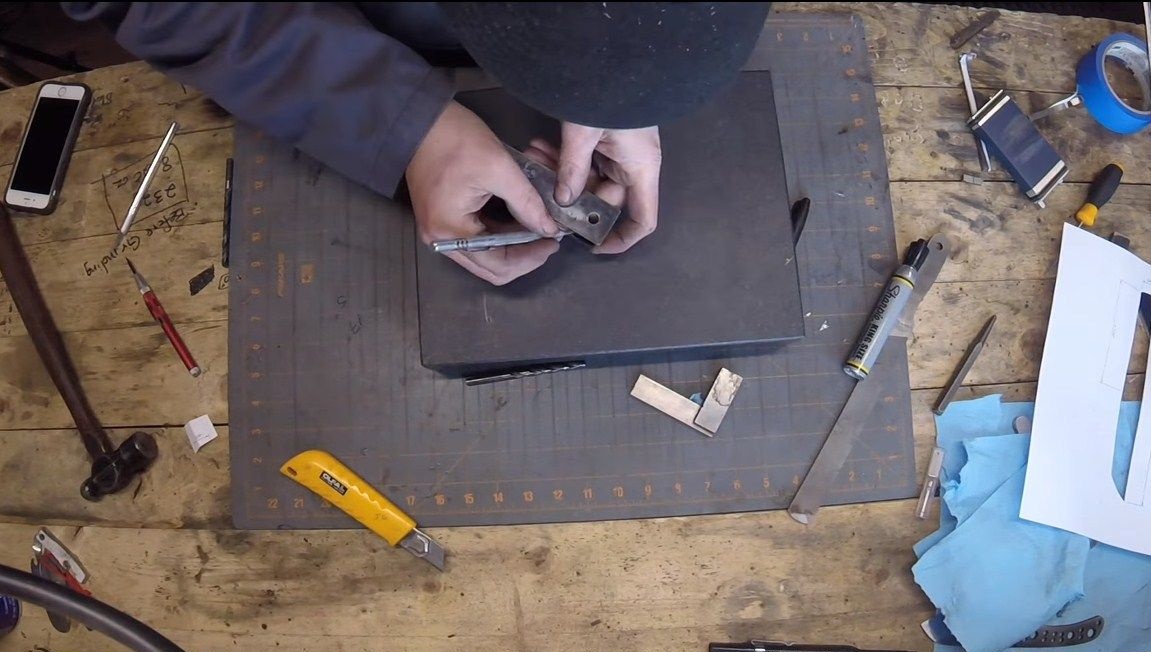
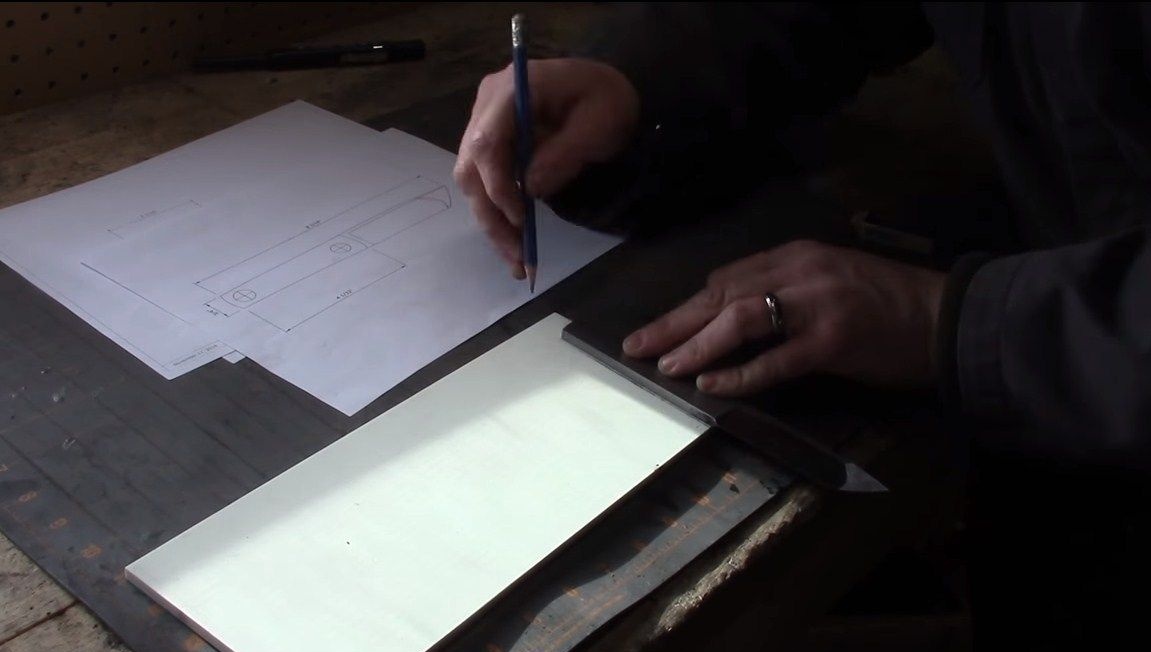
First you need to come up with or find a tanto knife or sword profile that is ready on the Internet. On a computer, it can be reduced to the desired size, and then printed on a printer. The resulting template is cut with scissors and a stationery knife. We glue the paper template to the workpiece, in our case it is steel 01. Immediately mark the holes for holes on the metal so that you can center the template in case of something.
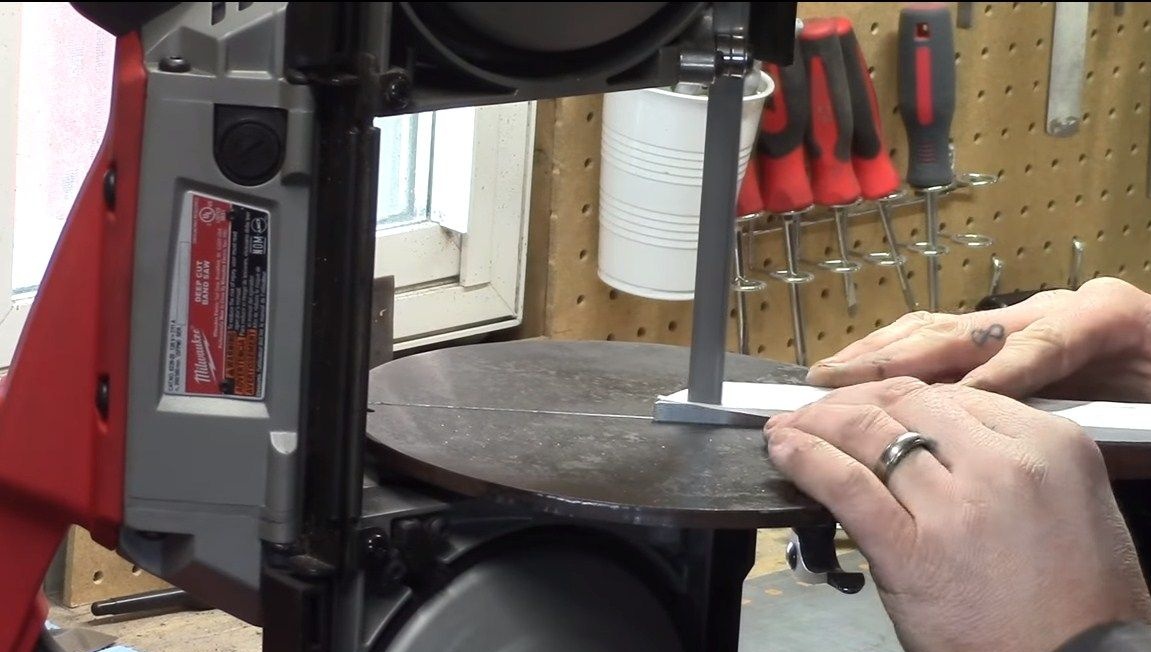
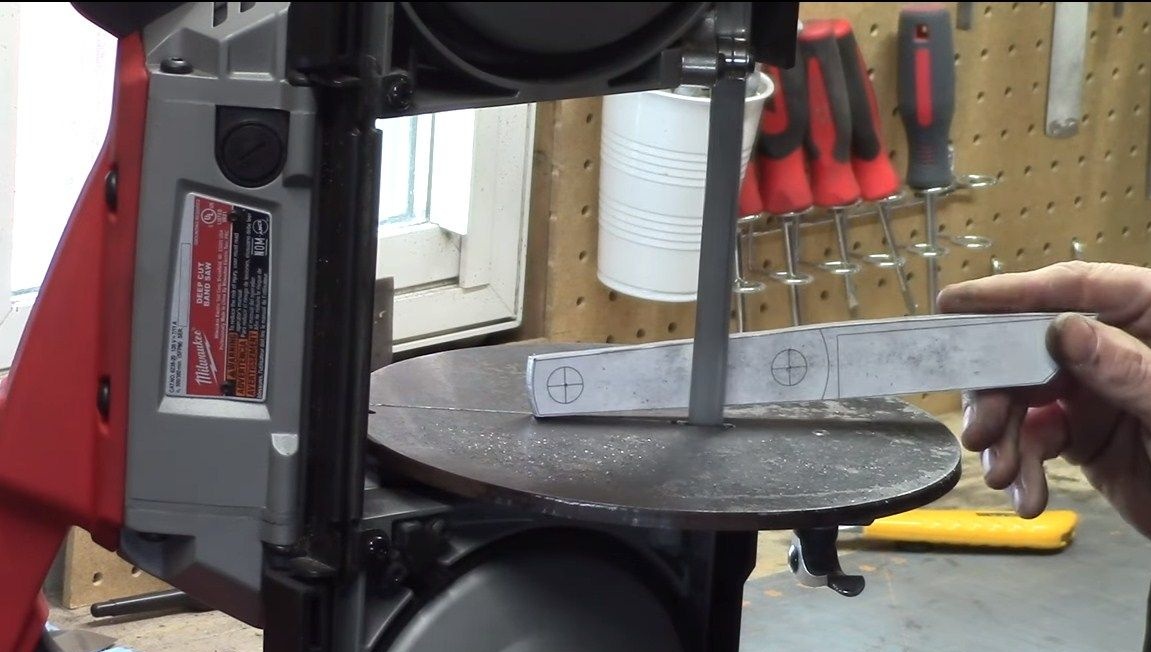
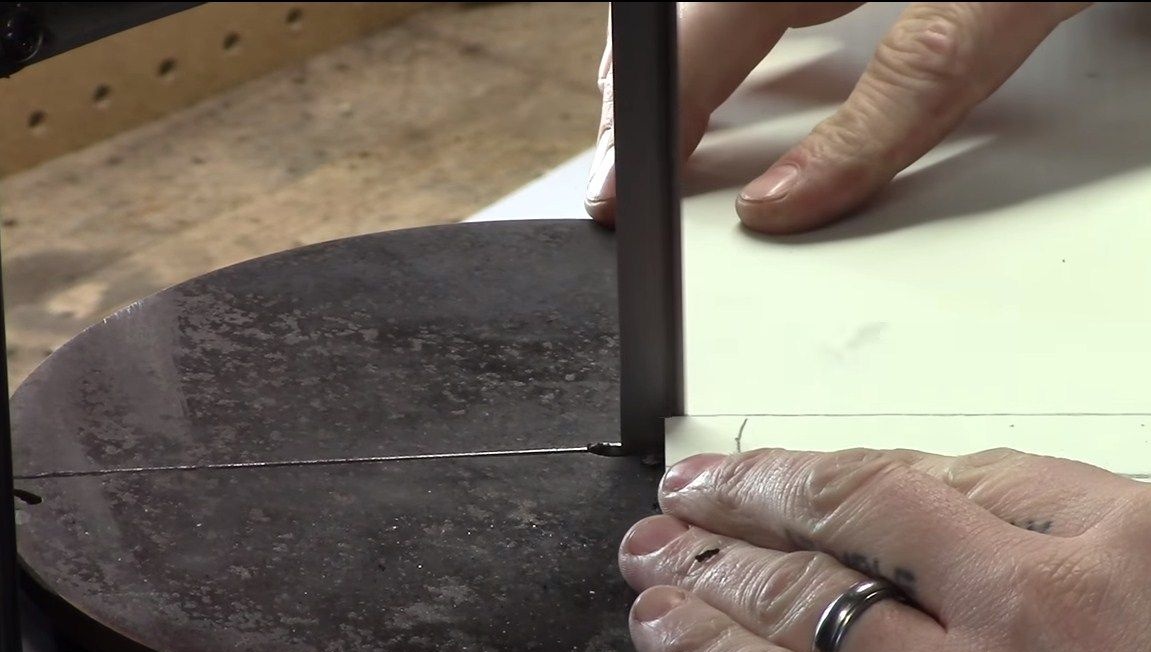
Well, then we cut off everything unnecessary, the author simply and quickly cuts the profile using a band saw. This task can be handled manually using a grinder or a hacksaw for metal.
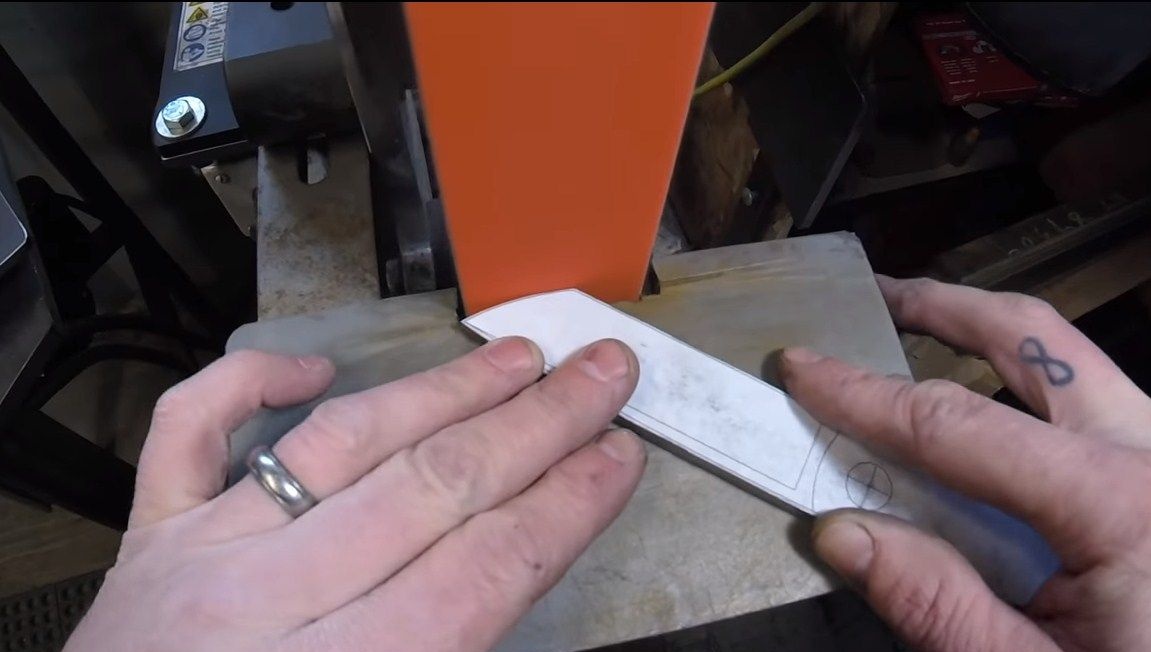
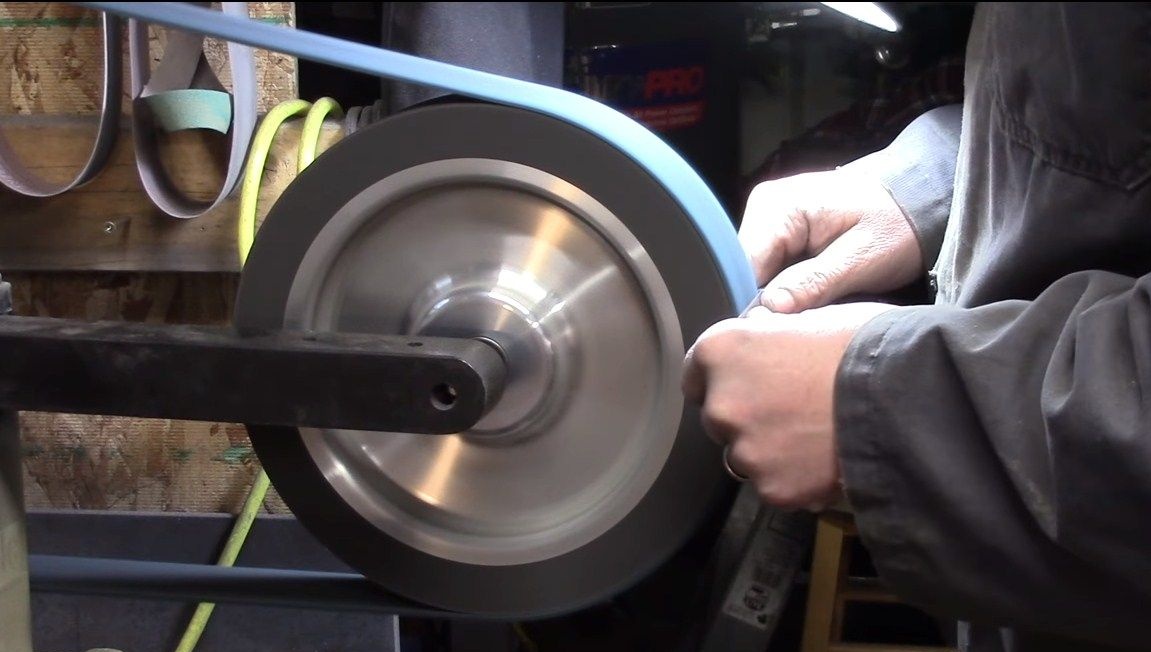
Step Two Grinding
So, our rough profile is ready, now we need to process it along the contour in order to get what we need.A belt sander is very suitable for these purposes. Grind the remaining corners and get the finished blade profile.

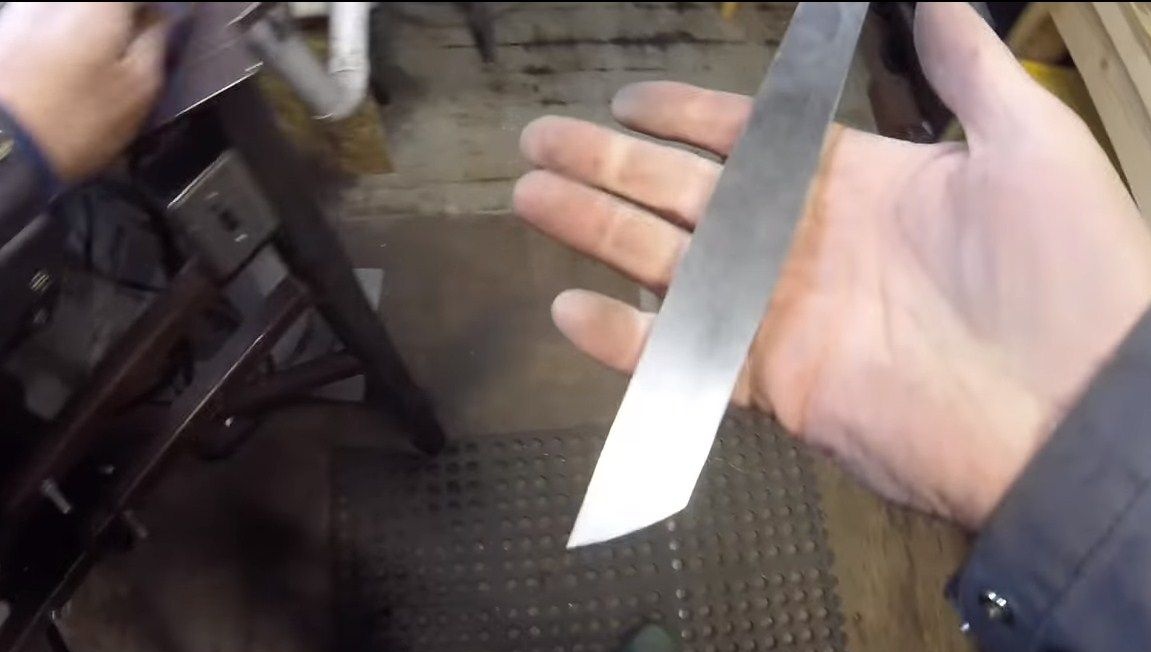
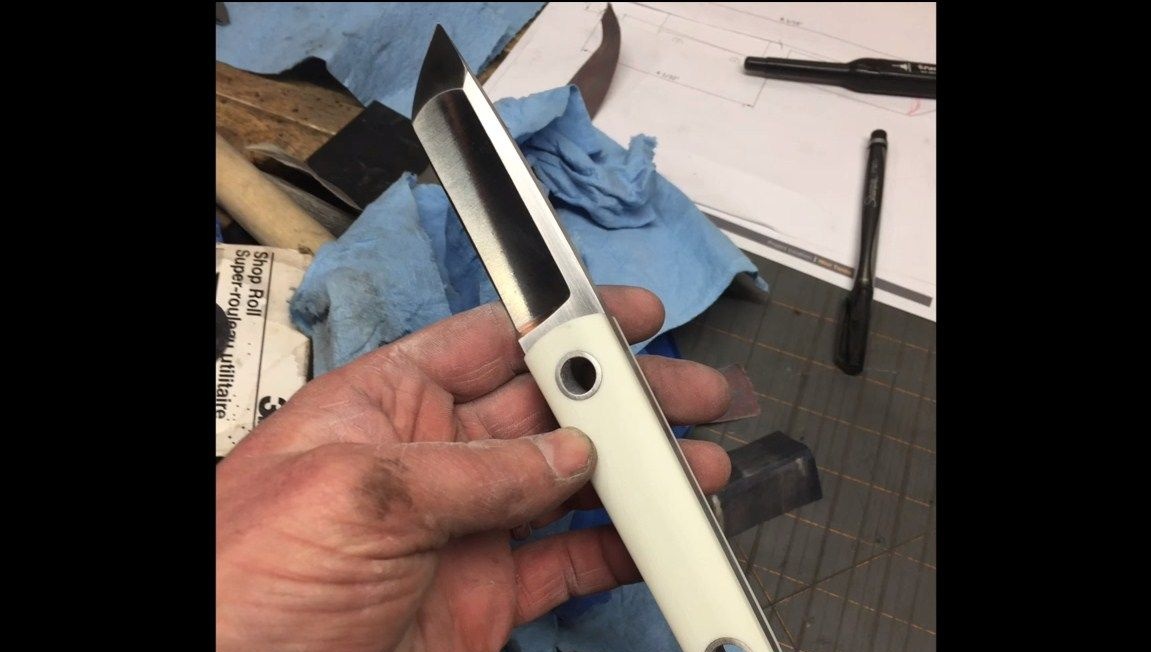
Step Three We form bevels
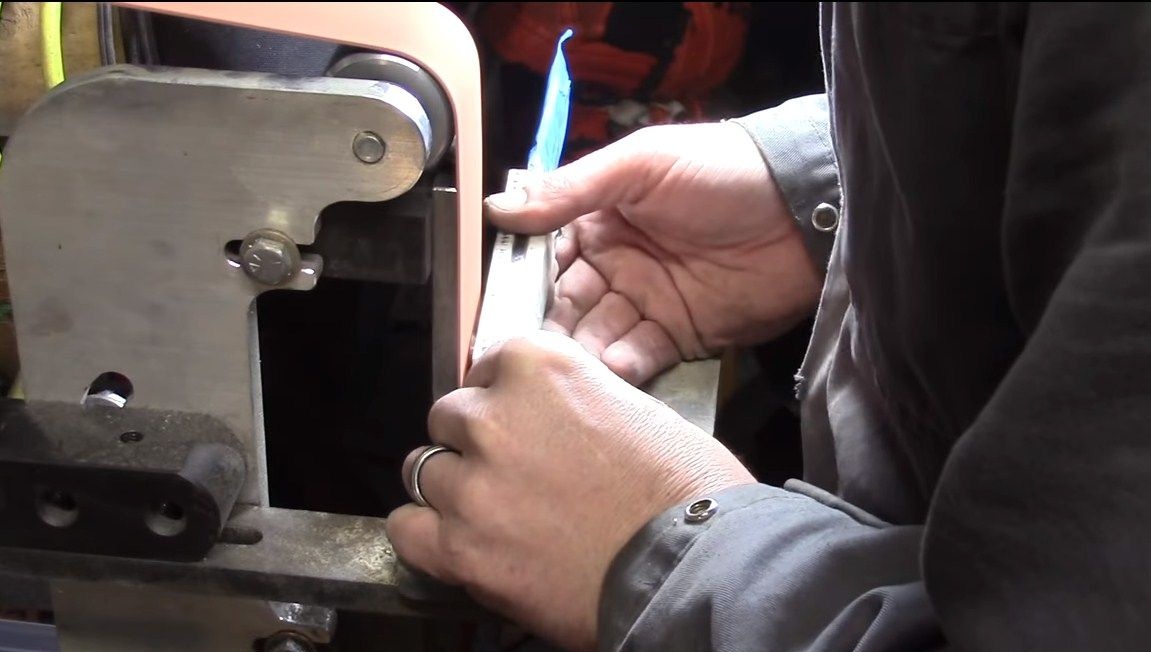
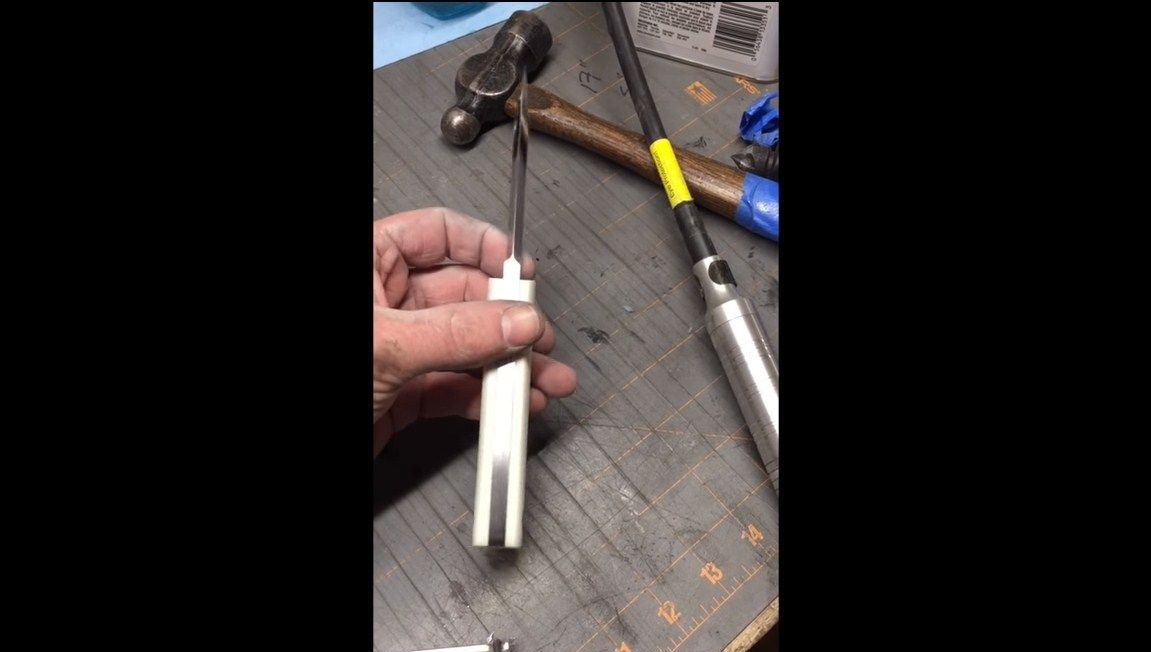
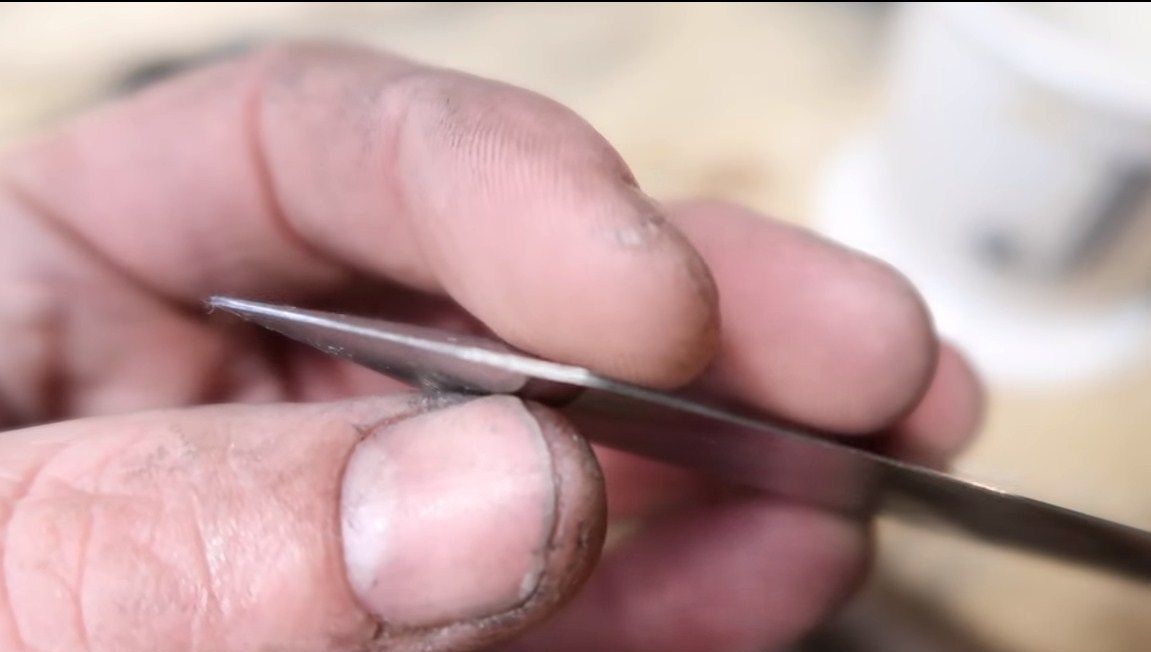
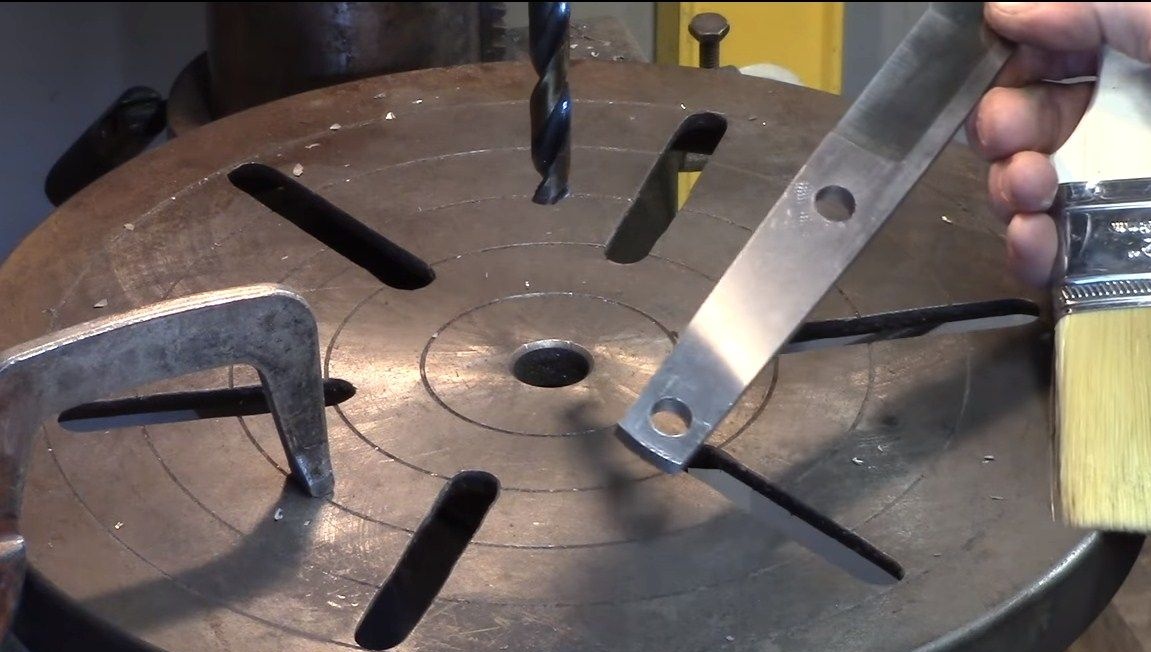
This is the most crucial moment in the manufacture of a knife. The bevels of these types of knives are quite wide, the blade is gradually gaining thickness. Thanks to this profile, the blade is very sharp, like a razor. First, we need to mark everything up, take a black marker and paint over the place where the blade will be. Next, we take a drill of exactly the same thickness as our workpiece and draw a center line on an even plane. Now we will have a shiny line in the center, and all the black that remains, we need to grind.

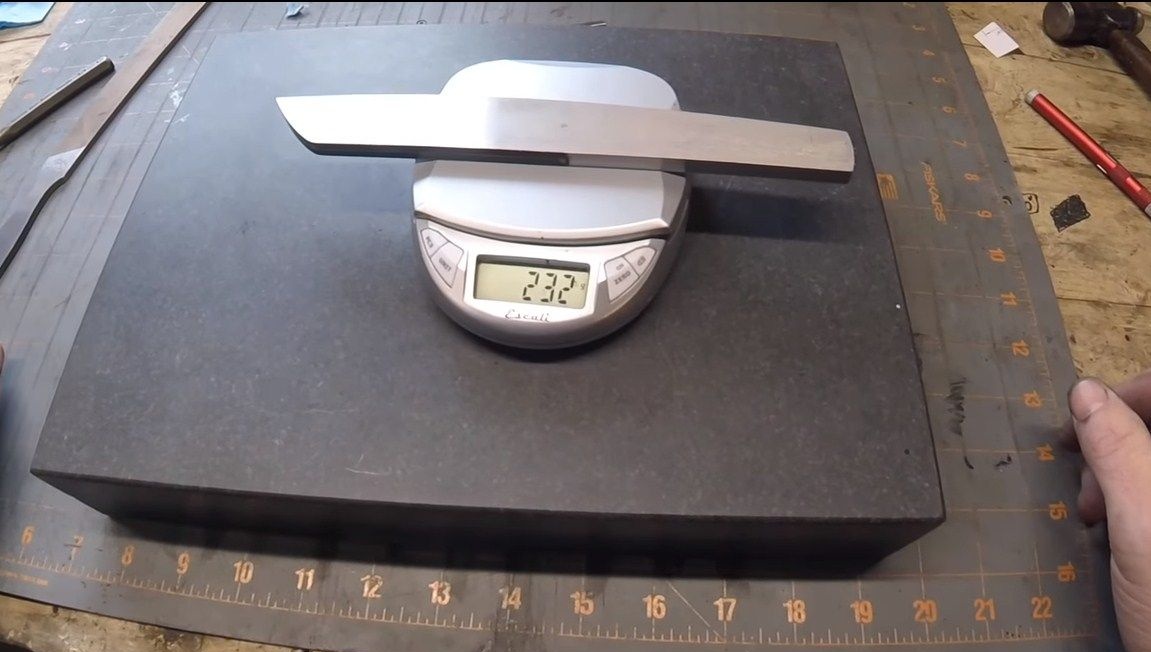


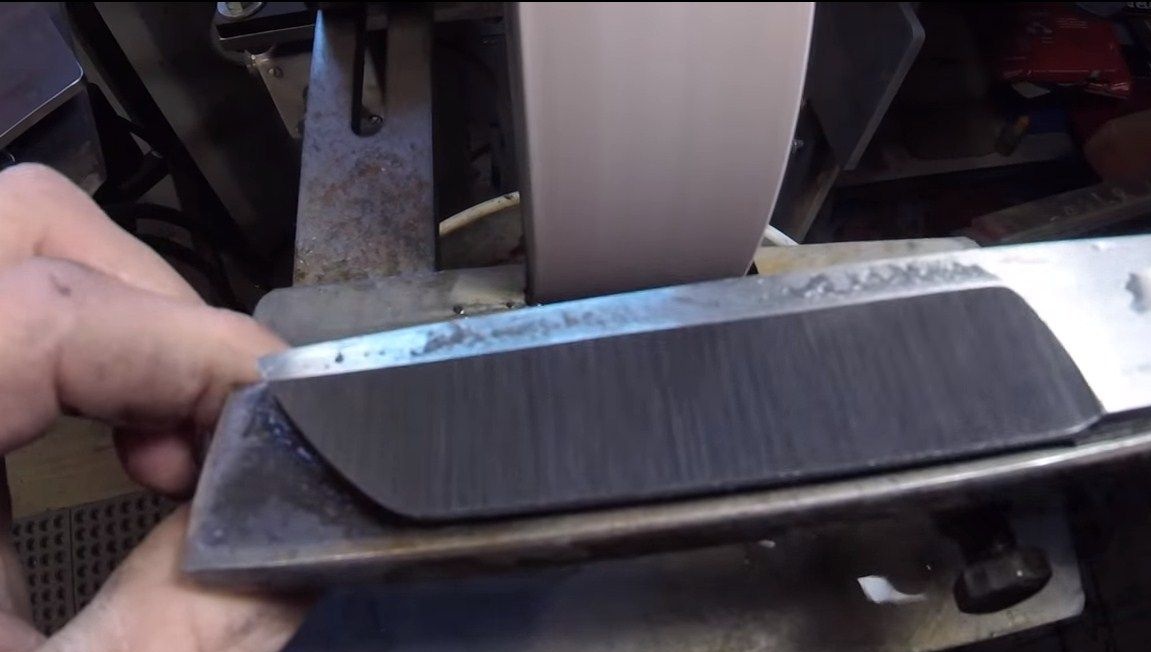
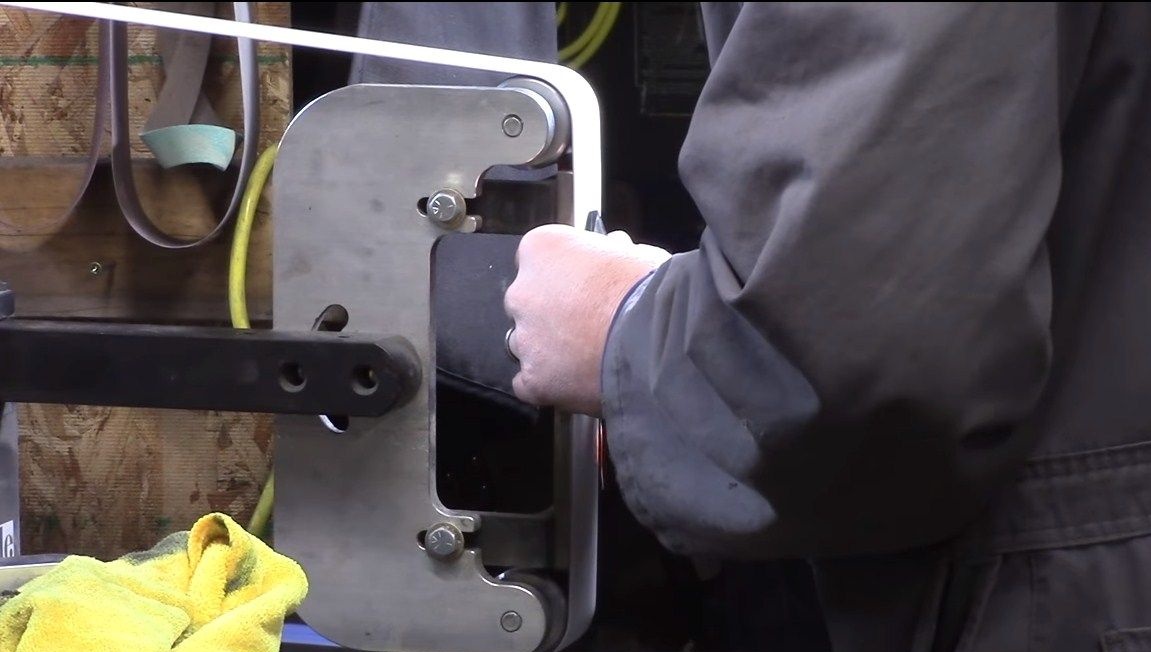
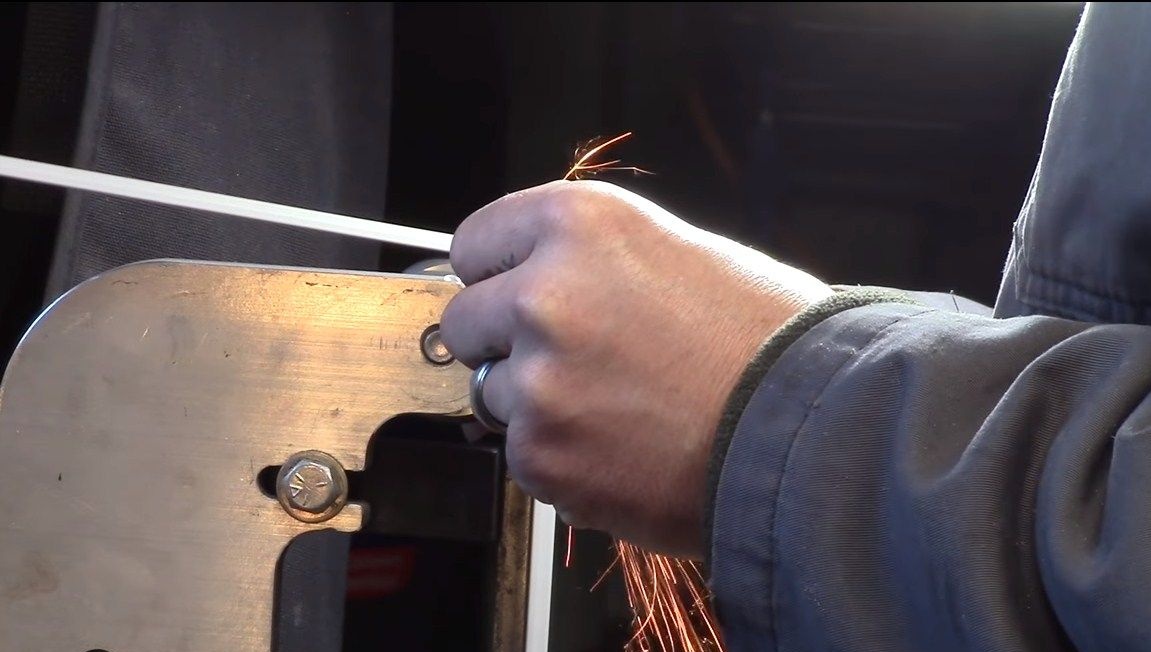
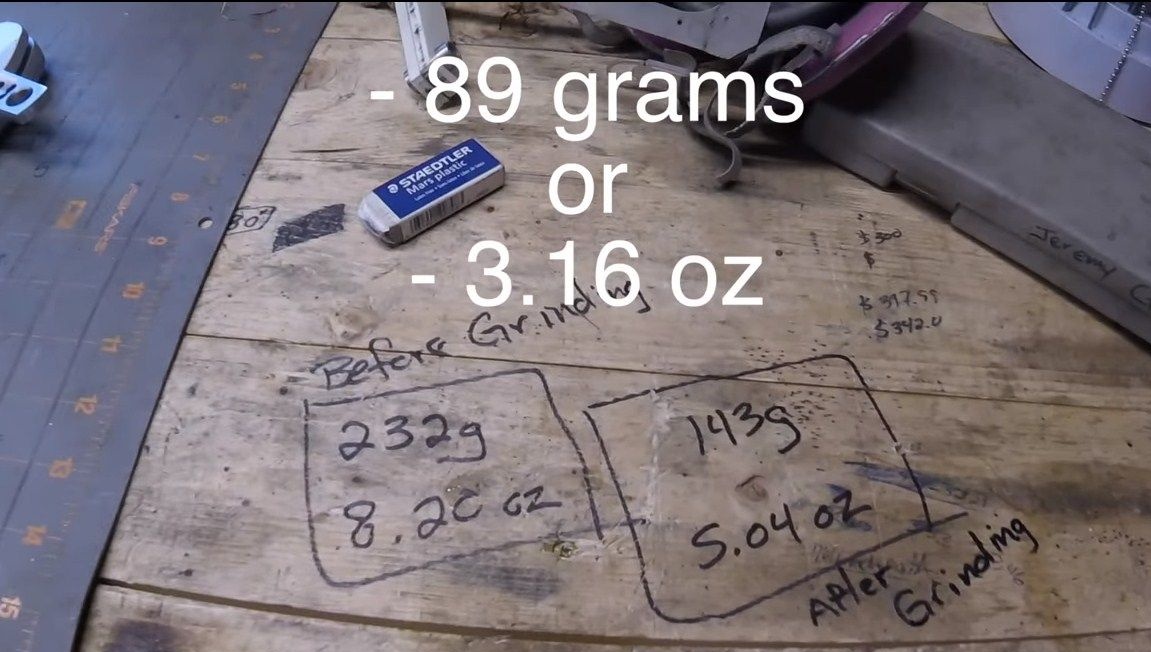
To create bevels, the author has a special clamp that allows you to form the desired profile. First, work with a tape with large grain, remove the base metal, and then go through the smaller tape. Before grinding work, the author weighed the workpiece, its weight was 232 grams.
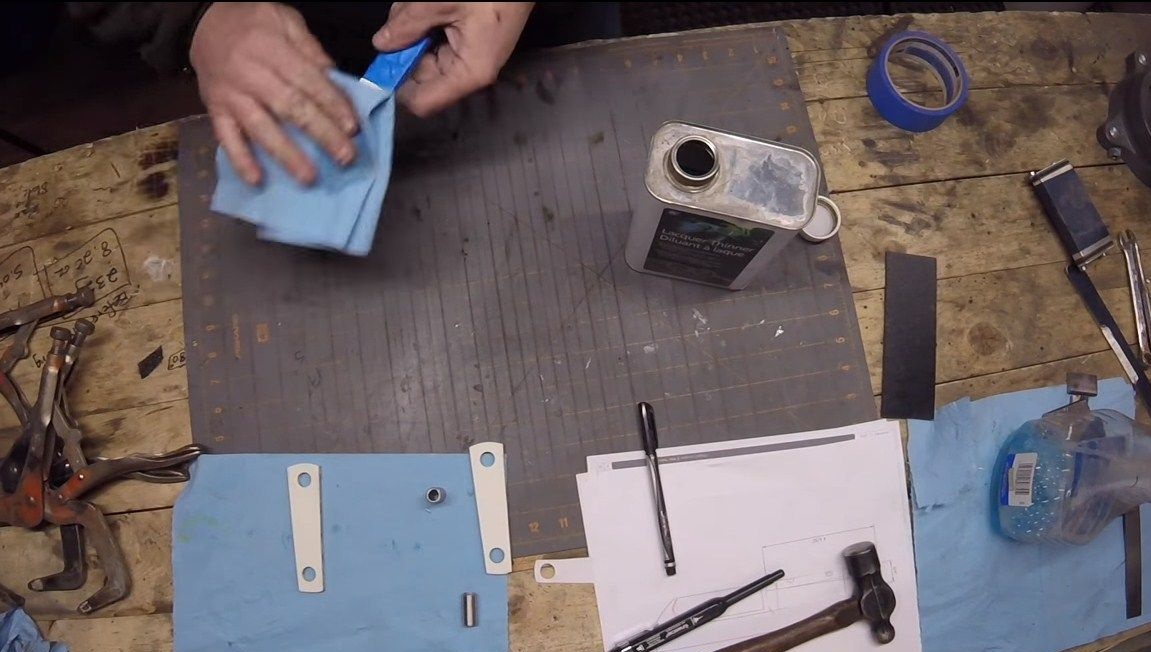
Step Four We prepare the pads
For linings, you can use various materials, most often this tree. But our author prefers to use synthetic materials such as plastic. They are good because they do not require subsequent impregnation, are durable, are not afraid of moisture, and so on. We attach the shank to the material and cut out two overlays.
Step Five Drill holes
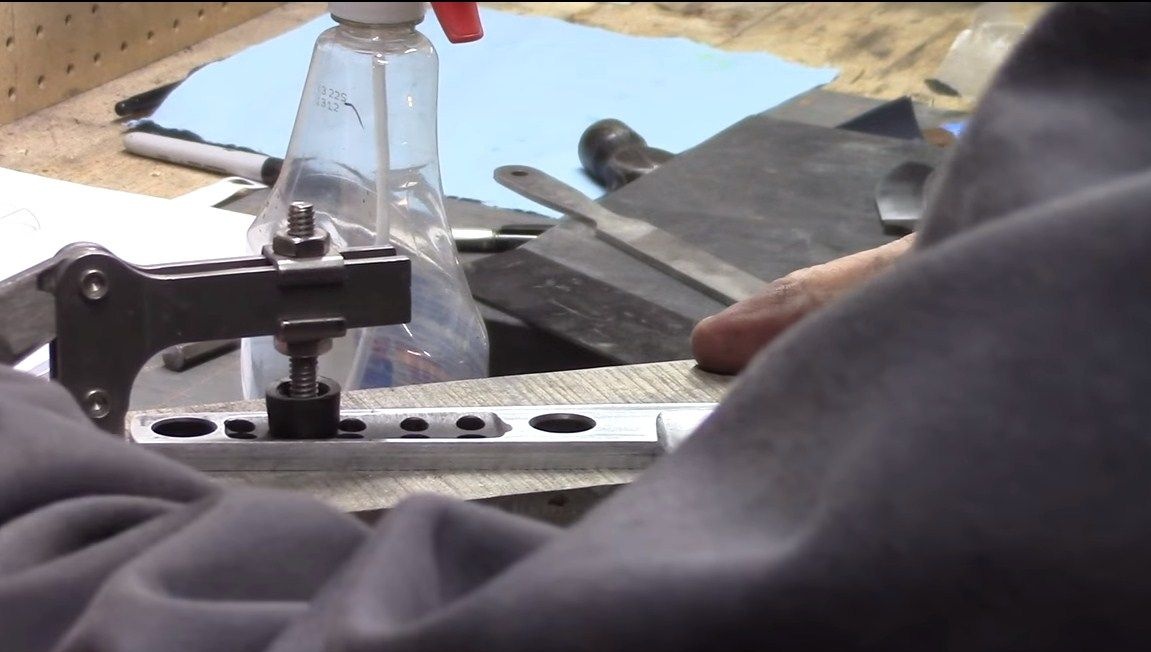
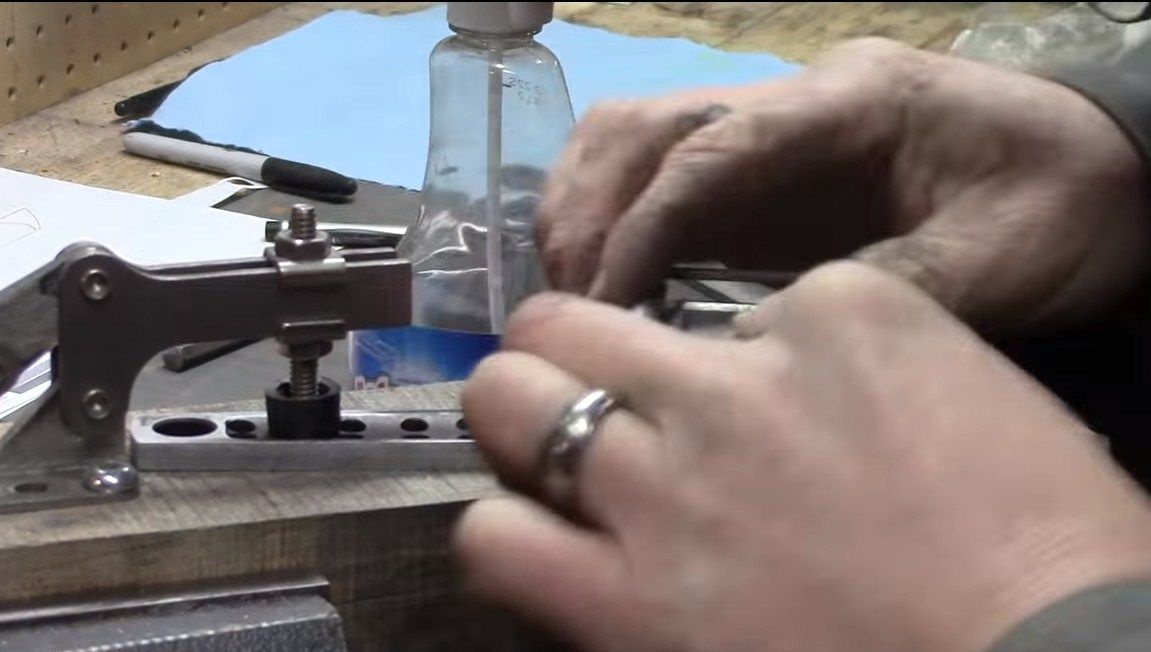
Next, take the blade and drill two holes for the pins. The author’s pins are quite large in diameter; he used tubes. First, drill holes of small diameter, and then drill them to the desired.
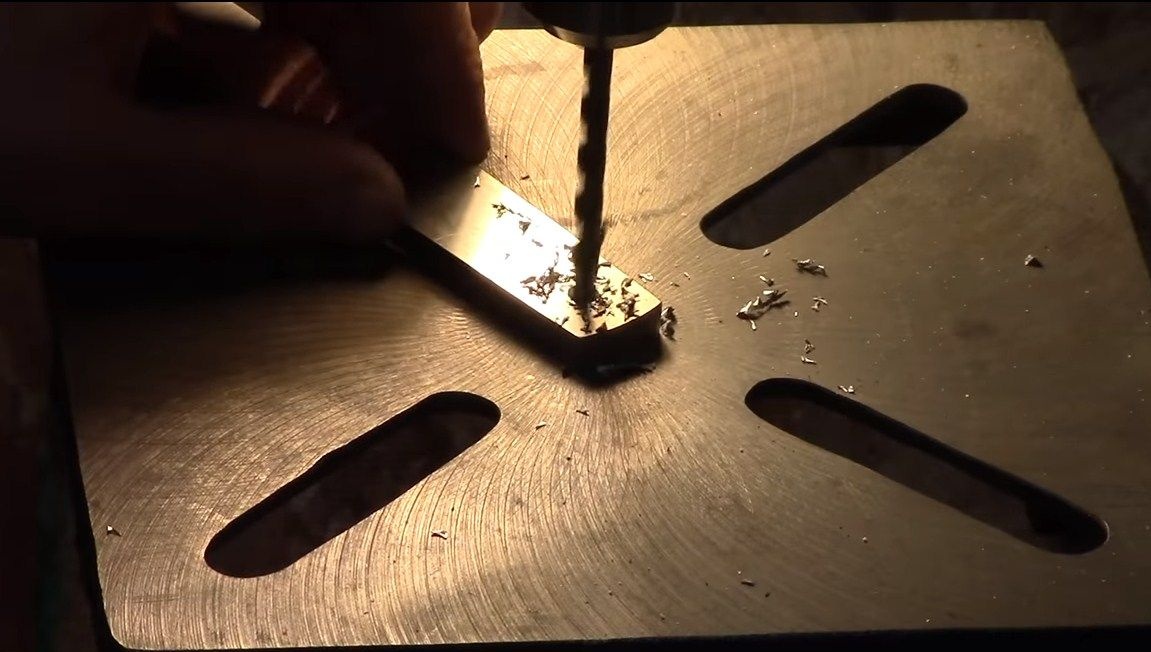
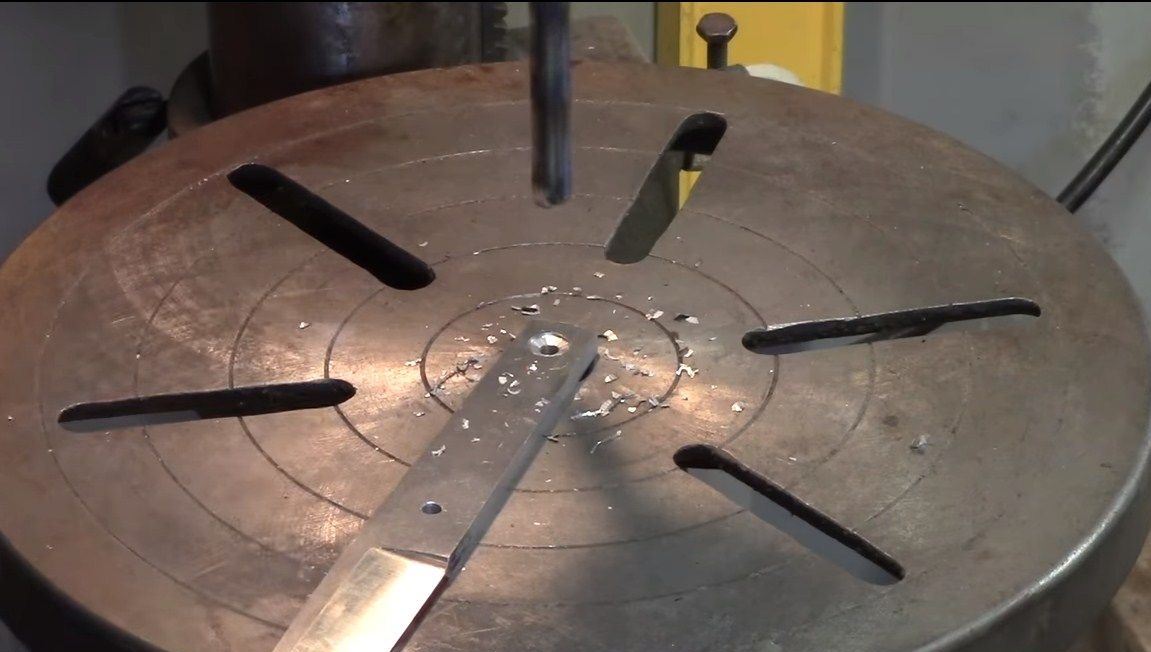
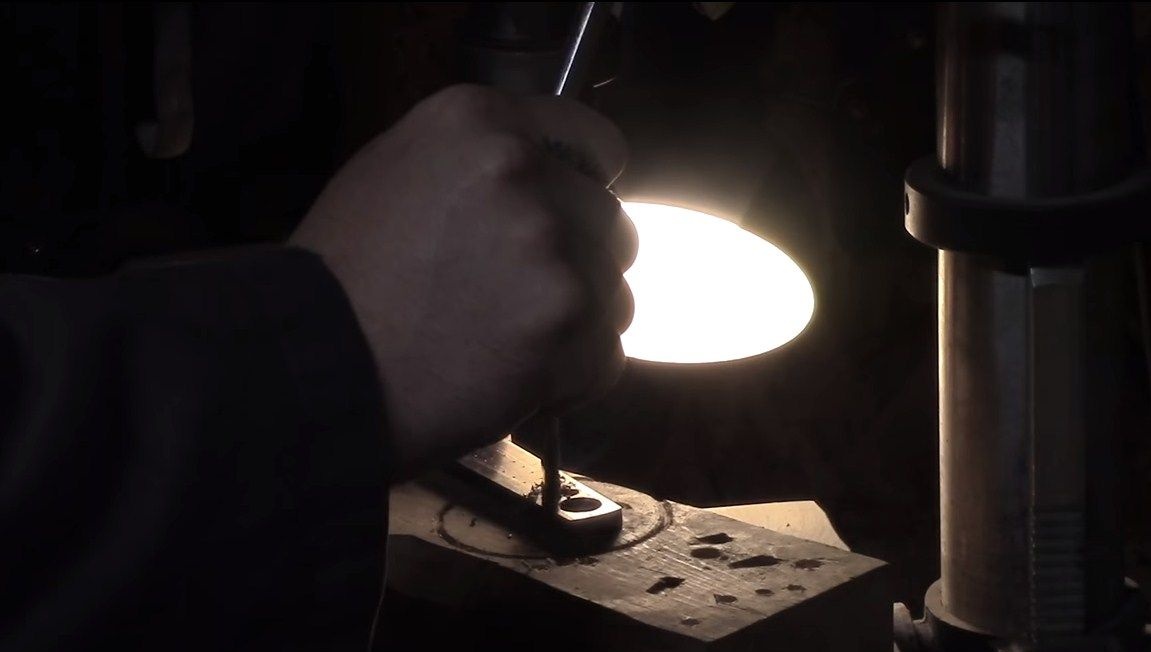
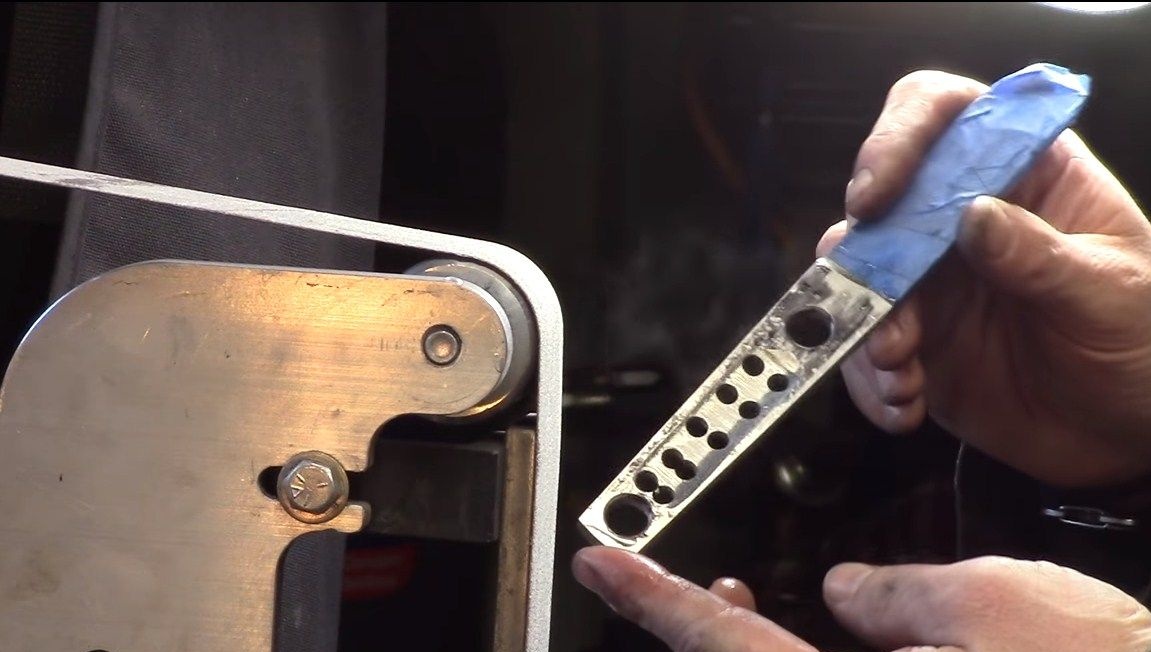

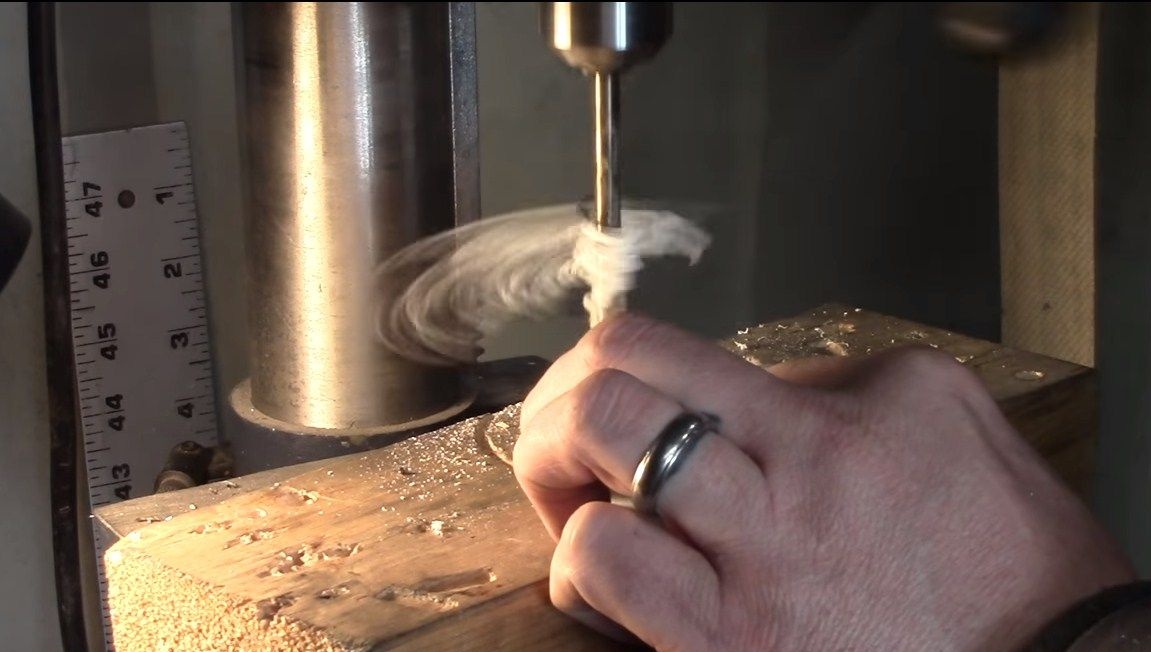
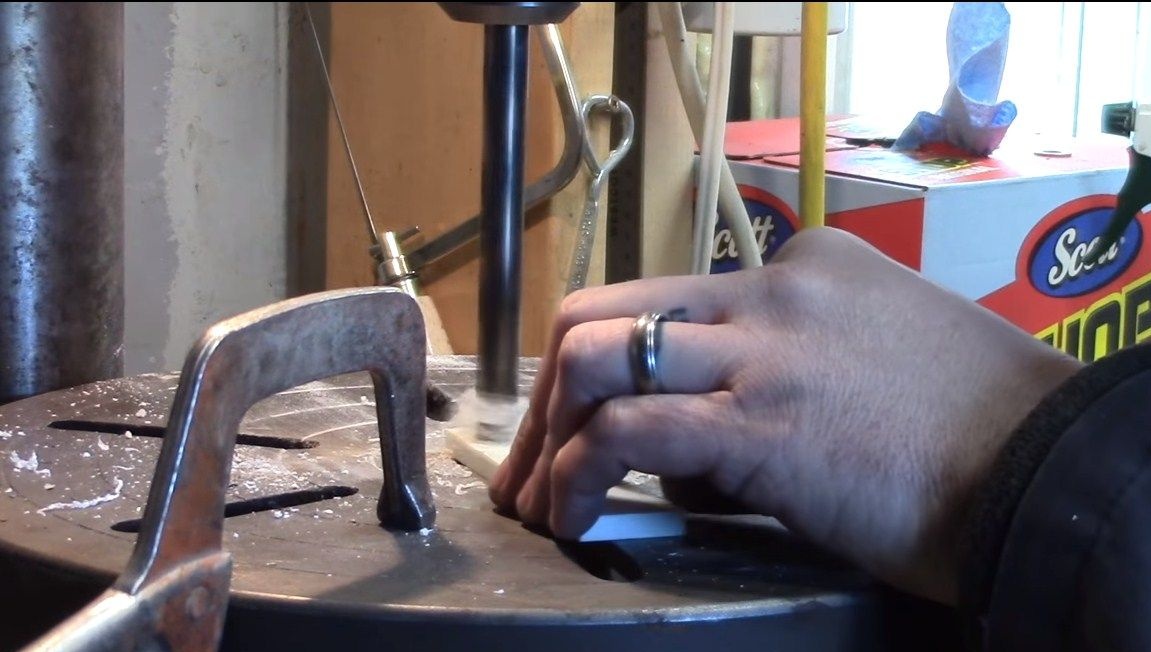
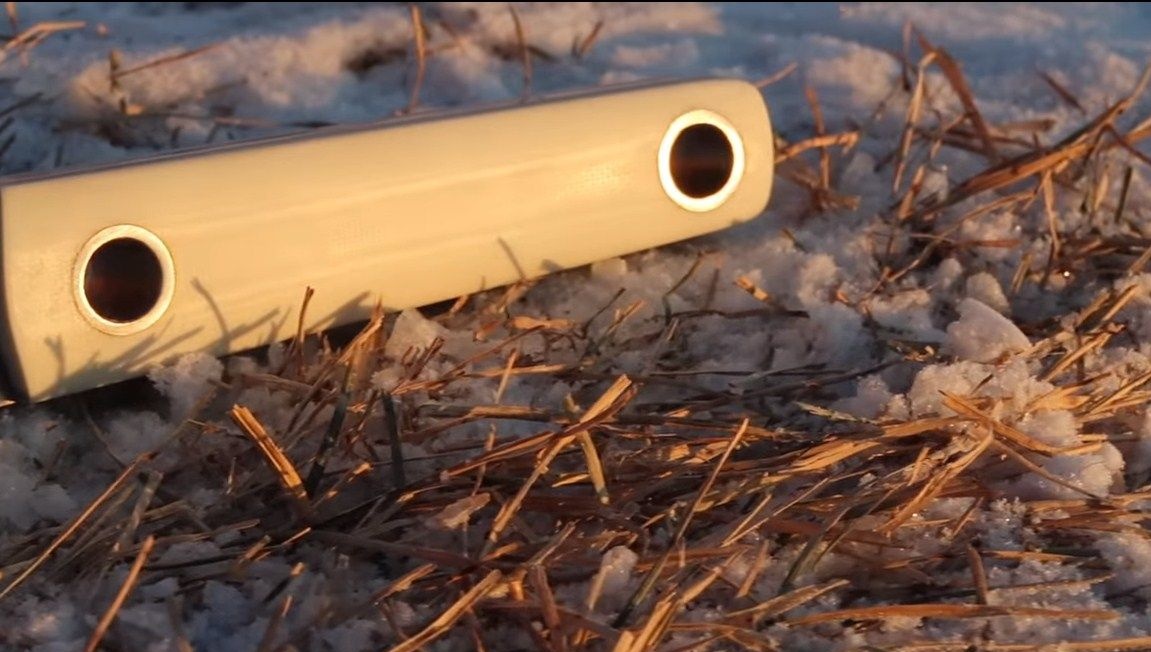
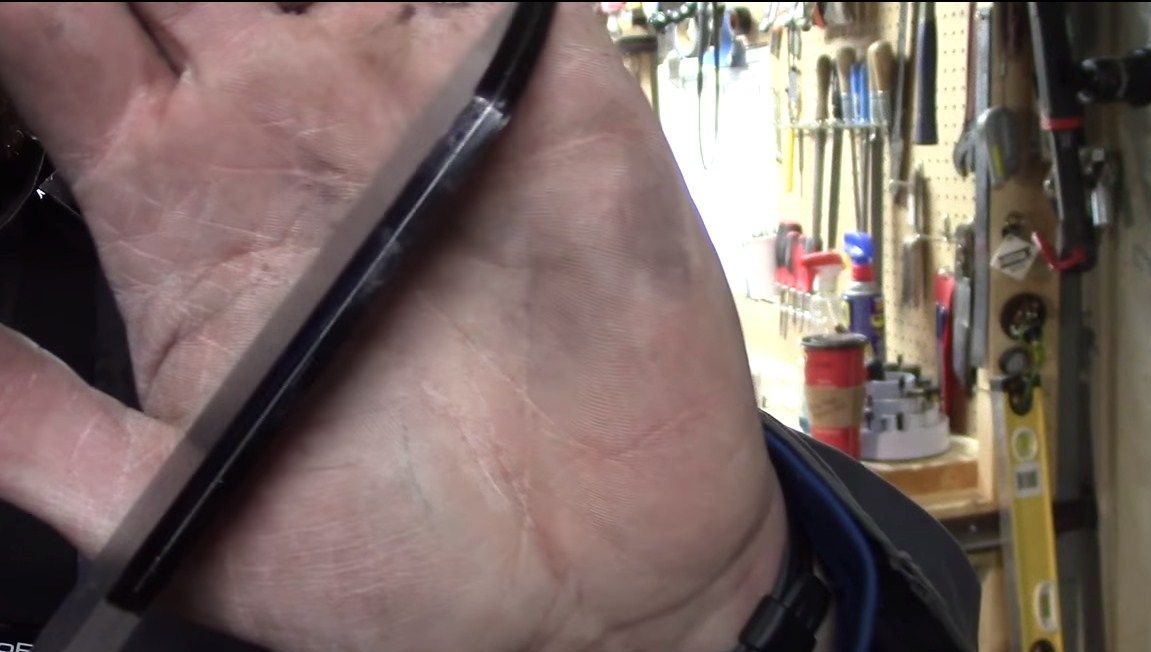
In addition, the author drills 10 more holes of smaller diameter. These holes are needed in order to facilitate the handle, and even more so glued on the lining. The peculiarity of this knife is that the blade itself must be heavier than the handle, this will allow you to correctly apply force when cutting. Before such work, it is better to wind up the blade with electrical tape, so as not to get hurt.
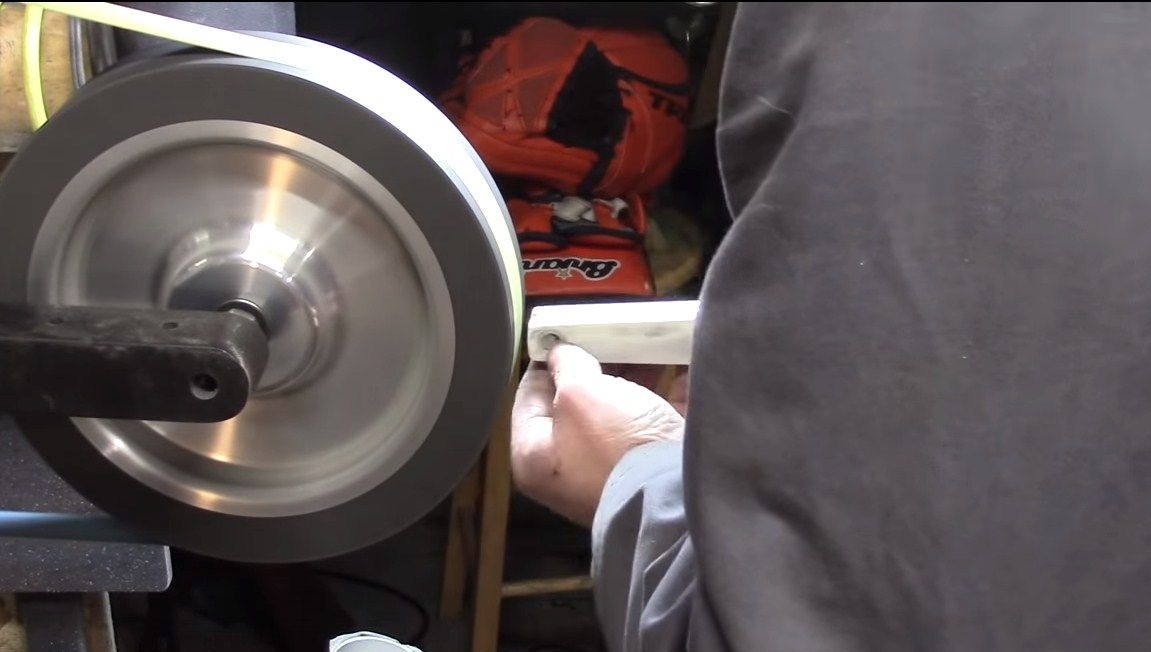
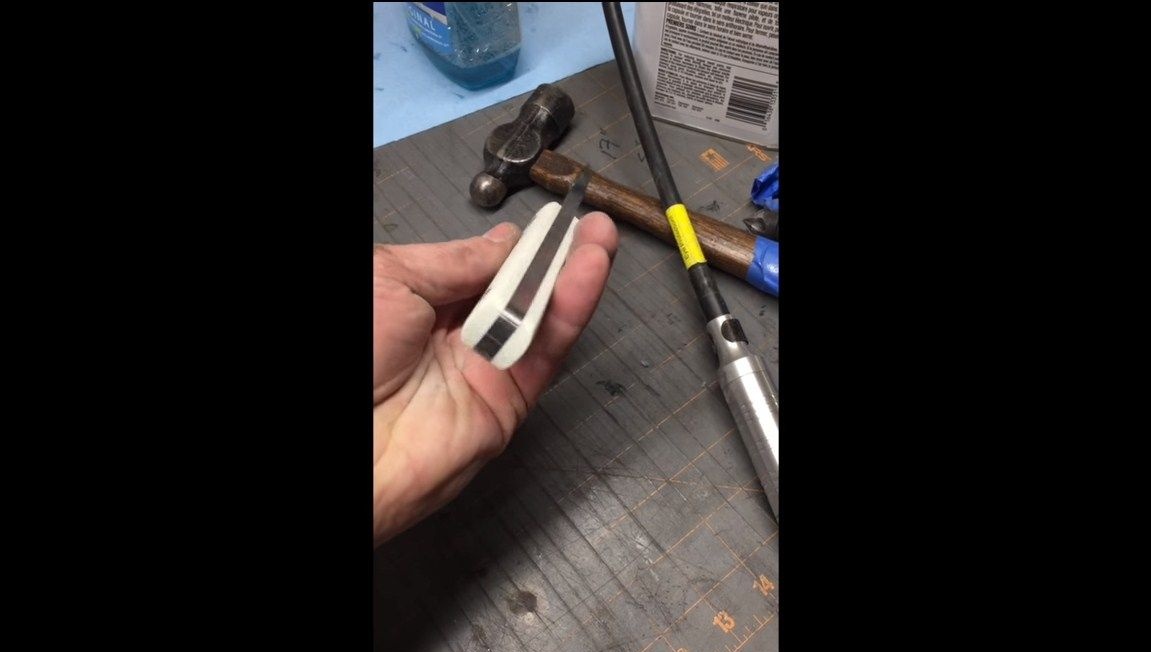
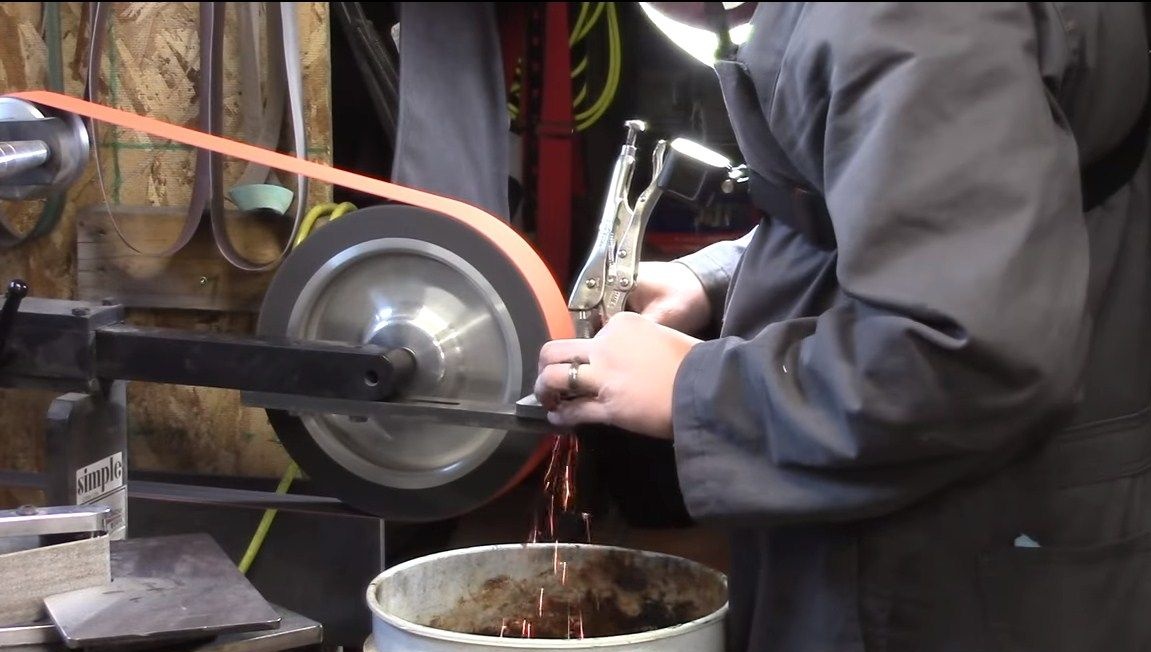
To make the handle even easier, the author polishes it on a belt sander. He makes a groove along the handle. Thanks to all these drilling and grinding manipulations, the blade has lost 89 grams.
Step Six Quenching and vacation
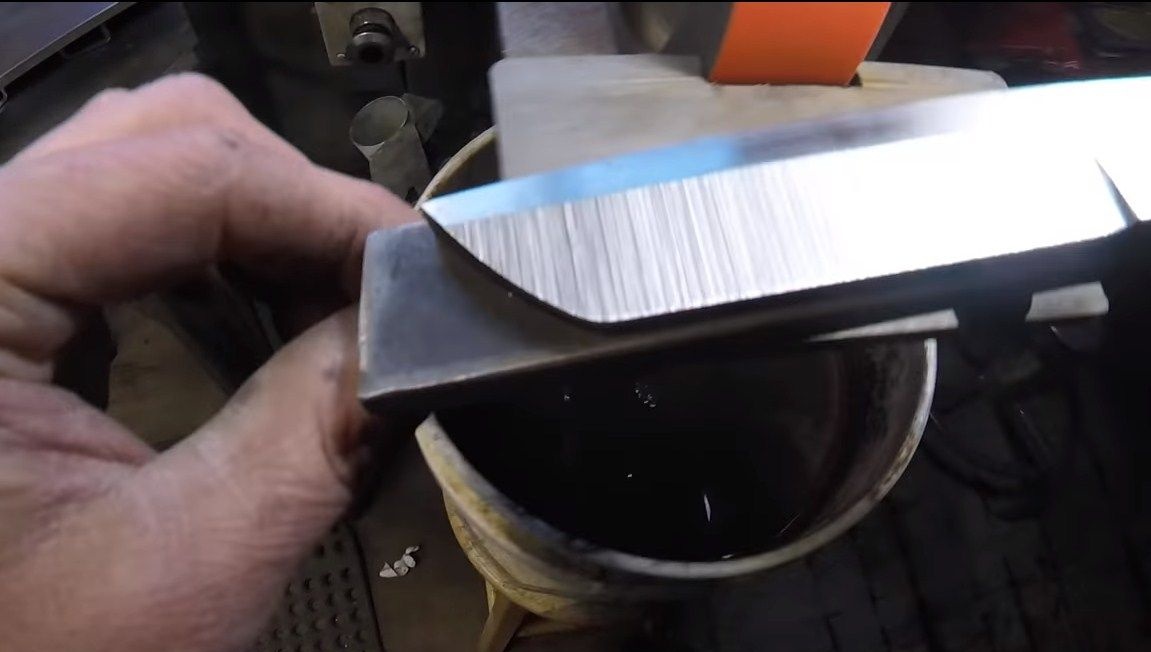
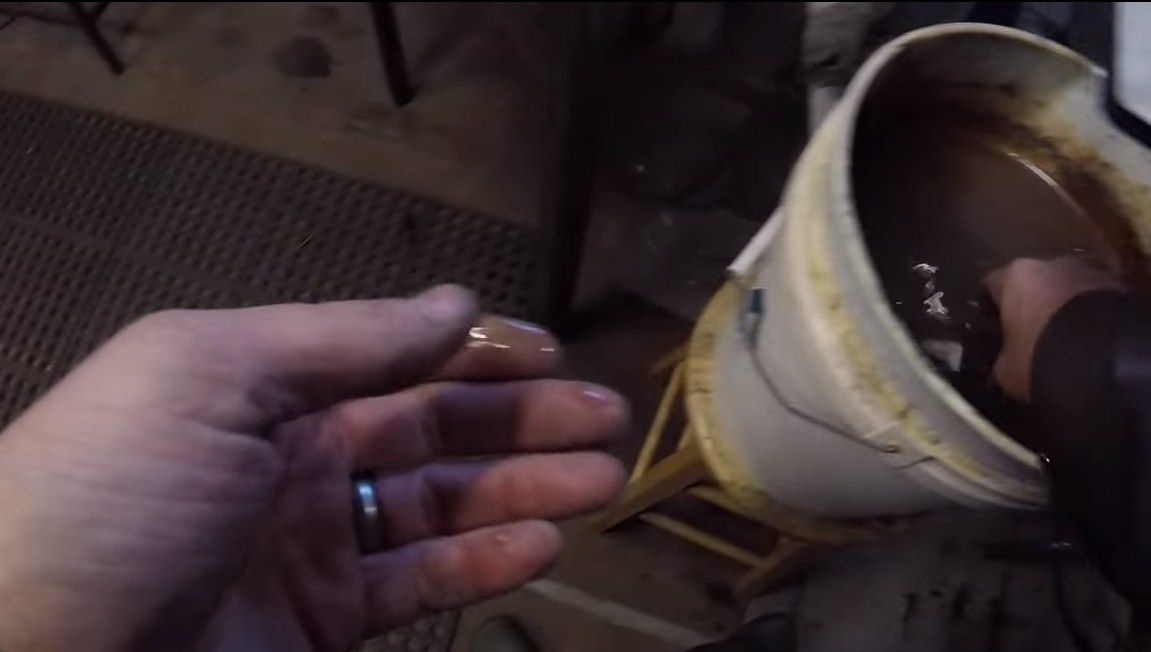
When the blade is completely ready, we will temper it. To do this, use a blacksmith furnace or gas burner. We bring the blade to a yellowish glow; a magnet should not be attracted to it in this state. Well, then we cool the blade in oil, this is how steel 01 is tempered. After hardening, the blade should not be taken with a file.
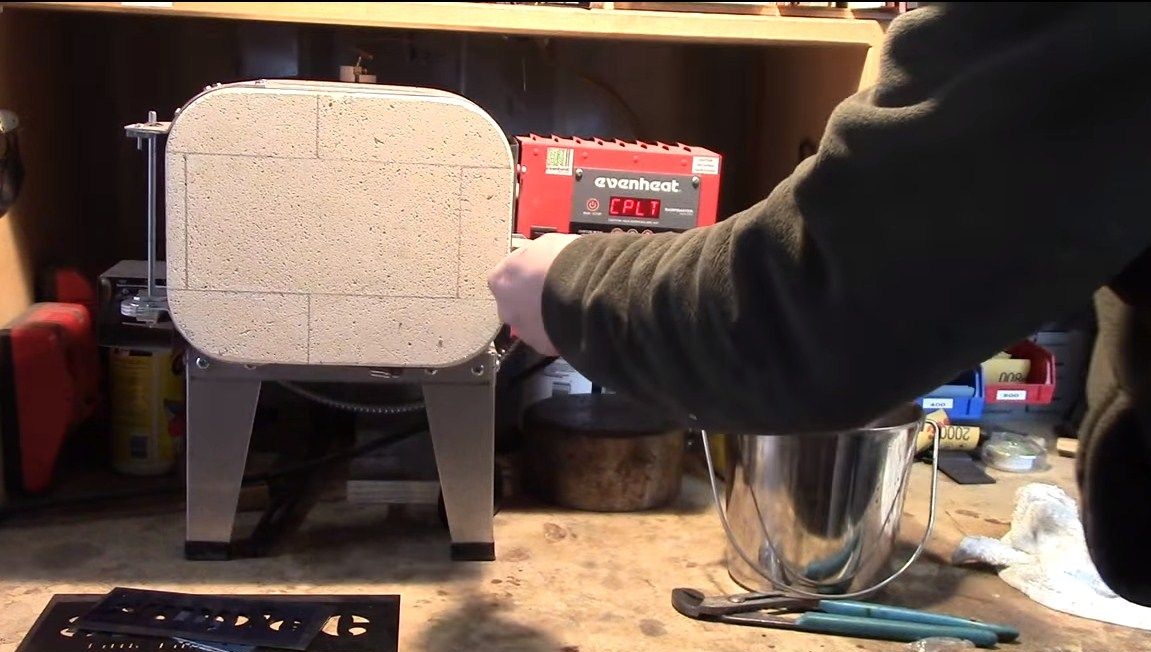
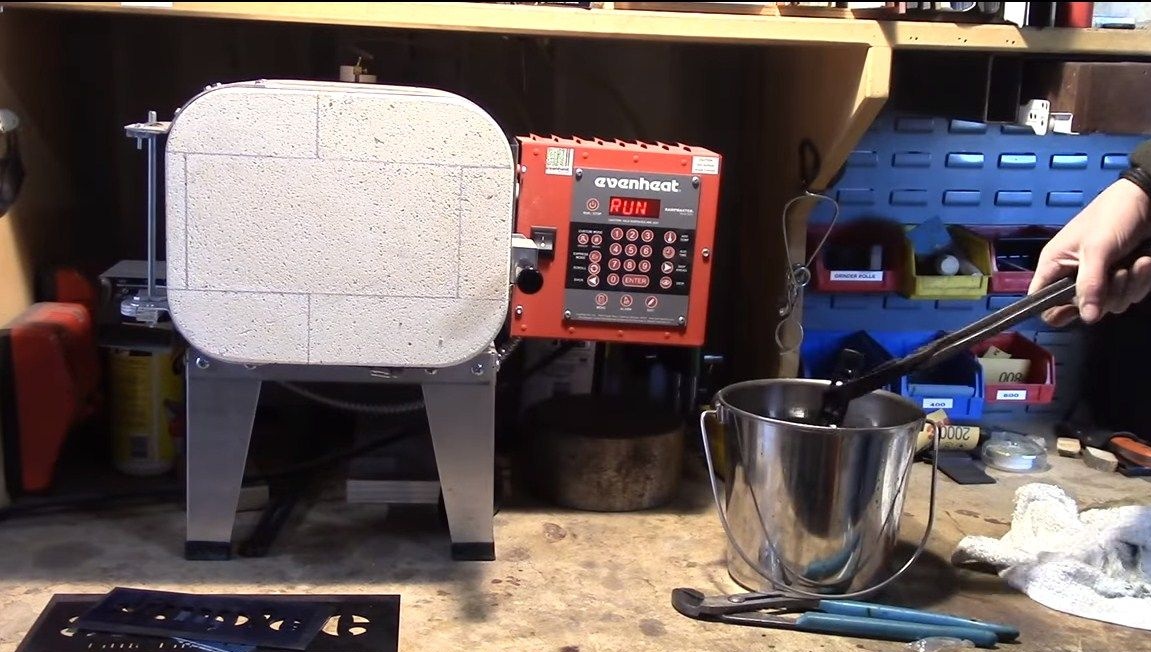
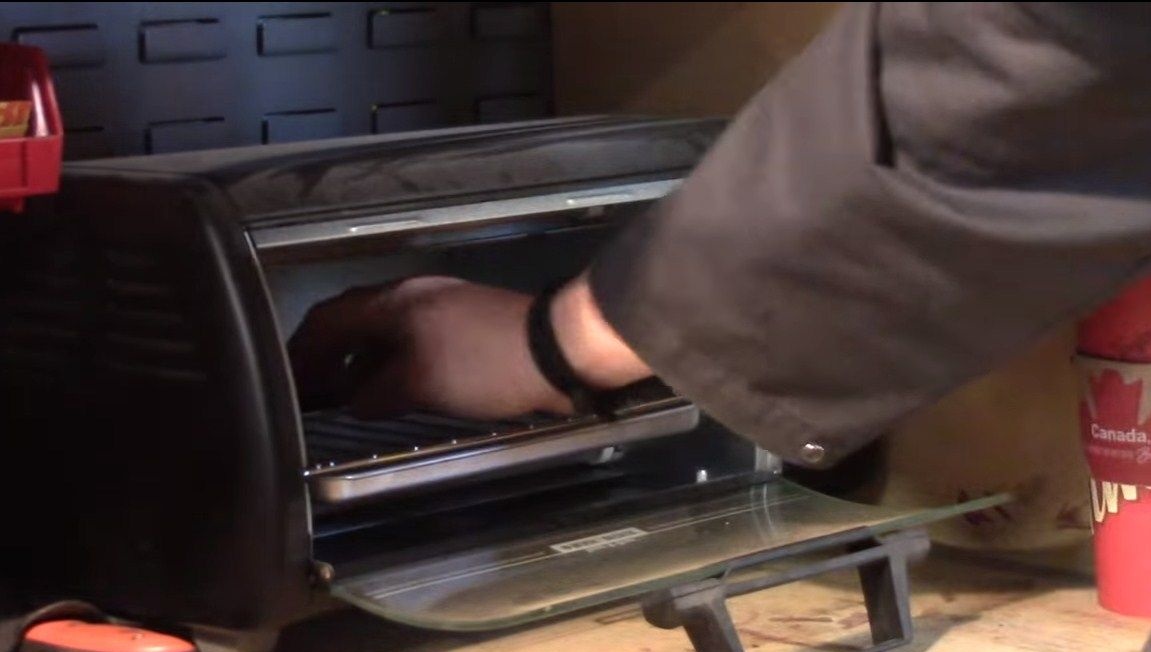
But hardening is still half the battle, after it the blade will be very durable, but at the same time very fragile. We need to make it a little more elastic so that it is springy. Thanks to these properties, steel will no longer fly apart when dropped onto concrete and so on. For these purposes, send the knife into the household oven for an hour or so. The temperature should be around 200 degrees Celsius. Then turn off the oven and let it cool with the knife in the closed state. All now we have let go of steel, and we have obtained a blade of excellent quality.
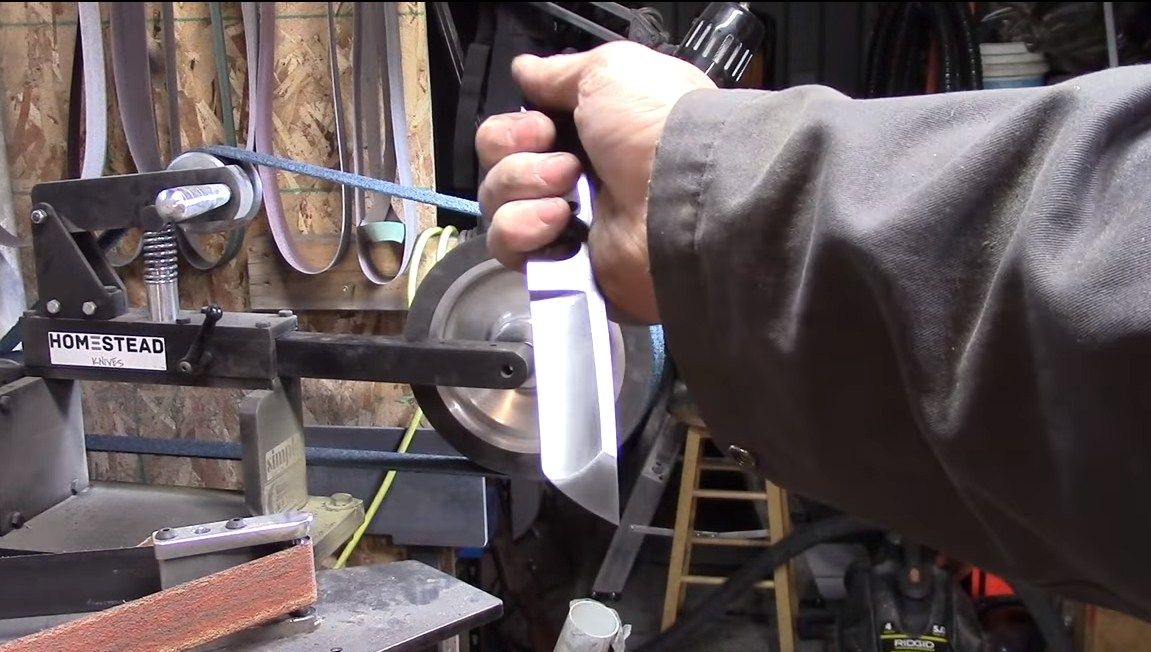
Seventh step. Cleaning and polishing
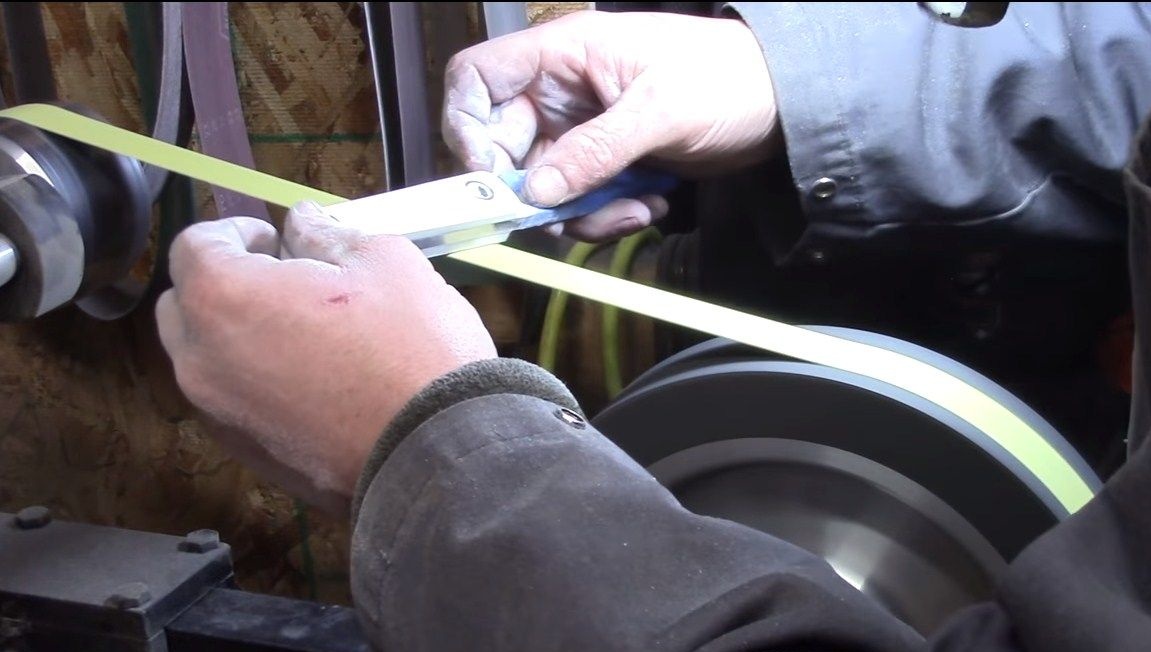
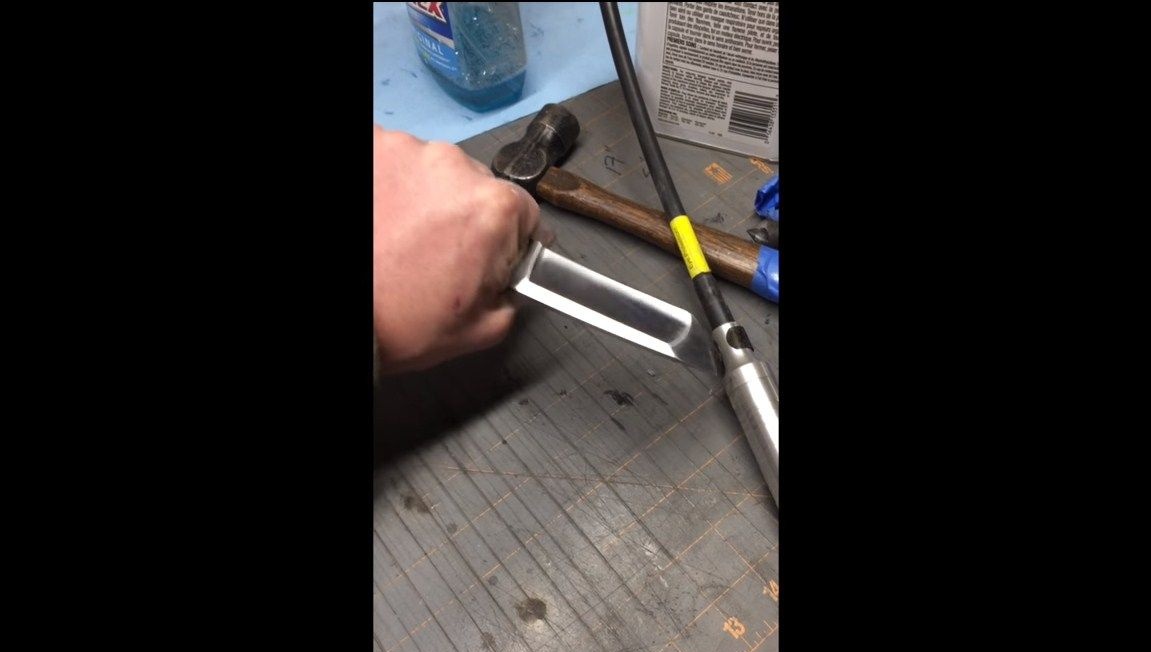
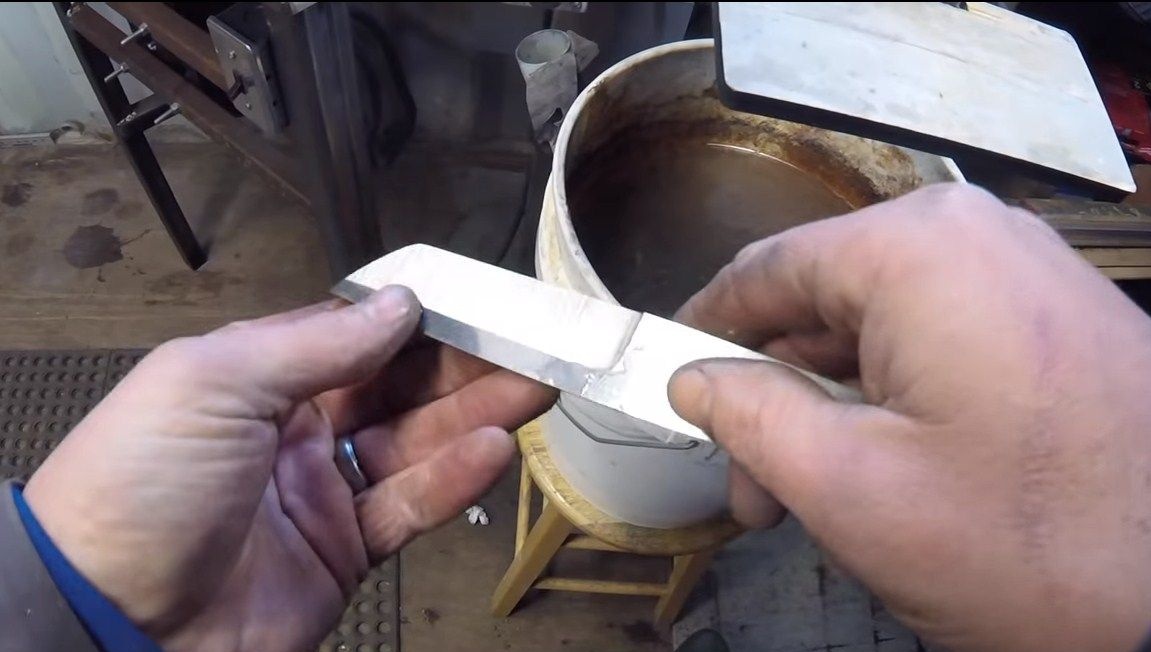
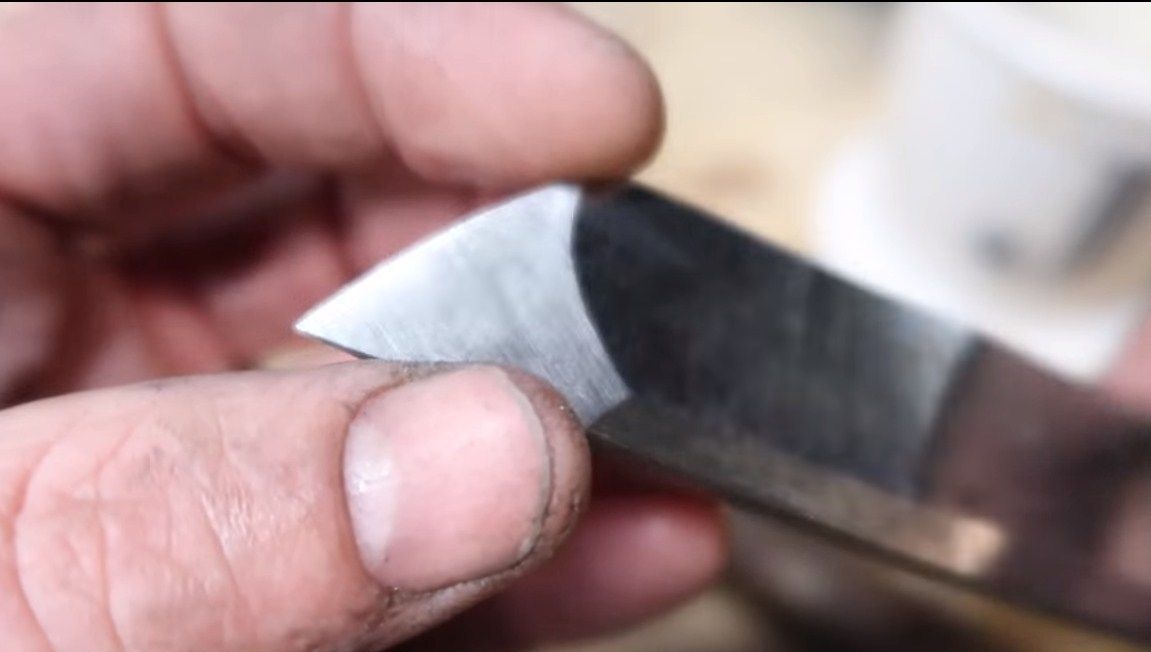
After hardening, the steel will darken, this coating can be cleaned and polished steel. However, steel 01 is resistant to rust, and if you use other steel, you can leave this coating, it will not allow the metal to rust. First, we process the blade on a belt grinder with a fine grain belt. And then you can proceed to manual processing. Clamp the shank with a clamp and grind the blade with fine sandpaper, using a special tool or ordinary water. Then we polish the blade to a mirror shine if necessary. When everything is ready, we again wrap the blade with electrical tape so as not to damage our hands and not to scratch the knife itself.

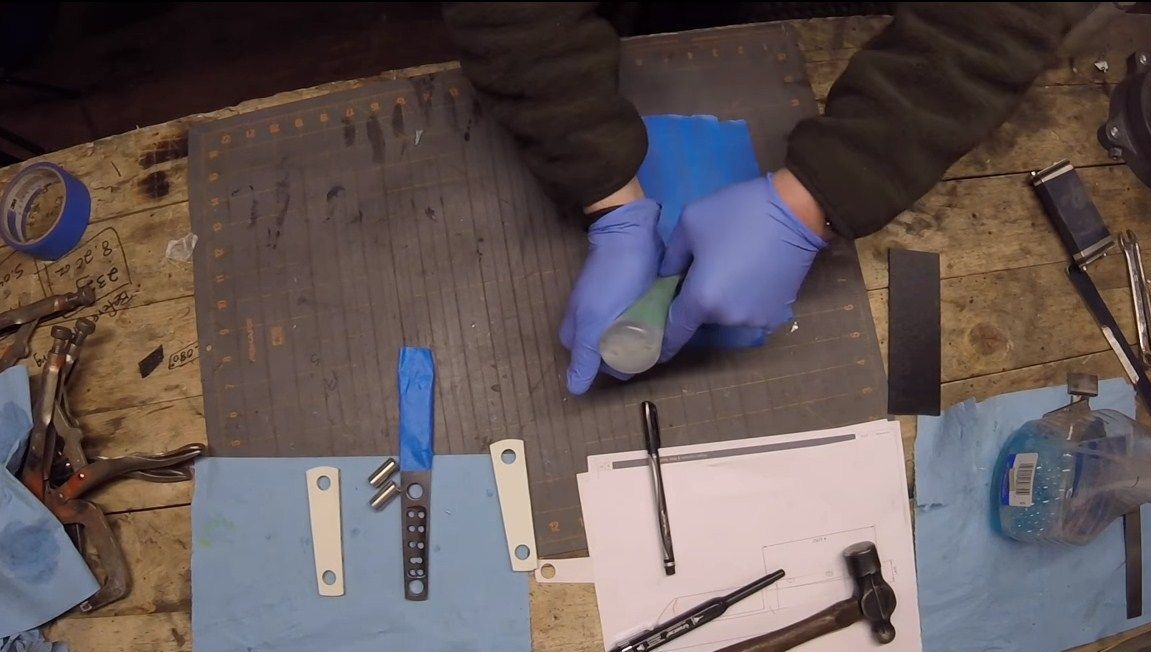
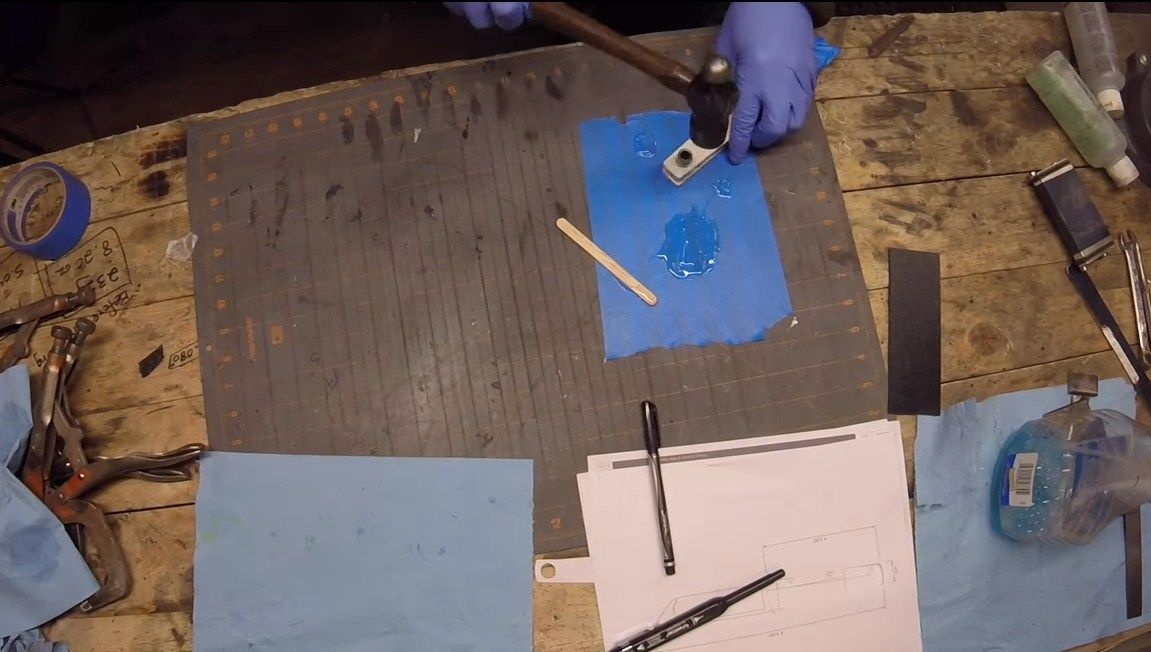
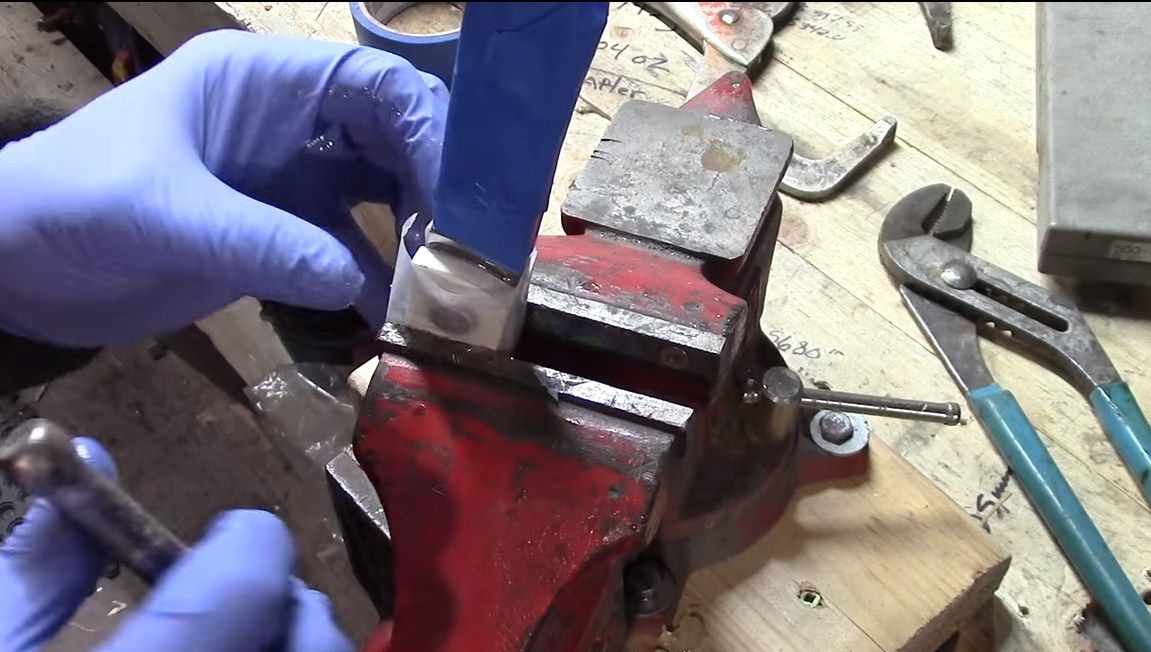
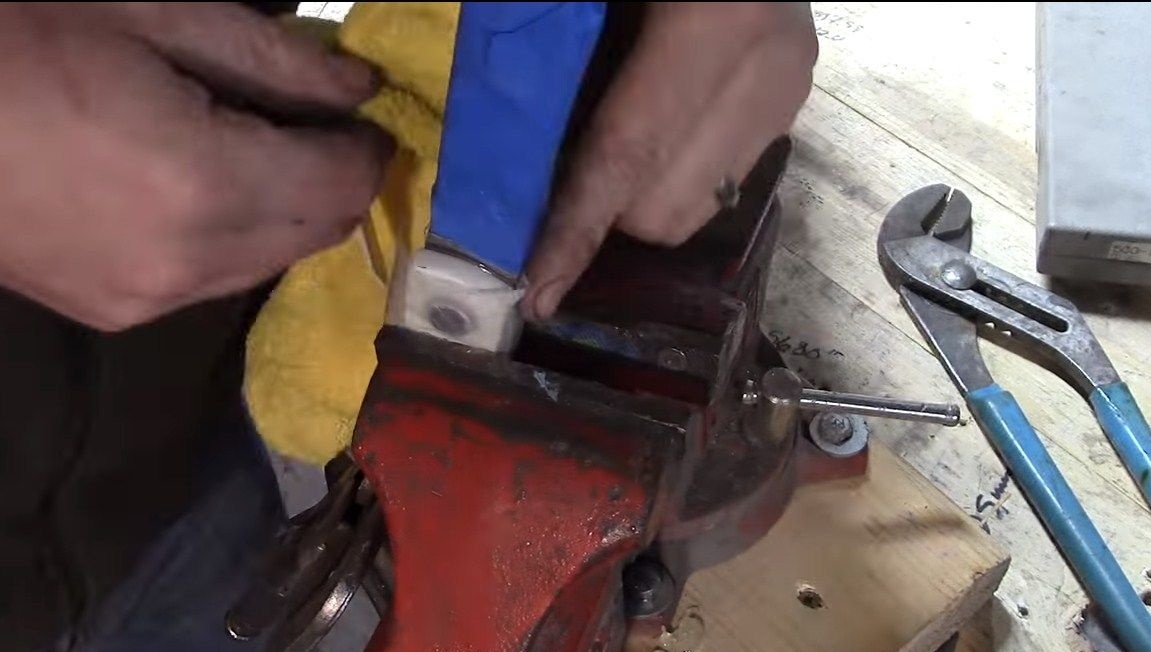
Step Eight. Glue the handle
To glue the handle we use epoxy glue.We put it on the lining, install the pins, and then the whole thing is well squeezed in a vice and clamps. Leave the glue to dry for a day, usually this is enough. We immediately wipe off the glue residue, so that later there is less grinding.
Step Nine. Finishing
When the glue dries, proceed to grinding. We form the desired handle profile on a belt grinder. Next, use a smaller emery cloth to make the handle absolutely smooth. Well, as a result, the pen can be polished.
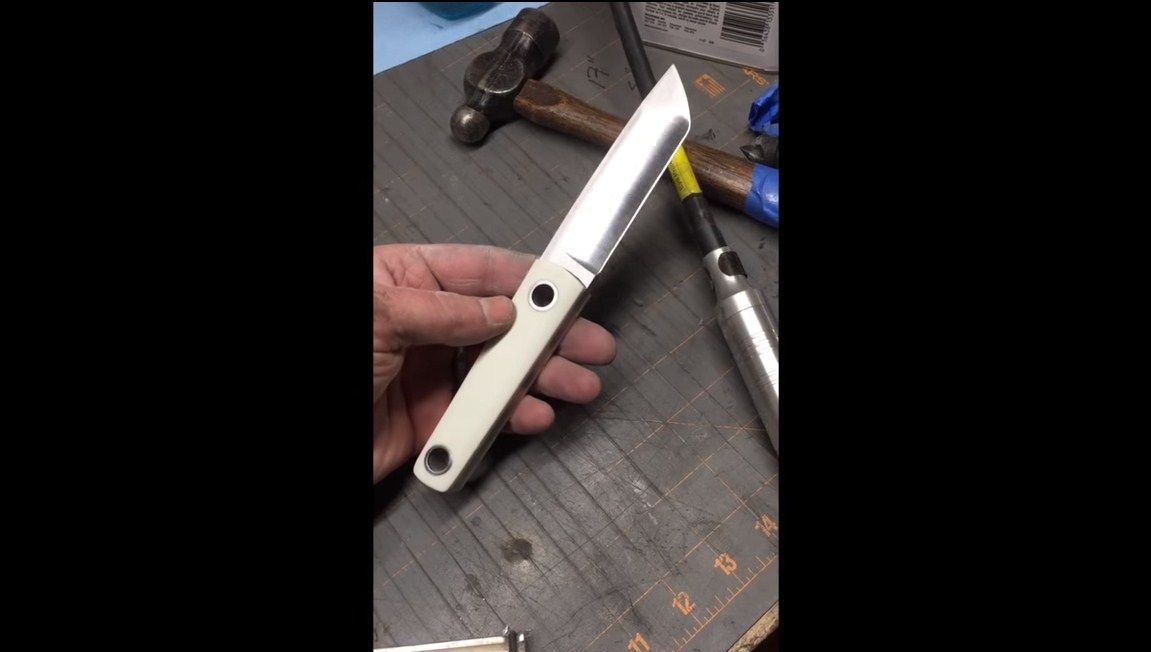
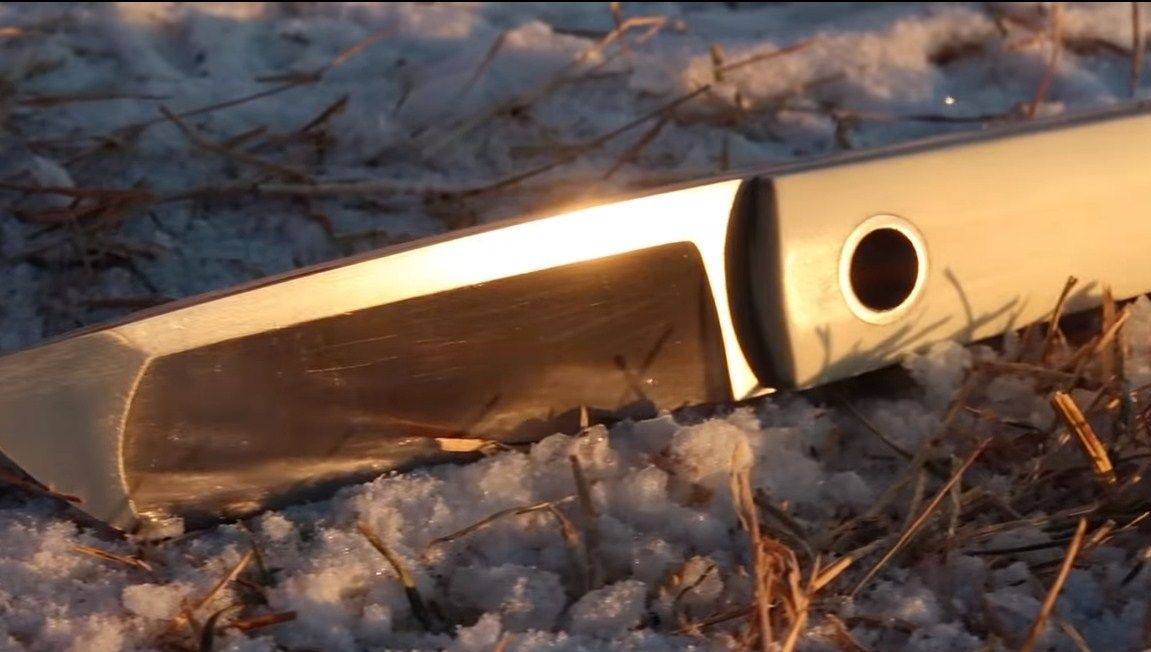
If you used plastic, then it does not need further processing, and the tree must be soaked with oil and use stain if necessary. Without impregnation, wood nourishes moisture and dirt.
That's all, the knife is ready, sharpen it to the state of the blade using grindstones. I hope you enjoyed the project, and you learned something useful for yourself. Good luck and creative inspiration, if you want to repeat it. Do not forget to share your homemade and best practices with us.