
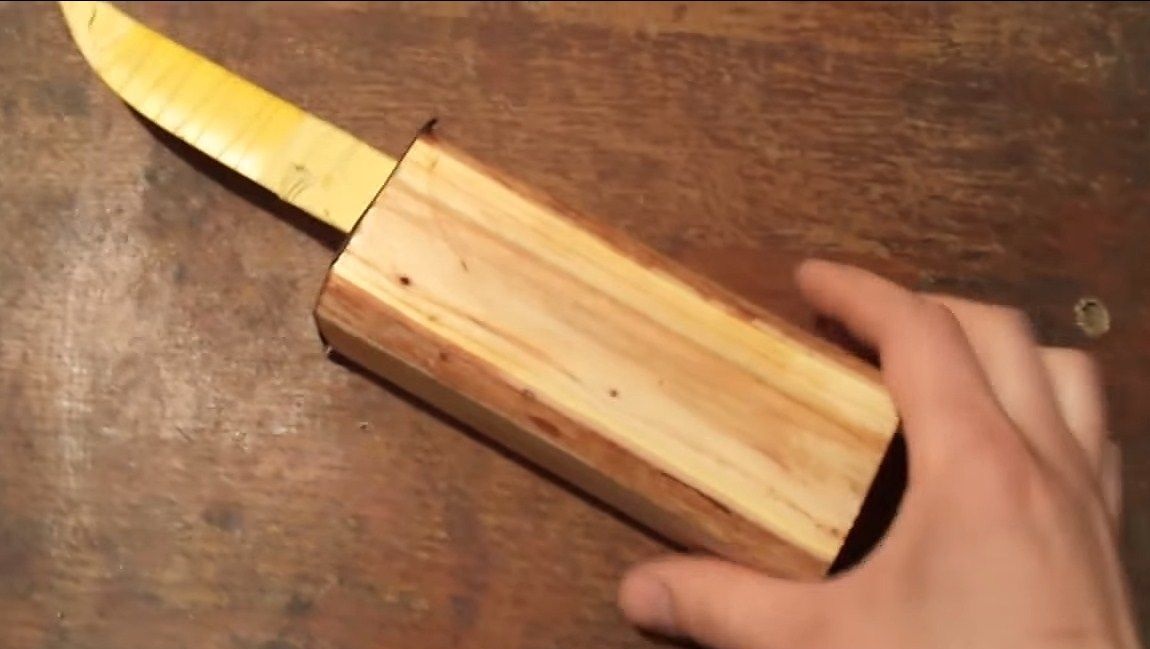
Hello everyone, I present to your attention a knife as sharp as a blade from R6M5 quick cutter, which you can make do it yourself. This steel is actively used in the manufacture of various cutting tools, including metalworking tools. Drills, various cutters, saw blades and so on are made of it.
This steel is quite hardy, it is enough for long hard work. This steel does not lose its strength even at high temperature loads. The only drawback of such a metal is that it is very difficult to harden it with your own hands. Hardening requires repeated heating, tempering, as well as special chemicals, such as nitrate, for cooling. But if you process the metal carefully, without overheating, then you will not need to temper it. So, we will consider in more detail how to make a knife from P6M5 steel.
Materials and tools used by the author:
Material List:
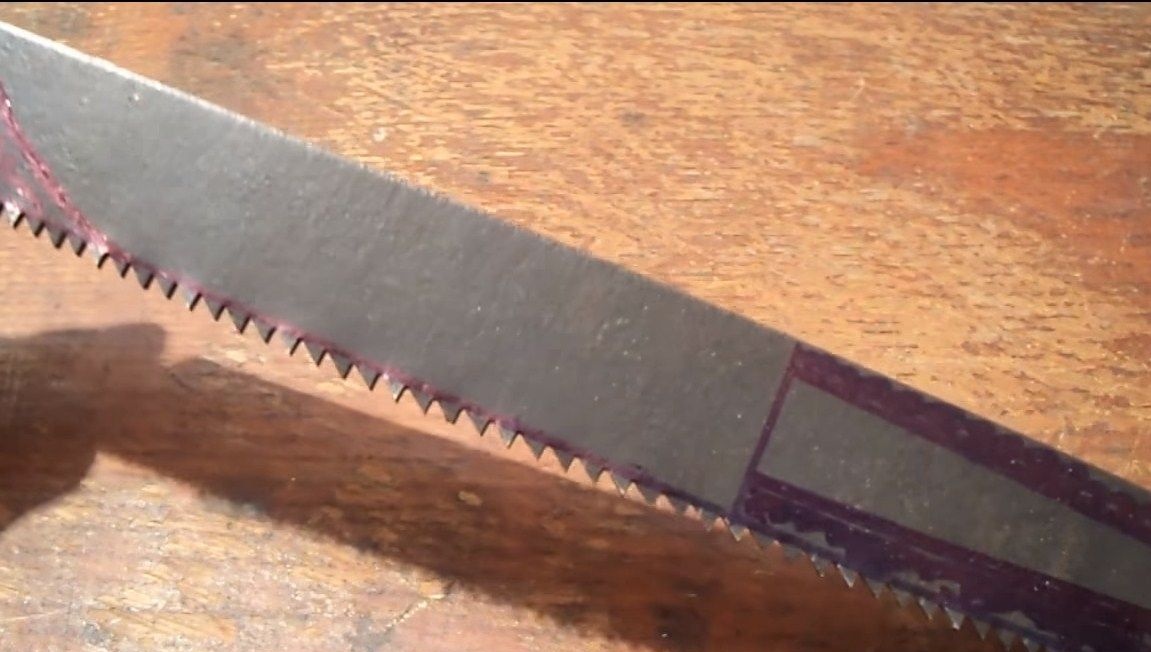
- steel P6M5 (hacksaw blade);
- a piece of wood for the handle;
- epoxy adhesive;
- a piece of brass for the handle;
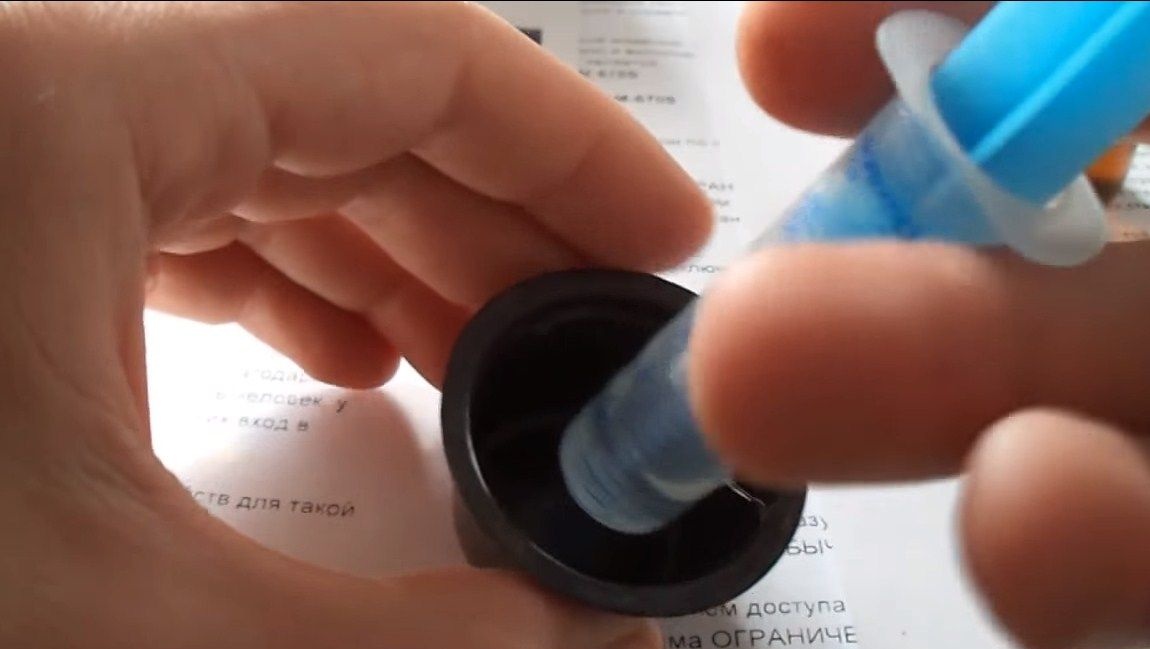
- oil or varnish for the impregnation of the handle.
Tool List:
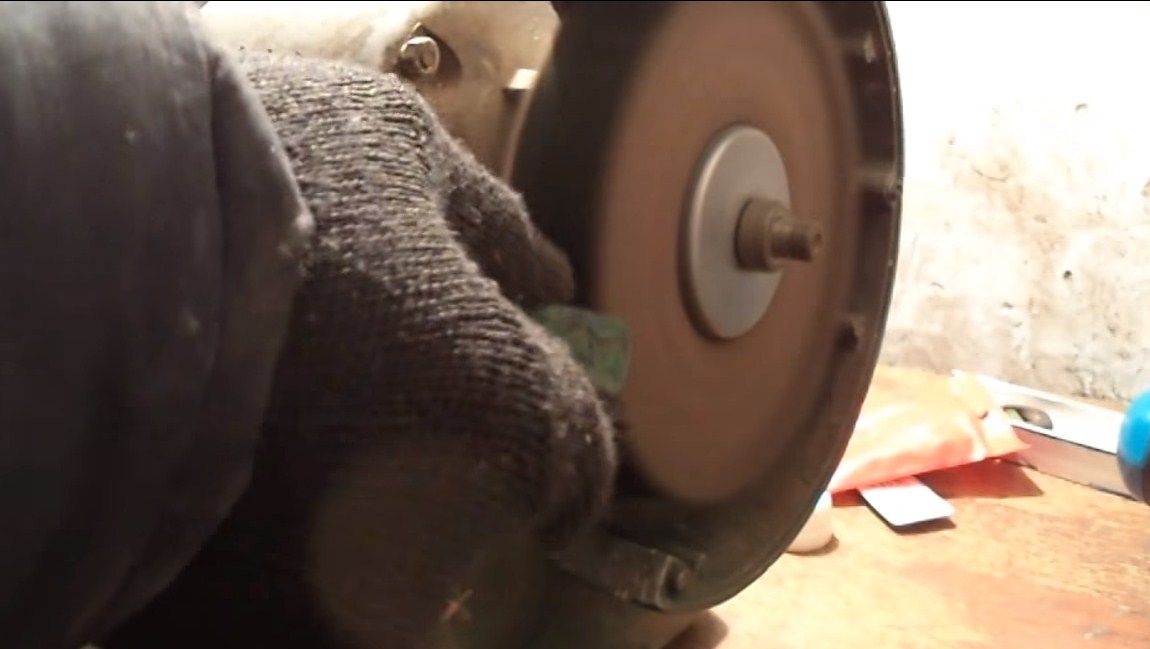
- grinder;
- vise;
- grinder;
- orbital sander or machine;
- drill;
- a clamp (the author has made it from a tree);
- marker;
- sandpaper;
- a jigsaw.
The process of making a knife:
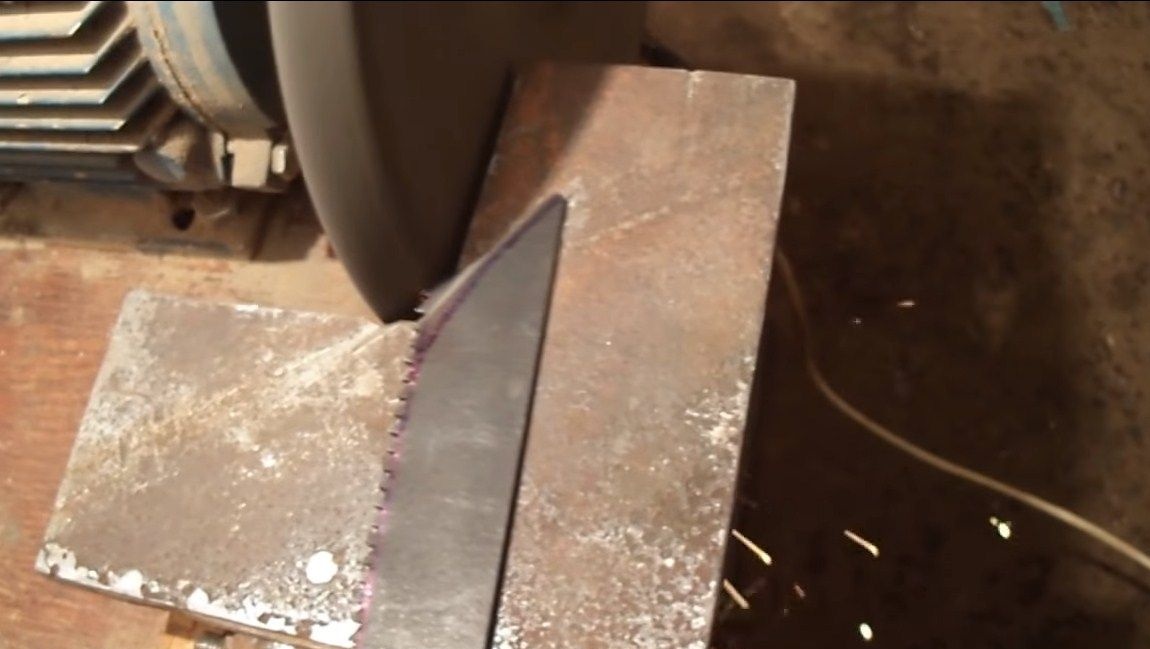
Step one. Cut the main profile
First we need to figure out what our knife will look like. Draw a knife profile on the workpiece using a marker. Well, then you can start cutting. We cut the workpiece using a grinder, but there is one caveat when cutting P6M5. This steel is quite brittle, it breaks with a strong bend. All we need to do is to make the grinder small cuts of those sections that we need to remove. Well, then break them off with pliers, like glass.
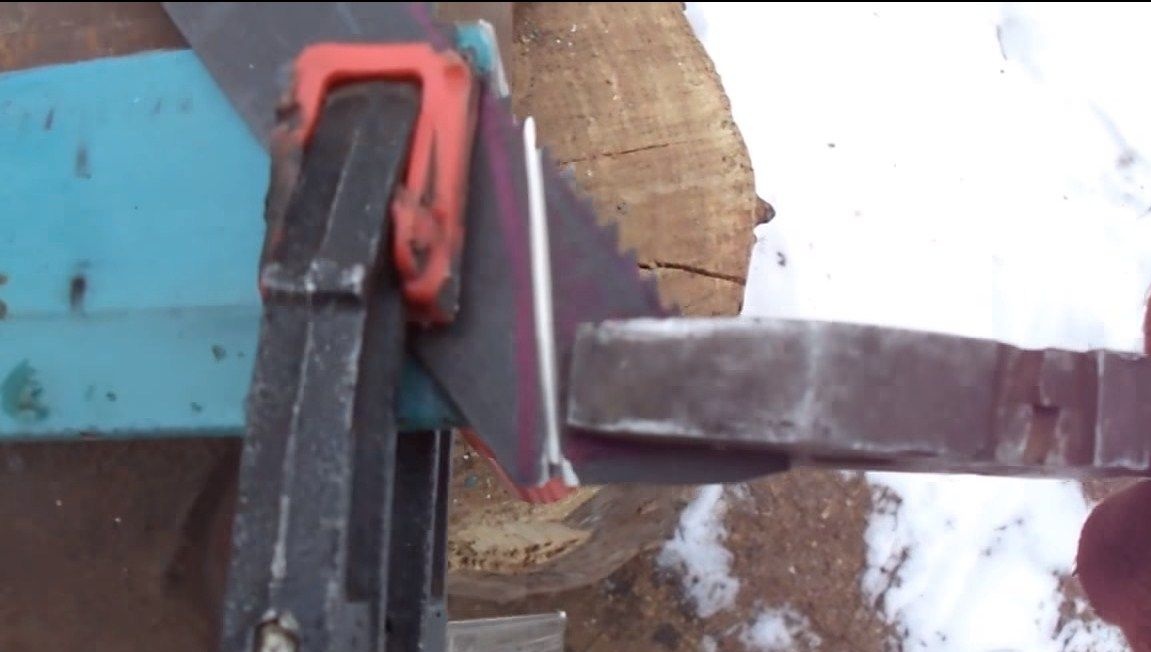
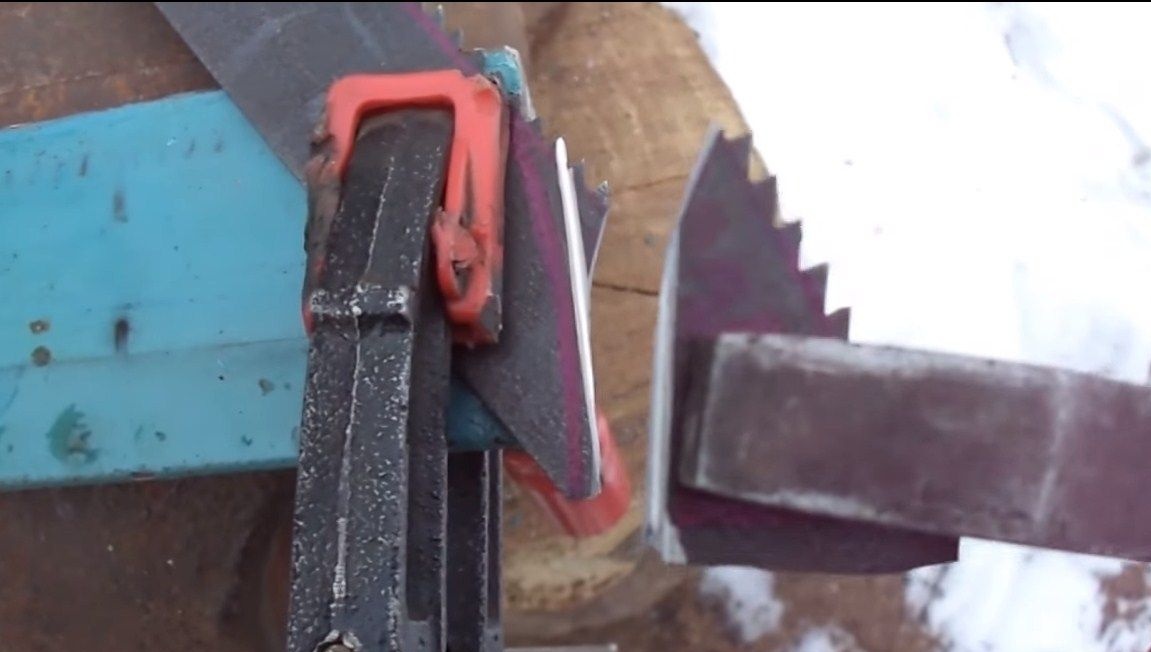
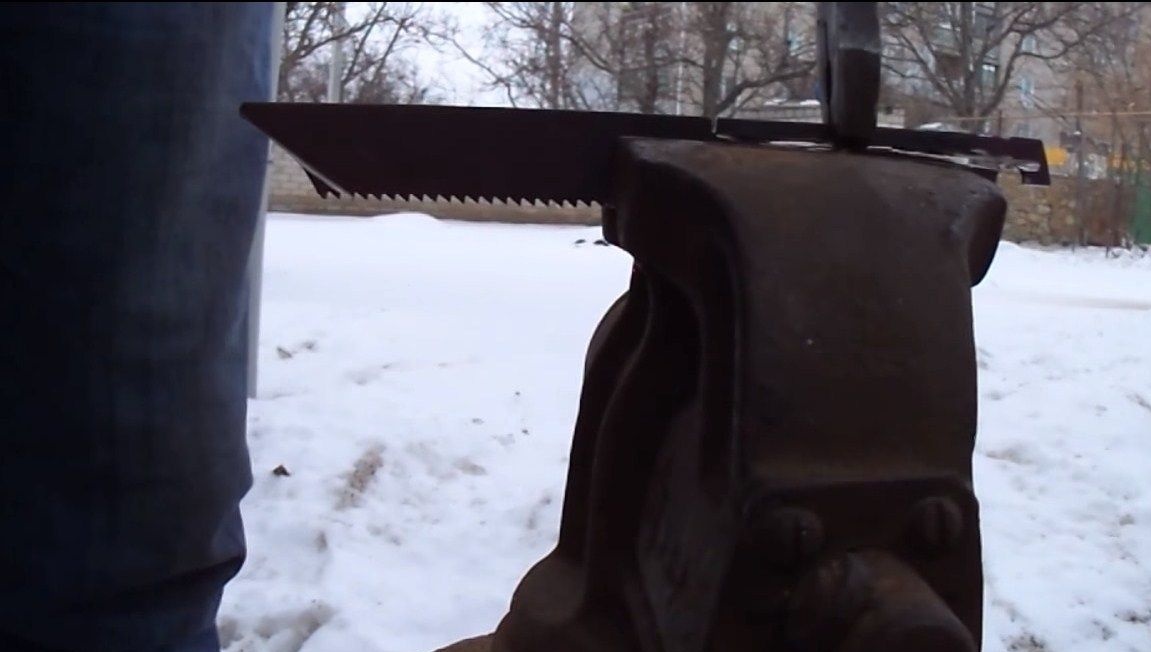

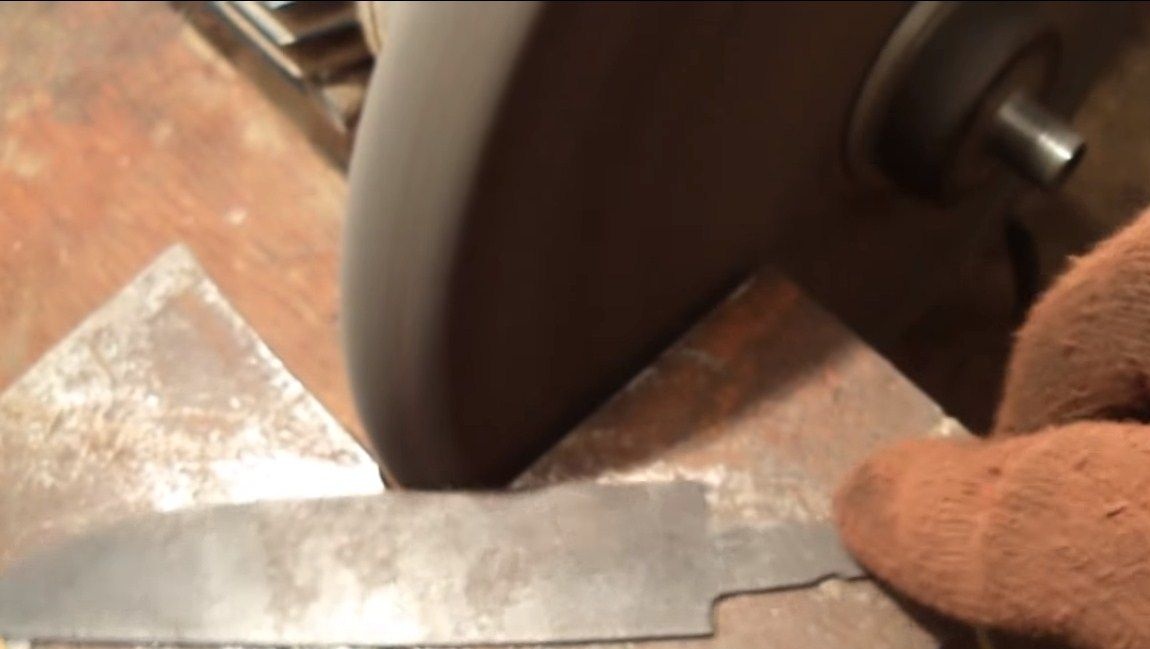
Step Two We are modifying the profile
Now our rough profile needs to be finalized. For this we need a grinder. We just go through the contour and remove the excess metal. This metal is grind off quite easily. We process the shank in the same way, you can make small grooves on it so that the handle adheres well to it.
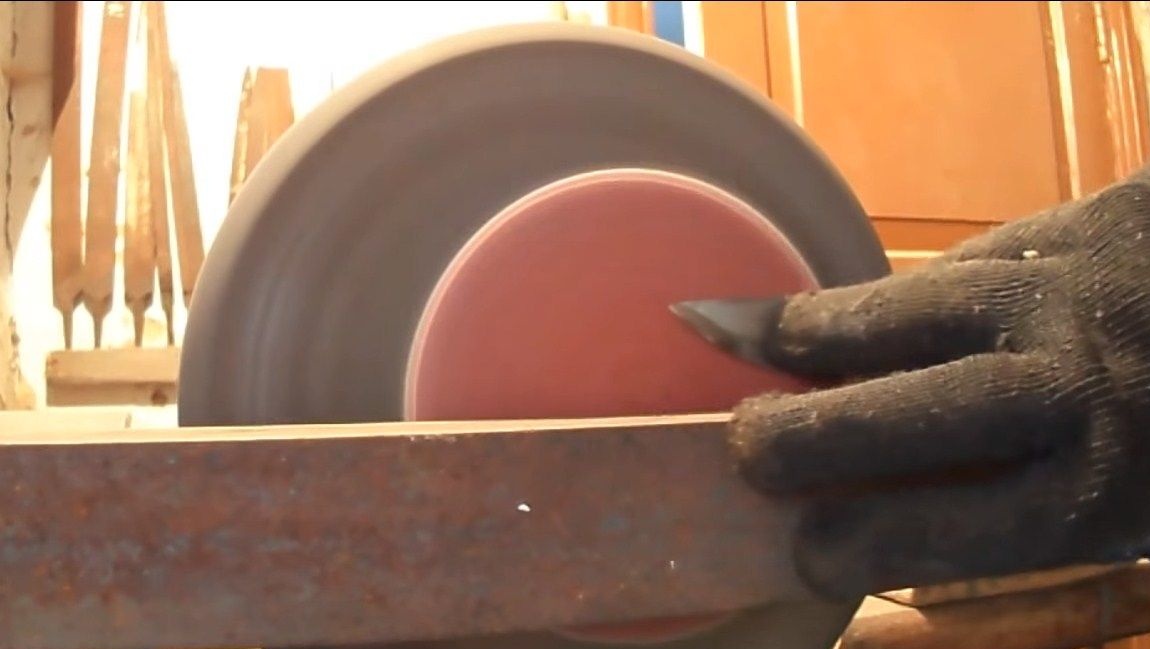
Step Three Bevels and grinding
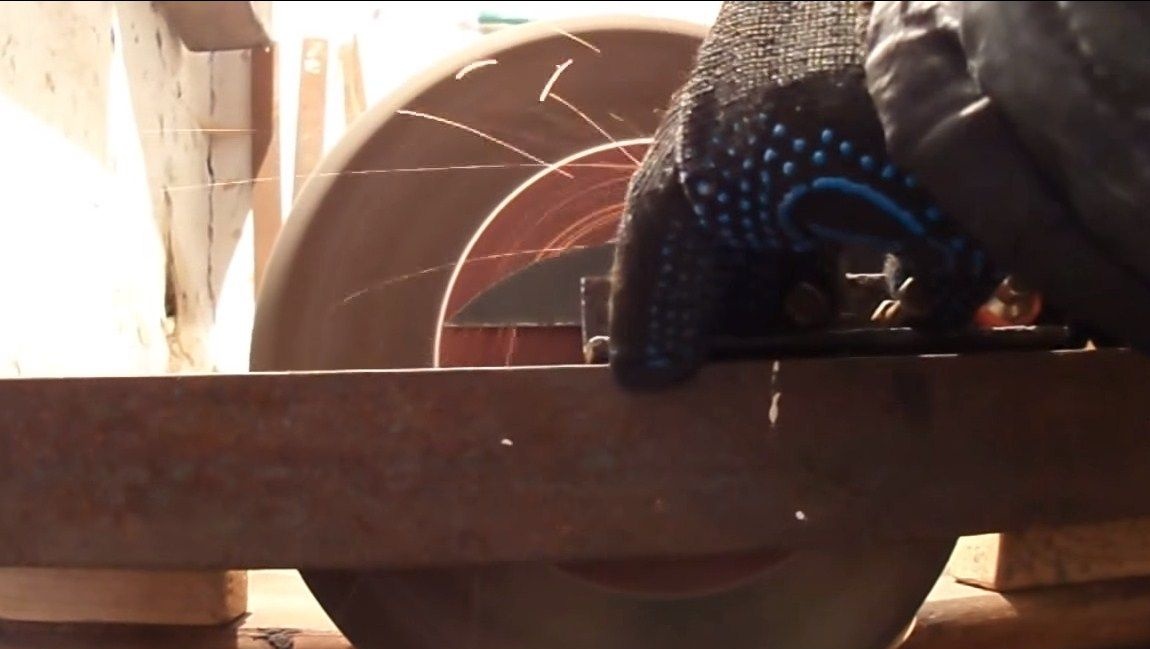
We form the bevels on the blade. For these purposes, the author adapted on a grinder a circle of sandpaper. The blade must be fixed in a special device that can be made from a corner. Well, then, slowly, slowly, we form the bevels.Try not to overheat the metal, as carbon may burn out and the steel will no longer be as hard as it was originally. We dip the blade periodically into water
We make symmetrical bevels on both sides or only with one at will. At the same step, you can carry out the initial sharpening of the blade.
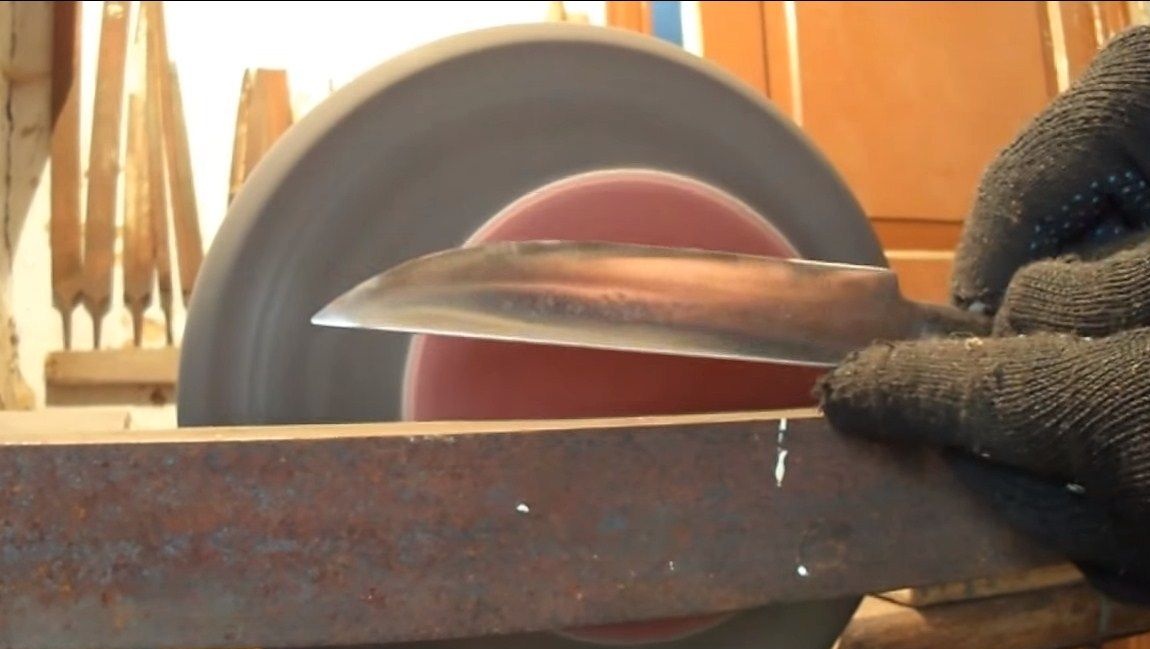
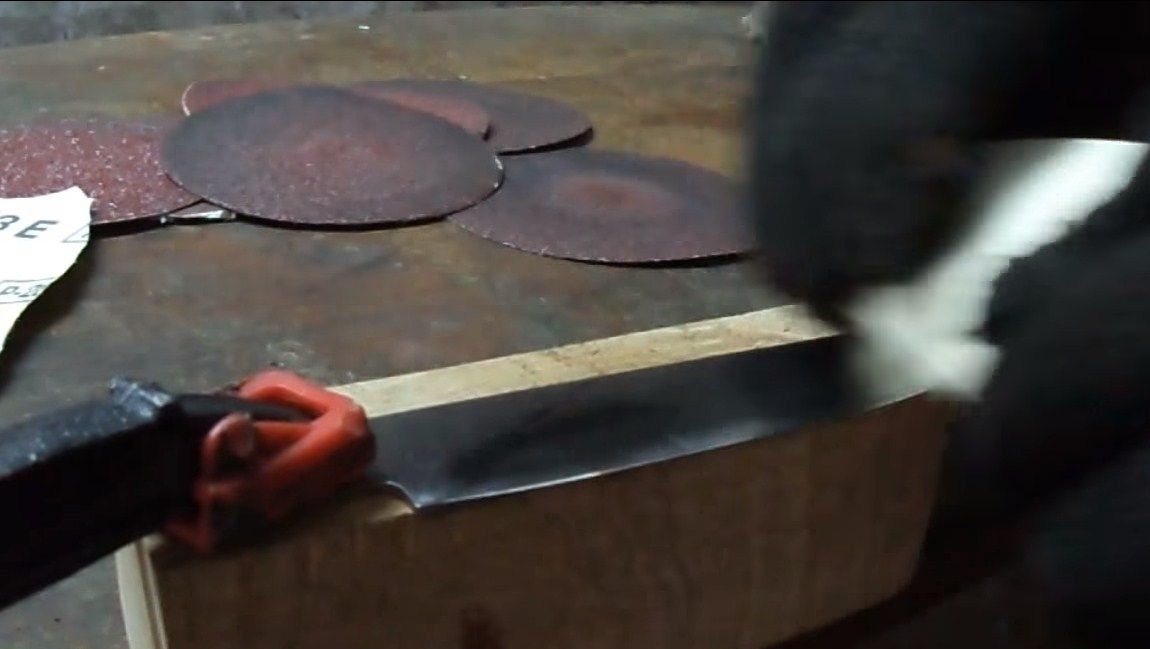
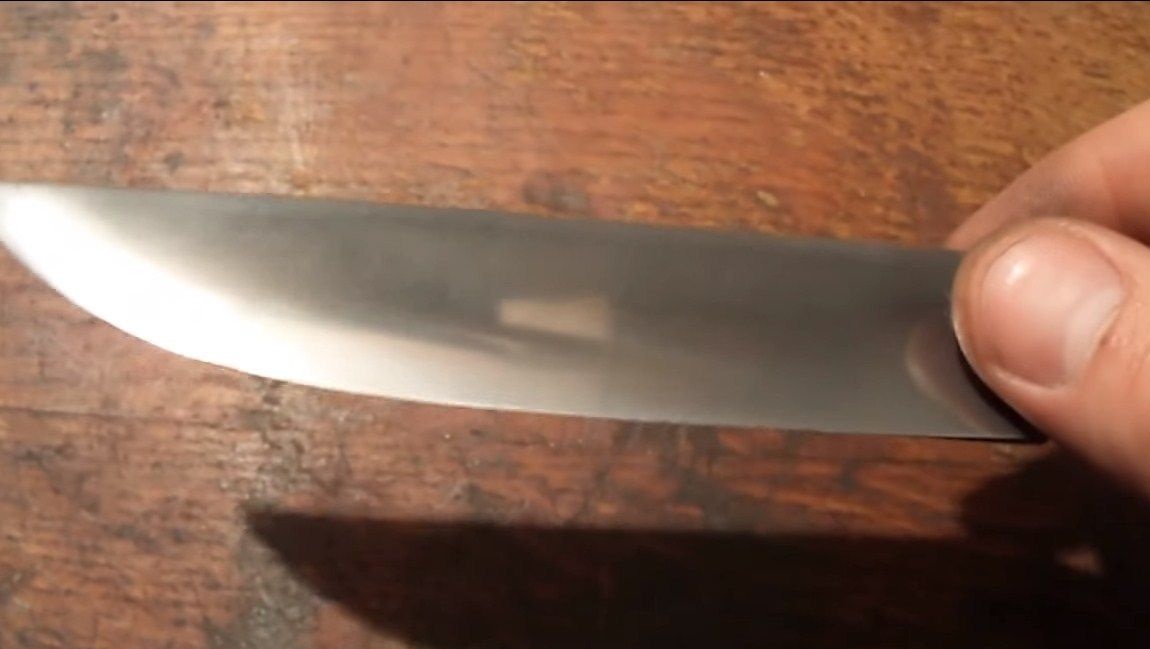
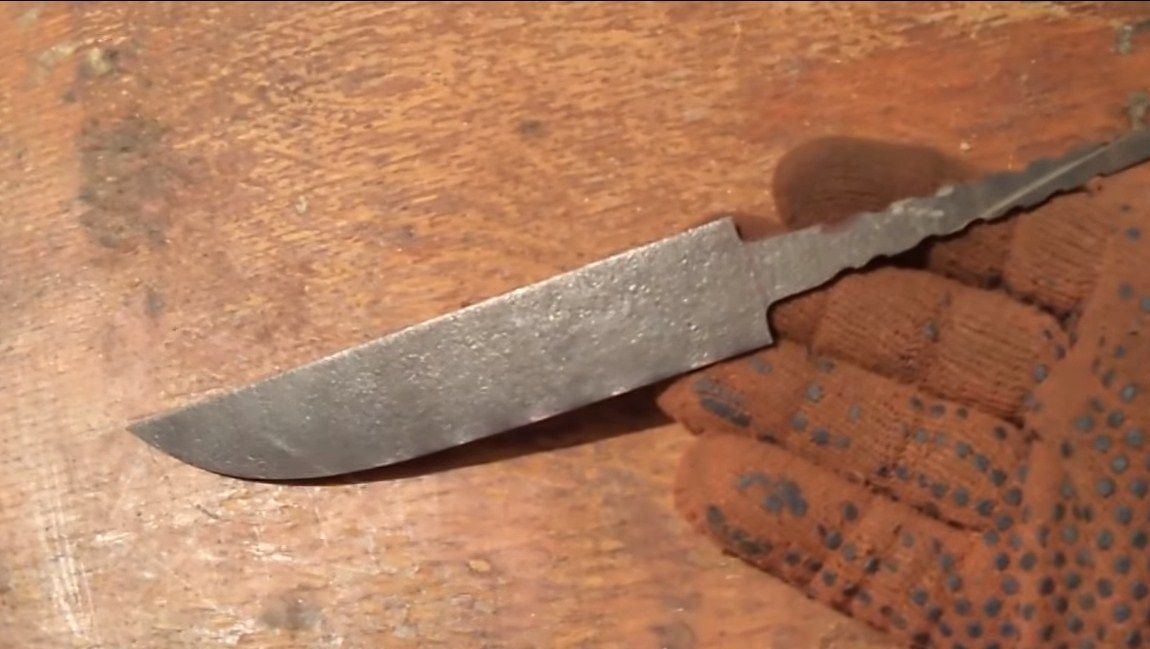
Then you can start grinding, we work on the same machine. We grind the metal until we clean off all the paint, rust and so on. If the source material is of high quality, it can be brought to a mirror shine.
Finishing is done manually using fine sandpaper dipped in water. Well, at the very end, the blade can also be polished on the machine using GOI paste or another paste.
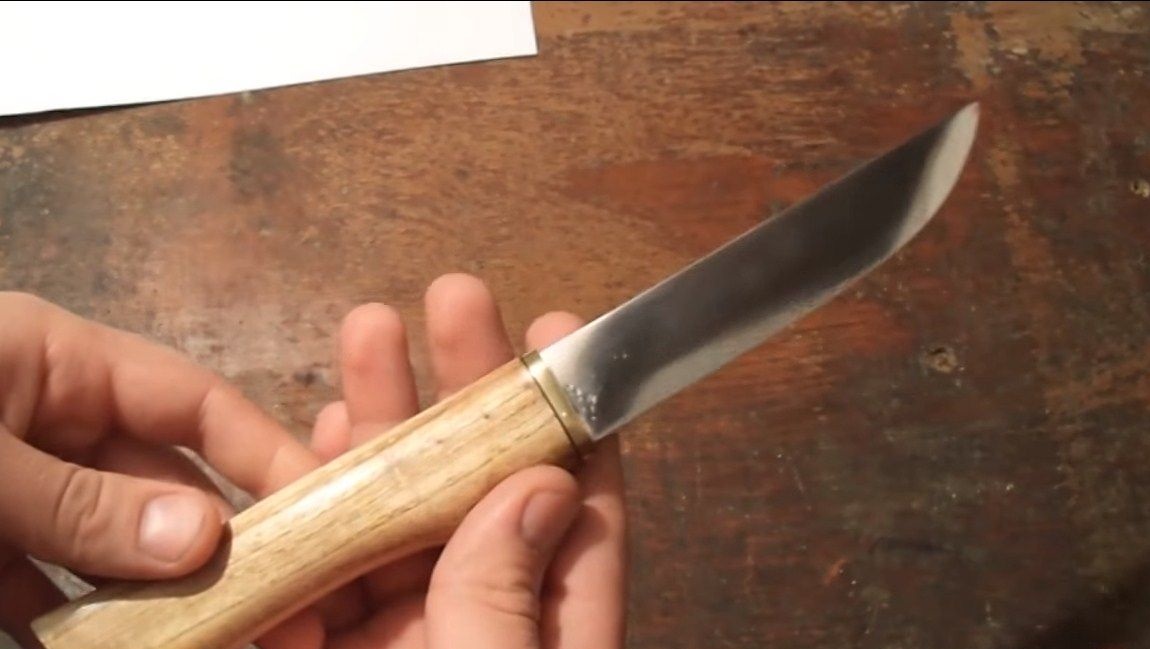
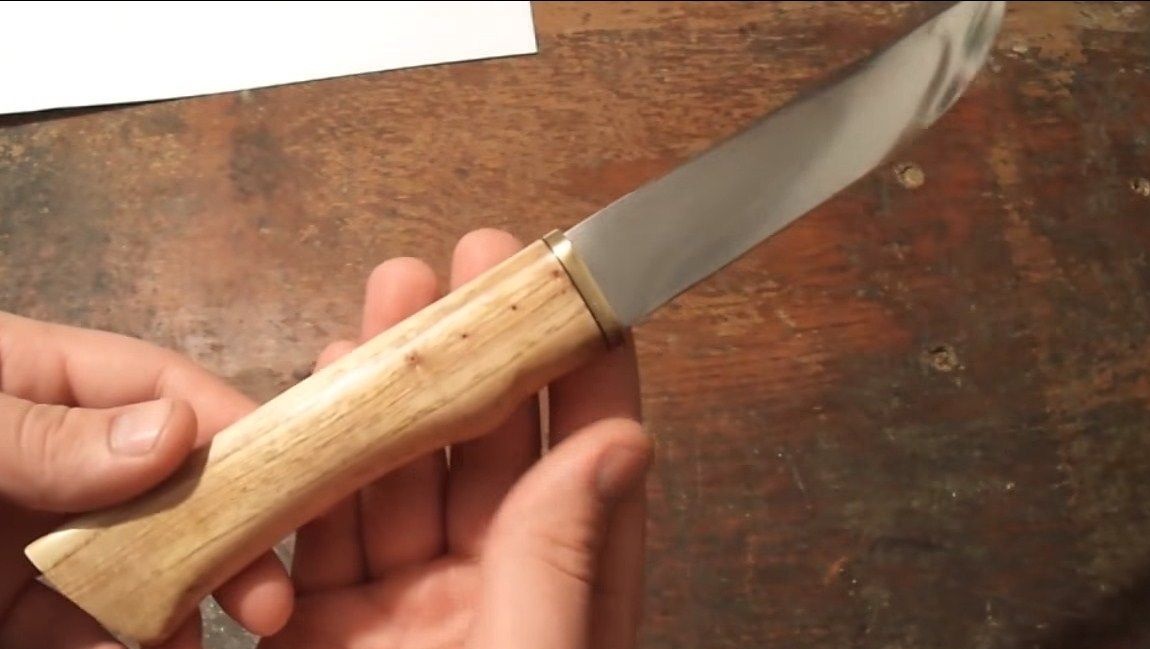
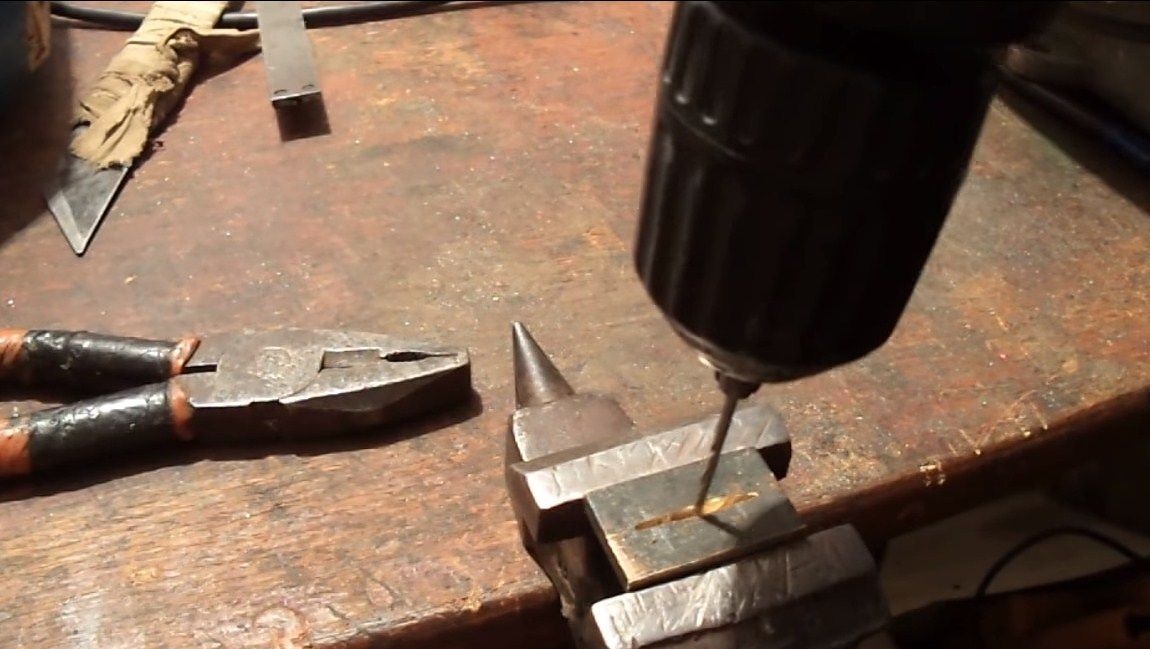
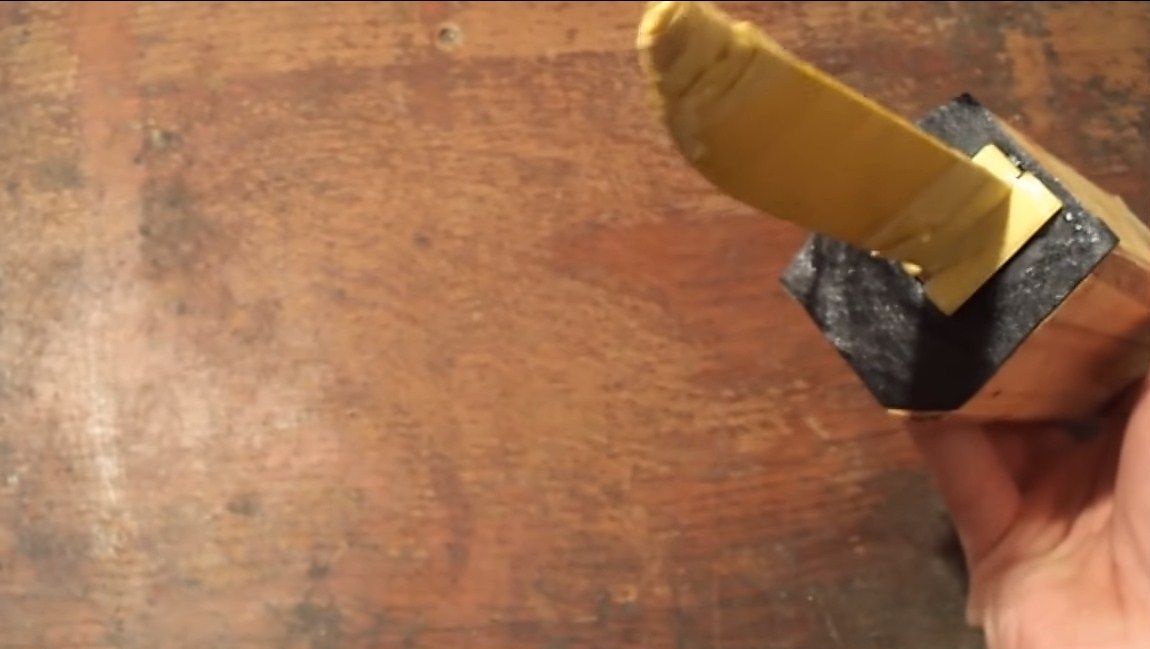
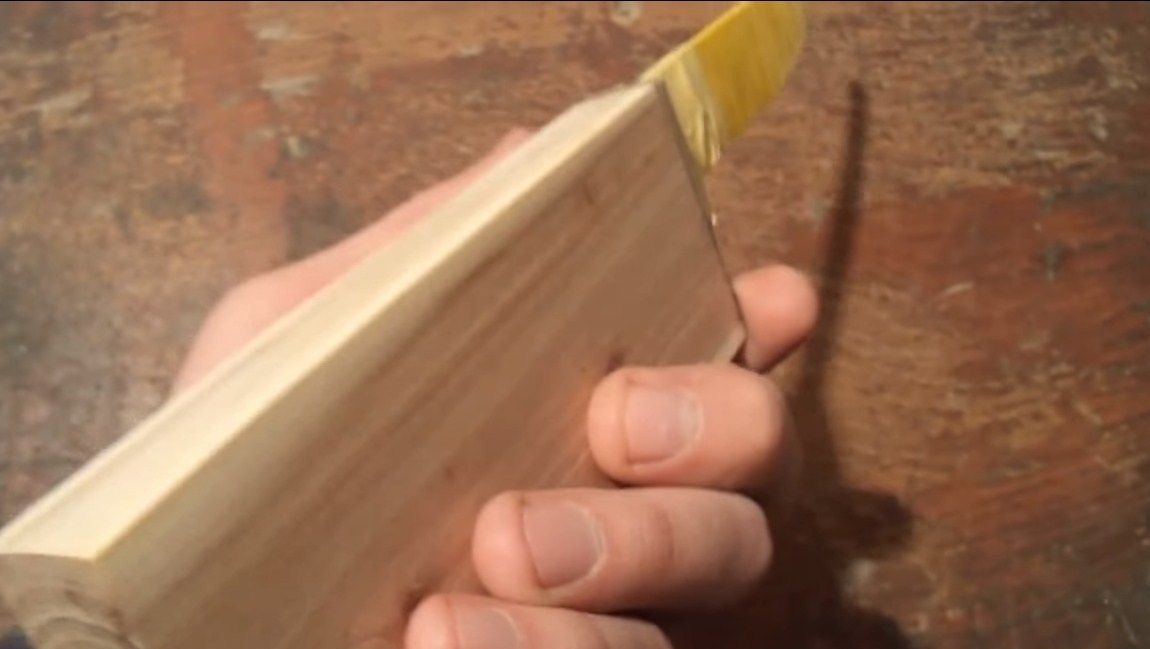
Step Four Brass insert
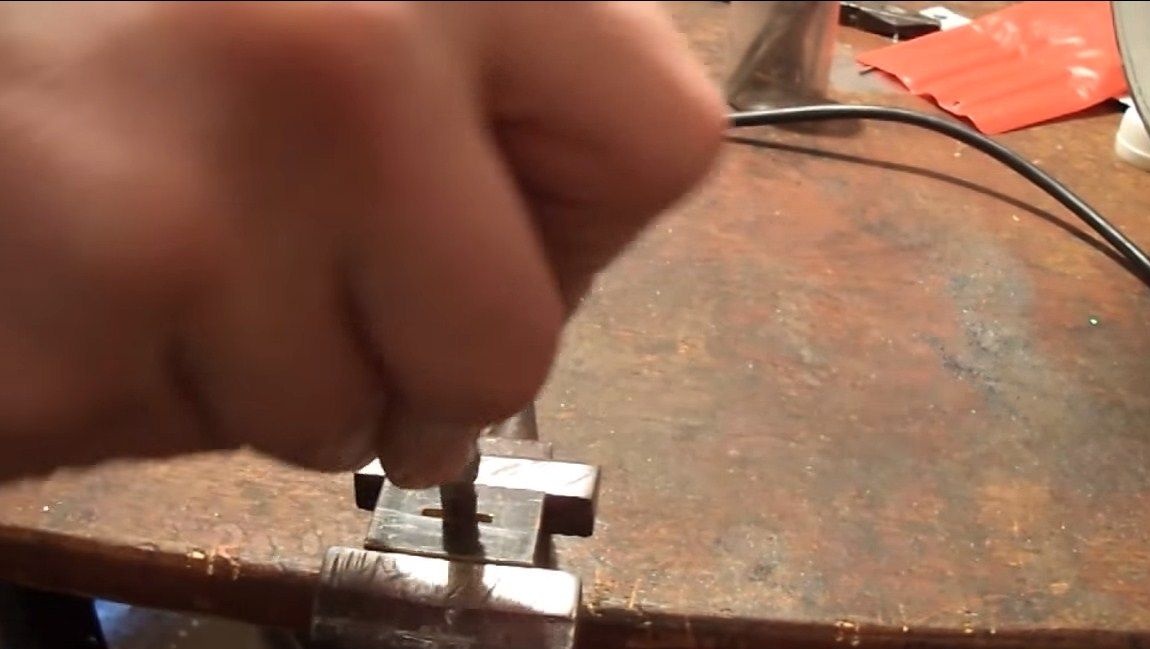
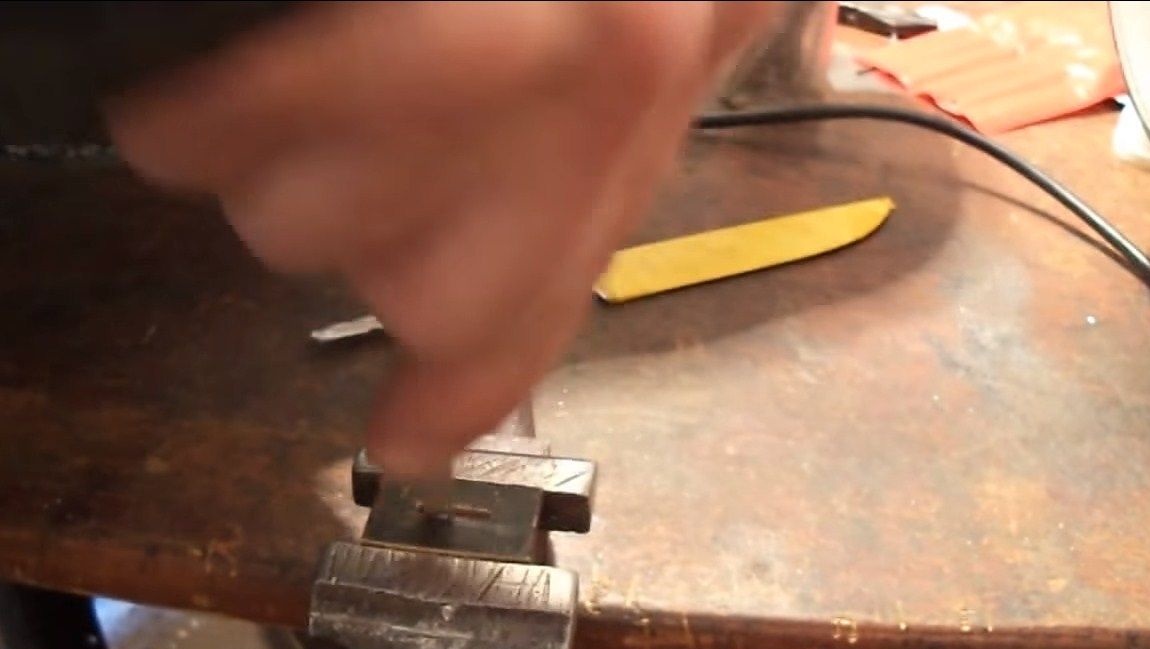
In front of the handle there is a brass insert. We select the desired piece of brass and drill a number of holes in it. Then these holes are bored with a flat file so that the blade shank can enter. At the same step, you can immediately give the workpiece an oval shape on the grinder. The author immediately polished the part on the machine, since then it will be much more difficult to do this.
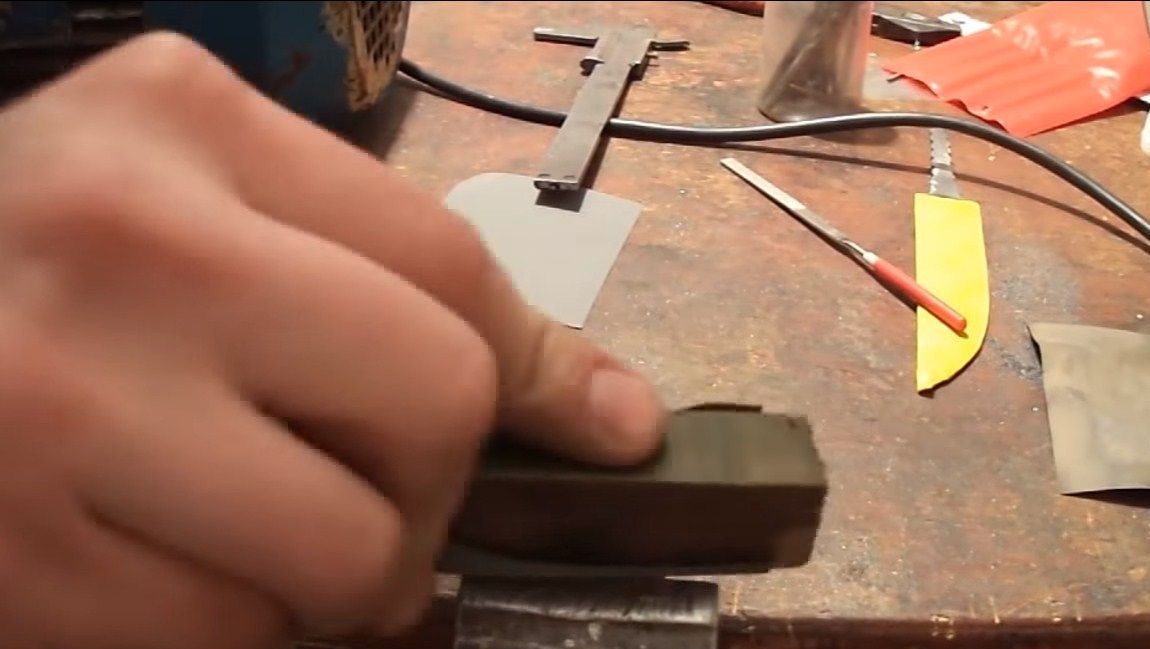
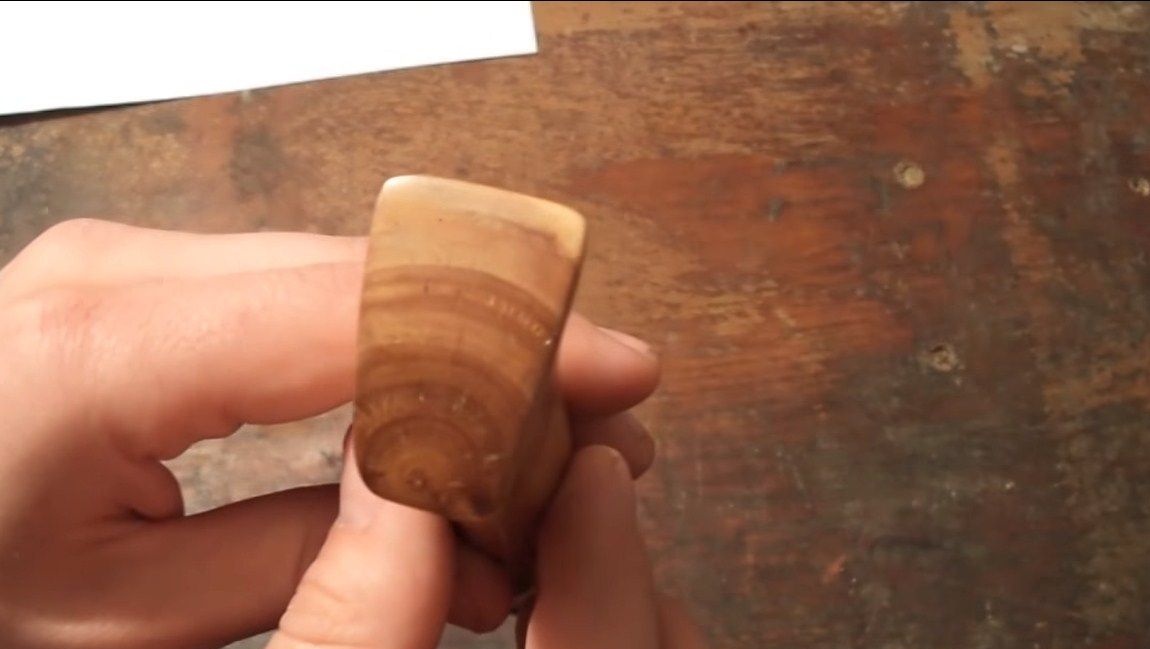
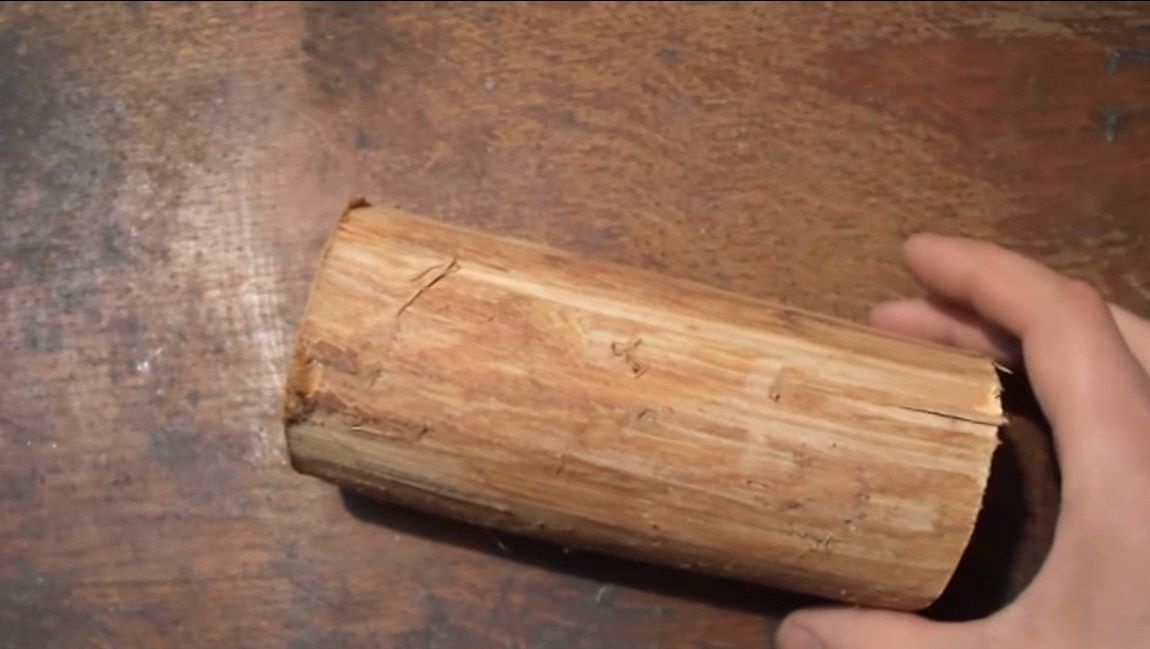
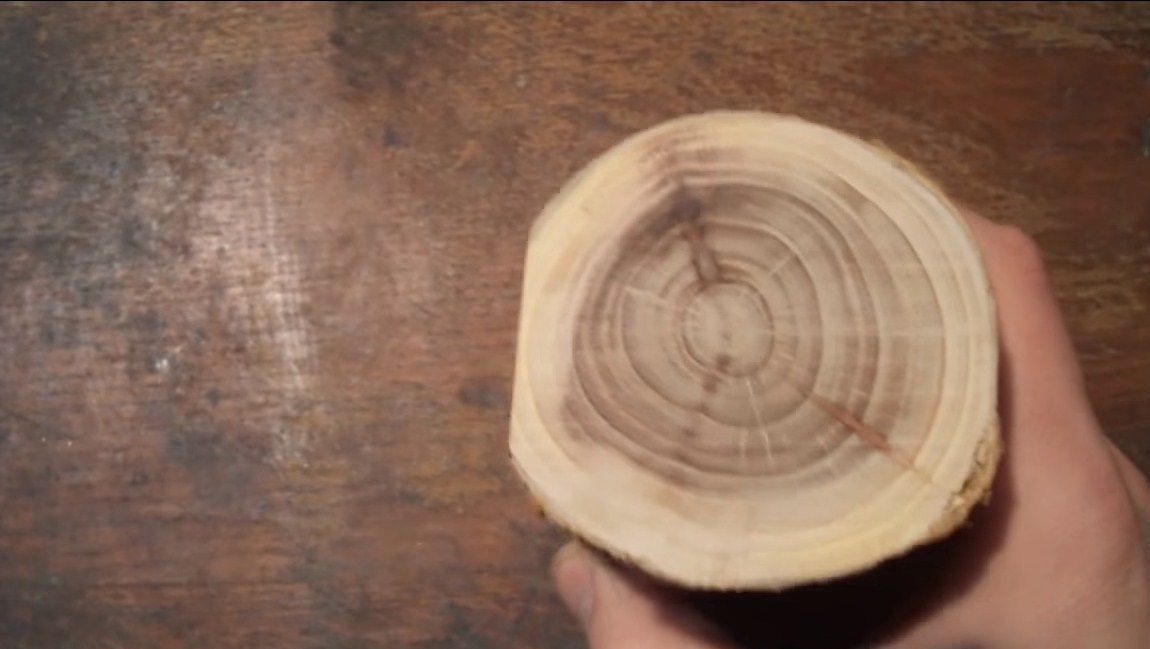
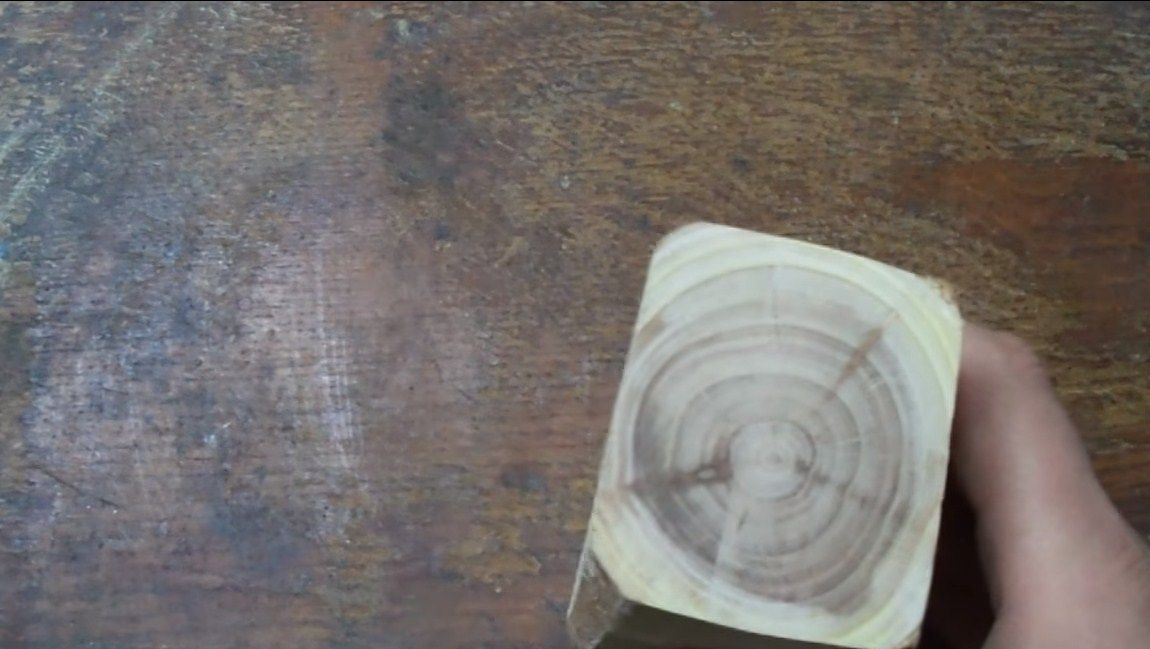
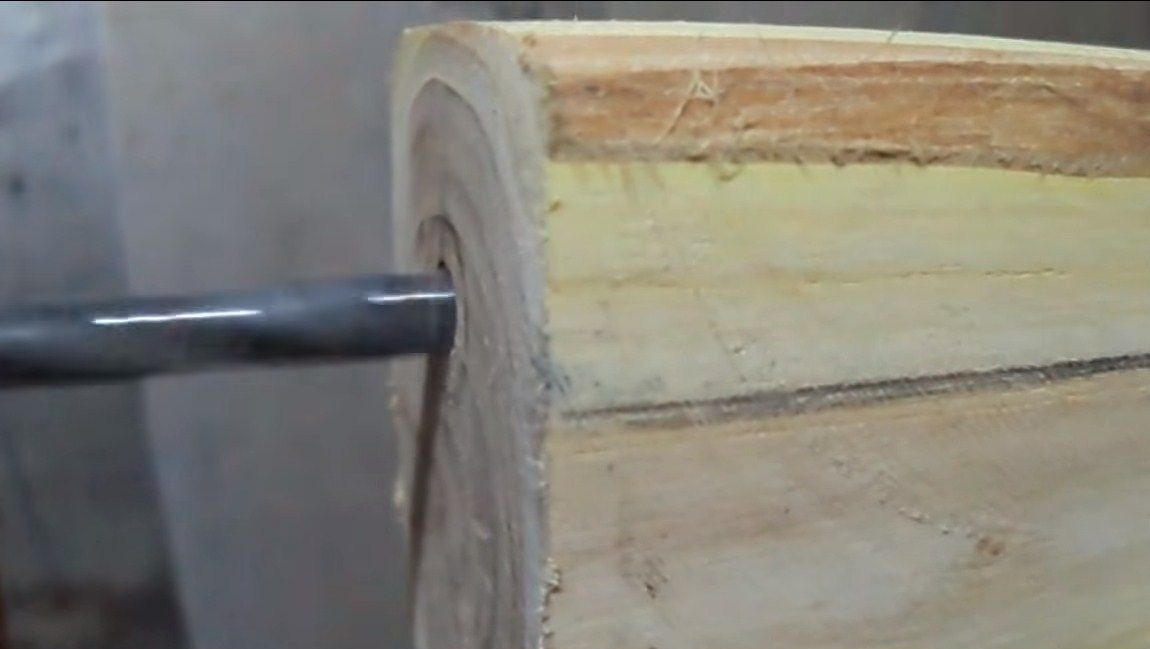
Step Five Handle blank
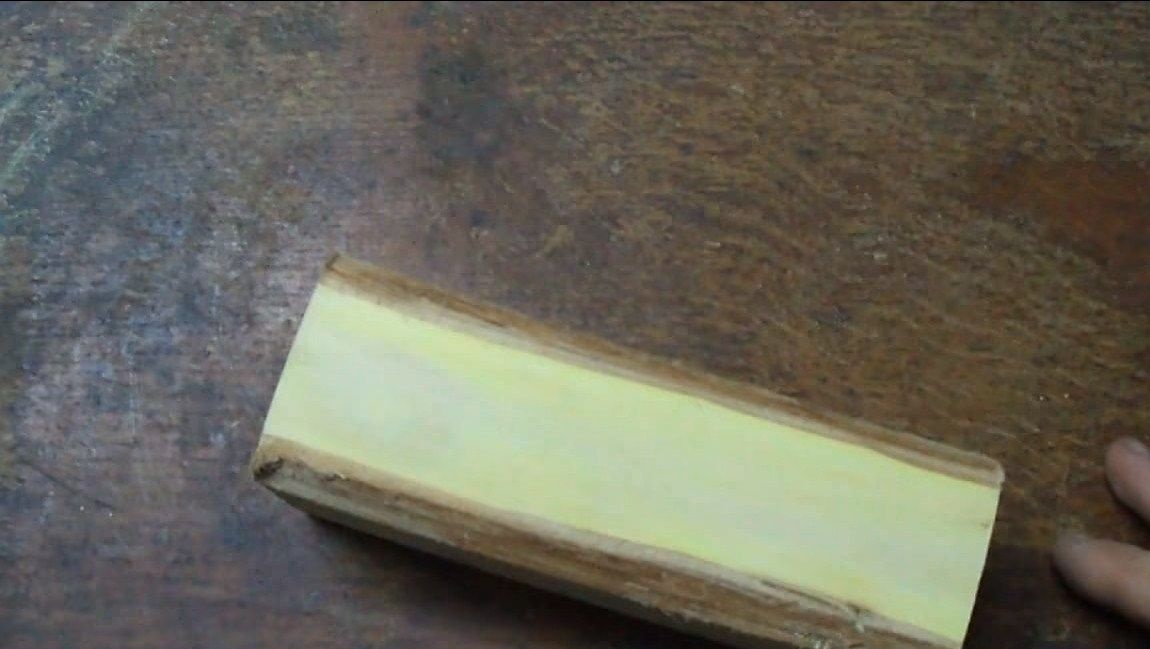
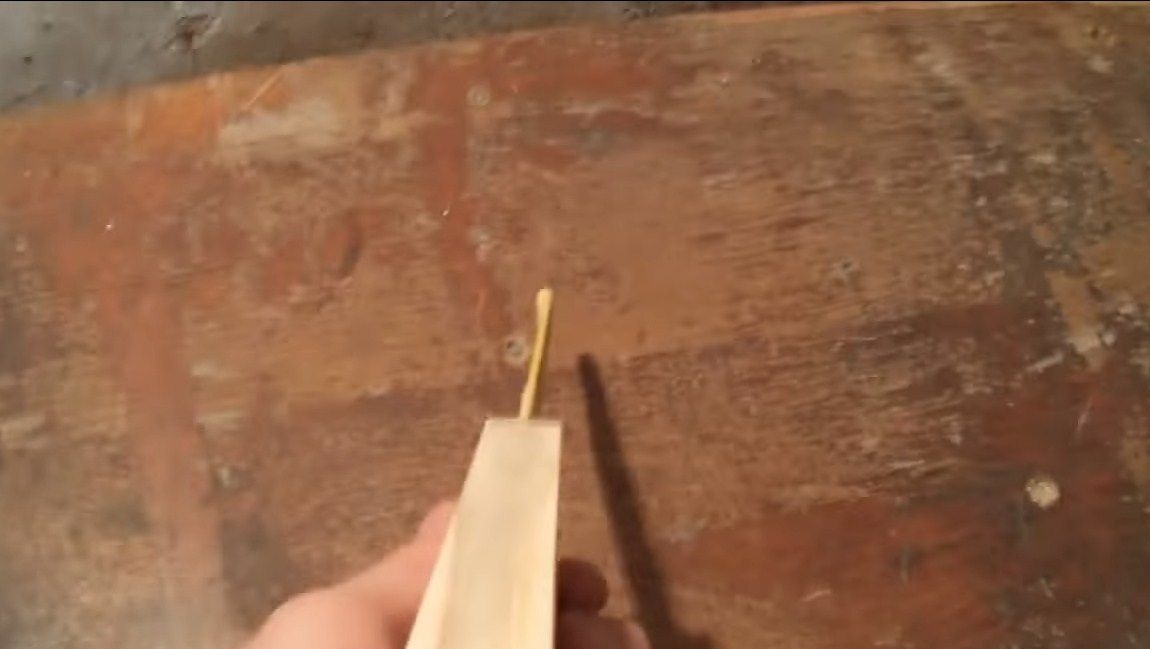
The author makes a pen from a piece of a branch, it is important that the material is dry. We drill a hole in the tree for the shank. The author drilled it with the expectation that a beautiful pattern in the form of rings was obtained on the back of the handle. For convenience, the workpiece can be made rectangular on a circular.
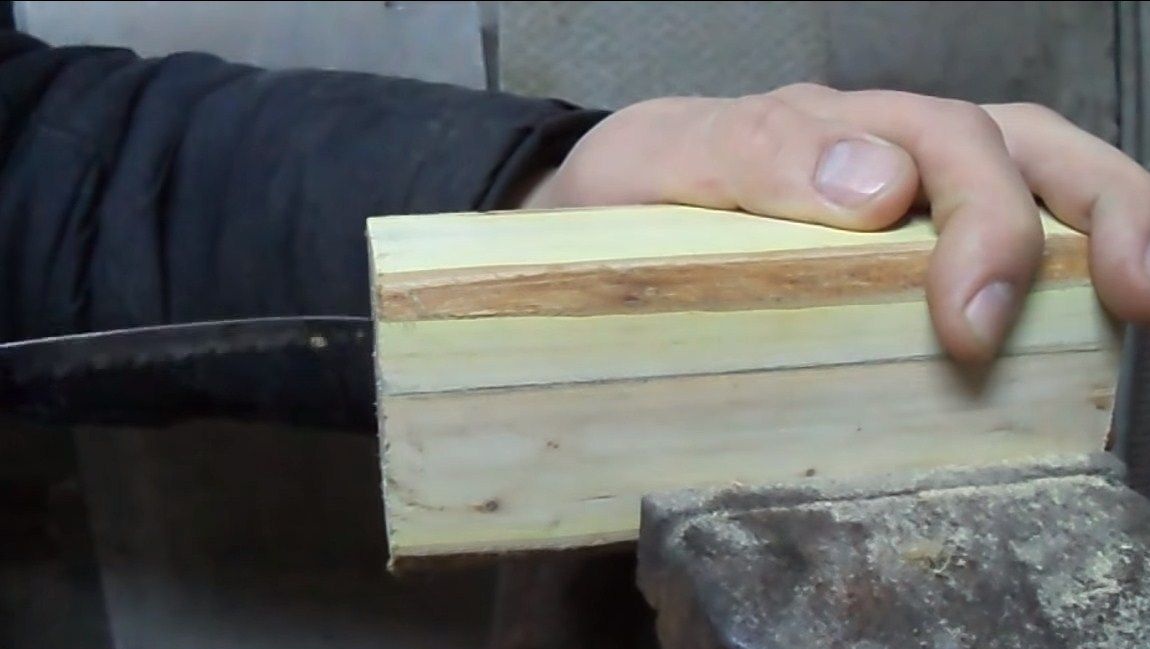
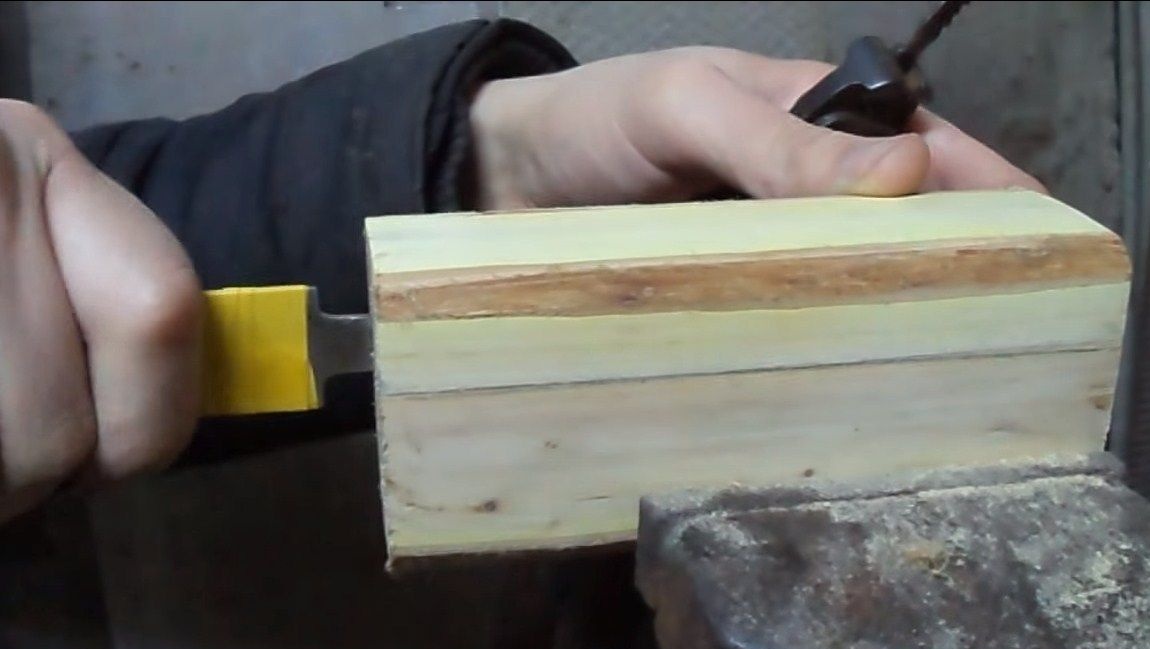
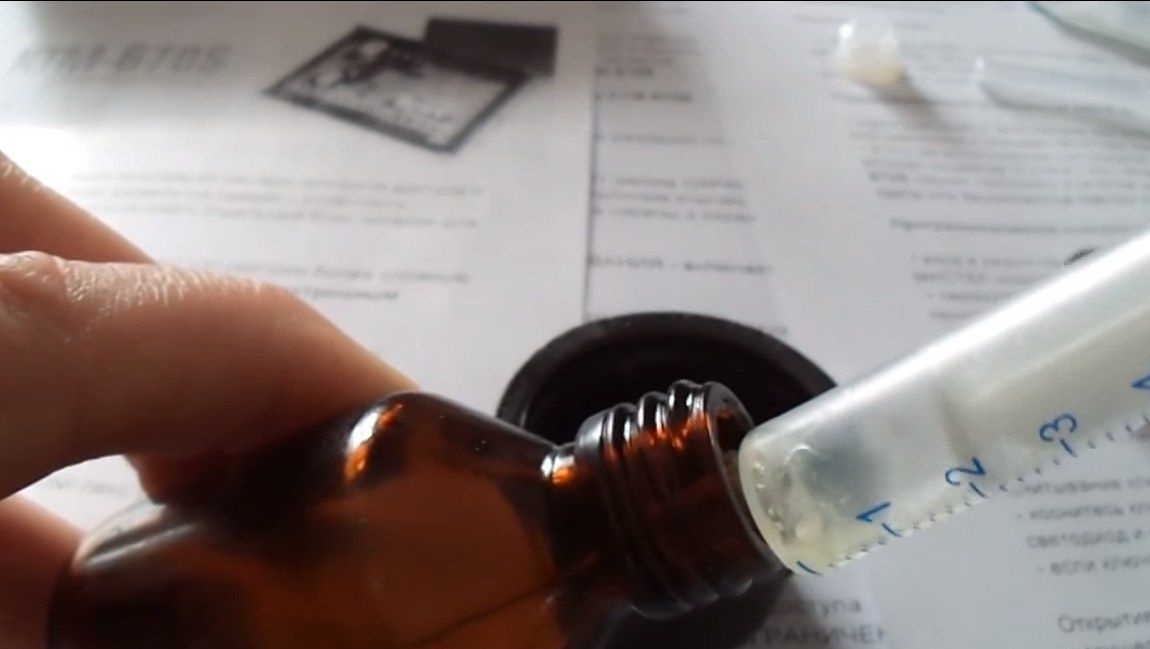

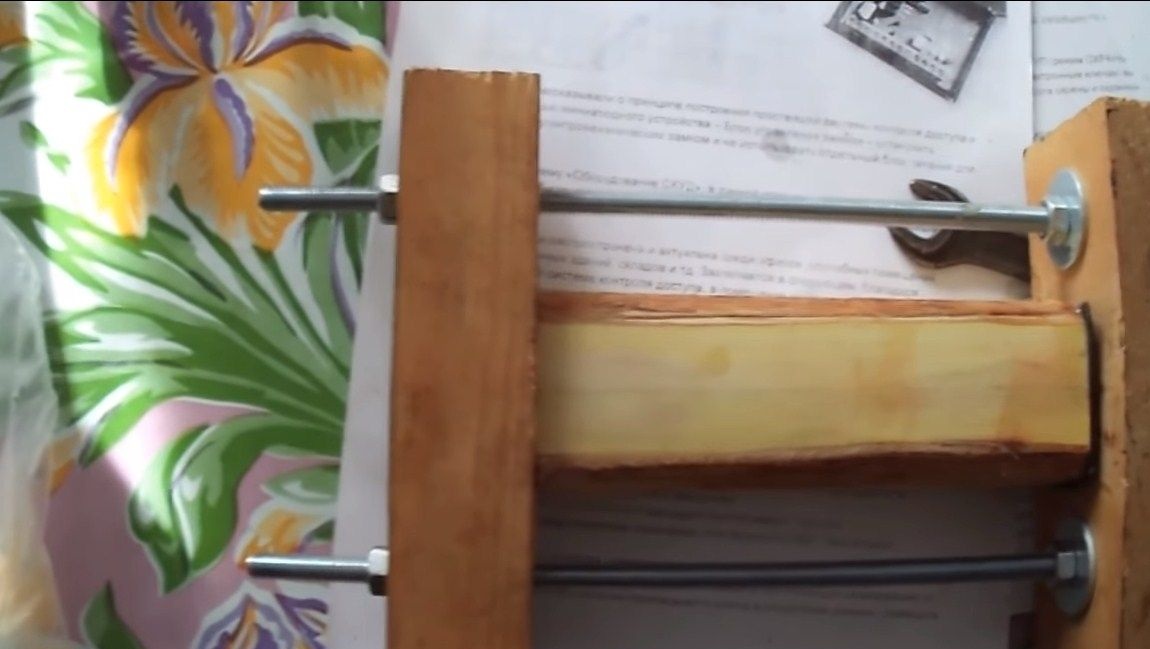

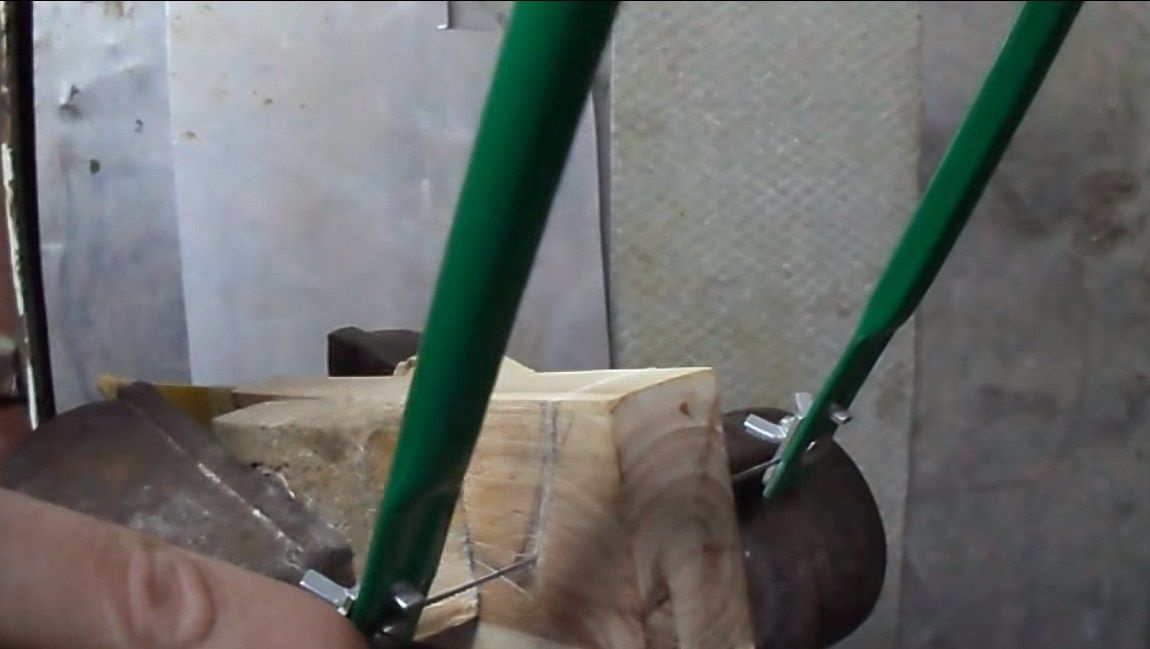
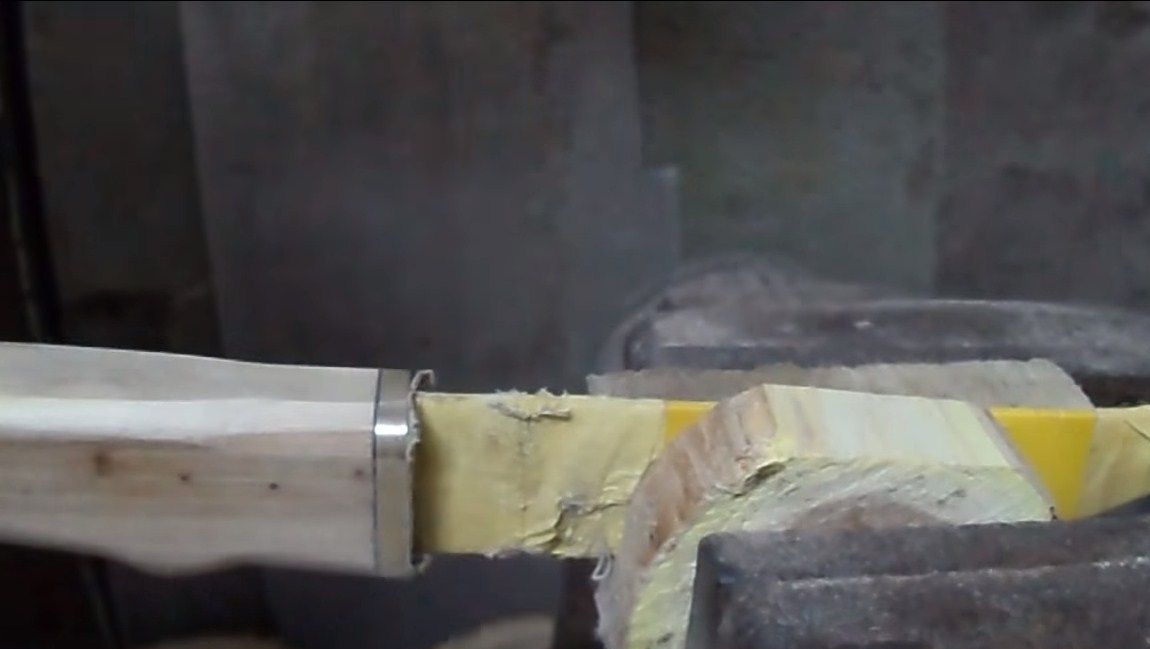
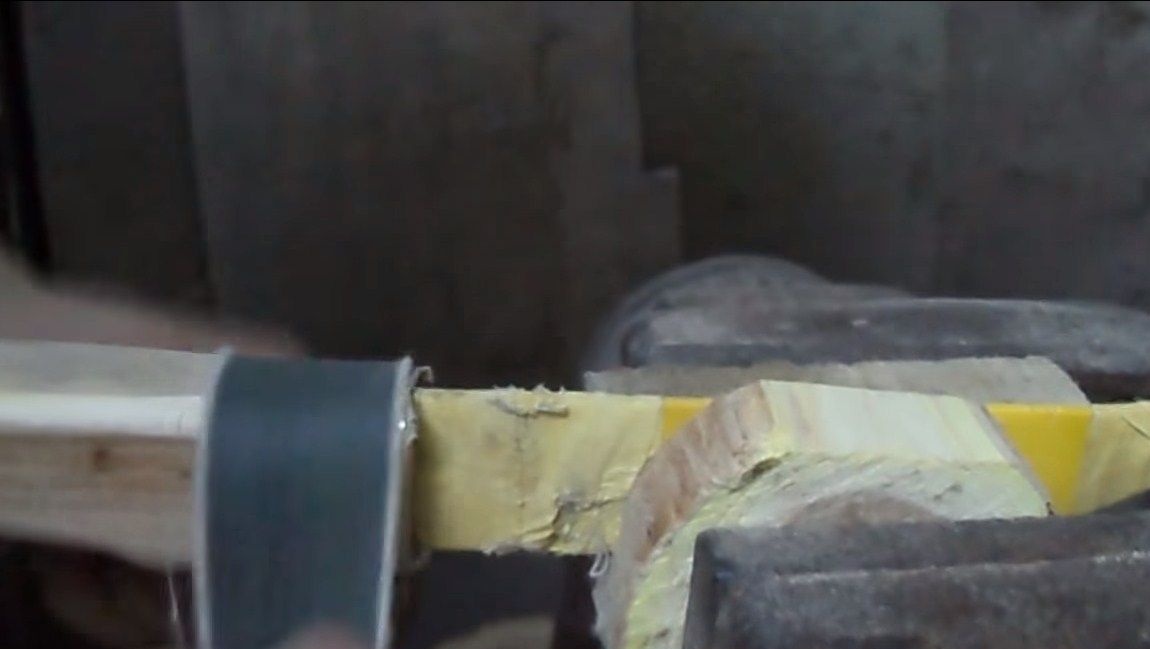
Now you can glue the workpiece, for this we dilute the epoxy glue, carefully hammer the shank into the wood on the glue, do not forget to put on the brass insert. Next, the entire structure must be pulled together with a clamp. The author has a home-made clamp, made of three bars, as well as threaded rods and washers. We leave this whole thing to dry, guaranteed epoxy dries out at least 24 hours.
Step Six Final revision of the knife
When the glue dries, we take out our knife and draw with a pencil the desired profile of the handle. Next, cut off the excess with a jigsaw, the fastest way to do this is with a jigsaw. We grind the handle to get the desired profile, rough processing can be carried out on a grinder or grinder. Well, finer processing is carried out manually using sandpaper. We make the handle absolutely smooth.
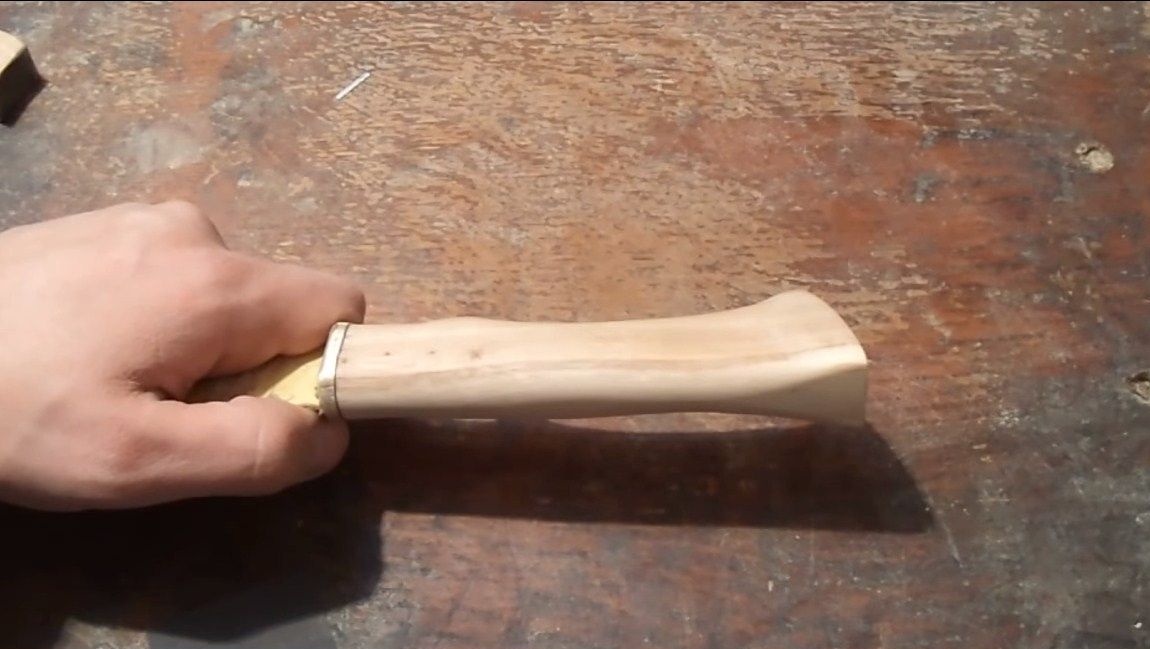
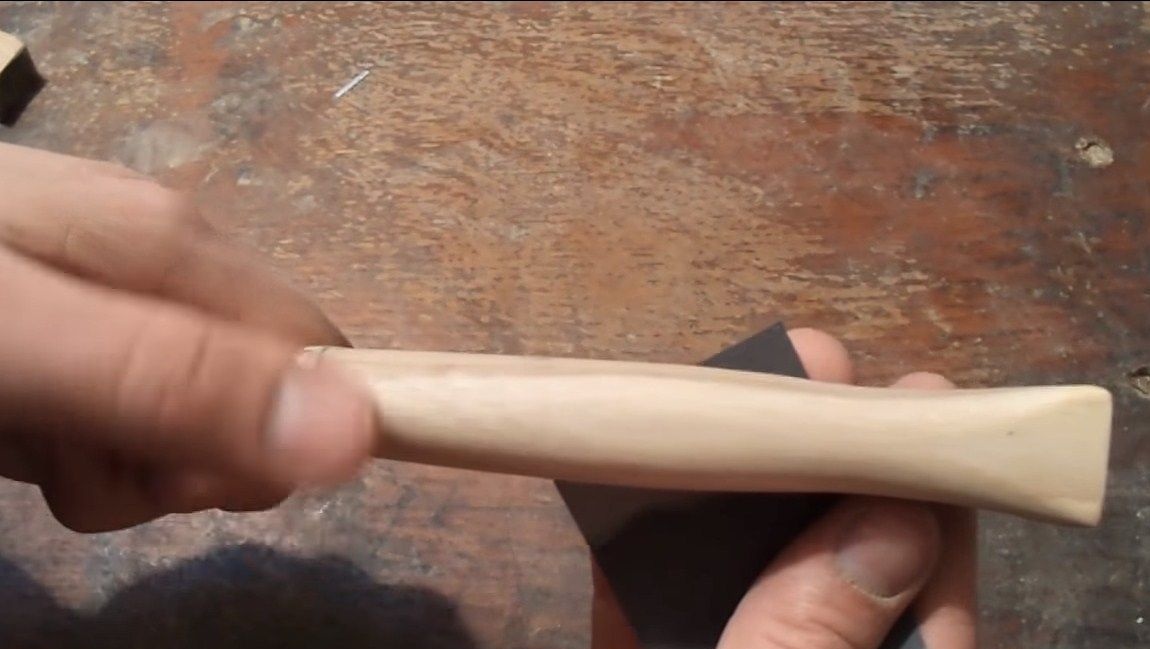
When the pen is finished, soak it with oil, and you can apply a stain to add color. Also, the handle can still be polished with beeswax, then it will look great. The author's pen turned out to be of a rather interesting shape with a beautiful pattern.
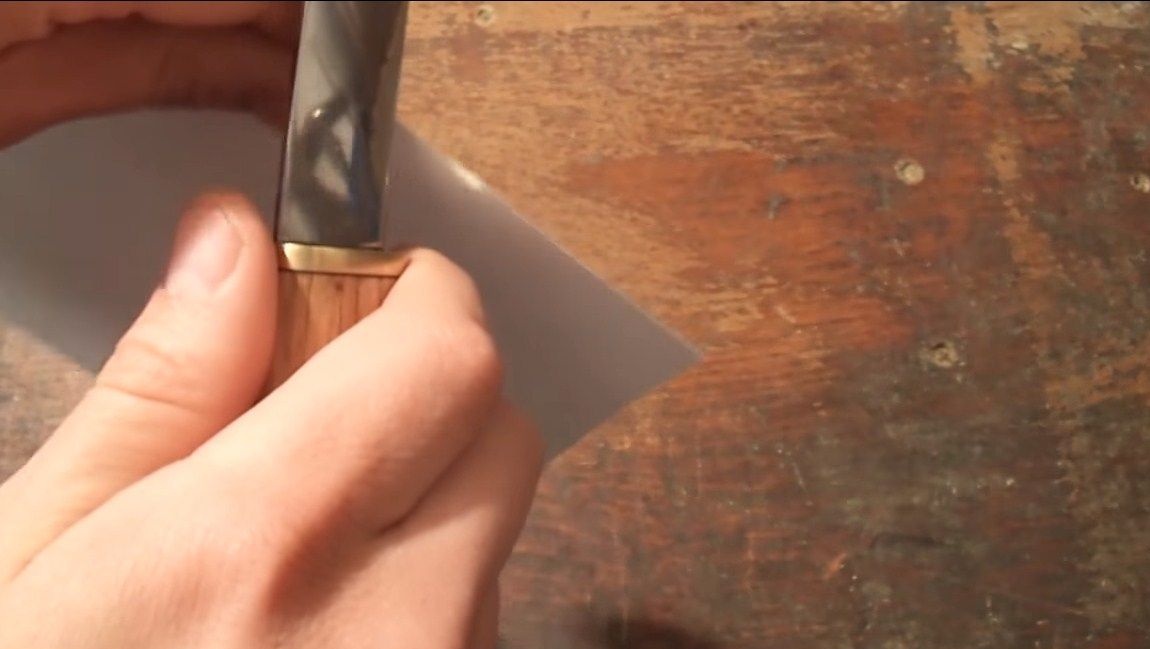
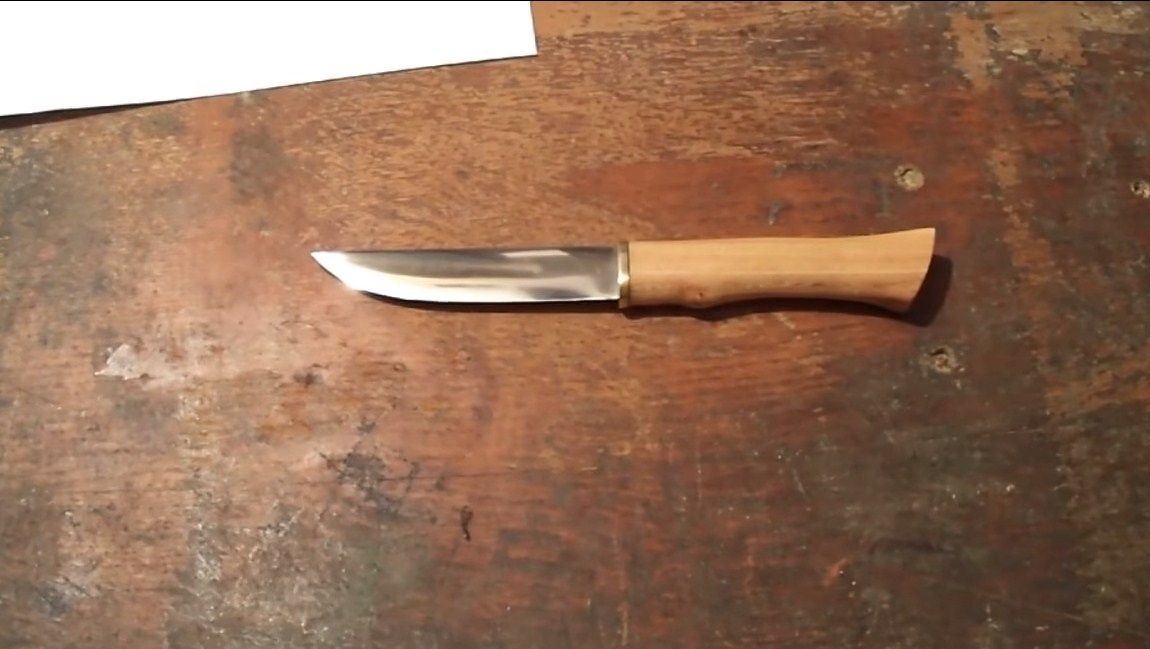
That's all, the knife is ready, now you just have to sharpen it to the state of the blade. The author has a knife so sharp that it easily cuts paper.
I hope you enjoyed the project and found useful information for yourself. Good luck and creative inspiration if you want to repeat homemade. Do not forget to share your ideas and best practices with us.