
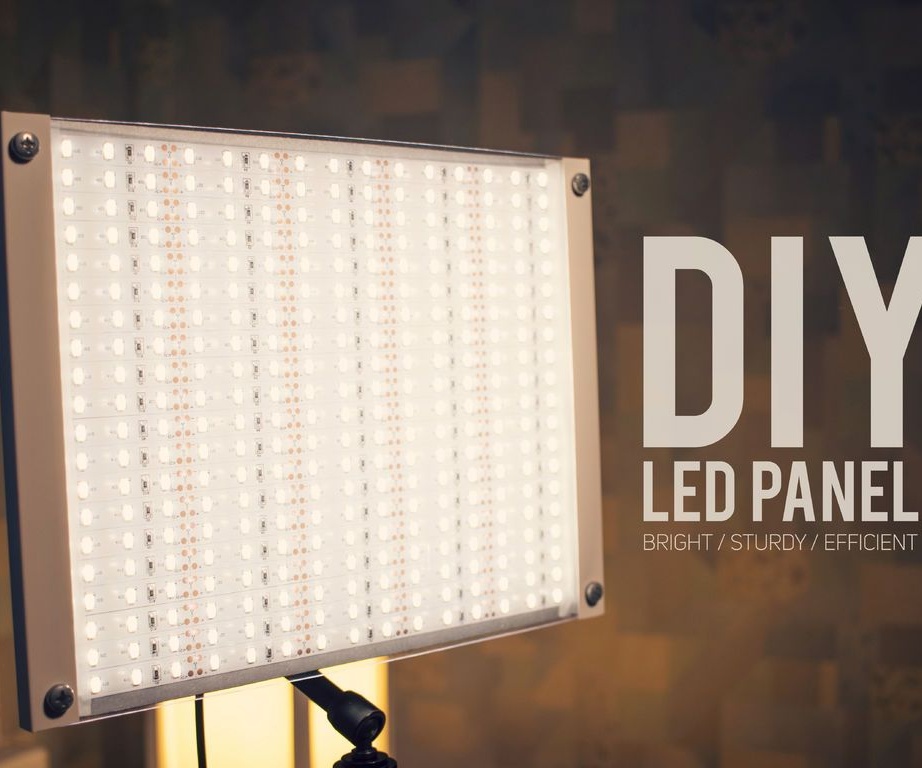
The LED lamp with brightness control is needed for the master-master, for background lighting when taking photos / videos. The main condition in the manufacture of the lamp was power, brightness control, reliability.
For the manufacture of the lamp, the master used the following
Tools and materials:
- Electric jigsaw;
- Clamps;
-Sandpaper;
-Stripper;
-Nippers;
-Knife;
-A screwdriver;
-Scissors;
-Rule;
-Soldering accessories;
-Manual jigsaw;
-Glue gun;
-Marker;
-Plywood;
-Aluminum plate;
- Orgsteklo;
-Plastic profile;
-LED Strip Light;
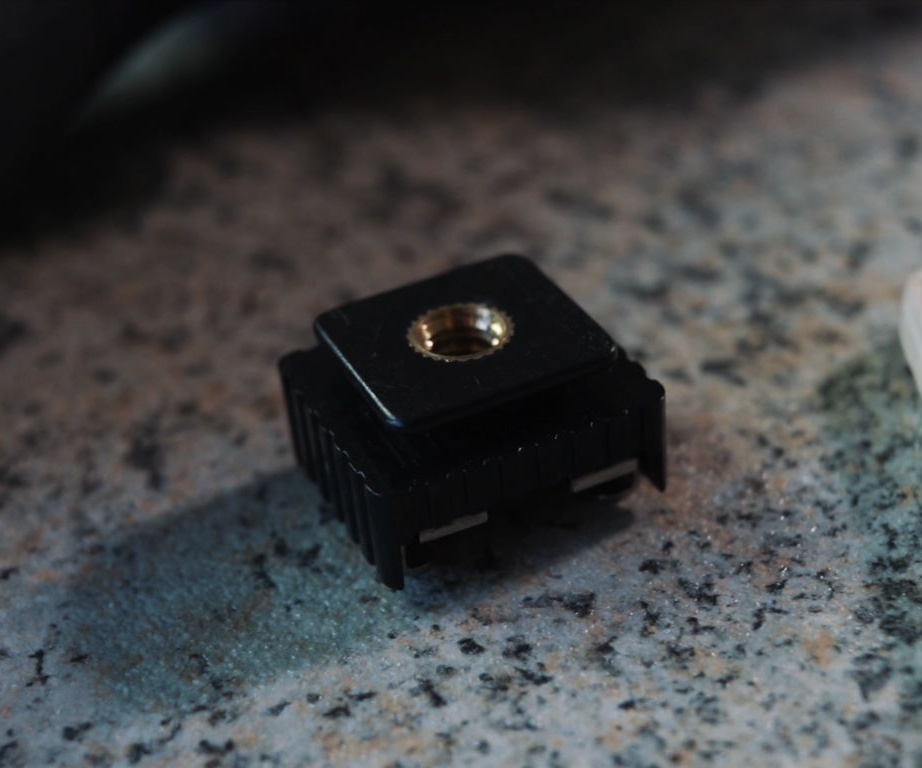
- Contact block (camera shoe);
-Dimer;
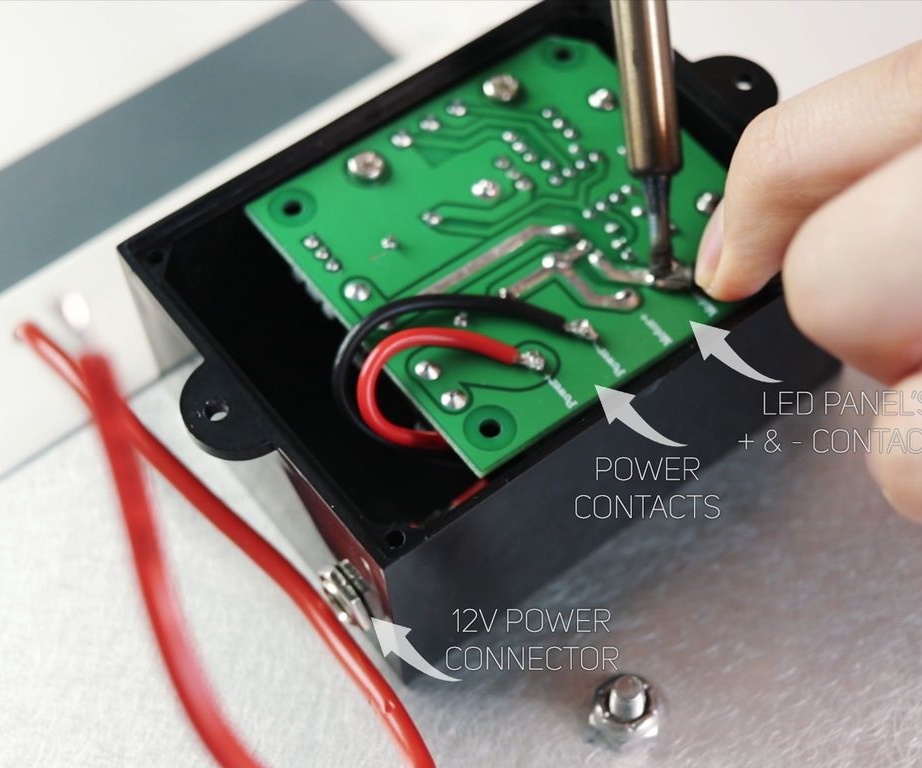
- Power supply 12V 8A;
- The lever with a clip;
-Plastic box;
-Connector;
-Insulating tape;
-Glue on wood;
-Paint;
-Wire;
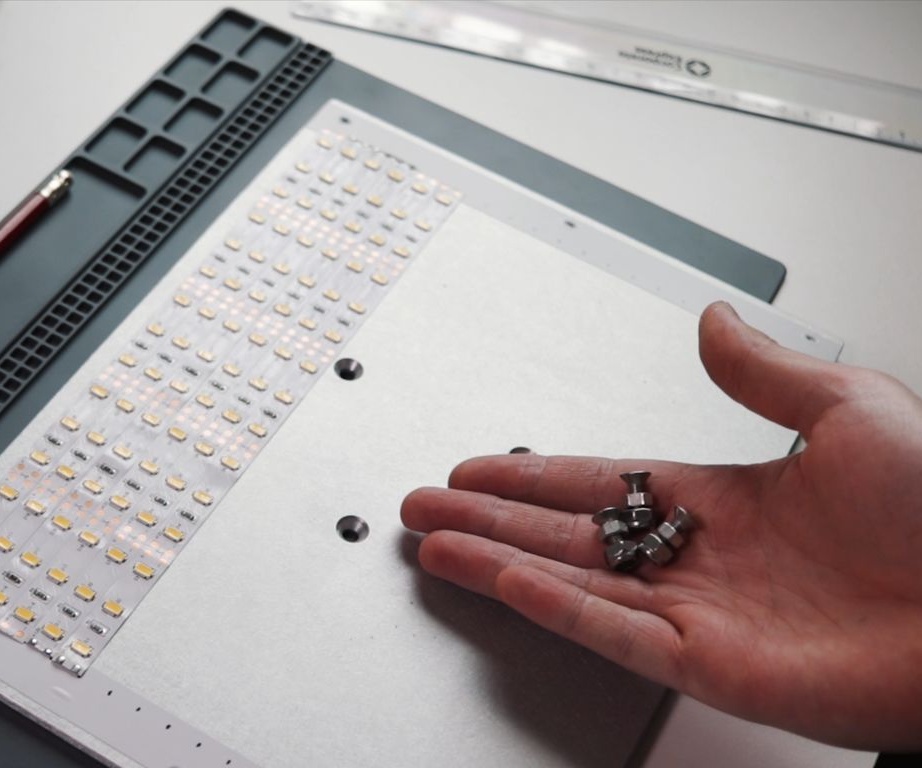
-Fasteners;
Step One: Aluminum Plate
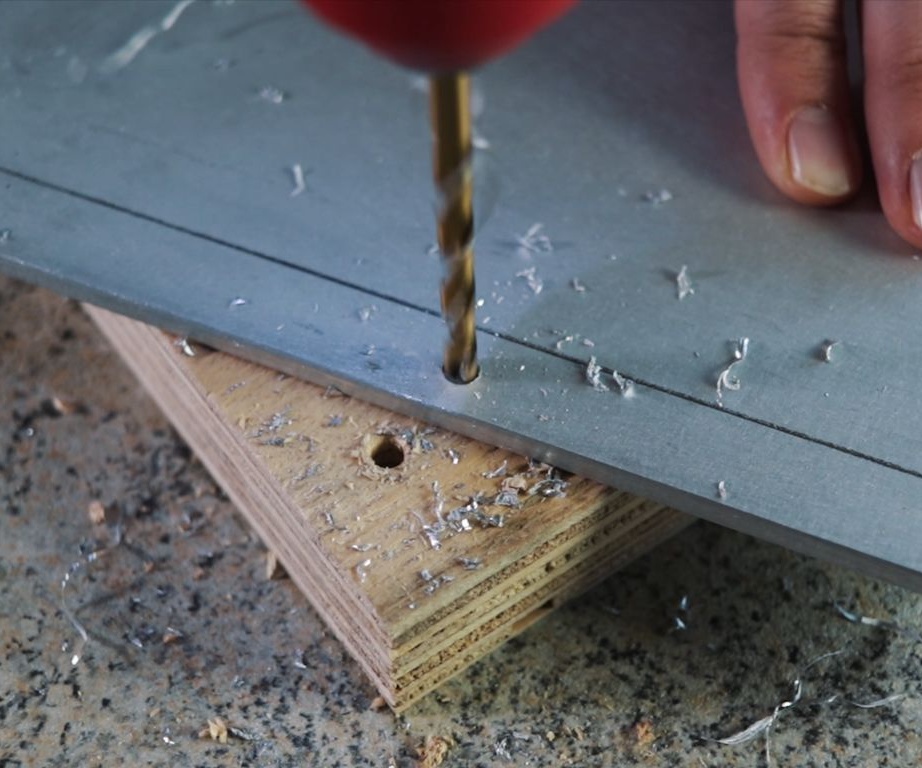
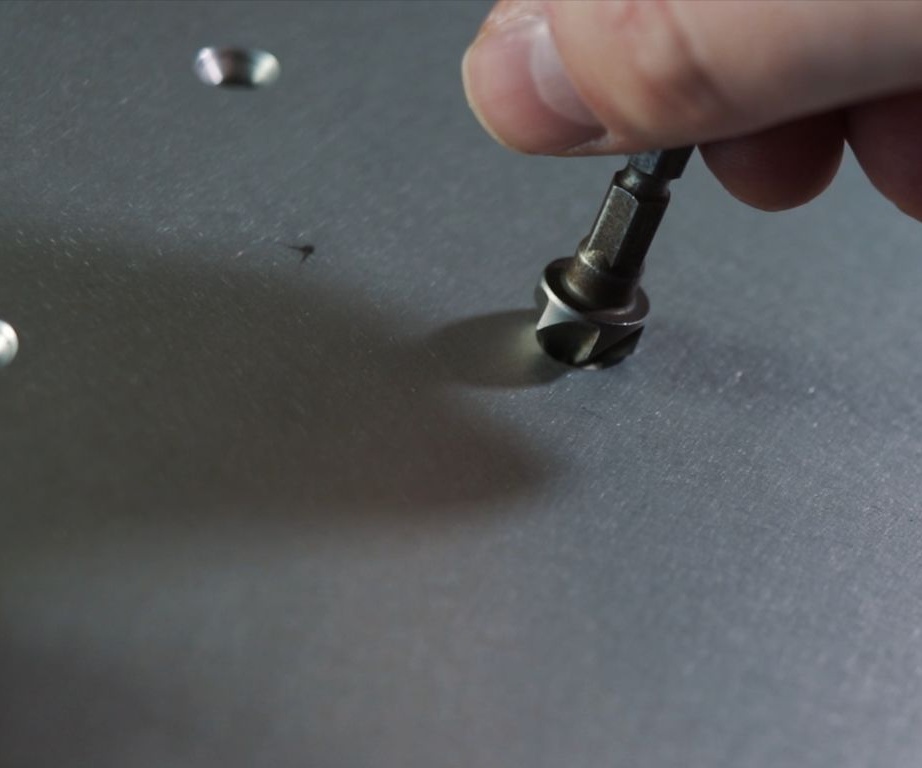
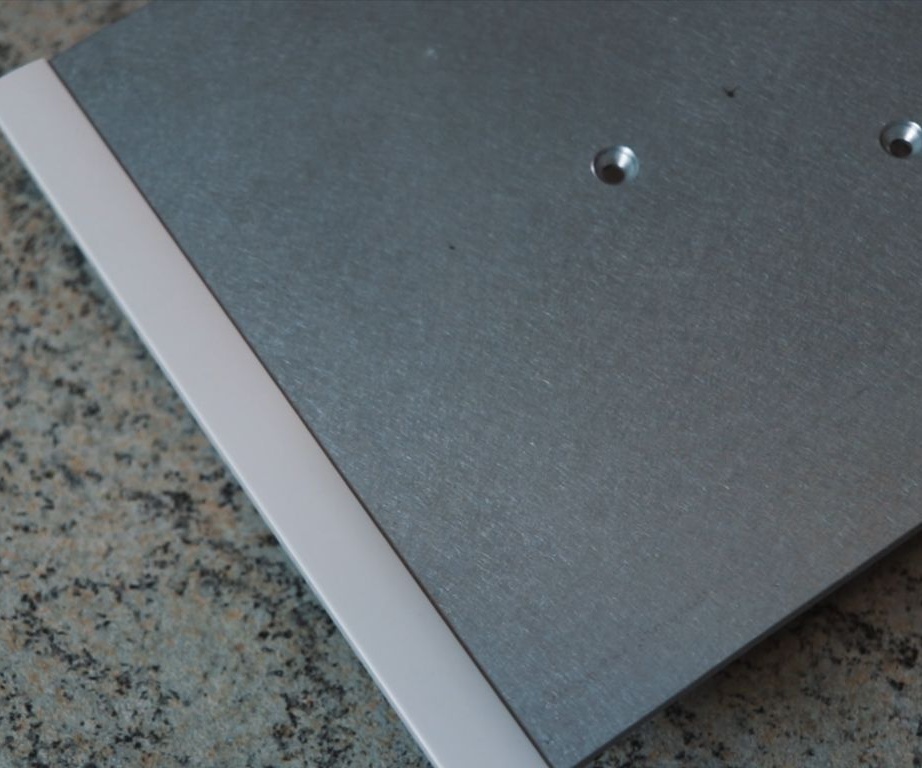
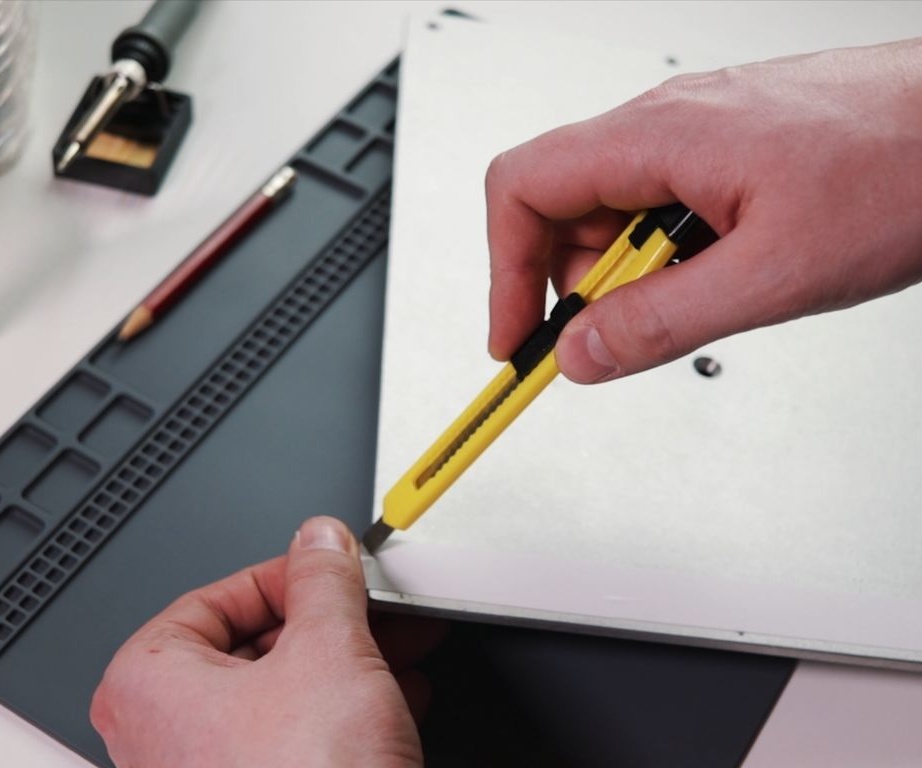
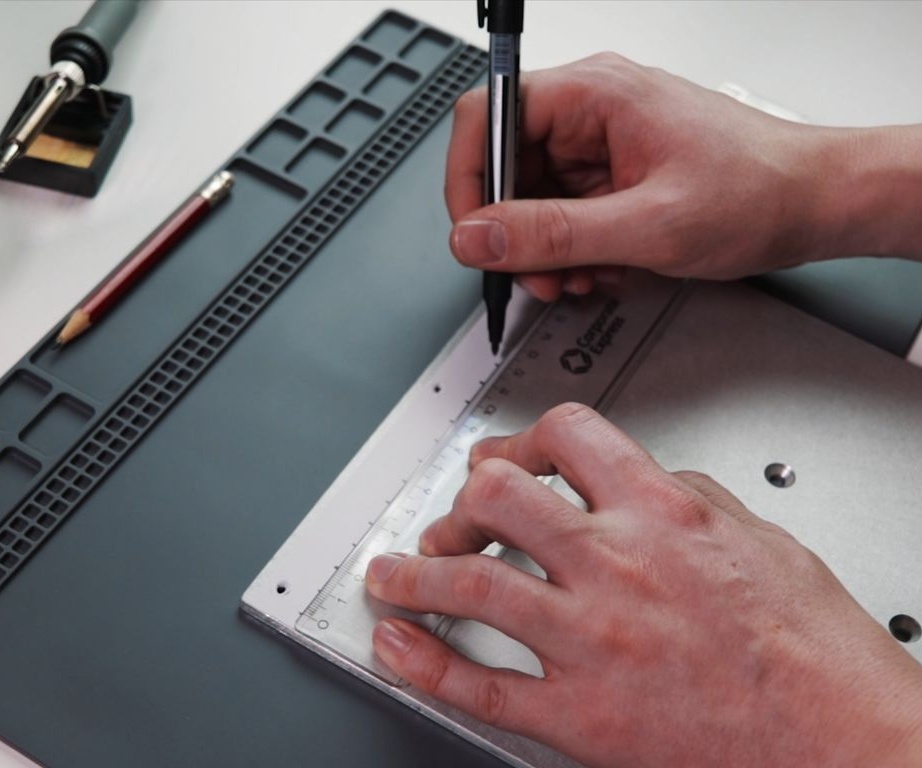
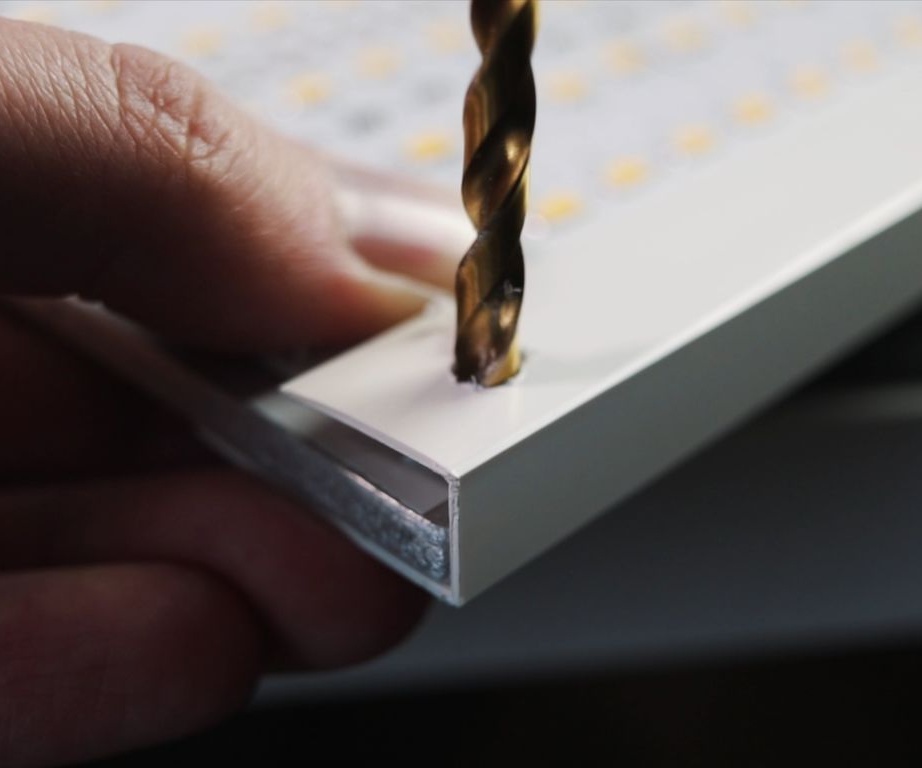
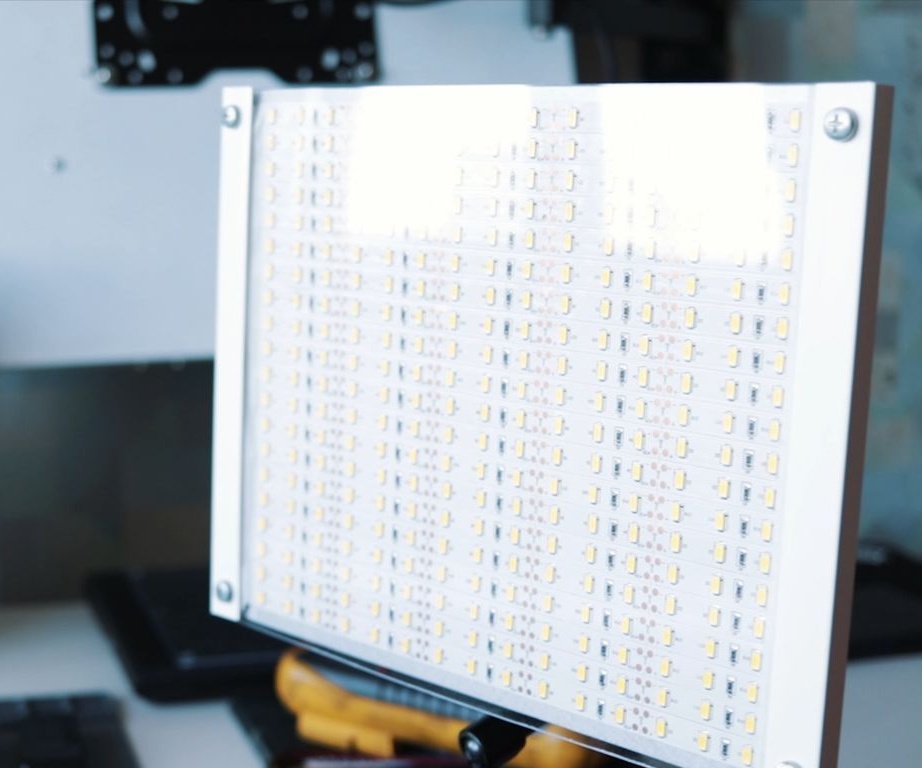
For the base of the lamp, the master takes an aluminum plate. Plate thickness 3 mm. Cuts the plate to a size of 28.4 x 21.2 cm. Cleans the edges with an emery cloth. Then he drills three holes along the edges of the plate. Three more holes are drilled in the central part of the plate. When drilling holes, the master used a template. The layout of the LEDs was printed on the template. This is necessary to part the hole and the LED itself. You can download the template here.
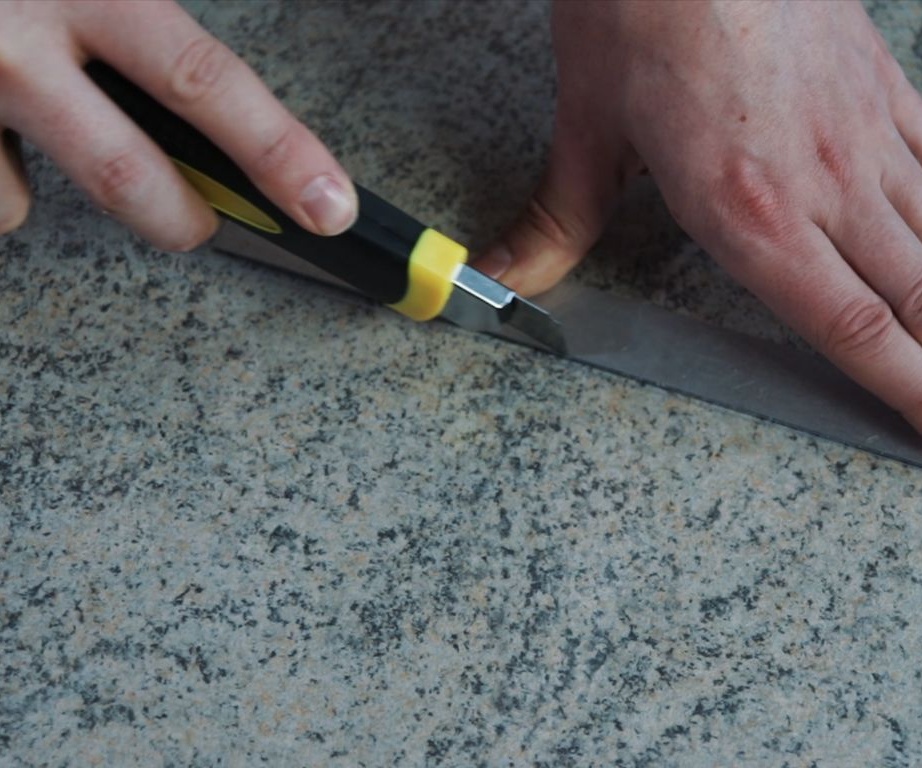
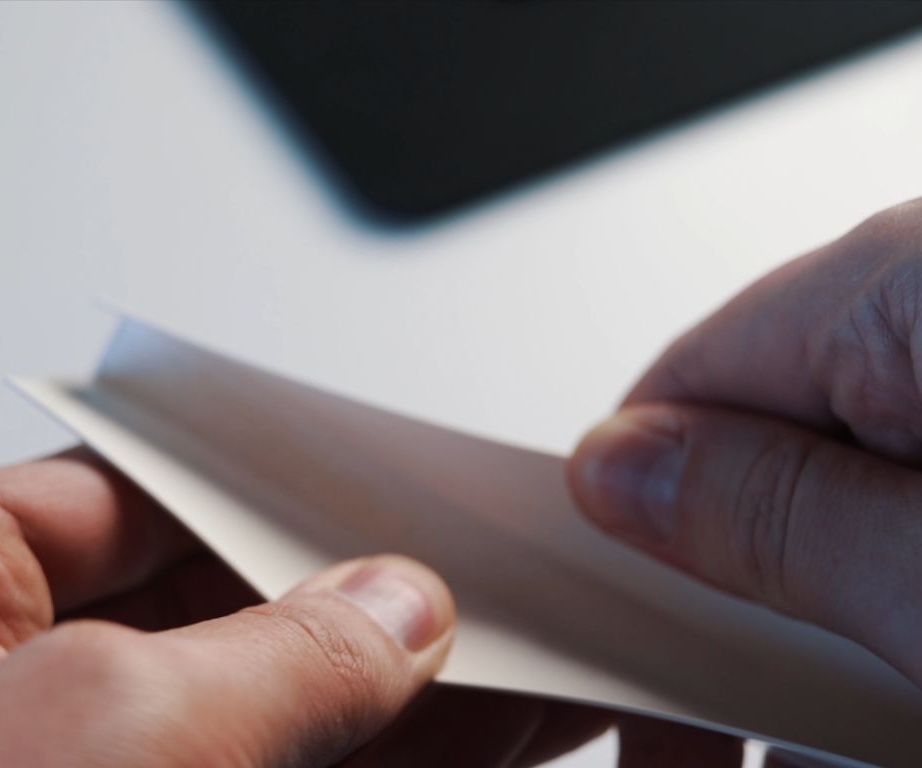
Step Two: Plexiglass
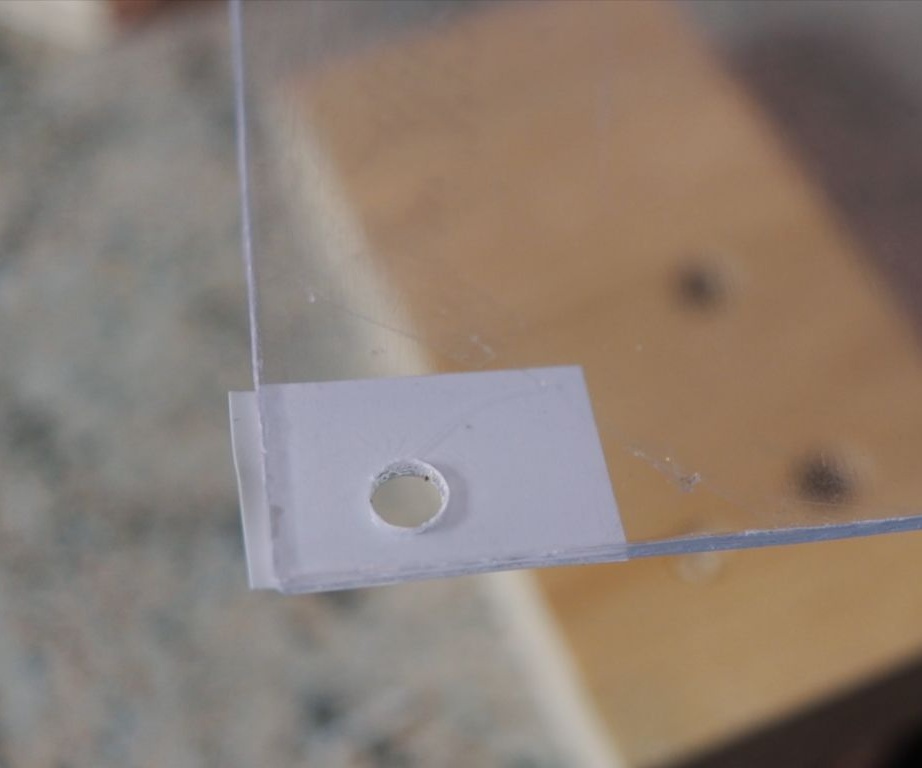
Plexiglass cuts to the size of the plate. Drills holes for fasteners in it.
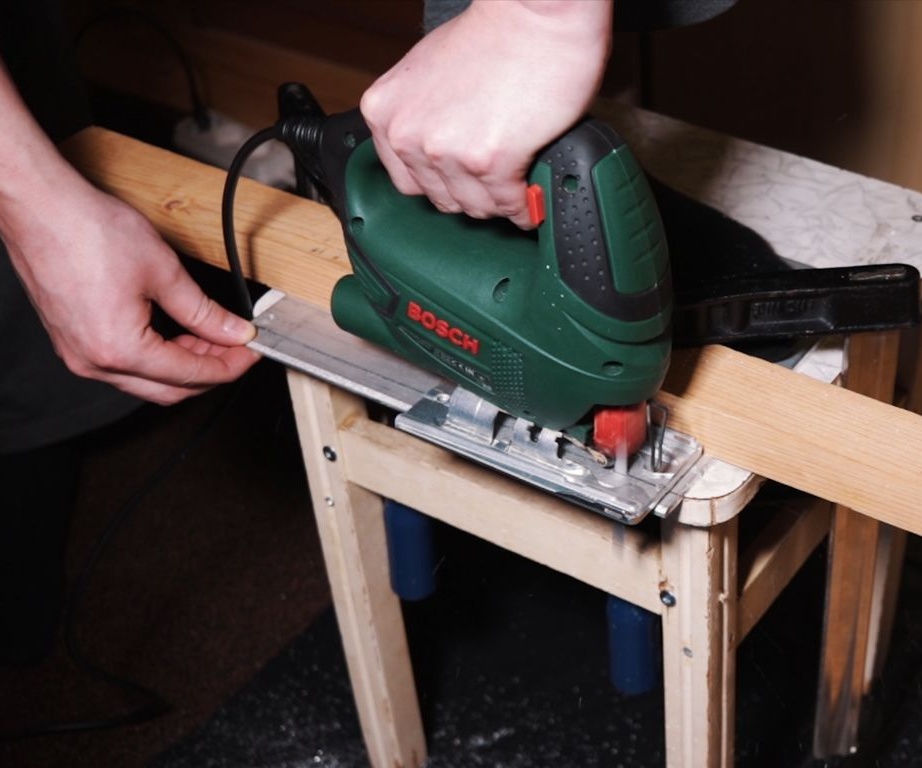
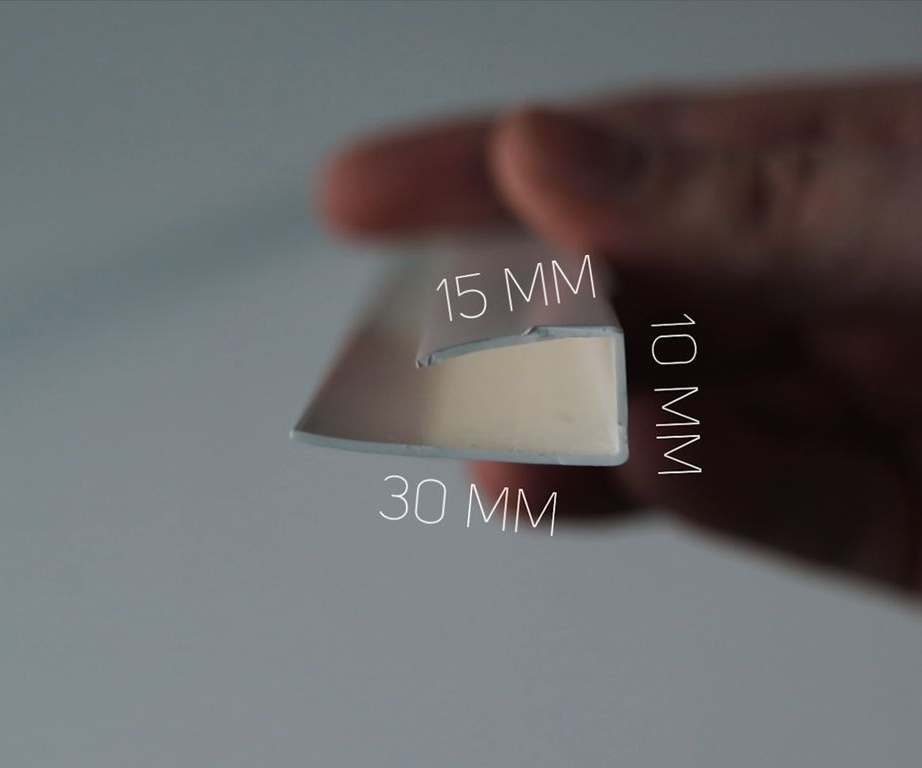
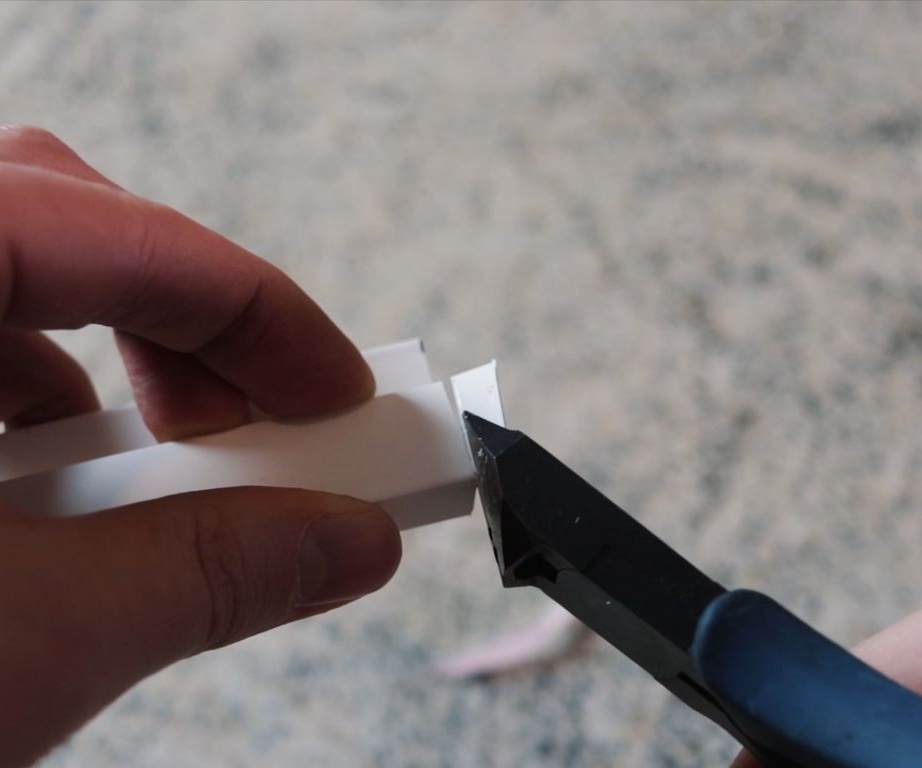
Step Three: Profile
Cuts two pieces of a profile of 21.2 cm.
Step Four: electrical tape
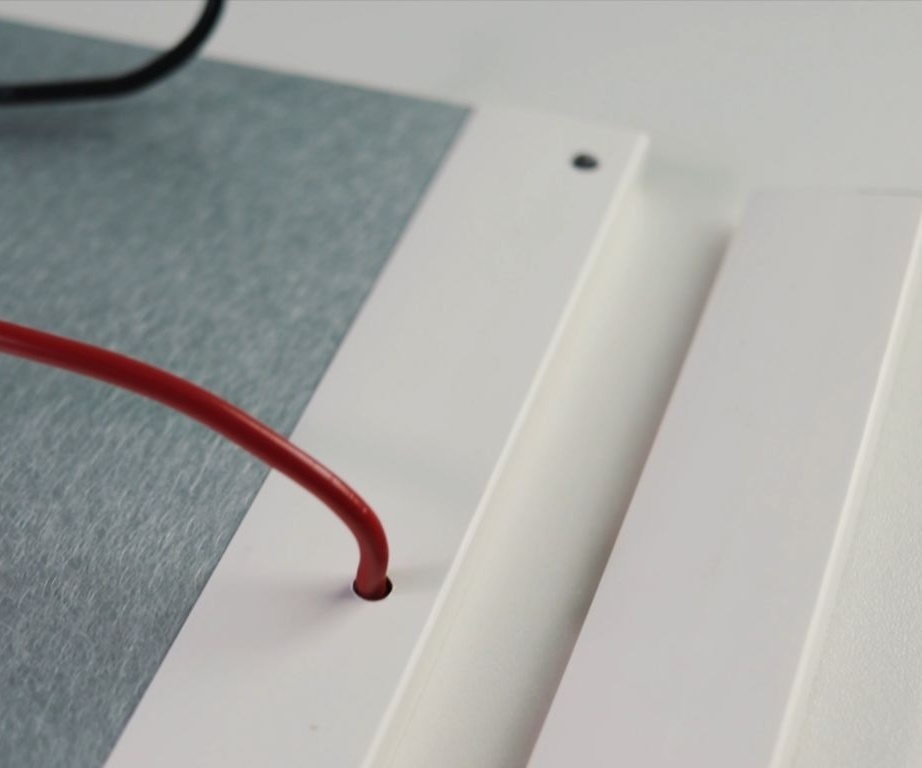
On two edges of the plate (21.2 cm) glues electrical tape. Pierces it in places of holes. Makes marks on it through every centimeter.

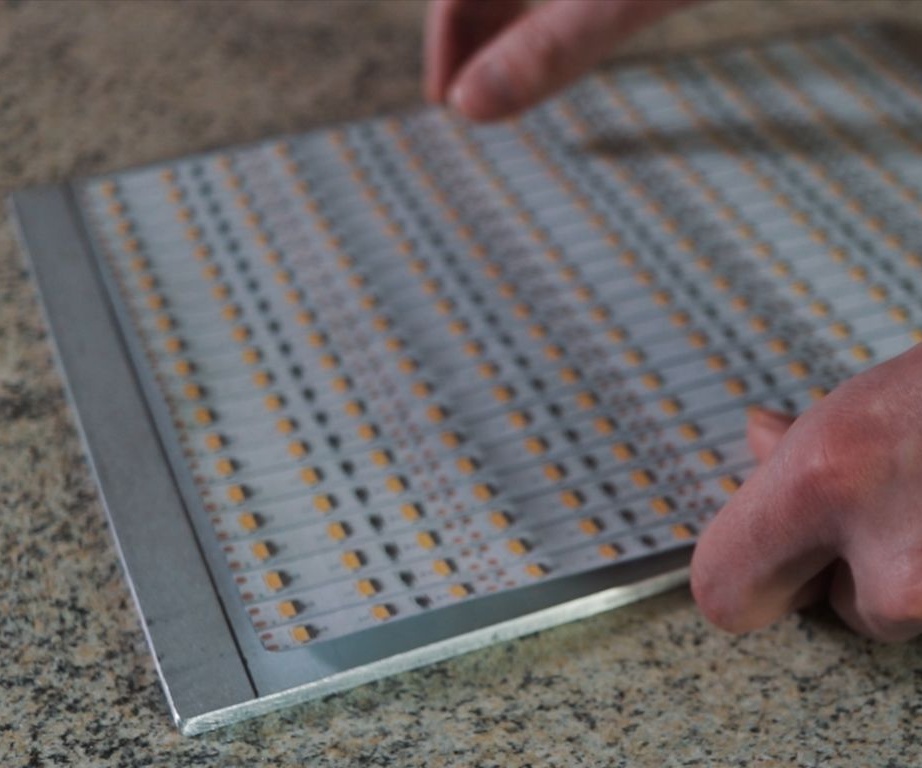
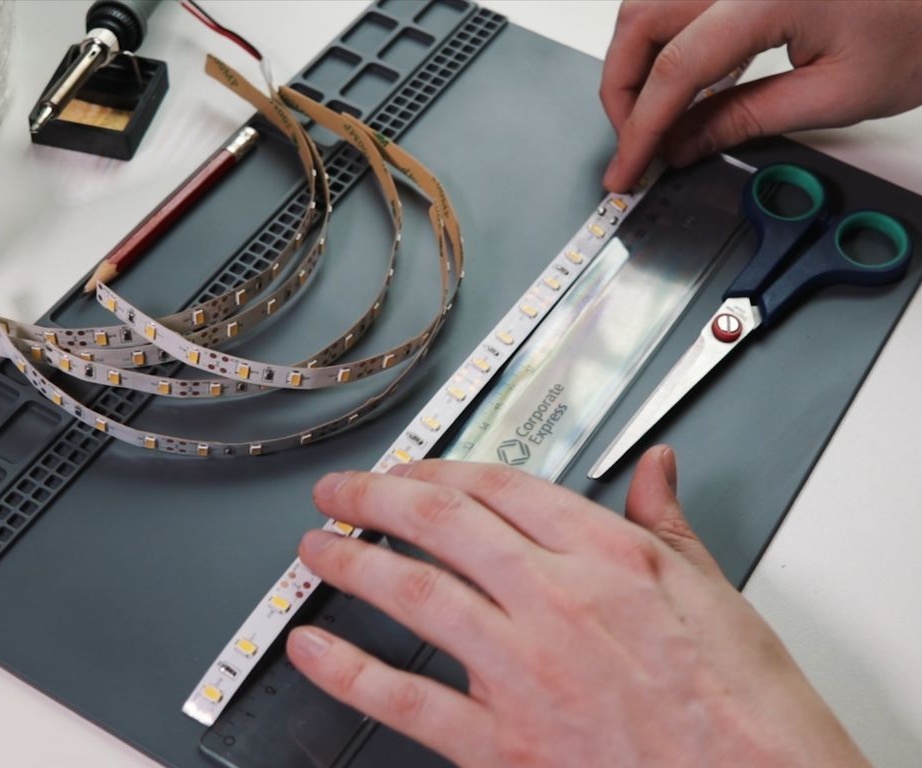
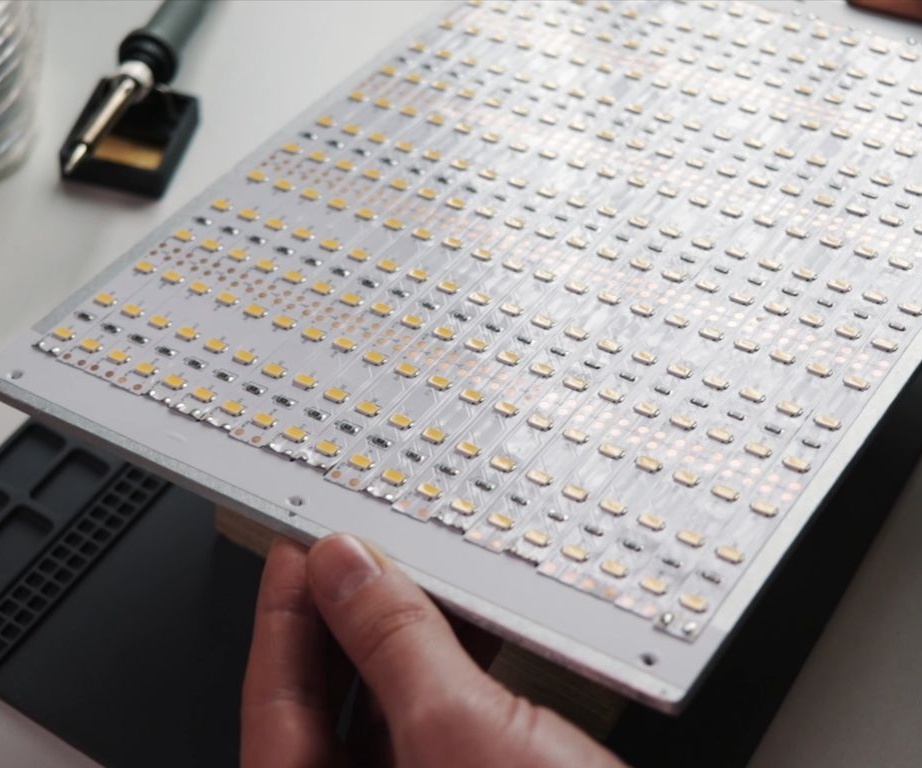
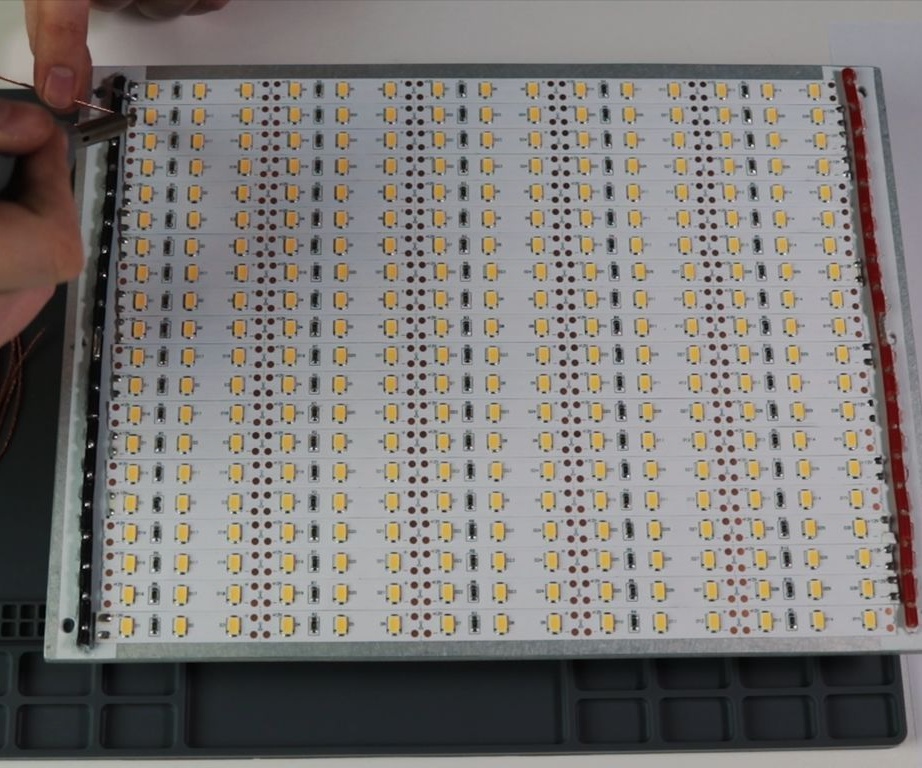
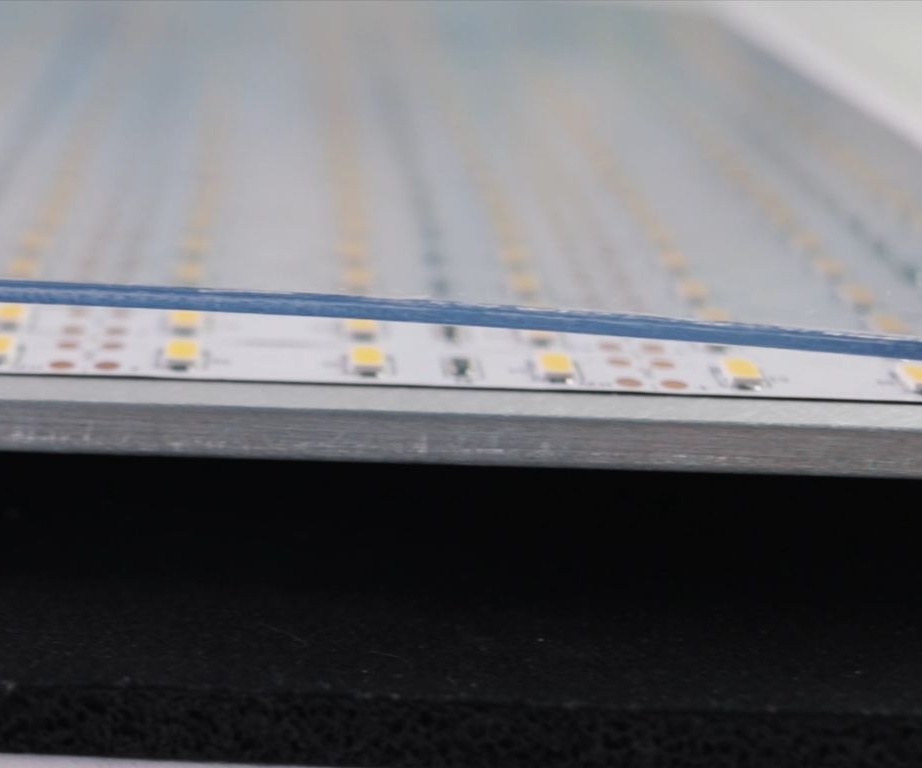
Step Five: LED Strip
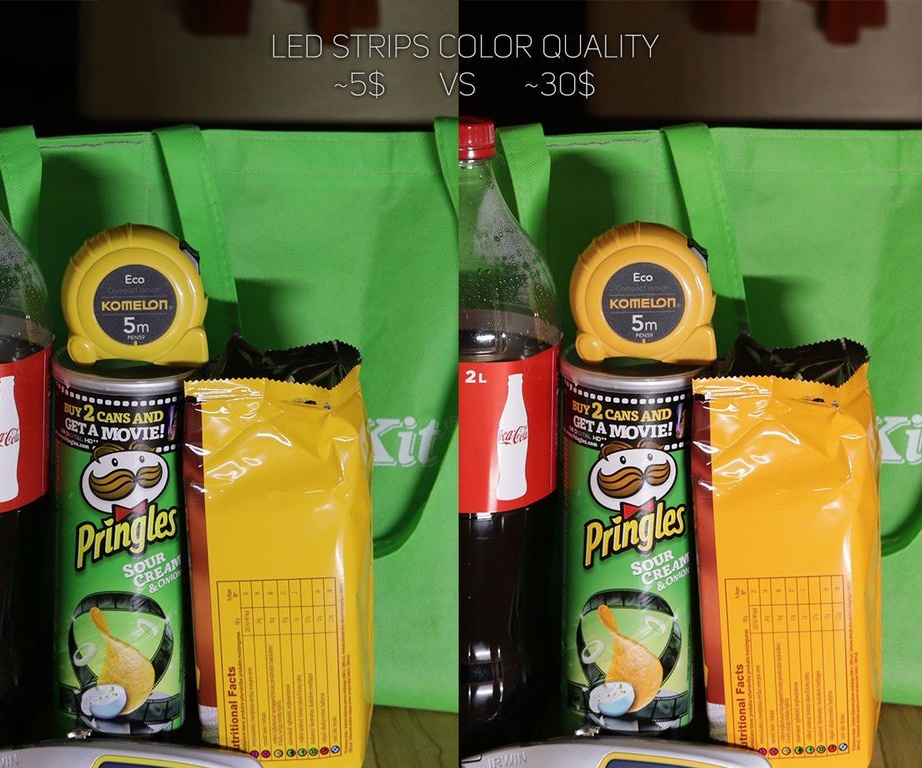
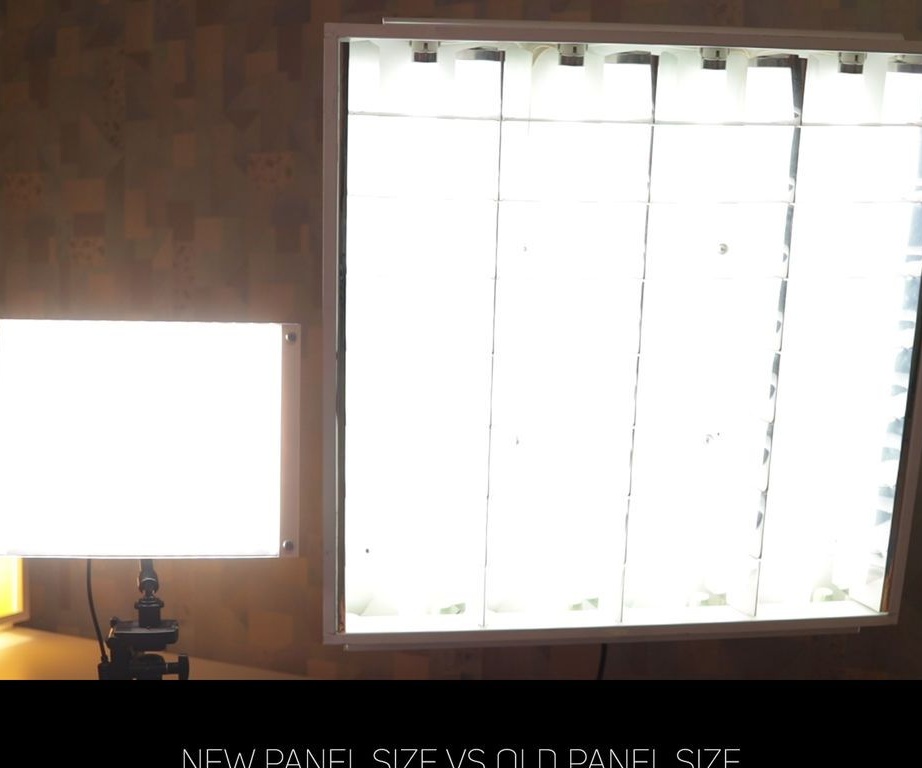
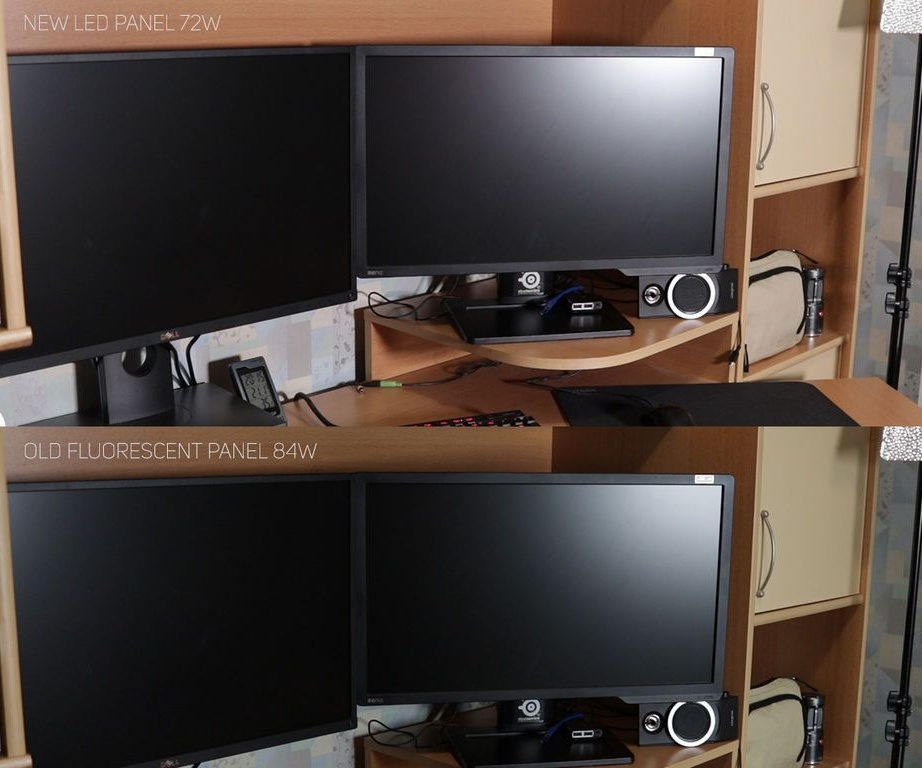
For his homemade the master used high-quality expensive LED strip. In the photo taken by the author, you can see the difference between the pictures taken using expensive and cheap LED strip.
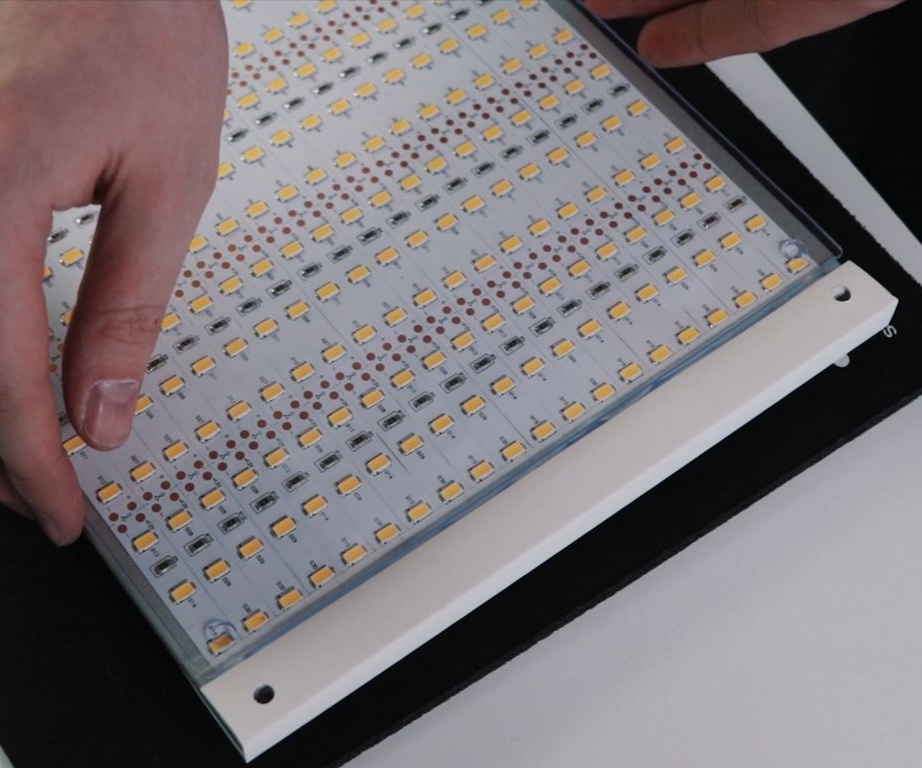
Then the master cuts off 20 strips of tape 25 cm each. Having previously installed bolts in the holes, glues the tape to the surface of the plate.
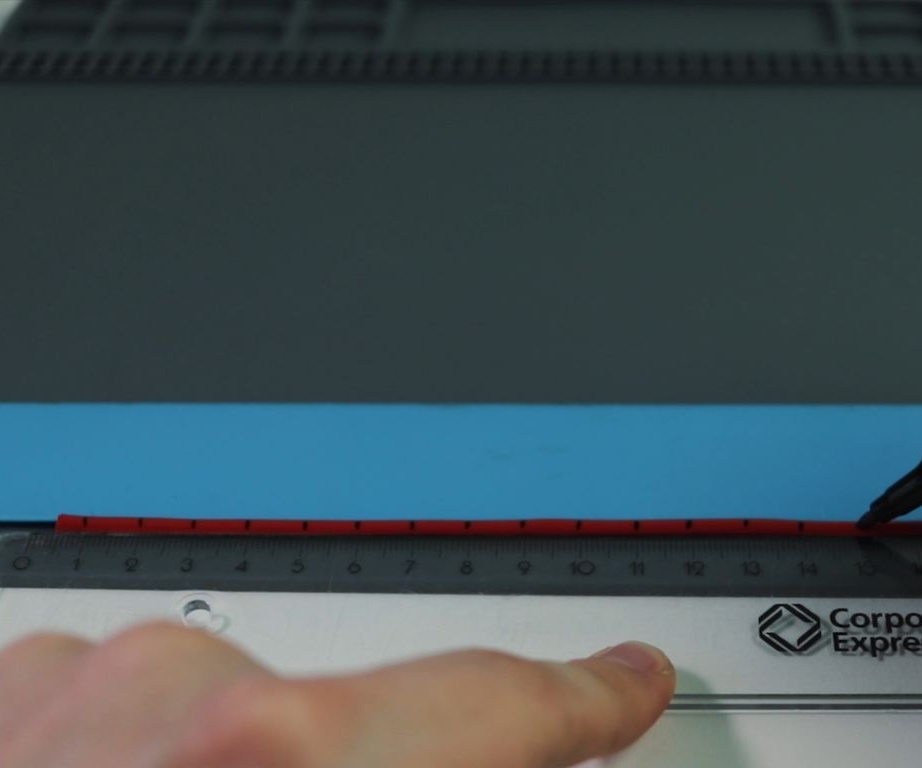
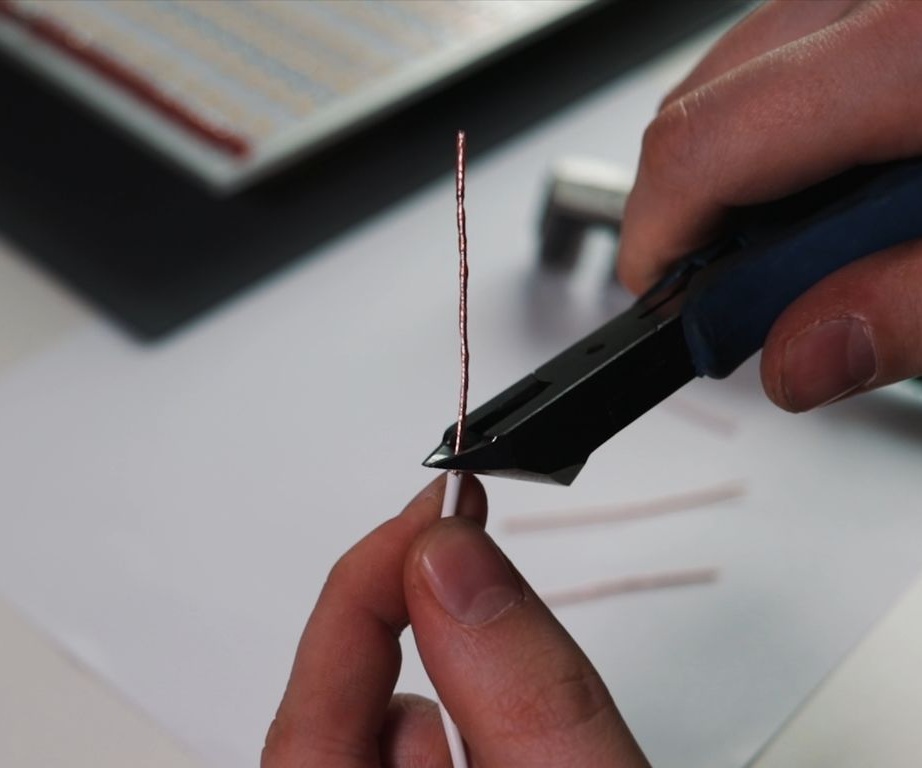
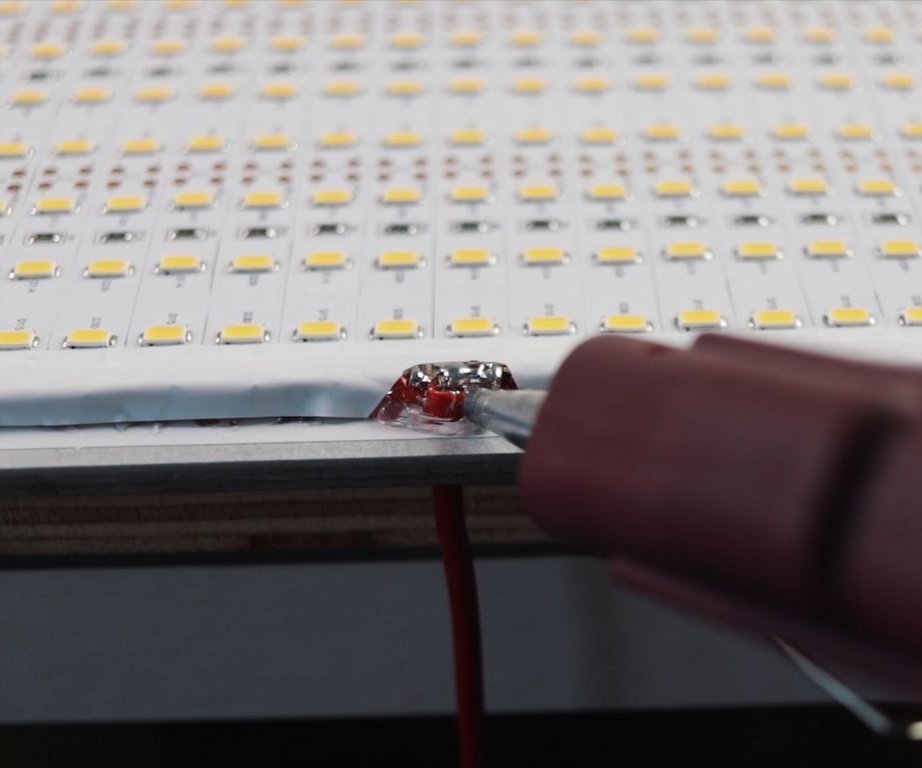
It cuts off two wires of 20 cm. After each centimeter, it removes the winding from the wires.The wire fastens with hot glue. Outputs another wire through the hole in the panel.
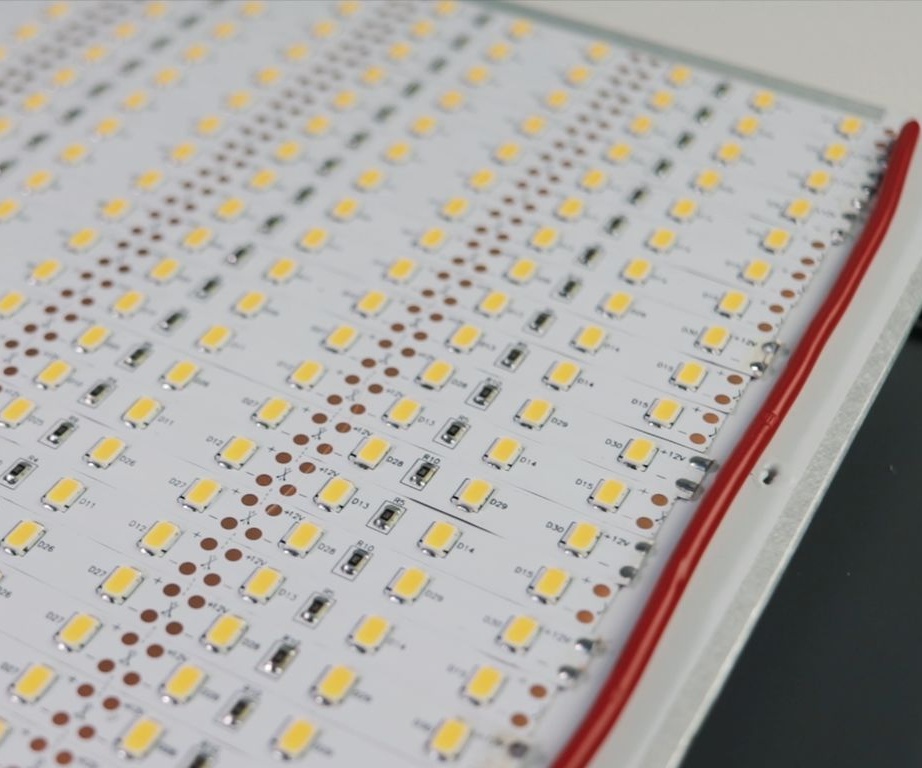
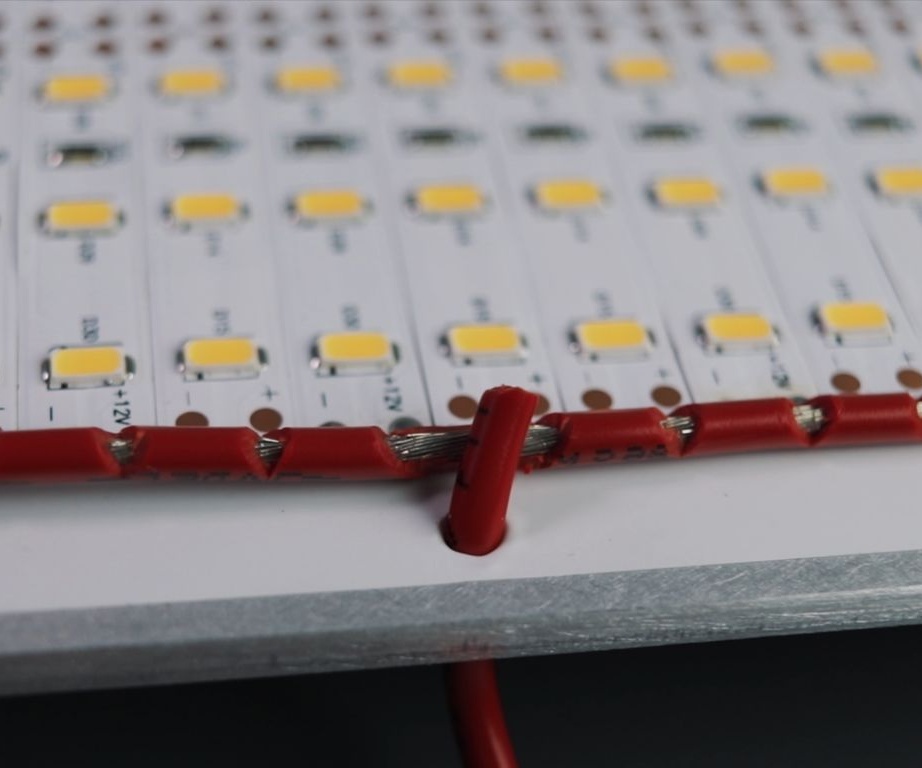
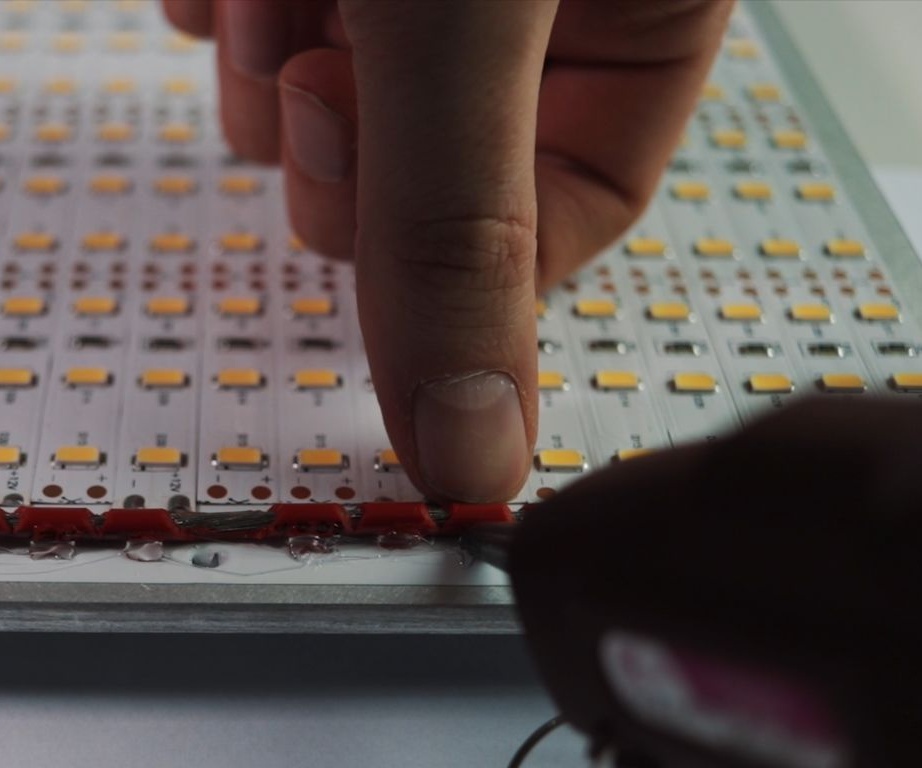
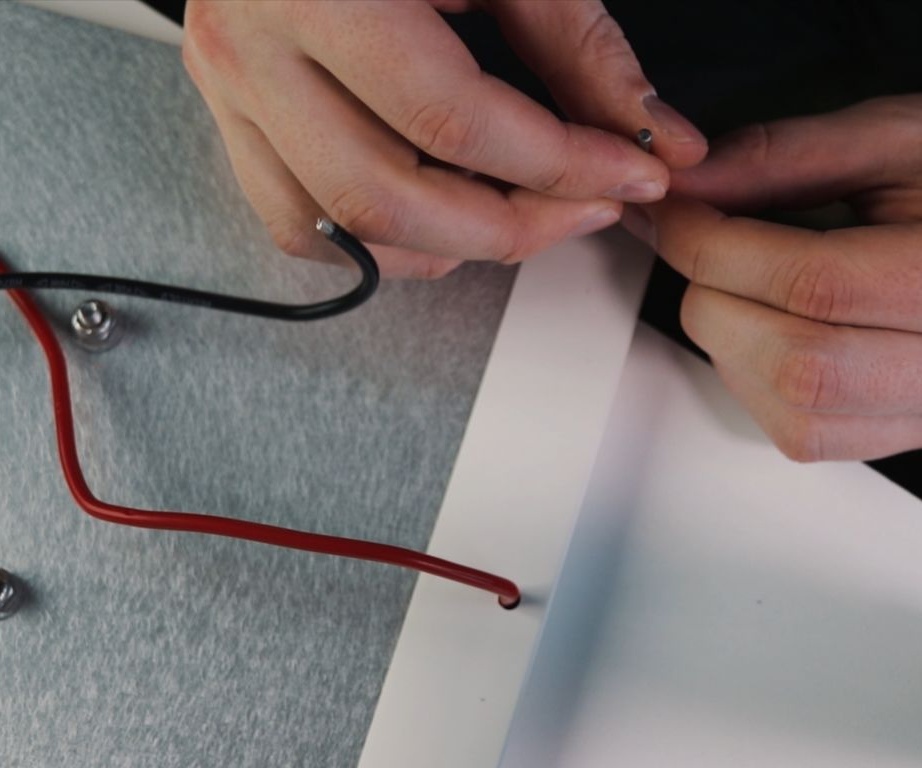
Solder all the positive contacts to the red wire, and all the negative contacts to black.
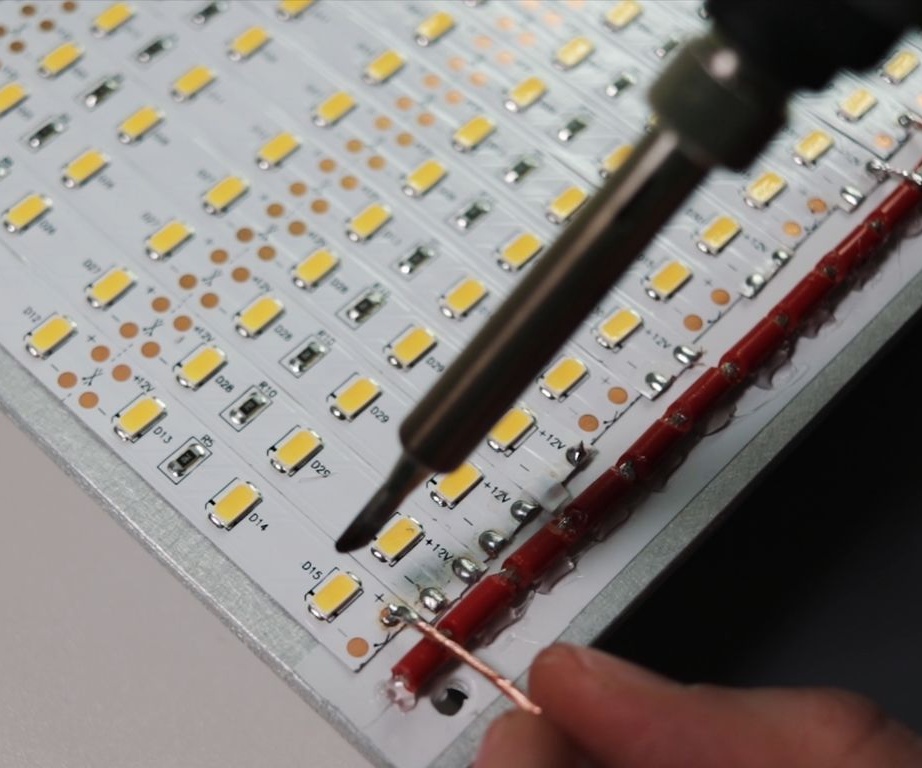
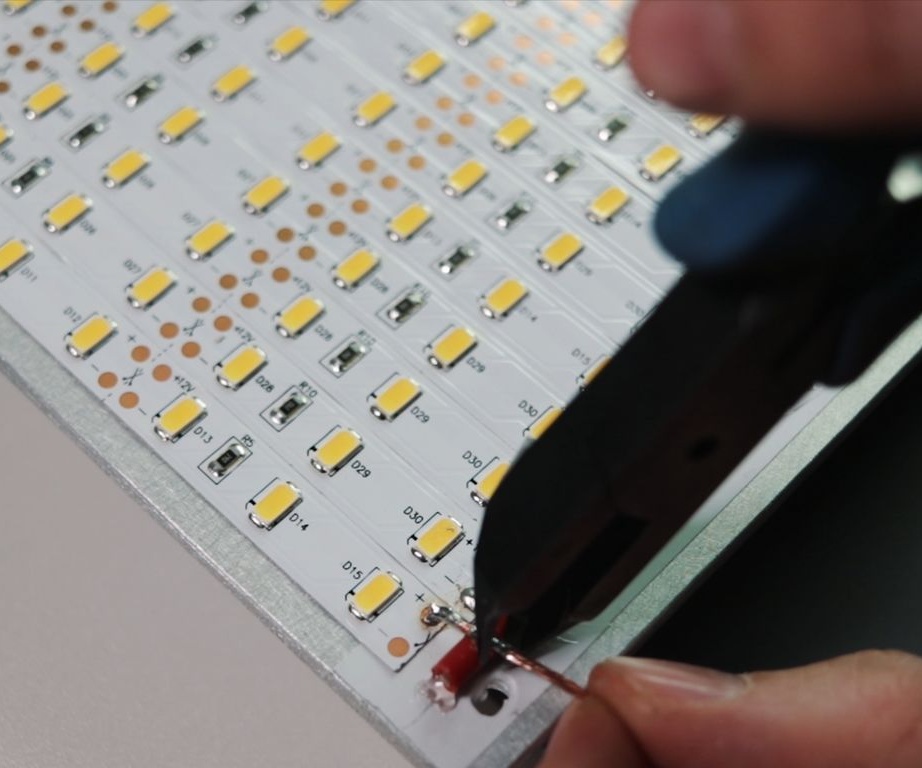
Seals the contacts with electrical tape and solders the central wire.
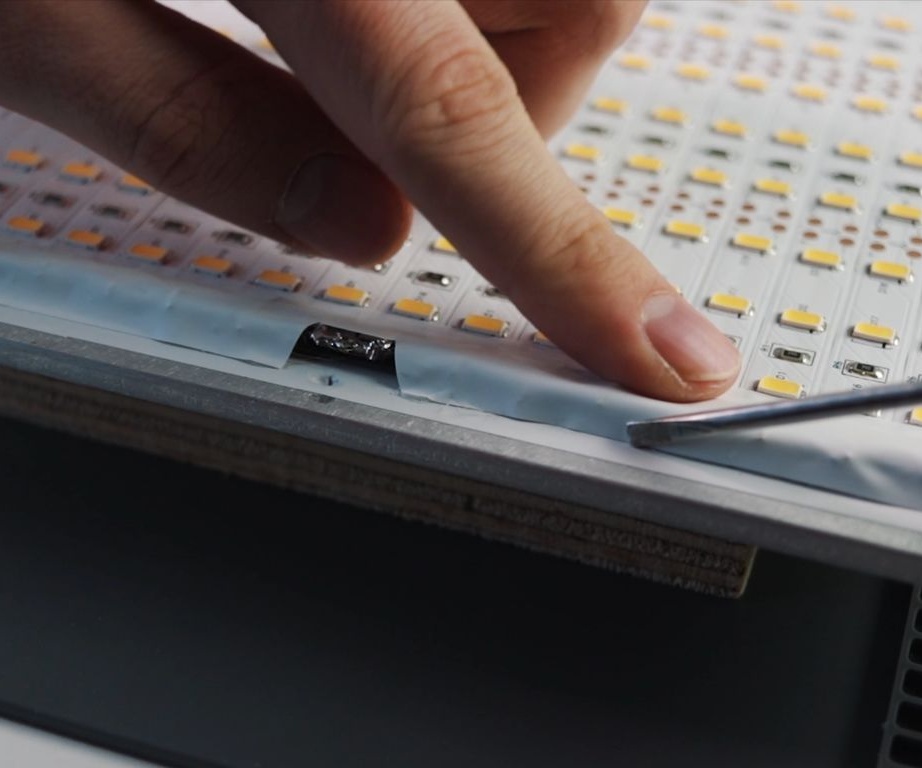

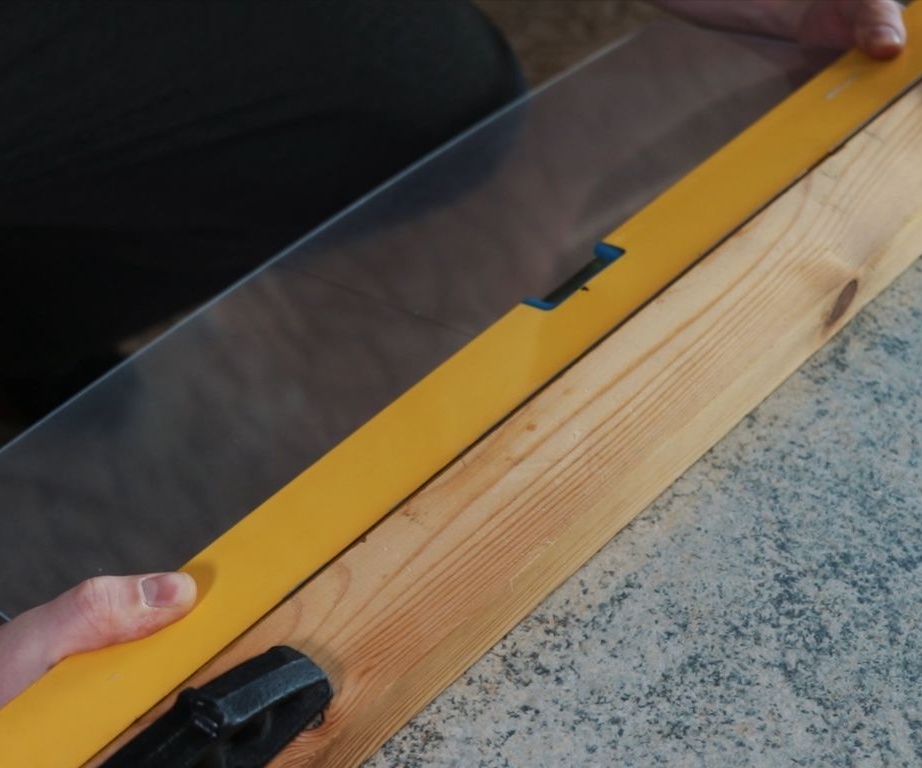
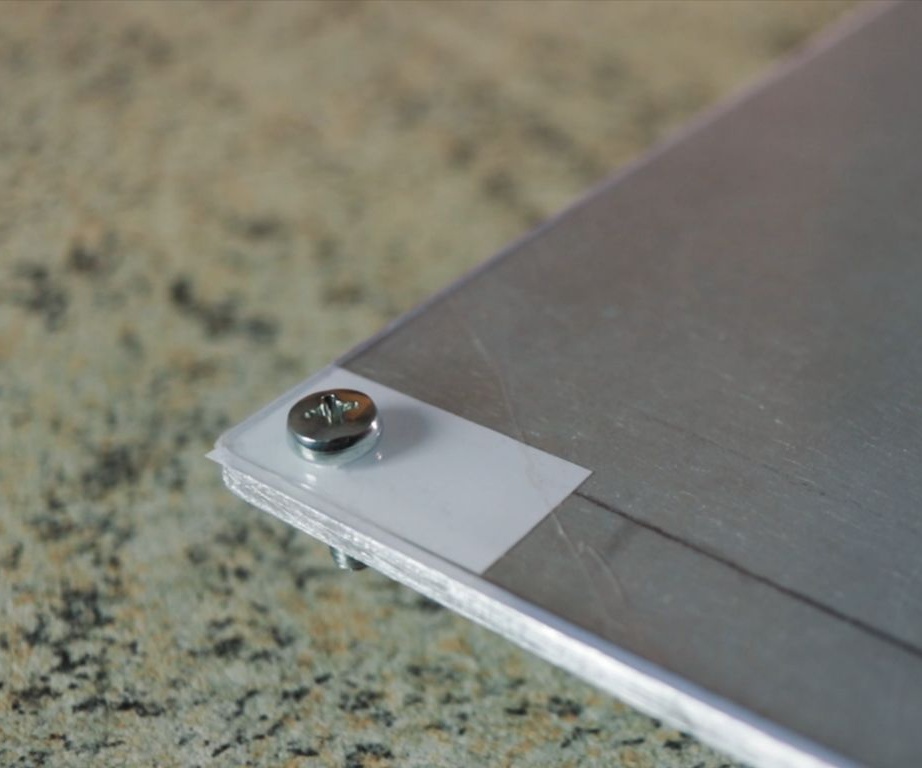
Step Six: Install Plexiglass
In the profile, makes a hole for the wire and fasteners. Imposes plexiglass, sets the profile and fastens.
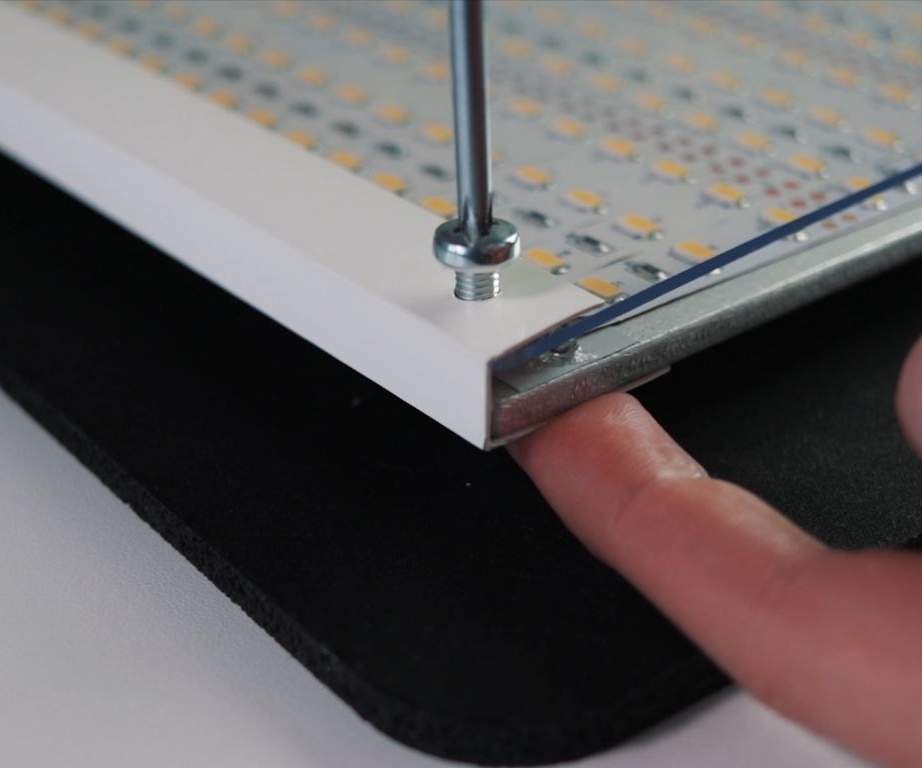
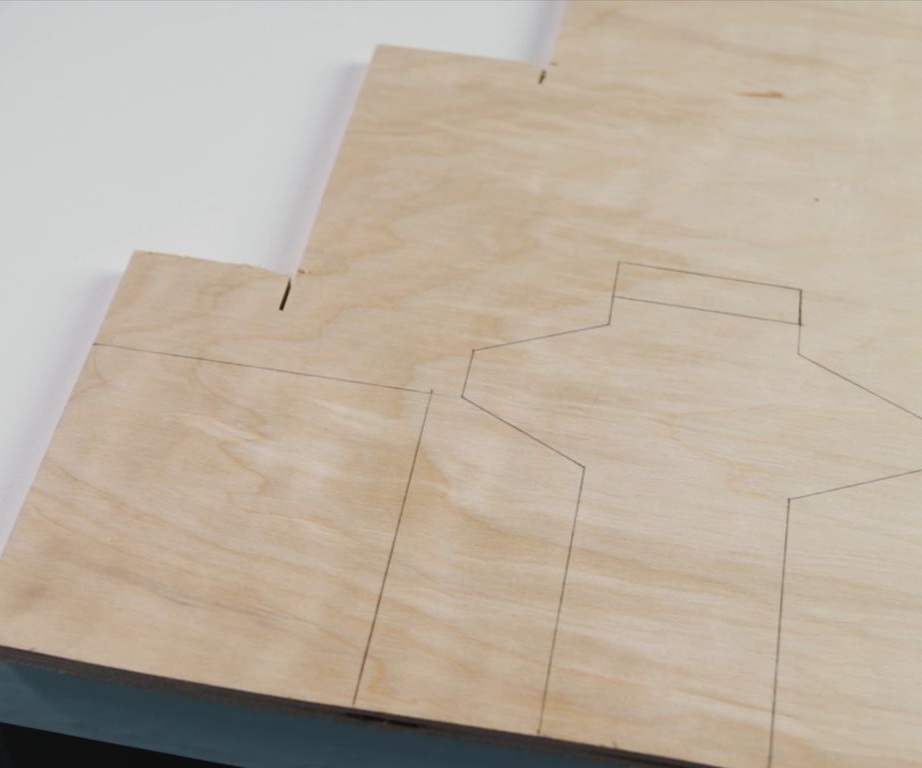
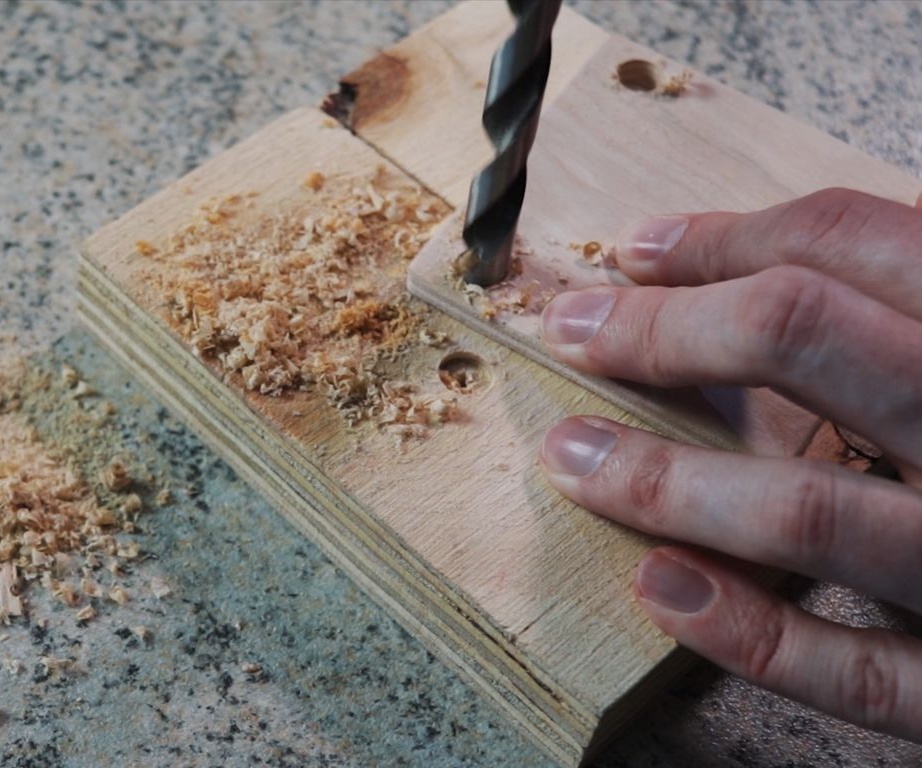
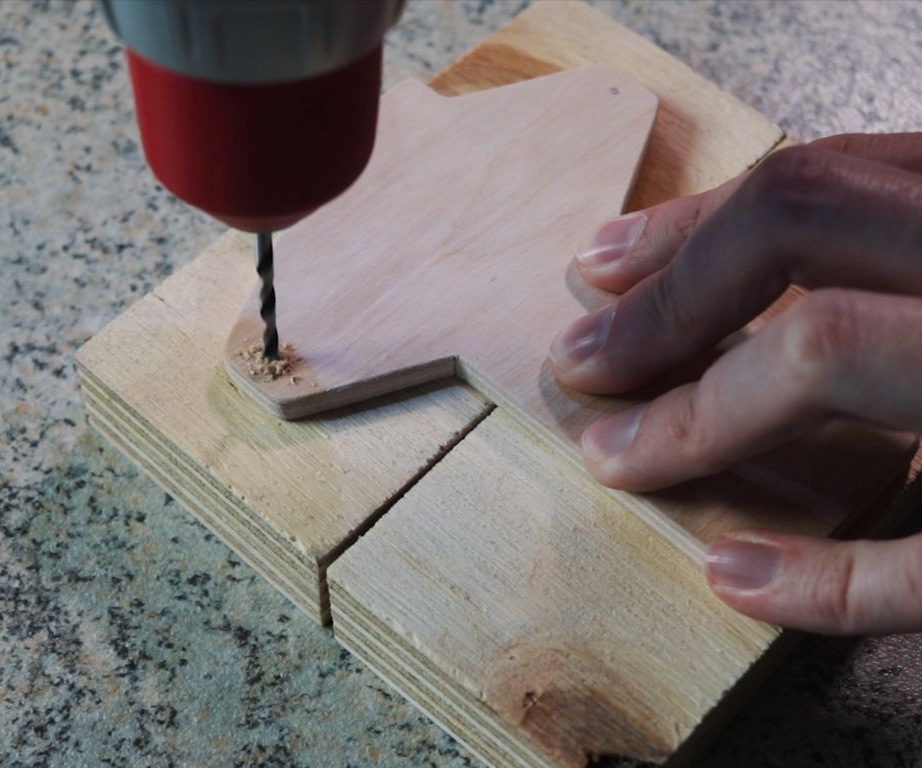
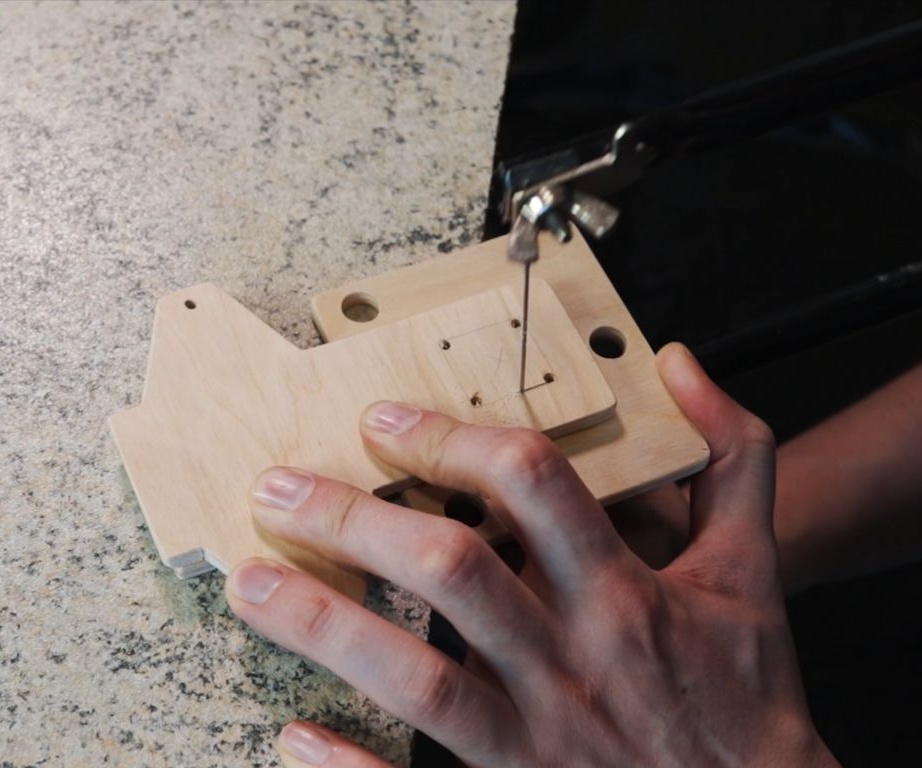
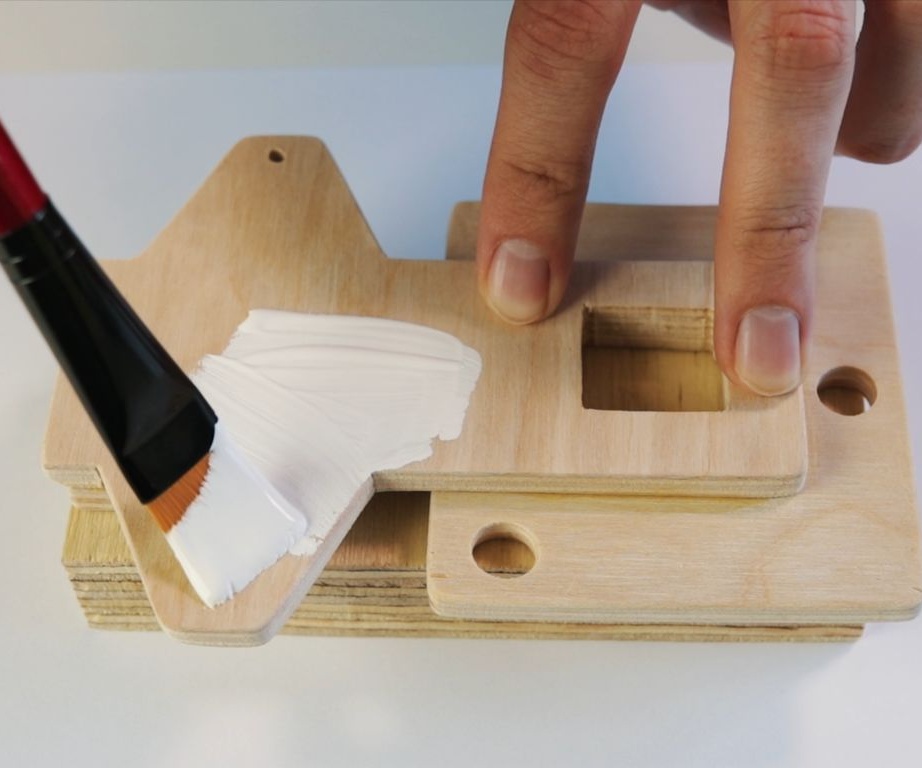
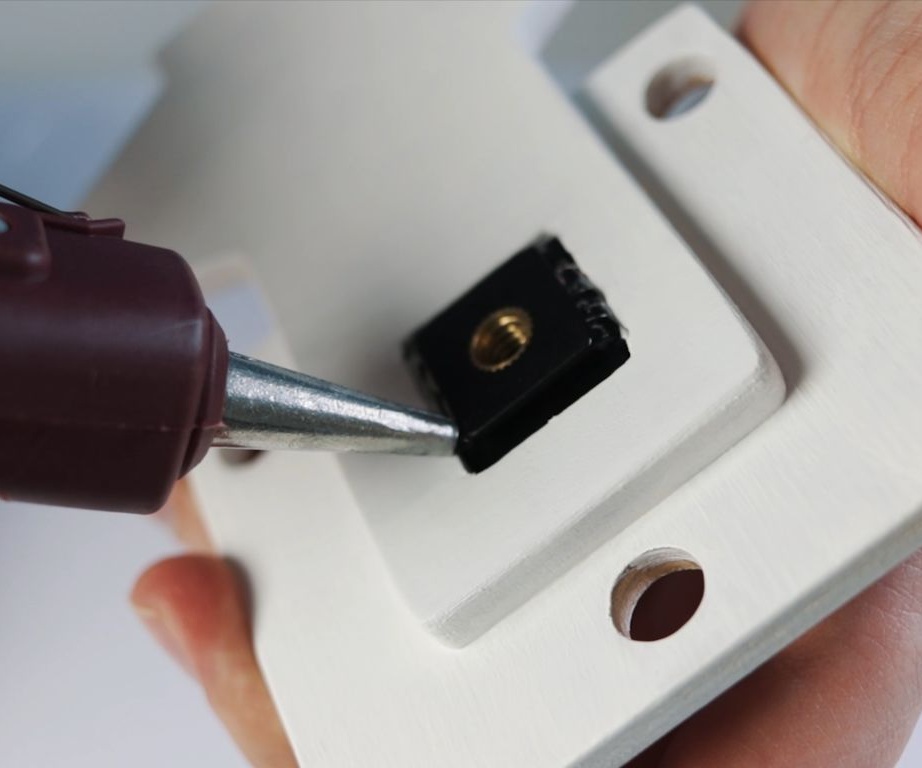
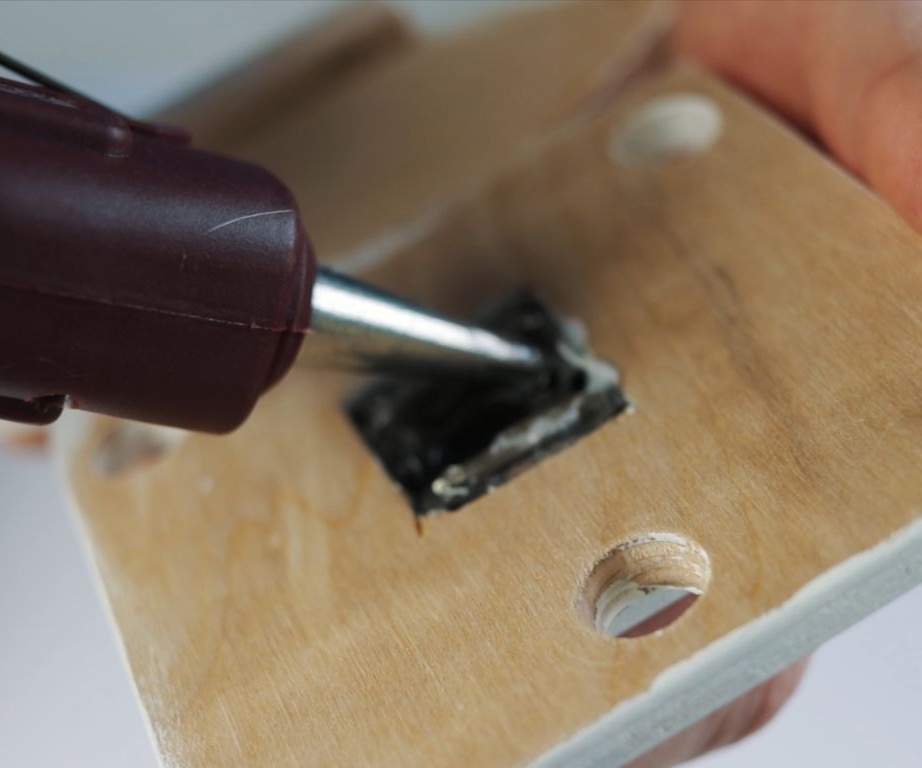
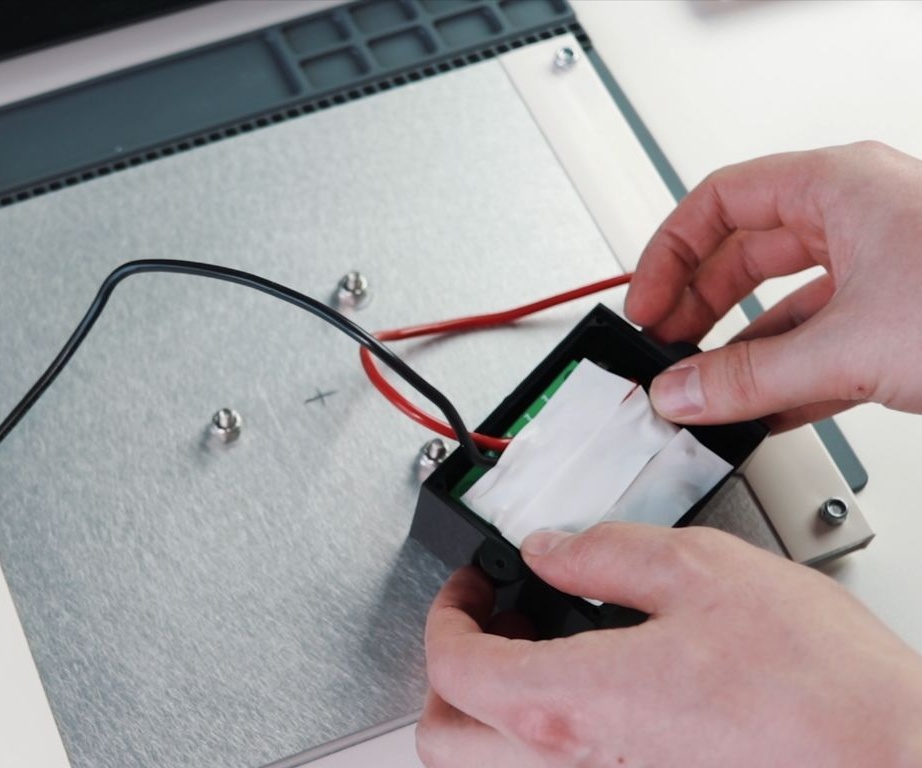
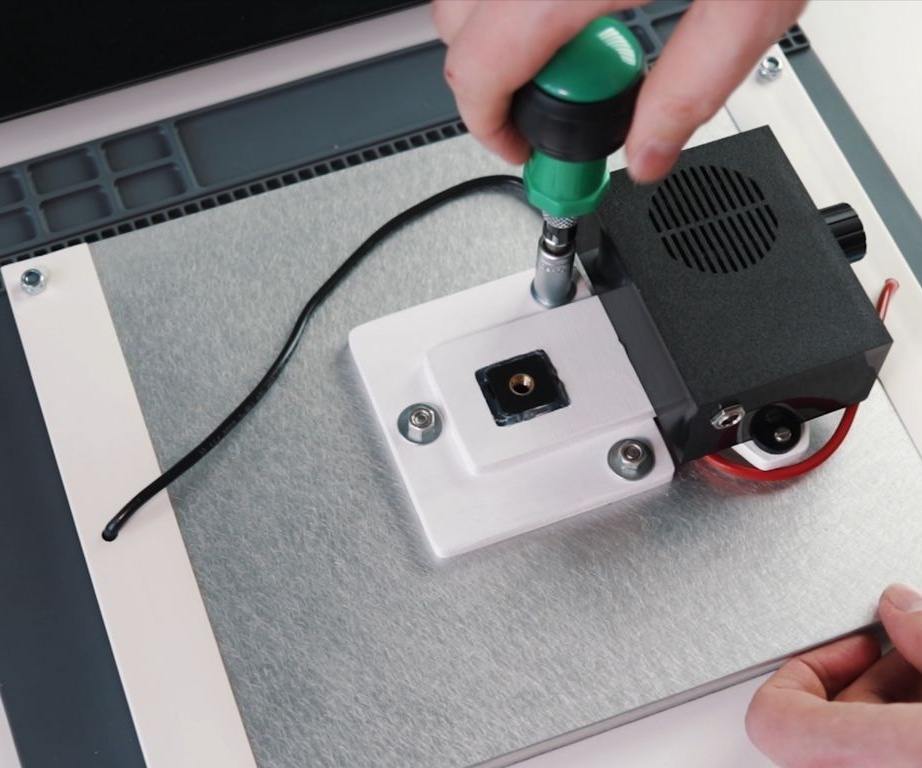
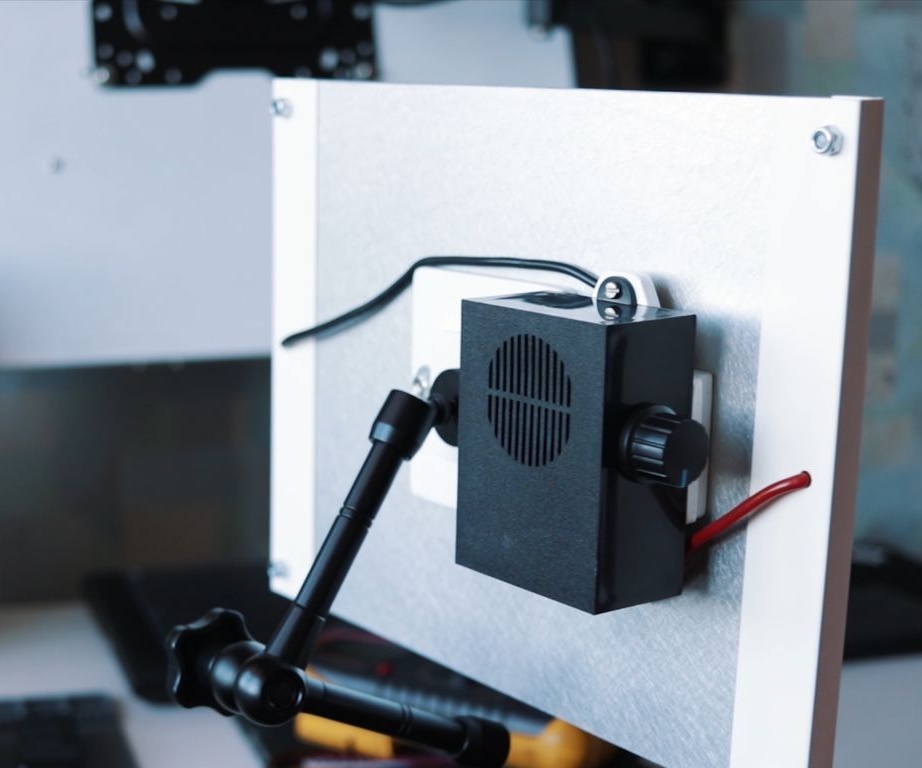
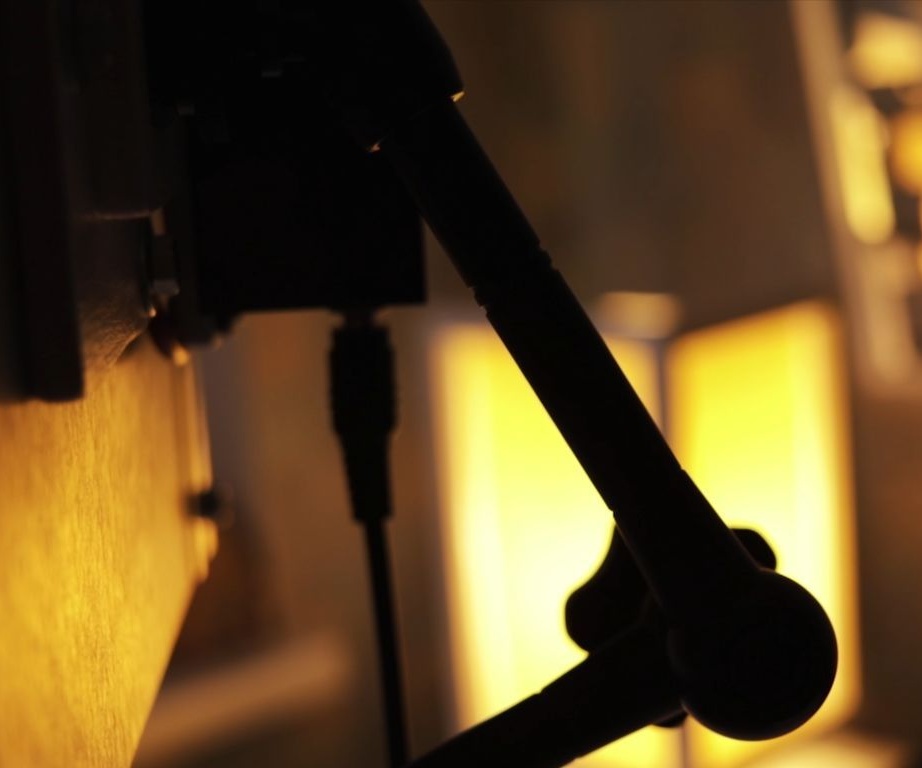
Seventh step: mount The LED panel itself, a box with a dimer and a stand will be attached to the mount. The mount is cut out of plywood by the master. A contact block is installed inside the mount, which is needed to mount the lever. After assembling the mount, it stains it.
Step Eight: Dimer
In a plastic box, the master makes holes for the dimer handle, connector, and wires.


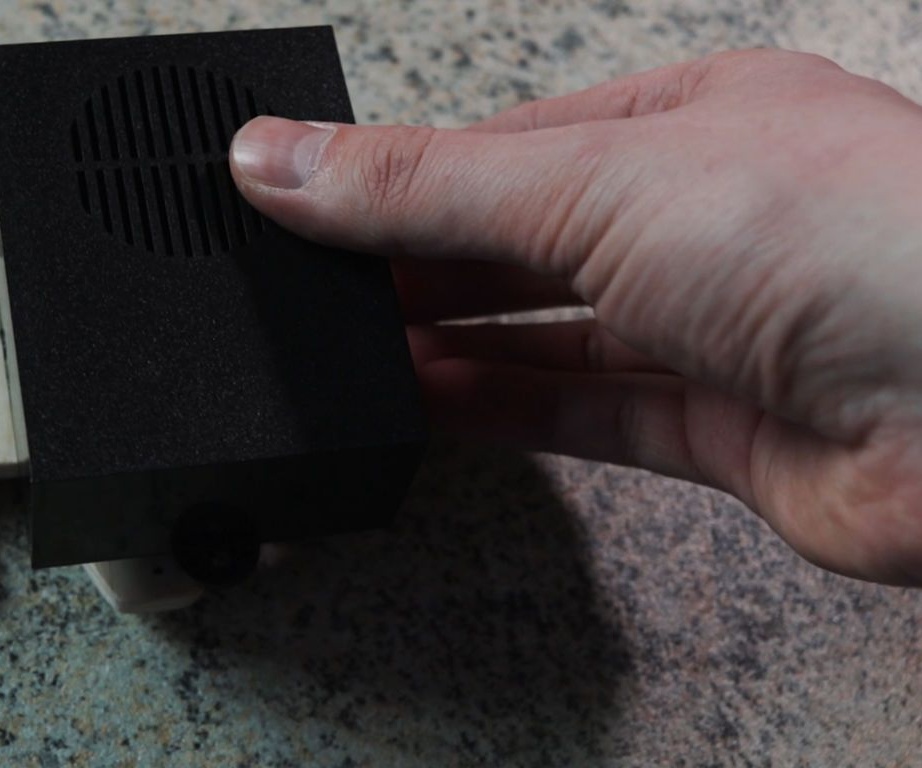
Solder wires to the connector and dimer and install them in the box. Screws the box to the mount.
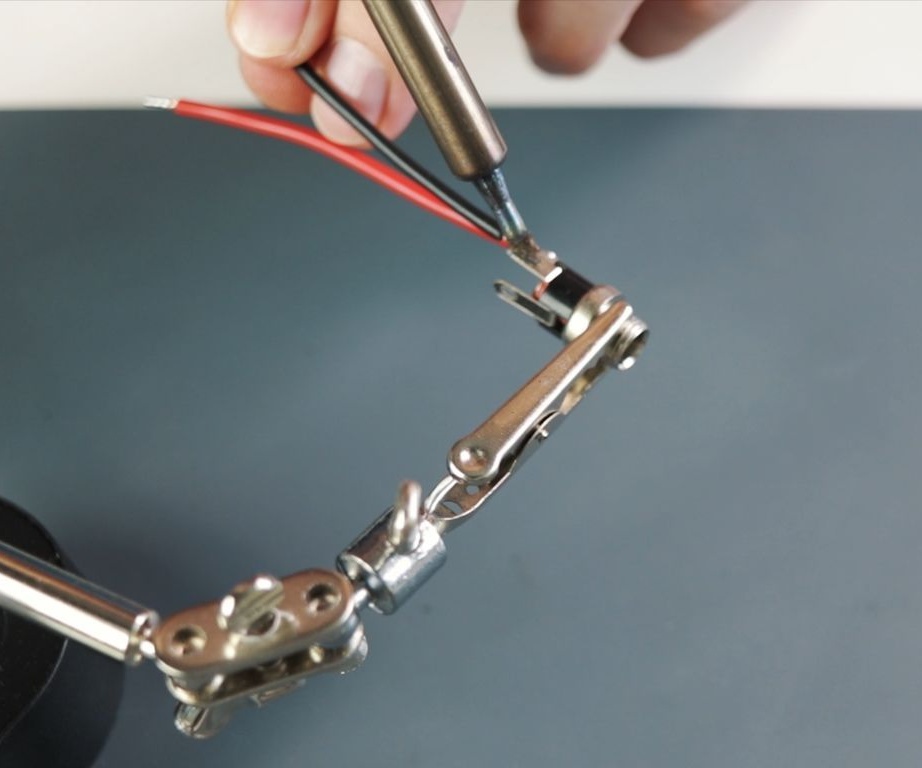
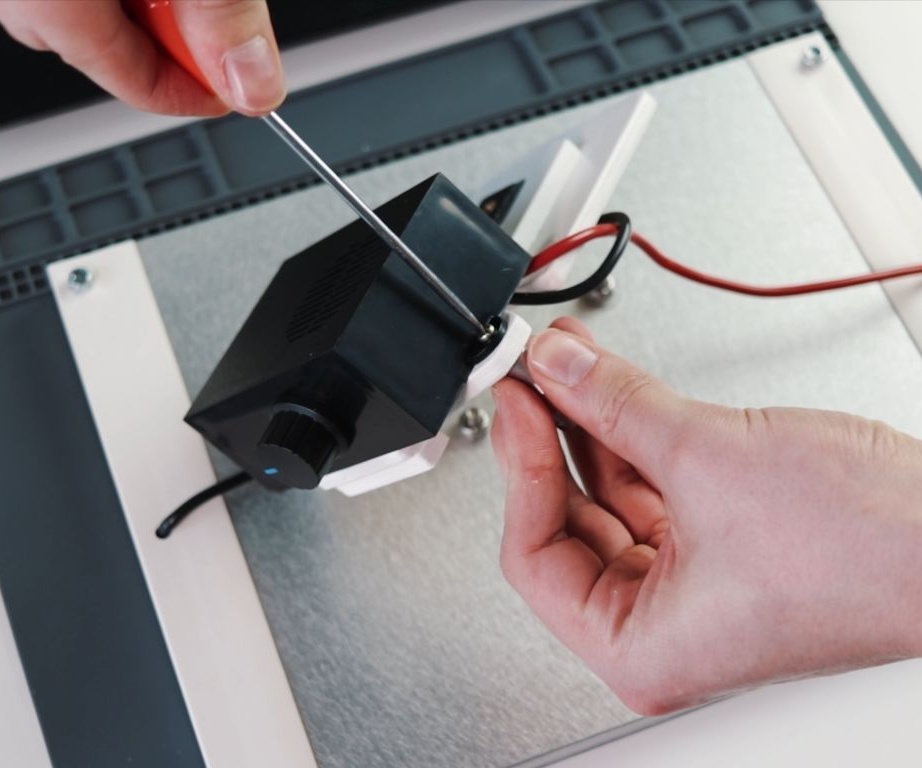
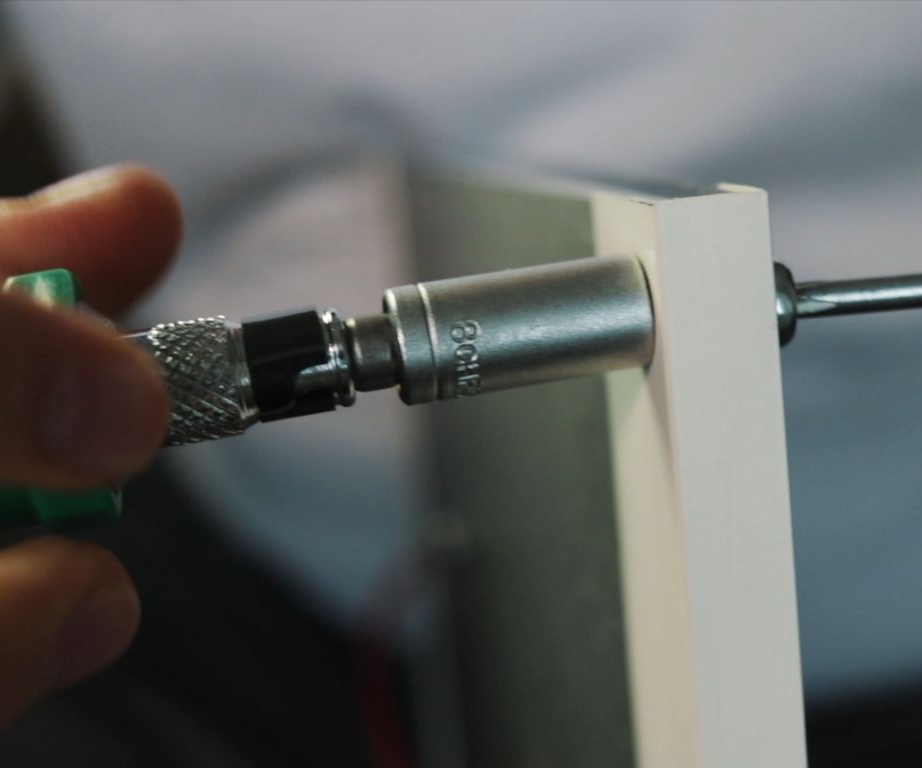
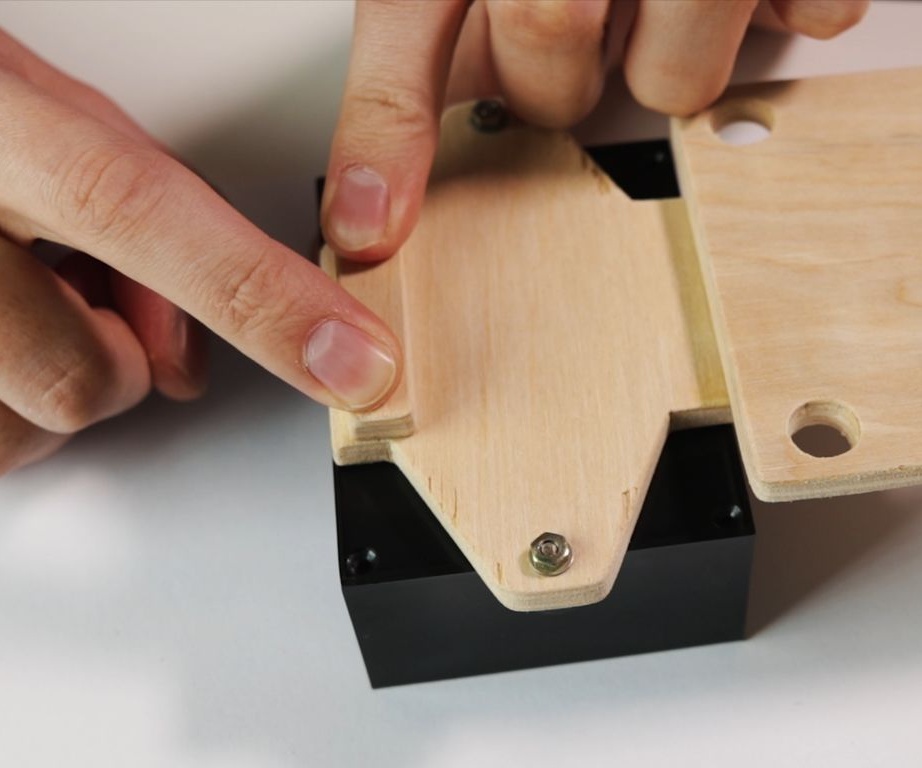
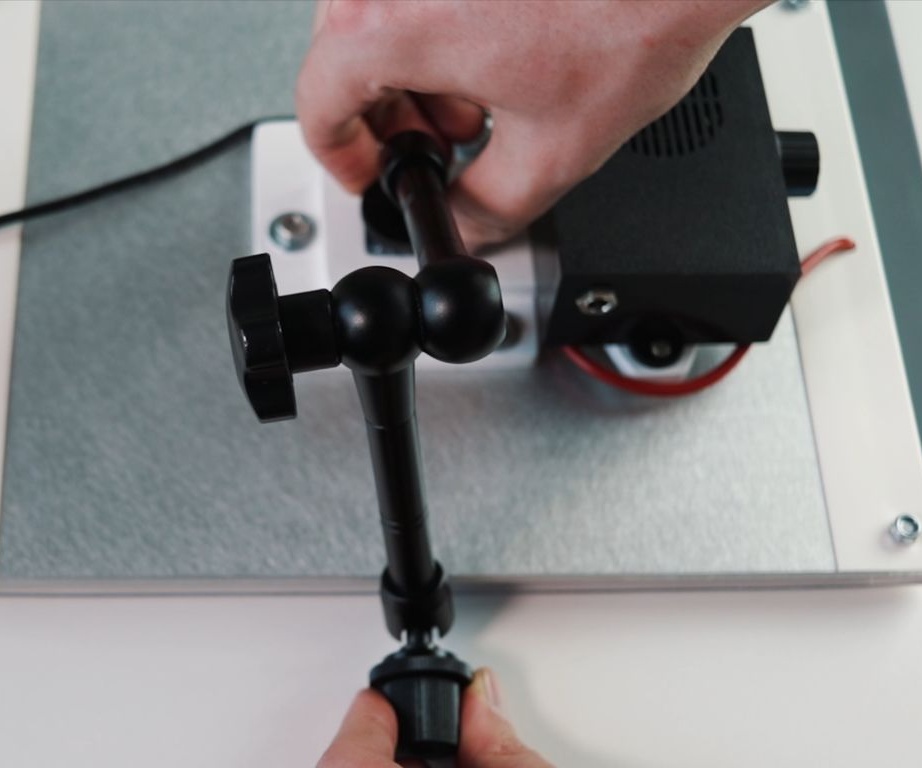
Step Nine: Lever
Screws the mount to the panel. Screws the lever. Fixes the lamp on the table.
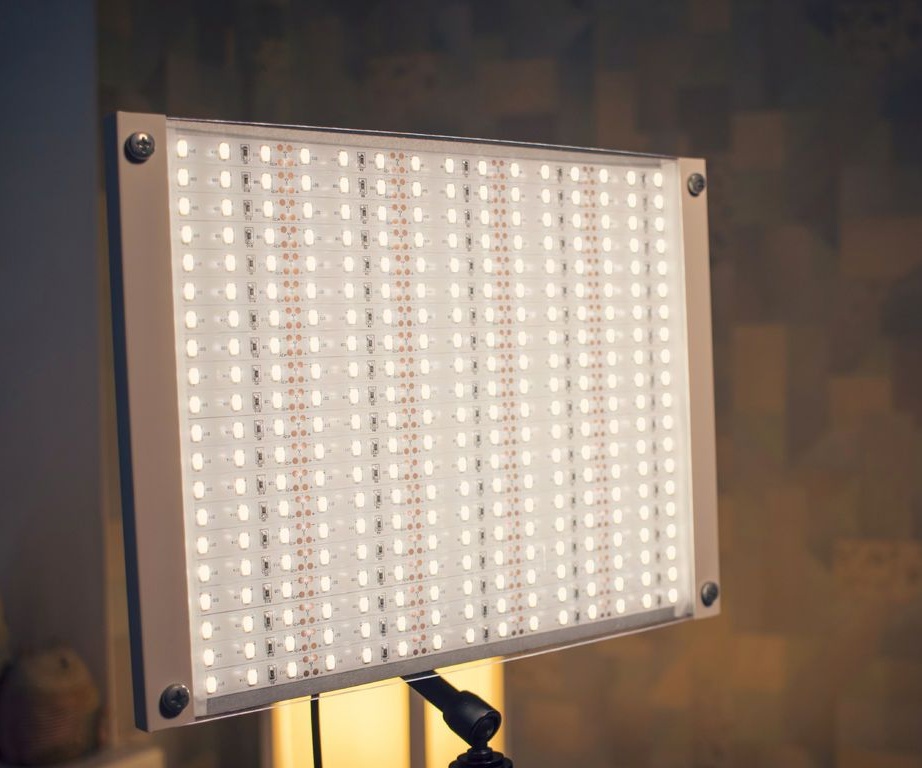
LED lamp is ready.

The whole process of manufacturing an LED lamp can be seen in the video.