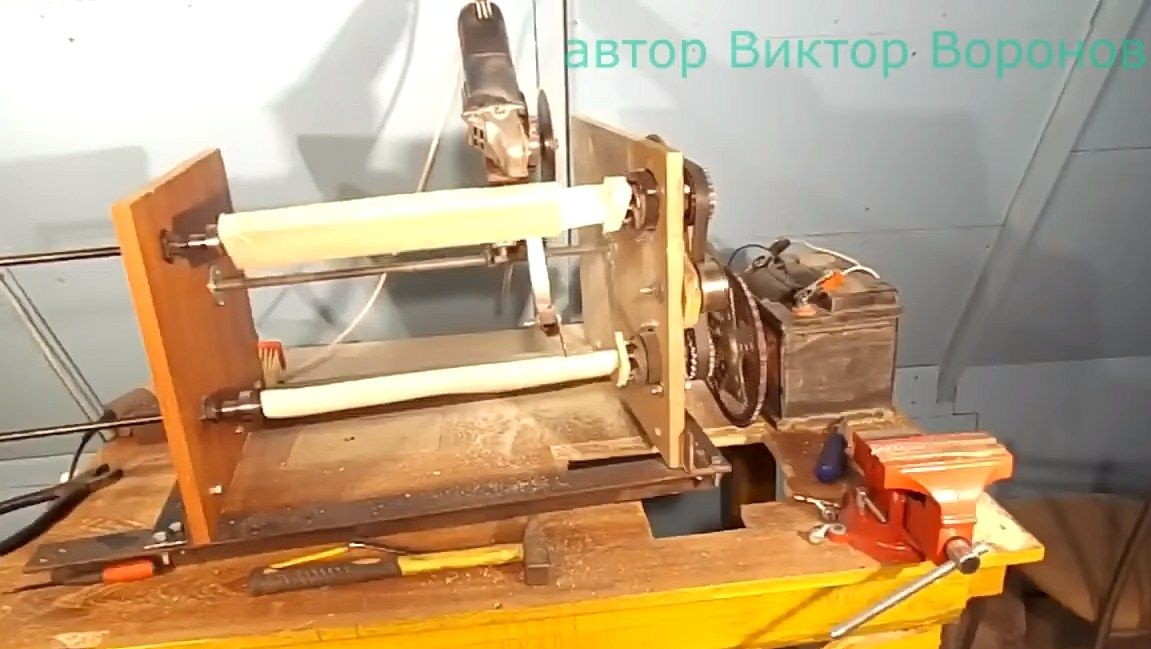
Hello everyone, I bring to your attention such an interesting homemadelike a copy machine. With it, you can almost completely make axes, handles for knives, swords, make baseball bats, make rifle butts and much more. All you need is to clamp in the machine the finished product and a piece of the bar from which a copy is cut. Well, then you can go about your business, the machine will do everything yourself! And when the product is ready, the machine will turn itself off.
It is not difficult to make such a machine, and its usefulness is even difficult to evaluate, it is priceless. The design is very simple, a grinder with a wood disc is used as the main tool. Most of the parts used are borrowed from domestic cars. As for additional materials, this is a corner for the frame, plywood and other little things. So, we will consider in more detail how to make such a machine!
Materials and tools used by the author:
Material List:
- (2101-2107 or similar);
- leading and driven sprocket from a bicycle;
- bicycle chain;
- Bulgarian with a disc on wood;
- two pumps from the VAZ 2108 ();
- Timing belt VAZ 2108;
- belt tensioner VAZ 2108;
- steel corner;
- switch (installed under the VAZ brake pedal);
- metal corner;
- plywood;
- bearings, washers, bolts and nuts;
- square pipes;
- threaded rod (for shaft).
Tool List:
- grinder;
- drill;
- a hacksaw;
- welding machine;
- wrenches, etc.
The process of making a copy machine:
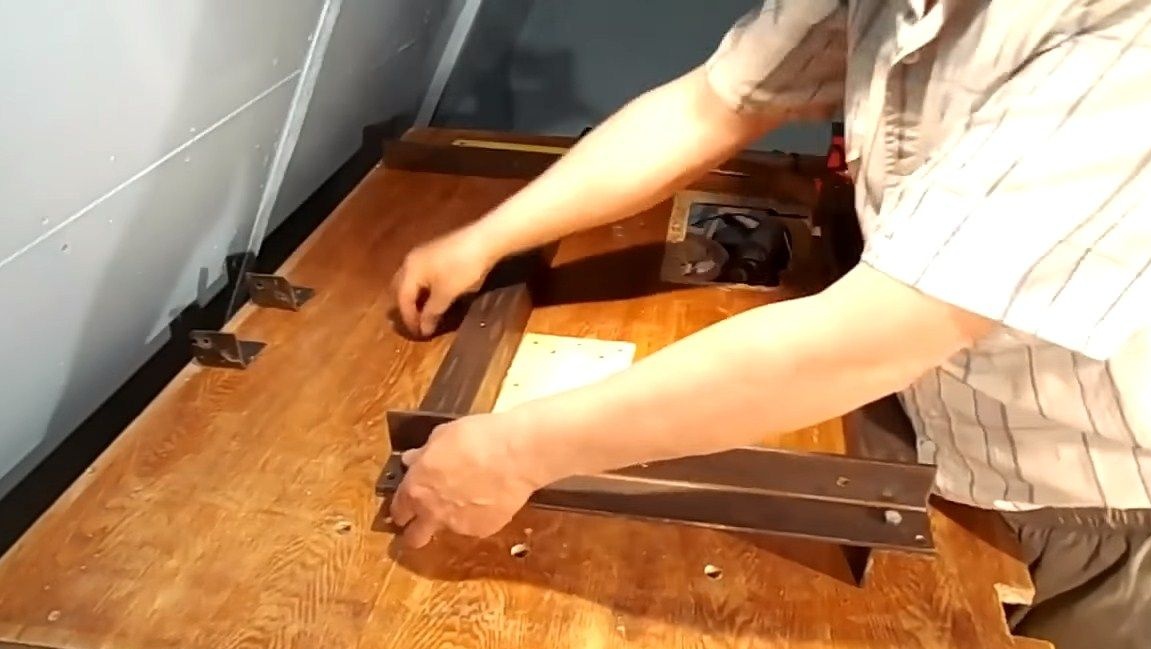
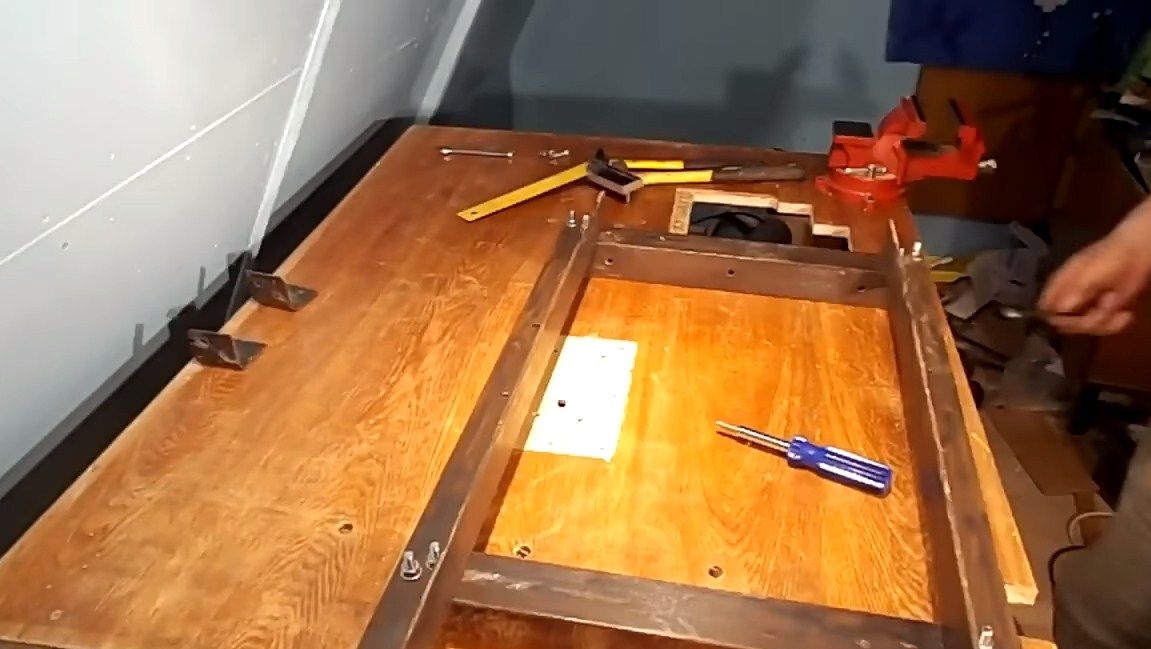
Step one. Base manufacture
The base for the machine should be quite strong. The author used a steel corner as a material. The design turned out to be rectangular. We cut the corner to the desired size, and then assemble the frame using bolts with nuts or just weld everything.

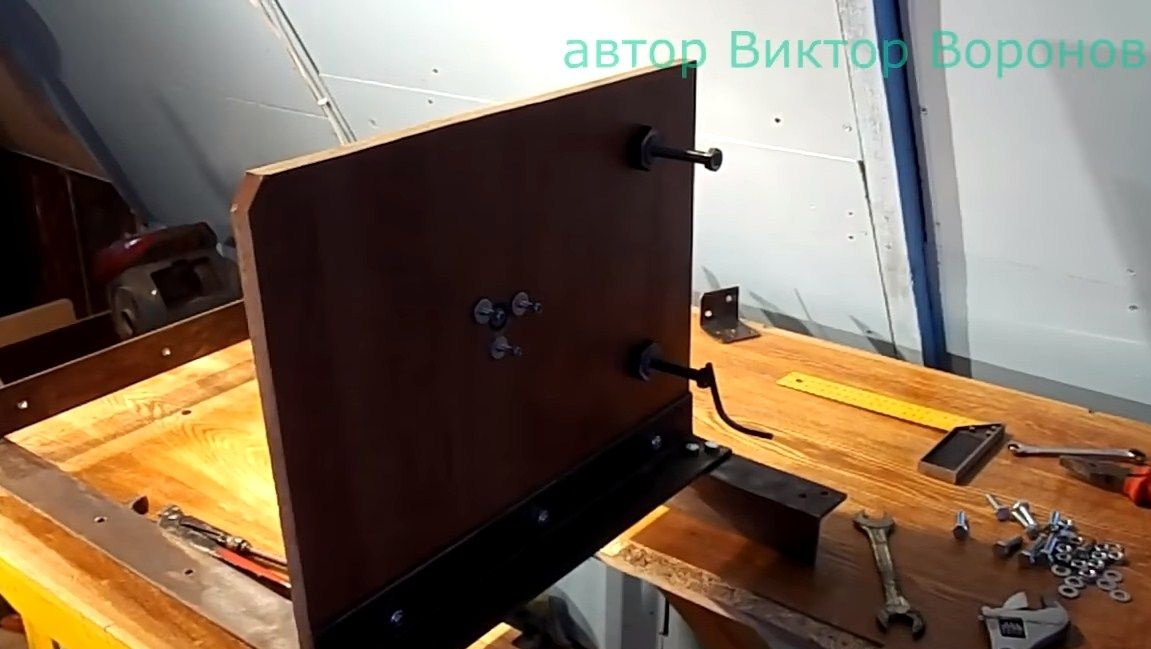
Step Two Side walls
Next, you can install the side walls. They will host all the important nodes. The material should be fairly sturdy. For these purposes, you can use plywood, but it is better to glue several sheets together. It is quite possible to use OSB.
In total we need two walls, we fasten them with three bolts with nuts each on the base.
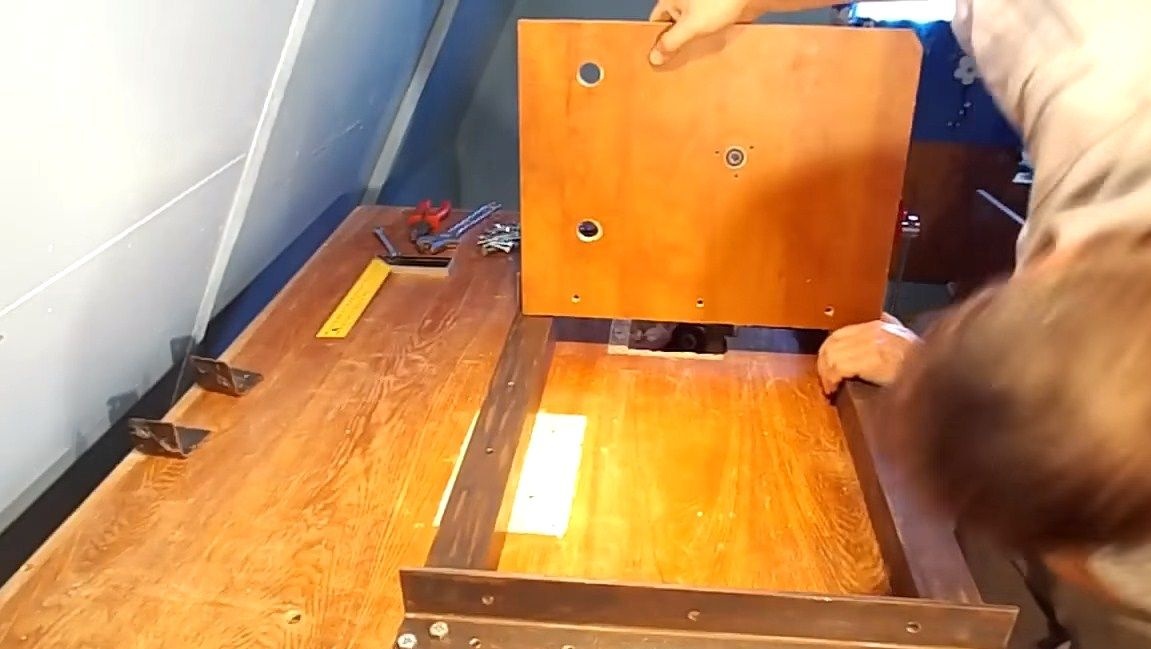
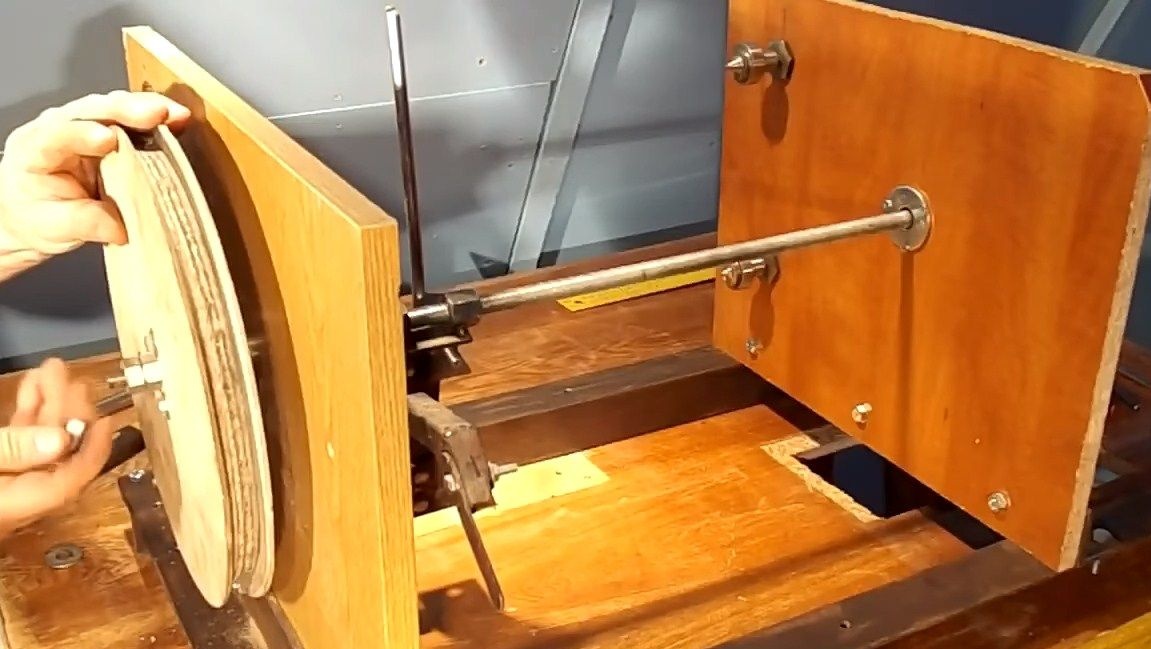
There are 3 holes in the side walls, one central is needed to install the working shaft.There is a thread on this shaft and a carriage with a working tool rides on it. And two other holes are needed to install the original part, as well as the workpiece from which the copy is made.
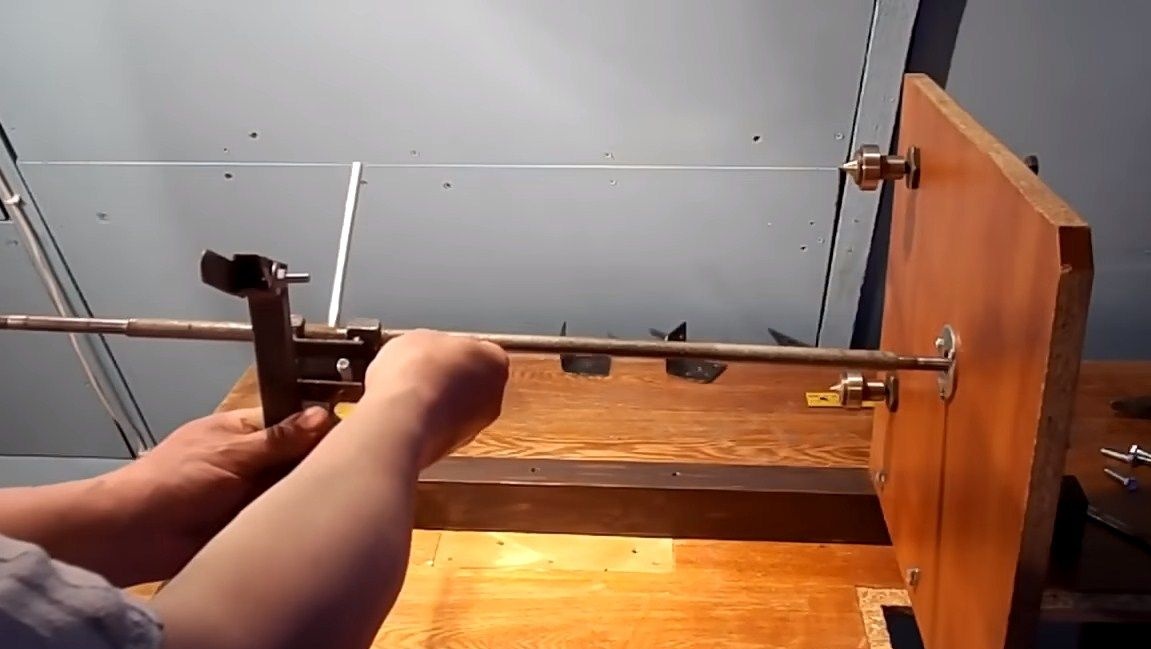
Step Three Assembly of a "persistent wall"
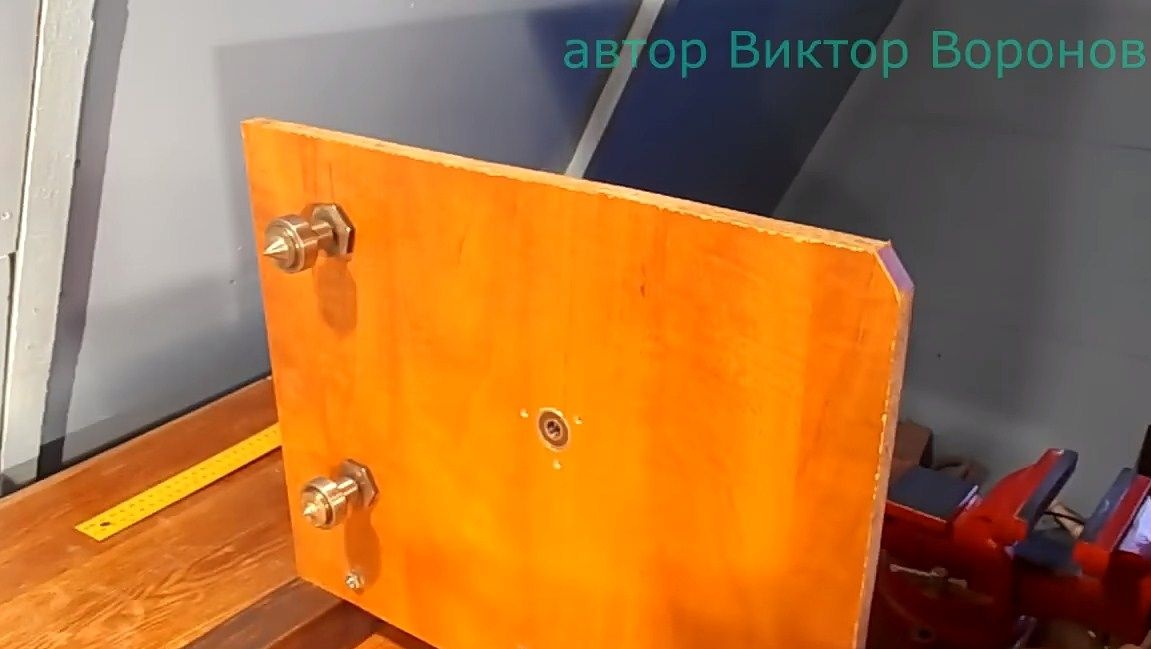
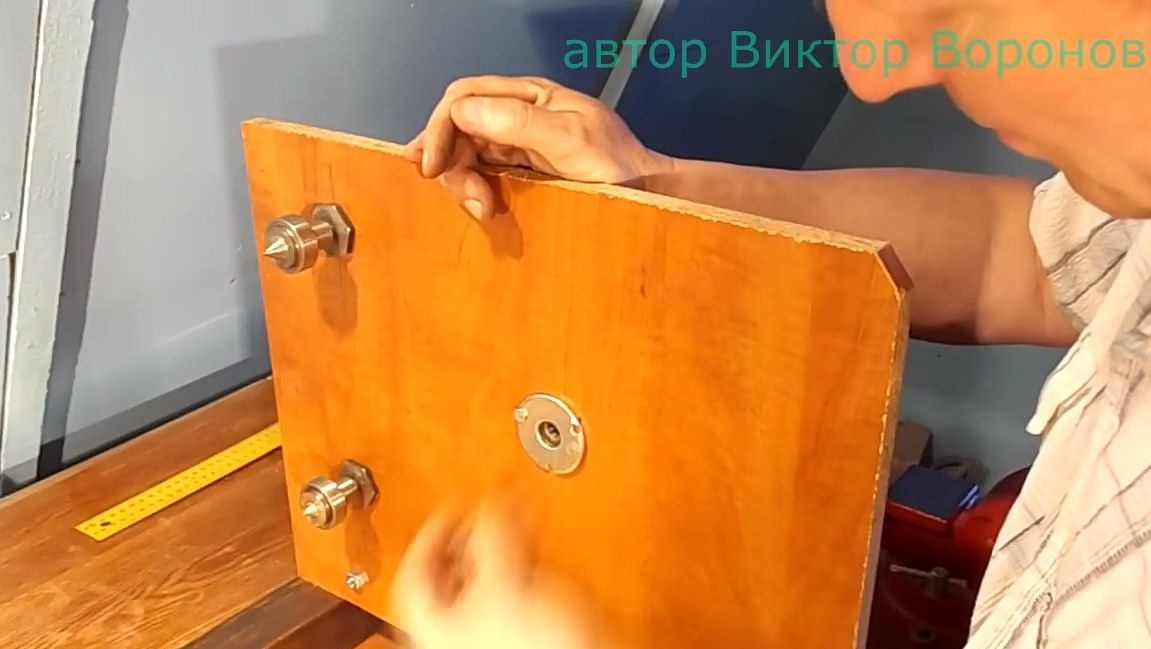
There are two stops on the stop wall, the length of which is adjustable. Using these stops, we will fix the original part and the workpiece. Here you will need steel pipes, rods and so on. You can come up with your own design of these stops.
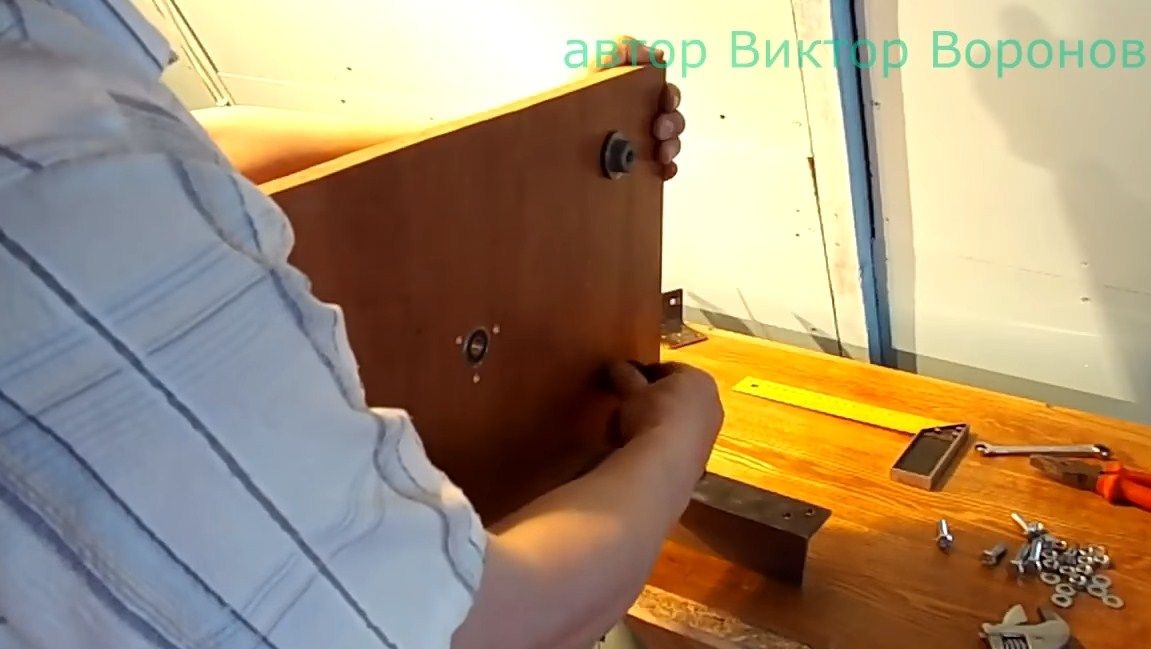
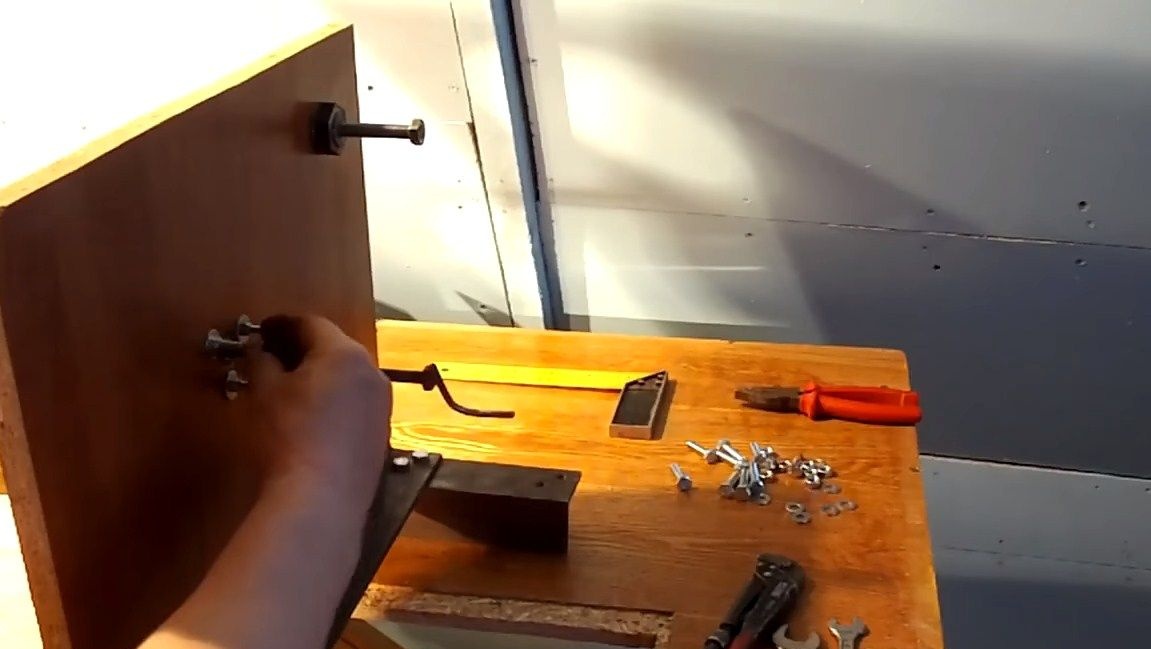
Also, a bearing shaft bearing is installed in this wall. For it, you need to cut a hole, and the bearing is fixed with two washers, which are installed in front and behind the bearing. Washers are pulled together with three bolts and nuts. We thoroughly tighten the whole thing and go to the second wall.
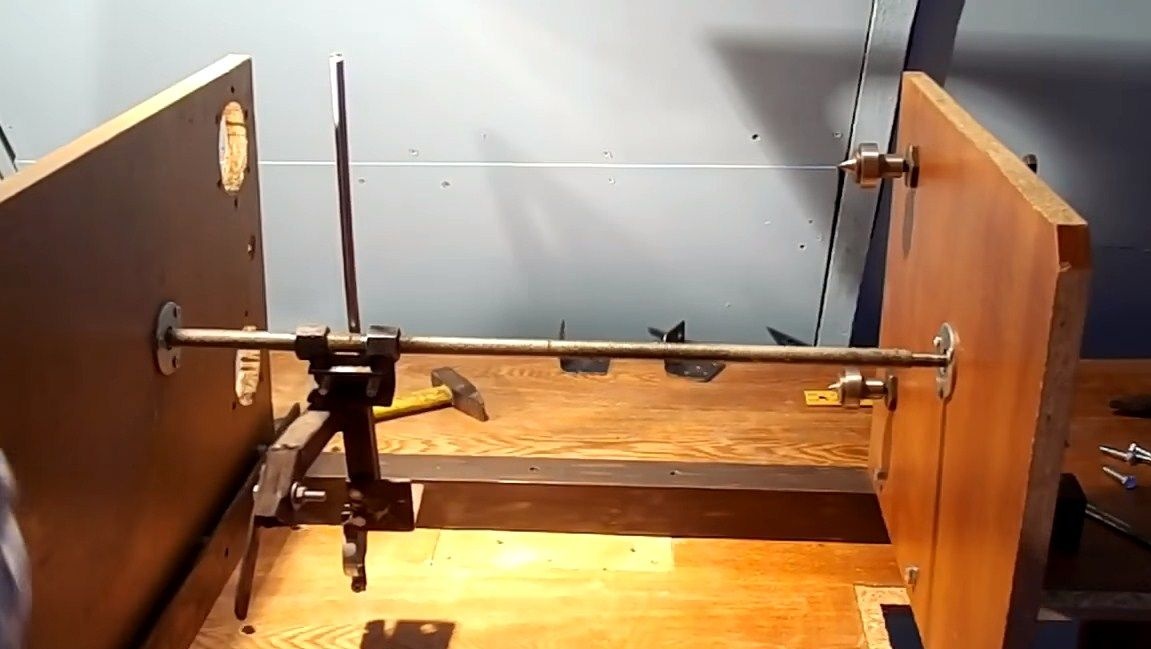
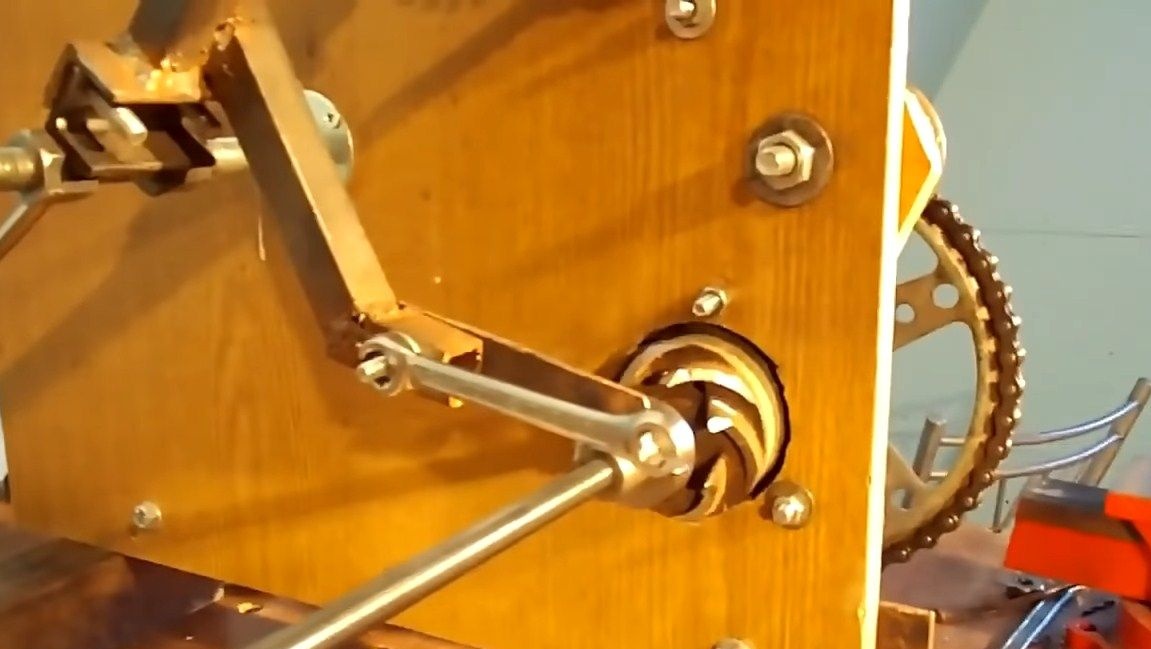
Step Four Drive Shaft Installation
The drive shaft is a threaded rod. It rides a carriage, on which there is a grinder with a cutting disc. Under the shaft we select two corresponding nuts and we already weld the bracket for installing the grinder to them. We select the desired distance, length, and so on. The author himself collects the bracket from square pipes, steel plates and other details. There is nothing complicated in the design, just the dimensions need to be selected along the way. A lever is welded to this whole structure, which rests on the original part and transfers its contour to the workpiece during rotation, and the Bulgarian cuts out a copy. In the main wall, you also need to install a bearing for the shaft. We fasten the shaft to the bearing with nuts so that it does not move.
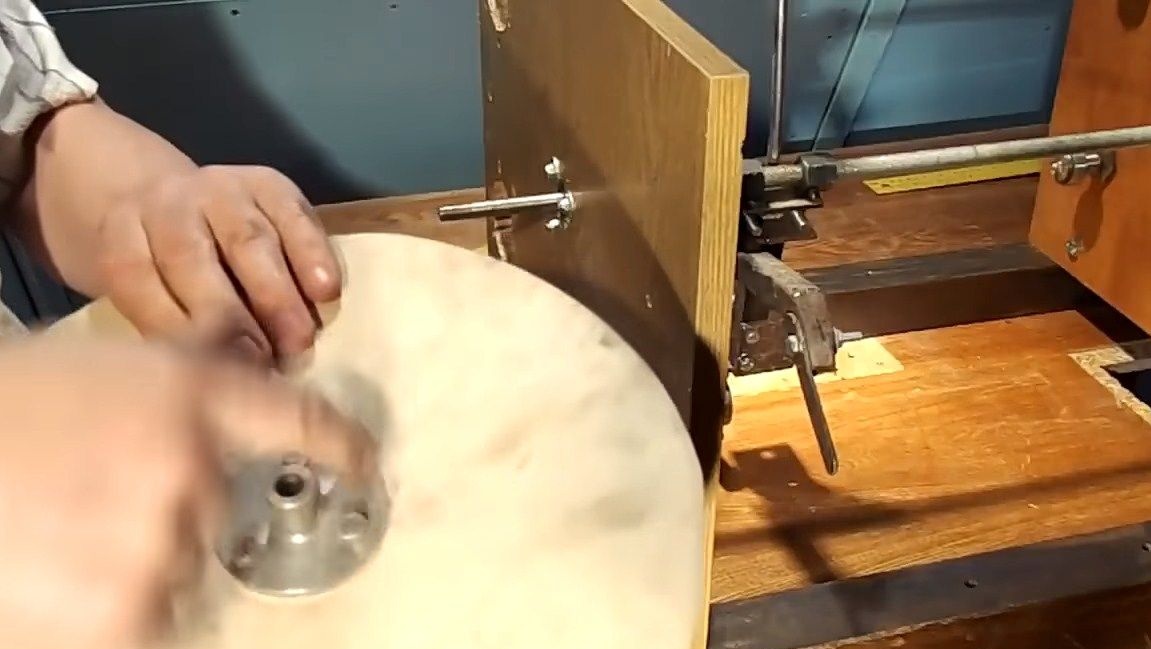
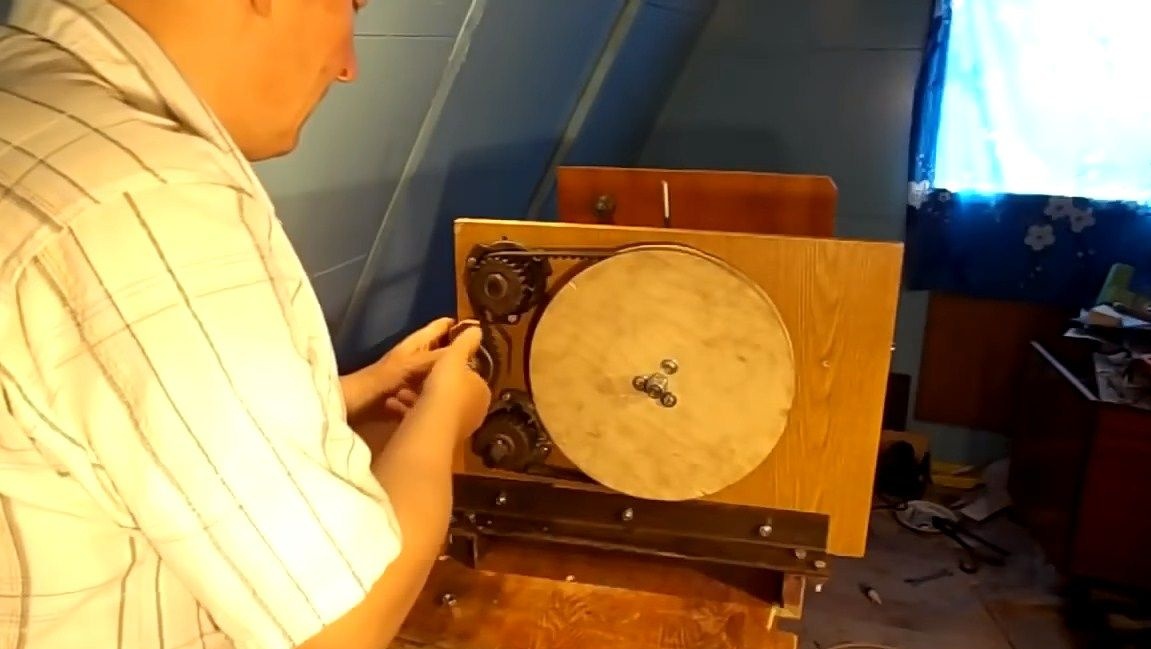
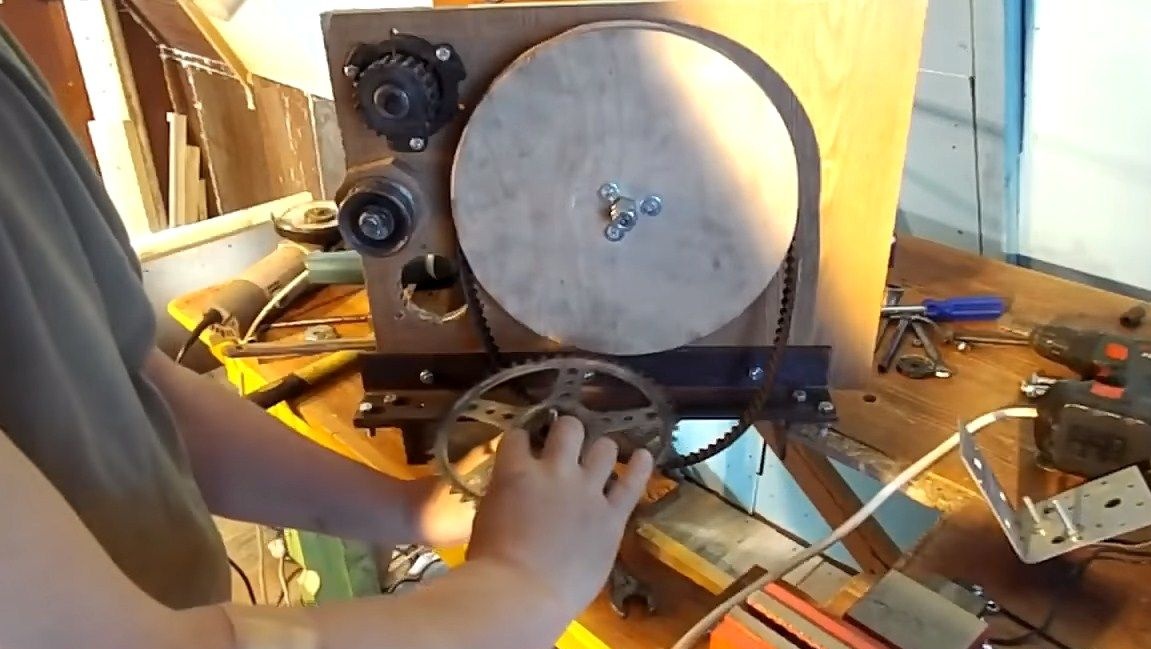
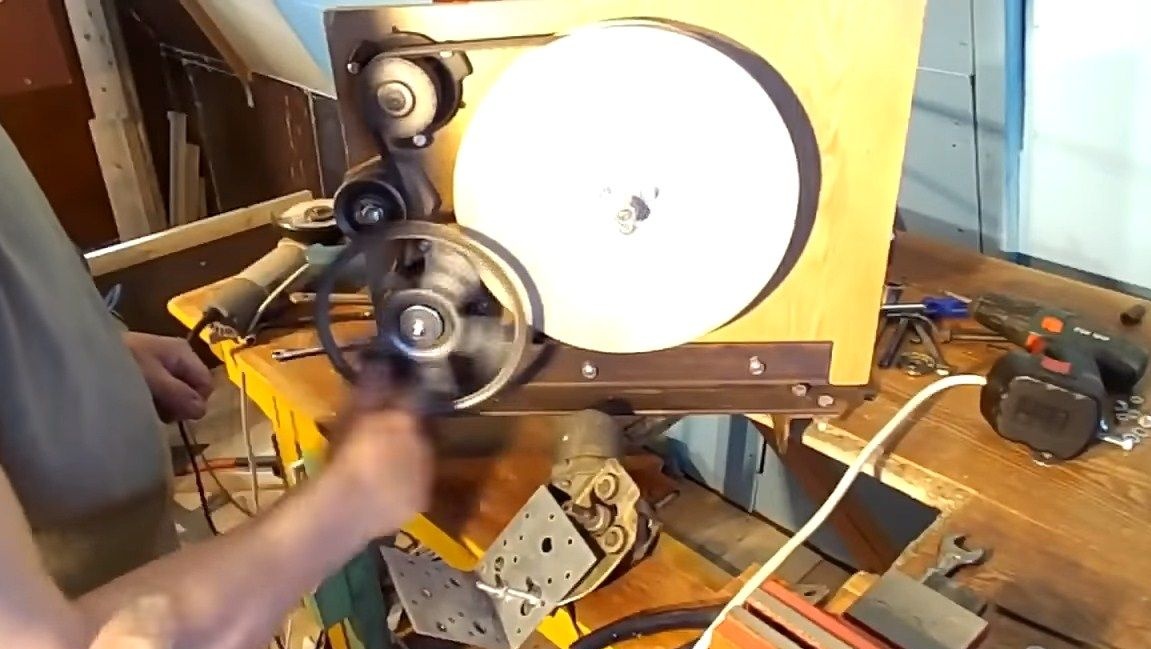
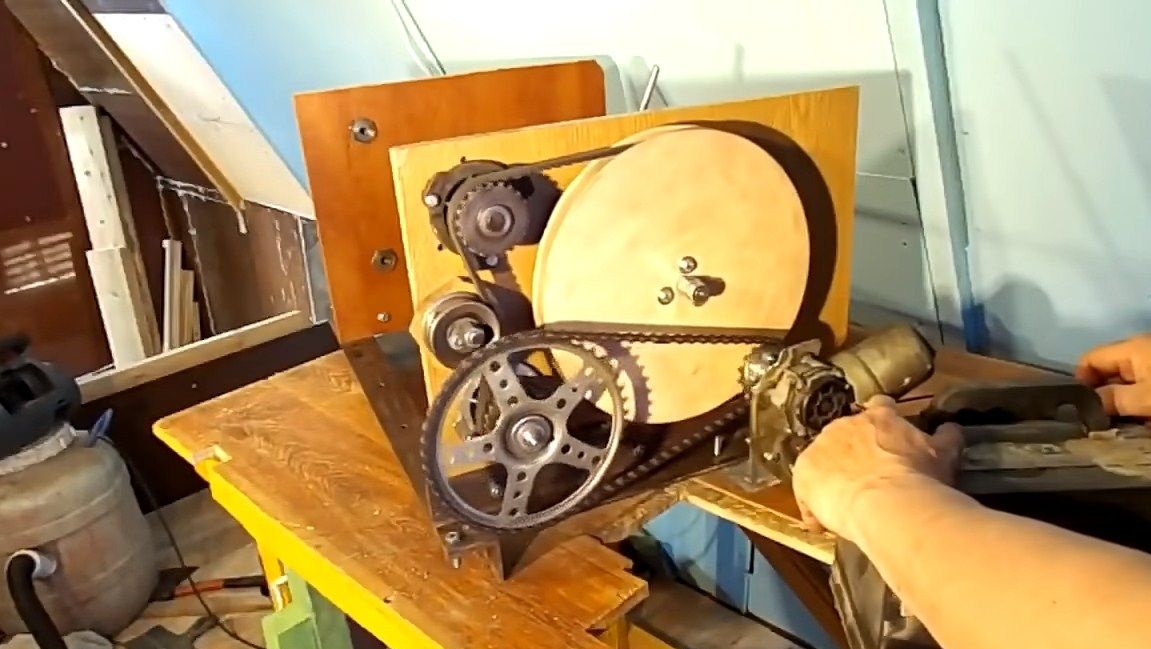
Step Five Driven pulley
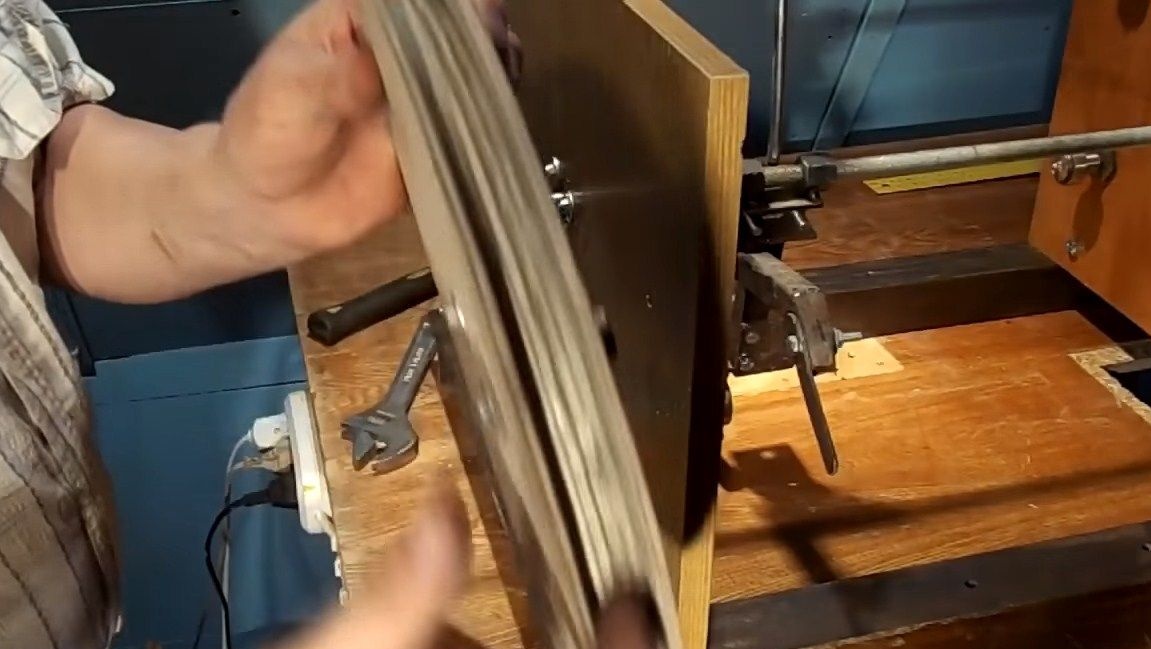
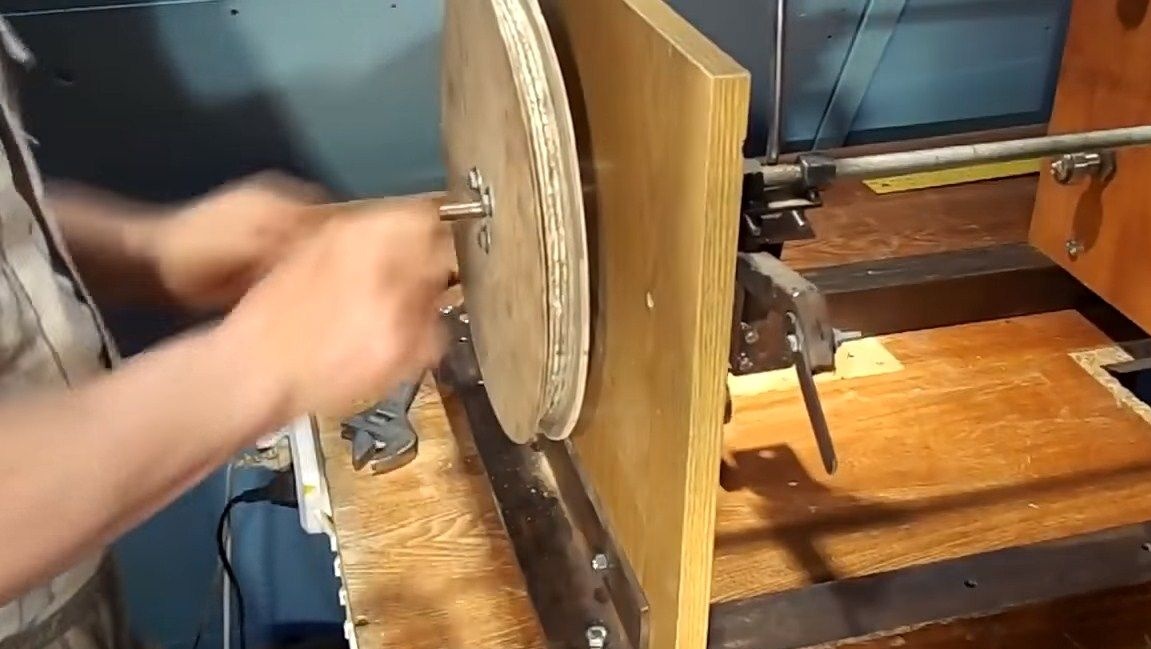
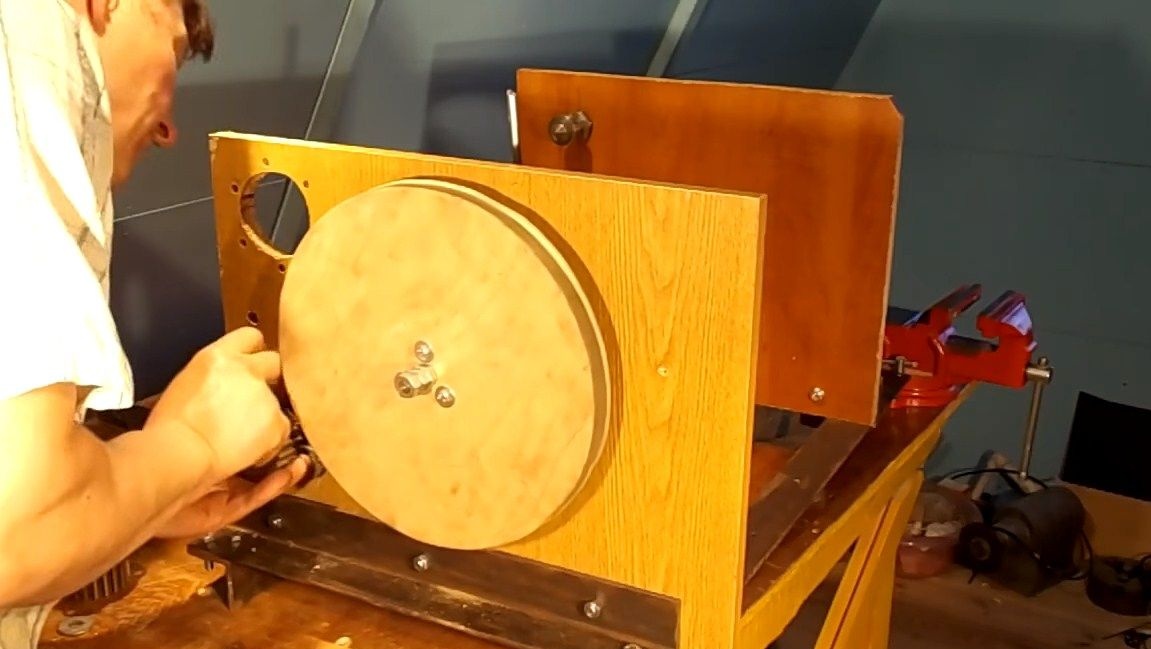
To get small revolutions on the main shaft, we need to make a driven pulley. To make it you need plywood. To get the desired thickness, you can glue several sheets together. You can grind the pulley on a lathe or just on some suitable engines. Using the flange, we fix the pulley on the shaft, fix it with nuts.
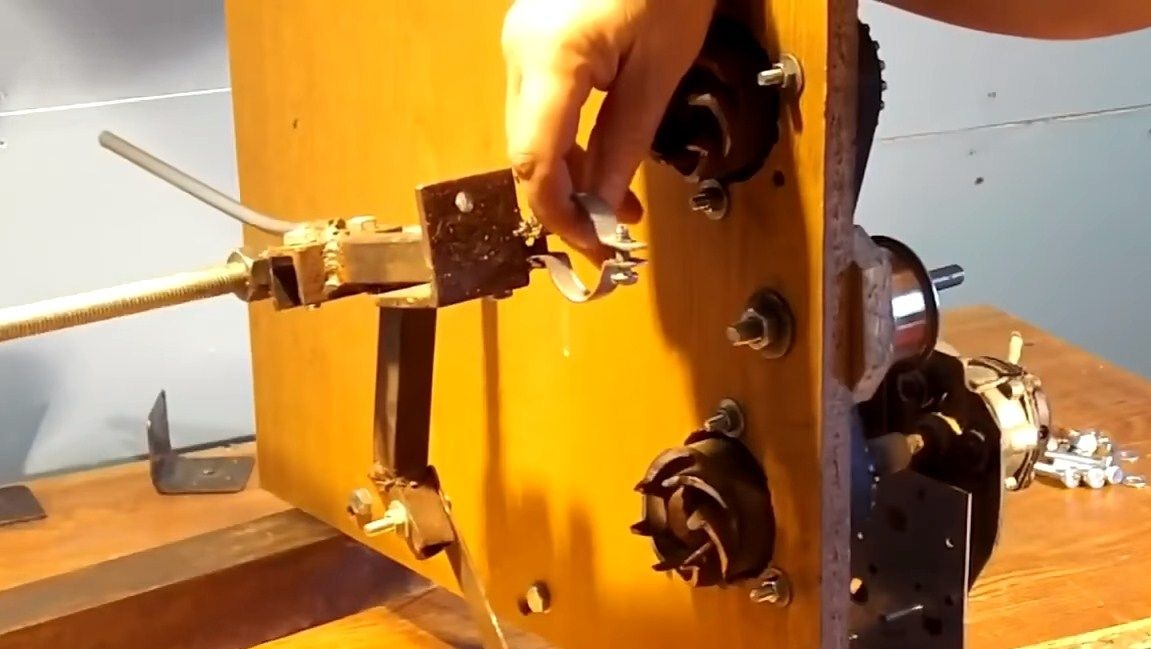
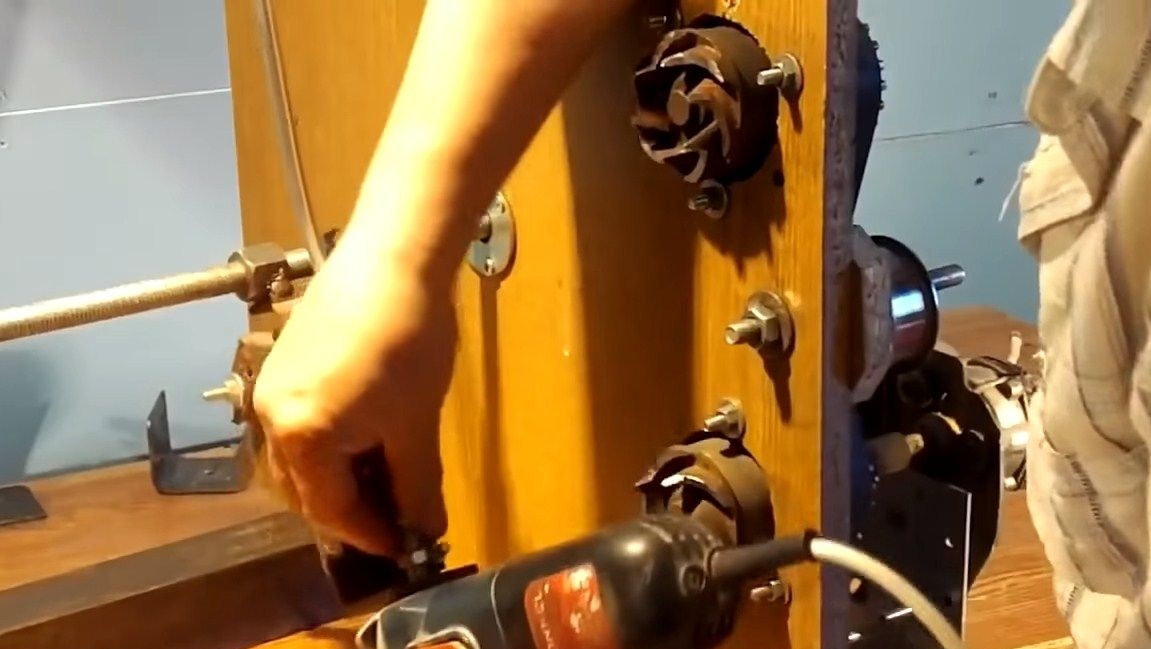
Step Six Holders
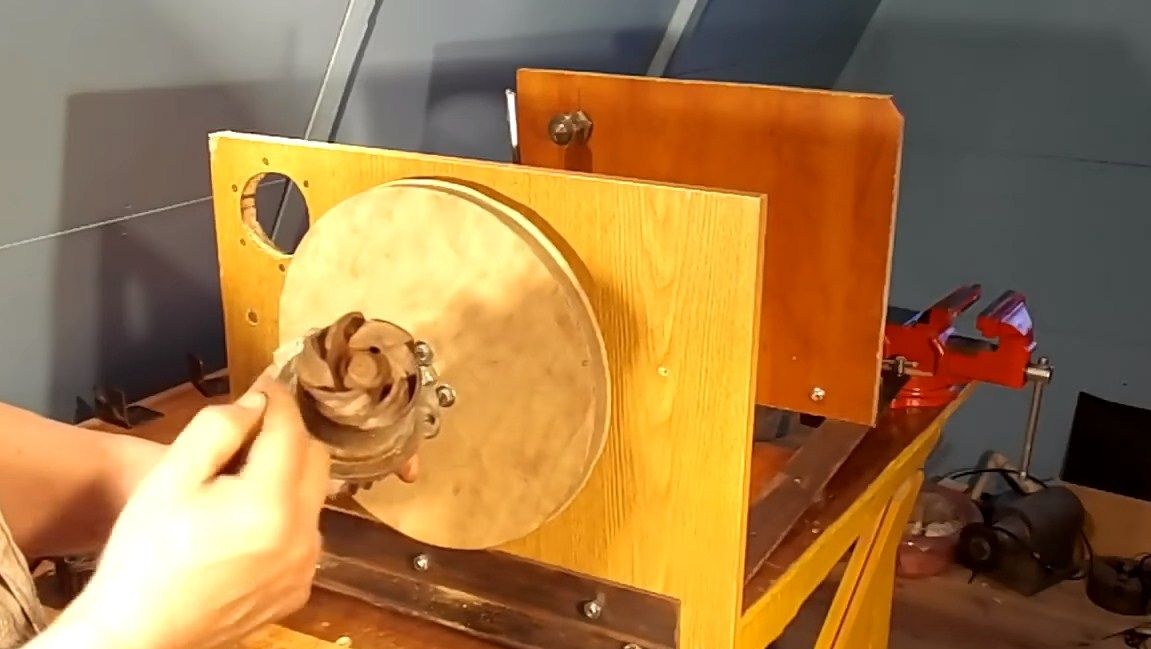
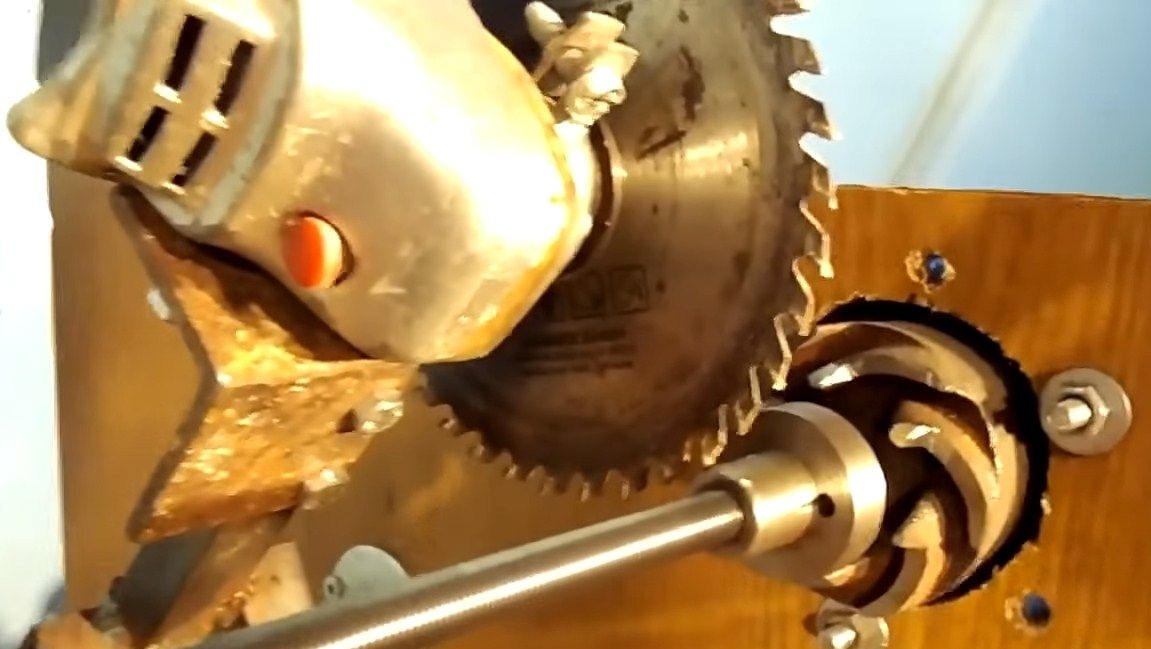
Now we need to install two holders that will hold and rotate the products. For these purposes, the author successfully adapted two pumps from the VAZ 2108. We drill holes for them and install the pumps with impellers inside the machine, screwing them with bolts and nuts. The impellers of the pumps themselves will be needed in order to conveniently fix the products. The author changed the impellers with the help of a grinder so that cloves appeared on them.
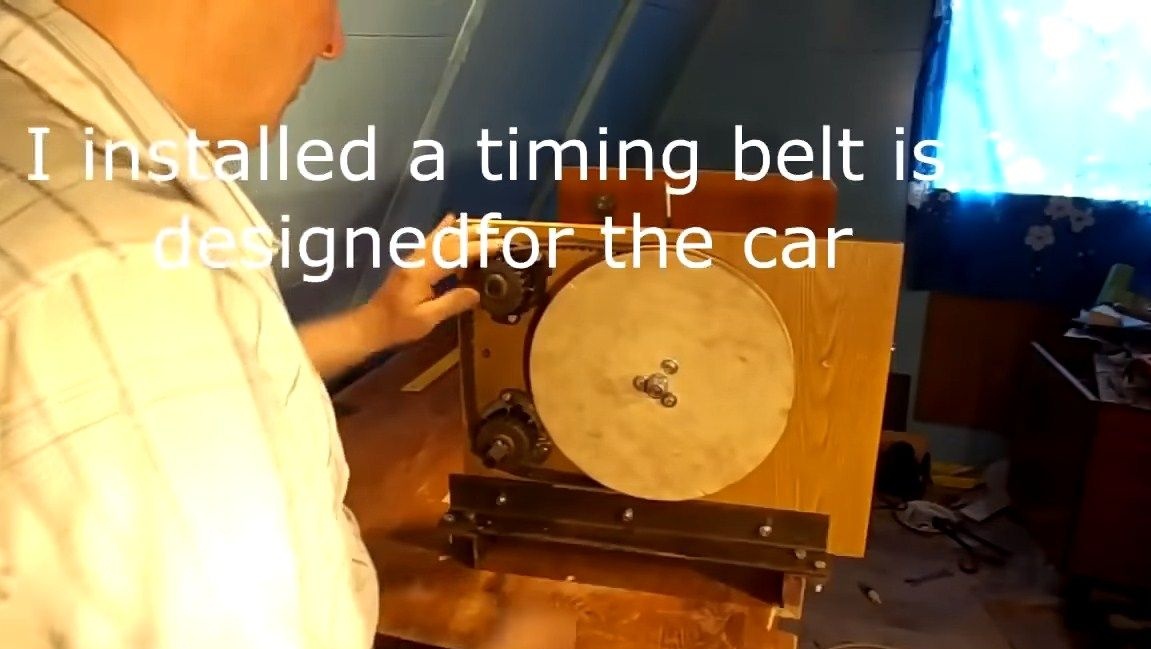
It remains to install and tighten the belt. As for the belt, it is also taken from the car, it is the VAZ 2108 timing belt. For the belt you will need a tensioner, it is also taken from the car. Set the tensioner and pull the belt. That's all, now this node is assembled.
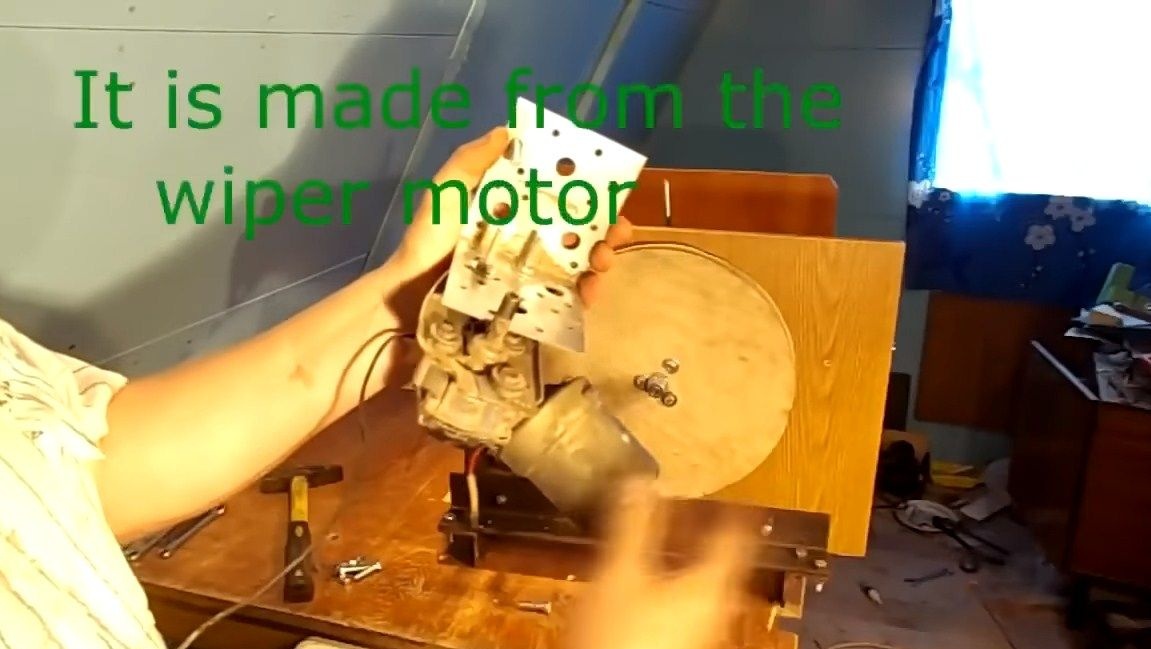
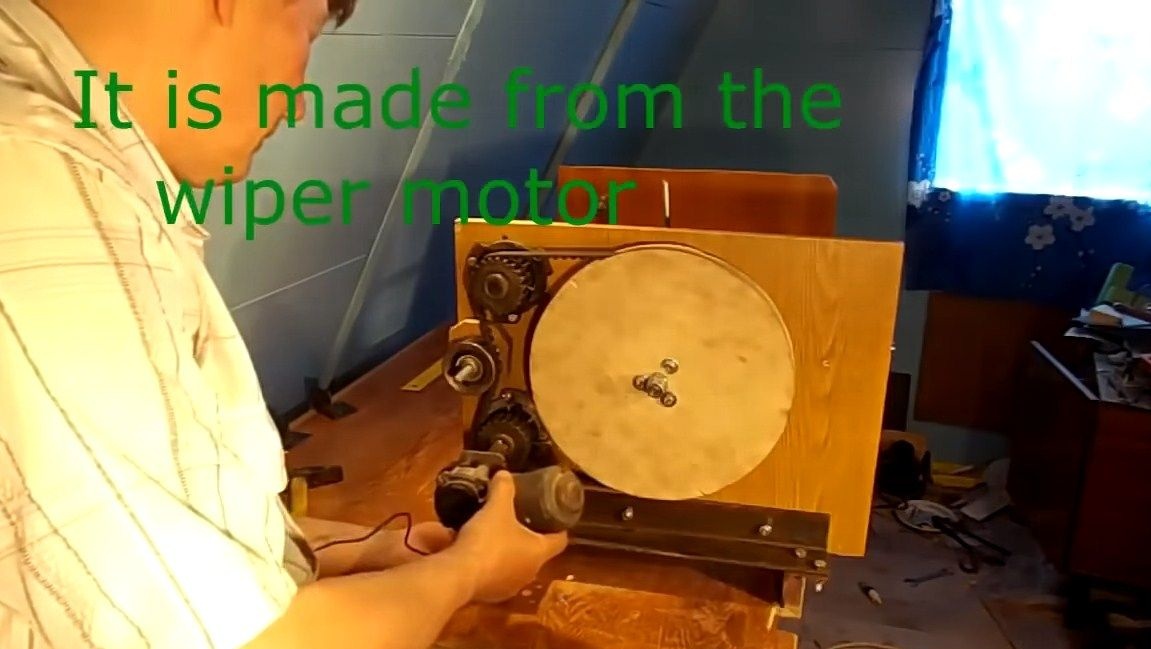
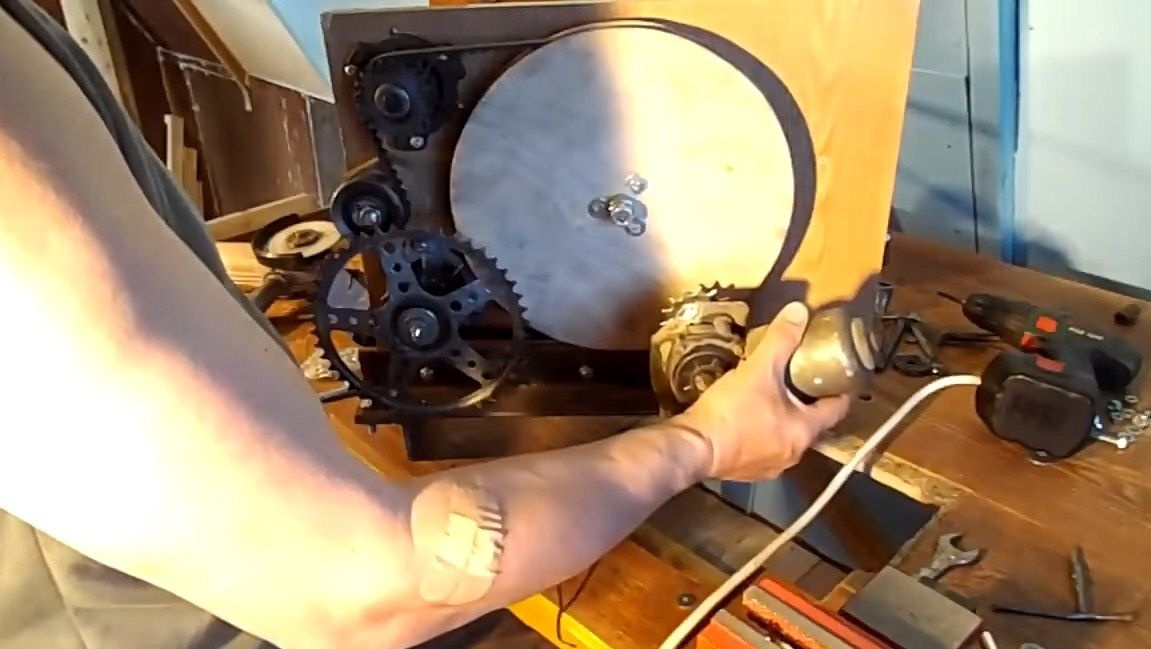
Seventh step. Engine
To rotate the working shaft, you need a small motor, for this purpose the motor with the gearbox from the wipers came up perfectly, in this case it is a part from a VAZ 2101 car. The author initially welded the motor shaft directly to the machine shaft, but in the end it turned out that the speed was too high and later the design has been redone, read about it later. For fastening, you can use a steel corner. However, if you learn to regulate engine speed, then this option is also viable.
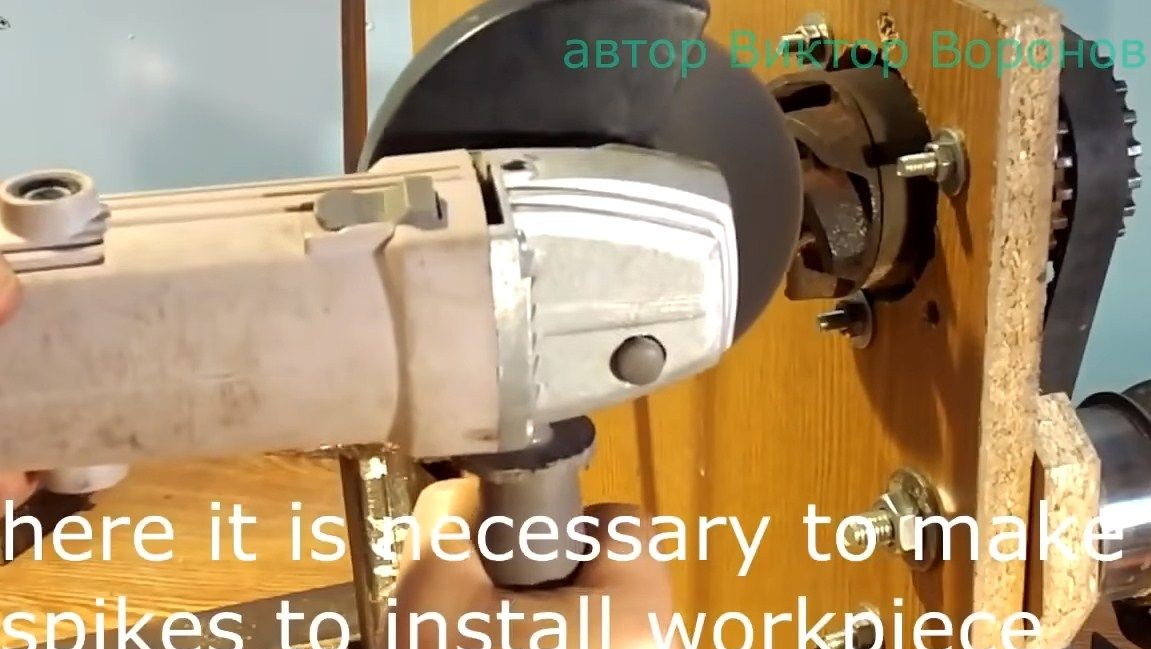
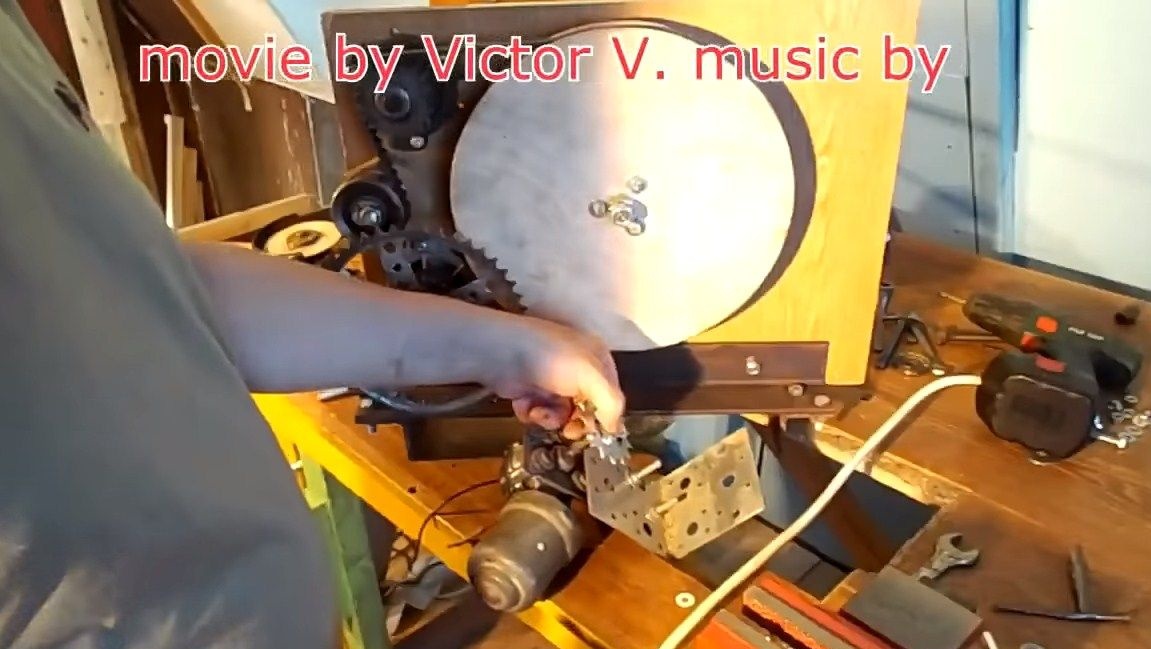
Step Eight. Installation of the grinder
The author modified the impeller of the pump a little, he cut the teeth with the help of a grinder. As a result, it has now become convenient to clamp the workpiece and the original part.
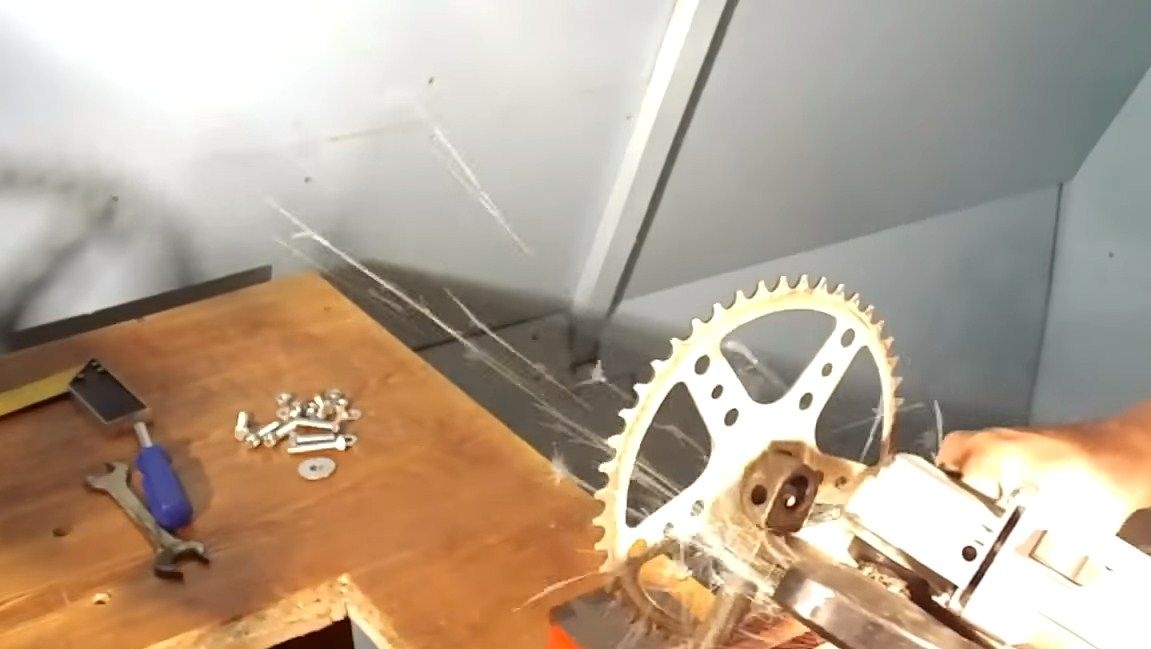
We proceed to install the working tool, in this case it is a grinder. A special clamp is fitted here for it. Well, also set the cutting wheel on the tree. It is advisable to use carbide tipped circles, they last longer.
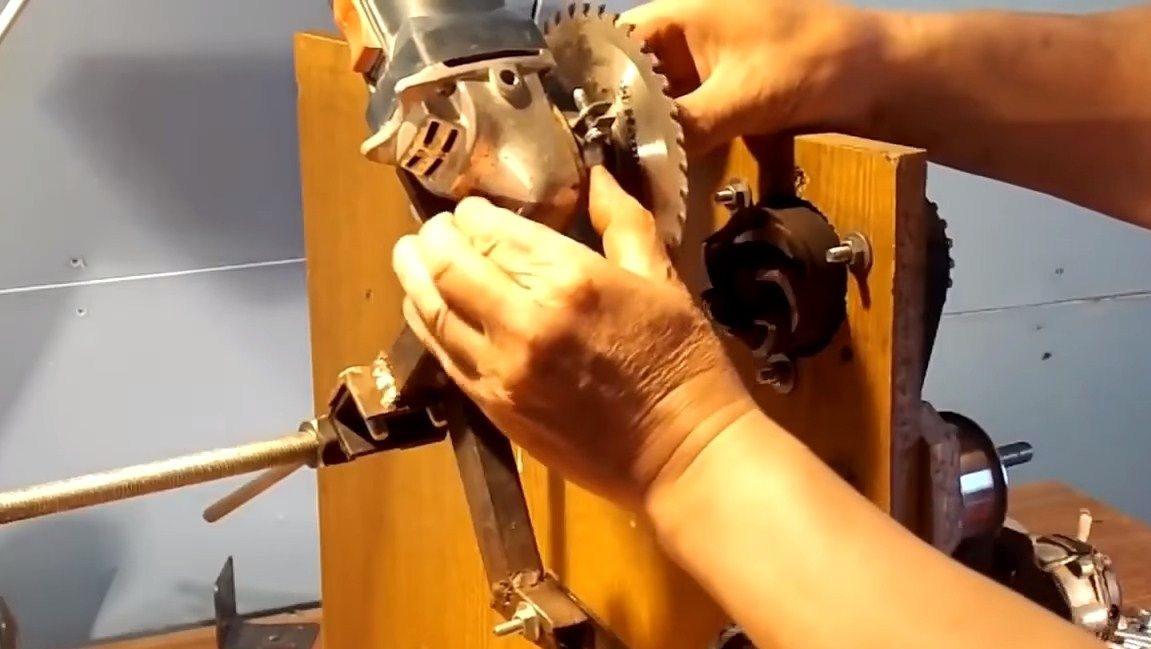
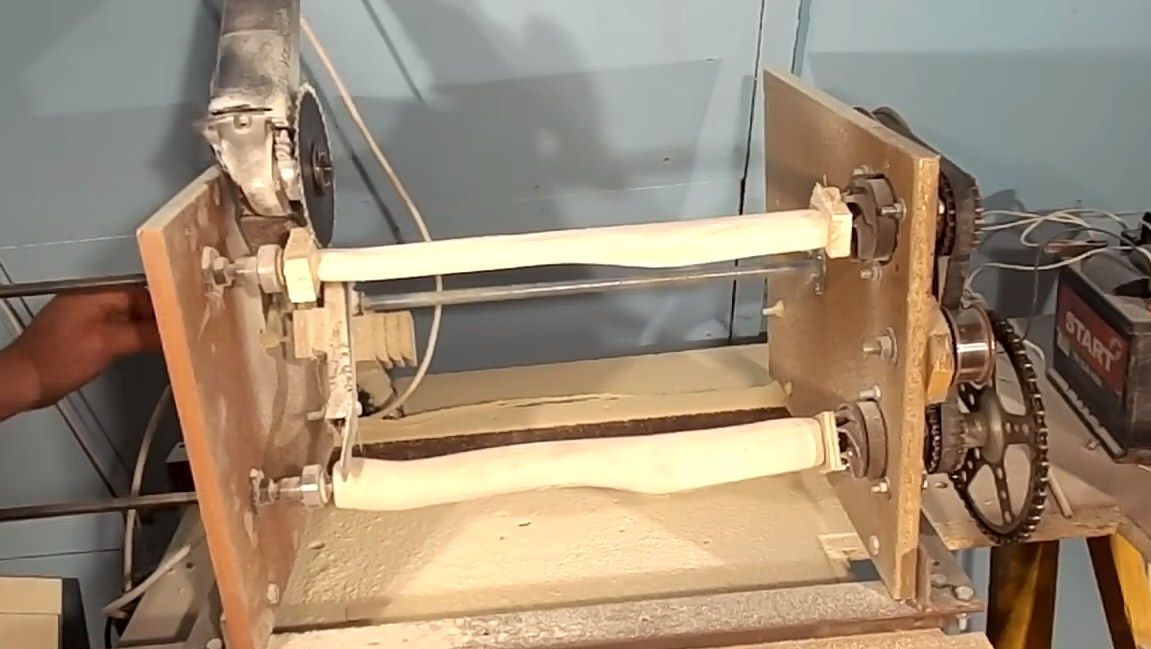
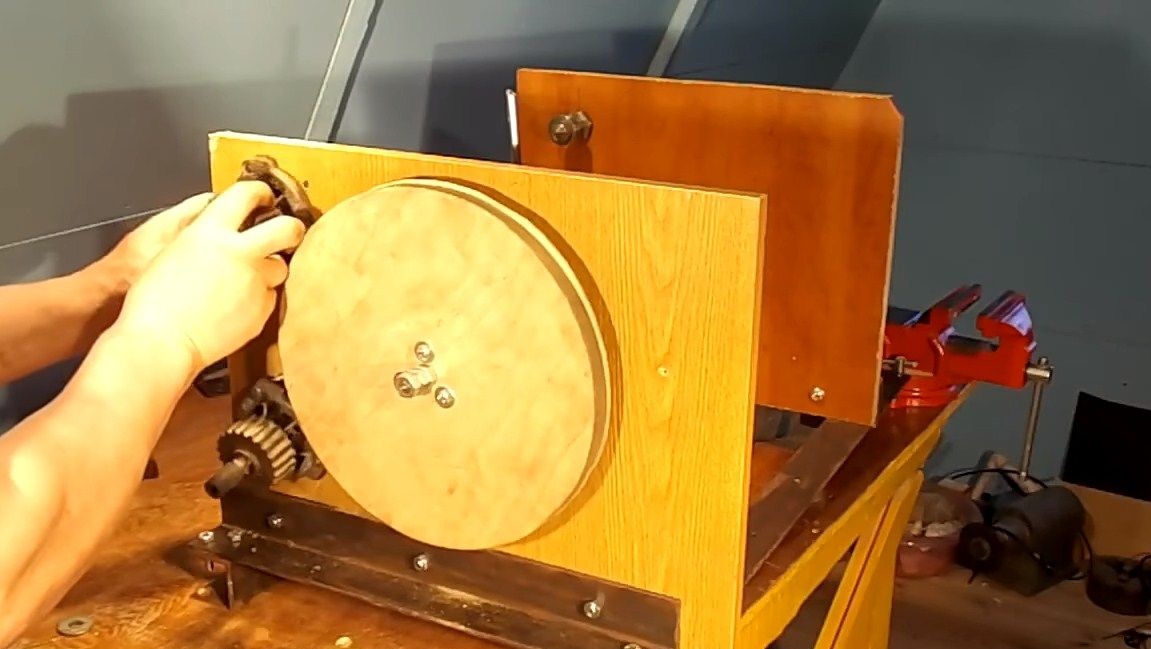
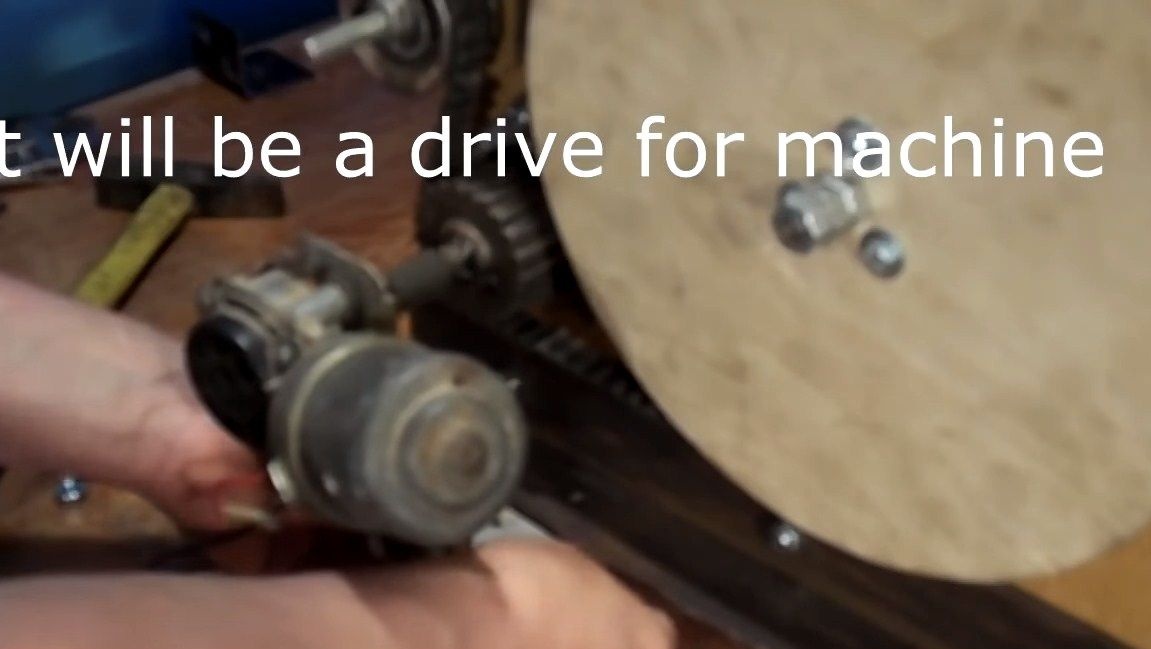
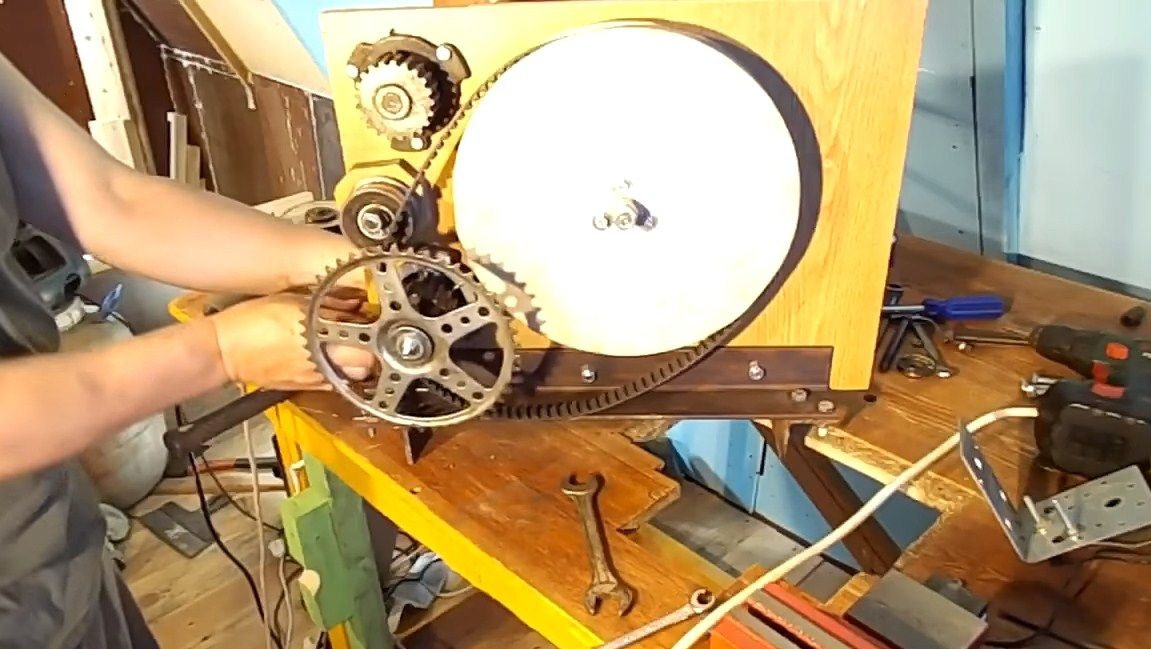
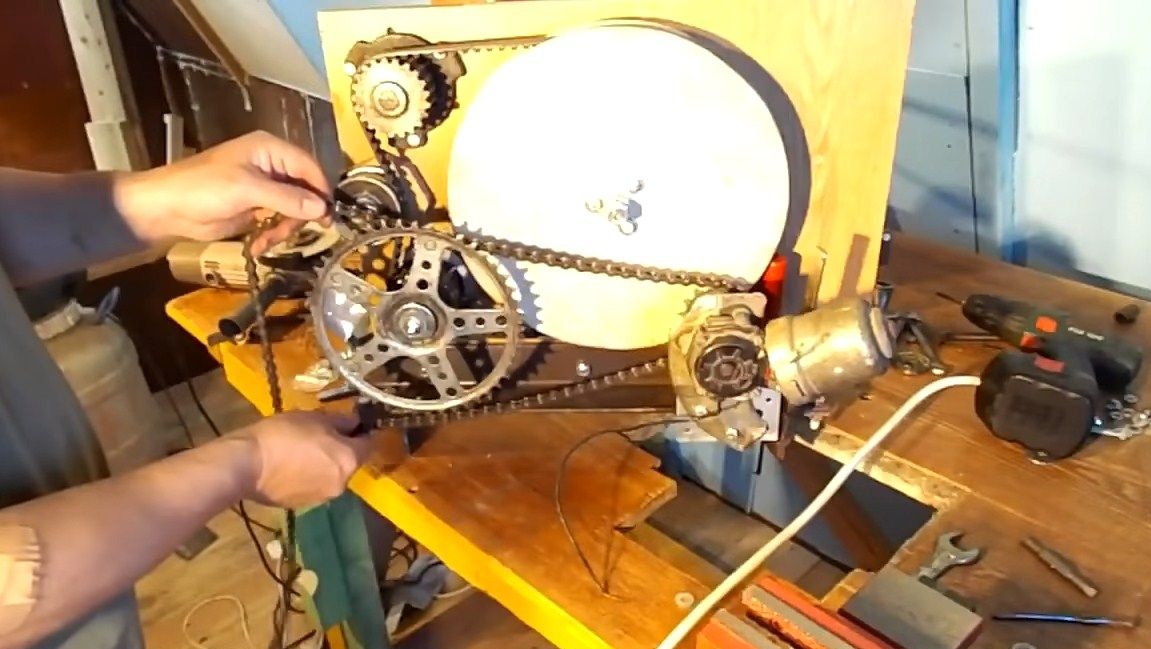
Step Nine. Downshift
When testing the machine, the author found that the working shaft rotates too quickly.To solve this problem, it was decided to make a reduction gear. For these purposes, the author adapted a chain transmission from a bicycle. We cut the connecting rod from the leading sprocket, and weld or fasten the flange to the driven sprocket. We install a small asterisk on the motor, and a large one on the working shaft. That's all, now screw the motor through the corner to the frame and install the chain. We get low revs and high torque, what we need.

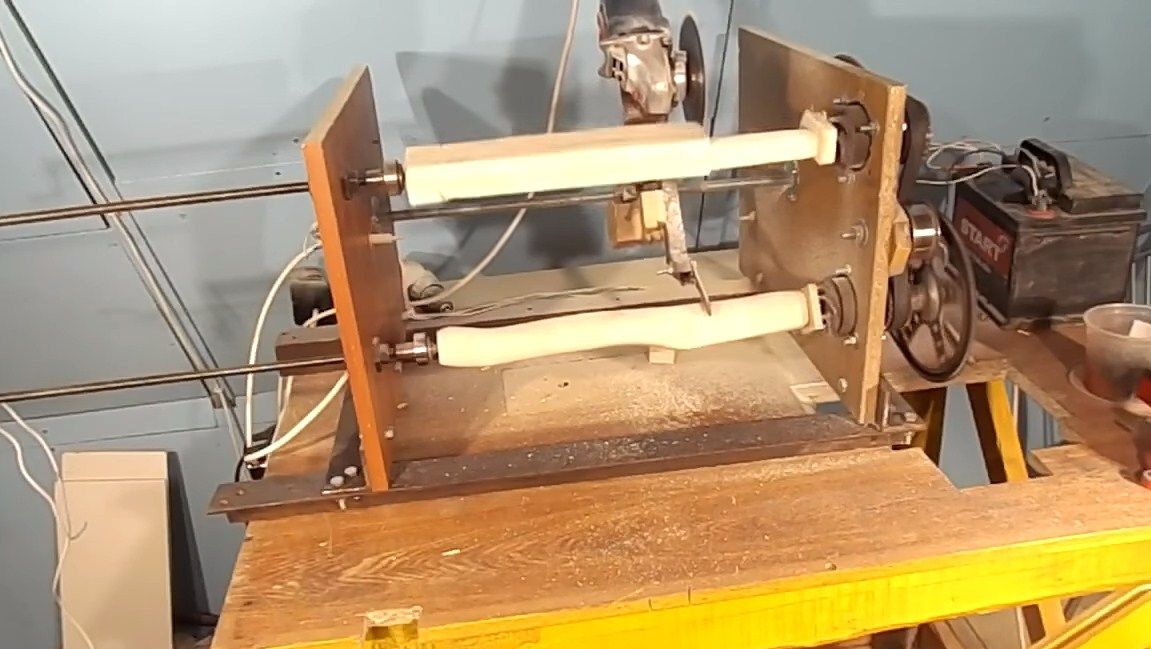
Step Ten Adjustment and testing
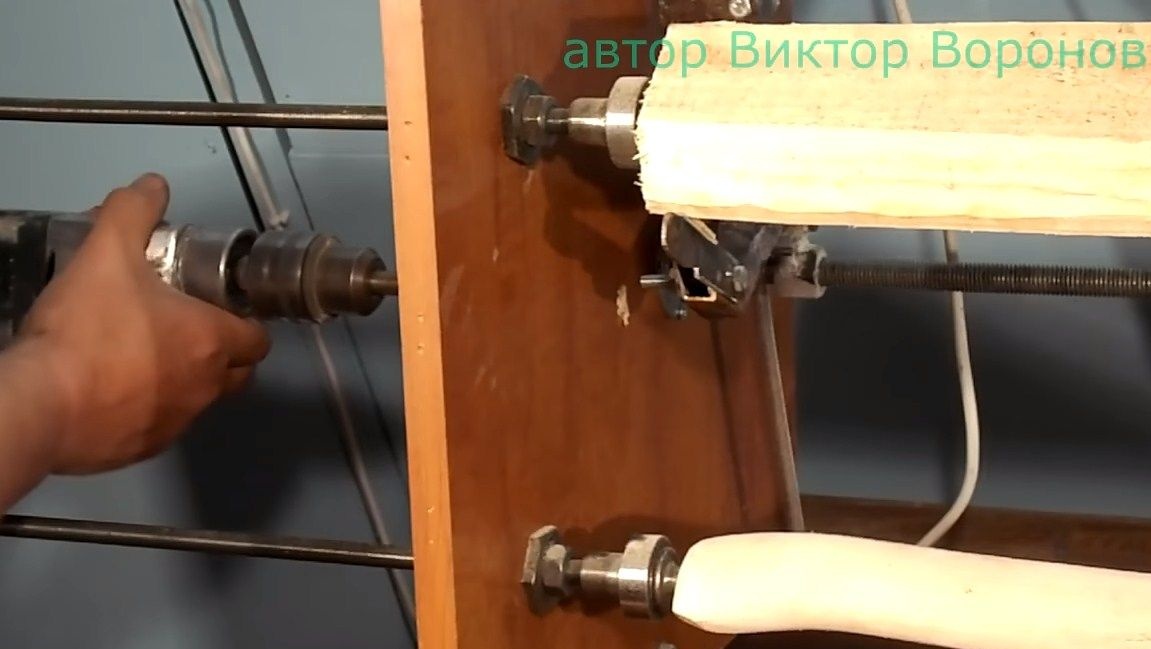
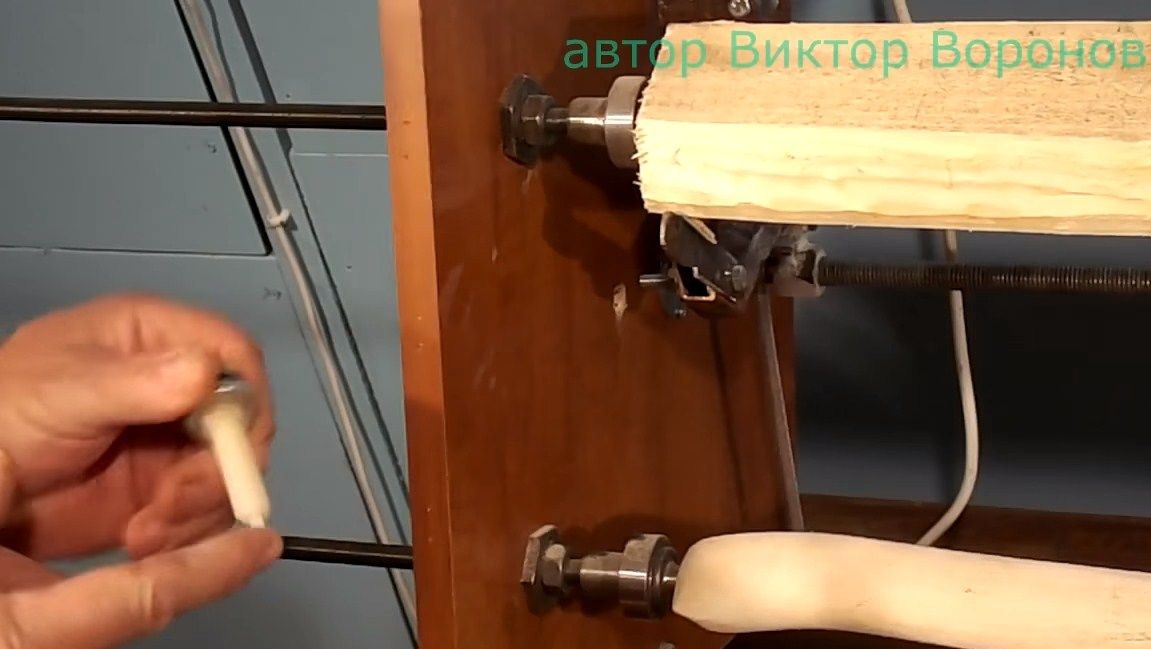
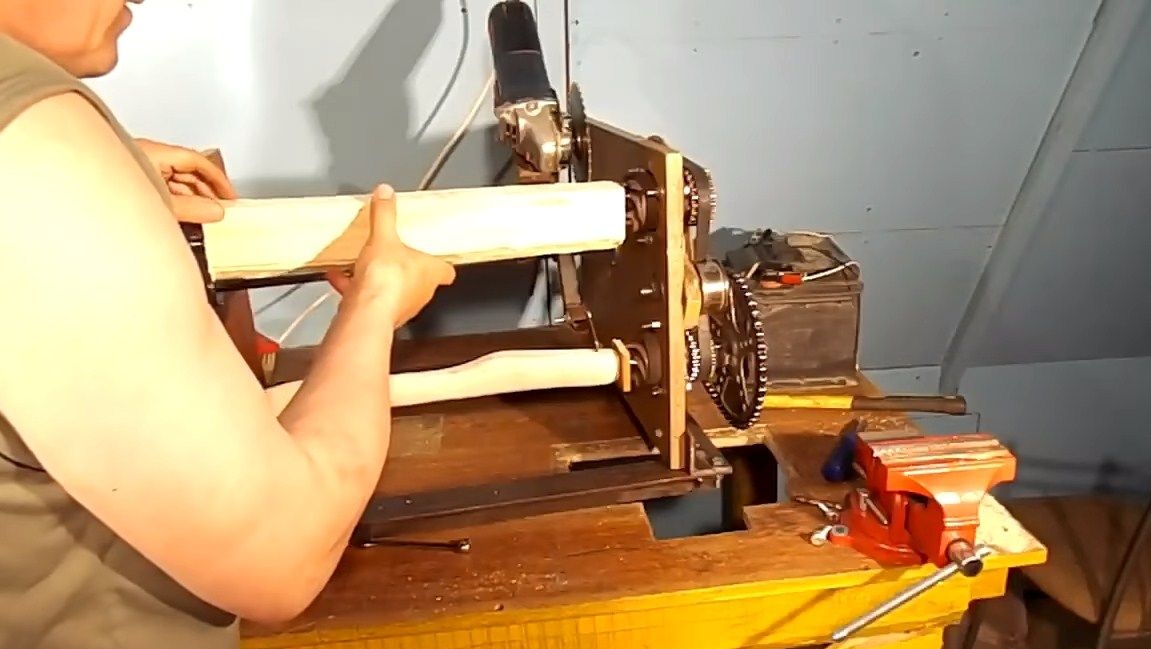
You can test the machine, for this we install the original part in the lower part, in our case it is a handle from an ax. Next, we need to adjust the lever, which rests on the original workpiece. We adjust its angle by unscrewing the nuts and bolts, then tighten them in the desired position.
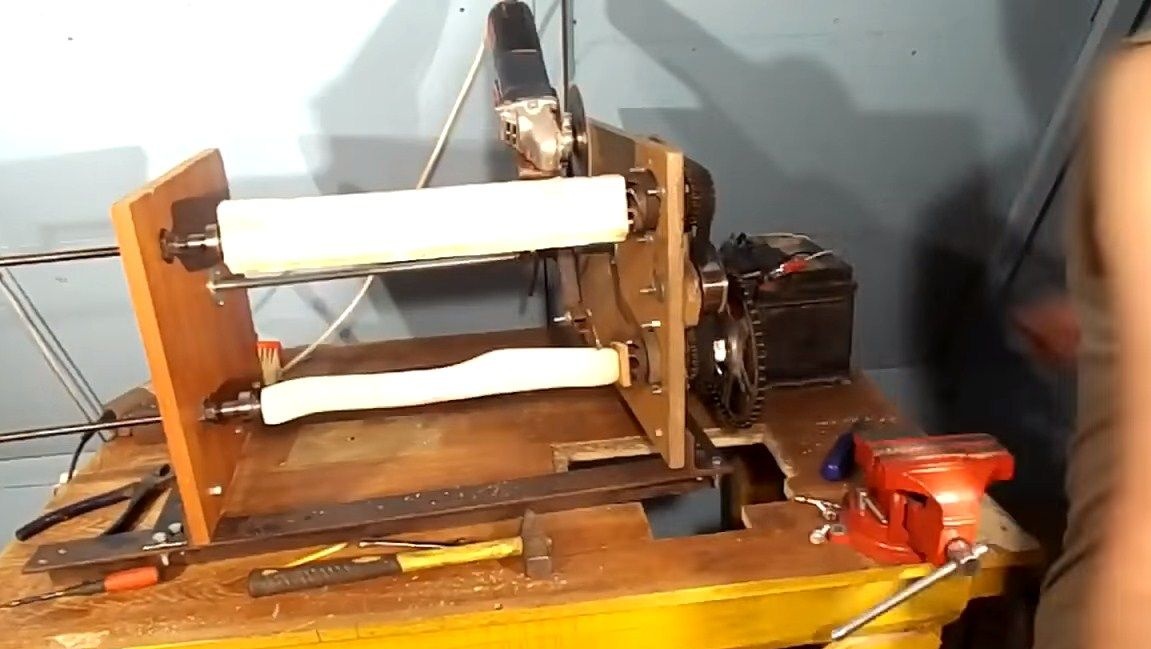
In the upper part of the machine we install a block from which the handle will be cut. Well, then you can start the car. We supply 12V to the engine and the working shaft begins to rotate. Next, we reject the grinder a little so that the disk does not lie on the tree at startup, and turn it on. As a result, the process of copying the product begins.

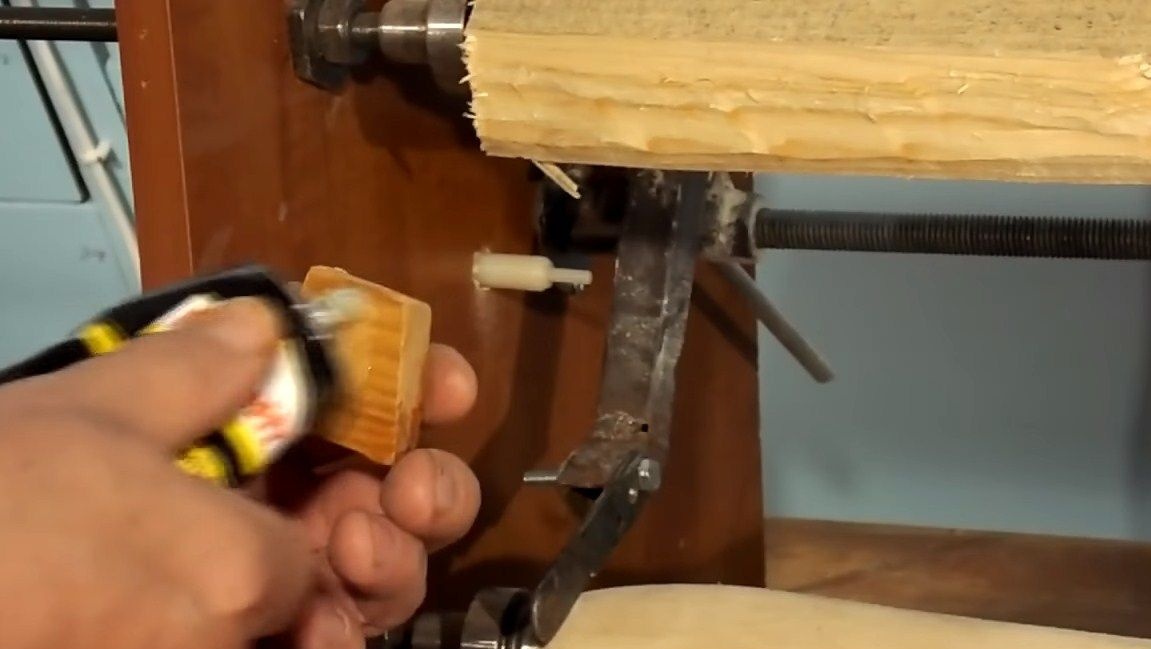
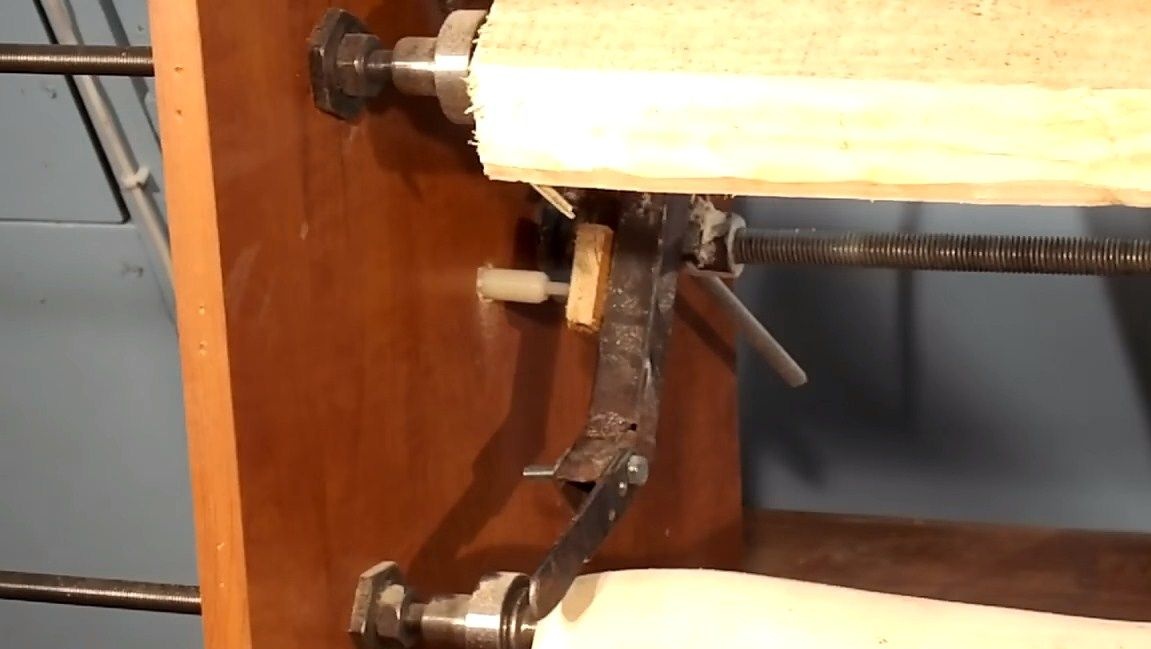
Step eleven. A bit of automation
When the machine finishes its work, it will be necessary to turn it off in time, otherwise the carriage will hit the wall and break it or something worse. To make the machine safe and convenient, we need a switch that will automatically turn off the device at the end of the task. To do this, you need a switch, which is located in car under the brake pedal. But this switch will need to be connected via a 220V relay. We drill a hole under it and install it in the right place.
That's all, now you can start the machine and go about your business, it will turn itself off when the work is finished!