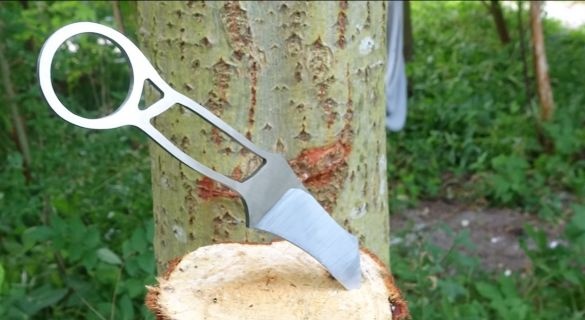
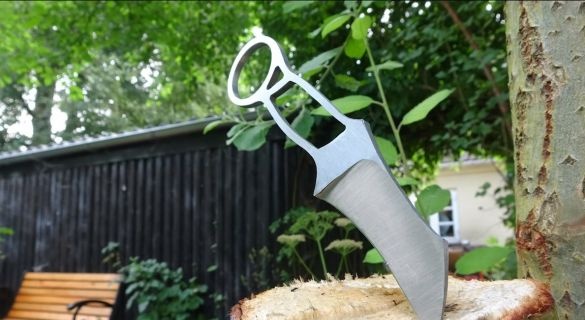
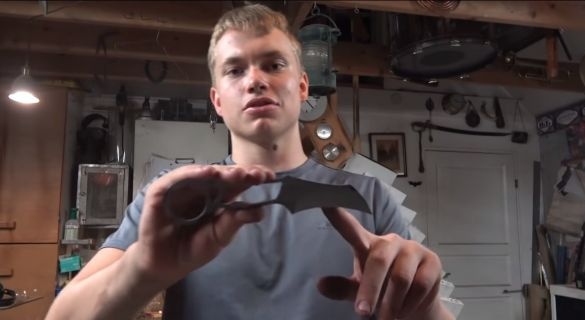
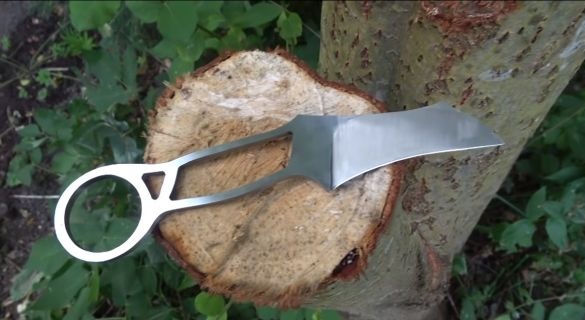
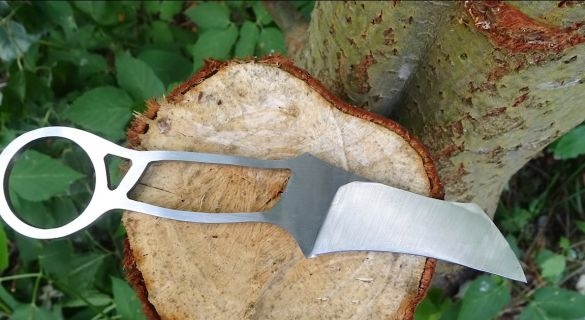
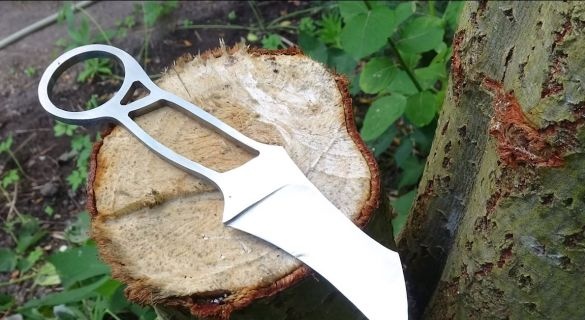
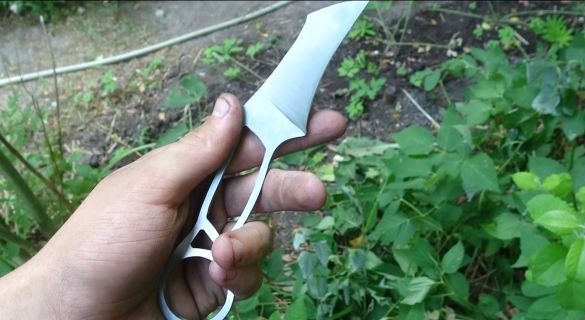
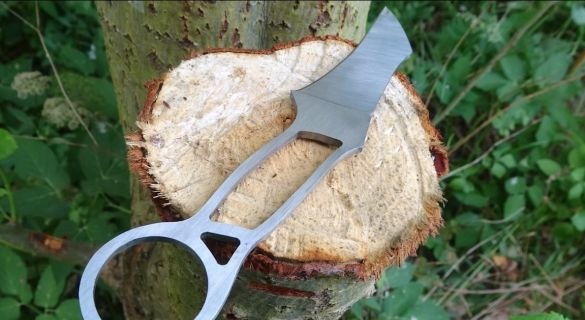
In this instruction we will look at how easy it is to make a knife like kerambit. A feature of these knives is the curved shape of the blade. There are many versions of what these knives were intended for and where they happened. In most cases, these knives are associated with a tiger claw, and its purpose is self-defense. Such a knife lies comfortably in the hand and instantly make the attacker change his outlook on life.
There is still a version that these knives resemble a cock spur, and according to another legend, these knives were used for cock fights. There are also versions that such a knife can be used for some craft purposes, for example, cut off some plants. One way or another, let's hope that you will use a similar tool for the good.
To make such a knife is not difficult, and you can do with fairly simple tools. The product is all-metal, so you do not need any additional materials. The author cut out the profile with a grinder.
If you need such a knife in the household, then it makes sense to make it of quality steel. High carbon steel is quenched. When cutting, carbon steel forms thick yellow sparks, found in cutting canvases, files and other tools. So, we will consider in more detail how to make such a knife!
Materials and tools used by the author:
Material List:
- carbon steel.
Tool List:
- grinder;
- belt sander;
- drilling machine;
- drill;
- various files;
- sandpaper;
- forge furnace;
- polishing machine.
The manufacturing process of a kerambit knife:
Step one. We make a template
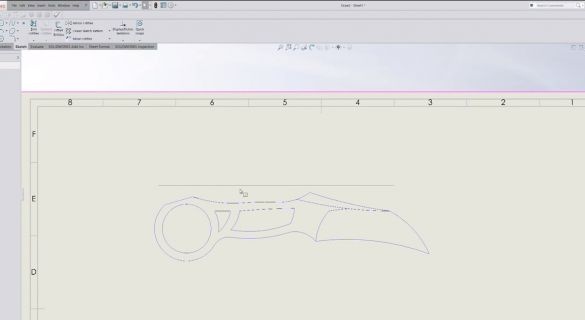
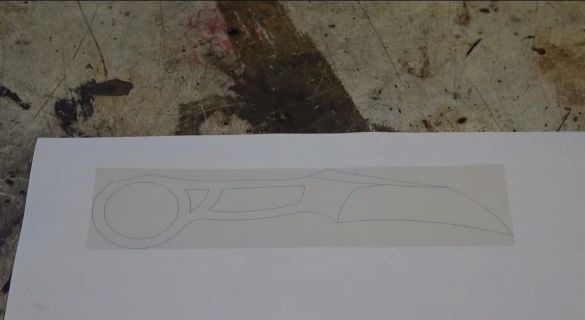
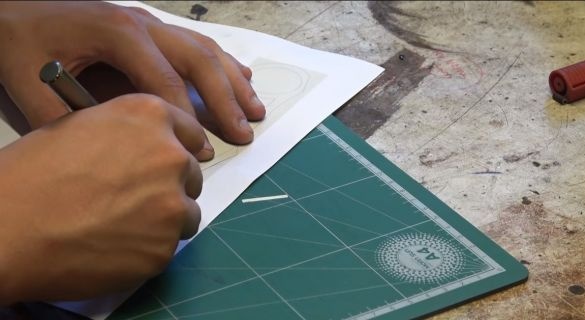
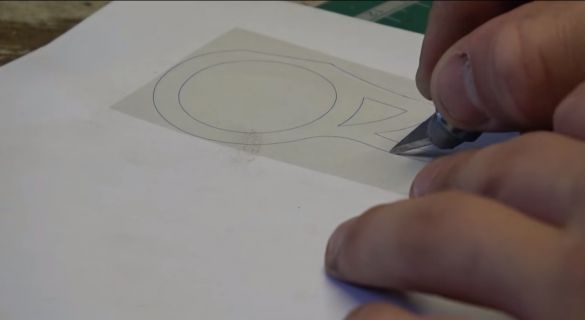
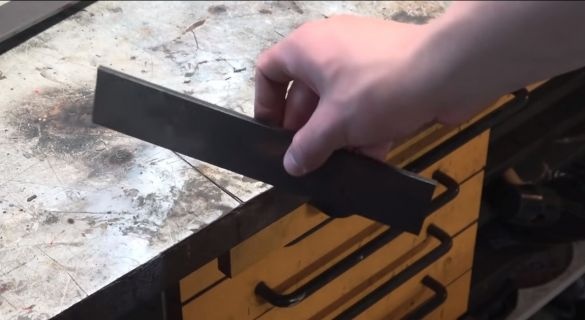
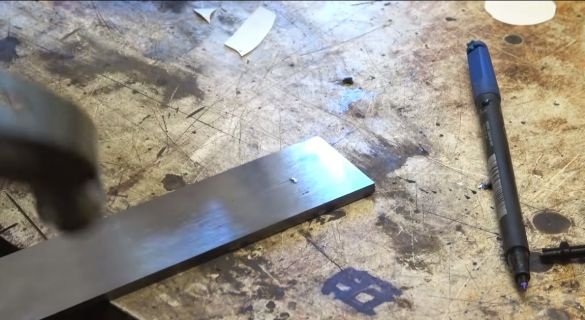
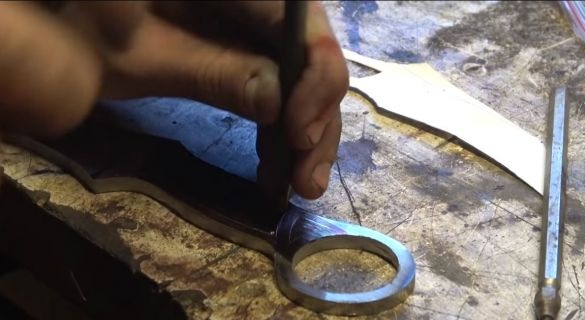
First of all, we need to make a knife template. To do this, we produce some drawings on a computer or manually. Next, print the resulting drawing and cut it with a clerical knife. That's all, the template is ready, circle it on the workpiece with a marker and you can start cutting. Before drawing, the author cleaned the metal on a belt sander.
Step Two Hole
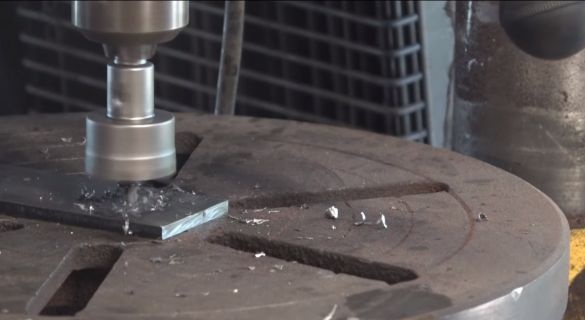
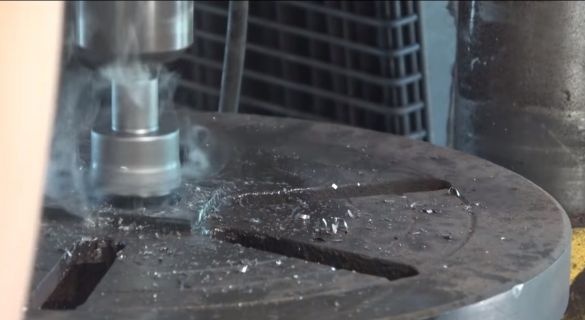
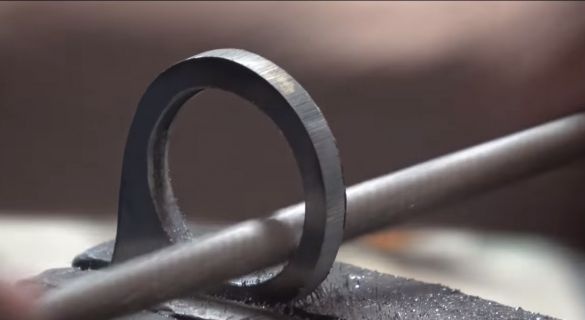
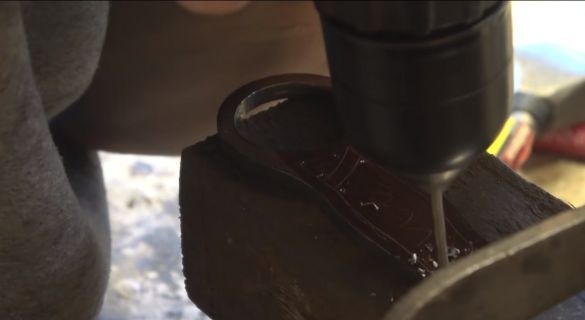
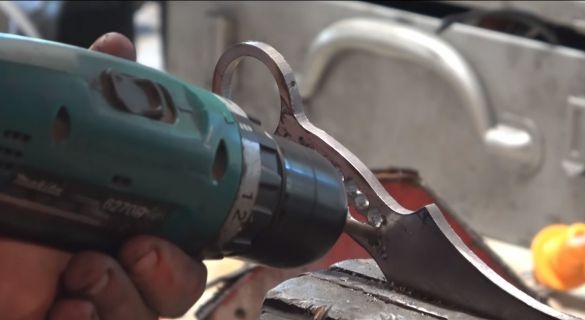
First, drill a hole with a bit in the workpiece. This strategic hole is for fingers. For reliable fixation of the blade, it has most of the knives in the style of karambit. We drill a hole slowly, lubricate the bit well. The workpiece is always securely fixed and in no case do not hold hands, as if the metal breaks out, it will cause serious injury to the hands.
Step Three Cut the main rough profile
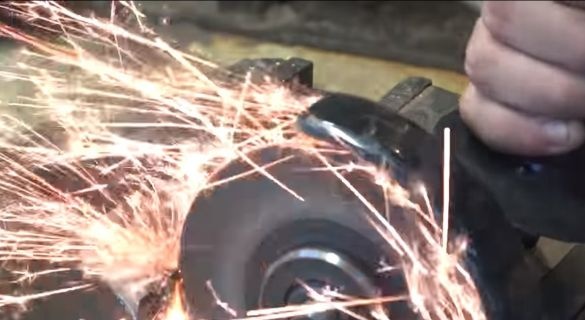
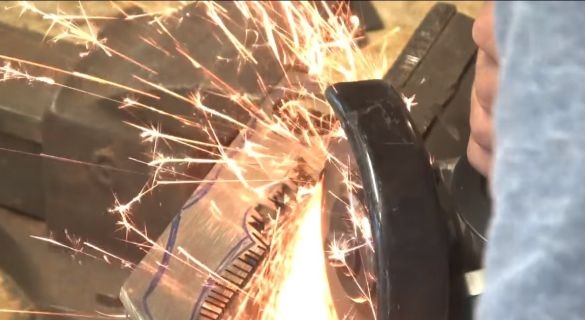
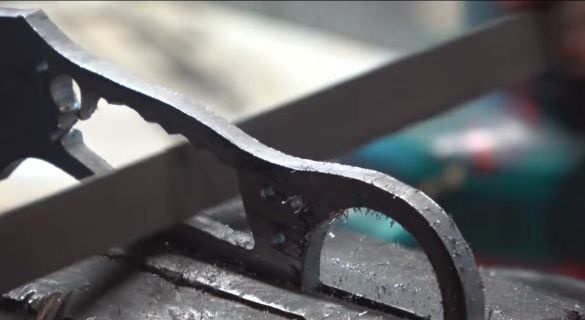
We proceed to cutting the main profile. For these purposes, the author used an ordinary grinder. To cut the bends, we make a lot of transverse cuts, and then cut them in parts. As a result, there will remain cloves, which can also be removed by a grinder by installing a grinding disk.
Step Four Grinding
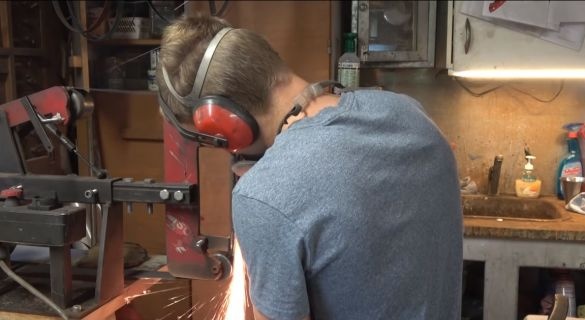
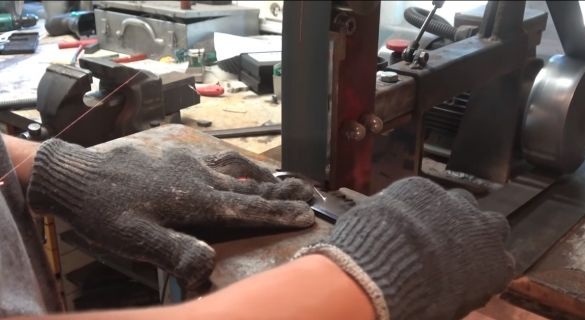
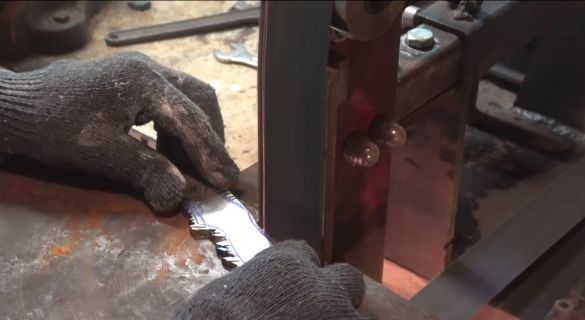
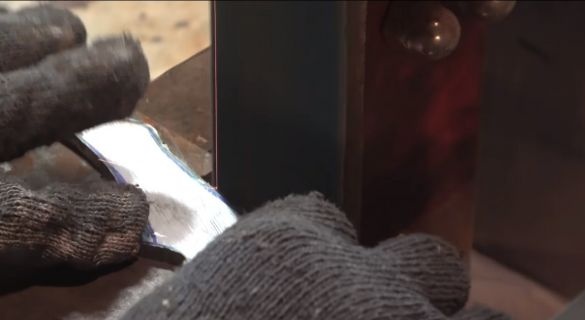
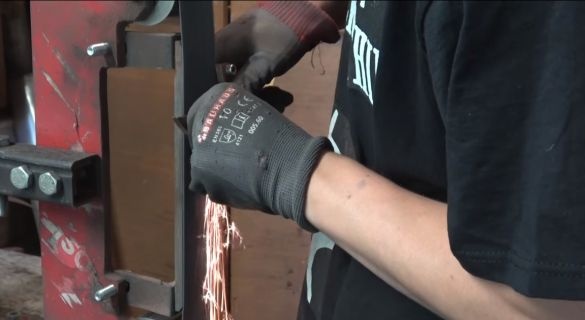
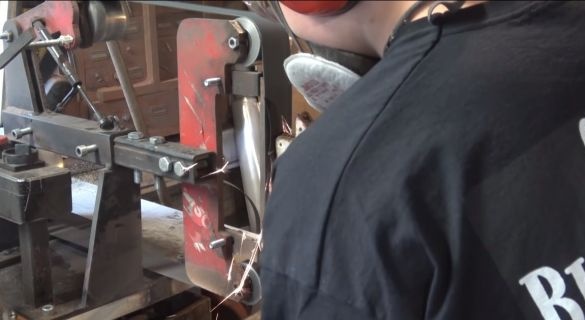
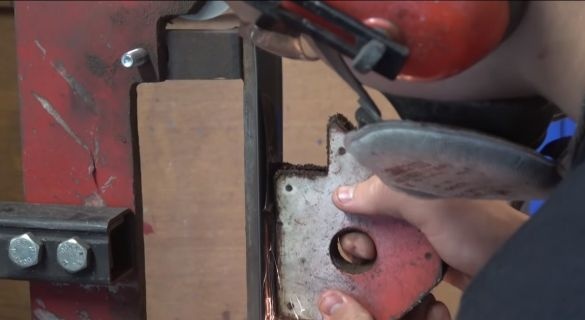
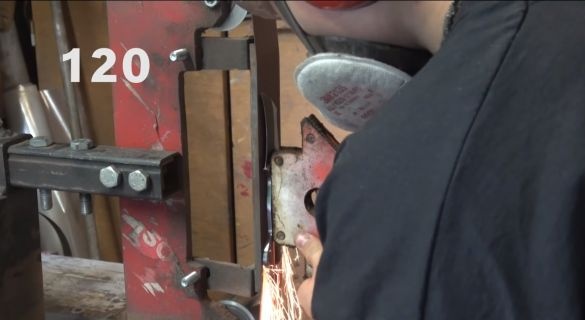
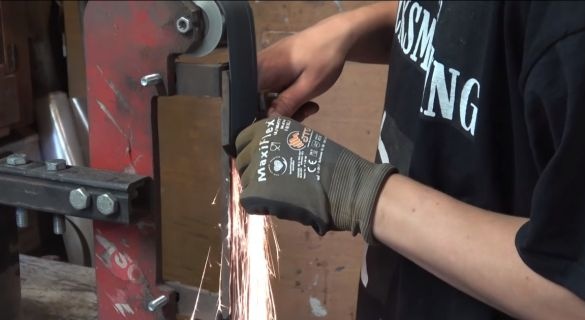
We go to the belt sander and carefully grind the blade along the contour. It is important for us to remove all the notches and grind the blade in the form that it was originally intended to be. In most cases, the author uses a 400 grit tape.
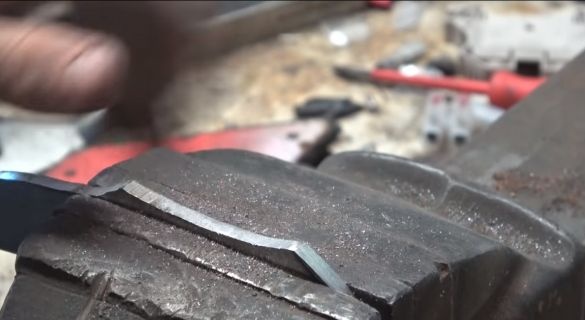
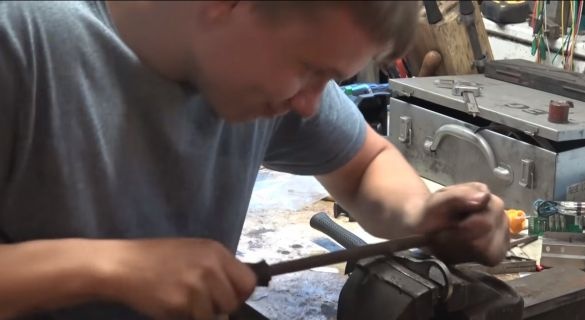
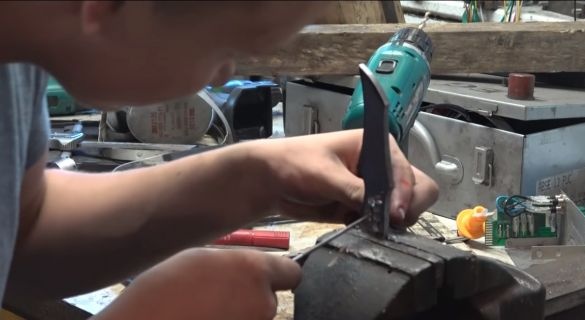
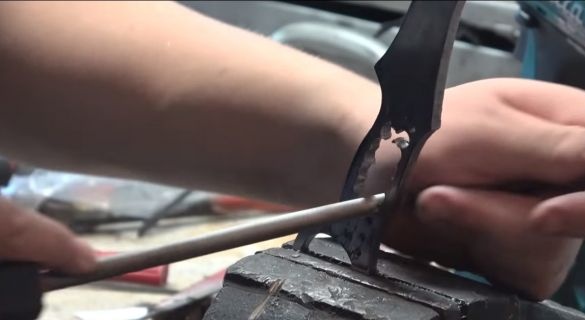
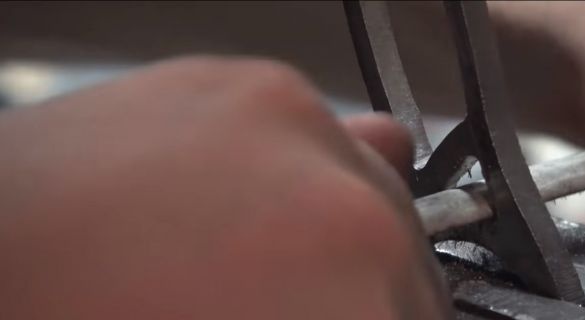
Next, we will have manual processing. We clamp the workpiece in a vice and work on files of various shapes. We process the blade along the contour, where we could not get the tape machine, and also grind the hole.
Step Five Cut windows in the handle
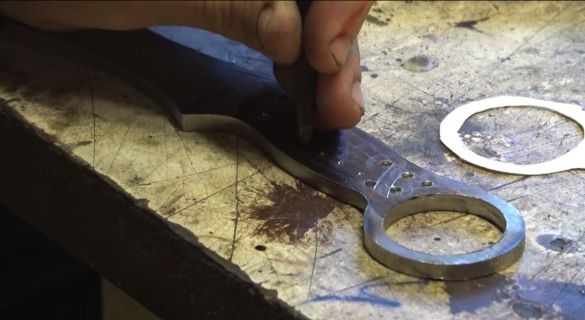
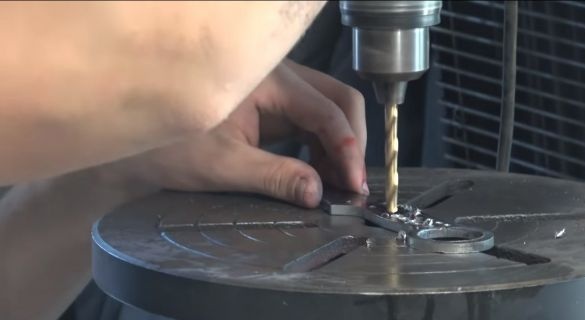
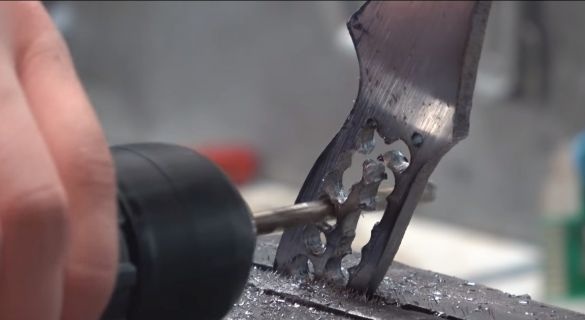
In the pen, the author decided to cut out the windows, so the knife looks more interesting. To solve this problem, we take a drill and drill a number of holes of the desired shape. As a result, we then combine all the holes obtained using a file or the same drill. We carefully process the resulting windows with files.
Step Six We form bevels
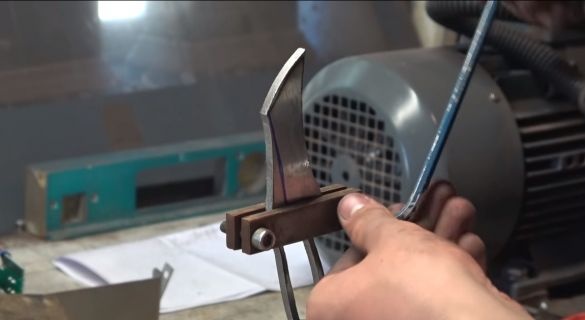
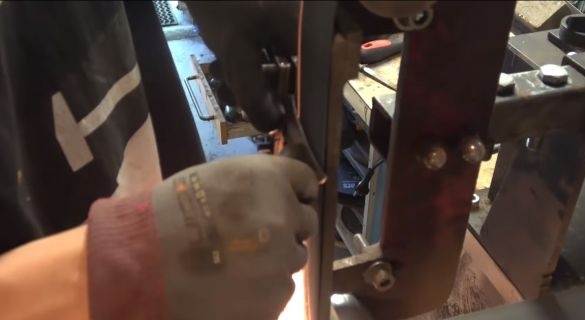
It's time to form the bevels on the knife. To do this, we clamp the blade into a special bracket from the corners, since it will be difficult to hold it with your hands due to heating. The author forms bevels on the eye using a belt sander. But first, it would be nice to mark everything up. The grain size of the tape for such work can be around 400 units. You must complete all the basic work with metal at this step, since then there will be hardening, and the metal will become strong.
Seventh step. Quenching
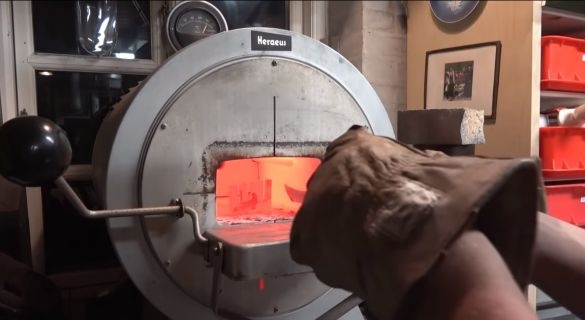
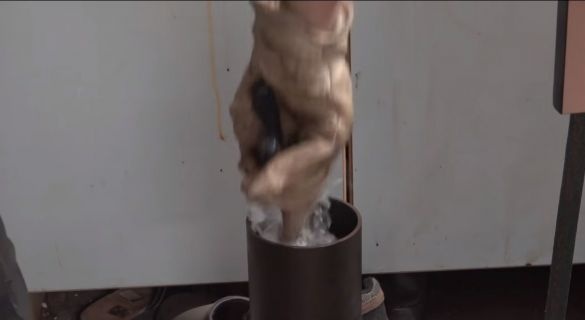
It is time to harden the blade, this will make it very strong. For proper hardening, it is important to know the grade of steel. We send the blade to the forge furnace, you need to heat until the metal is no longer attracted by a magnet, but these are only approximate figures. Well, then cool the blade in oil.
Now the blade should be hardened, but after that the metal will become brittle, the blade may just crumble upon falling. We need to make the blade more elastic so that it spring under load. To do this, release the metal. A household oven is usually used, we select the time and temperature depending on the steel grade. On average, the blade is heated for about an hour at a temperature in the region of 200 degrees Celsius. The straw color of the metal will testify to the vacation. That's all, now we got a blade of excellent quality.
Step Eight. Final processing
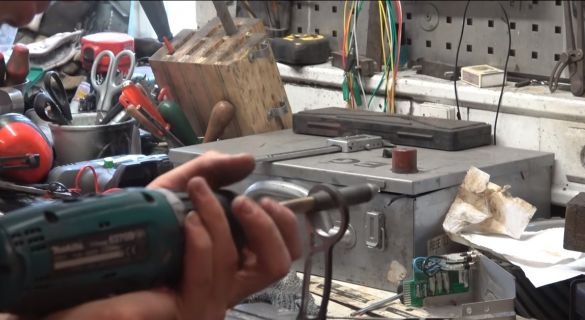
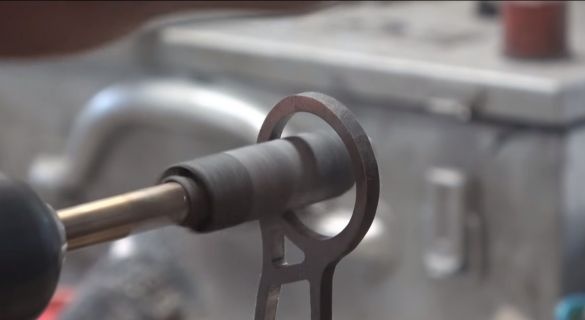
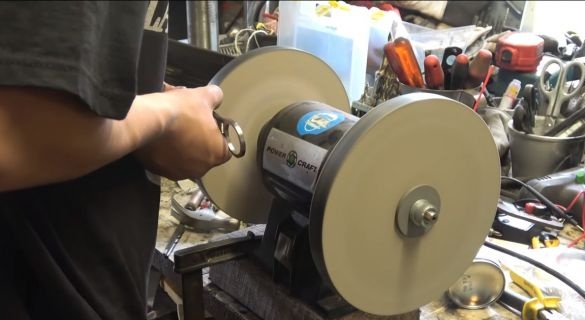
Now, after hardening, the metal needs to be sanded again, or it can be left as is, this patina will act as a protection against rust. We grind the plane on a belt sander, using it we also sharpen the blade. As for the holes, they can be machined with a drill. As an option, the author wrapped a piece of sandpaper on the rod and clamped it in the drill chuck, this nozzle also works fine.
That's all, as a conclusion, you just have to polish your creation on a polishing machine. That's all, the project is over, homemade It turned out pretty interesting and unique. I hope you liked the project too, and you found useful information for yourself. Do not forget to share your best practices and projects with us!

