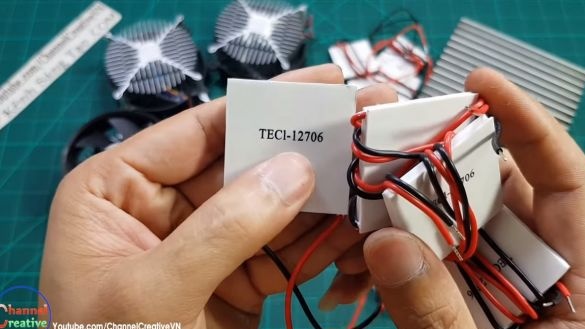
In this instruction, we will discuss how to make a simple air conditioner from improvised materials. There are no compressors or other similar parts in this air conditioner, we will get cold from electricity, or rather, using it. They are now not very expensive, and finding them should not be a big deal.
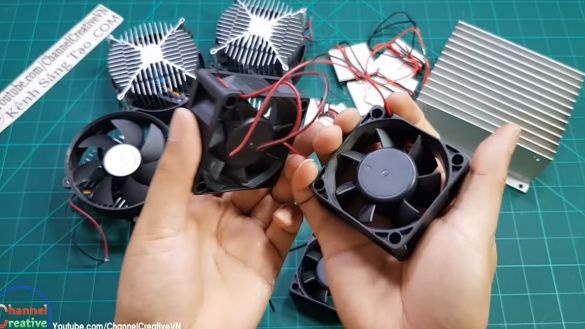
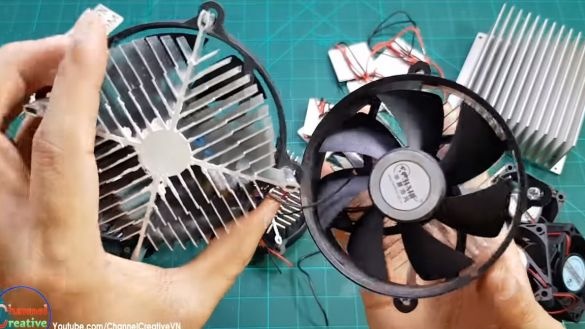
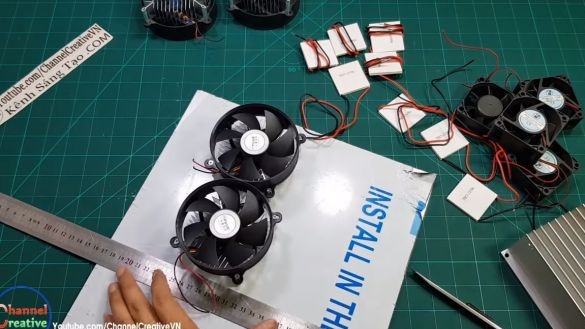
As for the other nodes, we will need fans and coolers from the computer, they will serve to cool one side of the elements and to heat the other. That is, some fans will drive us cold air, while others will cool the elements so that they do not overheat.
Of course, if you put such an air conditioner just indoors, there will be little sense from it, since it heats the air more than it cools. But if you take the hot side to the street, and turn the cold side inside the room, as a result we get quite a good air conditioner, but its effectiveness will greatly depend on the heat insulation of the room. One way or another, near such an air conditioner it will be pleasant for you to be in hot weather, since a stream of cold air will come from it. Assembling the device is quite simple. So, we will consider in more detail how to assemble such an air conditioner!
Materials and tools used by the author:
Material List:
- Peltier elements ();
- 4 coolers from the computer (fans with radiators);
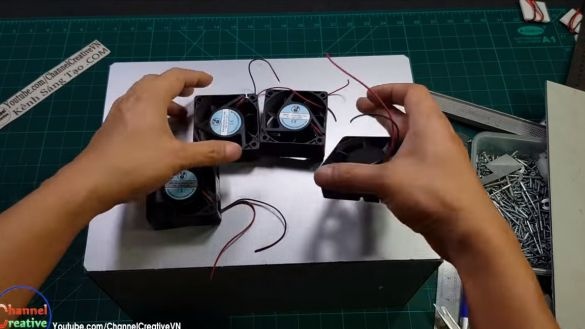
- 4 fans from the computer;
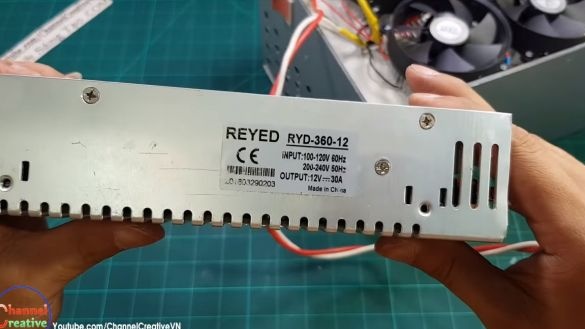
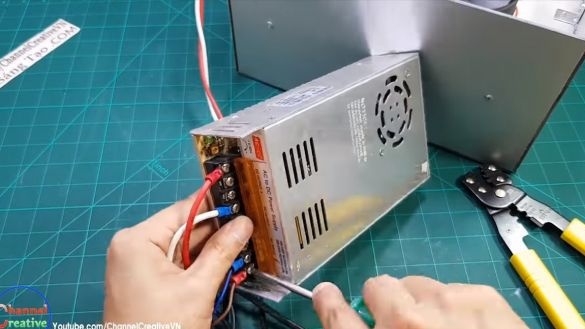
- power supply for 12V / 30A;
- wires;
- thermal grease;
- switch;
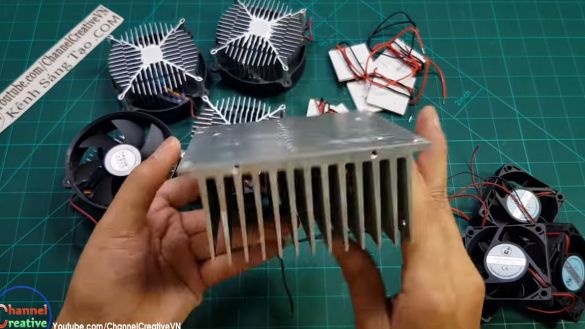
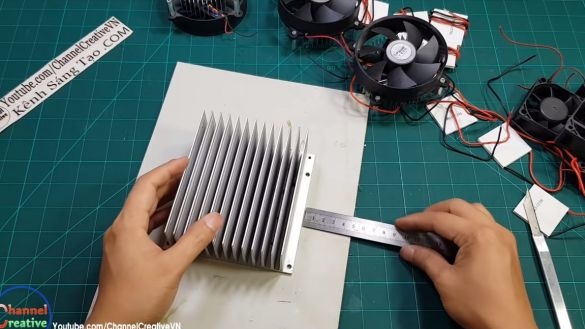
- a large aluminum radiator;
- plywood, sheet plastic or something similar for the case.
Tool List:
- stationery knife;
- glue gun;
- drill;
- soldering iron;
- a screwdriver.
The process of manufacturing an air conditioner:
Step one. We prepare the basis
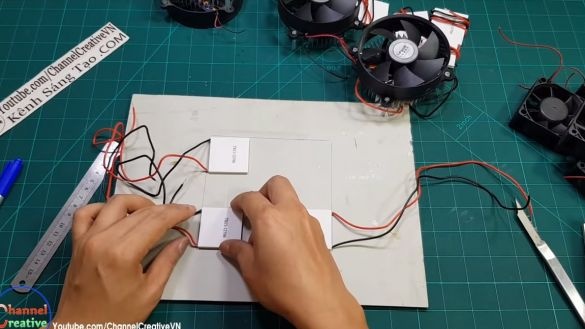
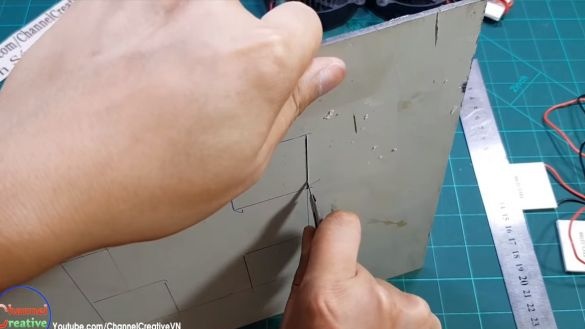
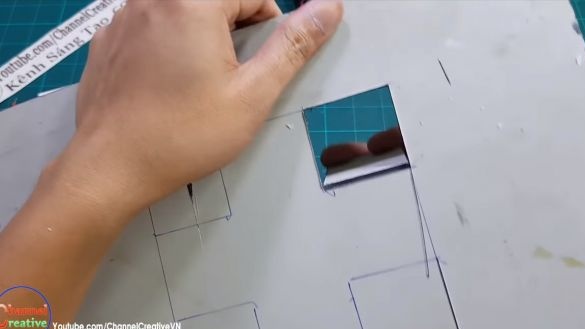
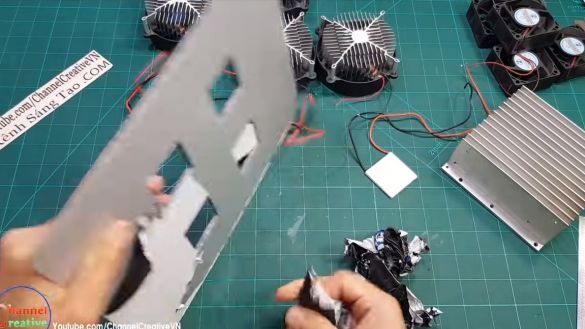
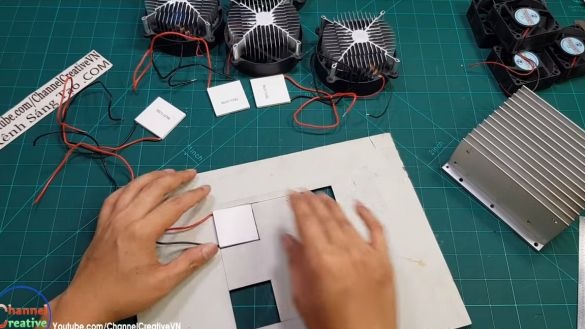
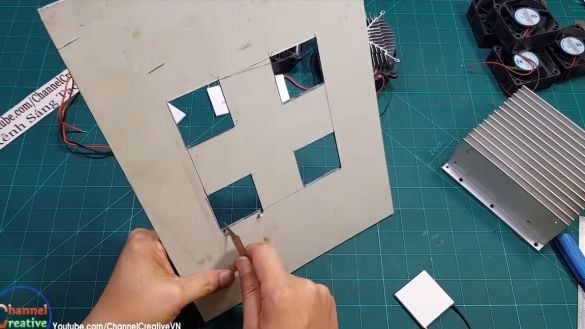
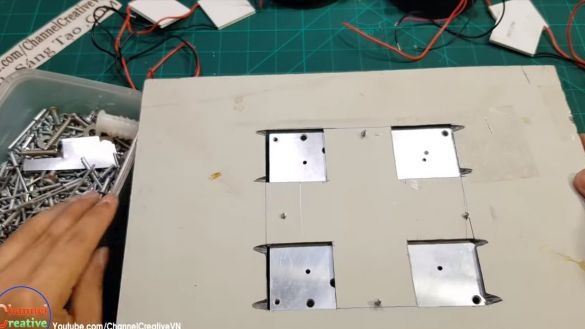
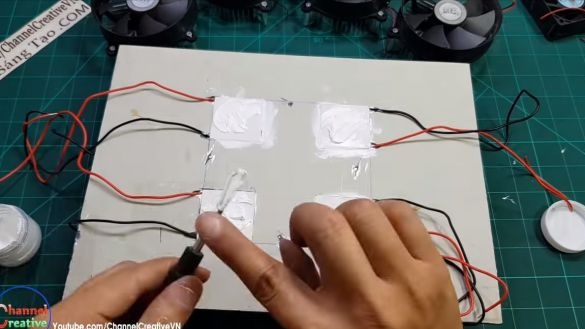
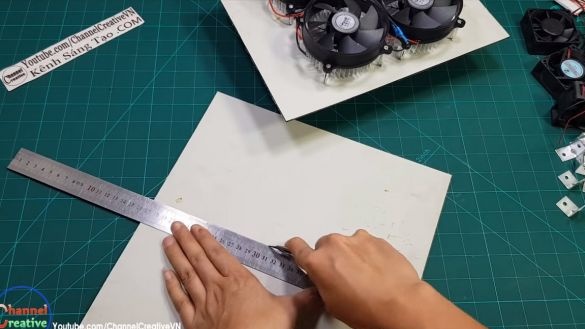
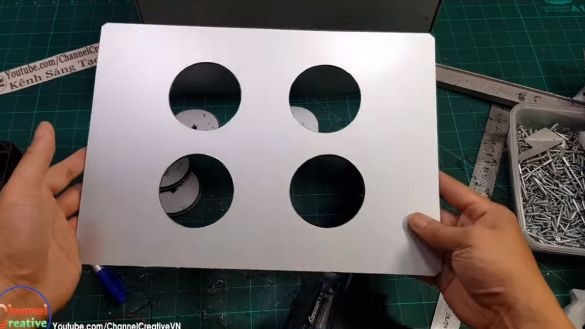
We need a foundation on which we fix all the important organs of the air conditioner. You can use plastic, plywood or other similar material. To begin with, we take measurements and cut out four windows under the Peltier elements. Do not forget to groove the wires. The author cuts these windows with a clerical knife, since the material is used soft.
Step Two Set Peltier Elements
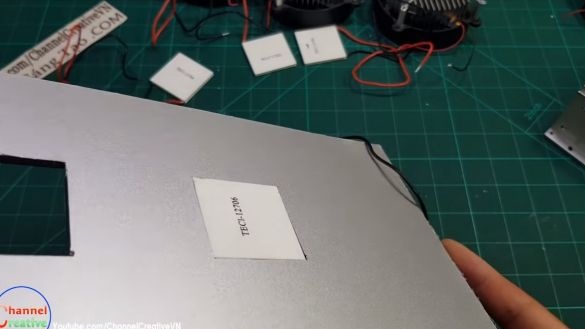
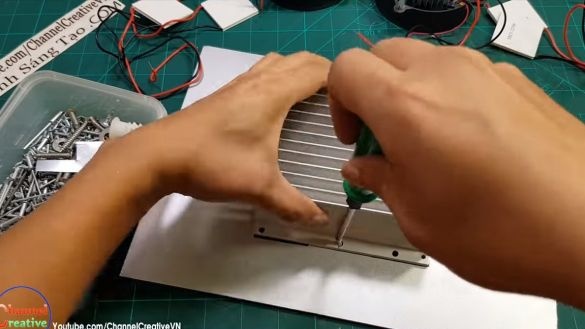
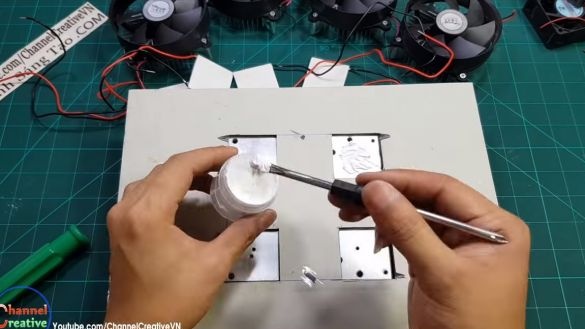
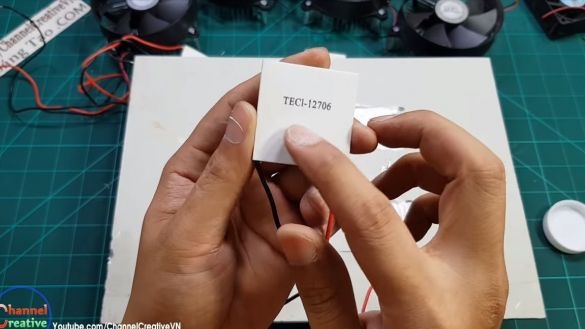
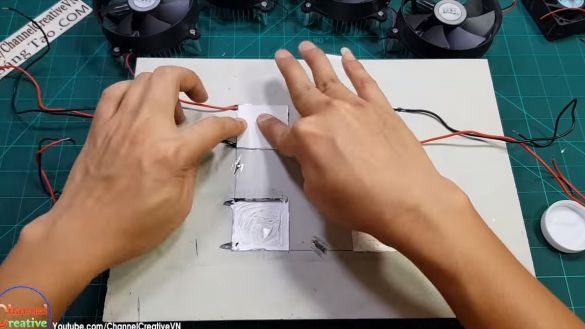
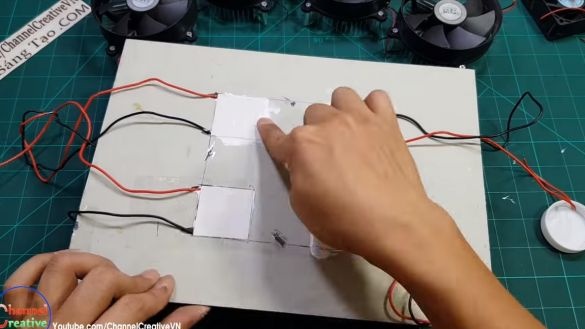
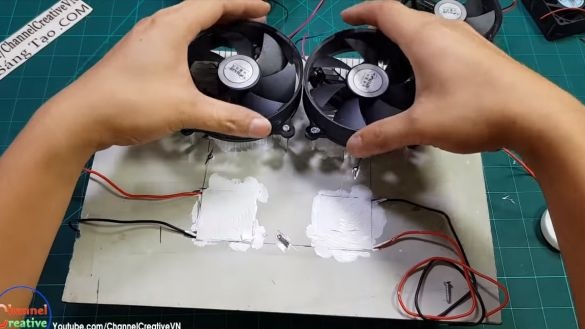
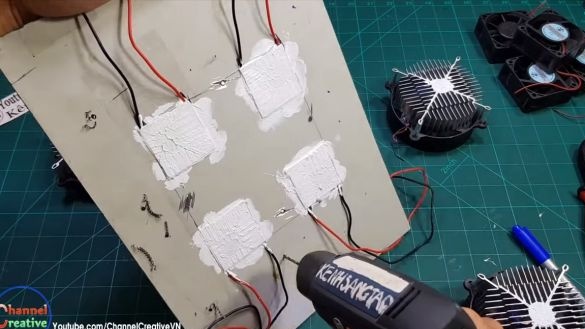
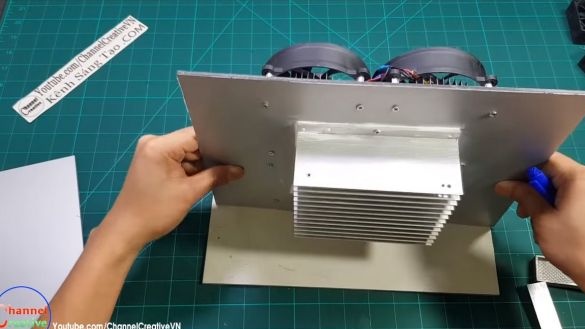
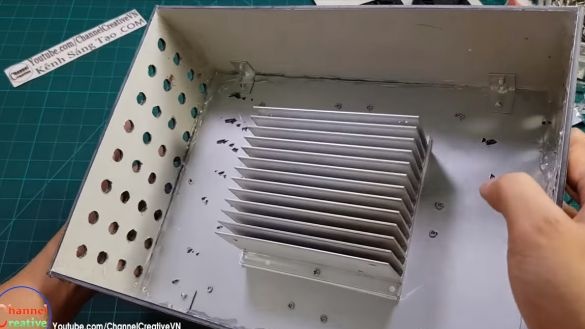
Now you can install Peltier elements. To do this, first screw the radiator, which will be cooled in the process. The author simply screws it with screws. Well, then you can install Peltier elements, for this we need thermal grease. Thanks to this paste there will be a good thermal bond between the radiators.We install all the elements with the cold side to a large radiator, the author has these sides with inscriptions.
Step Three Coolers
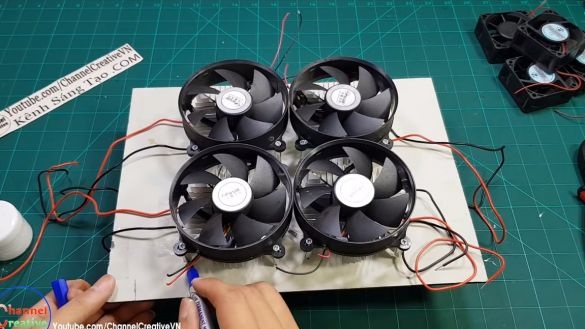
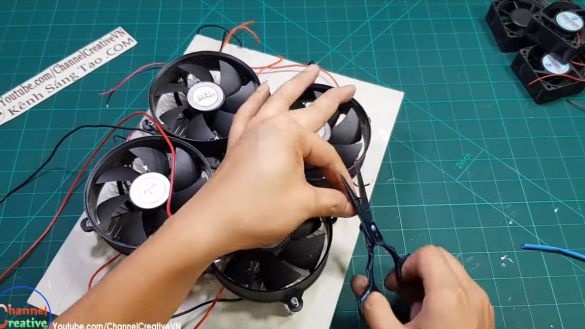
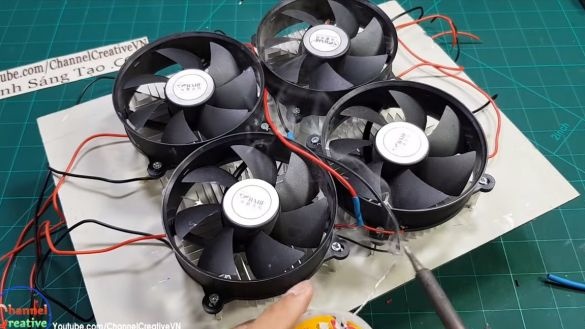
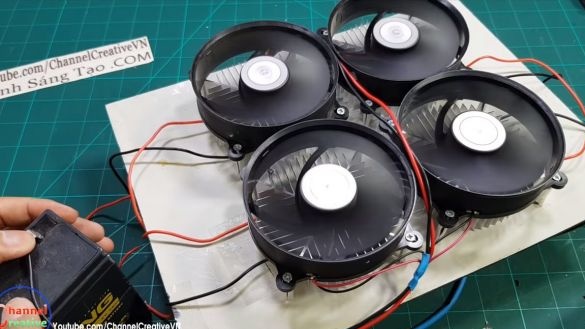
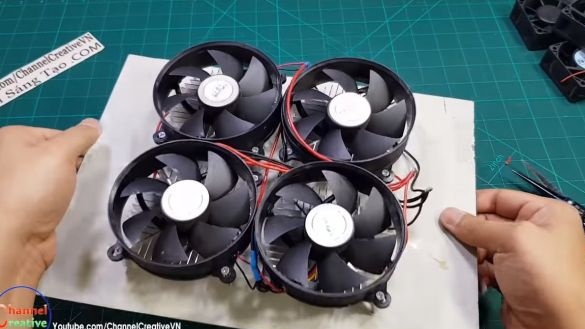
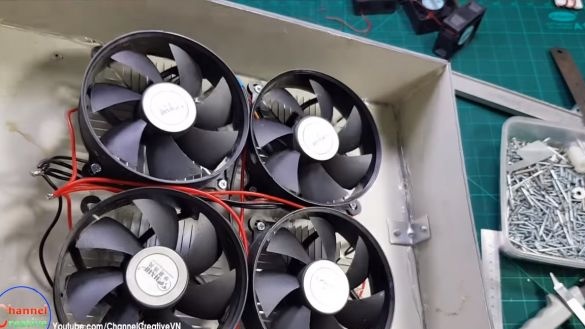
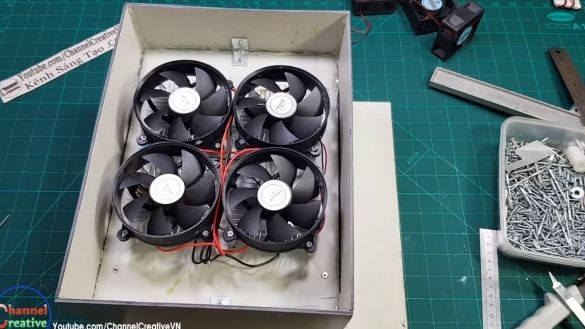
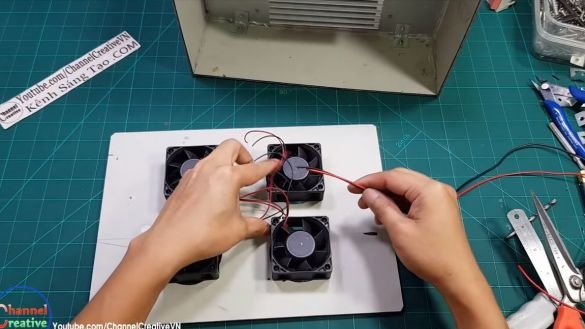
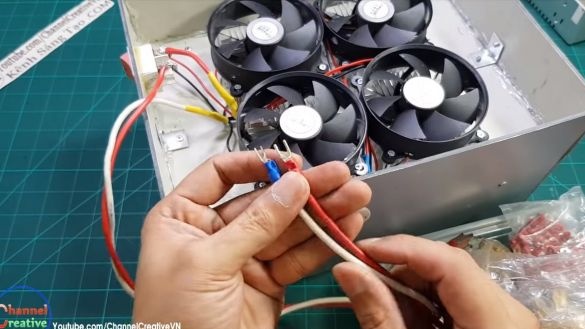
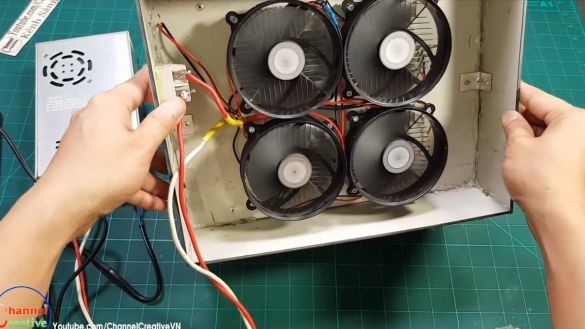
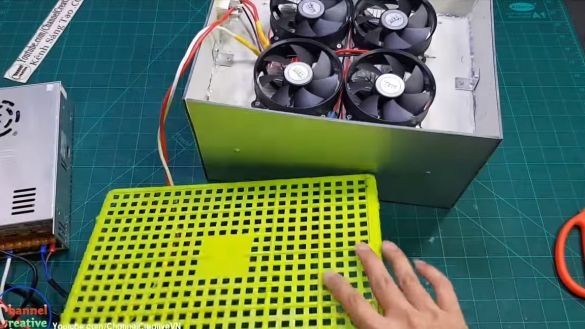
For Peltier elements to work effectively, heat must be removed from them. To do this, we need four coolers from the computer. Again, grease the elements with thermal grease well and fasten the coolers. In the end, you just have to connect all the coolers in parallel and you can try to turn it on.
Step Four Putting the case together
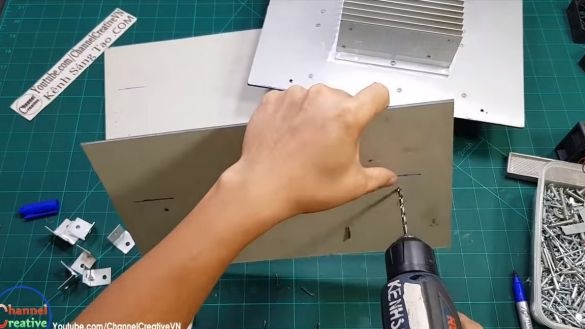
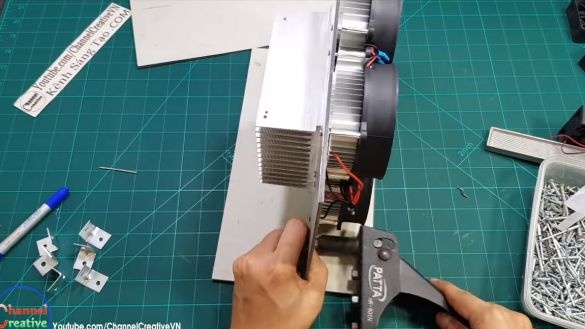
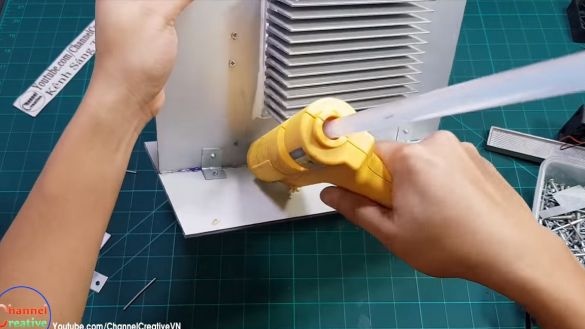
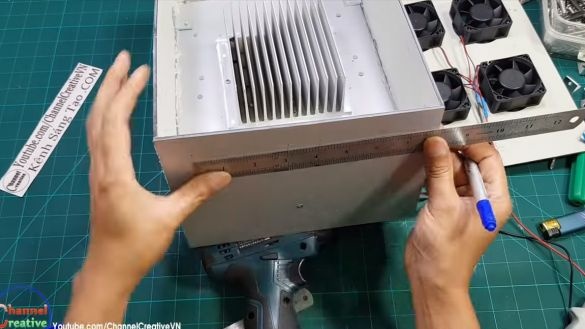
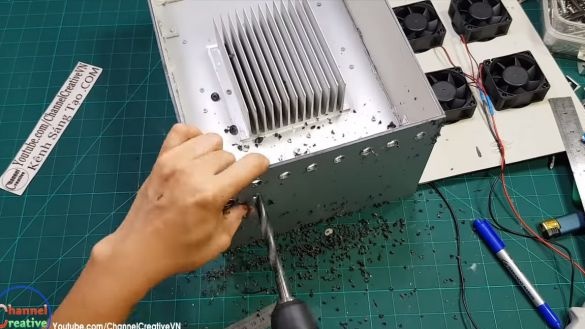
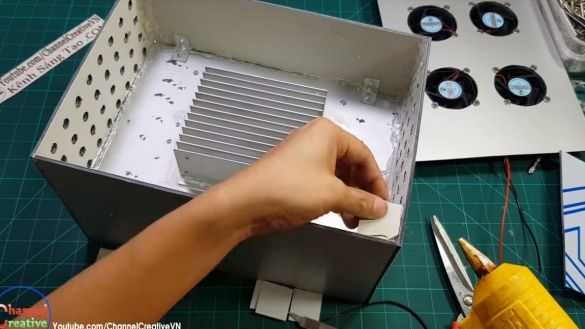
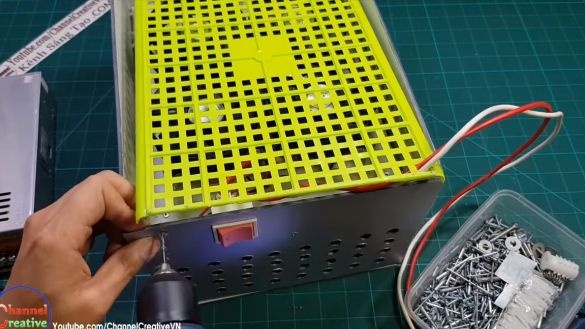
For the manufacture of a body of the same material, walls are cut out. Next, we fasten these walls using corners and a rivet gun. All joints are well sealed with a glue gun. In addition to sealing, the adhesive will also strengthen the structure.
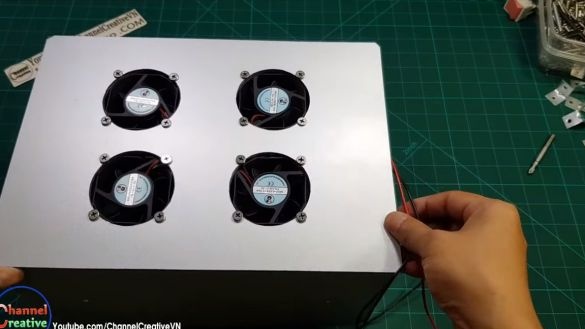
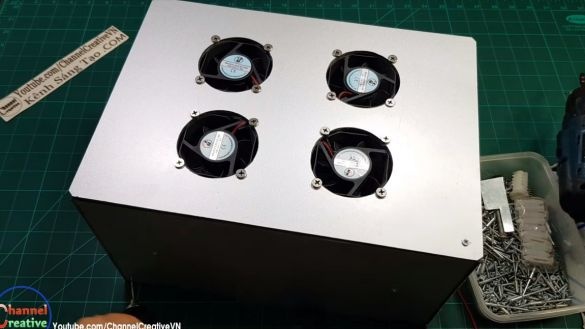
Step Five Cover with fans
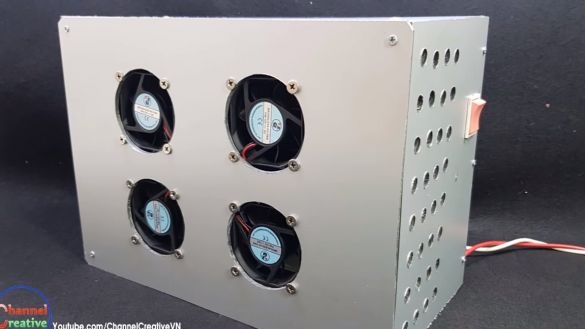
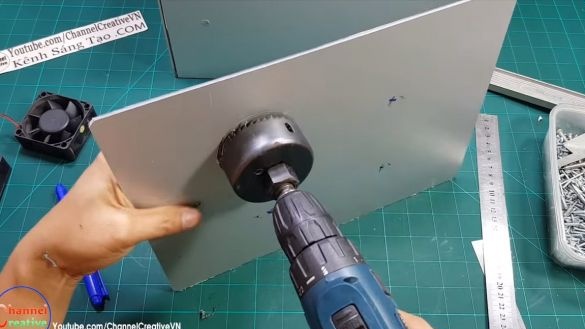
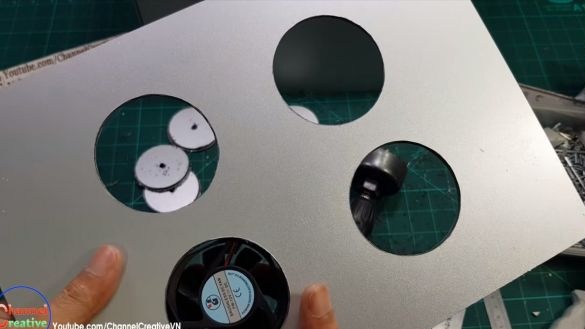
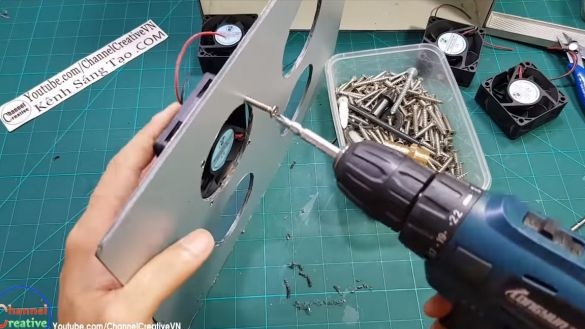
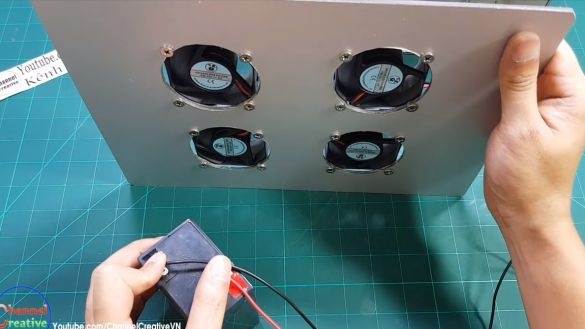
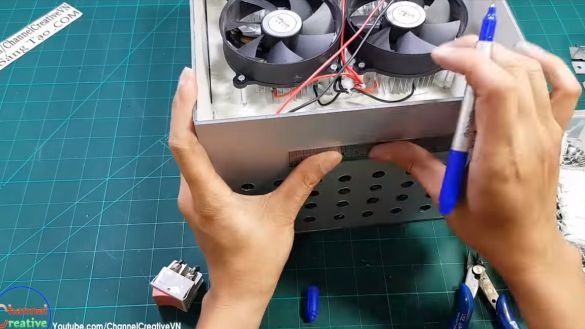
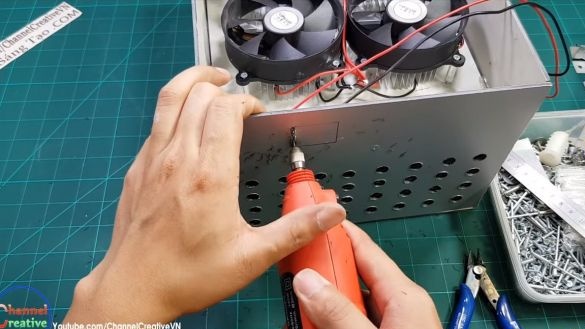
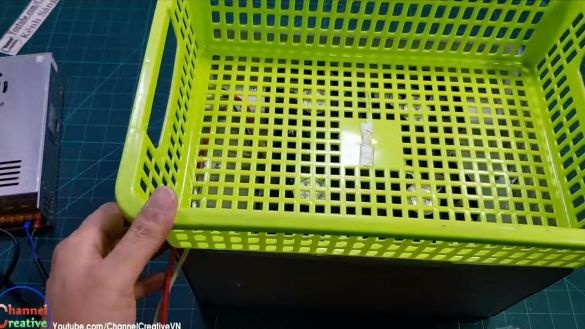
Above the large radiator there is a cover with 4 fans installed. They are designed to blow the radiator and as a result, we will have cold air at the outlet. Fans are put on blowing. We drill holes with a bit for the fans and screw them into place. In the case on both sides, the author drills rows of holes, through them air from the room will enter. We glue the stops onto the hot glue and fasten the cover with screws.
Step Six The final stage of assembly
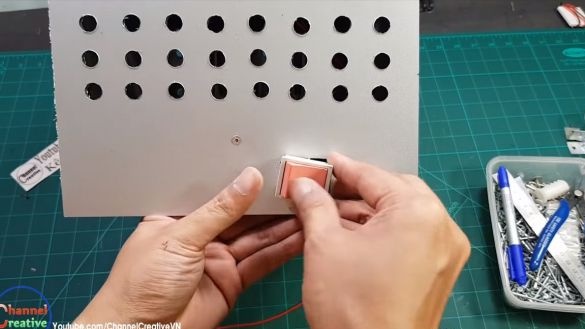
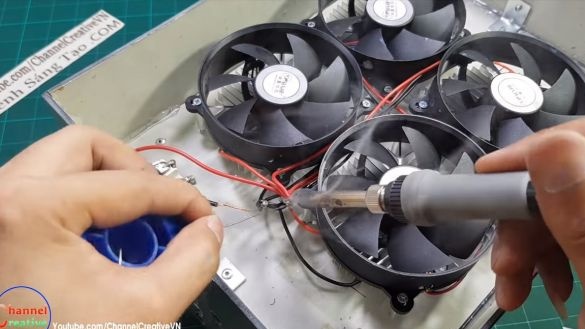
As a completion, we solder all the necessary wires and install the switch. The author uses a fairly powerful power supply, at as much as 30A at a voltage of 12V. As for the other, hot side, it is also recommended to install a protective net here. That's all, our air conditioning is ready, you can experience it! Unfortunately, the author did not provide an overview of the tests of his device.
Will hope, homemade justifies the time and money spent. Good luck and creative inspiration!

