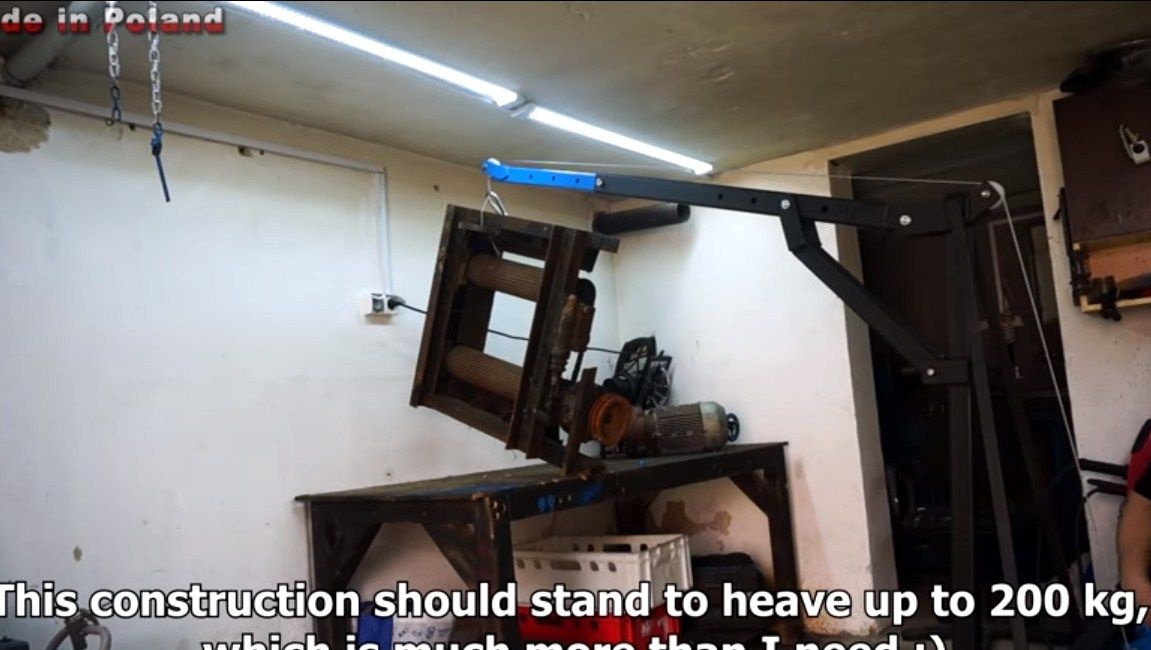
Hello everyone, probably in your the garage or workshop there was a need to carry heavy things. It could be spare parts from engines or even whole engines, gearbox and much more. It’s hard to do it yourself, it’s dangerous, and sometimes even completely impossible. But there is a way out of this situation - this is a makeshift small crane. Now you can easily lift and transport various loads around the garage!
This miracle of technology works thanks to a reduction gearbox with a coefficient of 1k100, and the gearbox is driven by an ordinary screwdriver. This simple design is able to withstand weight up to 200 kg and that is not the limit. Everything is assembled quite simply, the frame is made mainly of square steel pipes. The most important thing you have to find is a suitable gearbox.
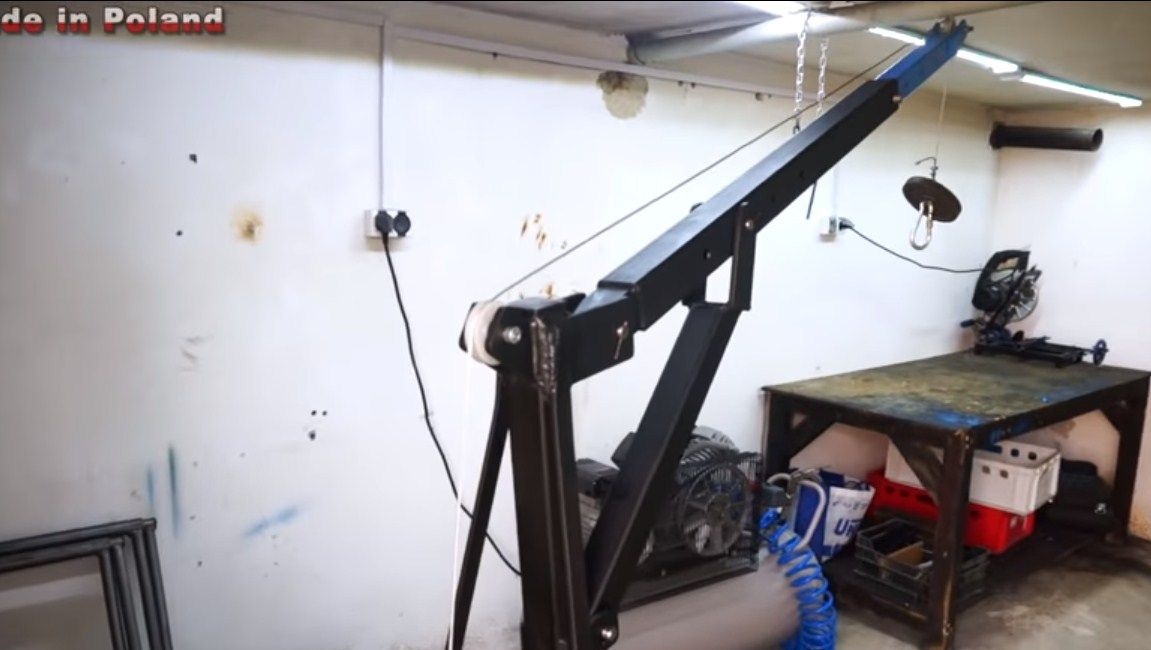
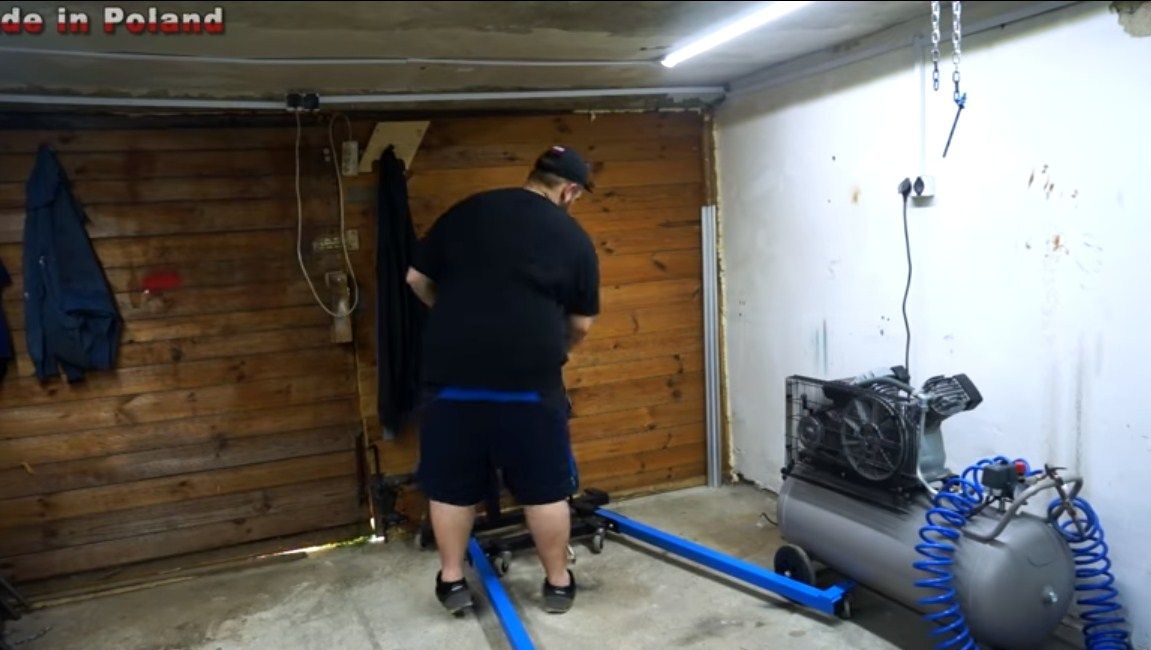
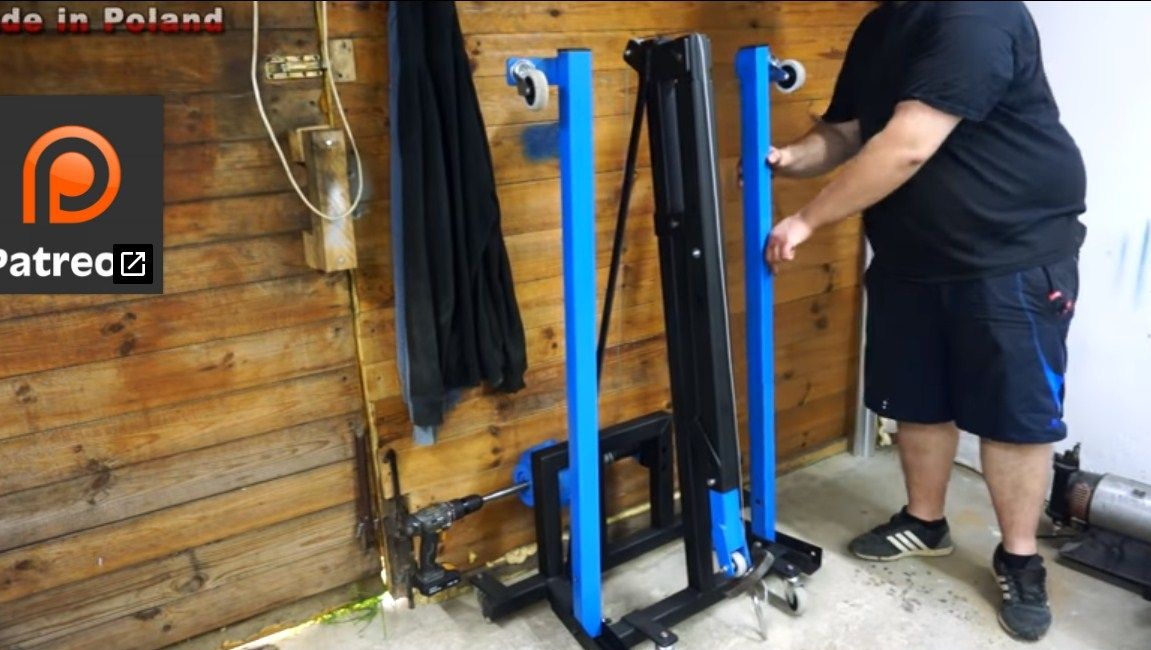
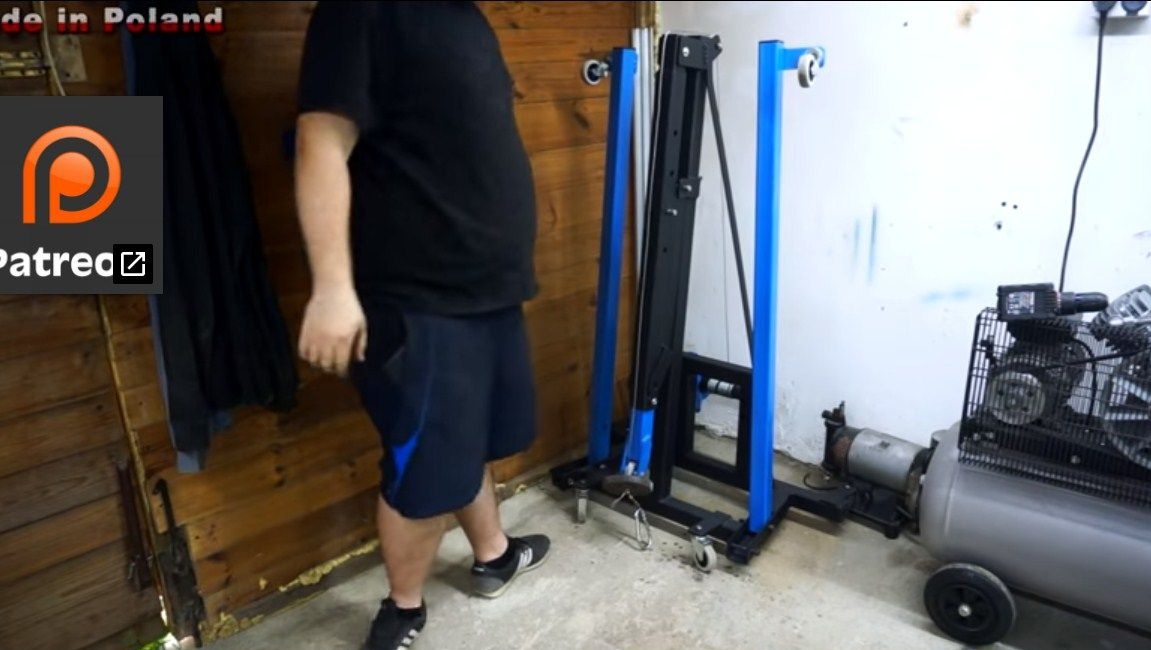
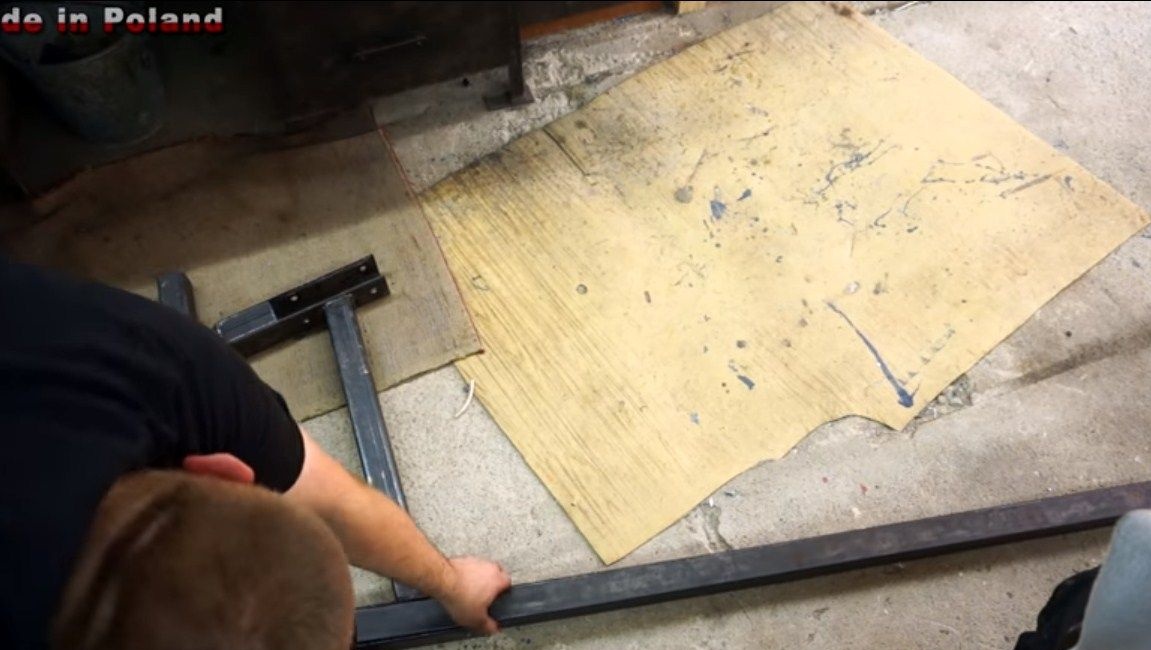
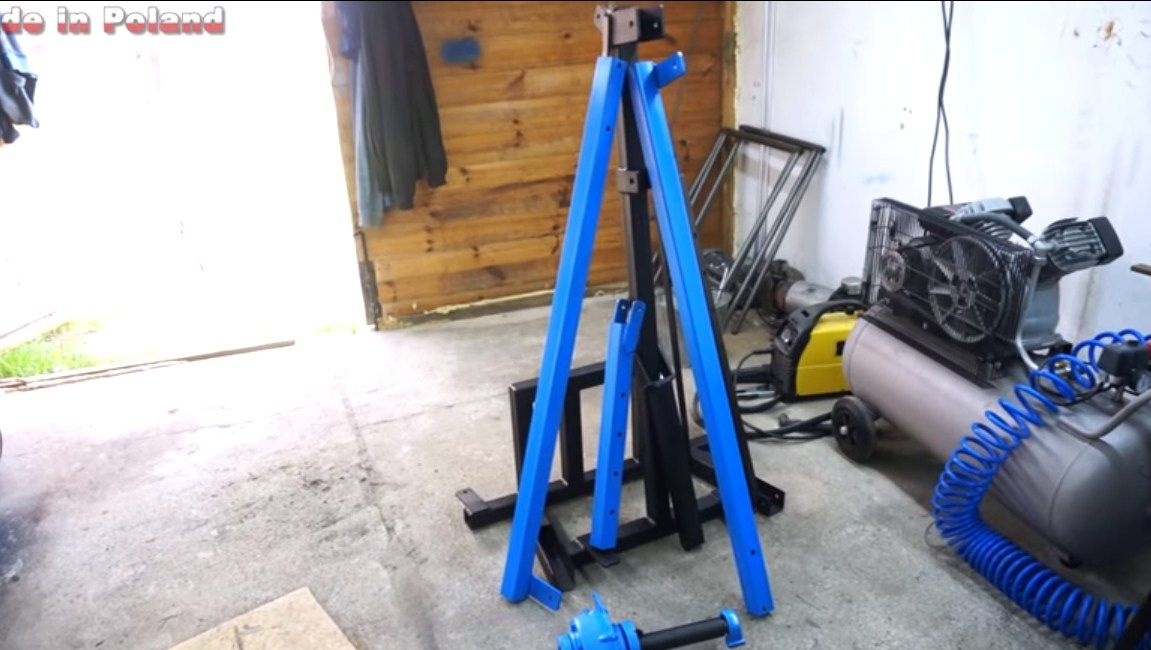
The design is capable of folding, after which the crane becomes compact and is placed in the corner of the garage. So, we will consider in more detail how to assemble such an assistant!
Materials and tools used by the author:
Material List:
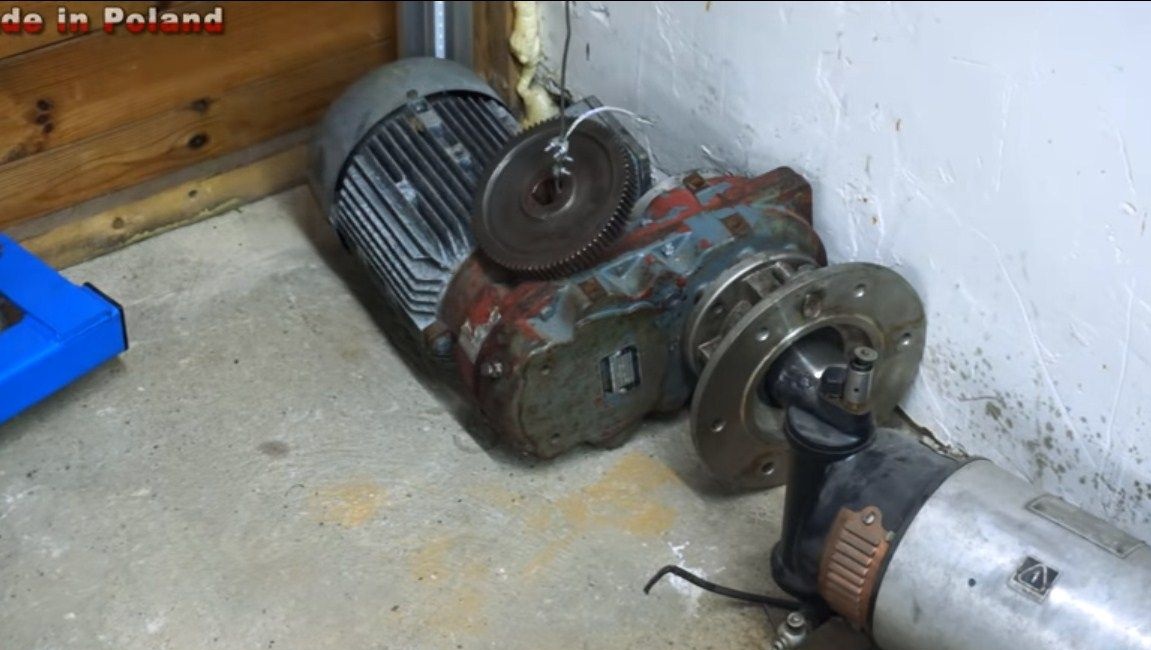
- reduction gear 1: 100 or similar;
- steel pipes (square and round);
- Sheet steel;
- bolts, nuts, washers, etc.
- strong pulleys;
- steel rope;
- screwdriver;
- wheels from the cart;
- bearings and more.
Tool List:
- welding machine;
- grinder;
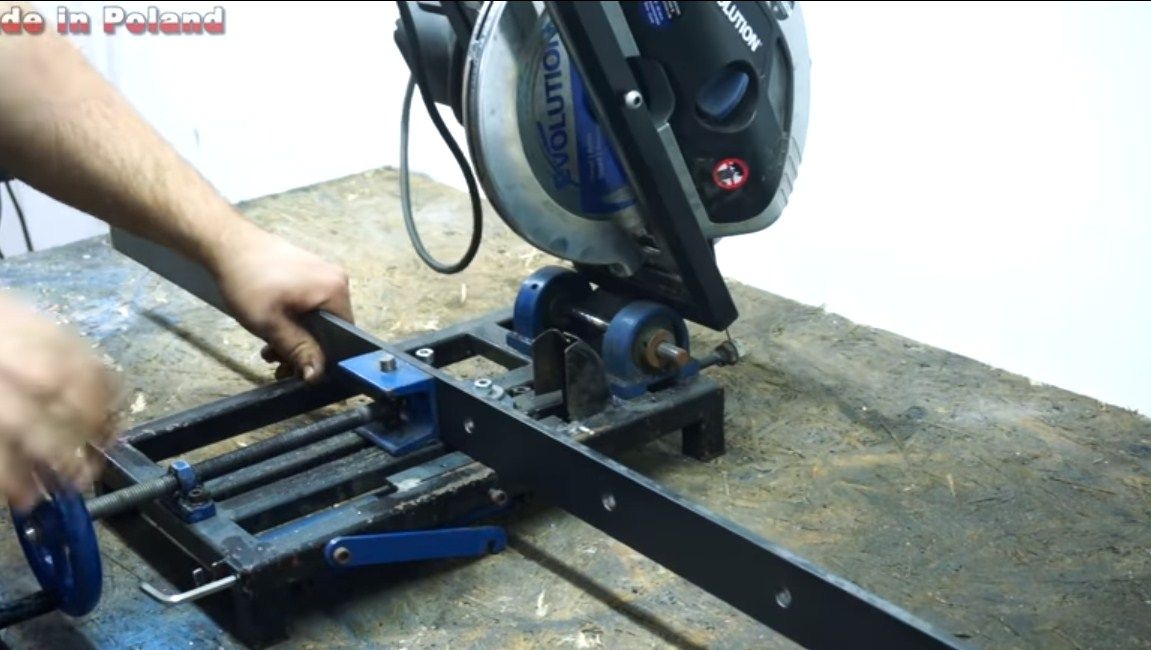
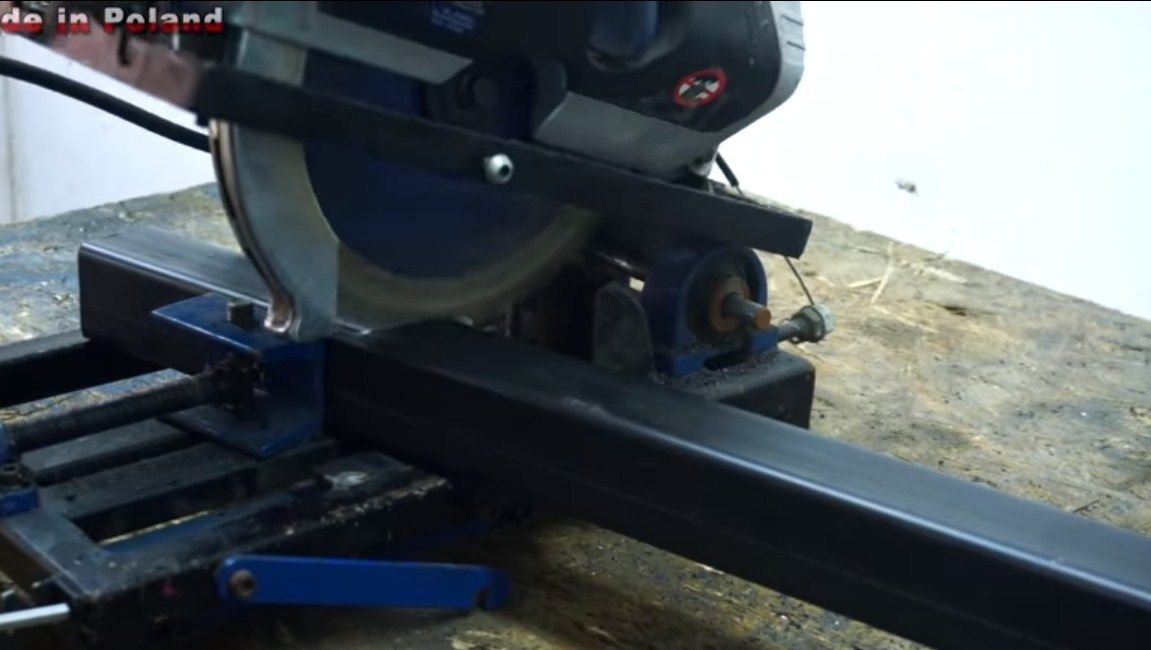
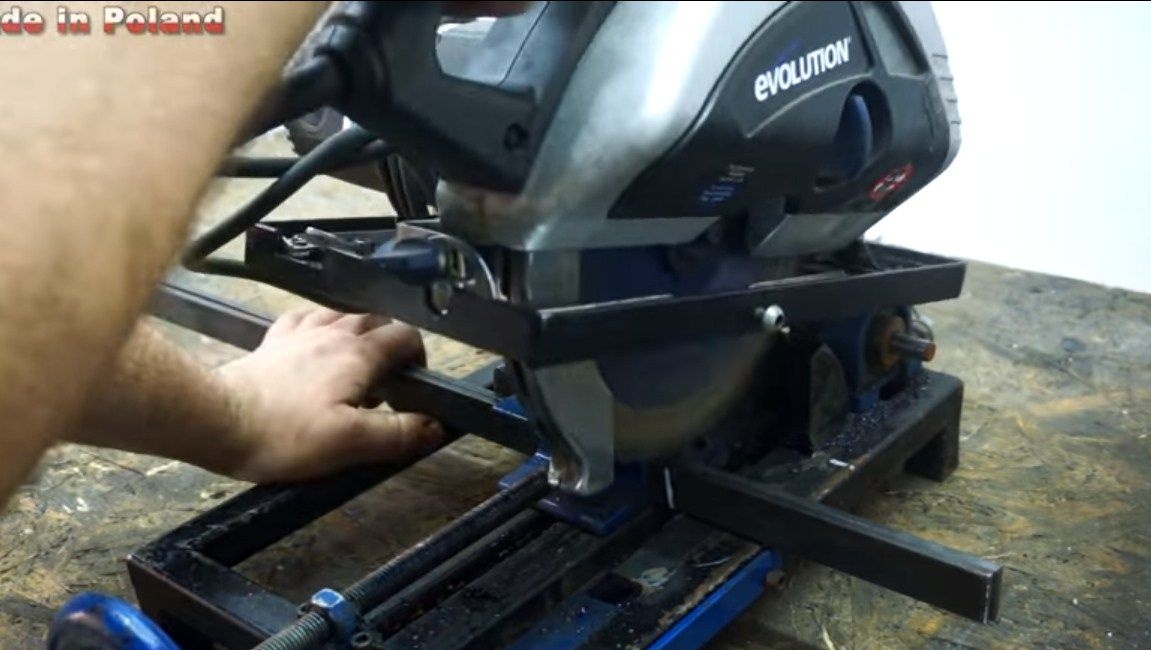
- pendulum saw;
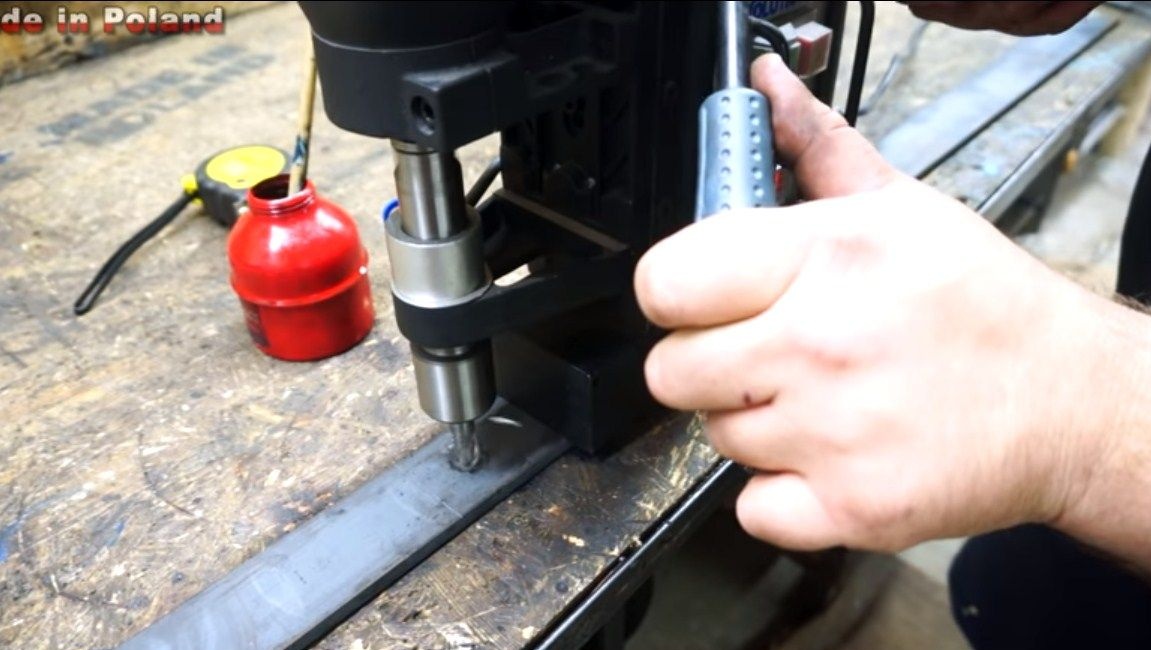
- drill;
- belt sander (optional);
- lathe.
The manufacturing process of the crane:
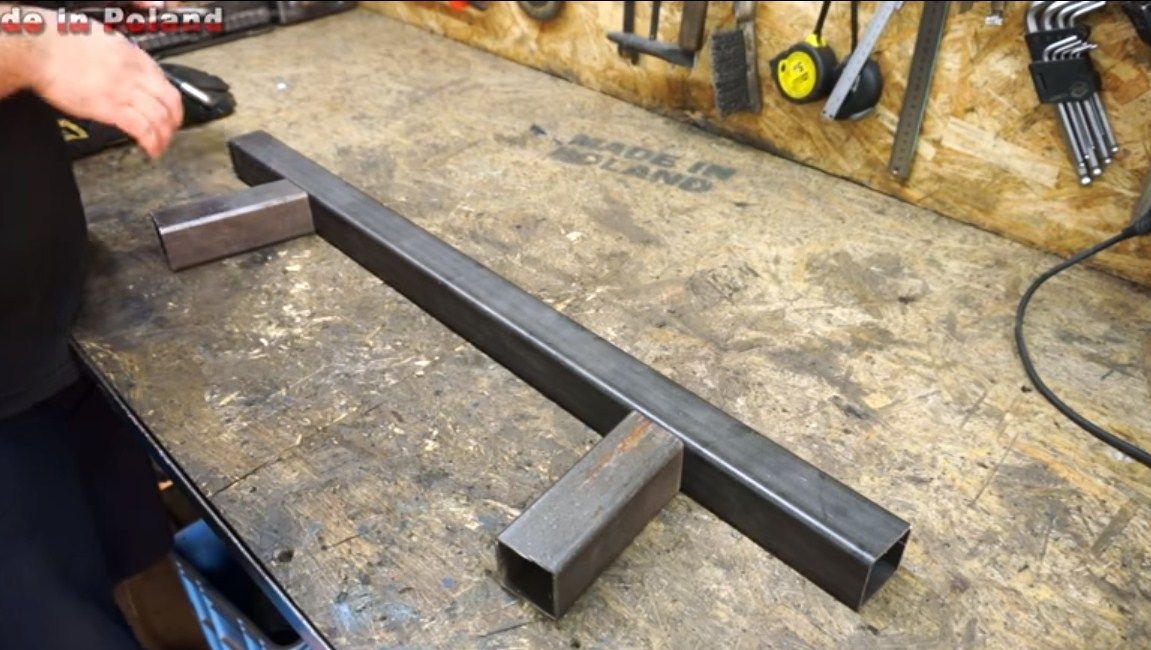
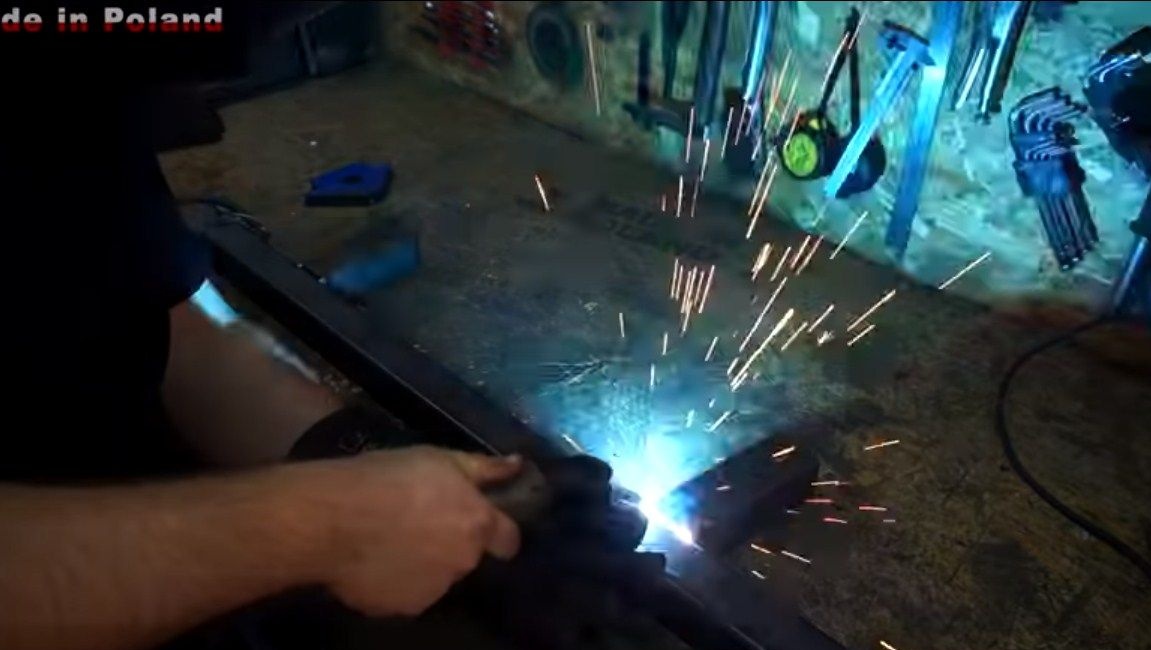
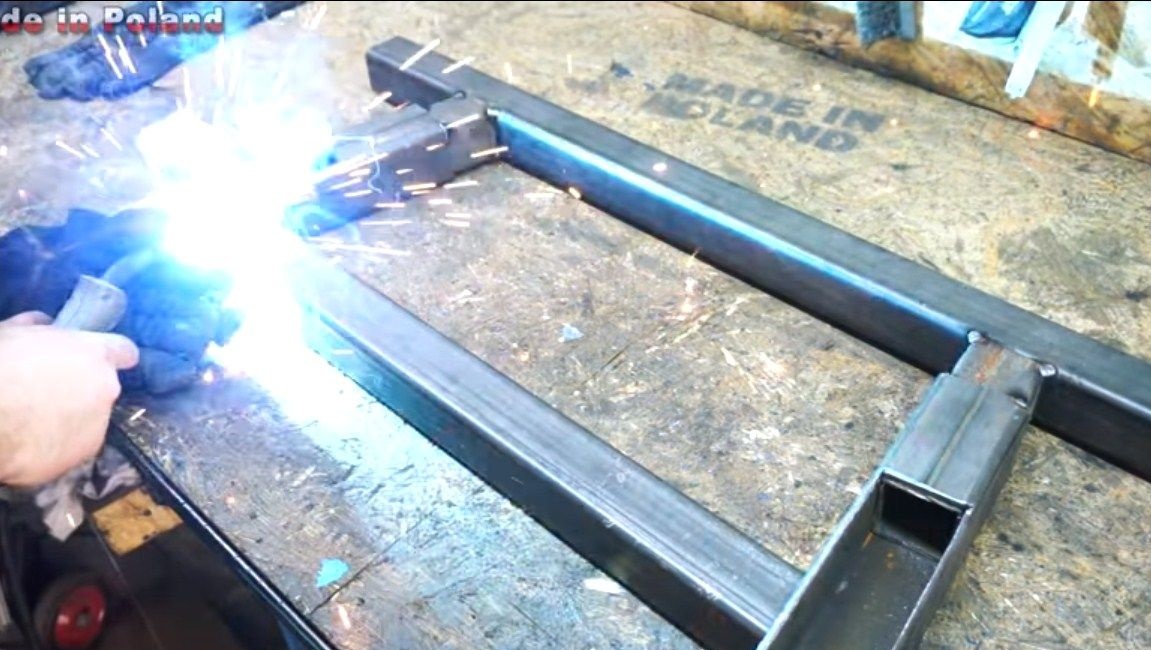
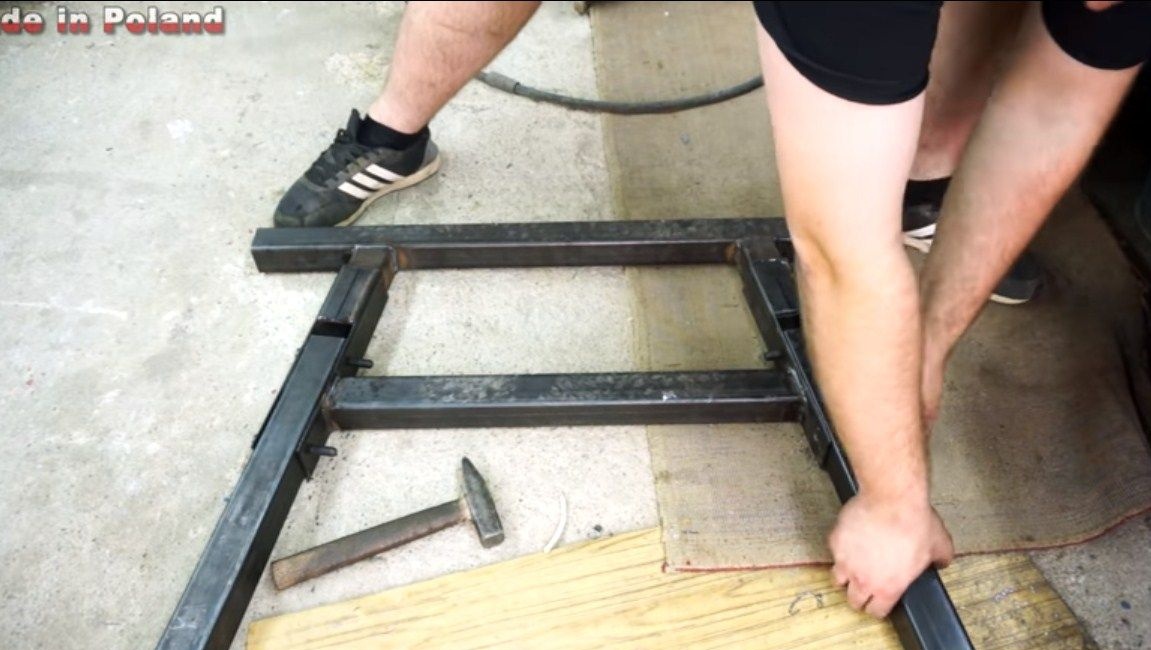
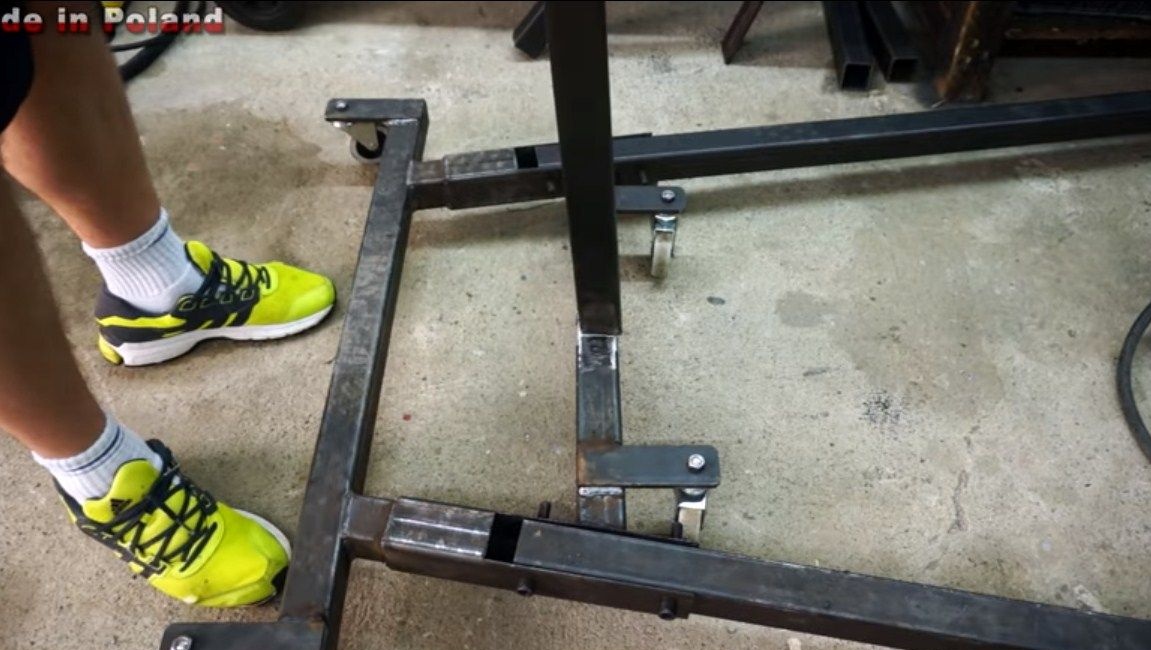
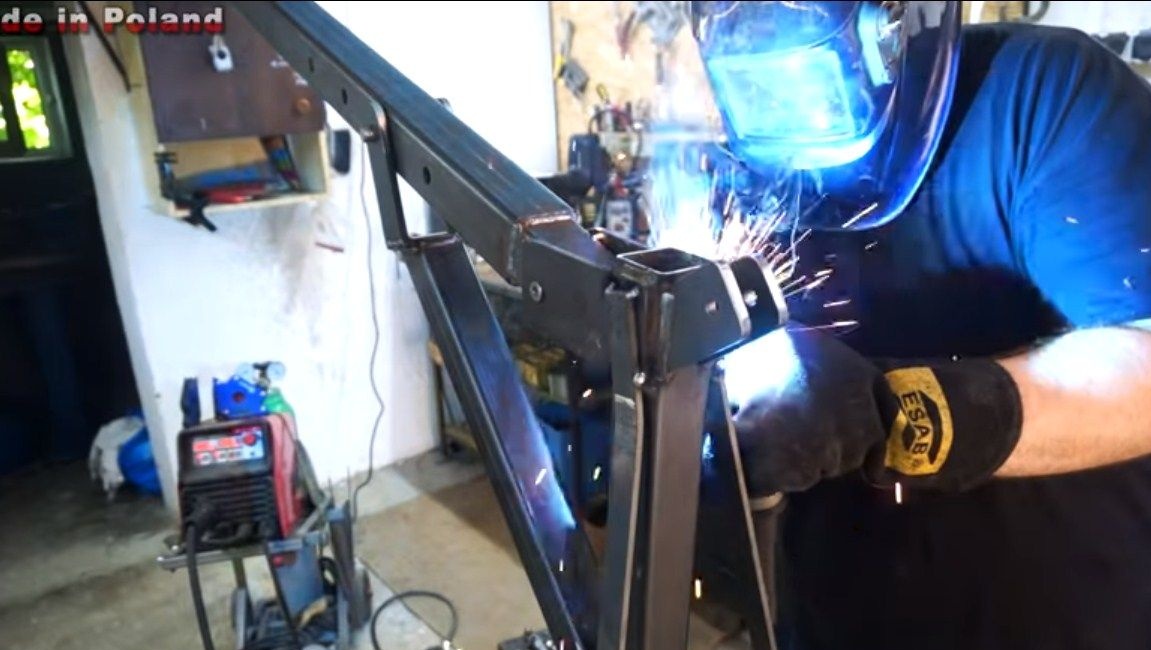
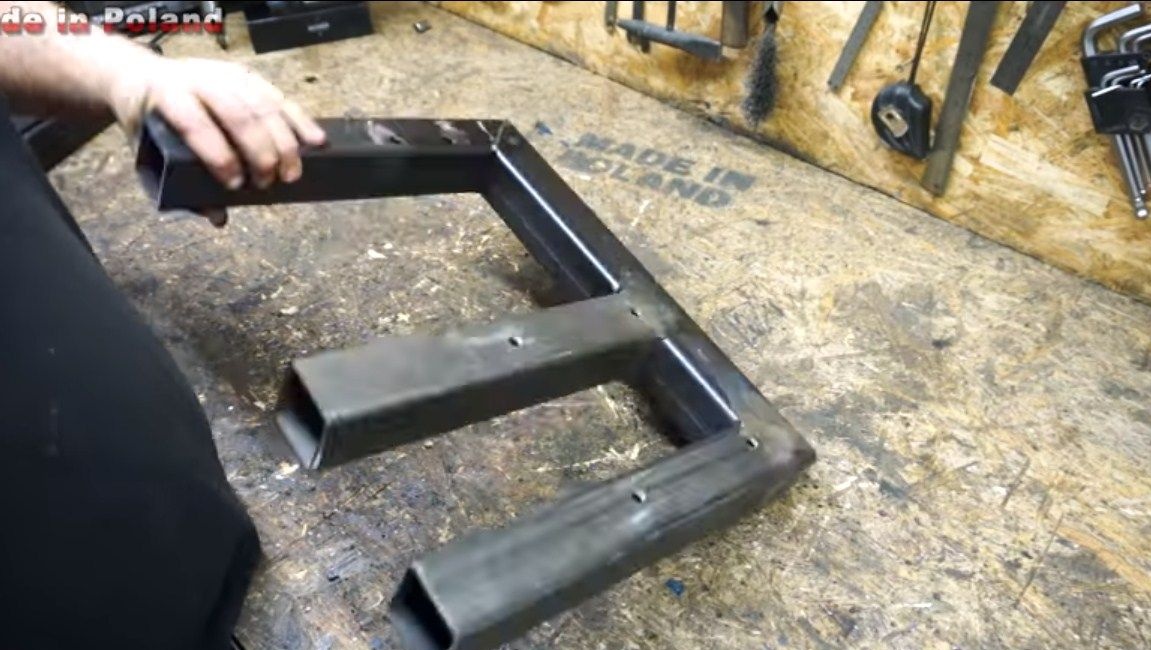
Step one. Weld the base
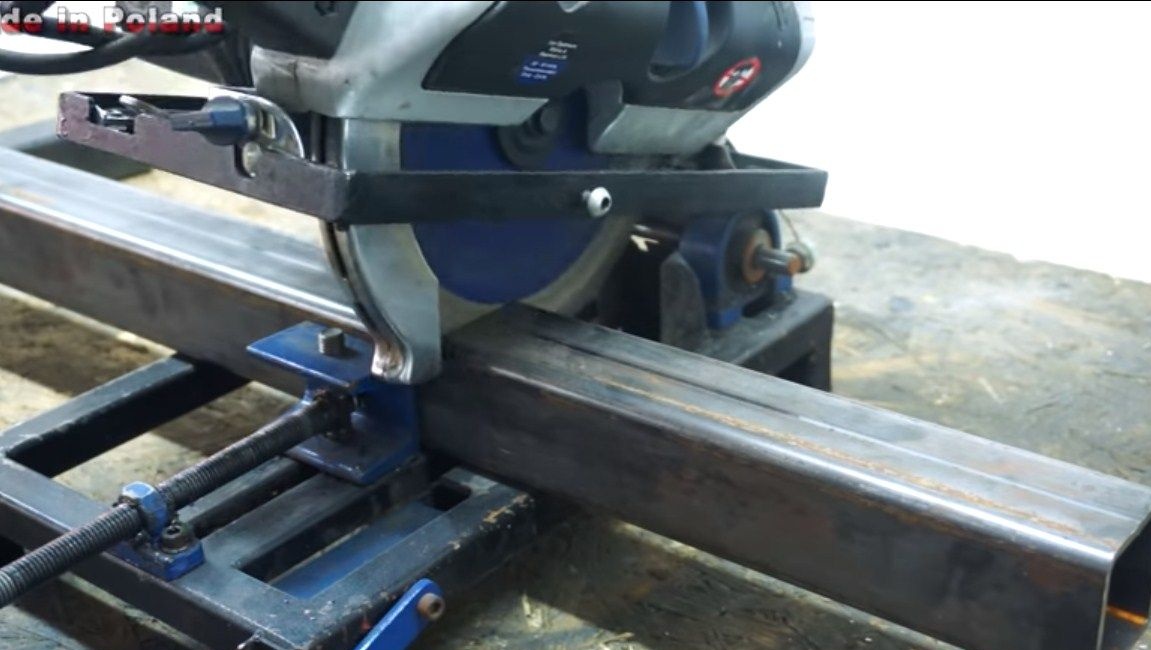
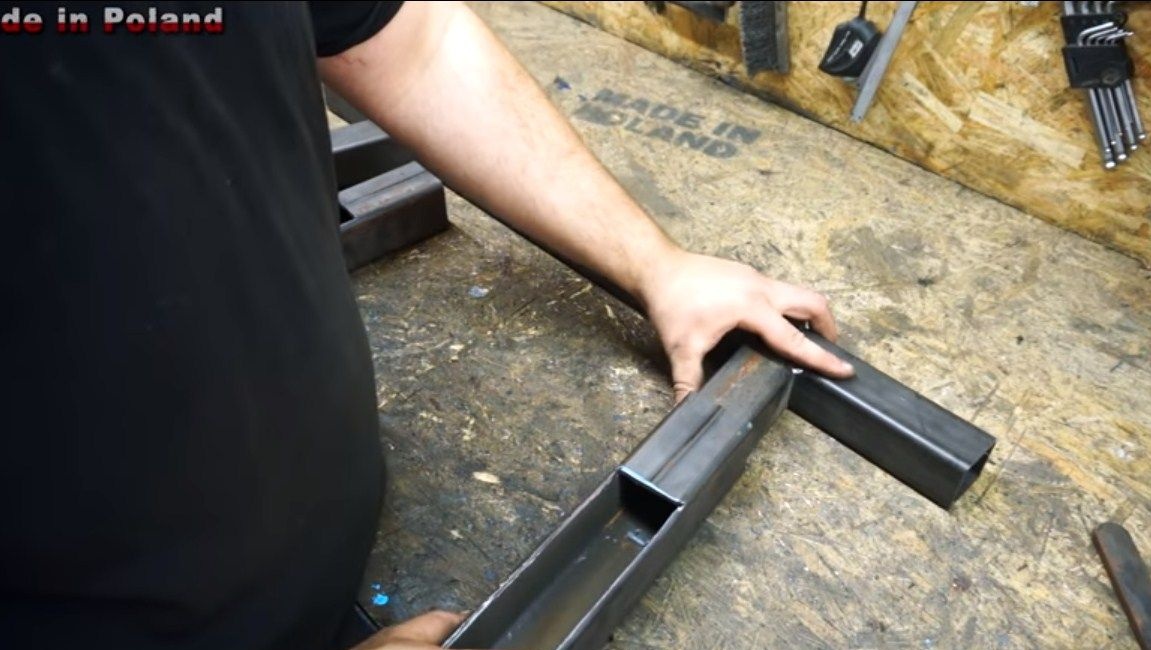
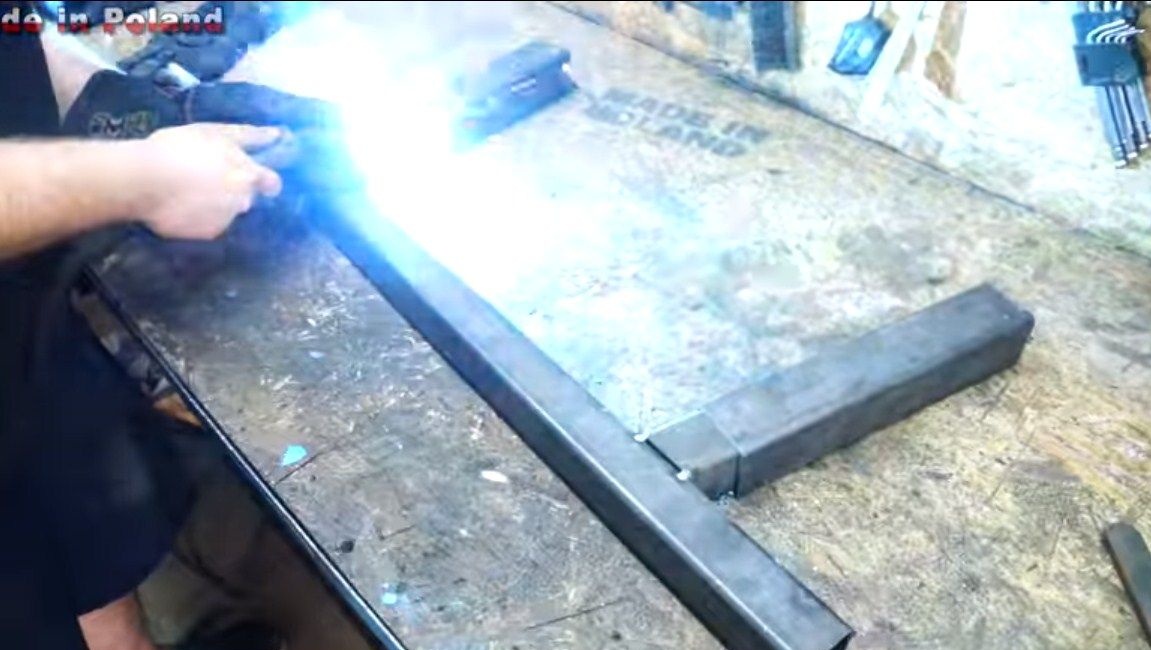
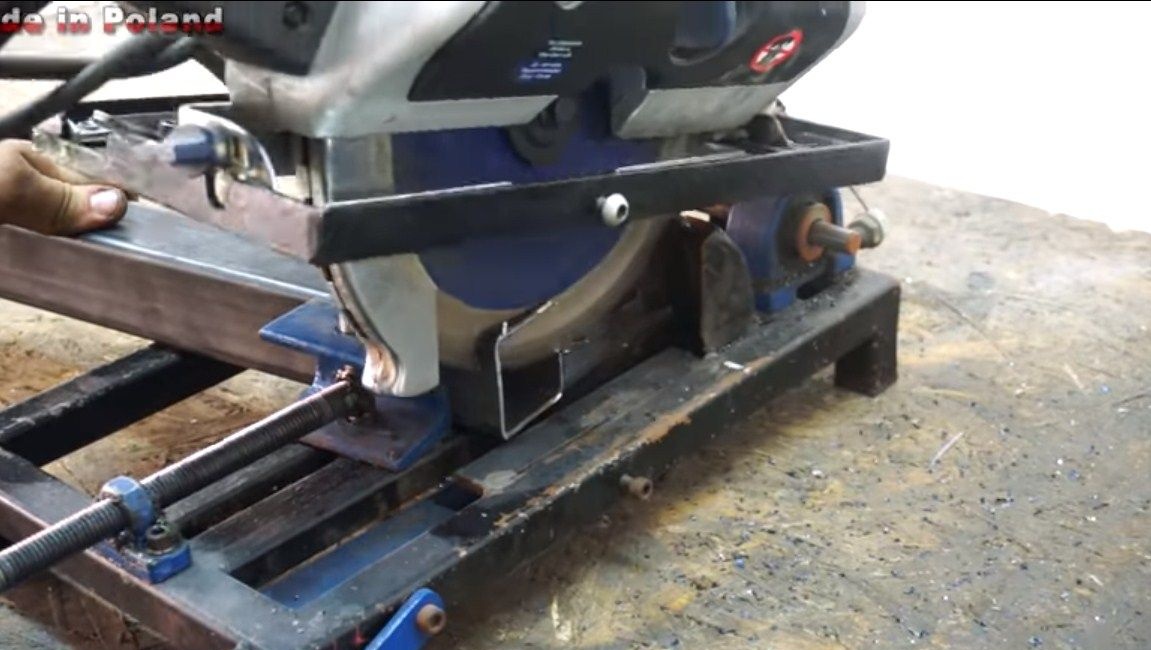
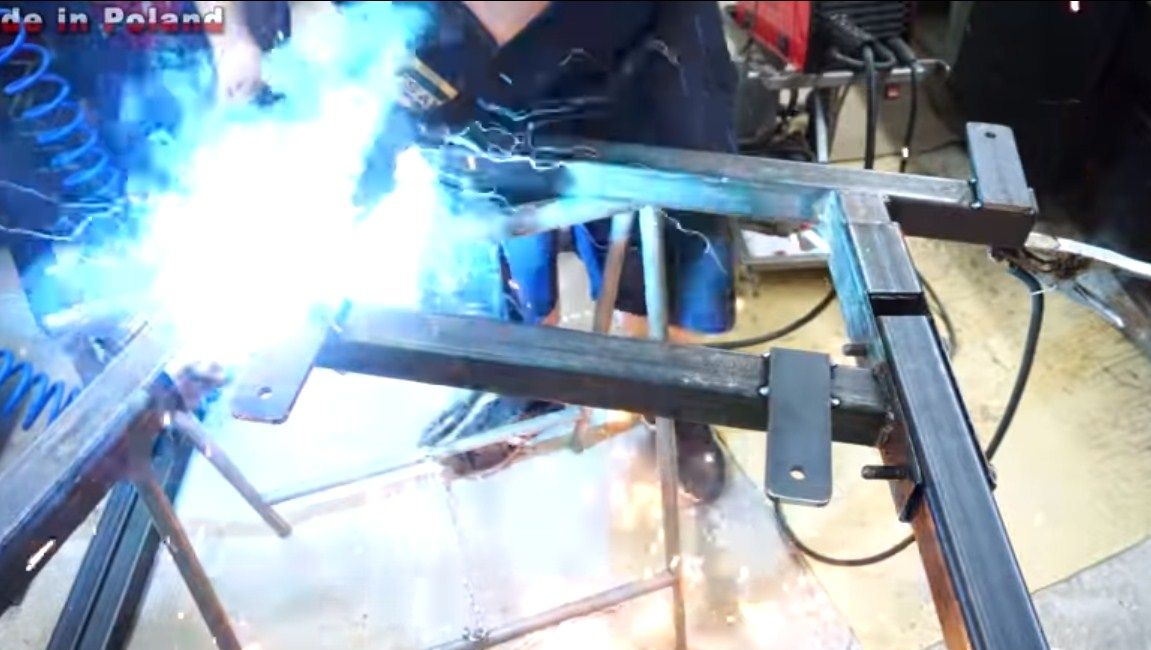
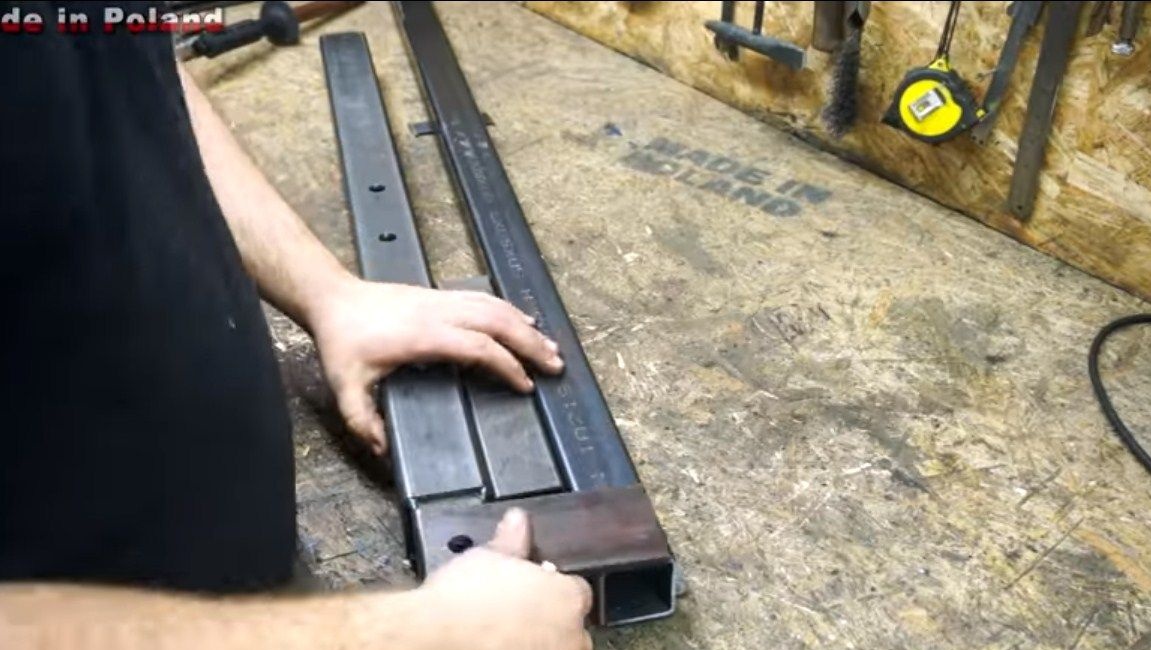
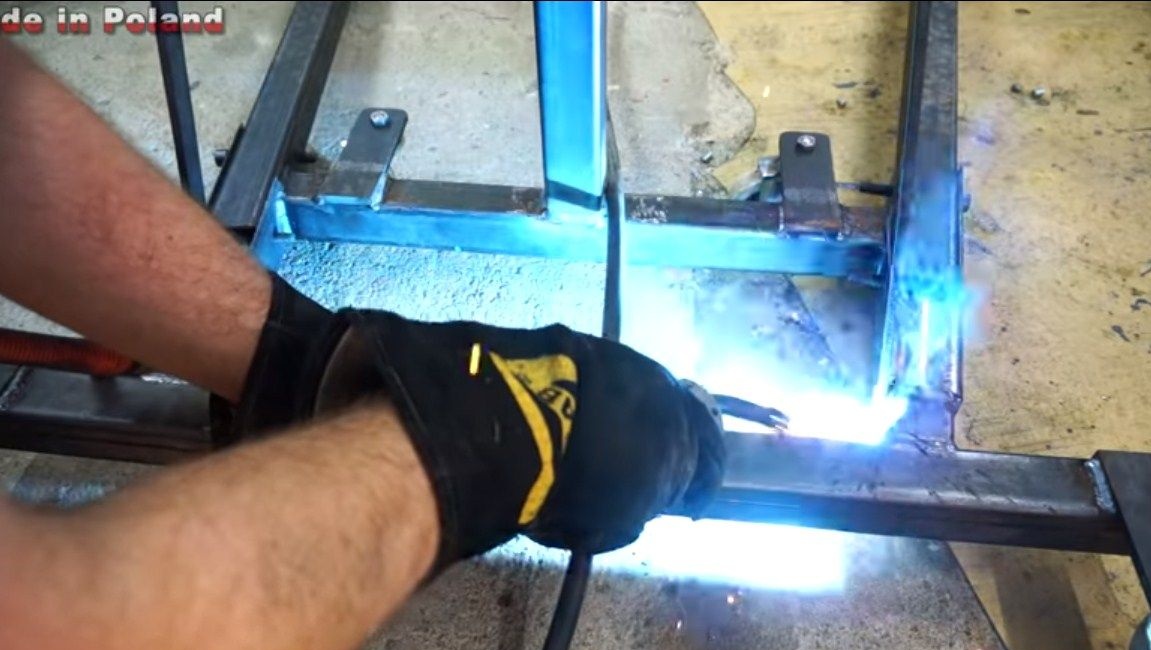
First of all, we collect the base, here we need steel pipes of square section. The idea of the design is that the frame develops, this will make the crane compact. We cut the pipes to the desired length and weld, as the author in the photo. We make high-quality welds so that everything is held securely.
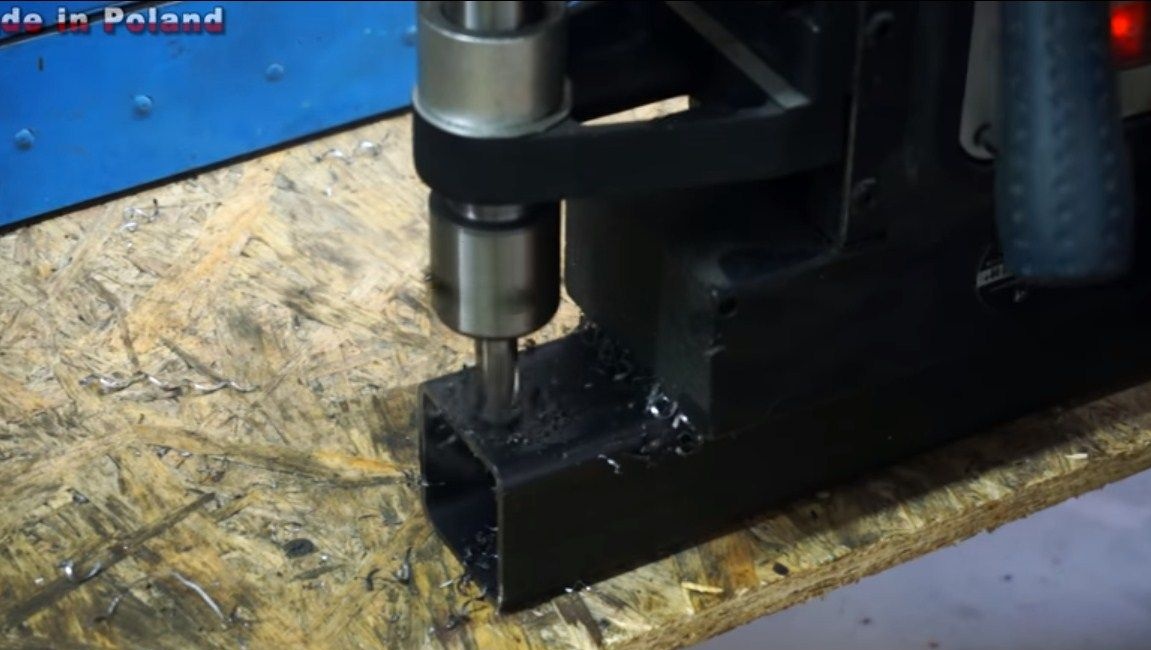
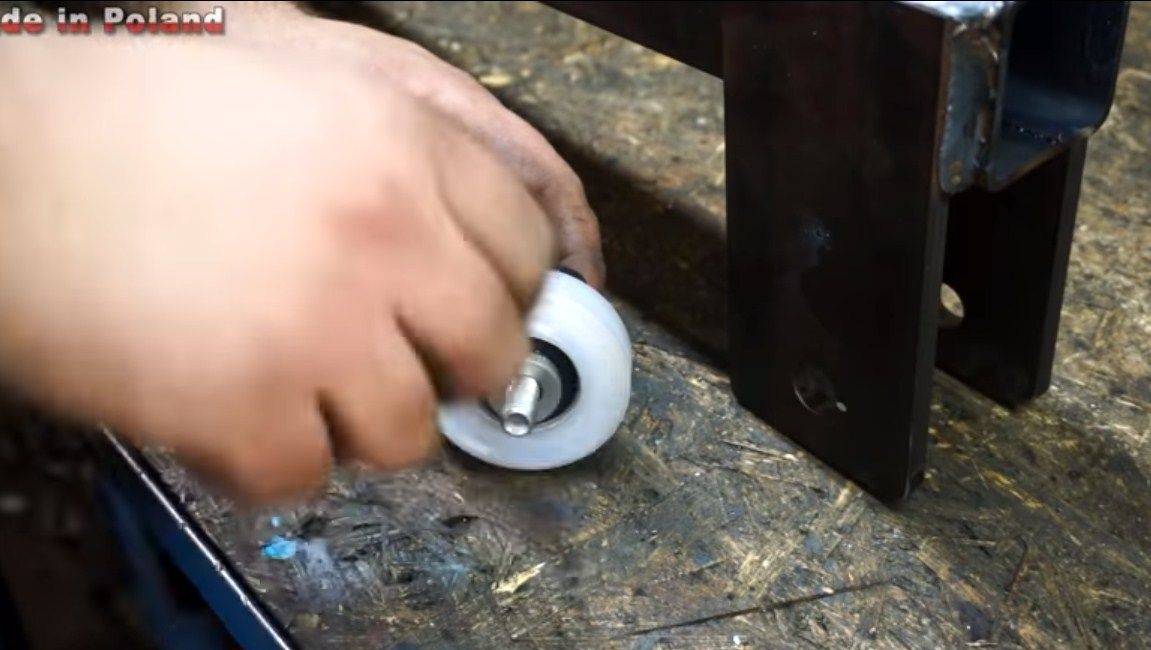
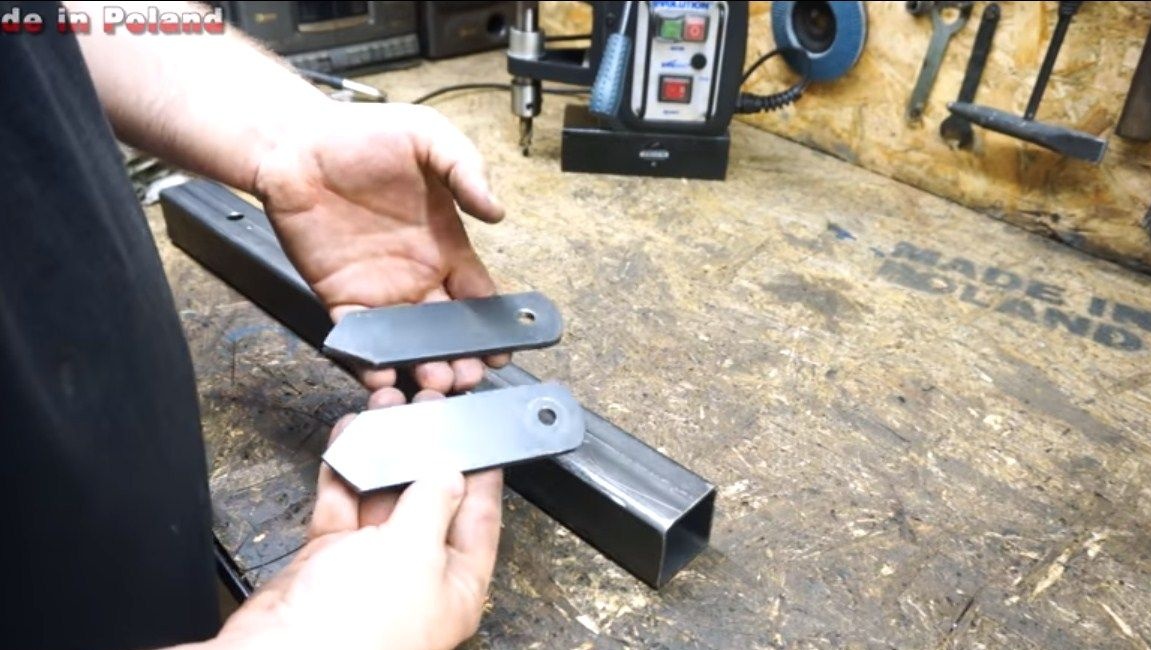
Step Two Castors
Our frame will ride on wheels that can rotate in any direction, similar to those located on carts in supermarkets. This will make it possible to easily move the crane along with the load in the garage. To fasten these wheels, we take sheet steel and make 4 blanks with holes. These fasteners are then welded to the frame in the right places. Well, then it remains just to screw the wheels, tightening the nuts.

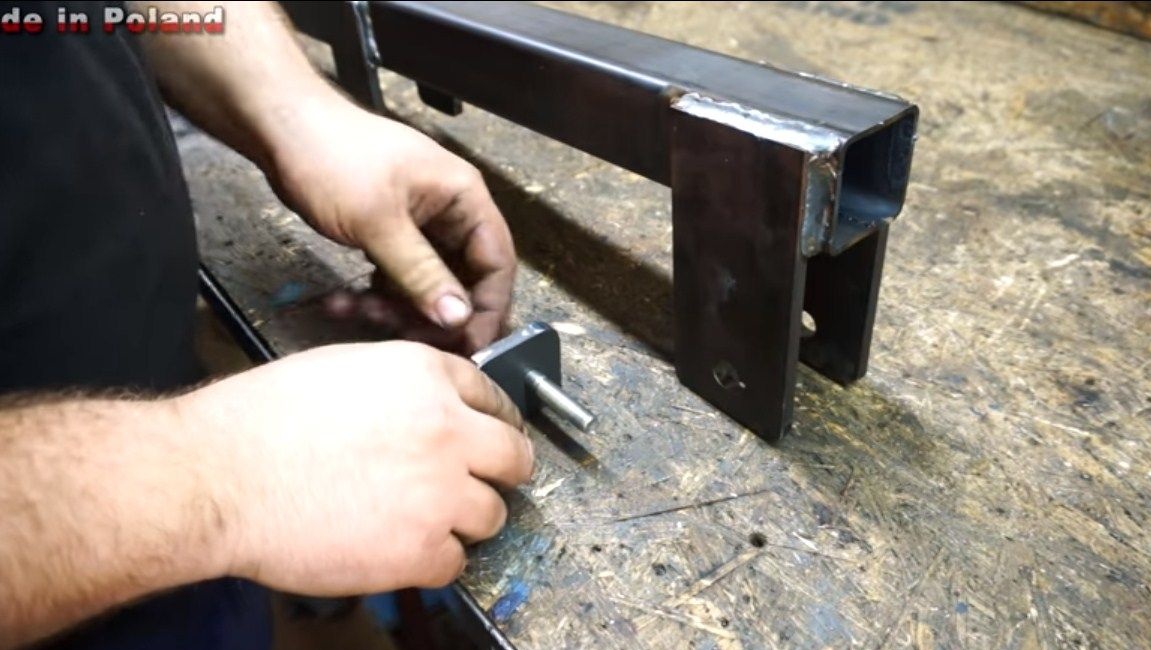
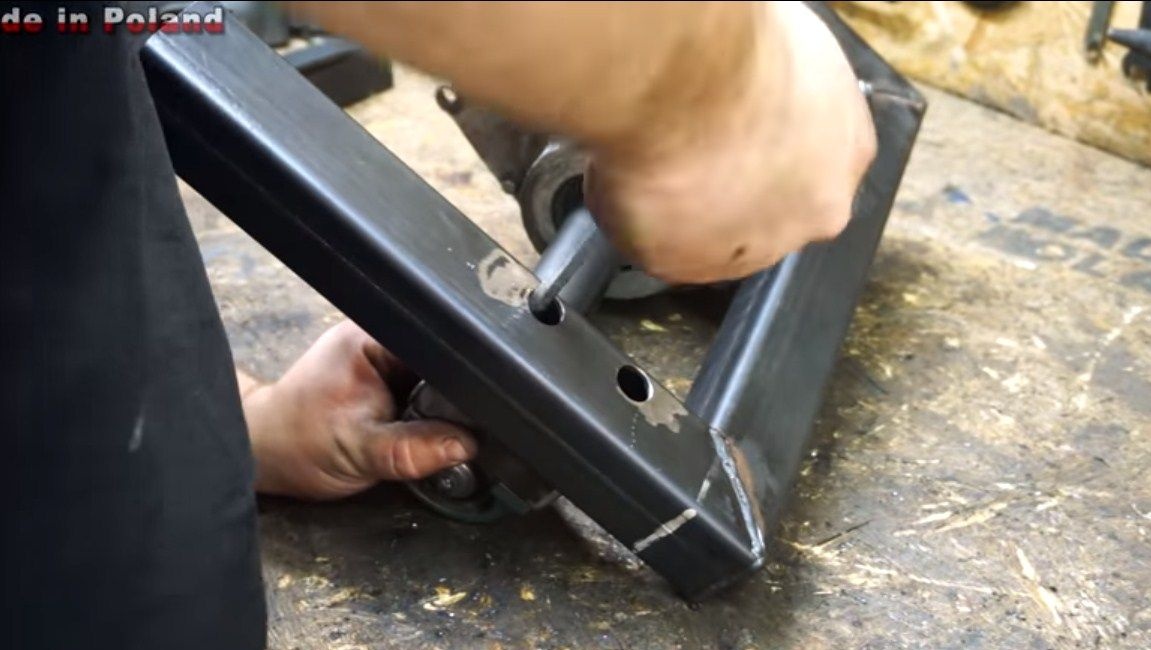
Step Three Stand and arrow
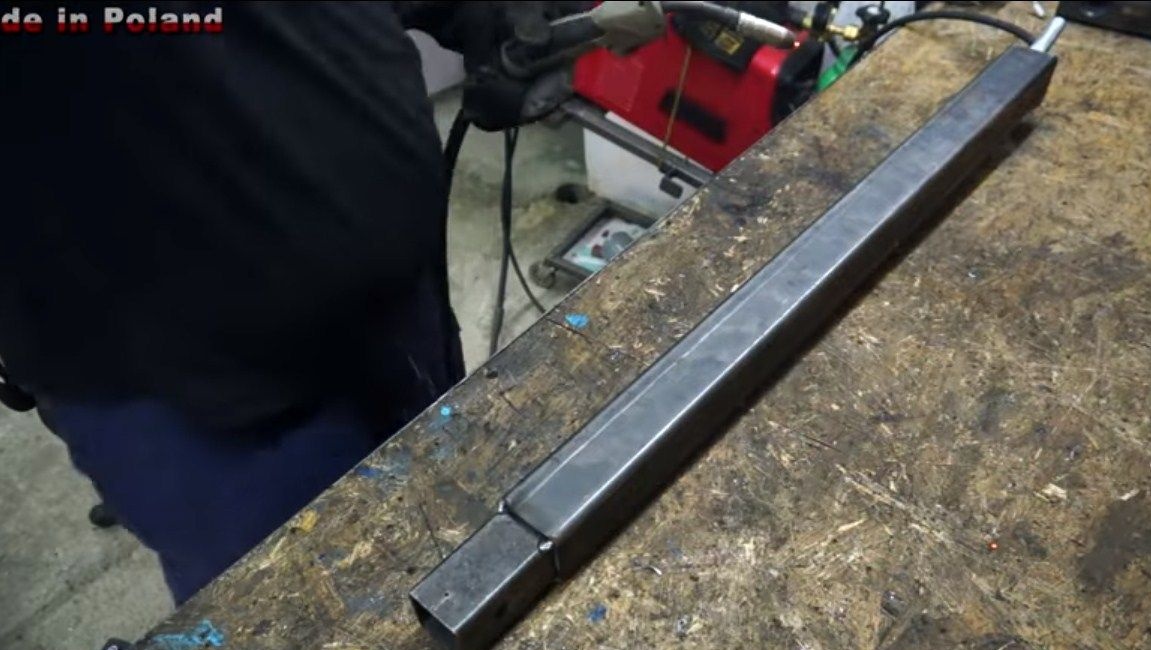
For a rack, we need a piece of a strong pipe, a square one will do. Well weld it to the base. We weld two brackets from steel plates to this rack, they will be used to attach the boom.
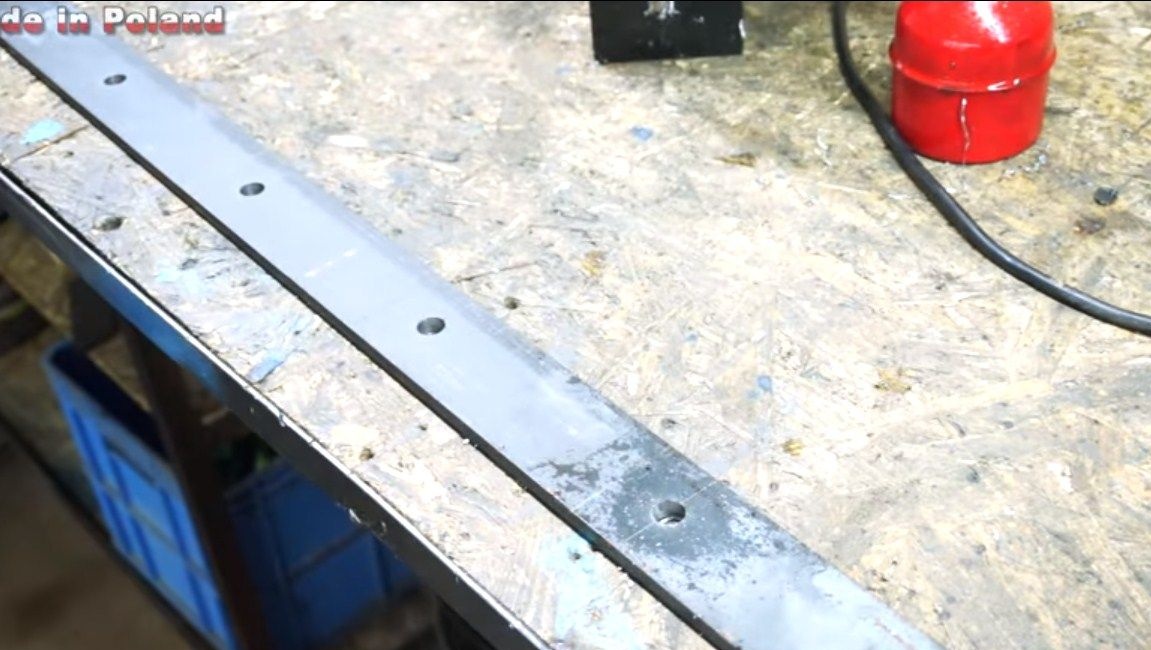
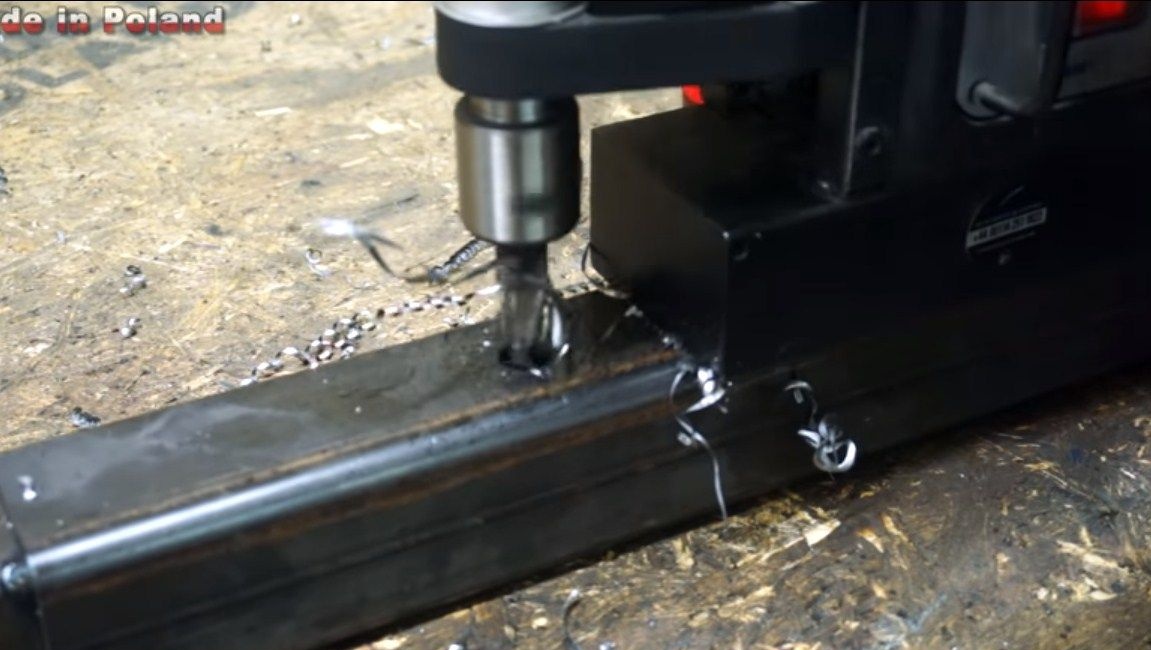
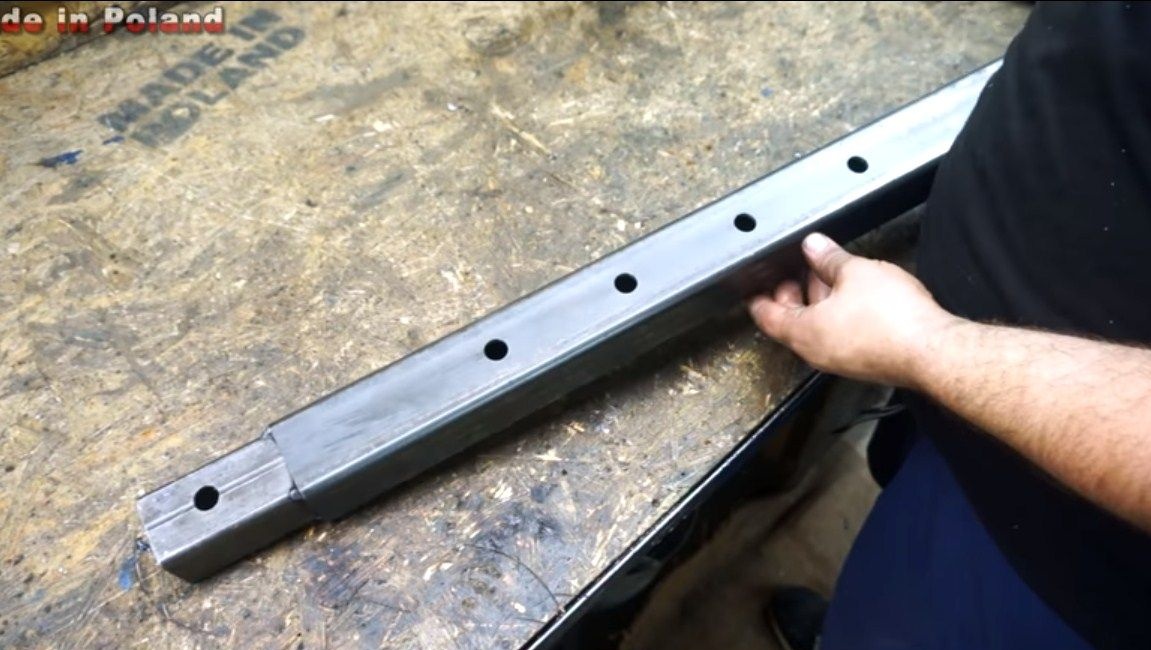
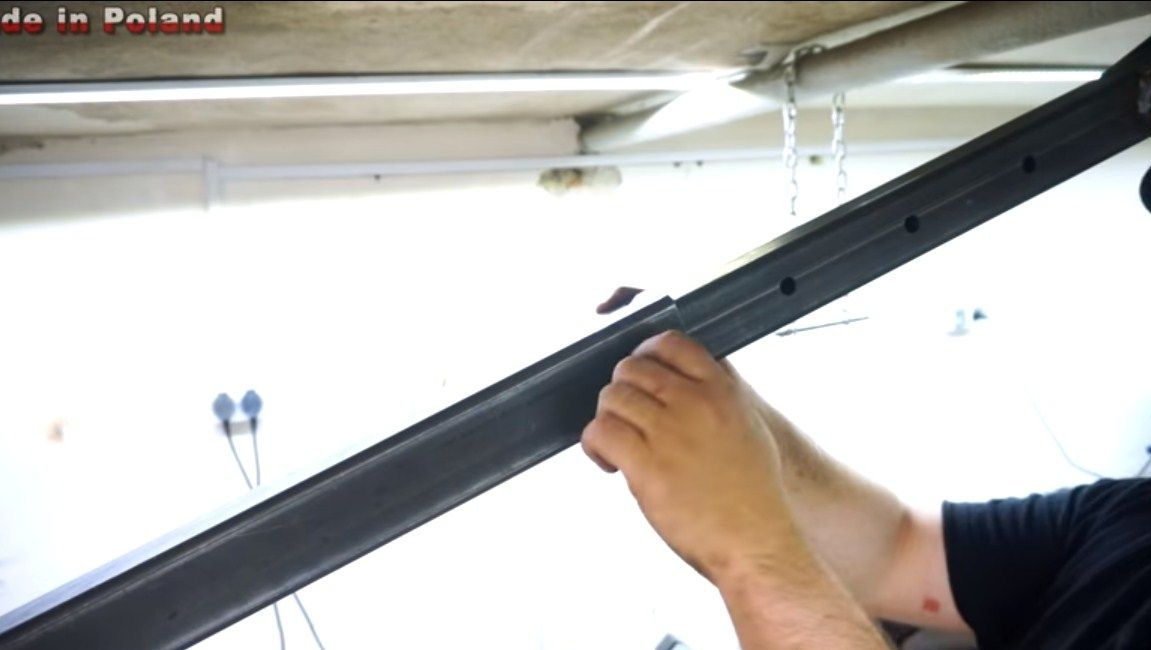
Our arrow is also made of a square pipe, rows of holes are drilled in it. These holes are needed so that you can adjust the angle of the boom or even fold it.
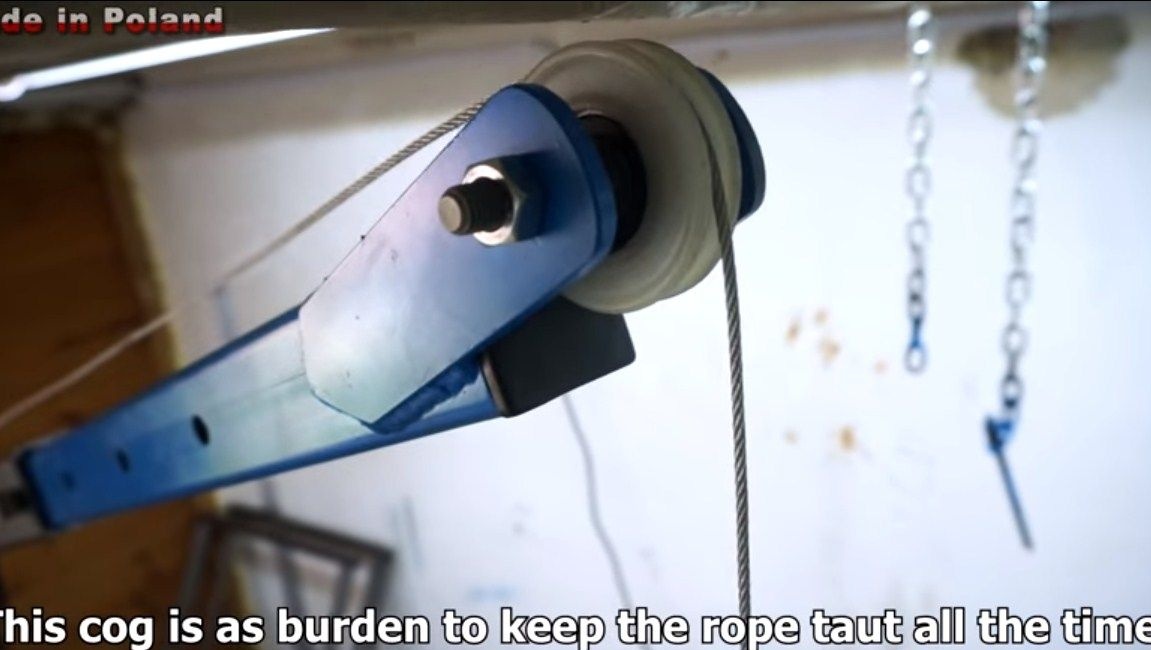
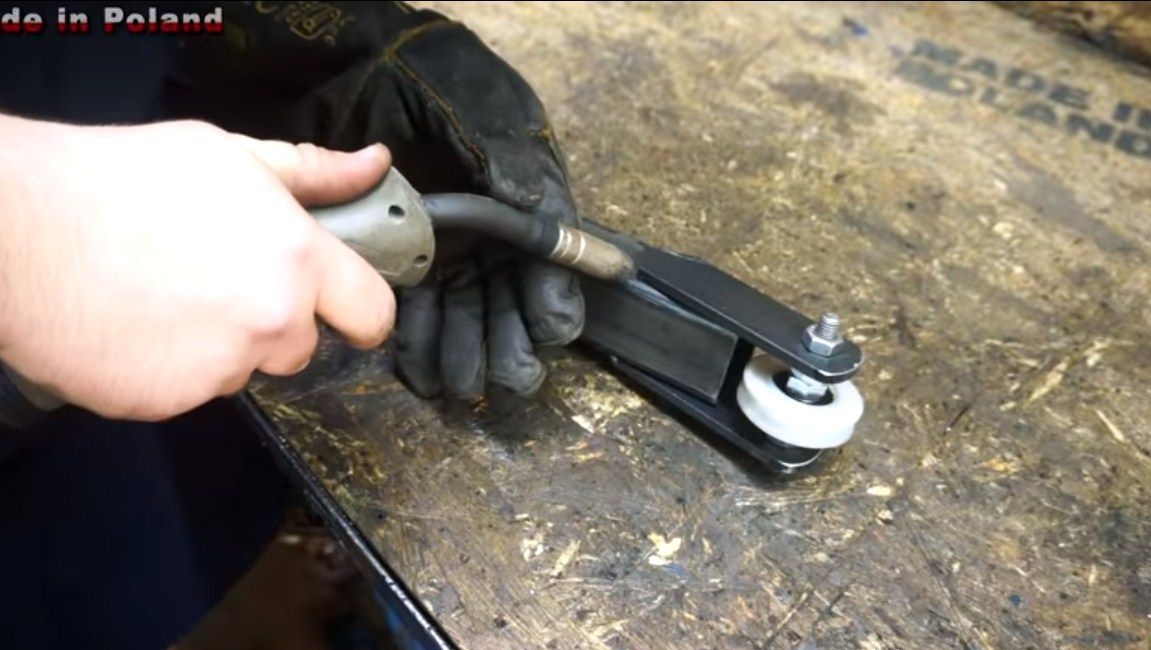
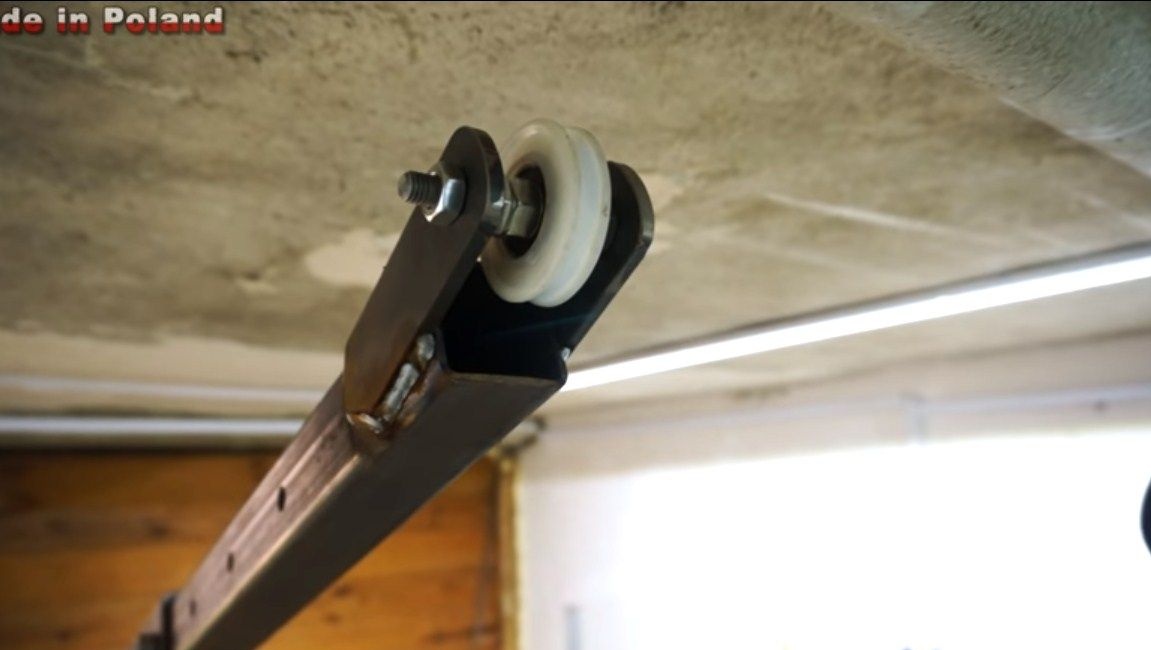
Well, then you will have to install a strong pulley at the end of the boom, along which the cable will go. The author used a pulley made of plastic, since our loads are not too large, but it is better to use steel. For the pulley, we also make a bracket of two plates.
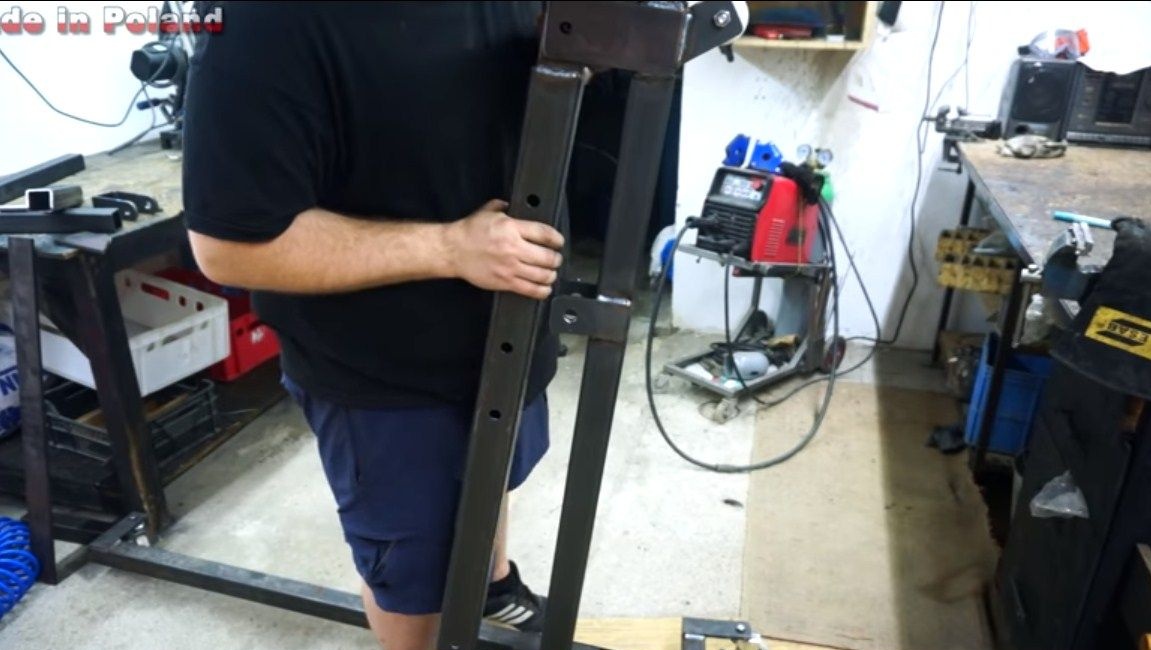
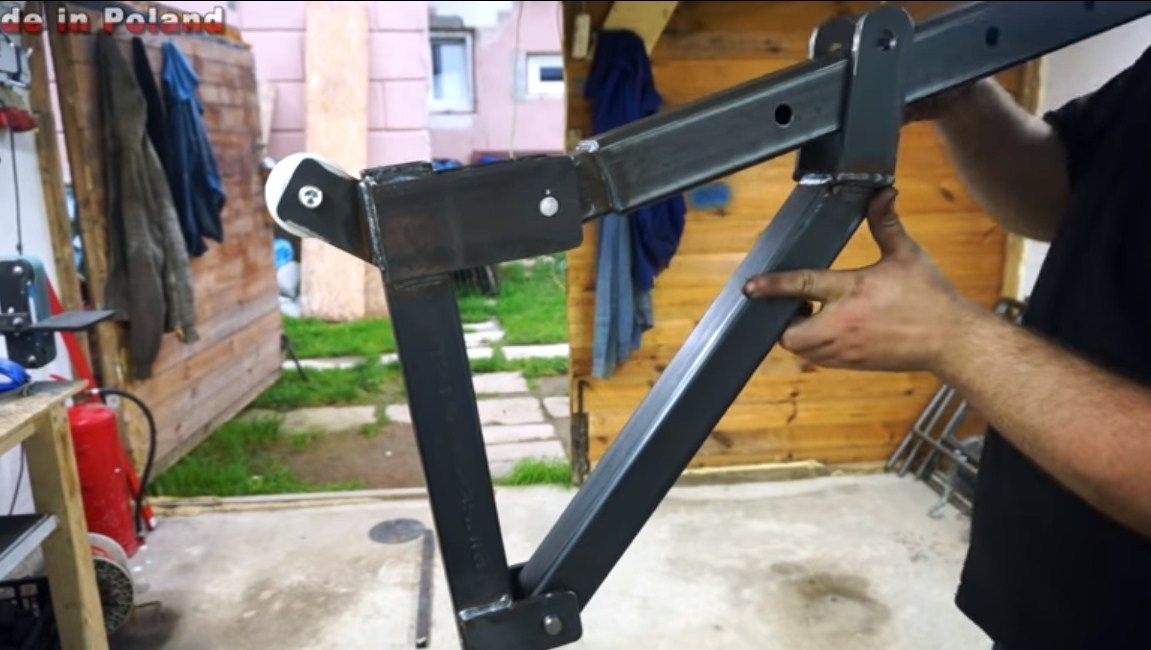
Step Four We strengthen the rack
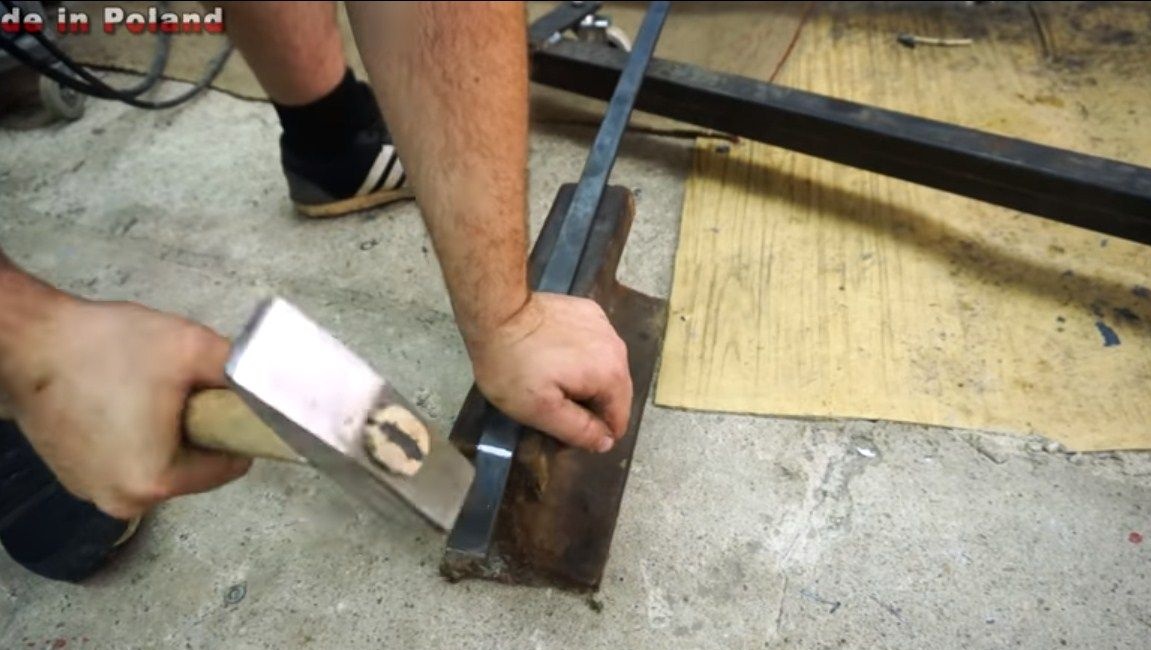
If you leave the stand as is, it will break off or bend when loaded. To prevent this, we strengthen the design. For these purposes, we need two steel pieces, cut them to the desired length and bend to the desired profile. Well, then these segments are welded to the stand and base. As a result, we get a strong stand.
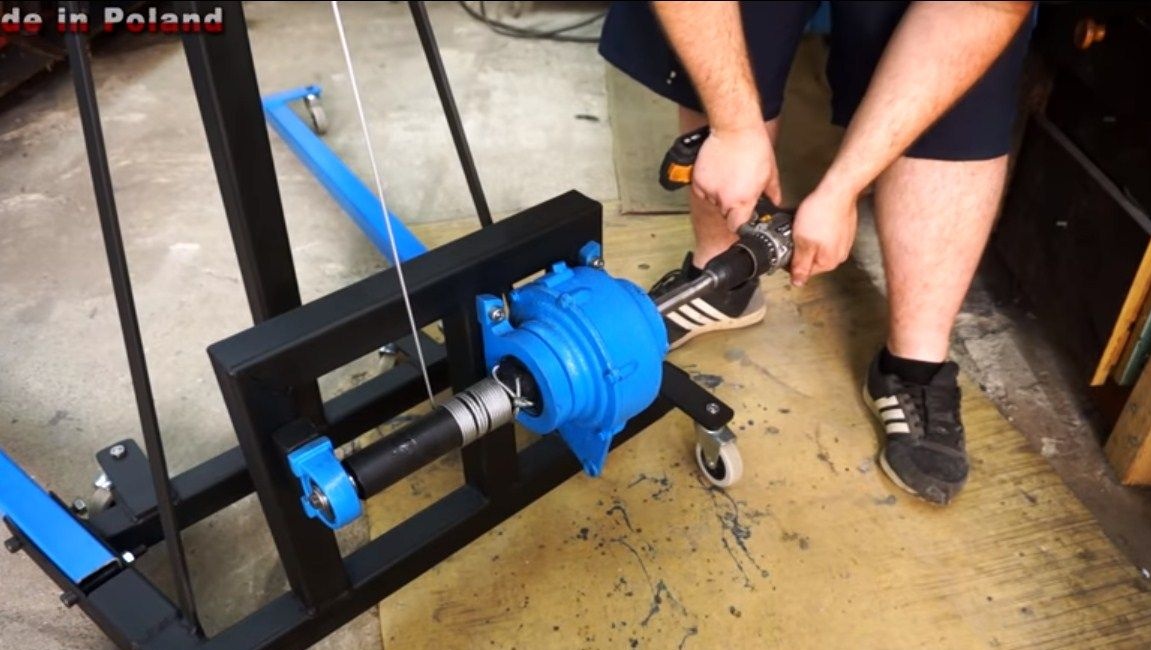
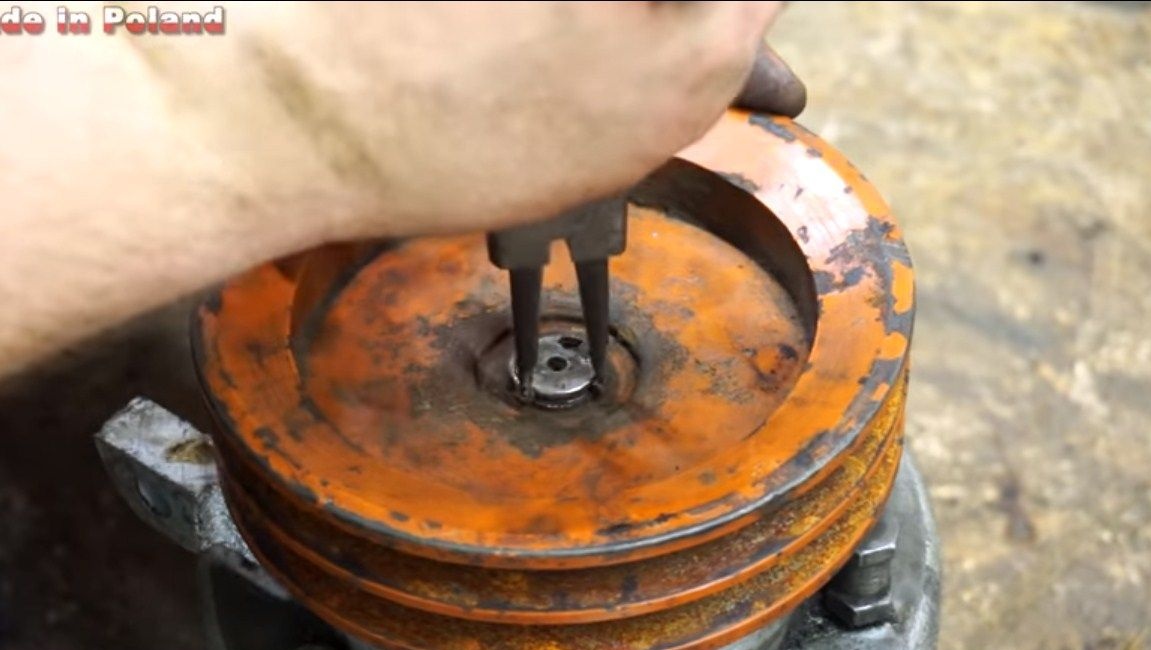
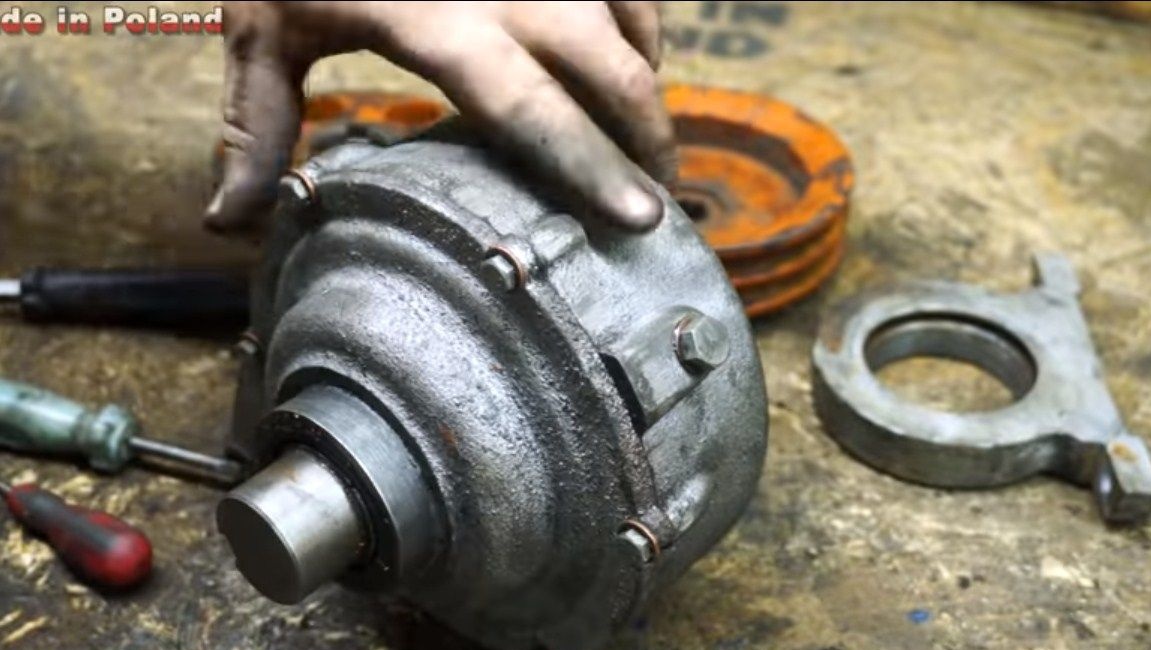
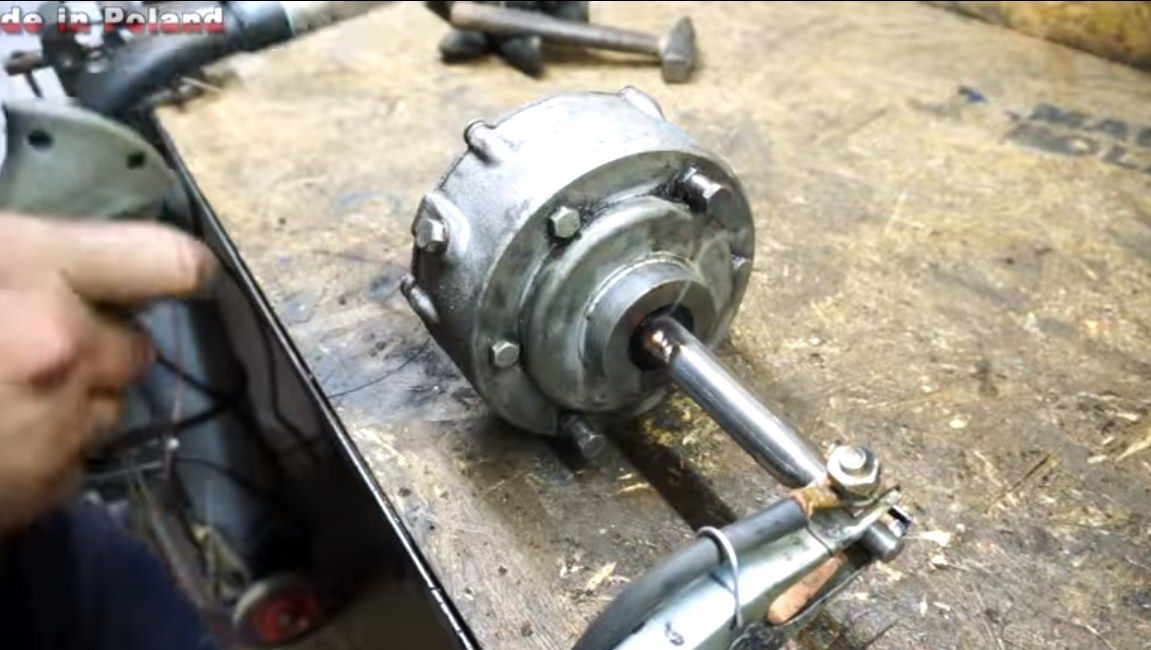
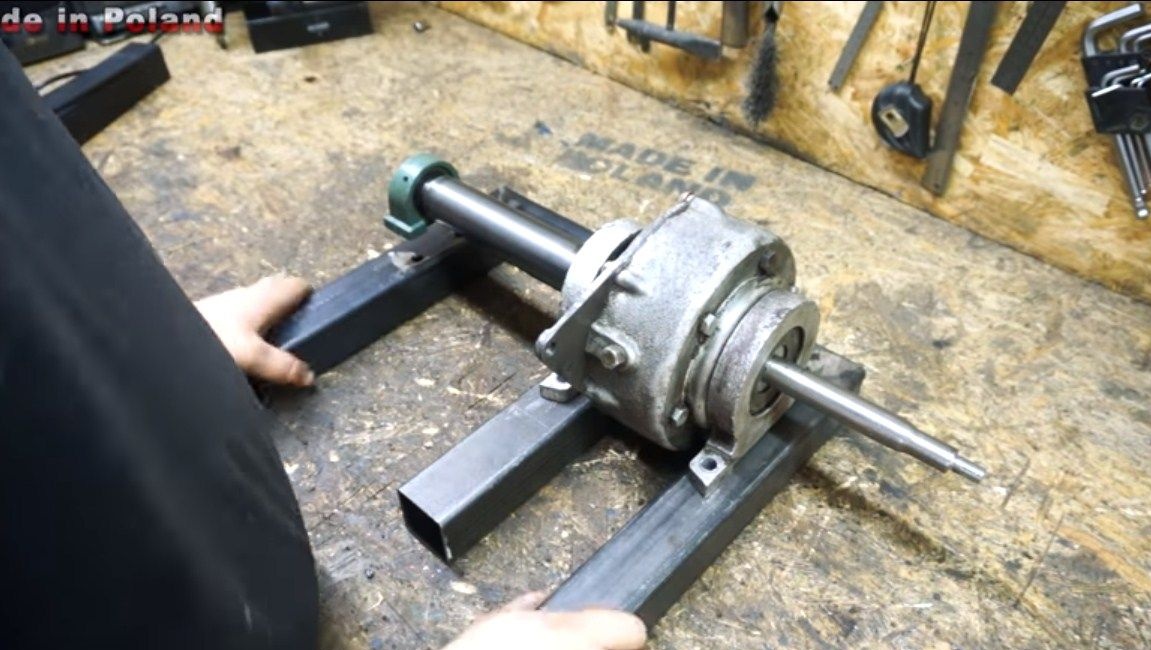
Step Five Modifying the gearbox
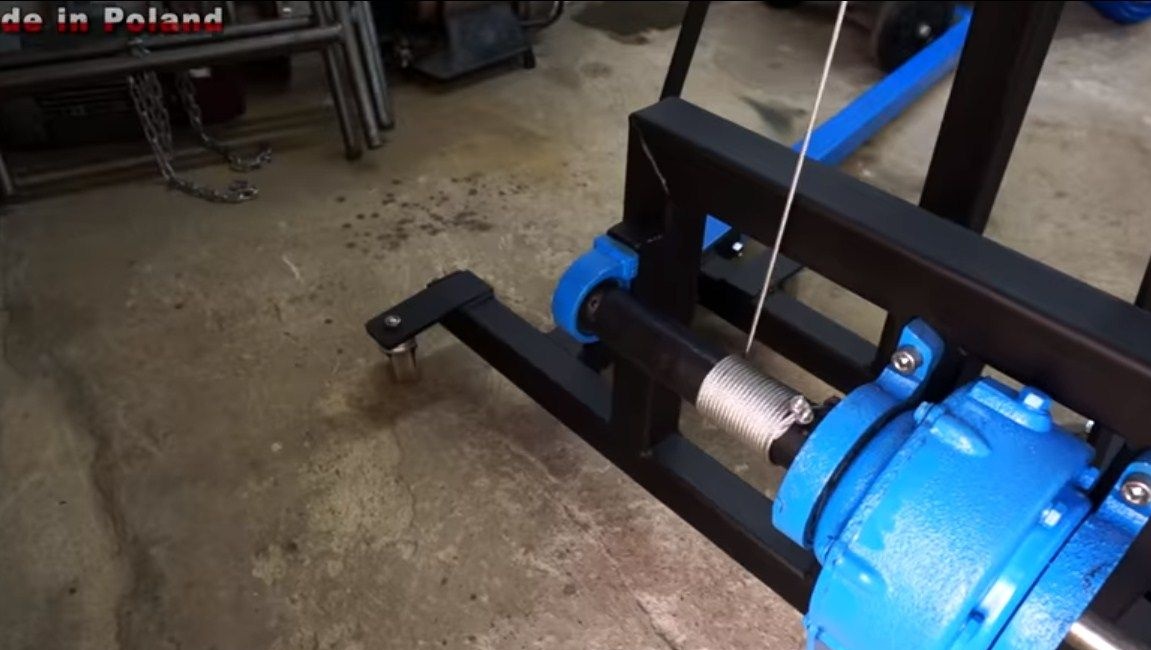
The essence of the gearbox refinement is that we will need to connect a drill to the input, and a drum will be installed at the output, which will wind the cable.
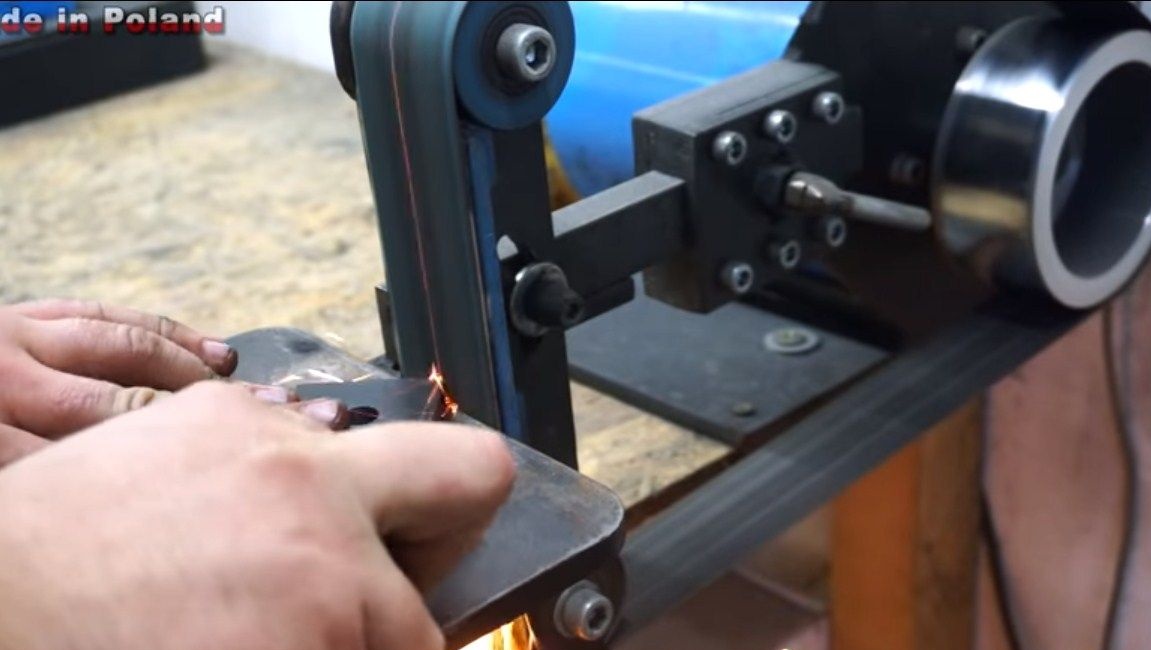
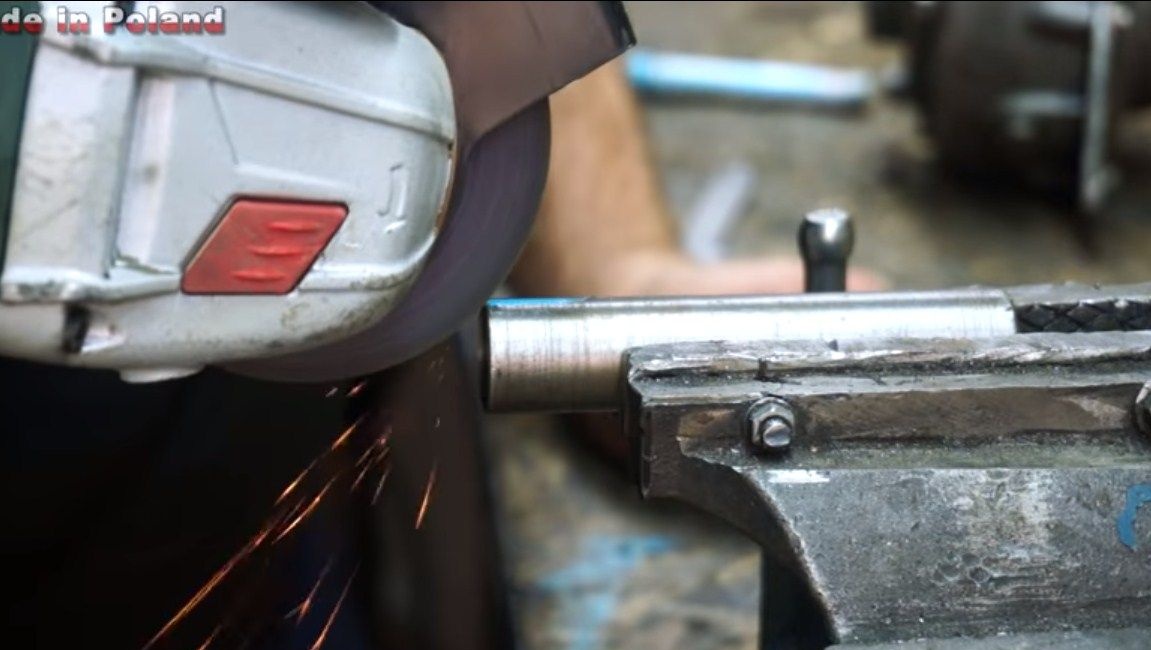
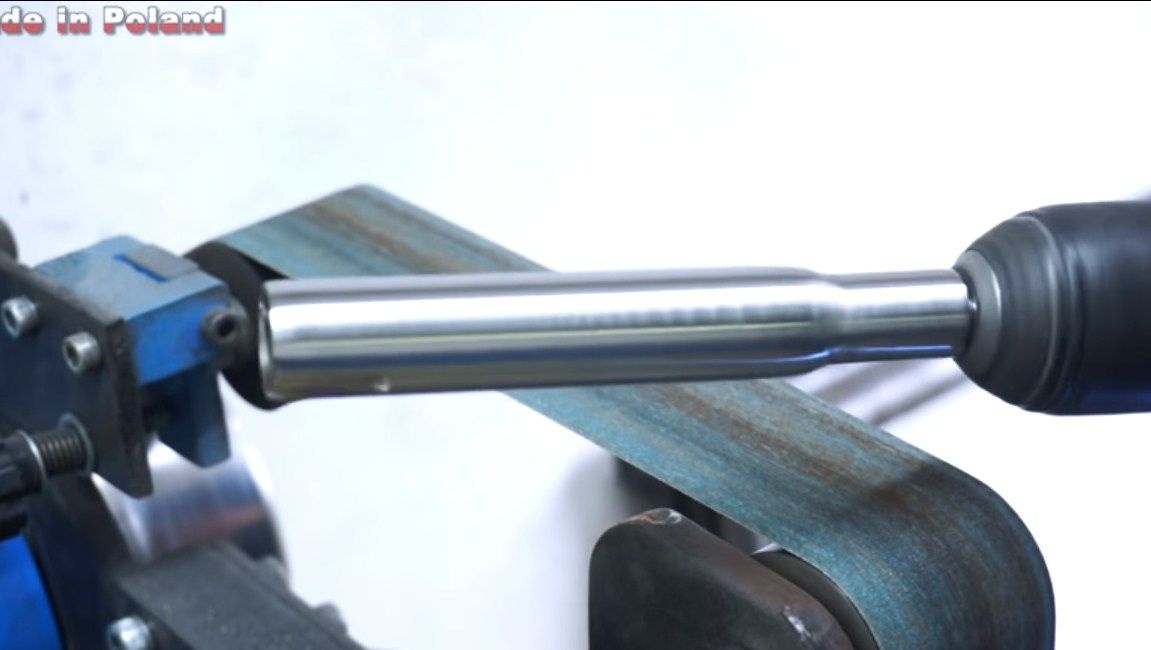
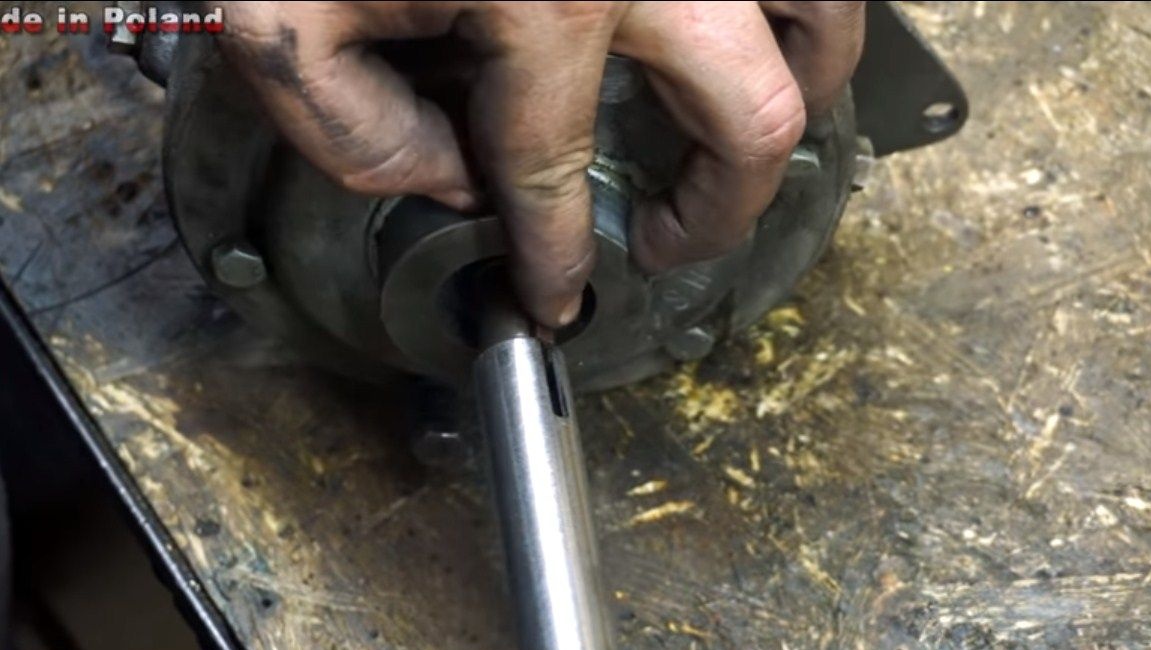
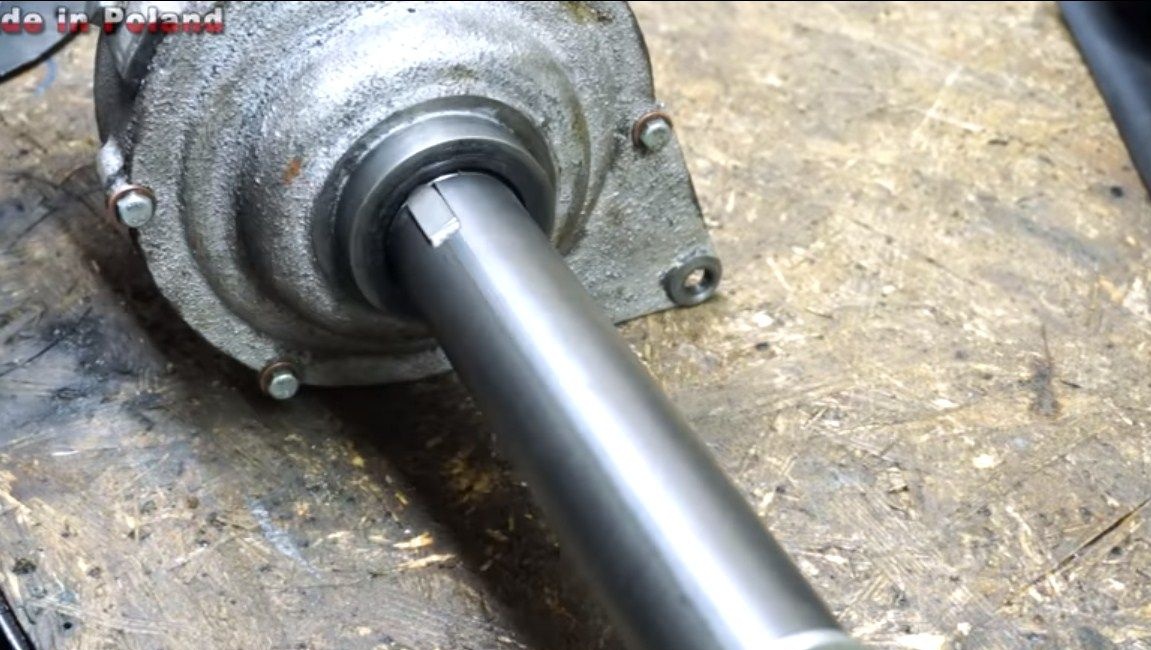
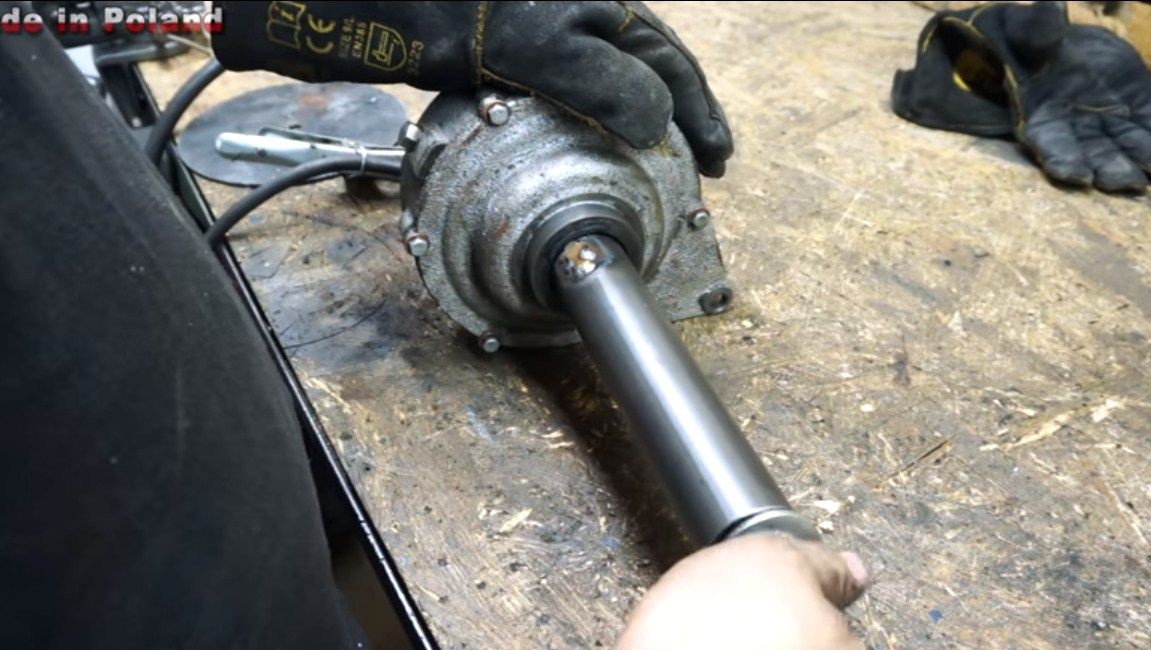
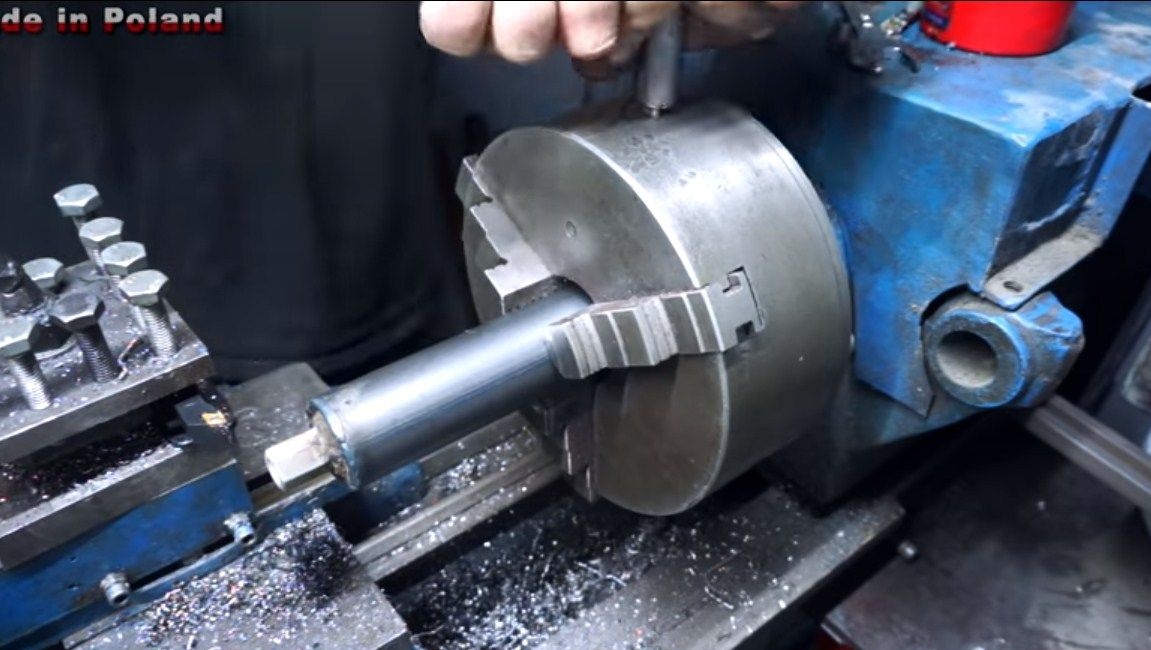
We start with an adapter for a drill. The author found a piece of pipe that fits tightly onto the gear shaft and welded a steel rod to the center of this pipe. If the diameter of this rod turns out to be too big to clamp in the drill chuck, we reduce its diameter on a lathe. A slot is made under the cotter pin in the pipe, and then this cotter pin is welded to the pipe.

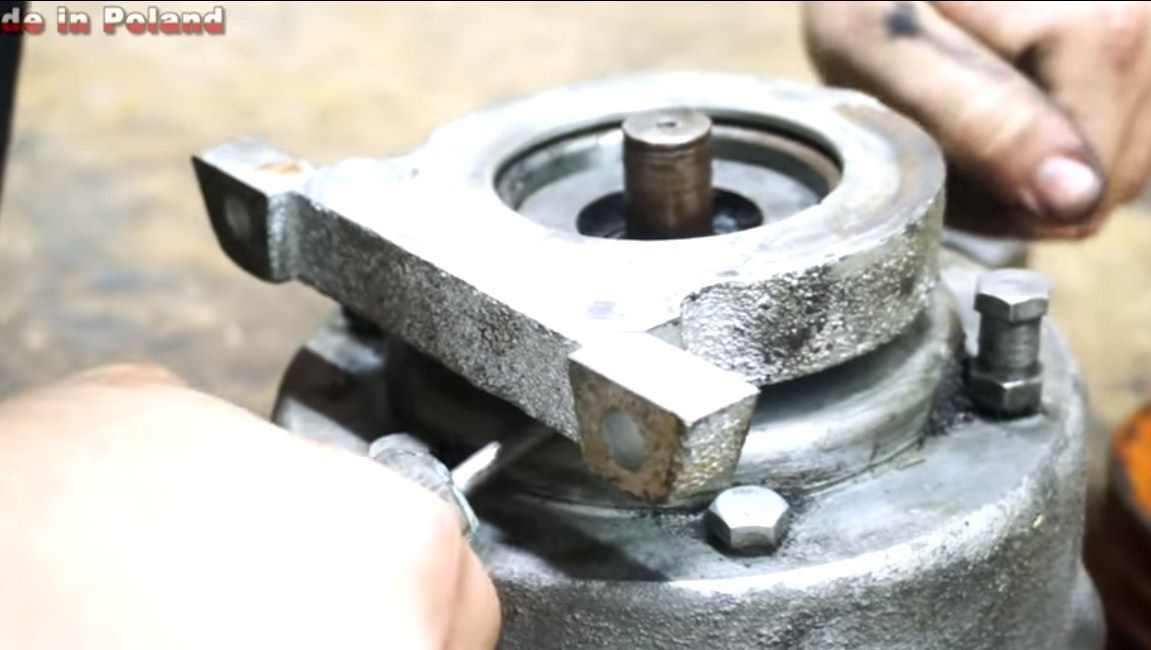
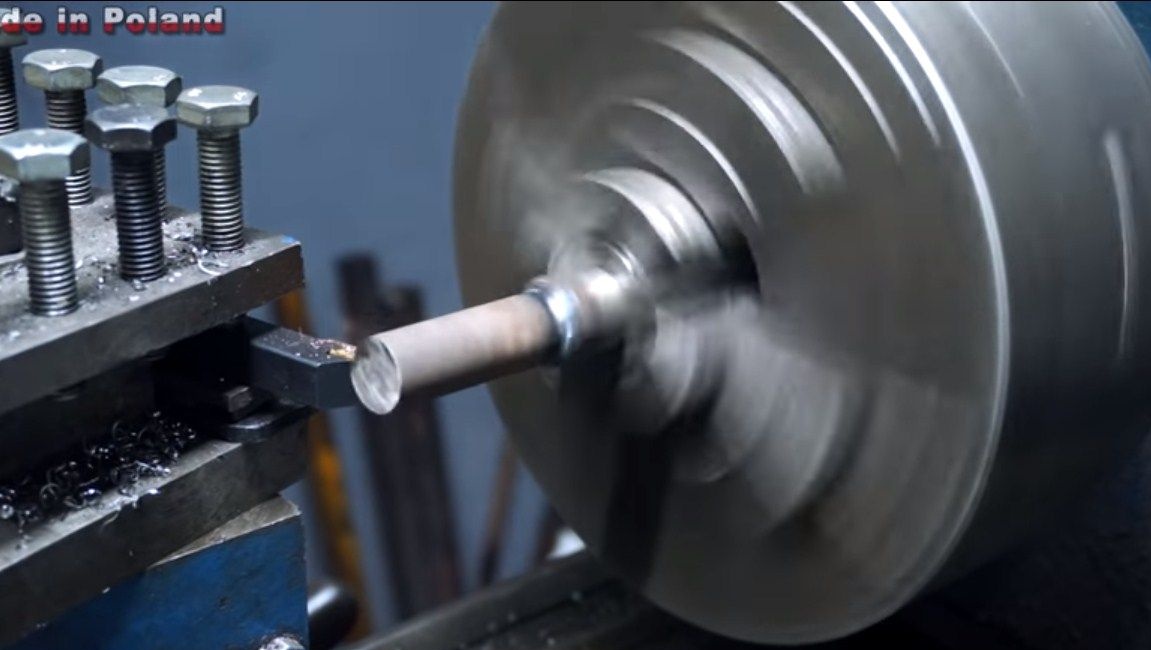
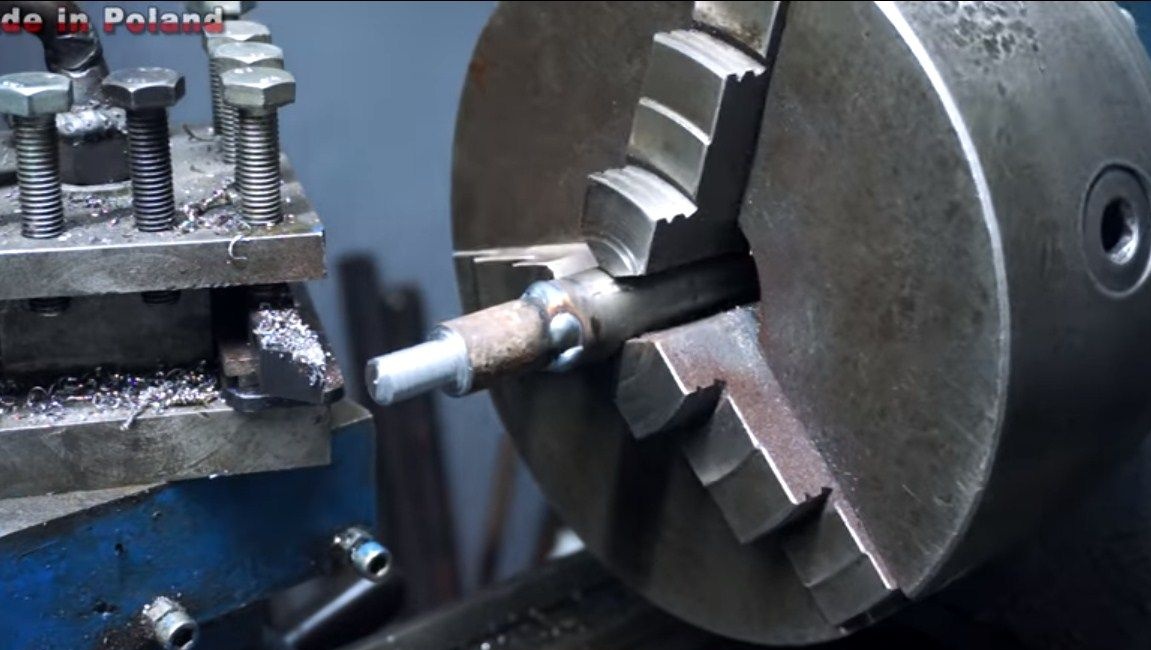
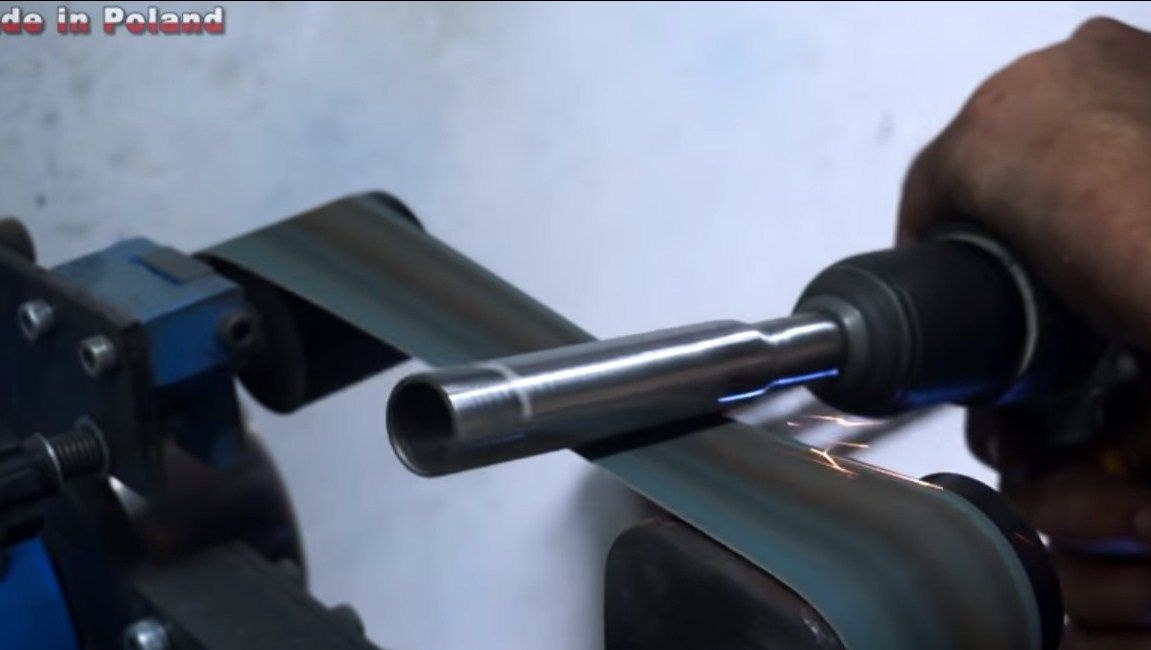
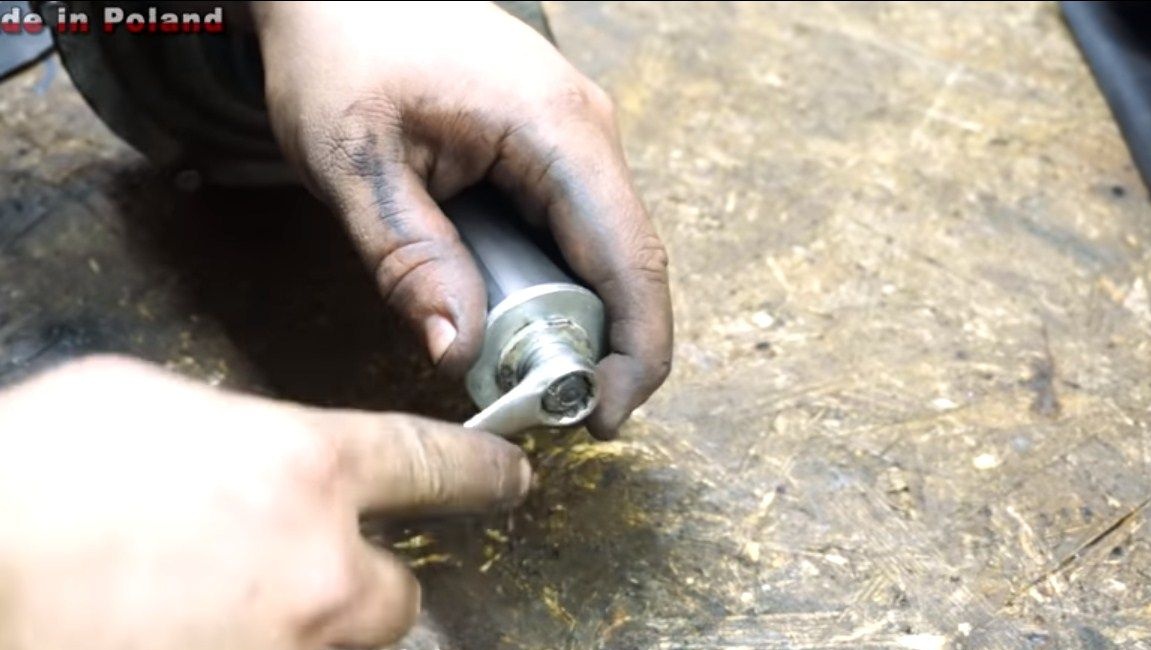
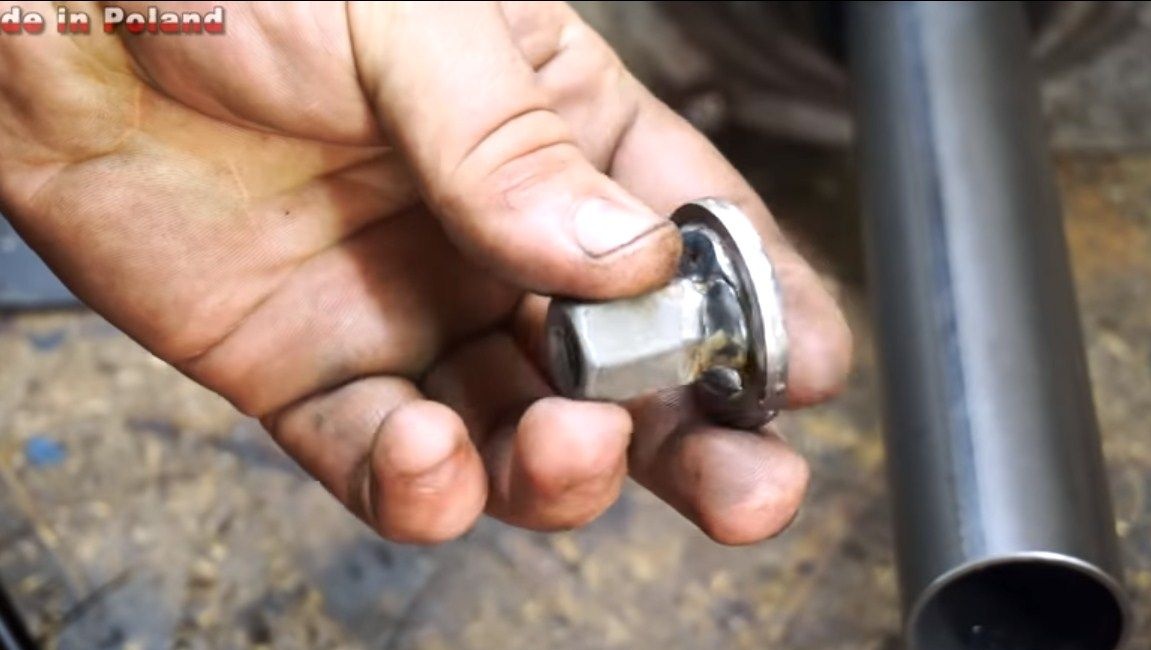
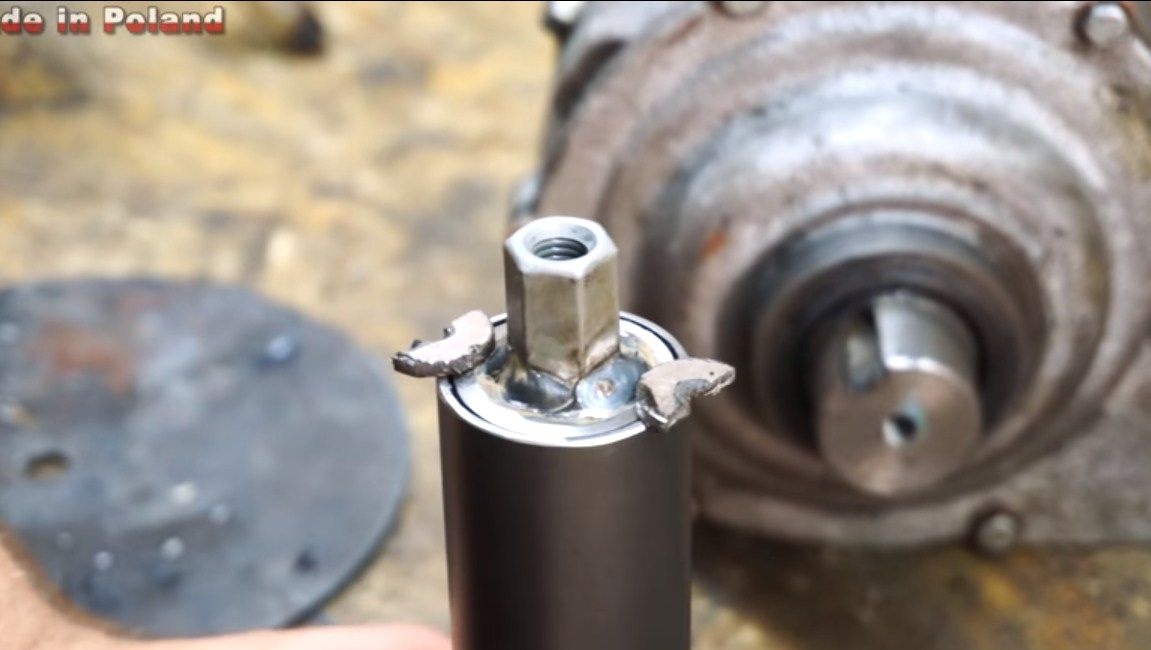
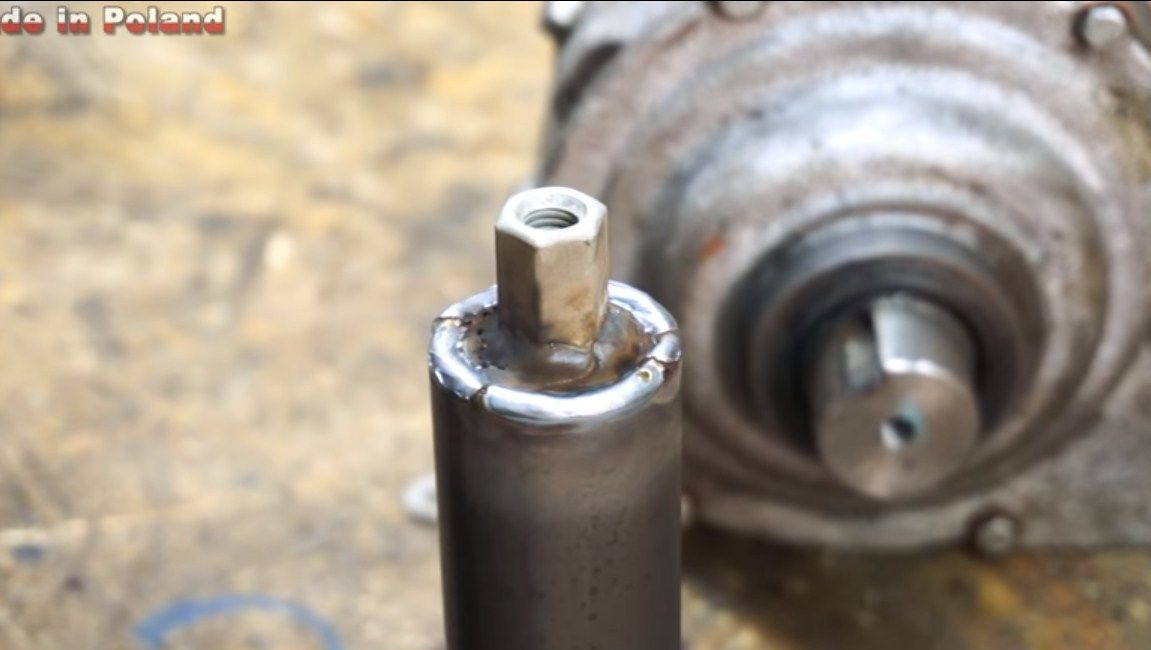
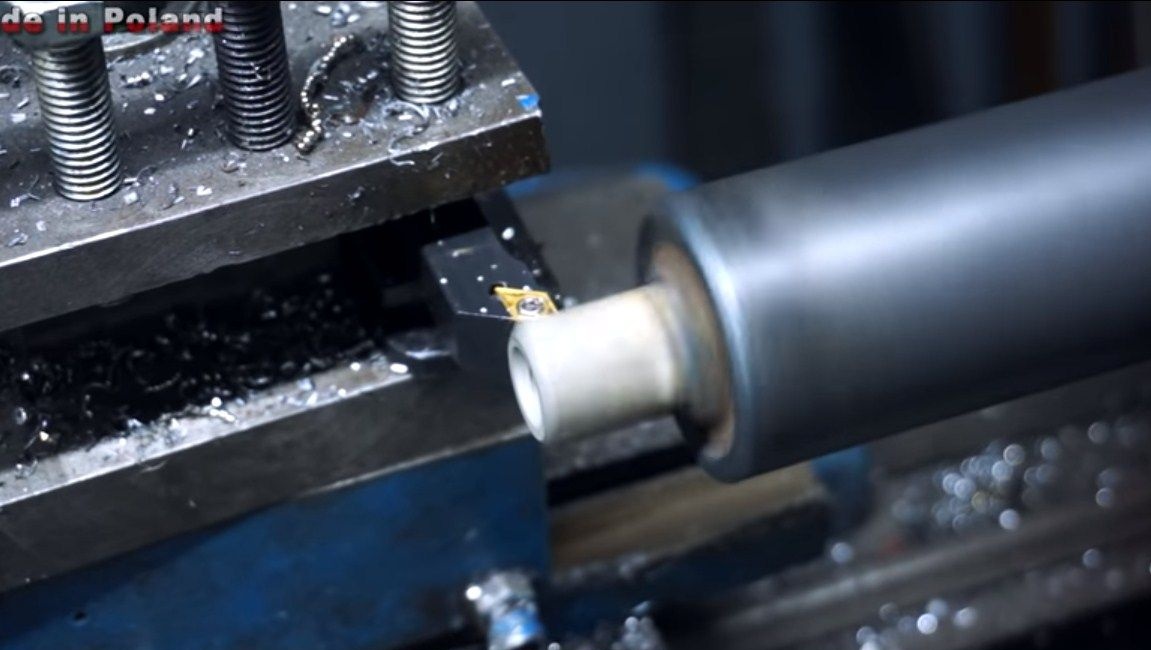

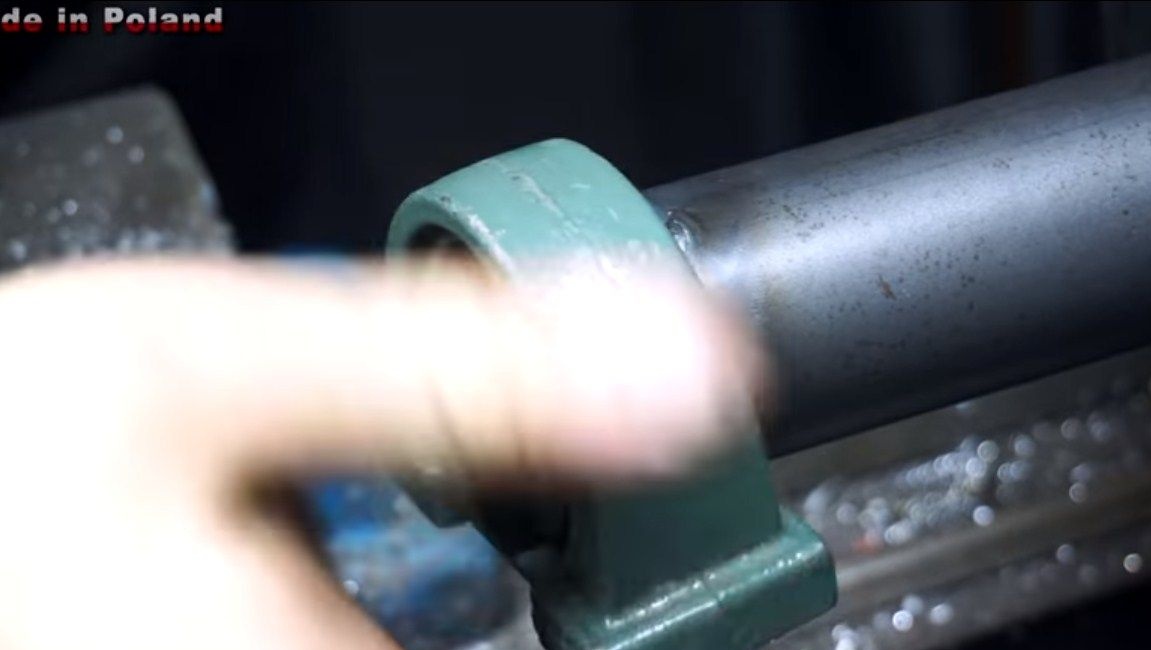
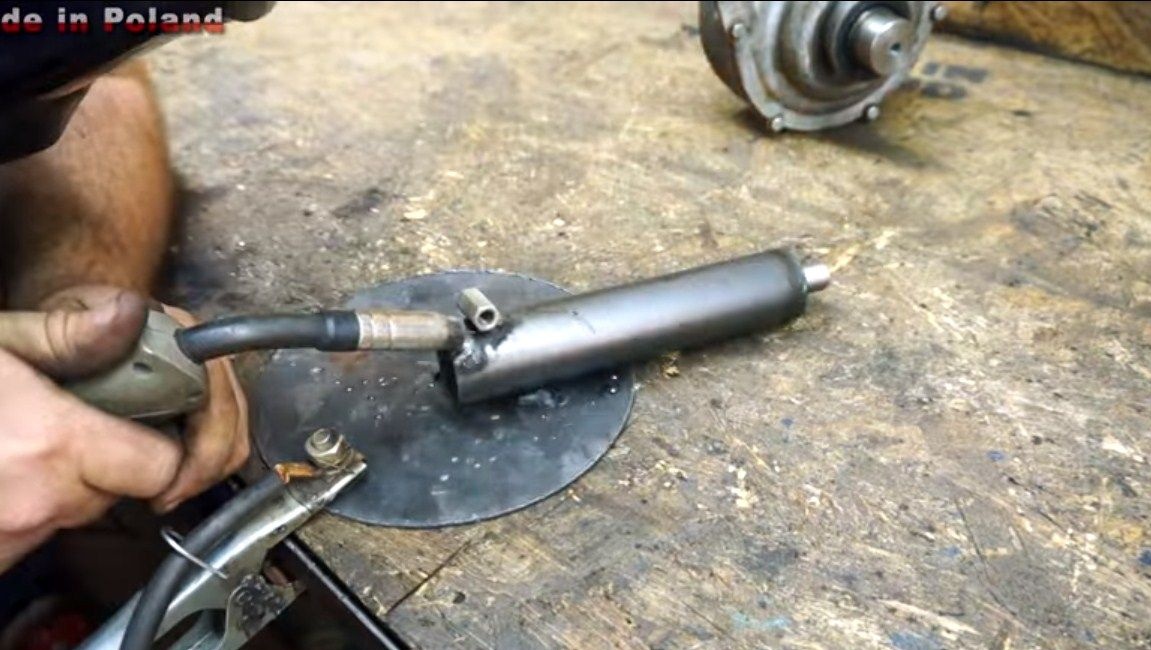
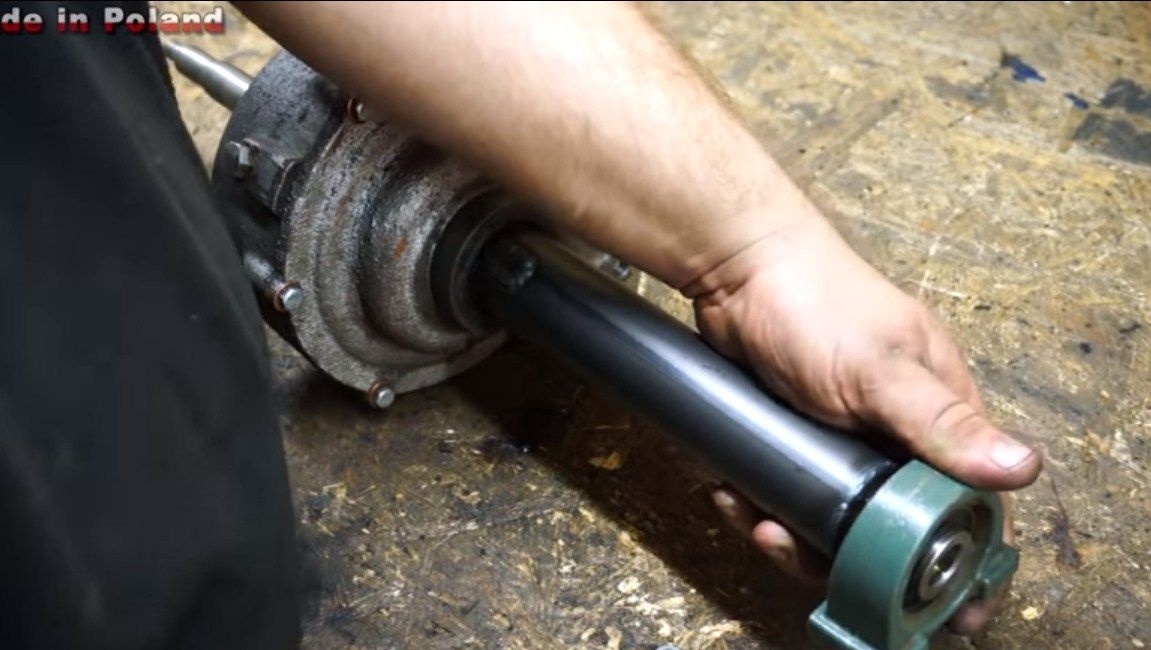
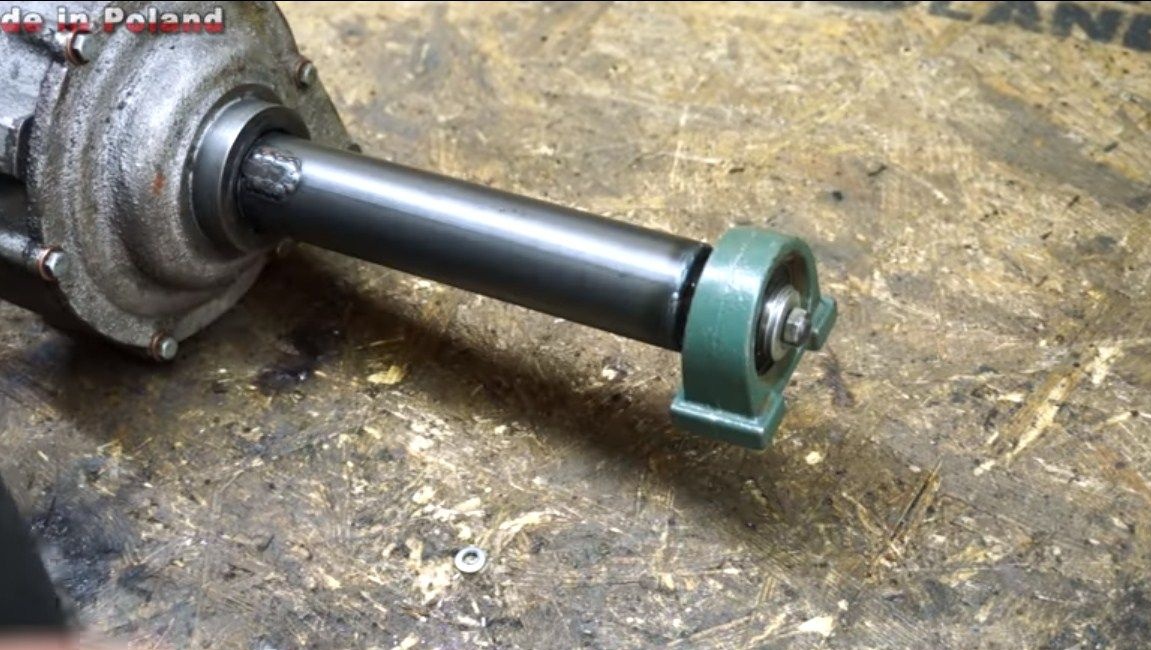
Next, we need to install a “drum” for the cable. For these purposes, we also use a piece of pipe of suitable diameter. Everything is done in the same way, but the end of the axis must be fixed in the bearing. Therefore, the author welds a washer to the end of the pipe to which the nut is welded. The diameter nut grinds on a lathe to make an axis that goes into the bearing. That's all, now you can install the bearing by screwing it with a screw and washers.
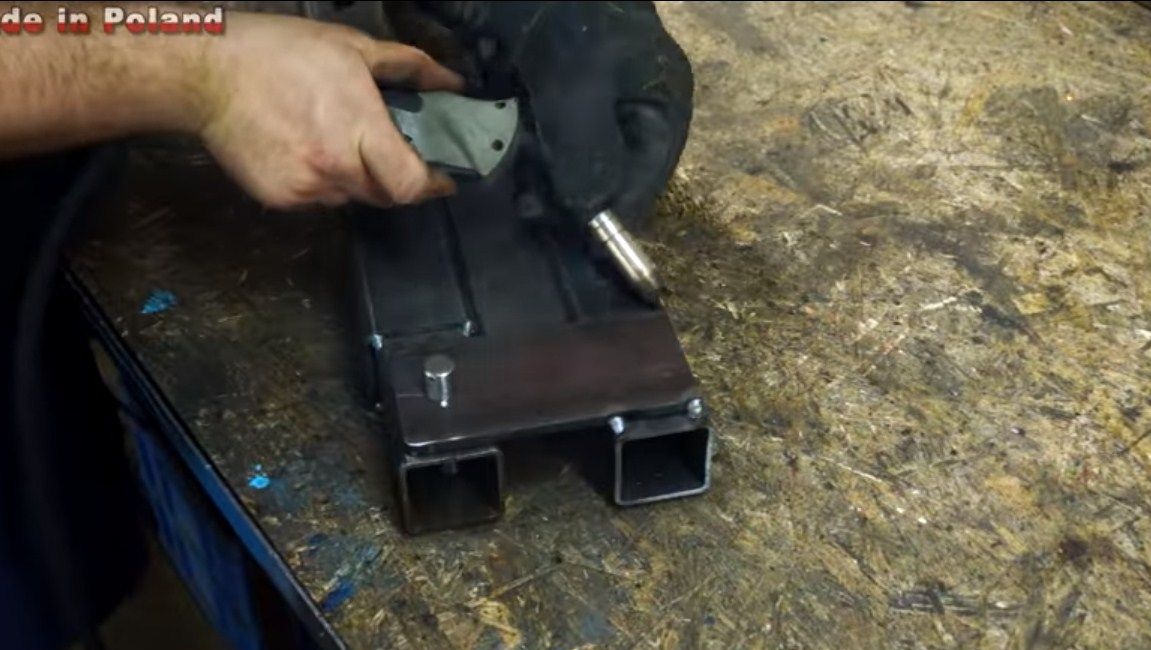
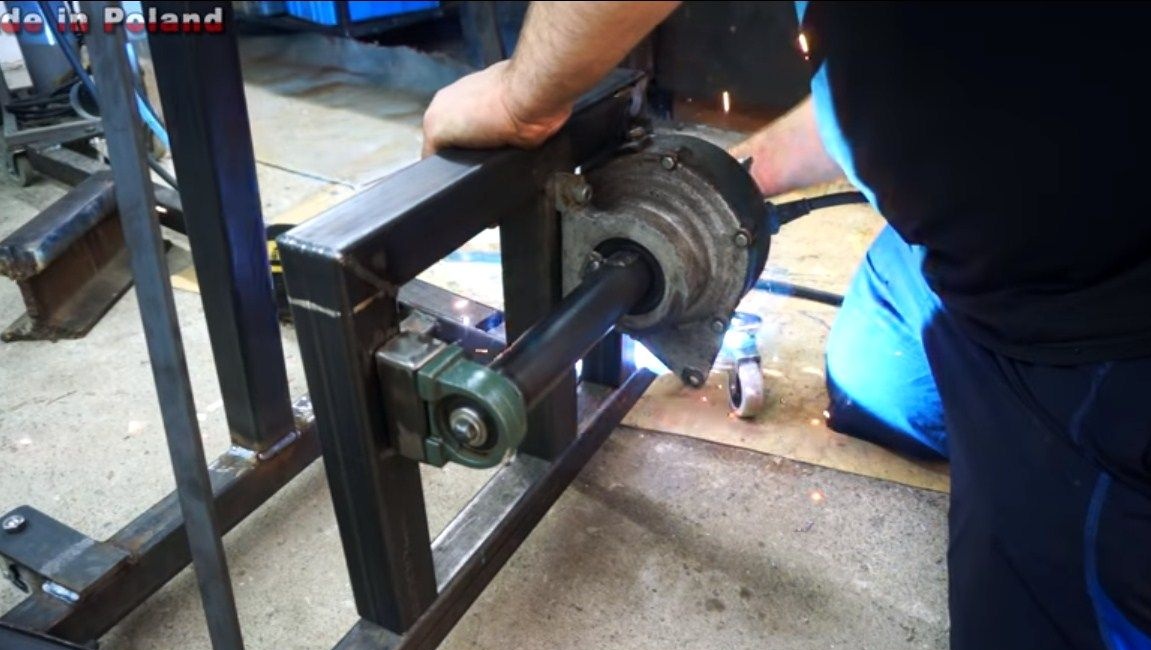
Step Six Install the gearbox to the crane
So that the gearbox can be installed on the crane, a special bracket needs to be made under it. For these purposes, we weld the desired design from square pipes and drill holes. That's all, now we fasten the gearbox to the base, and weld the frame to the crane frame. When everything is ready, paint the elements of the crane so that it looks beautiful and does not rust. That's all, the crane is ready, you can test.

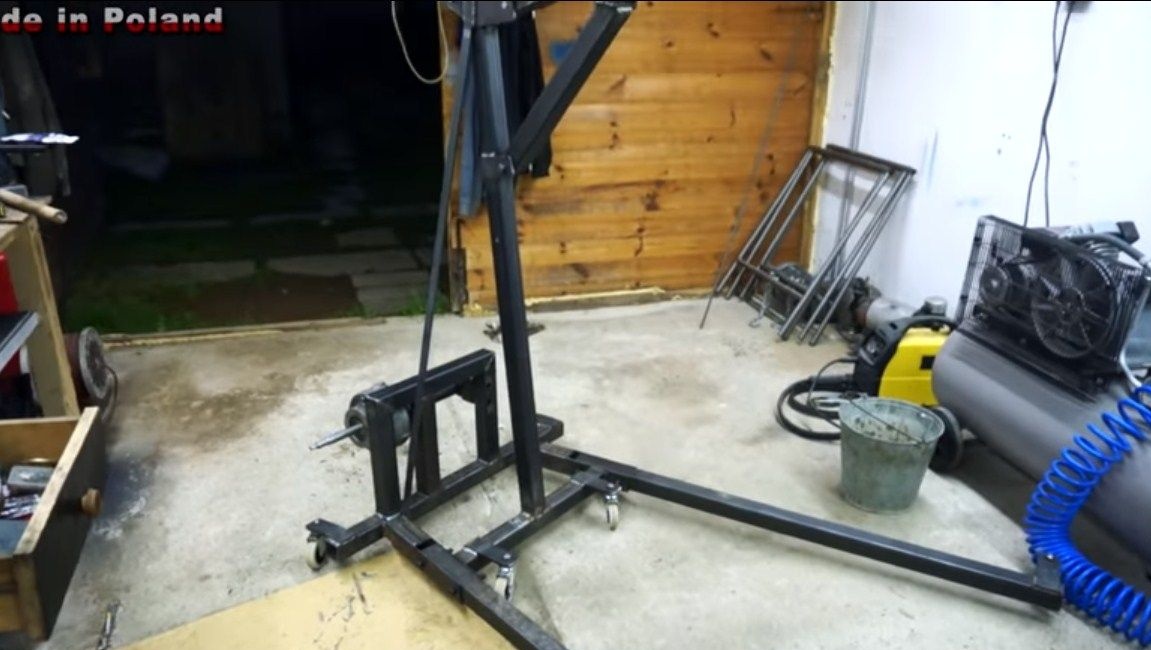
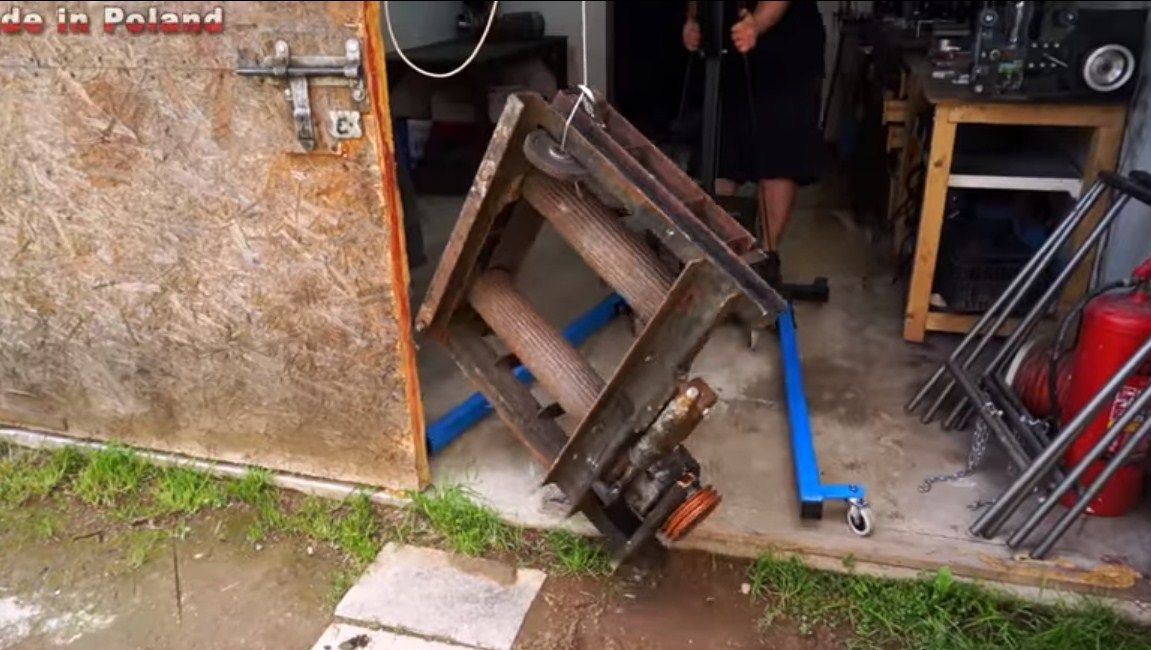
Seventh step. Test
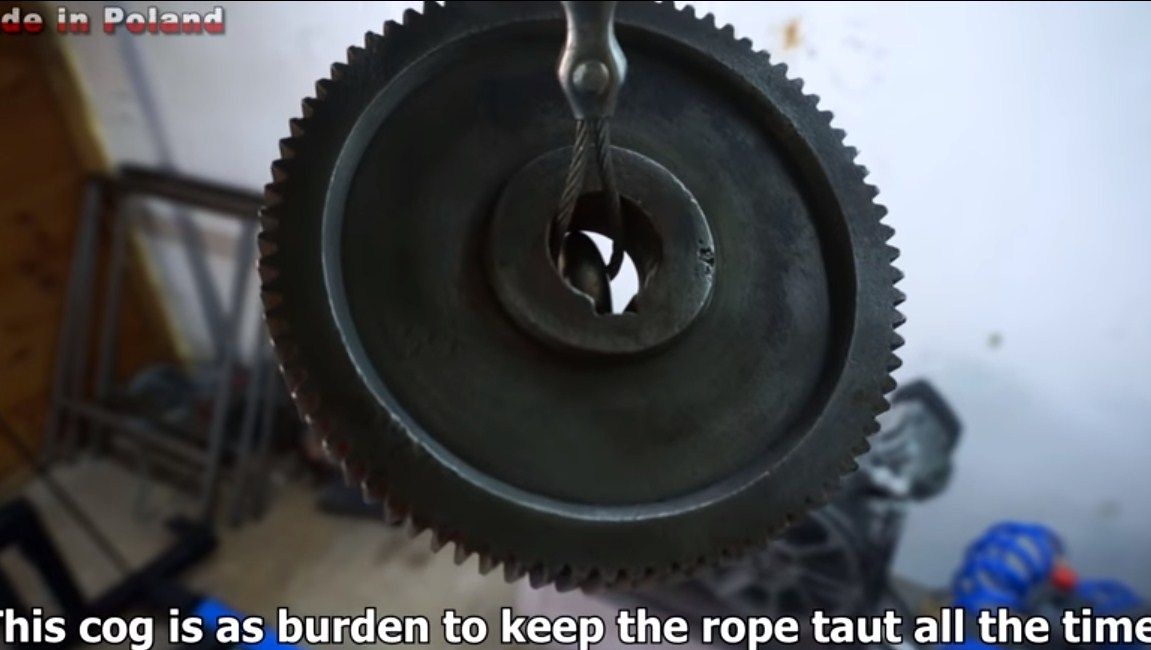
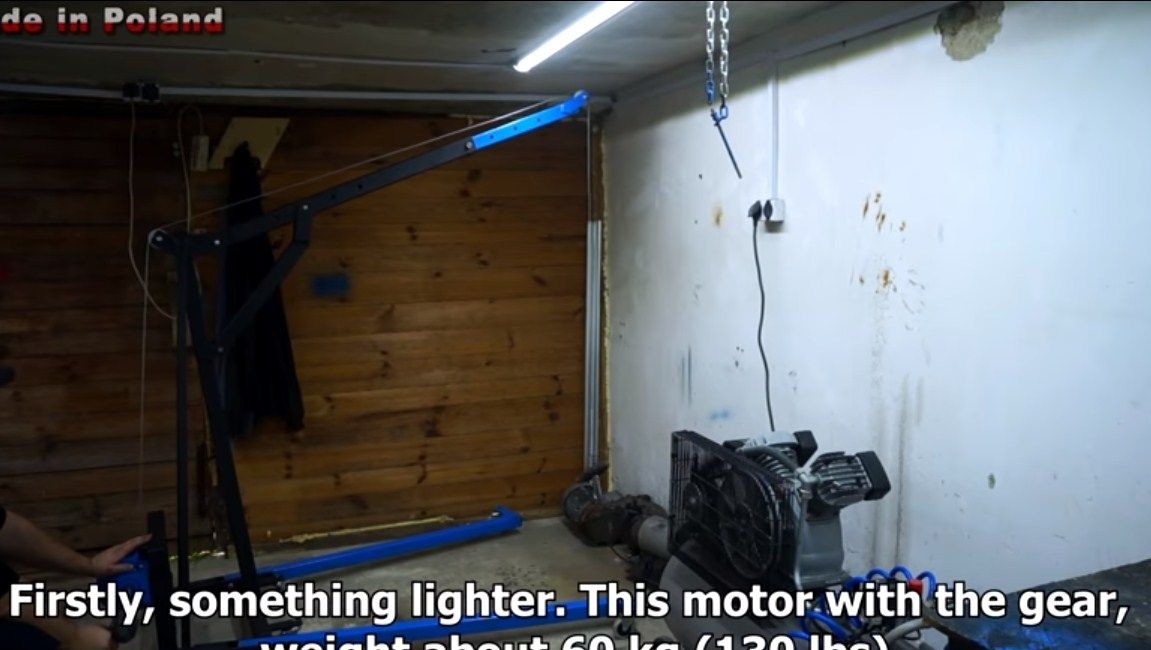
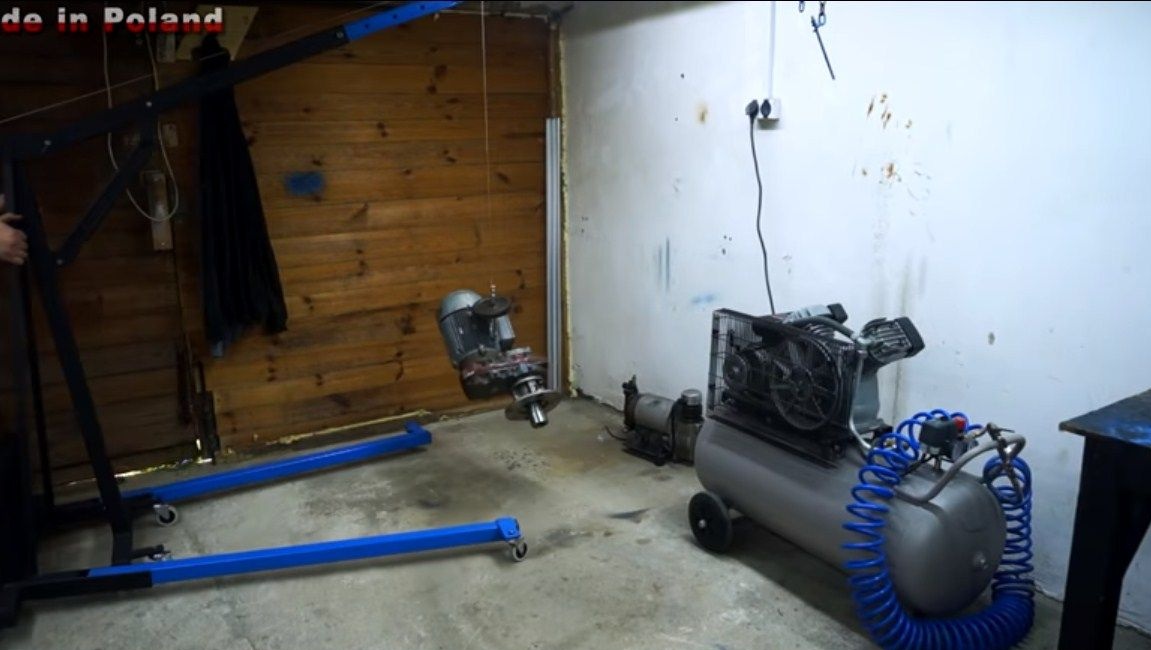
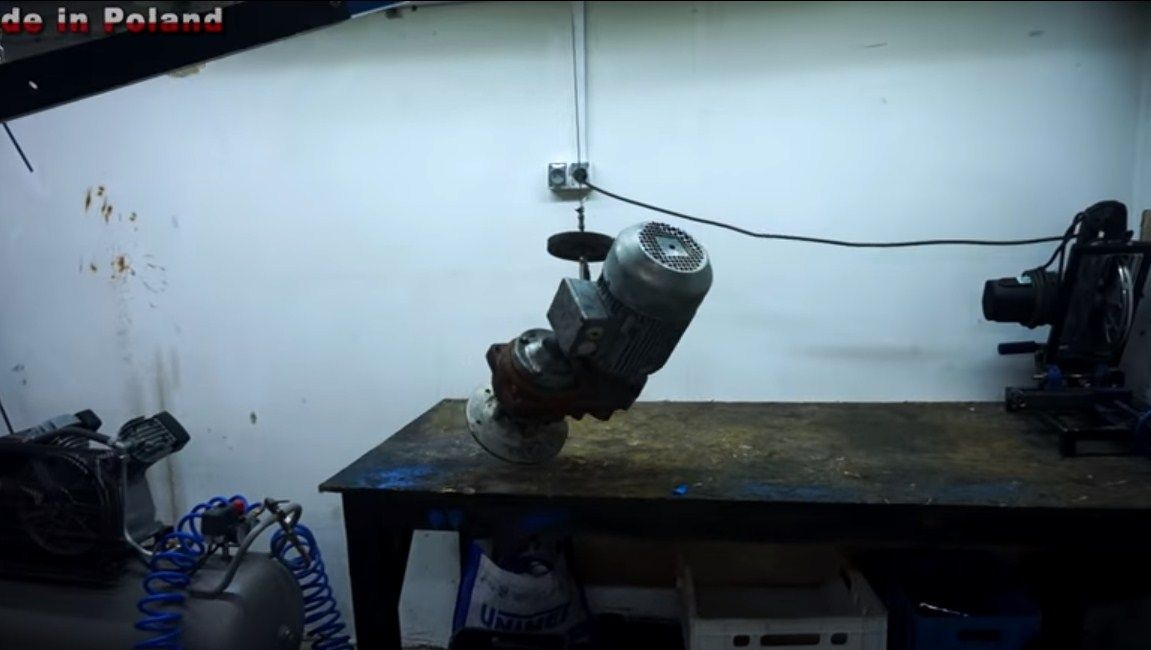
We proceed to test the crane. We install a strong cable, and hang some weight on the end (cable), the author used the gear. We drive to the desired object and try to raise it. As an experiment, the author first transported an engine weighing 60 kg. He was easily loaded onto the table without much effort.
The next object weighed 140 kg, it was also easily lifted and delivered to the table. In other cases, to move him would need a partner, or even two. That's all, in such a simple way, you can gather yourself a faithful assistant. By the way, if the crane is slightly strengthened, they can easily remove automobile engines and more.
I hope you enjoyed the project and found useful information for yourself. Good luck and creative inspiration, if you suddenly decide to repeat this. Do not forget to share your best practices with us!