
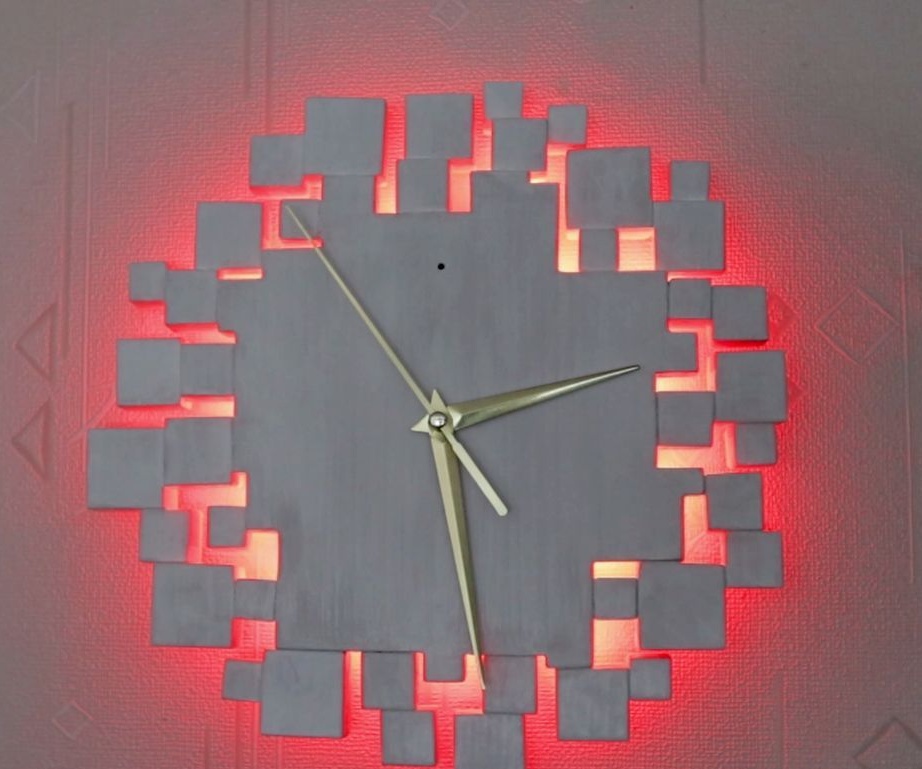
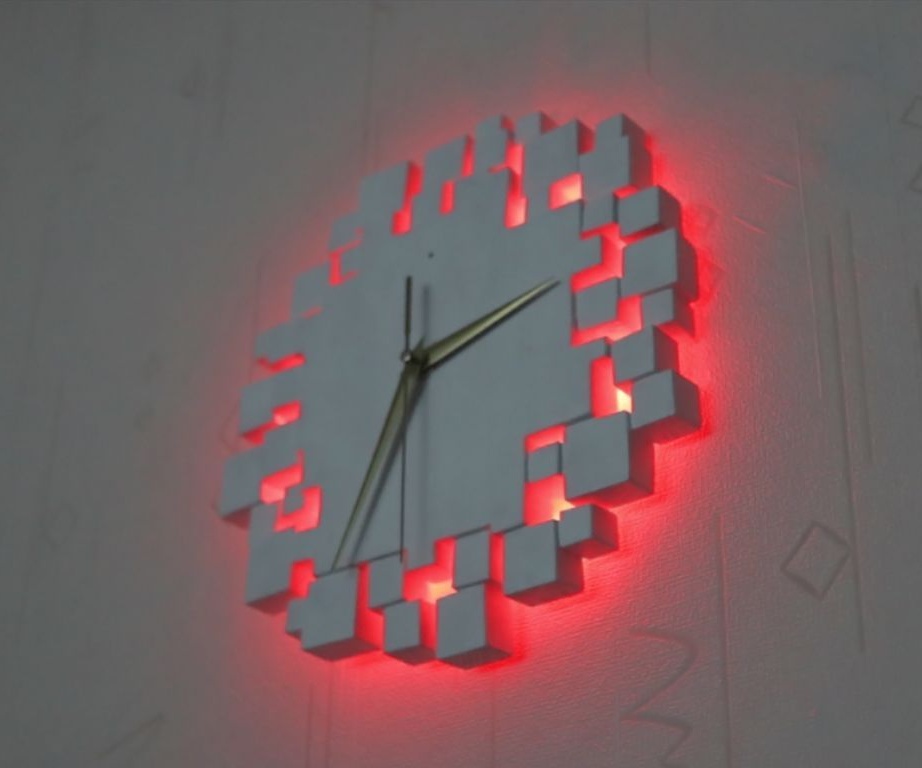
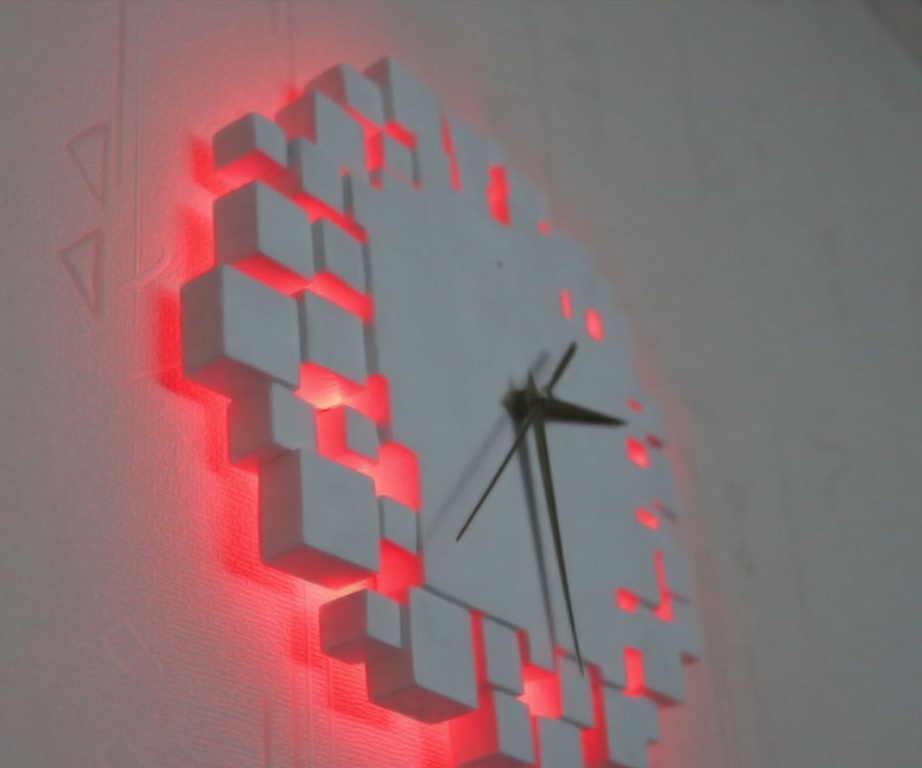
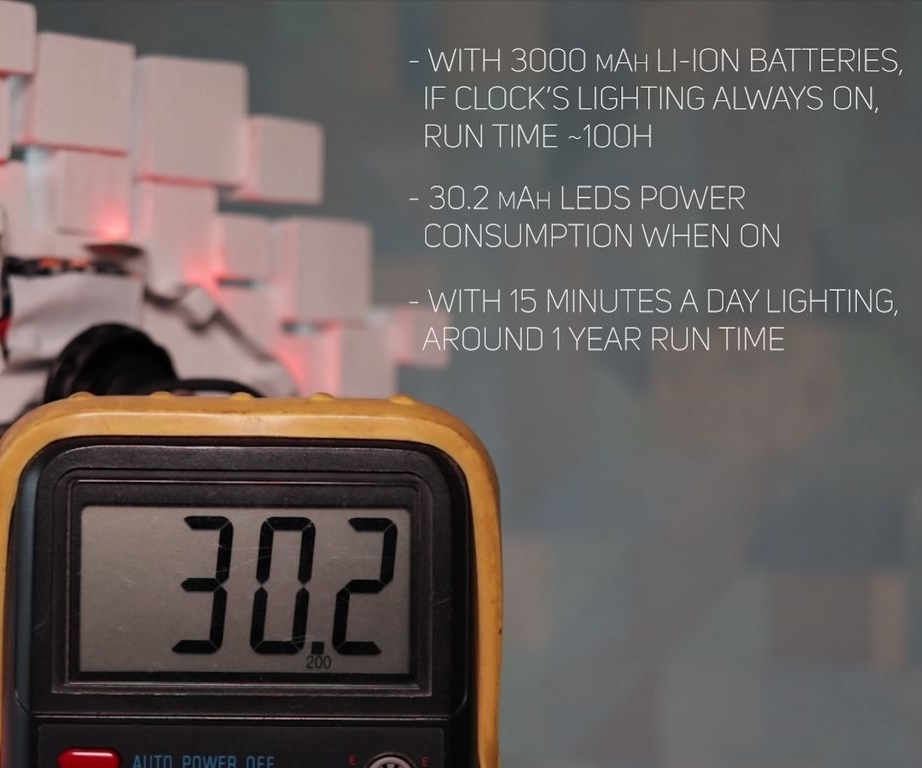
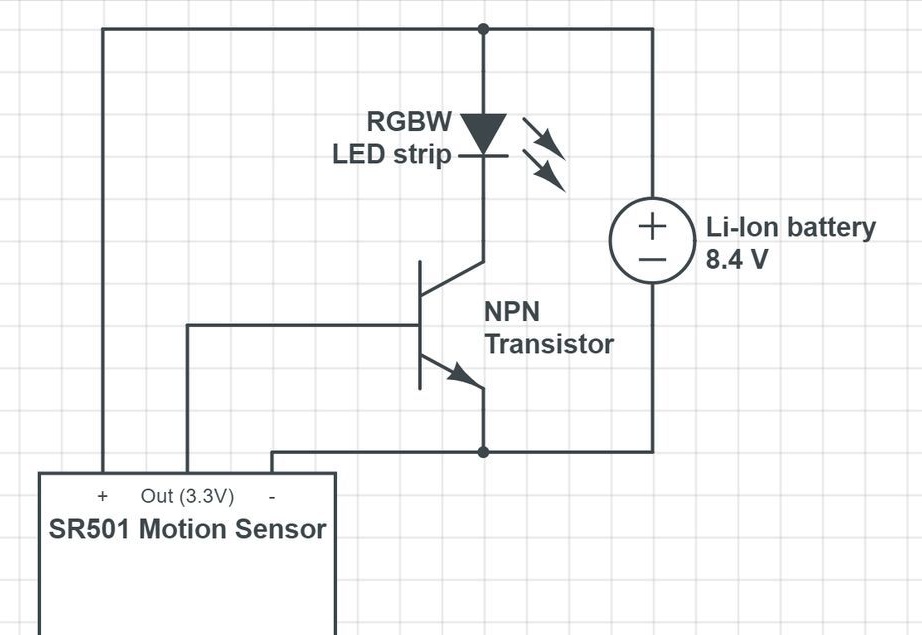
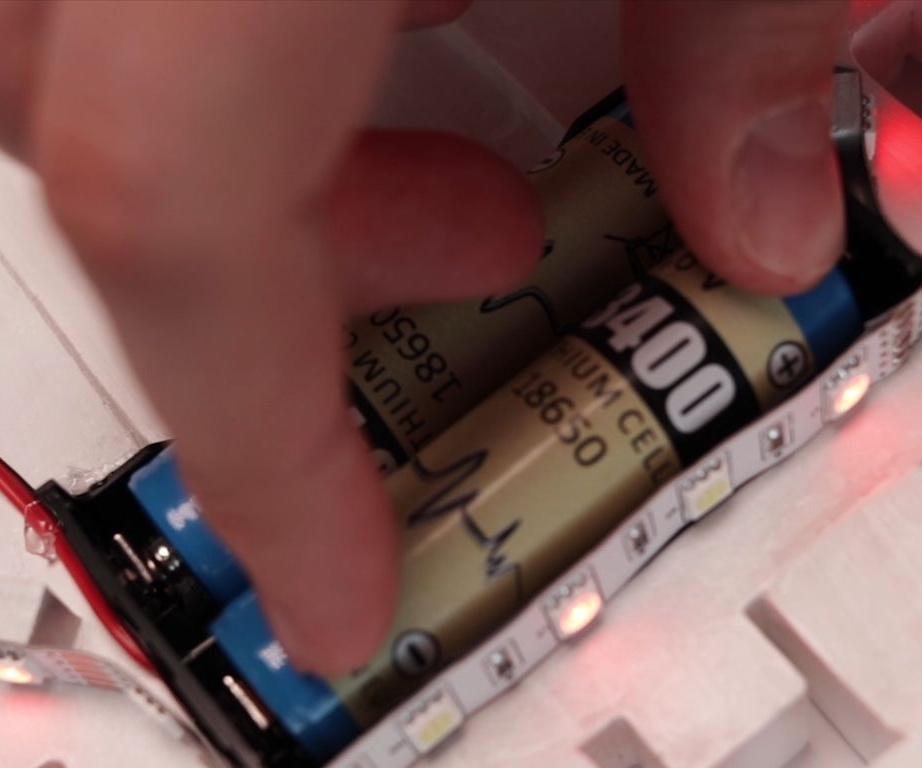
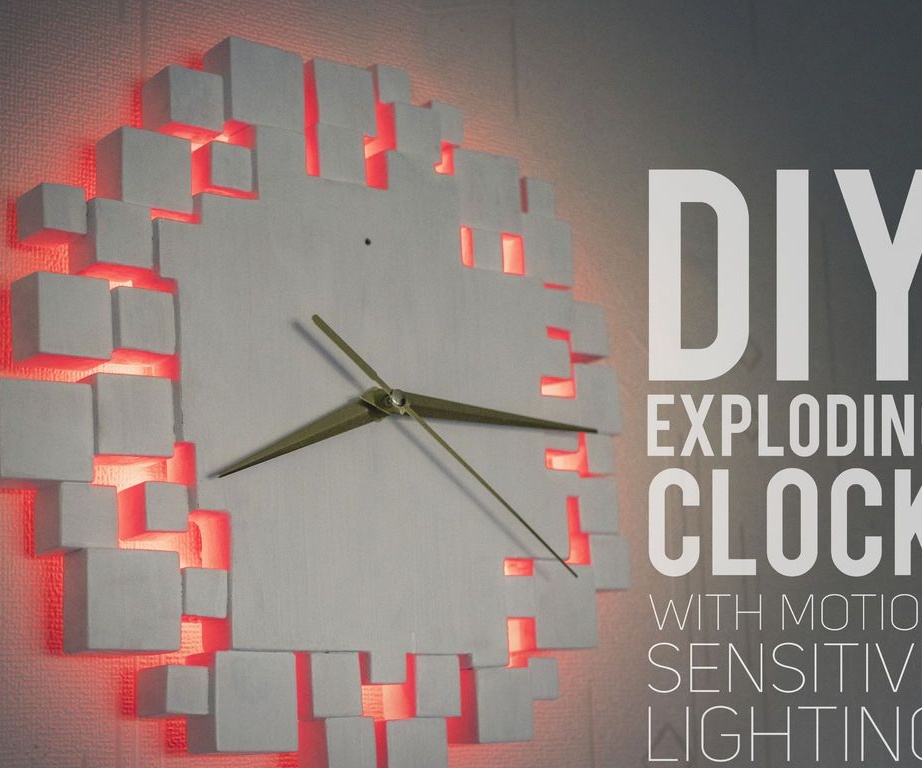
The watches made by the master react to movements and the backlight lights up. At the top of the watch, the master installed a motion sensor and now, passing the watch, he simply puts his hand to the dial and the LEDs light up. The total power consumption during operation of the backlight is 30.2 mAh. For power, the master uses two lithium-ion 18650 batteries. The voltage when fully charged is 8.4 V and although the declared voltage for the LEDs is 12 V, they also work normally at 8.4 V.
To make such a watch, he needed the following
Materials and tools:
- Electric jigsaw;
Milling cutter;
-Drill;
-Hair dryer;
- Clamps;
-Sandpaper;
- Jigsaw;
-Gon;
-Soldering iron with accessories;
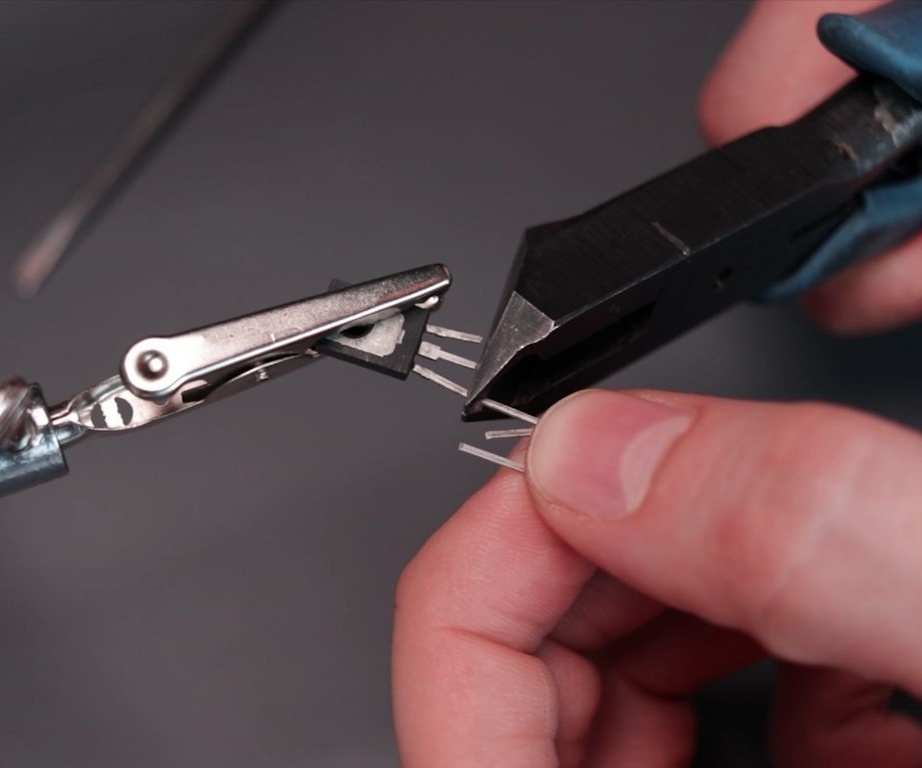
-Pliers;
-Knife;
-Glue gun;
-Board;
-Paint;
- brush;
-Plywood;
-Insulation tape;
-Glue (wood and super);
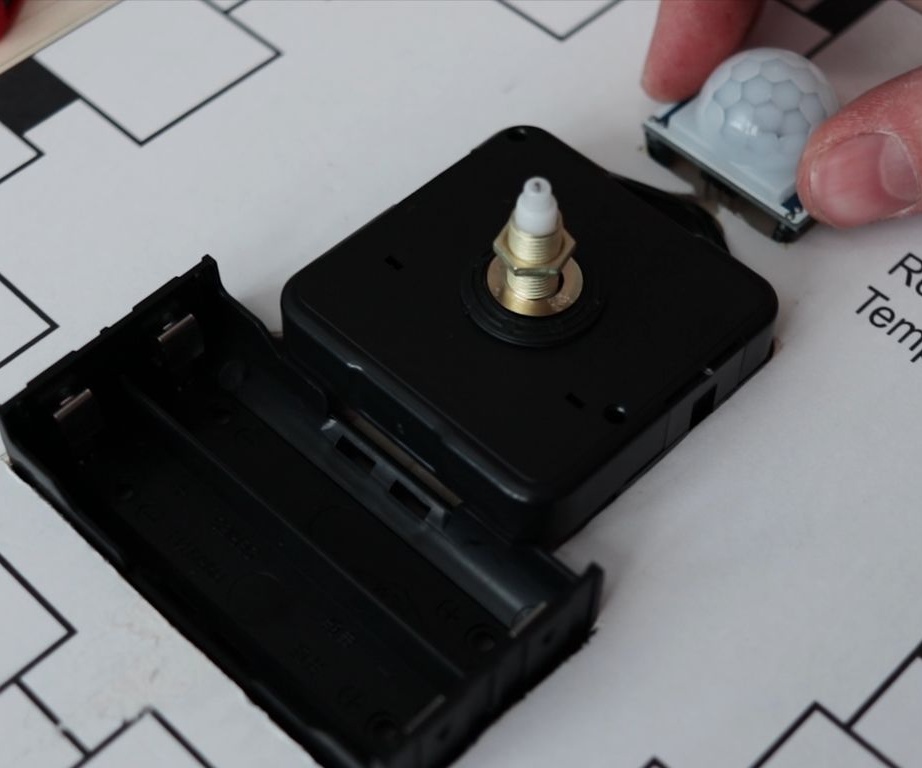
-Clockwork;
- AA battery;
-LED Strip Light;
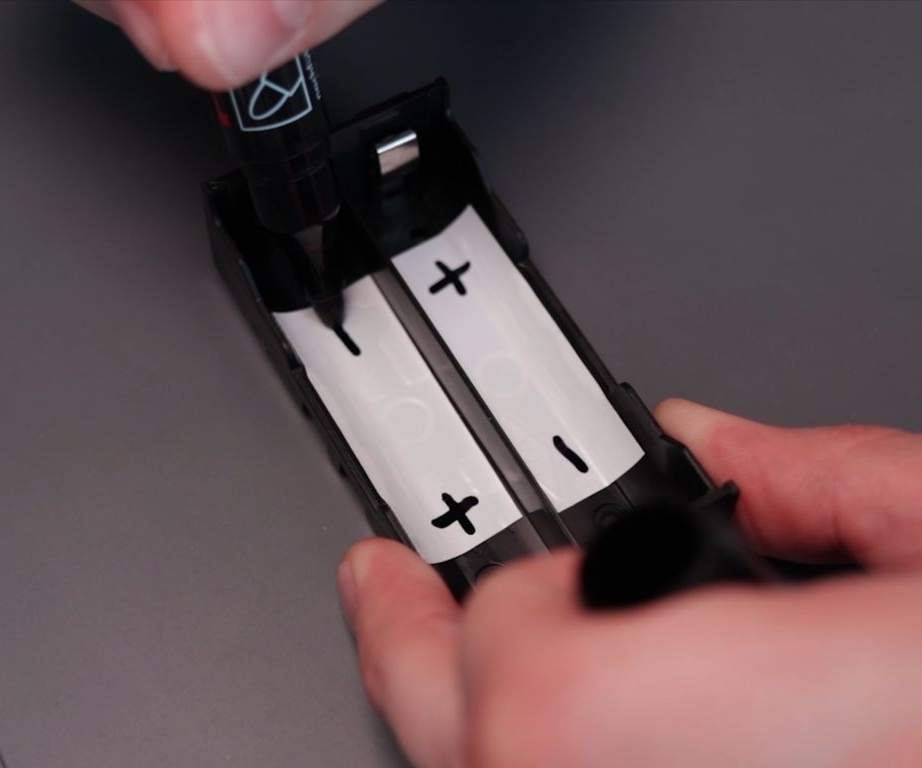
-Two lithium-ion batteries;
-Battery holder;
-The wire;
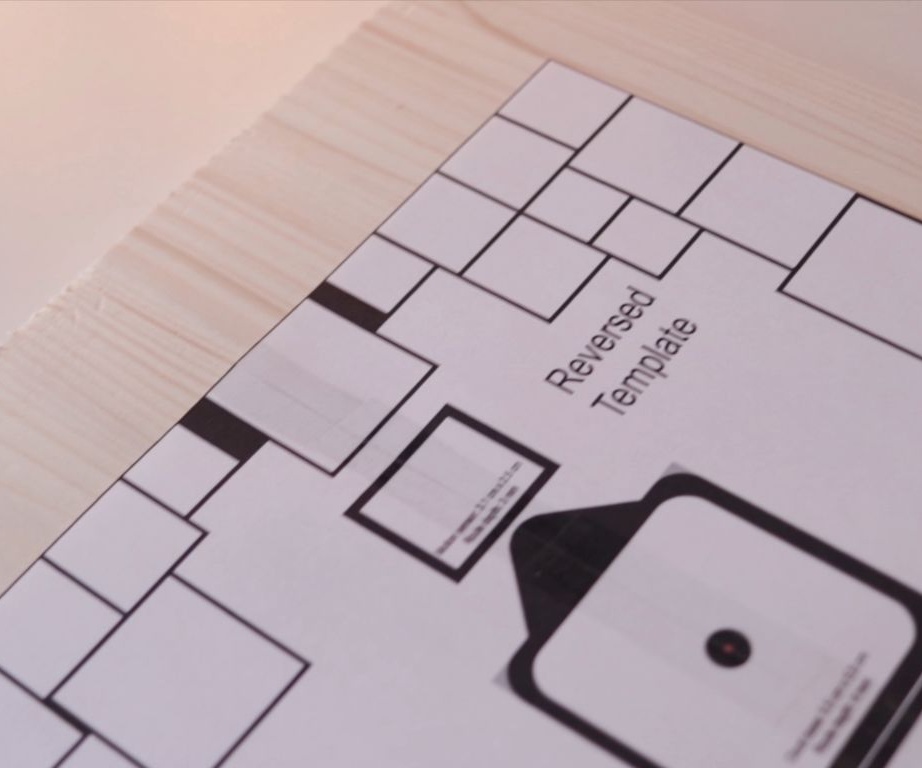
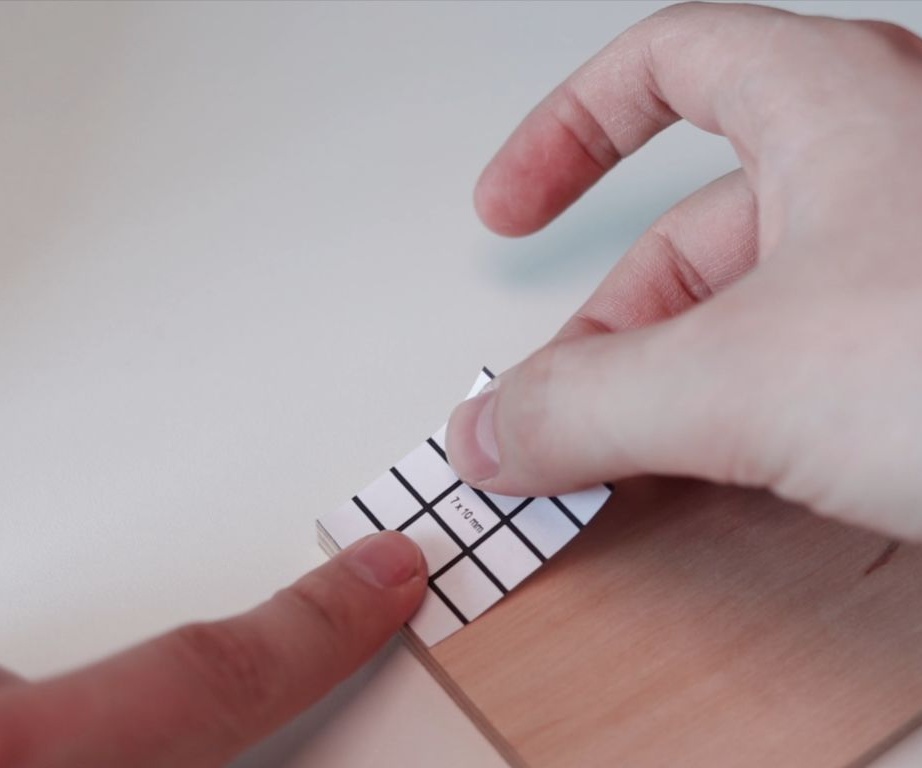
Step One: Template
You can download the electrical diagram and template for the watch here.
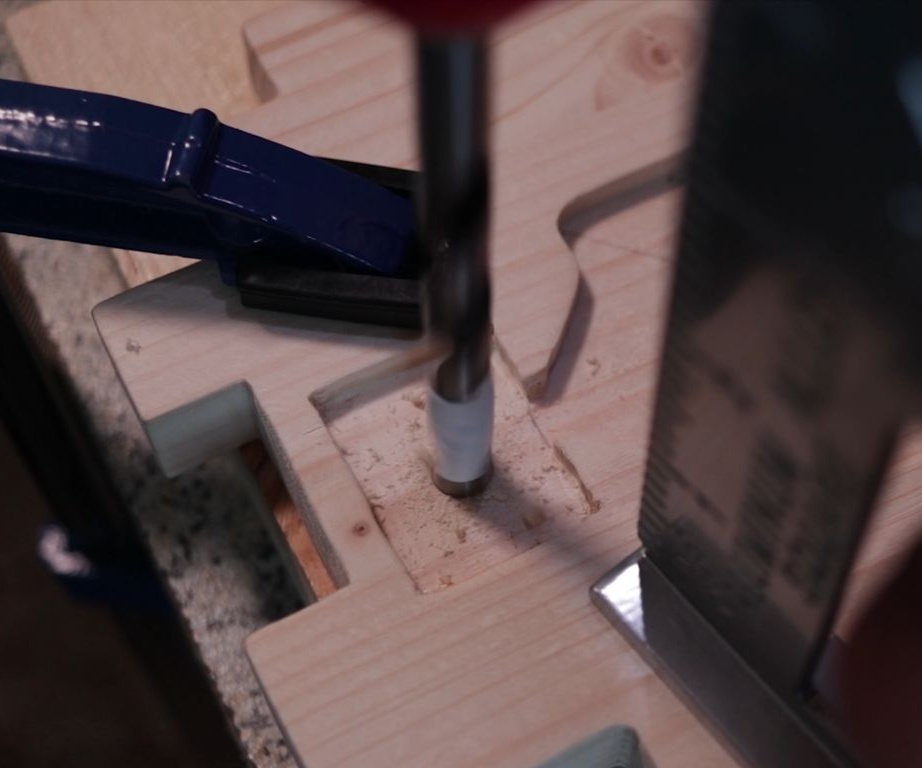
After the template is printed, the master glues it to the board and drills a hole for the milling cutter.


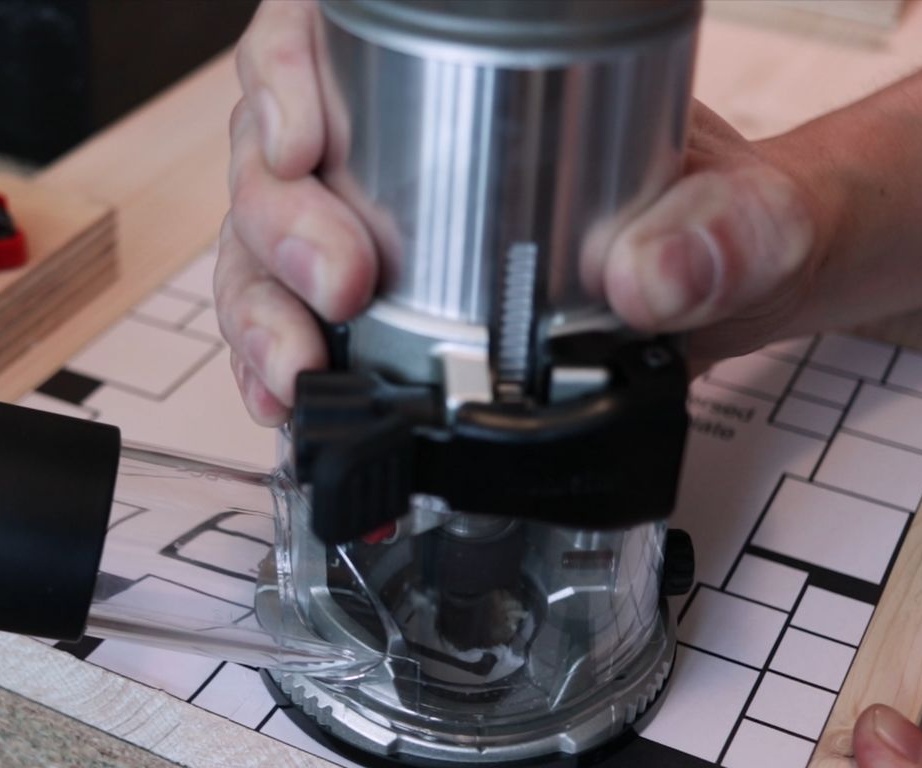
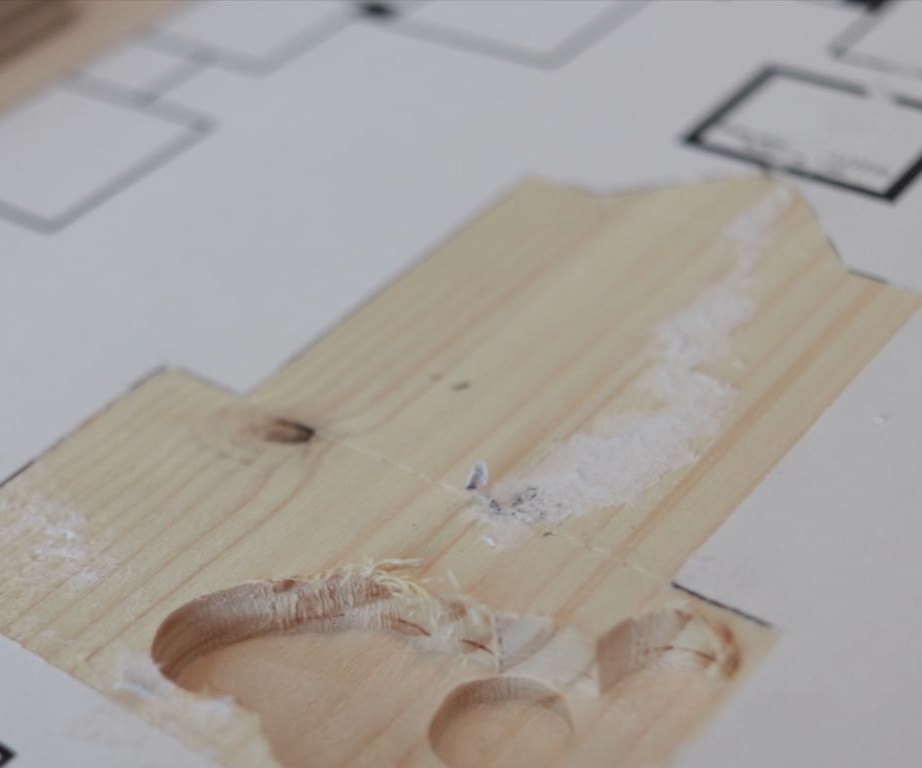
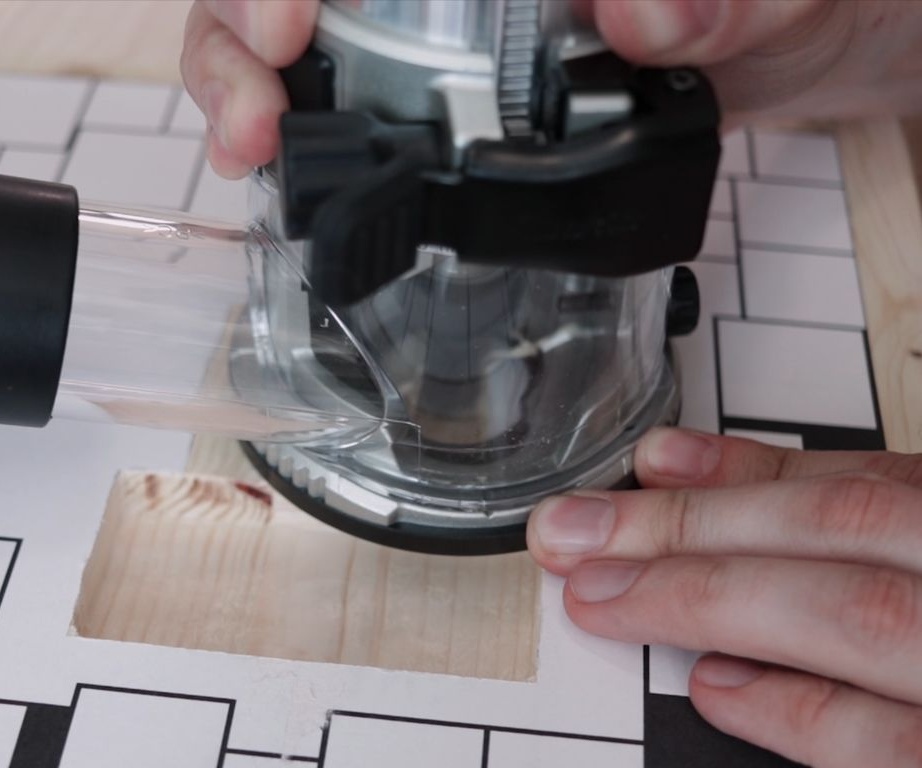
Step Two: Milling
According to the template, makes recesses on the board under the watch and electronic devices.
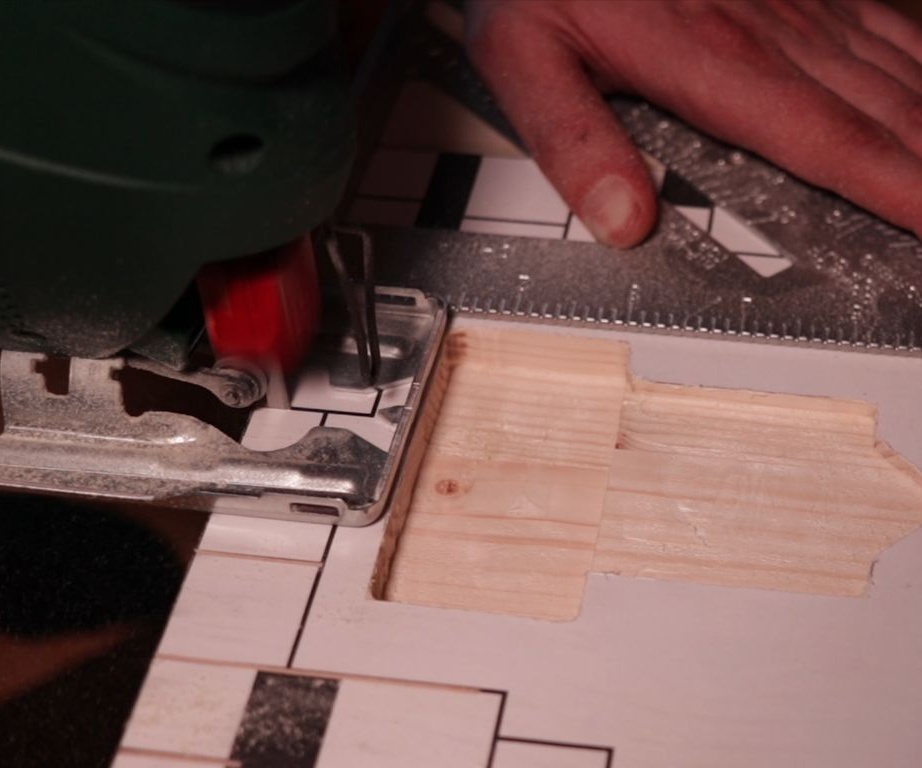
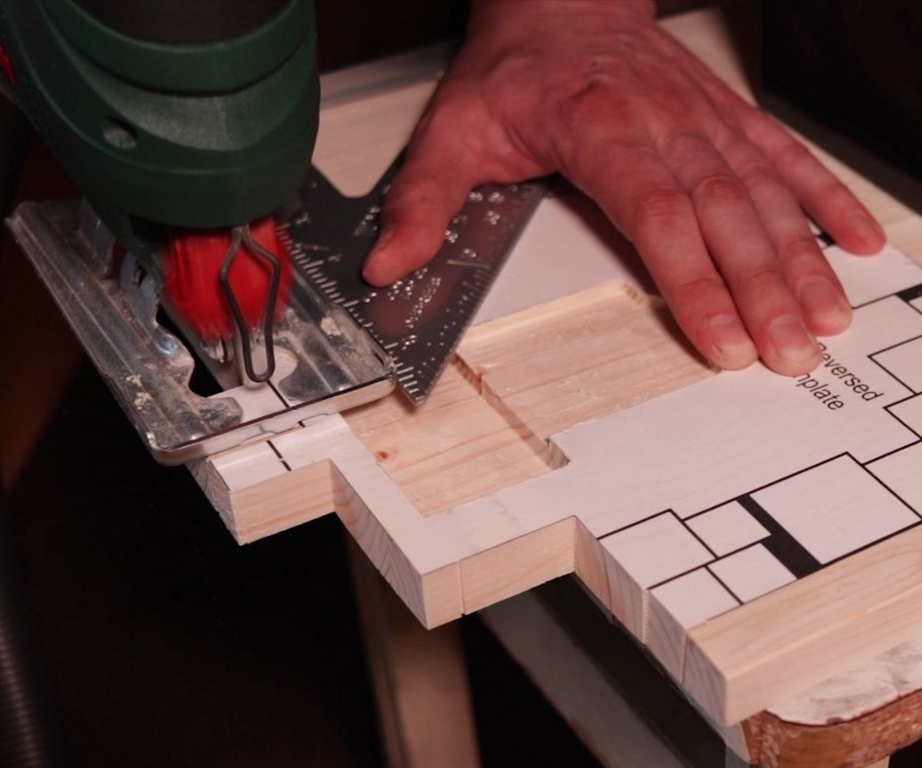
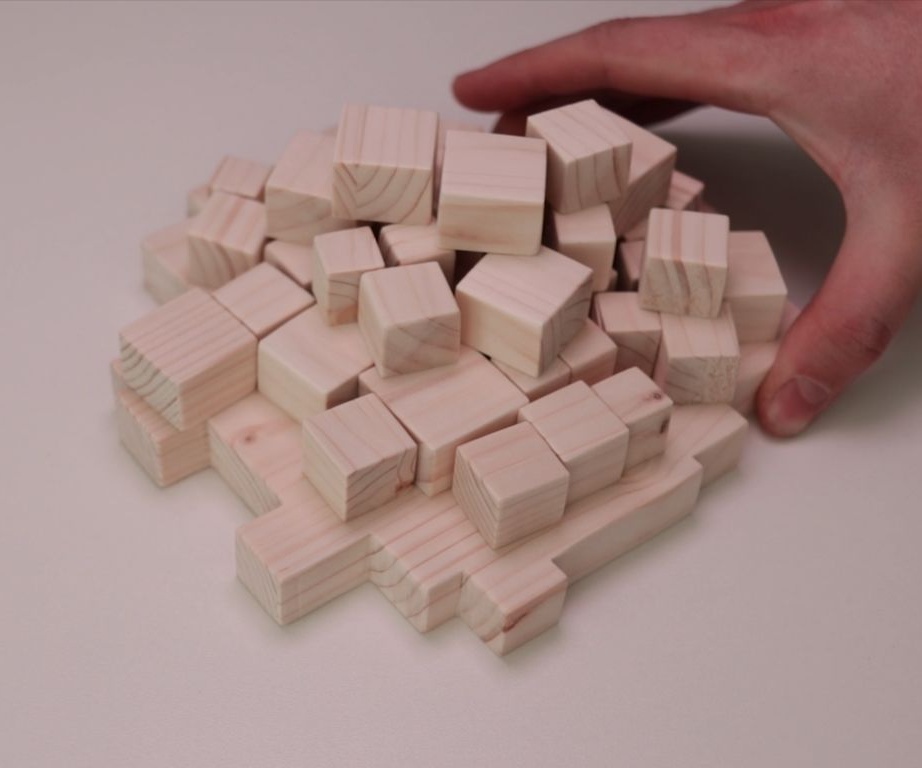
Step Three: Cubes
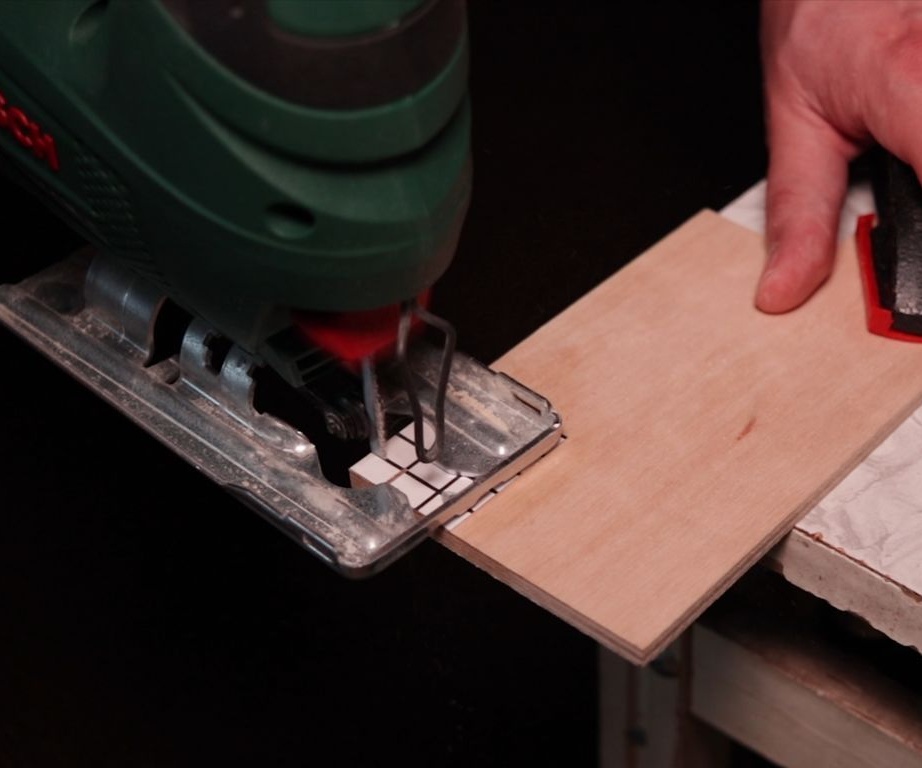
As you noticed on the template there are squares. Using an electric and manual jigsaw, the master cuts out the squares according to the scheme.
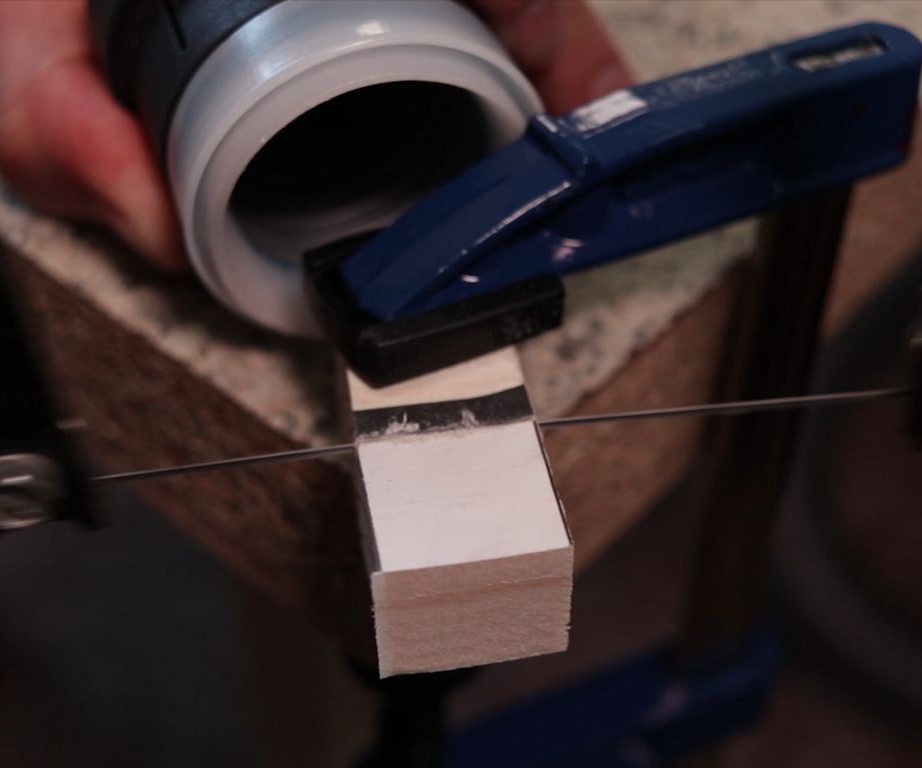
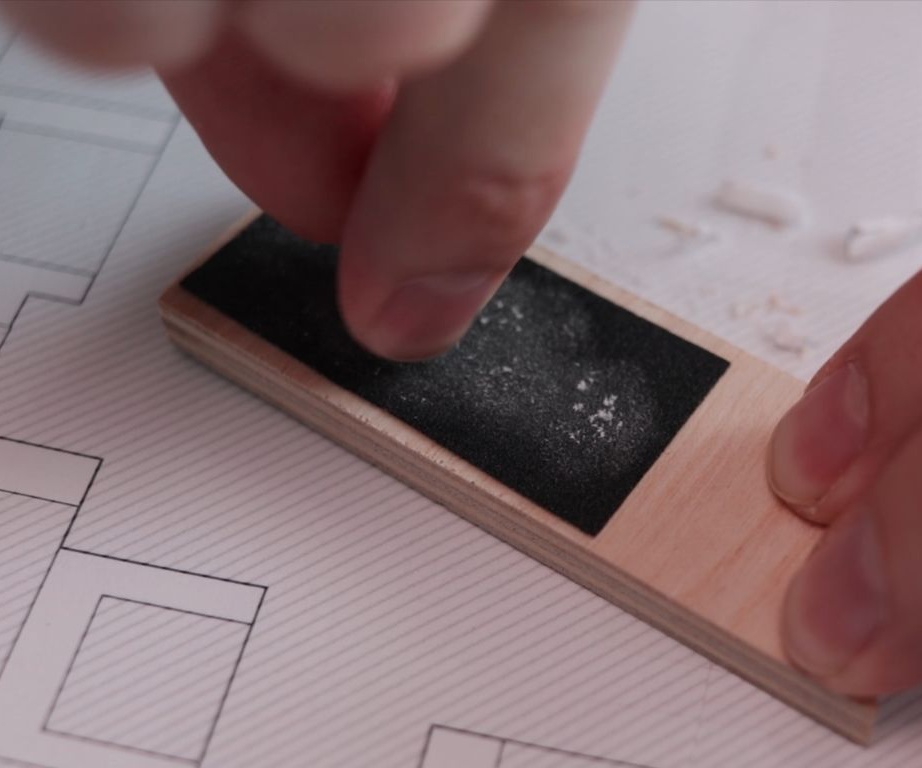
Grinds all cut cubes.

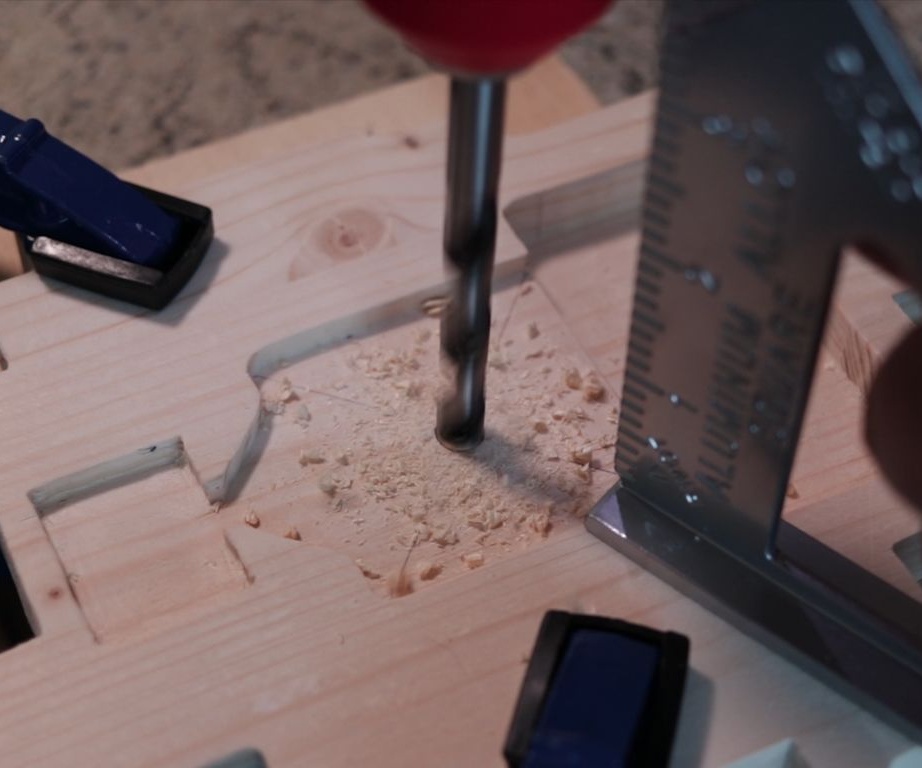
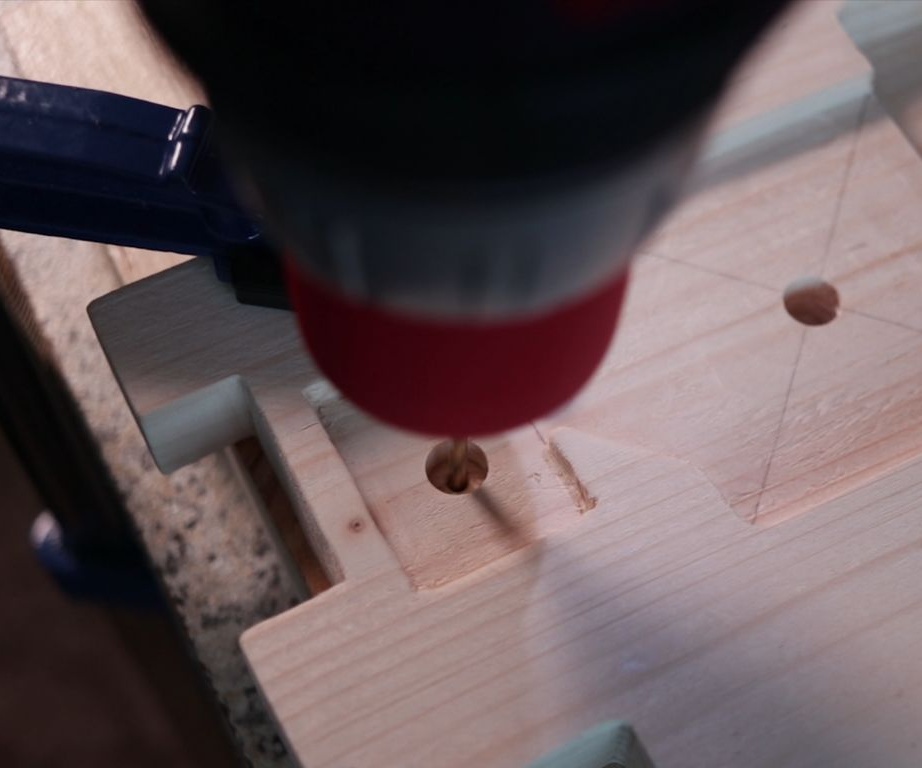
Step Four: Holes
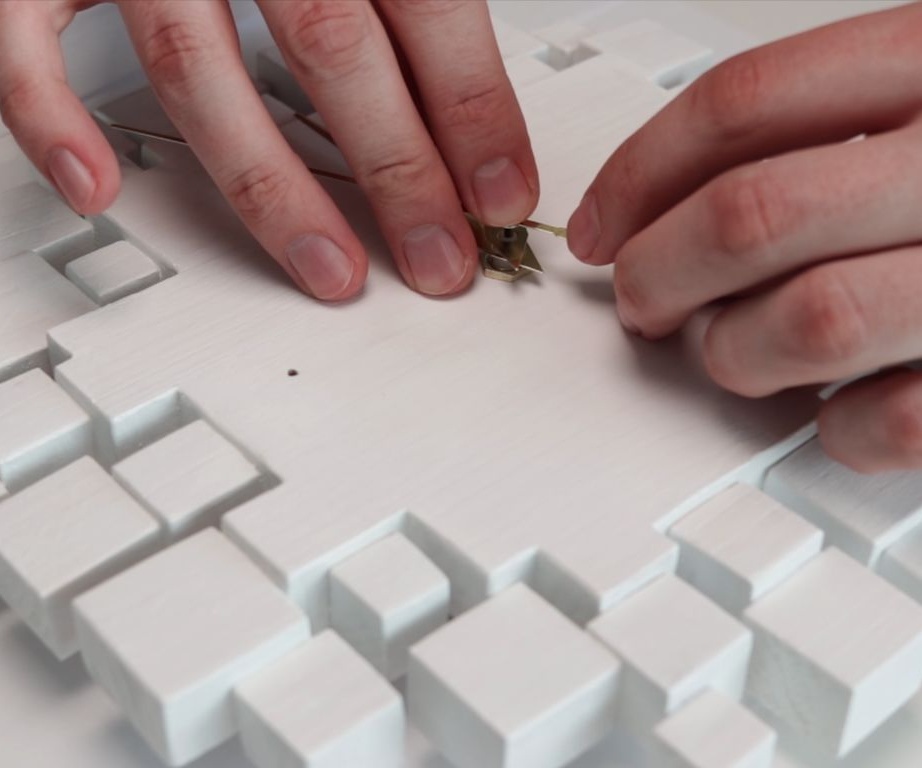
Drills holes for the axis of the clockwork and motion sensor. For the sensor, the master first drills a wide hole and a thinner hole just before the exit. This will narrow the angle of the motion sensor.
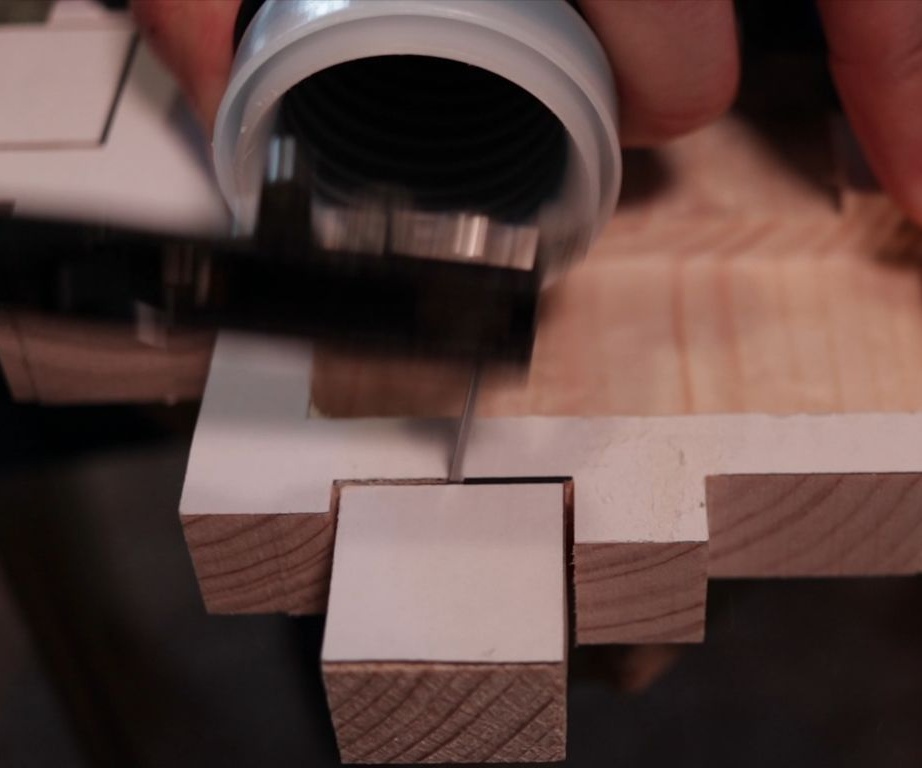
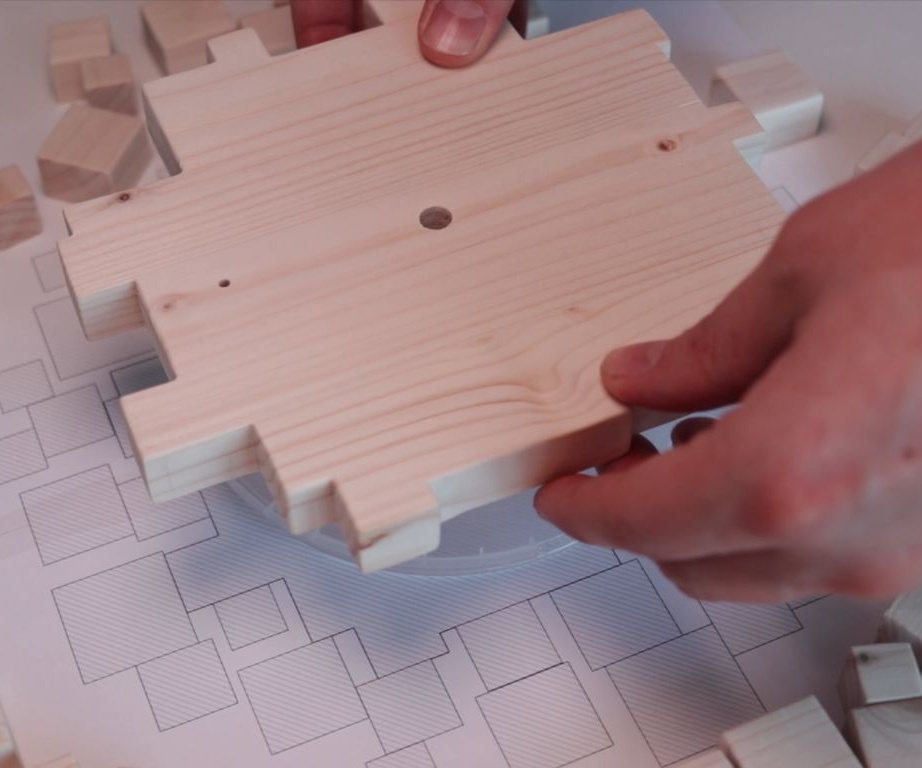
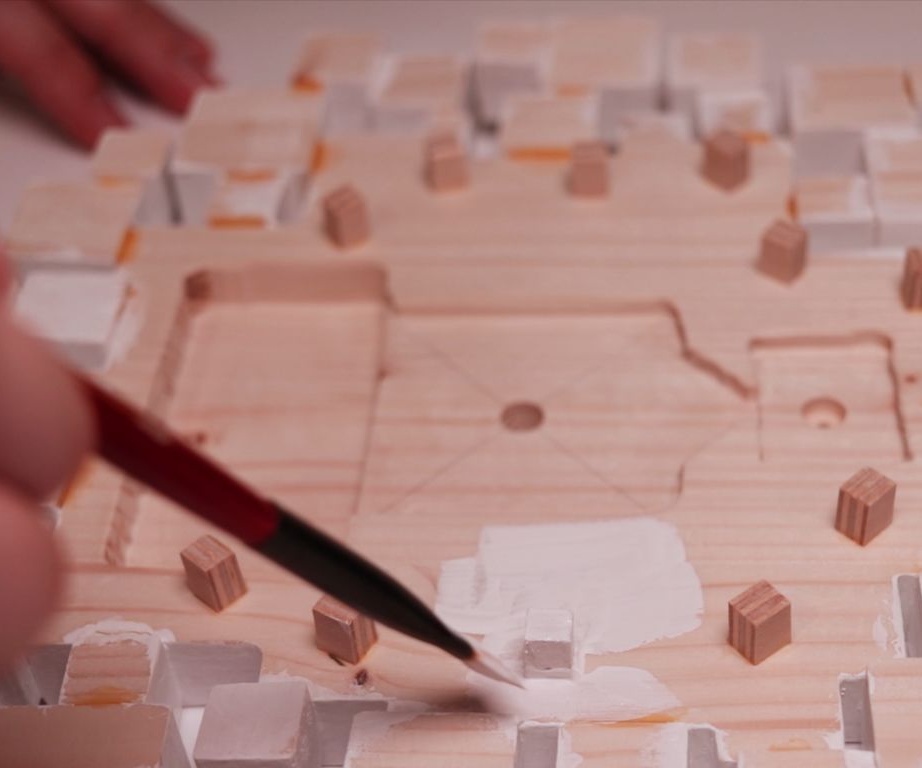
Step Five: Bonding Dice
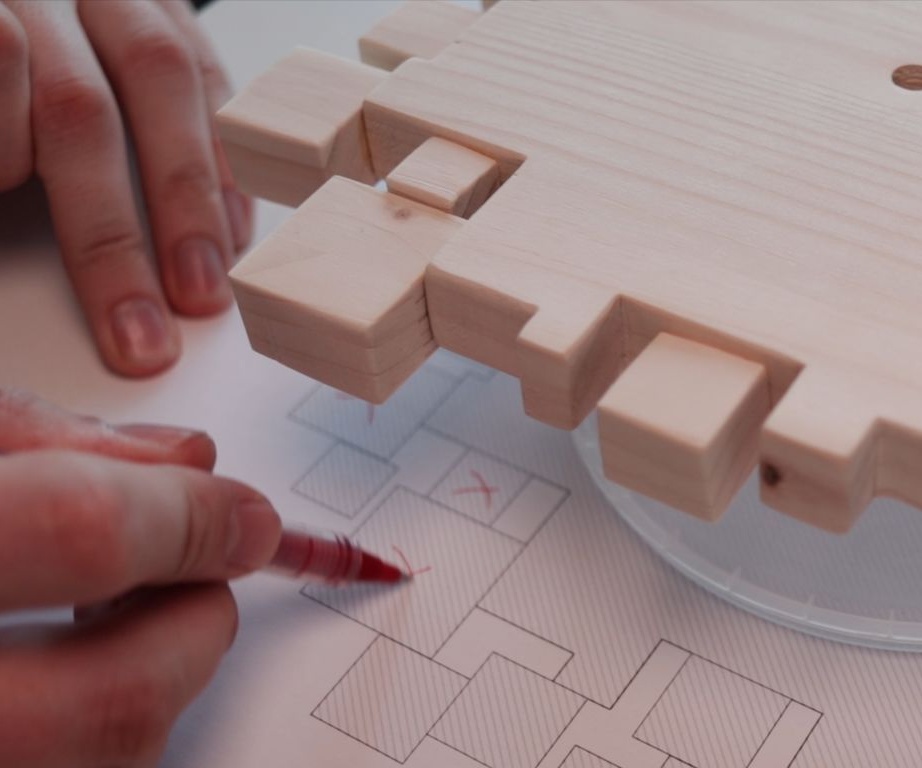
Next, the master puts a template on the table. He puts a box on the template. On the box is the base of the watch. Now focusing on the template glues cubes to the base.
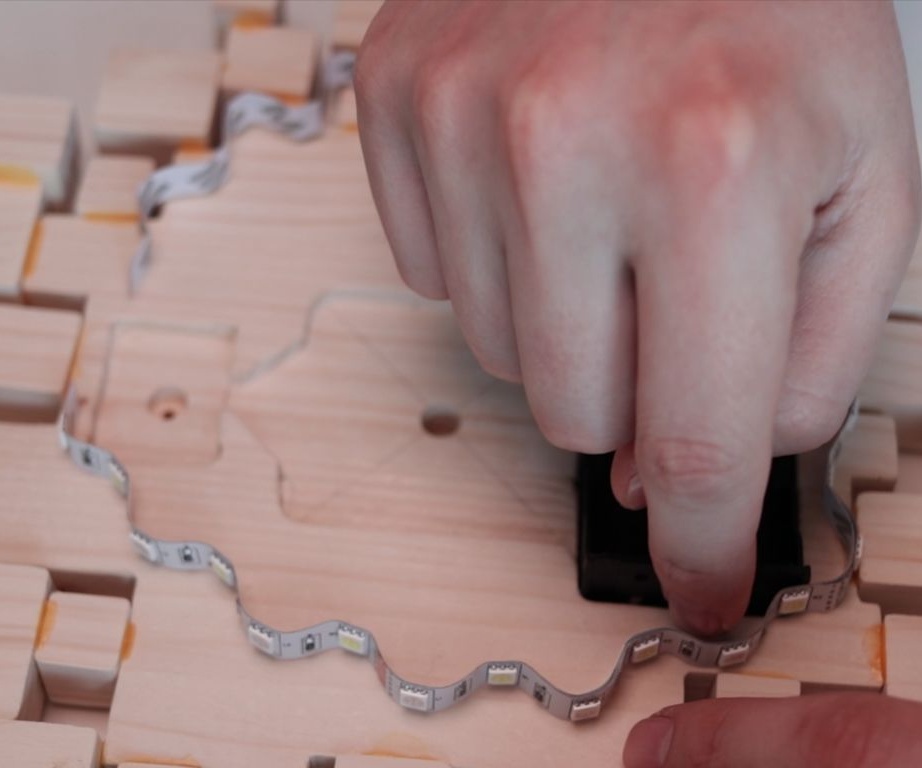
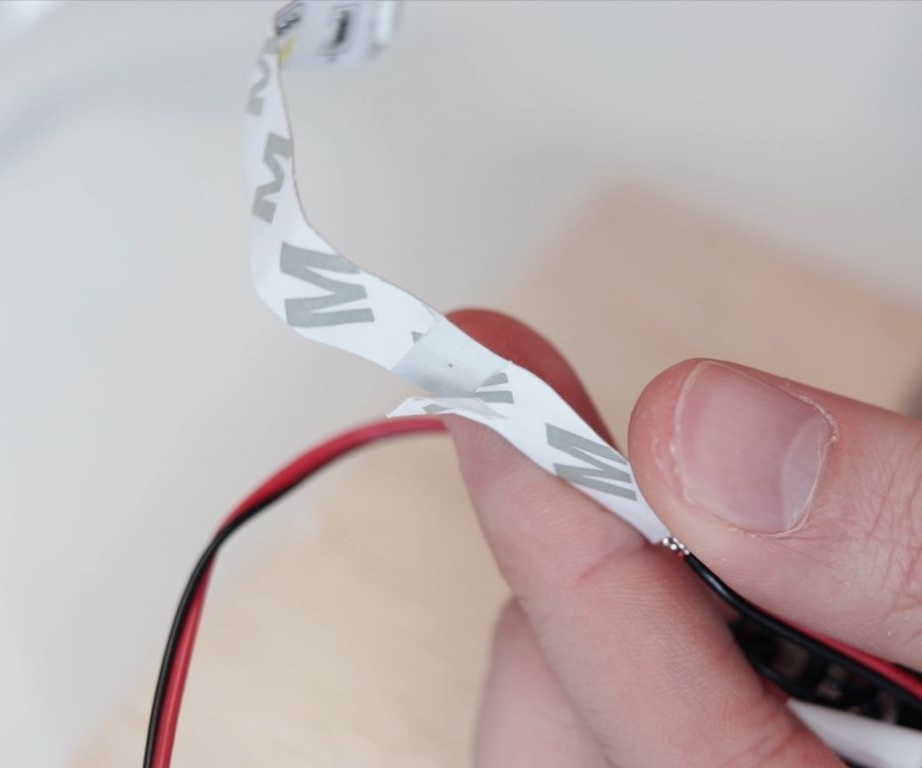
Step Six: LED Strip
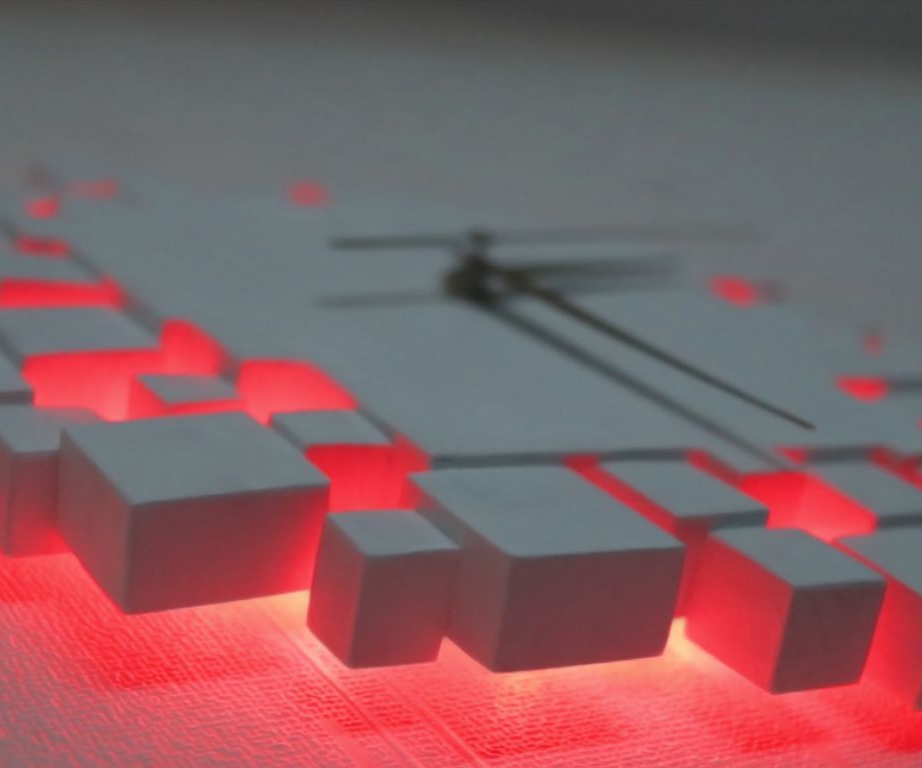
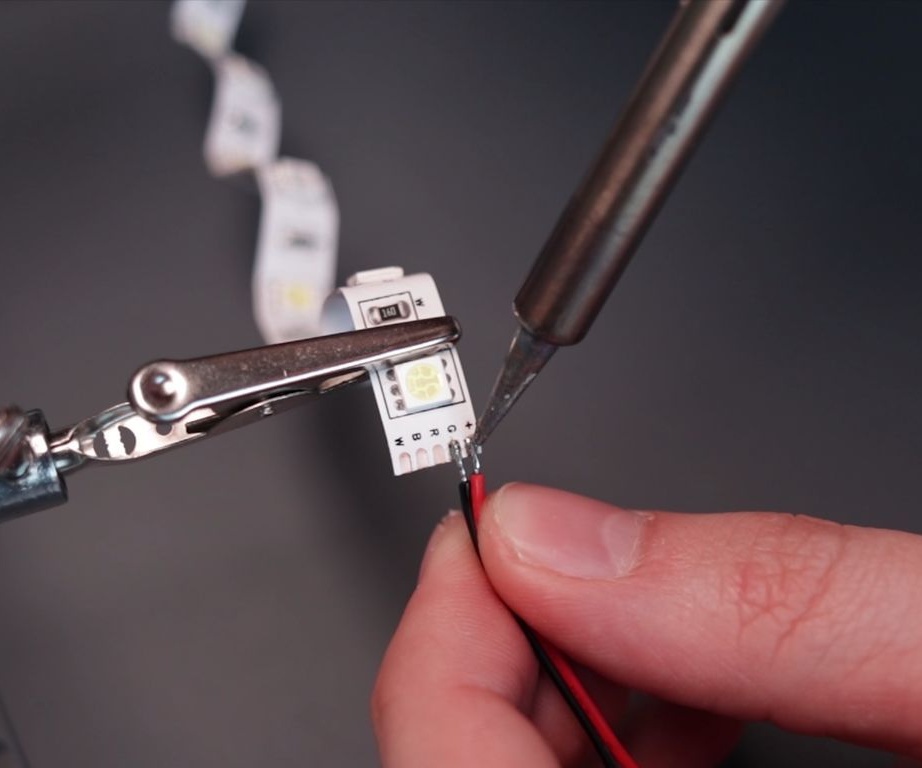
In the manufacture of watches, the master used those LEDs that were at hand. In this case, it is an RGBW LED strip. To highlight the watch, the master wants to use only red color, therefore, having previously tested it, on the tape he marks the location of the red LED.Then he cuts off a piece of tape 50 cm and placing it on the back of the watch, marks on the case where there will be red LEDs.

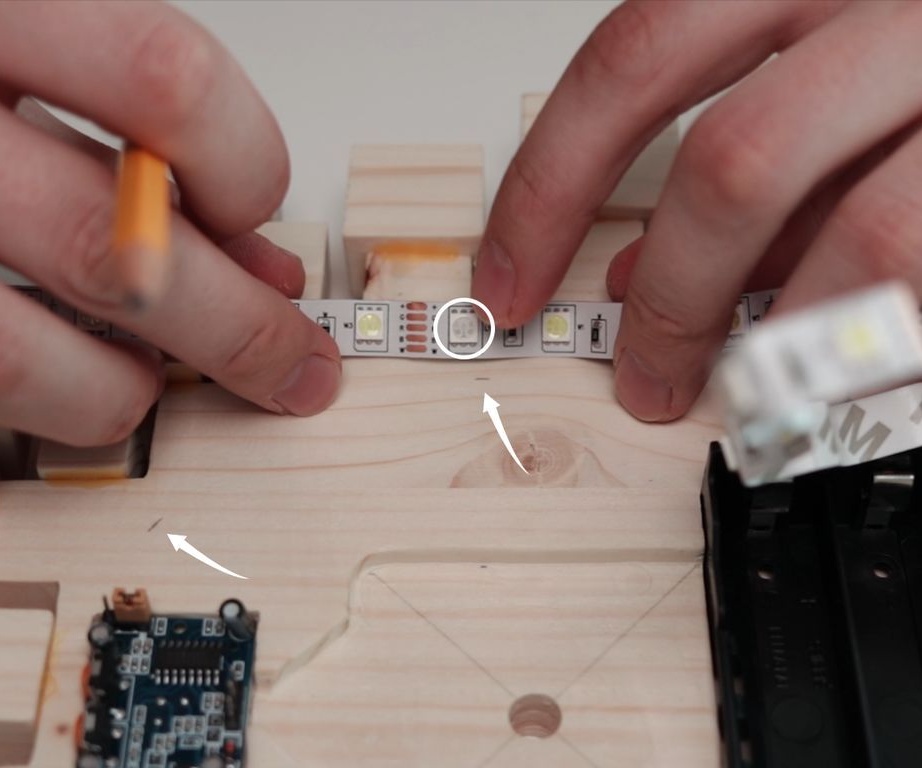
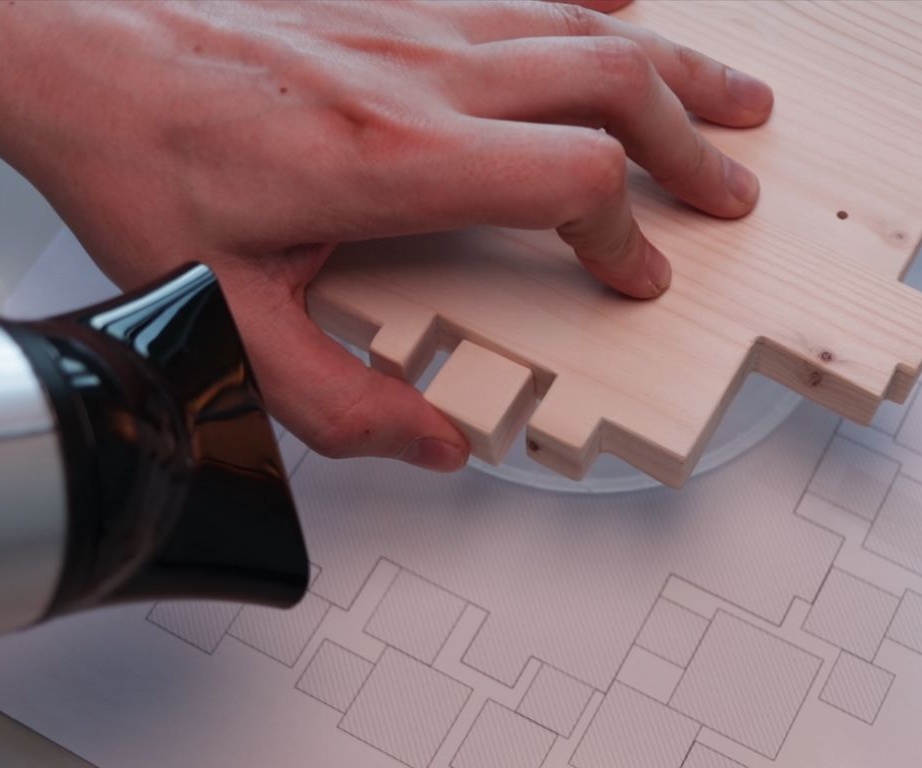
Seventh step: small blocks
Cuts and glues small blocks on marked spots. An LED strip will be glued to these blocks.

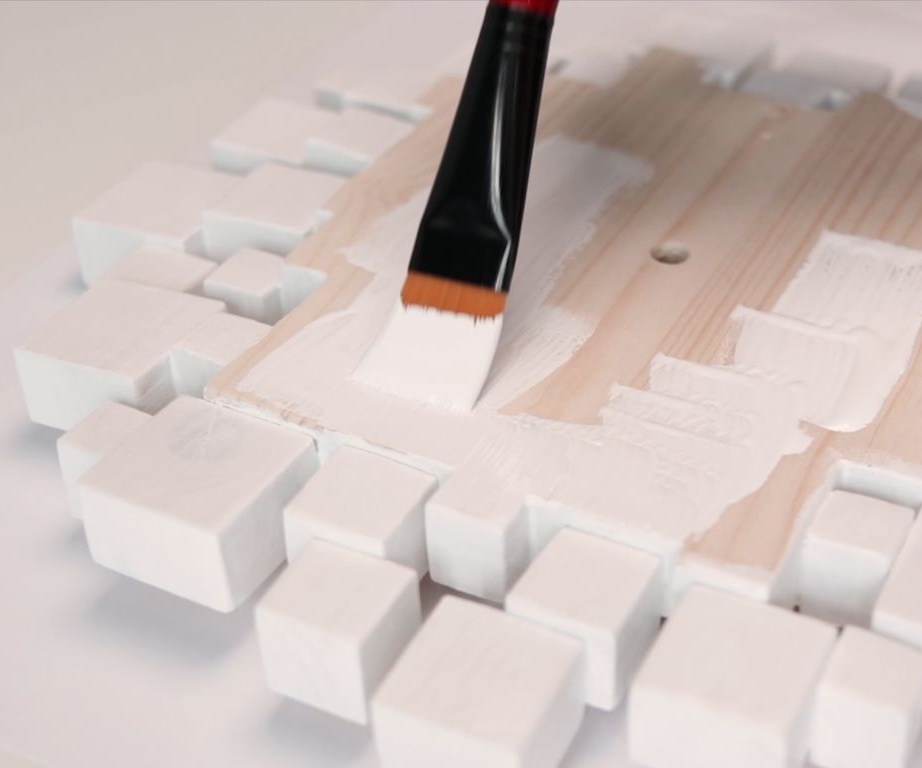
Step Eight: Painting
Apply white paint to the body.
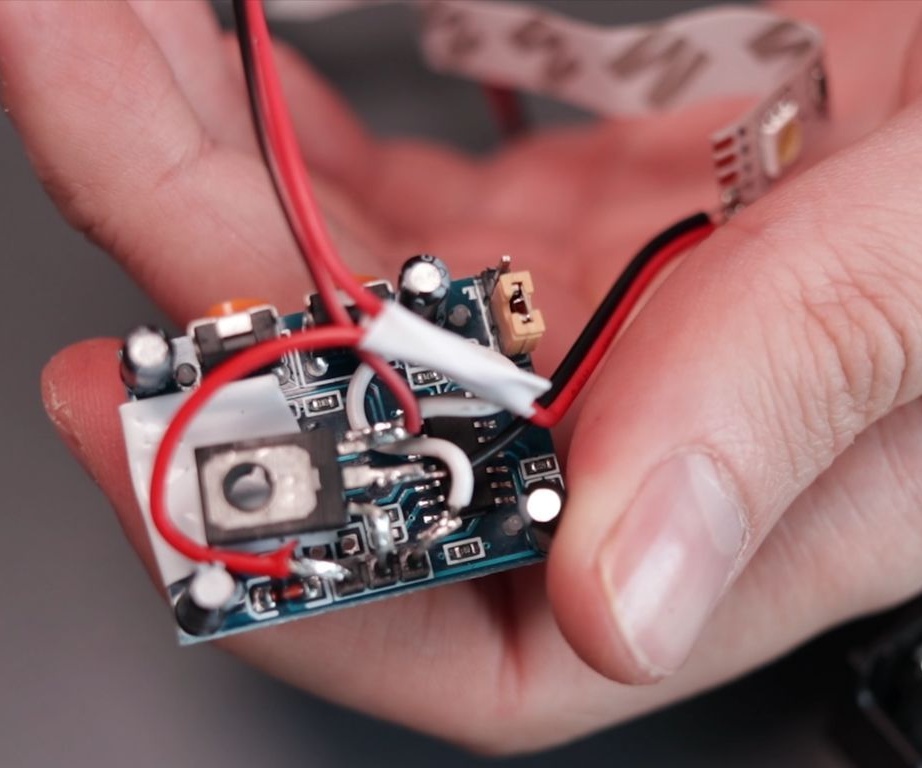
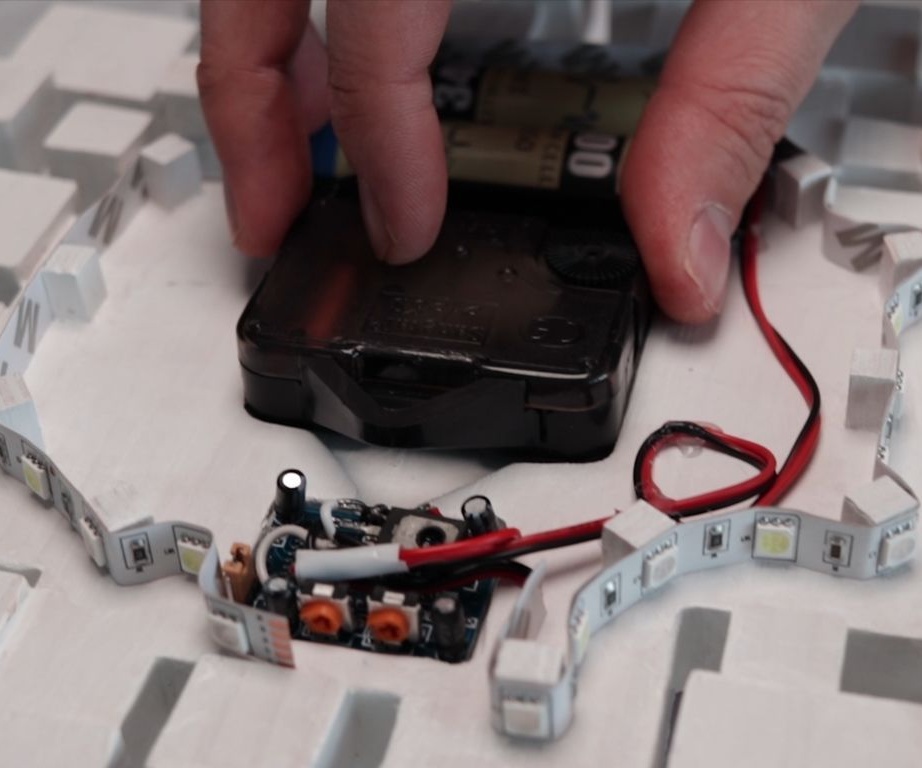
Step Nine: The Electronic Part
Further, the author makes the installation of electrical components according to the scheme.
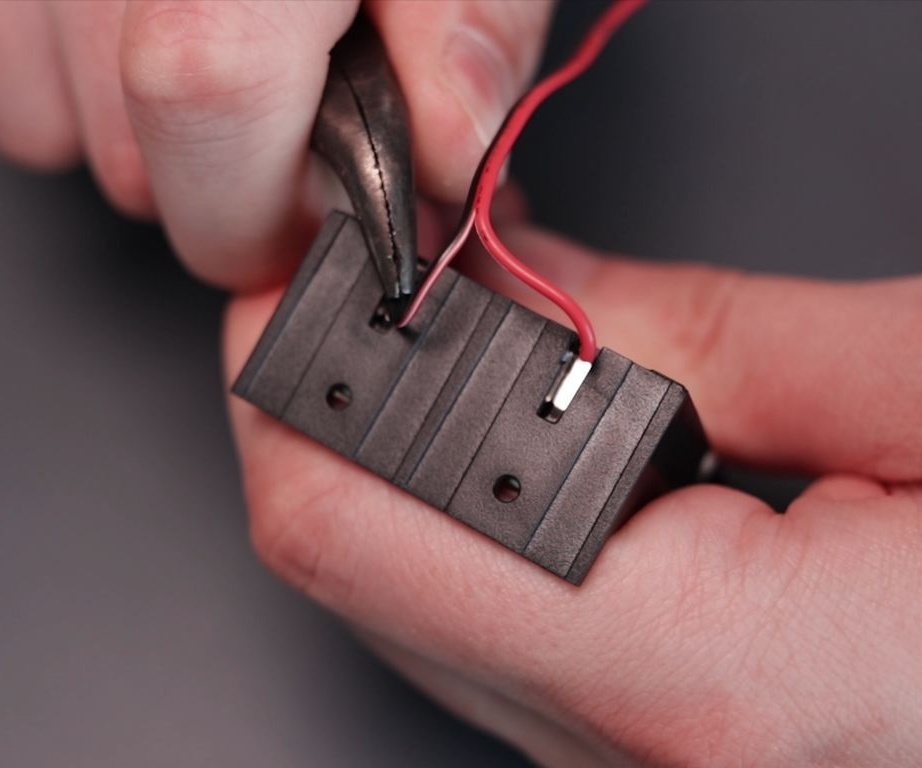
Prepares the holder.
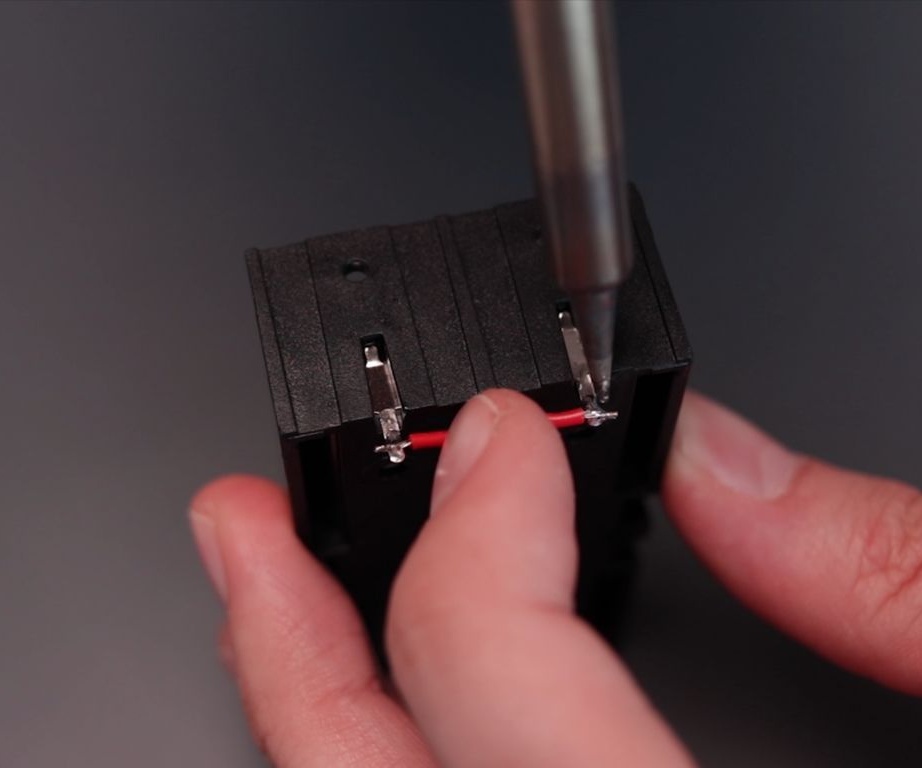
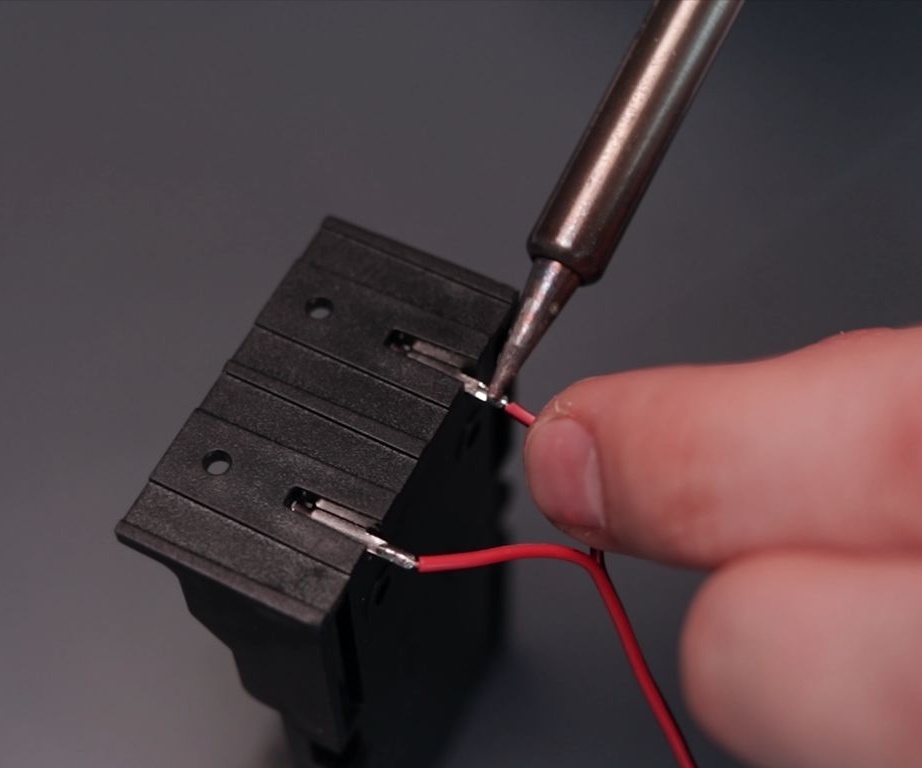
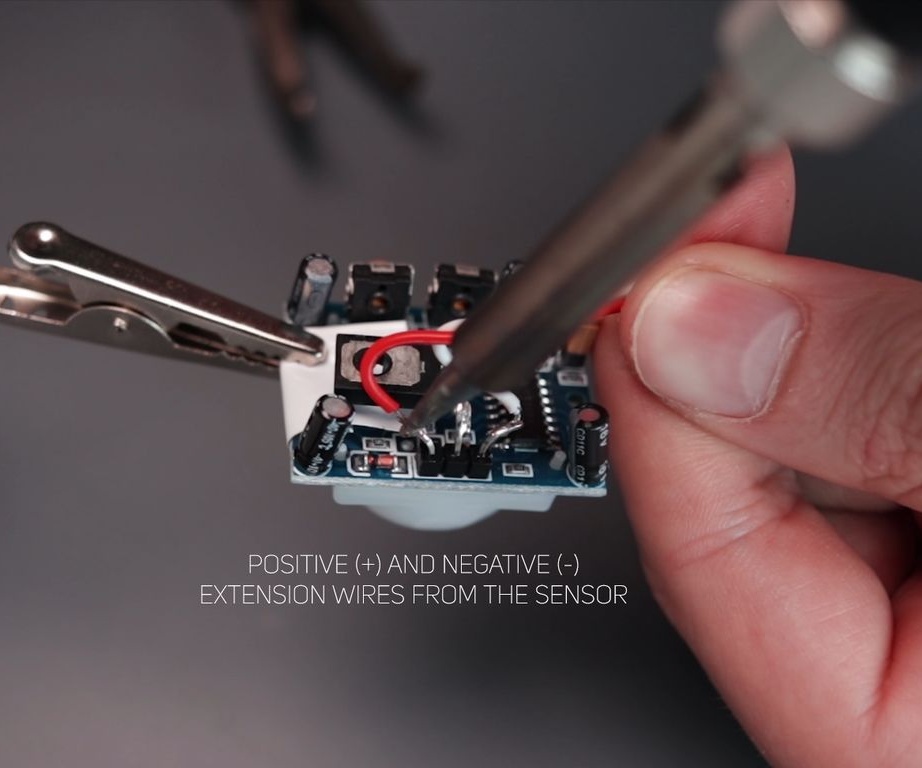
Solder the "base" of the transistor to the middle connector of the motion sensor. Solder to the strip two wires. One to the minus, the second to the contact of the red LED.
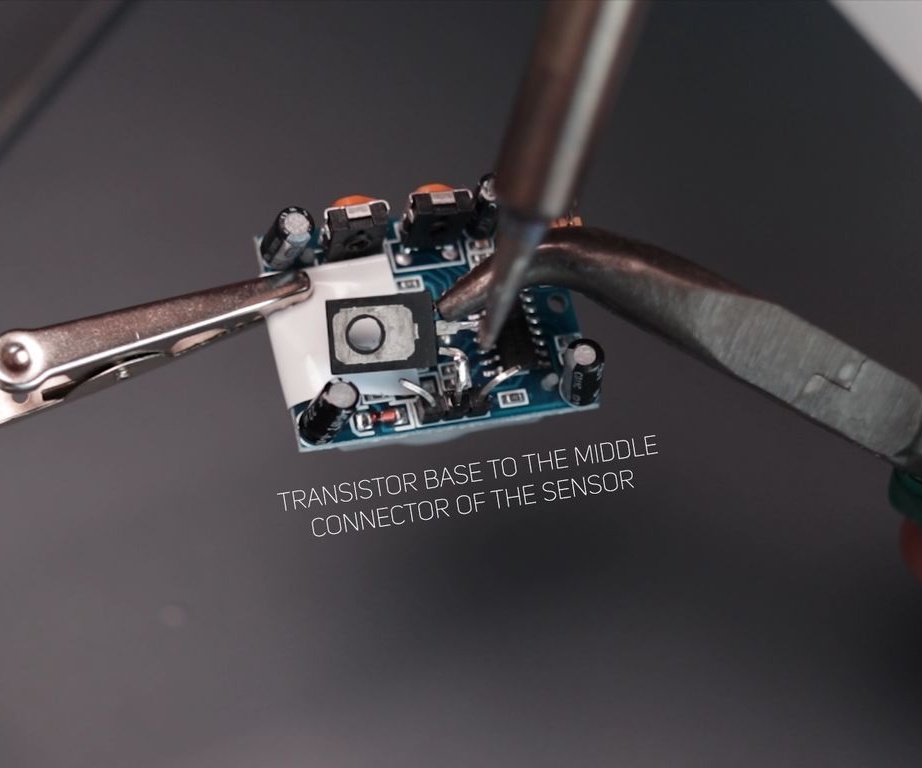
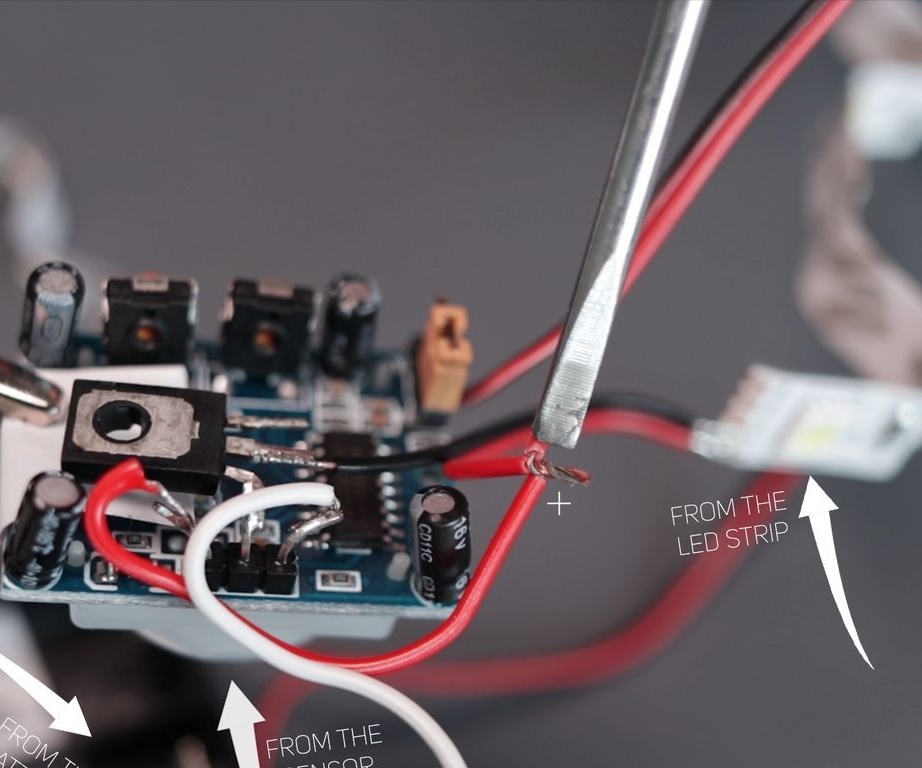
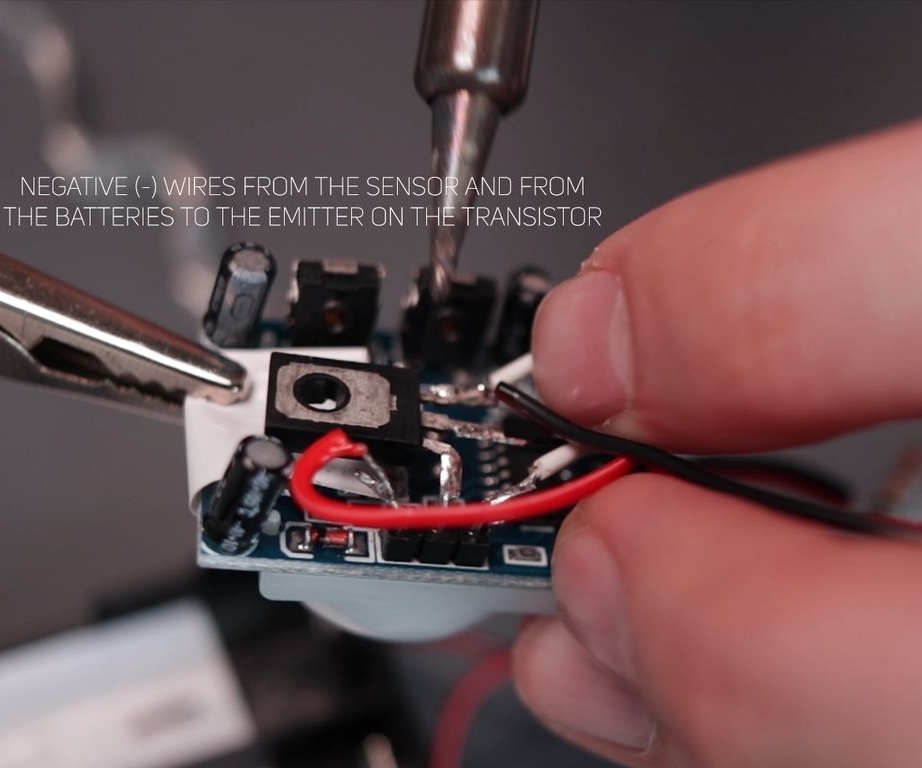
Solder two wires to the + and - sensors. Then solder - LED strip to the "emitter" of the transistor. Connects three positive wires together: from the sensor, LEDs, batteries.
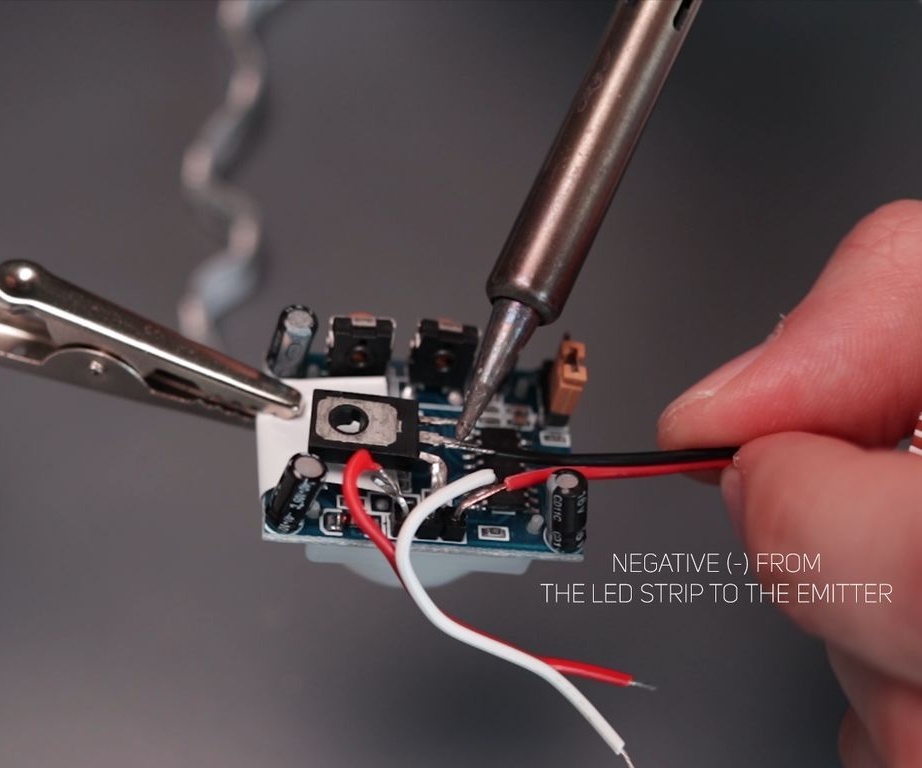
Solder the minus of the sensor and the LED strip to the collector of the transistor. All exposed areas are insulated with tape.

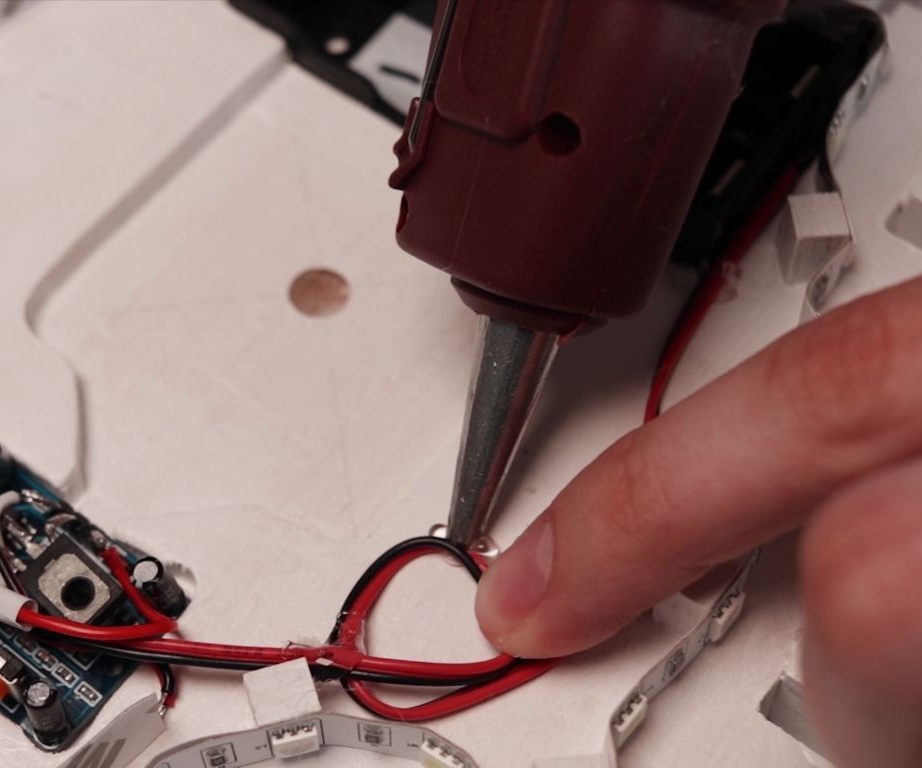
Step Ten: Build
Glues the sensor and battery compartment to the body. Glues the tape to the blocks.
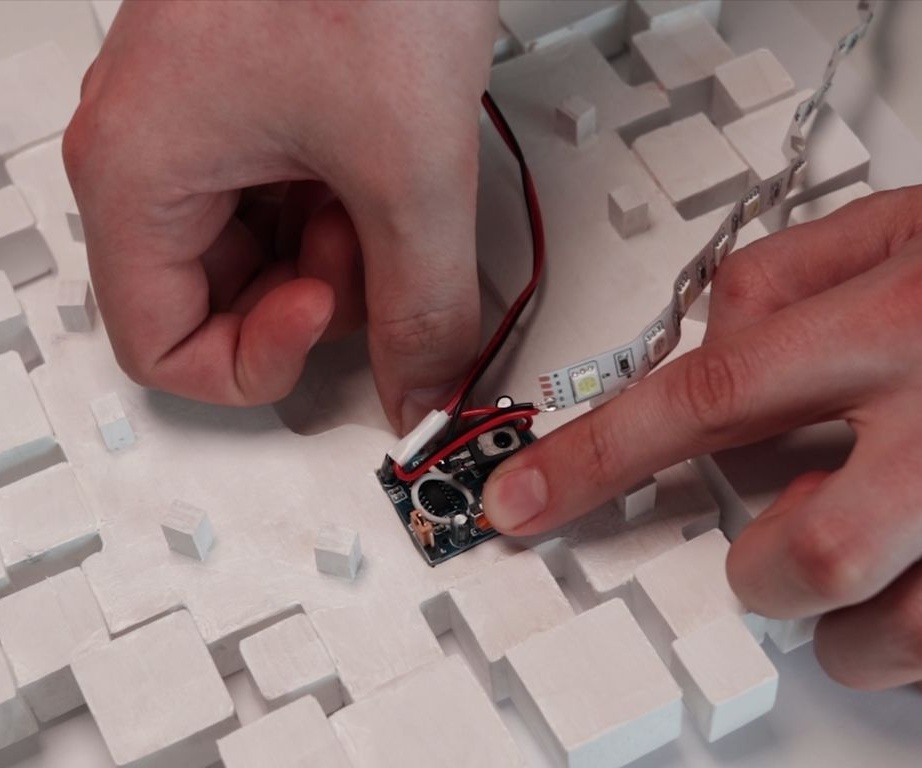

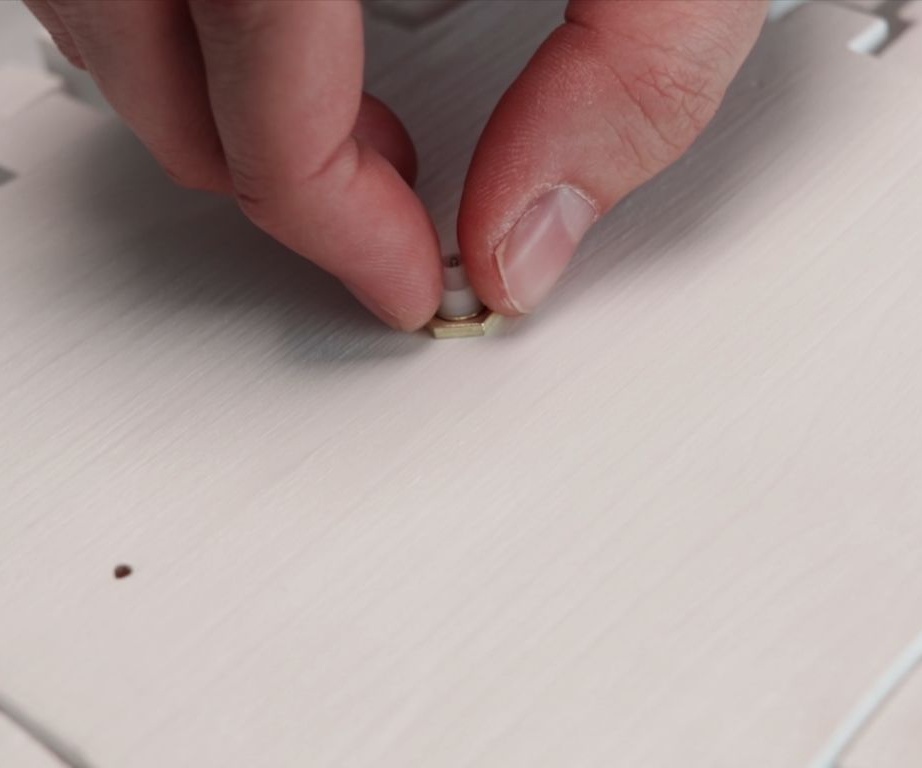
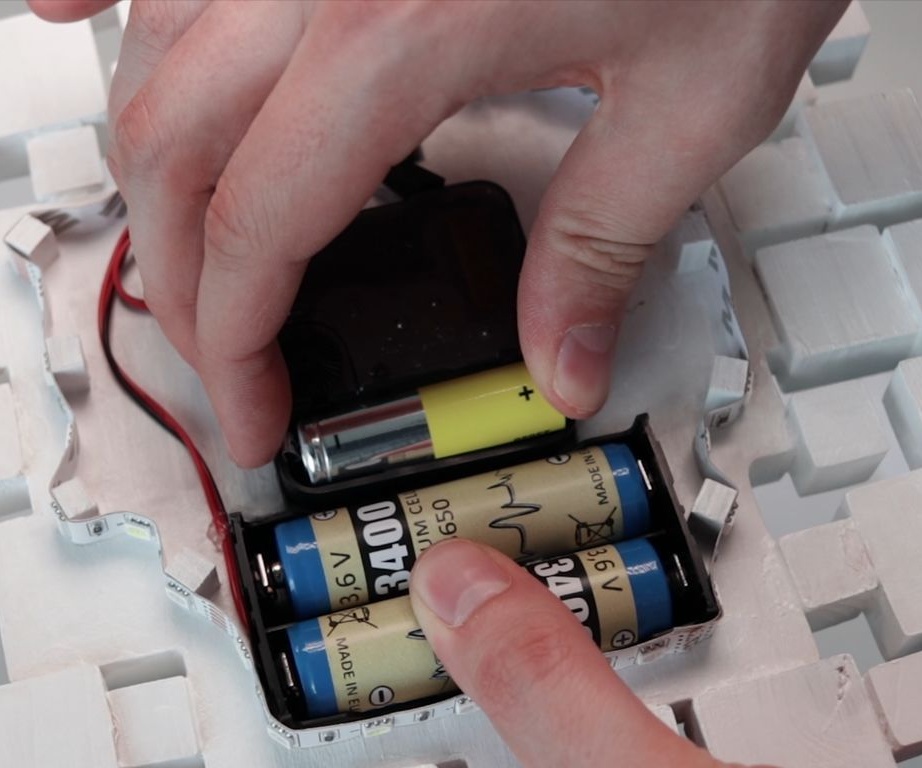
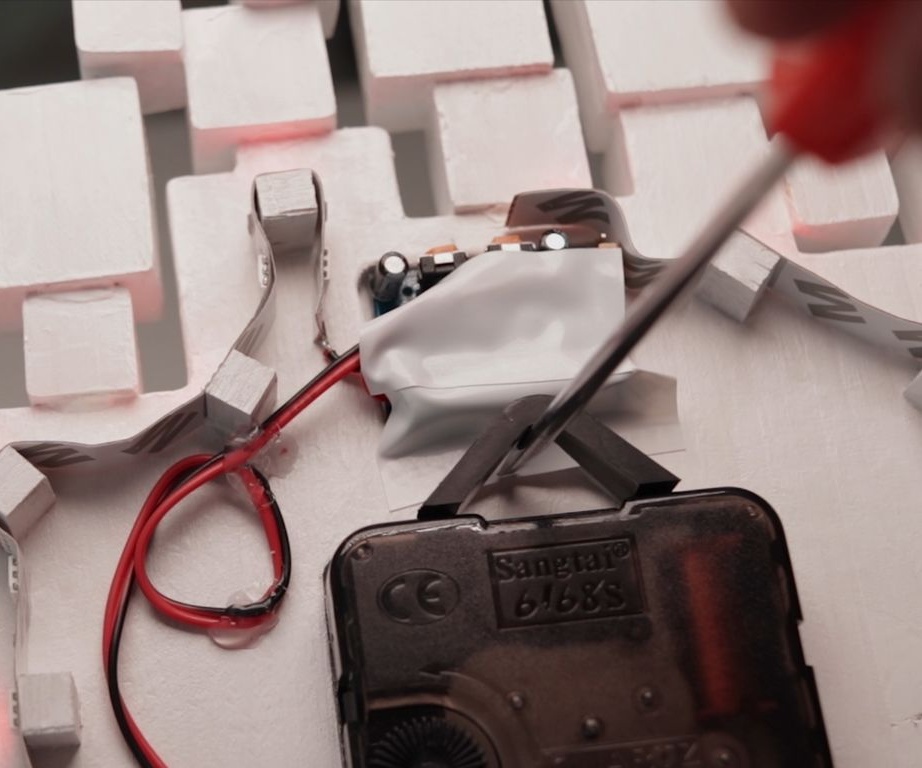
Sets the clockwork. Installs batteries: one in the clockwork and two in the battery compartment.
All is ready. It remains to hang the clock on the wall.
The whole process of making watches can be seen in the video.