
Greetings the inhabitants of our sites, I present to your court an interesting of the available materials. The author used plywood as a basis. The whole frame, including the headstock, is made of it. The heart of the machine is a screwdriver or drill. Turns and torque are quite enough for wood processing. Now you can easily carve a handle for a tool, or even a vase or something like that. Also on this machine it is quite convenient to grind. Let's consider in more detail how to assemble one!
Materials and tools used by the author:
Material List:
- drill or screwdriver;
- carpentry glue;
- plywood;
- self-tapping screws;
- bolts, nuts, washers, etc .;
- threaded rods;
- 4 bearings;
- epoxy adhesive;
- varnish;
- steel clamp.
Tool List:
- a circular saw;
- drill;
- orbital sander;
- tap for threading;
- jigsaw;
- a hacksaw;
- clamps.
Lathe manufacturing process:
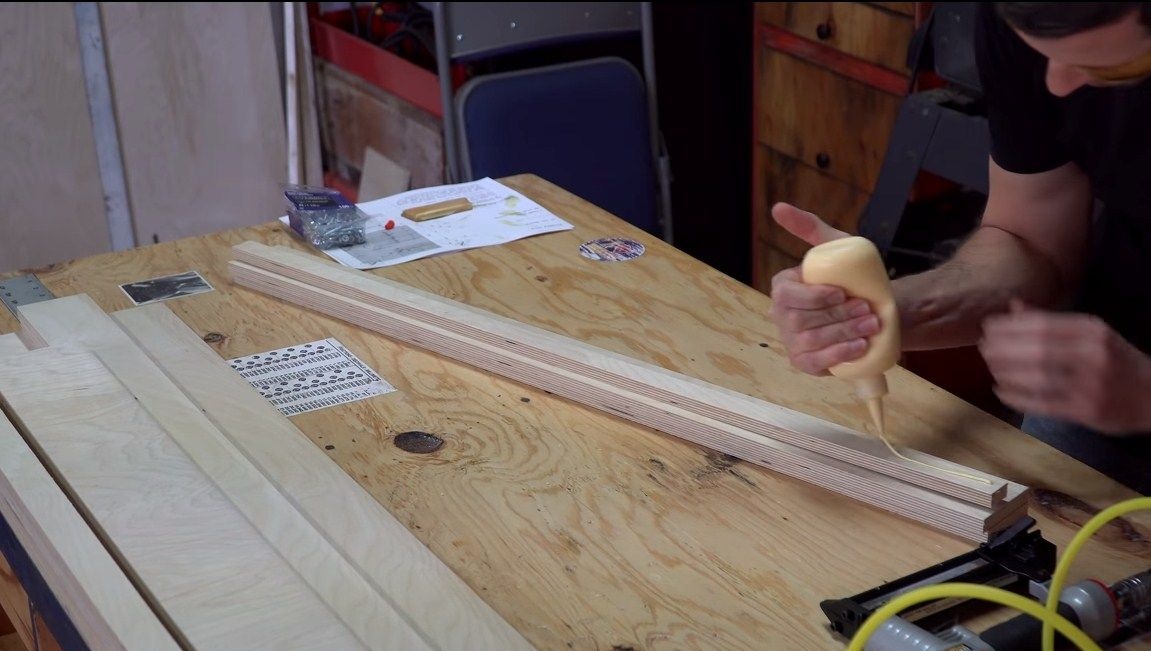
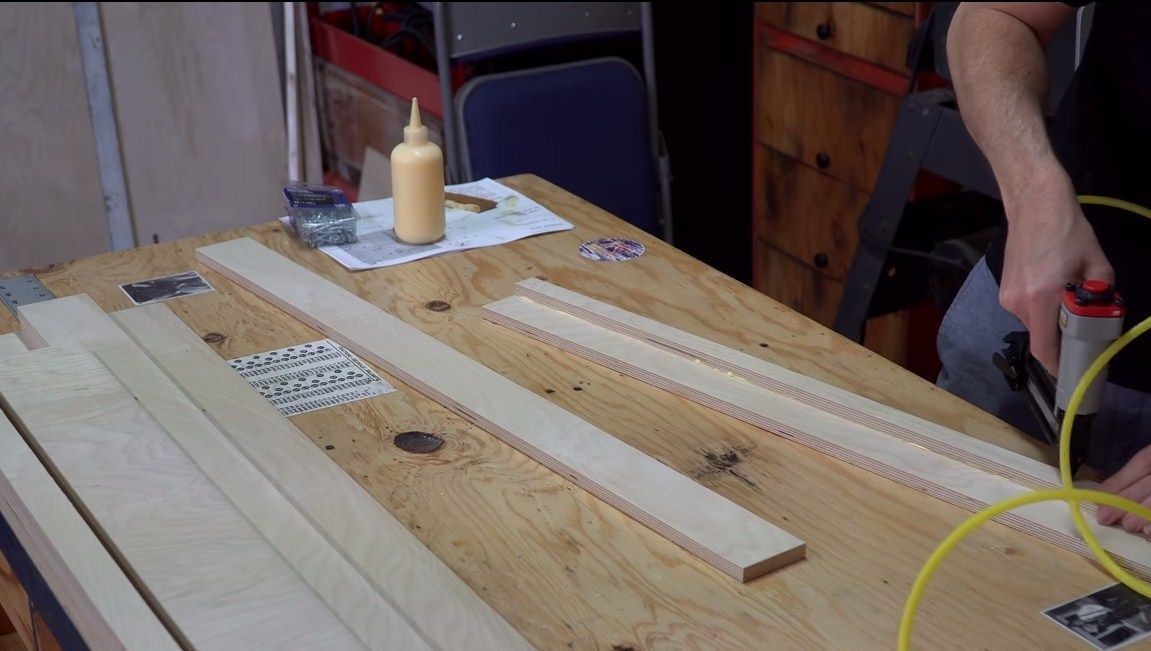
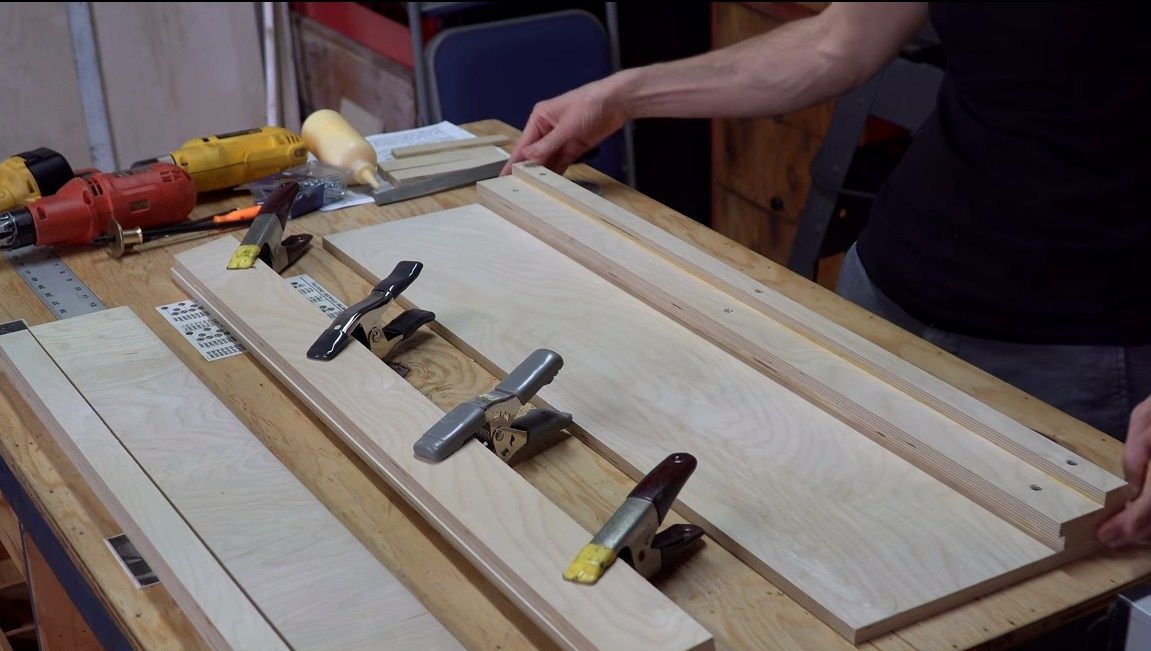
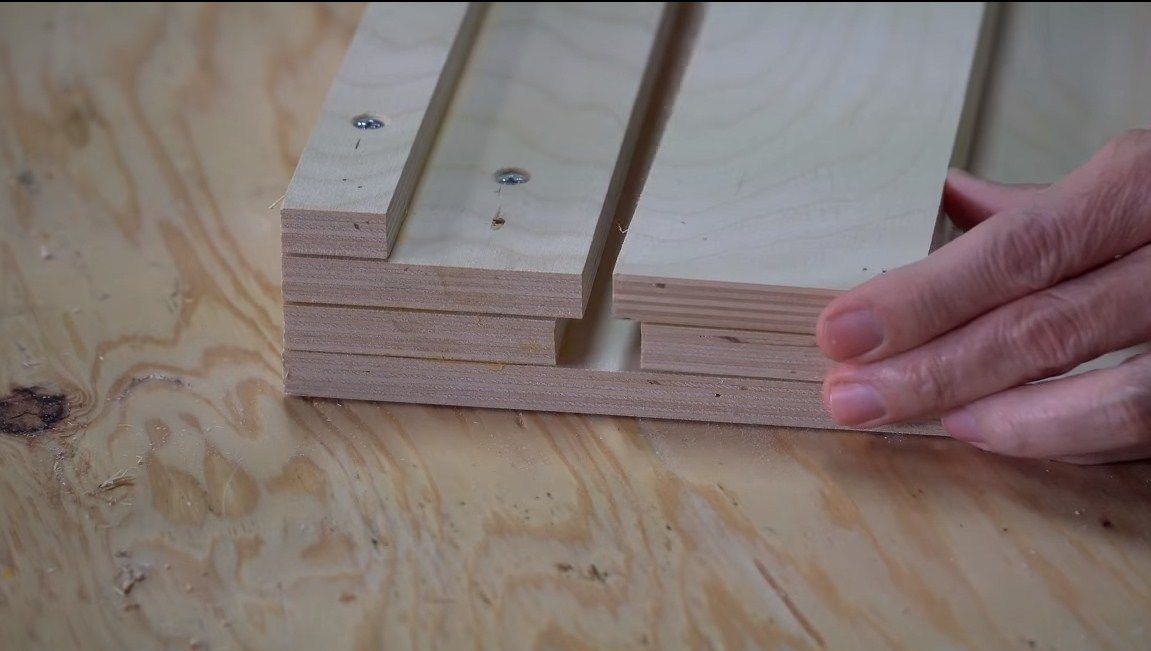
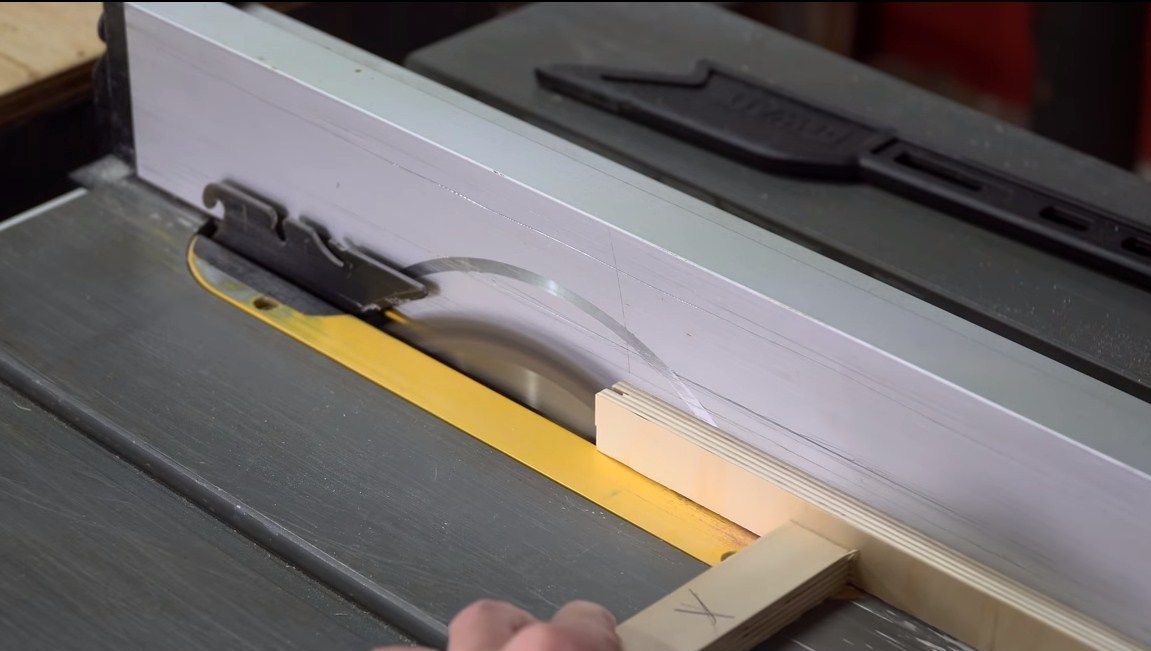
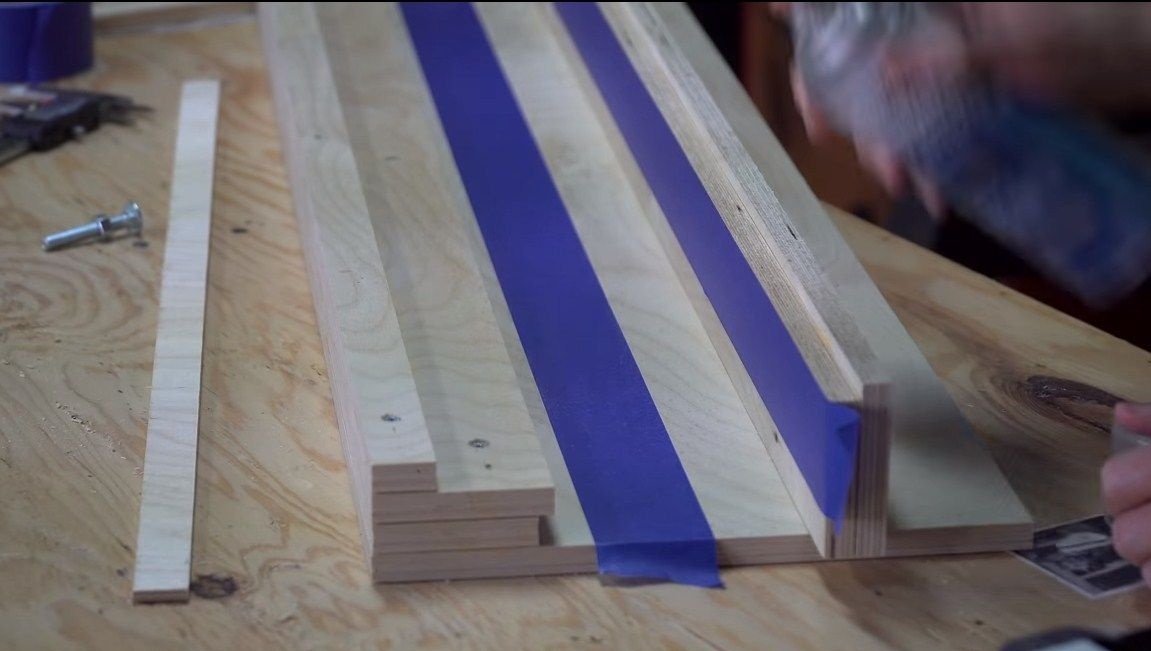
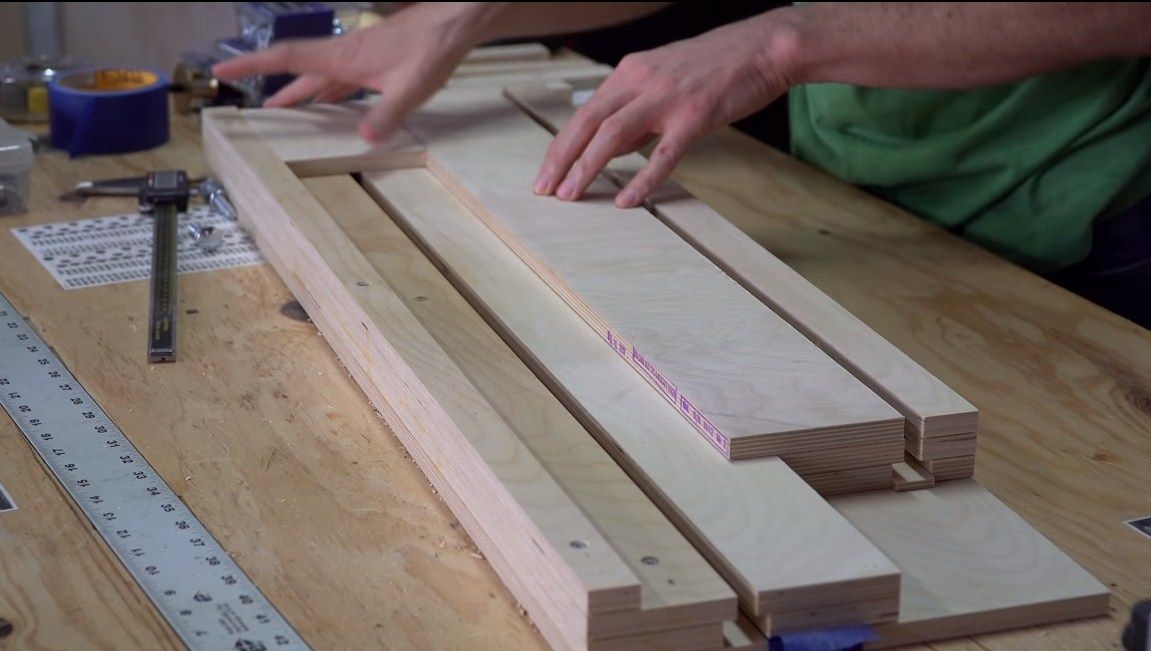
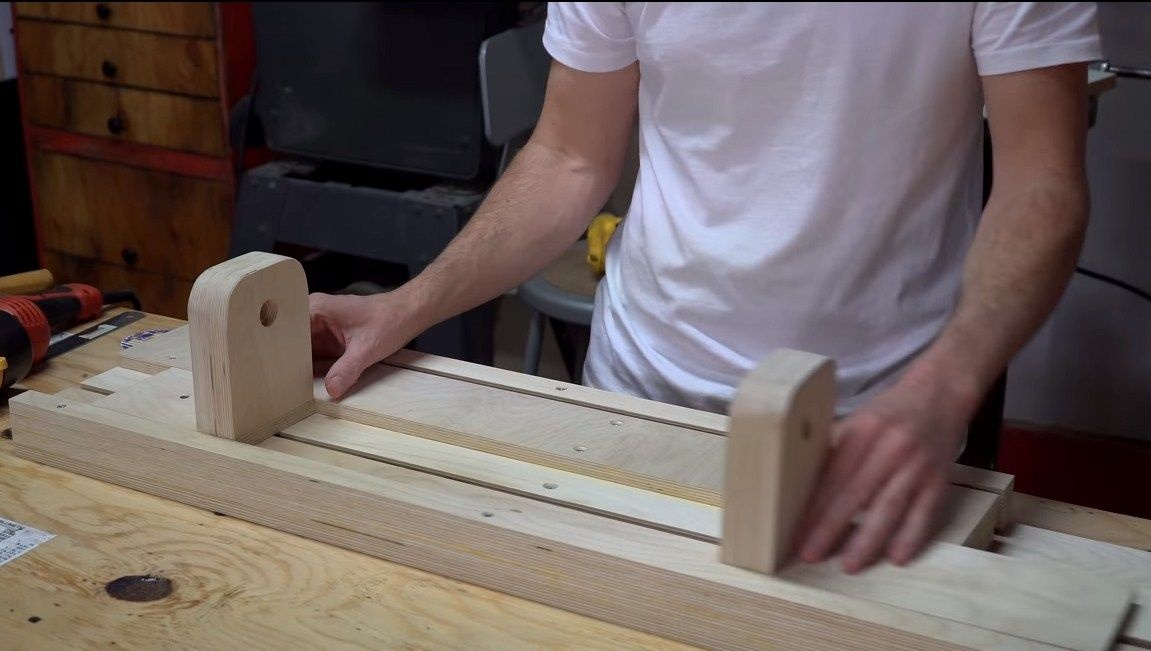
Step one. We make the basis
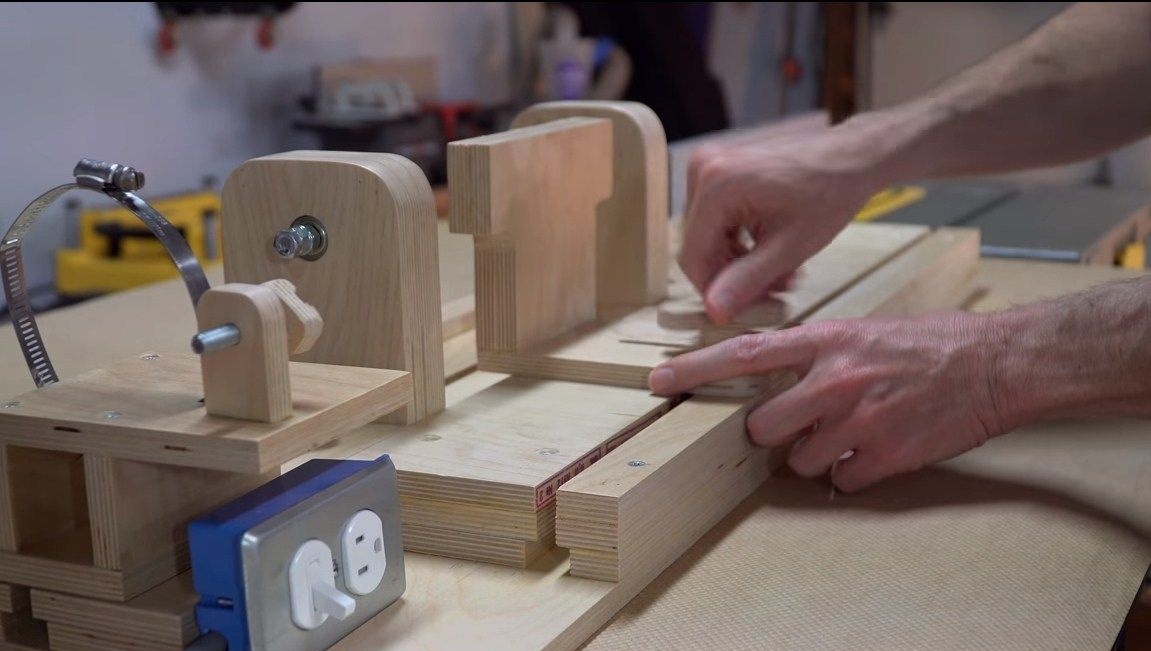
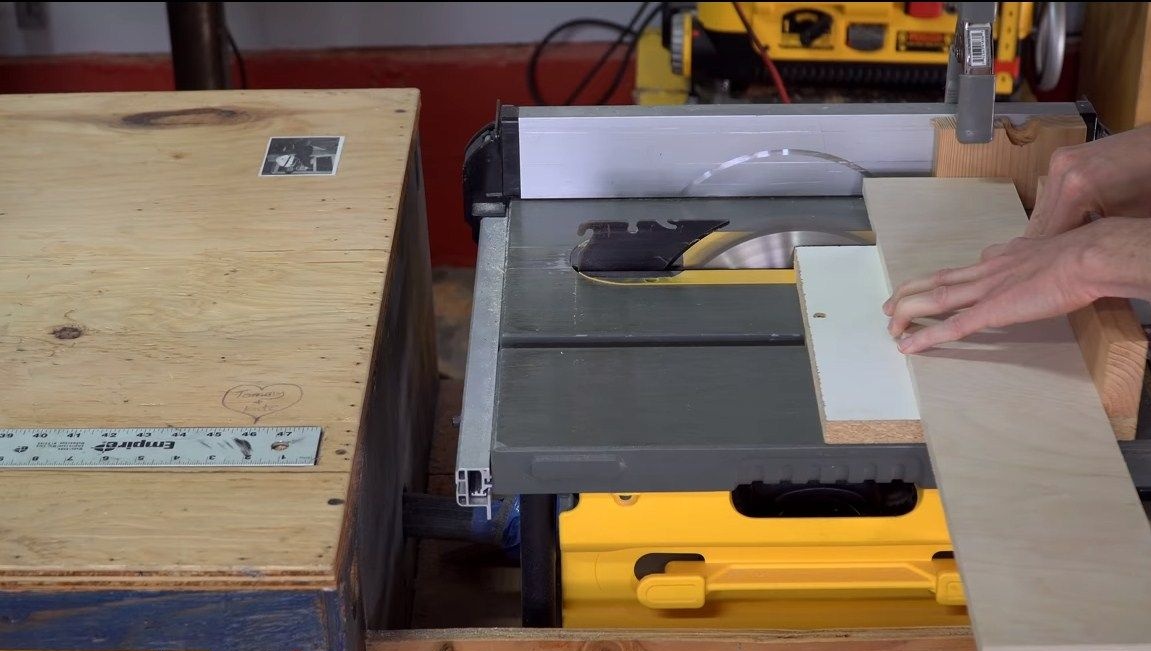
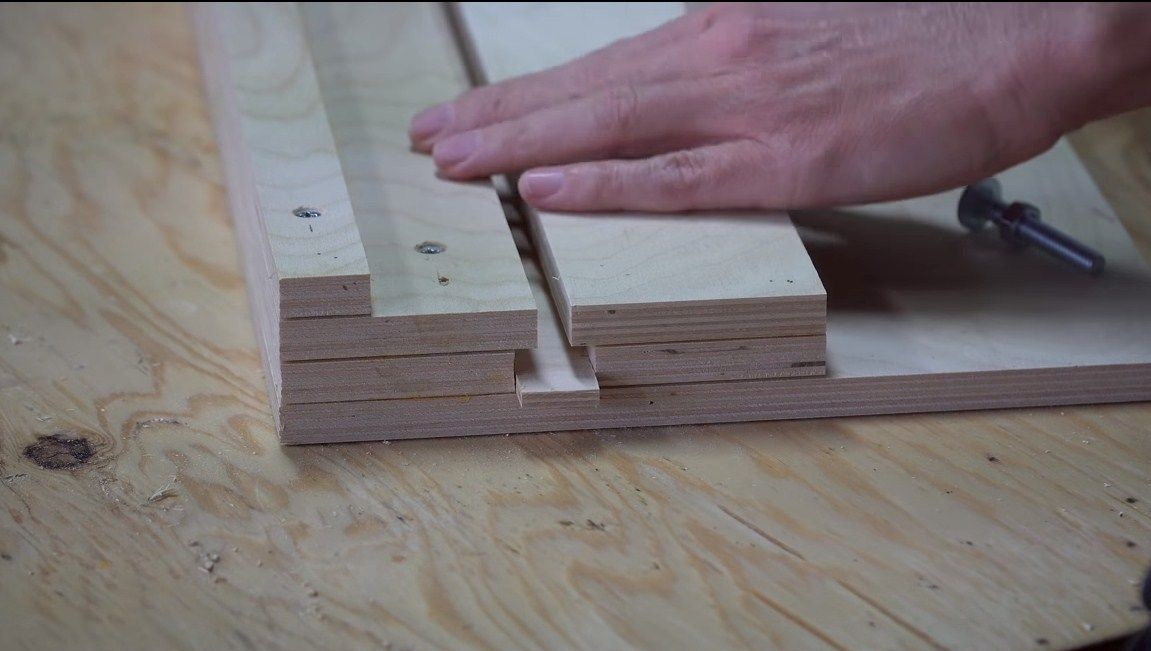
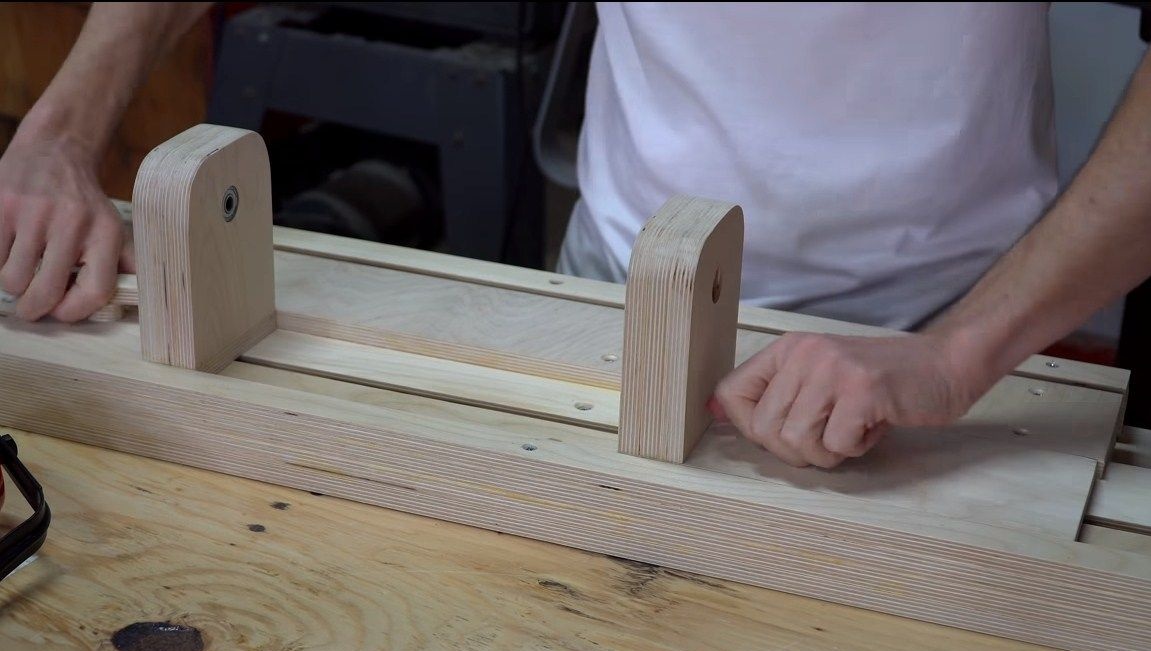
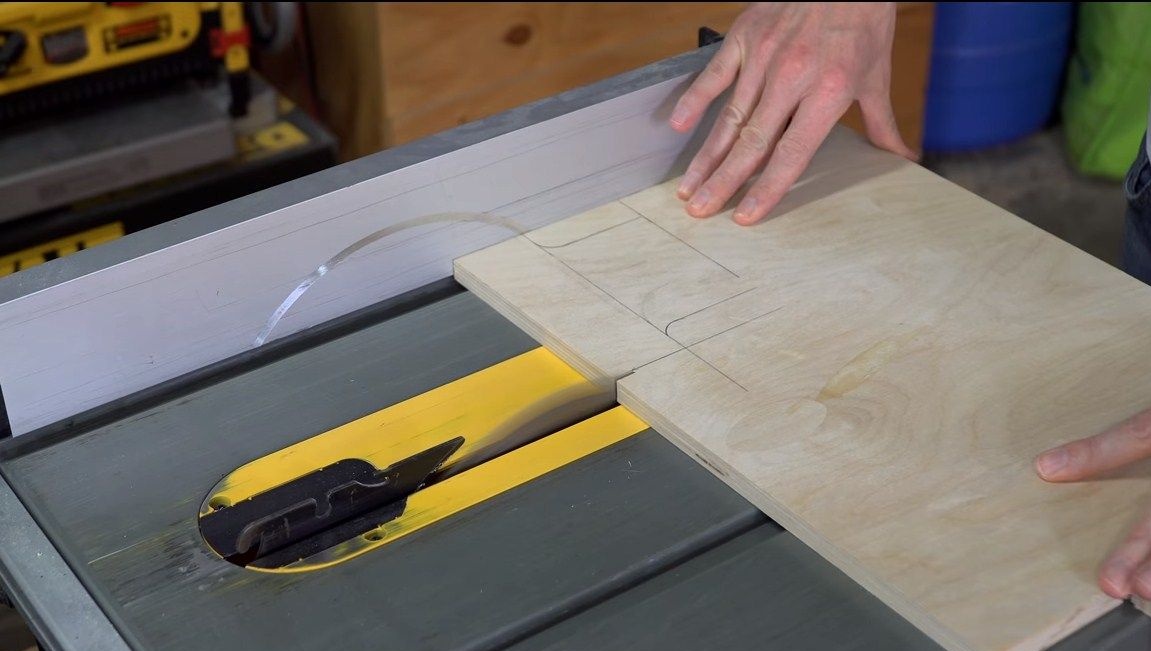
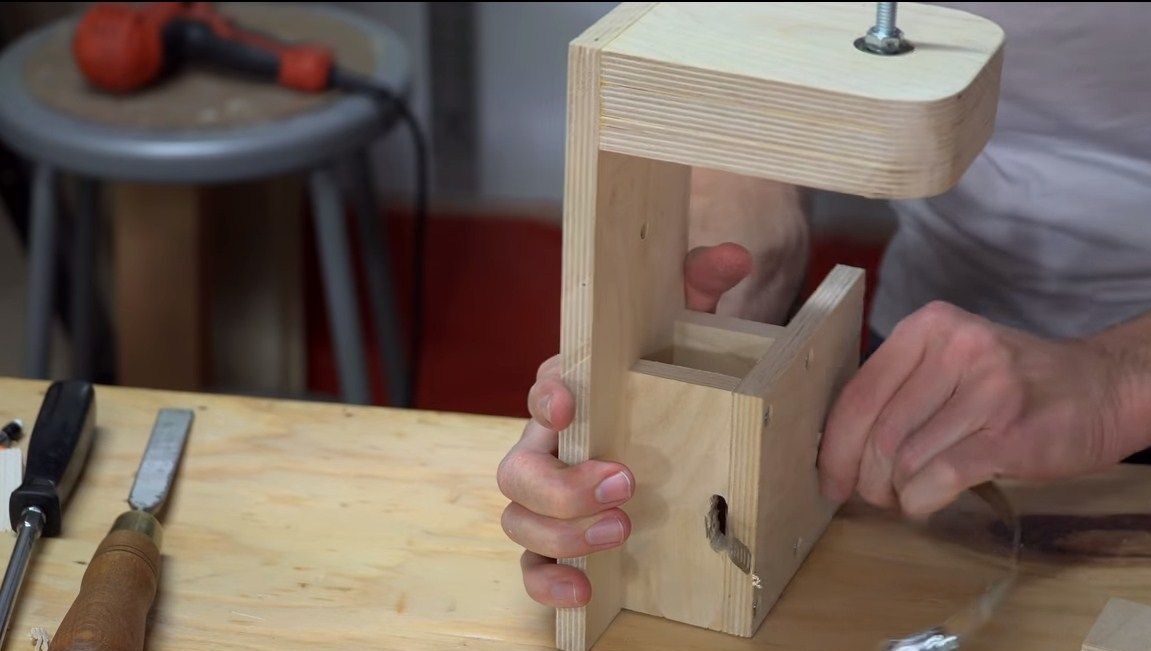
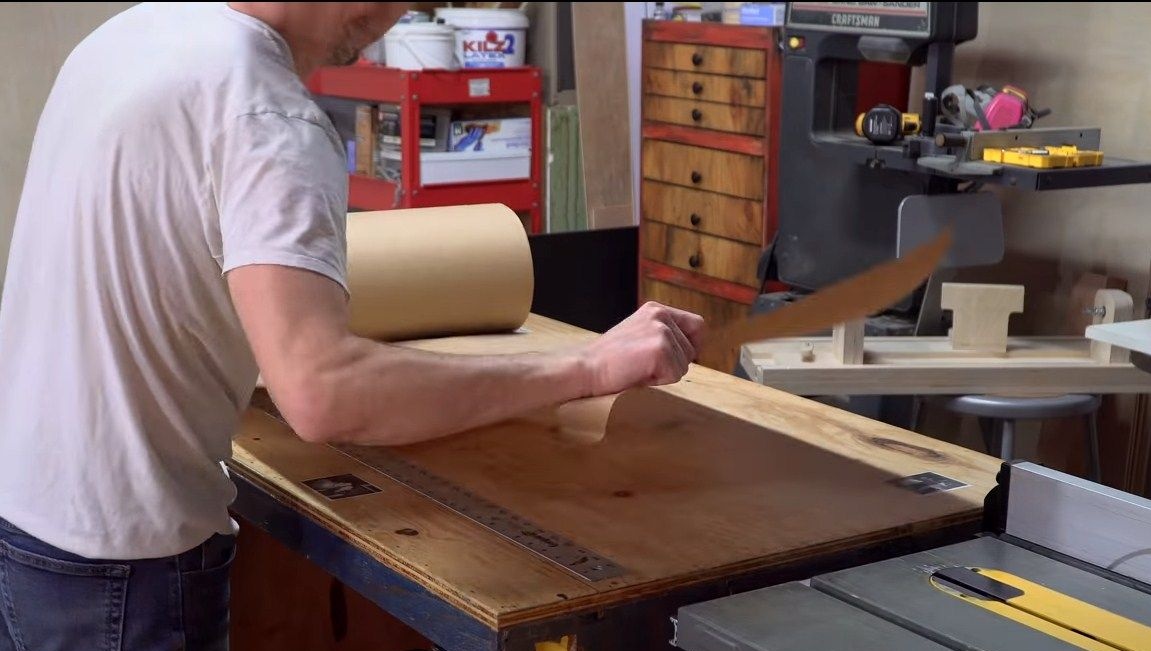
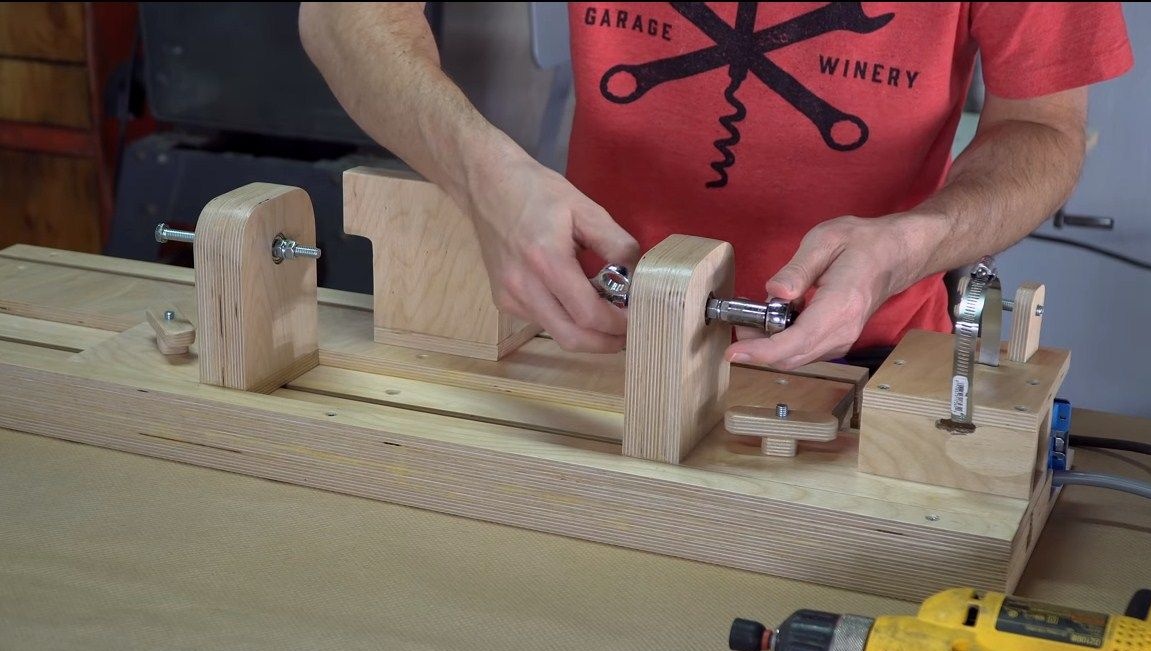
For the manufacture of the base we use plywood. Cut the desired size segments, then connect by using glue and screws. The essence of the basis is to get the grooves, these will be the guides for the headstock. Fixation will occur using bolts and nuts.
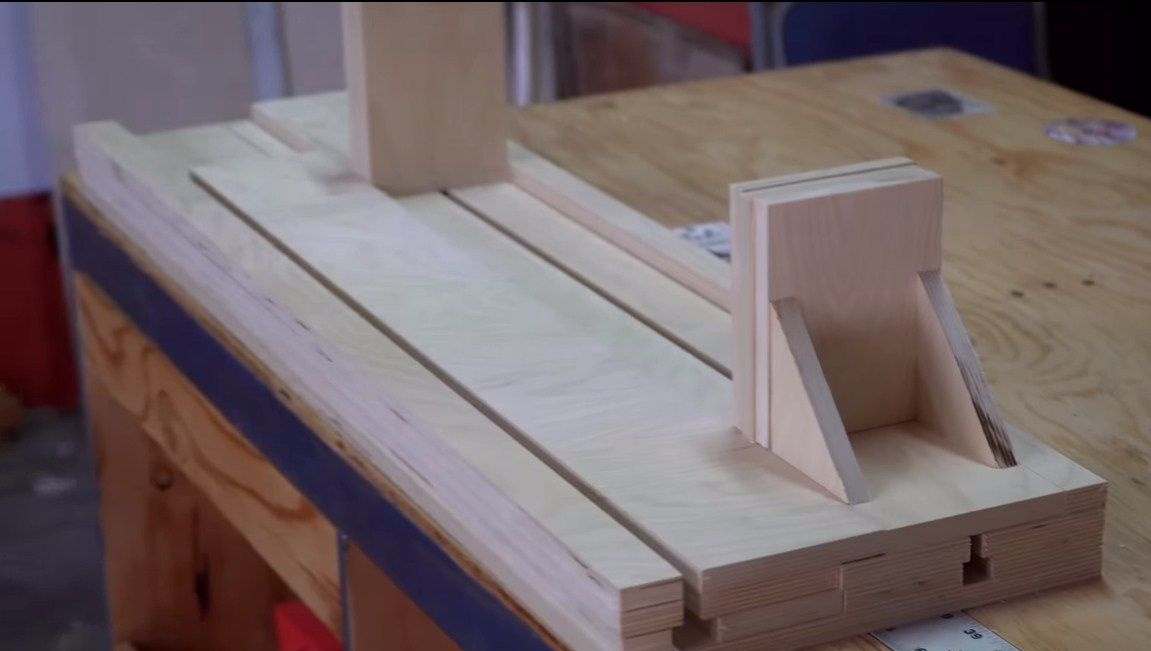


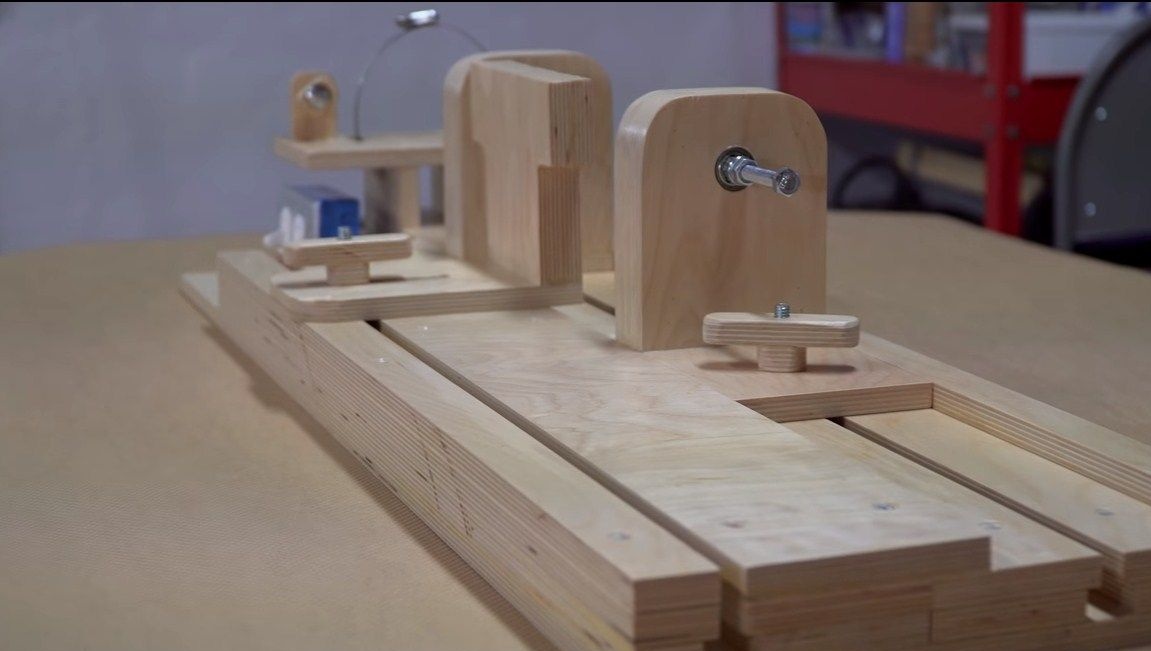
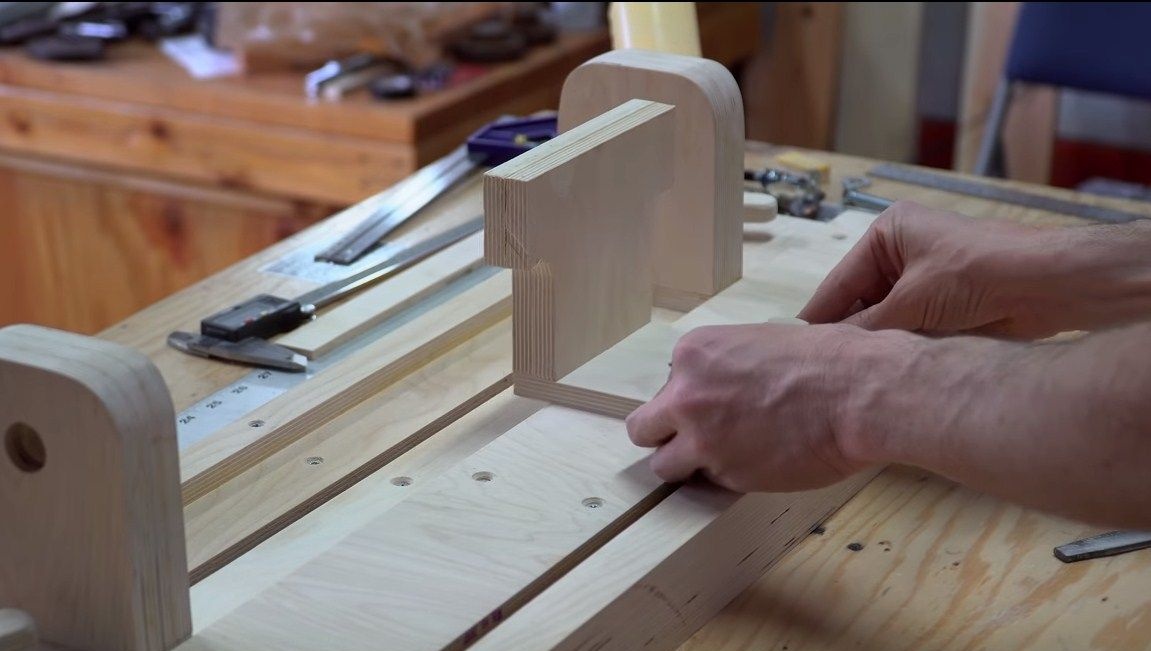
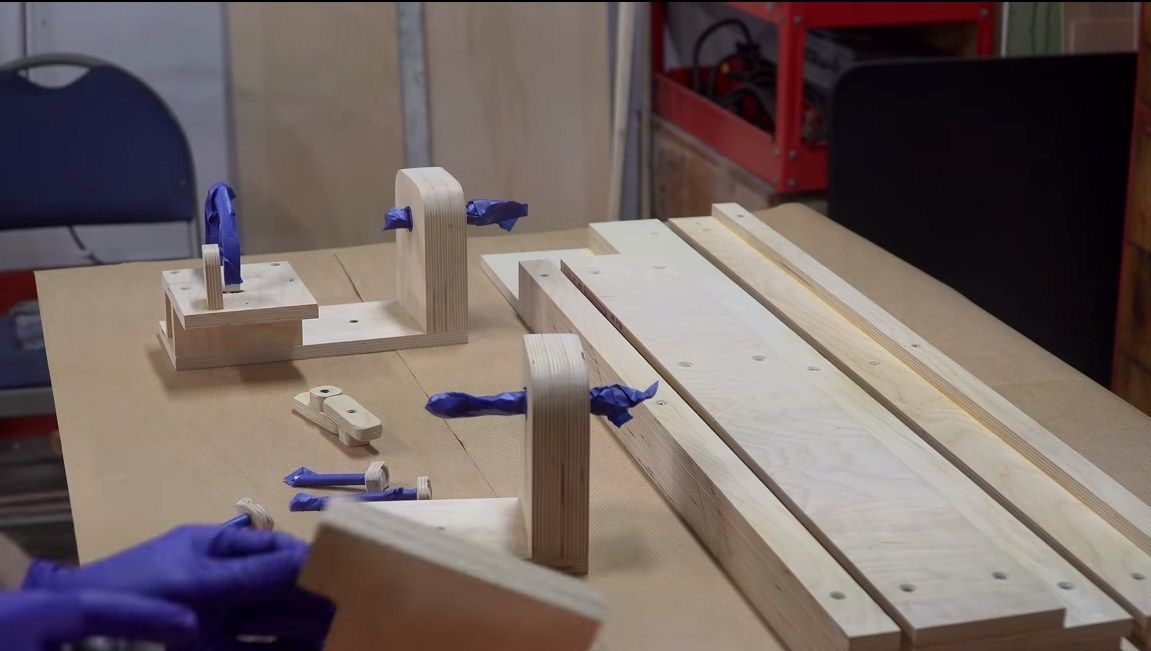
Step Two Production of attendants
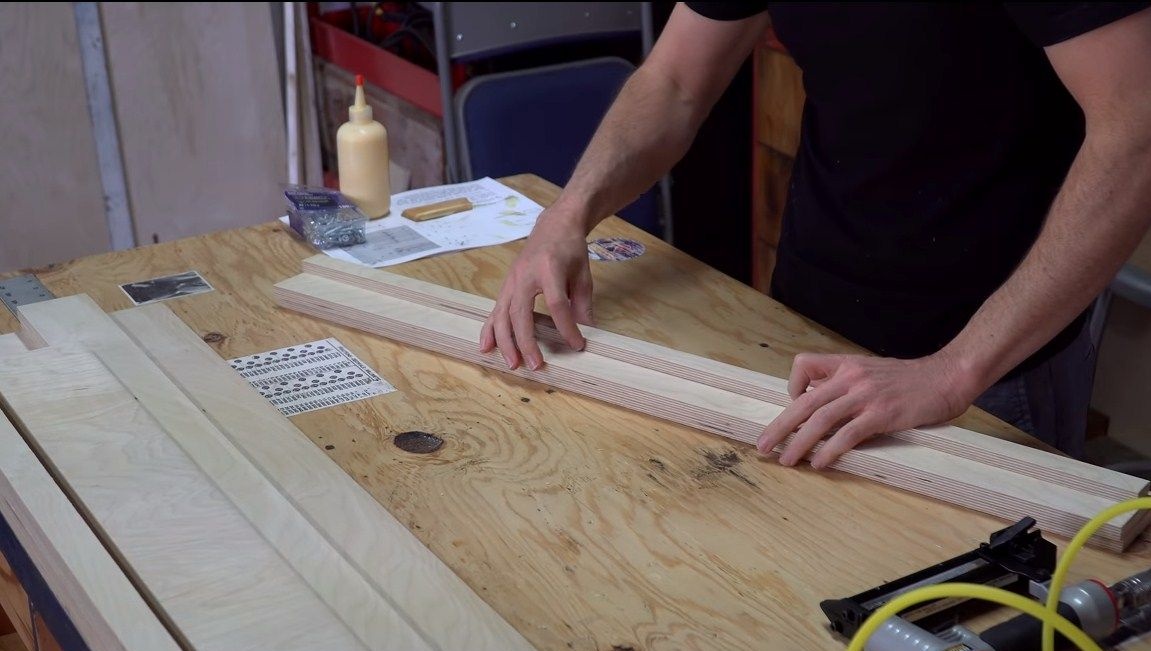
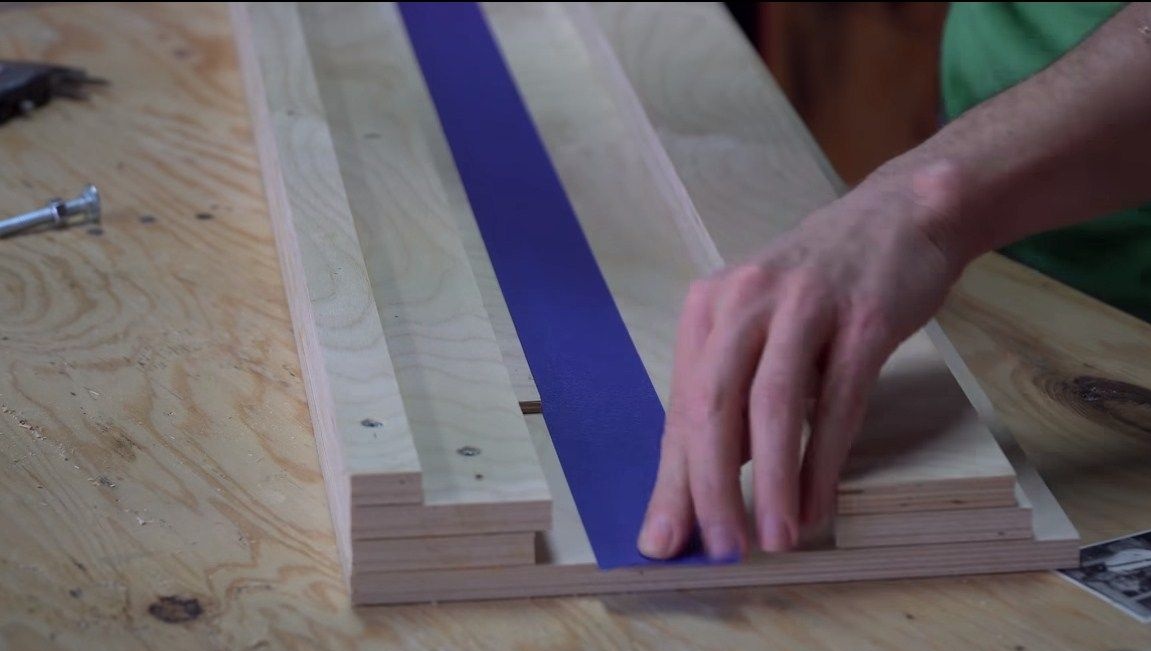
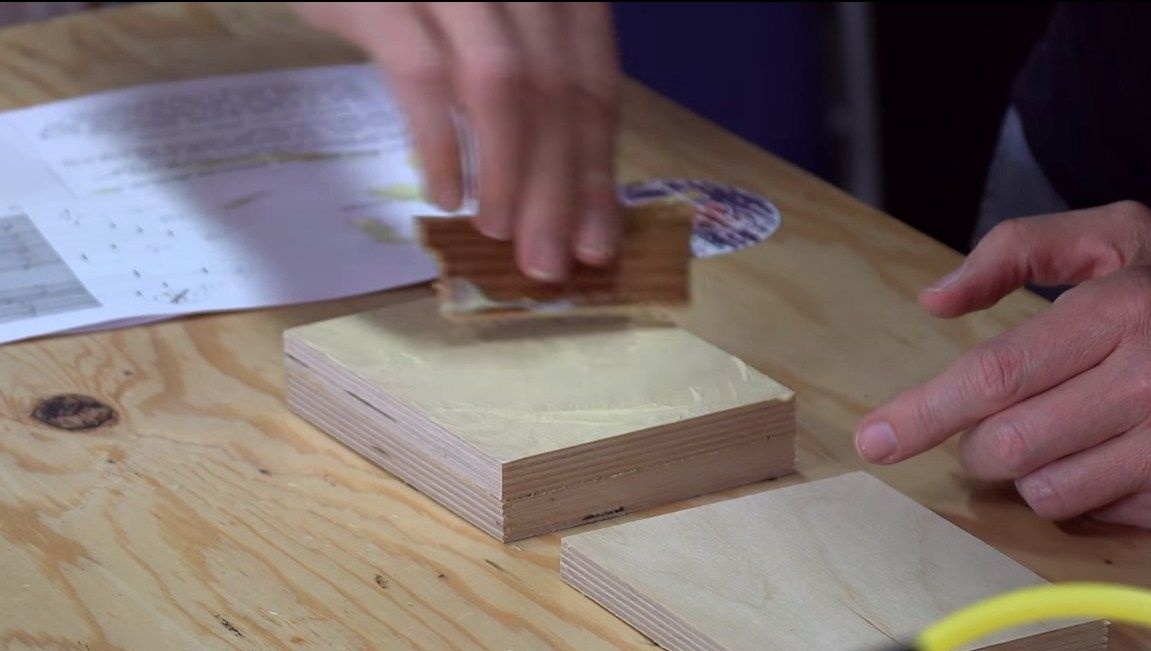
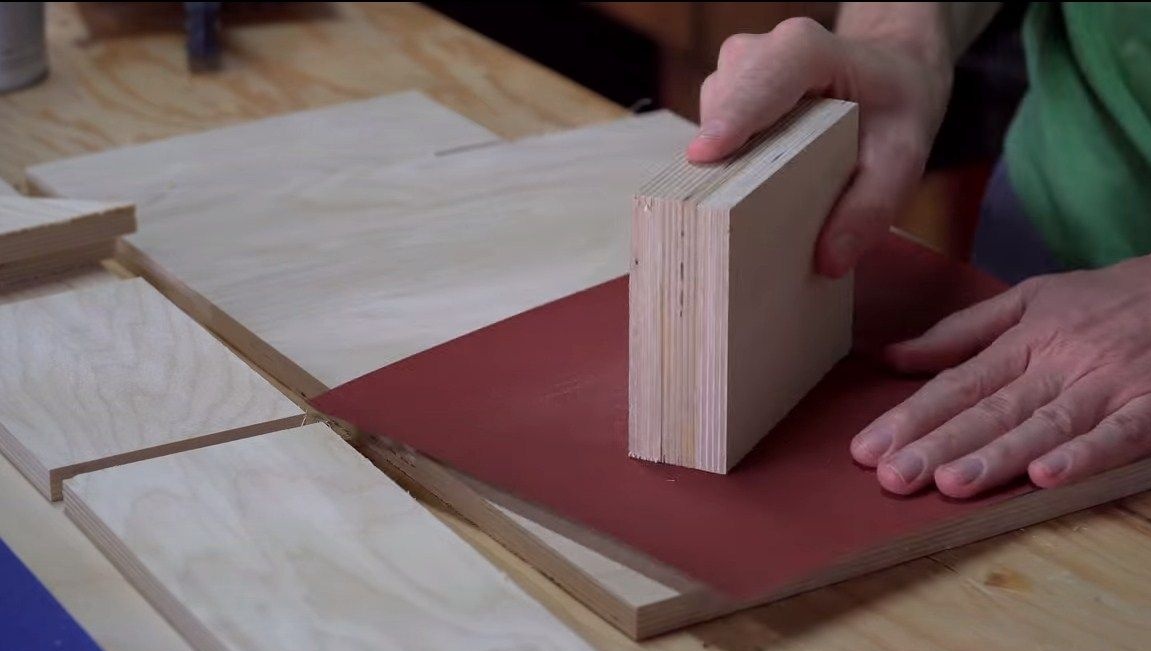
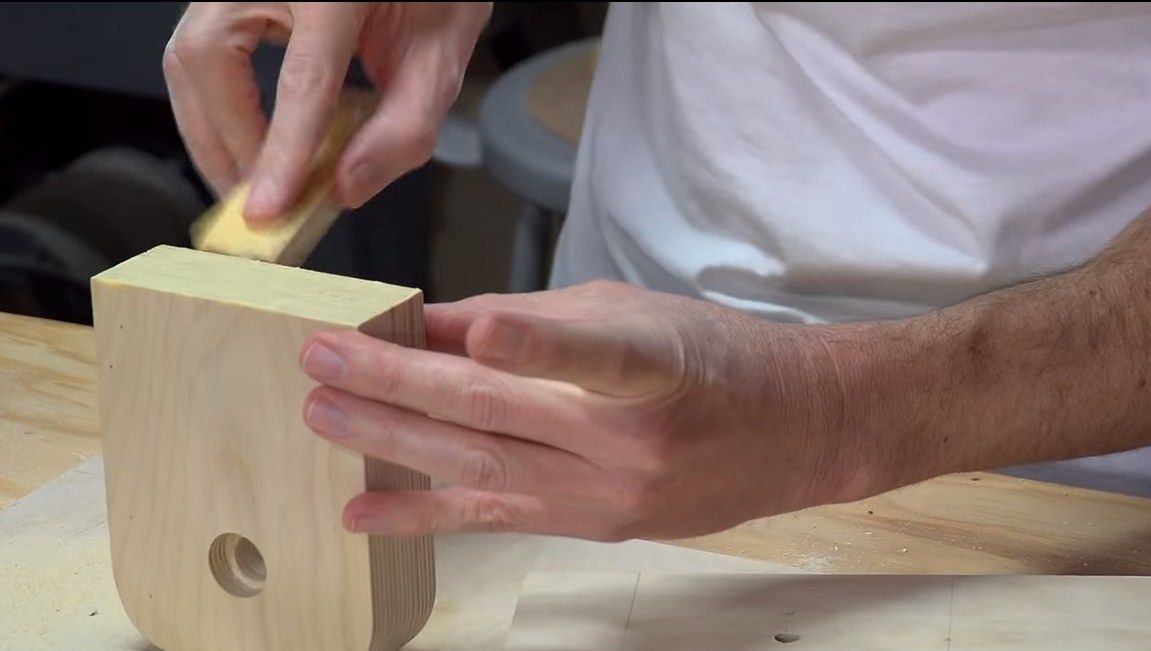
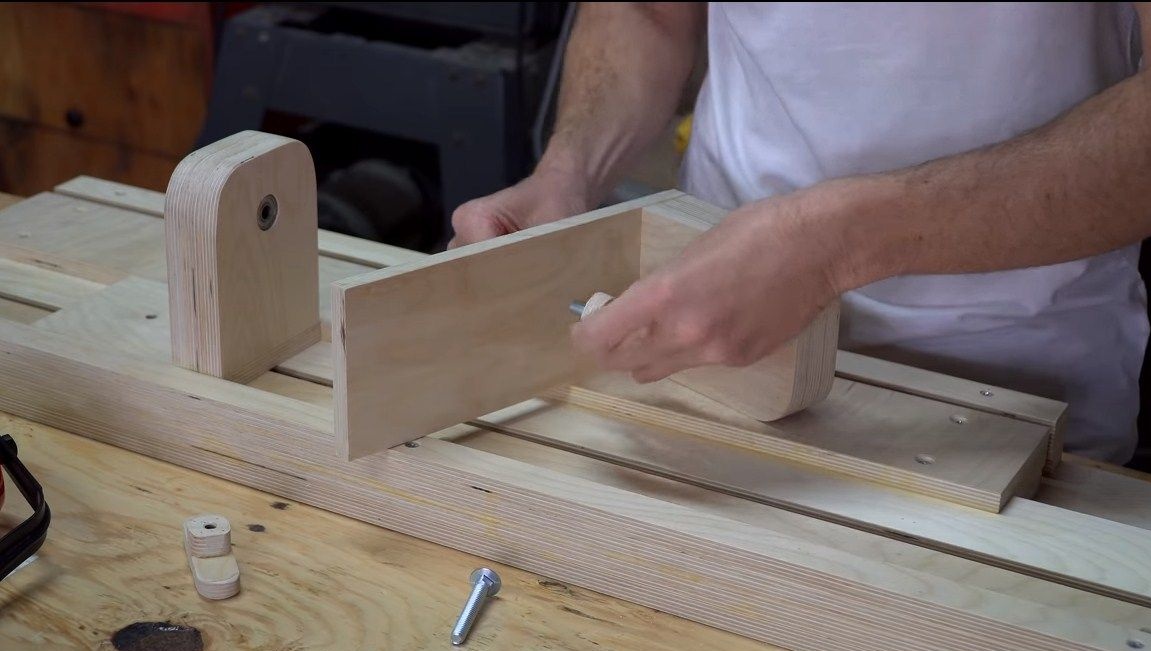
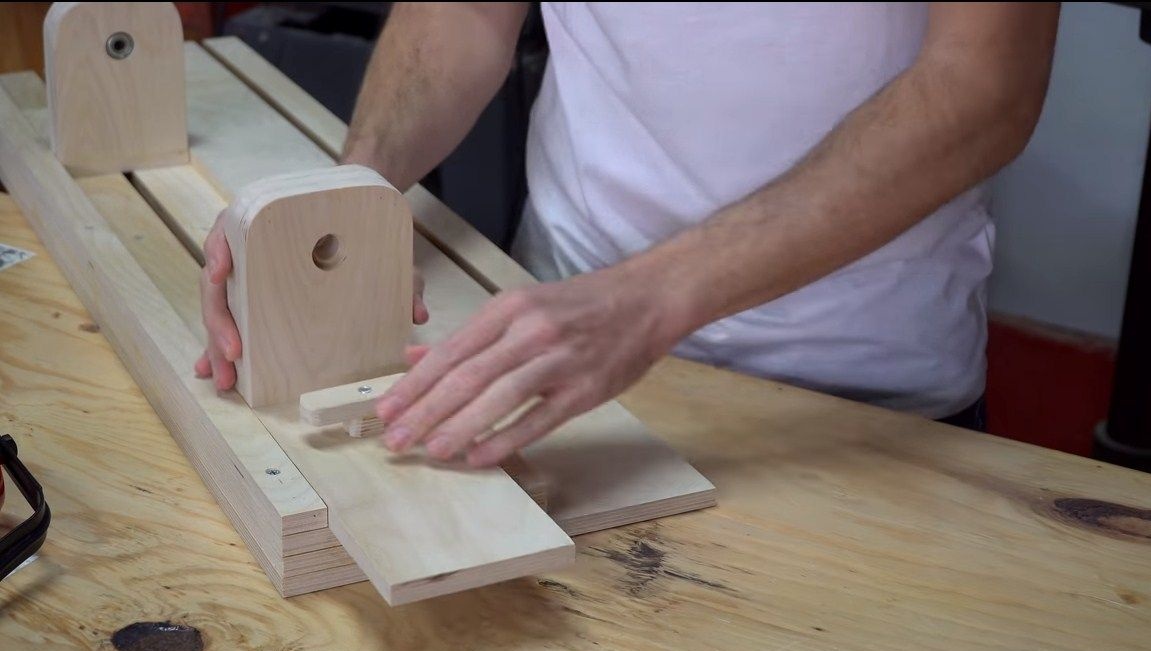
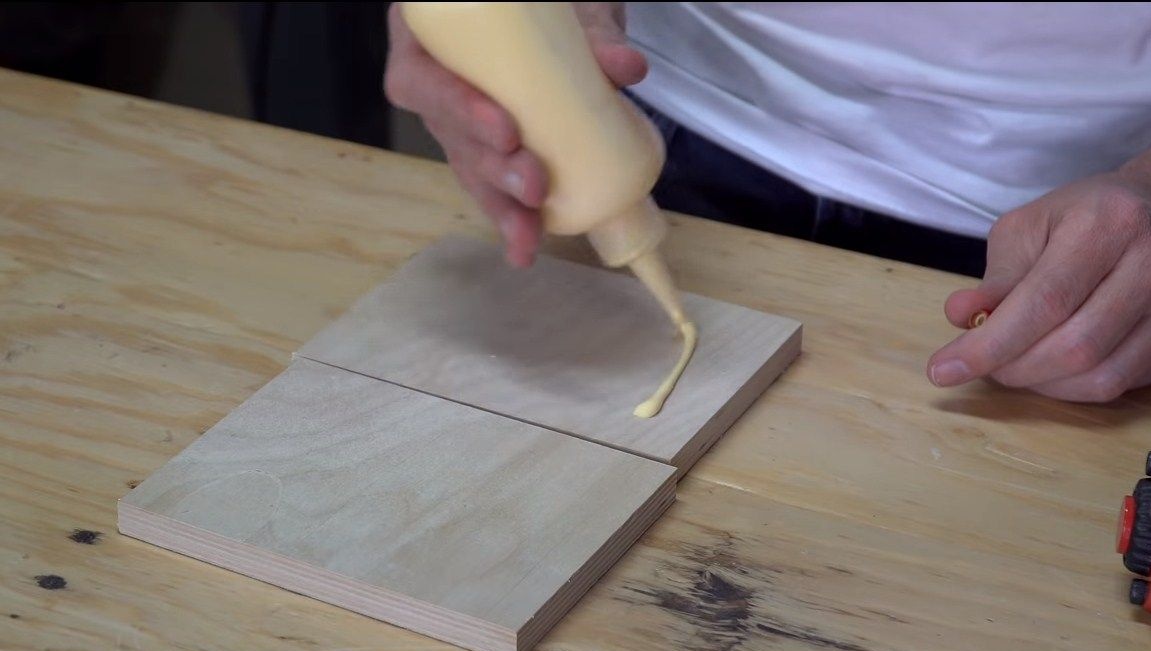
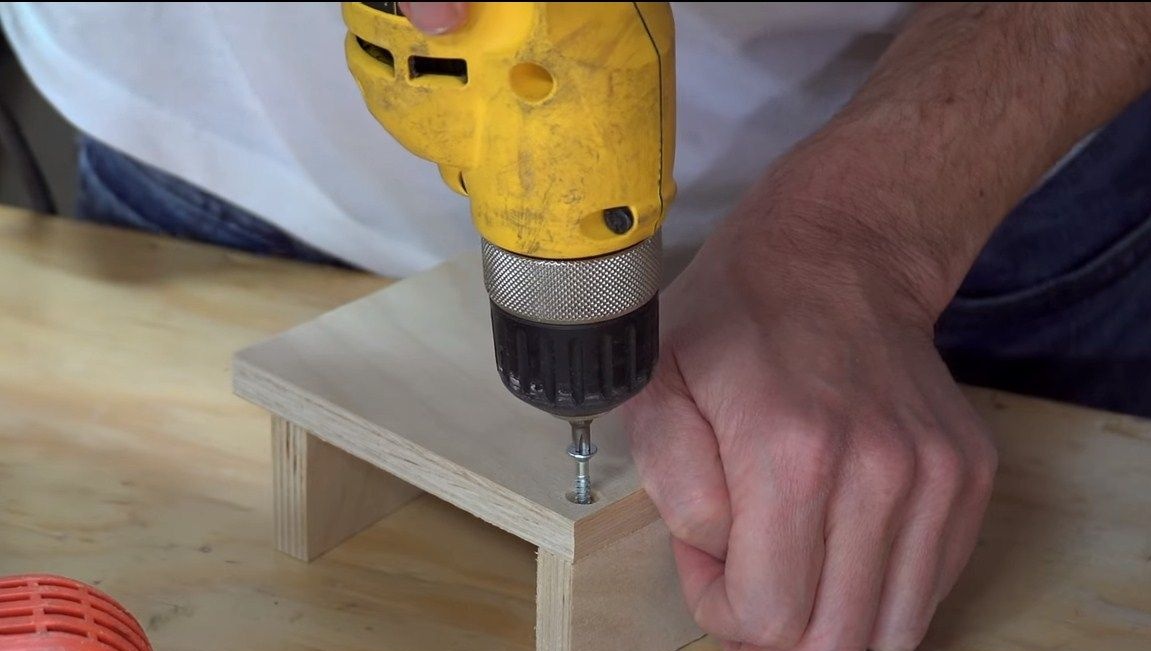
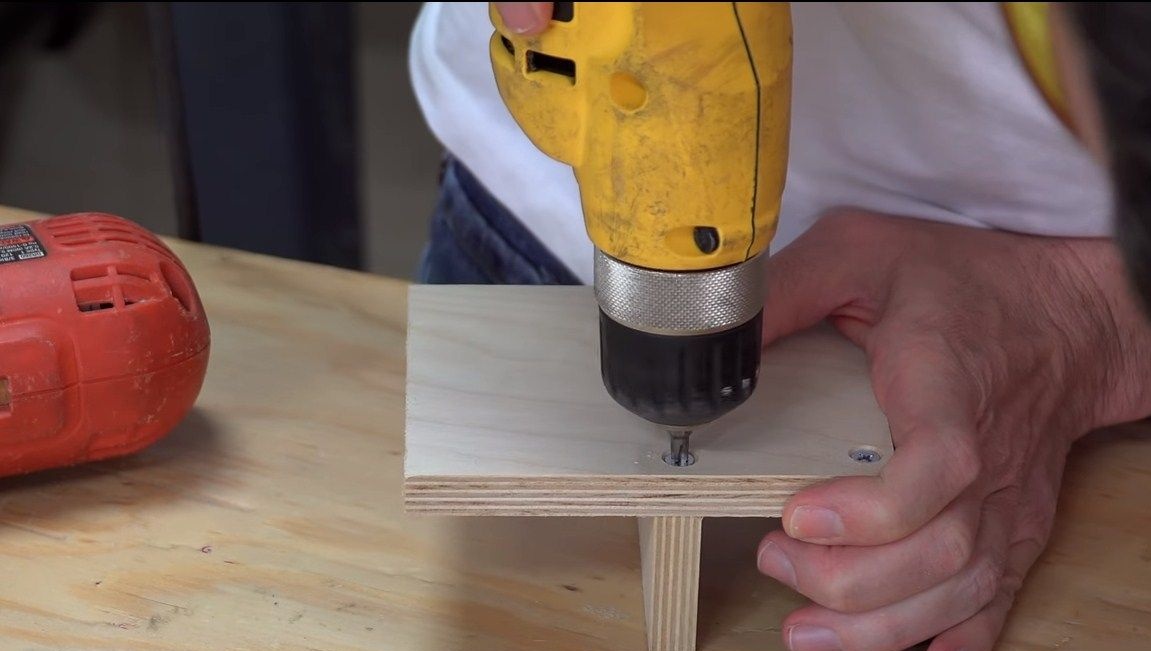
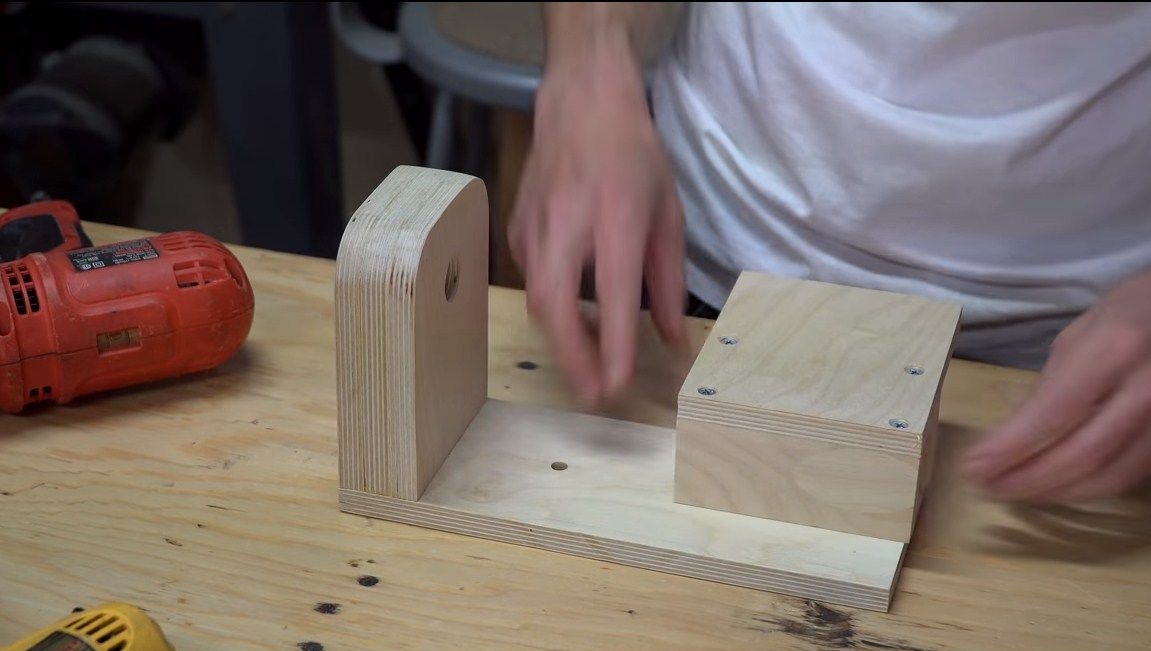
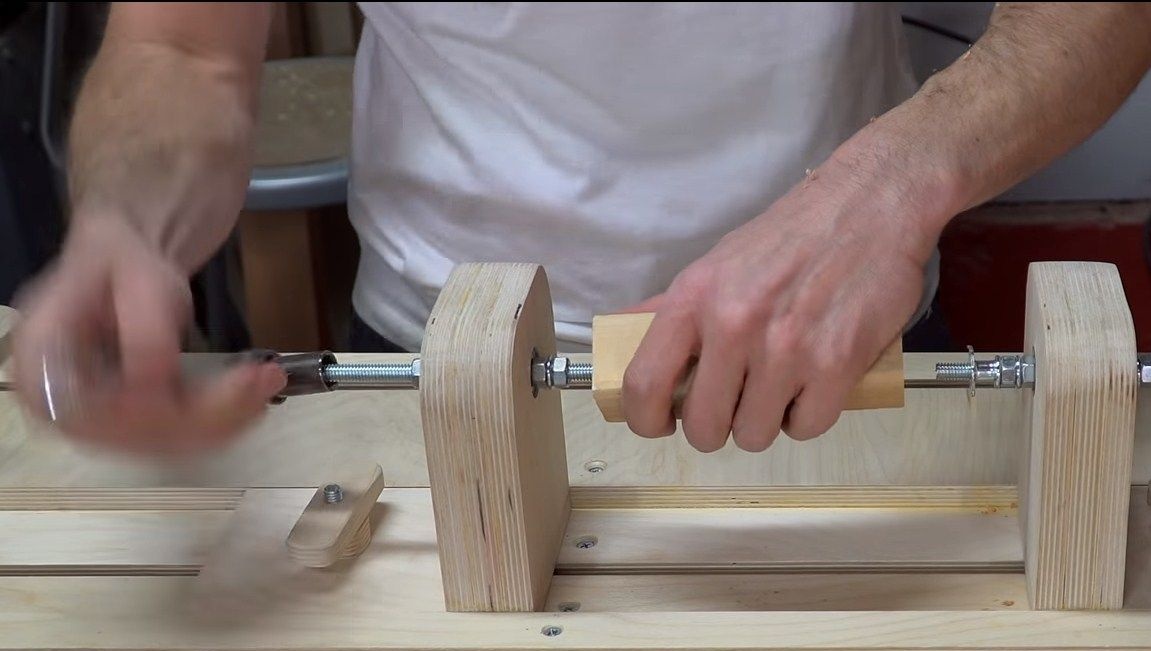
We will also make grandmothers from plywood, and to get the desired thickness, we glue several sheets together. We get strong and durable material. We form the desired shape, cut off the excess and grind it. Grandmas are screwed to the base, which will move along the platform. For a reliable connection, lubricate the joined parts with carpentry glue. So we made two great grandmas.

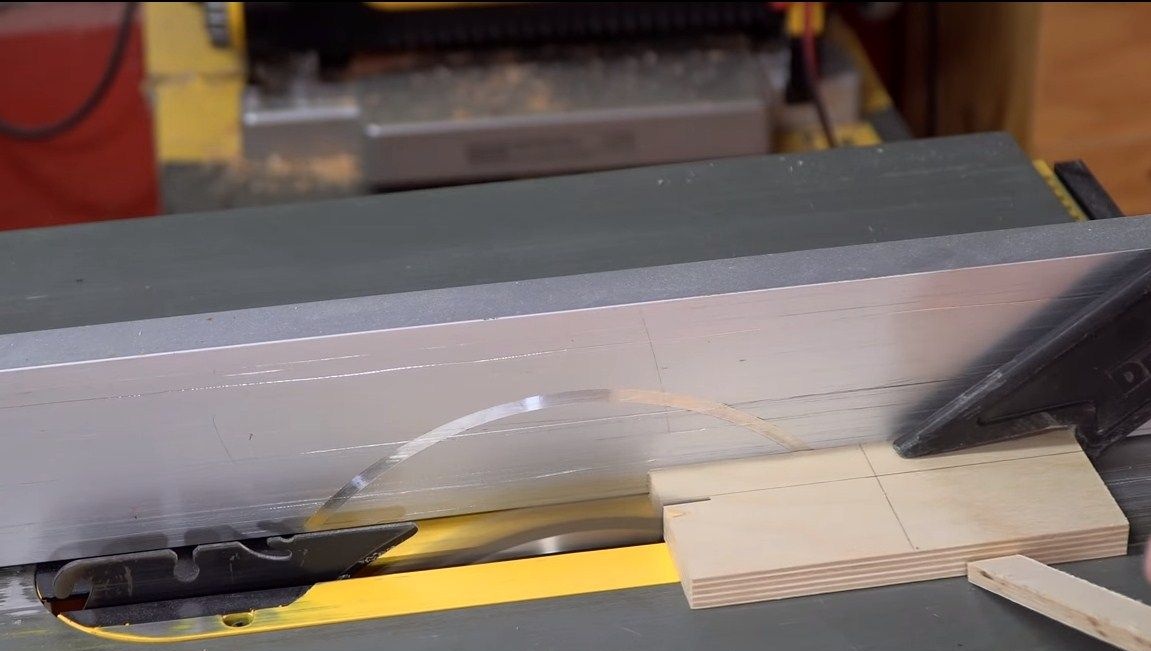
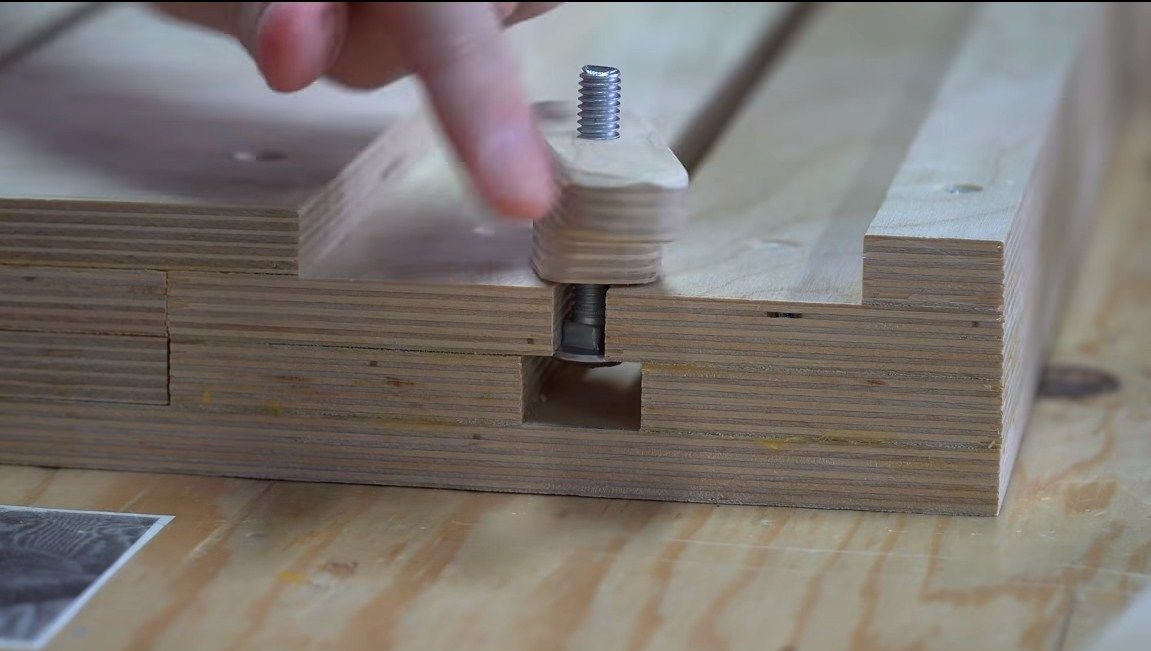
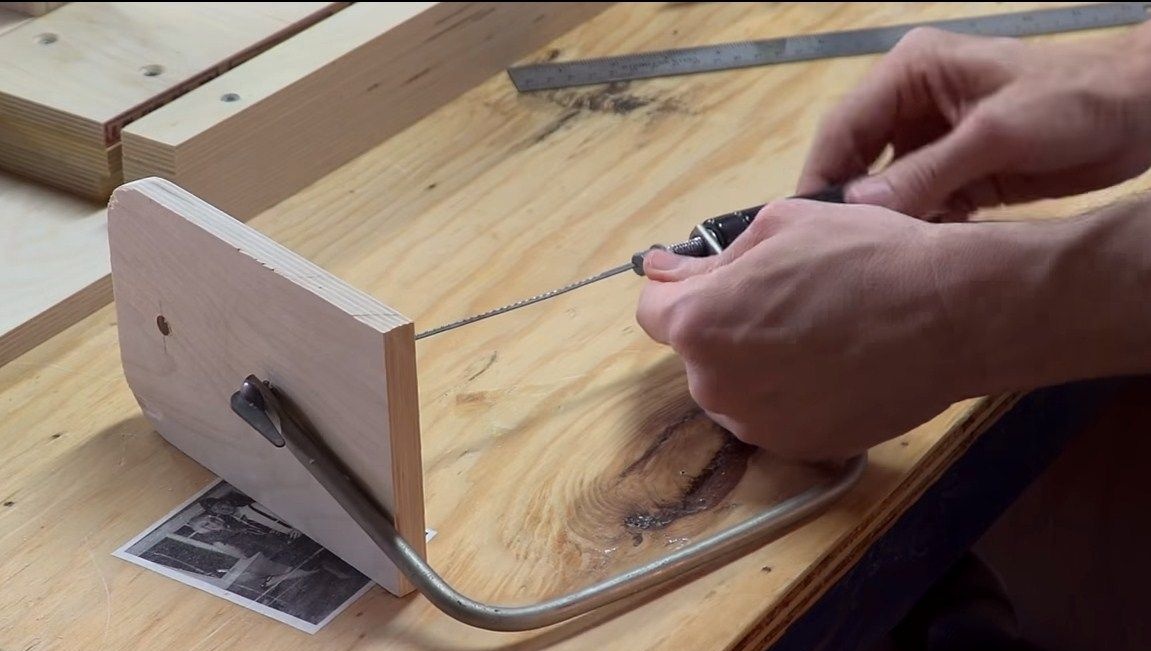
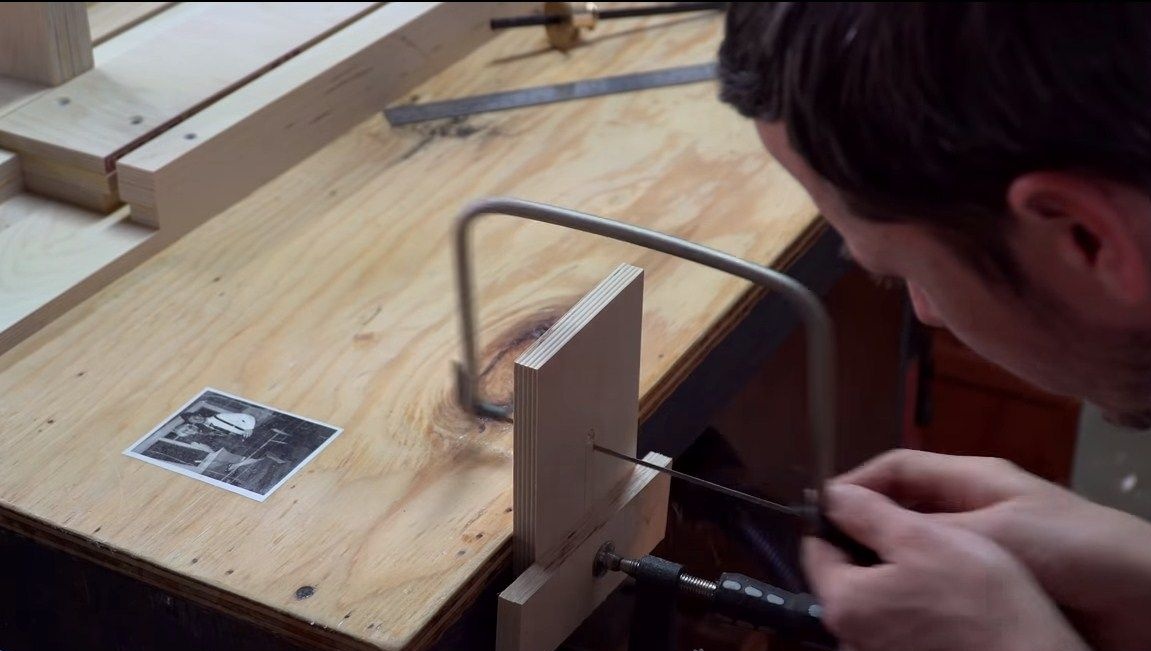
Step Three We make clamps
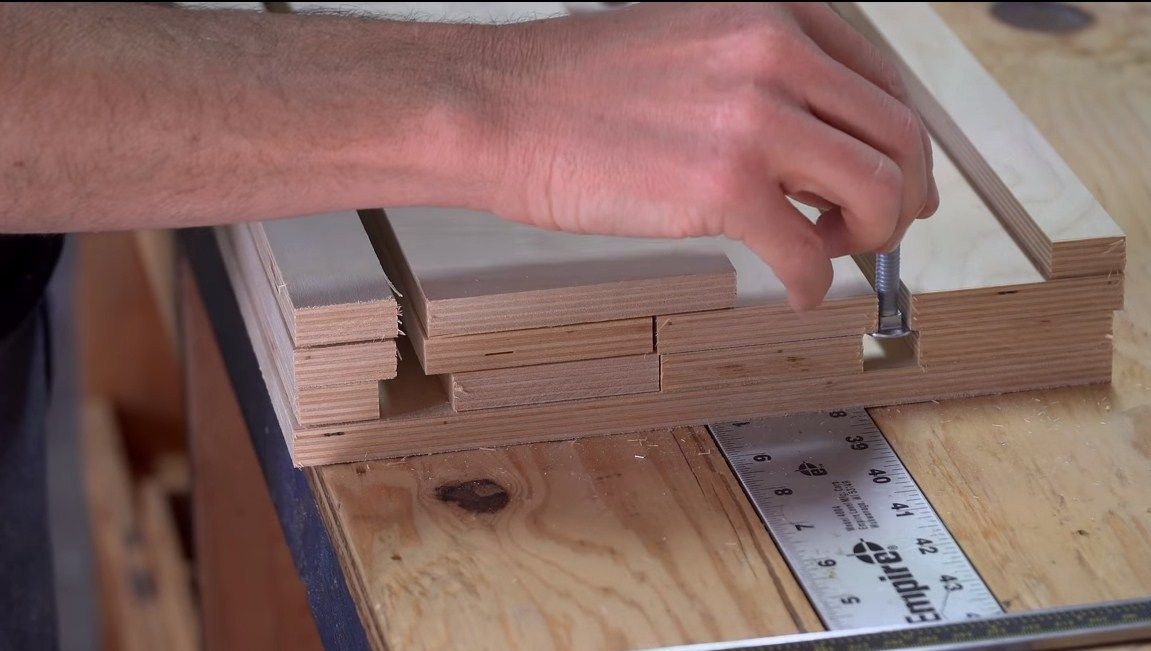
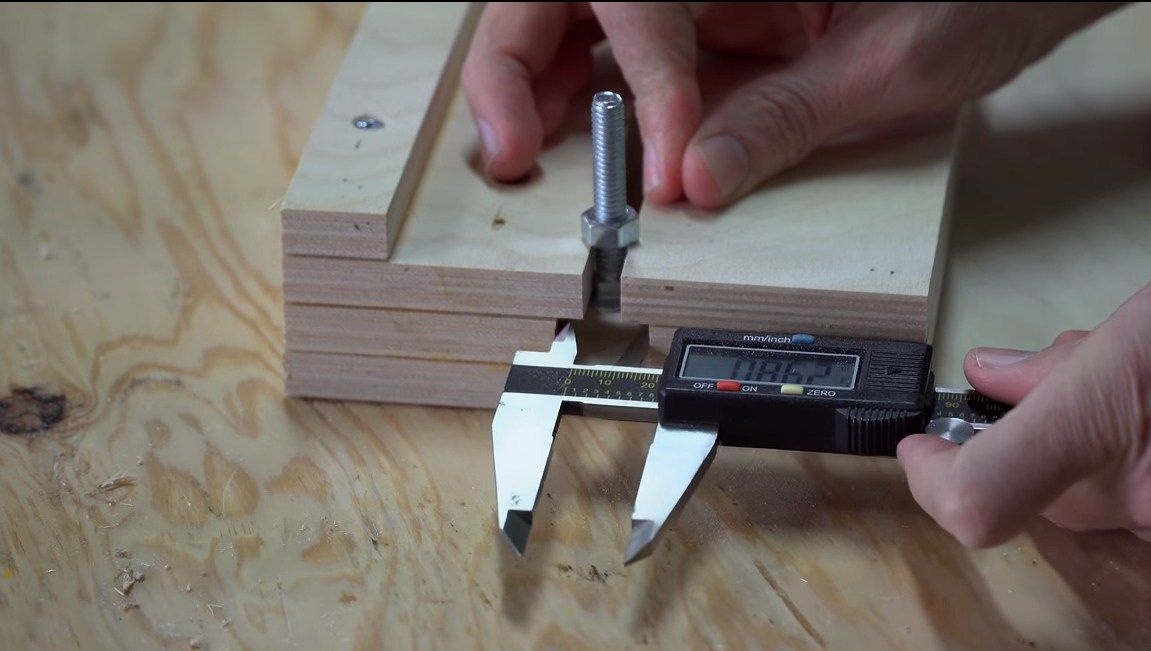
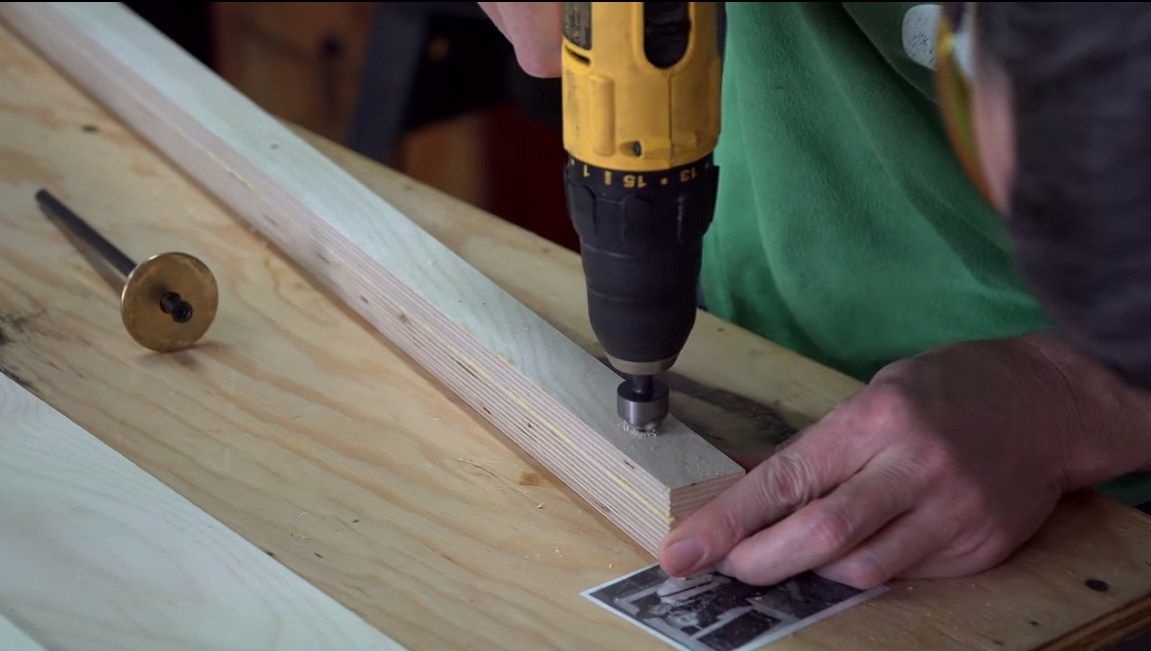
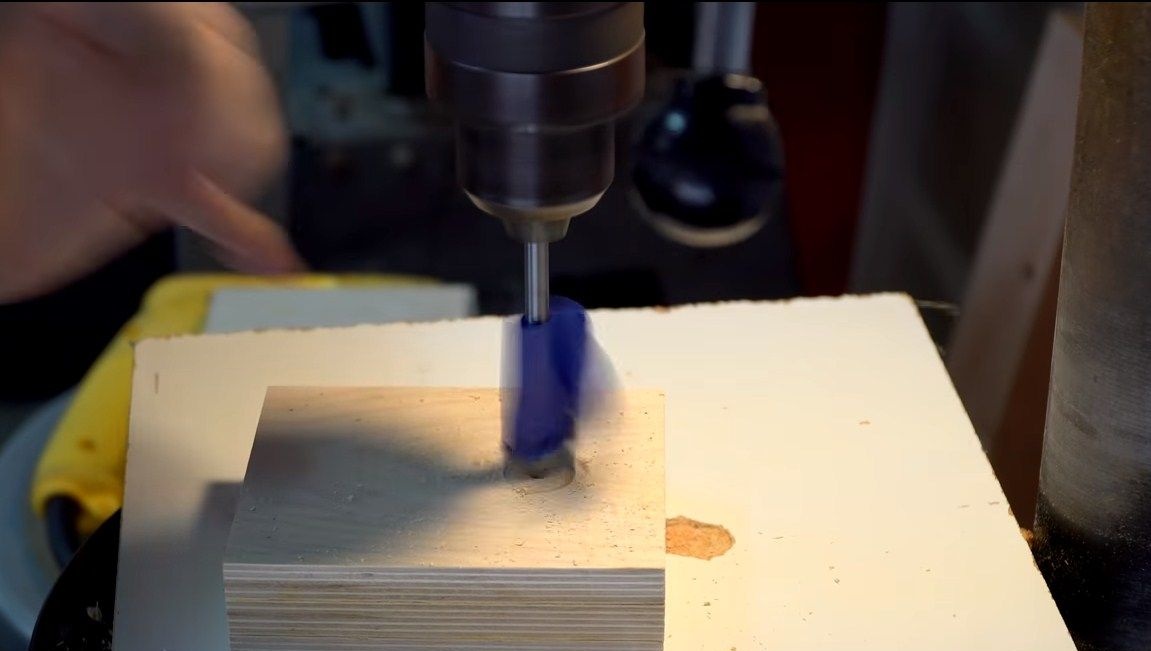
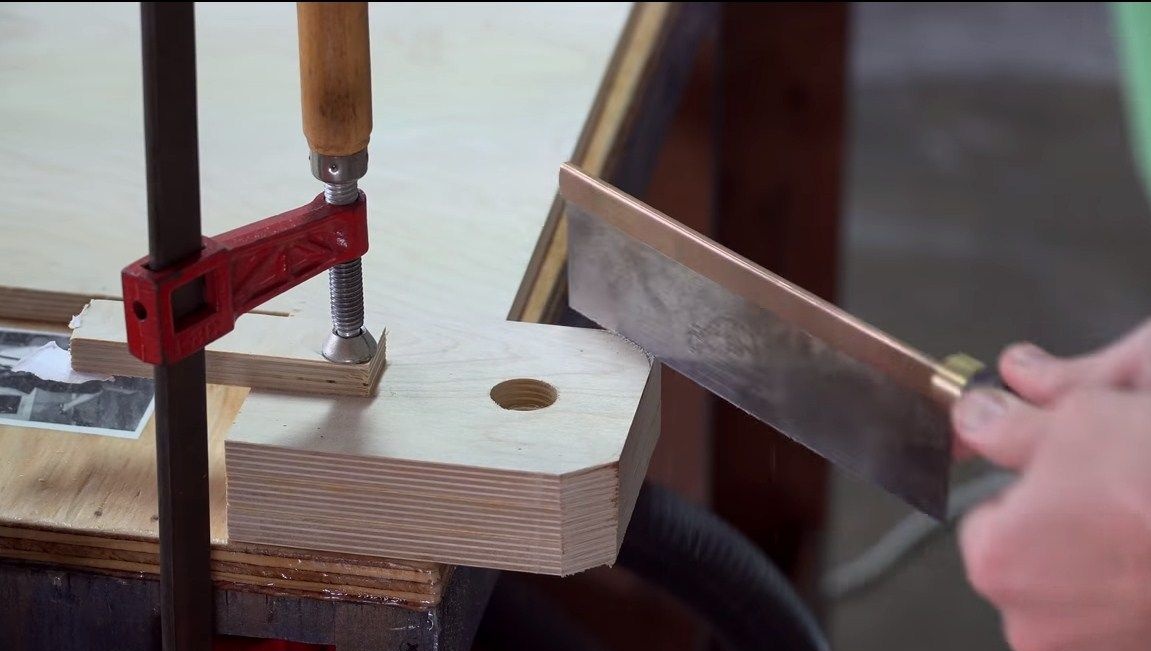
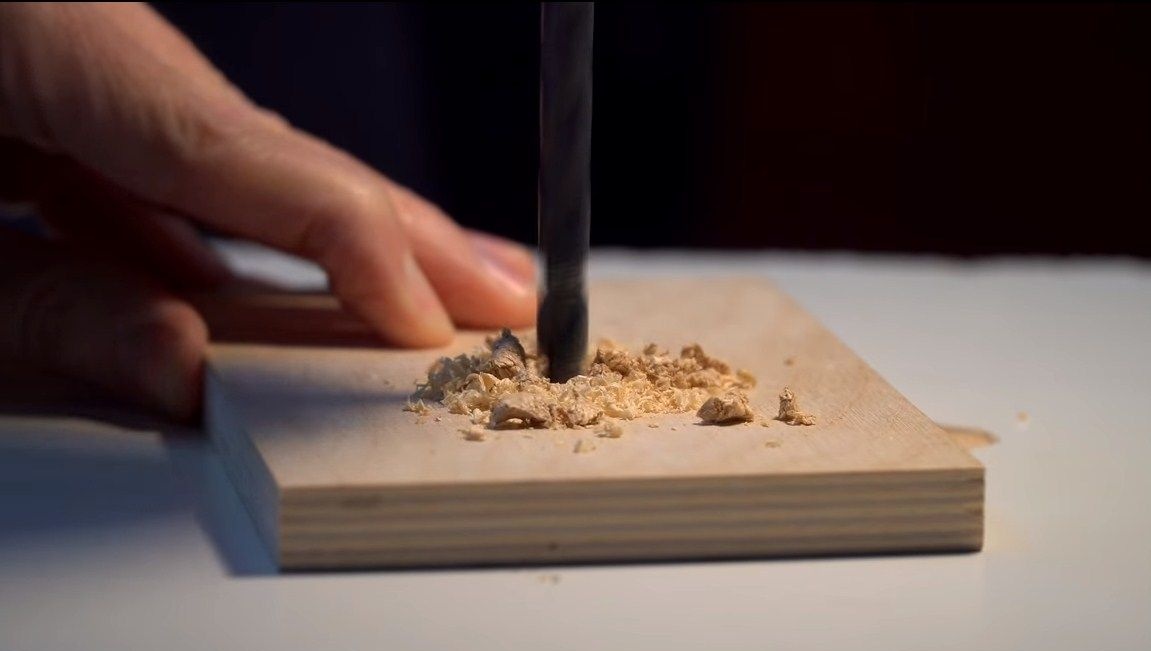
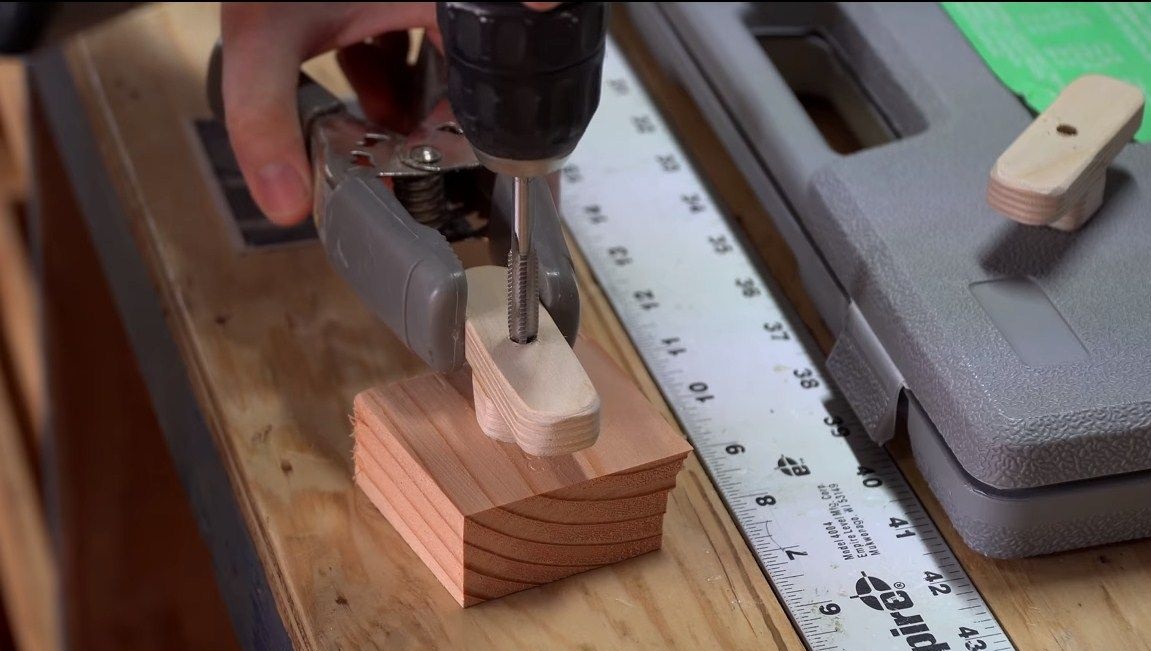
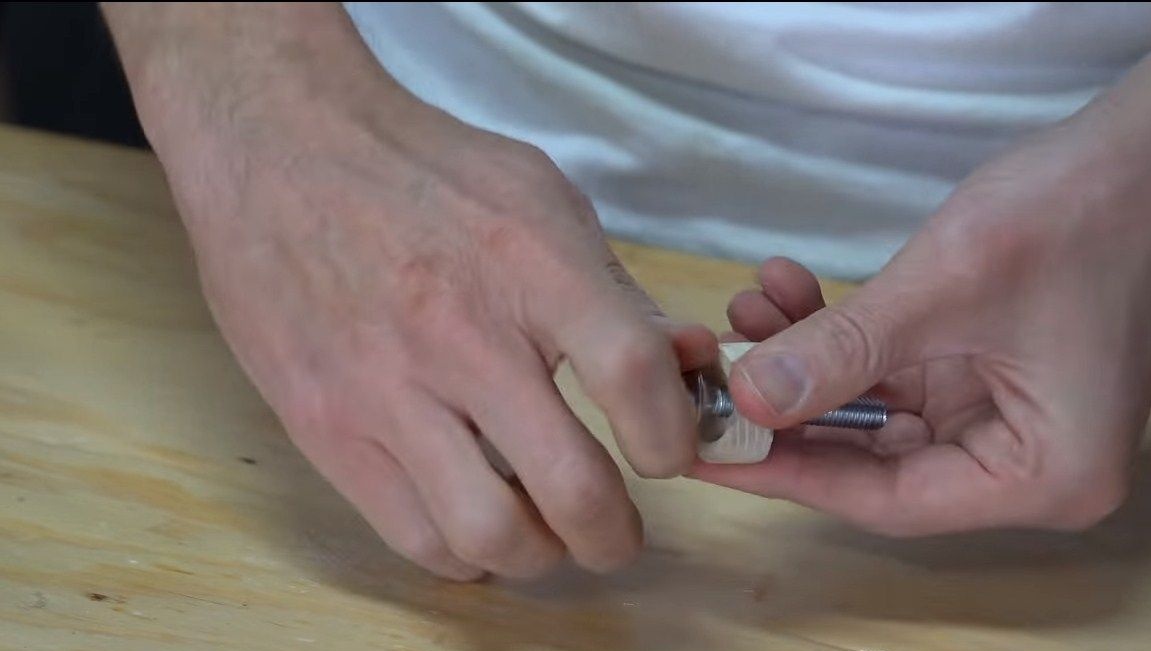
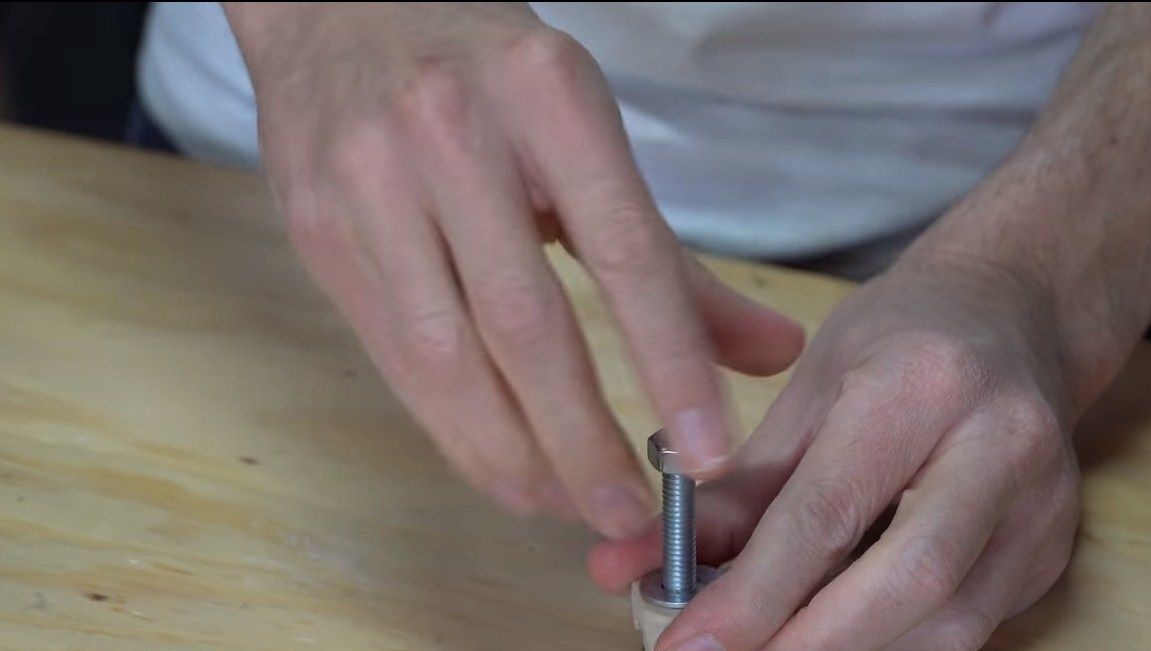
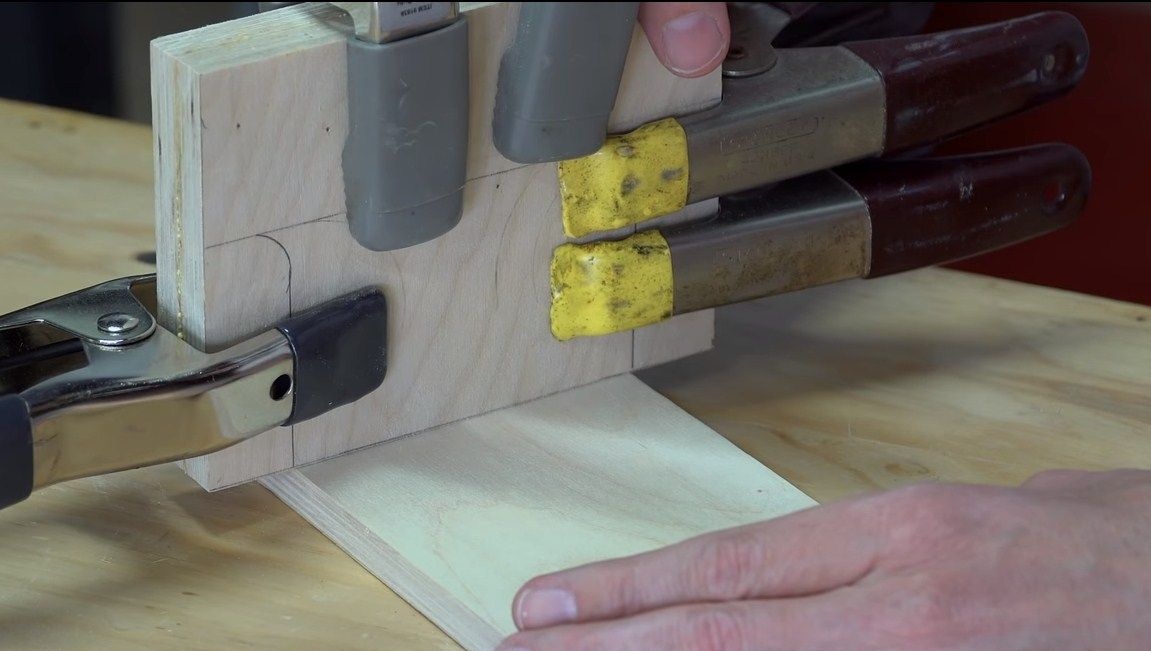
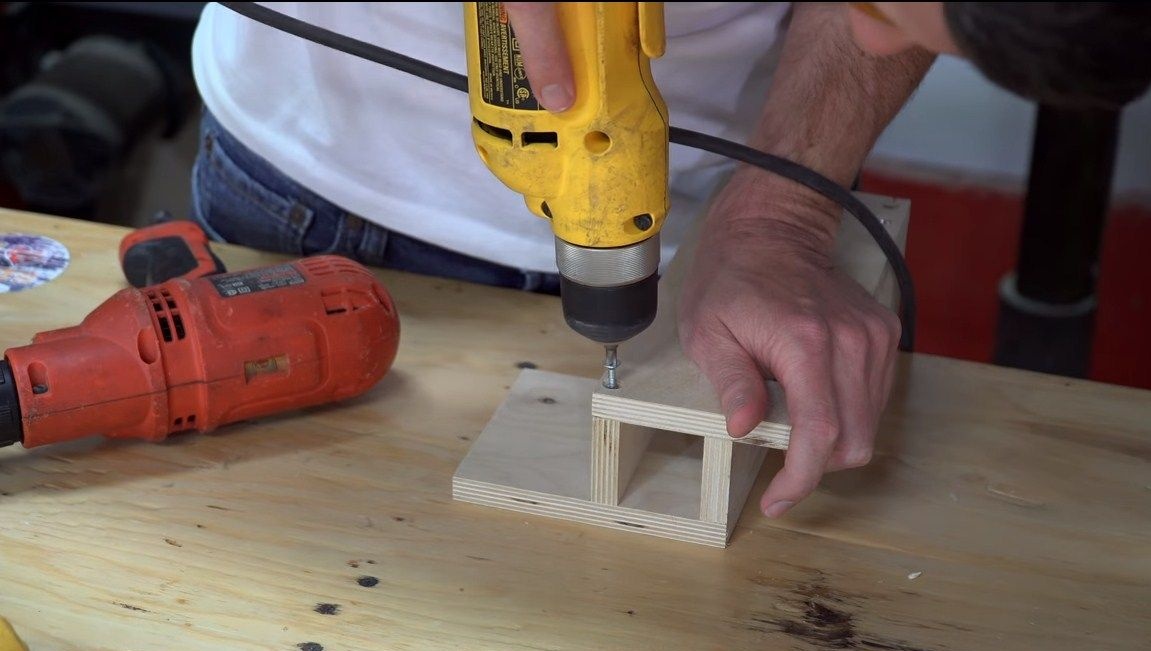
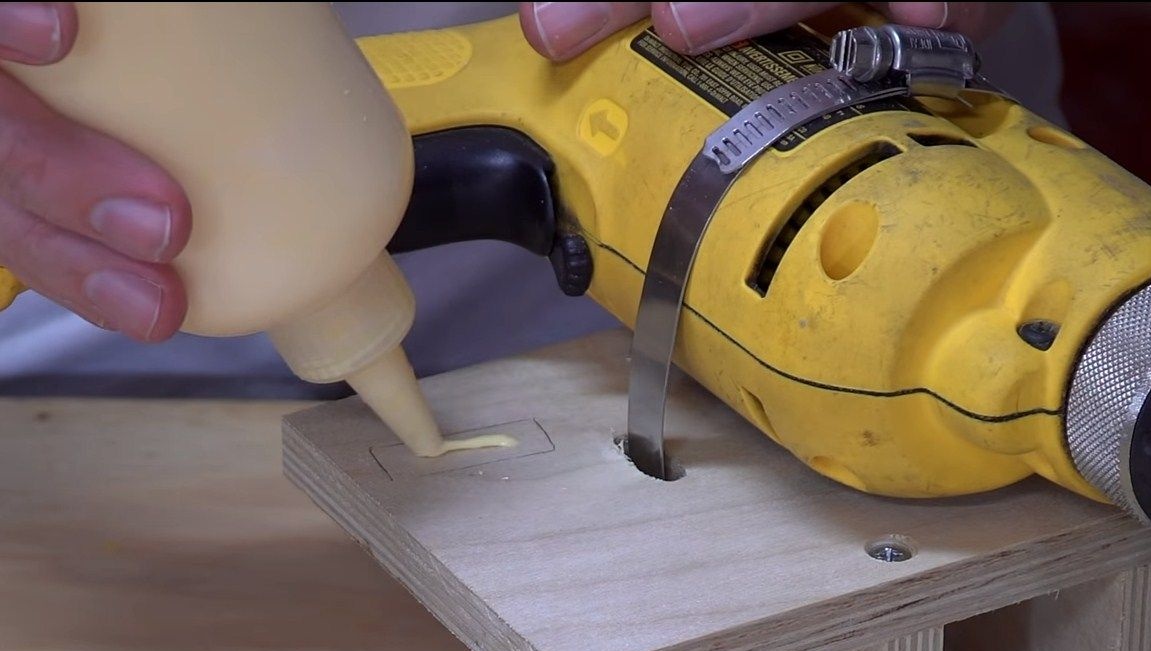
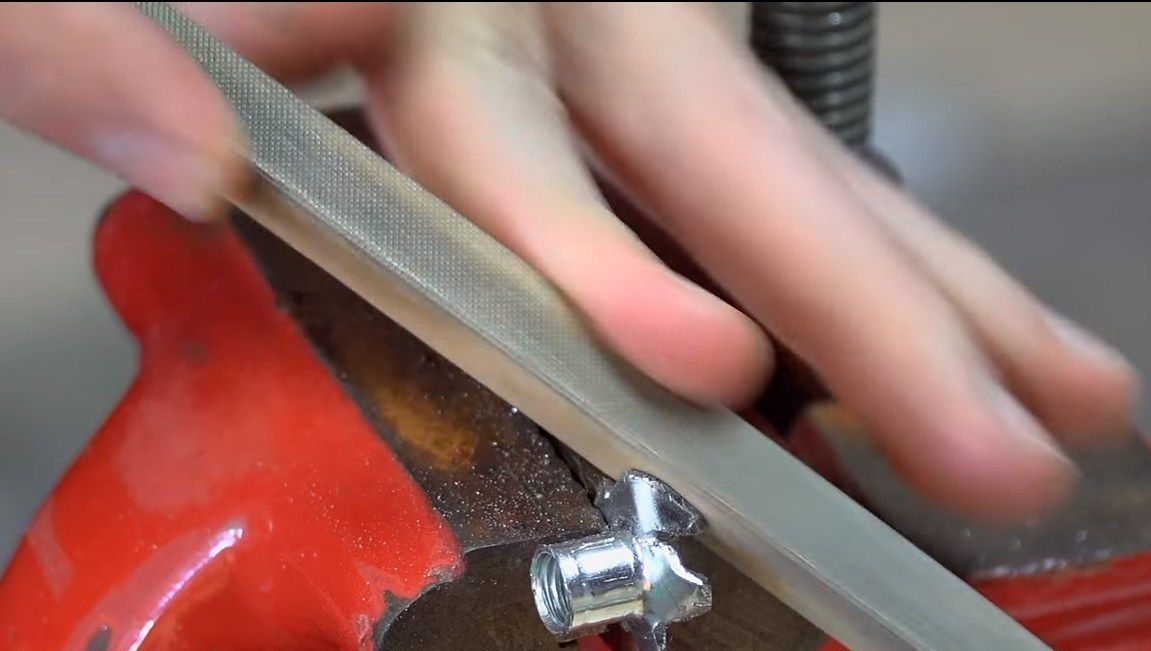
The clamps are needed in order to fix the headstock. We also make these parts from plywood, cut out “twists” that are suitable in shape, glue them, and then drill holes. Now it remains to cut the thread in the tree. Plywood is a fairly hard material, the thread must withstand, although this is not the best option, because over time, the thread will deteriorate anyway.It is better to glue steel nuts inside.

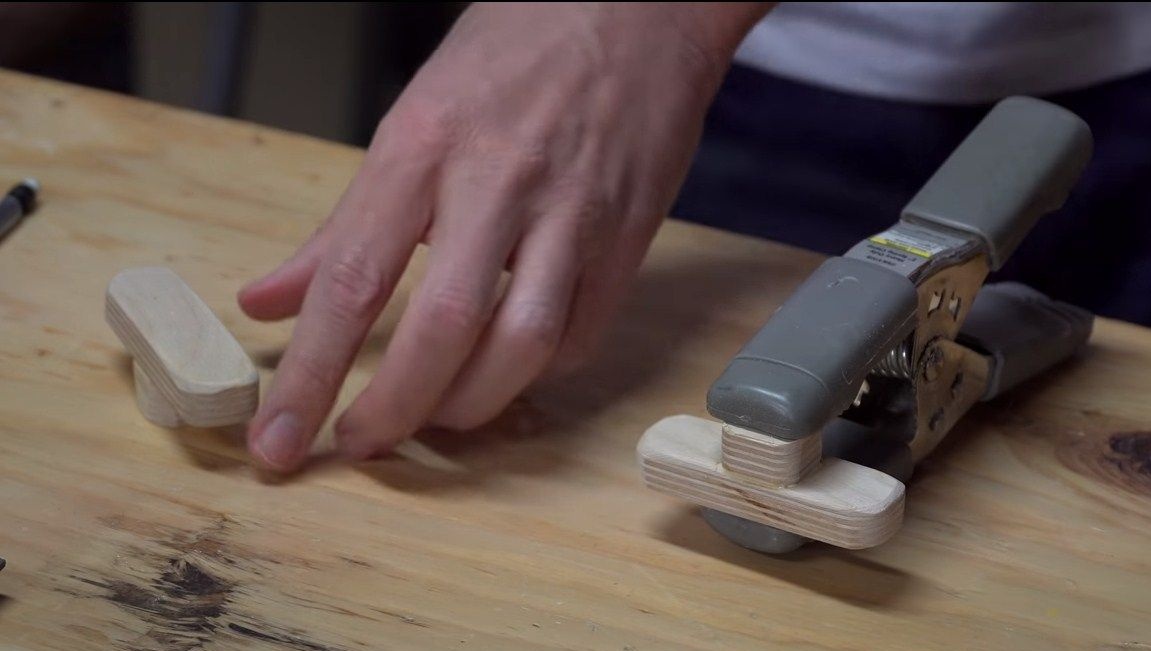
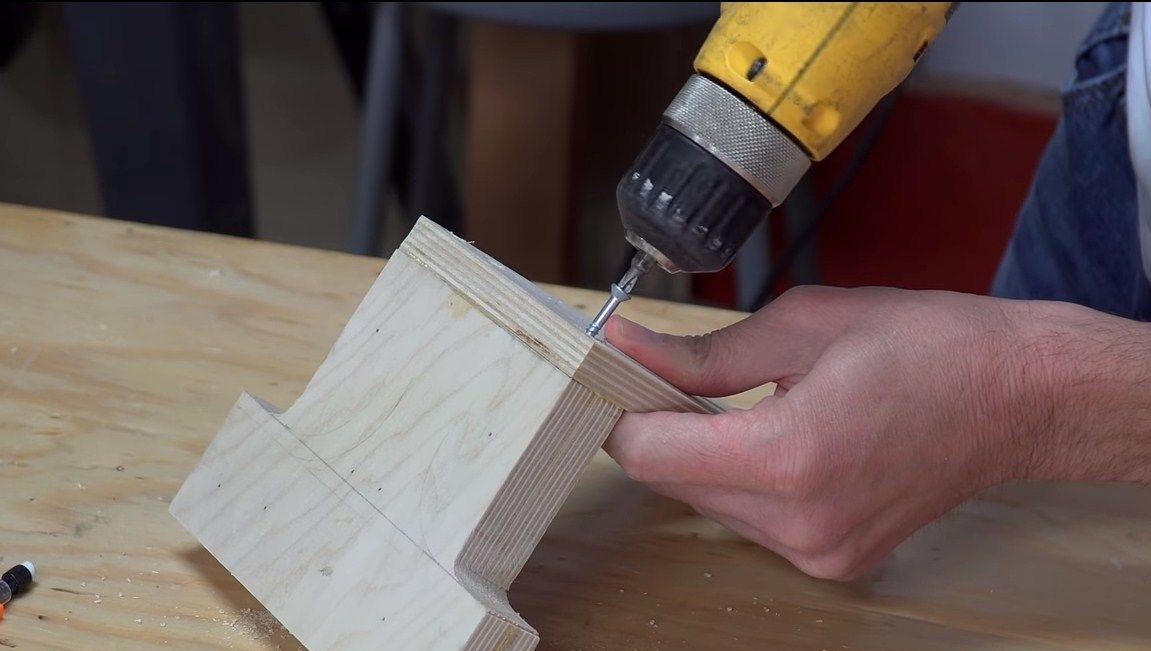
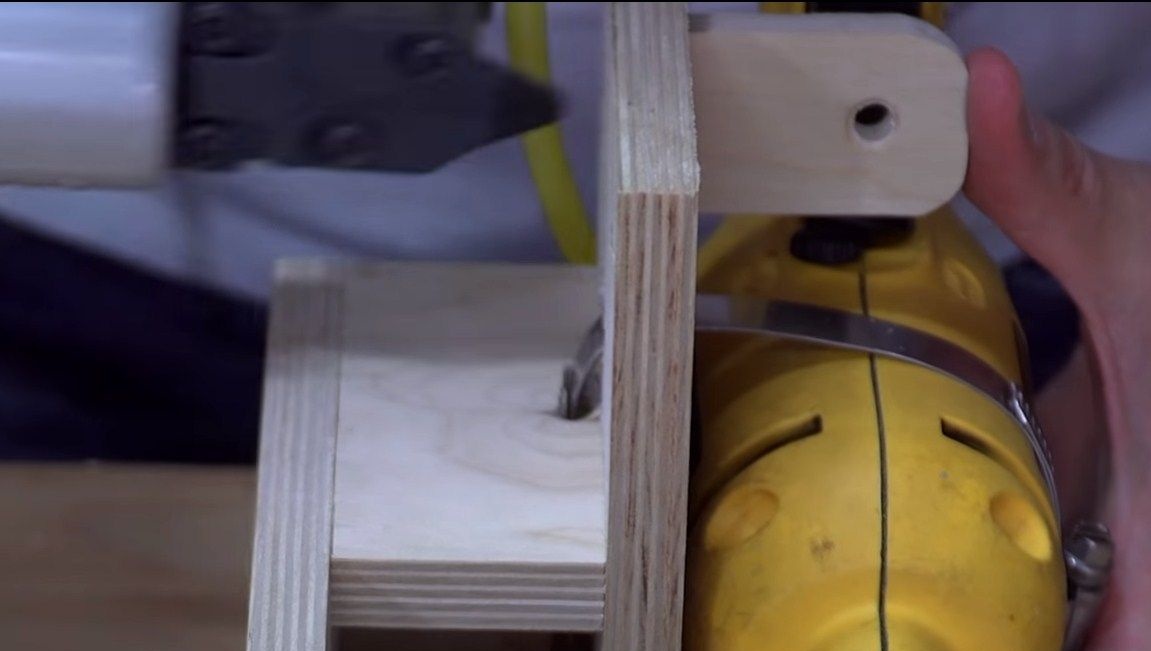
Step Four We finalize the heads of the fixing bolts
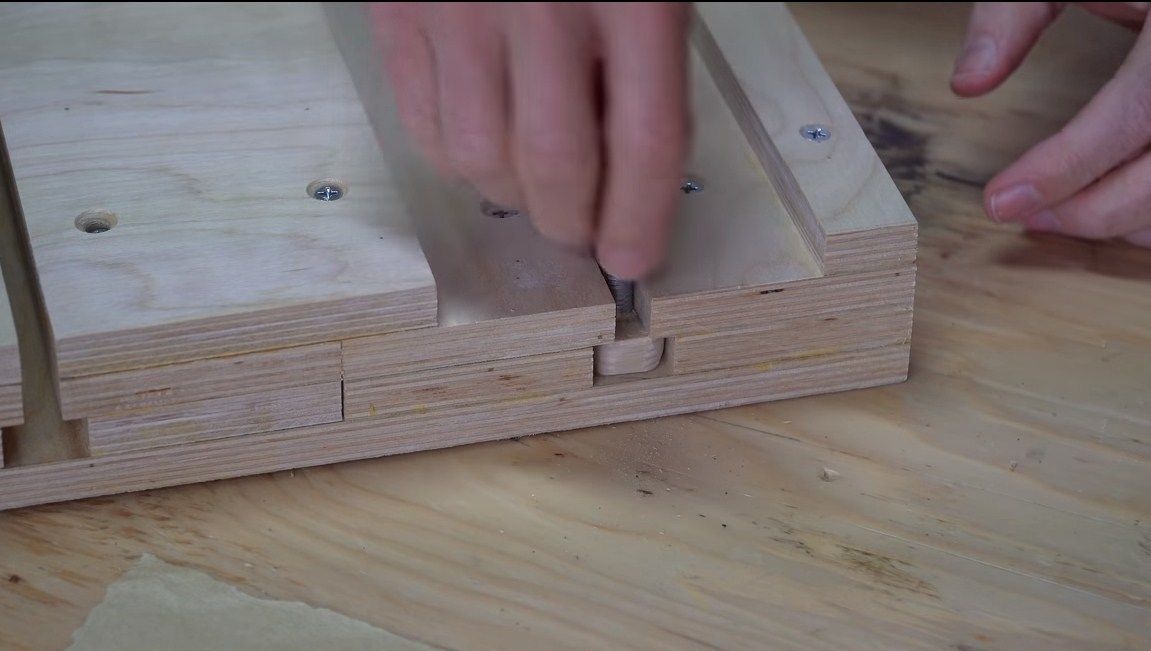
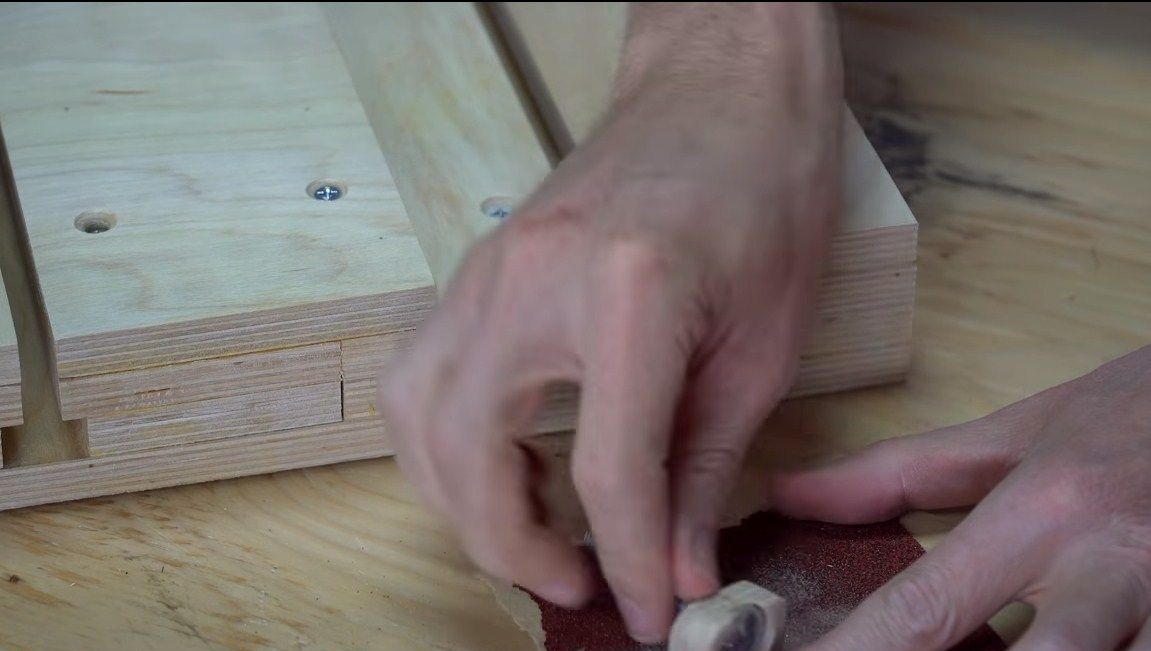
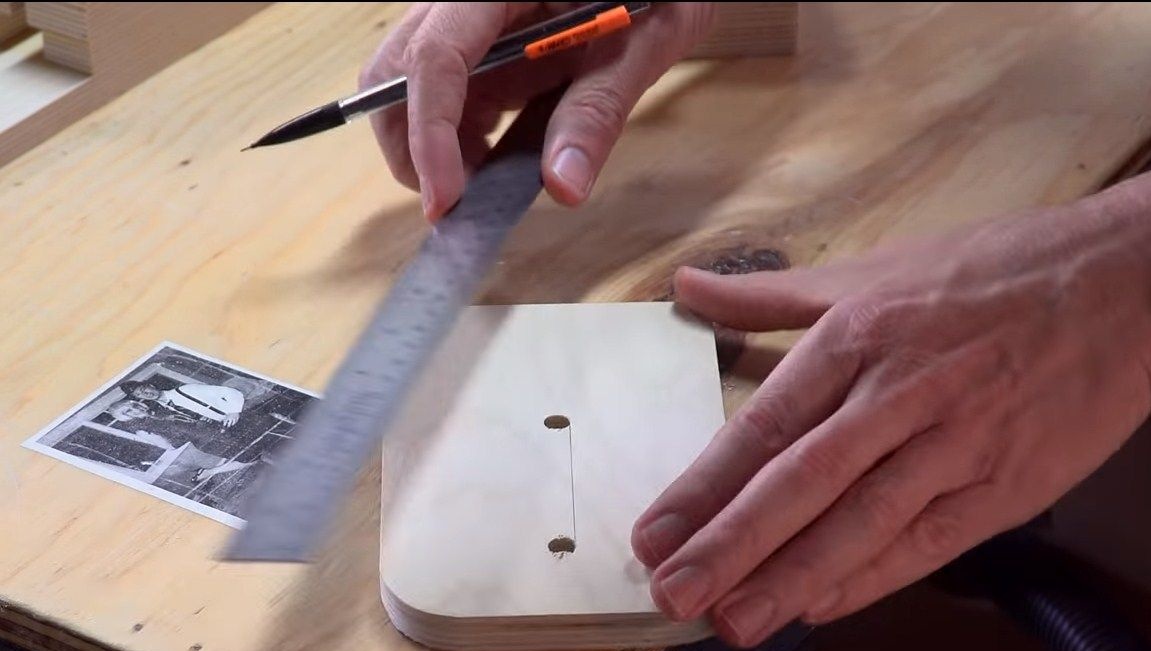
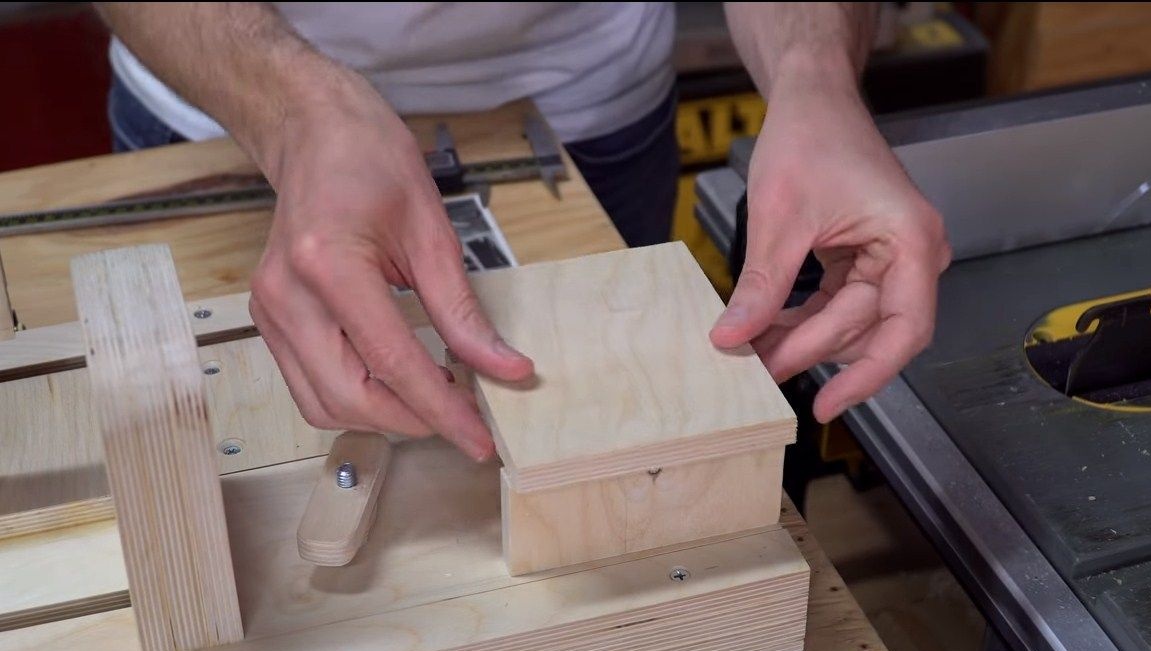
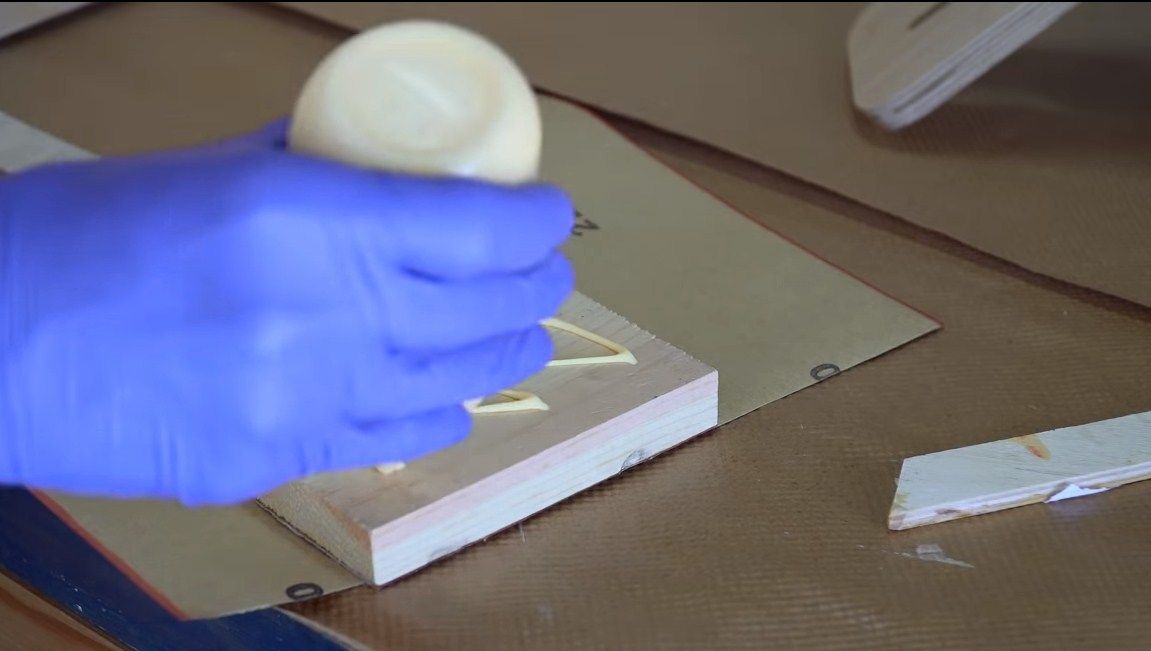
So that the heads are not pulled out of the grooves under load, you need to make them larger heads. For these purposes, the author grinds parts from plywood and cuts out the seats under the heads. That's all, now we got excellent reliable clips for the headstock.
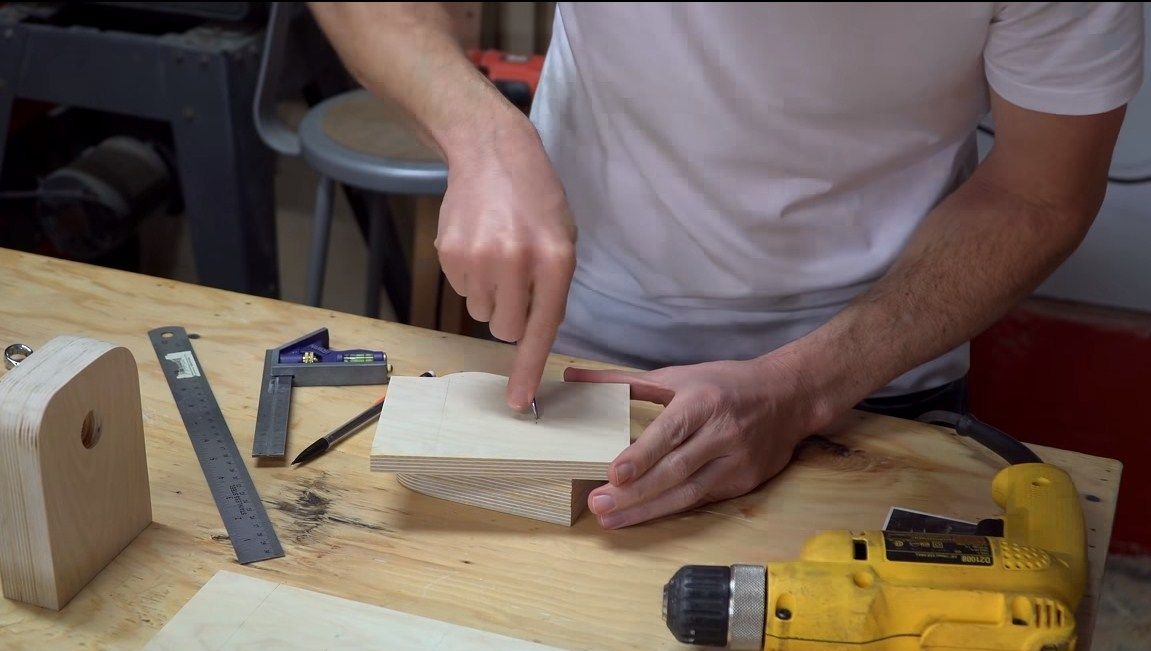
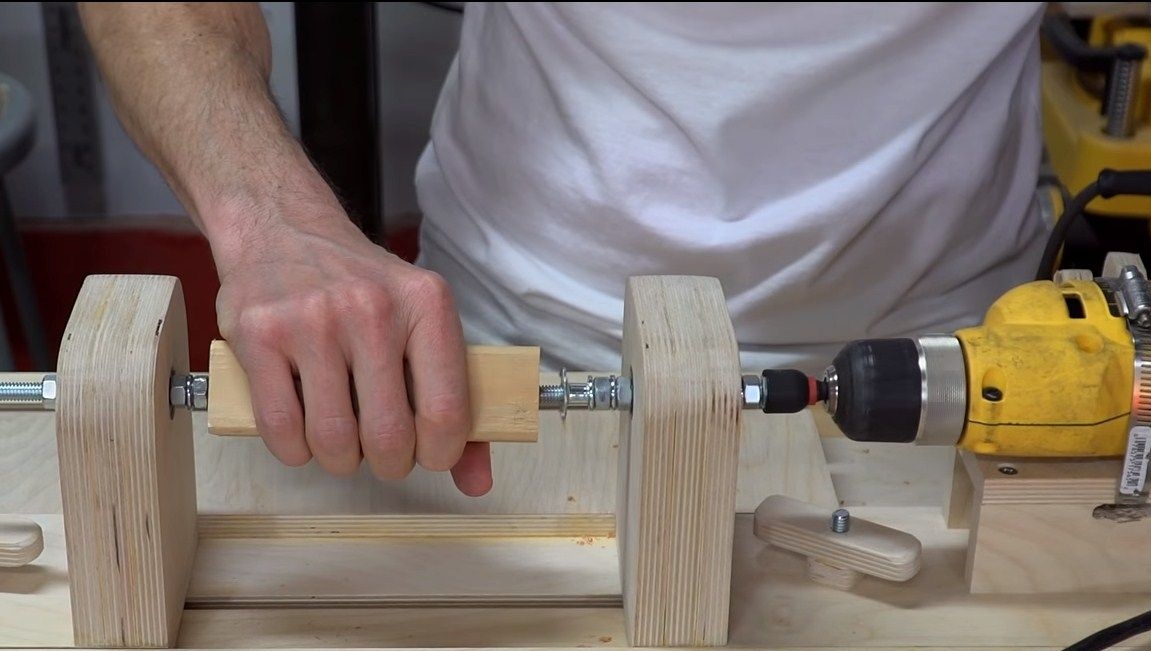
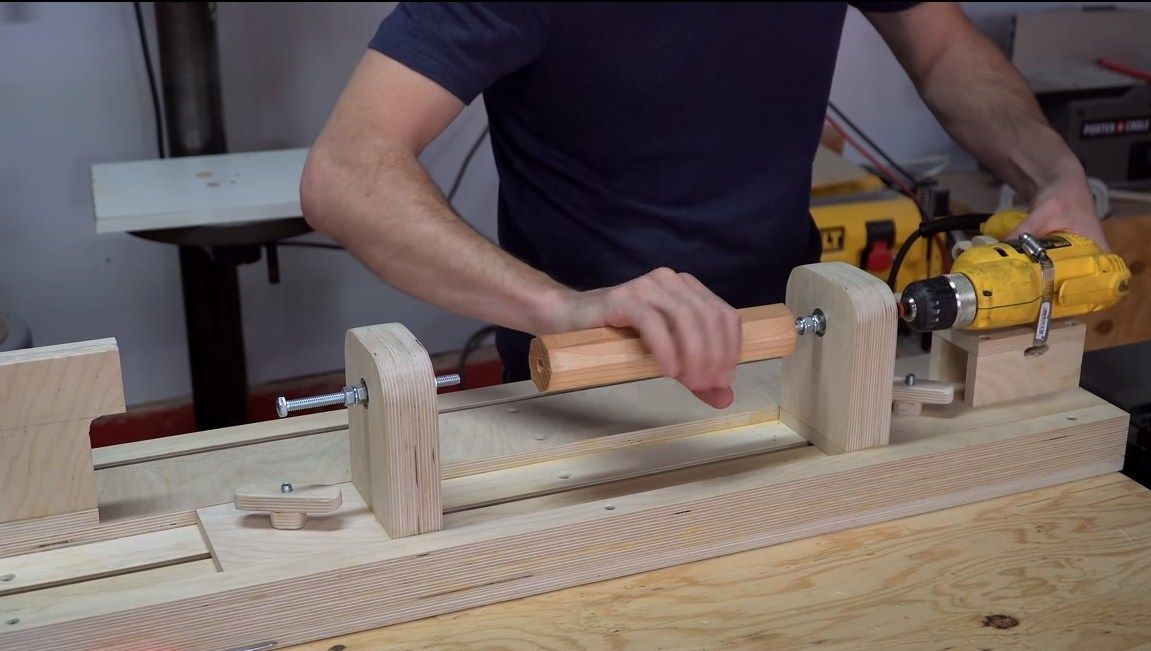
Step Five Lathe Hand
We also make a handicraft of plywood, cut, glue, twist. Look in more detail at a photo and video. The handle should be removable and preferably adjustable. Fasten it with a bolt to the base.
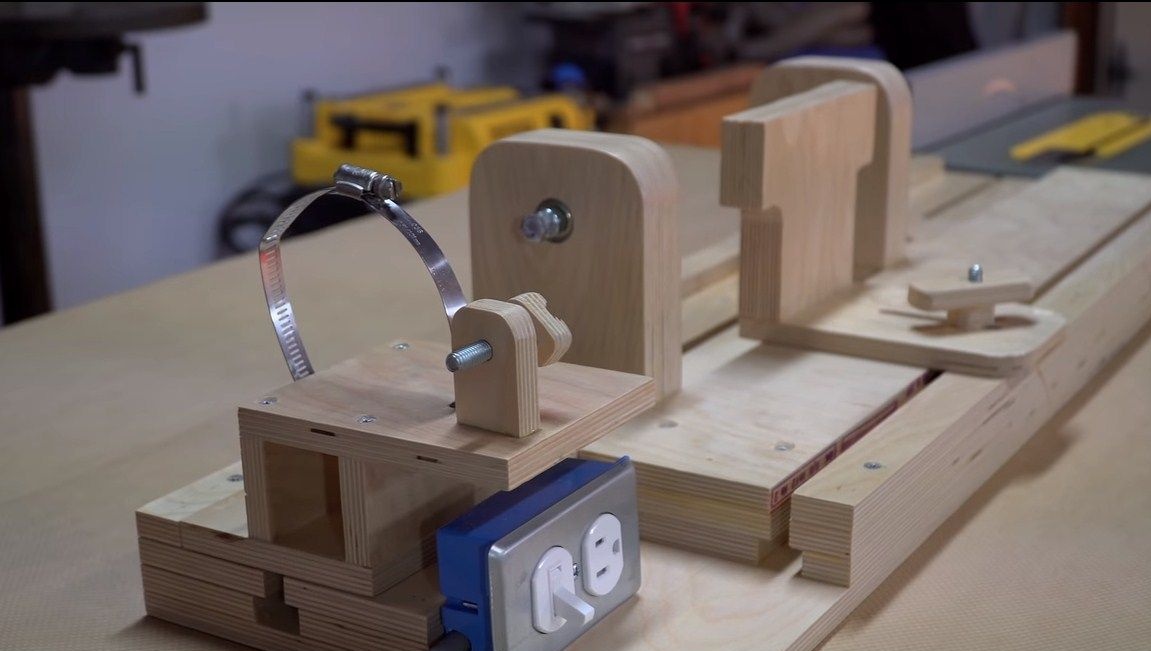
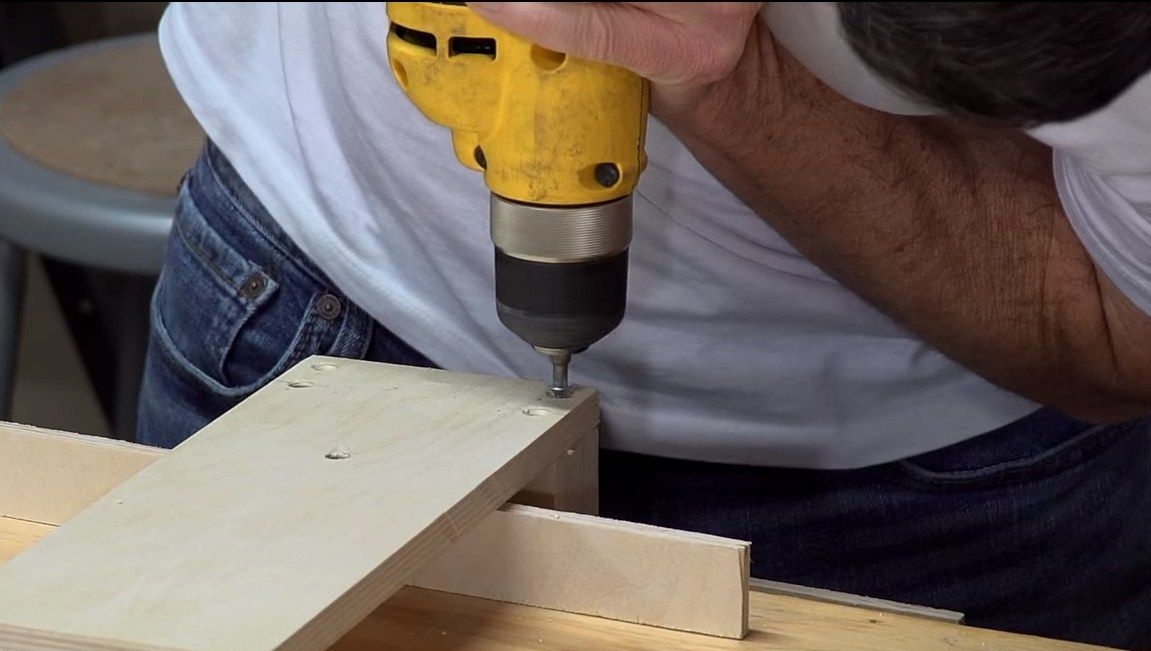
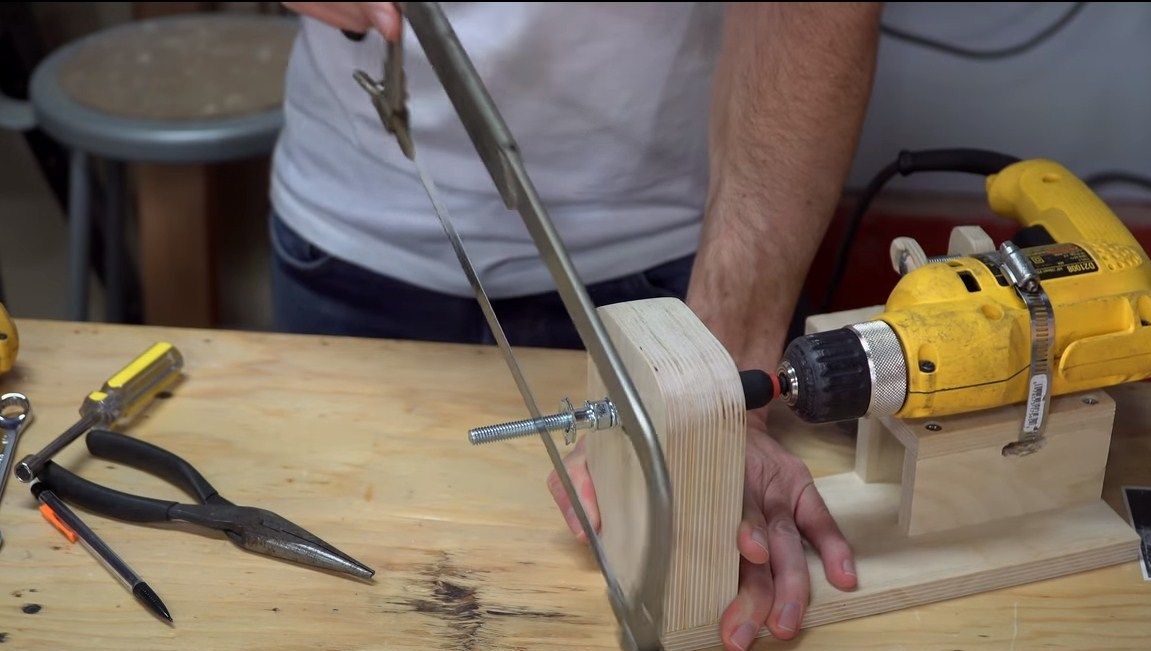
Step Six Drill platform and switch
Now you need to install a drill on the base. We make a small “table” of plywood under the drill, fasten it to the base with screws. Further, holes are drilled in this table, and a steel clamp is installed. That's all, we use this clamp to install the drill.
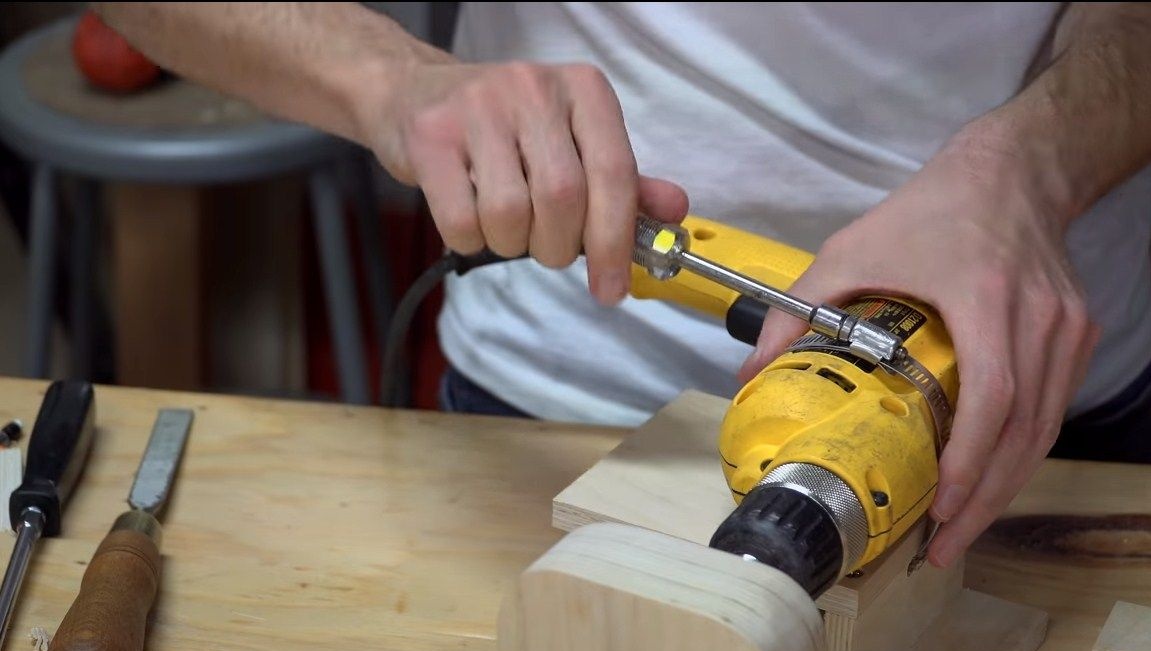
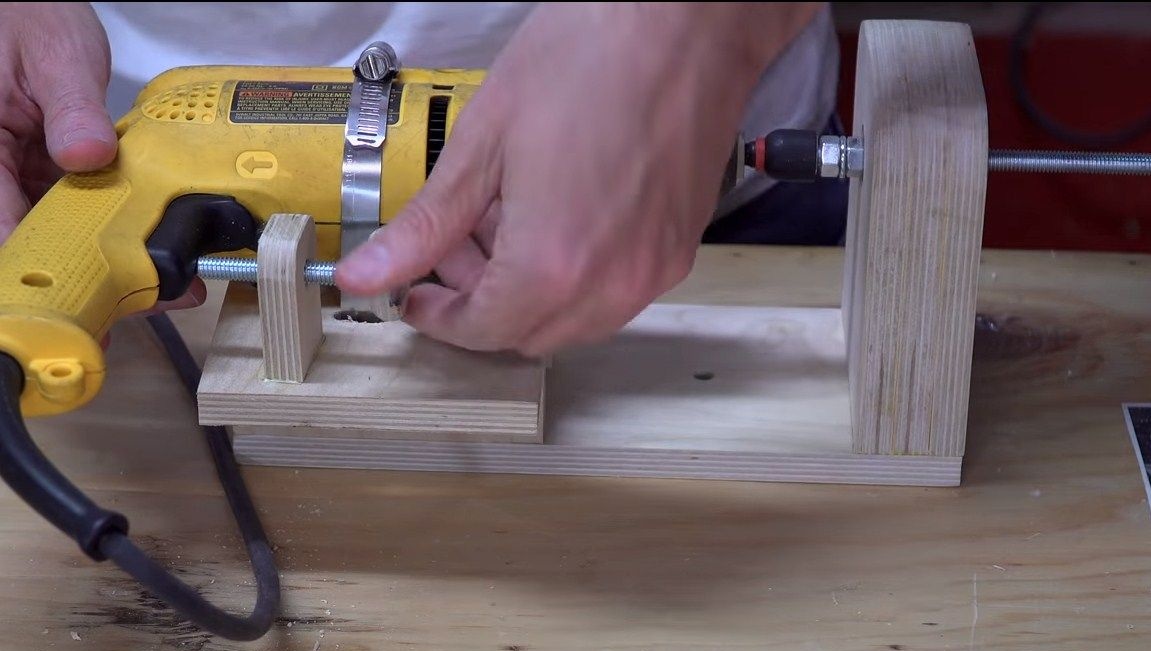
We also need to stir up the lock for the “trigger” of the drill. We cut the part out of plywood, drill a hole and cut the thread under the bolt. Set the part opposite the trigger. Now, when tightening the bolt, he will press the trigger and the drill will be turned on to the desired speed.
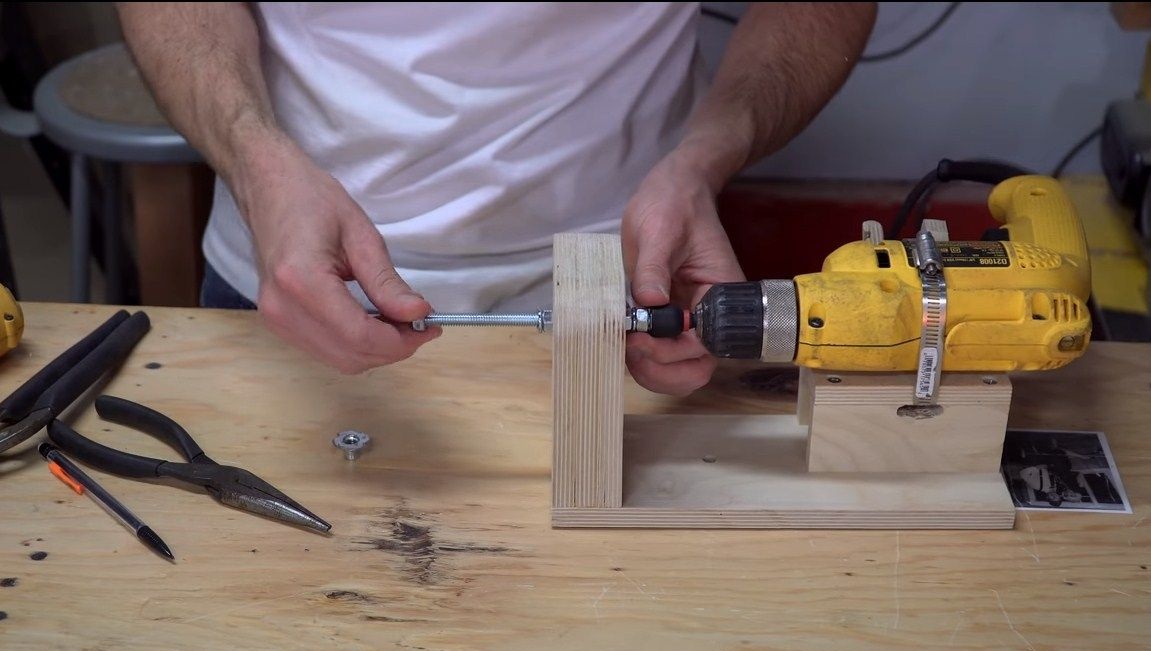
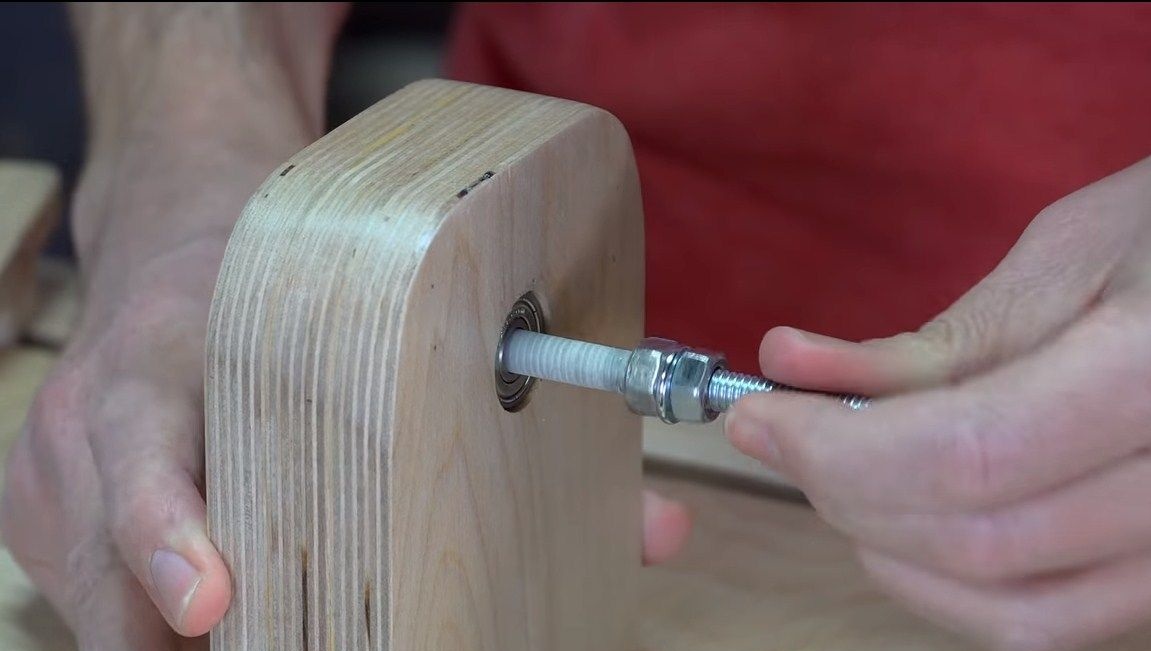
Seventh step. Working shaft
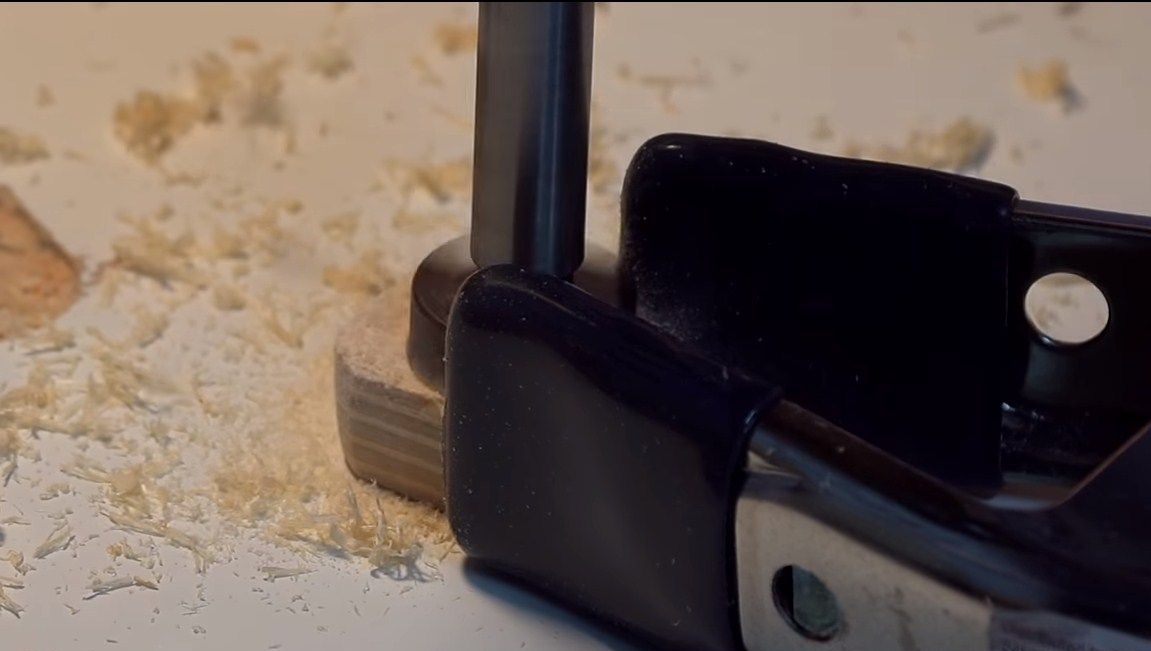
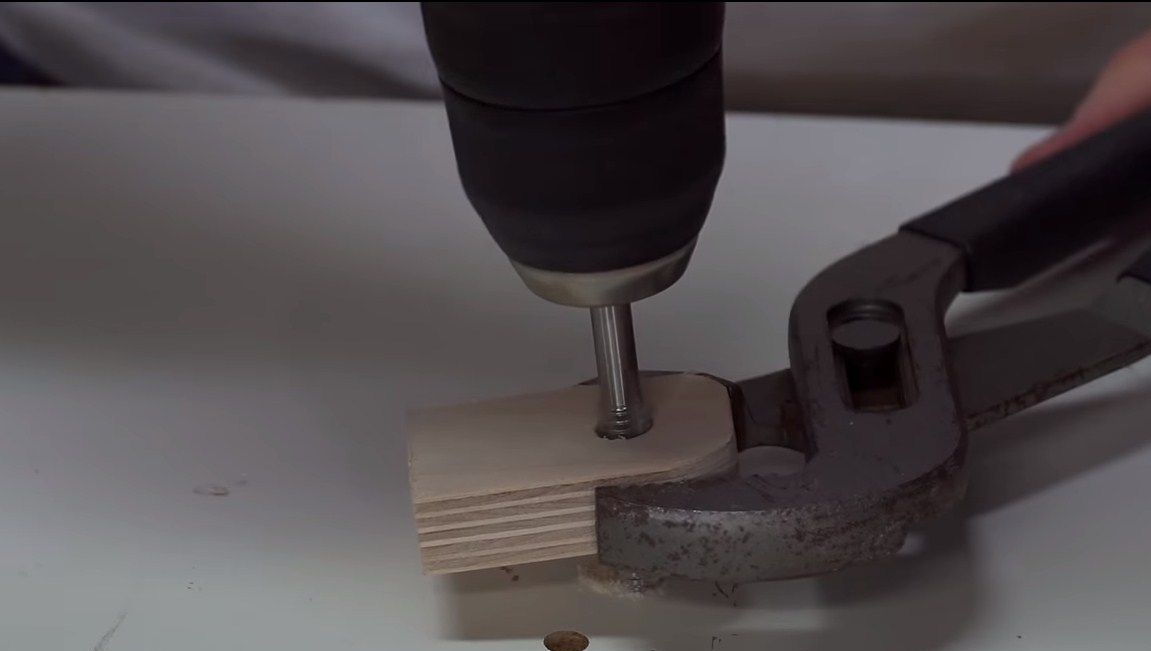
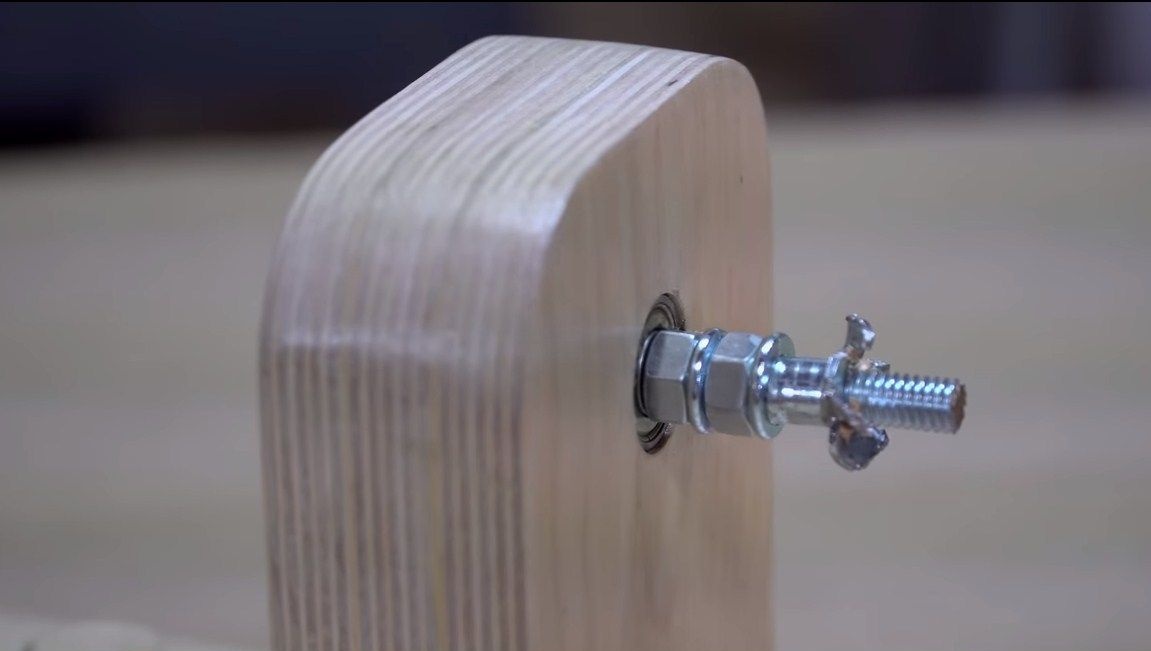
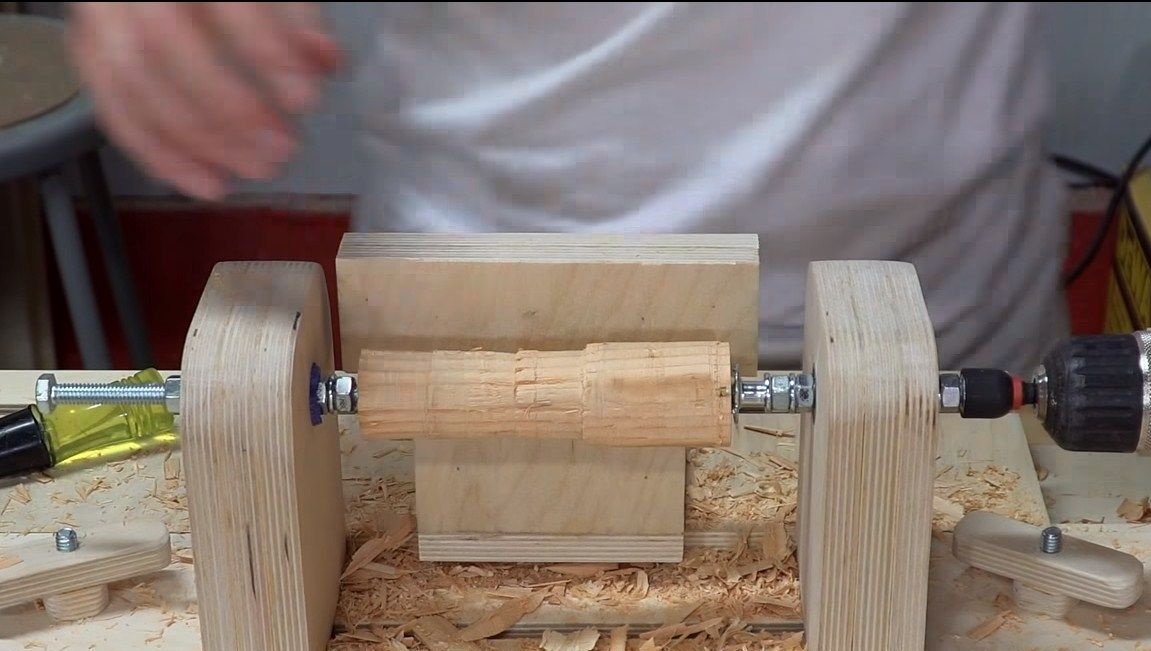
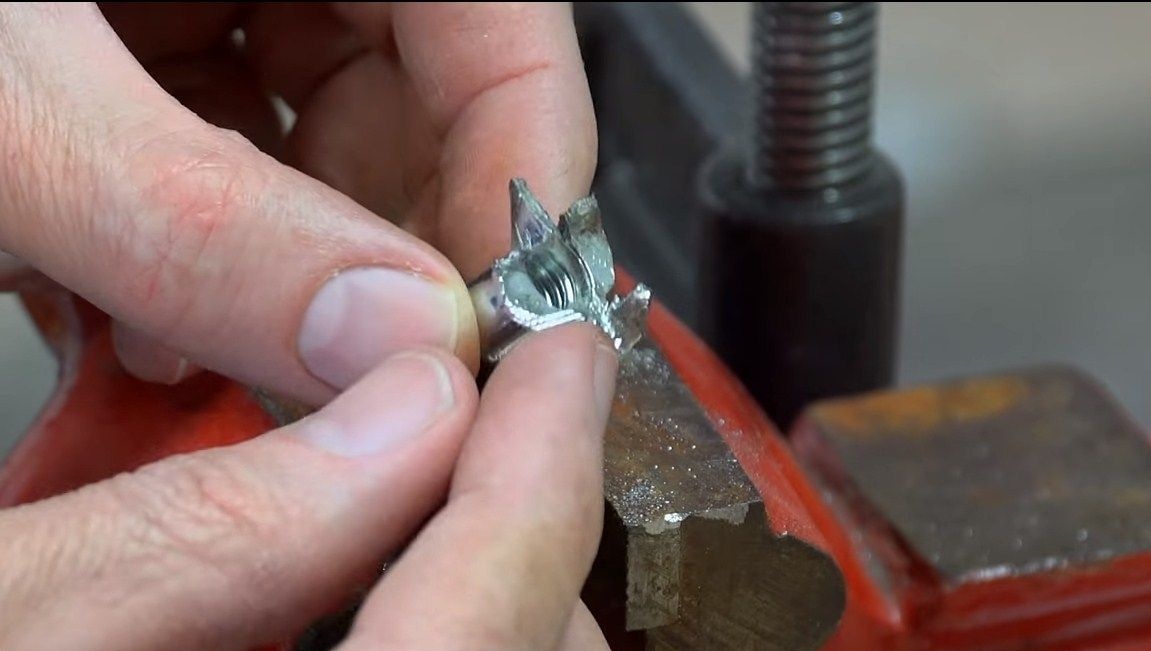
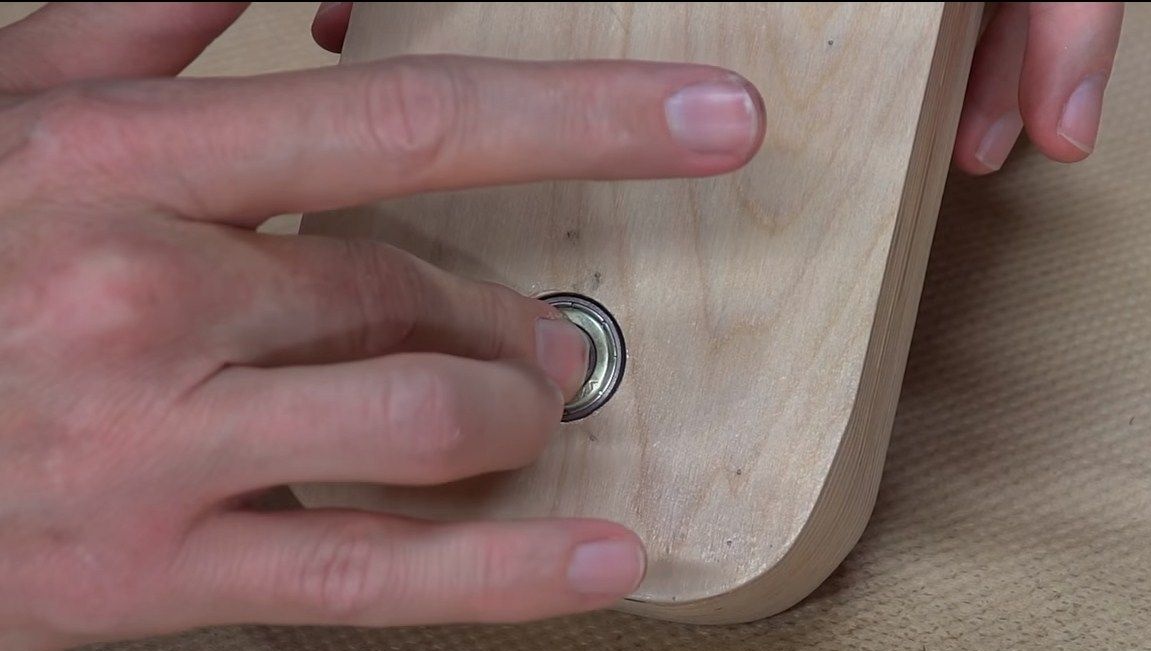
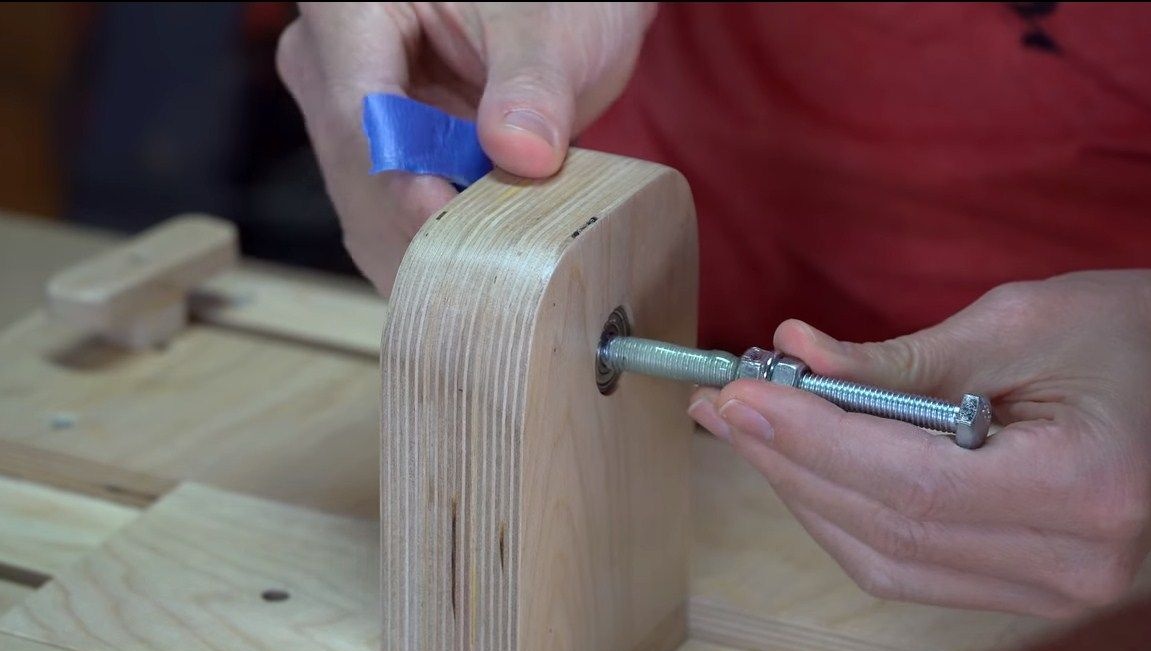
The working shaft is made of a threaded rod, which is fixed with nuts. The shaft rotates on bearings mounted in the headstock. A furniture nut is installed at the end of the shaft, which is designed to fix the workpiece.
Well, a similar shaft is installed in the persistent headstock, but without a furniture nut.
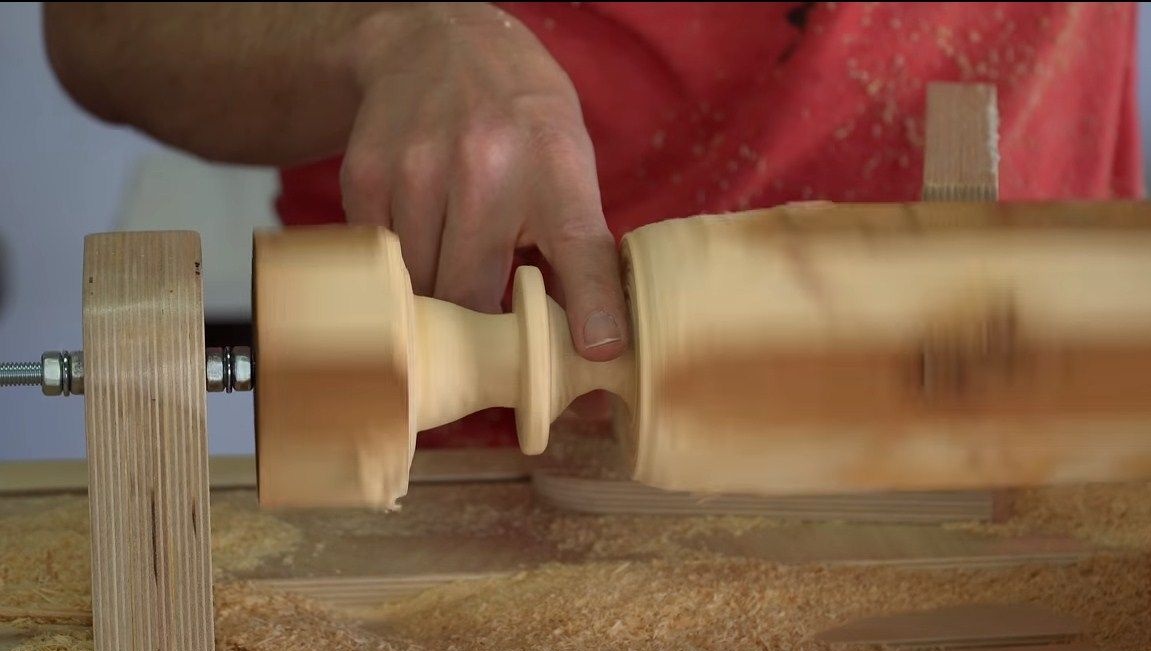
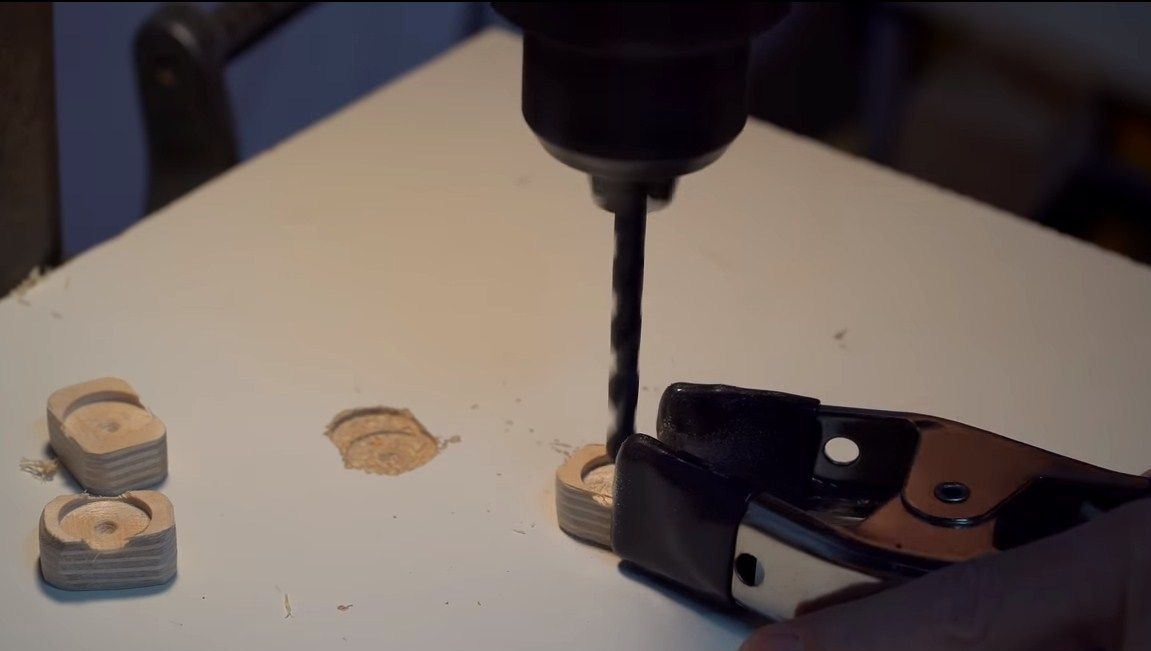
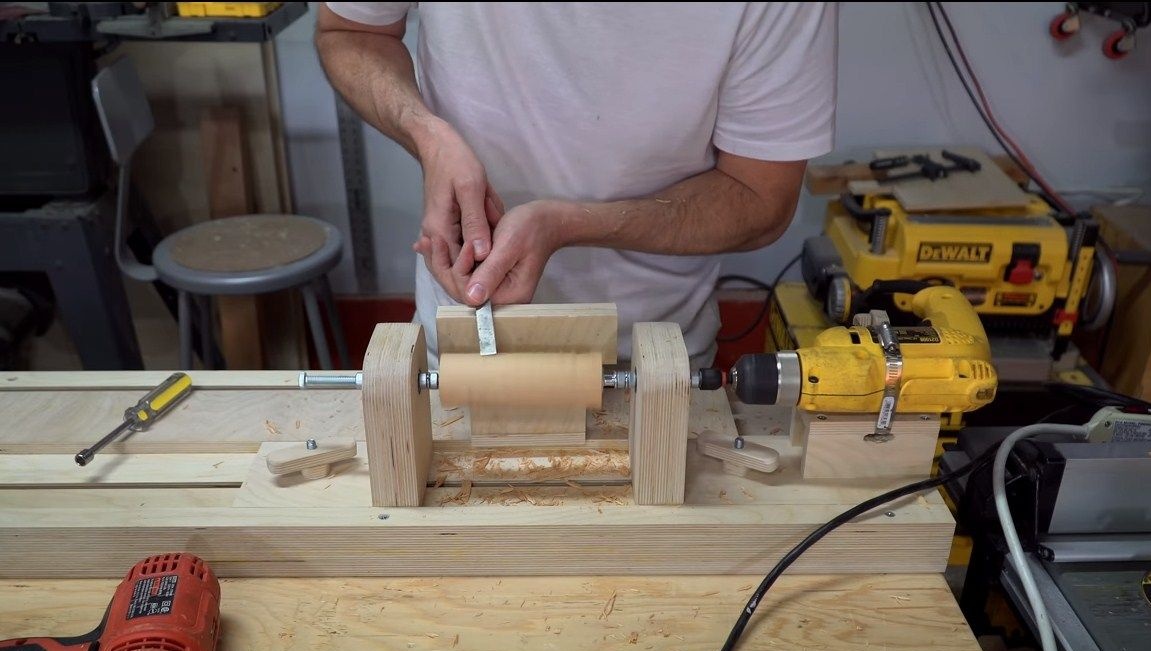
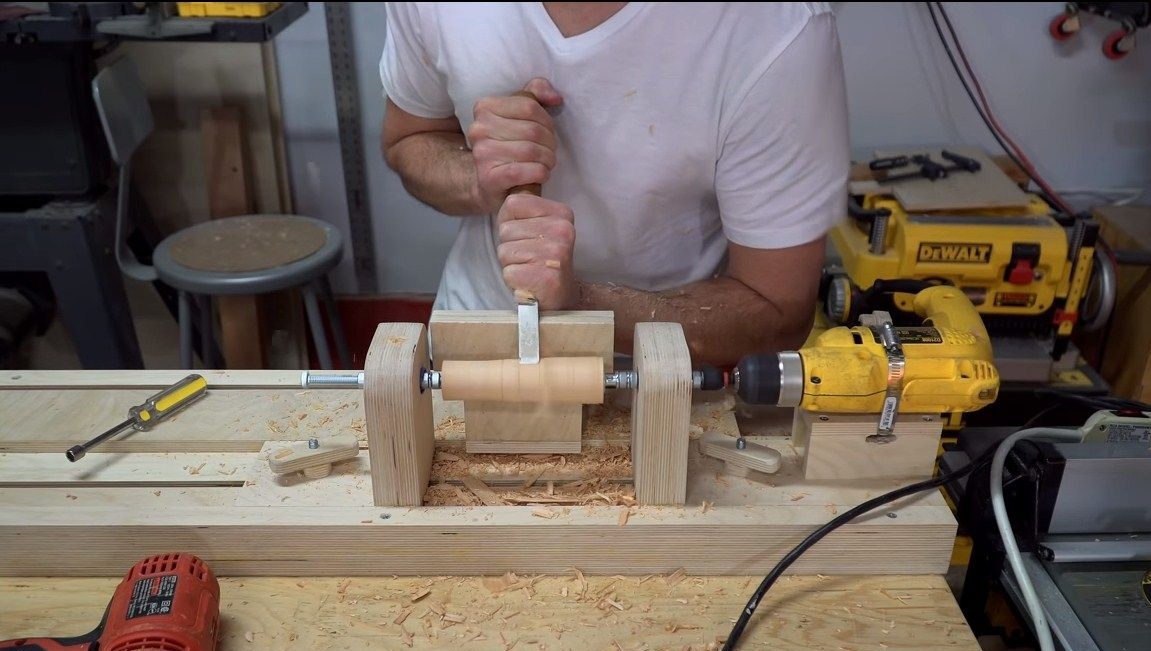
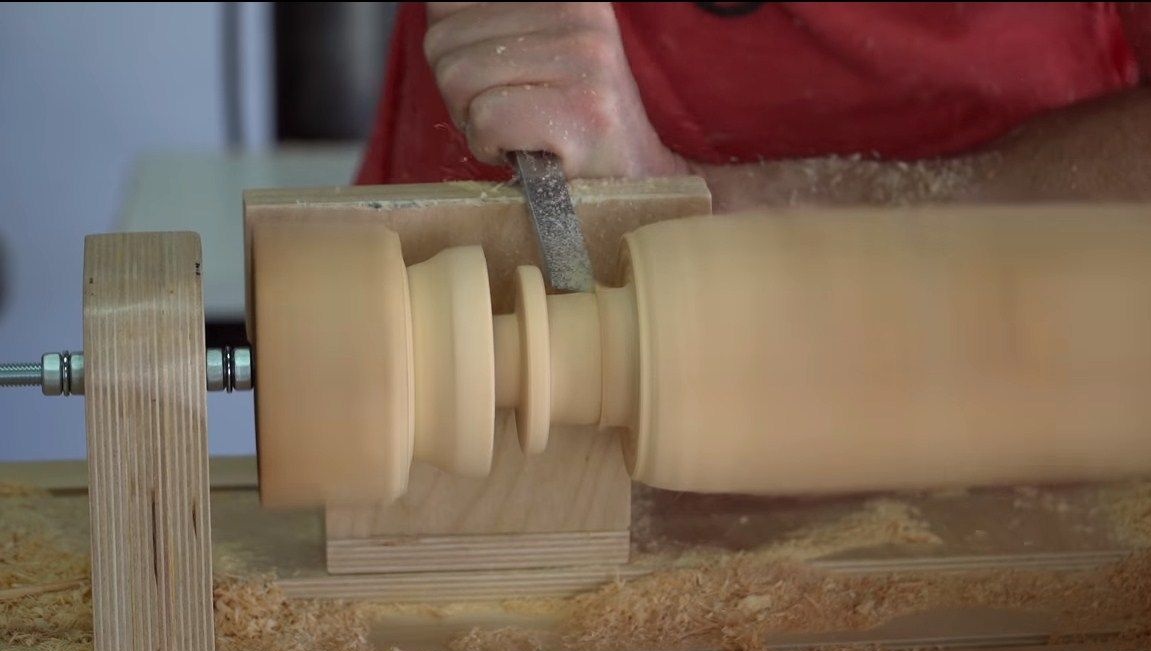
Step Eight. First test
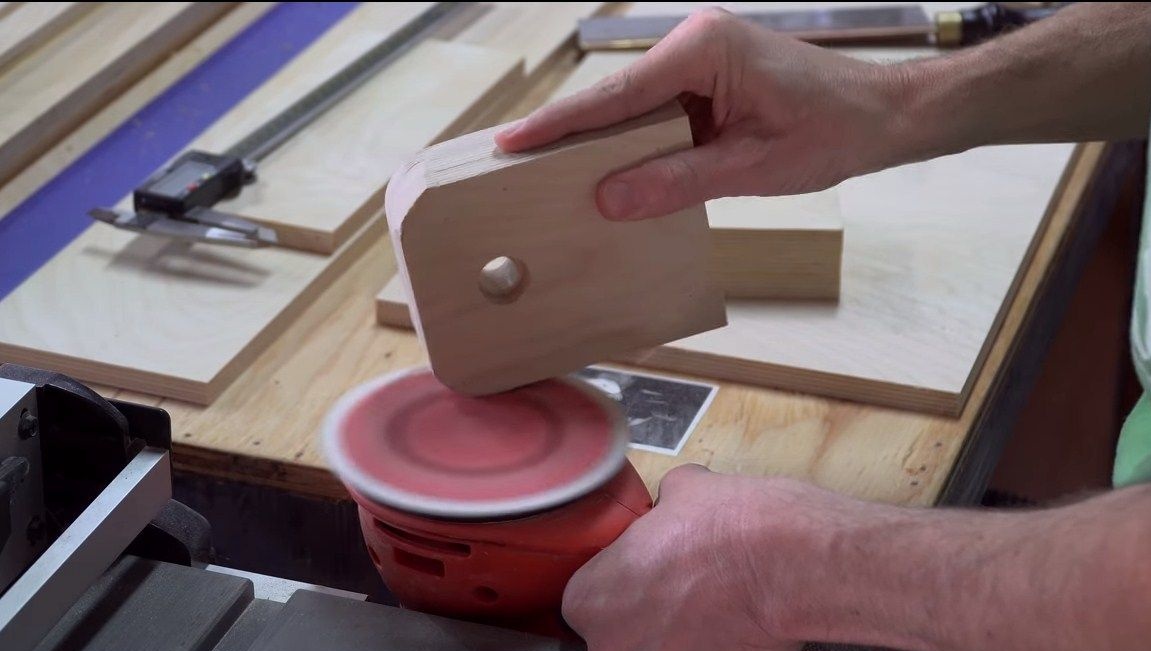
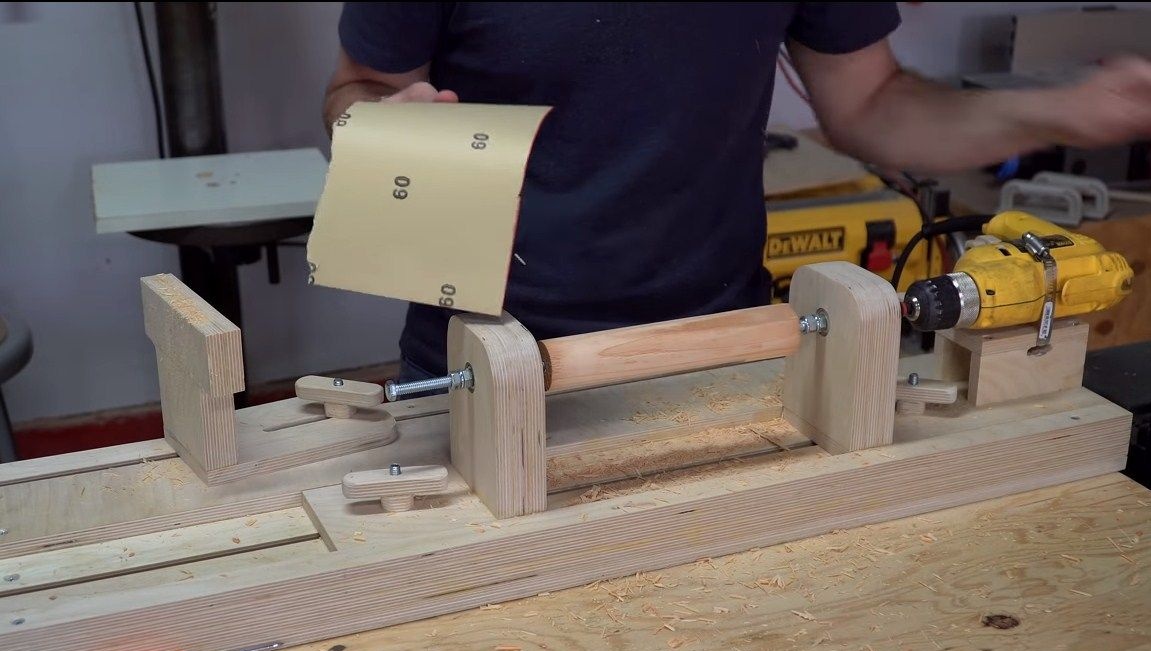
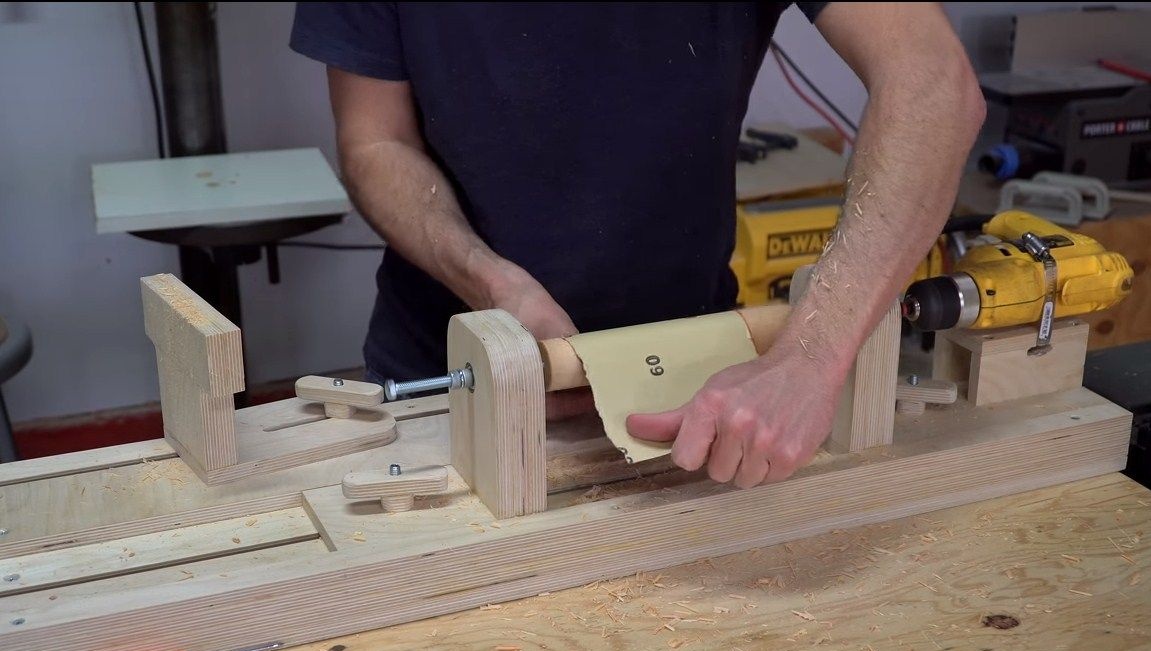
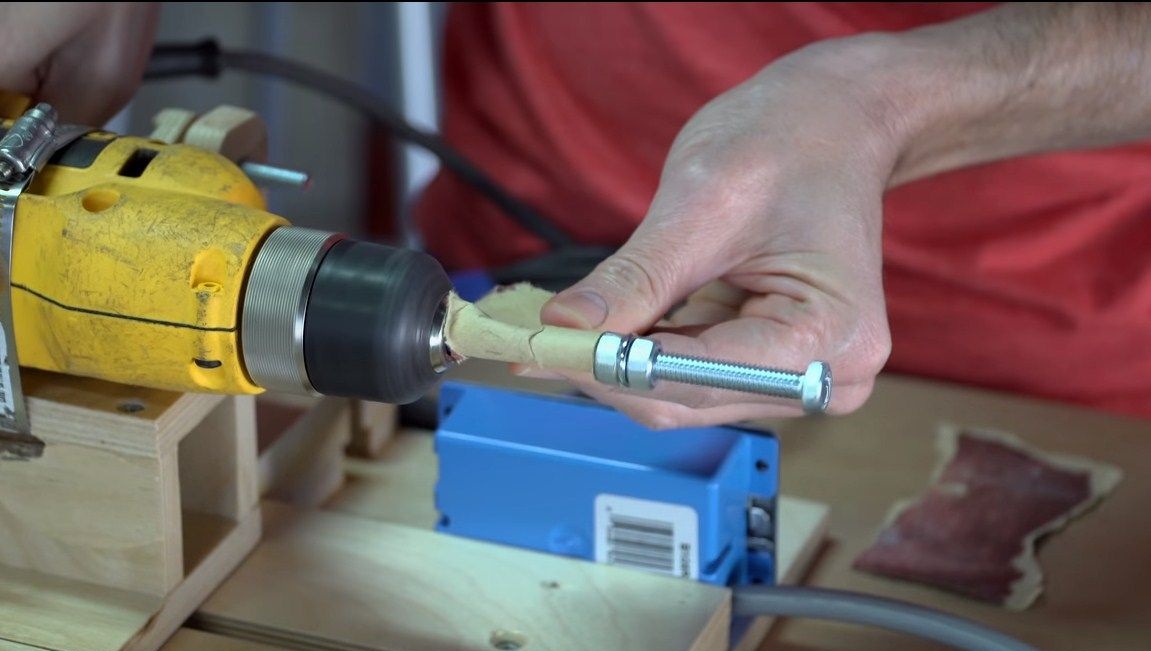
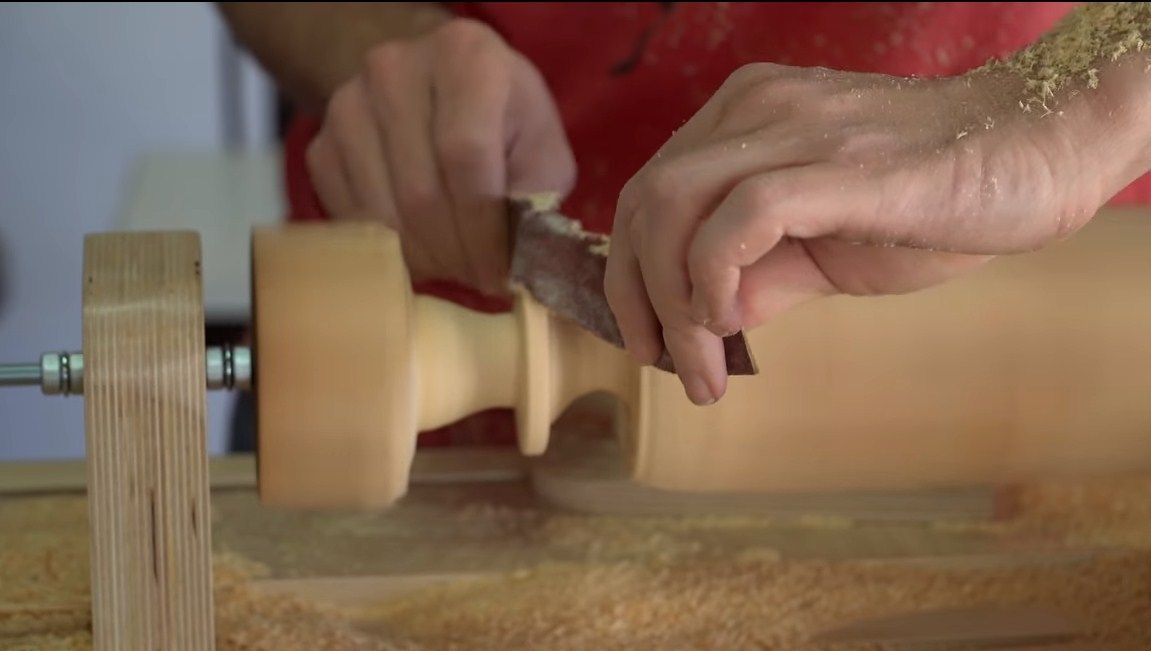
We install the drill in its place and connect it to the machine. In the drill chuck we install the head for the nut. The first tests showed that the workpiece stalled under load. To solve this problem, remove the furniture nut and modify it. Its edges need to be more bent and sharpened so that they dig into the workpiece. After this modernization, the work process went as it should. The author easily carried out turning work, and then grinding.

Step Nine. Further refinement
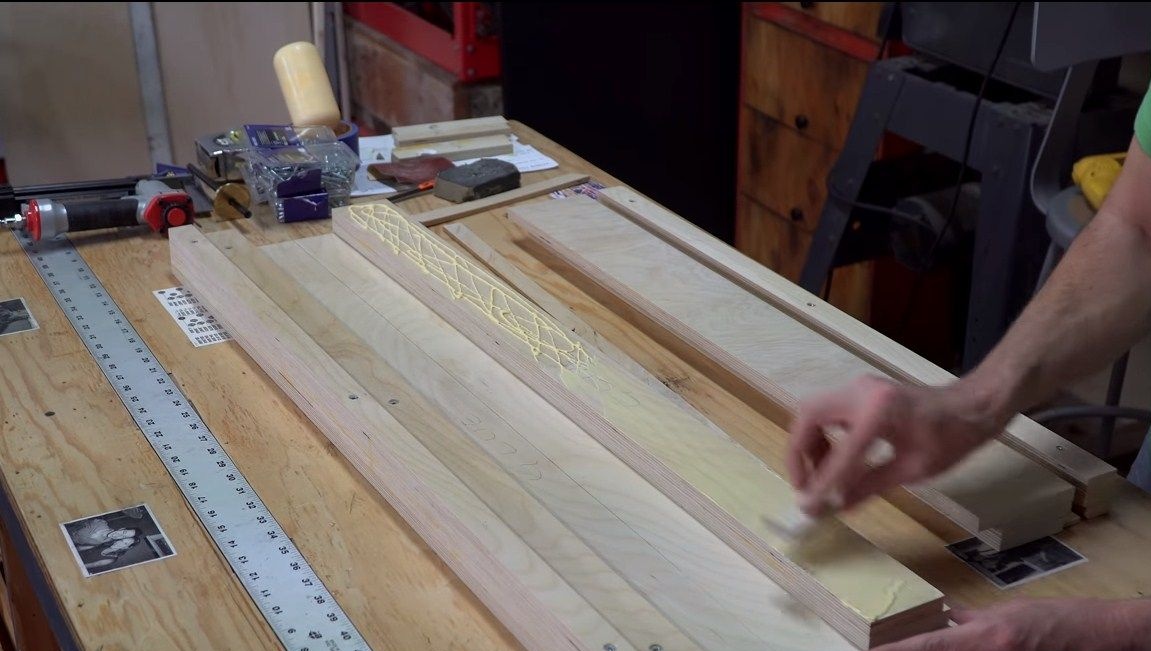
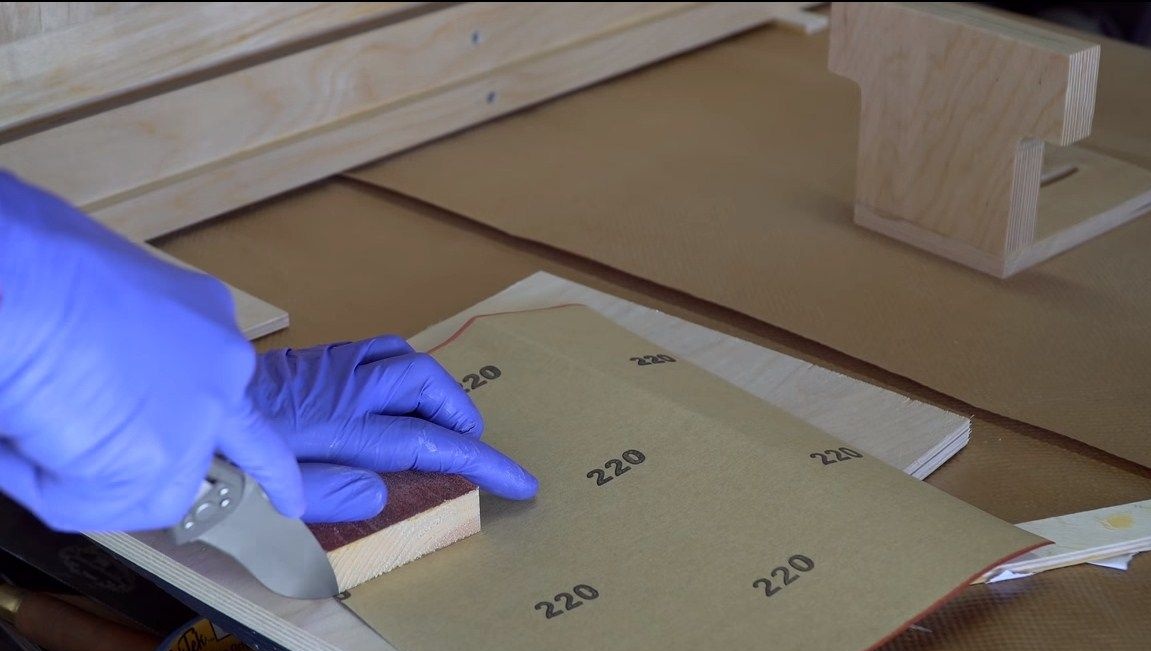
In the end, varnish the product so that the machine serves us for a long time. As for those places where the headstock glides, they need to be thoroughly sanded after varnish so that everything glides easily.
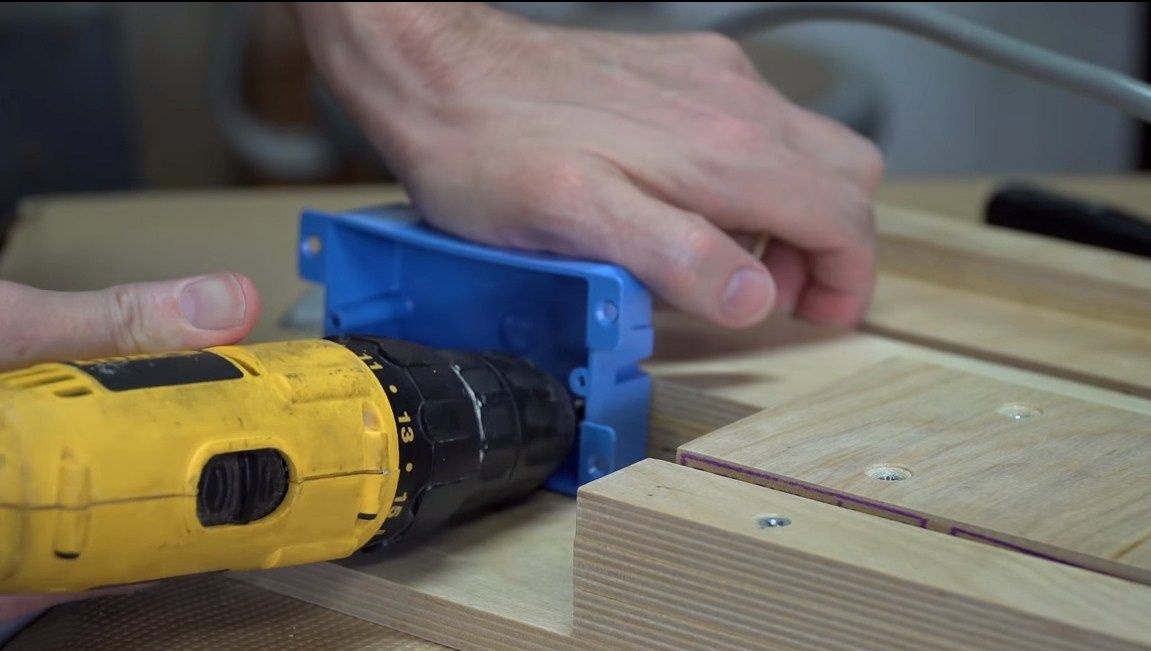
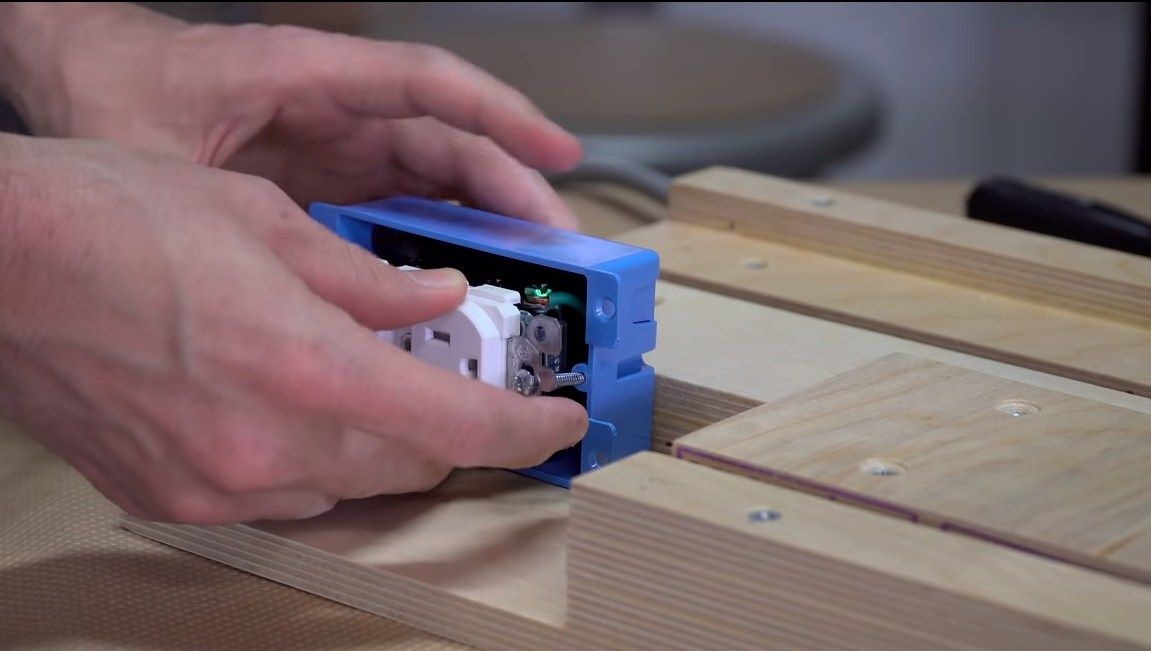
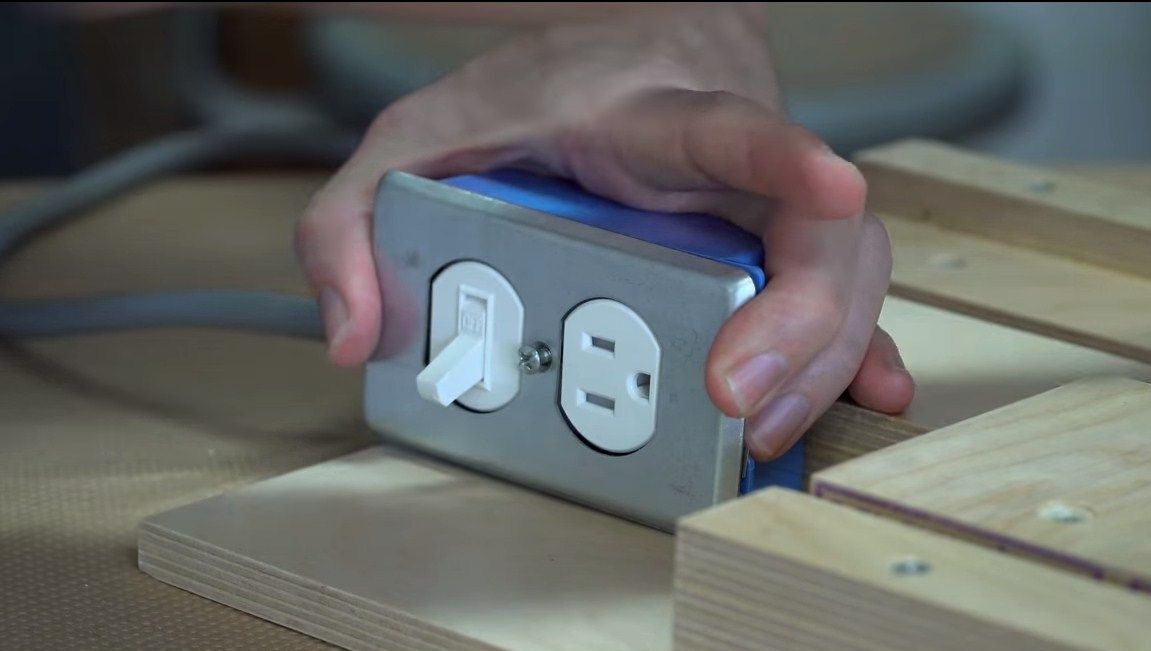

That's all, now we are starting the final assembly. We install a socket with a switch on the machine. This will allow in which case quickly turn off the machine, but also turn on the machine so it will be much nicer.
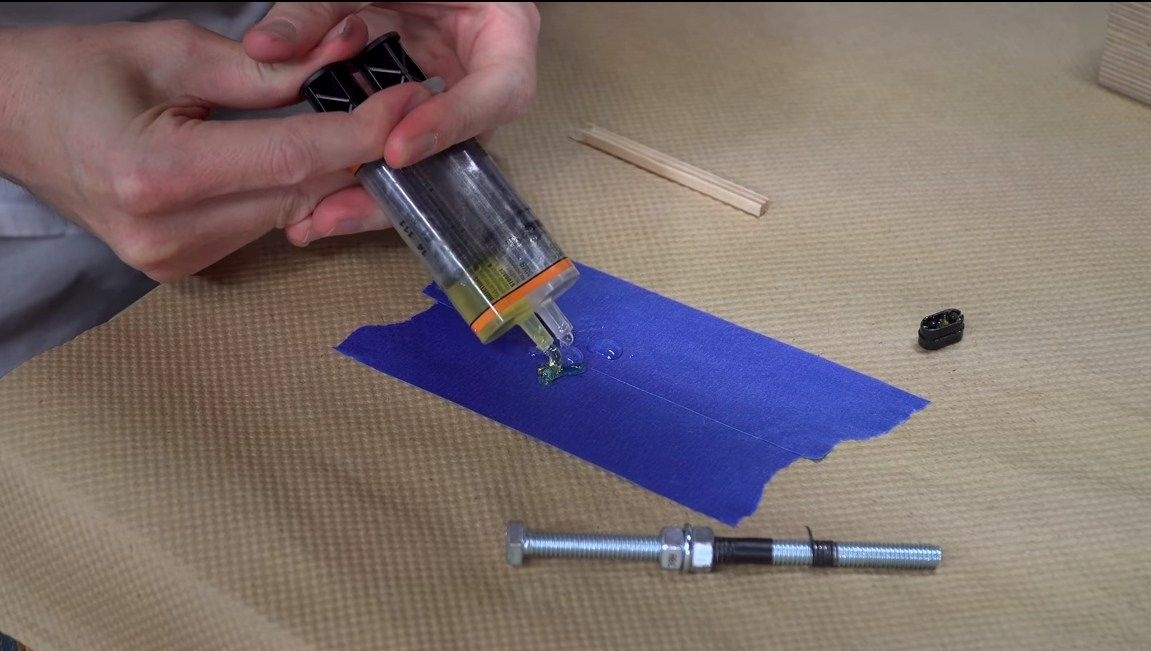
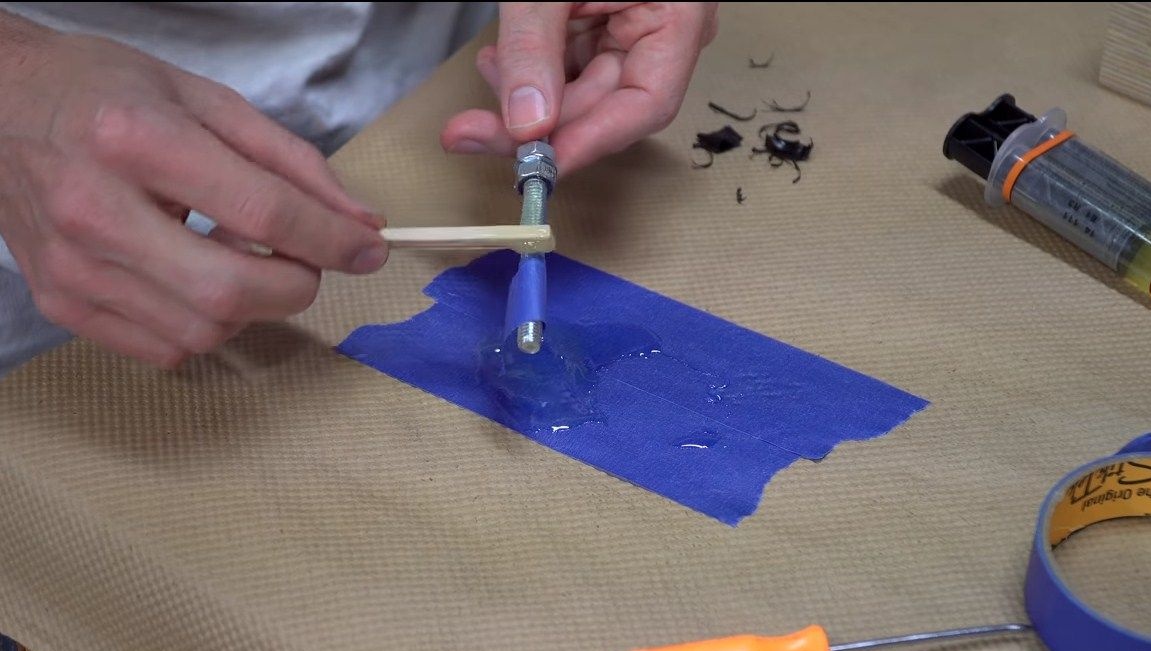
As for the axes that rotate in the bearings, they require refinement, as they hang out. To solve this problem, coat them with epoxy in the right places. When the glue dries, we grind the rods in the drill chuck, they should fit tightly into the bearings. The bearings themselves are also installed on epoxy adhesive. That's all, now you can completely assemble the machine and get to work.
The machine works perfectly, the power of the machine will depend on the drill used. That's all, the project is over, I hope you liked it. Good luck and creative inspiration, if you want to repeat it. Do not forget to share your homemade products and best practices with us!