Hello everyone, if you still have the engine from the washing machine - do not rush to throw it away, you can make wonderful machines out of it. This sharpened, and a lathe, and much more. In this instruction, we will discuss how to make based on such an engine. With it, you can cut plywood, boards and much more, which greatly facilitates the life of the master.
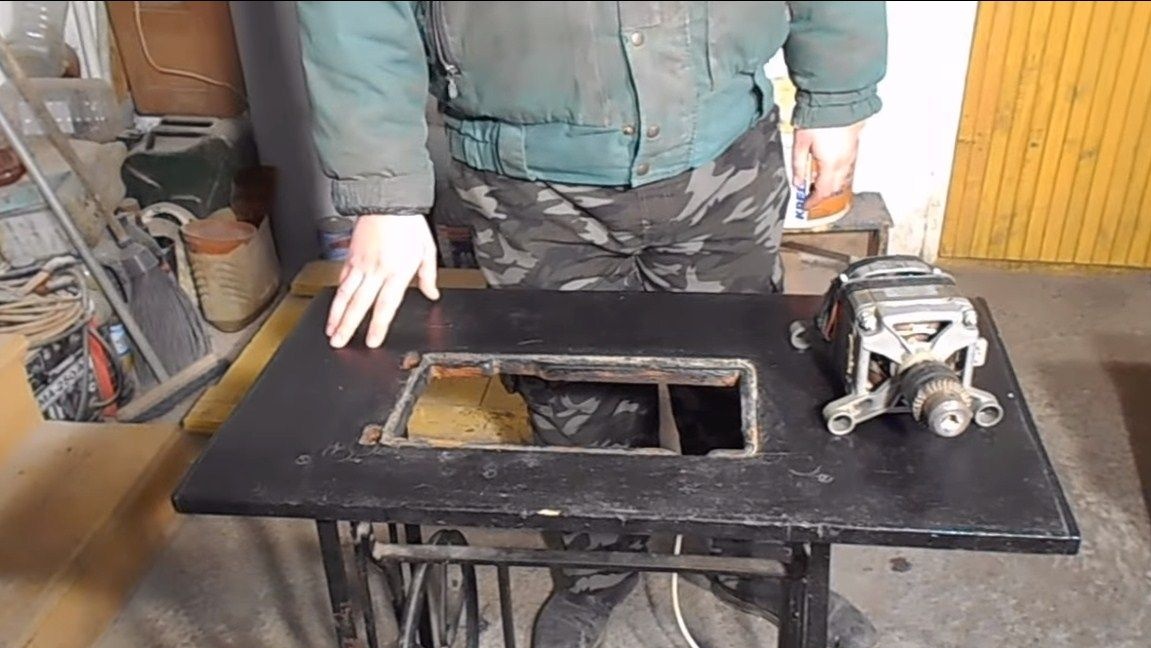
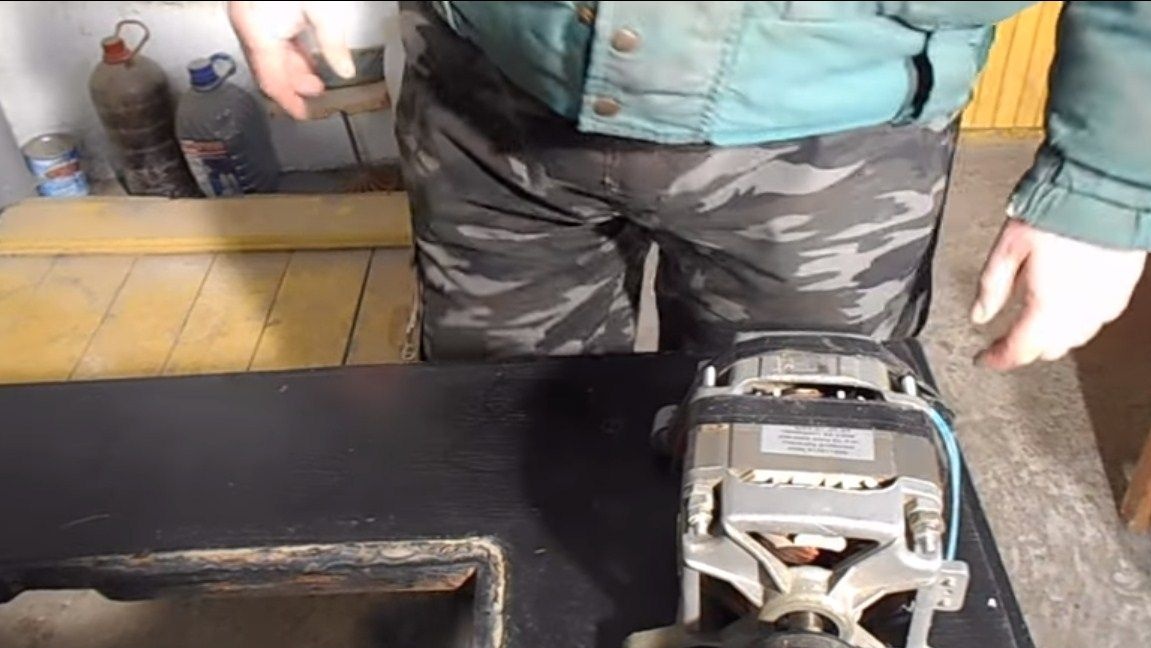
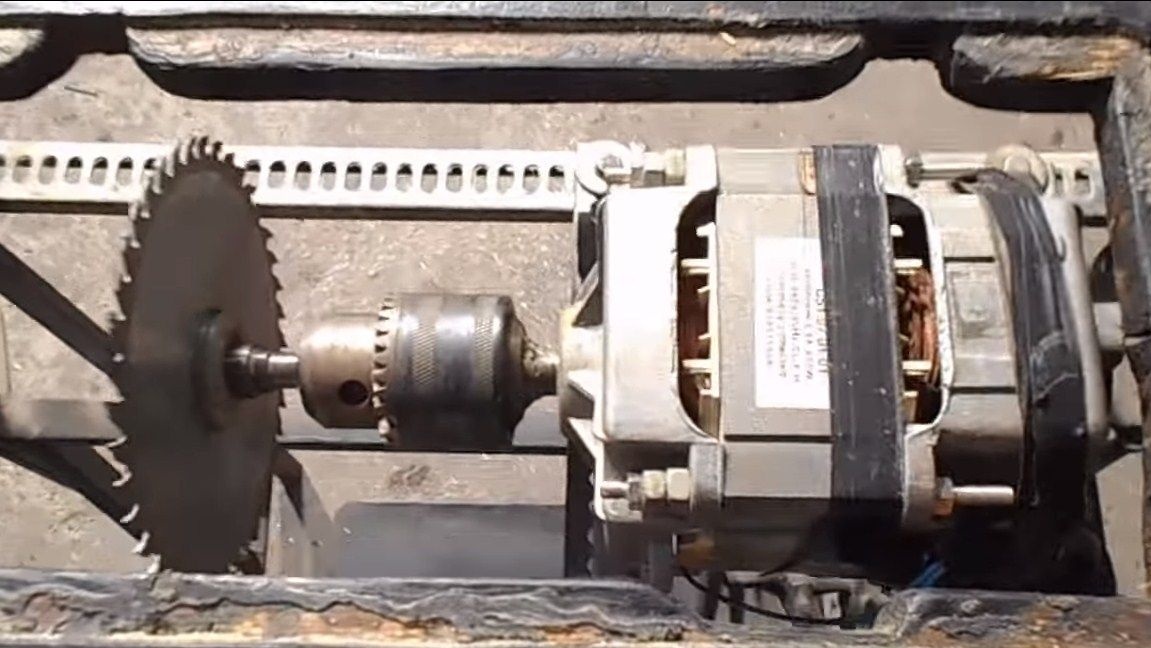
As a power unit, the author used a 430-watt automatic machine engine from a washing machine. The selected engine produces as much as 15,000 revolutions per minute, at such revolutions the saw has monstrous performance, but this is unsafe, and it is not necessary, so in the future the author plans to reduce the revolutions by installing a resistor or something like that. The machine is about to assemble simply and quickly, the author’s table was already ready, he used an old foot sewing machine. So, we will understand in more detail how to assemble such a machine!
Materials and tools used by the author:
Material List:
- the engine from the washing machine;
- a metal table (from an old sewing machine);
- corners, channel and other (for the manufacture of a frame for the engine);
- switch and wiring;
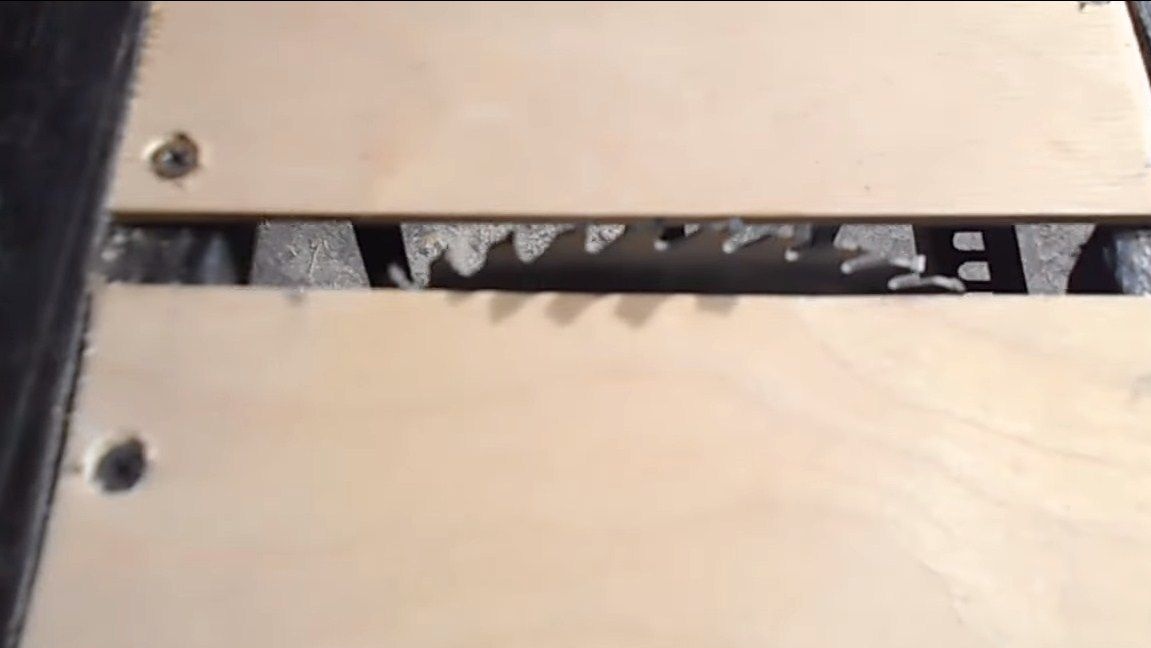
- a disk for a circular saw (the author has it mounted on a bolt);
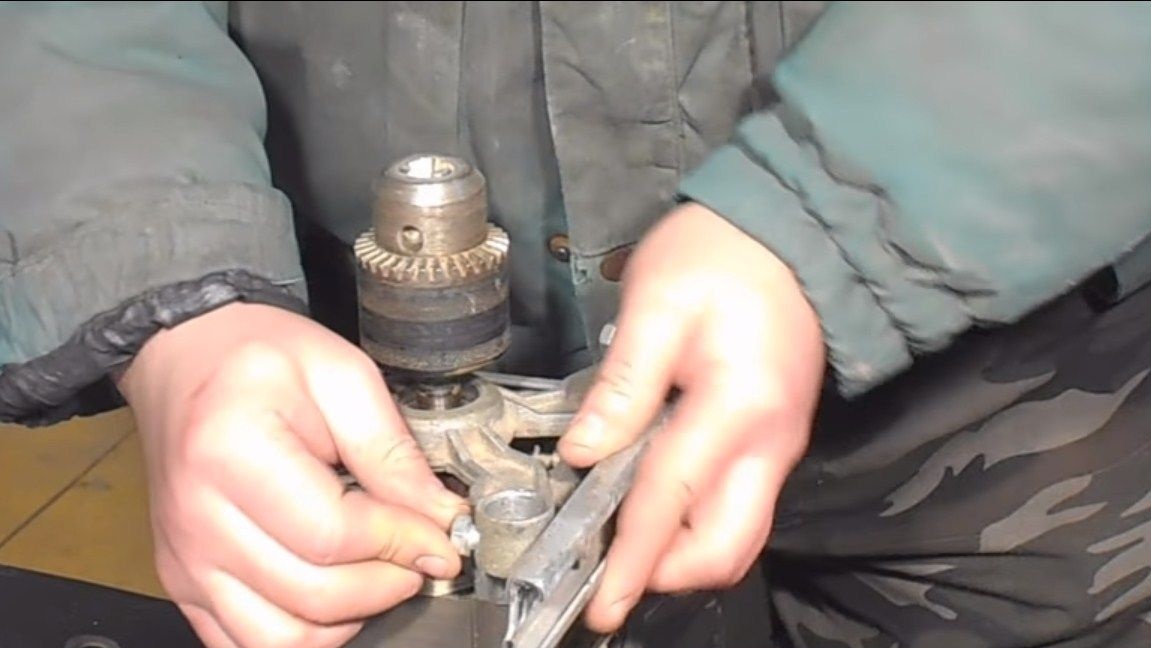
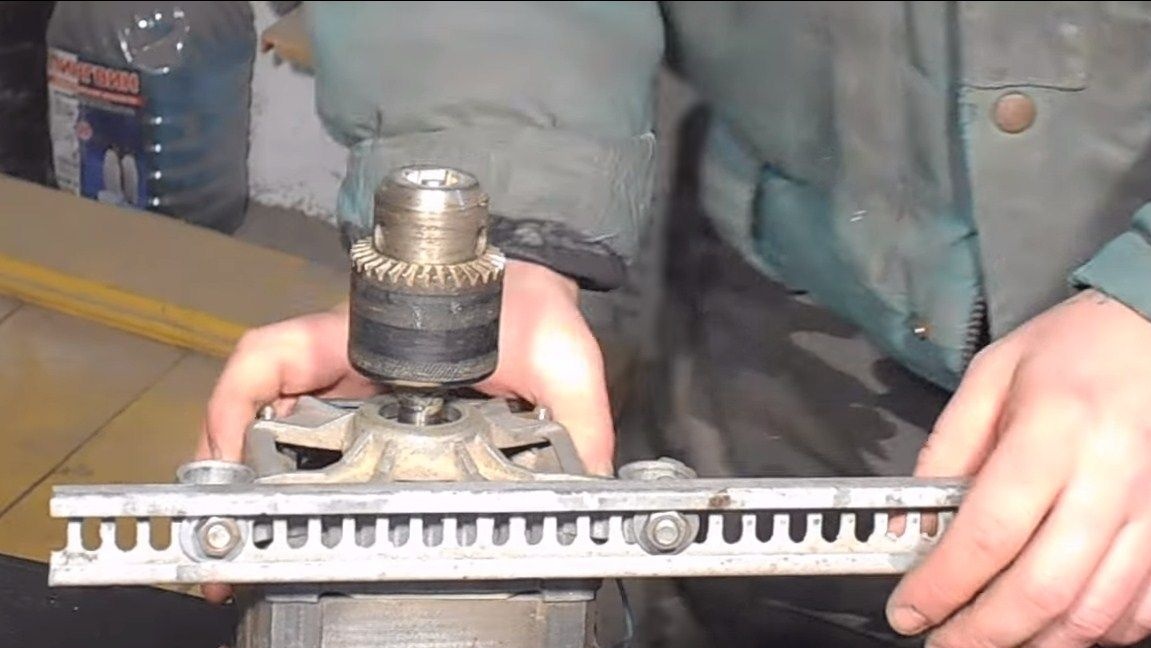
- a cartridge for a drill (installed on the motor shaft);
- nuts, bolts;
- plywood.
Tool List:
- grinder;
- welding machine;
- drill;
- wrenches and stuff.
The manufacturing process of the circular machine:
Step one. We prepare the basis
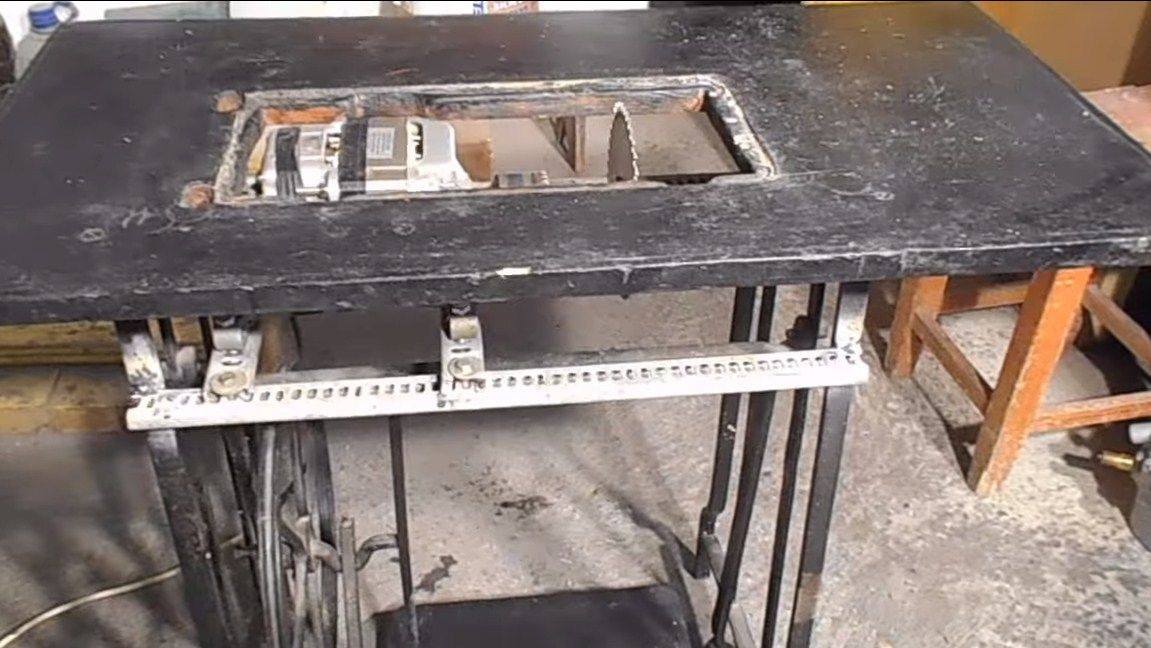
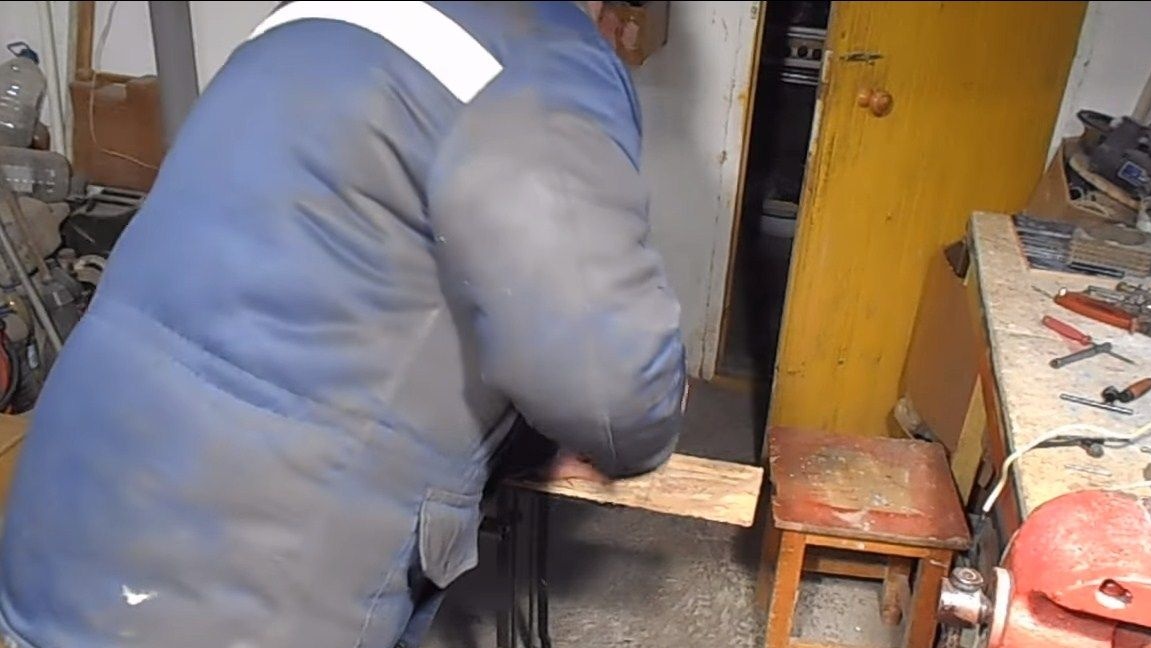
The author used a metal table as a basis, which in ancient times was part of a foot sewing machine. You can assemble a similar table from scratch, using a corner, pipes or something similar. We weld two corners or a channel, to which we then fasten the engine.
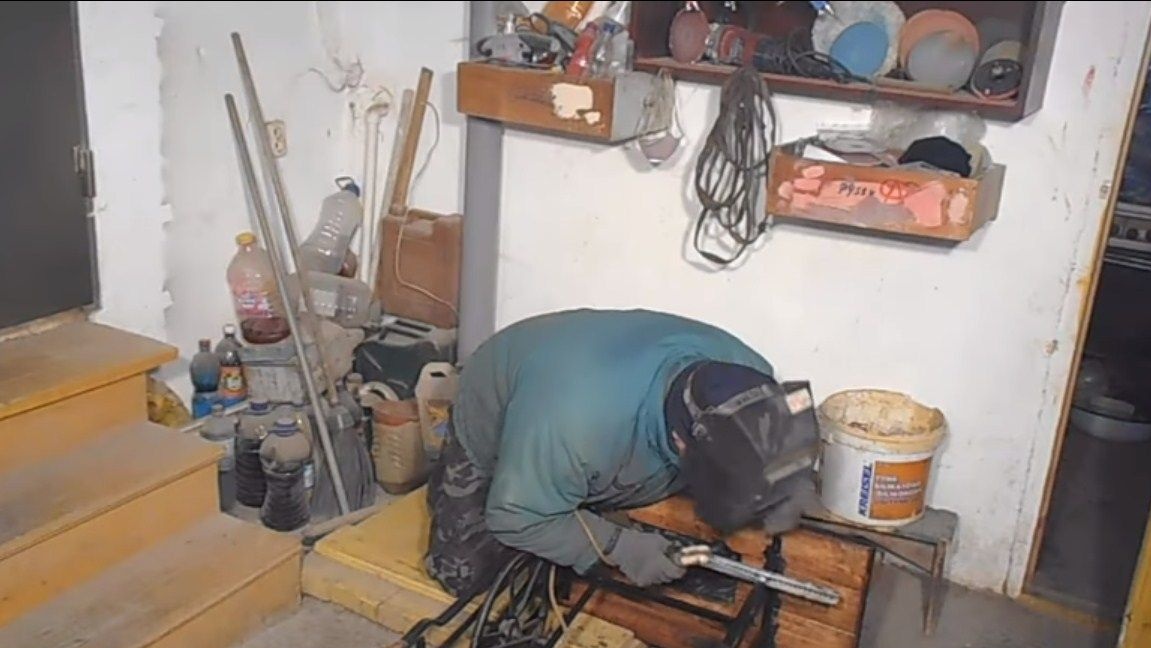
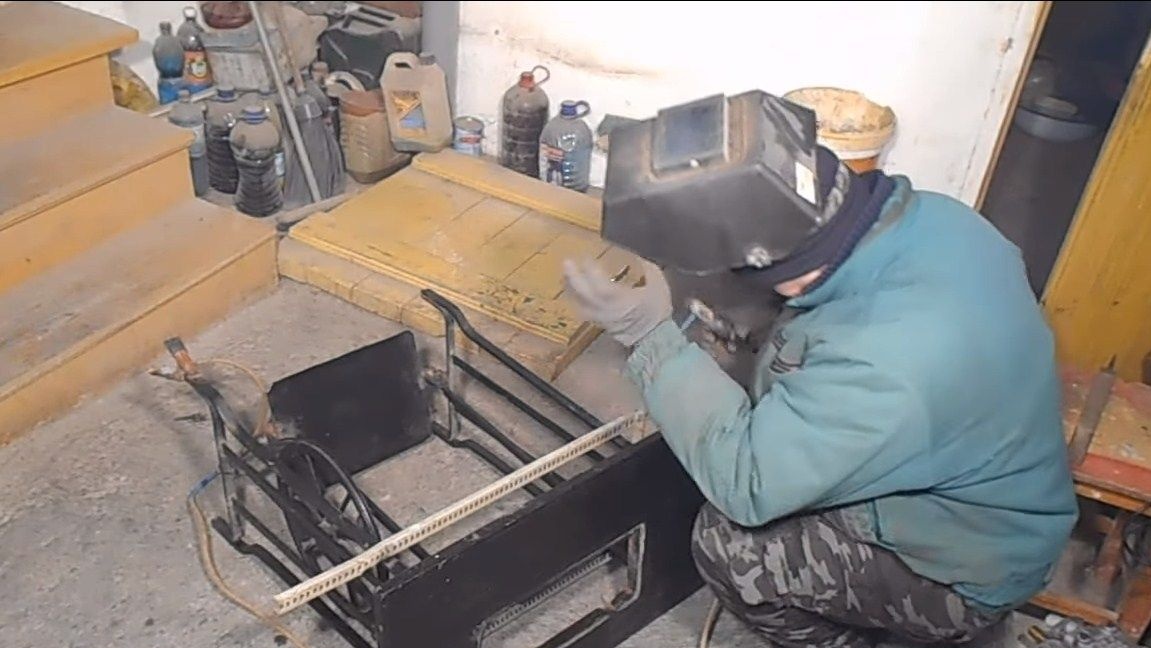
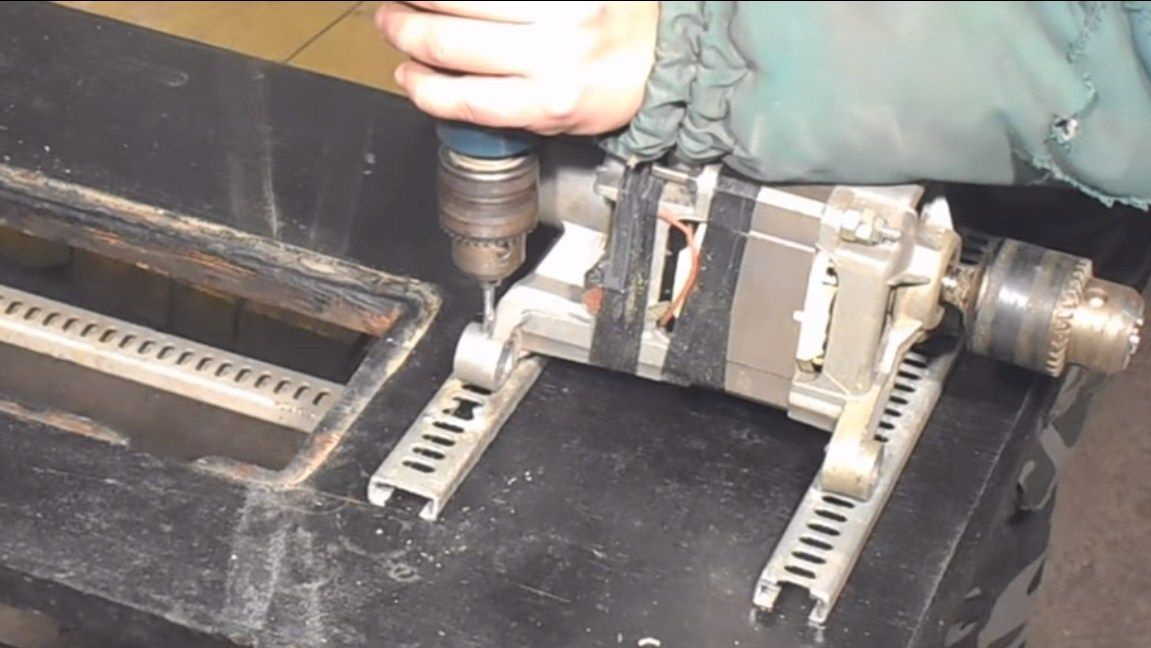
Step Two Install the engine
To mount the engine, take two channels or angles, fasten the motor to them. The author drilled holes in the mounting “ears” of the engine and screwed it with bolts and nuts. It is useful to use a grower to prevent the engine from spinning due to vibration.
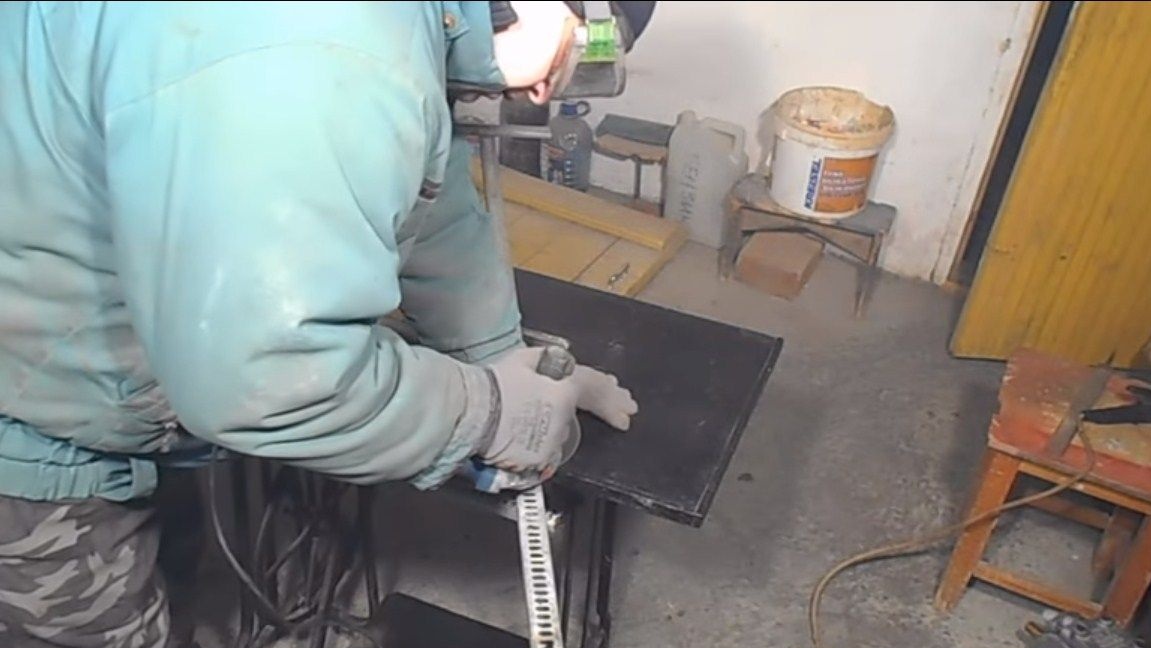
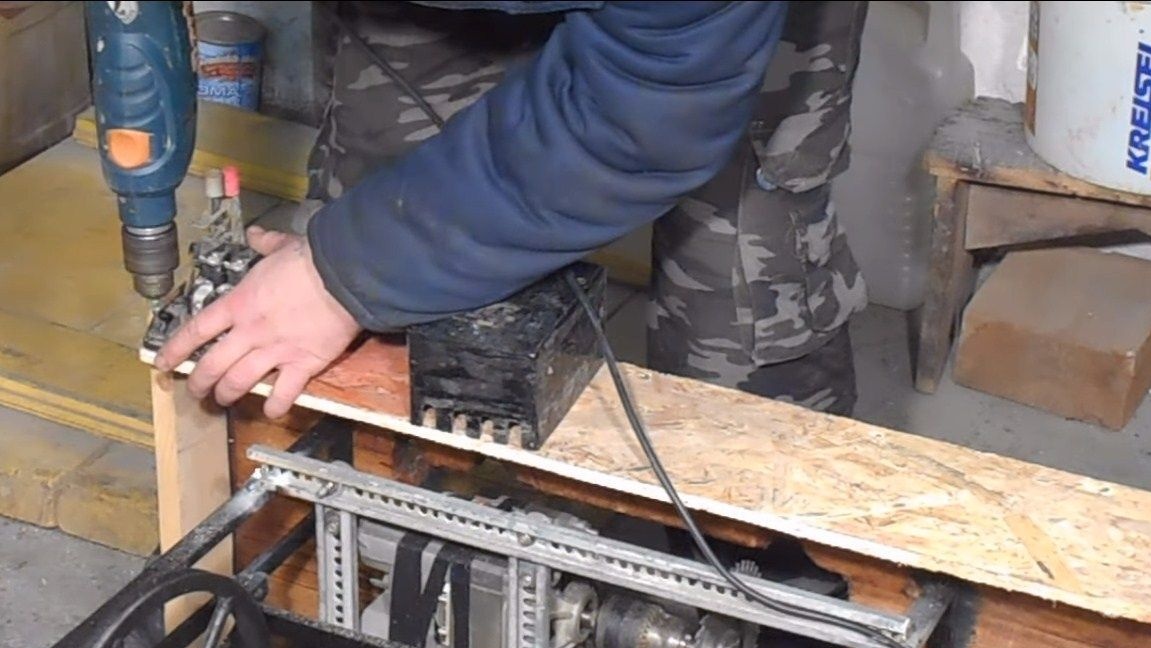
Well, then we fasten the engine to the table, using bolts with nuts.
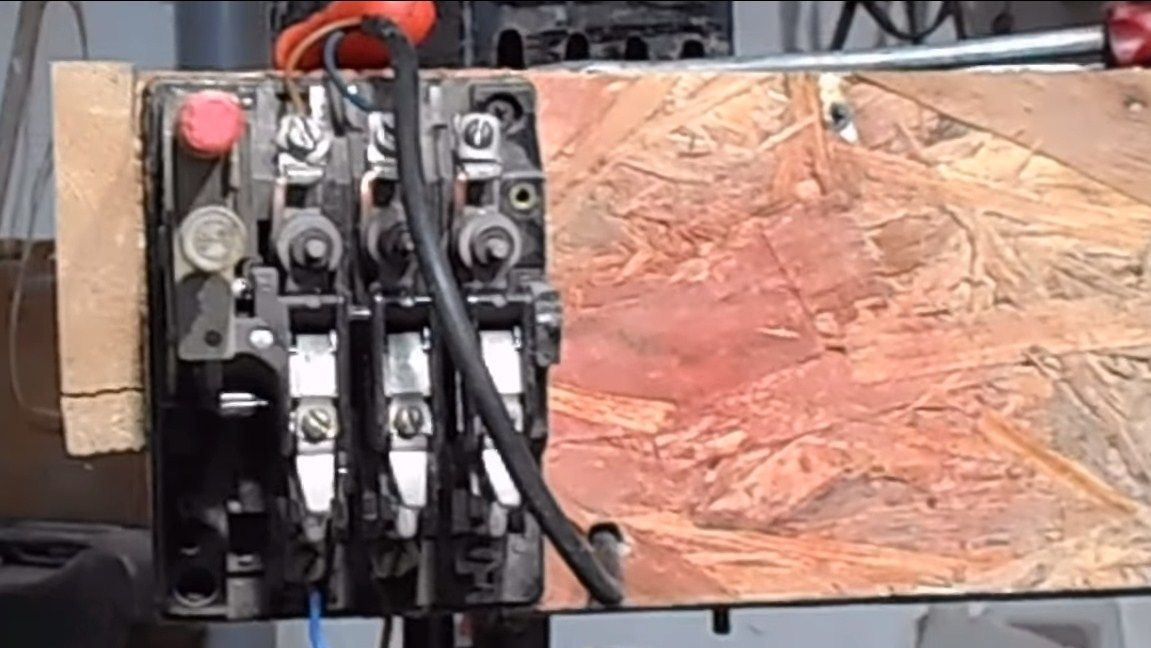
Step Three Switch
In order to use the machine conveniently and safely, we install a switch in a convenient place and it is advisable to use an automatic machine of suitable rating. The machine will turn off the engine if it is jammed. The author fastened a piece of OSB to the table and fixed a switch on it.
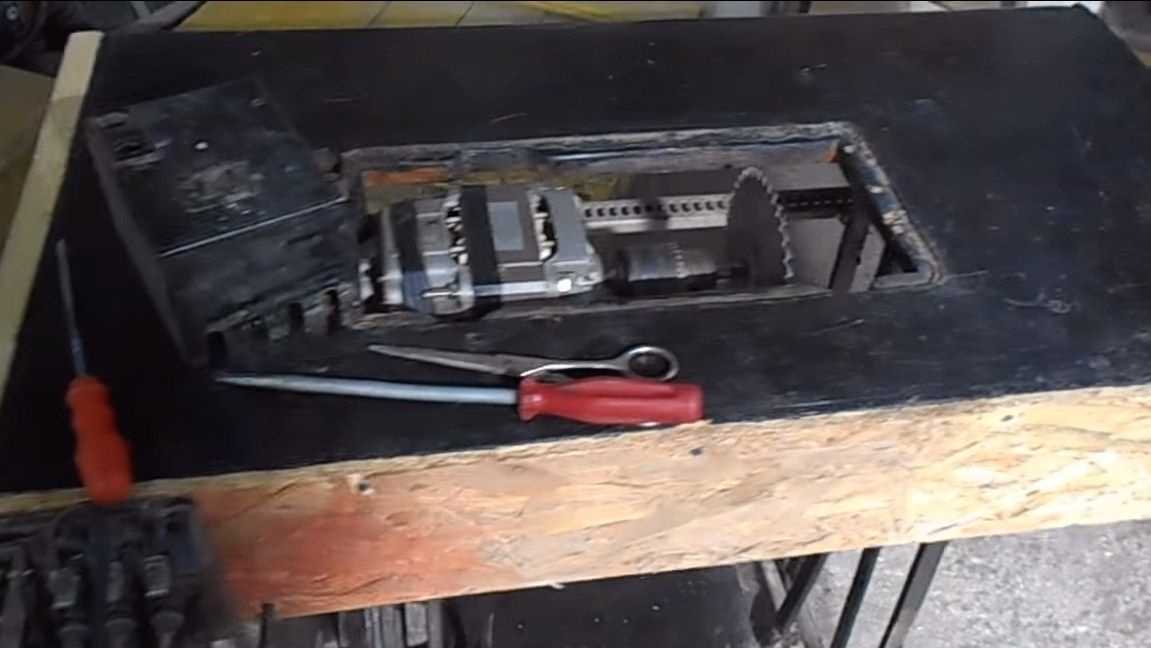
Step Three Finalization
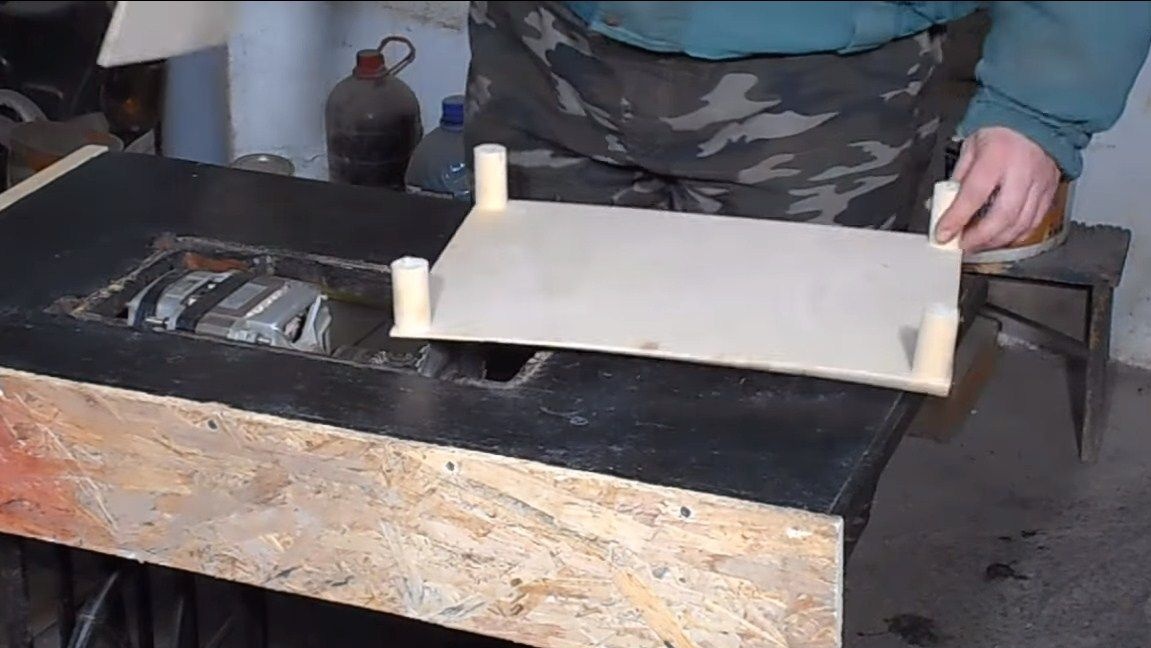
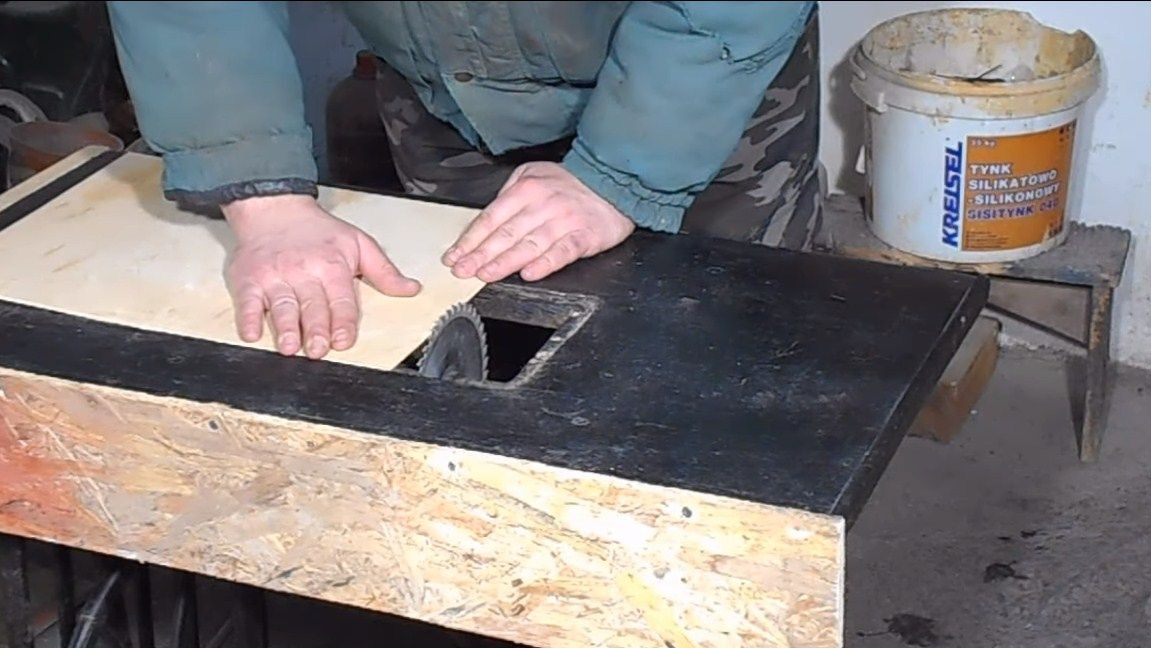
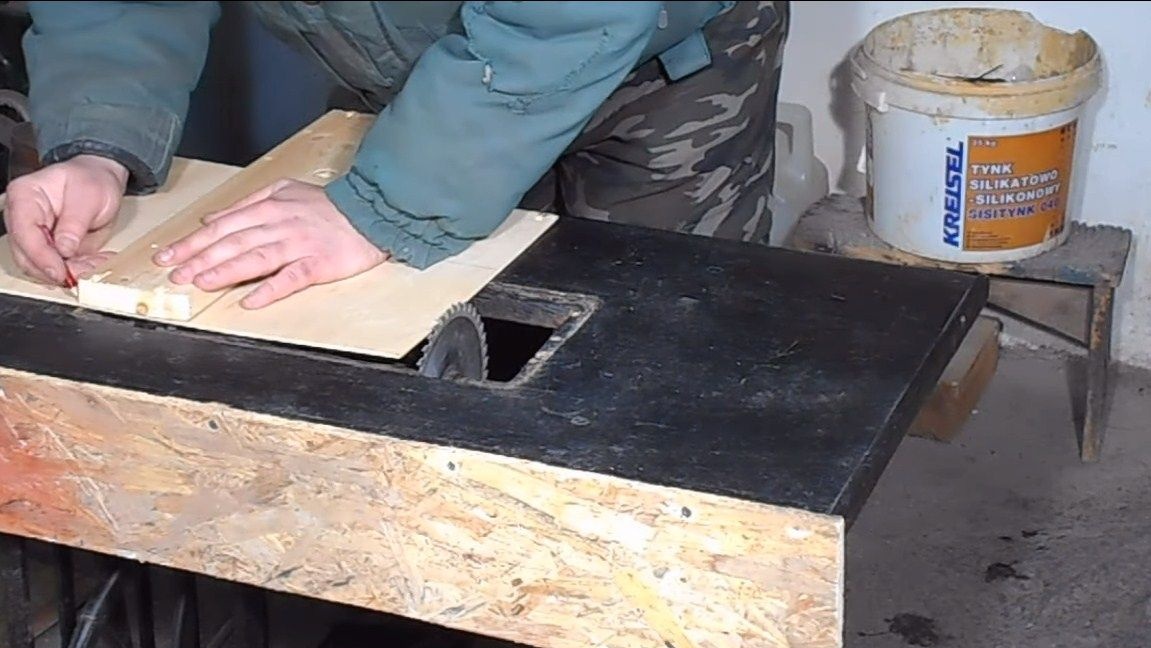
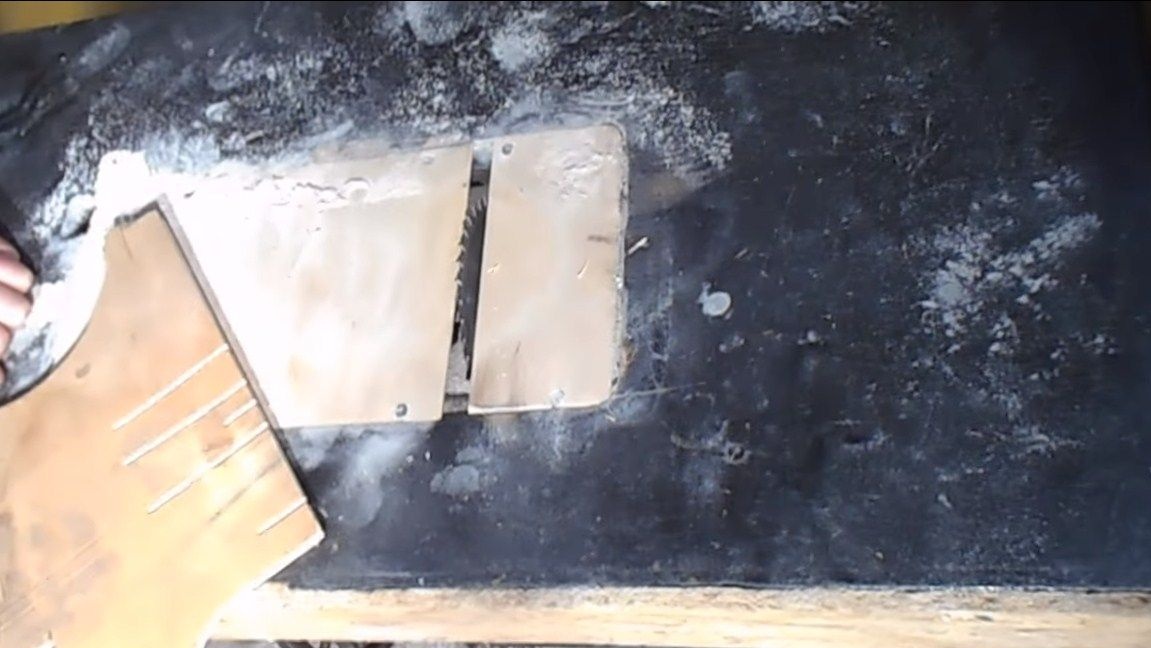
As the end, we fasten the protective plates of plywood over the engine so that chips do not spill on it. We cut out the details from plywood and fasten it with screws. That's all, the machine is ready, go to the test! When testing, it turned out that the speed is too high, from this the table travels along the garage. The power of such an engine was more than enough. In the future, the author plans to upgrade the machine - to make revs less.
Generally homemade It turned out successful and viable. I hope you enjoyed the project and found useful information for yourself. Do not forget to share your homemade products and best practices with us!