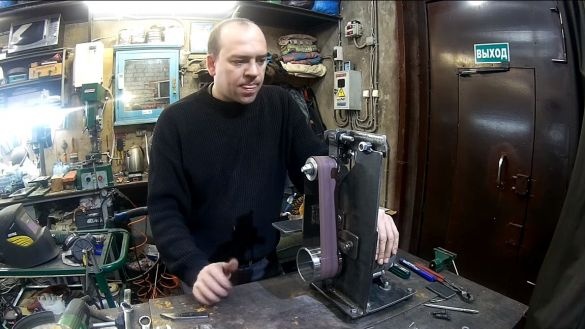
If you have an engine from an old washing machine, you already own many useful machines that you can assemble from it. In this instruction, we will discuss how to make a small one from a similar engine. Such a stanochka will be an excellent addition when grinding small products. For example, it is convenient to sharpen drills on it, and the tree is generally easily processed.
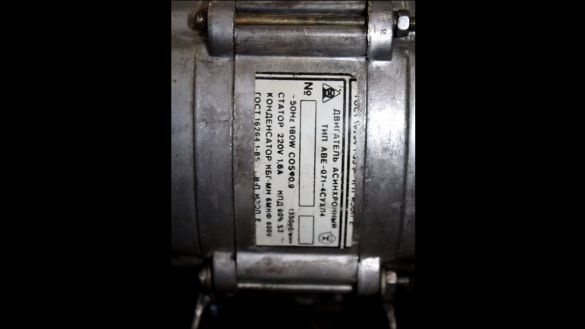
In the assembled machine, the author used a 180-watt engine with 1350 revolutions per minute. This engine is too weak for such machines, so you need to use more powerful motors. The engine should be enough for 300 watts. Turnovers also play a big role, if you are thinking of processing steel, for other materials such as wood and plastic, turns are not important. Everything is going to be quite simple, but you will need the services of a turner to grind the pulleys of the machine. However, the impellers can also be made of plywood, and the same engine can be used as a lathe. Let's consider in more detail how to assemble such a machine!
Materials and tools used by the author:
Material List:
- steel corner, plates, sheet steel;
- bolts, nuts and washers;
- the engine from the washing machine;
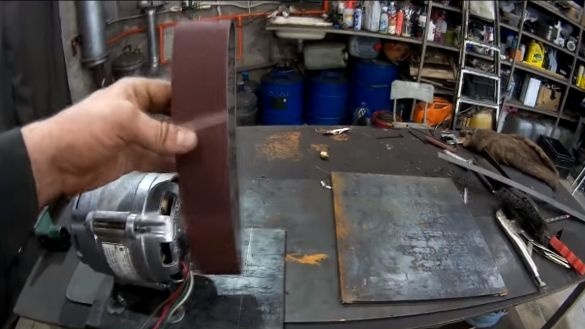
- sanding belt;
- furniture gas support (for tensioner);
- impellers (we order a turner from steel or aluminum).
Tool List:
- welding machine;
- grinder;
- drilling machine;
- spanners.
Manufacturing process:
Step one. We deal with the engine
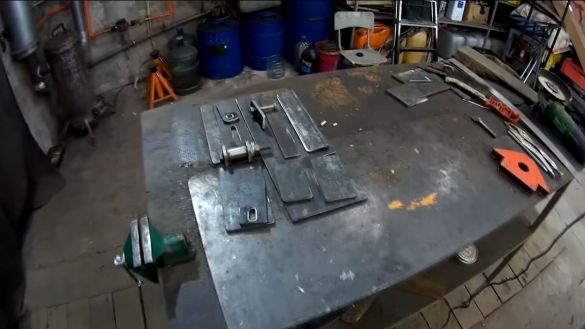
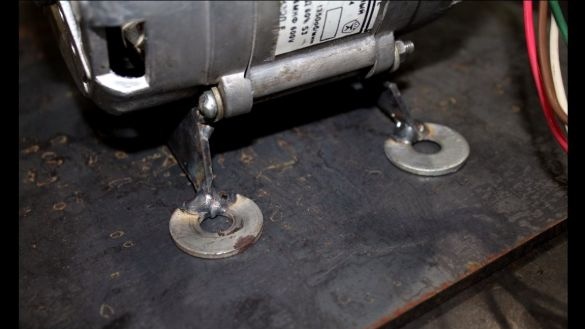
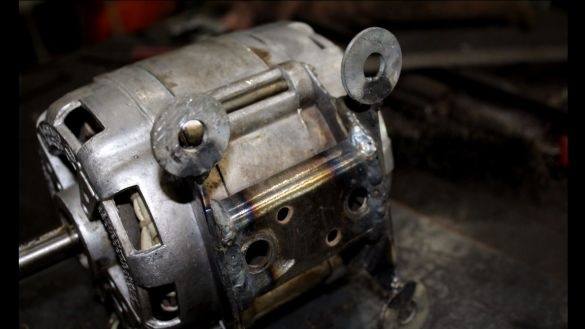
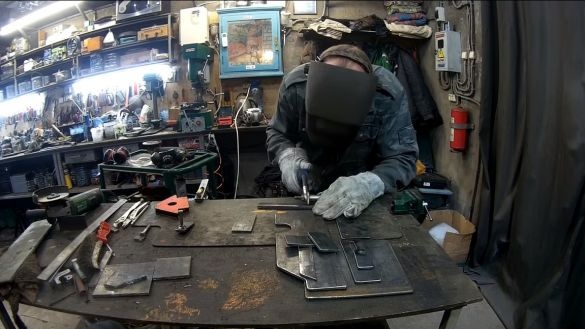
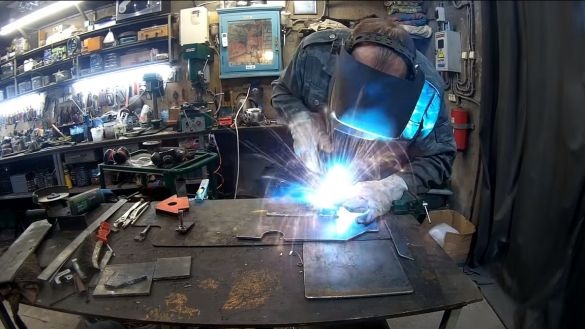
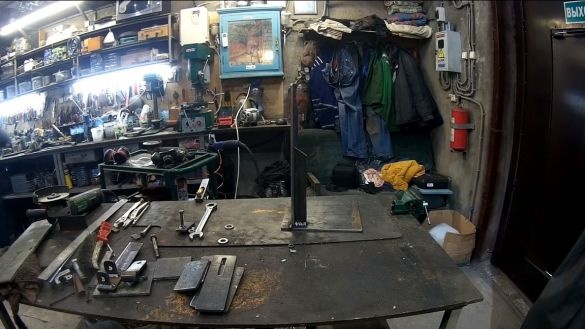
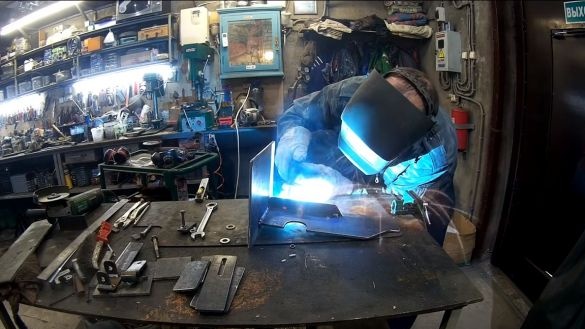
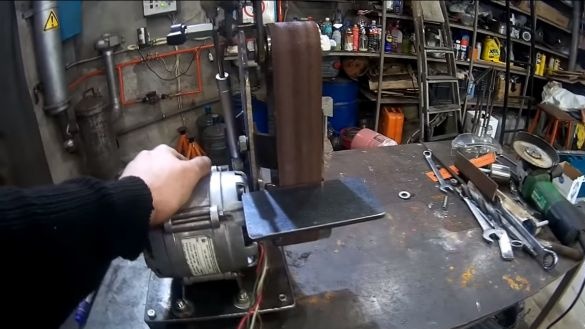
First of all, we will prepare the engine, we will need to weld a bracket under it. For these purposes we use sheet steel. We fasten the bracket to the engine using bolts with nuts or fasten it to the studs that tighten the motor. The engine bracket is then welded to the base or bolted with nuts.
Step Two We assemble the frame of the machine
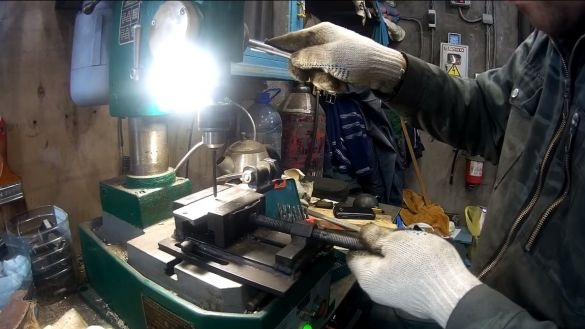
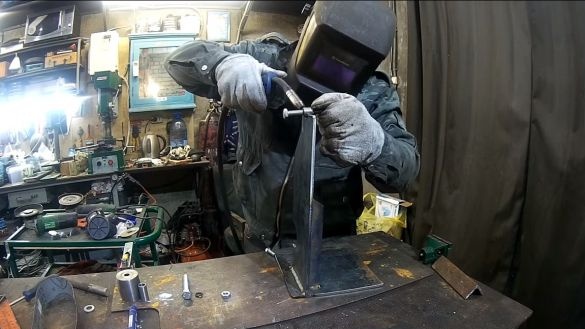
The base of the machine is made of a piece of sheet steel. The thickness of the metal should be such that it does not spring and does not bend. We drill holes in the corners of the sheet and fasten the legs, they must be rubber so that the machine vibrates less. We also assemble the rack from sheet metal, cut out the desired shape and then weld it to the base. We strengthen the rack by welding a corner or another piece of metal.
Step Three Pulleys
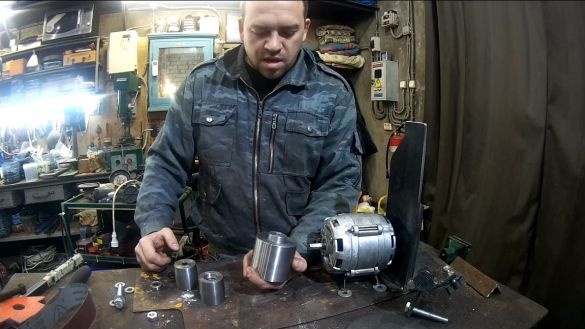
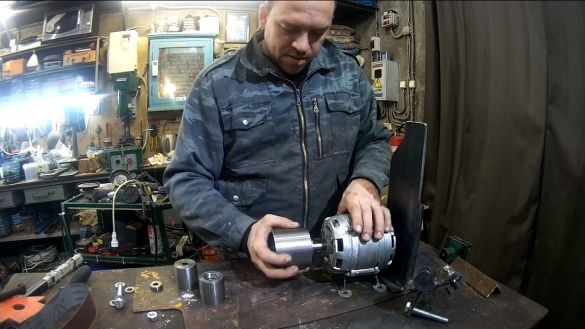
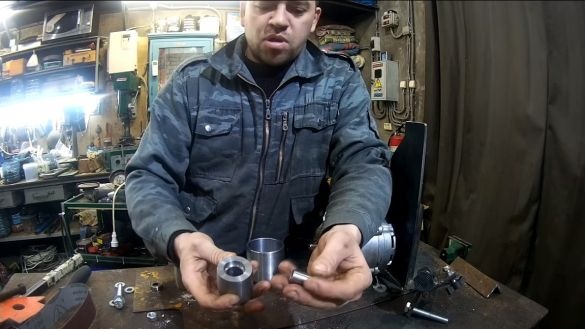
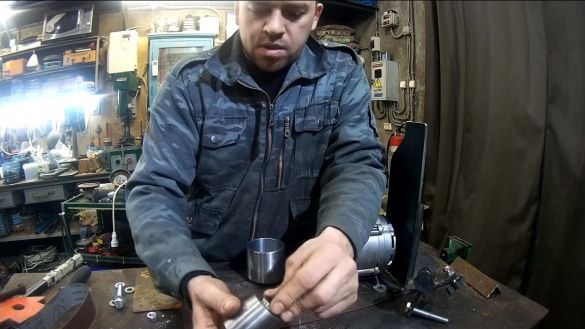
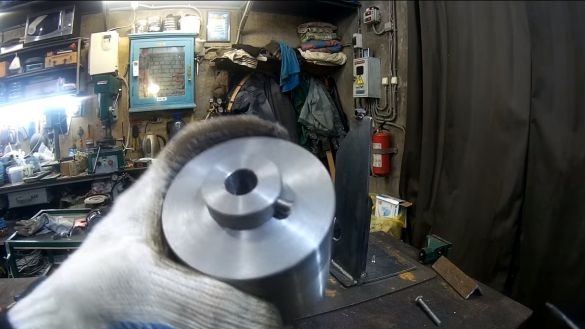
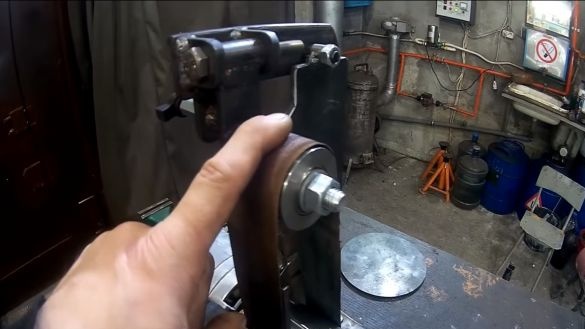
Pulleys or impellers are tempered by a turner; they are made of steel. You can use aluminum and other metals.And if the machine is not powerful, then such wheels can be completely made of plywood, by gluing several layers. The author fixes the lower driving wheel on the shaft with a screw, a hole is drilled under it in the wheel and a thread is cut.
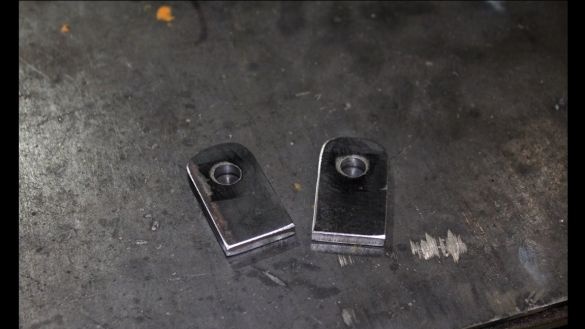
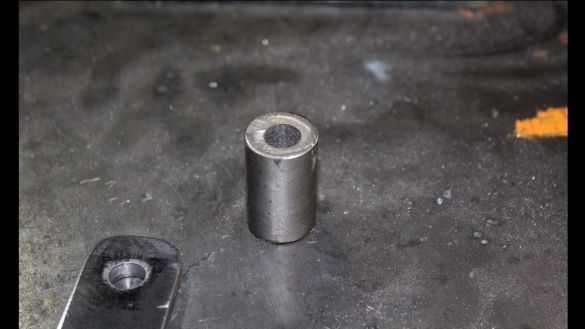
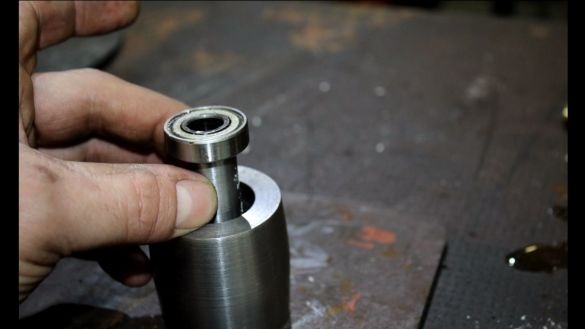
And the upper wheel has two bearings, between which a spacer sleeve is installed. The upper wheel is clamped with a nut.
Step Four Getting to the assembly of the machine
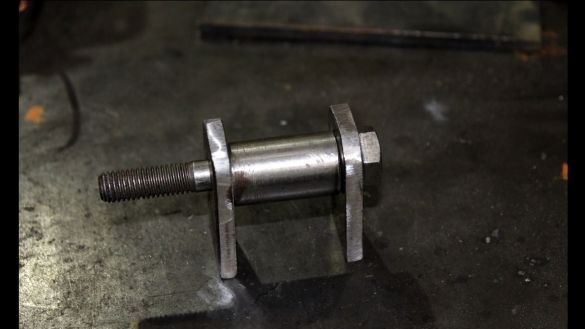
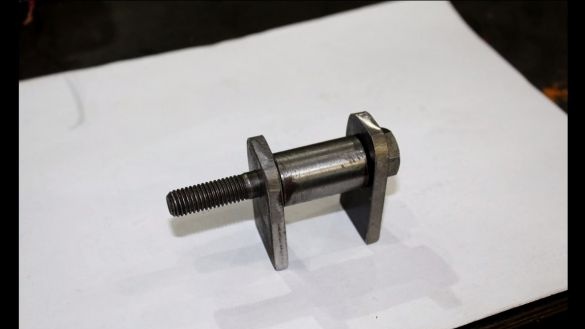
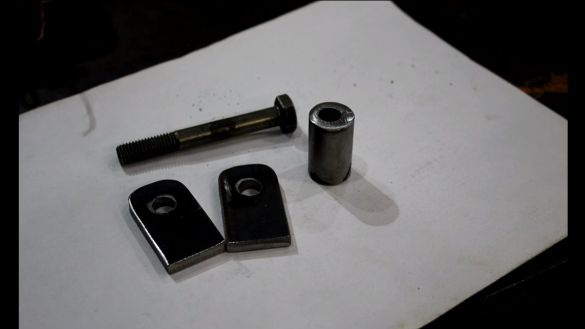
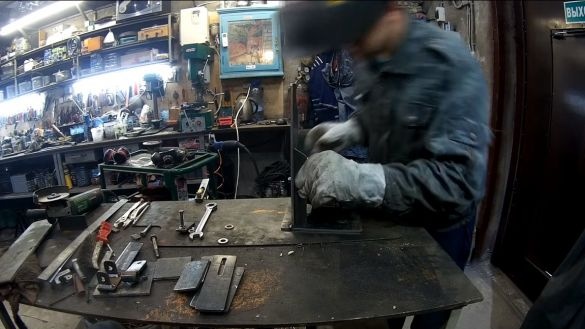
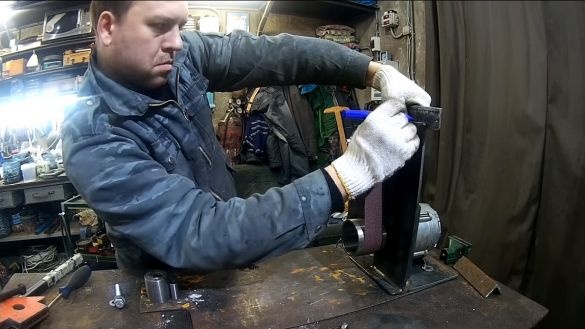
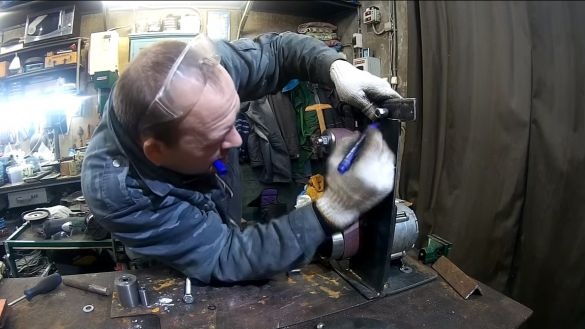
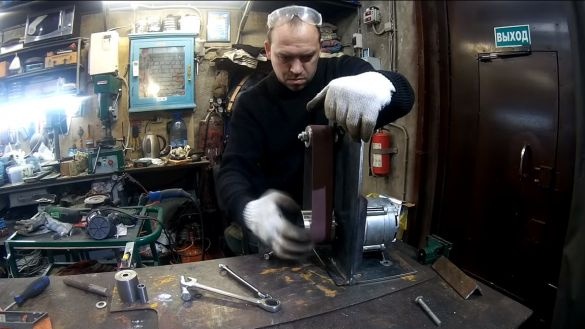
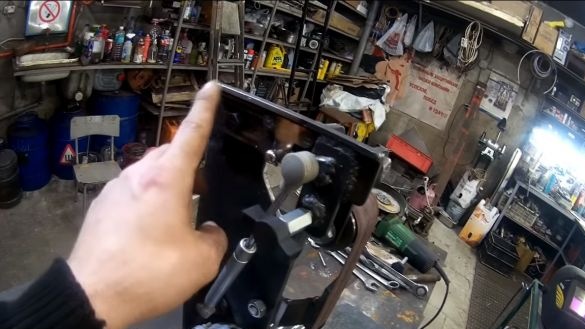
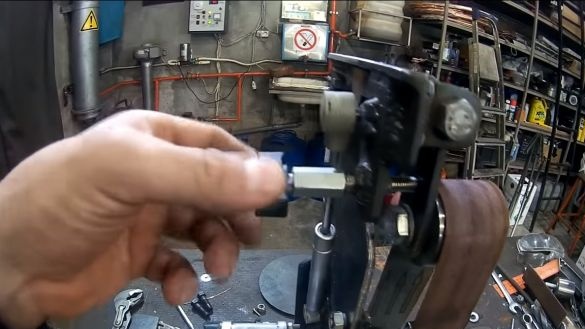
The assembly of the machine consists in the assembly of the upper assembly. The drive wheel is adjustable, its horizontal angle must change so that you can center the belt. The whole thing is going out of sheet metal and bolts with nuts.
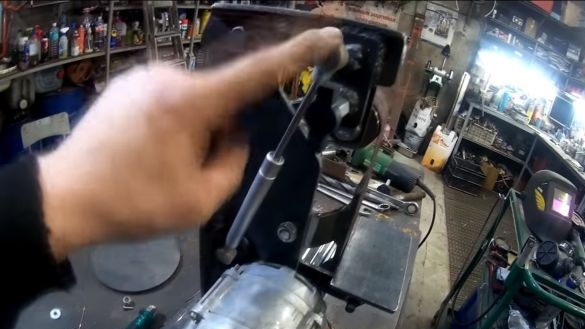
You will also need to install a tensioner, in which the author uses a furniture gas support. This element can be replaced with a spring or remake an old pump.
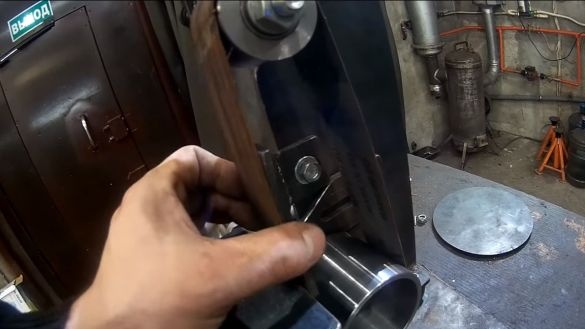
We also fasten the thrust pad, in which we will rest the product and the handcuff. Both planes are held on bolts with nuts, which allows them to be adjusted or removed.
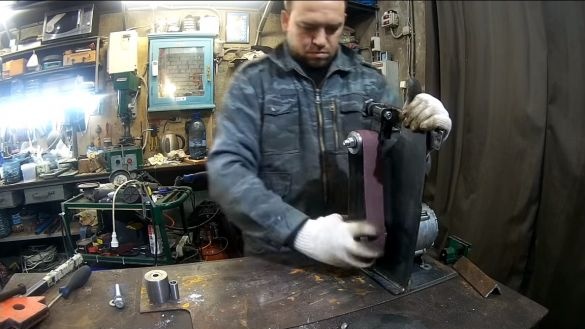
That's all, the little room is ready, you can try to turn it on. The author has not yet made a switch, everything starts by plugging in a power outlet. The machine works, but the belt moves slowly, and the power is not enough, the machine stops if you press hard on the belt. However, the machine is quite suitable for processing any small items or for sharpening a tool. By installing a more powerful engine here, you can get yourself a decent device.
That's all, the project is over. Good luck and creative inspiration, if you decide to repeat it. Do not forget to share your best practices and homemade with us.

