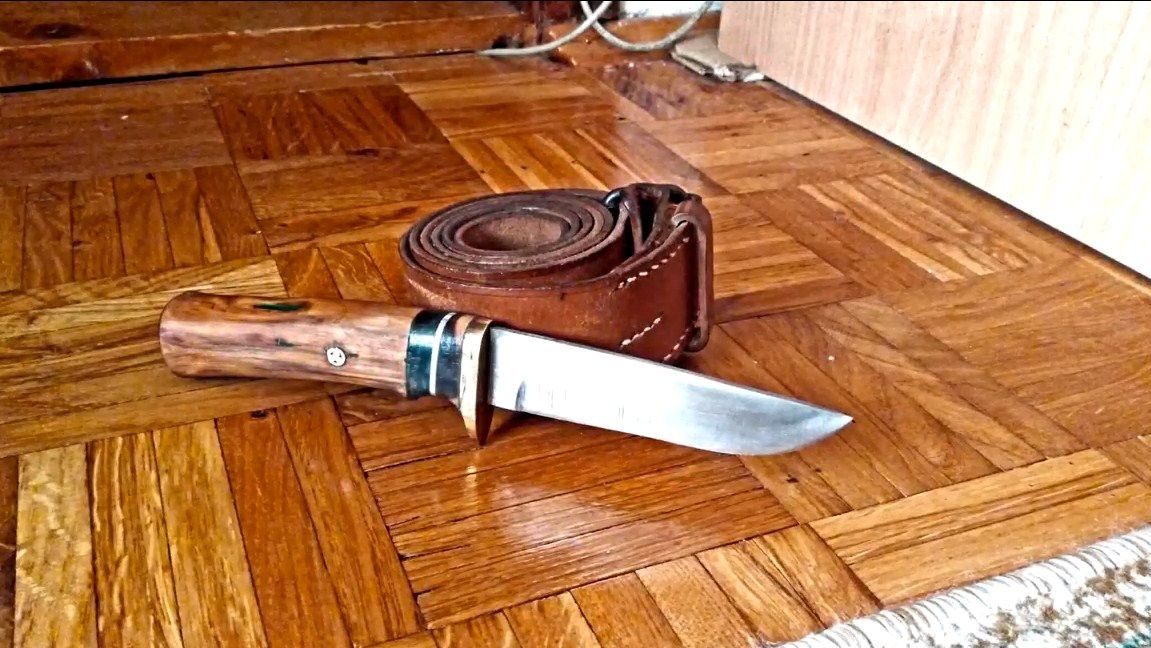
Greetings to the masters, I present to your attention a homemade knife that looks like a hunting knife. The knife is quite interesting, especially the handle. The handle is integral, the shank of the knife is installed in it, but also it is additionally fixed with a pin. The front of the handle is stacked, made of plastic, brass and other materials. In general, the knife turned out to be good, it is sharp, strong, reliable and looks interesting.
The author used an old saw blade as the starting metal for the blade. Such discs use good carbon steel, which is perfectly sharpened, quenched and keeps grinding for a long time. In modern high-quality disks, quite good steel is also used, but it must be checked before making the knife, so that later it would not be sad. Try to cut a piece of steel and harden, if the metal becomes brittle after hardening, then steel is suitable for us. So, we will consider in more detail how to make such a knife!
Materials and tools used by the author:
Material List:
- saw blade;
- a piece of stick for a pen;
- brass rod (for pins);
- sheet brass, sheet plastic, textolite and the like (for a pen);
- epoxy adhesive;
- oil for impregnation.
Tool List:
- grinder;
- belt sander;
- a drilling machine or drill;
- files;
- clamps;
- masking tape;
- a pencil;
- blacksmith's oven and oven.
The process of making a knife:
Step one. Cut the knife profile
First of all, we draw the desired profile of the blade on a piece of paper. The author’s knife is simple, we don’t need to invent a handle profile, there will simply be a shank on which the handle will be assembled. But a beautiful form of the blade can be searched on the Internet or come up with yourself. By the way, you can find ready-made knife profiles on Pinterest or the like, then just print the profile on the printer and cut it out.
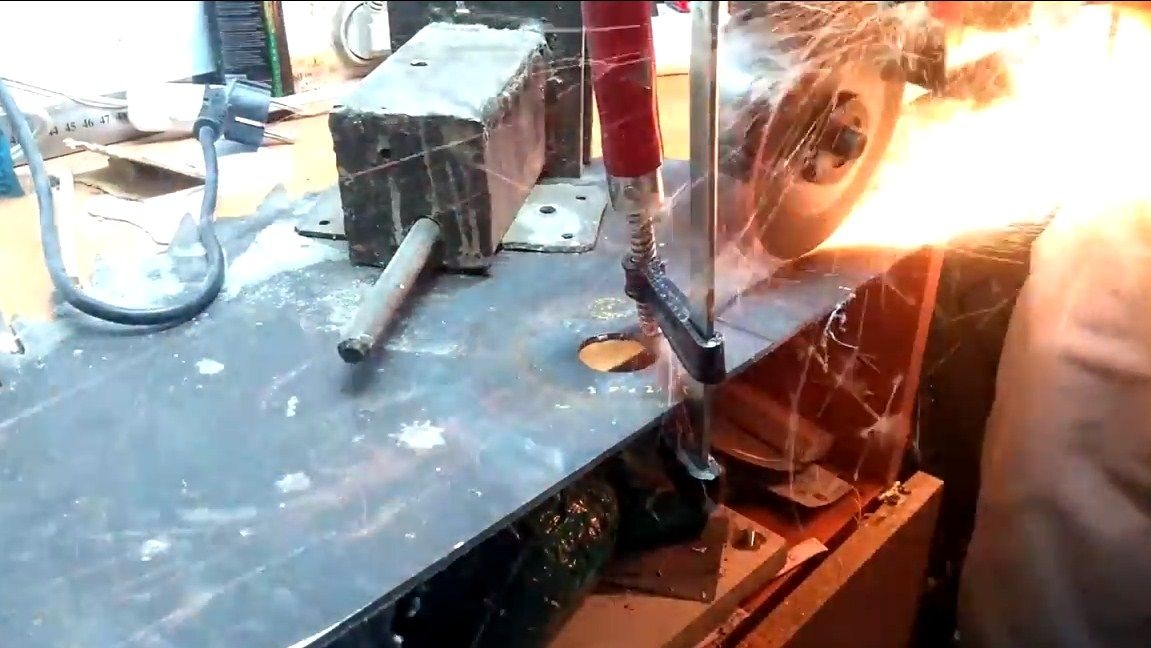
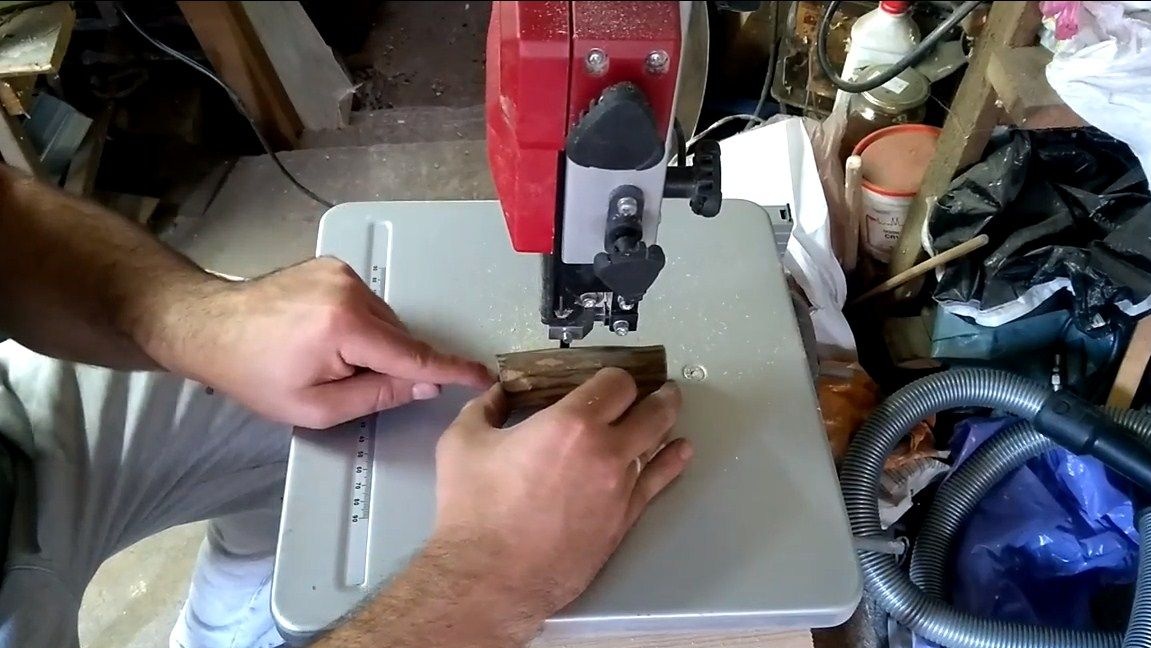
We apply the finished profile to the metal and circle, or you can simply stick it on. You can cut a profile, it is more convenient and easiest to do this on a tape cutting machine. If this is not the case, we work with the help of a grinder. Bends and other details are cut into pieces. Then we install the grinding disk and process the blade along the contour. You can also work out the circuit on a grinder.
Step Two We form bevels
You can start the formation of bevels.Before that, you should know one secret - do not make the blade thinner than 2 mm before hardening, otherwise the alloying element will burn out and the steel will no longer be carbon.
To form the bevels, we resort to the help of a belt sander. You just won’t hold the blade in your hands, it’s usually clamped on a corner or use special fixtures.

If you need symmetrical bevels, it would be nice to mark everything out first. Draw the width of the bevels, and also divide the future blade into two halves. Leaning when grinding on this line, you will remove the same amount of metal on both sides. We make the bevels wider, so the blade will be thin, and the knife will be perfectly cut.
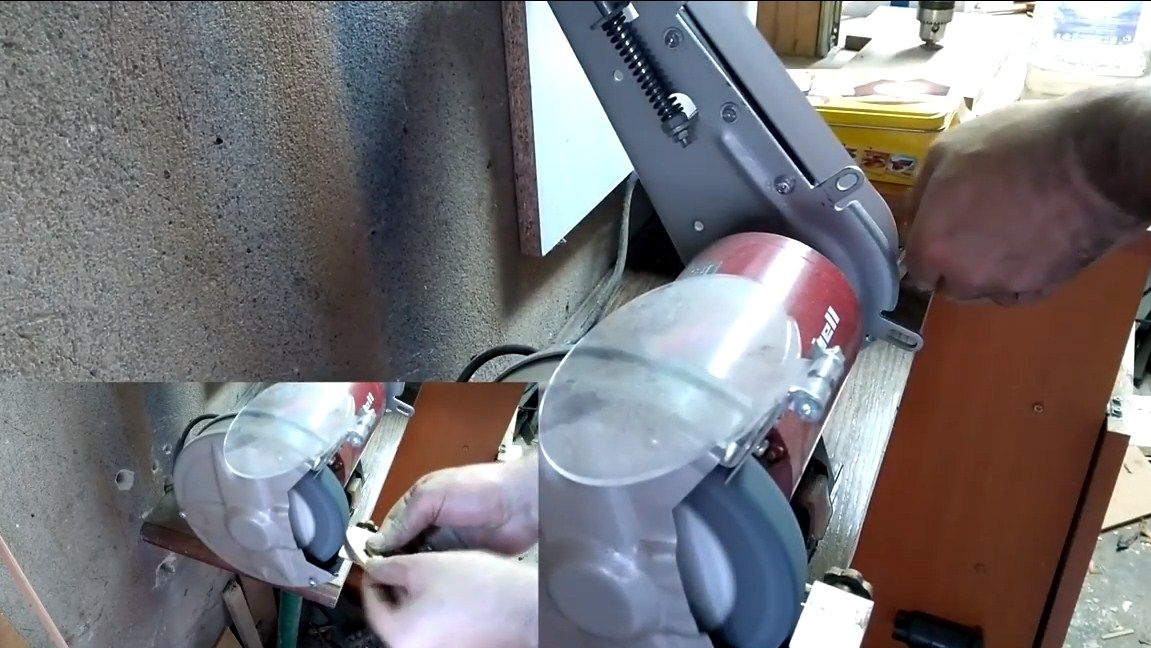
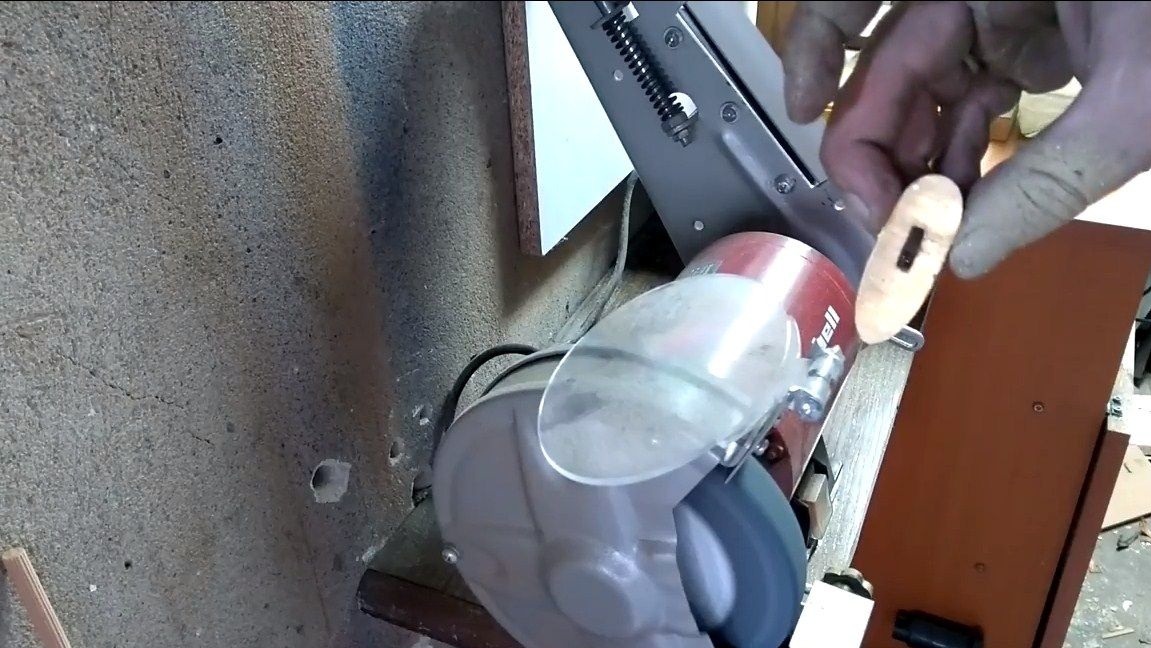
Step Three The wooden part of the handle
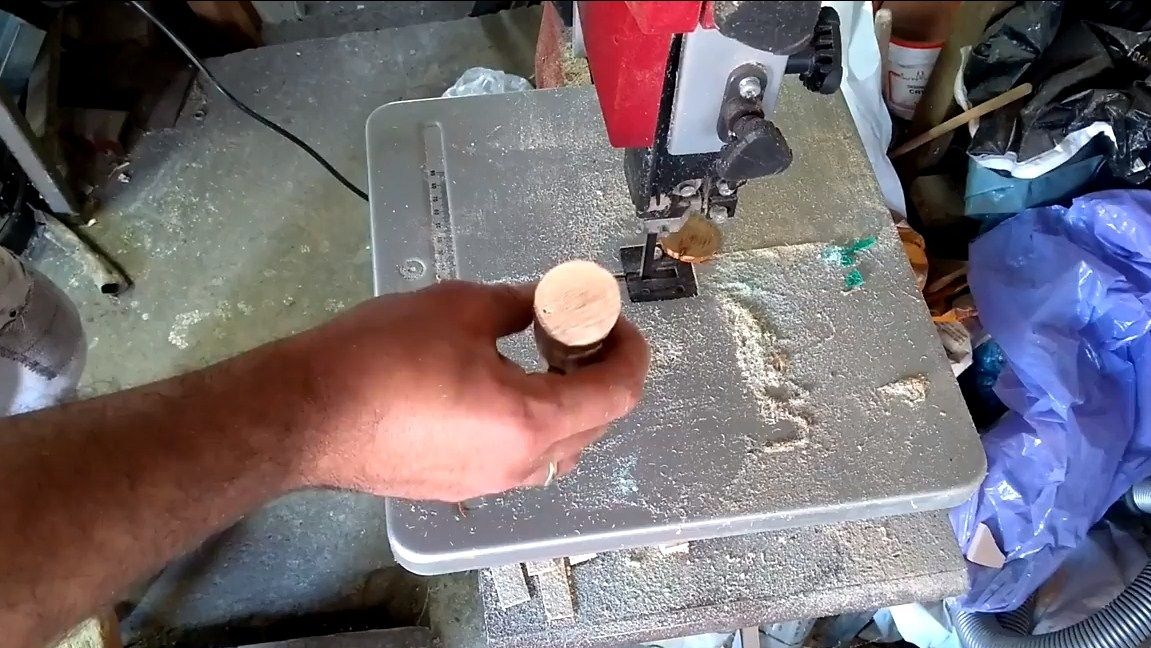
The author’s pen is typesetting, its main part consists of wood. This part is cut from a piece of a dried branch. We select beautiful and durable wood. Oak, maple, cherries, cherries, plums and the like are well suited. The wood must be well dried, otherwise it will crack after processing and will not absorb oil.
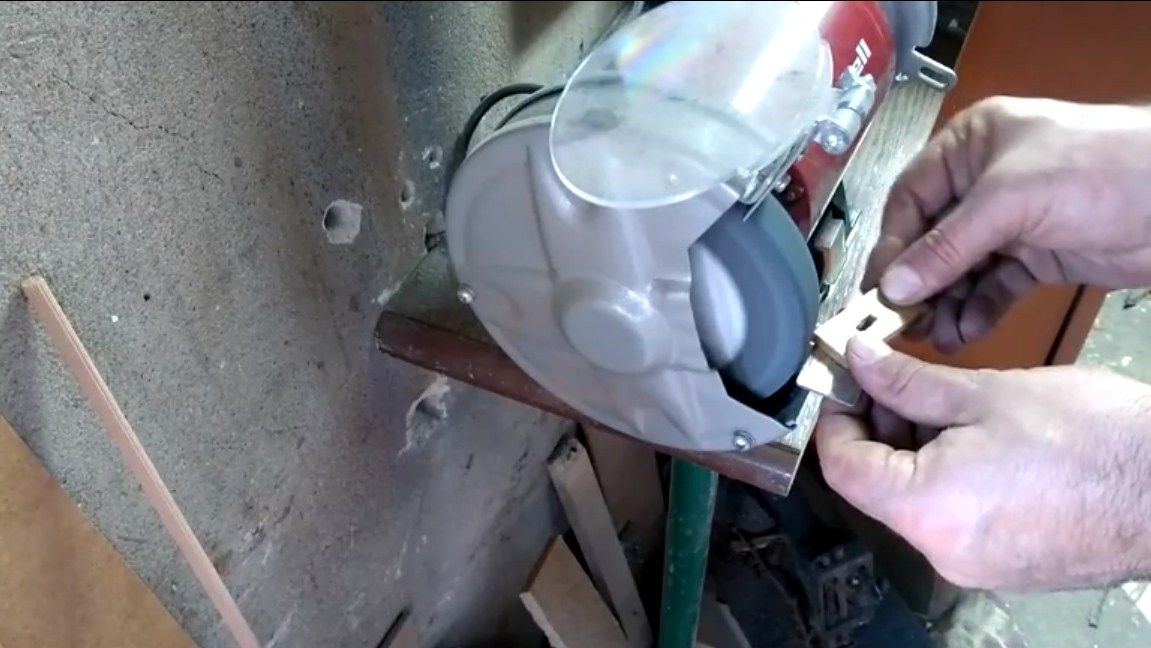
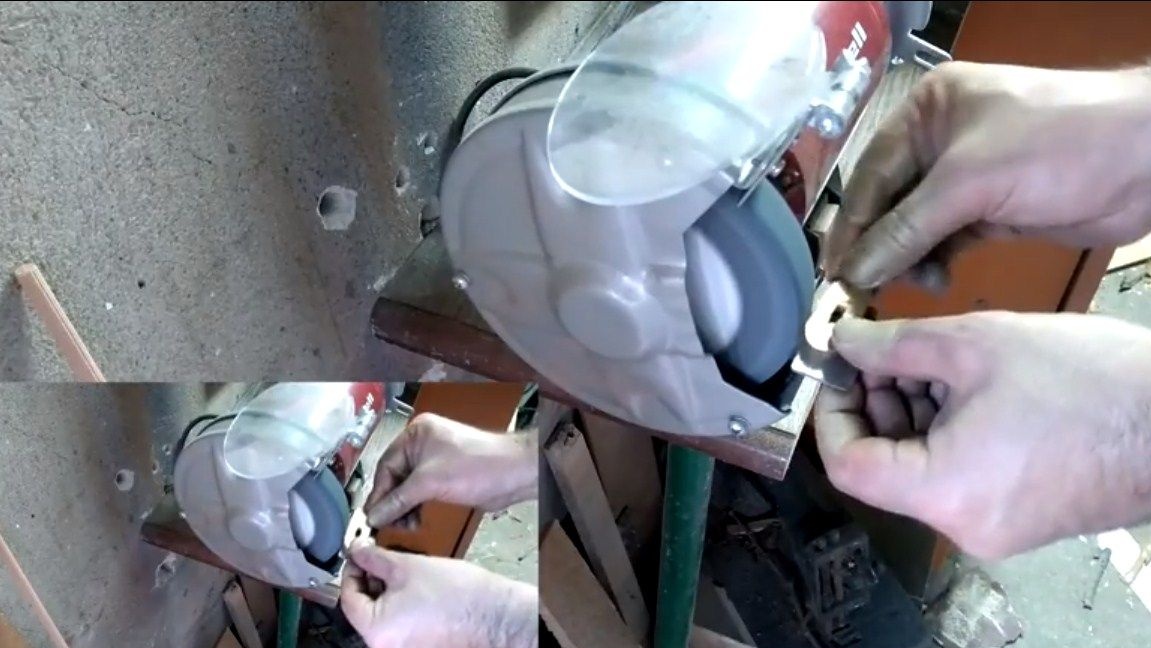
Step Four Handle part
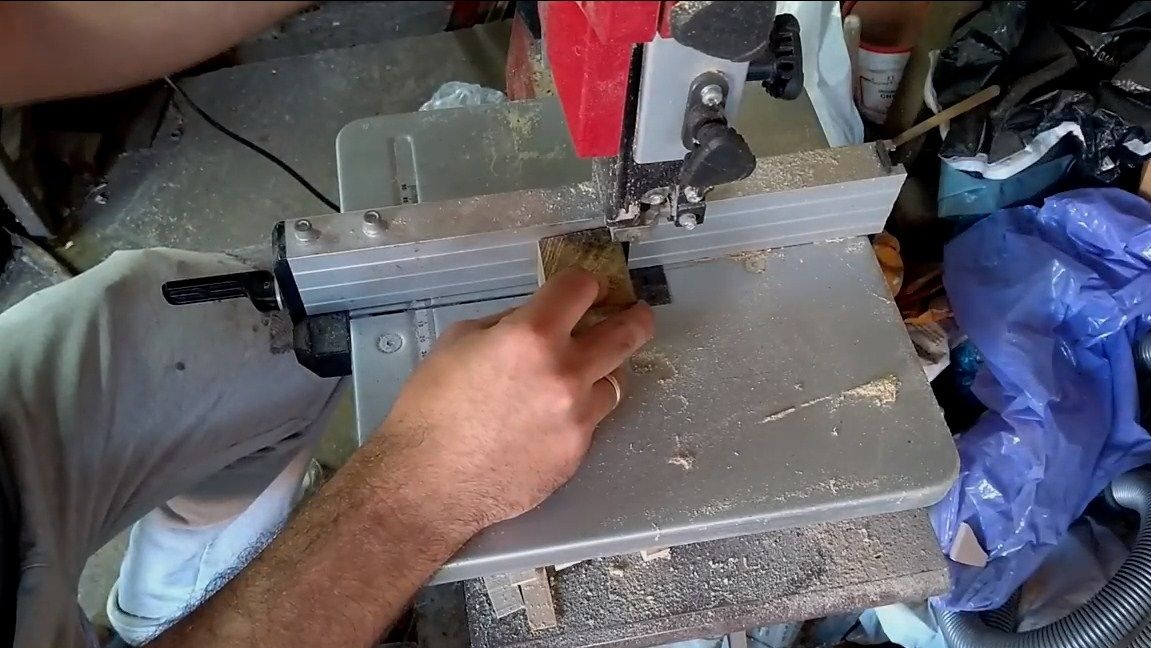
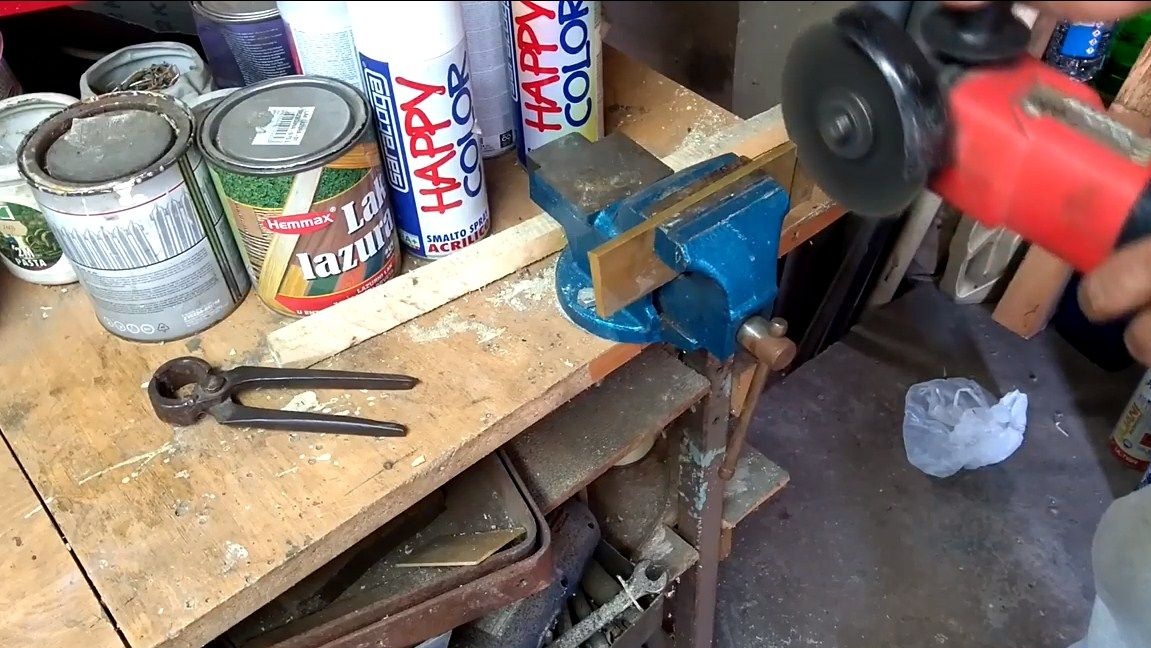
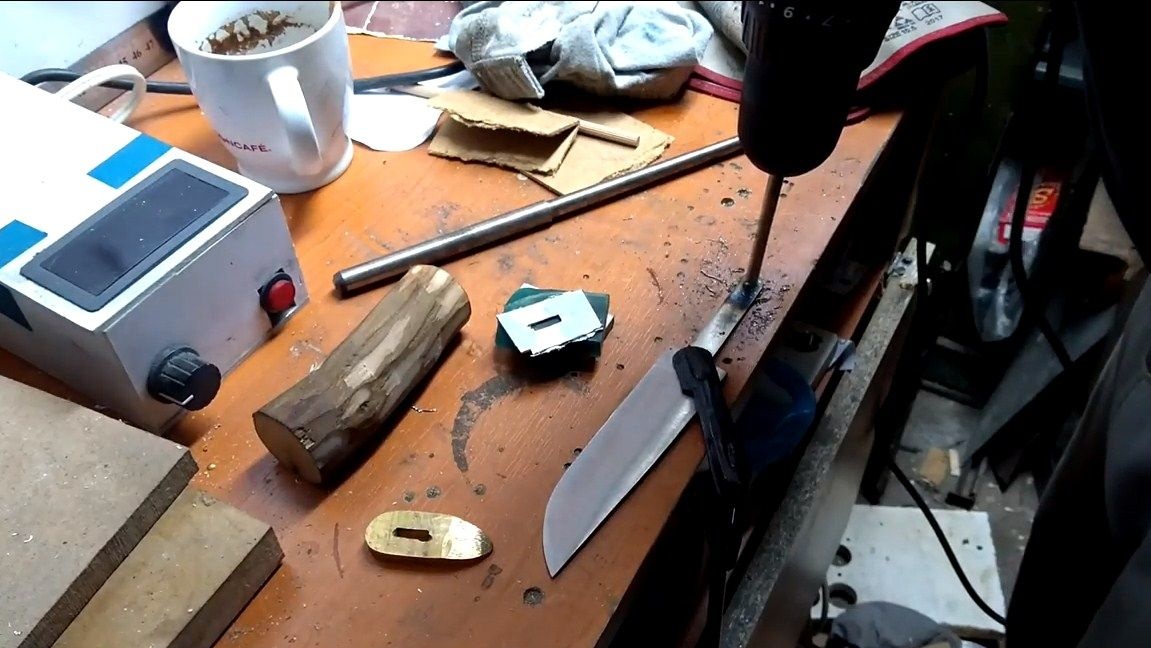
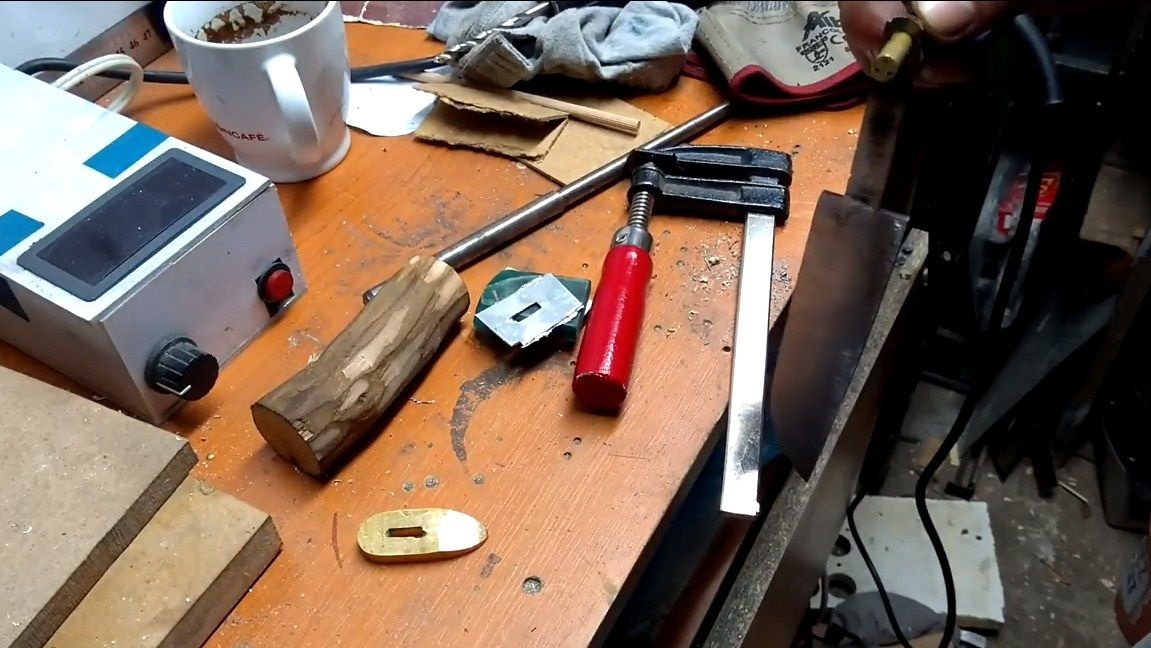
We cut materials for the typesetting part of the handle. First of all, it is a brass plate. Cut off the desired largest piece and make a cut in it under the shank. To make this slot, drill a series of holes, and then bore them with a file. At the end, we form the desired shape on the grinder, and then on the lathe.
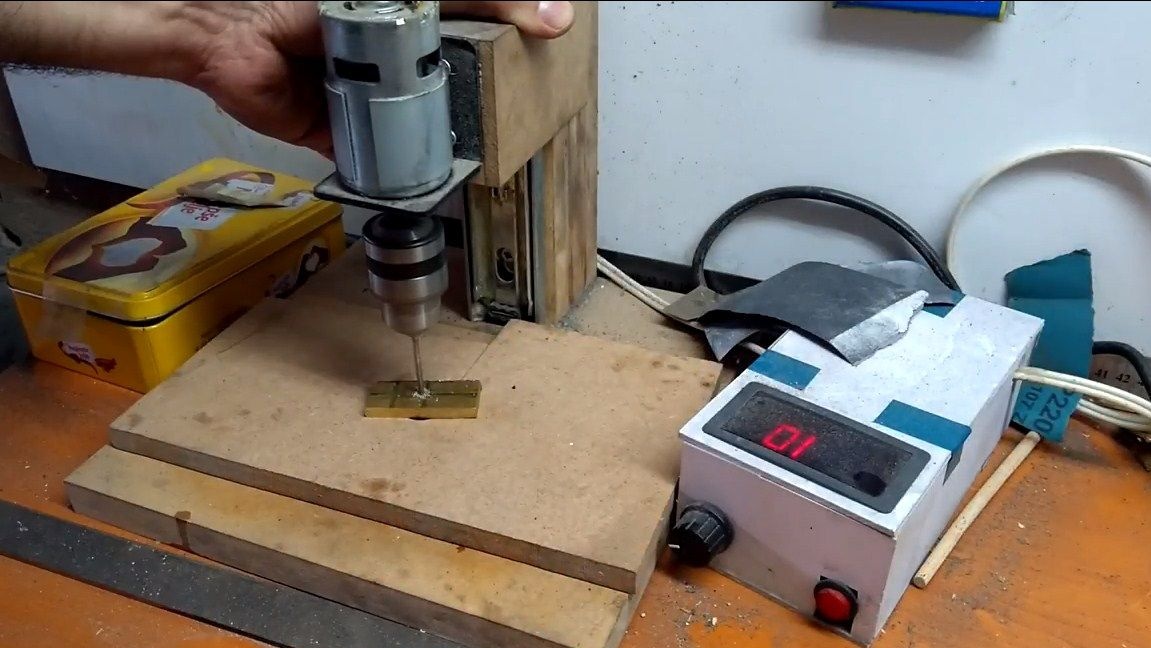
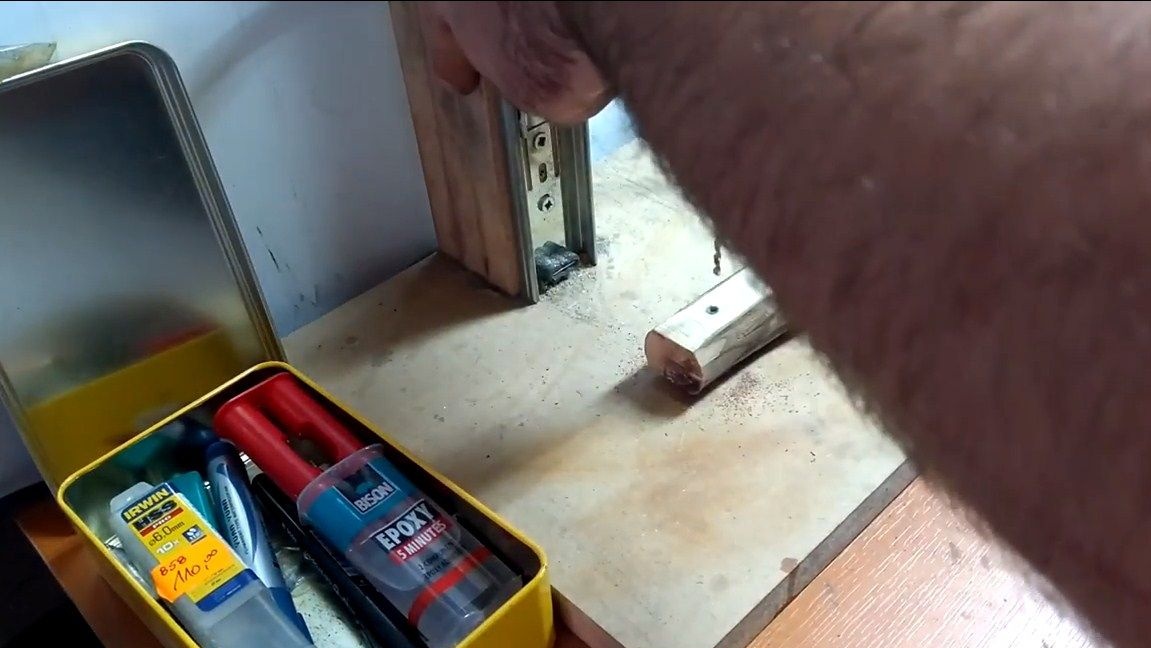
Step Five Drill a hole
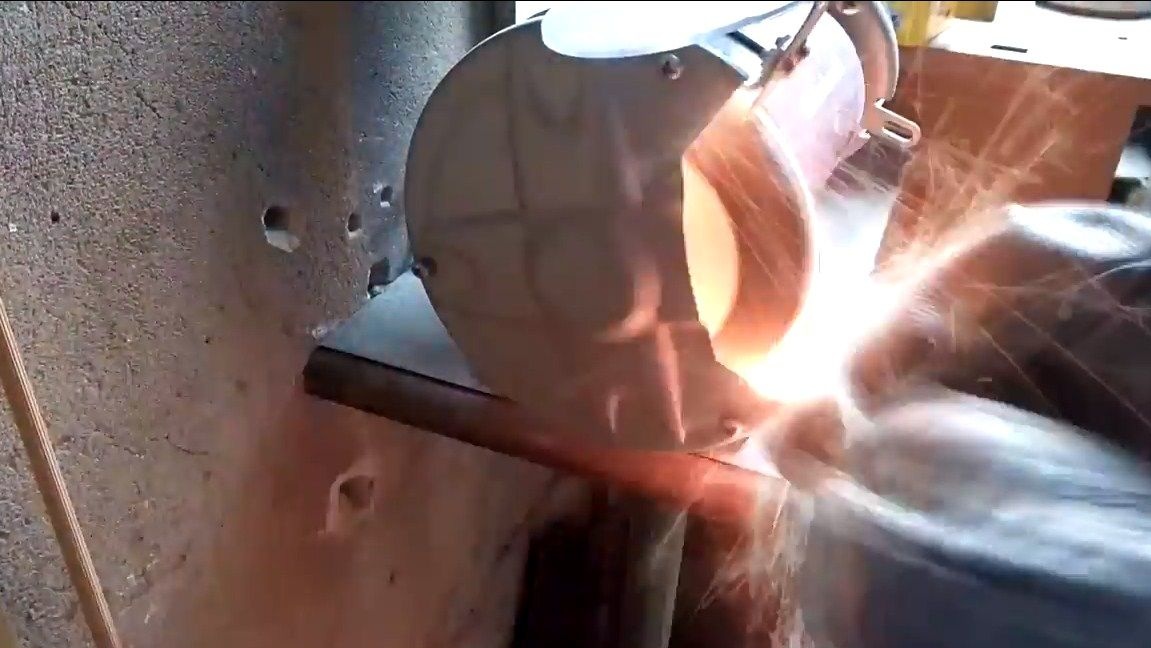
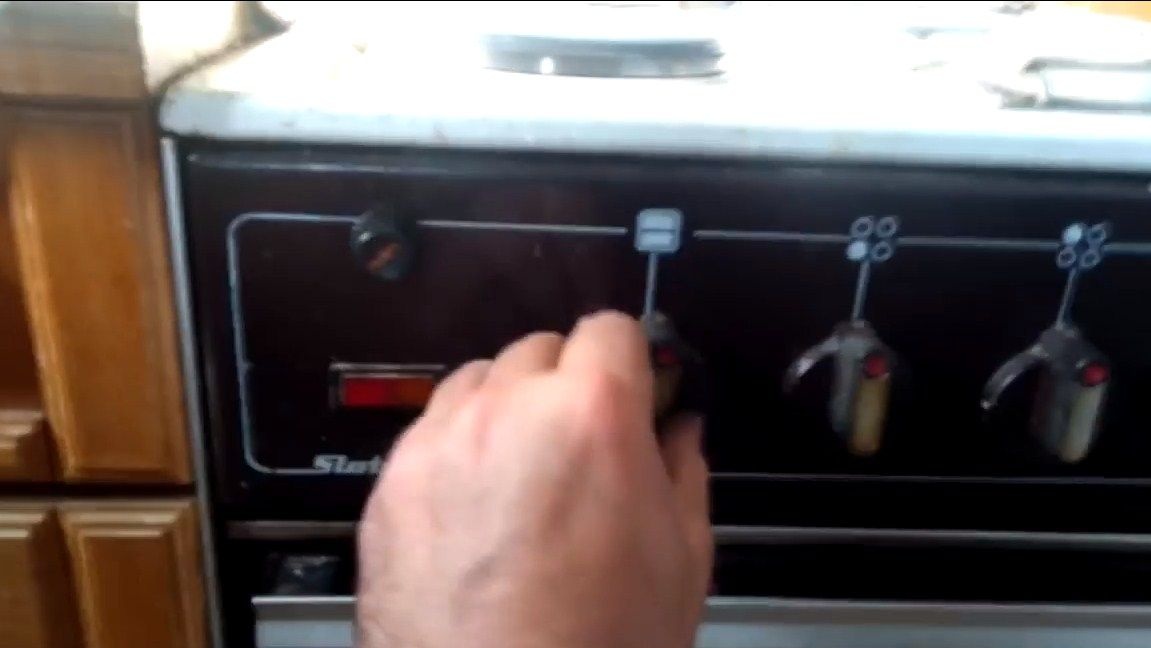
In the tail section you need to drill a hole, here we will insert a pin that will hold the handle. If the metal is too strong, it can be released by heating with a gas burner.
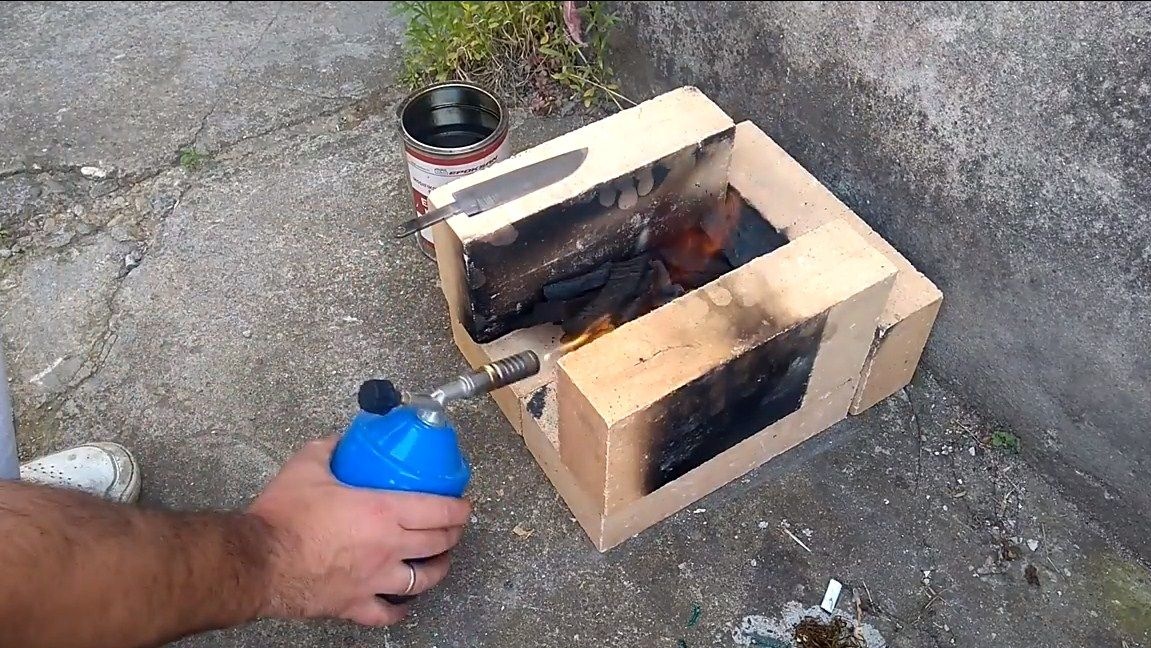
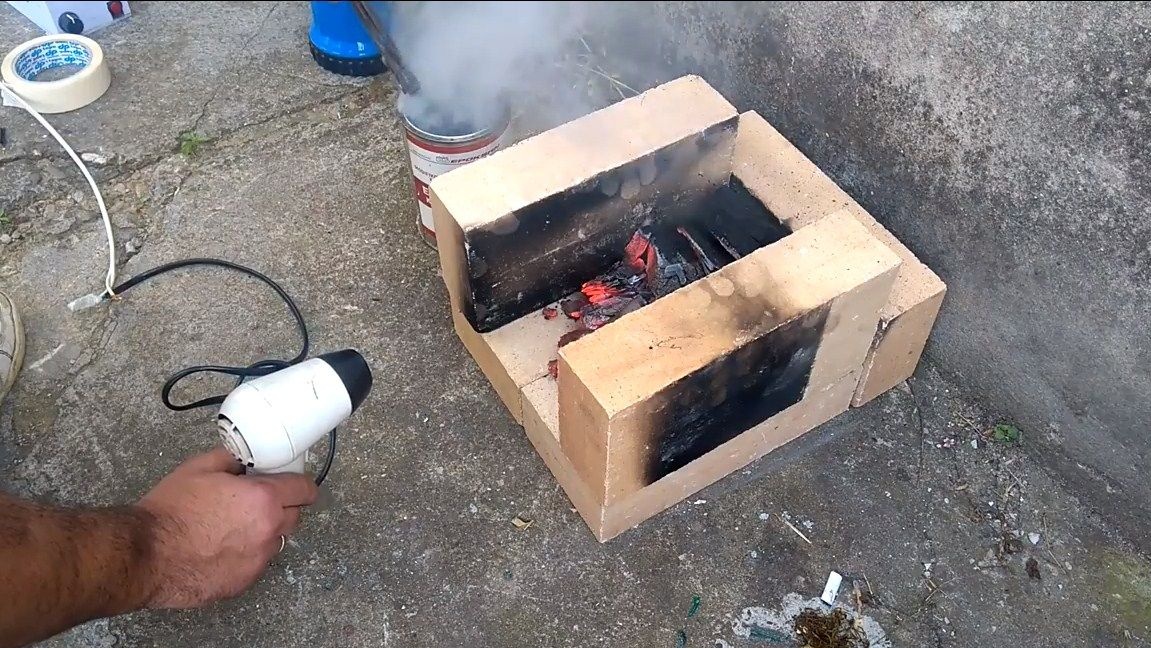
Step Six Metal heat treatment
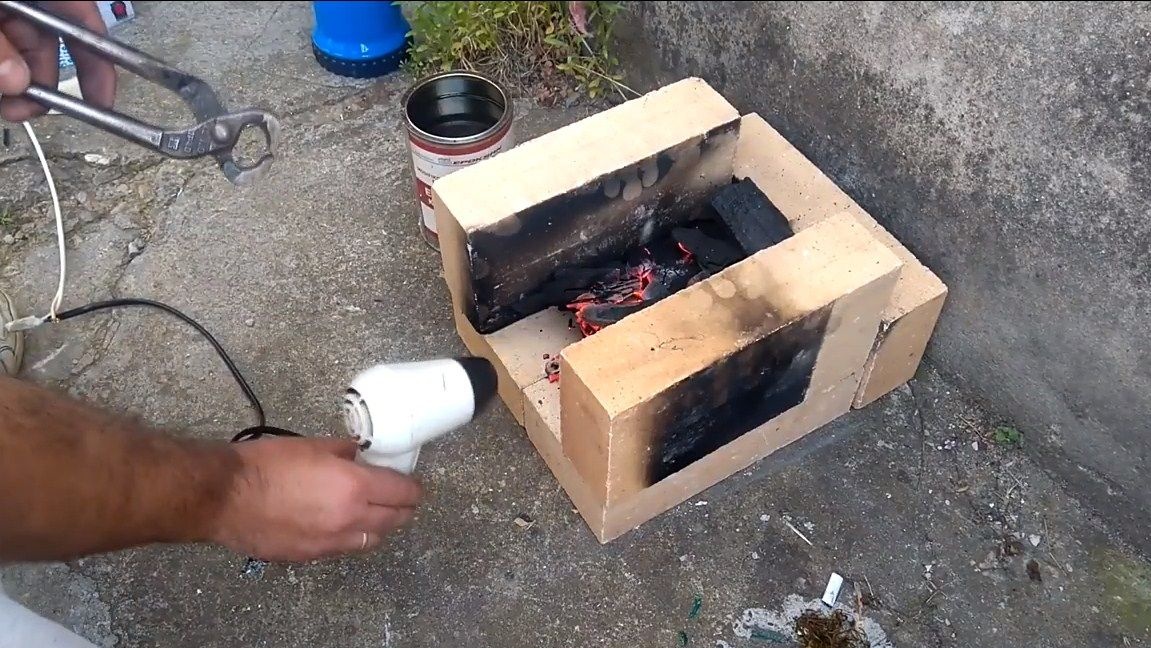
Before this step, you must complete all work with metal, except sharpening, since then the steel will be very durable. For hardening, the author kindles coals among several refractory bricks, and then simply inflates them with a household hairdryer, putting a blade in the fire. Of course, for professional hardening you need to know the grade of steel, but most of the cutting steels are tempered in oil. We heat the blade red and immerse in oil. If hardening is successful, the blade should not be taken with a file. After this, handle the blade carefully, as the metal will be brittle.
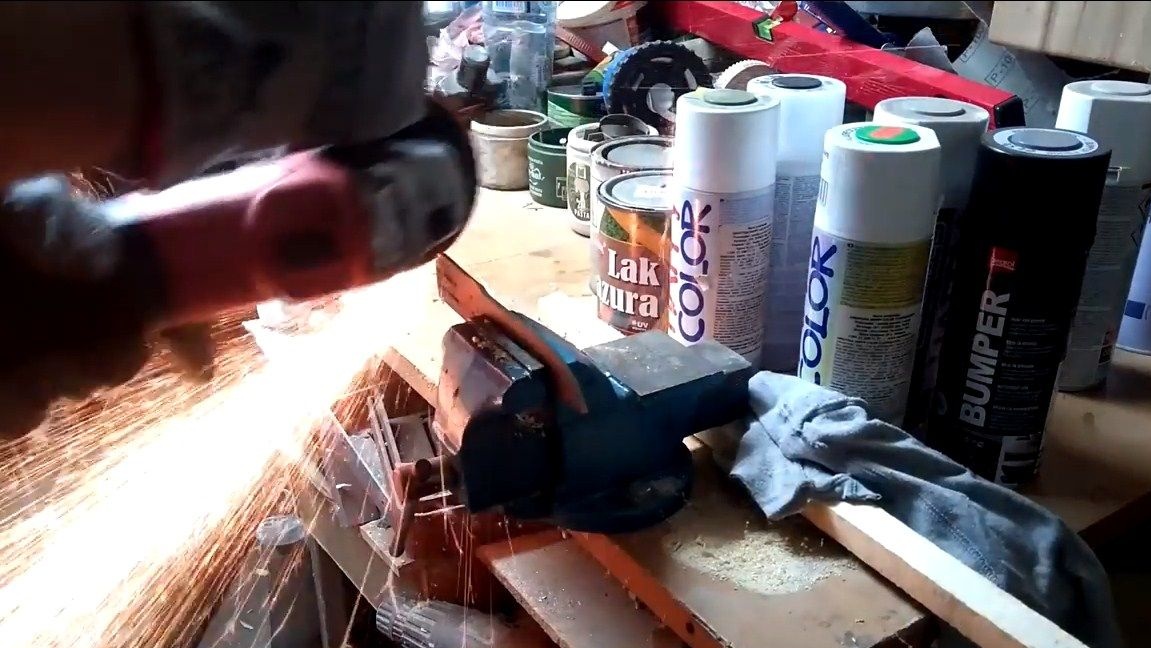
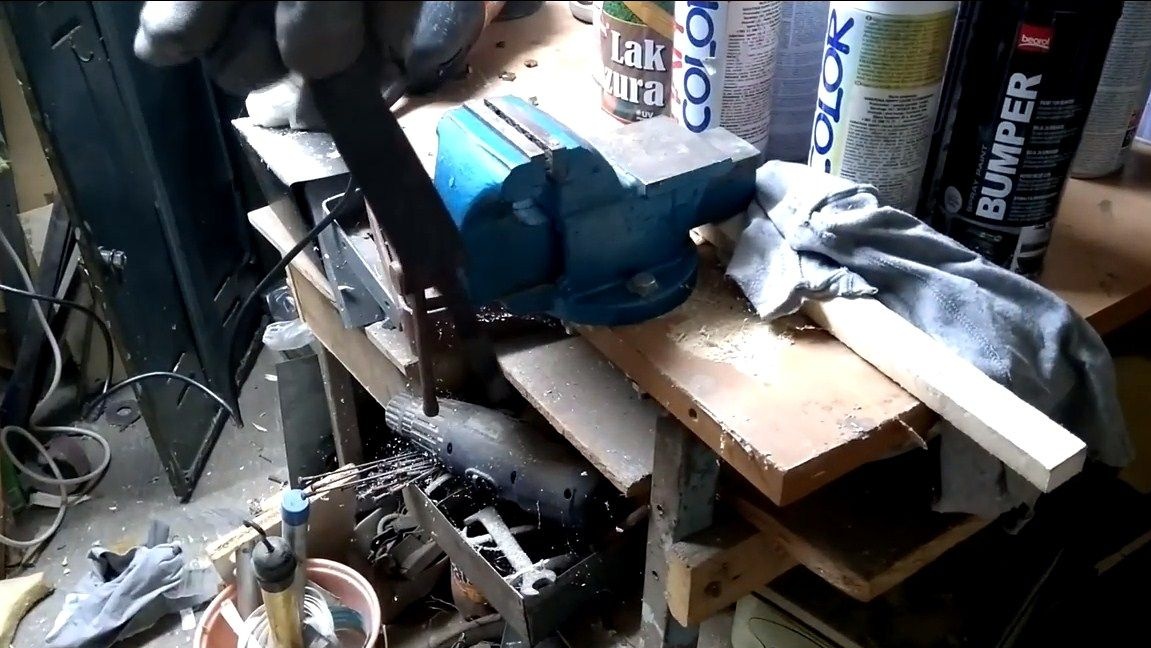
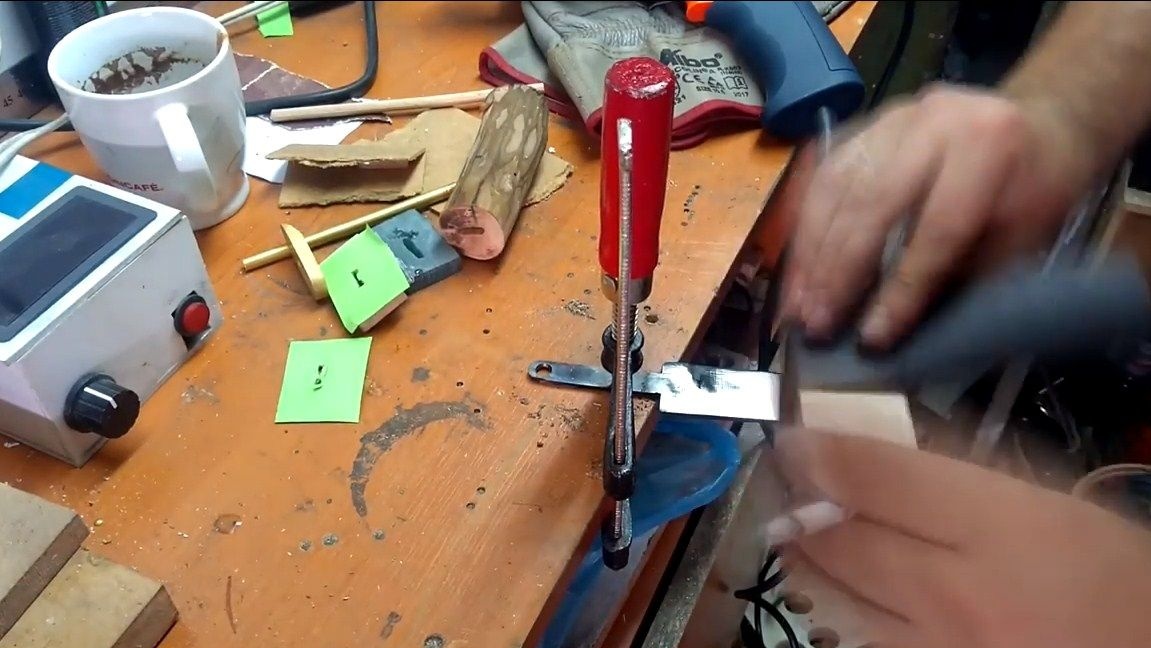
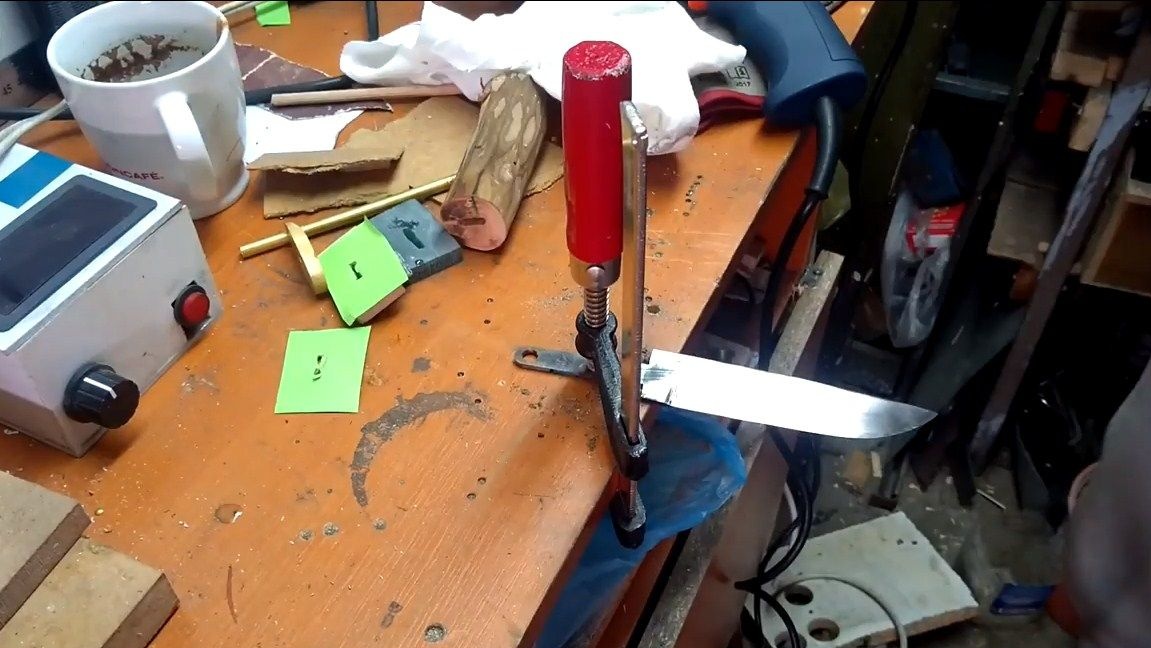
After hardening, we need to clean the surface of scale, and you can leave it if you want to protect the metal from rust. Clamp the blade with a clamp on the table and work with fine sandpaper on a fabric basis. Wet the sandpaper in water, so it will work better. If desired, the blade can also be polished
When the metal is cleaned, we send the blade into the oven, heated to about 200 degrees Celsius. We heat the knife for an hour depending on the size and then let it cool gradually along with the oven. As a result, we will let go of the metal, and it will spring under heavy loads. Usually the steel becomes straw-colored, if there is such a coating, it means that the vacation is made correctly.
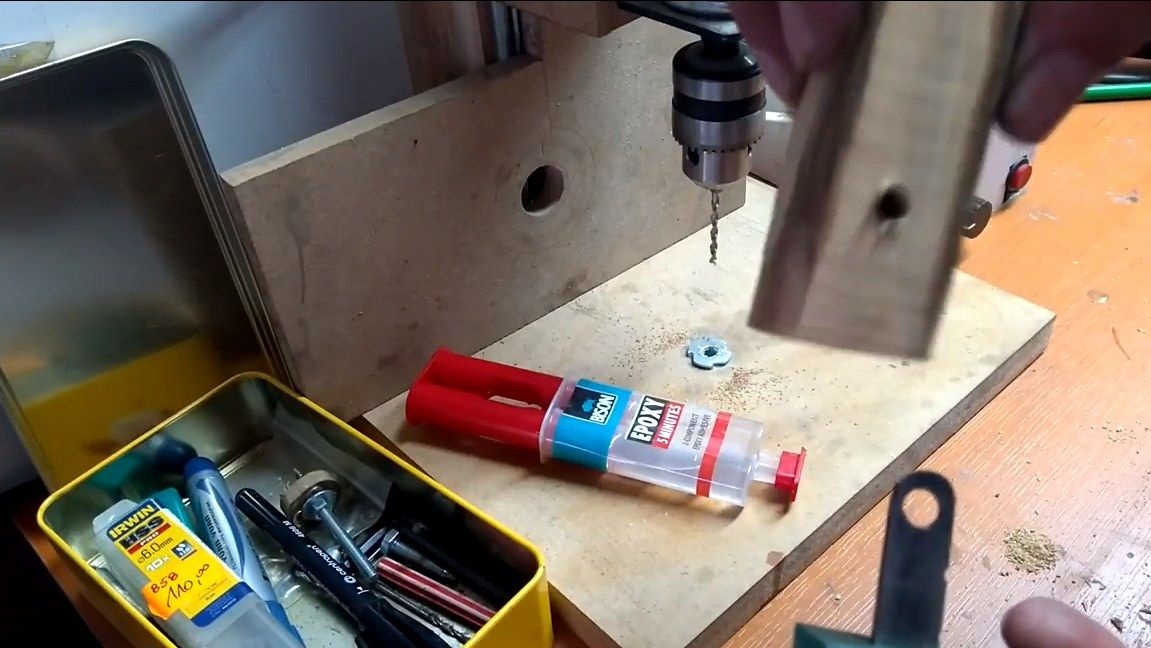
Seventh step. Collect the pen
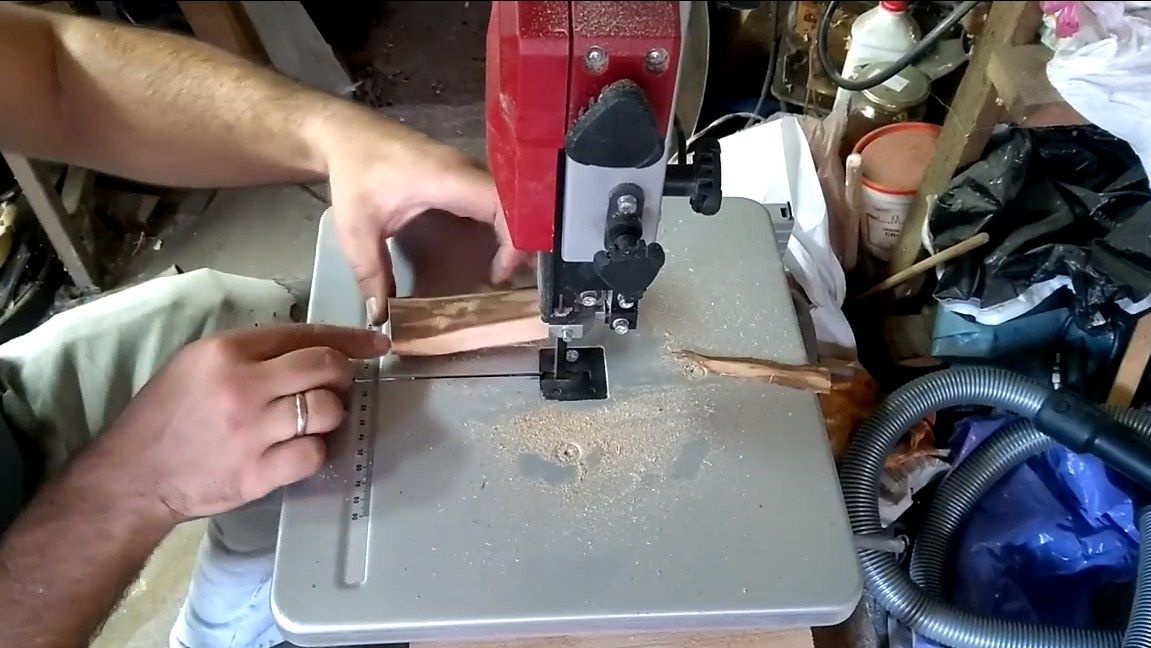
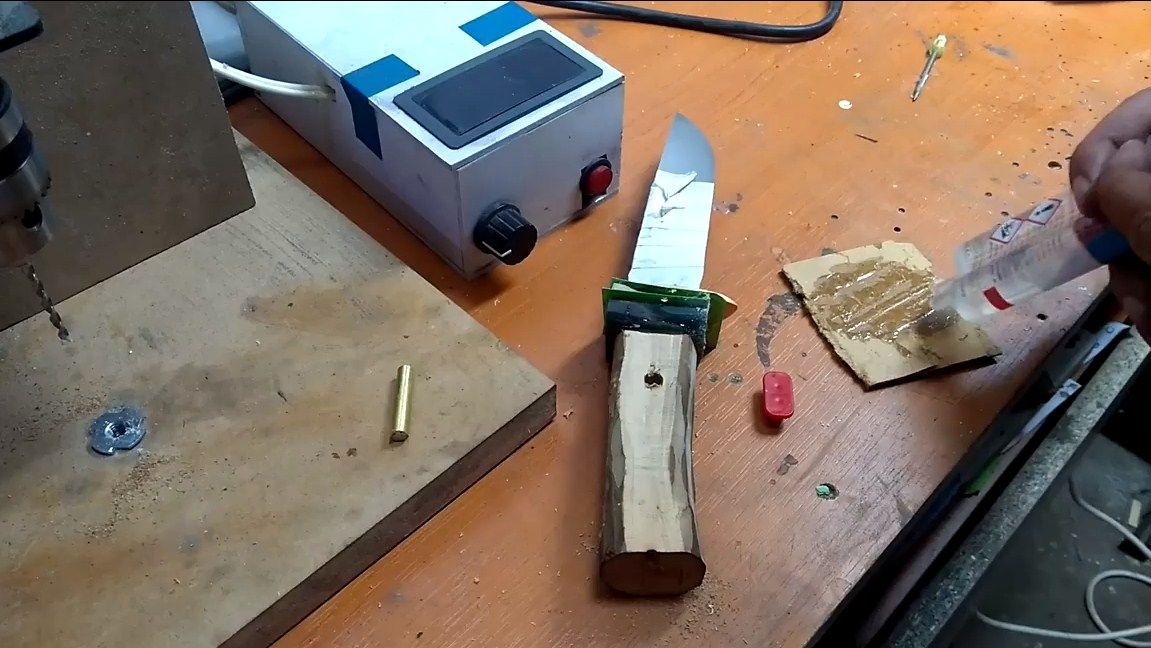
You can assemble a pen, everything is assembled on epoxy glue. We are finalizing the wooden part, cutting off the excess on a tape machine so that later we need to refine it less. In the handle you need to make a slotted hole for the shank, and also drill a hole for the pin.
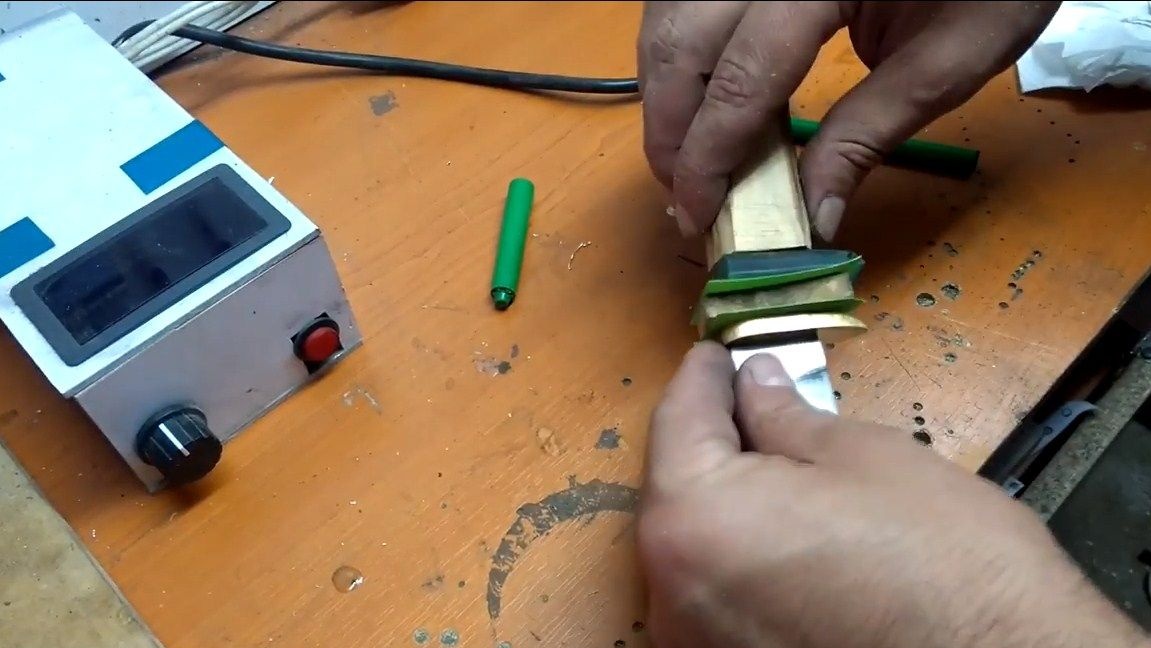
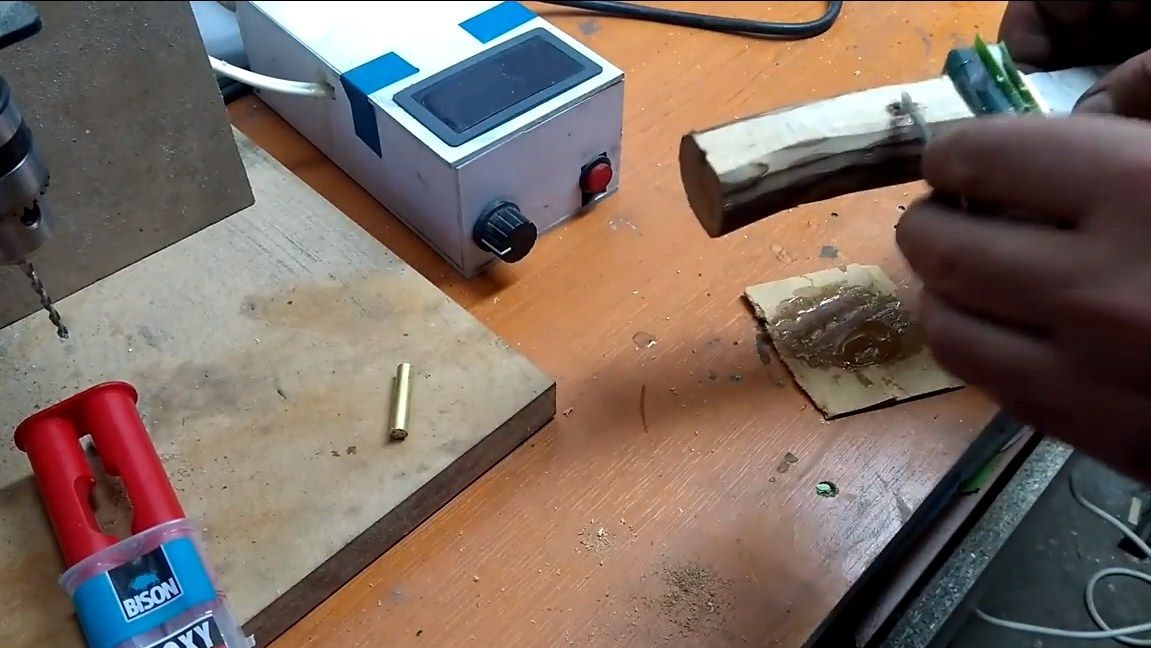
We also collect all the accessories for the typesetting part of the handle and proceed to assembly.
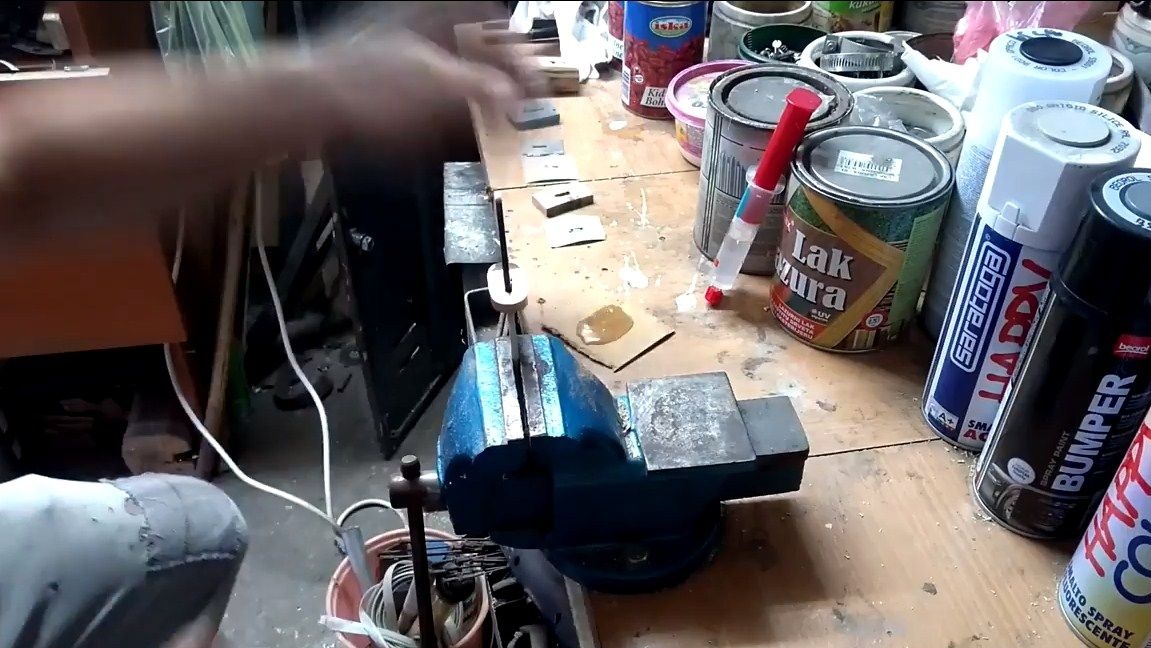
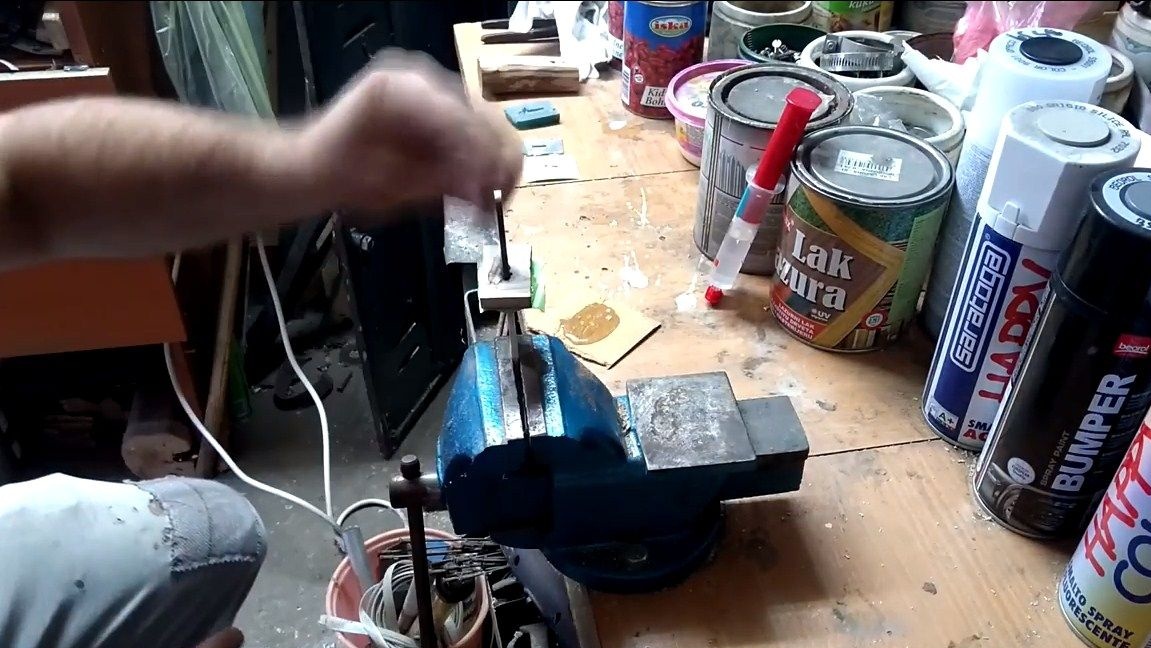
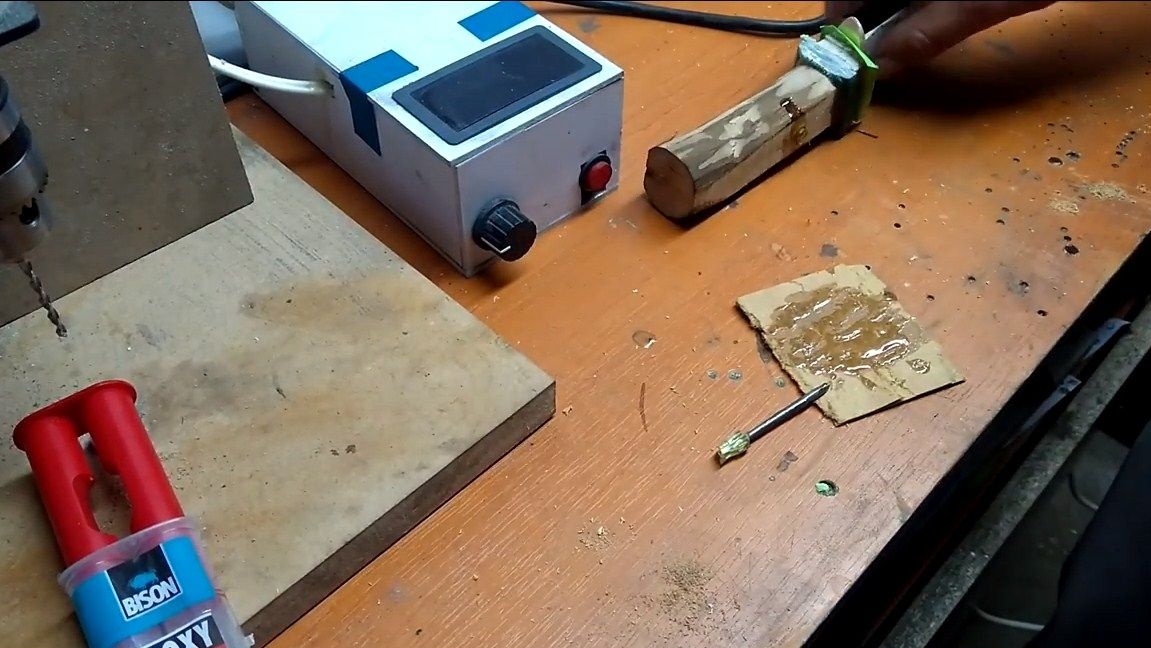
Clamp the blade with the shank up in a vise and assemble the handle. Each layer is thoroughly coated with epoxy glue. We collect the handle tightly. At the end, we put glue on the pin, and also lubricate the hole in the handle with it, that's all, now all that remains is to hammer the pin. Now the pen needs to be left, the glue should dry for 24 hours.
Step Eight. Handle handle
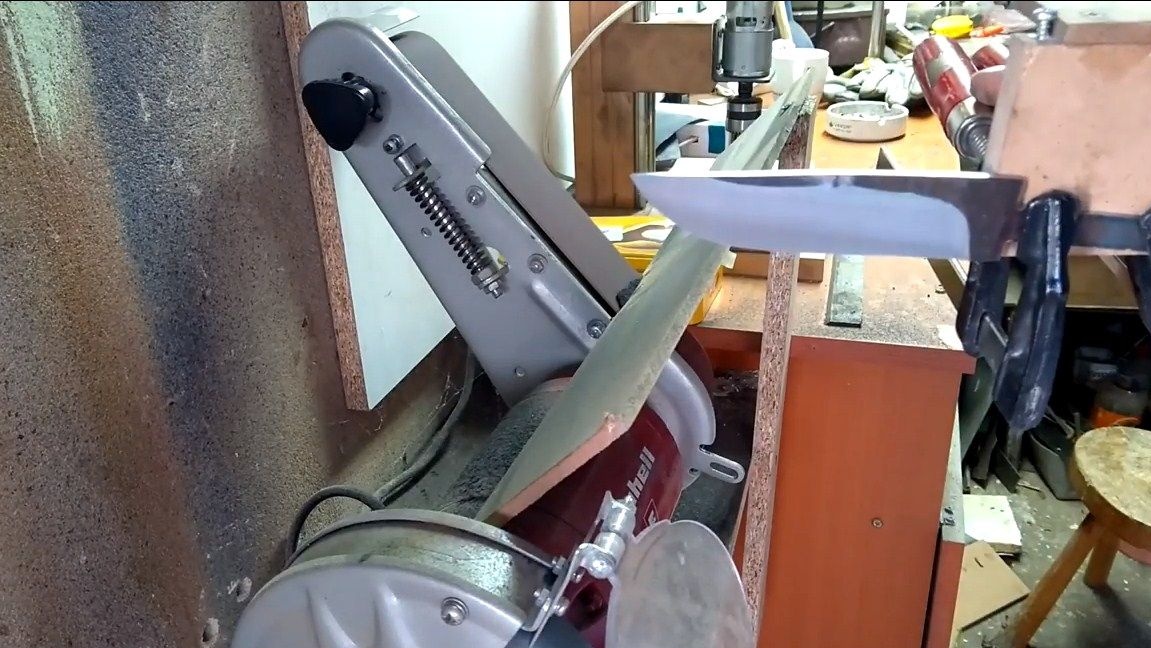
When the glue dries, you can form the desired profile of the handle.For these purposes, a belt sander is ideally suited. We form the desired profile of the handle, then carefully grind the handle with fine sandpaper. Ideally, the handle should be perfectly smooth.
When everything is ready, the final stage of processing will remain - oil impregnation. Thanks to the oil, the pen will not absorb moisture, and get dirty, it will look beautiful. We are looking for a suitable container in size and dip the handle in oil. It is advisable that the pen be in oil for several hours, so the wood is more saturated. Some craftsmen also heat the oil. Now we take out a knife and wipe the remaining oil with a rag. As a result, we have a great pen.
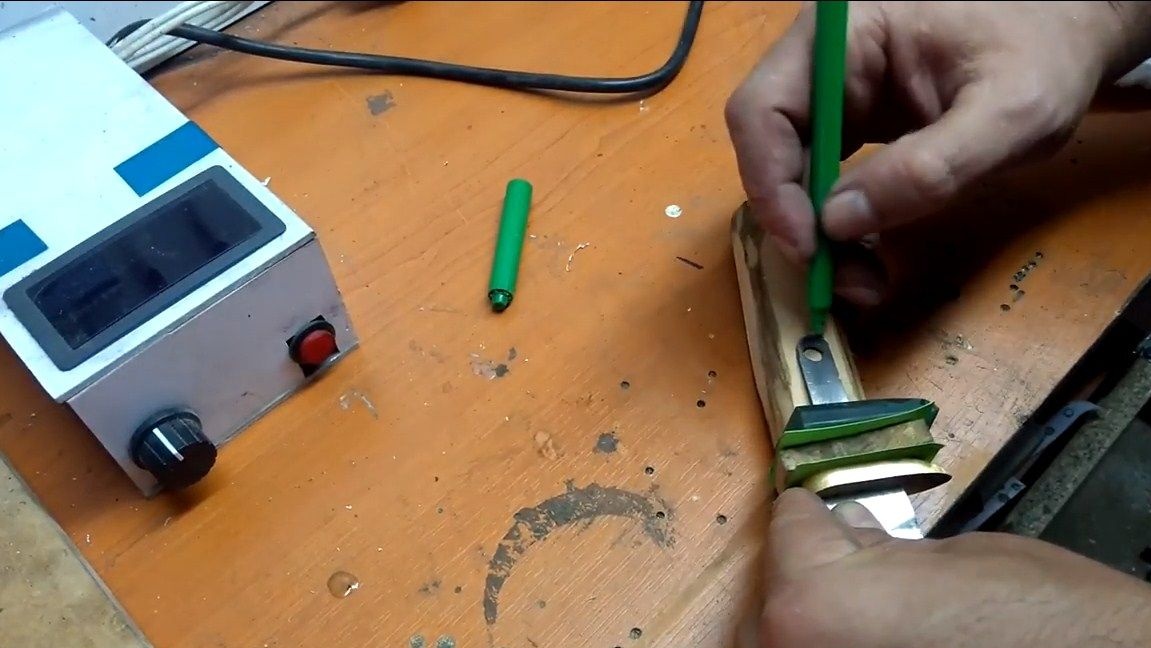
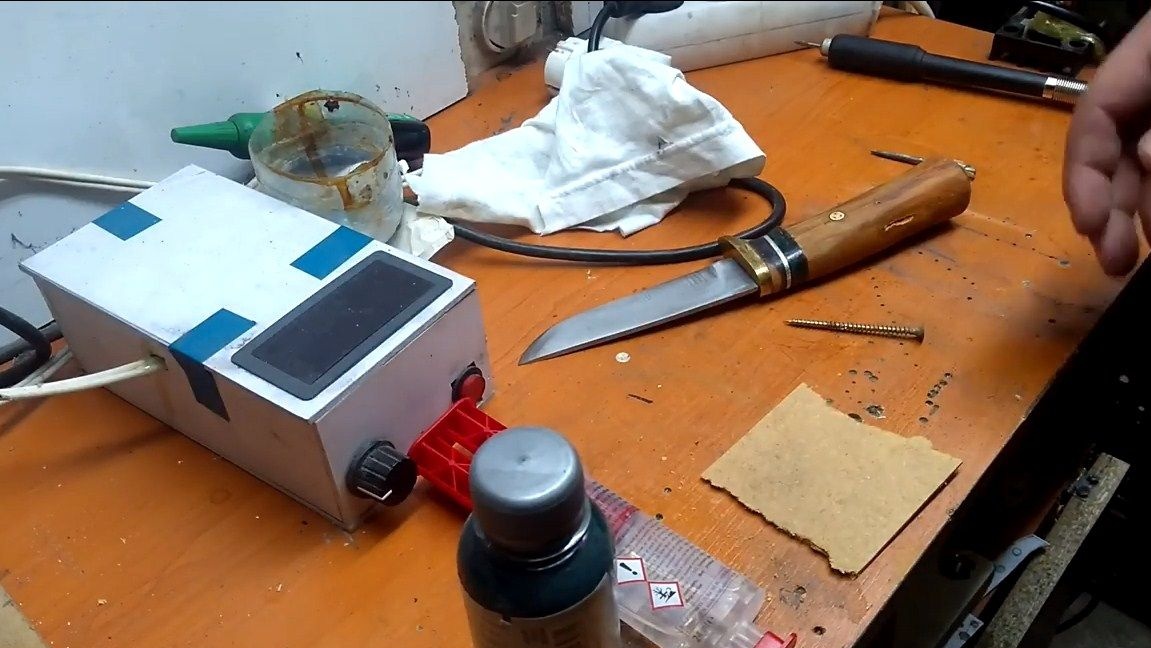
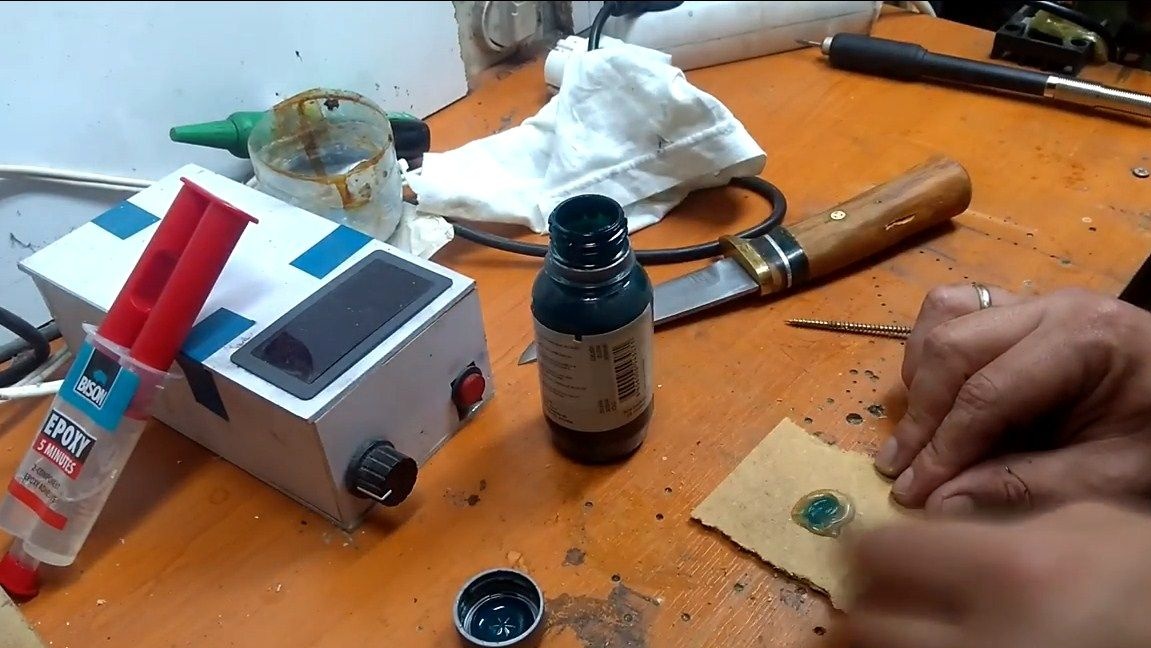
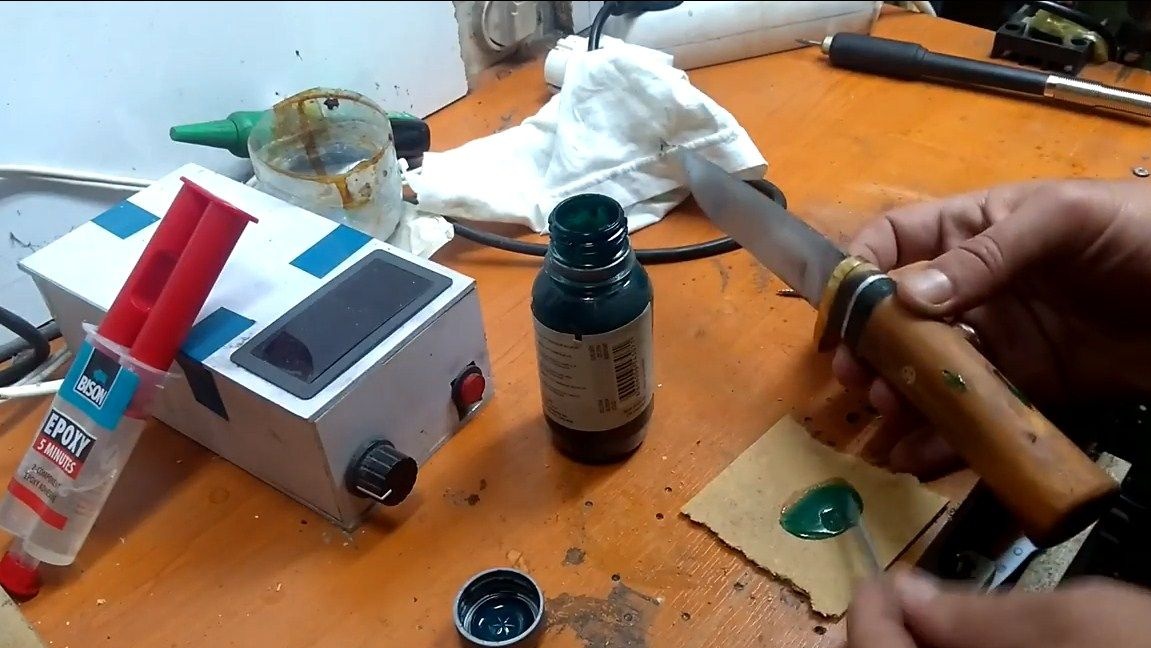
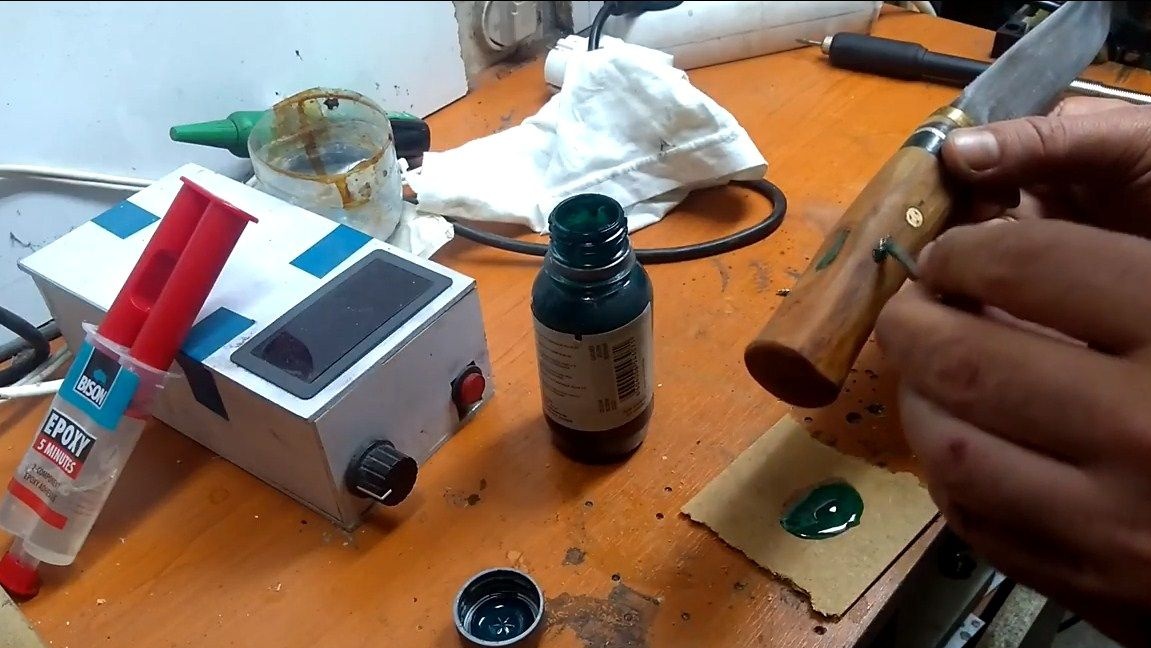
Step Nine. Pen defects correction
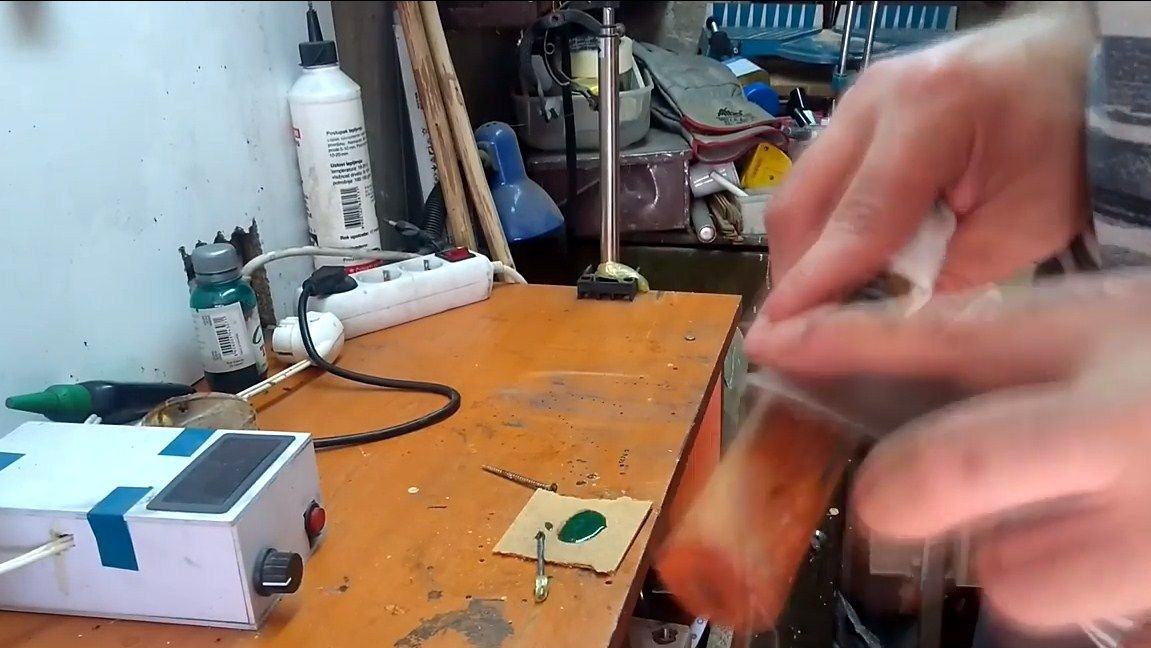
After making the pen, the author noticed that the bark beetle had time to spoil the wood. To remove these defects, we clean the damaged areas with a drill and fill it with epoxy. The author added a green dye to the epoxy. As a result, after grinding the treated places, the handle turned out to be quite interesting.
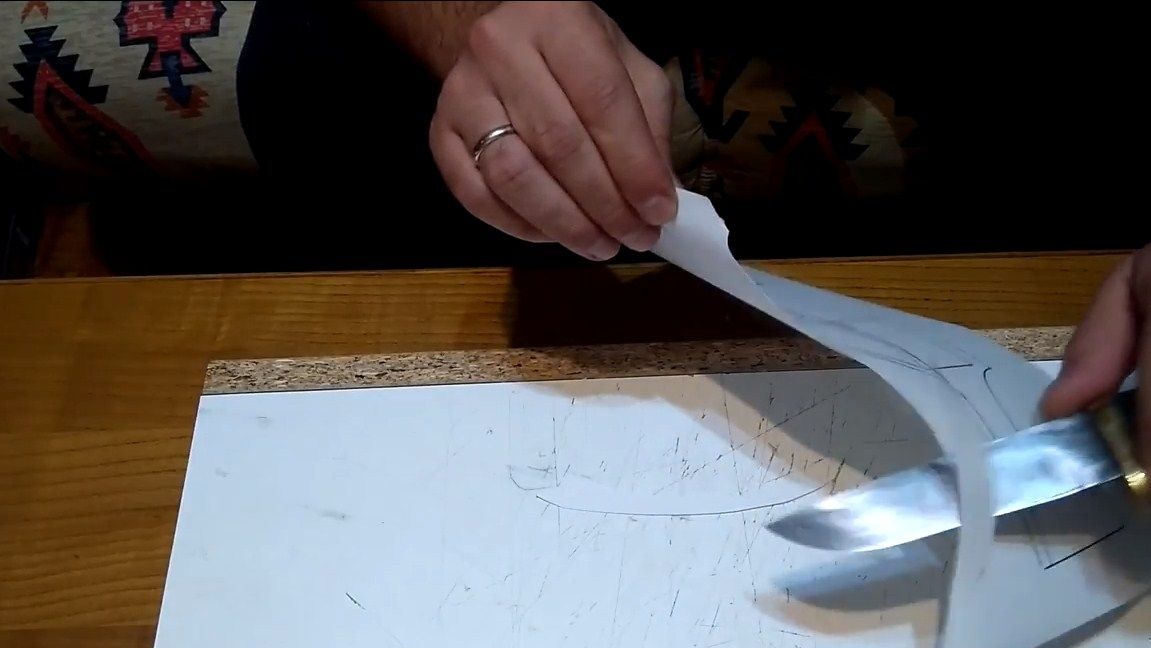
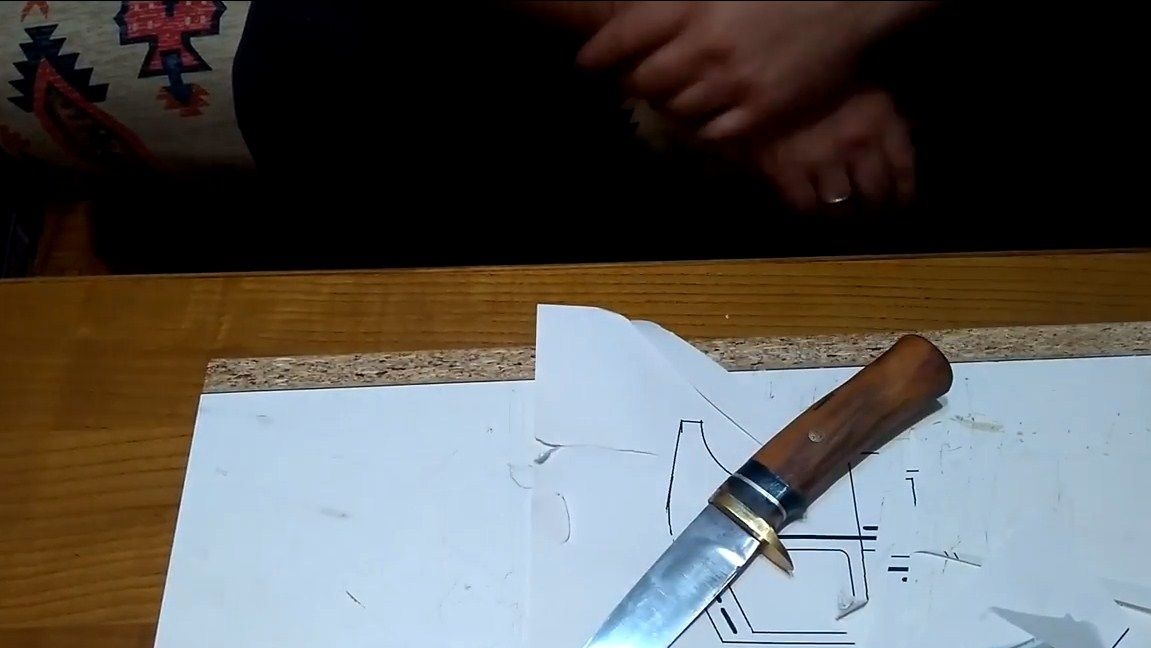
That's all, now you just have to sharpen the knife, for these purposes the author used a special sharpening device. You can sharpen Japanese water stones, they are used by many masters. After sharpening, the knife must cut the canopy paper and our knife copes with this task without any problems. That's all, the project is over, good luck, if you decide to repeat it!