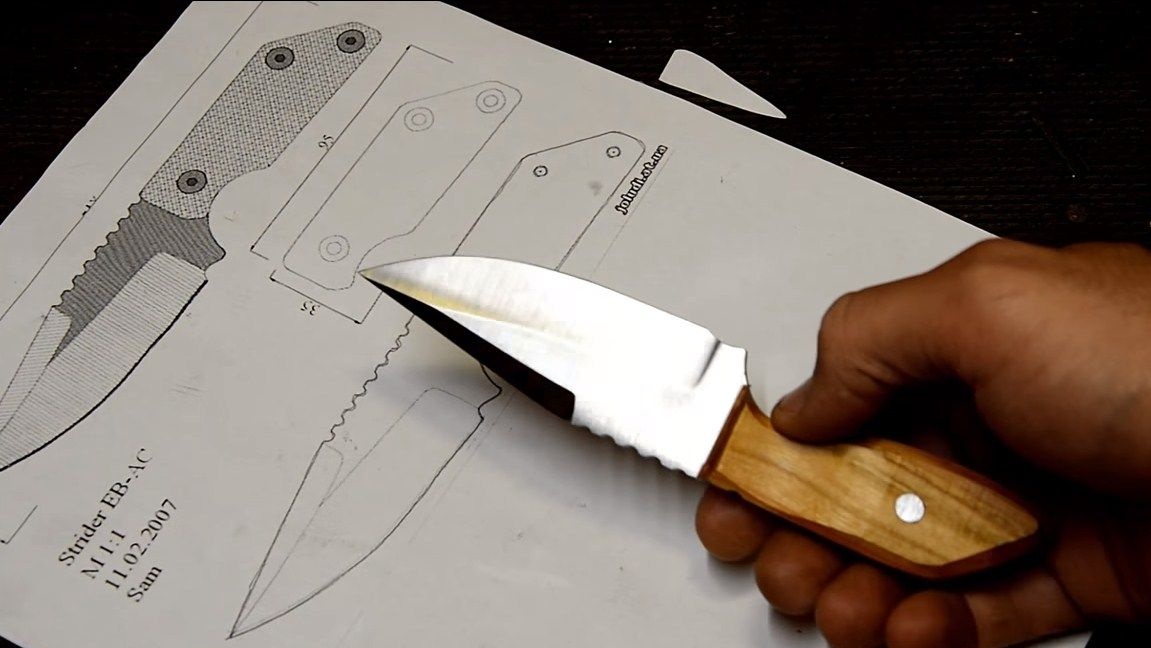
Greetings to connoisseurs of knives, I offer you an interesting and simple homemade. It will be about a small tactical knife, which will be very useful in life. This knife is light and compact, it is convenient for them to cut, plan or even sand and dismember the game. The blade is made of stainless steel, which allows the knife not to blunt for a long time. Good steel is sharpened to the state of a razor blade; such a knife is capable of cutting paper in a canopy. It would be nice for such knives to choose metal with anti-corrosion additives such as chrome, this will allow the knife not to rust and shine for a long time.
It is not difficult to make such a knife, but the production time depends on the tools you have. So, we will consider in more detail how such a knife is made.
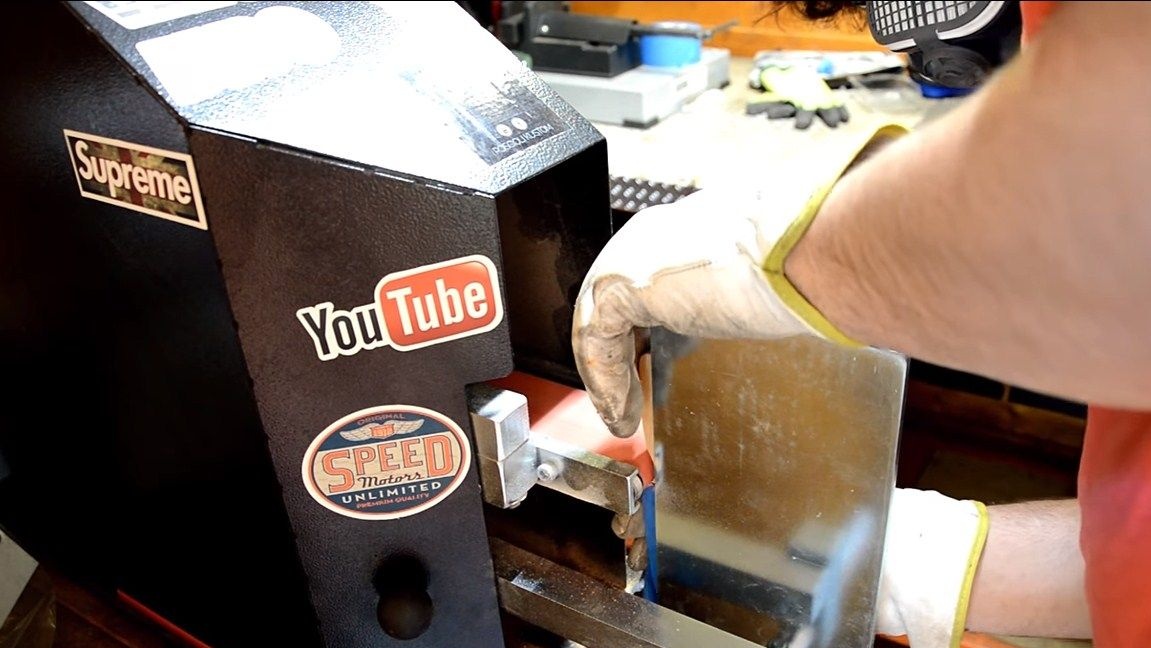
Materials and tools used by the author:
Material List:
- carbon steel;
- wood for linings;
- steel rod (pin);
- epoxy adhesive;
- oil for impregnation.
Tool List:
- tape cutting machine;
- belt sander;
- drilling machine;
- files;
- blacksmith furnace and oil;
- tool for sharpening;
- masking tape;
- paper, marker, drawing accessories and so on.
The process of making a knife:
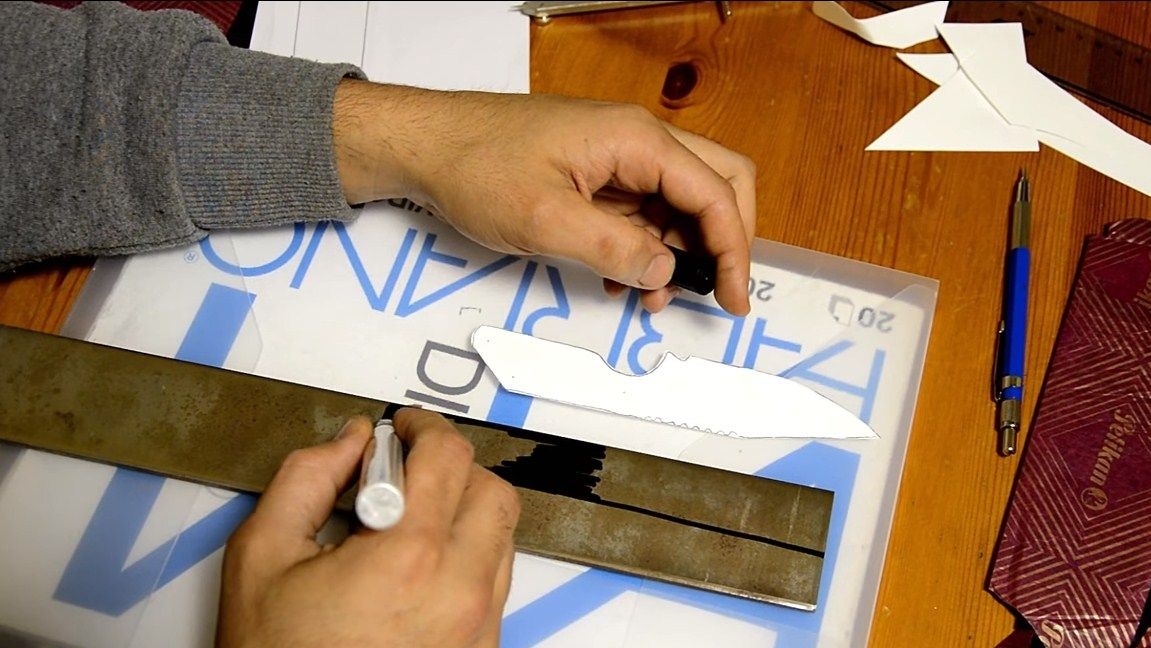
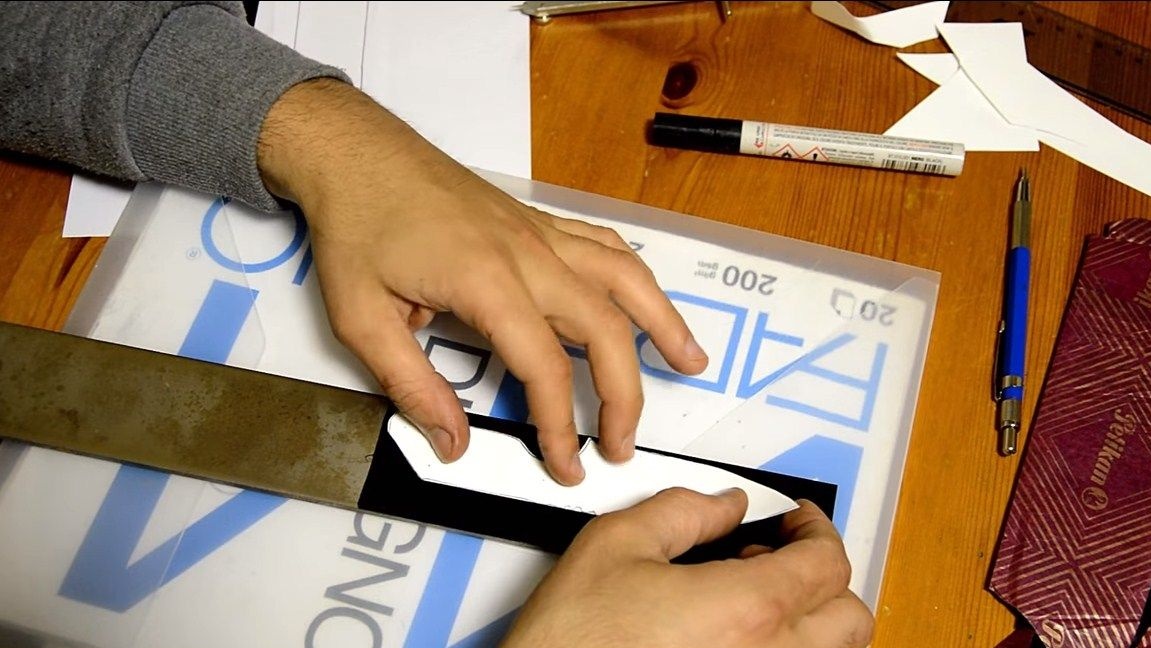
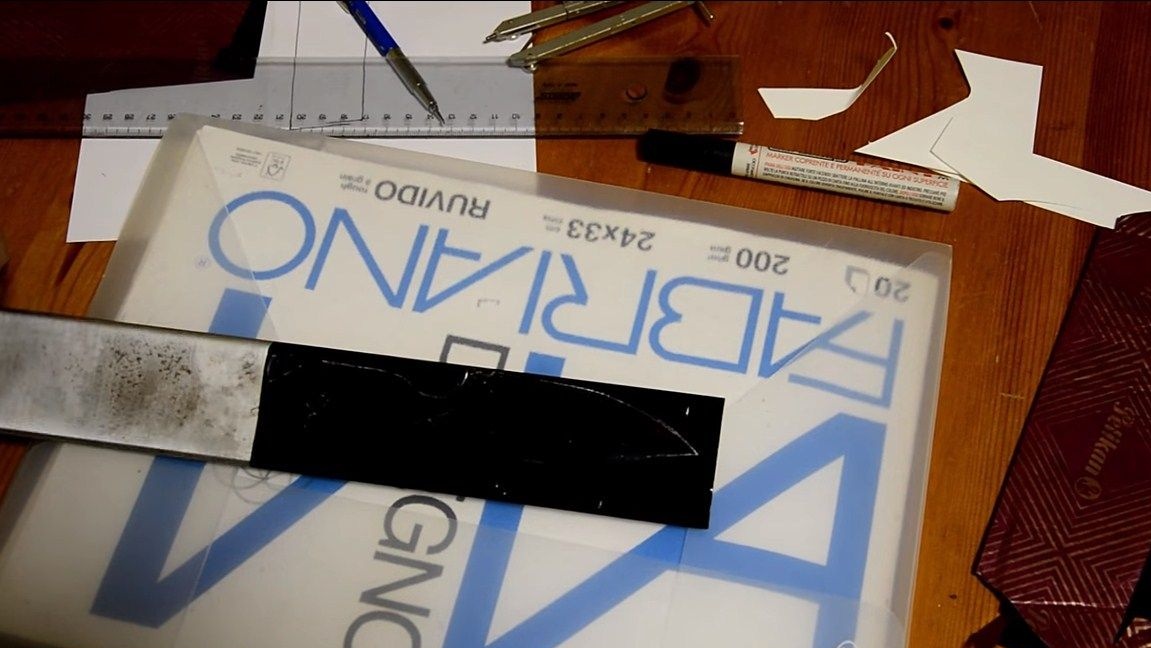
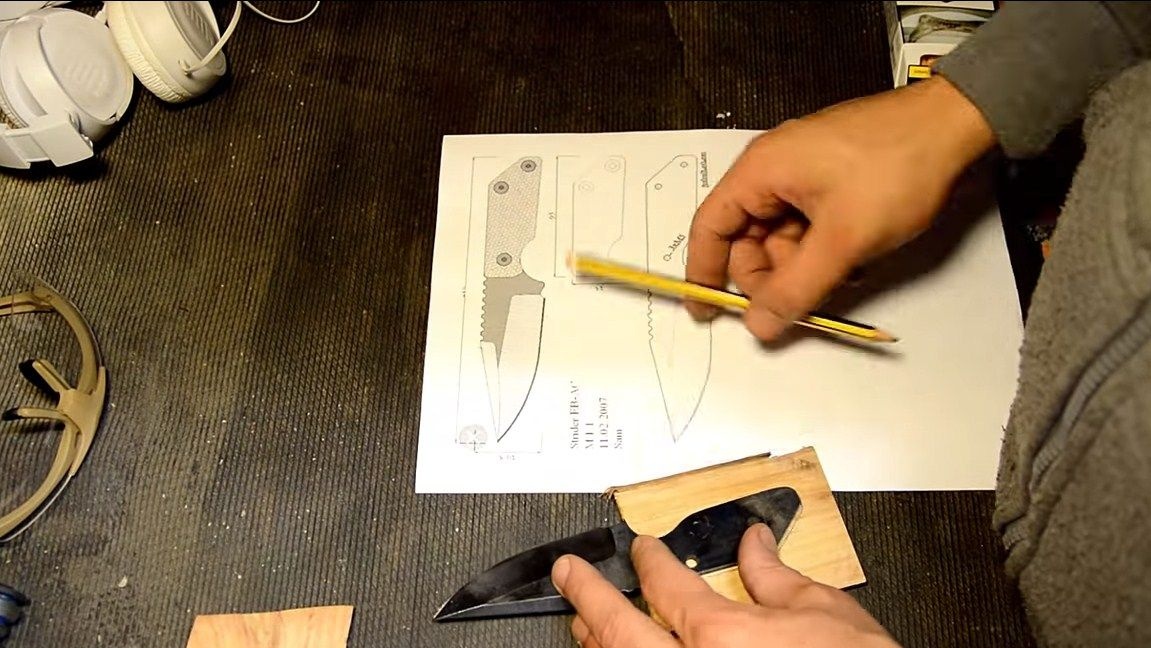
Step one. We make and transfer a profile to metal
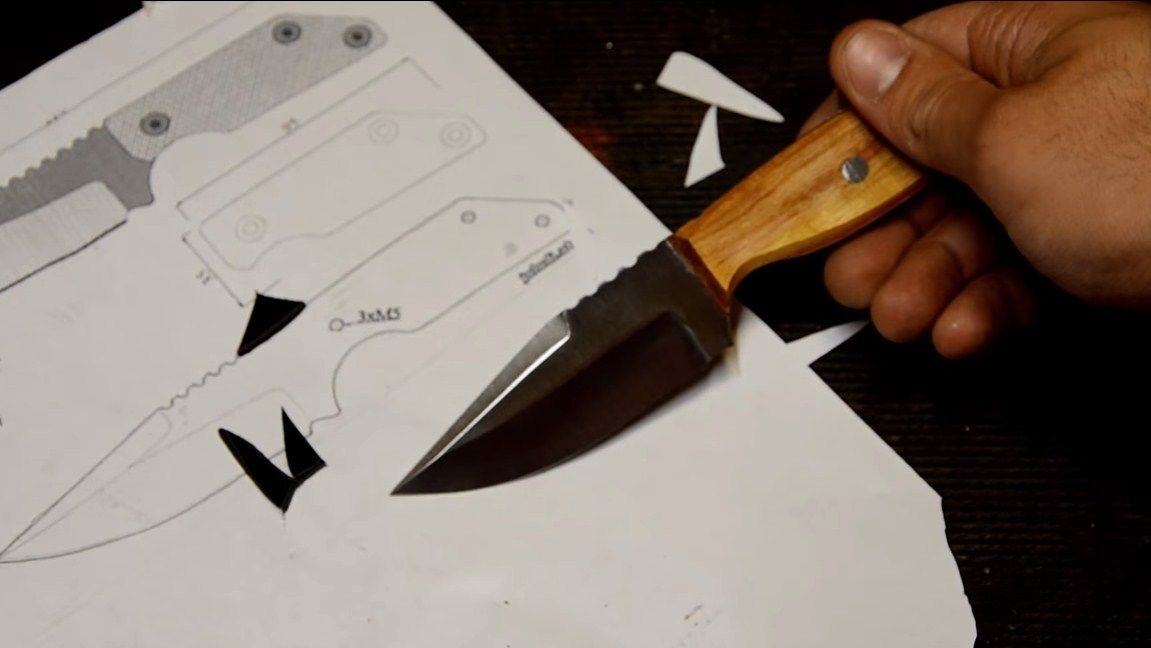
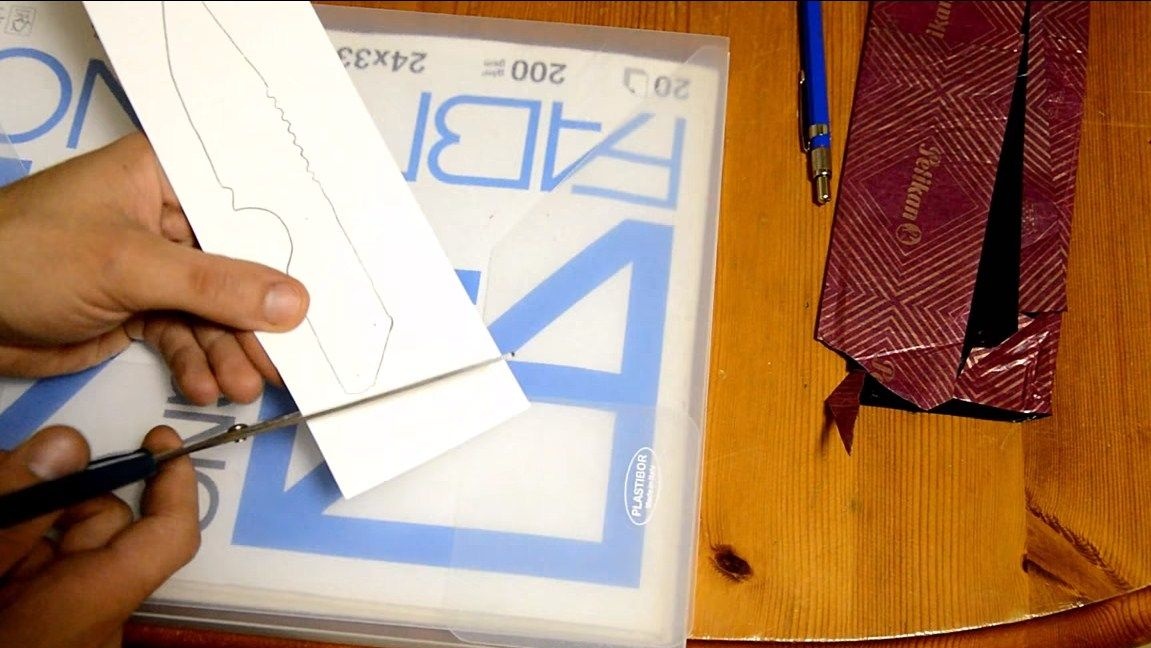
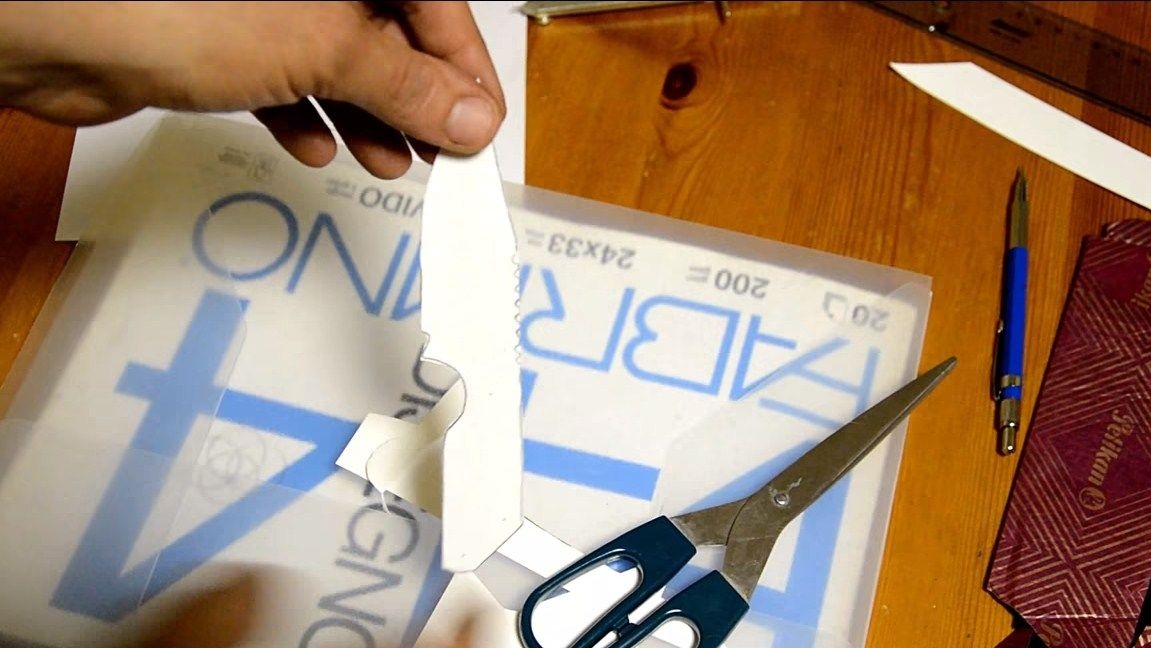
The knife profile is easiest to find on the Internet and then print to a printer. But if everything is fine with your imagination and you know exactly what you want, you can draw your personal knife project.
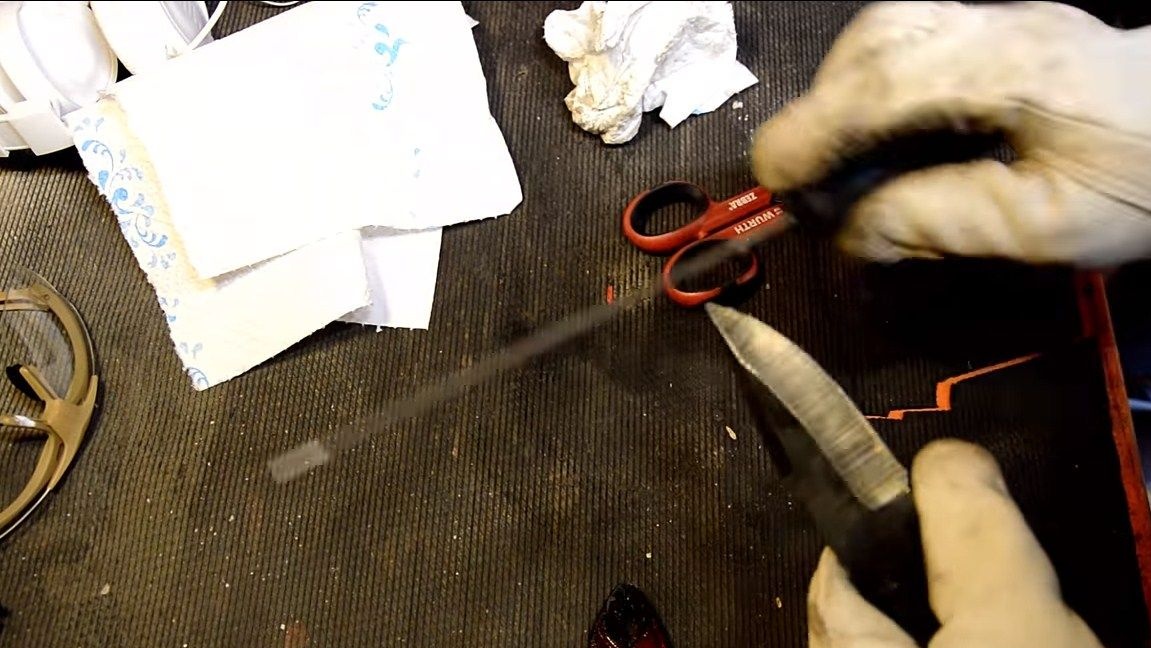
The profile is cut out of paper and transferred to metal. To do this, the author paints over the metal with a marker, and then outlines the template with a sharp object. As a result, we get a very thin line, thanks to which you can make a knife with high accuracy.

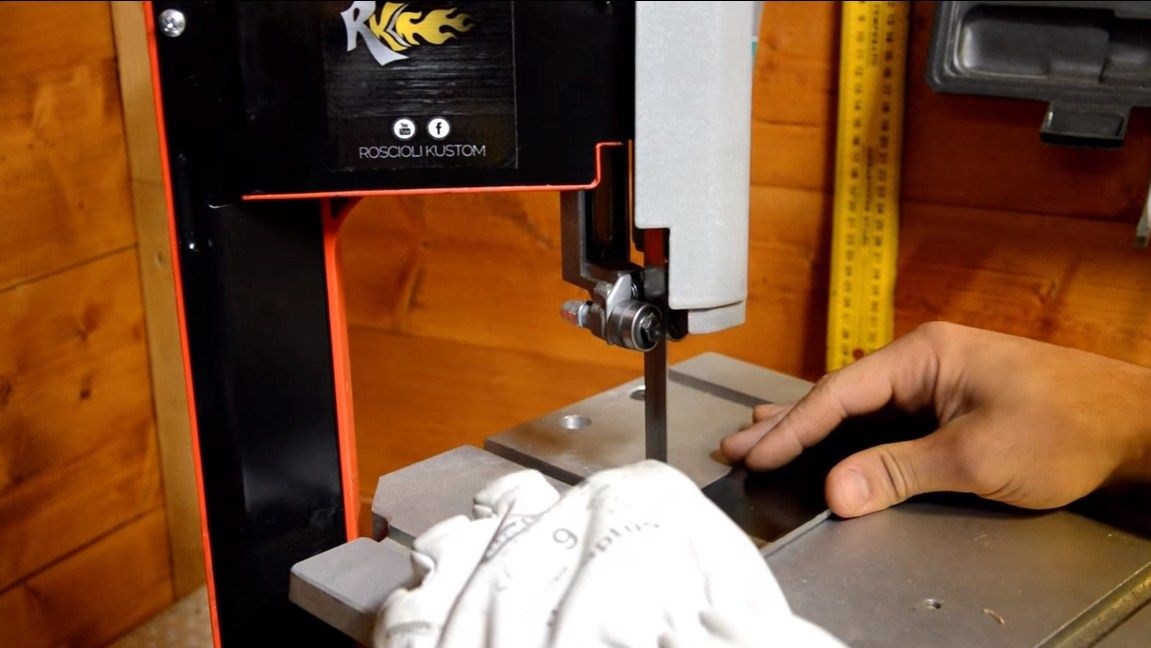
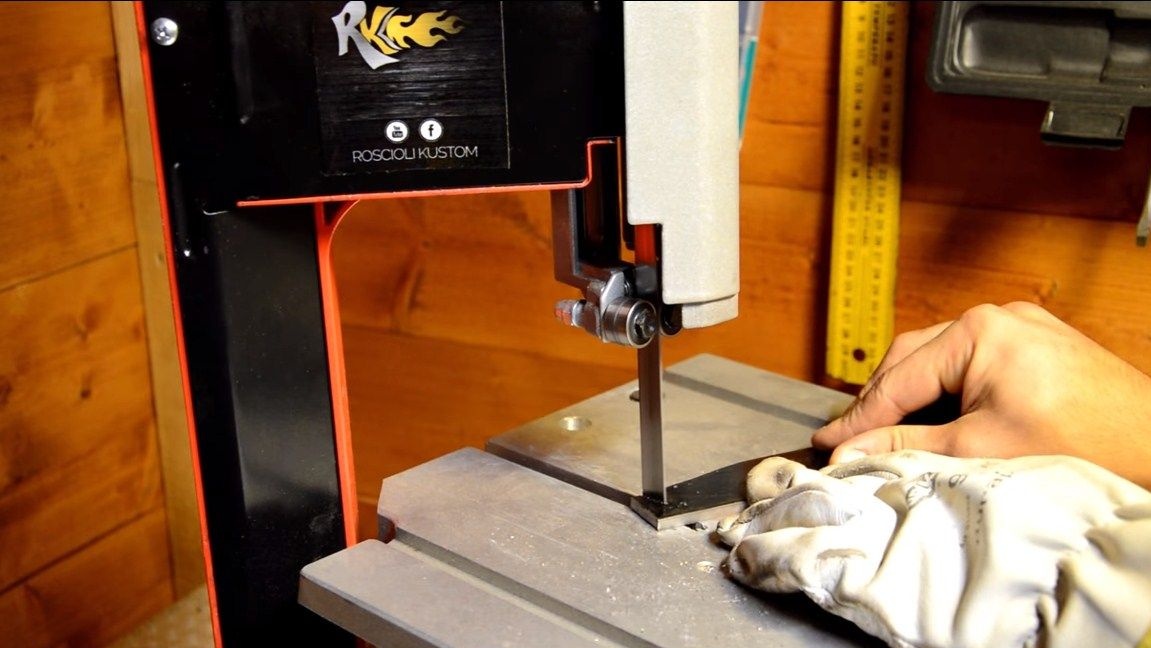
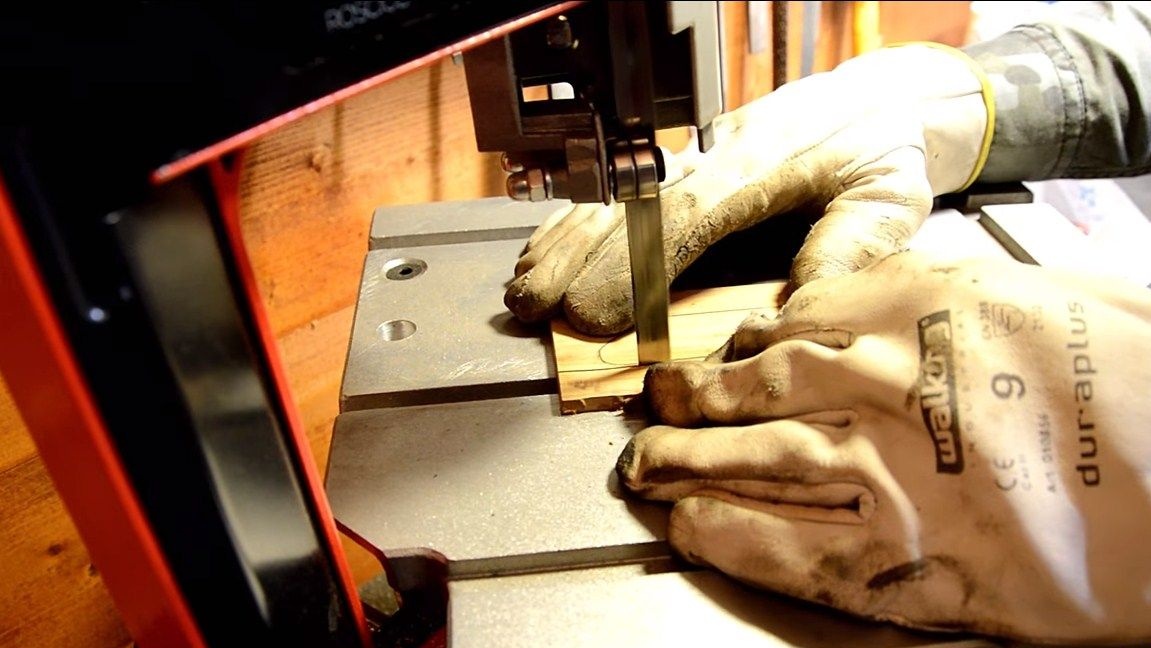
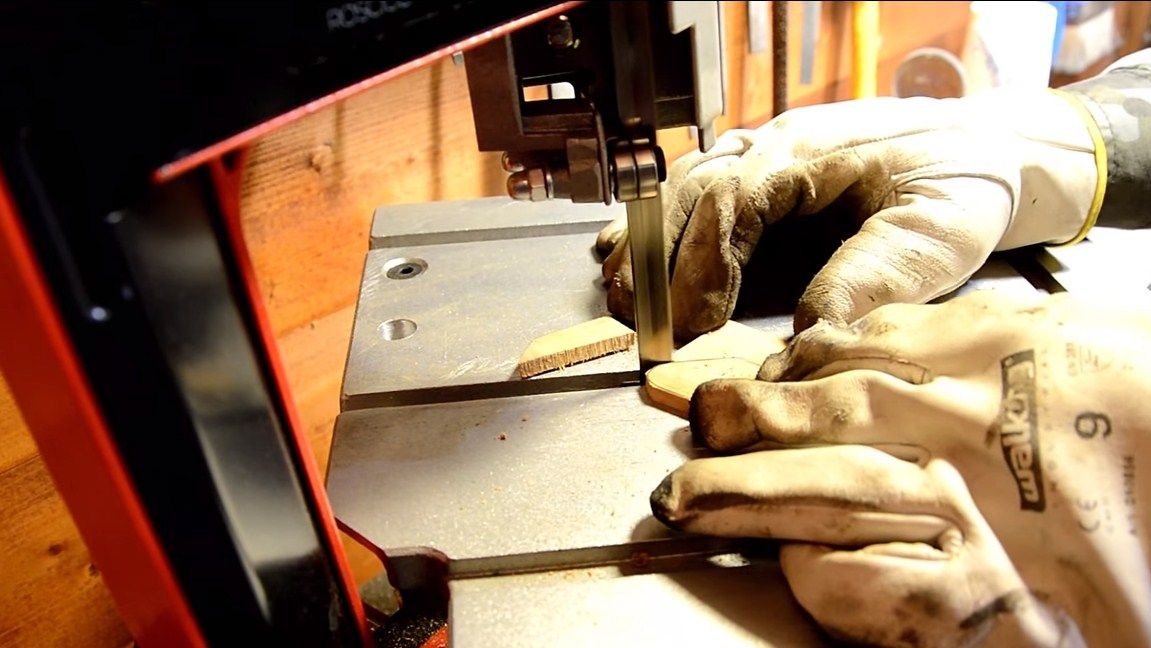
Step Two We make a blade
It's time to cut our blade. For these purposes, we go to the tape cutting machine and cut the profile. This machine is very convenient for such purposes, but if it is not available, you can work with a grinder or even a regular hacksaw.

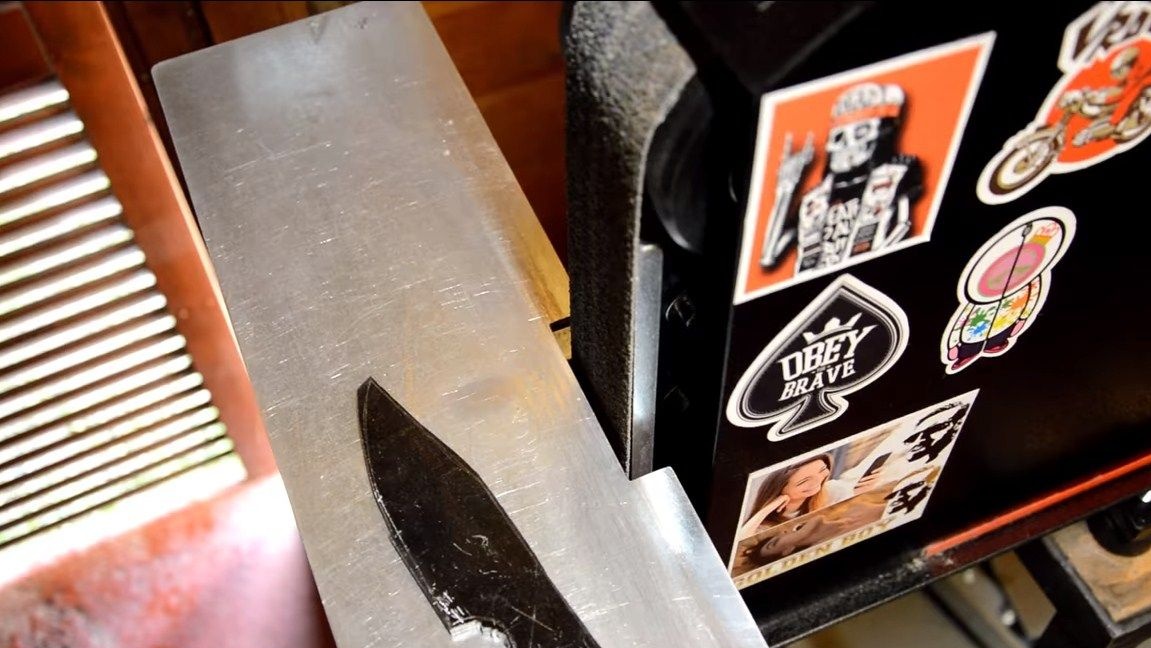
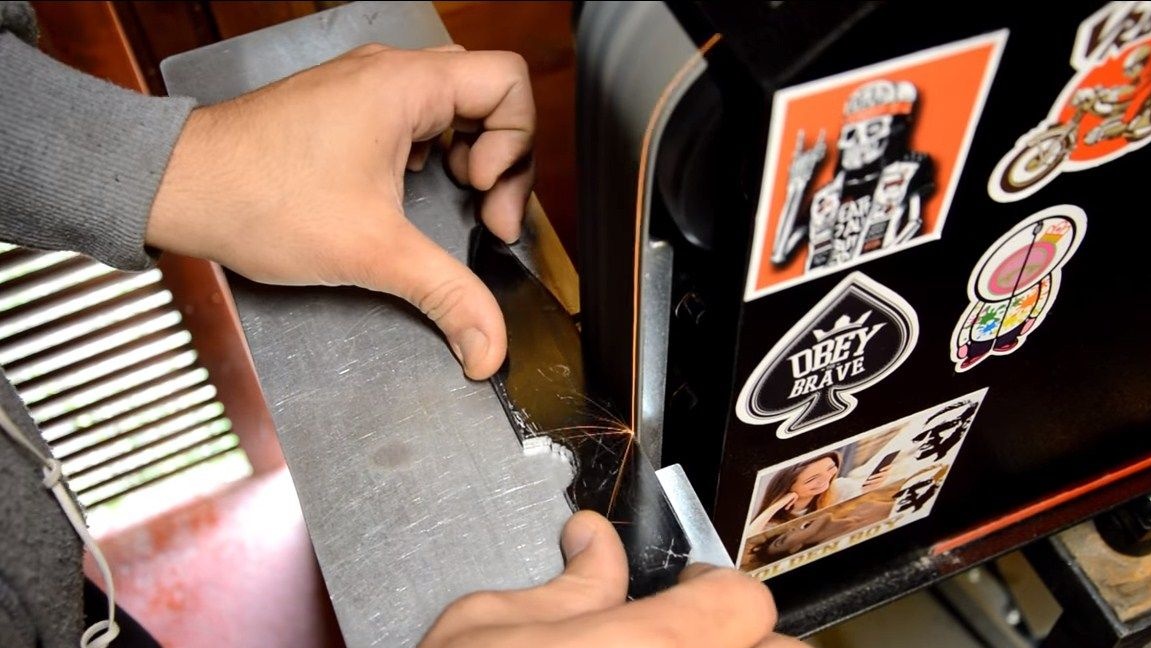
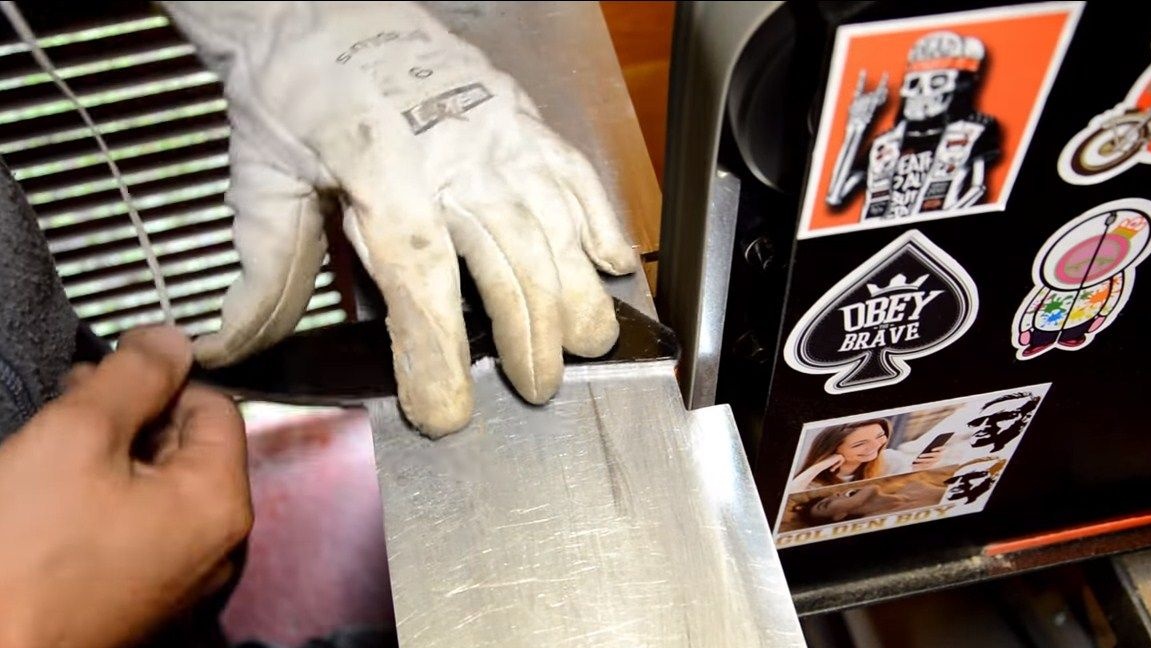
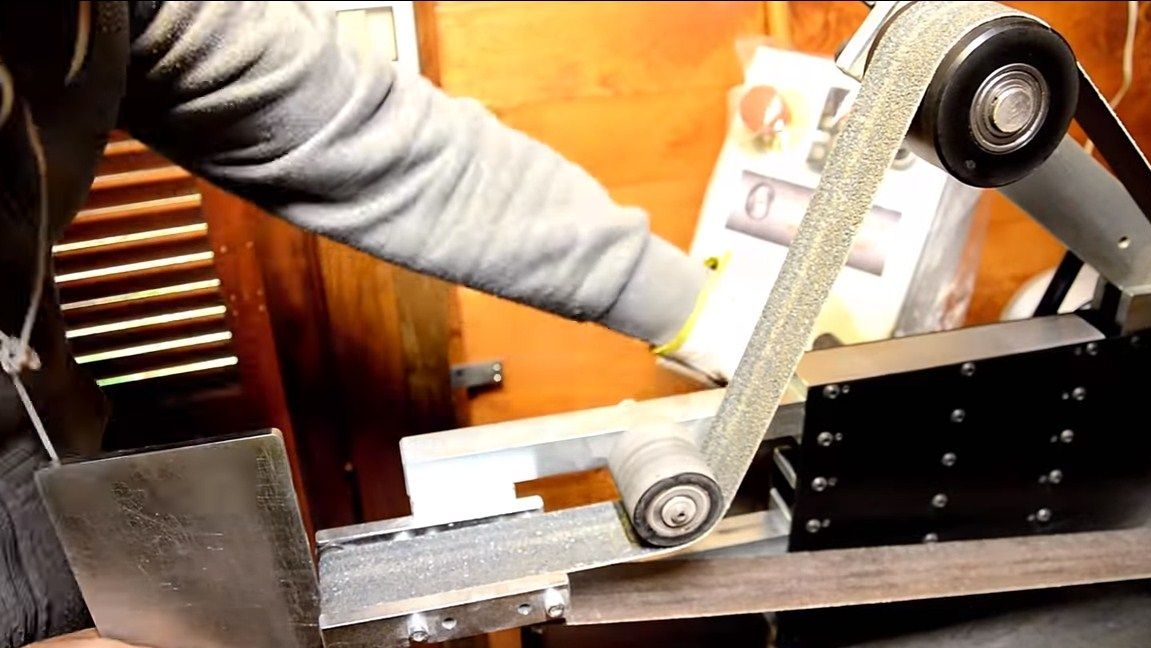
After that, we proceed to grinding the blade, the task is to remove all the bumps that remained after cutting. Here the belt sander fits perfectly. The author has a pretty professional device with a bunch of interchangeable heads. However, the knife we have is not so big and you can modify the profile manually, at least it can be done on a grinder.
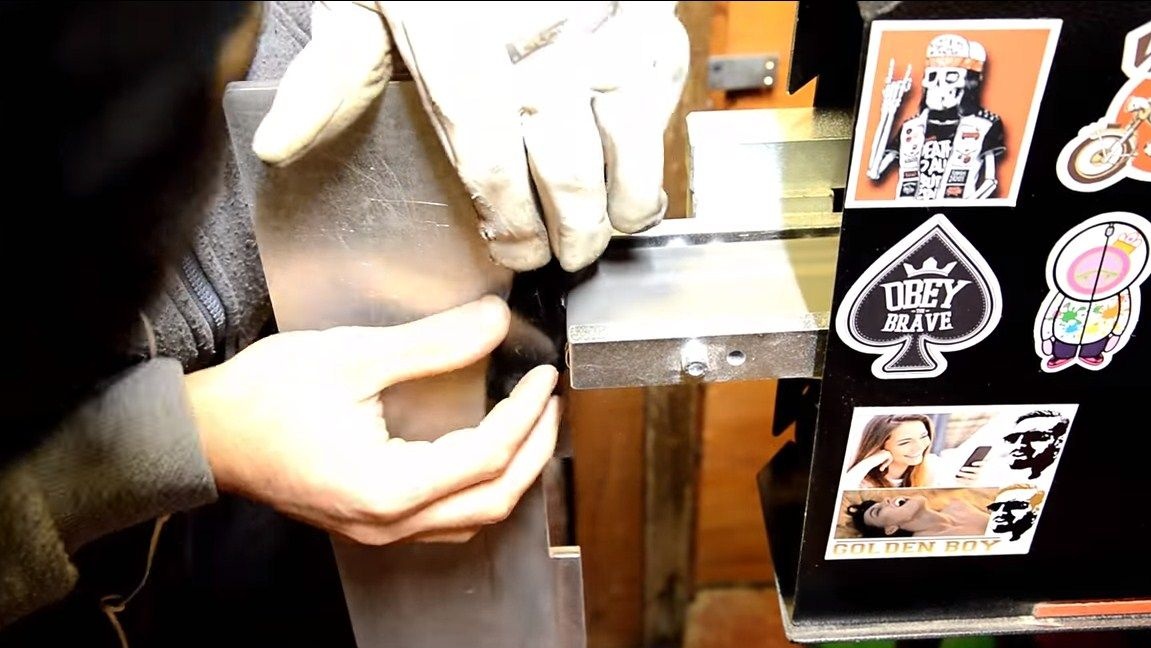
At the same step, the author forms the bevels on the blade.The most important thing here is not to make metal thinner than 2 mm if you are thinking of tempering metal. If you do not adhere to this rule, an alloying alloy will burn out from the metal during quenching and steel will turn into ordinary raw material. We form symmetrical bevels; for this it is useful to draw a centering line along the blade with a drill of the same diameter as the thickness of the workpiece.
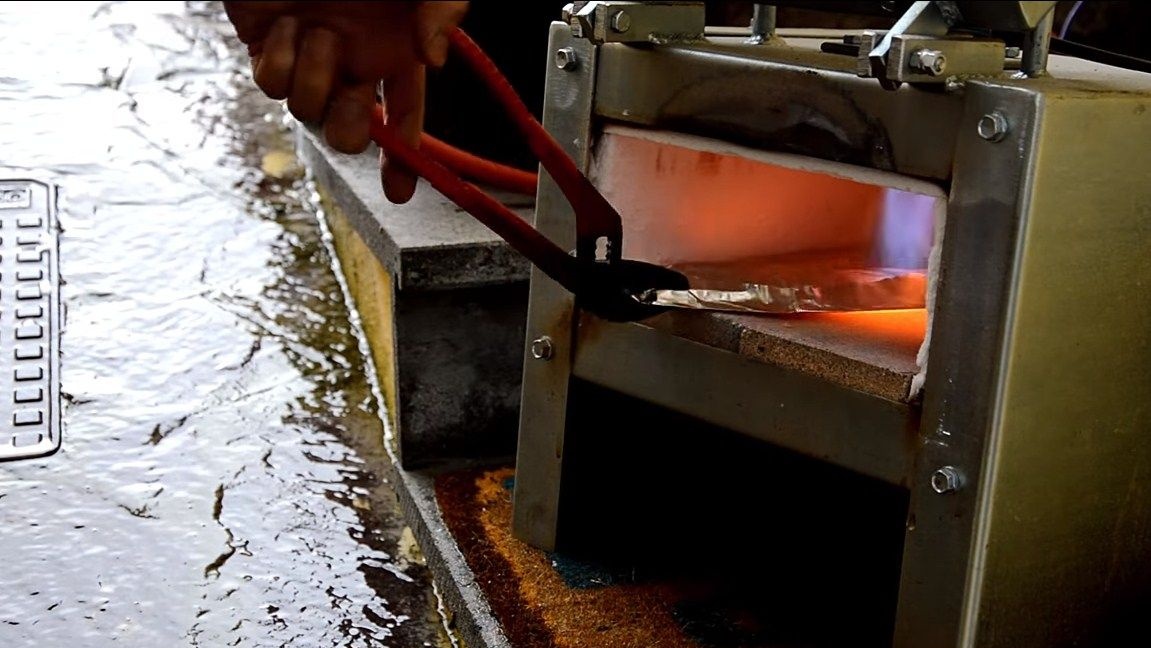
Step Three Blade Heat Treatment
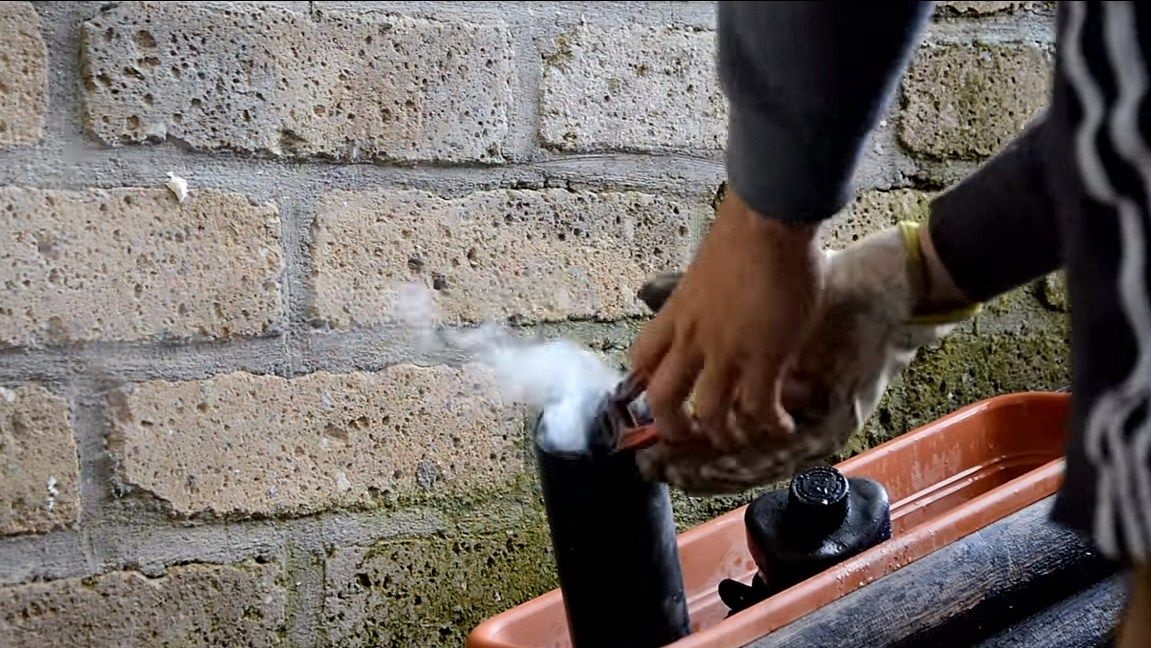
We proceed to the hardening of the metal, thanks to this procedure, we will get a very strong blade that will not be dull for a long time. To properly harden steel, you need to know its brand and choose the appropriate conditions. The author wrapped the blade with thin sheet metal and sent it to heat in the furnace. It is believed that the metal will harden if it does not respond to a permanent magnet in a heated state. As soon as the desired temperature is reached, lower the blade into the oil.
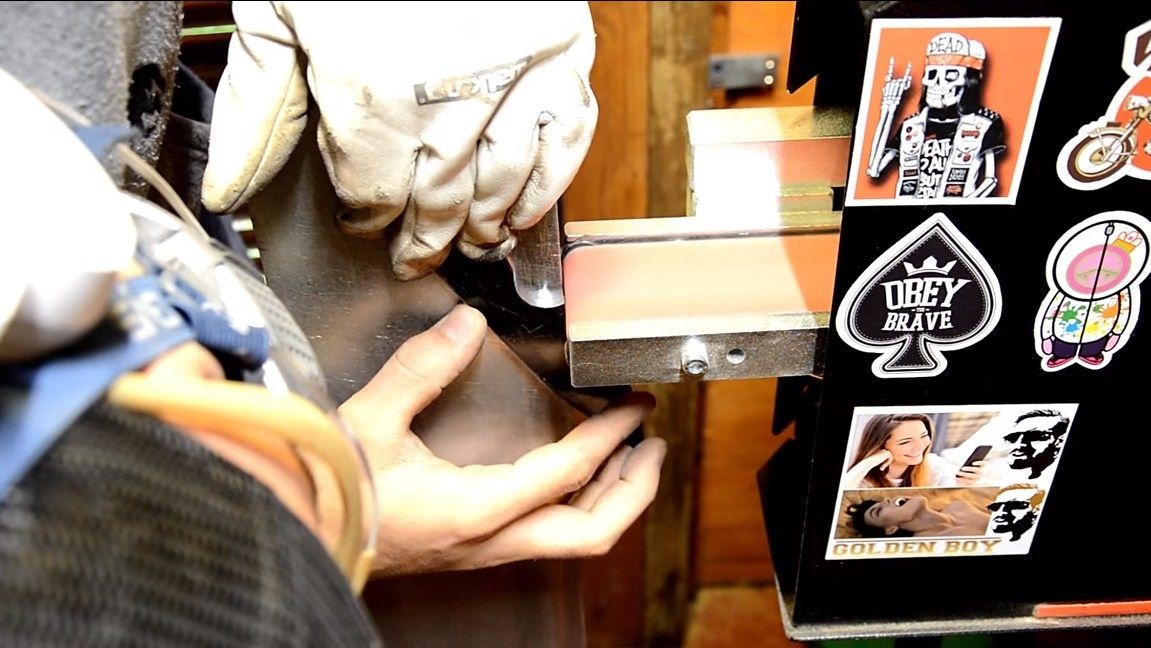
My blade is under the tap from the oil and check if the hardening is successful. Good metal should not be taken with a file.
Usually, after tempering, the metal is also tempered so that it is not brittle, but the author missed this point. However, vacation may not apply to all steel grades. Vacation can be done in a conventional oven at a temperature in the region of 200 degrees Celsius. You need to warm the steel for about an hour, and then let the blade cool with the oven. After vacation, the blade will spring.
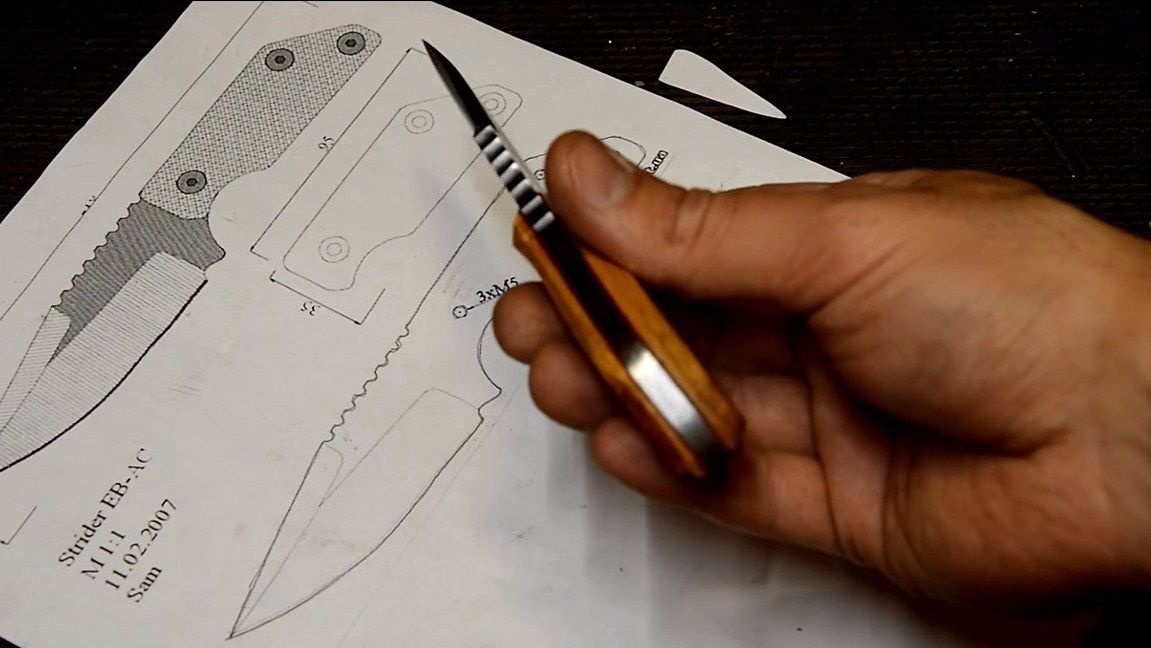
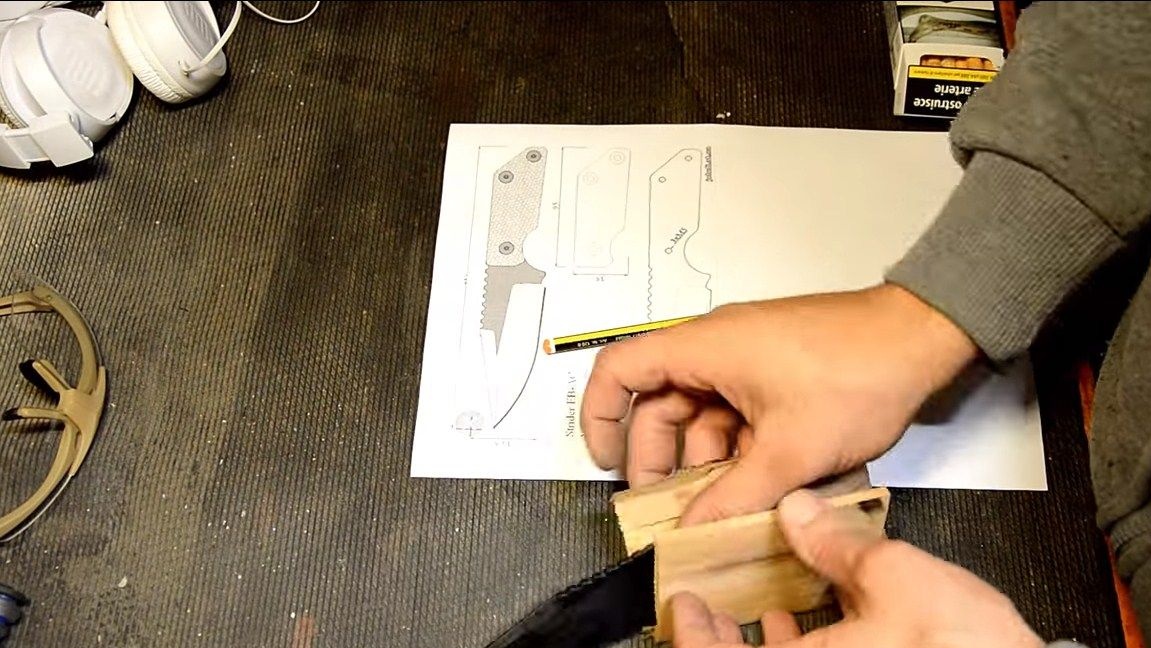
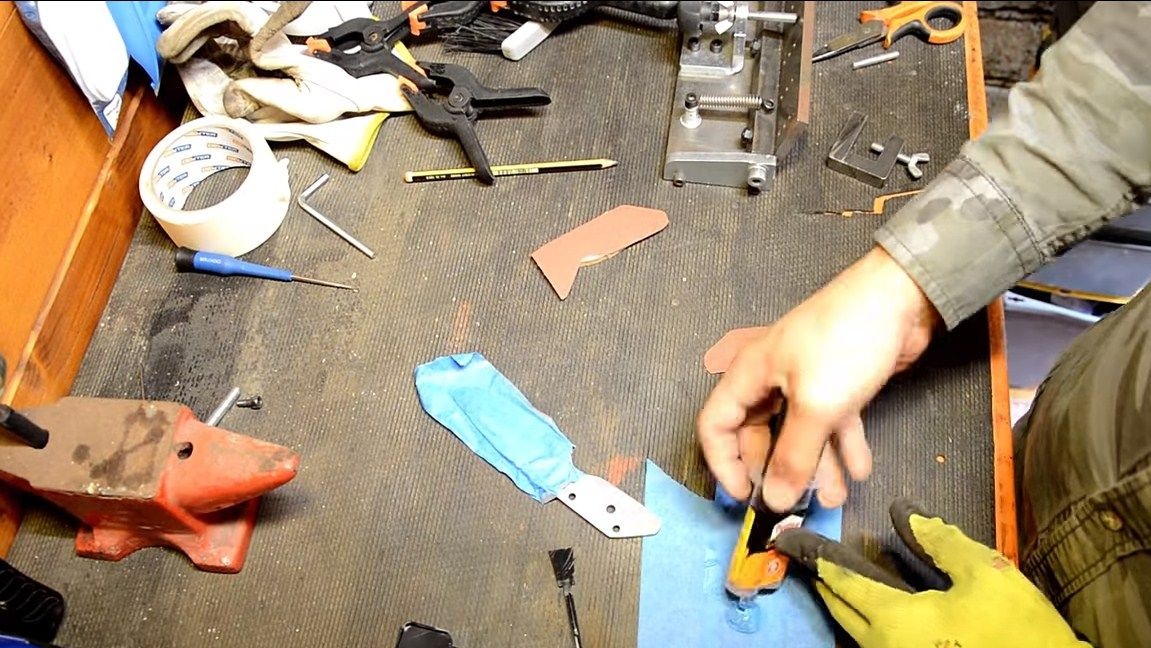
Step Four Lining
For the manufacture of linings, pick up a solid wood species, since our knife is tactical and should not fail at a crucial moment. The author made the handle combined, it consists of two layers. One of the layers is similar to plastic, and the main one is wood. We attach the handle to the plinths and circle with a pencil. As a result, we will need to cut two identical overlays. For cutting we use a tape cutting machine or the same jigsaw.

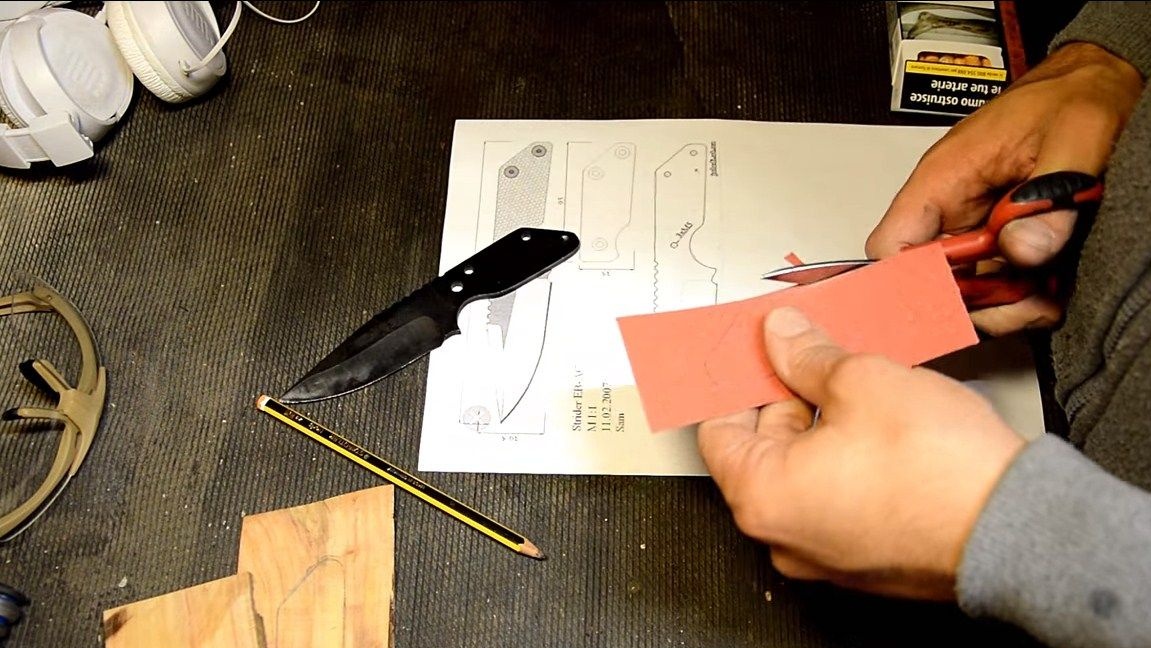
Step Five Blade grinding
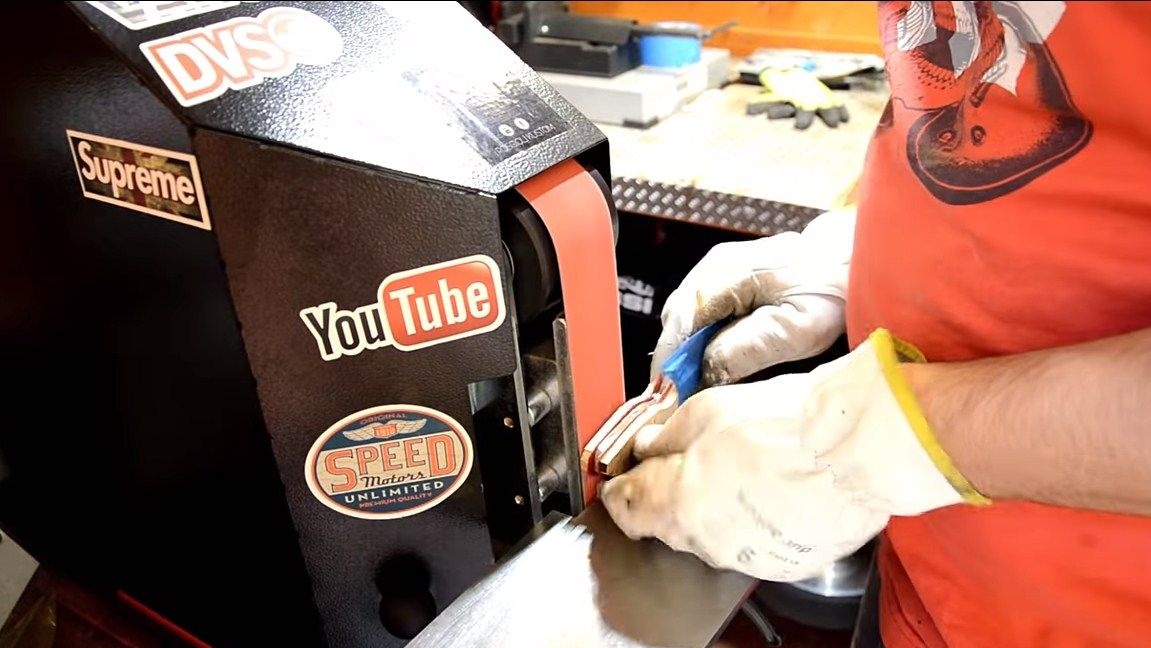
After heating, the blade darkens, this indicates that the metal has oxidized. This plaque can not be removed, it will not allow the blade to rust. But if your steel has anti-corrosion properties, the blade can also be polished to a shine. We use a belt sander for grinding. At the same step, we produce the primary sharpening of the blade with a fine-grained belt.


Step Six We finalize the pads and collect the handle
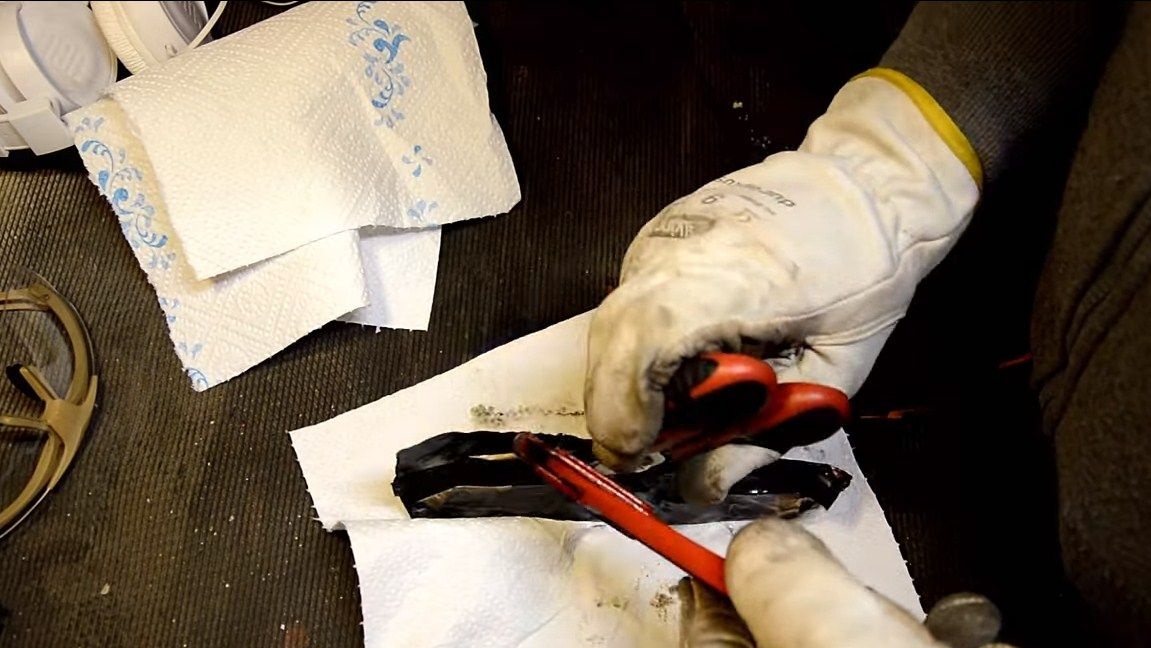
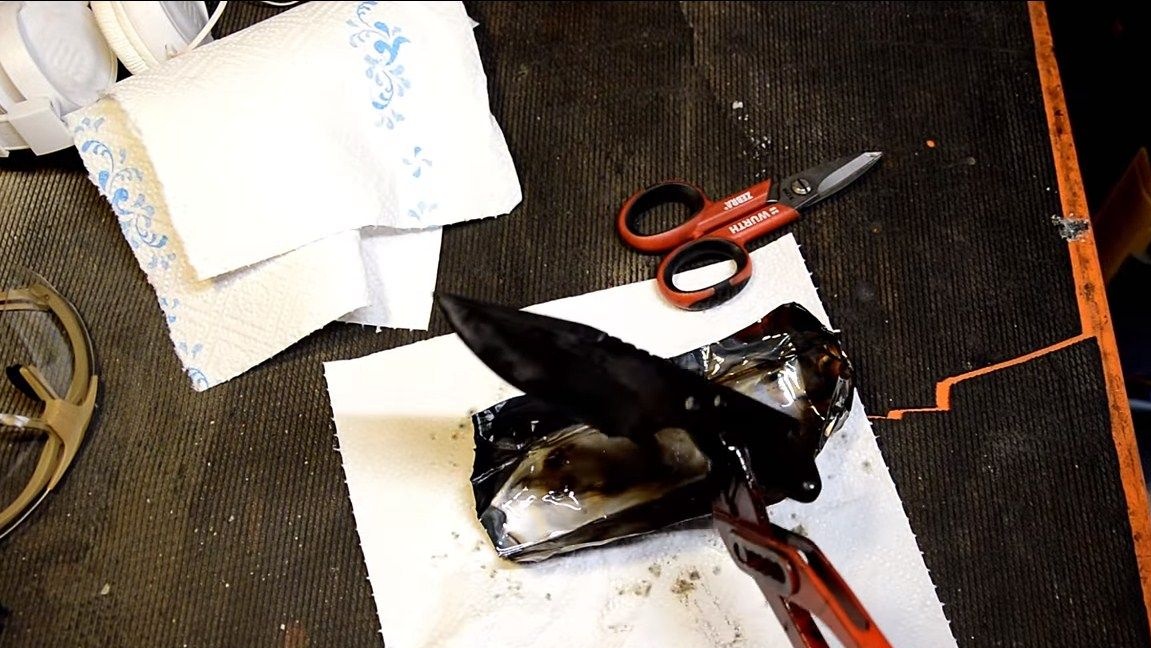
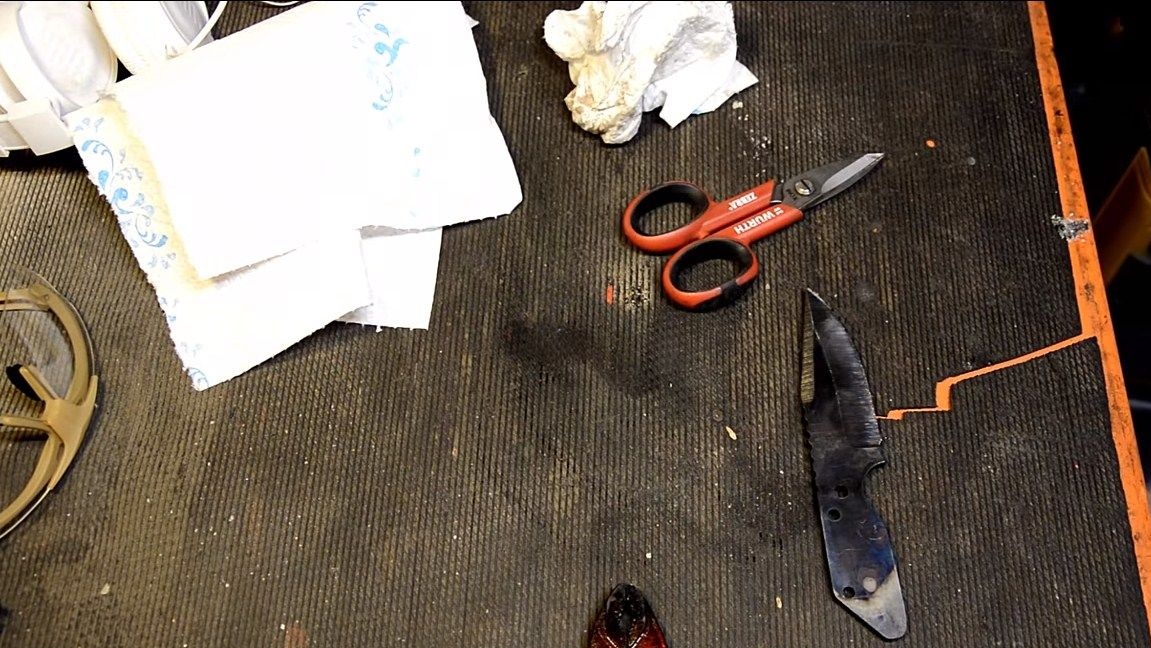
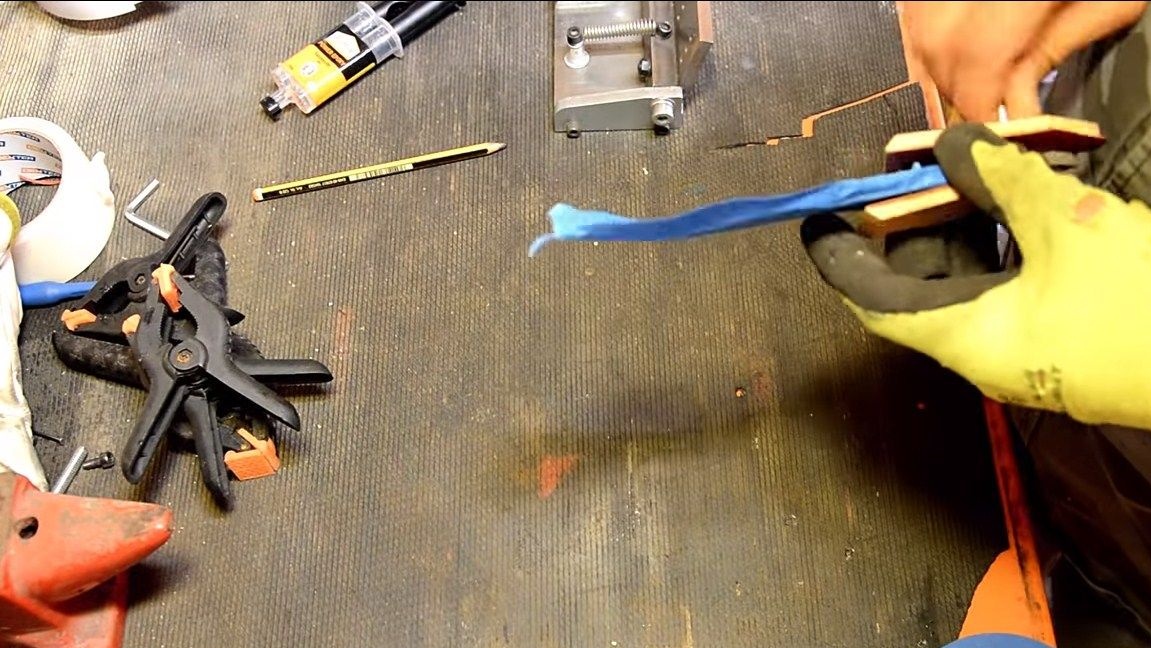
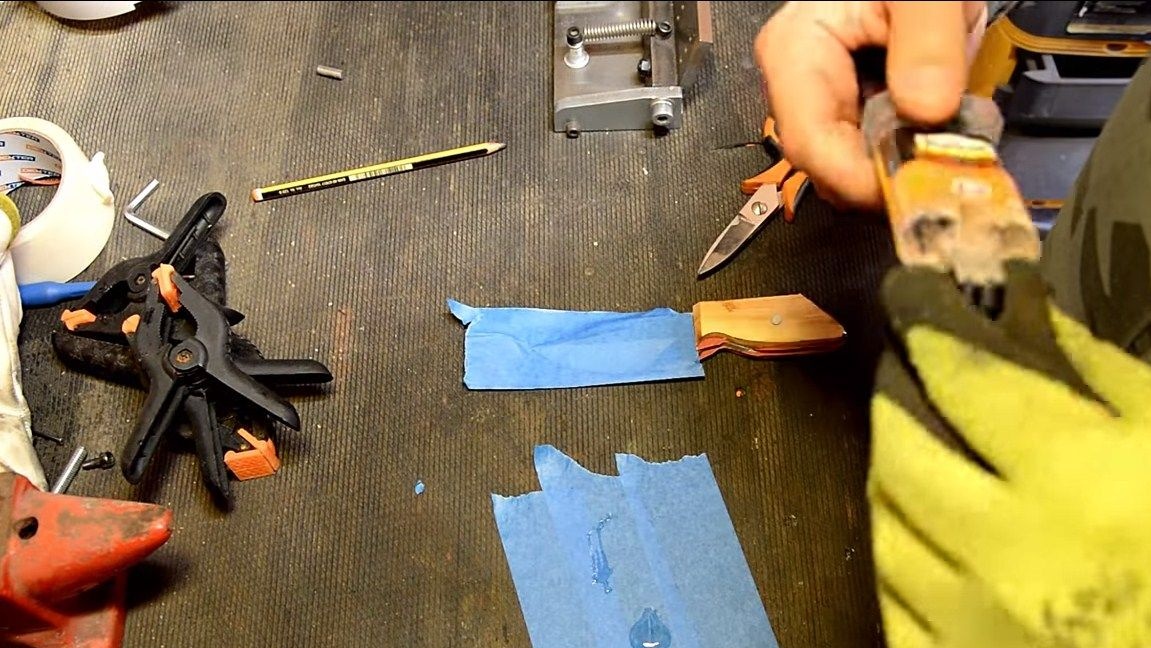
Before completing this step, wrap the blade with masking tape or the like. This blade will protect, as well as protect you from cuts.
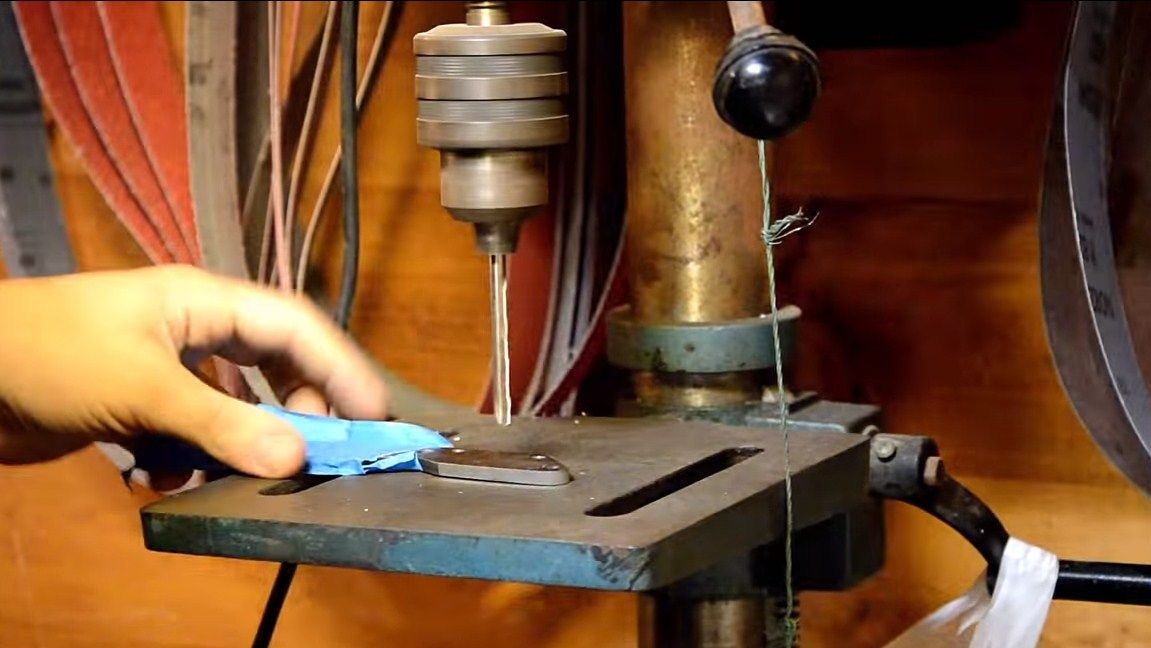
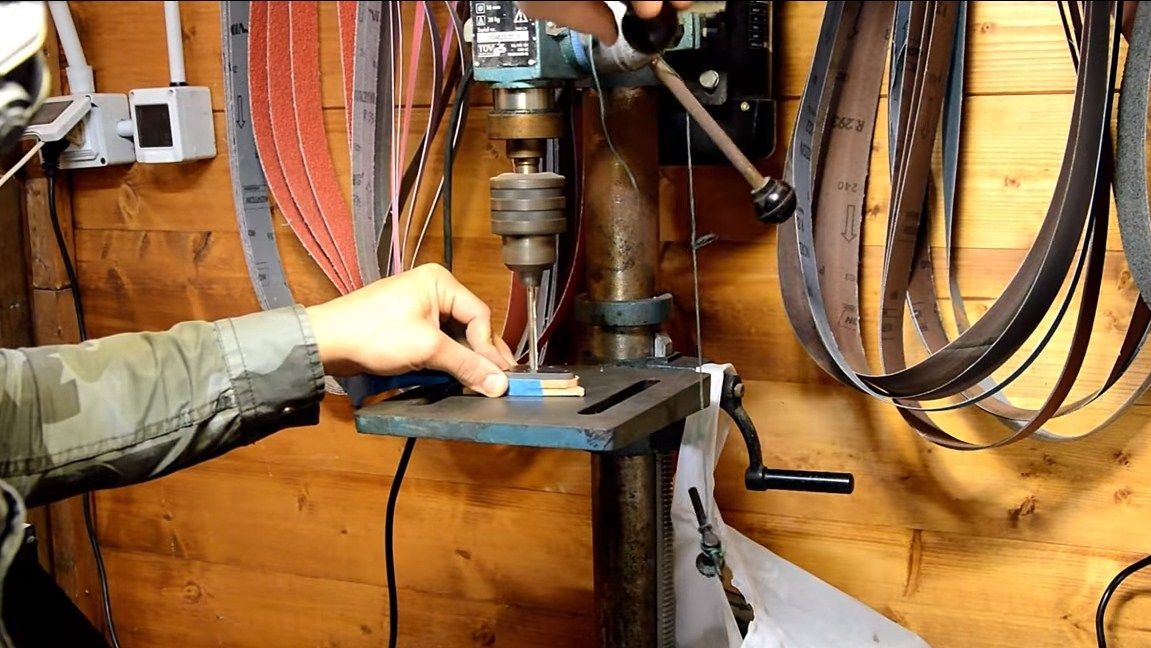
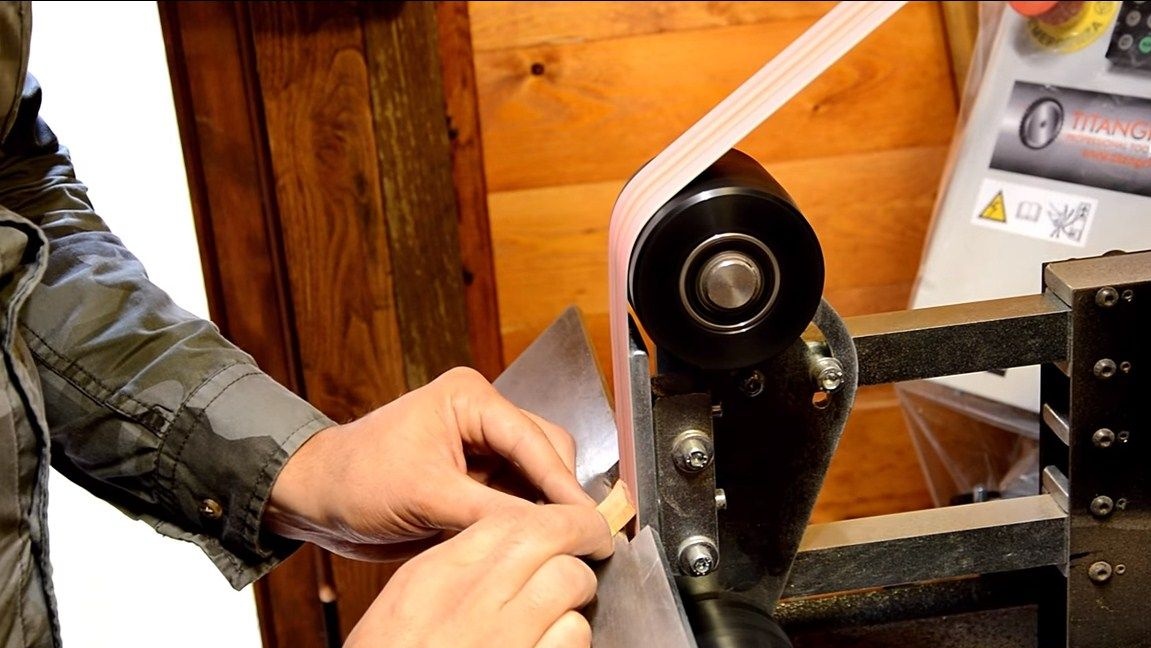
In the handle, we drill a hole for the pin, the author has only one, since the handle is small. We drill similar holes in the pads. Well, then grind the pads along the contour on a belt sander, form the necessary angles. To make the two pads absolutely identical, you need to connect them with a pin and grind along the contour together. The author brings these details to an almost ready state.
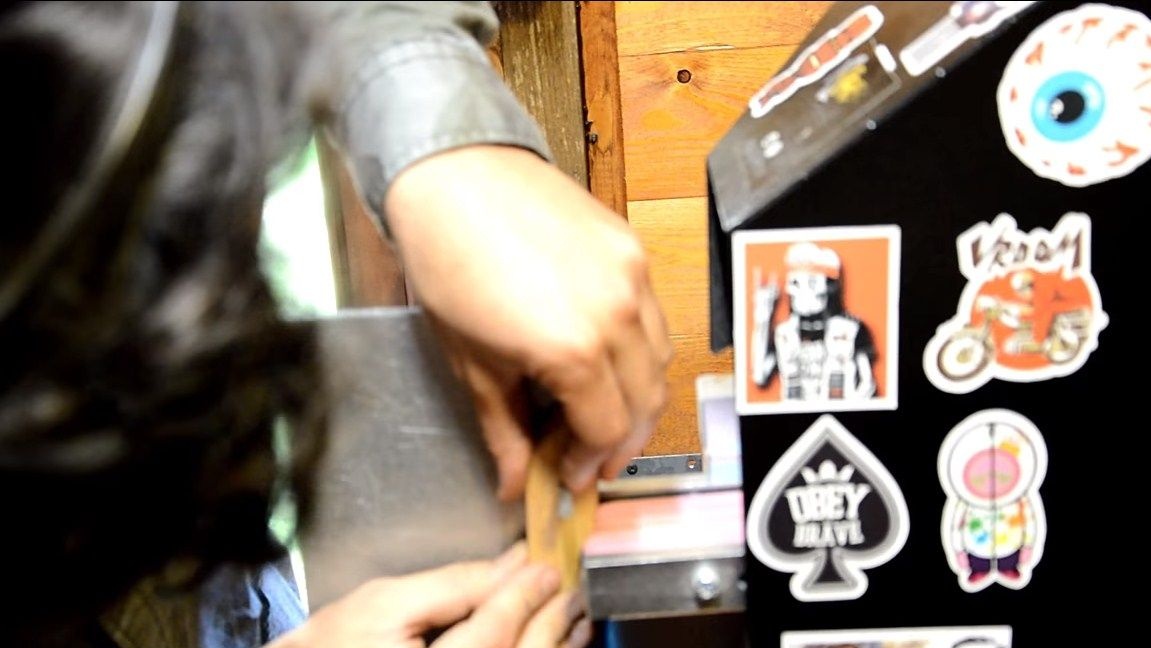
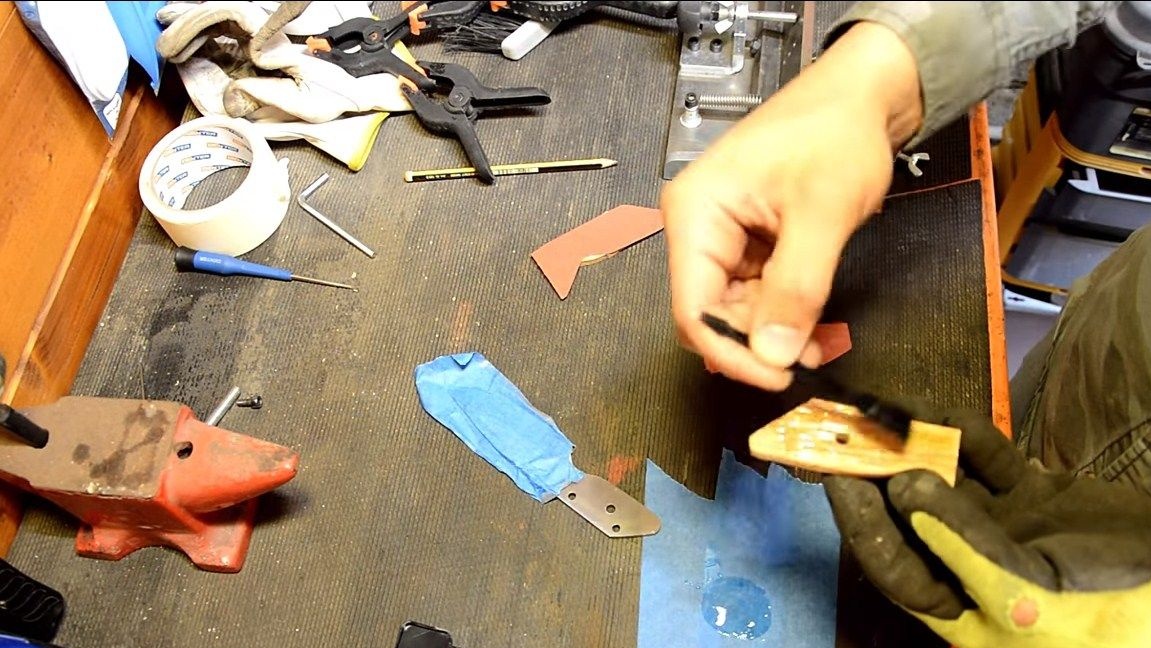
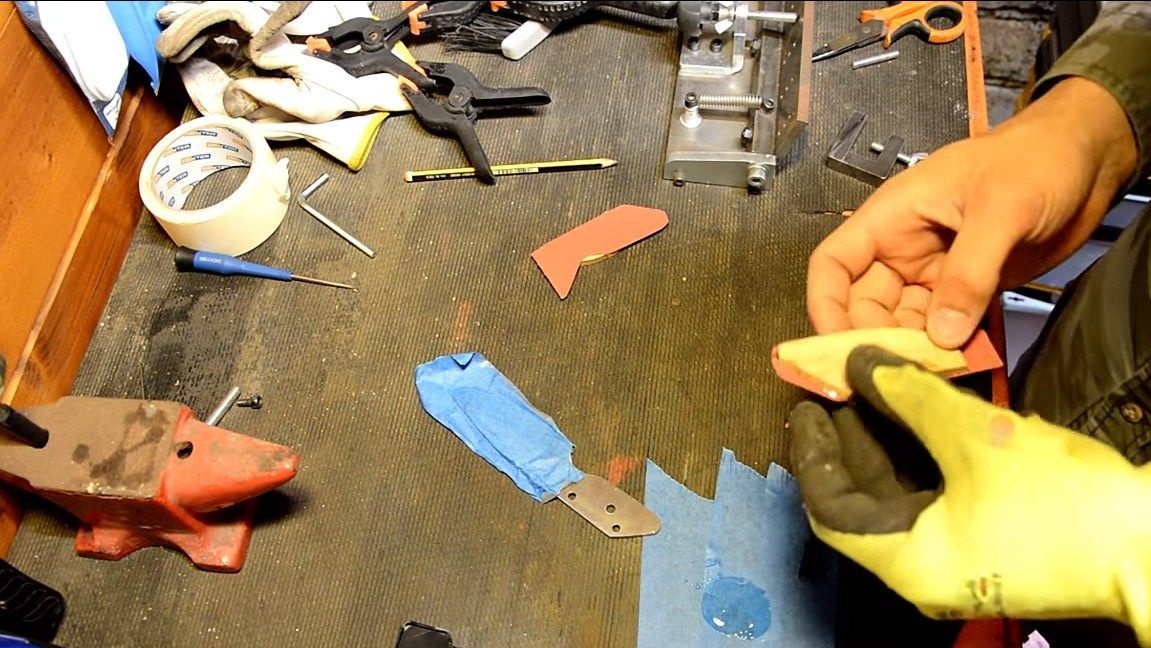
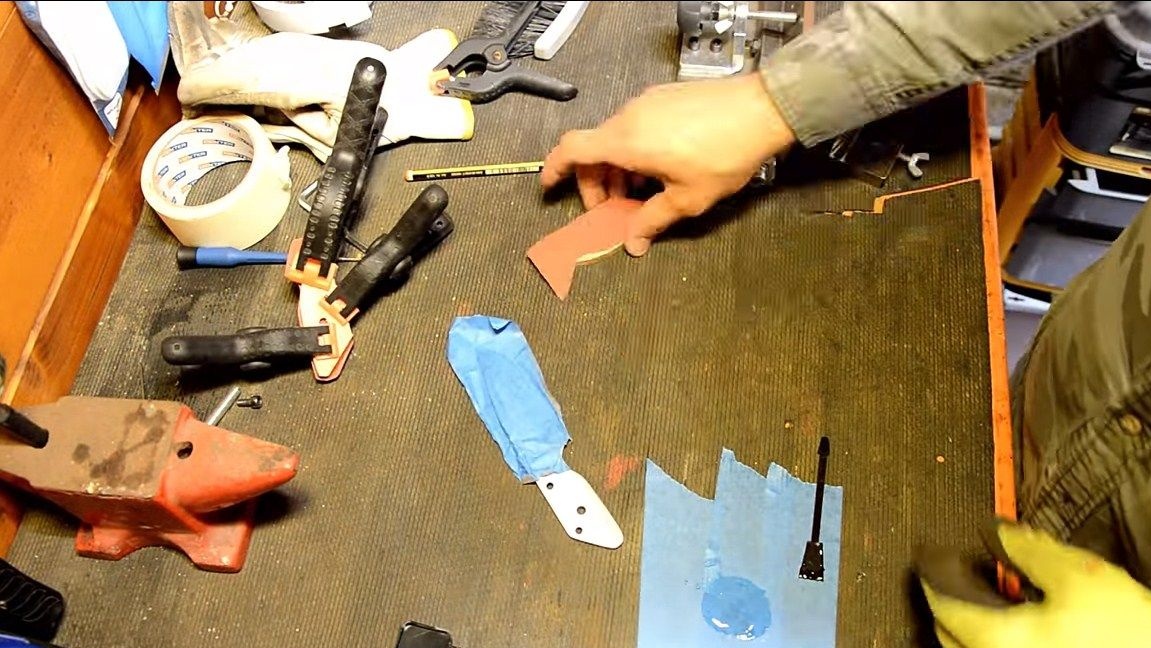
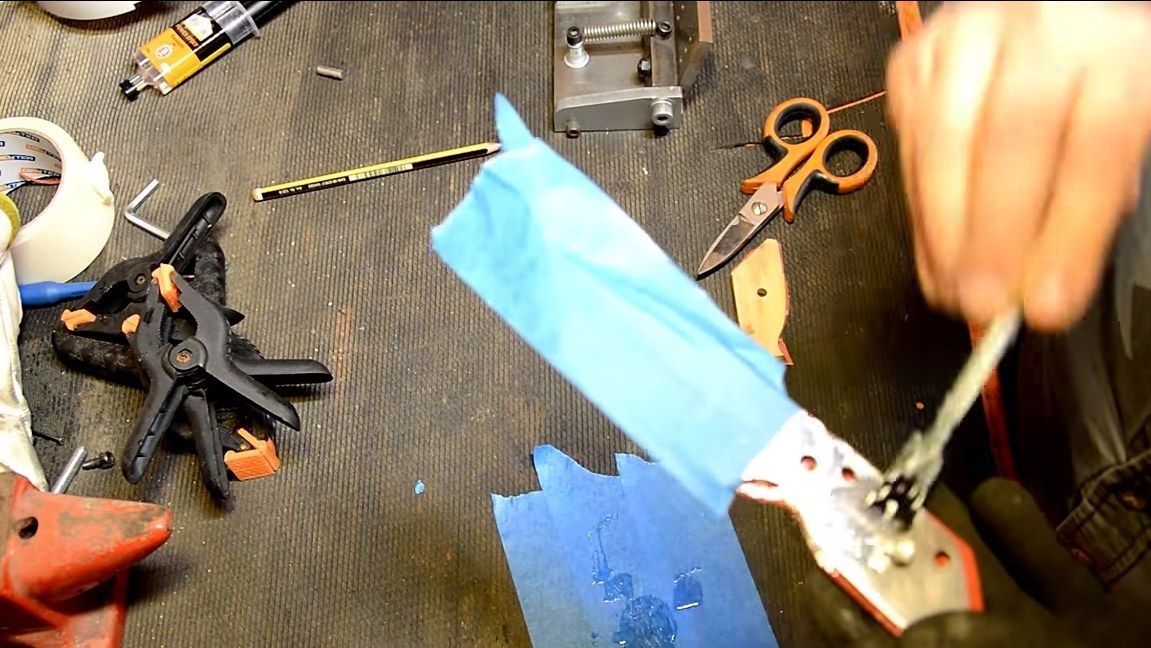
As soon as the pads are ready, glue them on the knife. For these purposes, it is customary to use epoxy glue. We carefully grind the glued surfaces and degrease. We also coat the pin with glue. Next, the handle is clamped with clamps, now you need to wait for the glue to dry.
Seventh step. Pen finishing
When the glue dries, proceed to grinding the handle. We give it the desired shape on a belt sander. The author did not make smooth forms and stuff, the pen is made in a fairly simple style. The main emphasis for this knife is on practicality and reliability. The final grinding is done with fine sandpaper by hand.

Typically, wood is usually oiled or varnished. This is done so that the tree does not absorb moisture and does not get dirty. And it is extremely important for us that the knife serves for a long time under any conditions. Be sure to soak the handle with oil and preferably then polish it with wax. You can also make lining made of plastic or something similar, such a material will last a very long time.
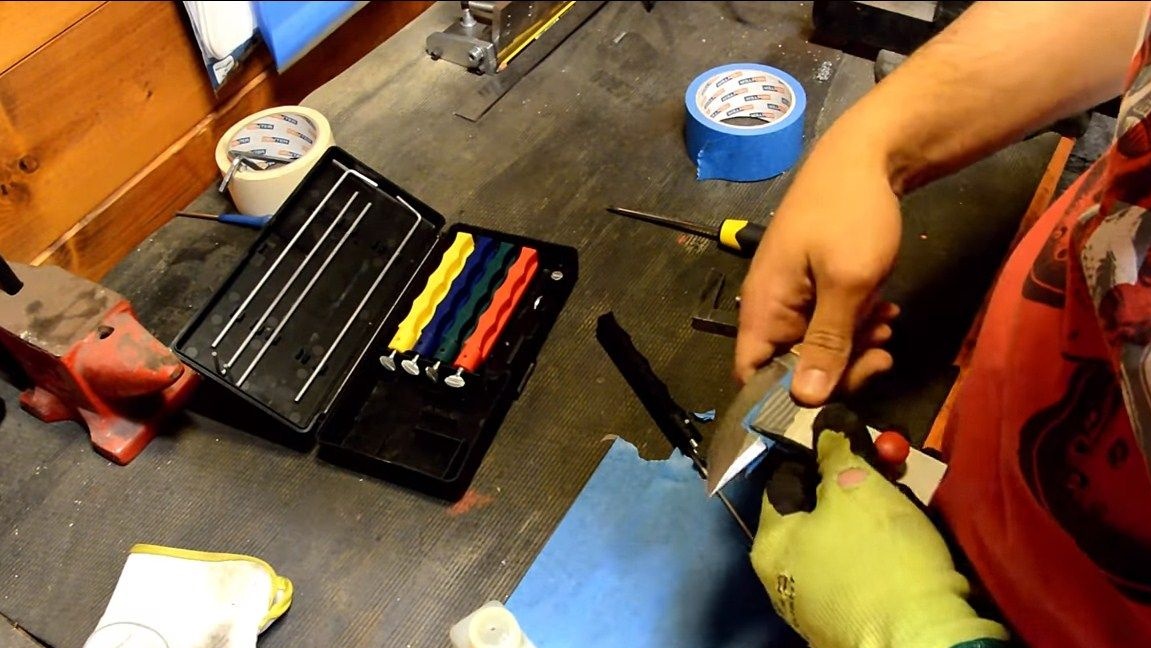
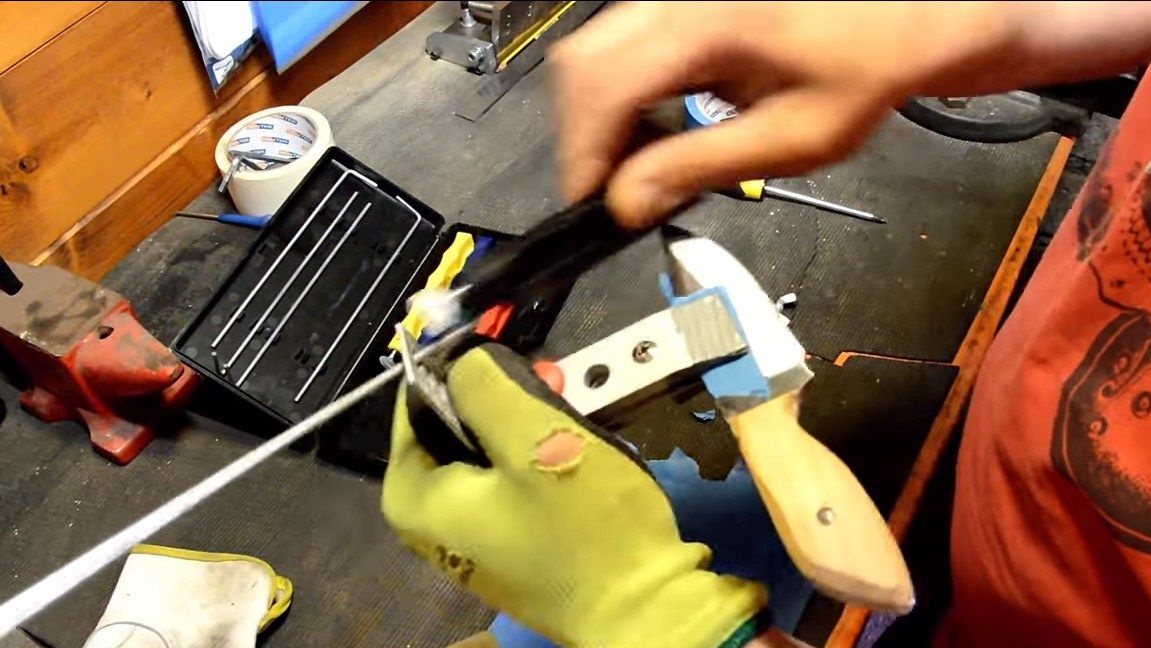
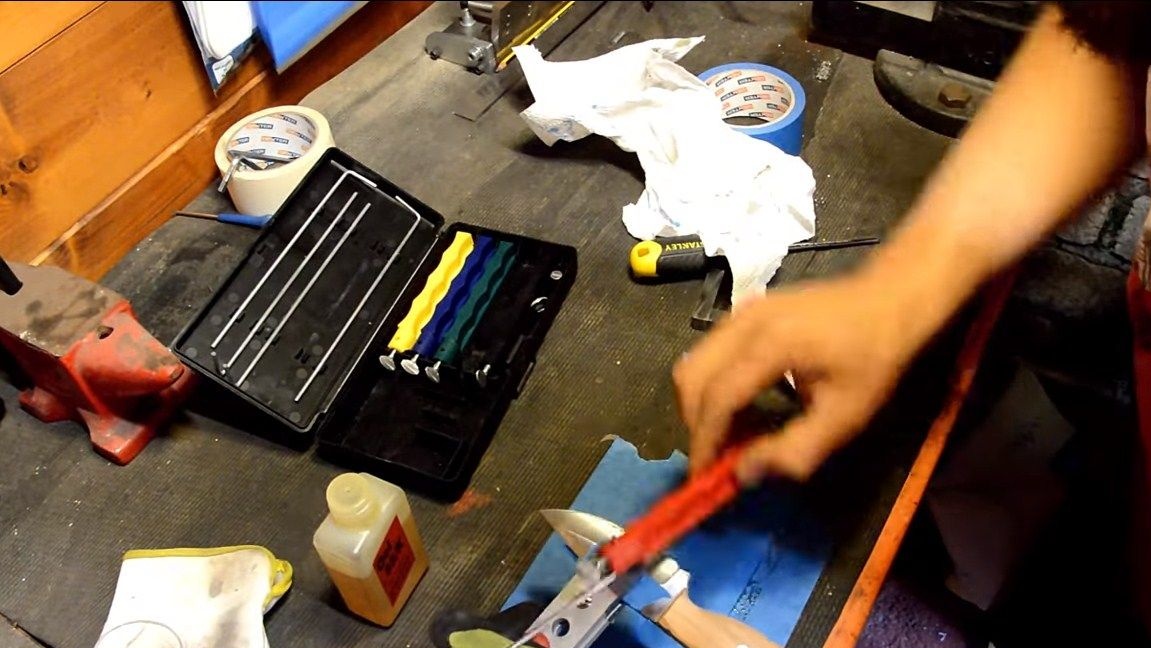
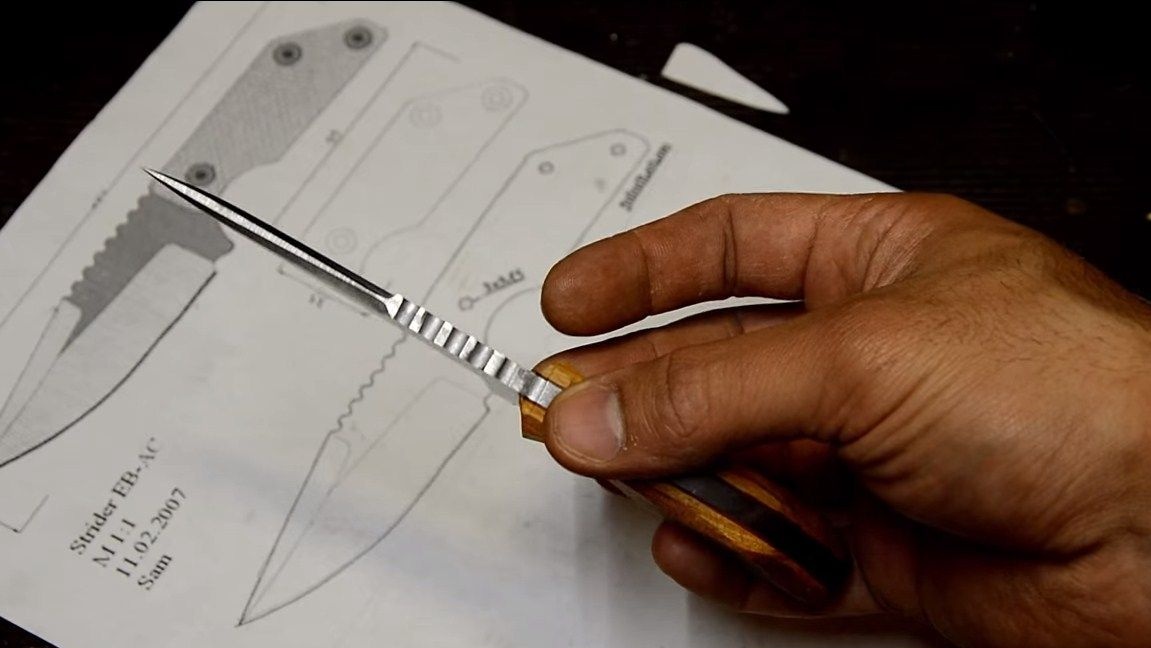
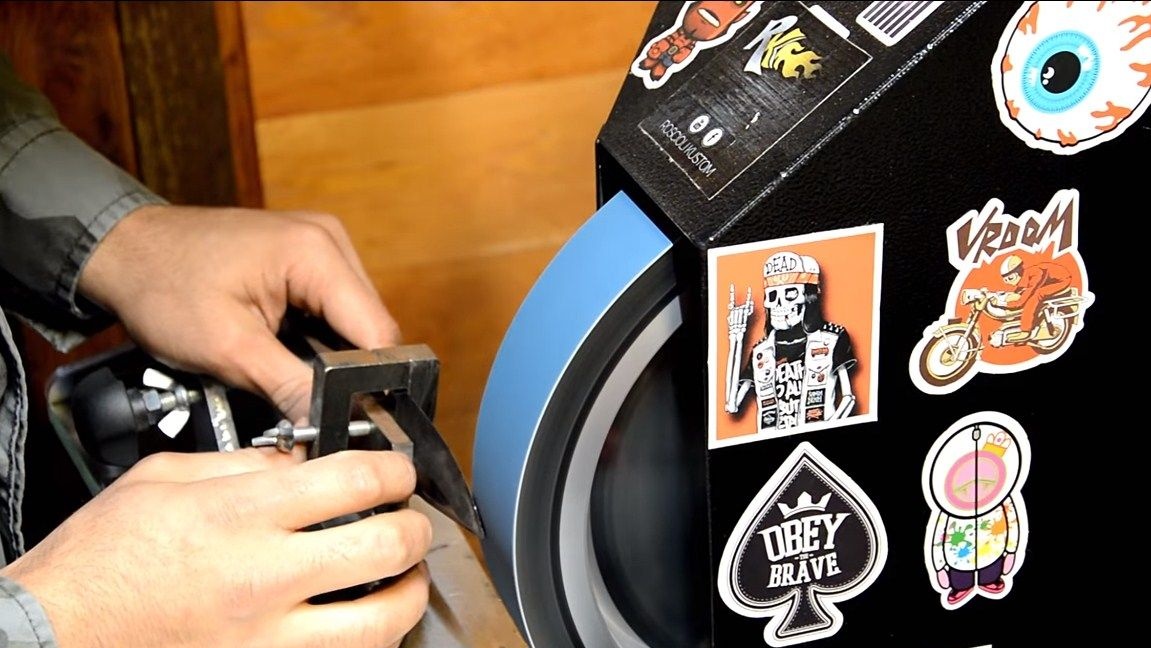
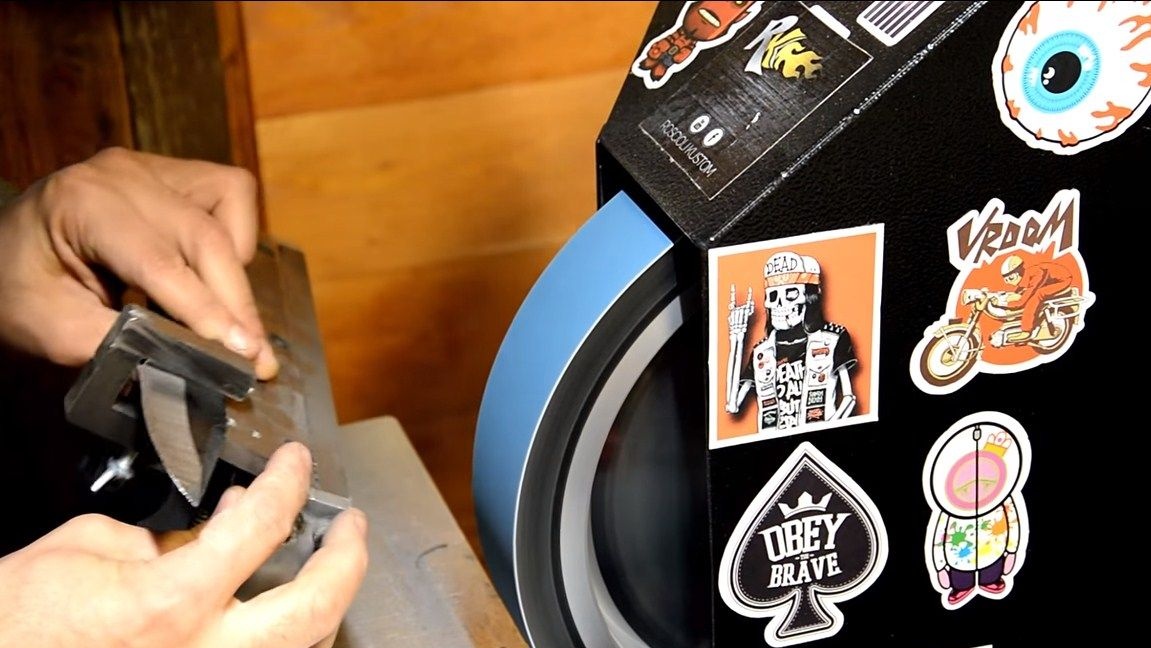
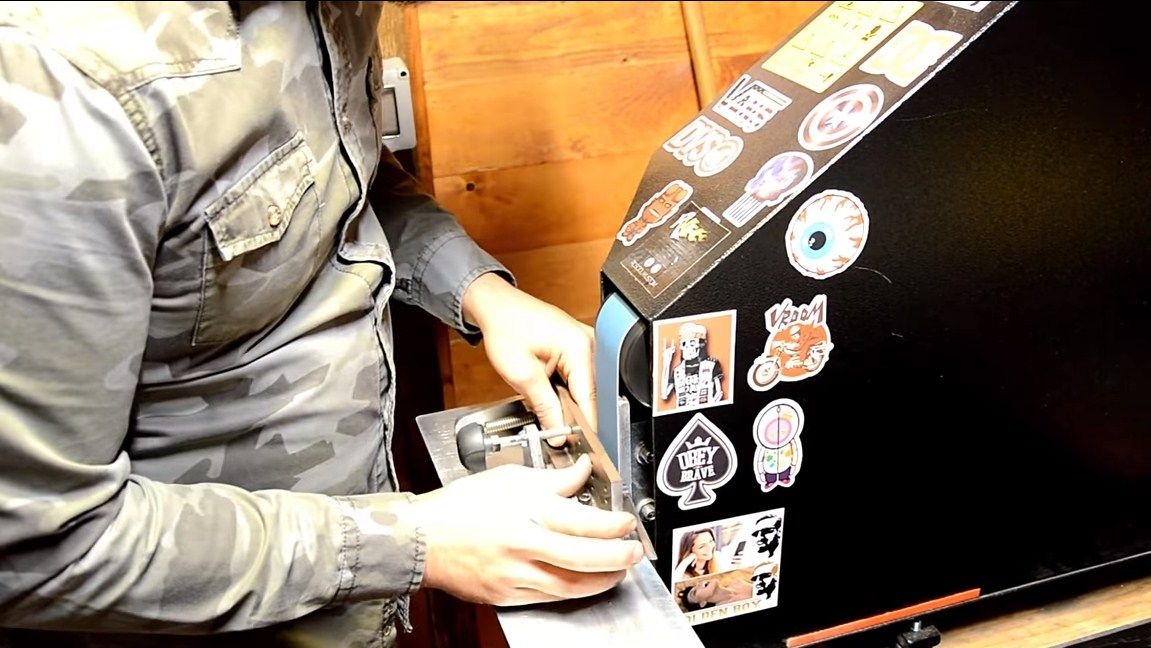
Step Eight.We sharpen
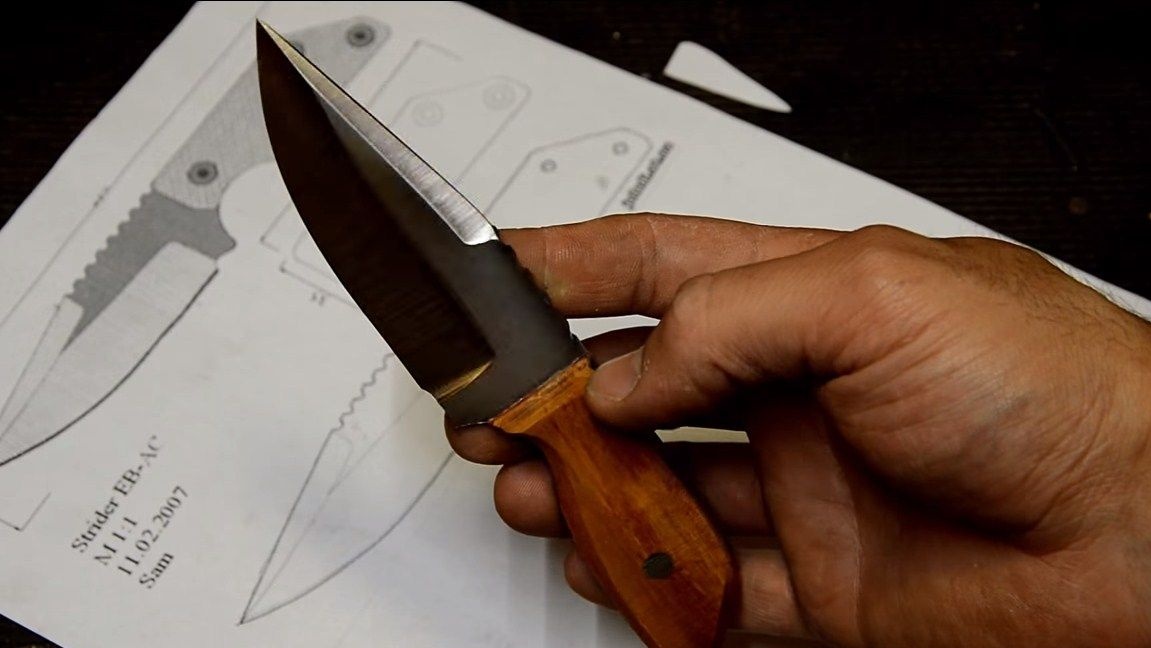
The knife is ready, now we need to sharpen the blade properly. The author uses a special tool-grinding for these purposes. device, which allows you to sharpen the blade at a certain angle. The basic rule of sharpening is to smoothly reduce the grain size of the grinding stone. This will sharpen the knife to the most acute state. Many masters practice the use of Japanese water stone, in extreme cases we work with fine sandpaper. You can also make a knife very sharp on a polishing machine.
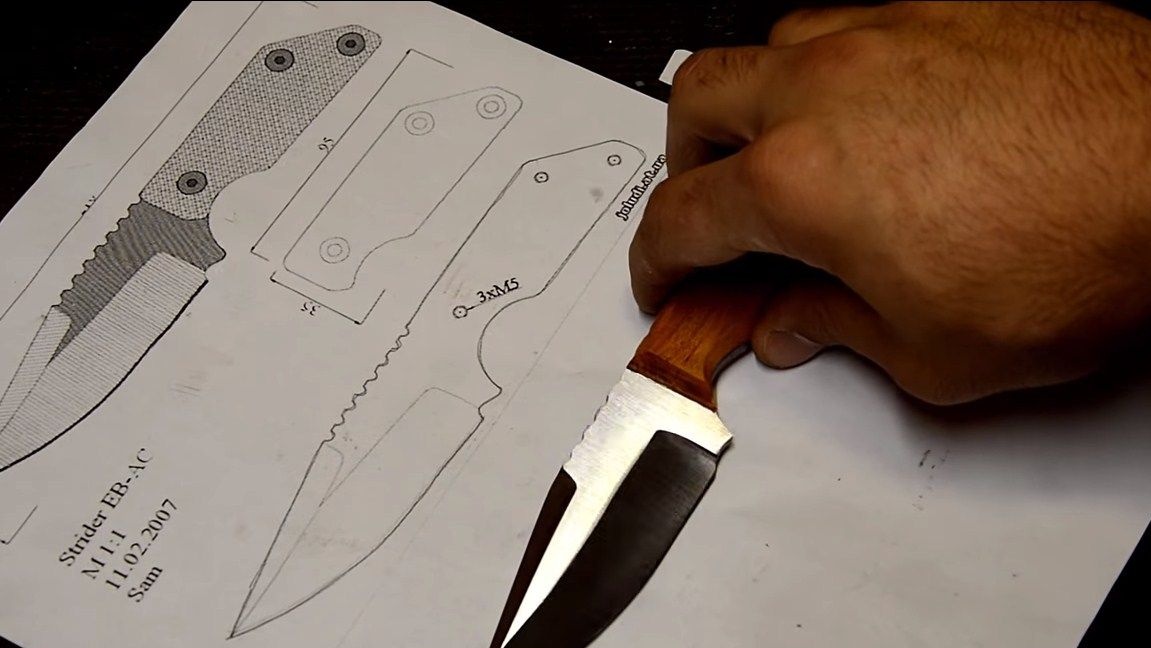
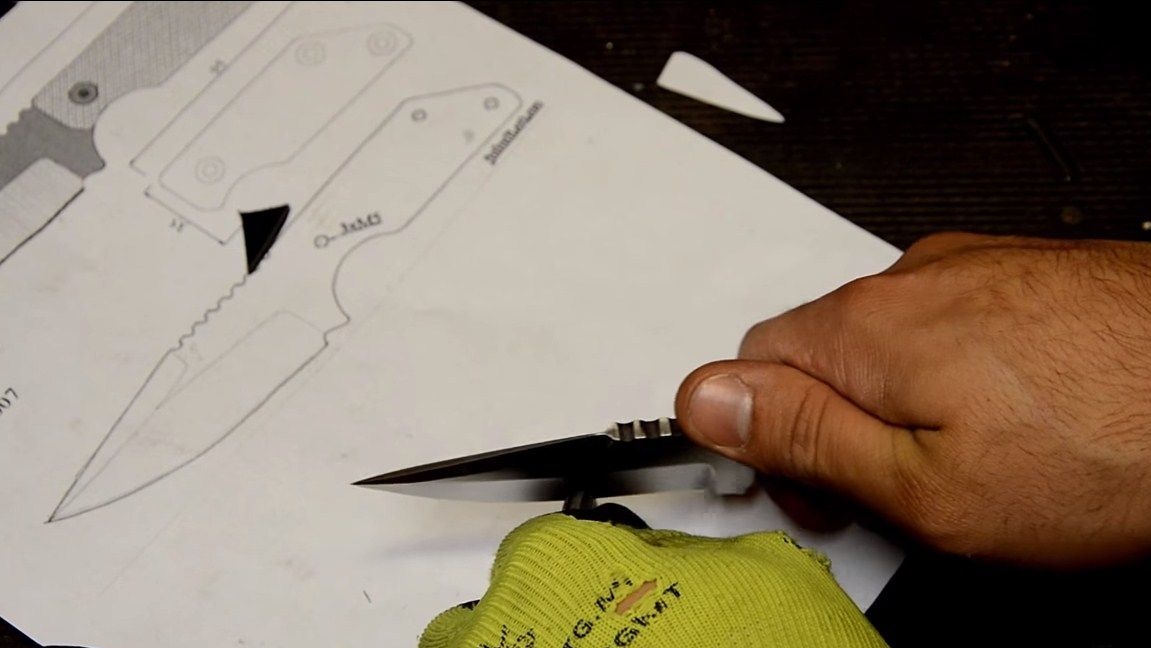
That's all, the knife is ready, the author turned out to be very sharp, the knife easily cuts strong skin, not to mention paper. That's all, the project is over, I hope you liked it. Good luck and creative inspiration, if you want to repeat it. Do not forget to share your best practices with us!