

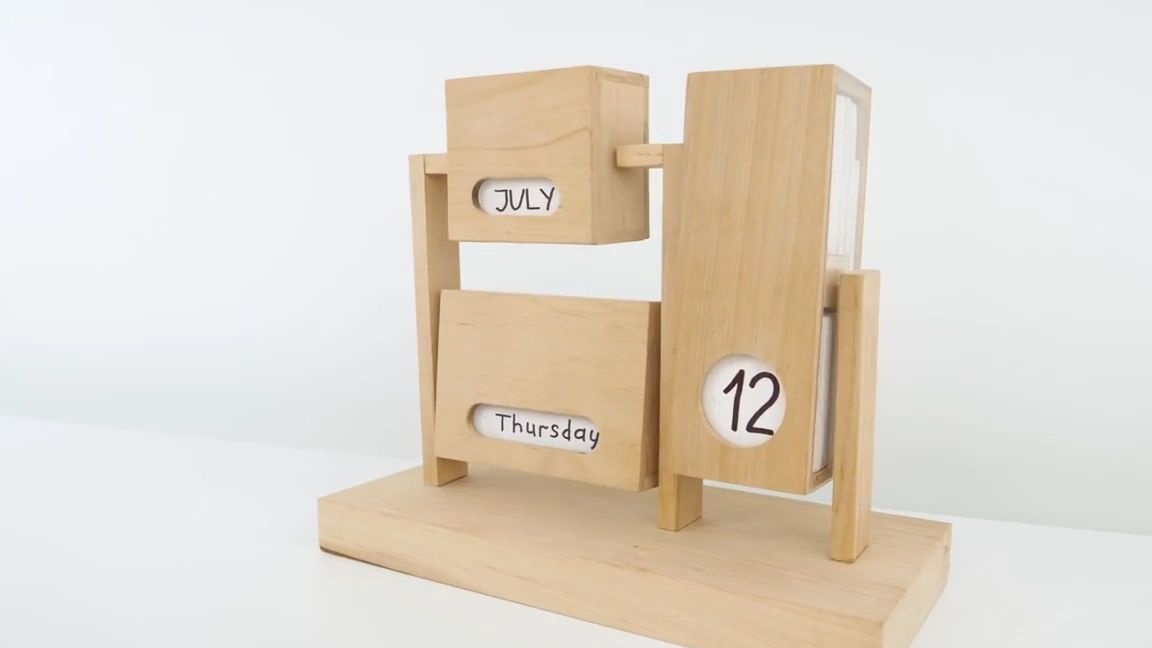
Good day to all dear friends! In today's article, I would like to tell you about a rather interesting idea homemade, which many may like, because it not only fulfills its function as a calendar, but it can also be a small part of the decor in your home, since this homemade product is made of wood and generally looks very good and stylish.
In general, today we will consider, as you probably already understood, how to make a calendar of a wood changer. This calendar is not very complicated and does not require some kind of super-inaccessible materials, so almost anyone can do this homework.
Well, probably enough to chat, the homemade product is very interesting and no less useful, so let's go!
And so, for this homemade product you will need:
- wooden boards of equal length (preferably sanded or sanded already)
-paint (gouache or acrylic, in short any that may be suitable for painting wood)
barbecue skewers
- thick orc glass or just transparent plastic
From the tools you will also need:
-electric jigsaw
-marker
-PVA glue
-pencil
small skin
- a screwdriver or an electric mini drill
line
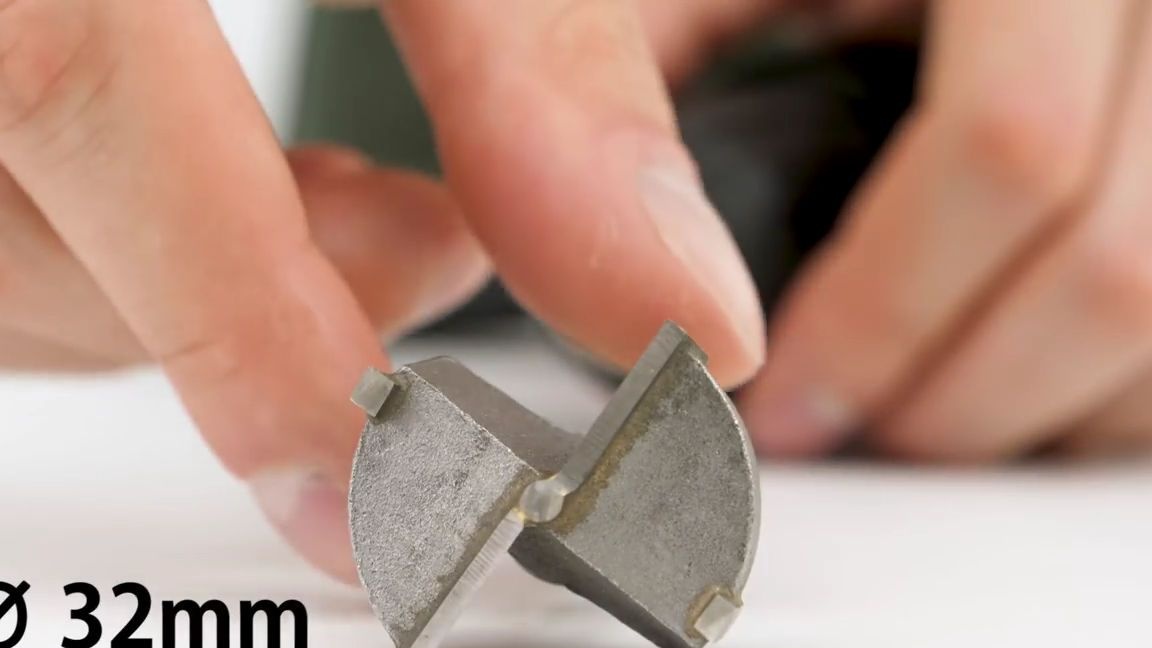
- wide drill for drilling wide holes
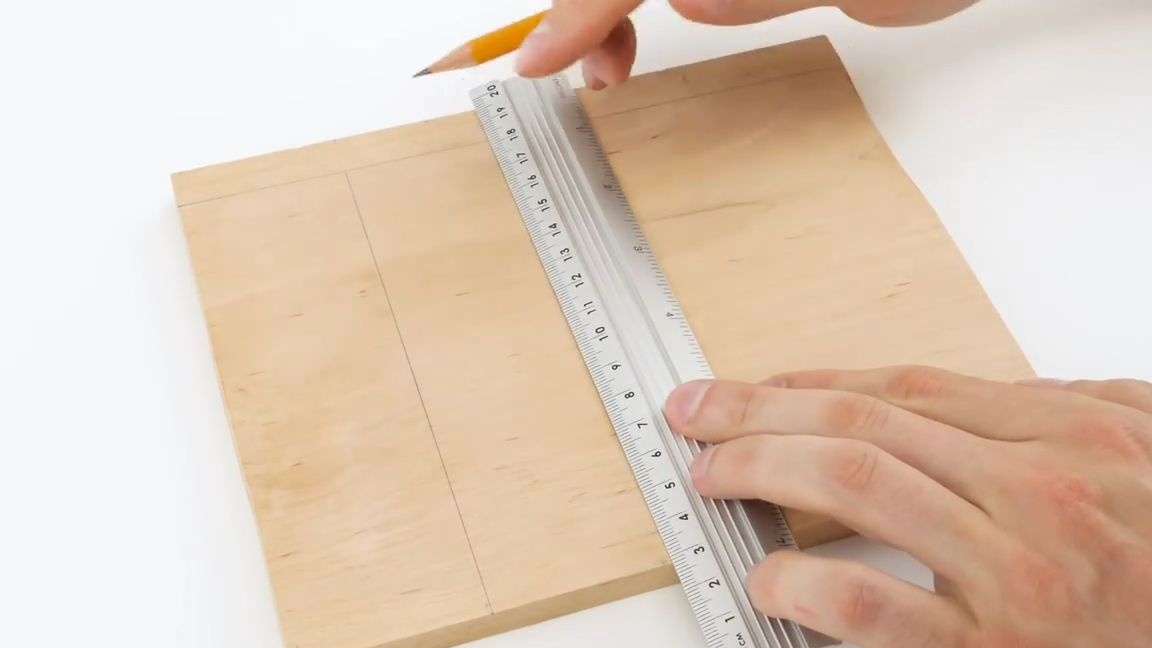
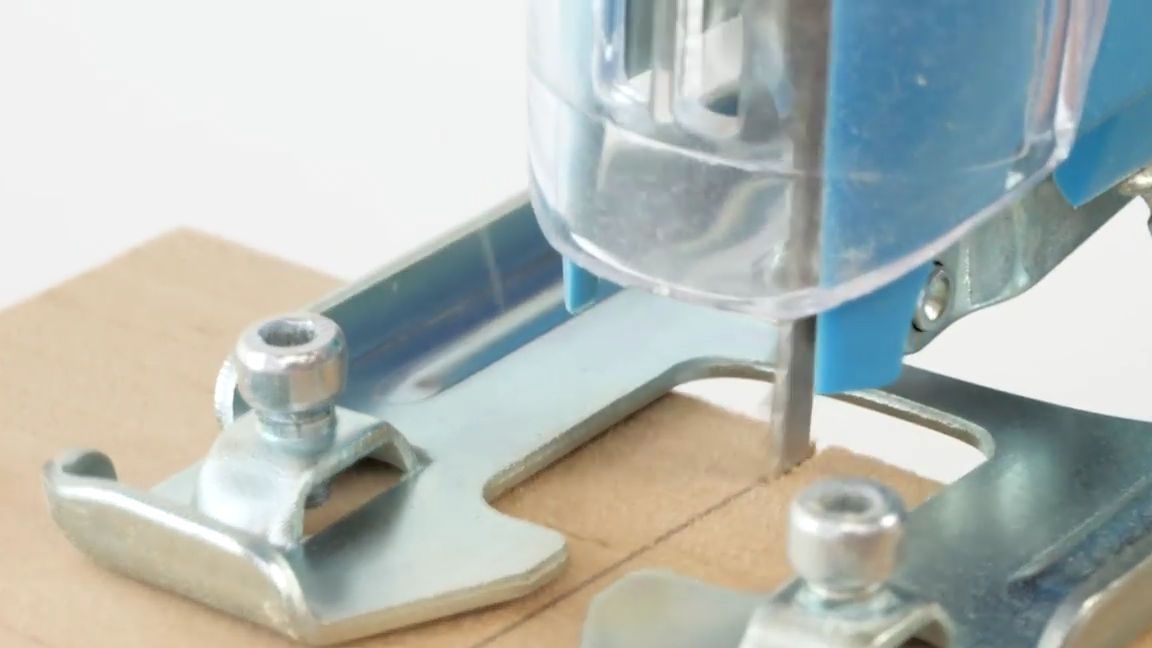
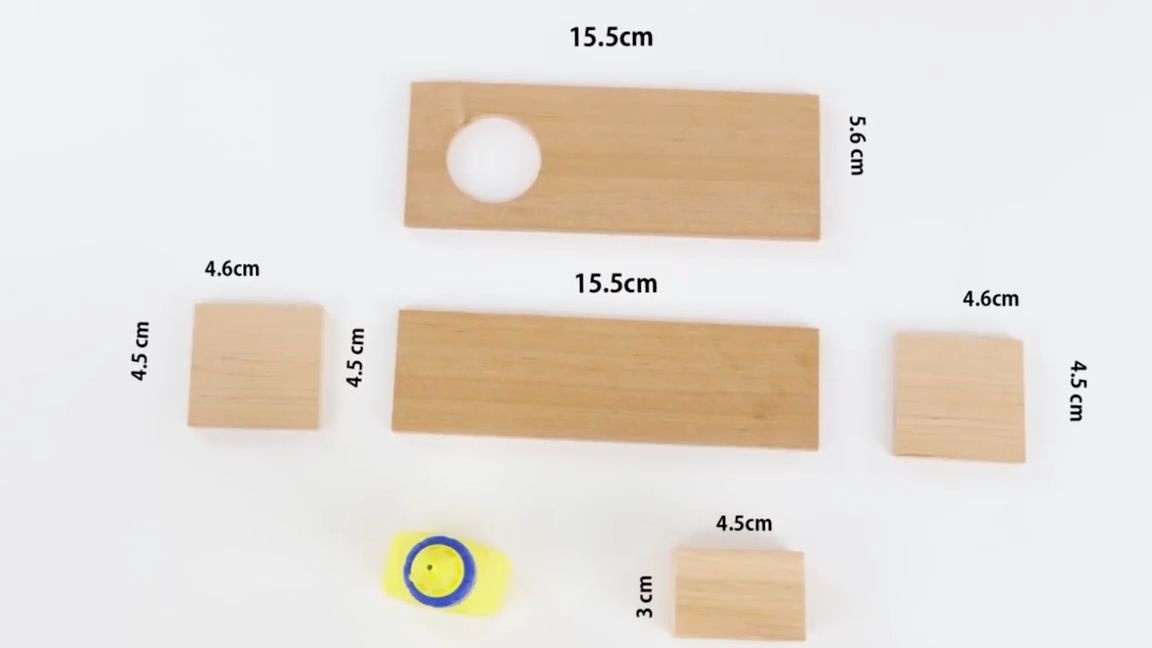
First of all, you need to take a pencil, a ruler and a small wooden board. We draw 5 different parts with their help, and then cut it with an electric jigsaw. You need to cut it carefully and after cutting you can go with the skin to smooth the edges.
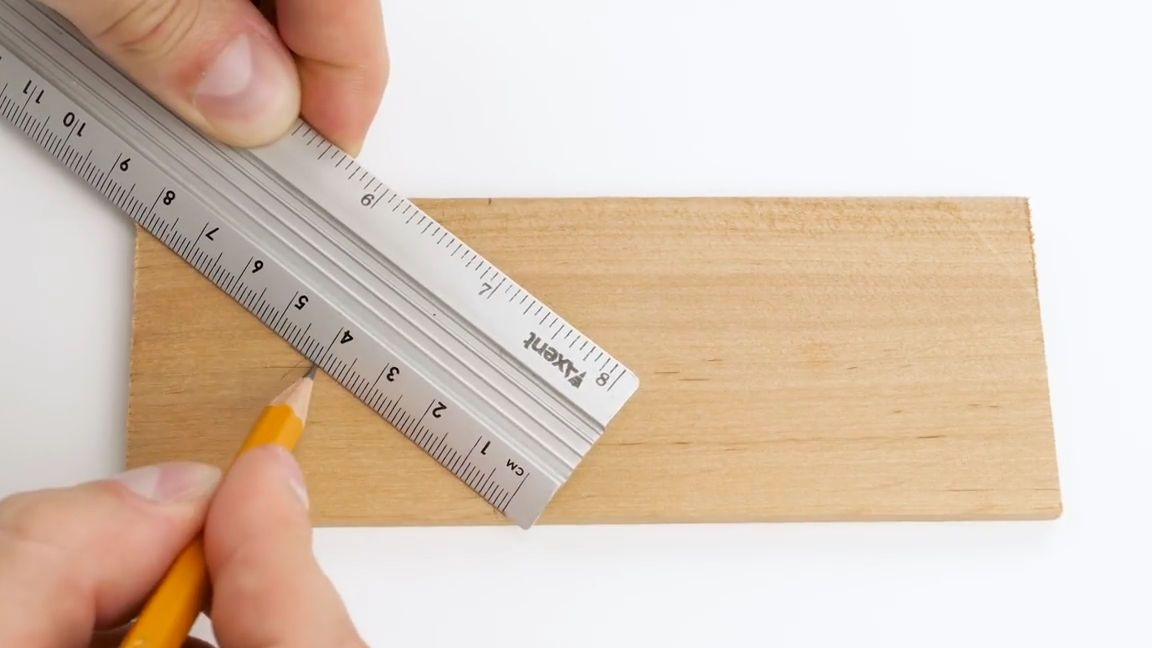
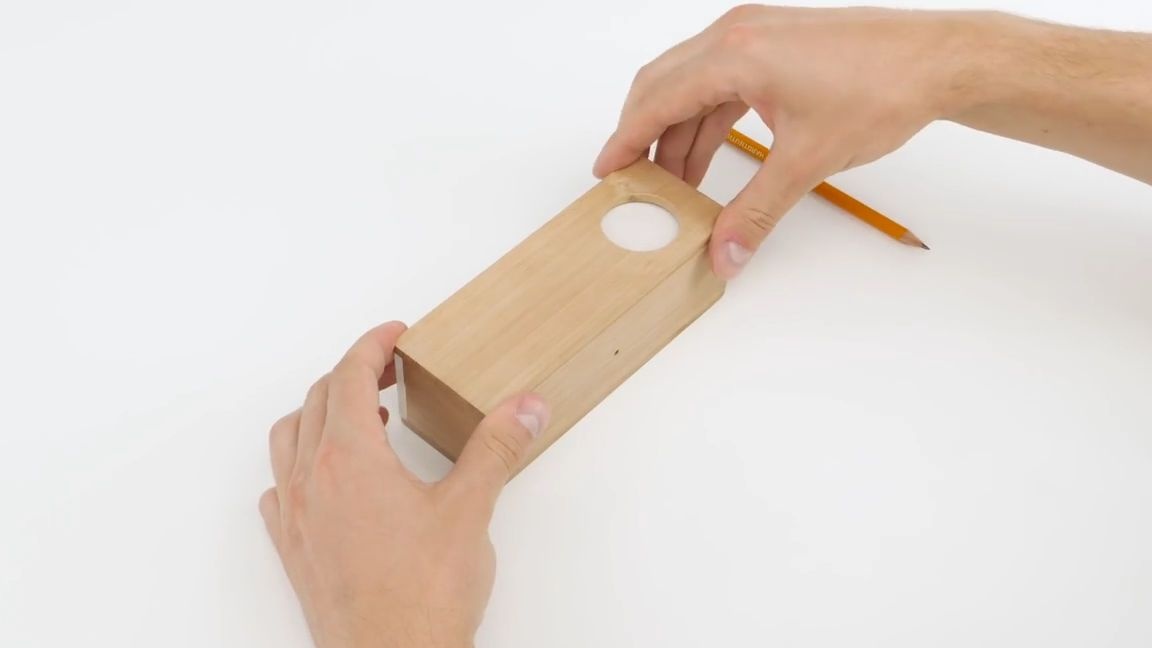
Then again we take a pencil and a ruler, after which we find the center of the diagonal and, using a drill and a screwdriver, drill one through hole exactly in the center of the marked diagonal.
After all these steps, you should get 5 wooden parts, as in the photo below. Their sizes can also be seen in the photos below:

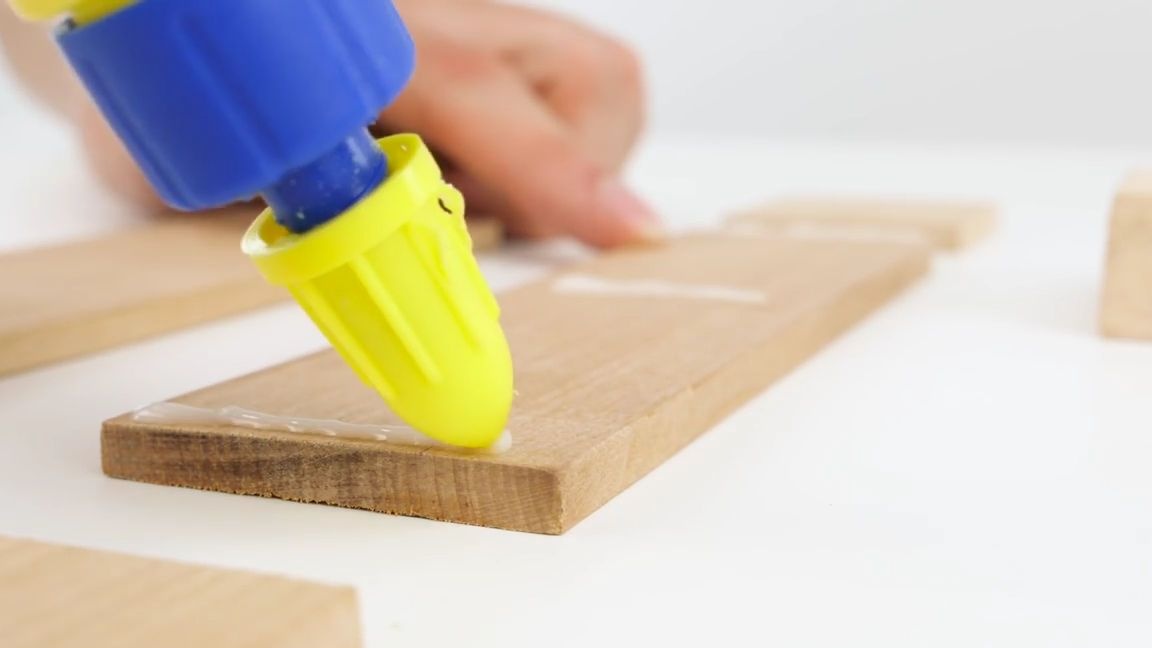
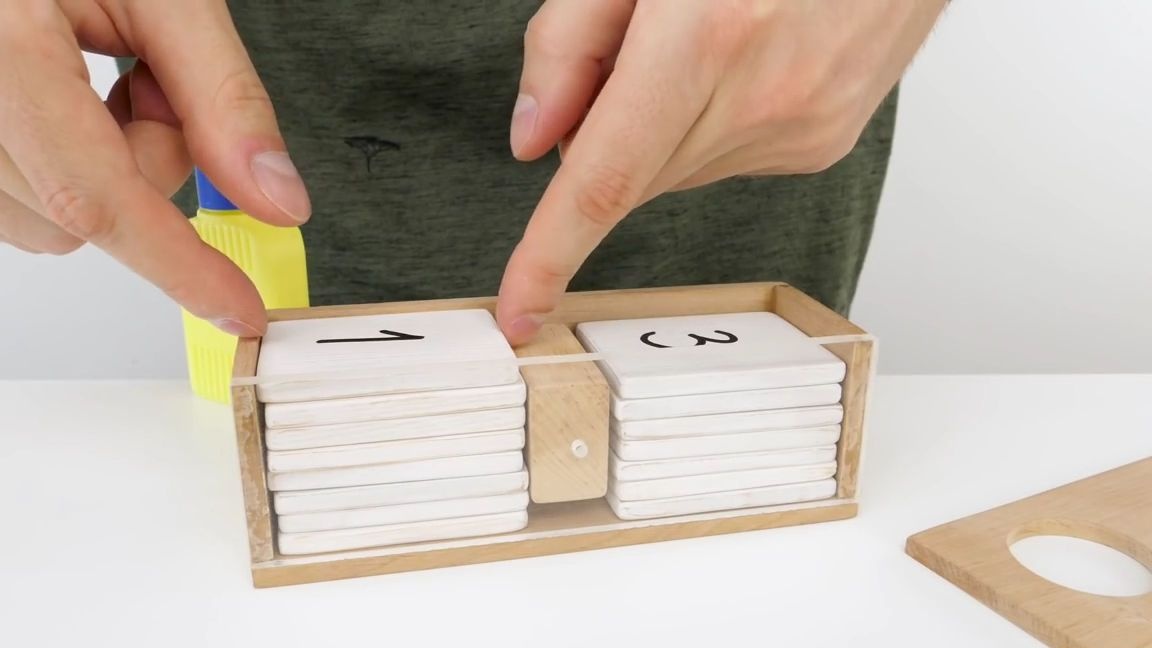
Now we take PVA glue and with it it is necessary to glue the resulting parts as follows:
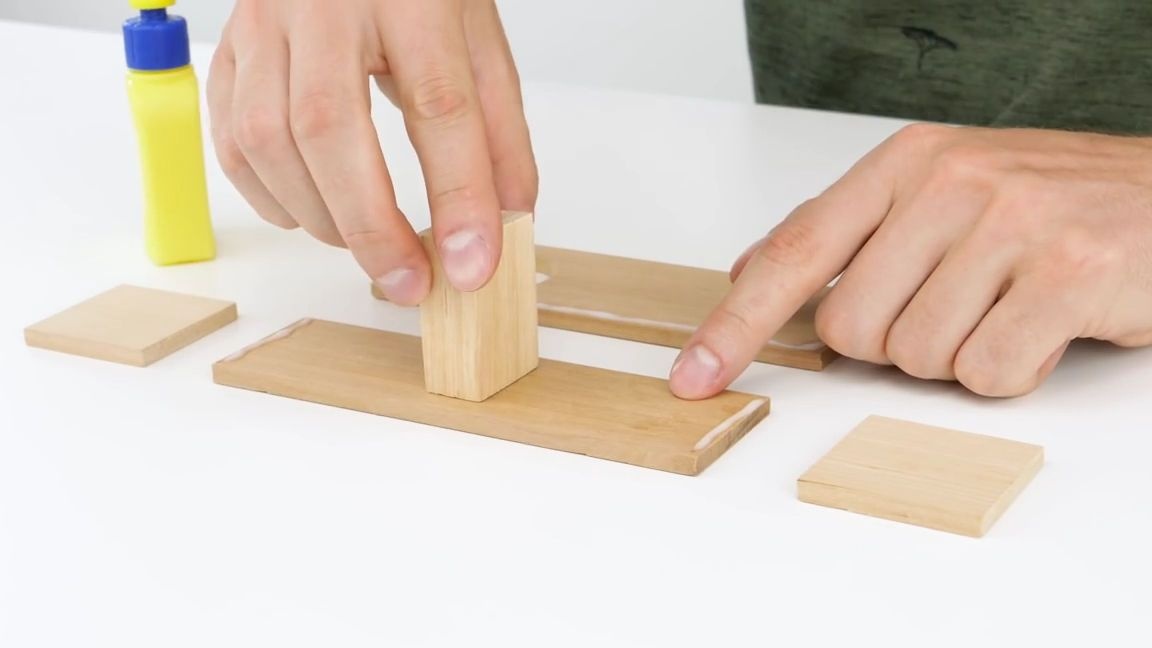
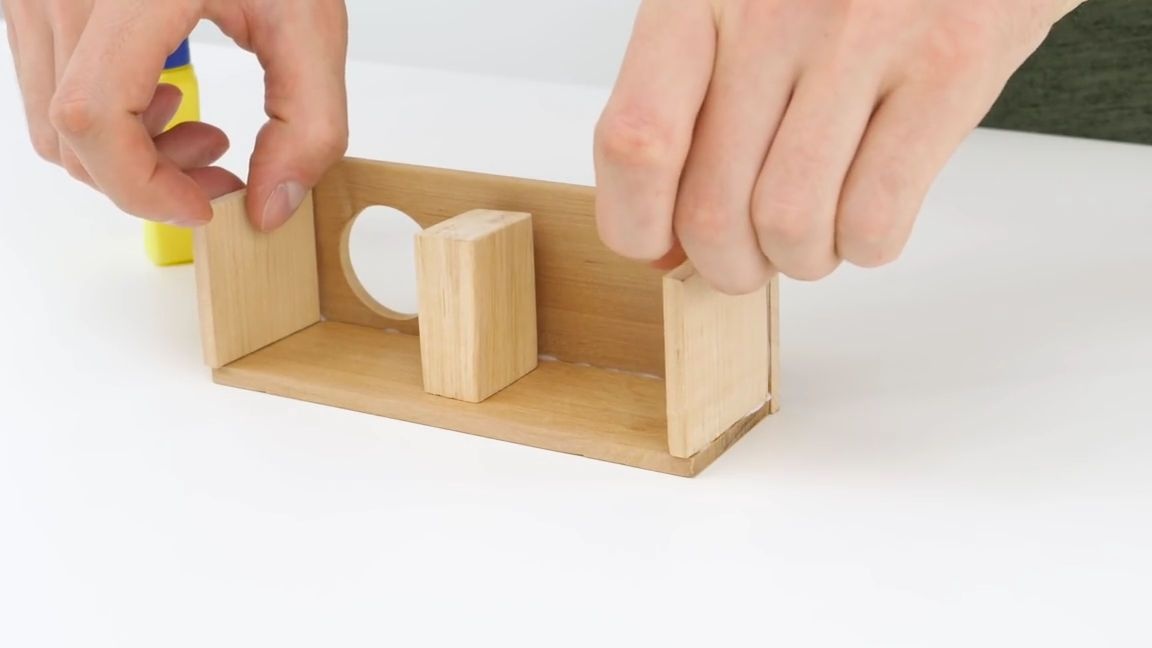
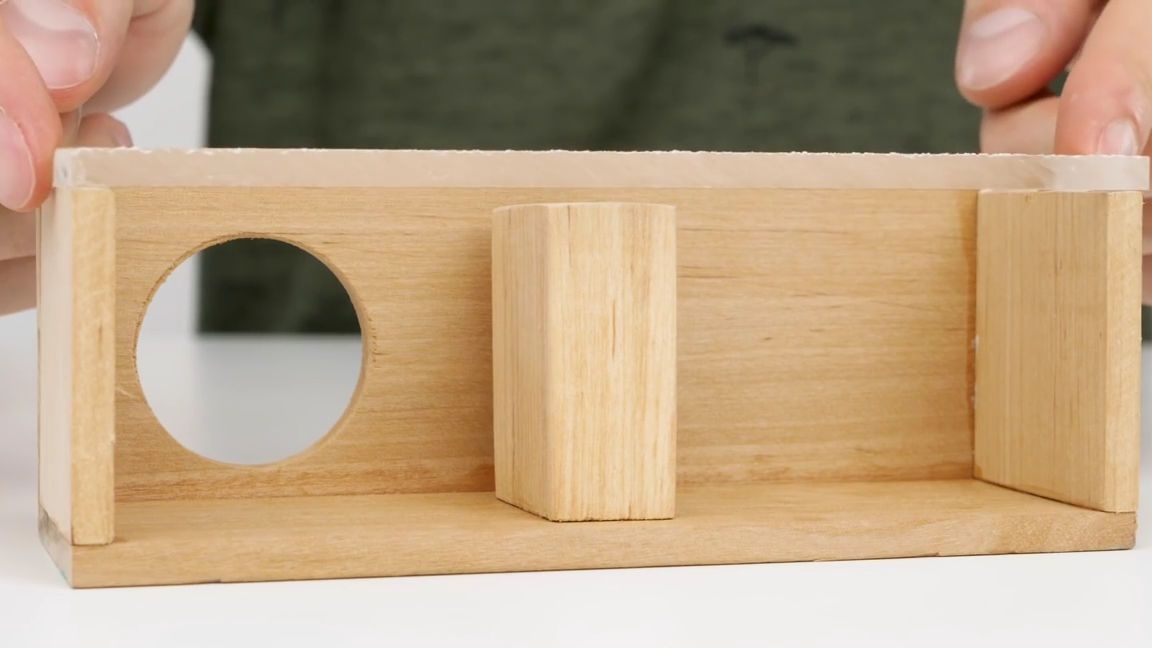
On a long narrow part without a hole, you need to apply PVA glue along the edges and in the center, then glue two equal square parts on the edges of the part, and the smallest part should be glued in the center. But this small part needs to be glued so that two thin but equal holes remain at the edges.
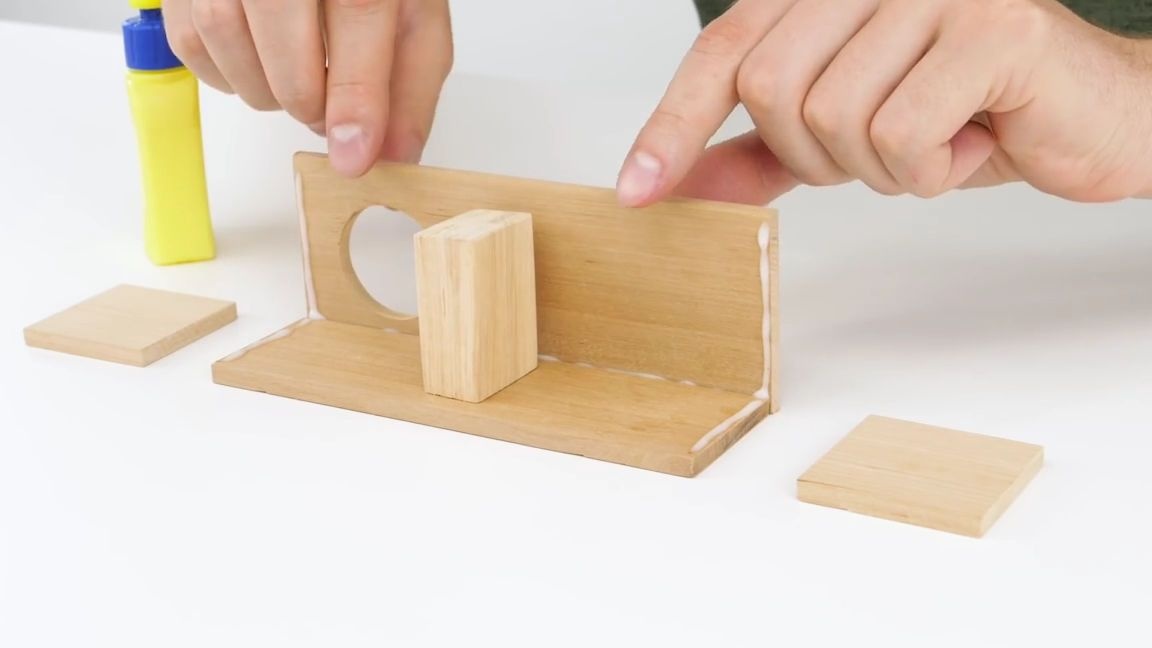
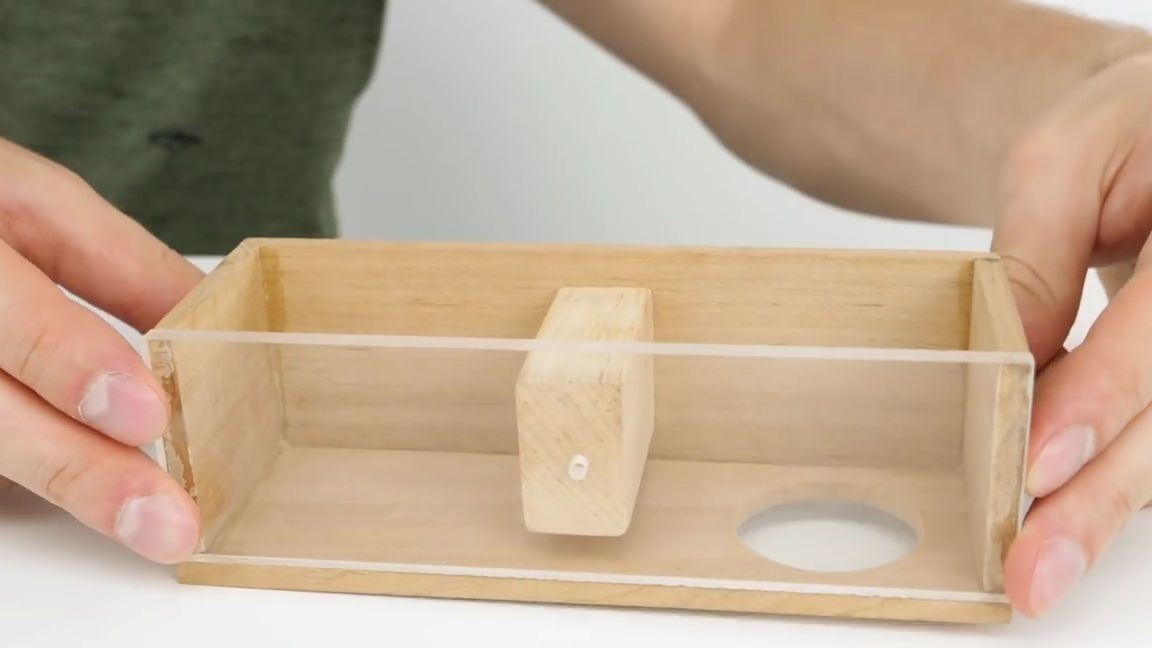
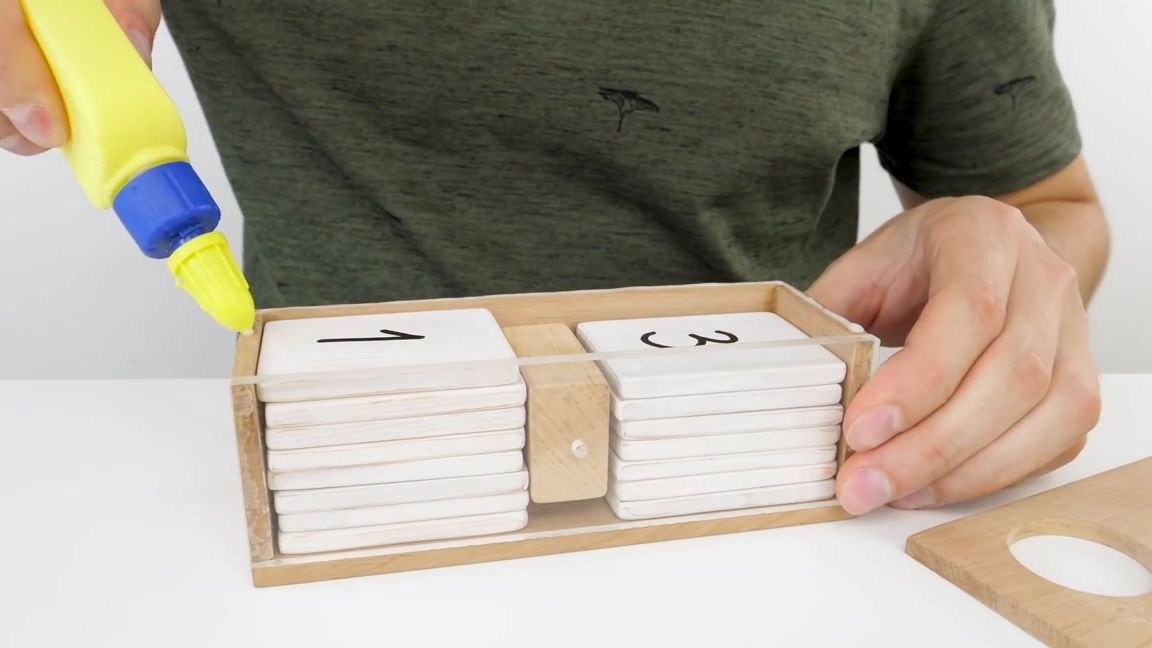
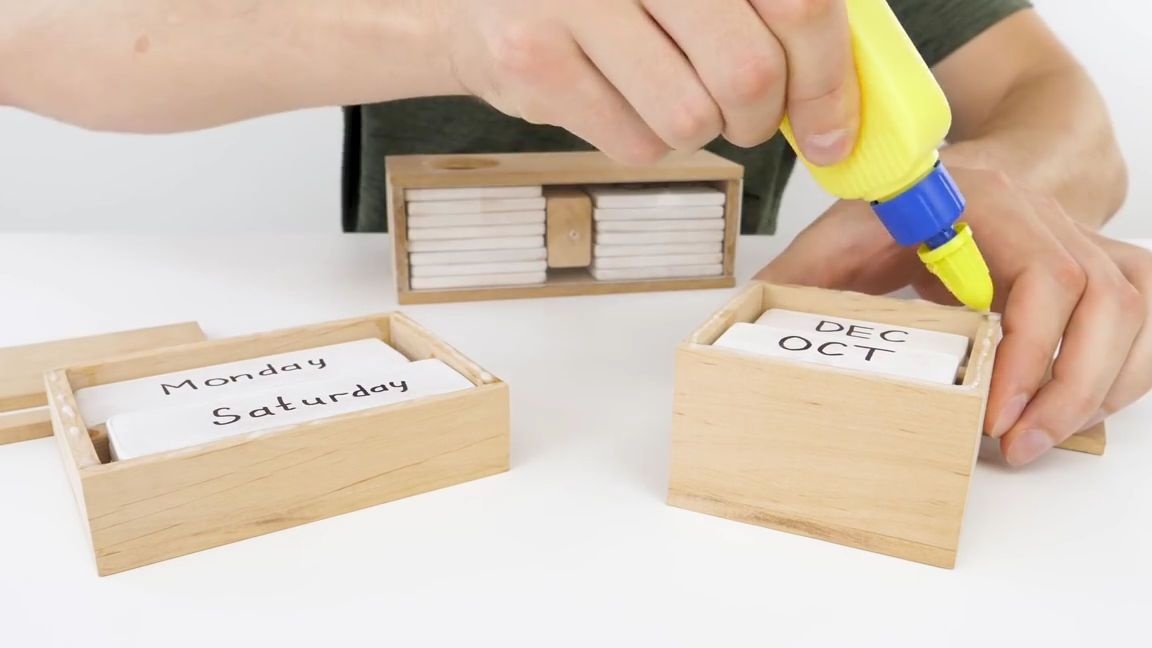
Glue the second long part with the hole on the side, after which it is necessary to cut a small rectangle from orc glass and also glue it. By the way, after gluing with PVA glue, it is recommended to wait another 24 hours, so that it finally freezes:
We again take a screwdriver and on each side of the previous workpiece, we drill exactly one through hole exactly in the center, so that the drill does not reach the ventral part of the workpiece:
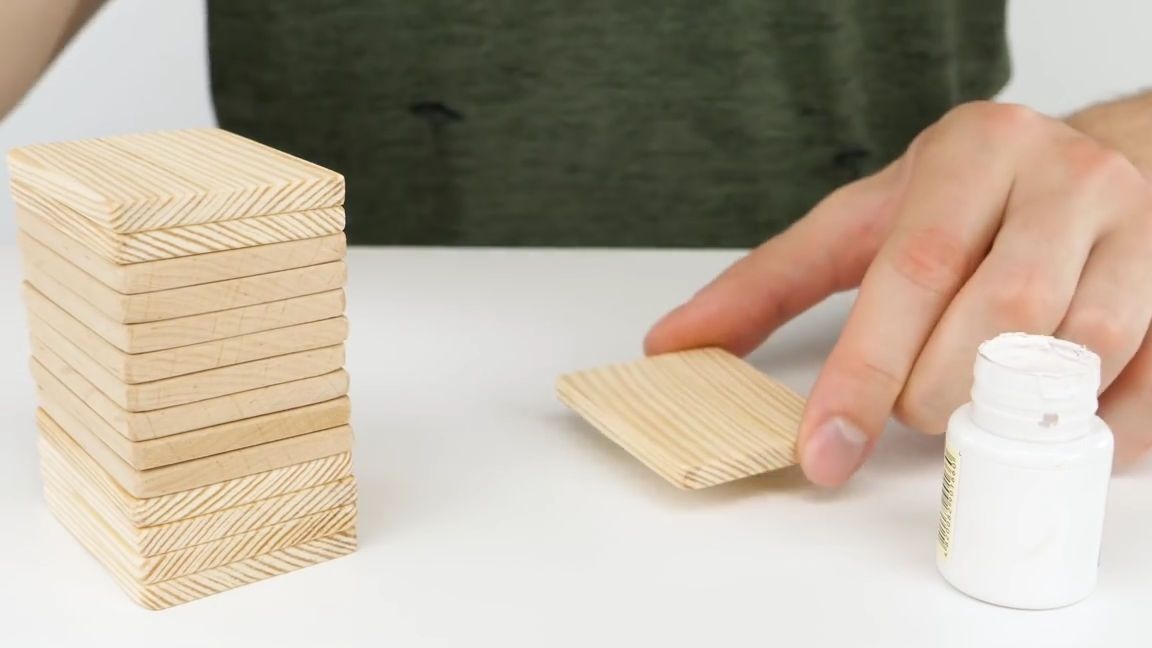
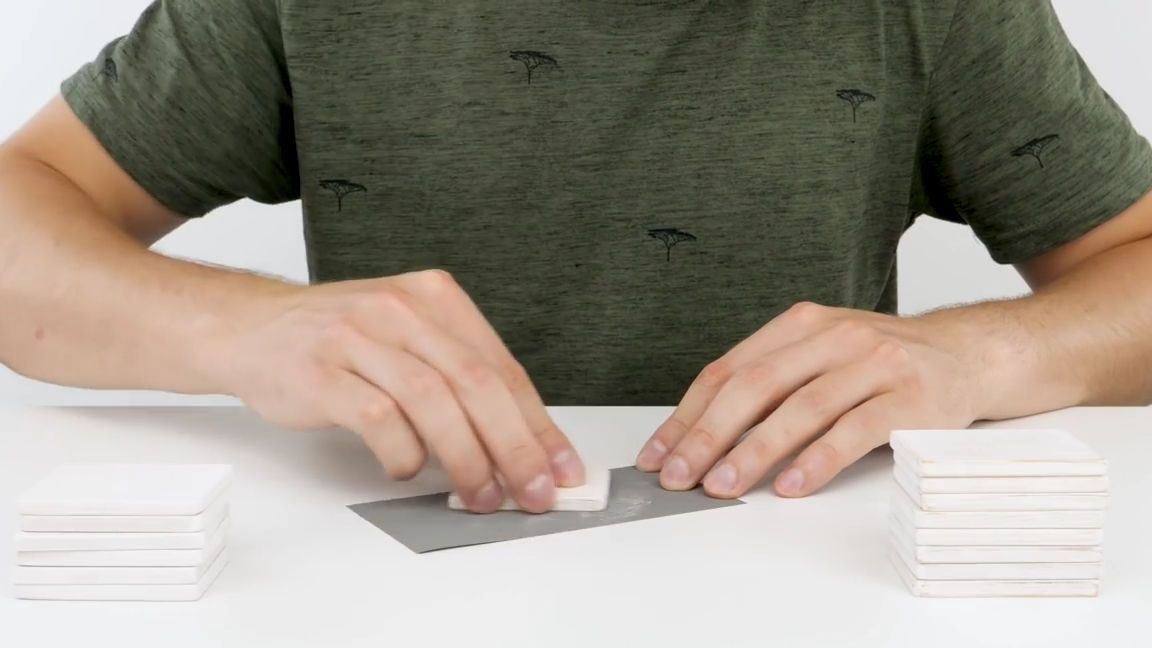
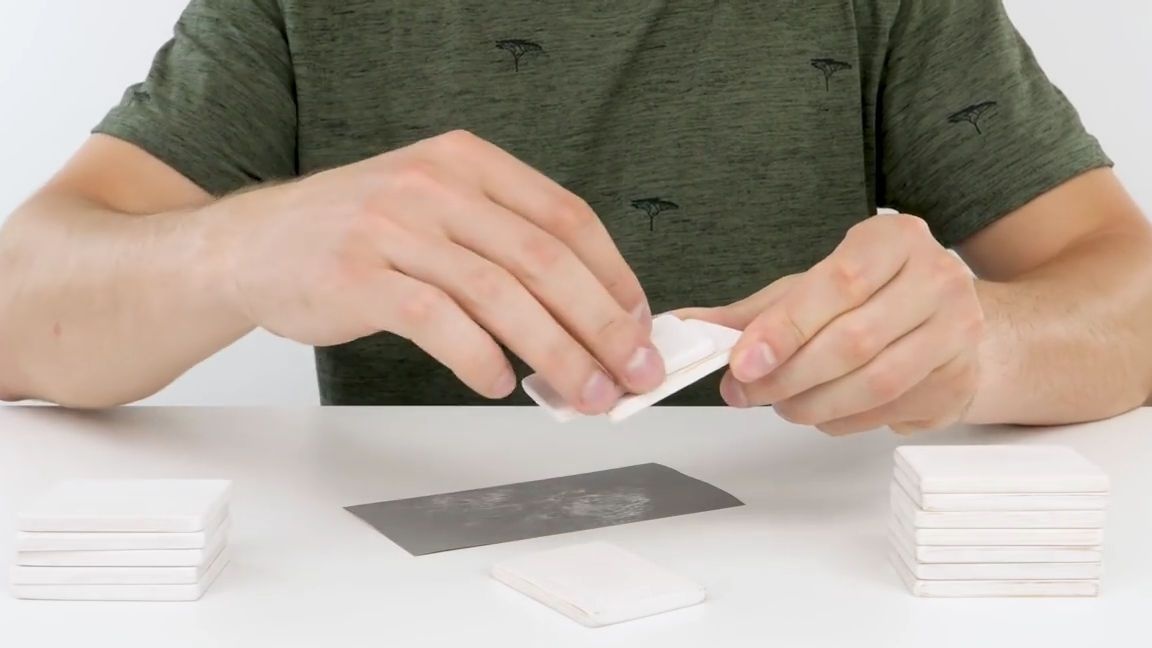
From wooden planks, it is necessary to make 15 equal blanks, of such a thickness that they can freely move in thin holes that are located in the center of the blank, which was made earlier. They also need to be sanded and polished. Then they need to be painted white.
Then we take an ordinary small skin and a little skin already painted blanks. This is necessary so that the workpieces do not interlock with each other by friction, but rather that they move freely between each other:
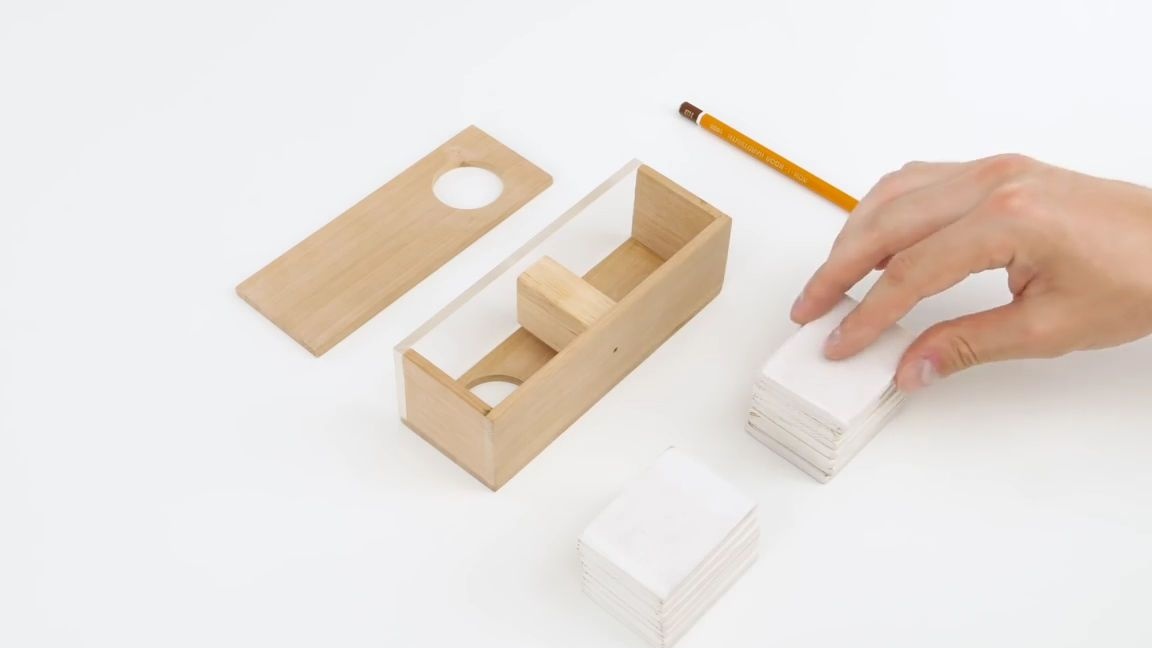
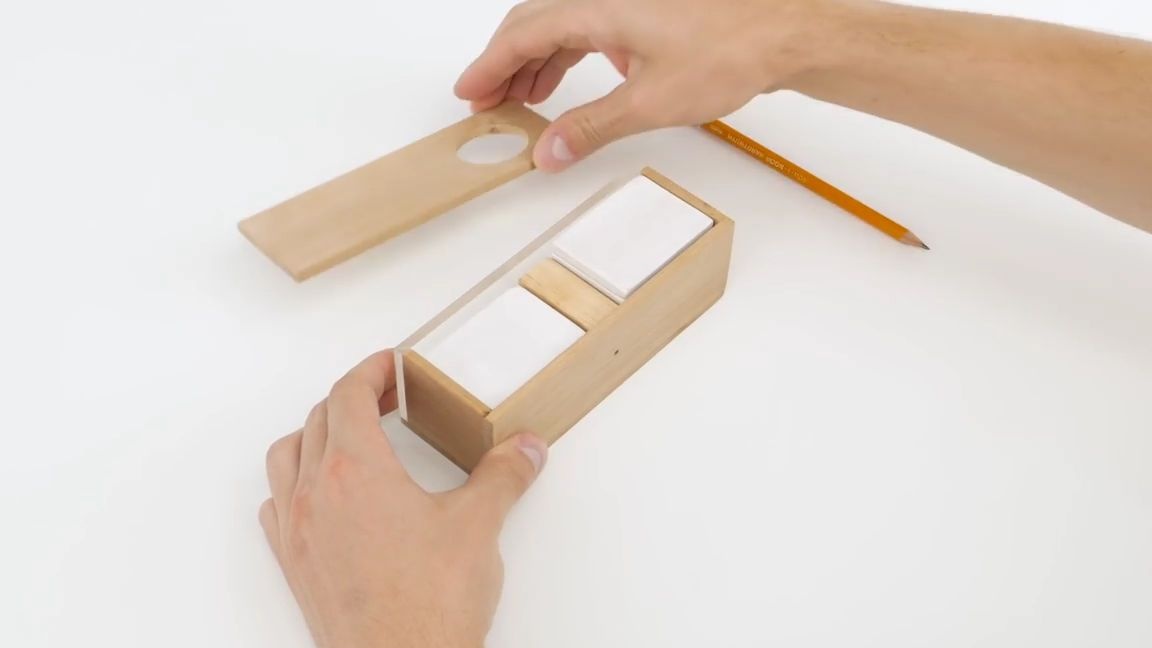
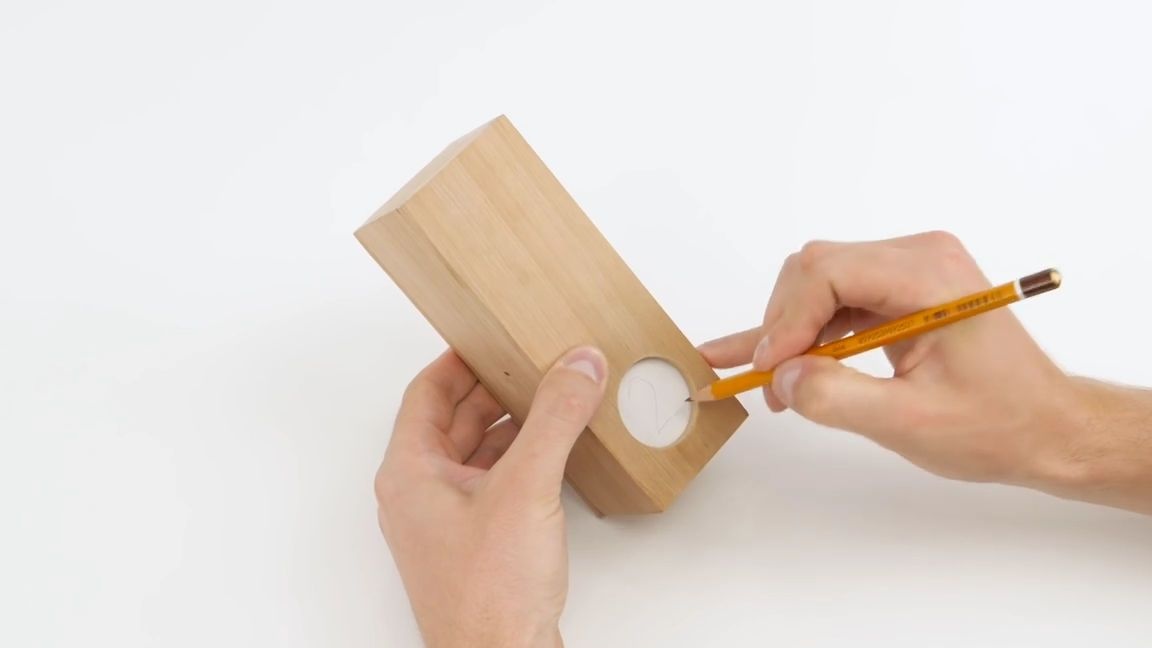
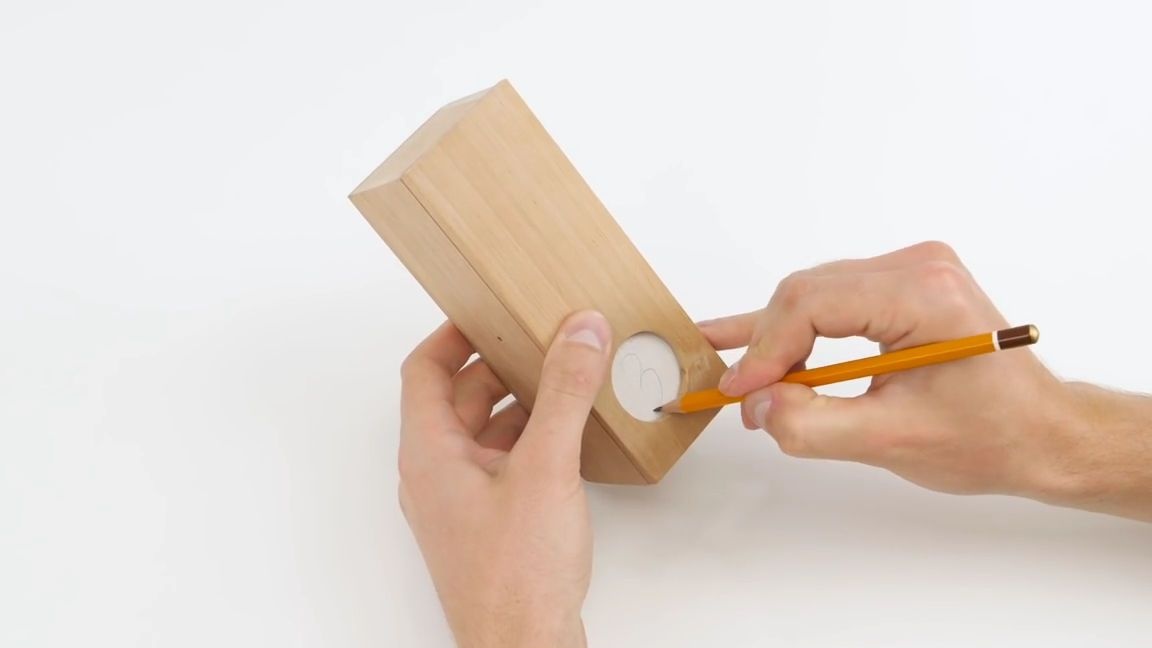
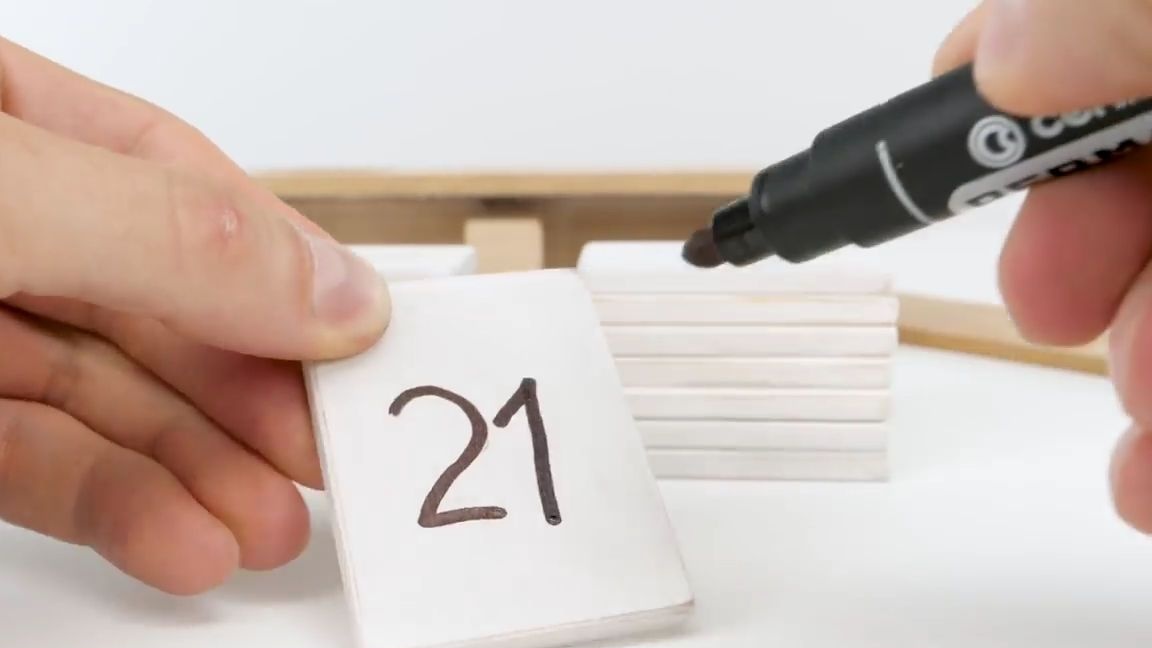
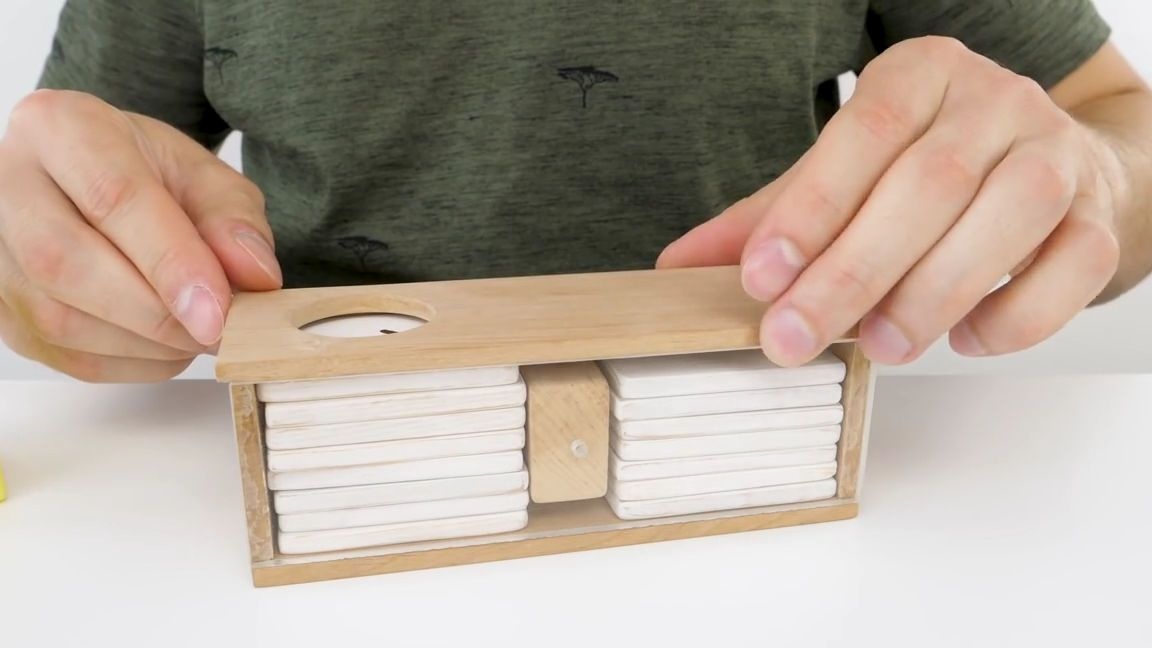
Now we divide the resulting workpieces into two heaps and carefully stack them in the previous workpiece. Then we glue another long part on top with a drilled hole, similar to the one that was done earlier. But it is necessary to glue it so that the holes in the blanks are not exactly opposite each other, but that each is on its own side. Then we take a pencil and begin to write numbers on the boards through the hole, first write 1, then turn the blank over and write 2, then turn over again and write the number 3, and so on, until the empty boards run out:

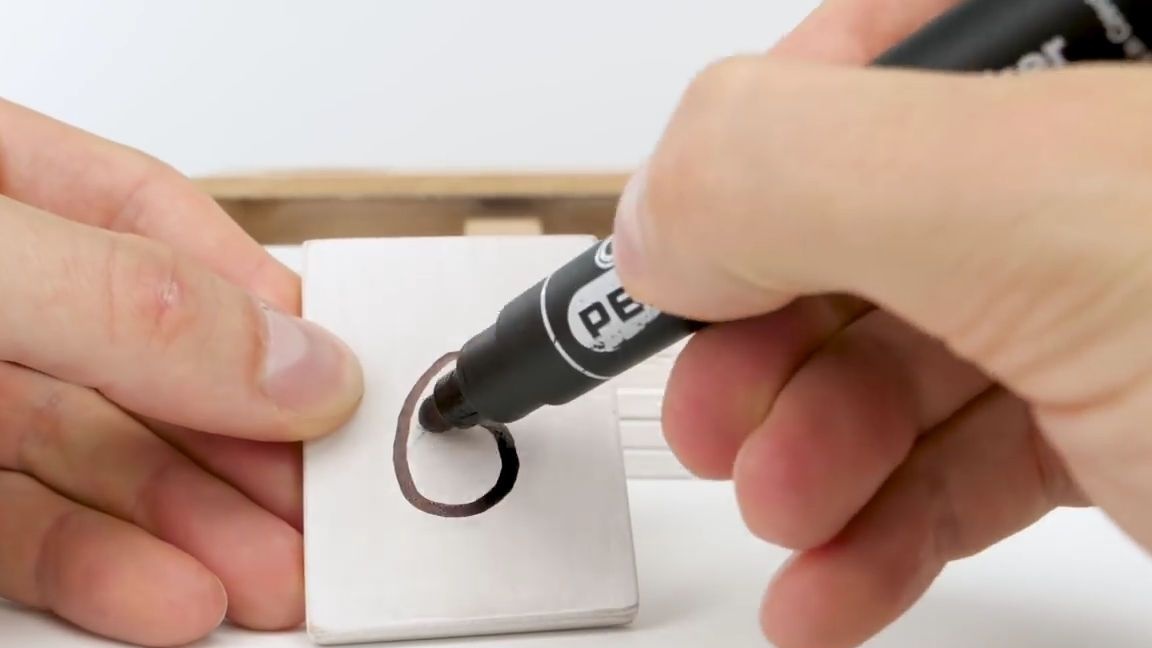
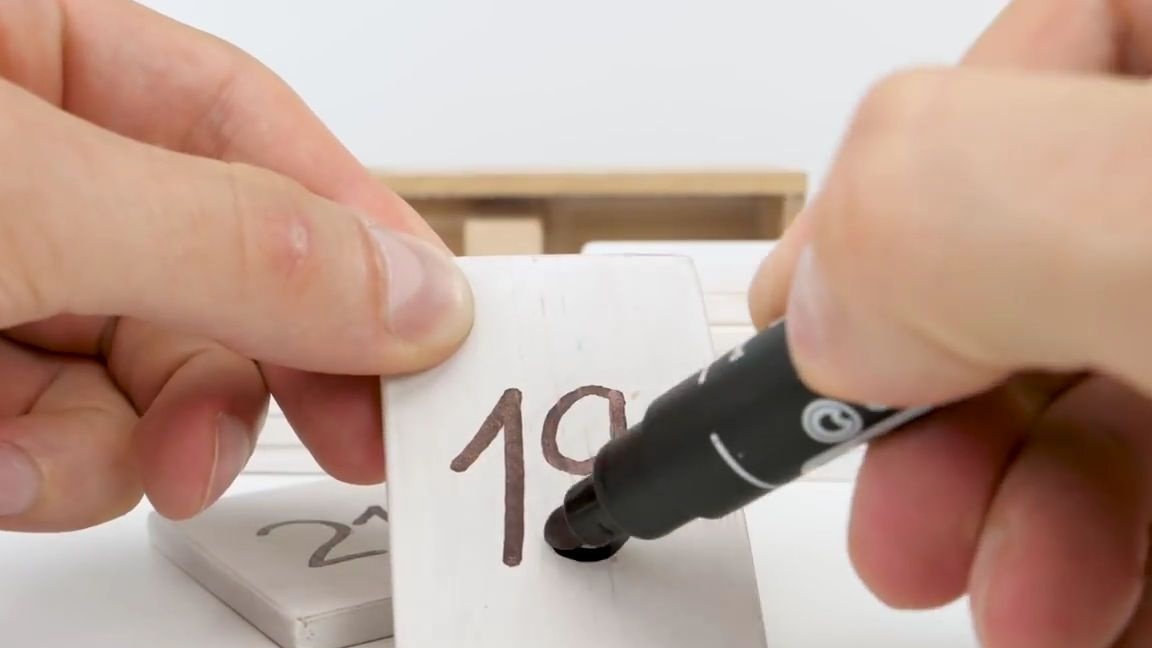
The drawn numbers must be circled with a marker to make them look more solid and more bright. Then we put them back in the same way as they lay.
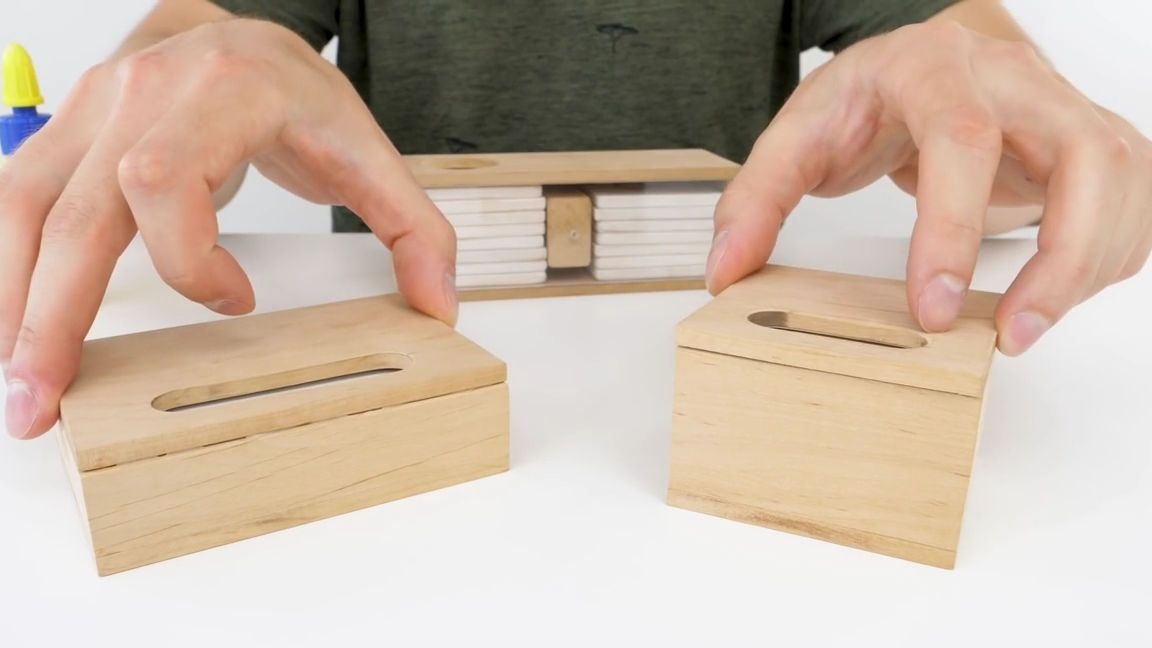
And finally, finally glue the upper part of this workpiece:
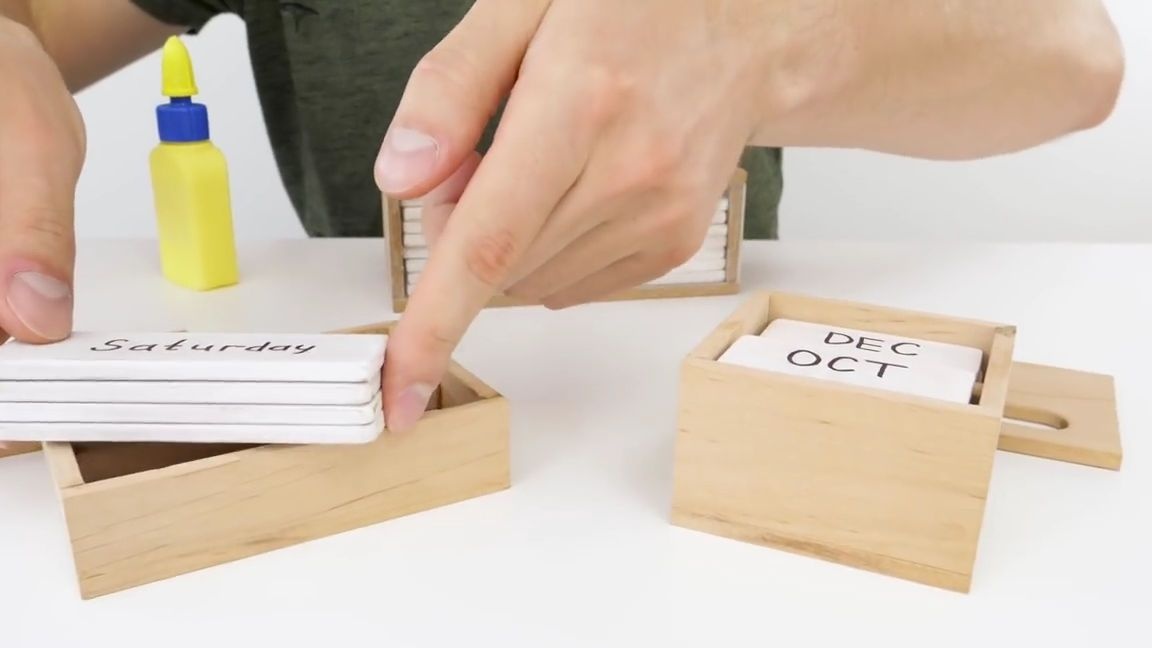
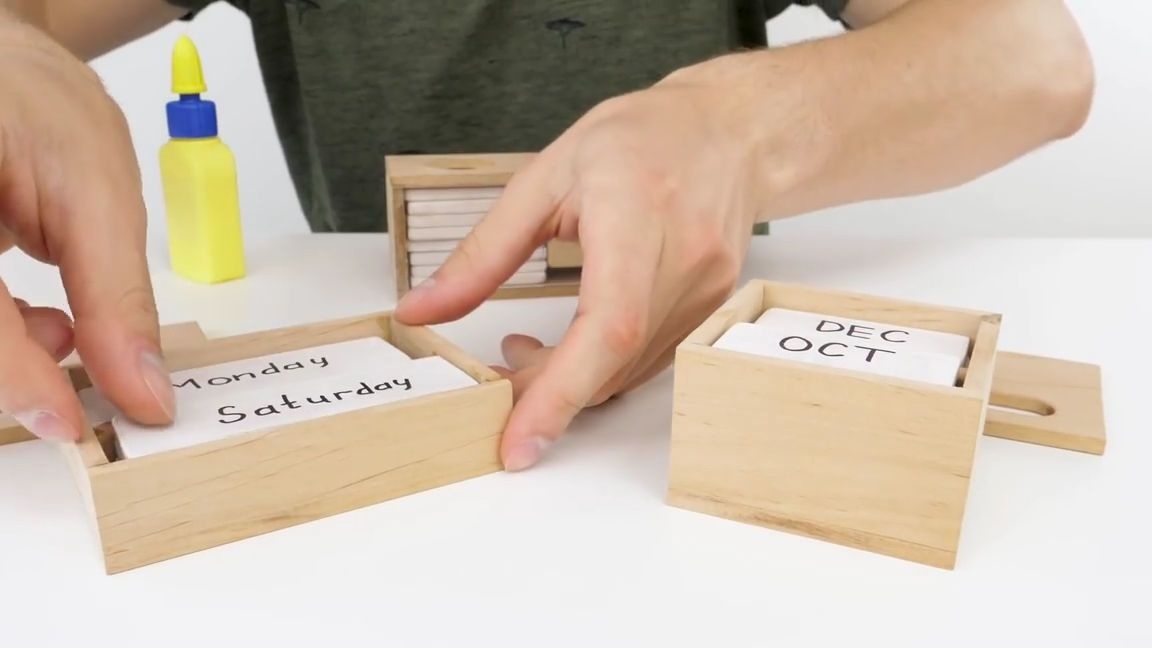
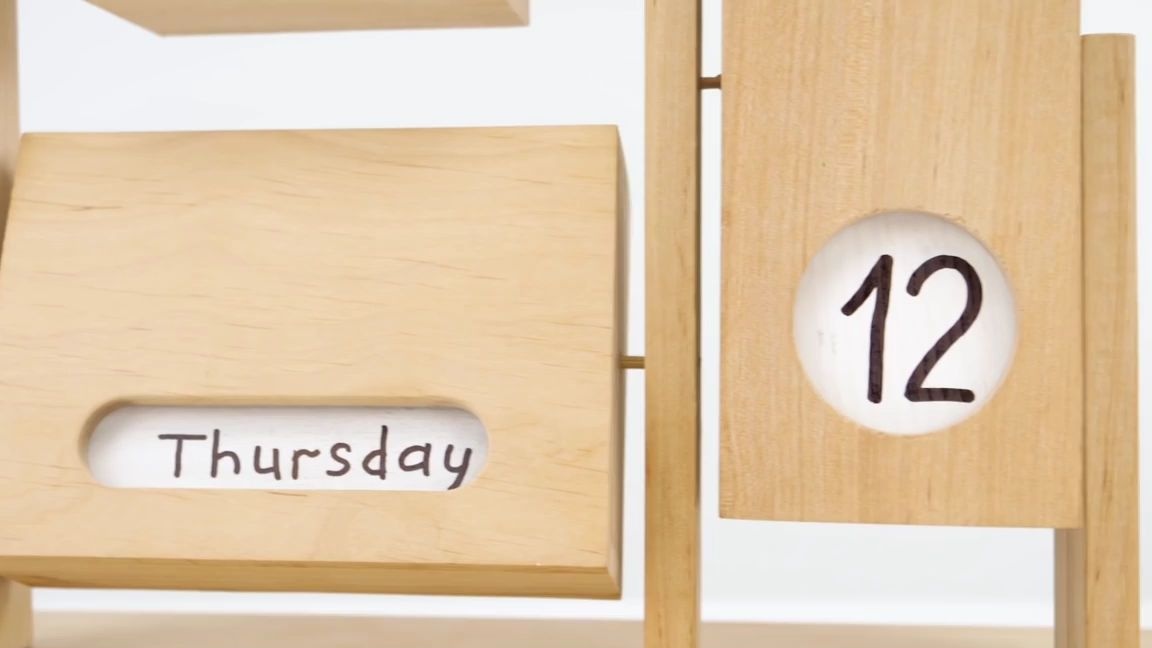
From the tree we make two more such blanks in the same way, only we make different sizes and instead of numbers it is necessary to write the day of the week and the month. They must also be recorded in the correct sequence, that is, by the same technique that was used in the previous workpiece. Well, we close these blanks with their upper parts with holes (as you can see, the holes should be fitted to the inscriptions on the plates, for this, simply determine which inscription is the largest and make it under it, if the hole goes through it, then it will suit everyone) :
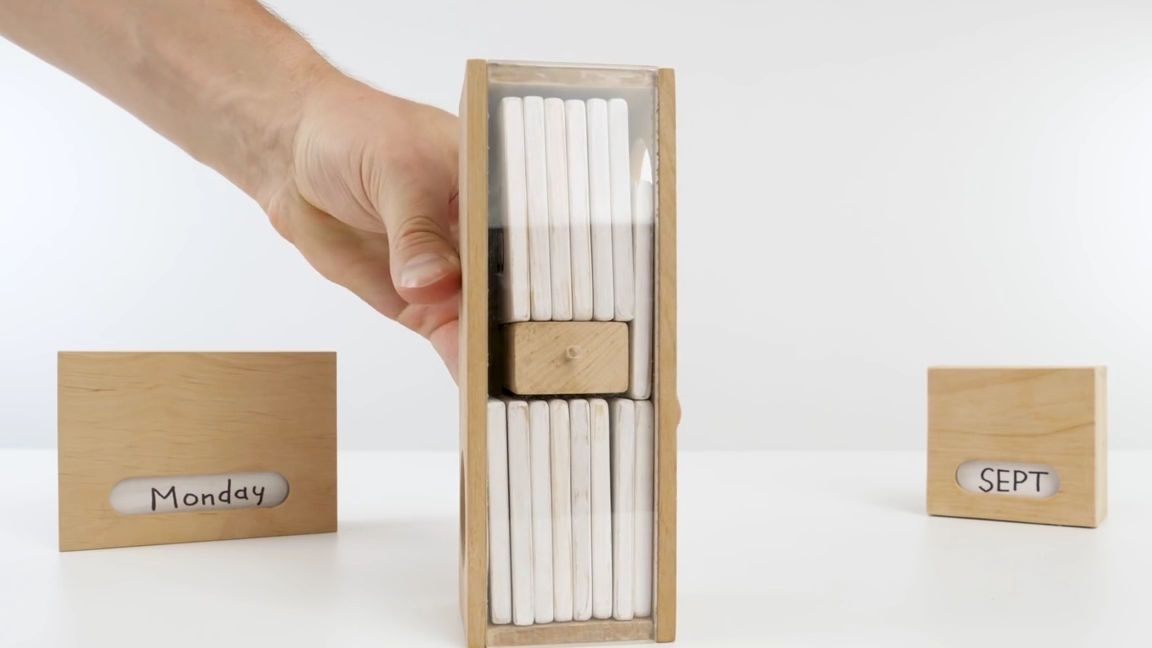
Testing the workpiece:
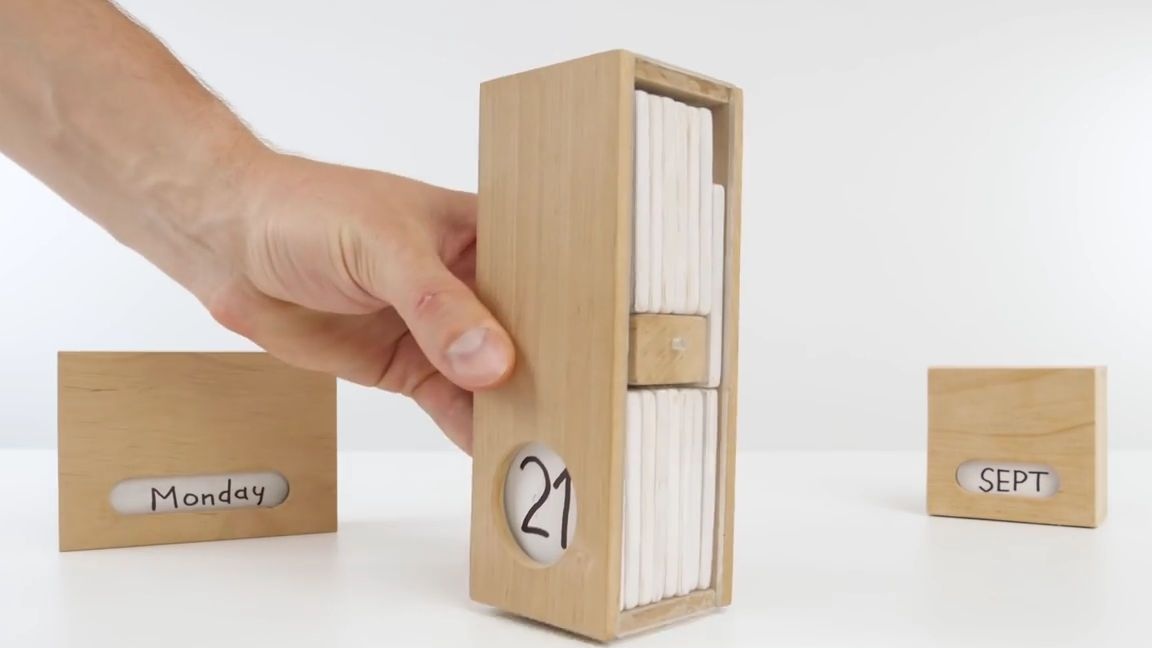
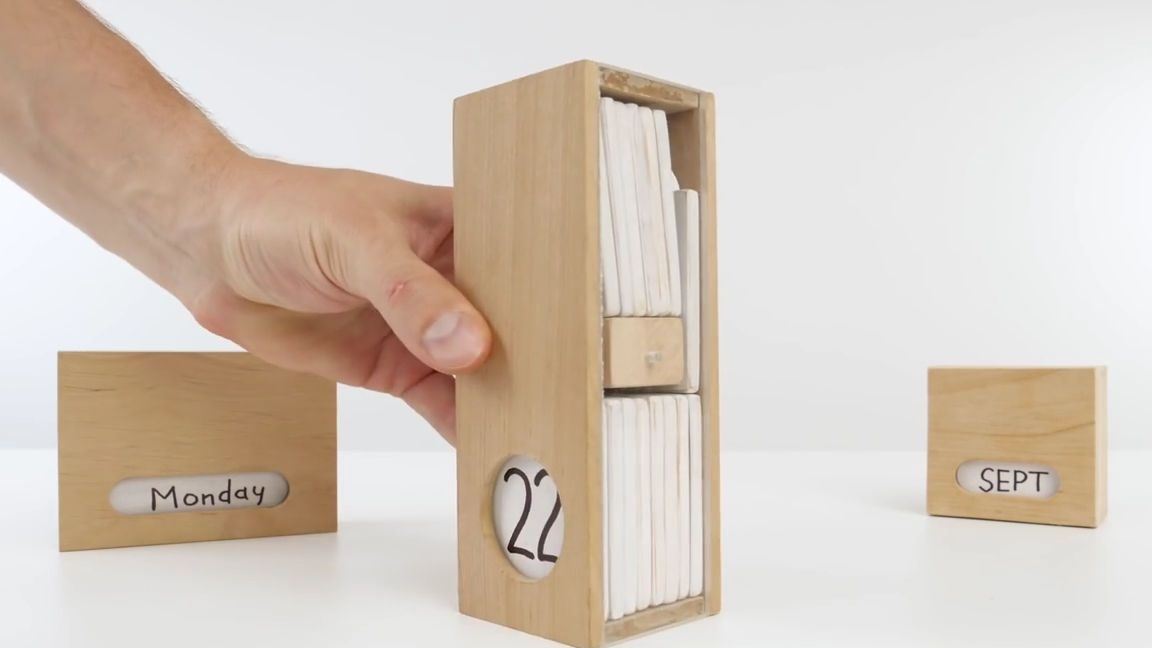
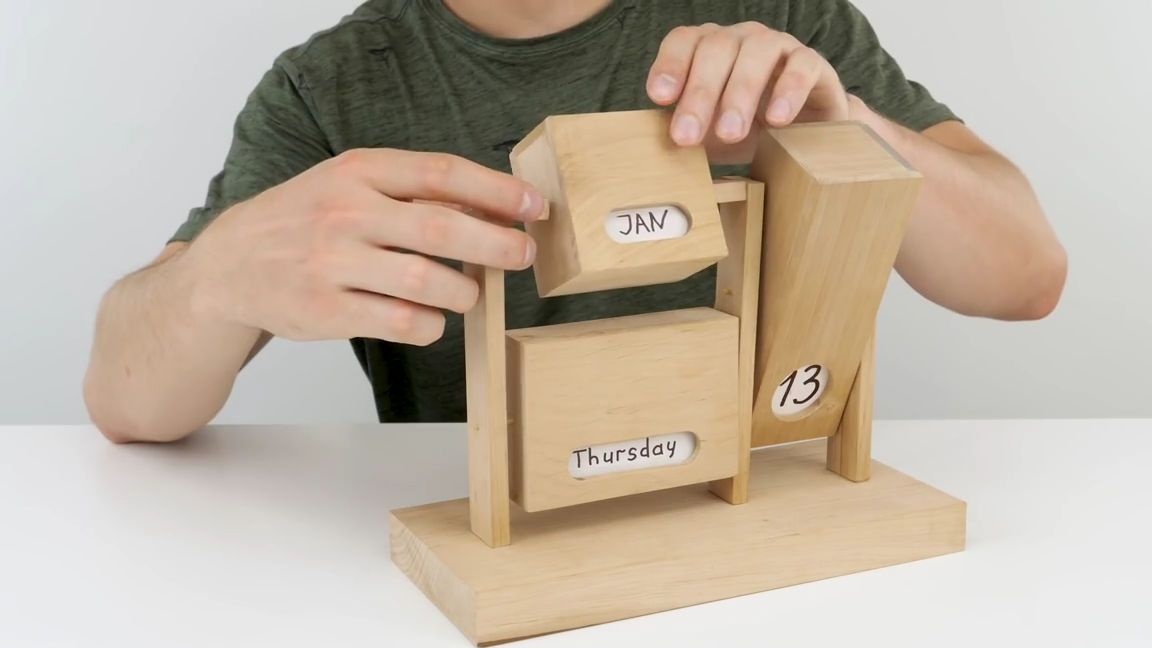
We take one blank and make a vertical turn of 360 degrees, one of the boards should fall into the hole and show what is written on it, then turn it over again and if you see the board with the next number, then everything is done correctly. It is best to scroll through this workpiece all the times and return to its original position to check whether everything is done correctly:
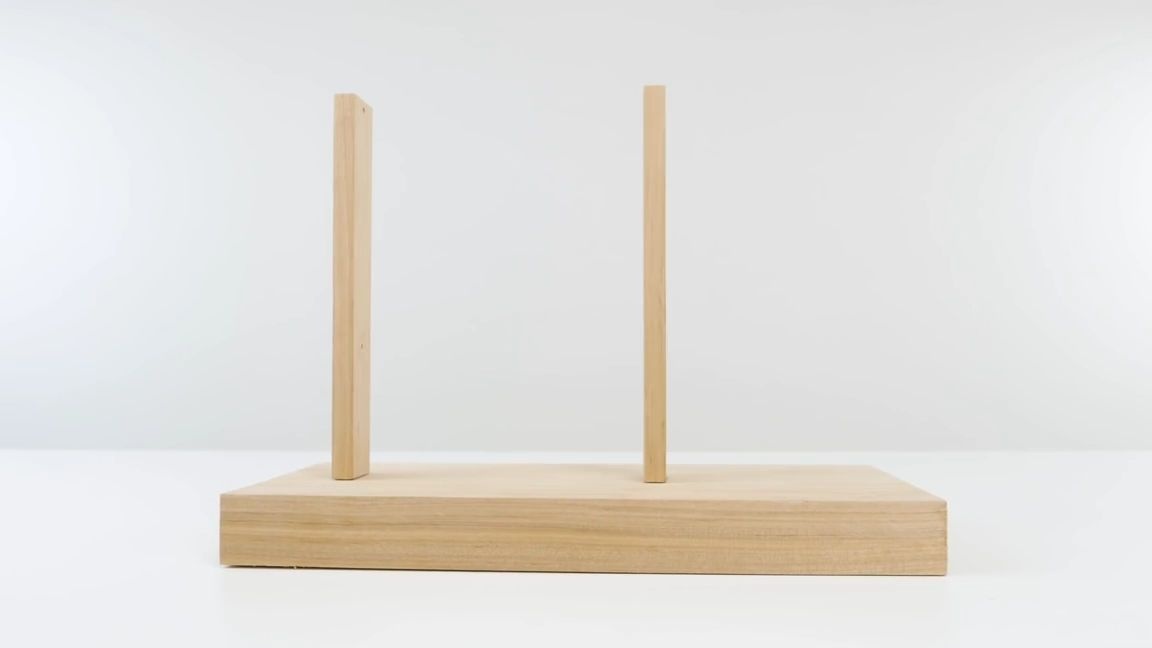
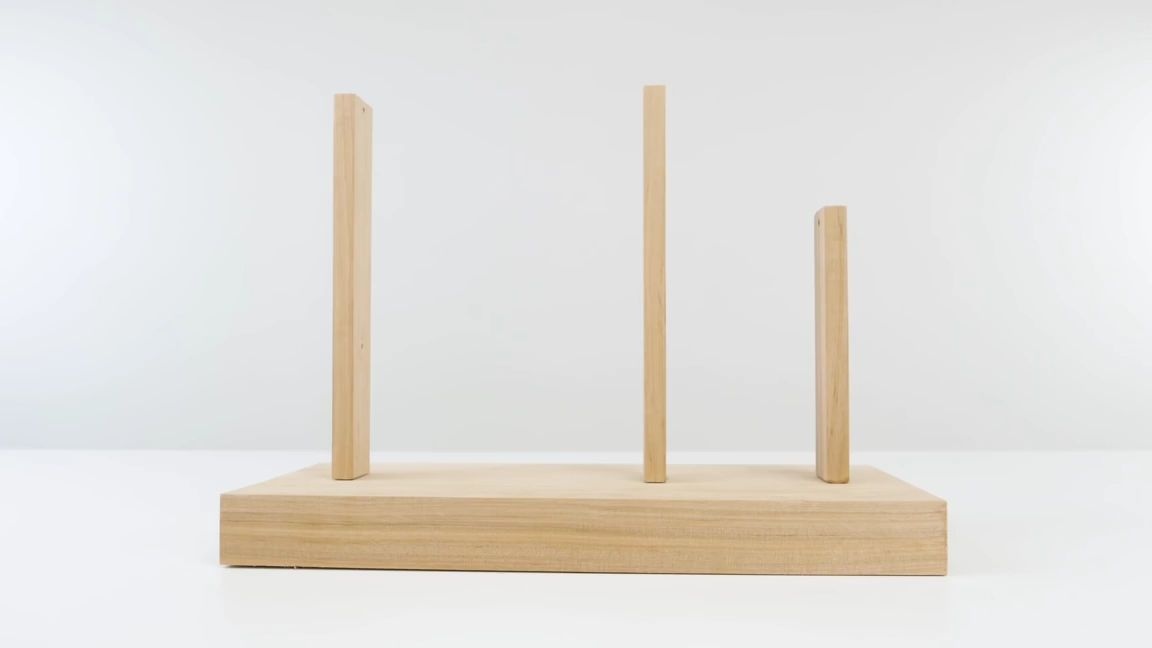
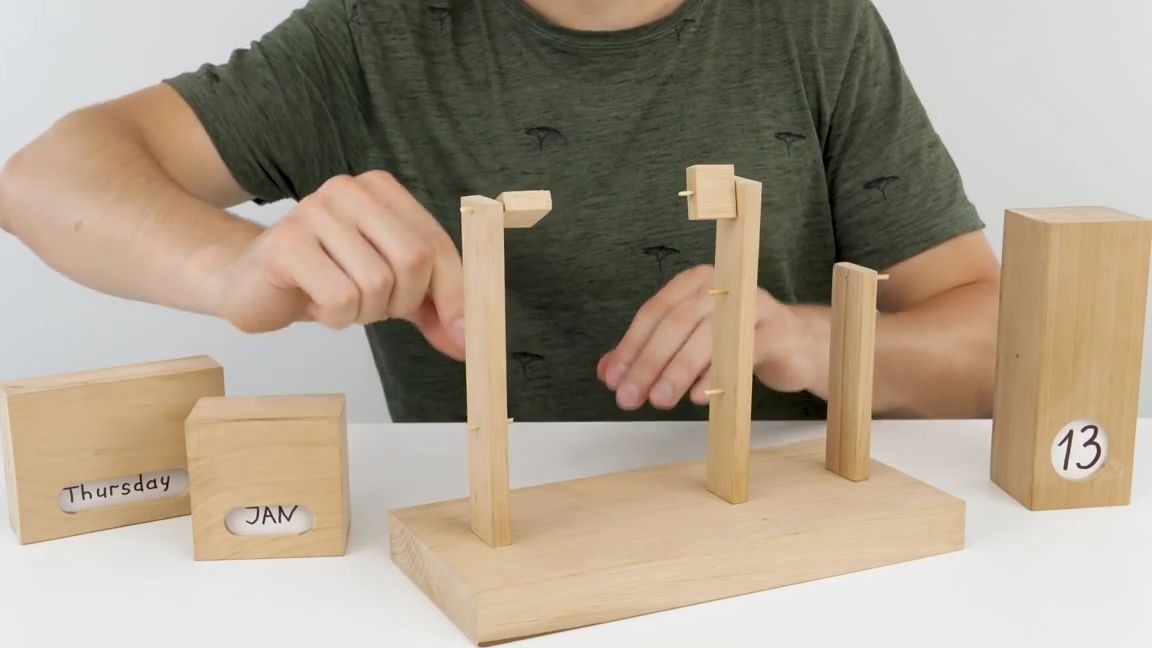
We take a wooden panel of the required size and install 3 more high planks on it. It is important that these planks are on the same plane with each other.
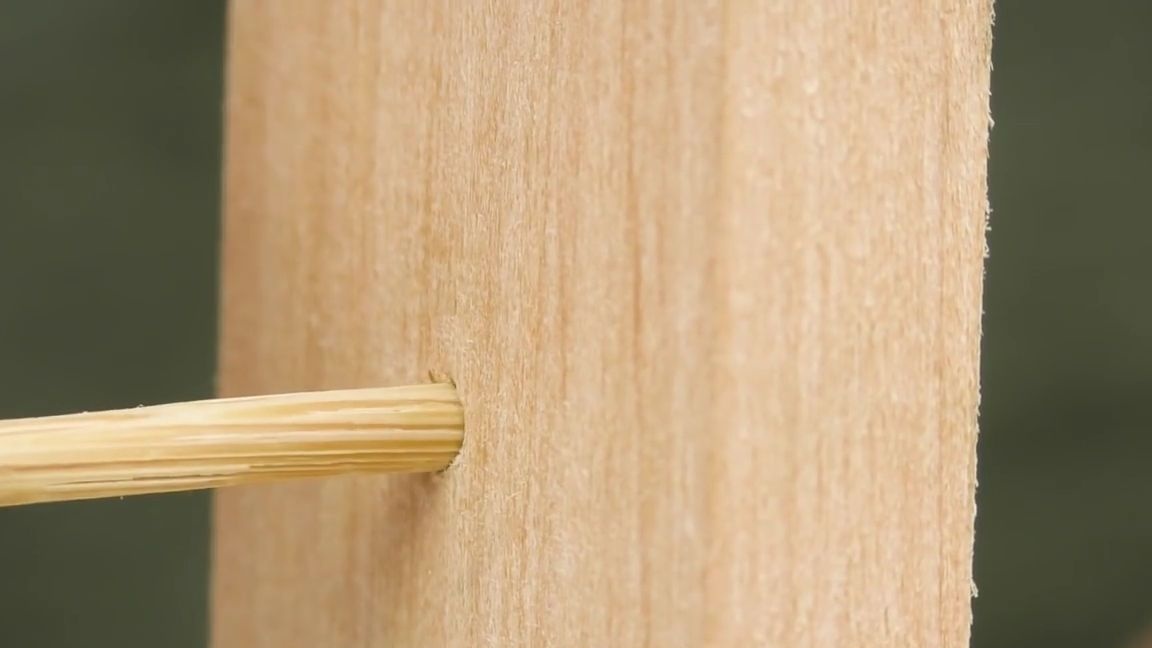
We drill six holes opposite each other in the two highest planks, insert segments of barbecue skewers into these holes and fix them there. On the topmost pieces of skewers, you need to put on another wooden cube or rectangle. This is necessary so that the smallest piece with the months of the year looks harmonious with the rest of the details.
In the smallest plank, you also need to drill a hole and insert a barbecue skewer there.
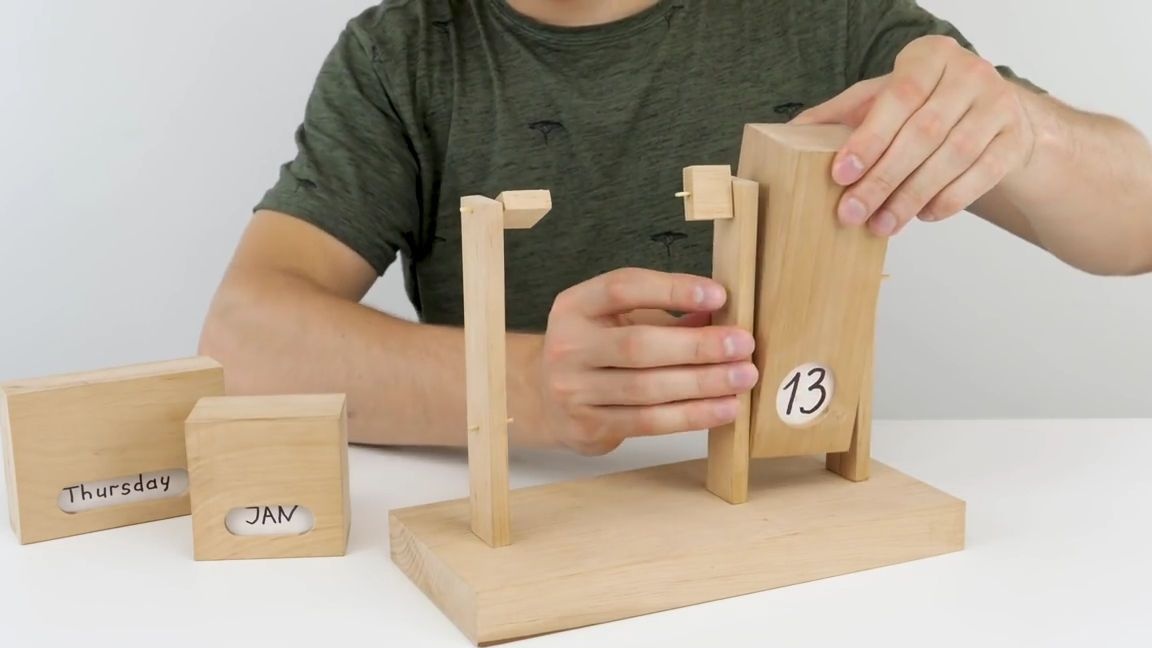
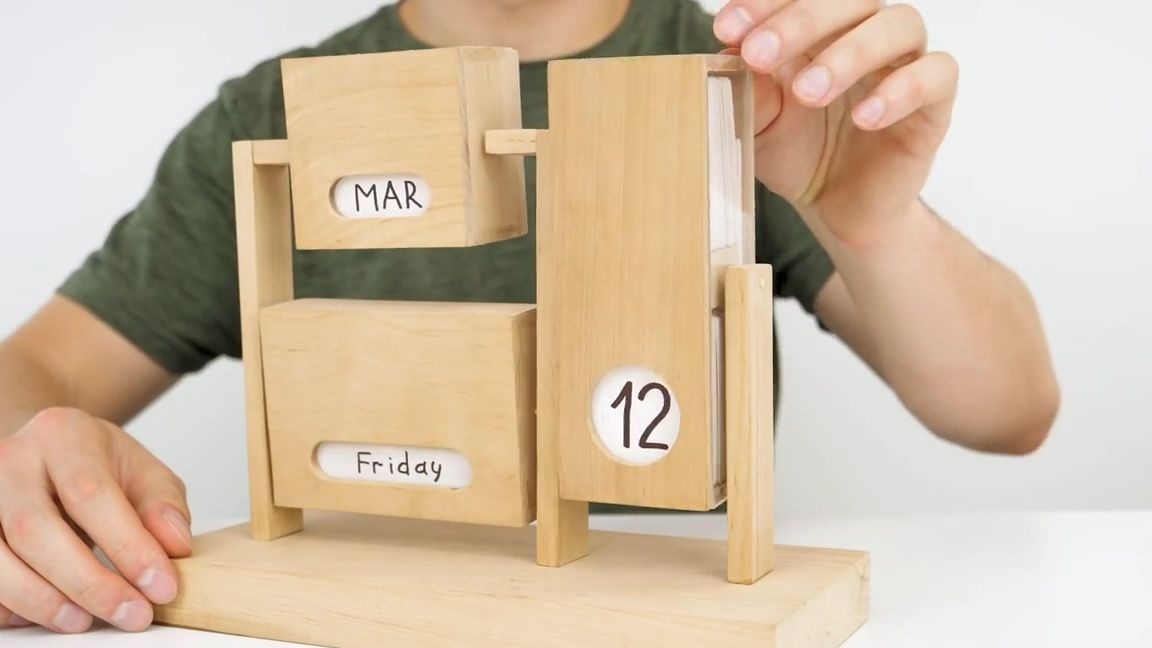
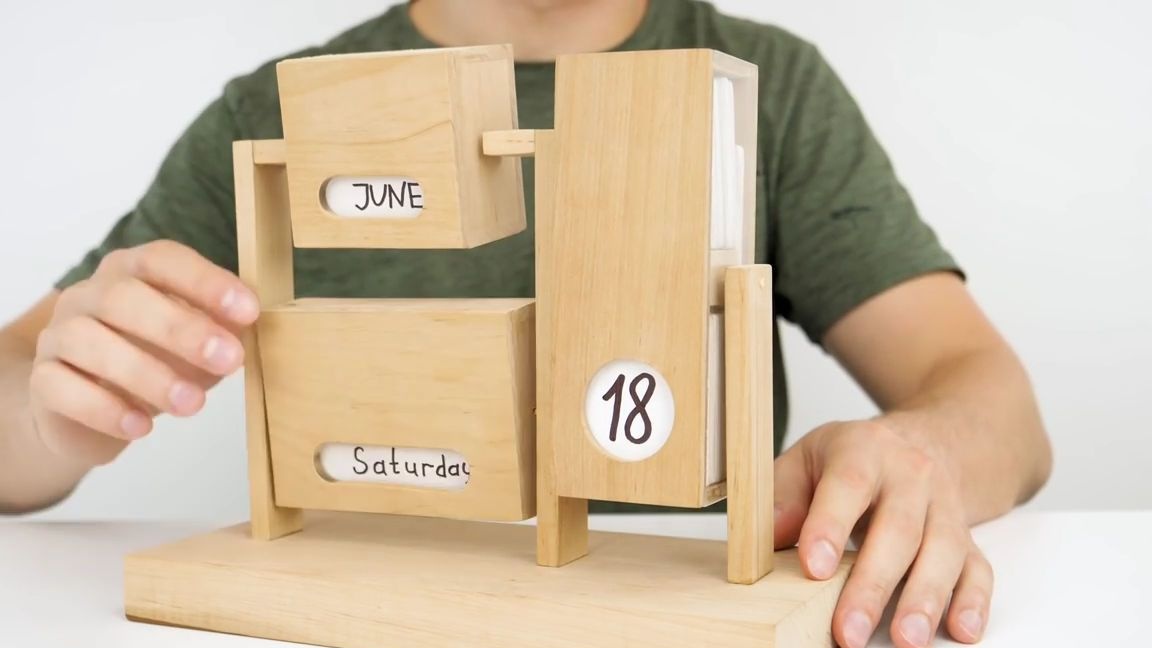
Now we put all the blanks on our pieces of barbecue skewers.
It is important that they all can freely rotate around their axis, but that the bulk of the workpieces is their lower part:
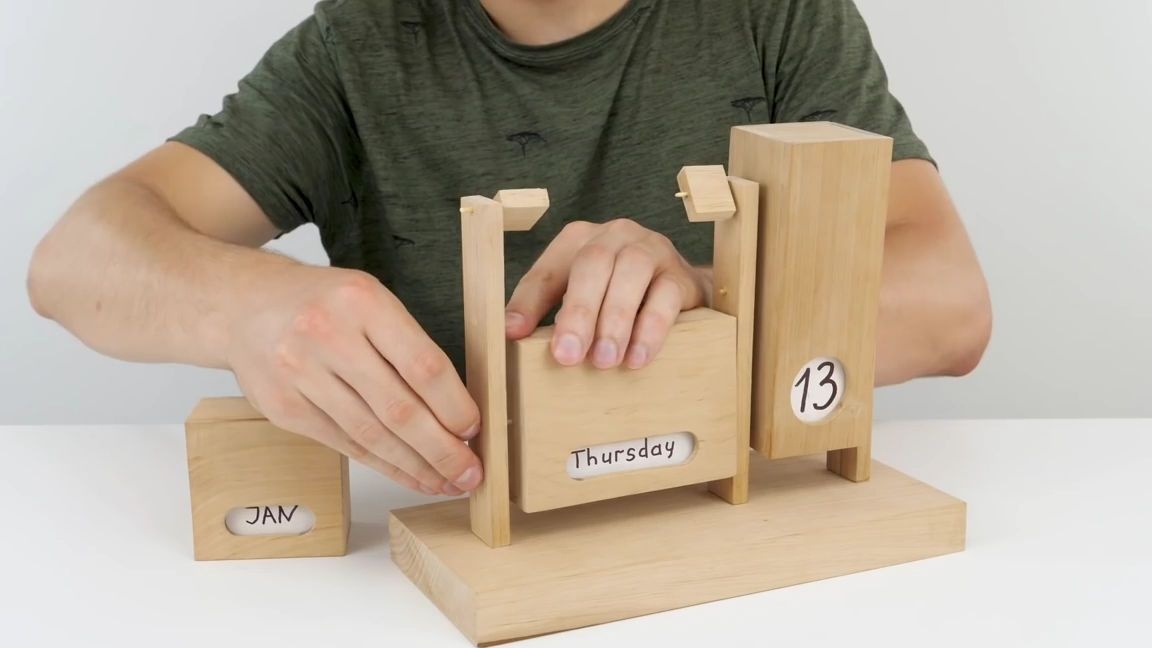
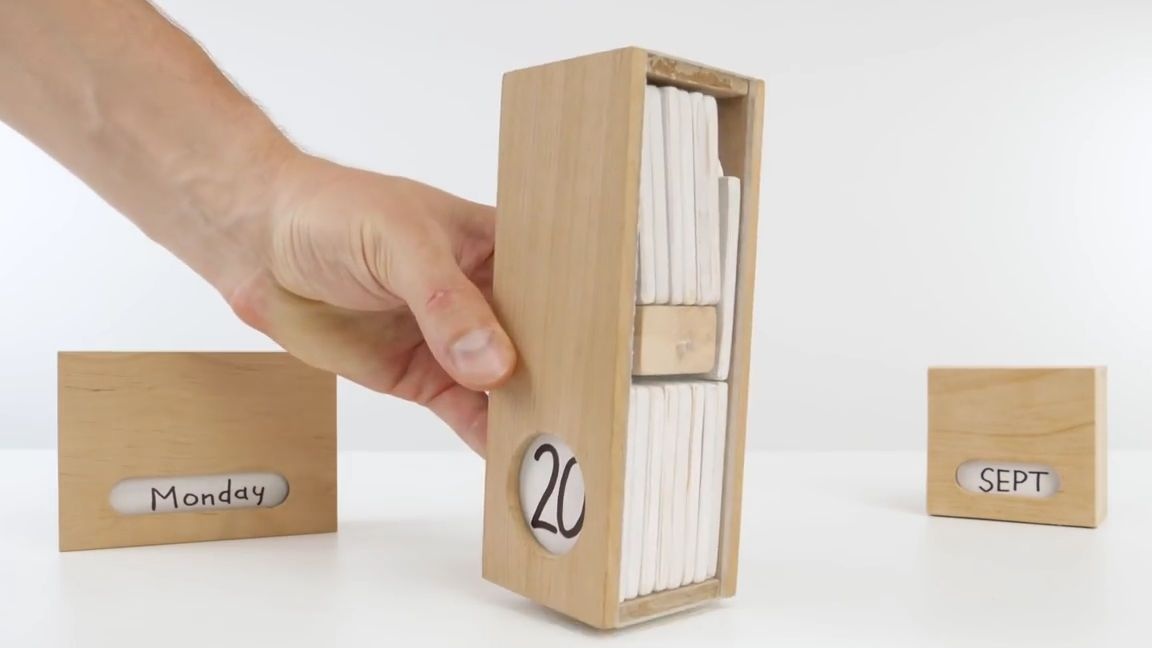
That's it! A beautiful wooden calendar is ready and it remains only to test it. To do this, you just need to turn the blank with the necessary information, everything is quite simple.In general, the homemade product is very beautiful and useful and can complement almost any room, because the tree itself looks very good.
I think many will want to make such a homemade product.

Here is a video from the author with a detailed assembly and testing of this homemade product:
Well, thank you all for your attention and good luck in future projects, friends!