
Good day to all dear friends! In today's article, I would like to tell you about a rather interesting idea homemade.
I think many people know about candy floss machines, their principle of operation is quite simple, but they cost not a little money. So why not assemble such a machine yourself ?!
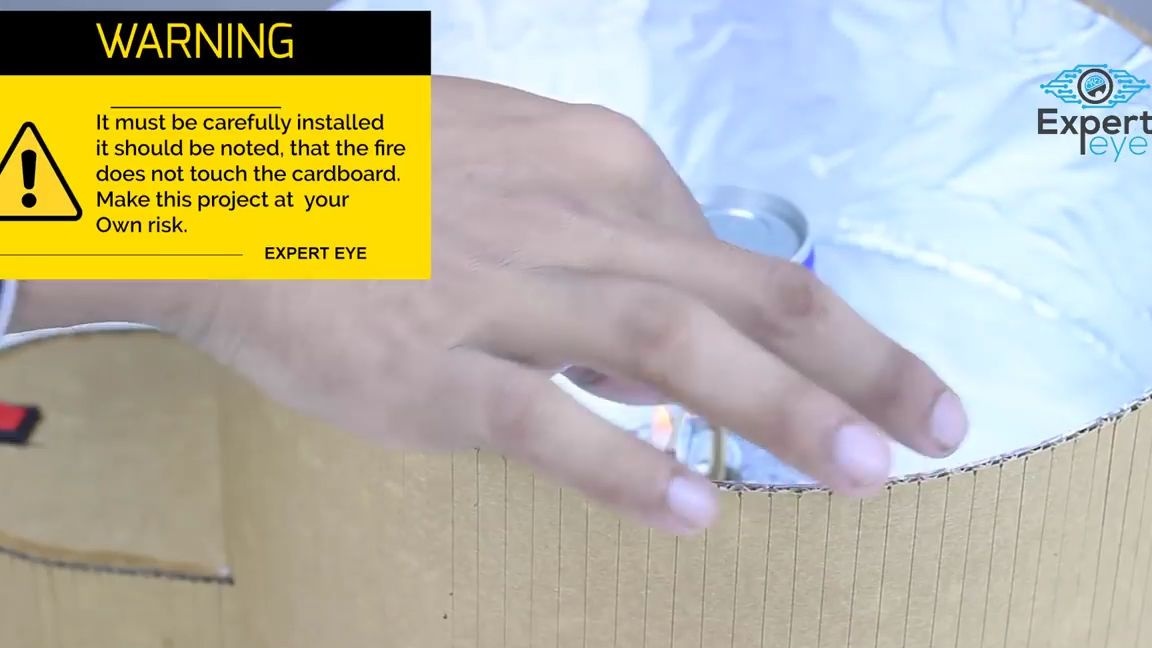
In general, in today's article we will look at how you can make a simple machine for making delicious cotton candy do it yourself. By the way, this machine is made of ordinary corrugated cardboard, it is quite simple to find. He, who does not know, has been very often used recently in various projects and home-made products, which they just do not make of. But as for me, corrugated cardboard is not very suitable for this homemade product. Due to the fact that in the homemade gas system is used to heat sugar, and corrugated cardboard is easily combustible. Therefore, you must be very careful. This is dangerous!
For this homemade product we need:
-corrugated cardboard
aluminum cans from soda
-switch
aluminum food foil
electric motor
wire
caps for plastic bottles
- tubes from a dropper
gas bottle
-connector for 4 finger batteries, or for 4 batteries at 1.2 volts (the author of the video uses batteries at 3800 milliamps)
heat shrink
Of the tools we will also need:
hotmelt
-scissors
-stationery knife
soldering iron
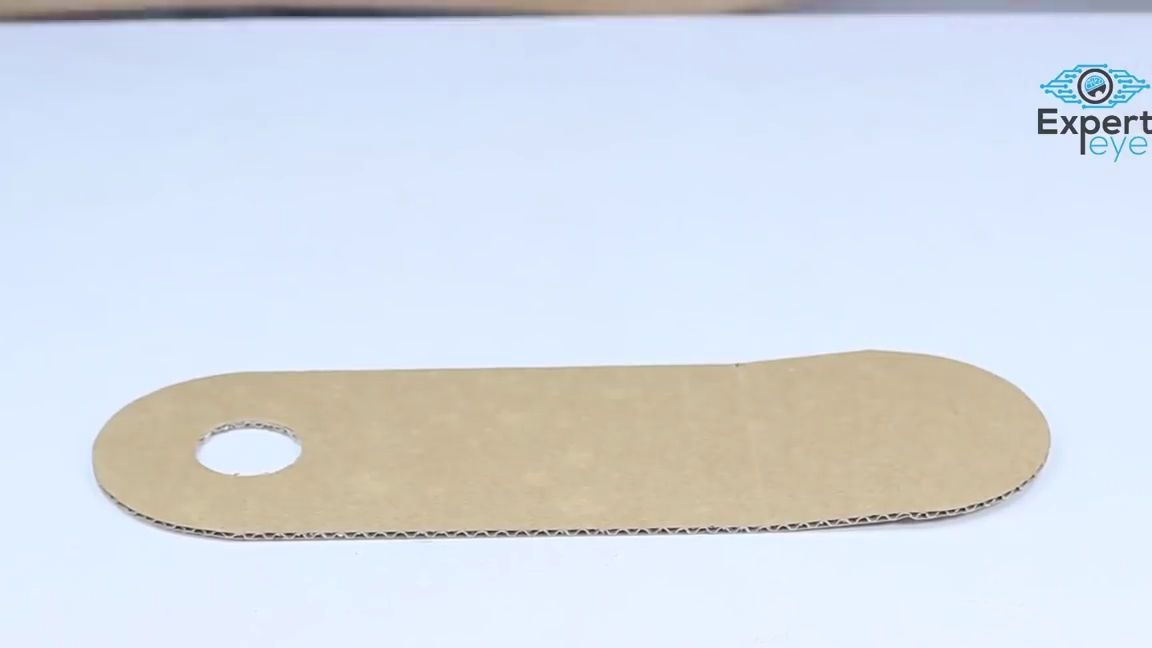
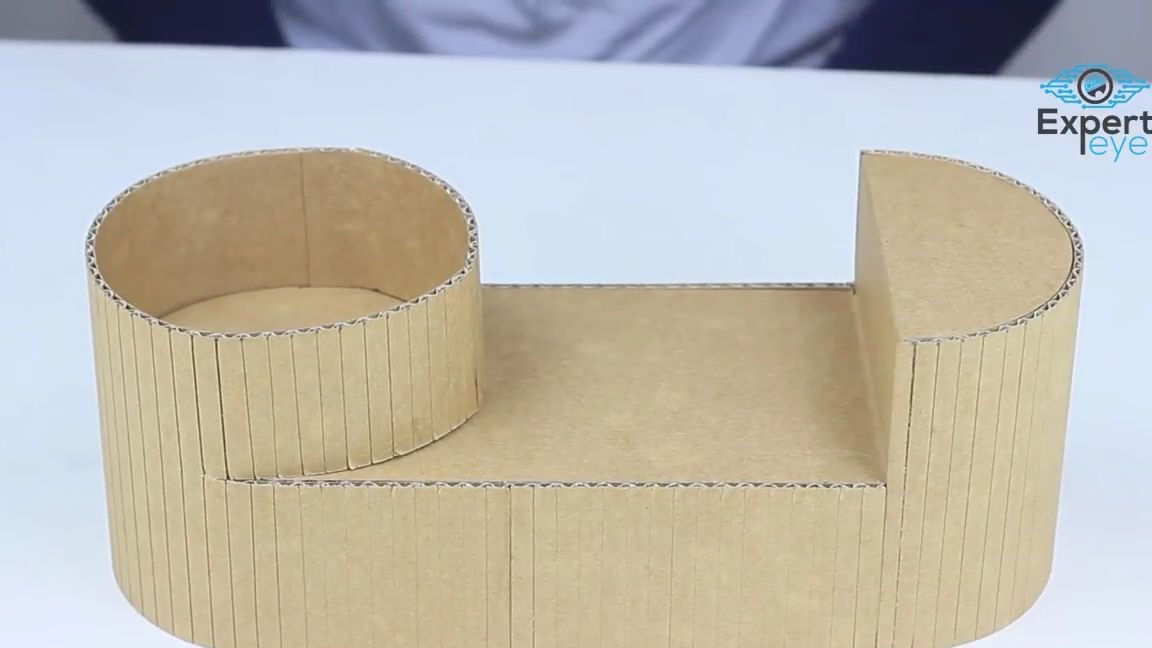
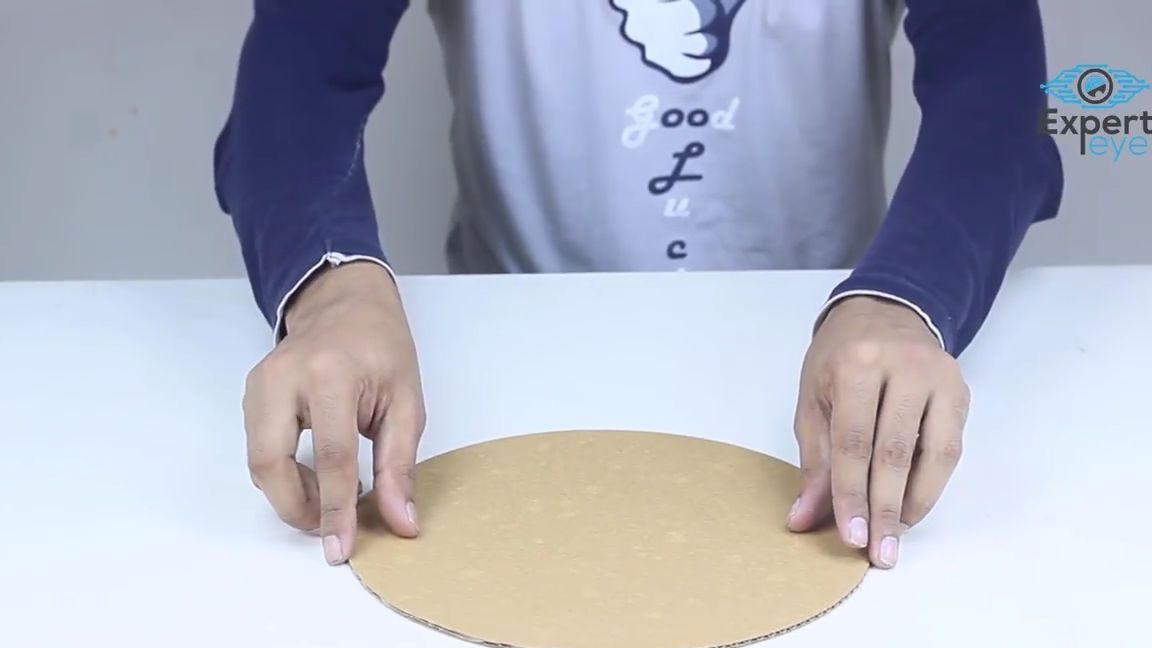
And so, the first thing you need to take a clerical knife and corrugated cardboard. Then from corrugated cardboard you need to cut it out as in the photo below. You may notice that its edge is slightly bent.
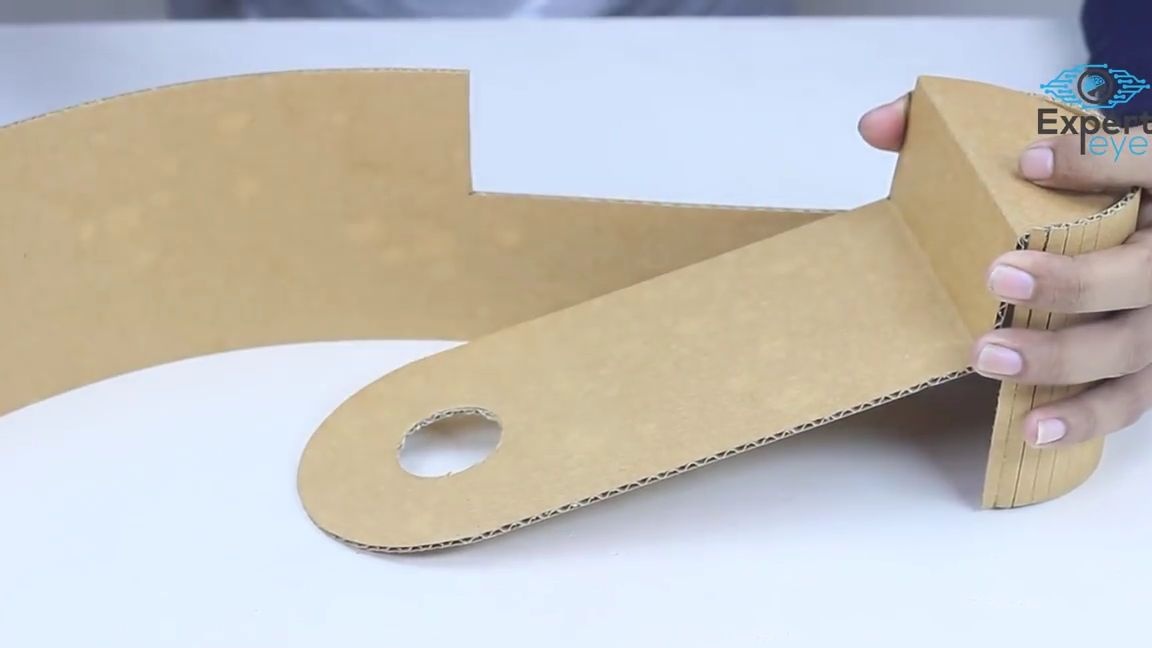
After that, this blank must be glued to another cardboard part. On it you need to make shallow cuts in advance with a clerical knife, at a distance of about 5 mm from each other. Such cuts are preferably done throughout the entire part.
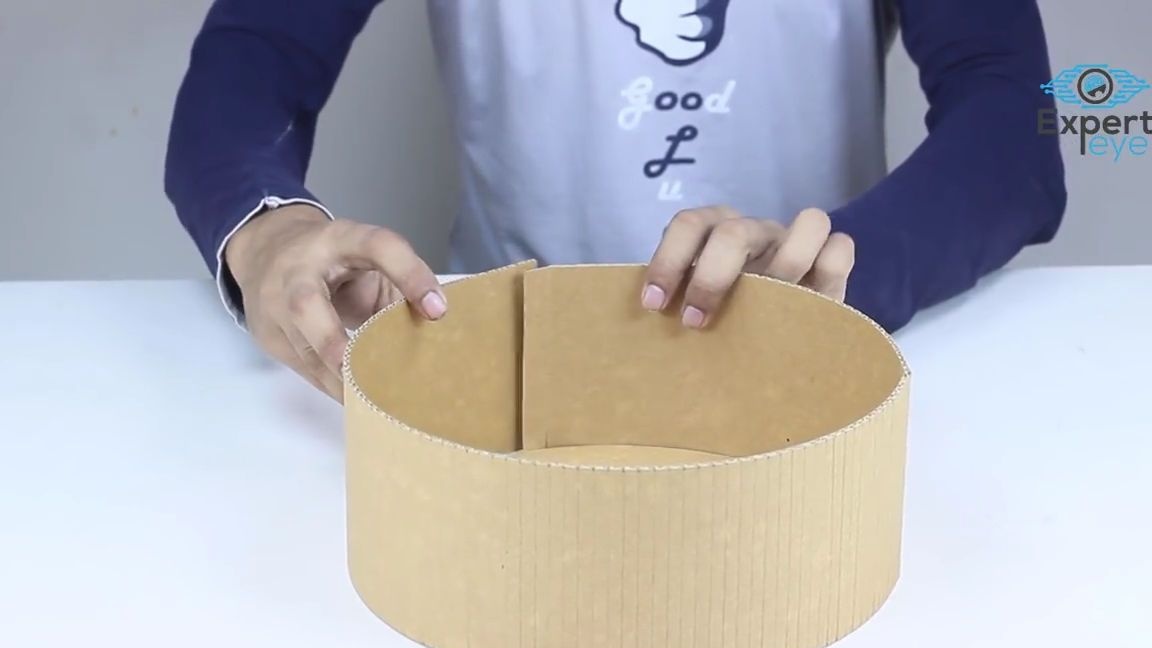
Thanks to the cut, which was made in the center of the workpiece, we bend the upper part and glue it so that we get a circle. All joints must be glued with super glue if necessary:

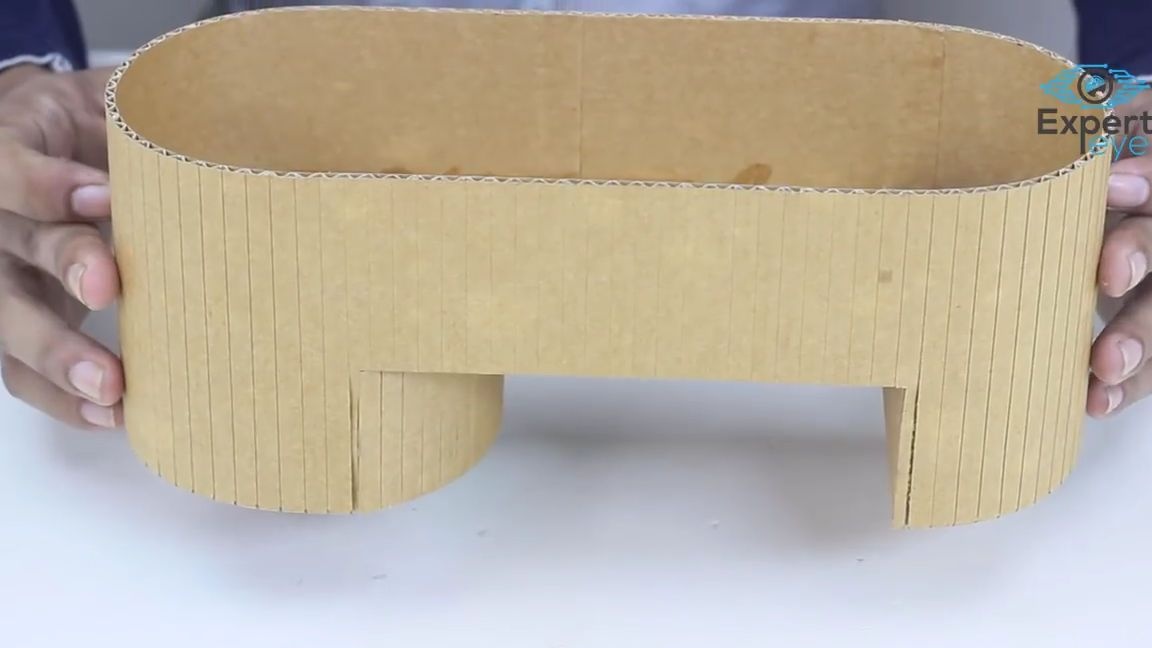
Turn over the design.
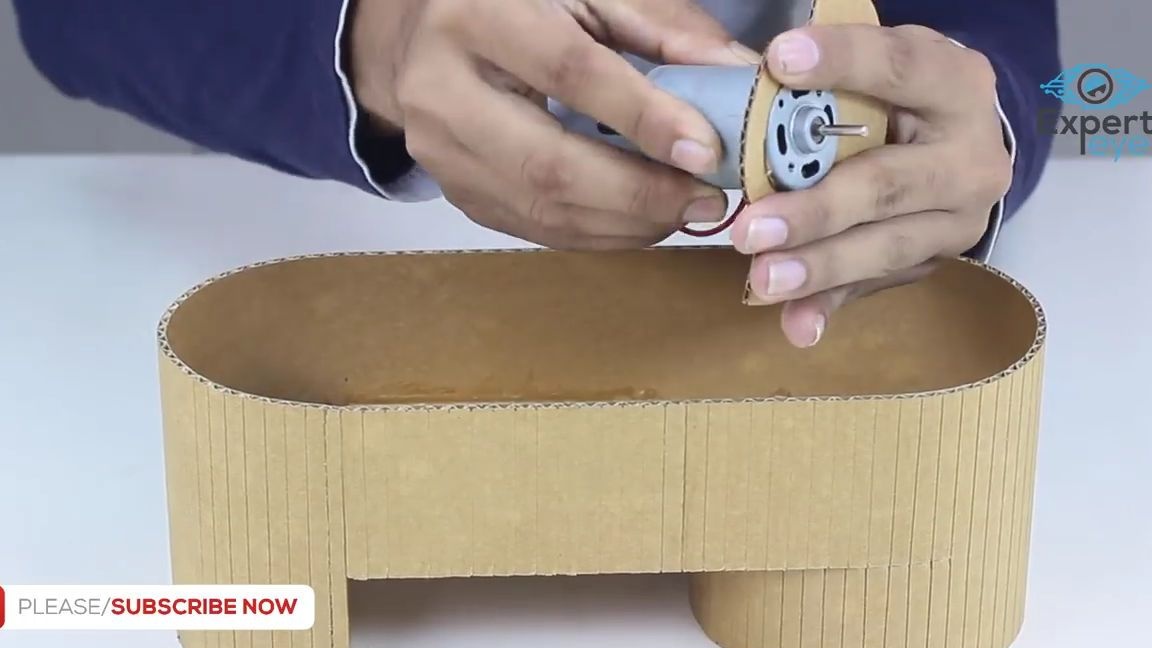
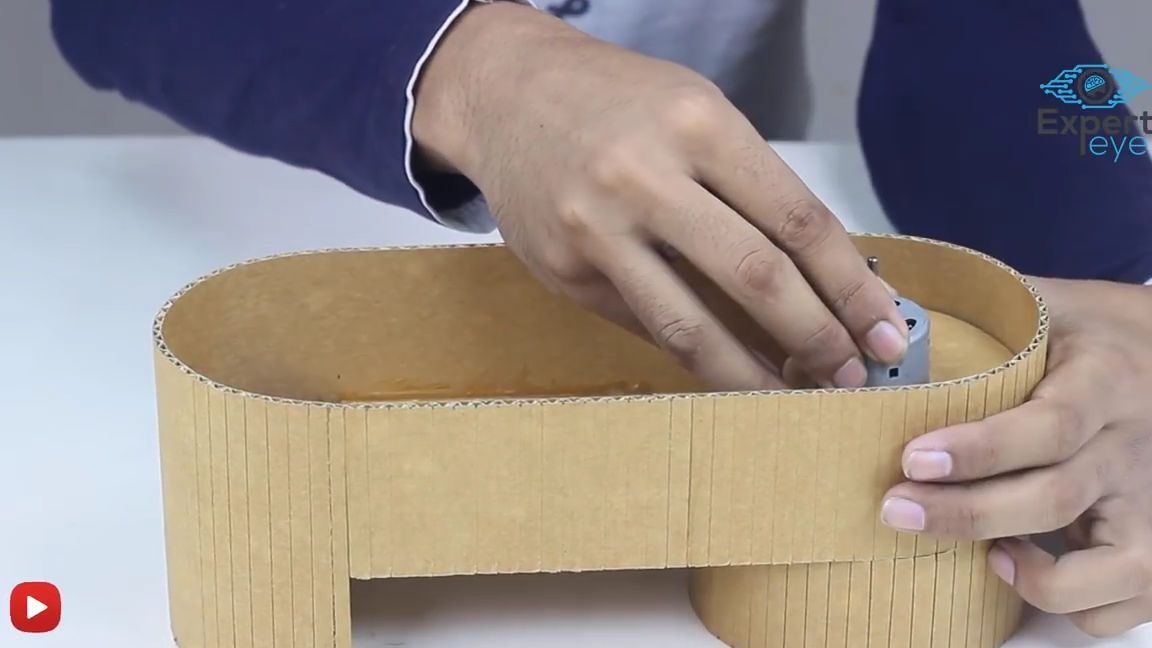
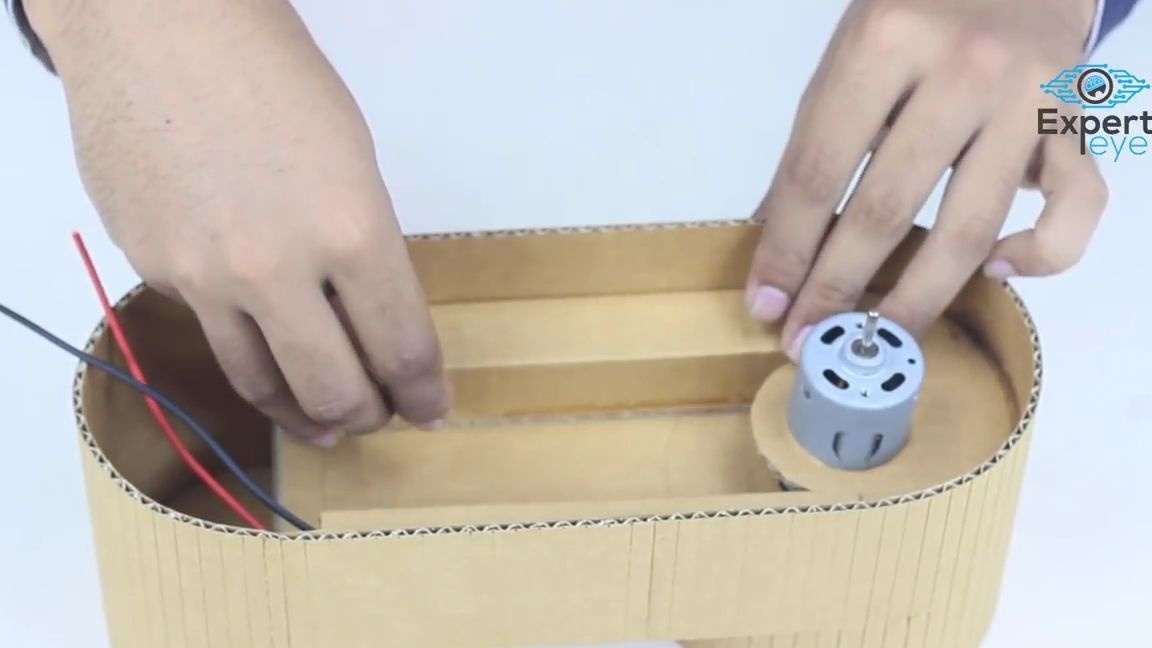
We take an electric motor, put on and glue a part from corrugated cardboard onto it, after which we install the billet and glue it to the bottom of the general structure.
Glue cardboard rectangles on the sides of the bottom. They are needed for neat placement of wires, by the way there you need to place wires from an electric motor:
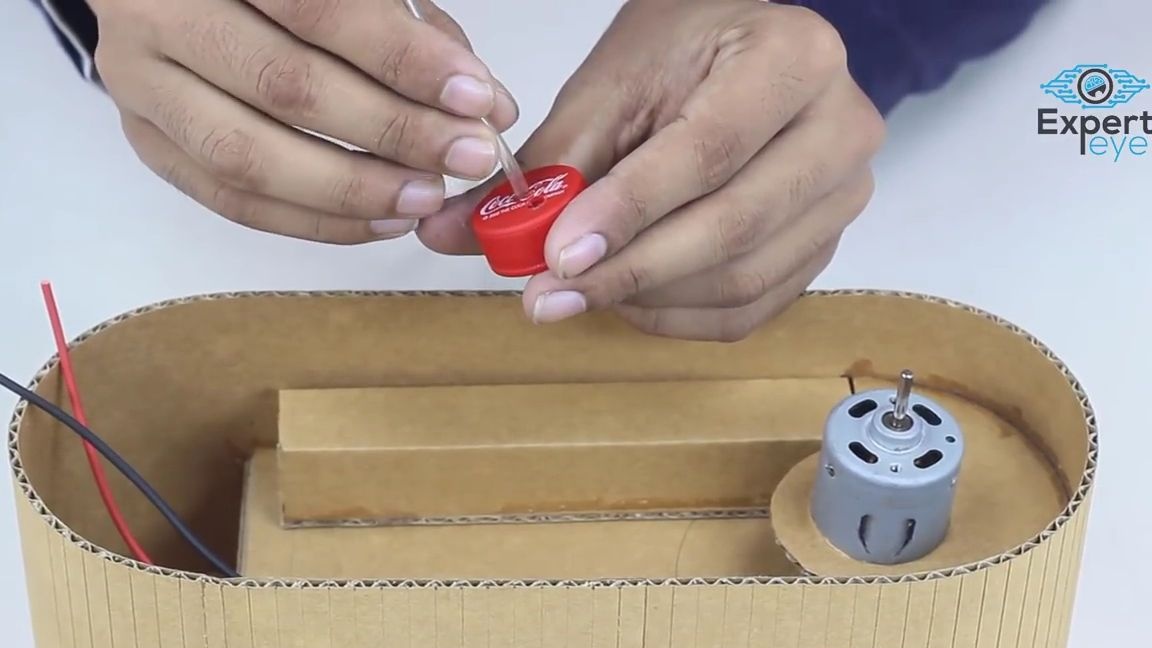
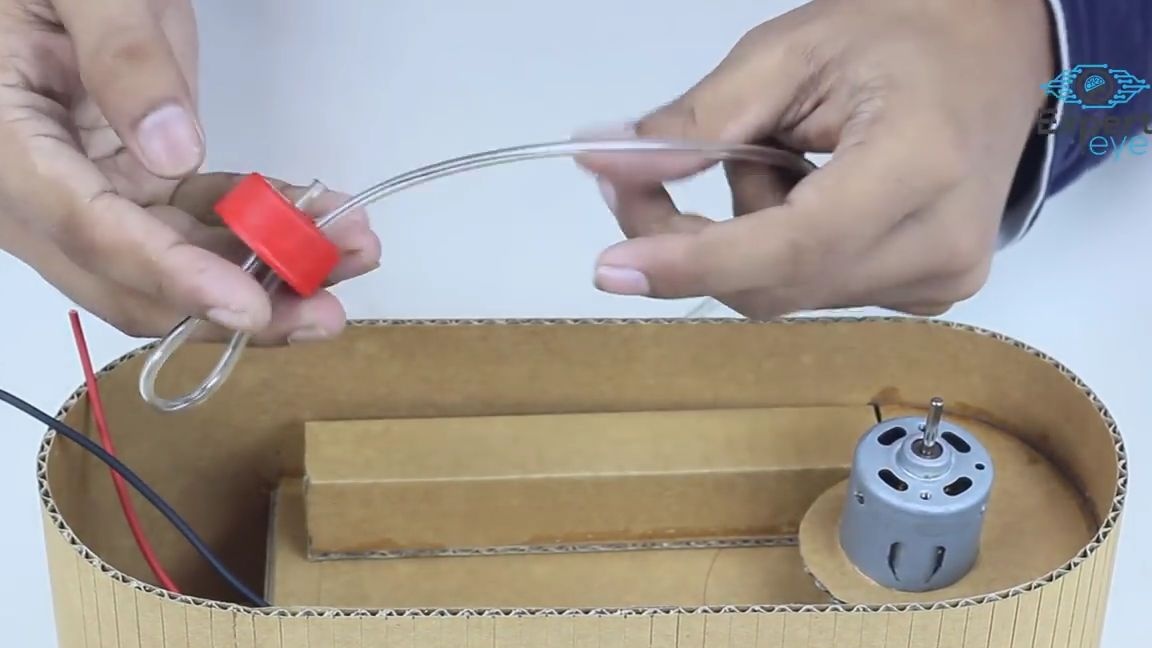
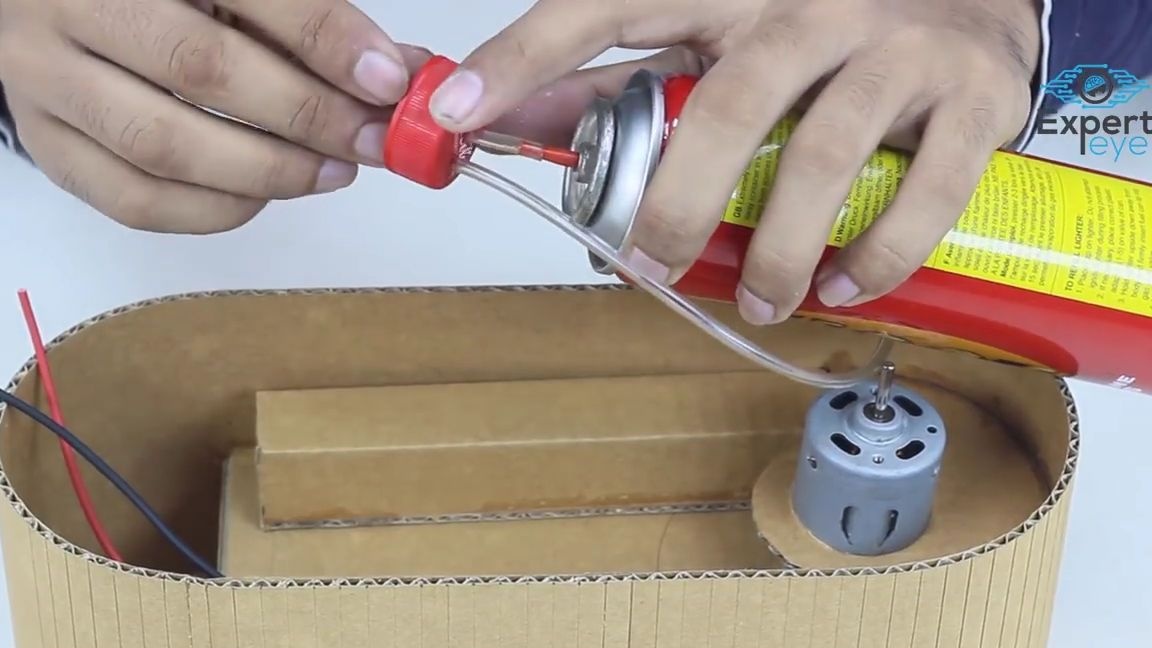
Take a cap from a plastic bottle. We drill in it two smooth through holes for the diameter of the tube from the dropper. Then we insert a piece of the tube itself from the dropper. First you need to insert the tube into one hole, and then the same end into the other hole. The shortest end of the tube, carefully put on the tip of the gas bottle. We fix the tube inside the lid using a term of glue.
On top of the first cap, you need to glue the second cap on the plastic bottle.
When the cap is rotated around its axis, the gas cylinder should begin to release gas through the tube from the dropper (do not forget to close the "valve" of the gas cylinder so that the gas does not come out).
In a cardboard construction, cut a round hole and insert the “valve” of the gas cylinder into it:
From corrugated cardboard we cut out an oval part, in which we make a hole in advance for the motor shaft and wires. This oval should completely cover the bottom of the entire structure.
We insert the needle from the syringe into the oval part, after which we put on the back of the needle the second end of the tube from the dropper, which comes from the gas cylinder:
We glue the bottom onto the general structure, so that all the holes coincide with the protruding parts, that is, with the motor shaft, the needle from the syringe and the wires from the motor:
We solder one contact of the switch to one wire from the motor, and put the second to the ore and leave:

From corrugated cardboard we cut out an even circle. Also from corrugated cardboard we cut out a long rectangle, for which you need to make shallow cuts on one side. Such incisions must be made at a distance of 5 mm from each other. Such cuts need to be made along the entire length of the workpiece, they are necessary for better elasticity.
Glue this part around the circle that was made earlier. You should get a straight cylinder:
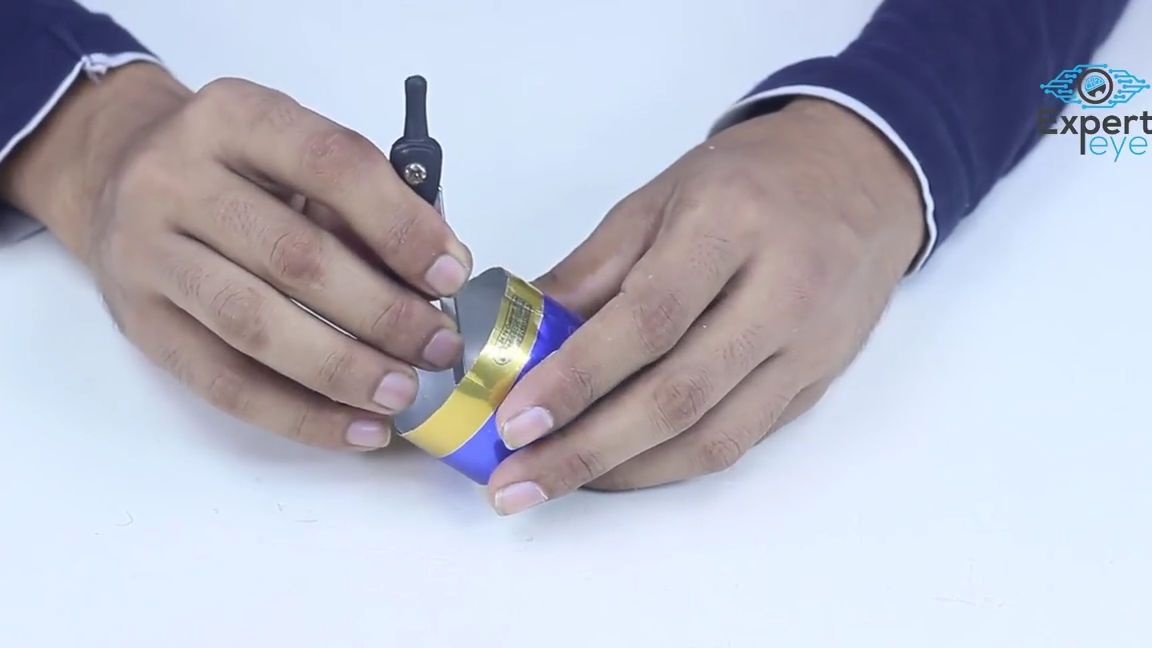
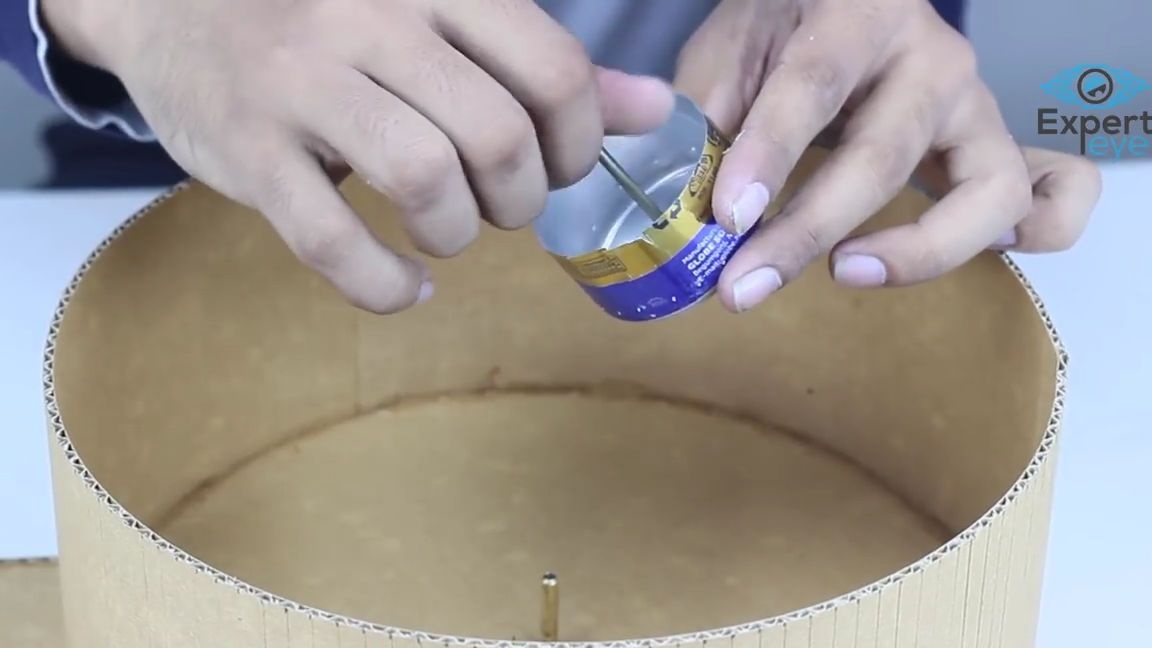
Now we take an aluminum can and cut off the bottom from it, but leave 2-4 centimeters of the side. Then we take an electric drill or a screwdriver and with a not very thick drill we make a straight through hole exactly in the center.
After making a hole in the center, you need to take an awl and a compass and make small holes for the gas to exit around the entire circumference of the side of the workpiece:

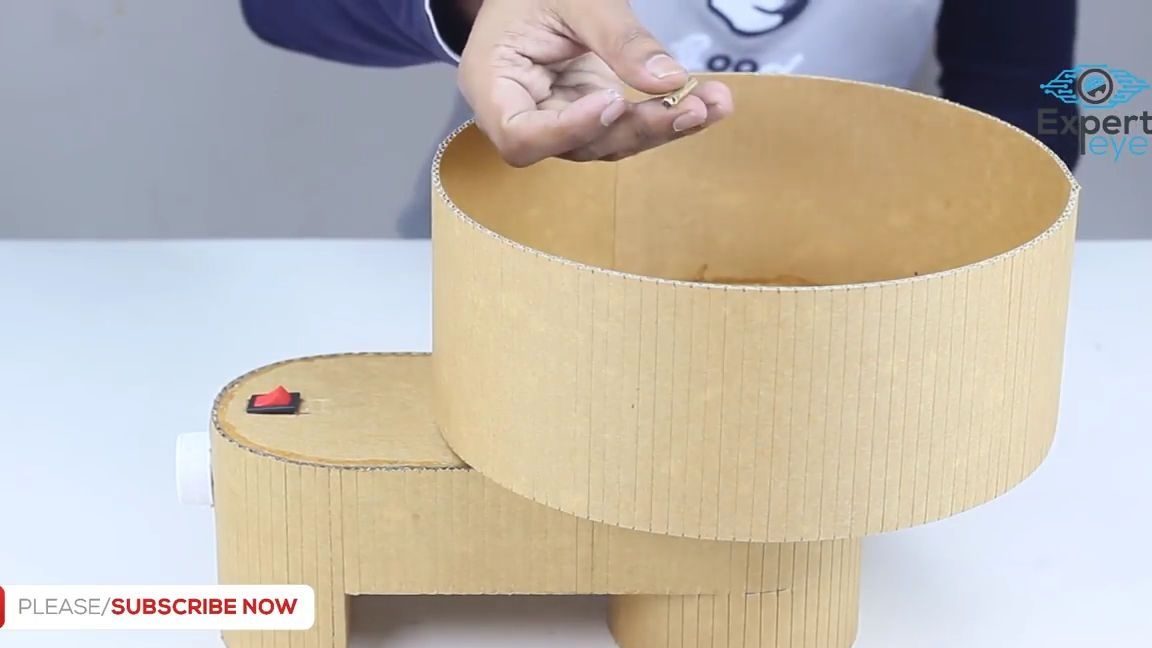
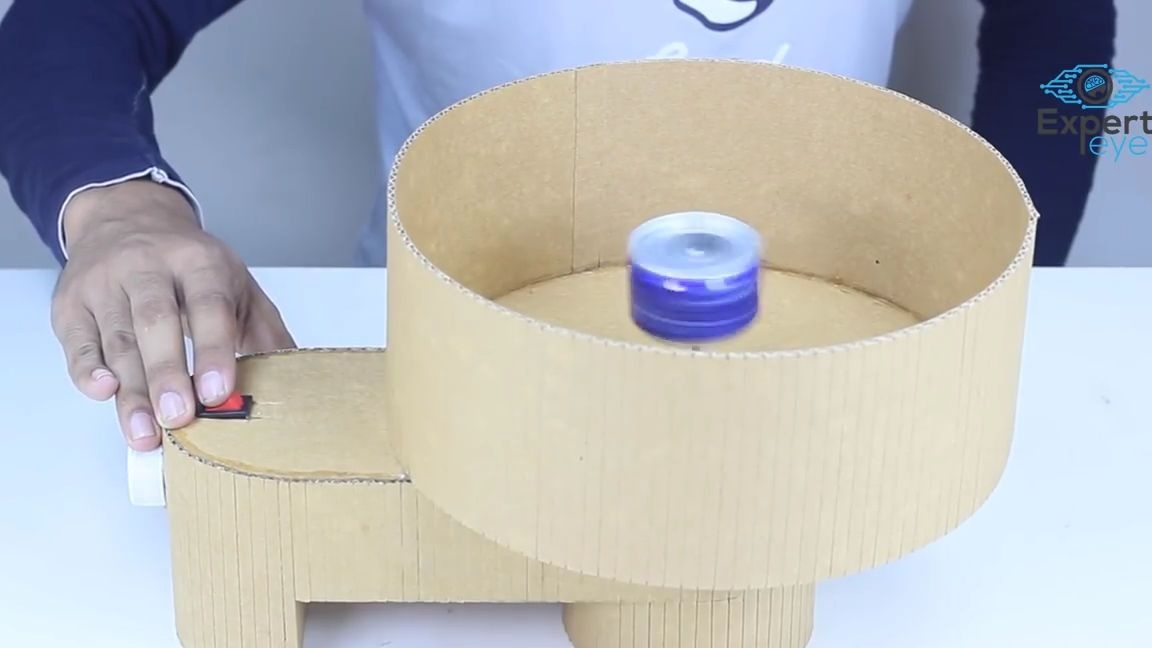
In the cardboard cylinder, we make two holes in the center. We put it the most central on the shaft of the motor engine. Then we take a small metal tube and put it on the motor shaft, everything should be smooth.
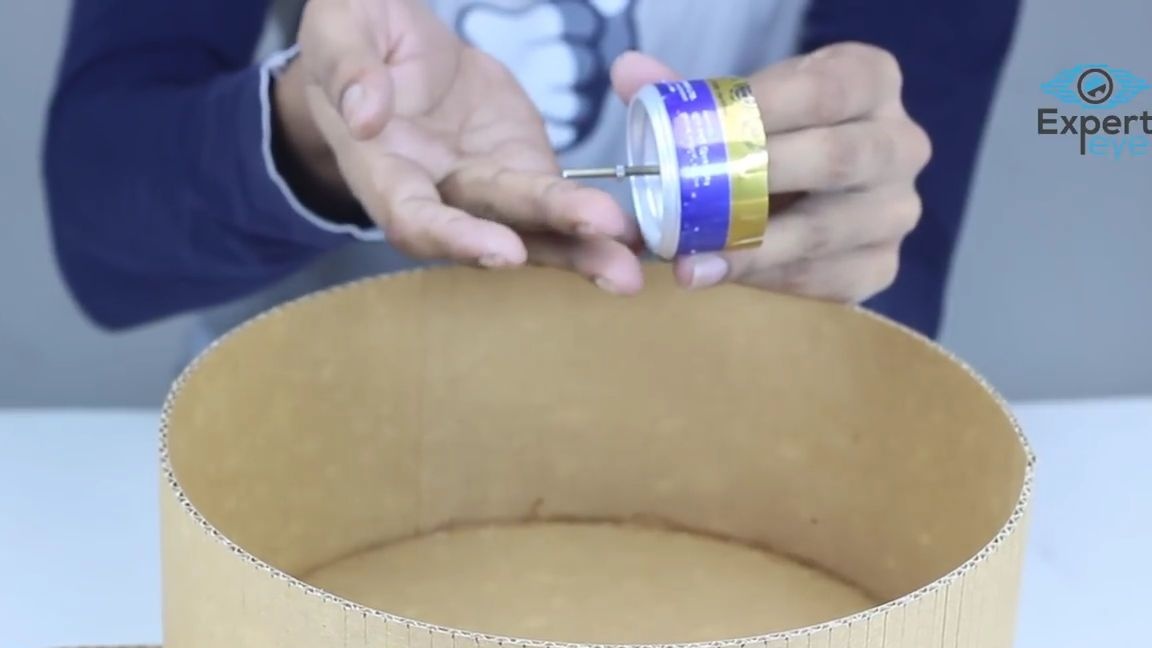
Now we take the blank, which was previously made from the bottom of an aluminum can. We insert an elongated bolt into its central hole and fix it with a nut, everything should be tight. Then we insert this workpiece into a metal tube and fix it, it is important that the bolt does not turn inside the metal tube when the motor rotates.
It is also important that the holes in the aluminum in the jar are flush with the end angles for the gas to exit the cylinder. On top of the bottom of the aluminum jar, it is necessary to install (so that it is tight) the upper part of the aluminum can, also with a couple of centimeters left on the sides:


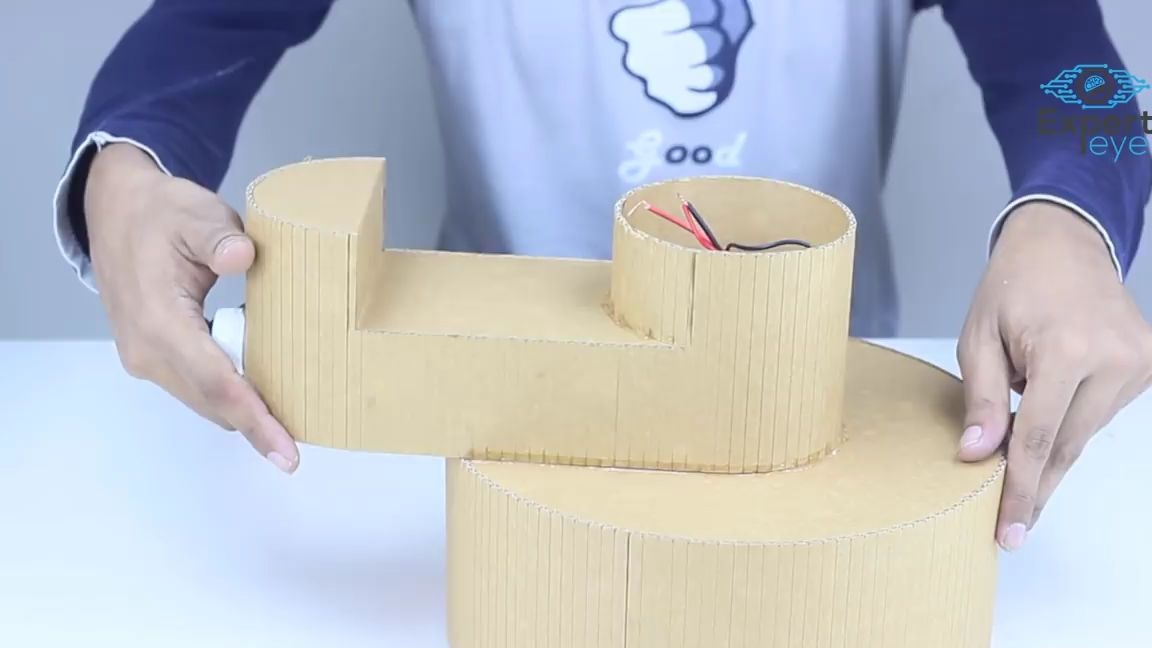
We take the whole structure and turn it over.
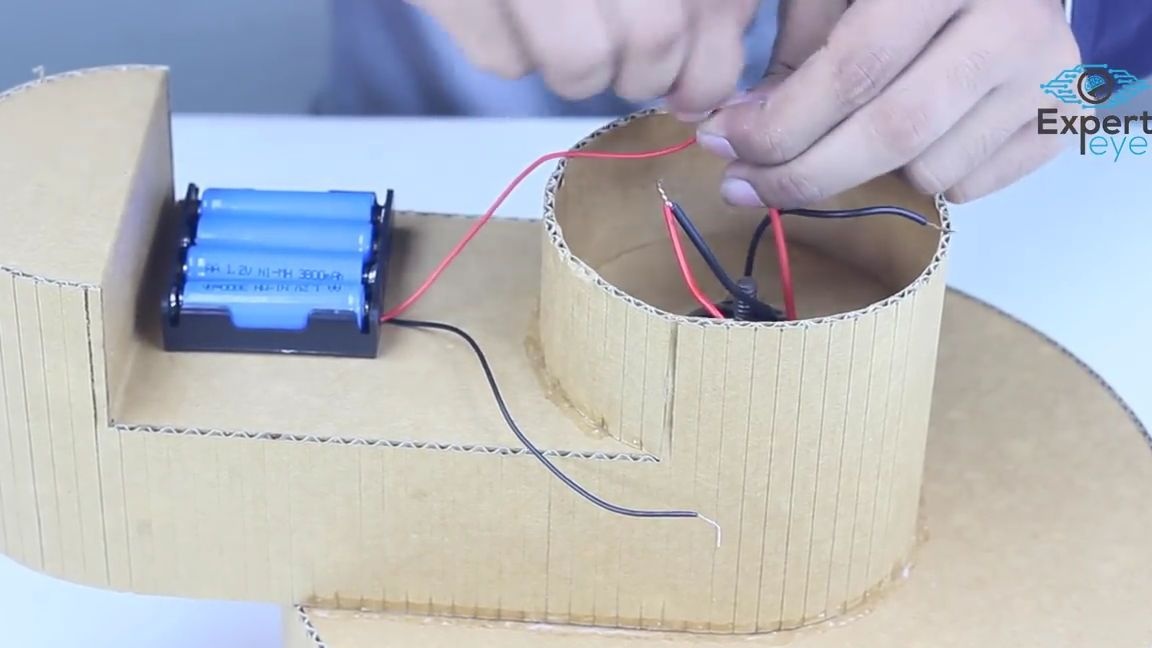
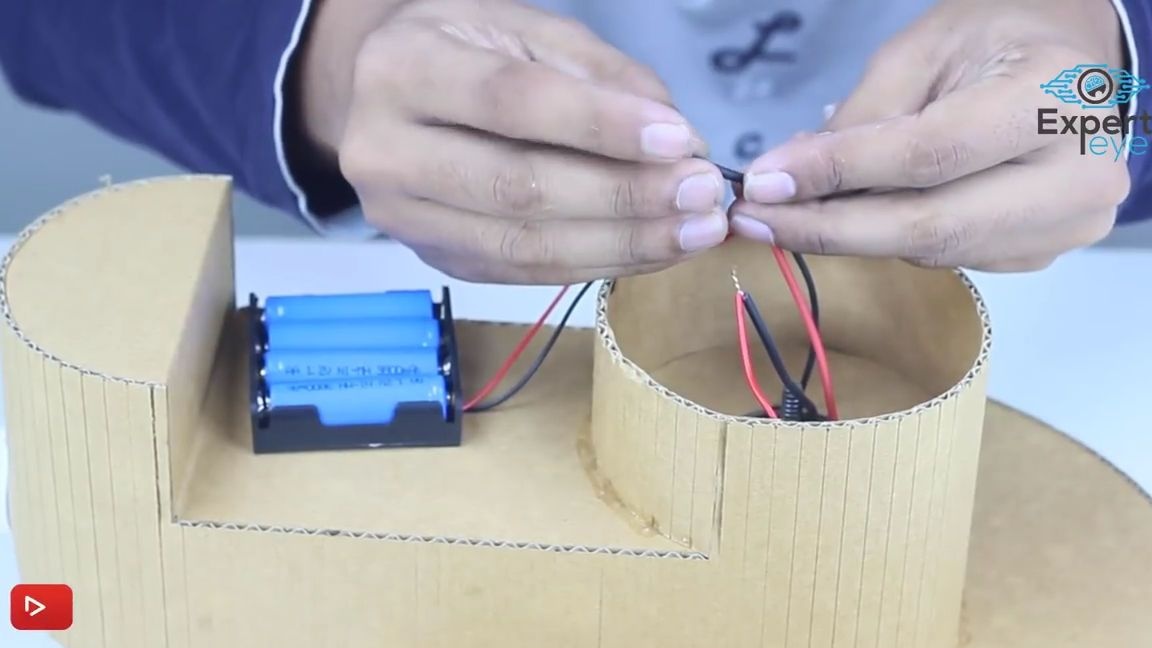
We connect the wires from the connector for batteries or accumulators to the wires from the switch and the motor. Everything needs to be soldered or connected so that when the switch is turned on, the motor starts to spin, and when turned off, the rotation naturally stops.It is also necessary to insulate all exposed contact points using a shrink term or electrical tape. Everything must be done as shown in the photo below:
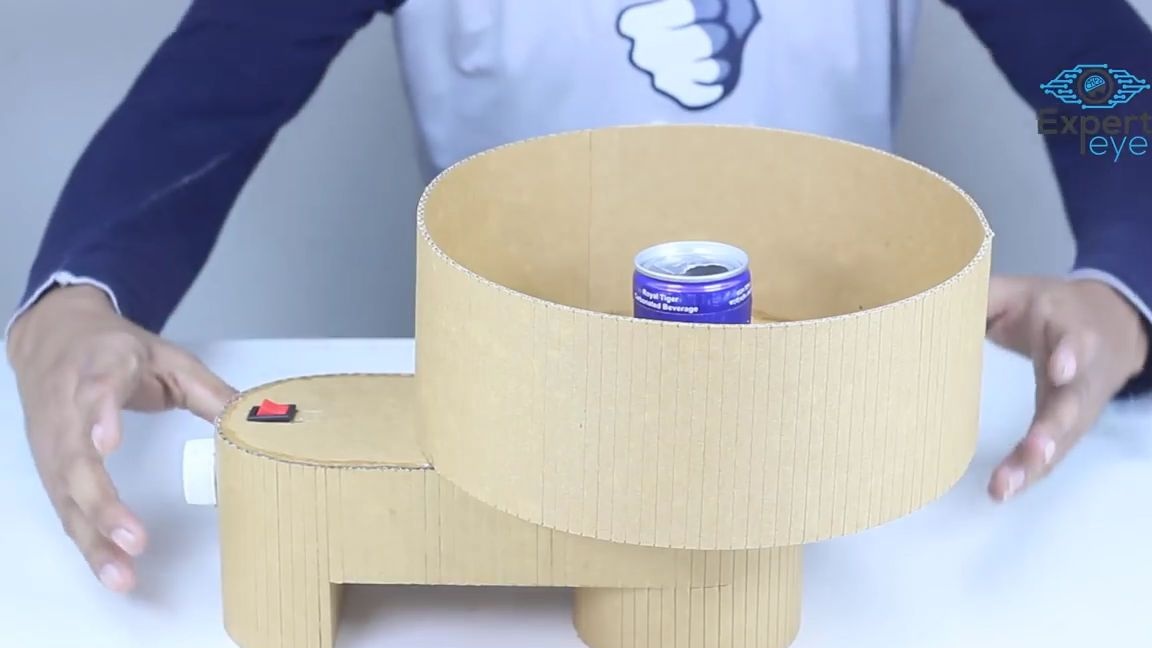
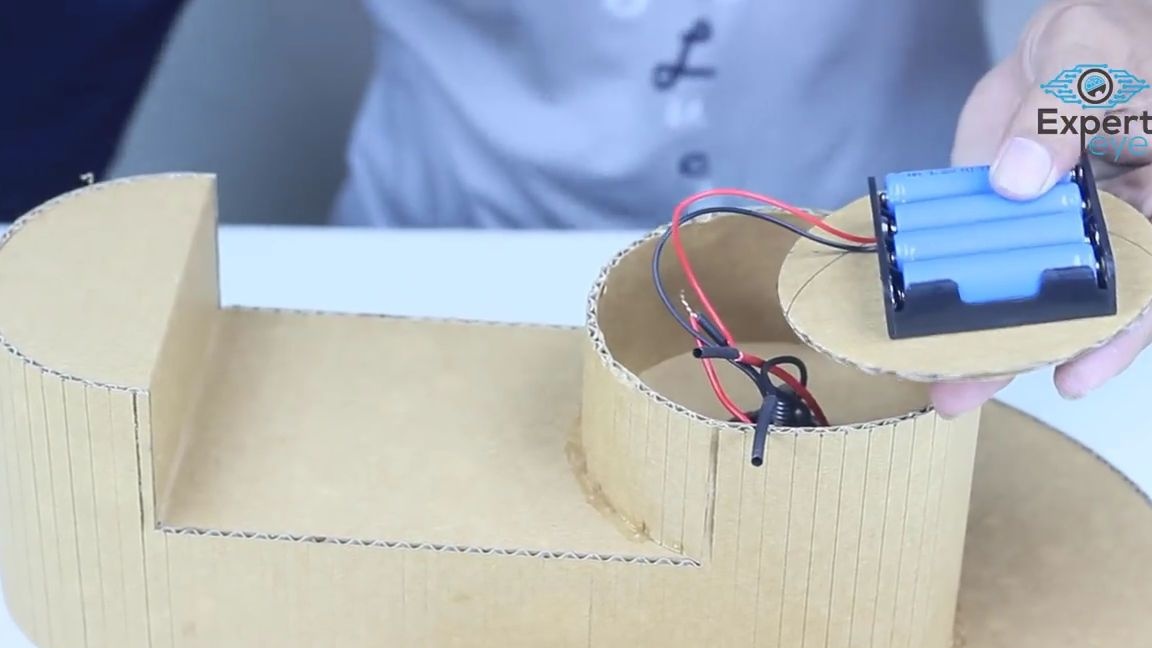
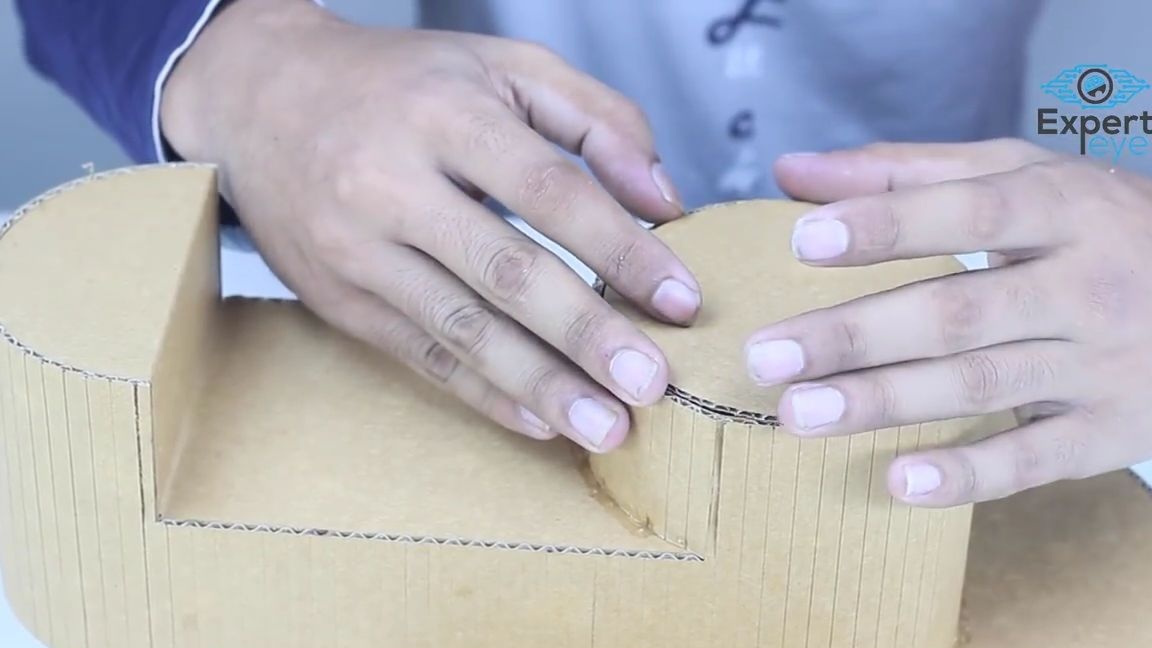
We place the power source together with the wires inside the structure, it is necessary to place it so that nothing closes. After placing the power source, it is necessary to cut out a small circle from the corrugated cardboard, to the size of the hole in which the wires are located. After that, you need to glue it to the structure as shown in the photo below:
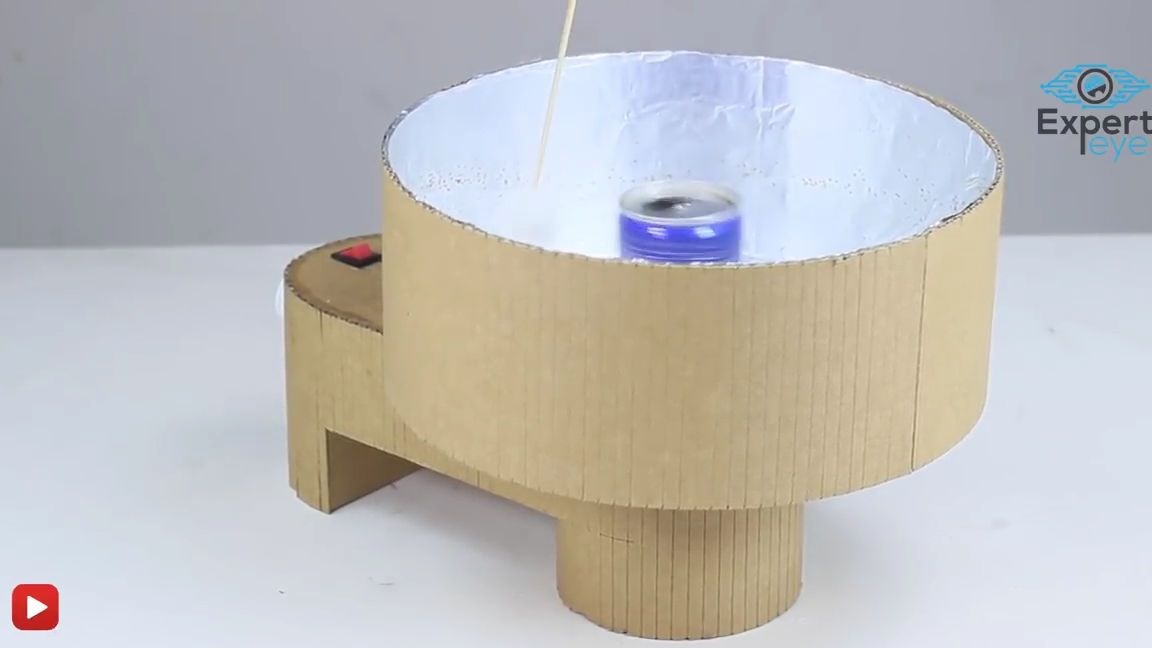
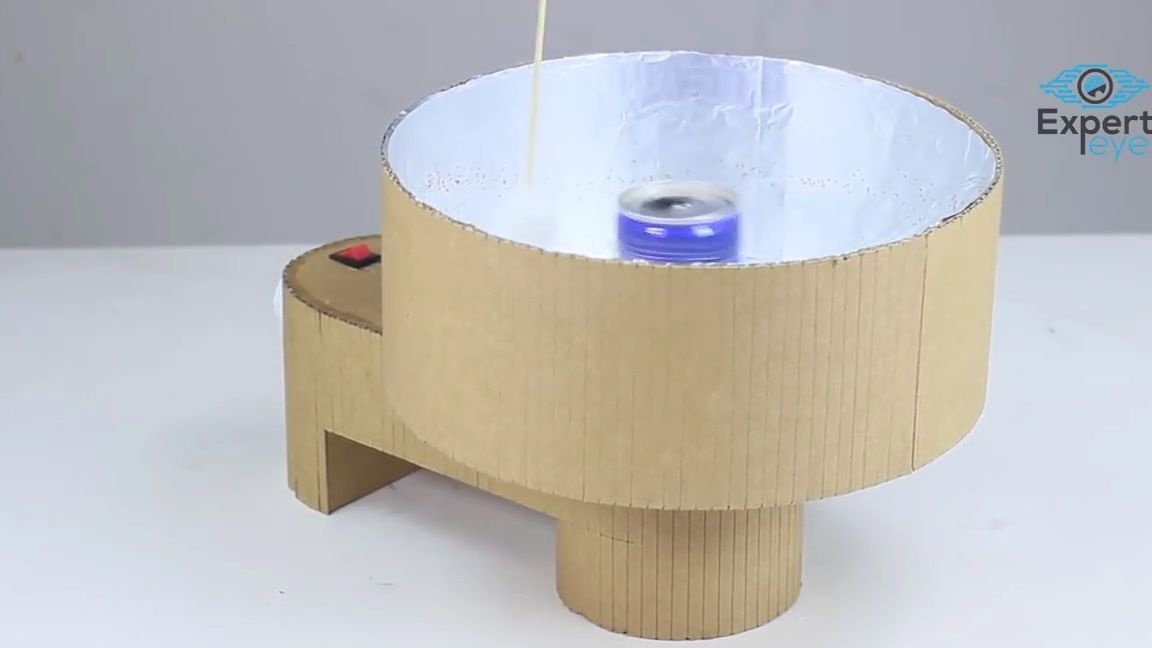
Testing the installation:
Turn the switch on and off, if the electric motor starts and stops spinning, then everything is done correctly and you can continue:

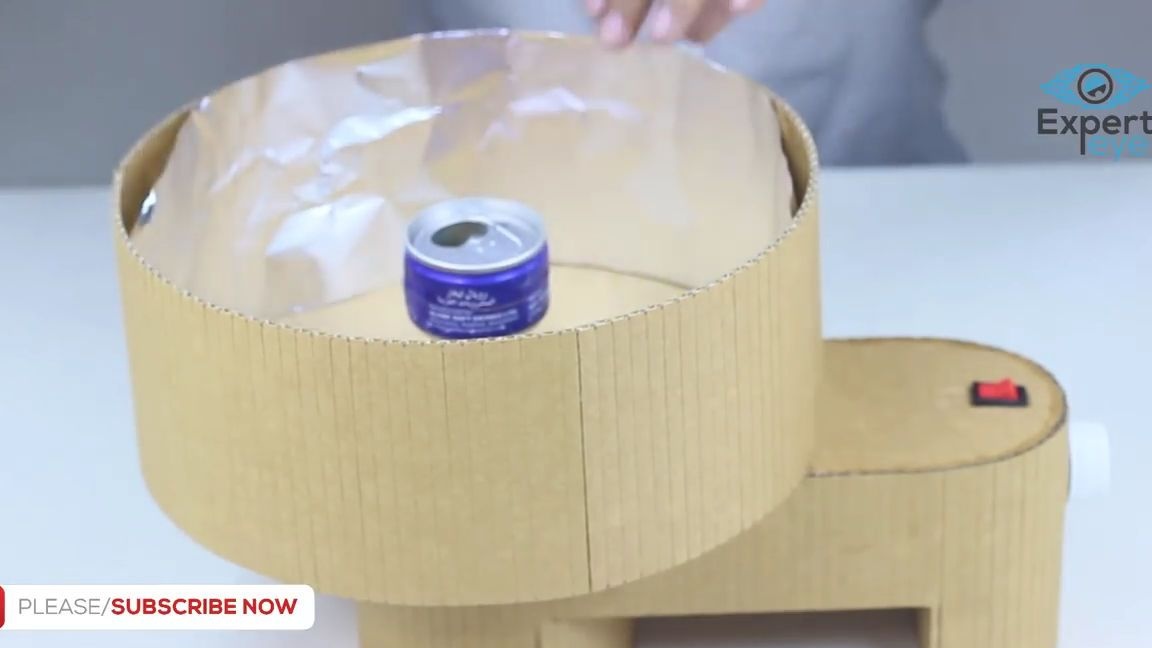
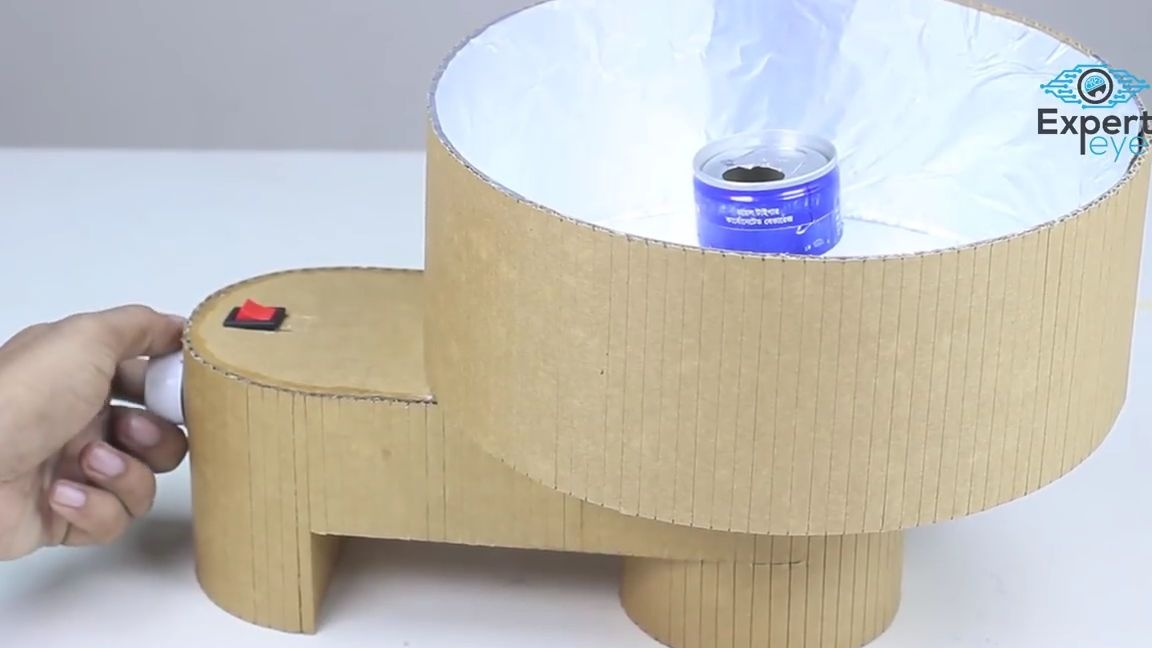
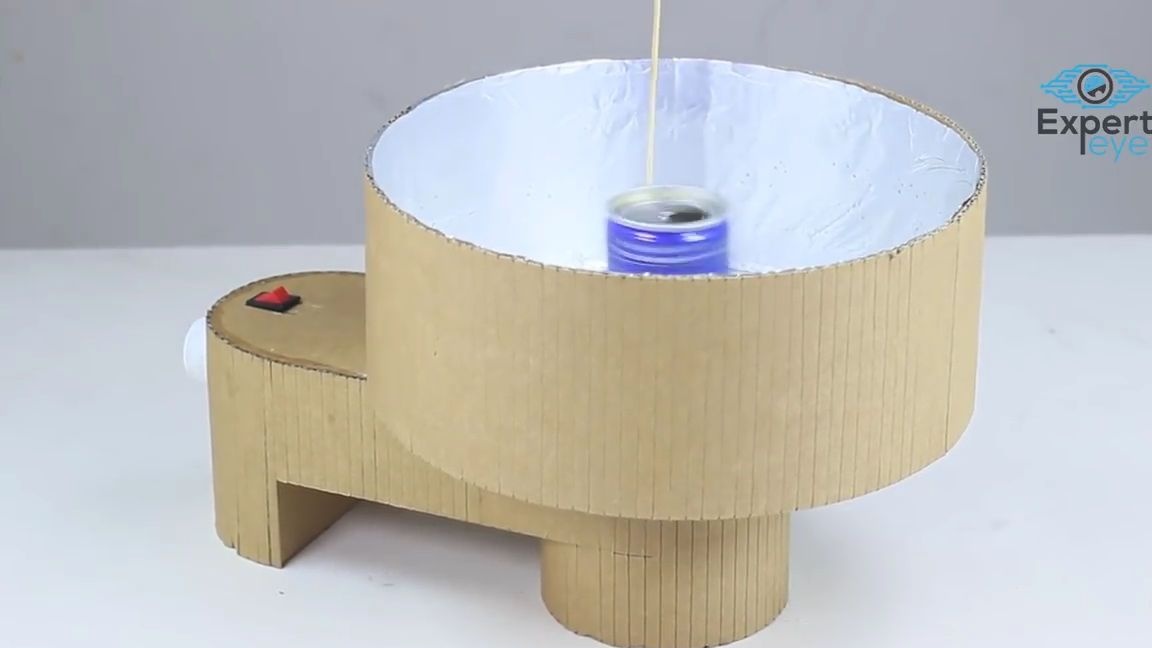
We cover the sides and bottom of the cylinder with food foil as follows:
Now you need to download the necessary ingredients for making cotton candy.
We put three teaspoons of sugar in the top of the aluminum jar and add some water:

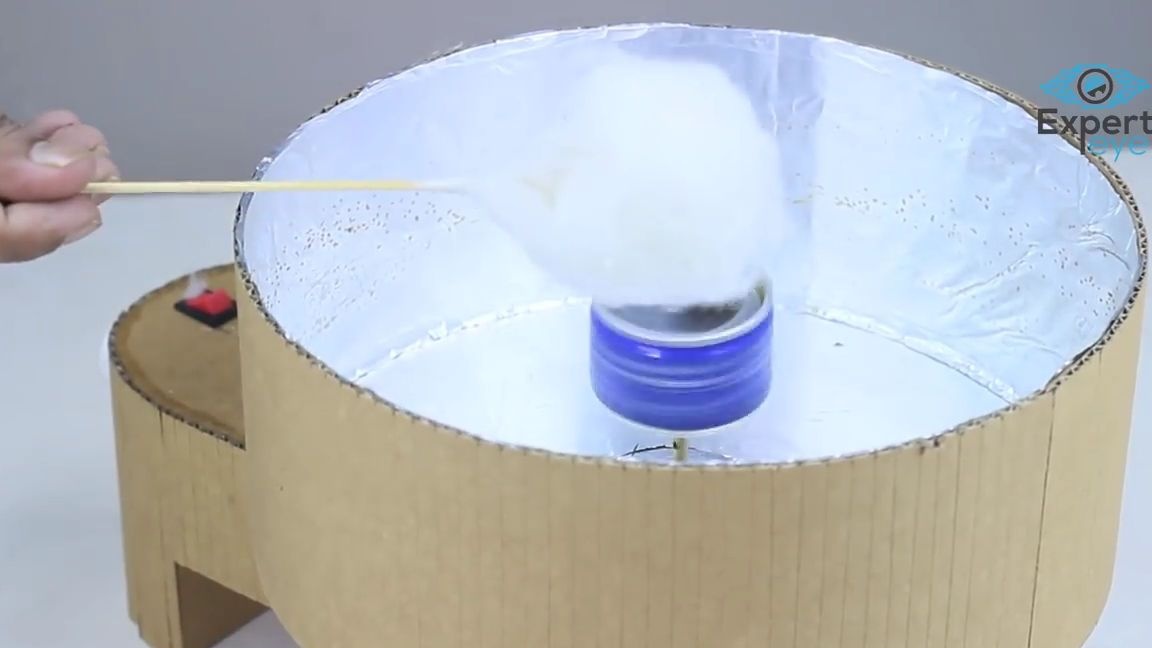
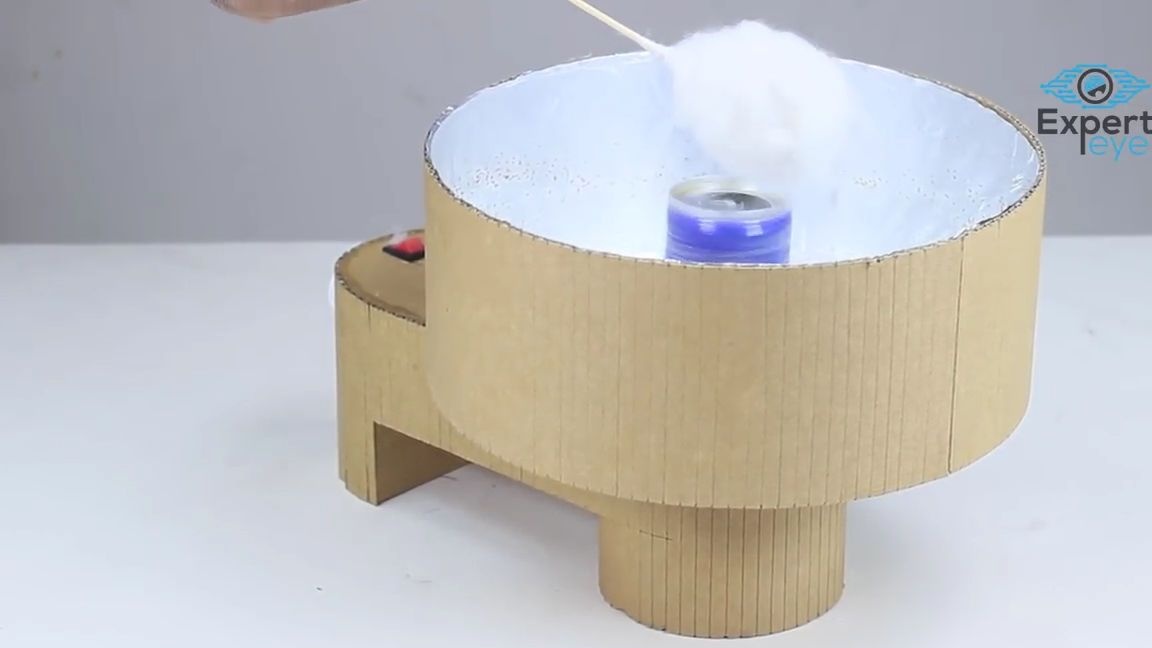
Now we turn on the entire installation, open the gas and set it on fire at the end of the needle, it is very important to do this as carefully as possible. Then immediately take a barbecue skewer, or another stick on which you want to make cotton candy and begin to drive it around the circumference of the cylinder, gradually a delicious cotton candy will form on it, you need to drive a stick until there is enough cotton candy on the stick, or until the ingredients inside the aluminum jar run out.
But remember that you must do this as carefully as possible and do not forget about safety! And that this homemade product is not very suitable for permanent domestic purposes, it is rather a prototype of what can be done and also to understand how cotton candy is prepared.
That's it! A simple homemade product for making cotton candy is ready and tested.
Here is a detailed video from the author with a detailed assembly and testing of this homemade product:
Thank you all for your attention and good luck in future projects, friends!