

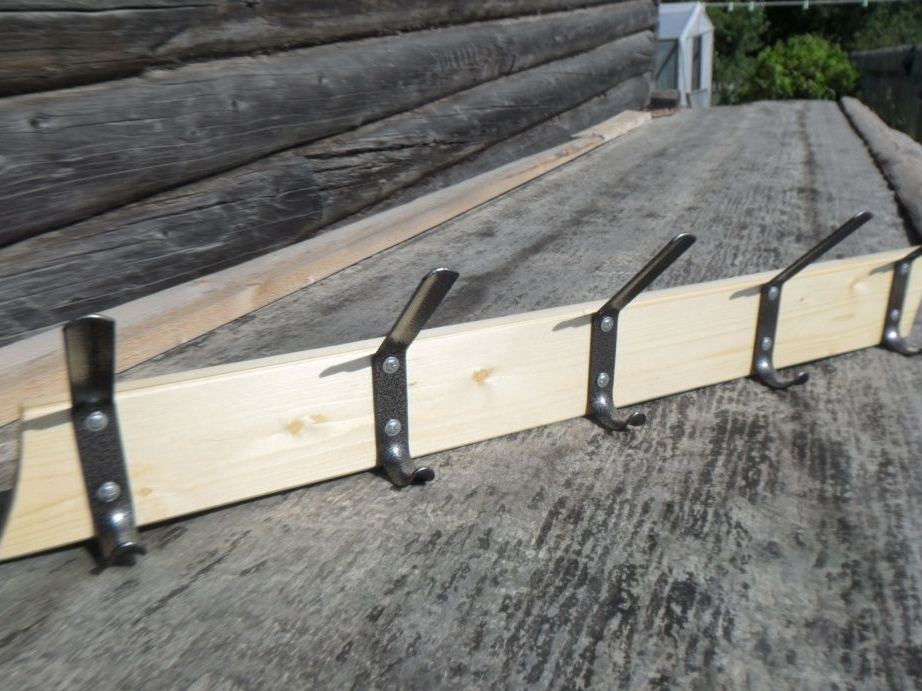
Comfort at home begins with a properly selected wall hanger. There are many types of clothing holders, but we will dwell on one of the simplest ones.
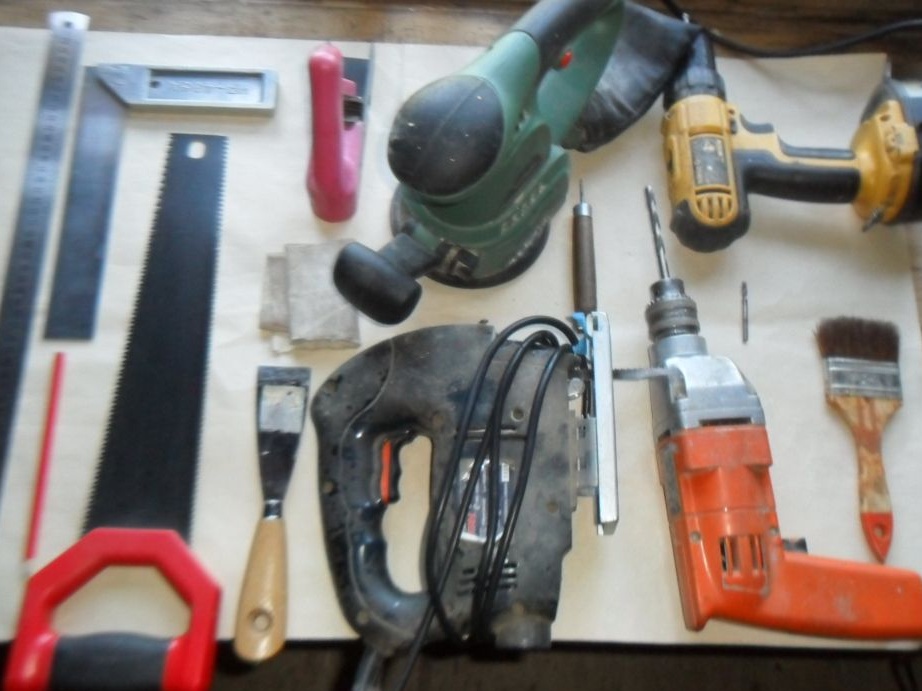
Below is a list of tools and materials that I had to use in my work.
Instruments:
1) ruler;
2) a square;
3) a pencil;
4) a hacksaw for wood;
5) electric jigsaw;
6) drill;
7) a screwdriver;
8) two drills for wood (4 mm and 8 mm);
9) putty knife;
10) an awl;
11) planer-planer;
12) manual planer;
13) eccentric sander;
14) sandpaper;
15) paint brush.
Materials:
1) a board measuring 120 x 10 x 2.5 cm;
2) putty;
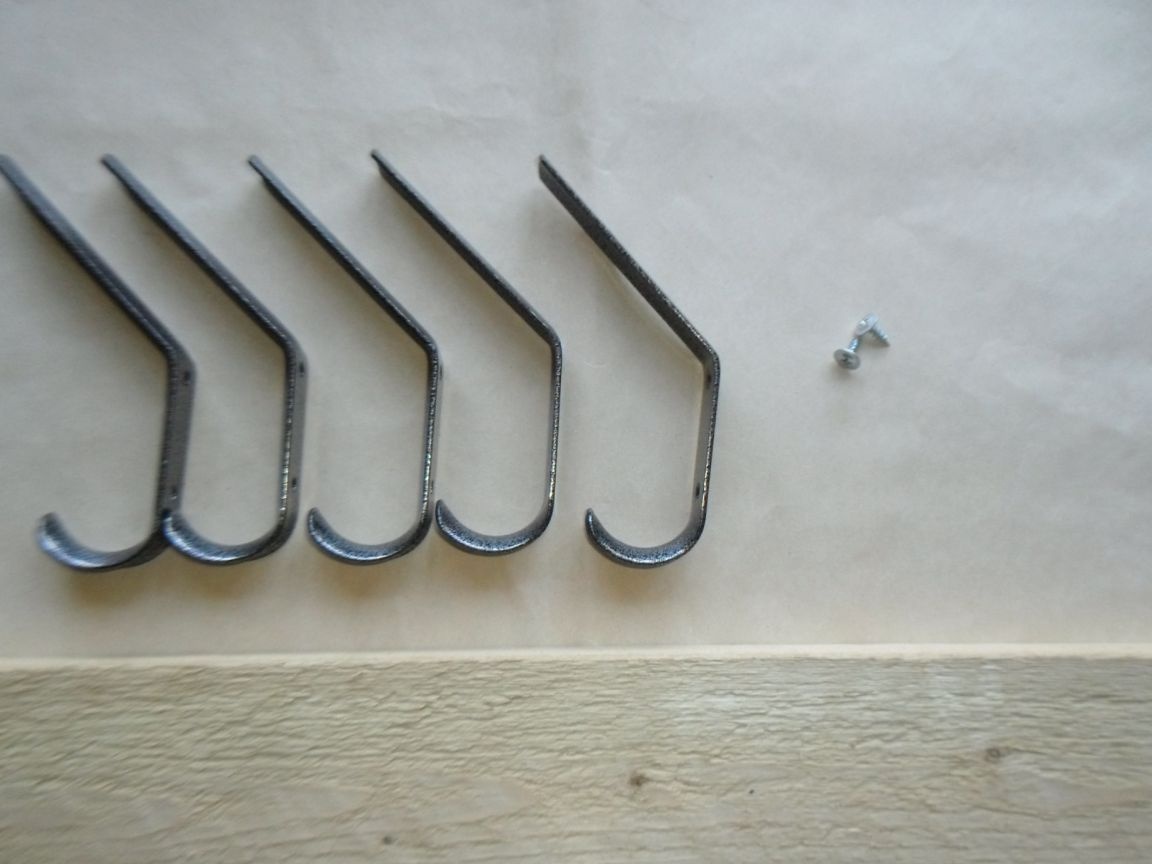
3) two-arm furniture hooks (5 pcs.);
4) self-tapping screws for thin plates ("bugs") in the amount of 10 pcs. 1.3 mm long;
5) Biotex is colorless.
Manufacturing process:
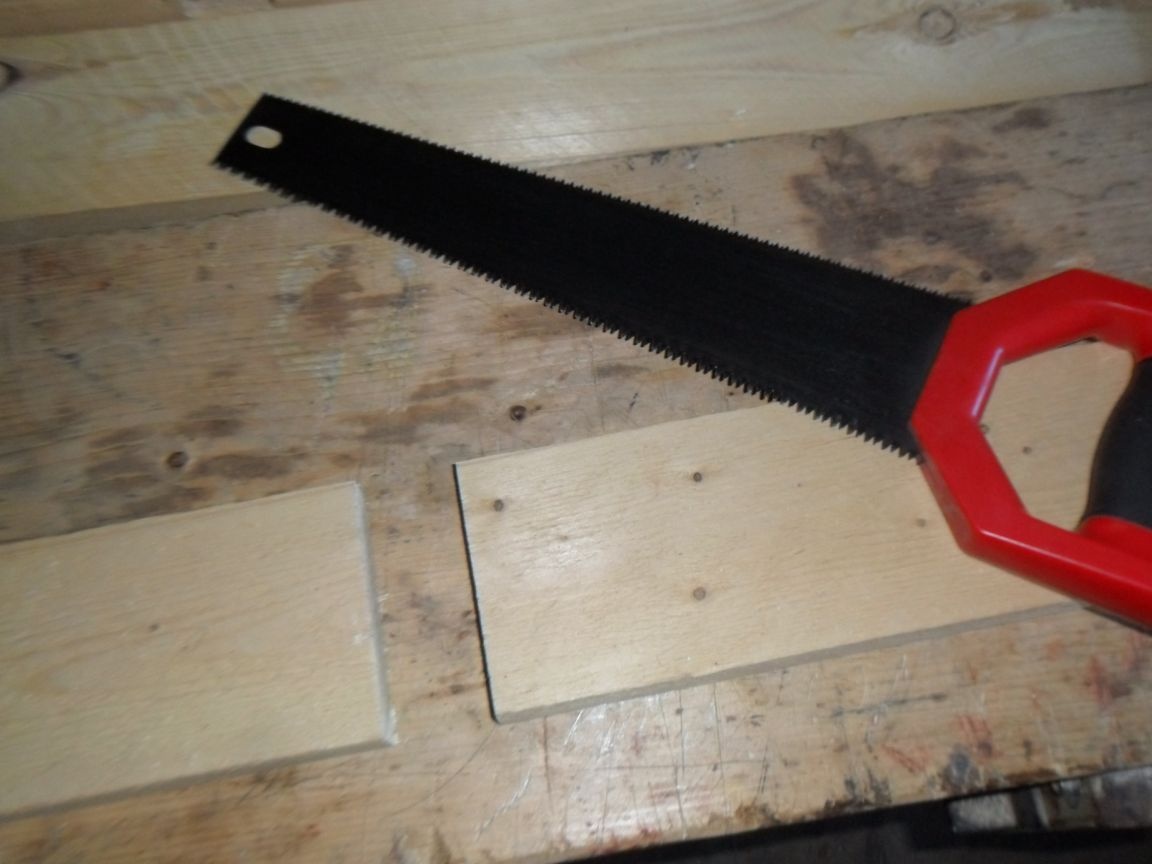
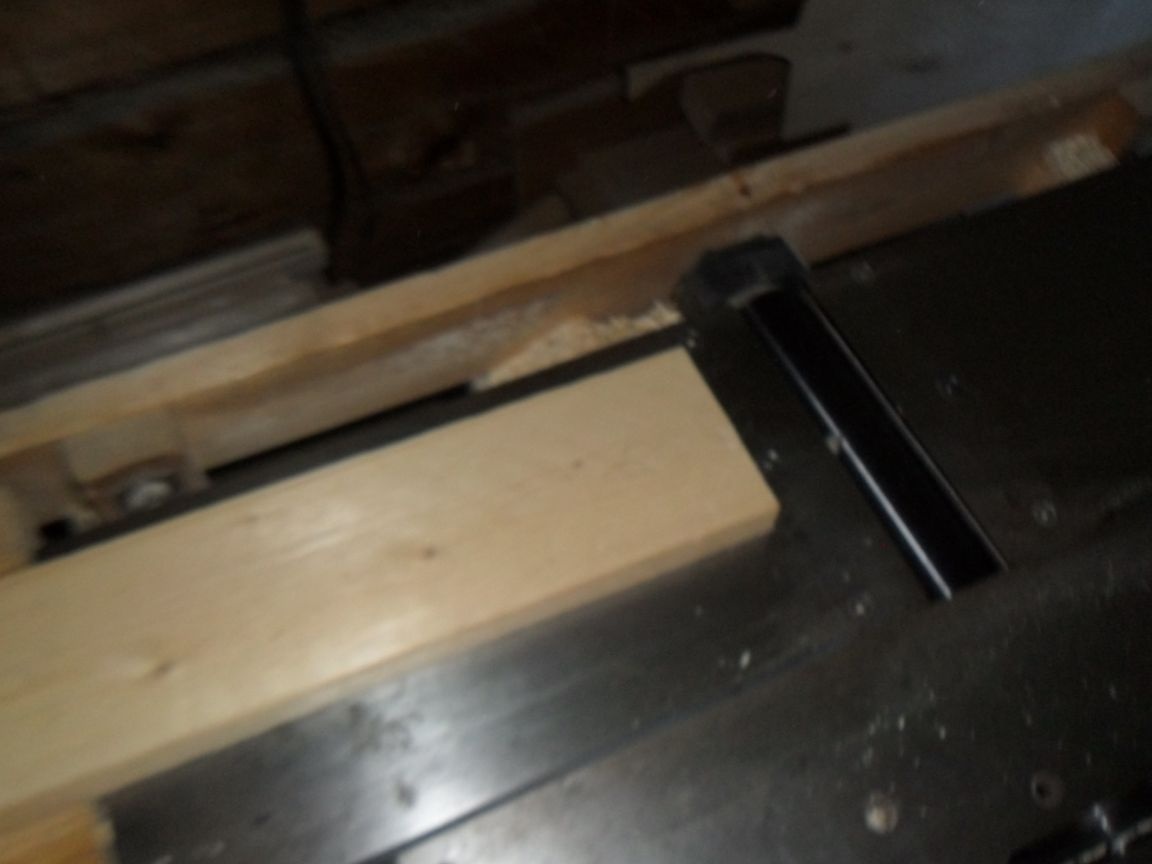
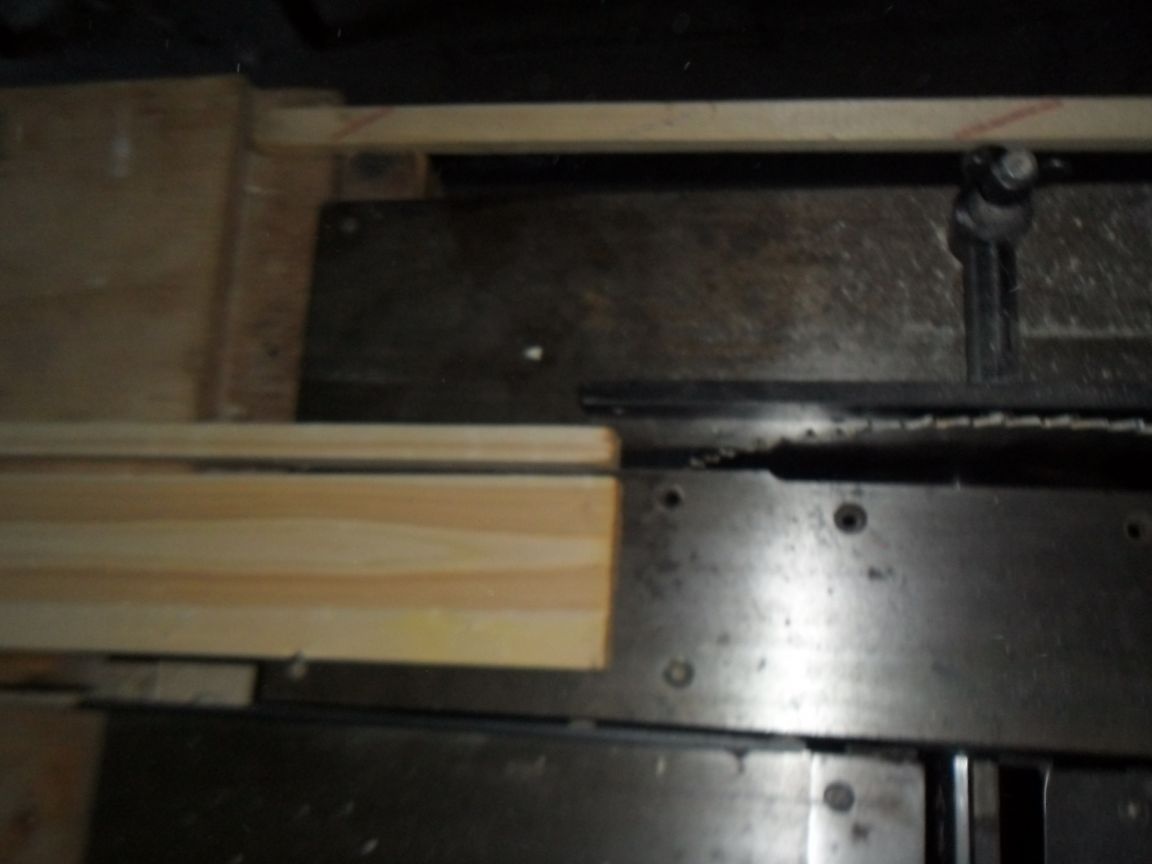
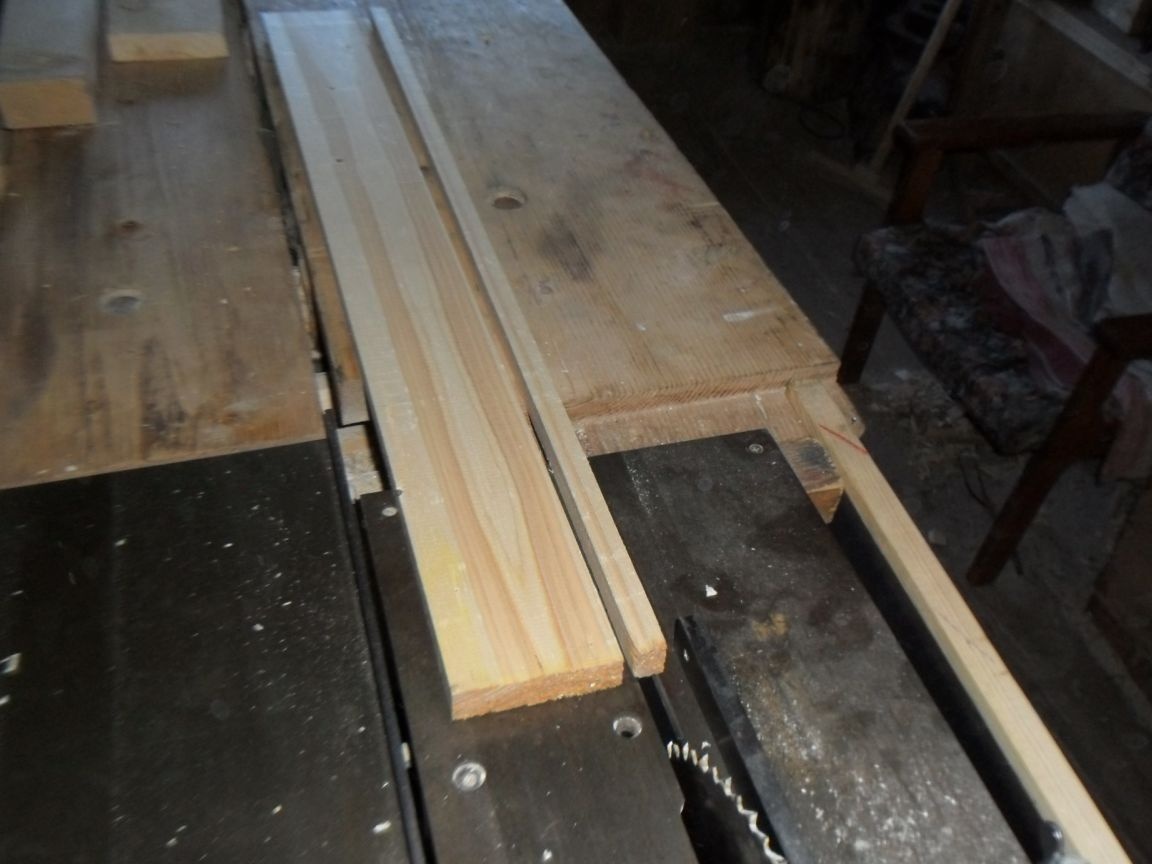
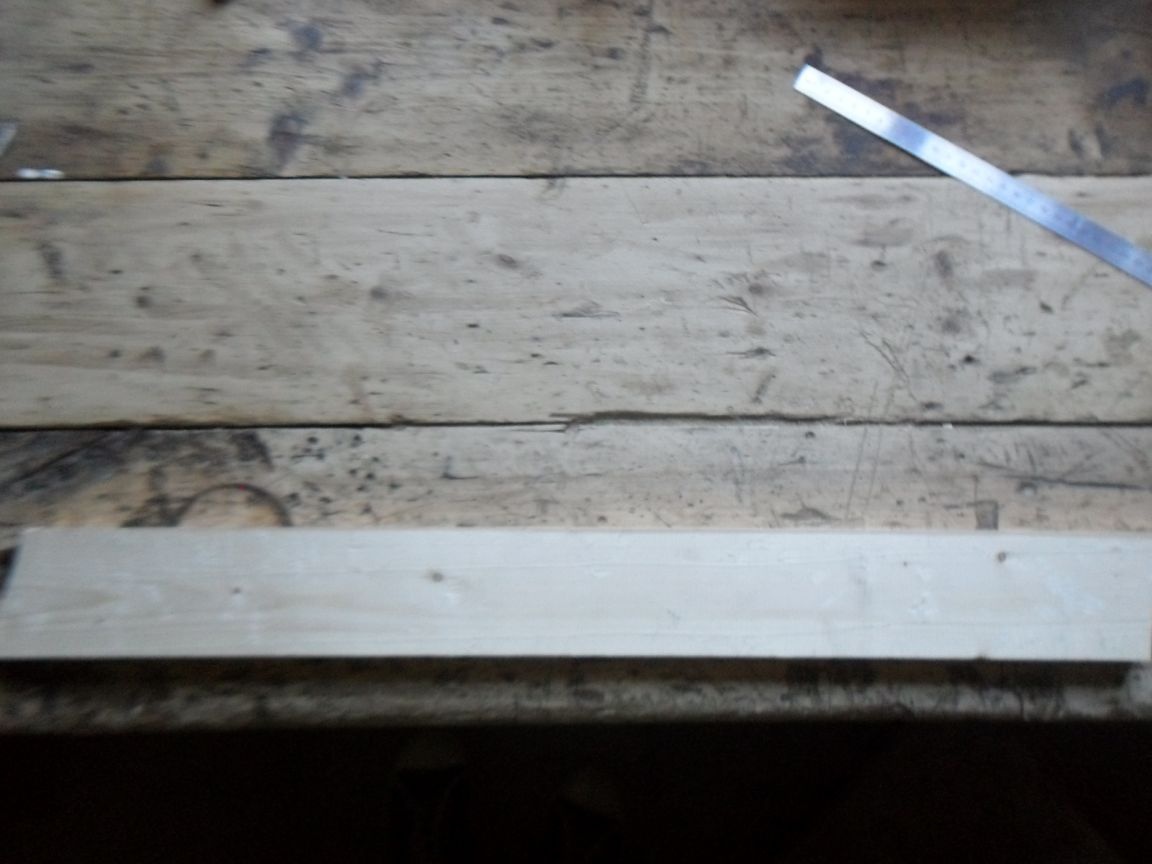
Step 1. Sawing the board.
The length of the hanger will be equal to 75 cm, therefore, from the prepared board with a hacksaw, we saw off a part with a length equal to 78 cm. On a circular-planer, we plan the workpiece to a thickness of 1, 8 cm and saw it so that an 8 cm wide board is obtained at the exit.
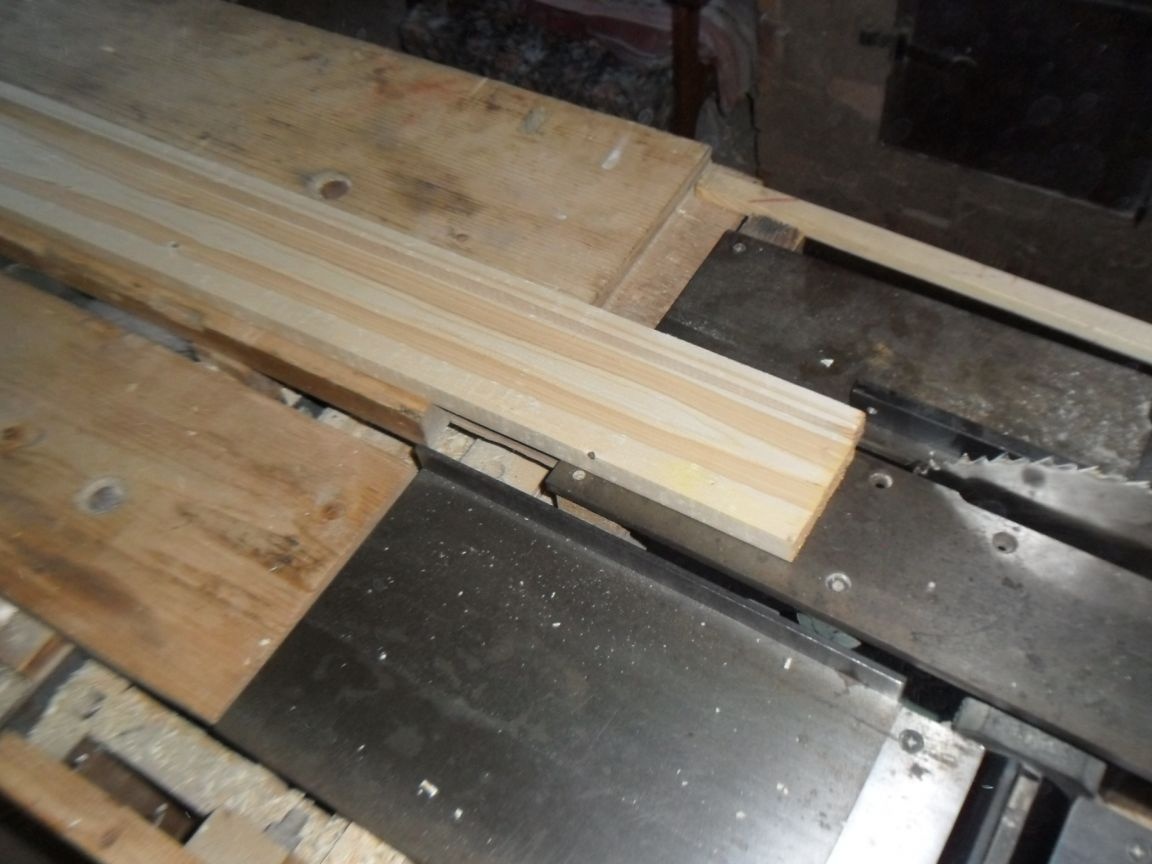
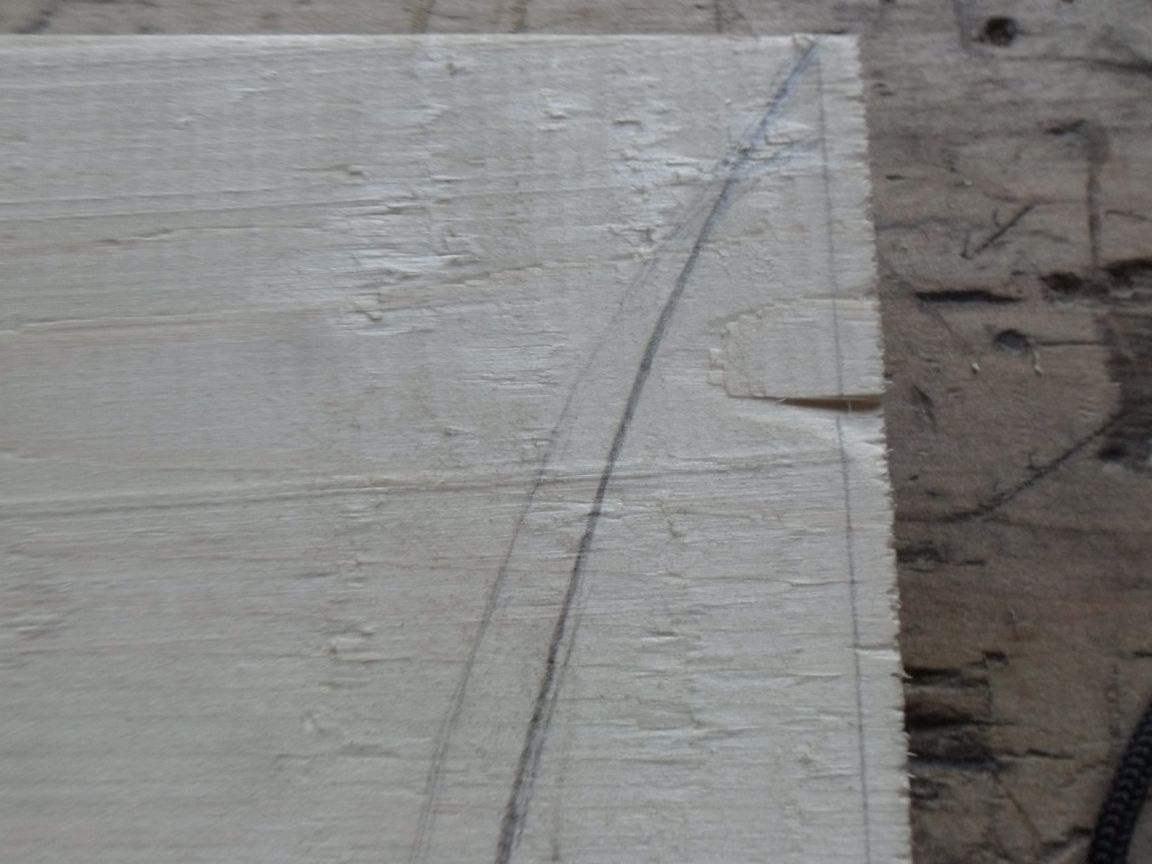
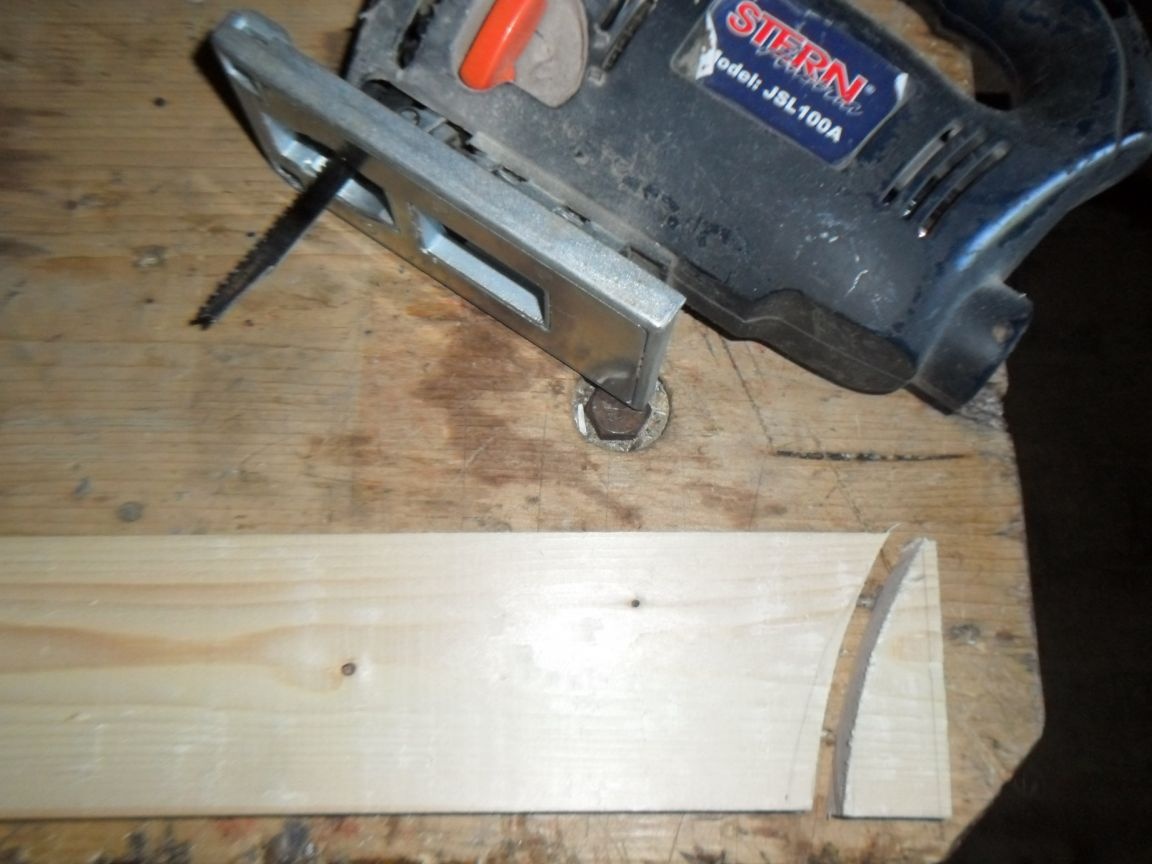
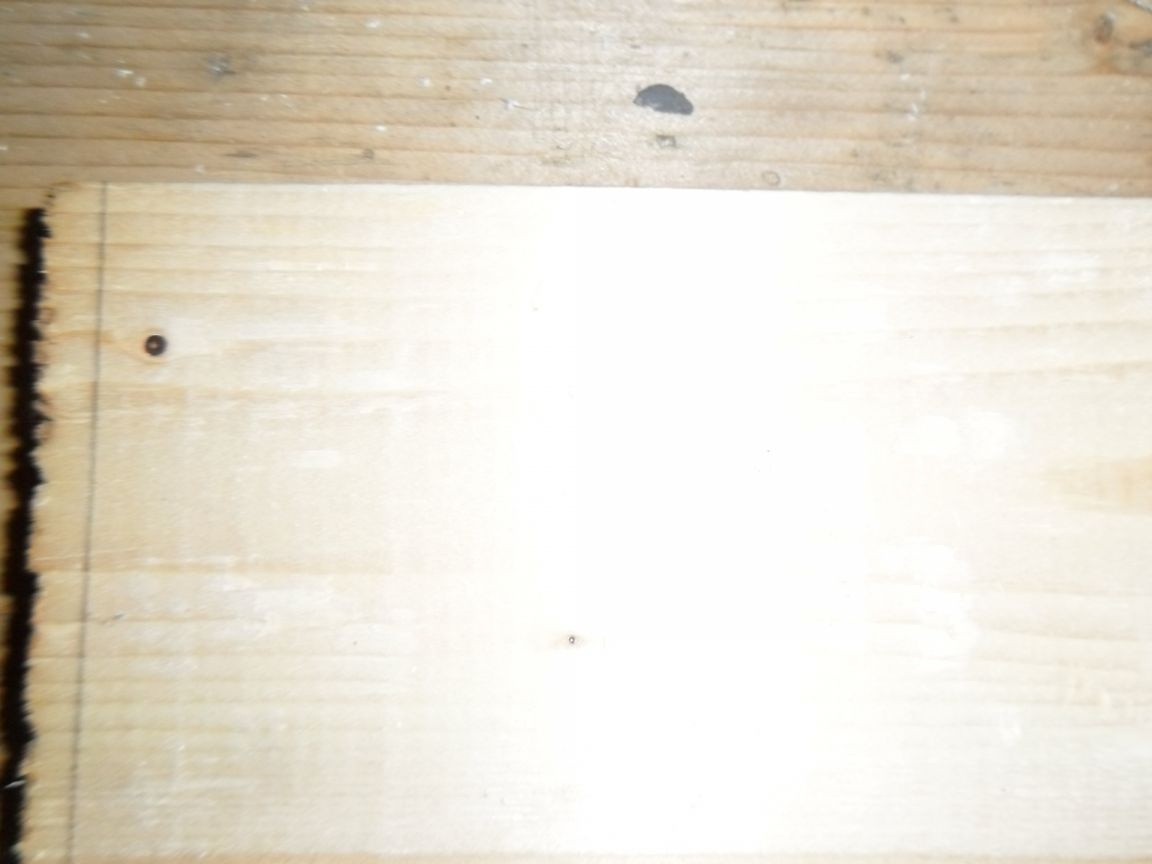
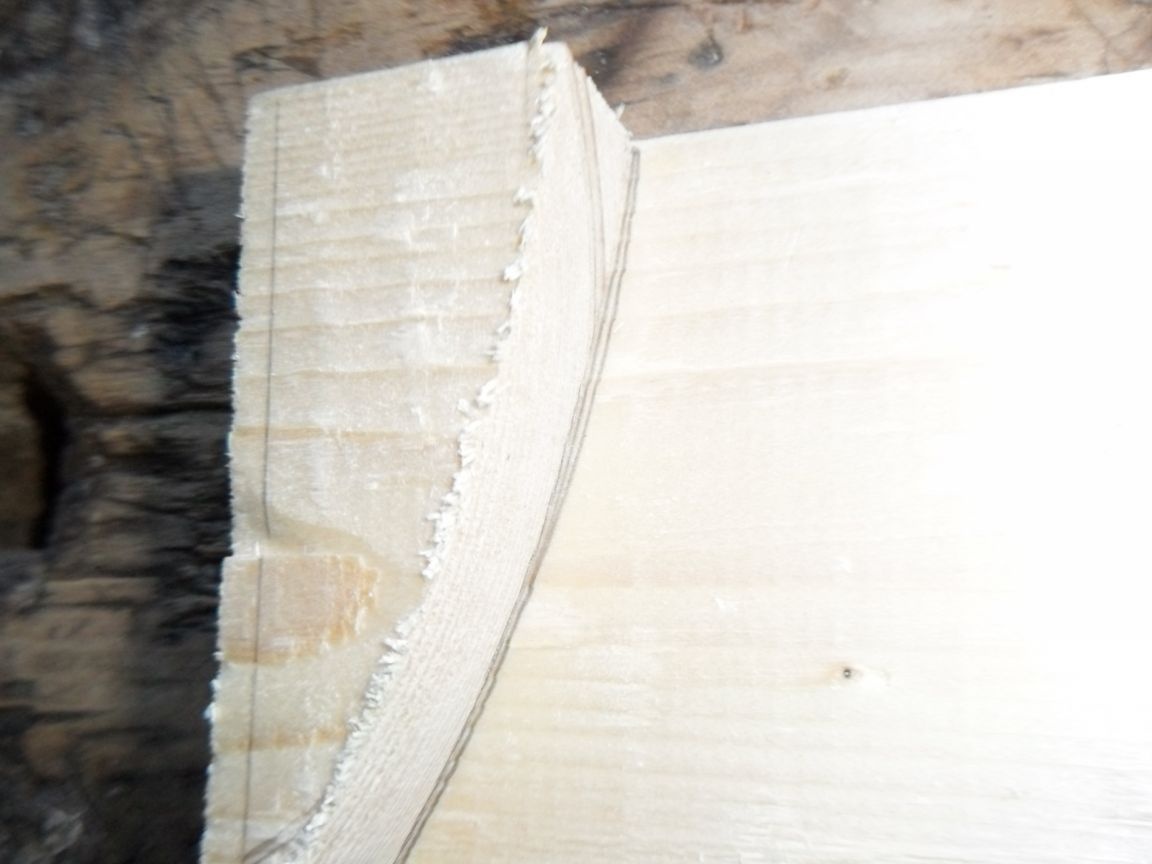
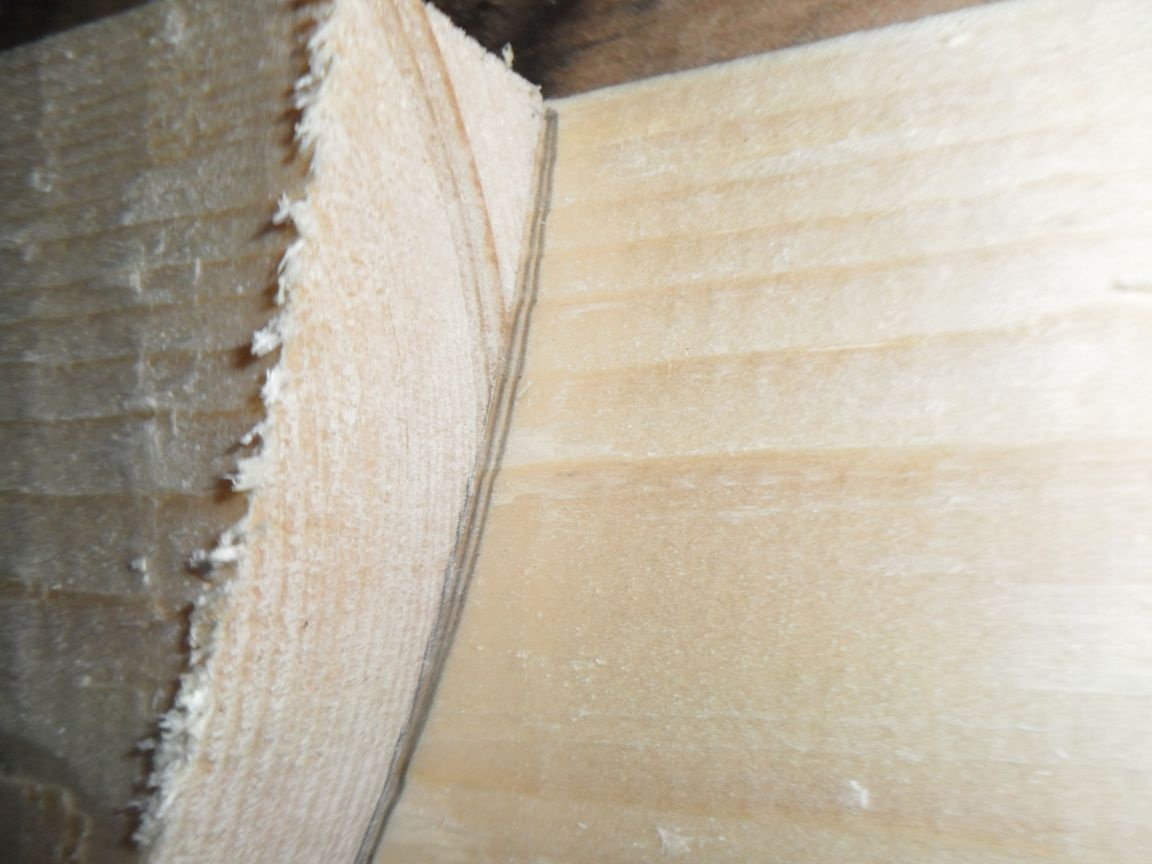
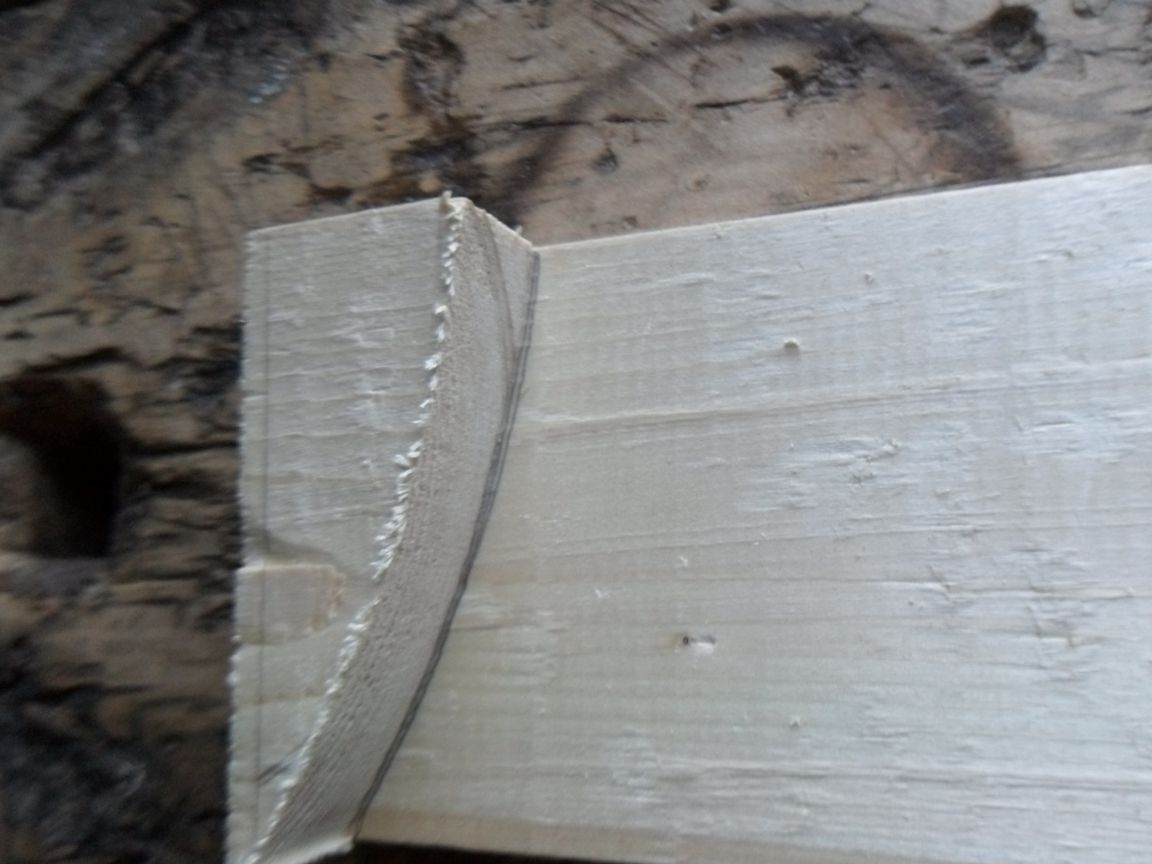
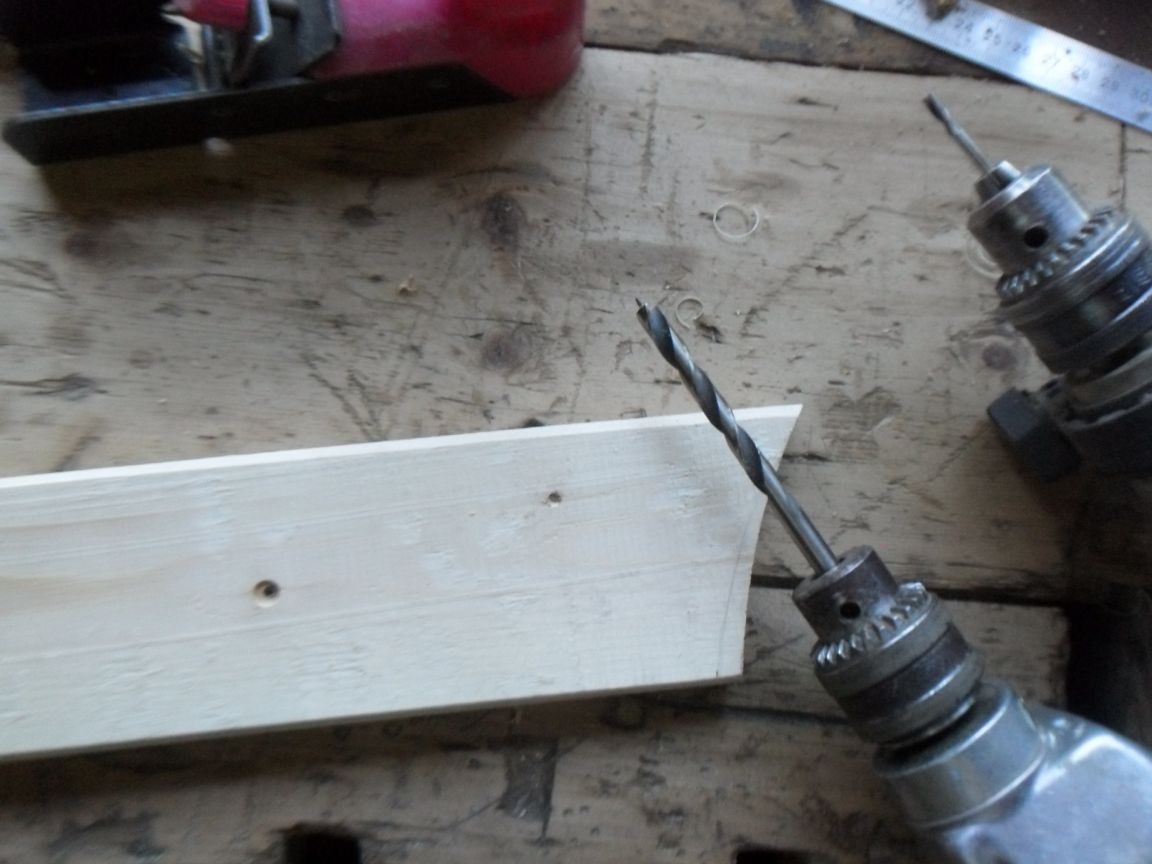
Step 2. Cutting with a jigsaw.
The ends of the hanger will be rounded inward. With a pencil, draw an arc from the upper corner to a point on the lower side, spaced 3 cm from the lower corner. We saw off the unnecessary part with an electric jigsaw. Then we attach this part symmetrically to the left end of the board and circle with a pencil. We also saw off the corner with a jigsaw.

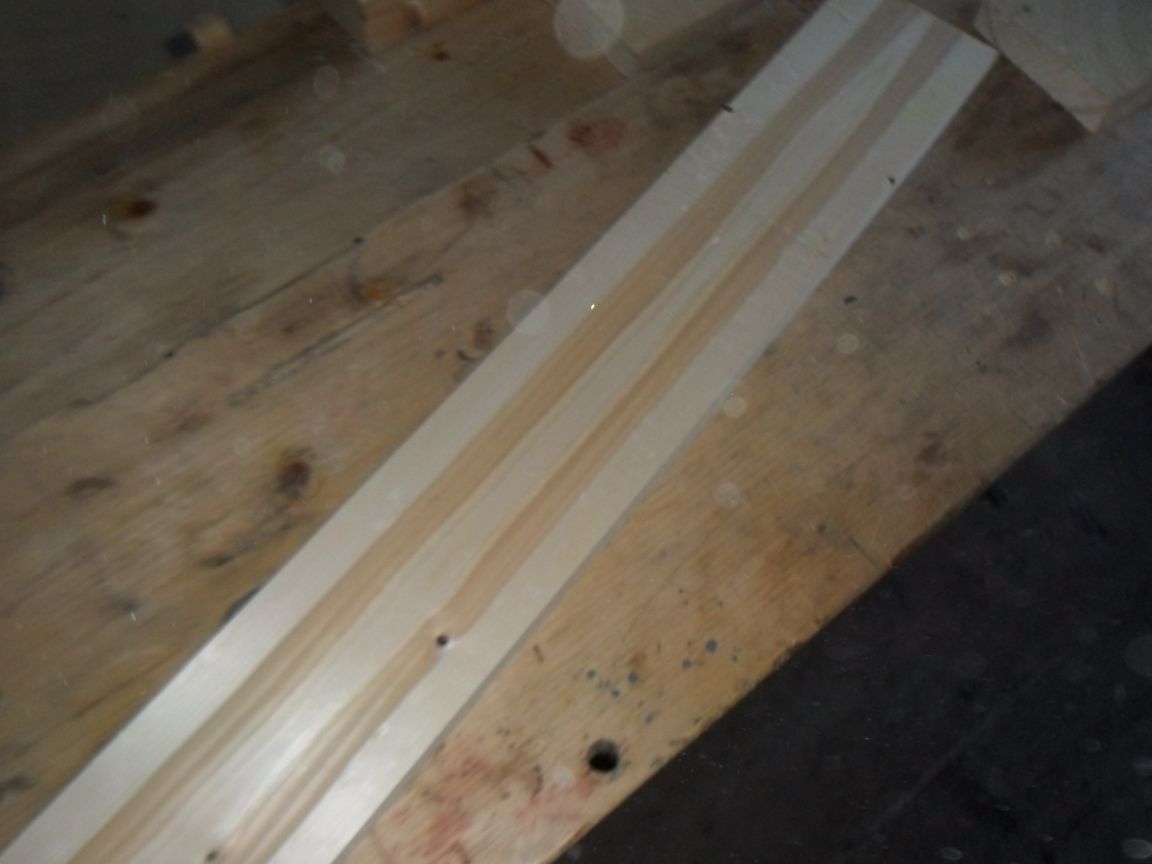
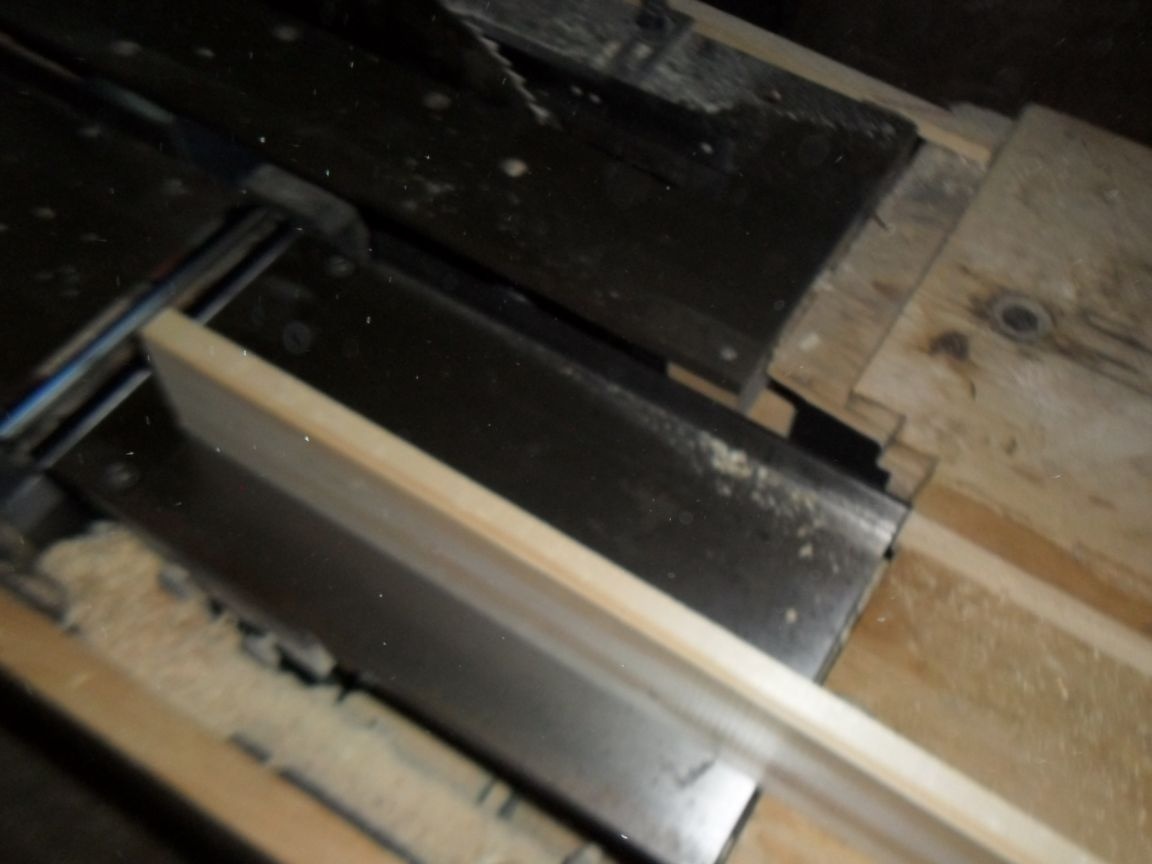
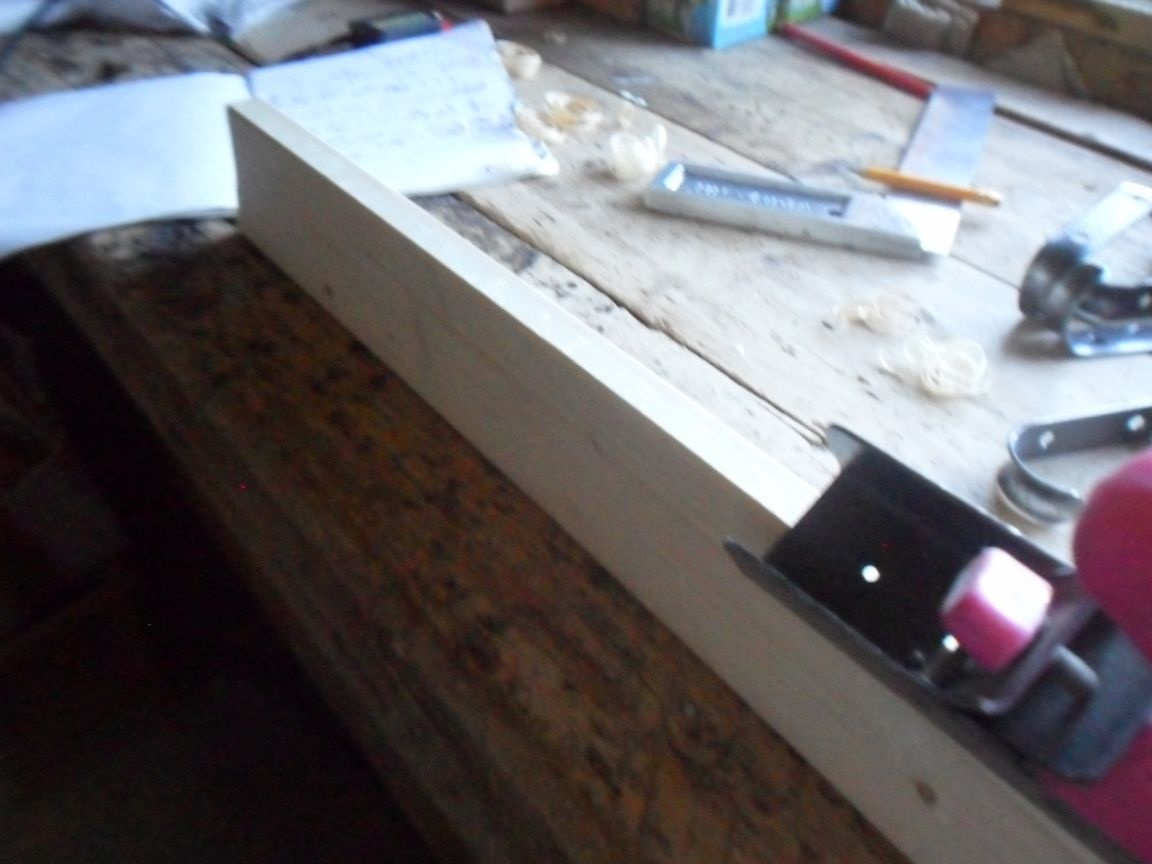
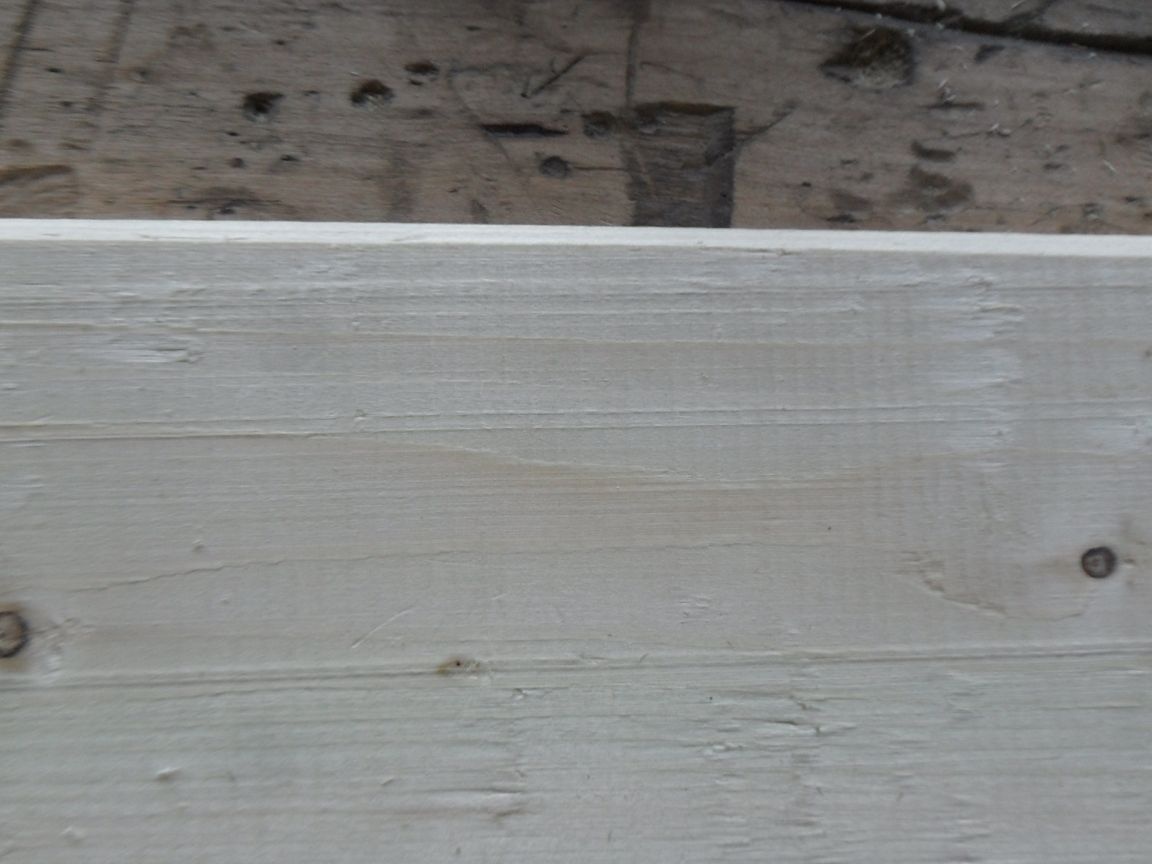
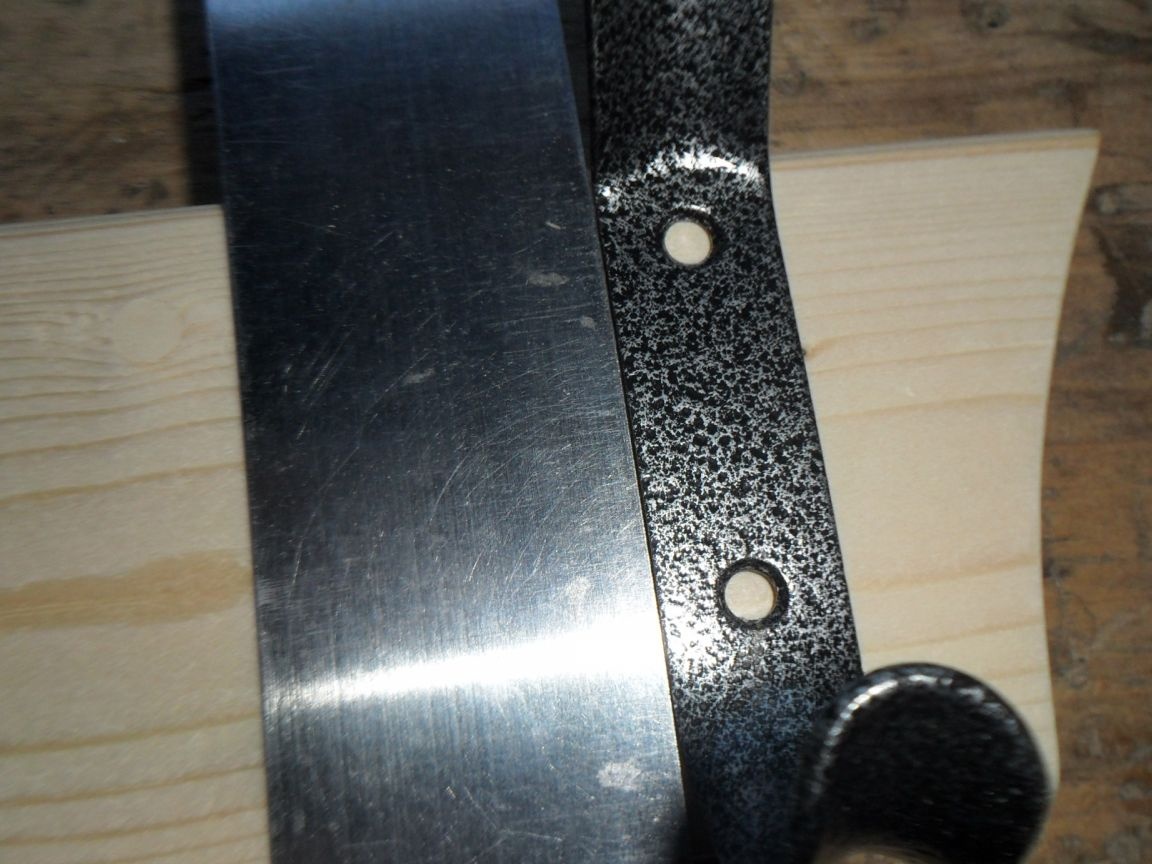
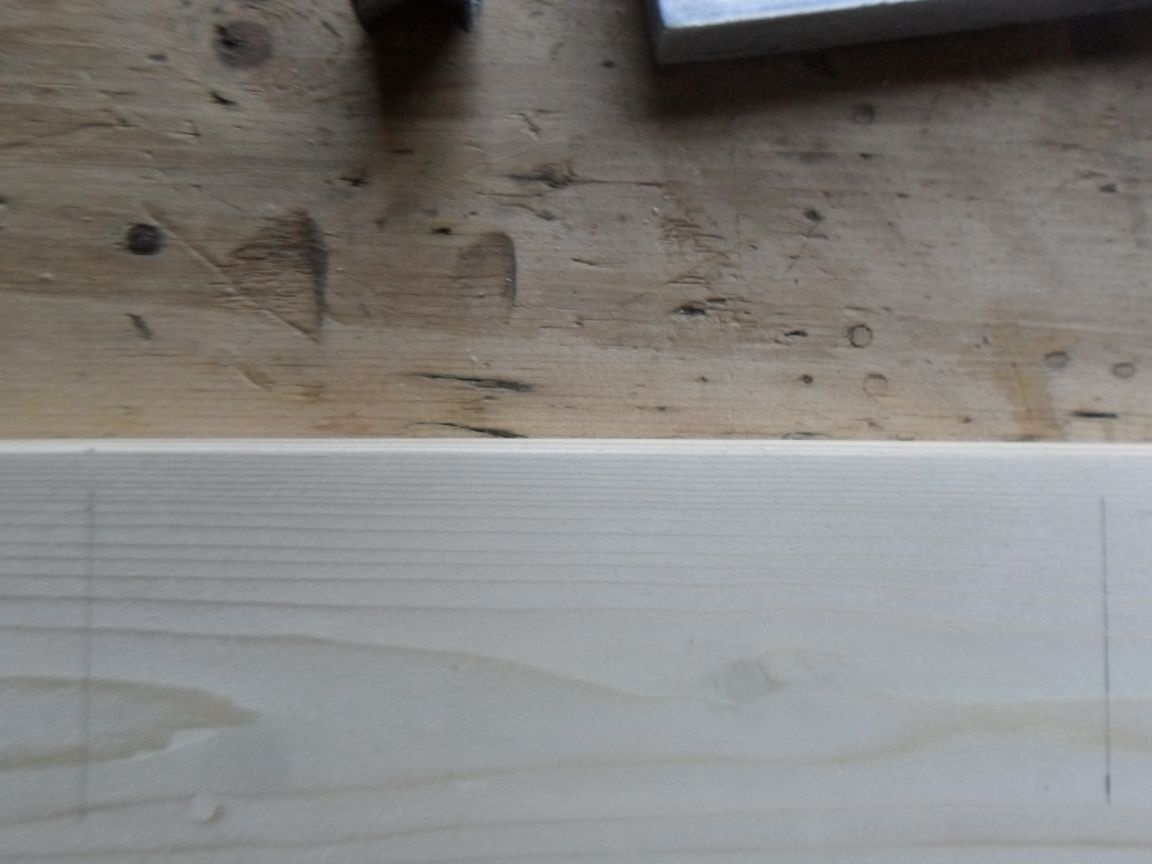
Step 3. Work with a planer.
With a manual plane we remove the chamfers from the side surfaces of the board.
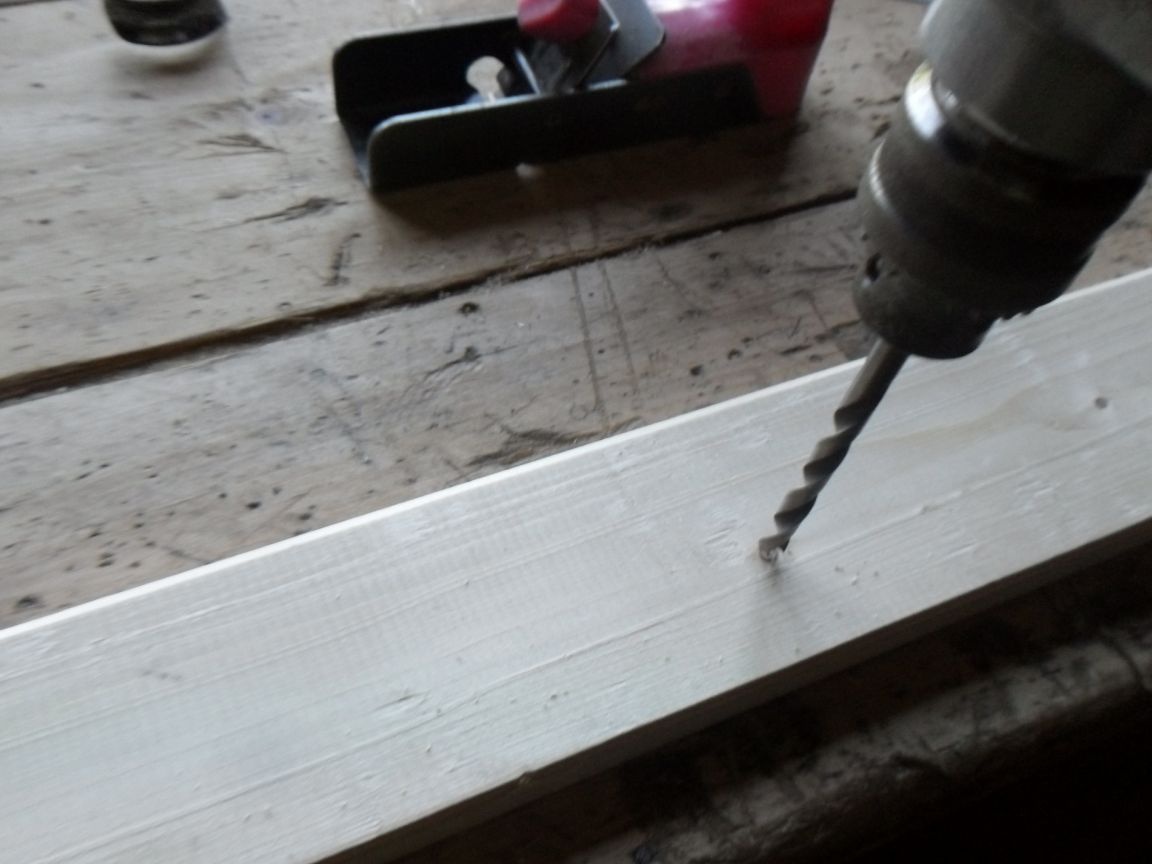
Step 4. Drilling.
On the boards there are often black, rotten knots that spoil the look of any product. Therefore, they should be somehow removed or masked. In my case, it is better to drill dark places with a drill and wood drills.
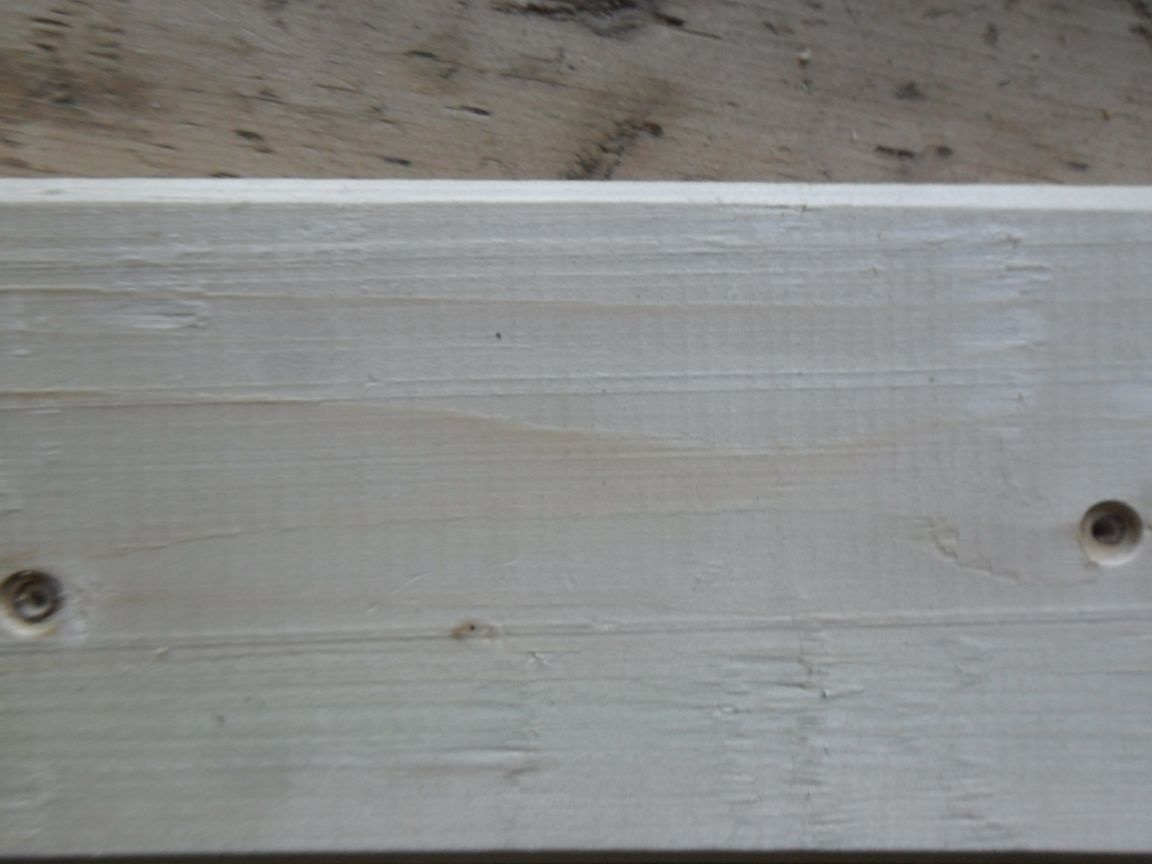
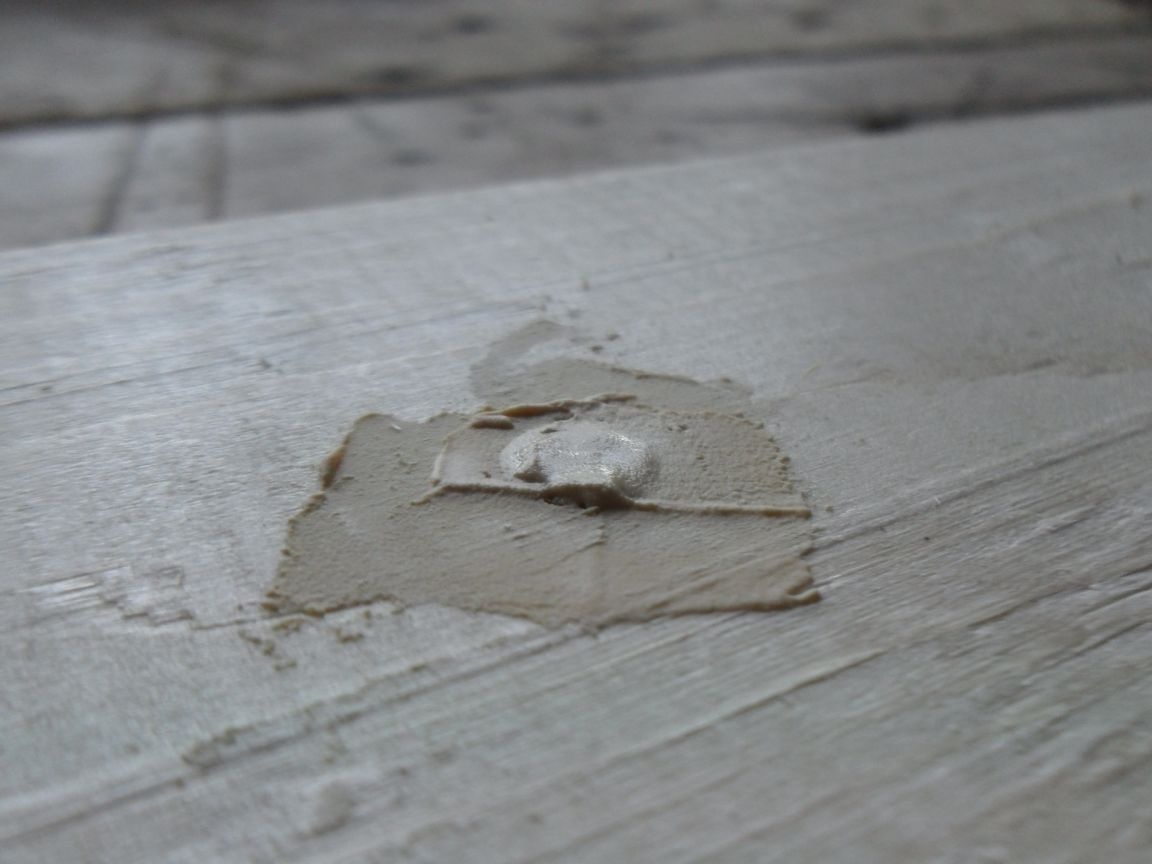
Step 5. Putty.
We put the desired mixture with a spatula into the drilled holes so that small putty tubercles remain above them, which, when dried, become equal to the surface of the board.
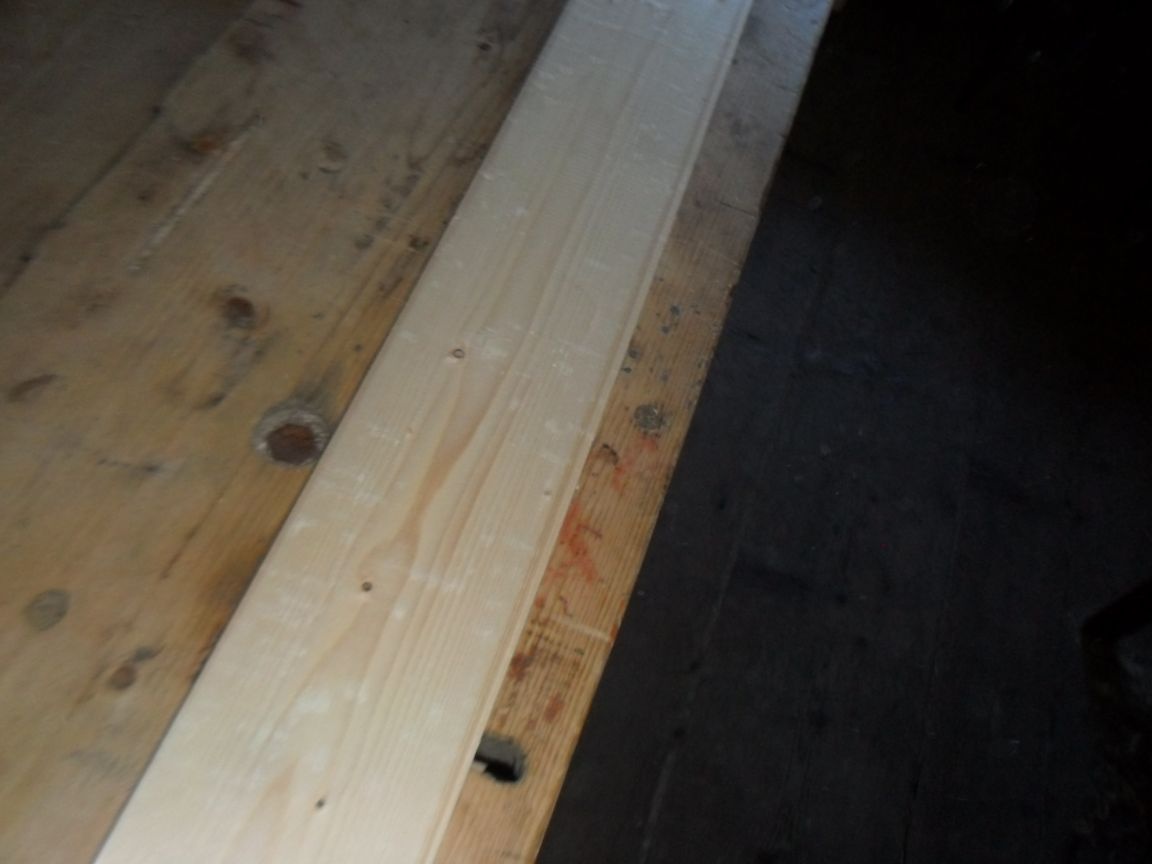
Step 6. Grinding.
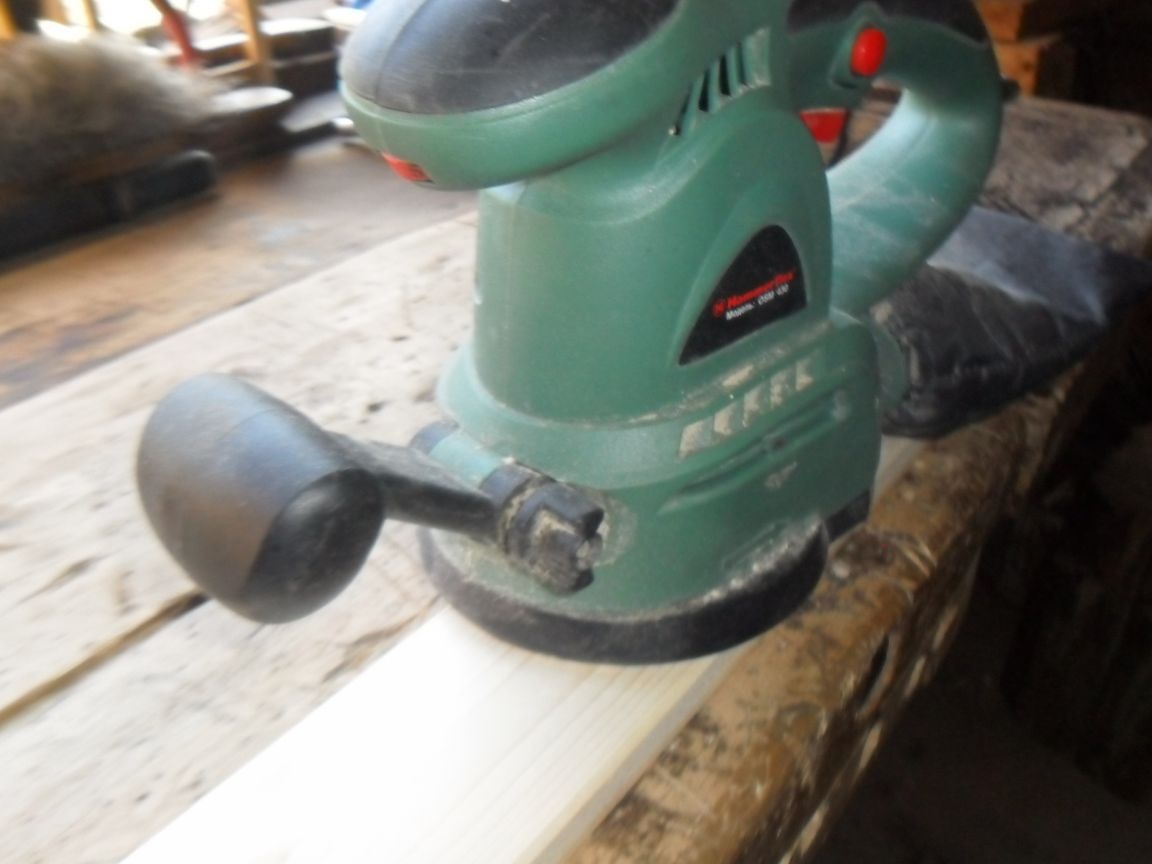
The putty has dried - now all the flat surfaces of the wooden workpiece need to be sanded with an eccentric machine. With sandpaper we process the rounded ends of the board.
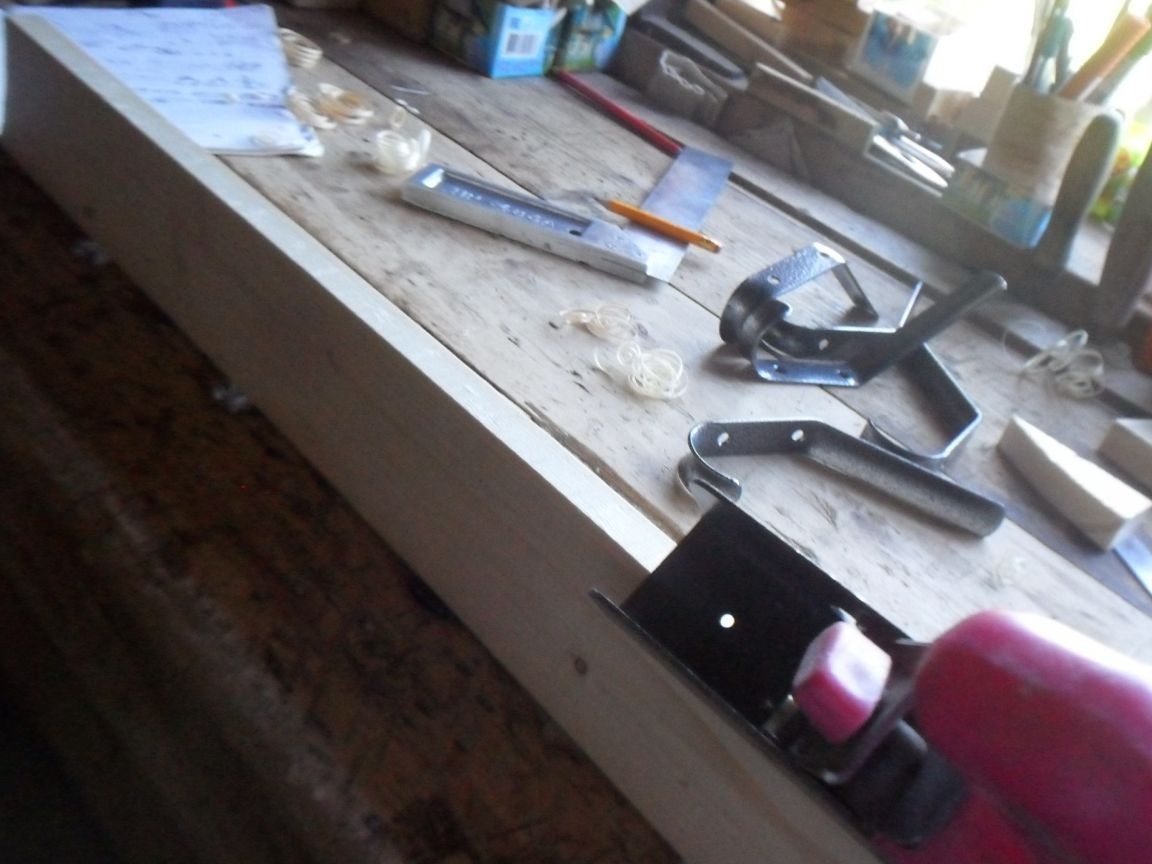
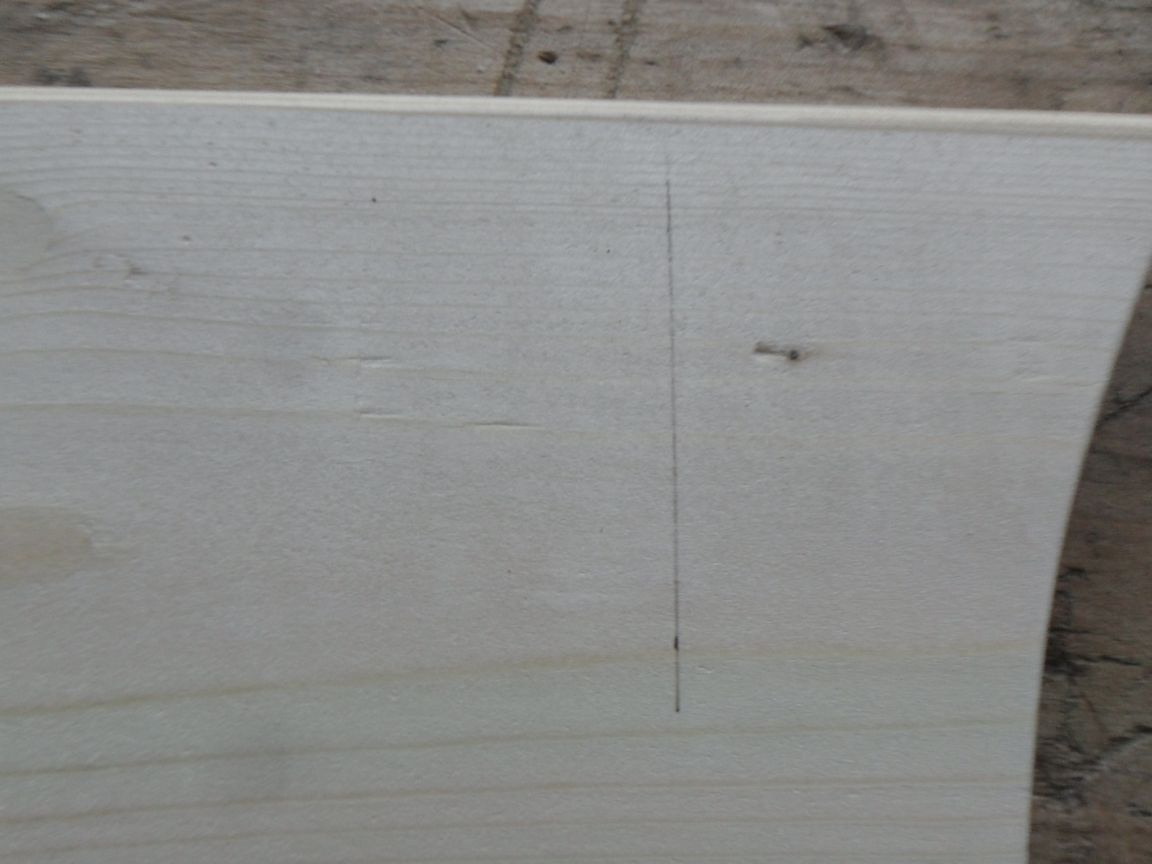
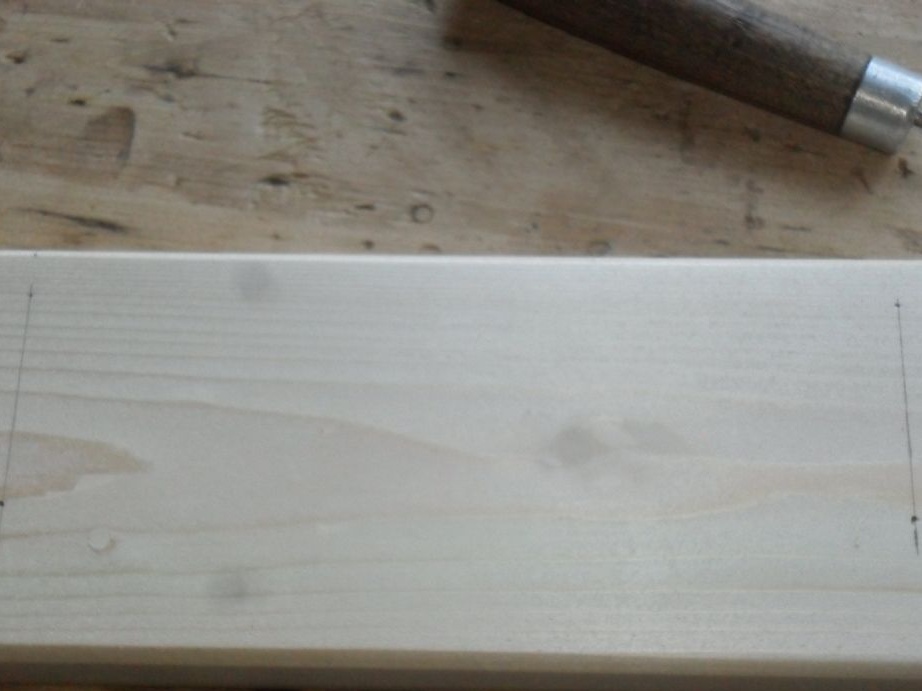
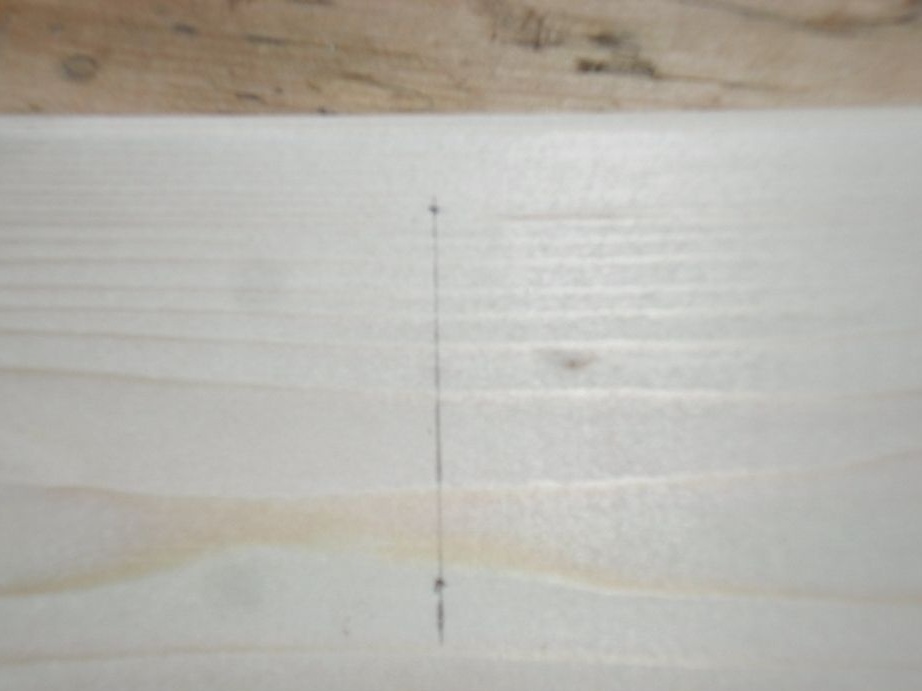
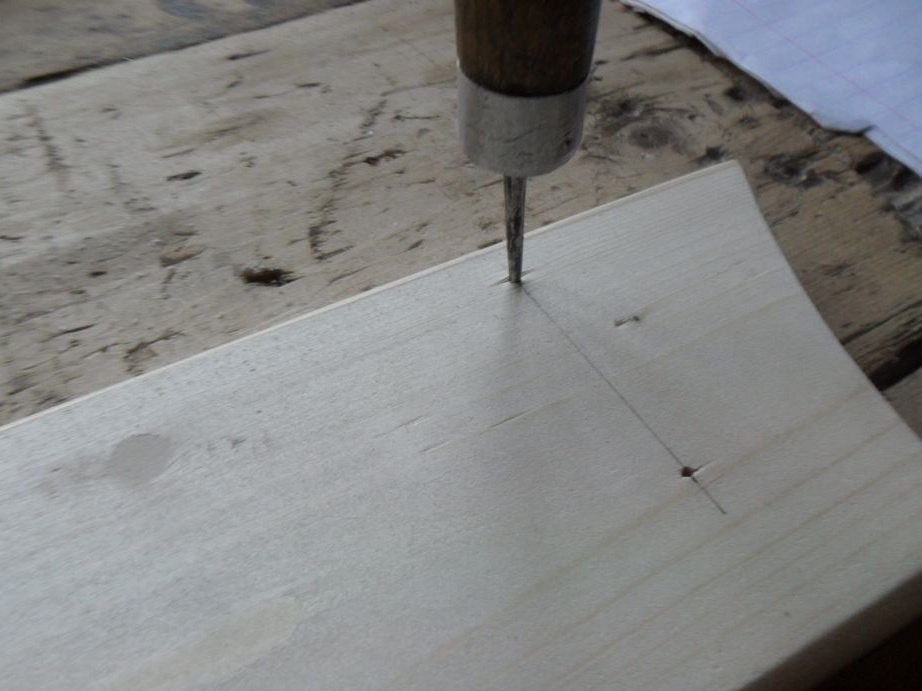
Step 7. Marking the workpiece.
There are five furniture double-arm hooks. Accordingly, you need to draw five lines perpendicular to the lower side of the board, on which the centers of the holes of the hooks will be located. First we outline the extreme lines at a distance of 3 cm from the pointed part of the ends. The distance was 62 cm.Dividing this number by 4, we get the distance between the nearest two hooks - 15.5 cm. We mark these distances and draw lines. Now, having set the square to the upper side of the board, we denote by the point the centers of the holes of the hooks at a distance of 1 cm and 5 cm from the center of the inner corner of the square. We puncture the marked points accurately and shallow with an awl so that the screws after twisting “position” the hooks strictly perpendicular to the upper side of the board.
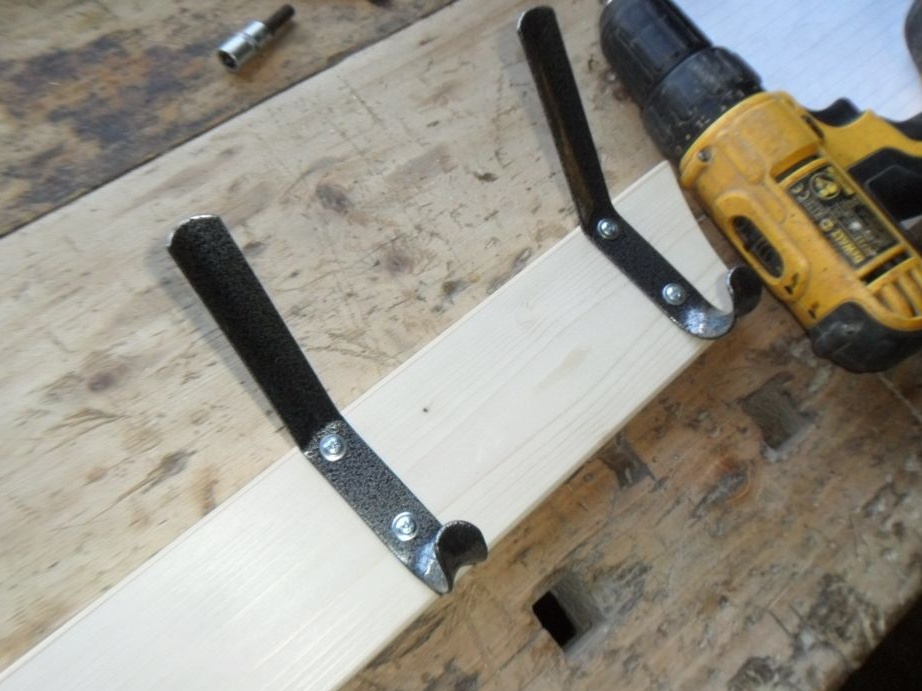
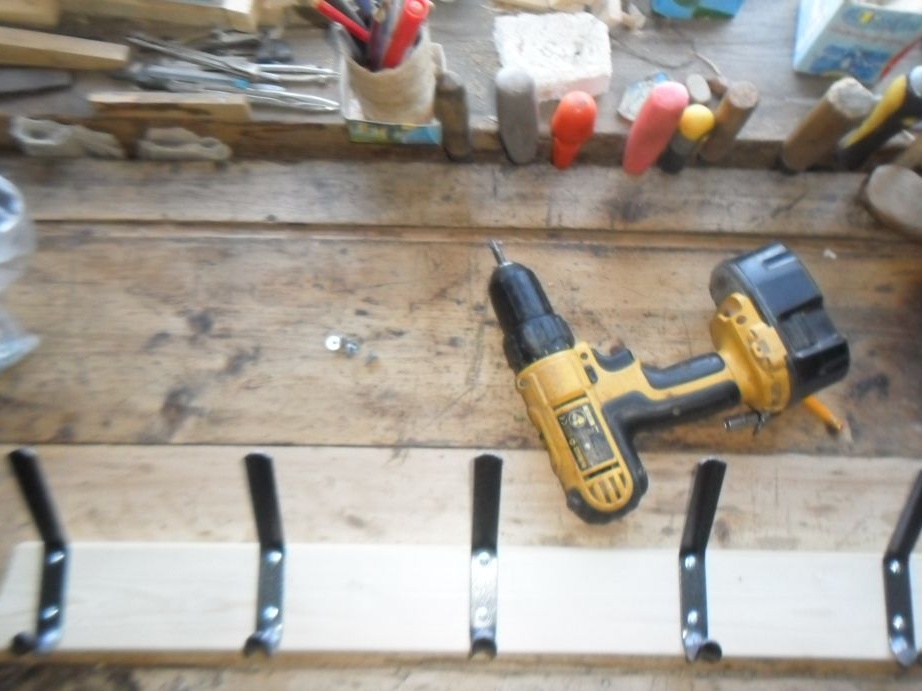
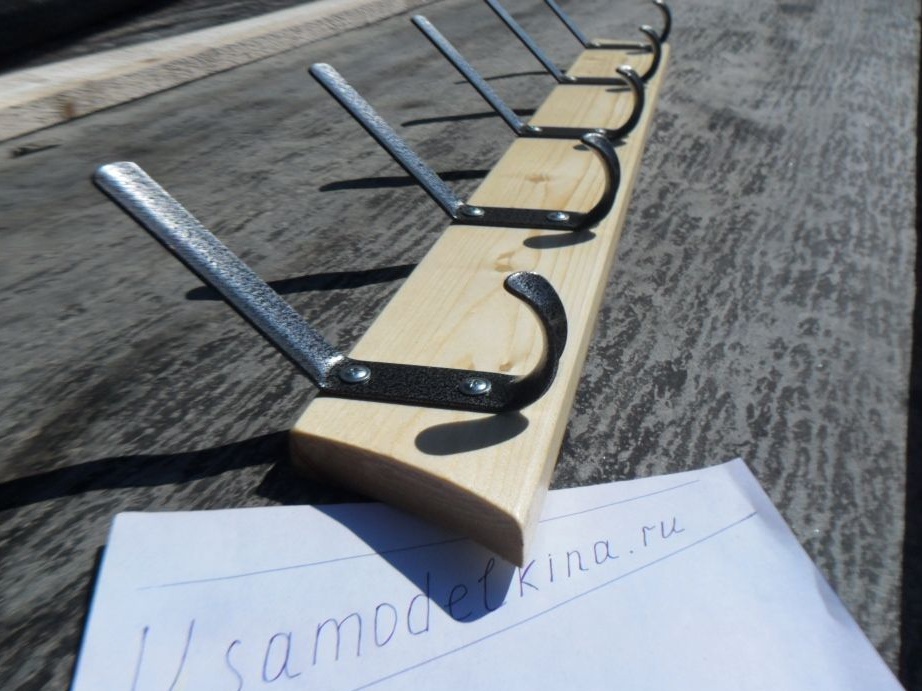
Step 8. Screwing the hooks.
We attach double-arm hooks in the desired direction and screw the galvanized screws with a screwdriver. A substantial part of the work has been completed. It remains to paint the hanger.
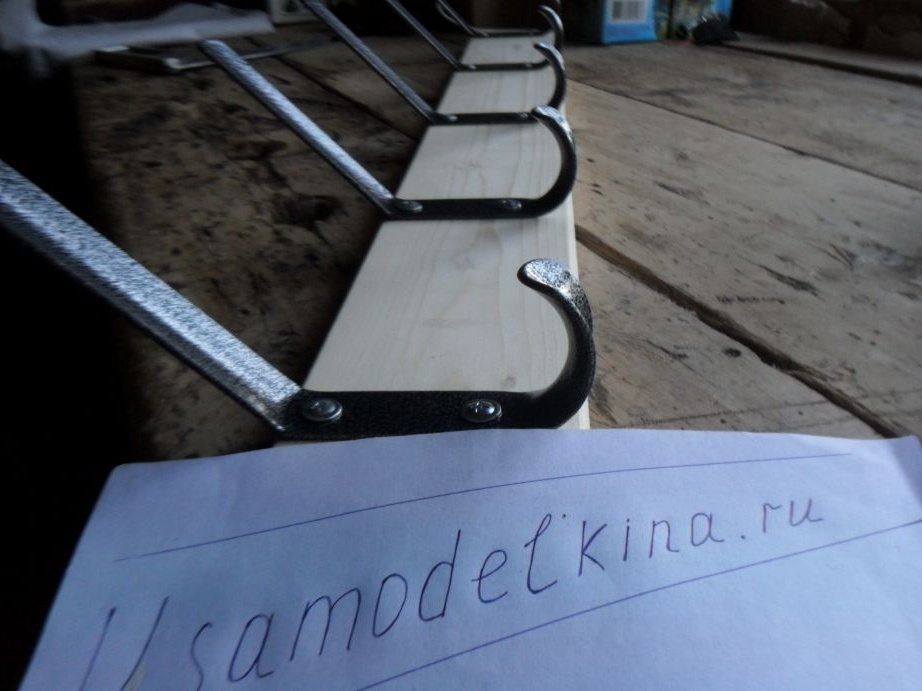
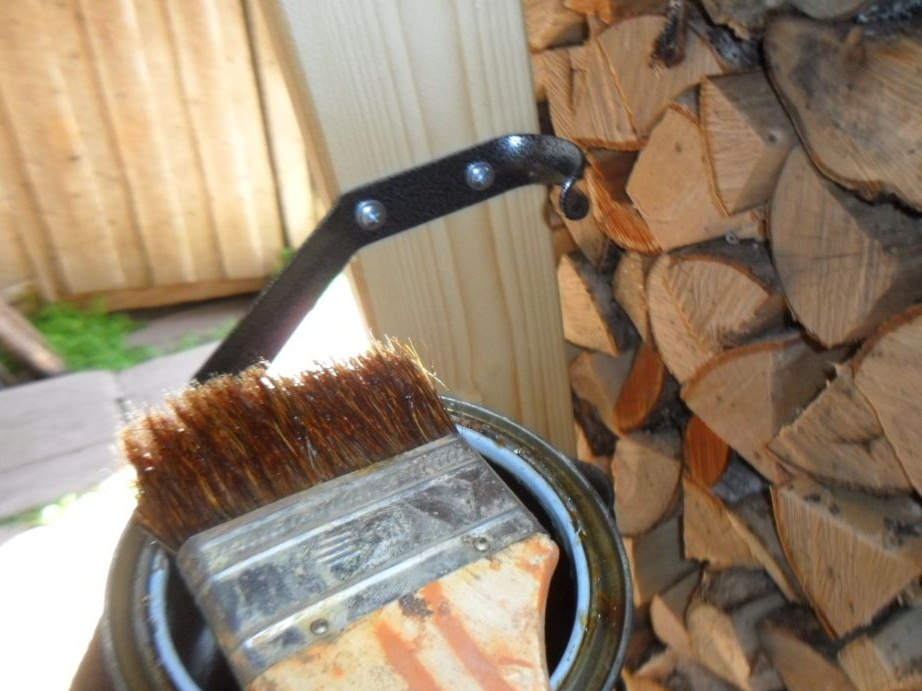
Step 9. Painting.
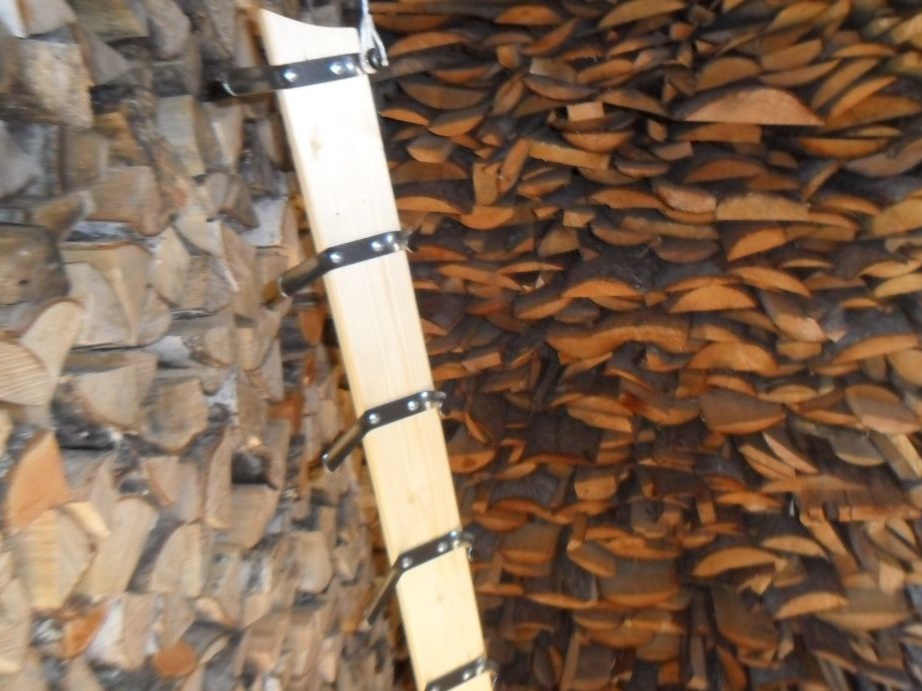
Using a brush, apply the first layer of Biotex to the wooden part of the hanger. After a couple of hours, another layer is applied. Let the product dry. Now the wall hanger is finally ready for hanging clothes or household items.
Conclusion
Everything is simple here. And the beginning of the manufacture of hangers laid.