
In this article, Dania Kraster, author of SuperCrastan, will show how to make a foam cutting machine.
Before moving on to the topic of casting, Dania wants to show you a device that will help solve some problems in the manufacture of injection molds. This time we will focus on a foam cutting machine.
Materials and tools.
Cantal 0.6mm 50cm
A few boards or a piece of chipboard, plywood, for making a table
The beam is hard enough for the bar, about a meter and a half
Steel plate 50 * 50 * 1mm
Tarlep
Screws
Screwdriver, drill
Chisel.
It is difficult, in fact, to call this device a machine. Danya would say that this device, although in general, this is a complete tool.
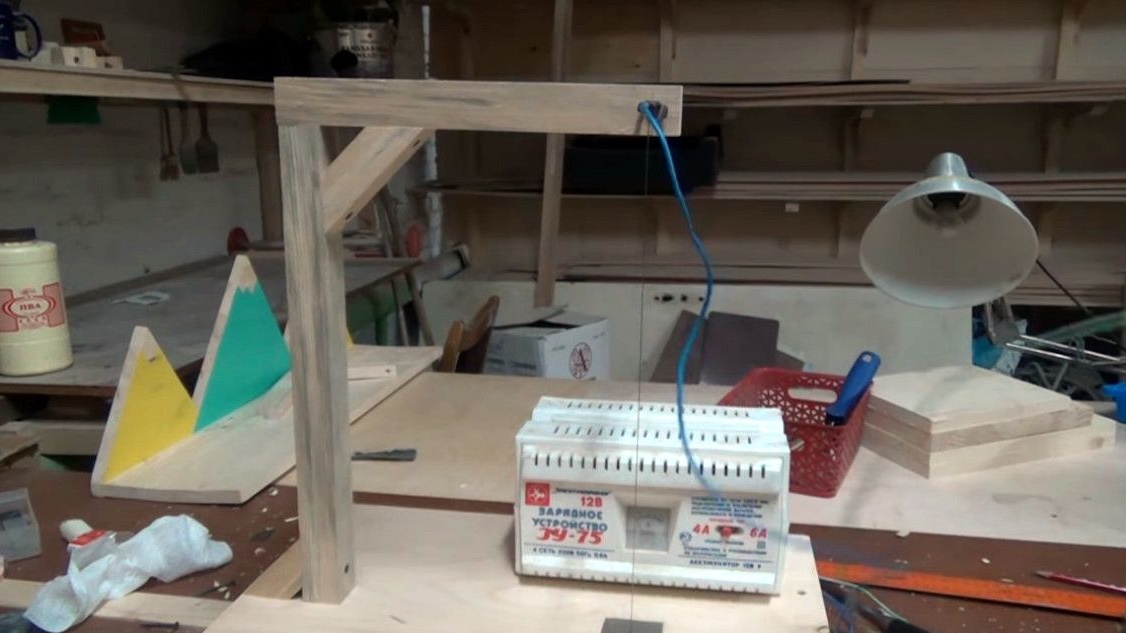
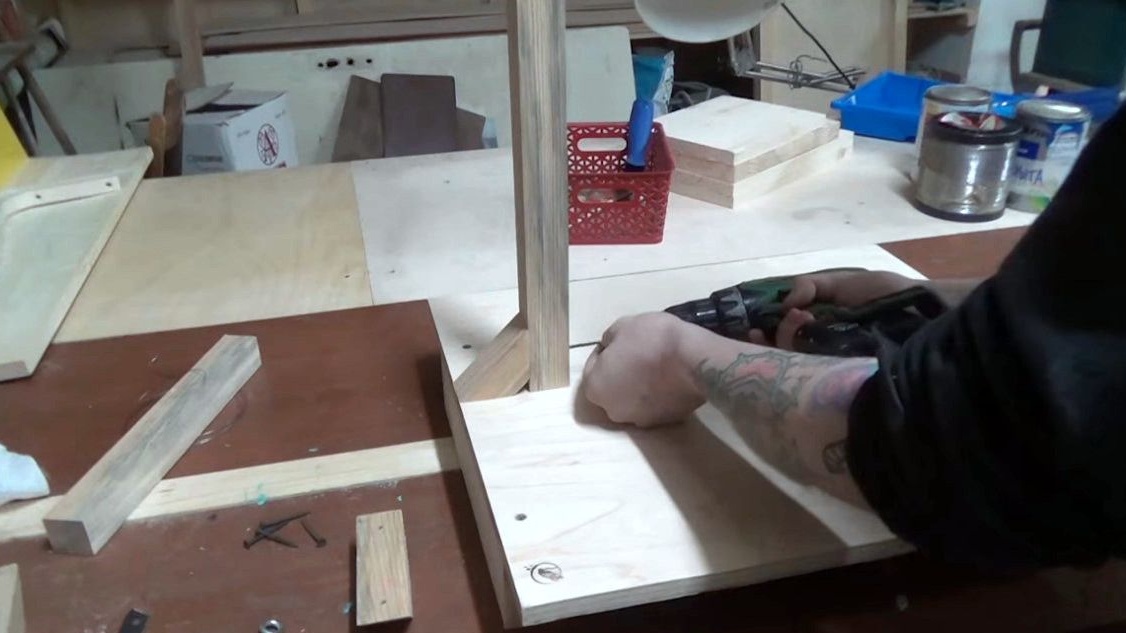
So, for starters, you need to make such a table here.
4 pieces of wood, 5 screws.
They will not show the manufacturing process of this Dan because of sadness, he will show the assembly of the machine itself. Under the table he will have a minimum of troubles.
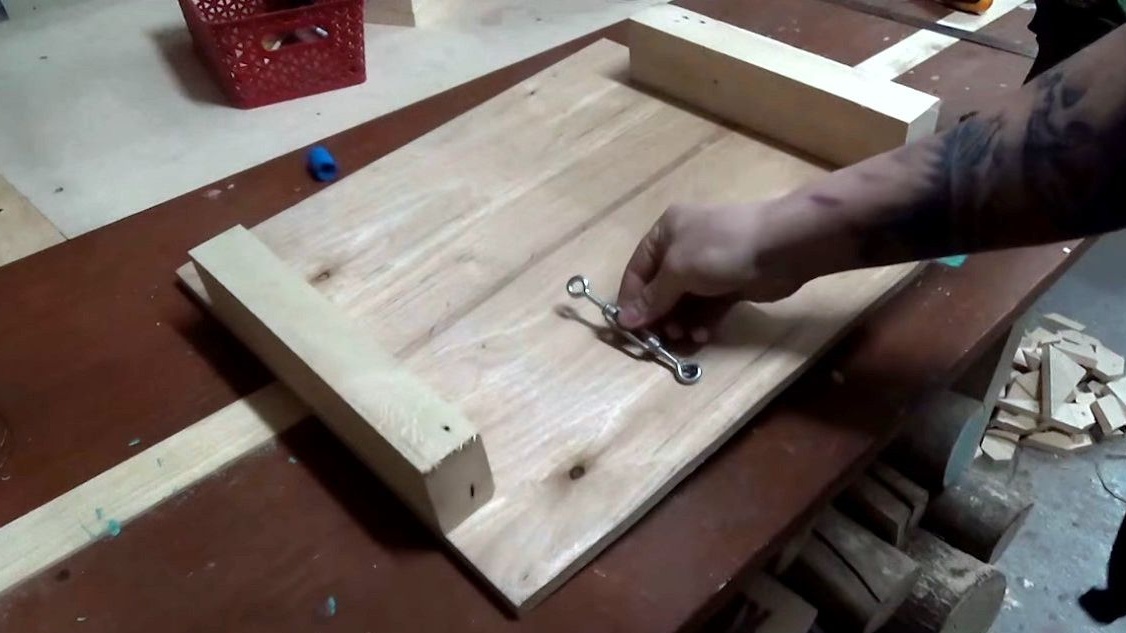
Screws the screw on which the lanyard will be attached. Lanyard is a device with which a cable is pulled.

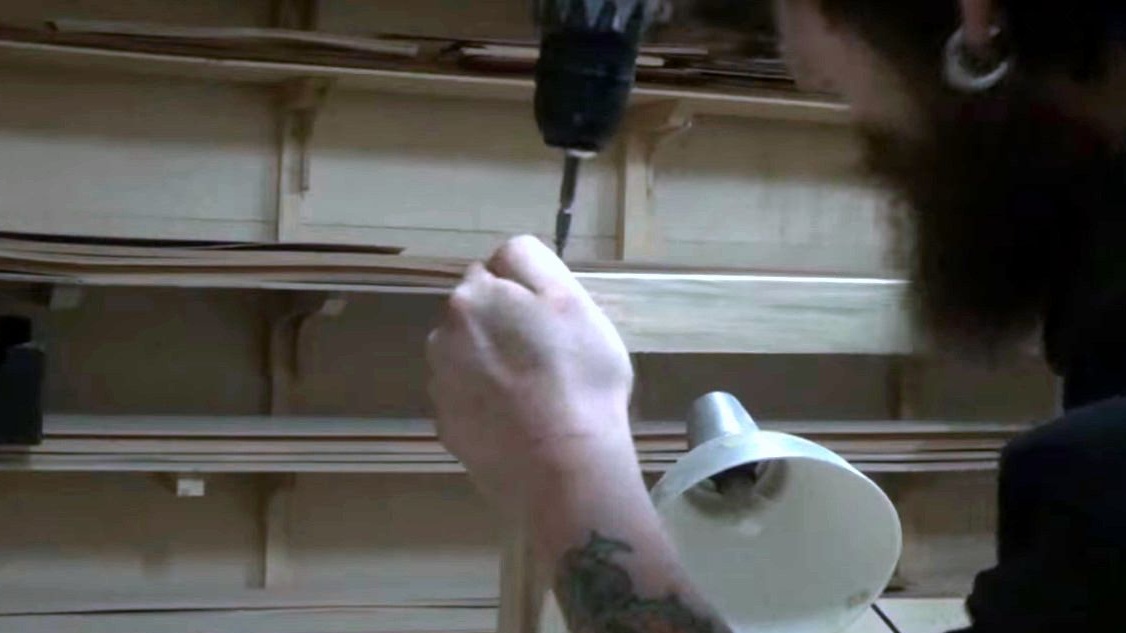
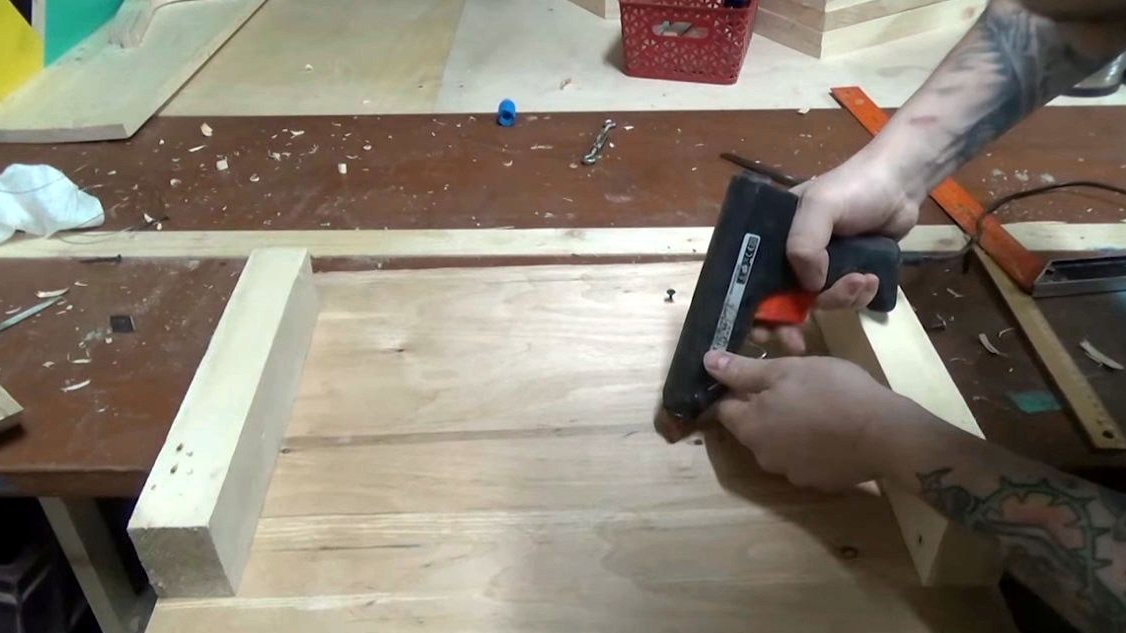
Then he fastens a block to the corner, and calls it a mast.
To the mast, a crossbar is planted on a self-tapping screw.
And this case reinforces another corner of the bar.
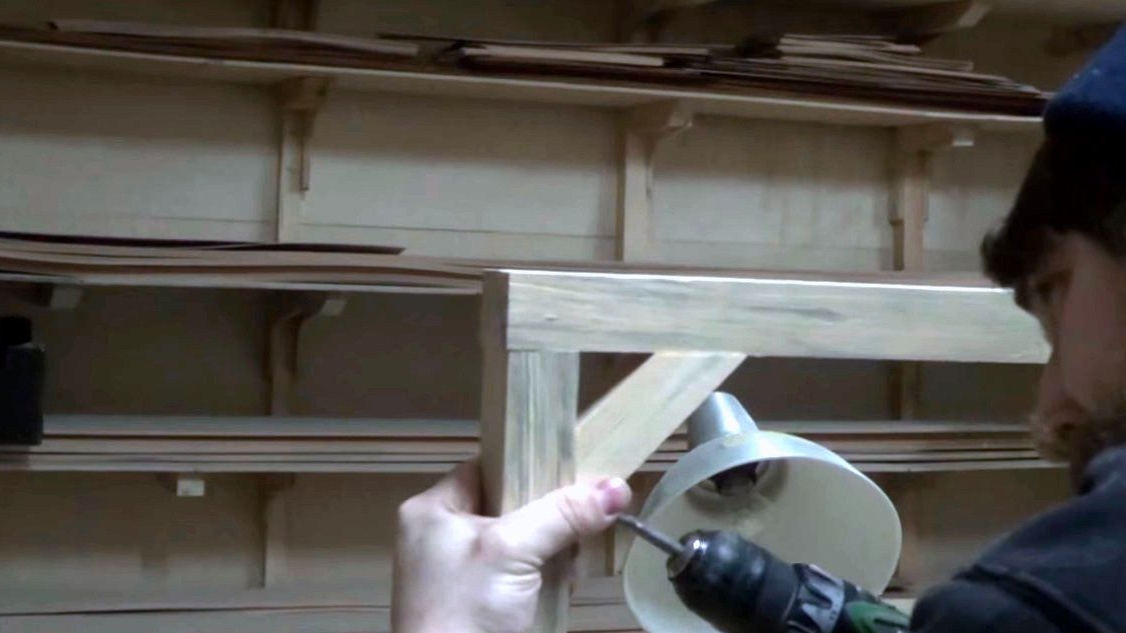
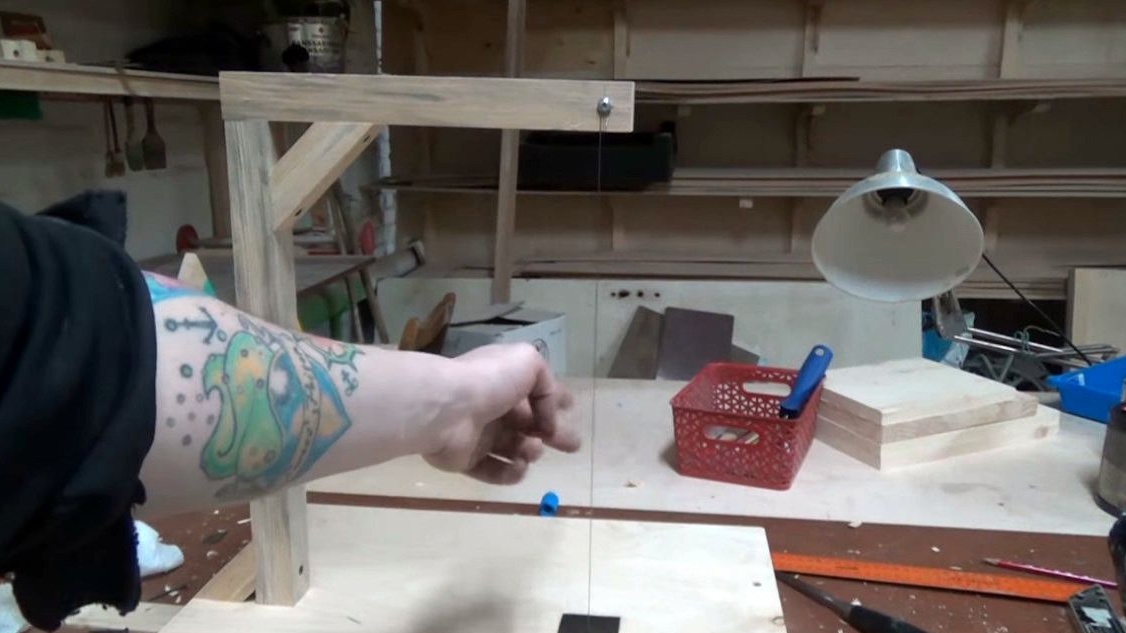
In the end, you should get such a gallows.

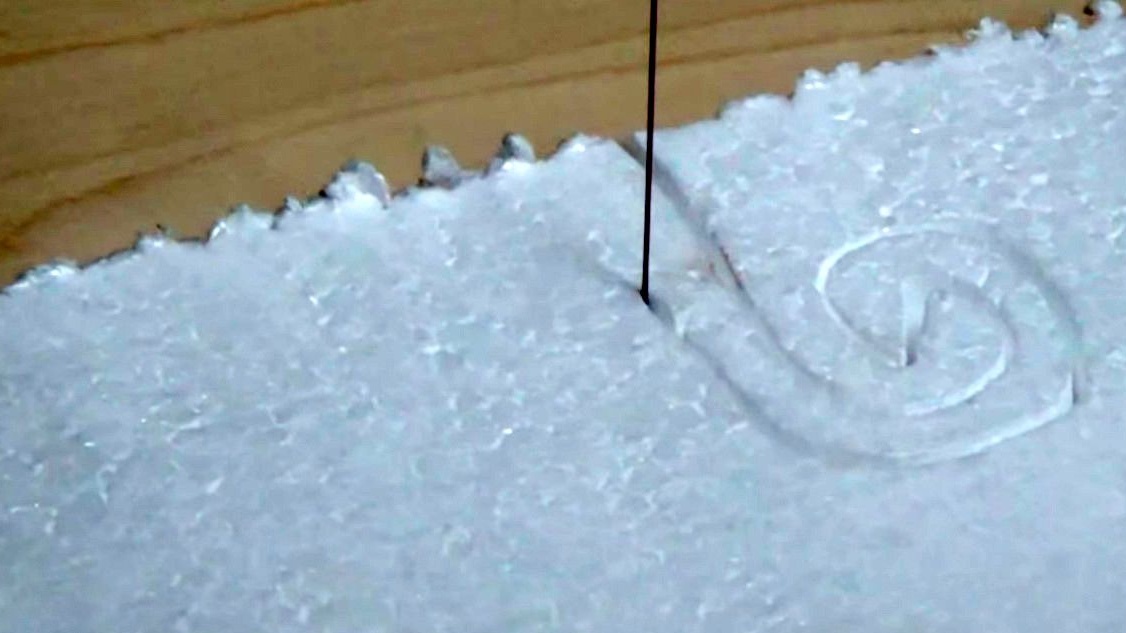
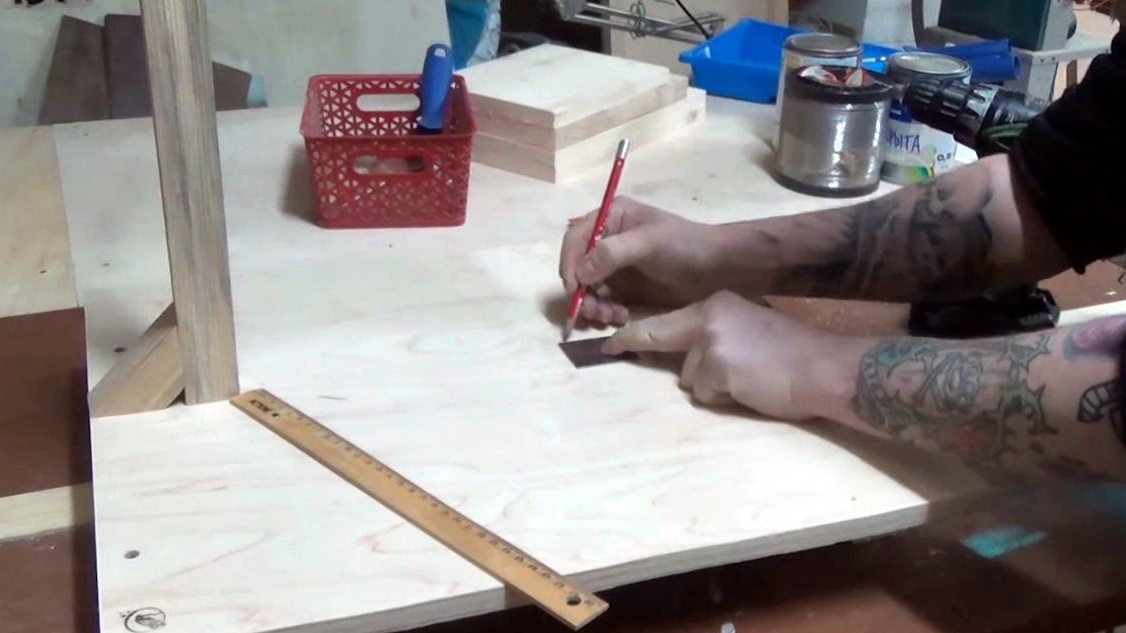
An angled ruler with emphasis marks the place where the filament should go.
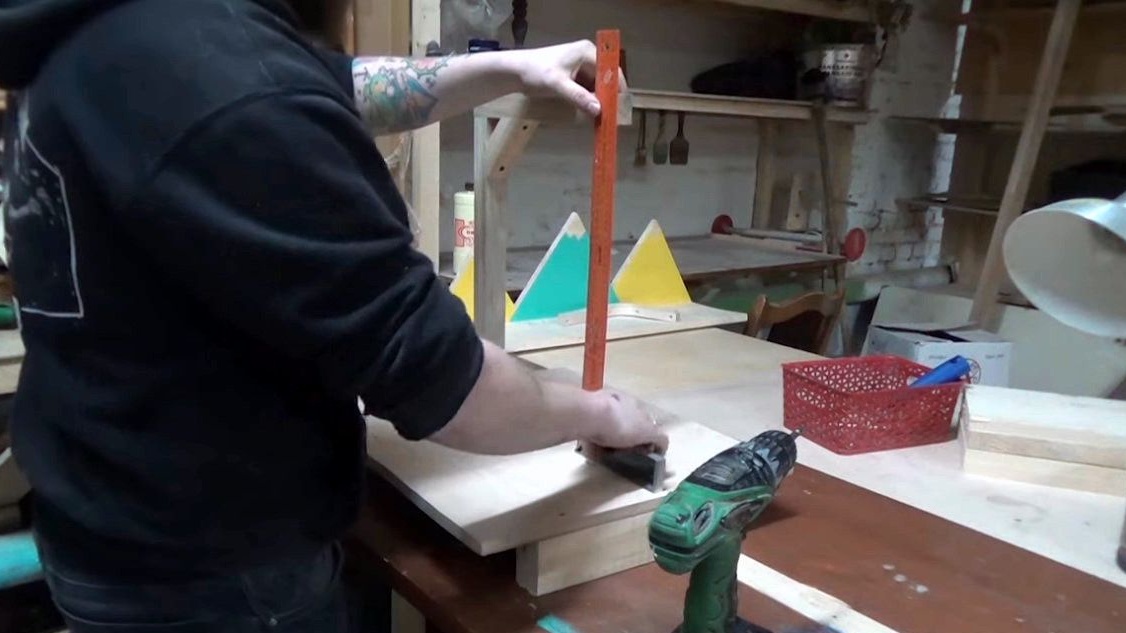
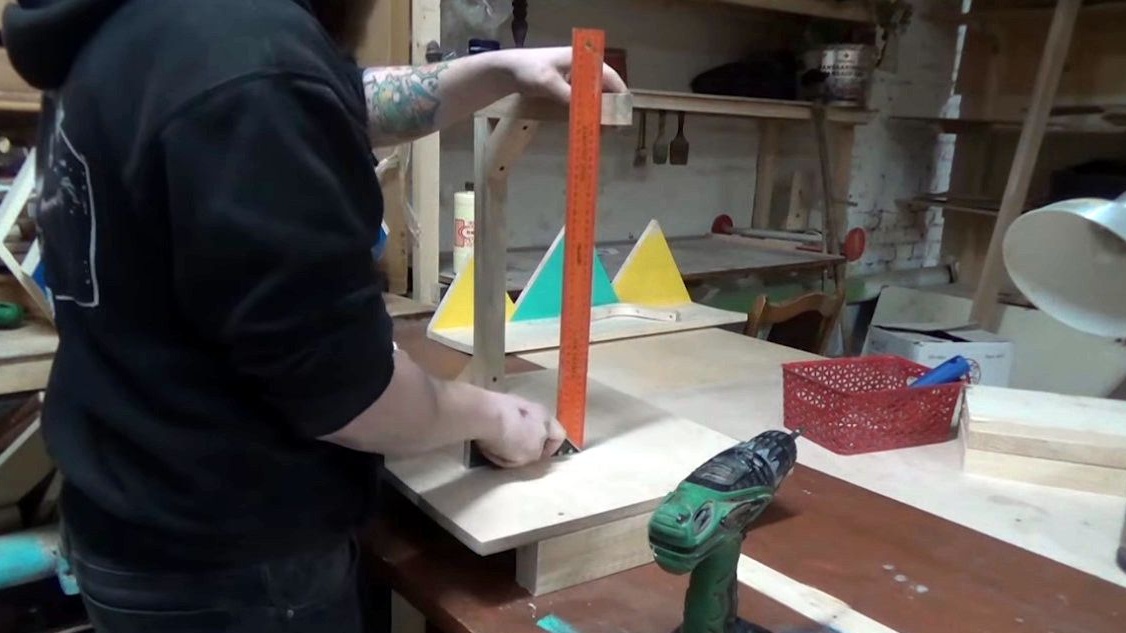
In principle, if the table is level, you can do it with a plumb line.
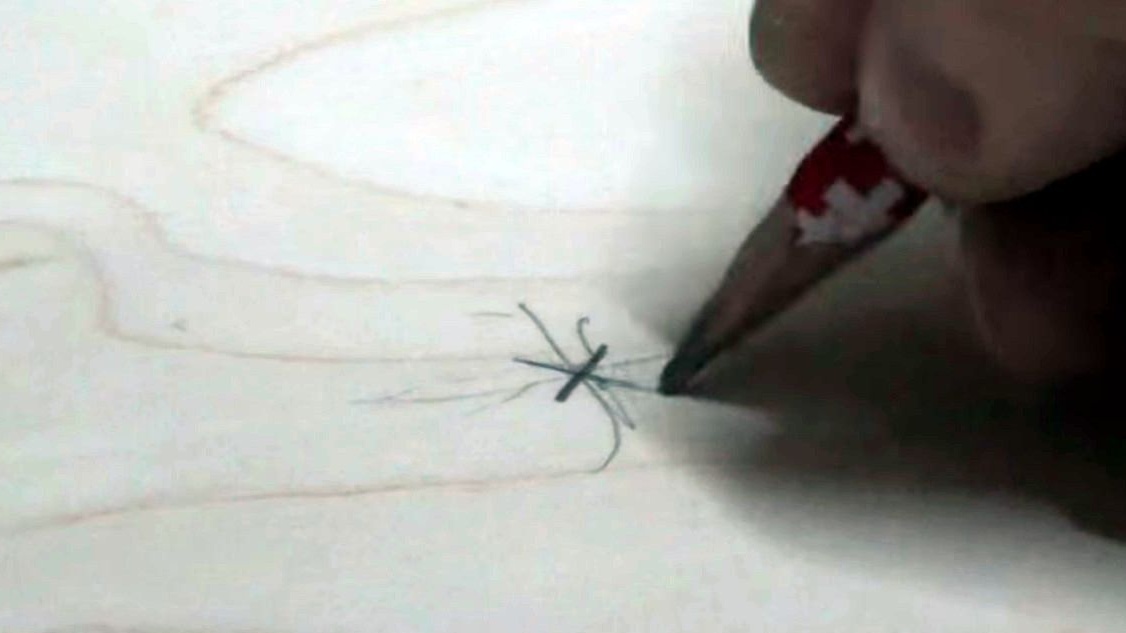
Marks place X, which is then drilled with a 6 millimeter drill.

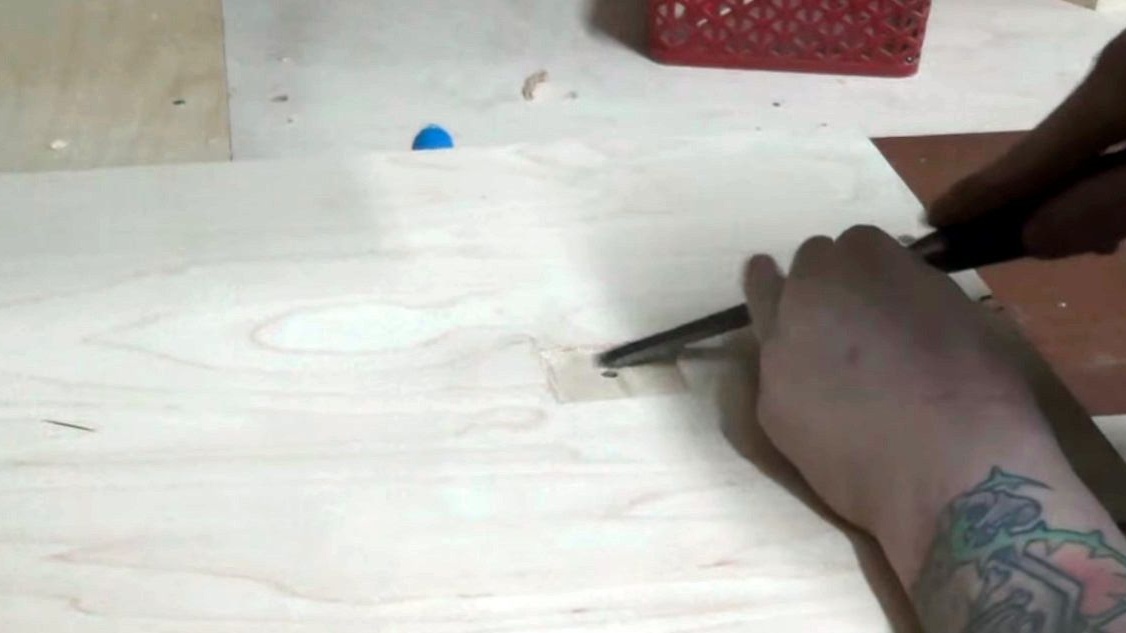
Further, on a pre-prepared metal plate 1 mm thick, the center notes.
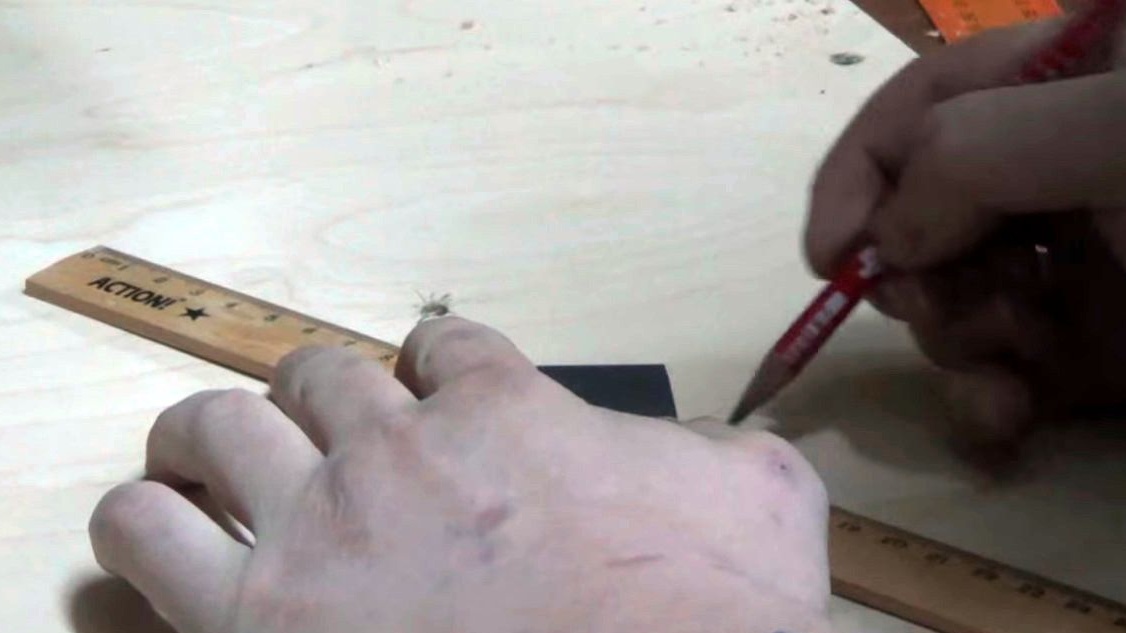
And drills with a millimeter drill.
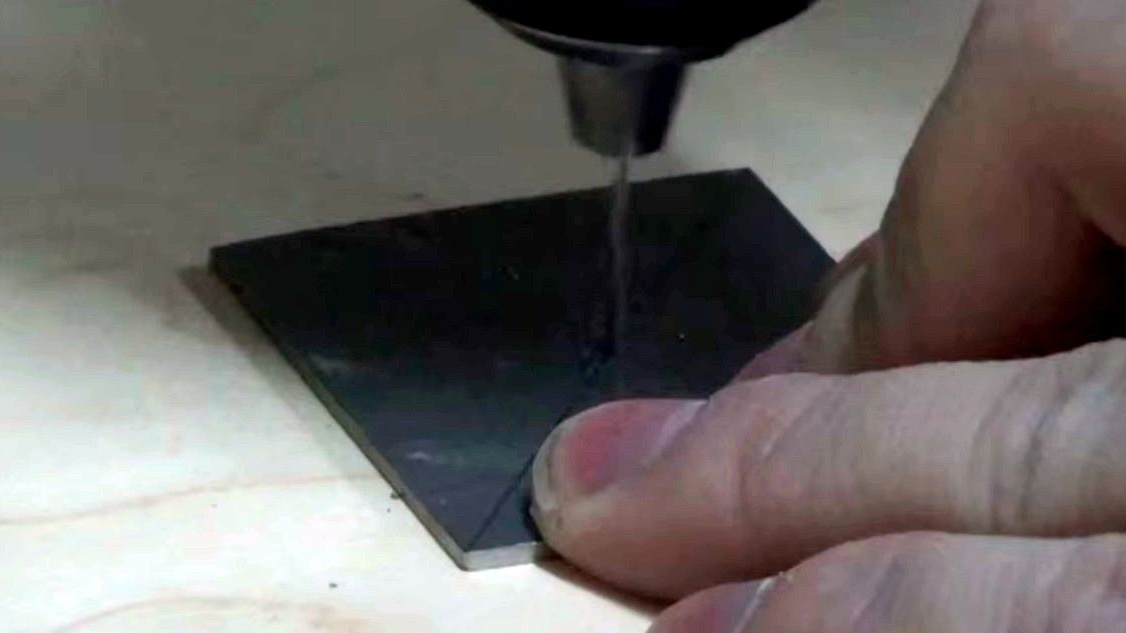
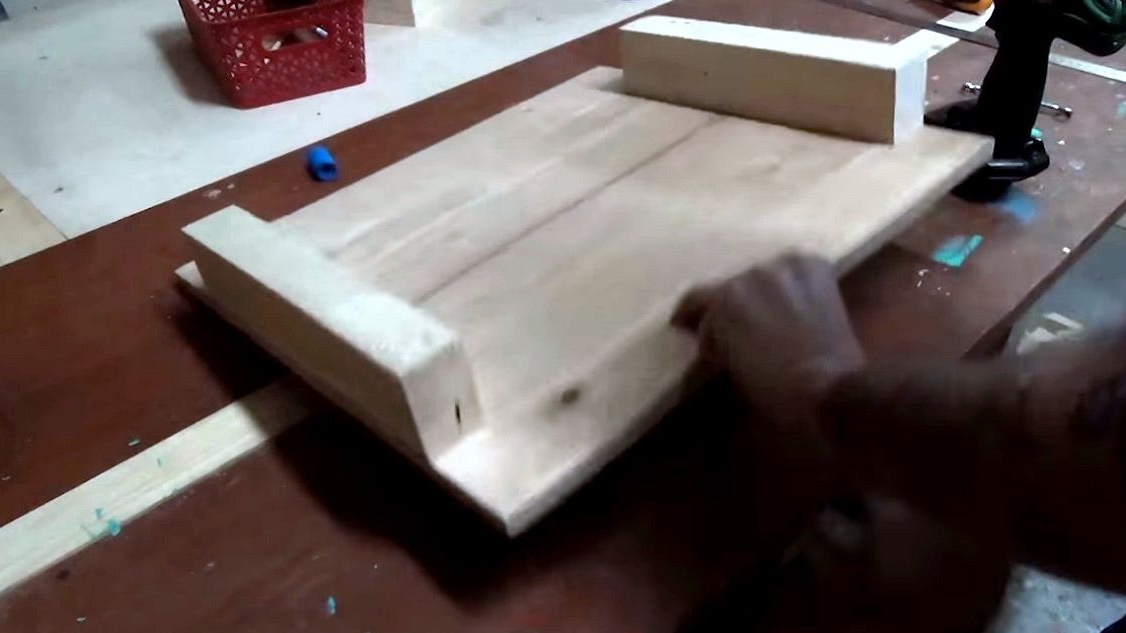
The plate is needed so that the heated thread during the cutting process does not burn the tree and does not loosen in all directions. Marks where the plate is installed in the table.
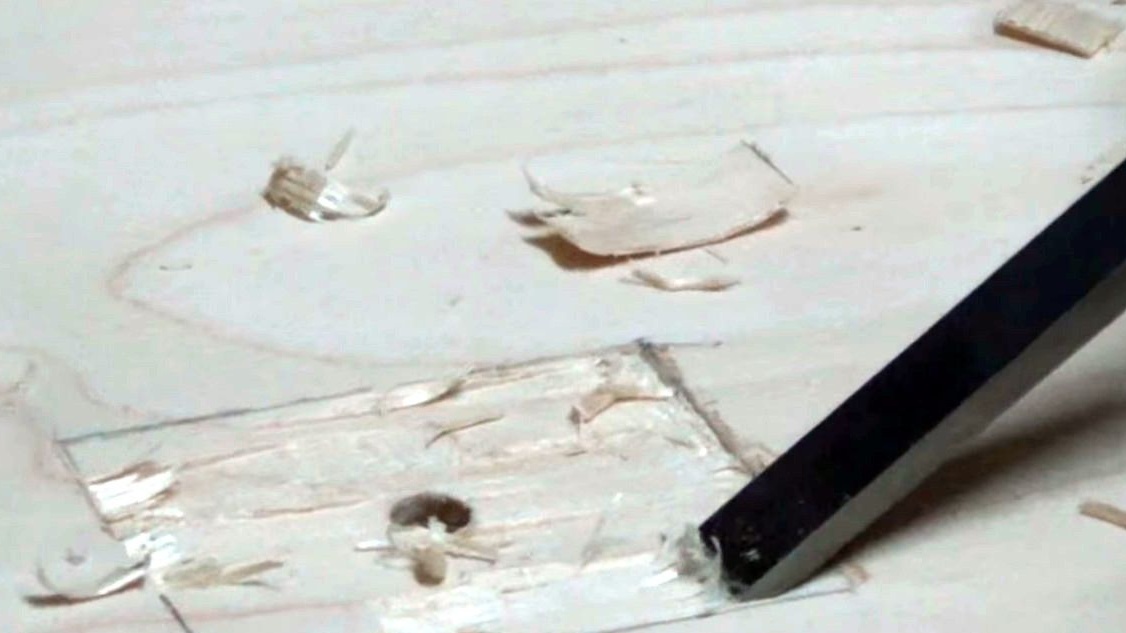
The insert will be flush, and for this you need to choose a layer of plywood.
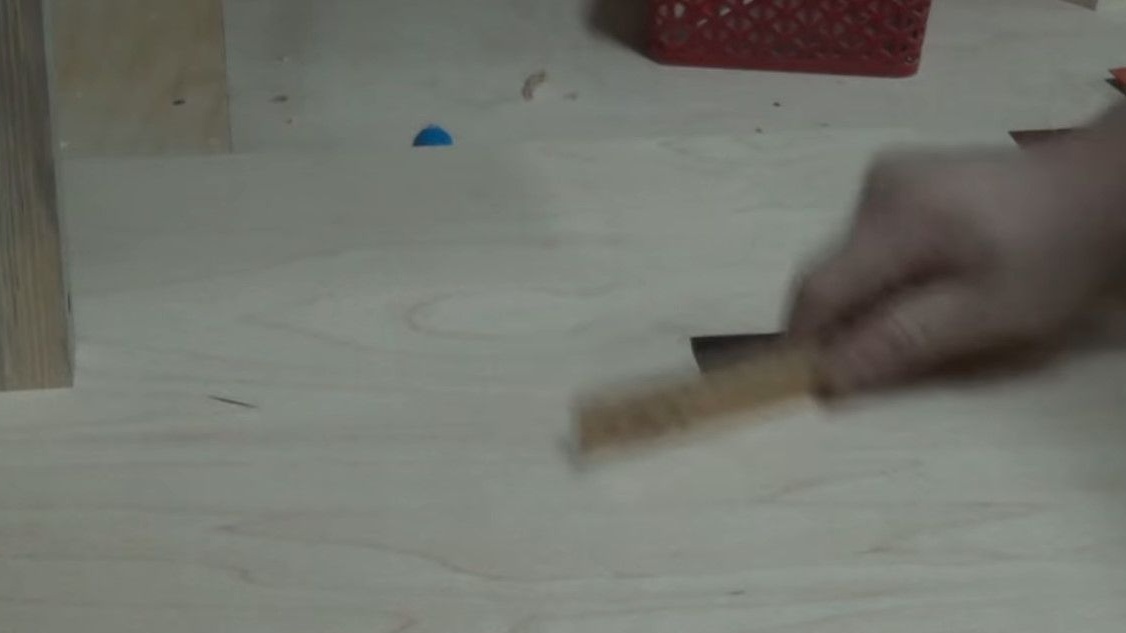
Dan will do this with the usual chisel and a small hammer.
Cutting the edges, begins to choose the top layer.
After the plate has confidently taken its position, and does not catch anything, the author will bend the nails.
And for what - now you’ll understand. Bends a nail in a vice, in the form of the letter P.

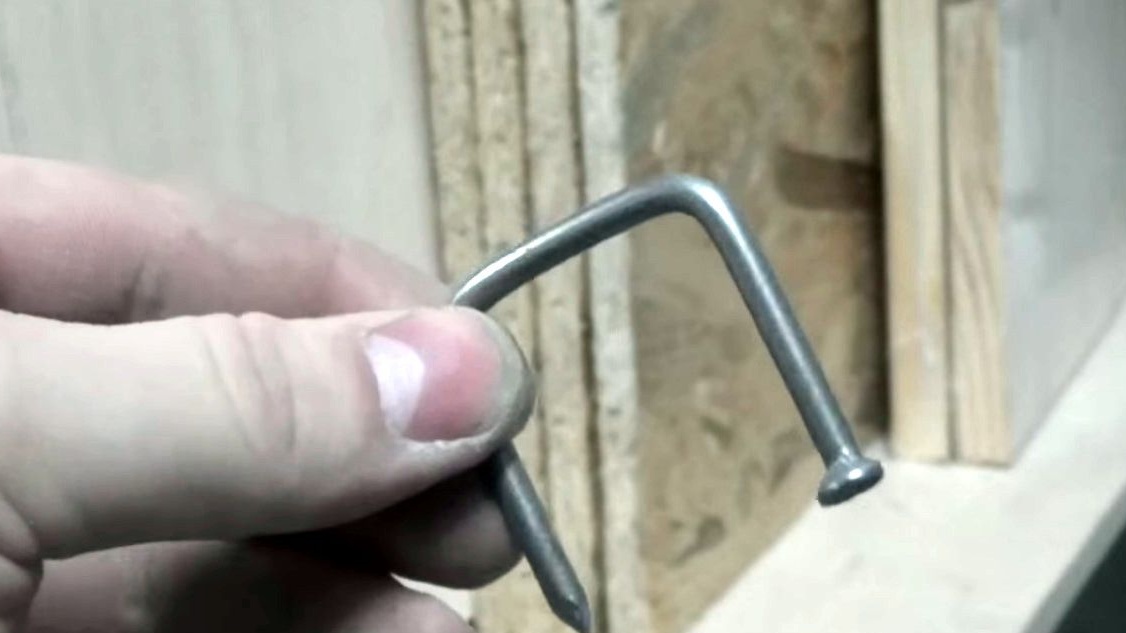
Cuts off excess pieces with a bolt cutter.
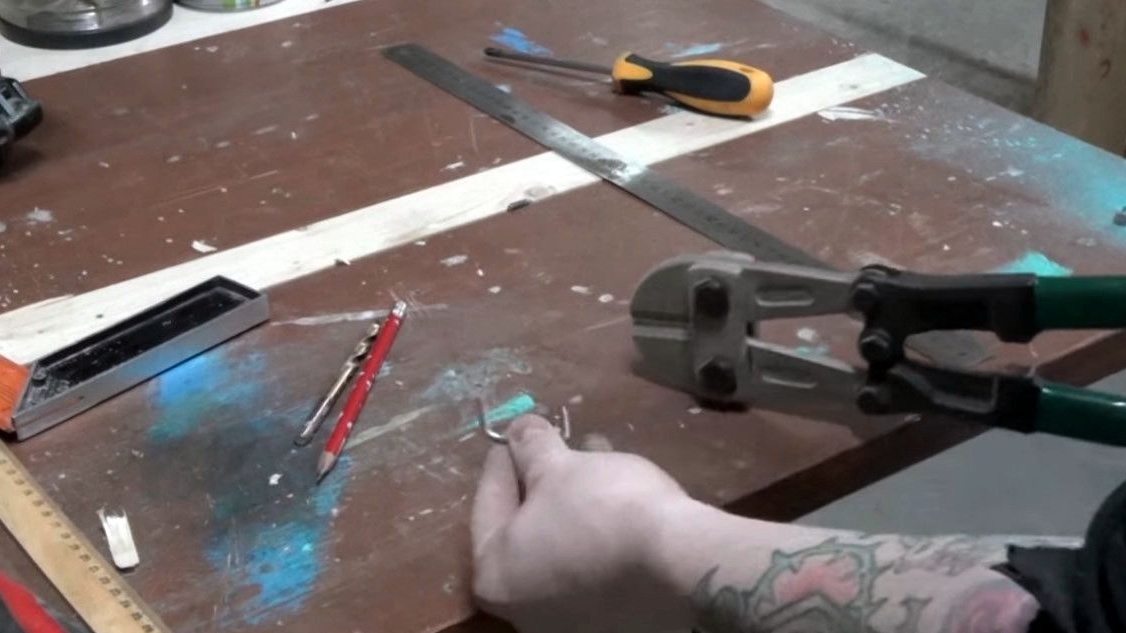
Further notes the resulting distance between the "legs" on the bottom side of the table.
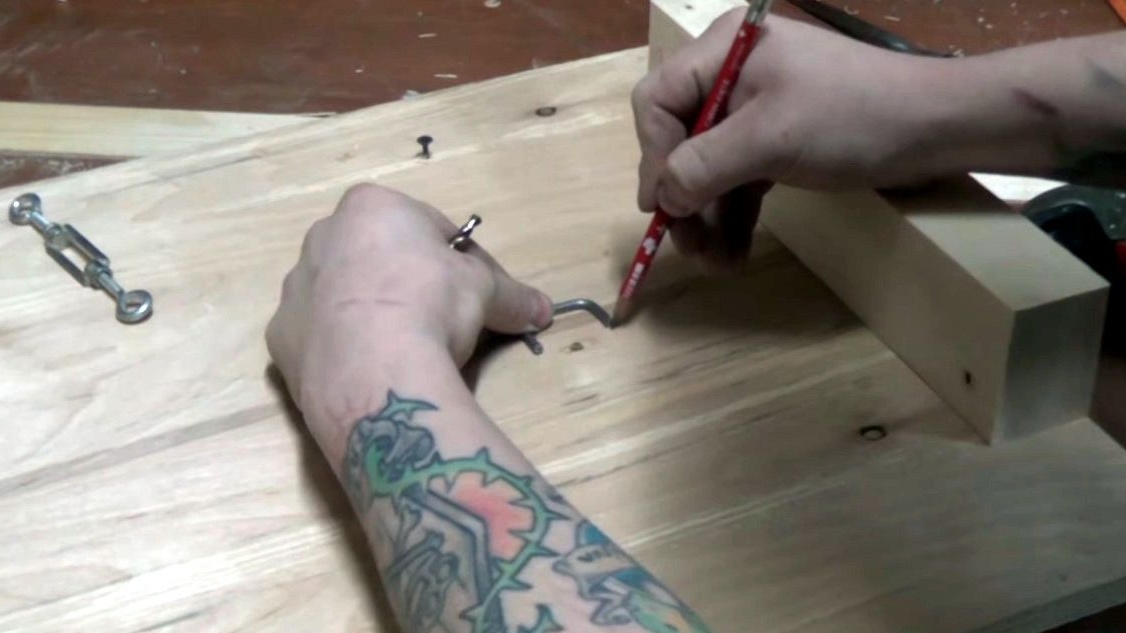
This detail is necessary so that again the thread does not burn the tree, and so that the lanyard can spin quietly.
Drills holes for the bracket using a screwdriver.
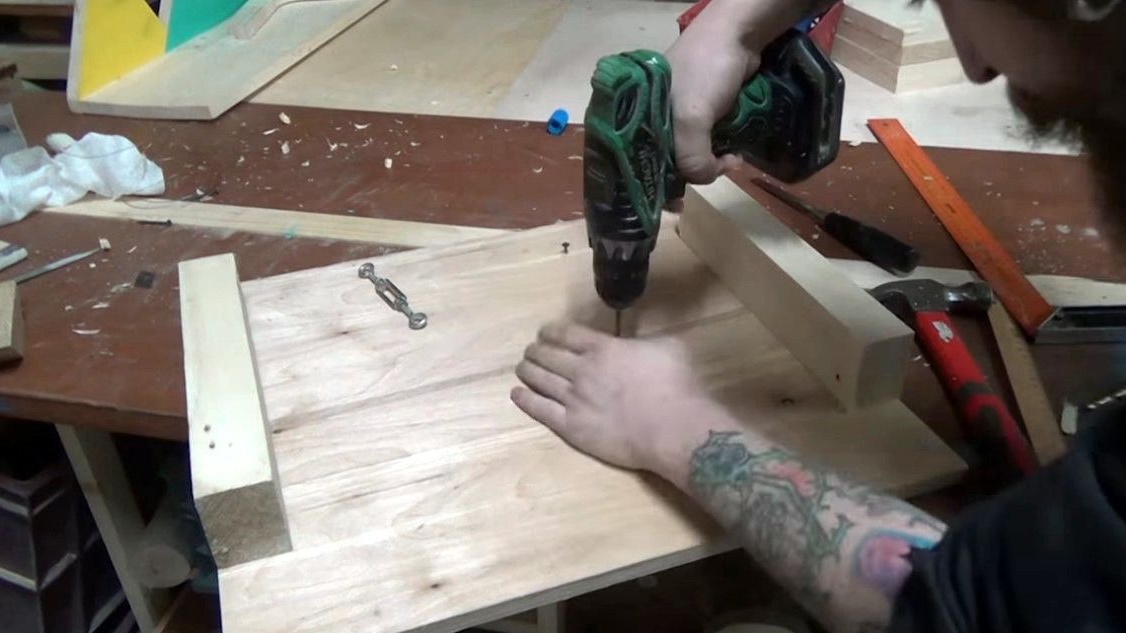
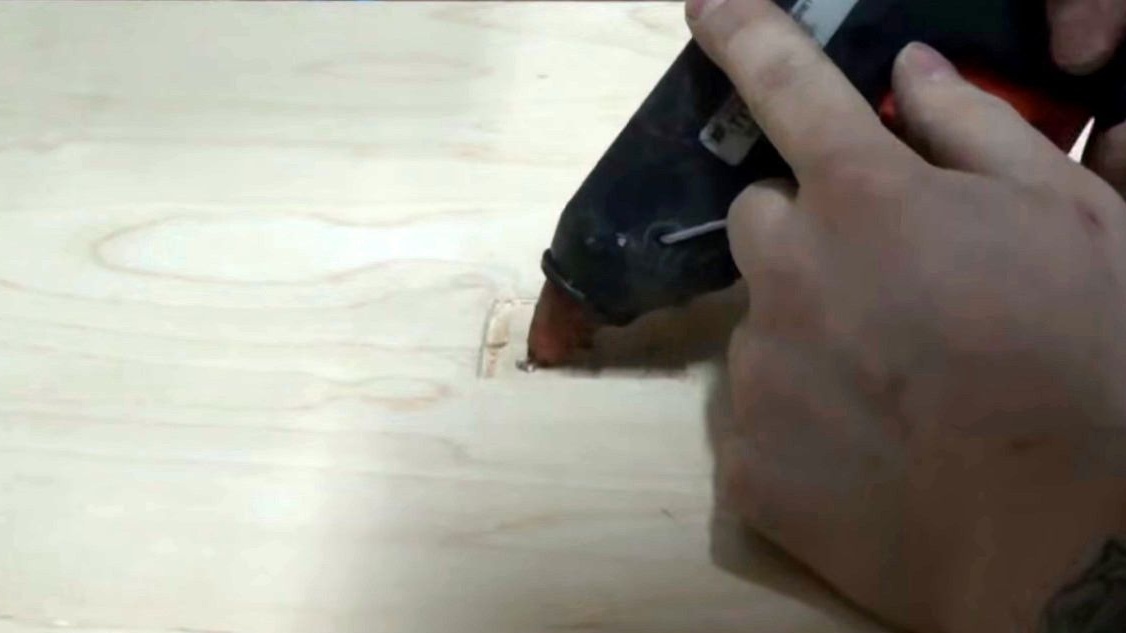
Glues a nail - a bracket on hot-melt adhesive.
And sticks the plate.
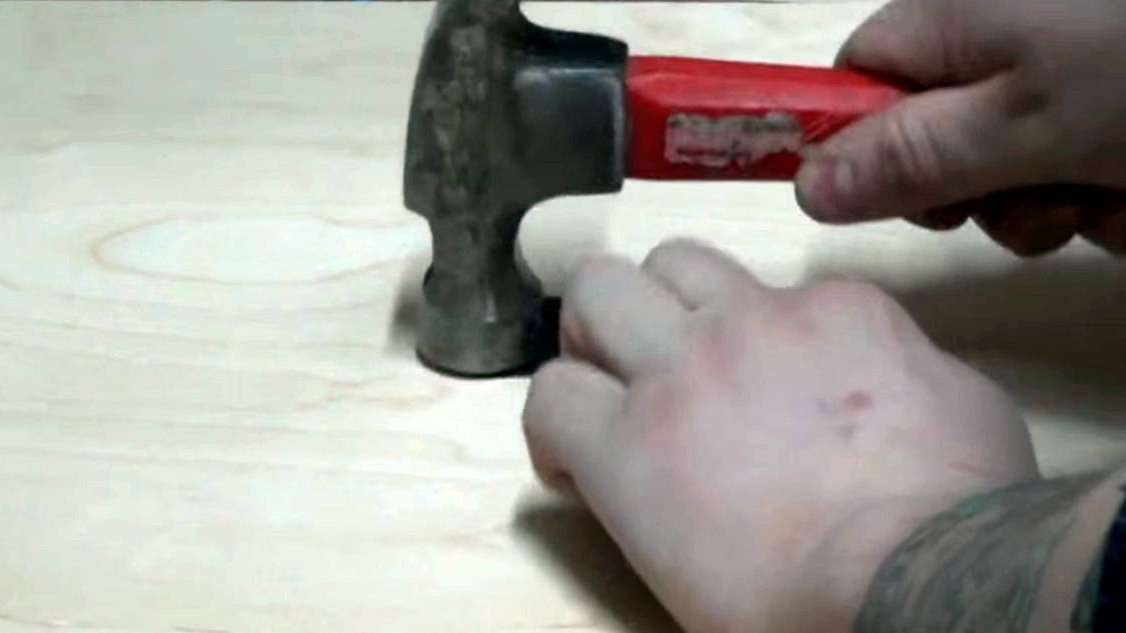
To heighten the quality, he seats her with a hammer.
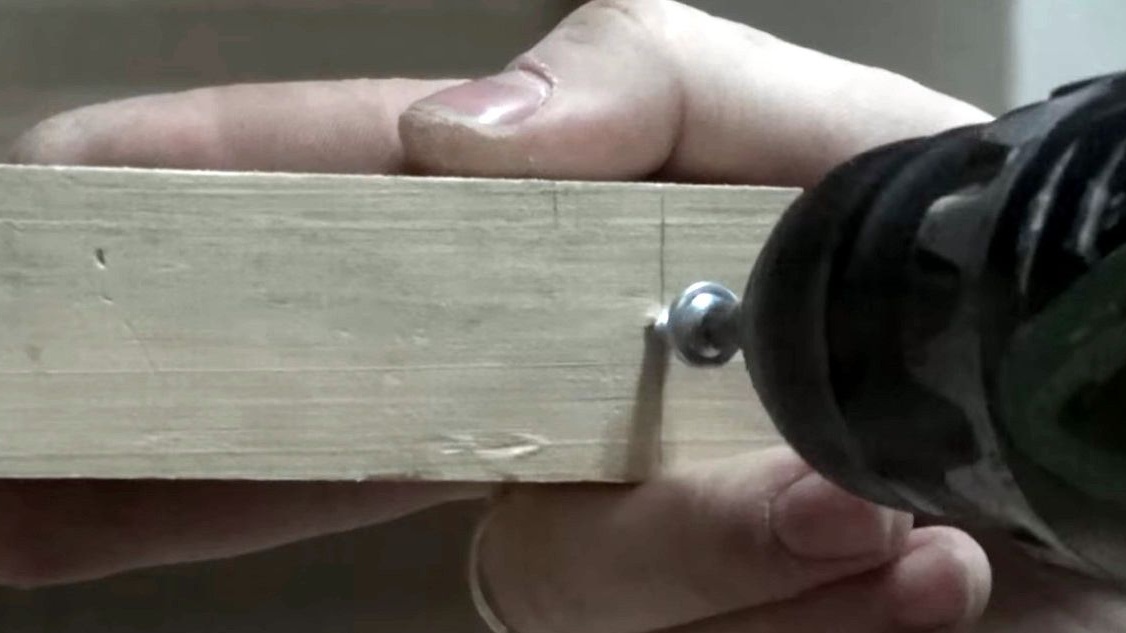
Further, without particularly worrying about fixing the thread, the screw with a wide hat is half screwed. A common bug.
And he winds a cantal of 0.6 millimeters on it, he is fechral.
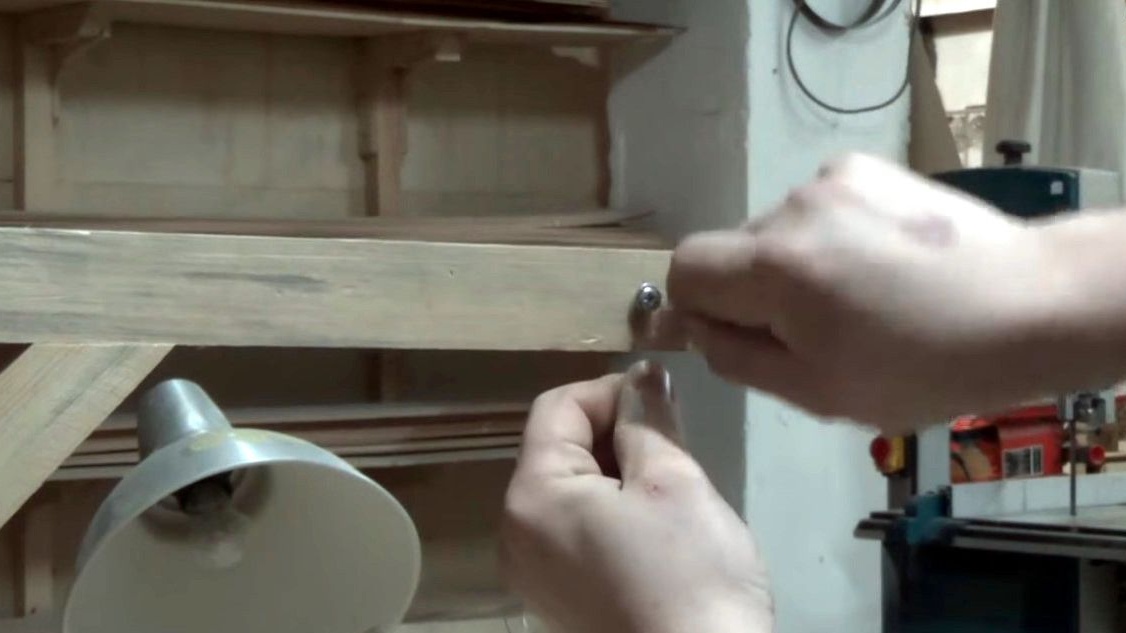
Fortunately, with the spread of vape shops, this material is now super accessible. The bug can be pinched a little.
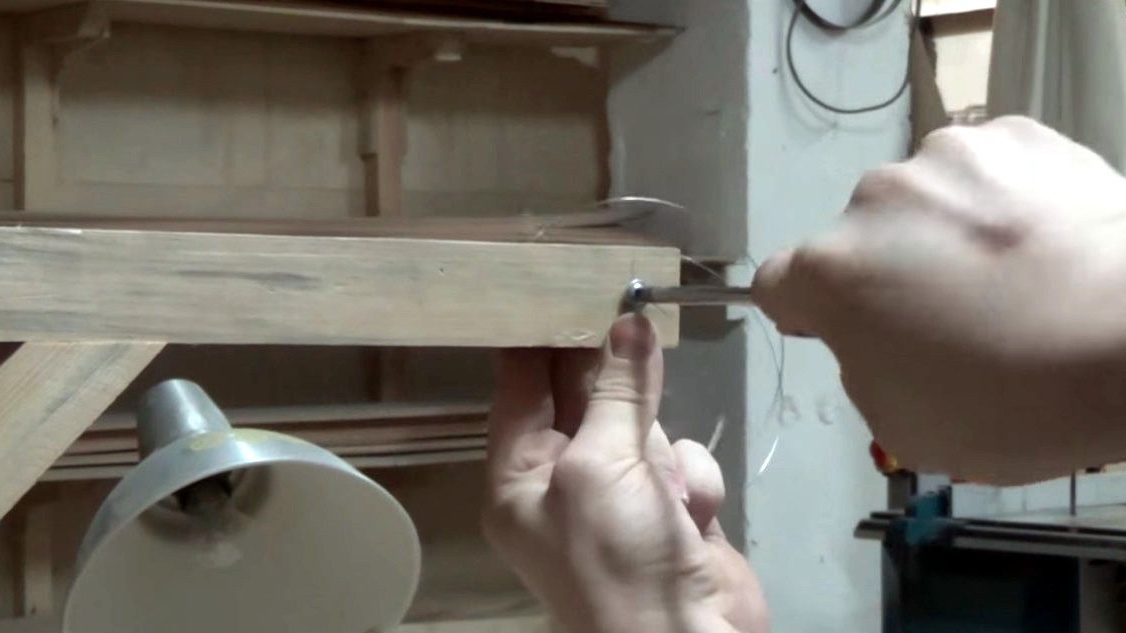
Pulls the filament through the hole.

Winding the cantal on the lanyard, and fastens the other side of the tarlep to the self-tapping screw.
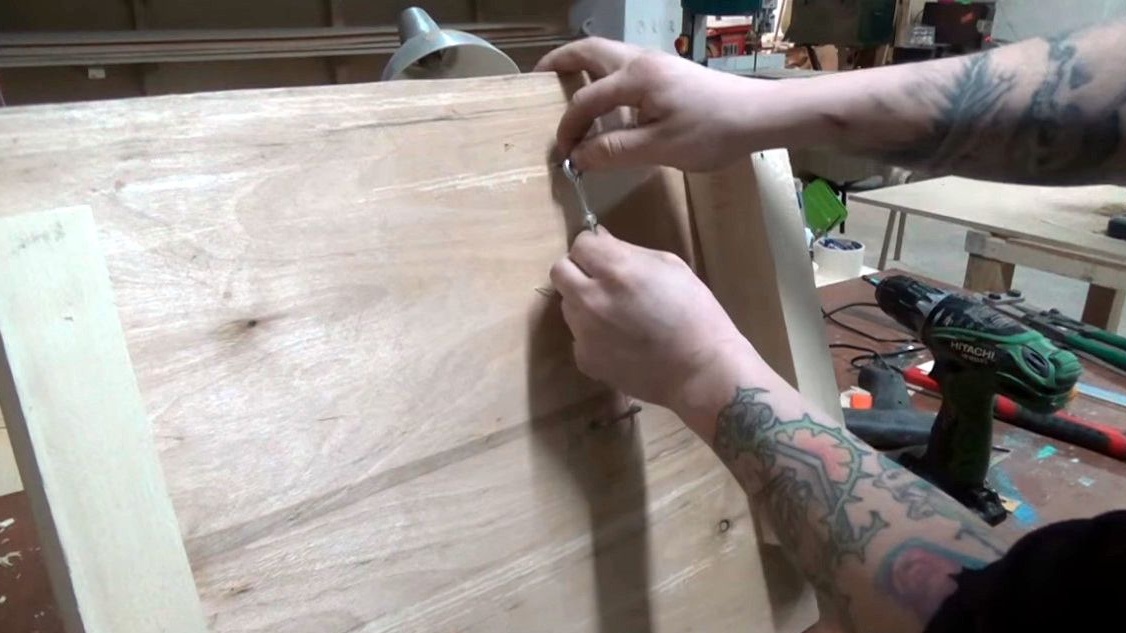
Lanyard twists in the direction in which he is drawn.
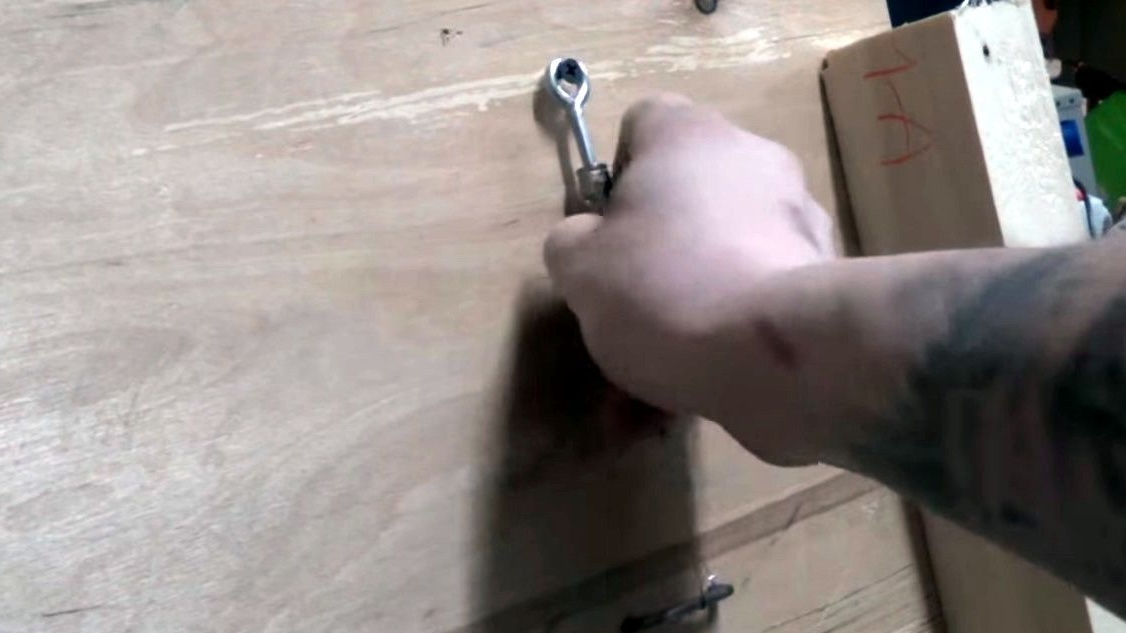
Stretched perfectly, just like a string.
Turns on the power. Dani had a charger at hand for auto batteries, so it will use it.

12 Volts, 4 Amps, 40 centimeters 0.6 cantal. Somehow it happened.
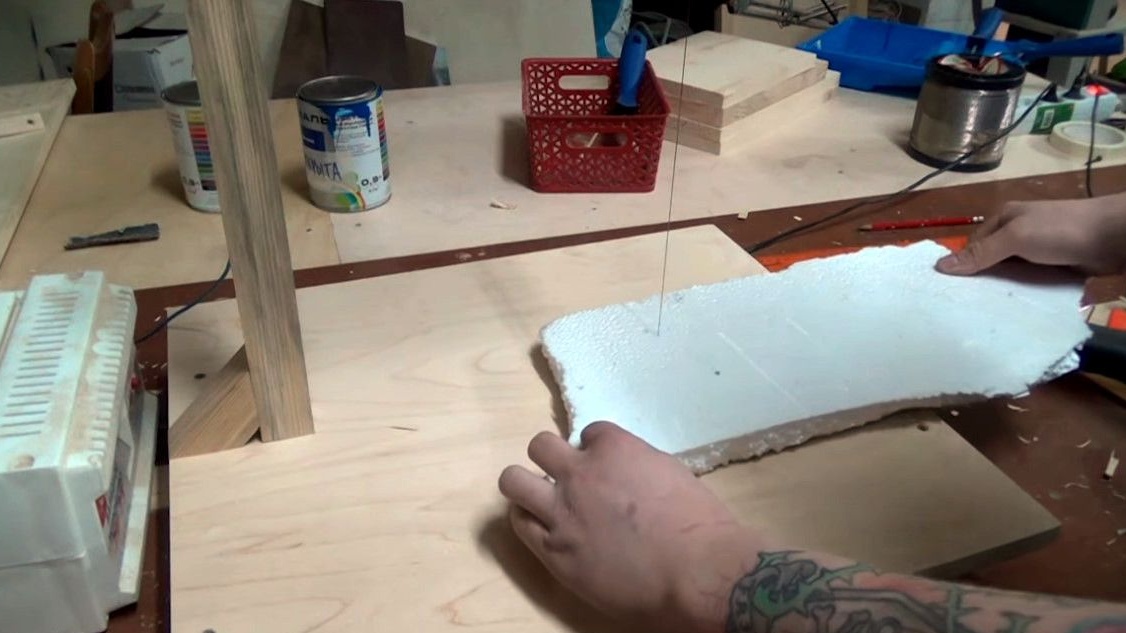
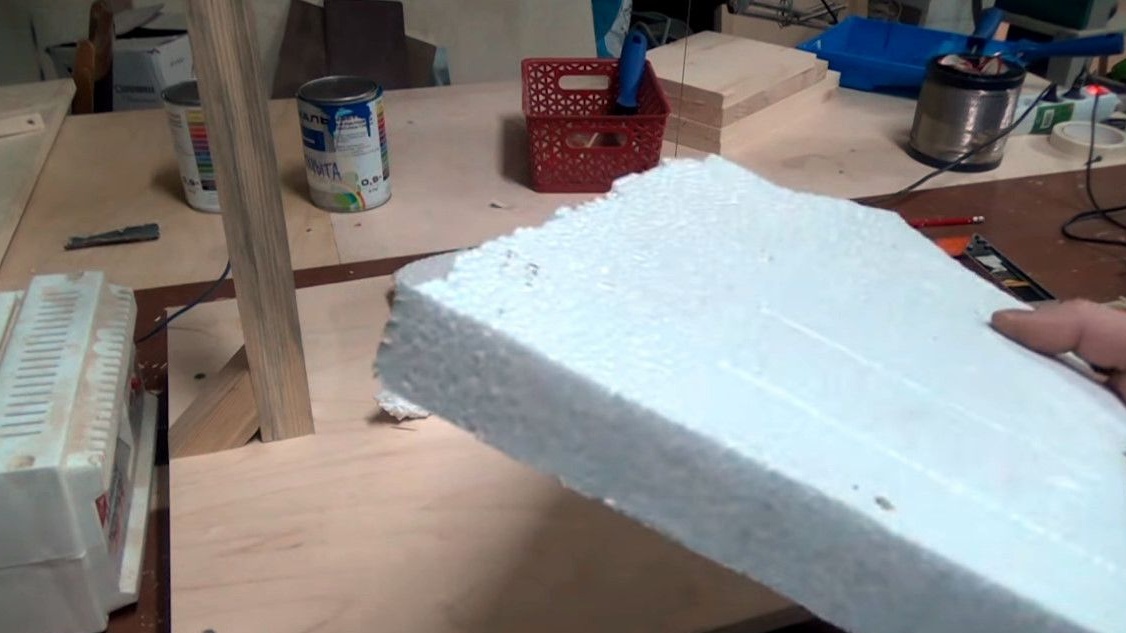
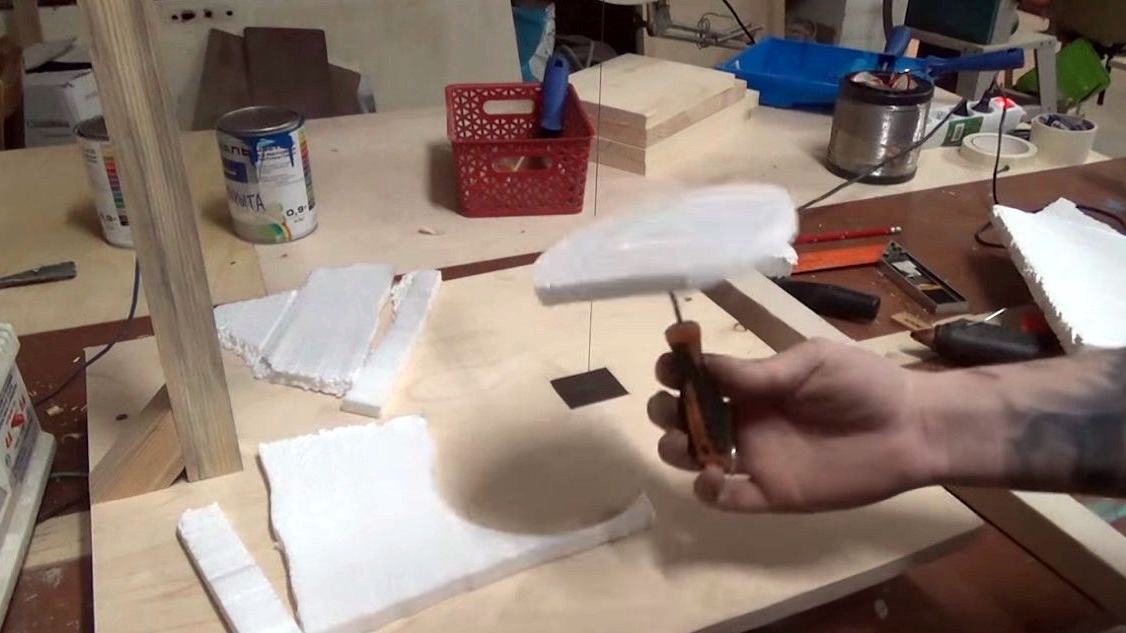
You can, of course, take a smaller diameter cantal to reduce current. But the author decided that it would be just right. And, lo and behold, the wire cuts the foam like butter!
As for the temperature, the author cannot say anything; there was nothing to measure. But heating is clearly enough for cutting not very tight packaging from the refrigerator.
You can also cut thin plastics, Dan something completely missed the point. The cut is smooth and does not overcook the edges.
The trick of such a machine is that if desired, you can cut a lot of the same pieces, rails, cubes, cut washers.
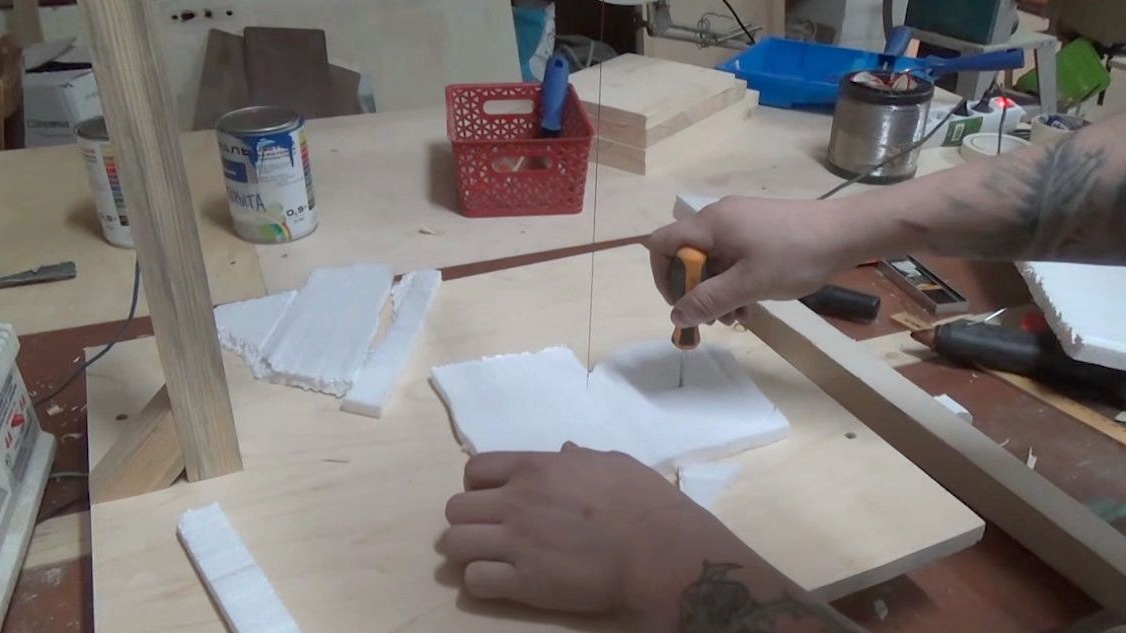
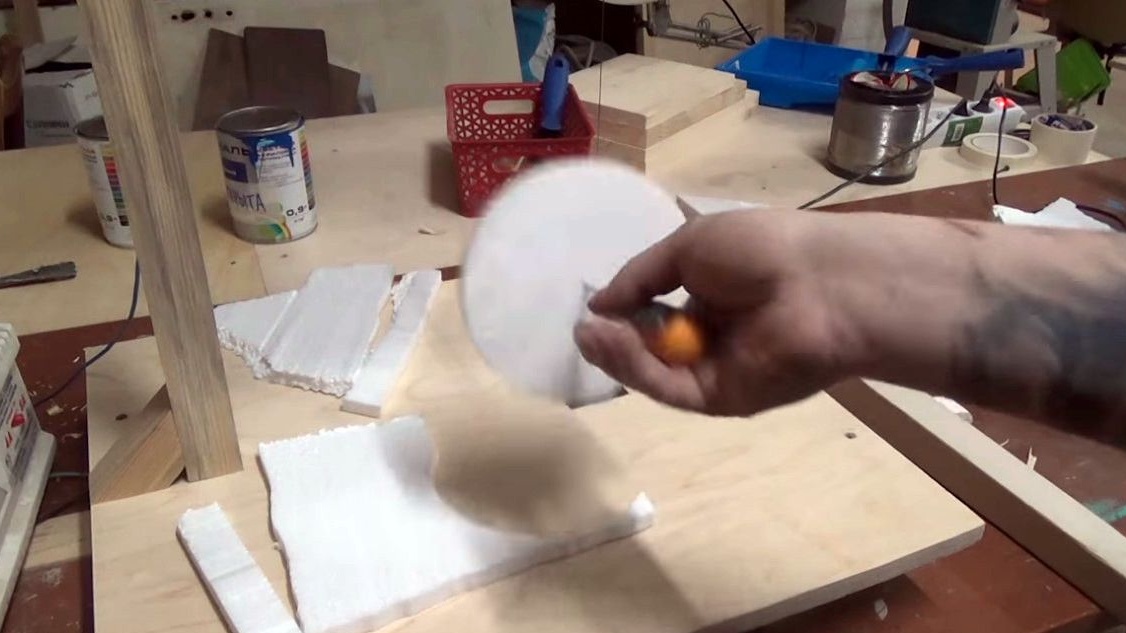
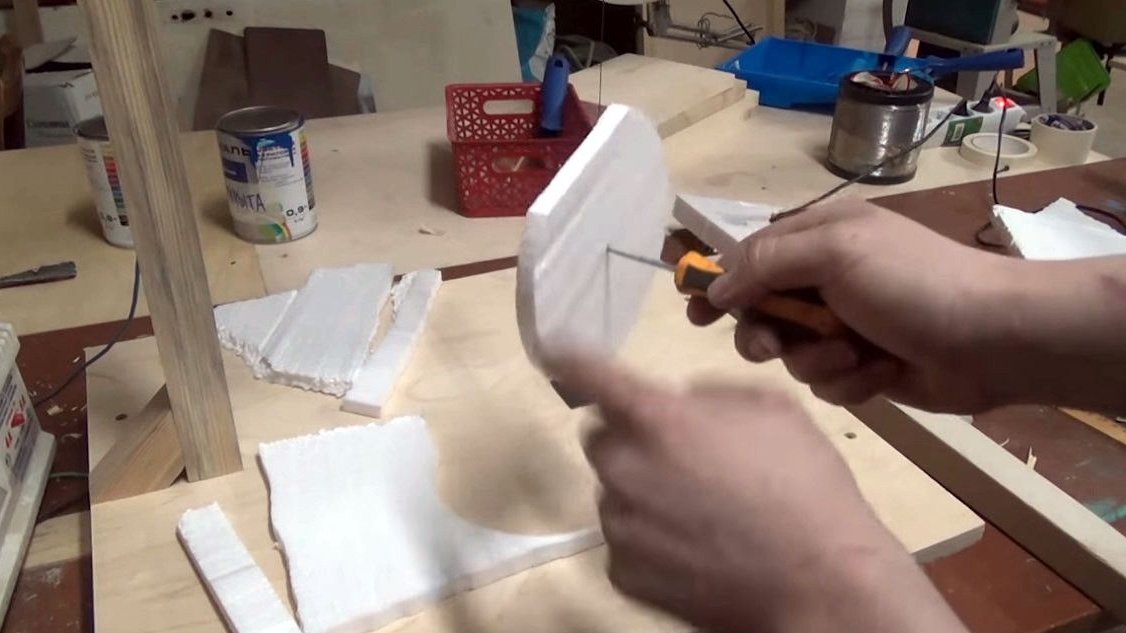
And with certain skills - even a cone. Then all these chips will play the role of injection molds.
Thanks to Dana Craster for the detailed instructions on making usefulness for creativity!
All good homemade!