

Hello, in this article I will show and tell you how to make a laser CNC machine on which you can do various engravings on wood, plastic and leather.
For this project we will need:
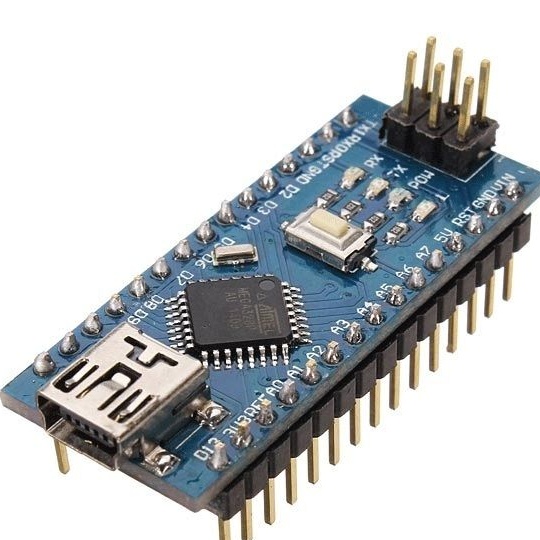
• Microcontroller Arduino nano
• Two CD drives
• Two drivers for A4988 stepper motors
• Laser (in my model it’s at 200nm and 200mW)
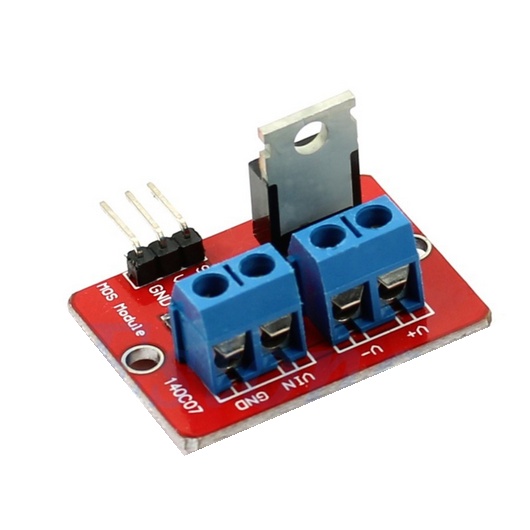
• mosfet module on IRF520
• connecting wires
• Bread board
• Terminals
• Metal corners
• Set of nuts and cogs
From the tools:
• Soldering iron
• Screwdriver
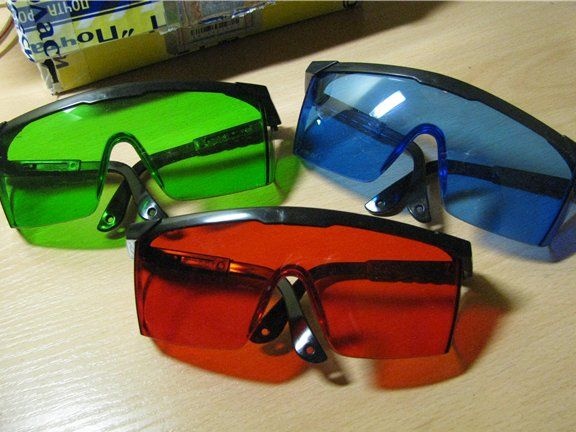
Eye protection:
• Protective glasses
Let's quickly go over the components. Let's start with the brain - the microcontroller. In addition to Arduino nano, you can also use other models of this microcontroller.
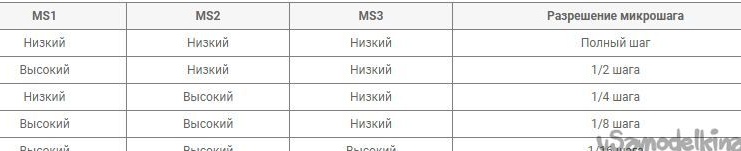
Equally important is the A4988 stepper motor driver. With it, we can control the engine, set micro steps and their speed. Also, in the A4988 driver, you can configure the micro motor pitch: 1, 1/2, 1/4, 1/8, 1/16.
To configure it, you need to pull the ms1 ms2 ms3 pins to the plus in a special order (presented in the table).
Consider the main characteristics.
• Supply voltage: 8-35 V
• Micro step mode: 1, 1/2, 1/4, 1/8, 1/16
• Logic voltage: 3-5.5 V
• Overheat protection
• Maximum current per phase: - 1 A without a radiator; - 2 A with a radiator
• Size: 20 x 15 mm
• Without radiator: 2 g
Now consider the connection diagram.
• ENABLE - enable / disable the driver
• MS1, MS2, MS3 - contacts for micro step installation
• RESET - chip reset
• STEP - pulse generation for the movement of engines (each pulse is a step), you can adjust the speed of the engine
• DIR - setting the direction of rotation
• VMOT - power for the engine (8 - 35 V)
• GND - General
• 2B, 2A, 1A, 1B - for connecting motor windings
• VDD - microcircuit power (3.5 –5V)

You also need to discuss driver calibration. It is carried out using a micro potentiometer on the driver. This potentiometer controls the current flowing to the motor. Different engines have different current consumption, so we need to decide on our engines. There are two ways: fast and not very correct and long and correct. You can find information about your stepper motor on the Internet, focusing on model your CD drive.There is a high probability that this method will not bring any information. Or you can use an easier way. Turn the potentiometer counterclockwise to the end, connect the motor through a simple program on the Arduino and gradually turn the potentiometer clockwise until the engine starts. Our goal is to keep the engine running and not skipping steps. Do not worry because the engine is hot. This is normal, because the operating temperature of the stepper motor is 40 - 45 ° C.
Calibration Code:
// easy connection A4988
// pins reset and sleep are connected together
// connect VDD to pin 3.3 V or 5 V on Arduino
// connect GND to Arduino GND (GND next to VDD)
// connect 1A and 1B to 1 stepper motor coil
// connect 2A and 2B to 2 stepper motor coils
// connect VMOT to the power supply (9V power supply + term)
// connect GRD to the power supply (9V power supply - term)
int stp = 13; // connect 13 pins to step
int dir = 12; // connect 12 pin to dir
int a = 0;
void setup ()
{
pinMode (stp, OUTPUT);
pinMode (dir, OUTPUT);
}
void loop ()
{
if (a <200) // 200 steps rotation in direction 1
{
a ++;
digitalWrite (stp, HIGH);
delay (10);
digitalWrite (stp, LOW);
delay (10);
}
else {digitalWrite (dir, HIGH);
a ++;
digitalWrite (stp, HIGH);
delay (10);
digitalWrite (stp, LOW);
delay (10);
if (a> 400) // 200 steps rotation in direction 2
{
a = 0;
digitalWrite (dir, LOW);
}
}
}
We are going further. We will discuss the laser. Lasers are primarily distinguished by power. It depends on it whether you can burn on light woods or the machine can only process dark materials. In my model, I did not use a powerful laser, but lasers of higher power are sold in the same case. I would not advise you to take large lasers with radiators, because their mass is much larger and stepper motors that are not designed for this load can overheat and fail.
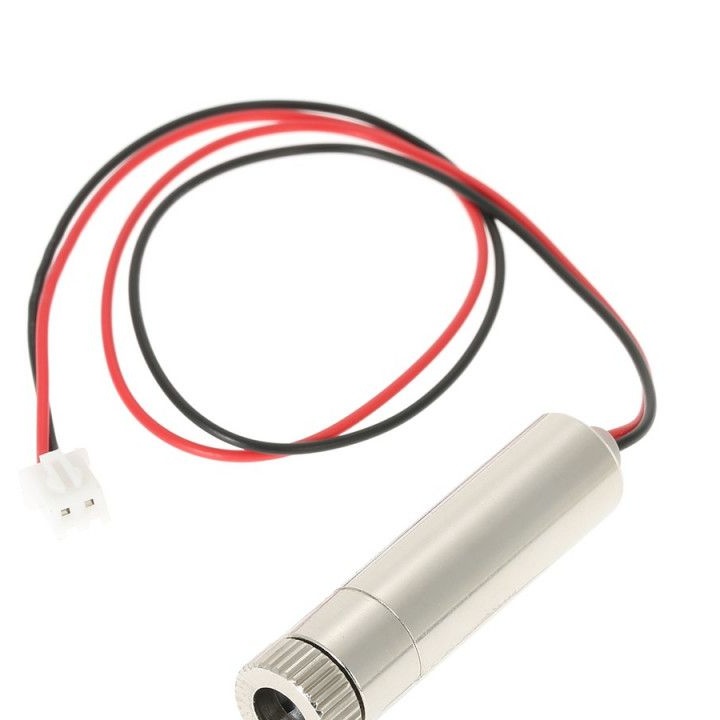
Do not forget to protect your eyes and purchase safety glasses. Glasses need to be selected based on the wavelength of your laser.
We will also need the MOSFET IRF520. You can simply purchase a mosfet and the necessary harness to it, or buy a ready-made module.
Well now, when the main points are discussed and all the components are prepared, you can start assembling.
First, consider the device diagram:
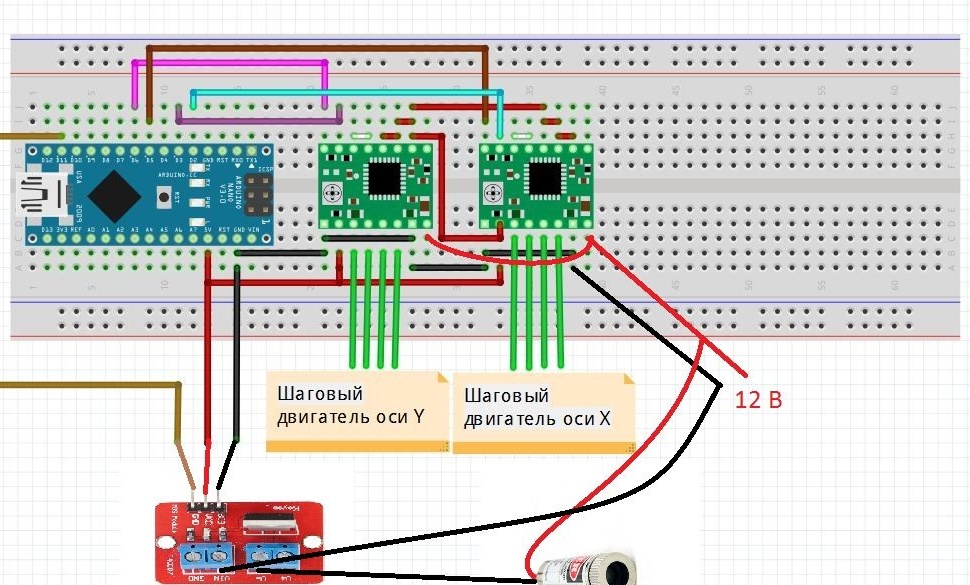
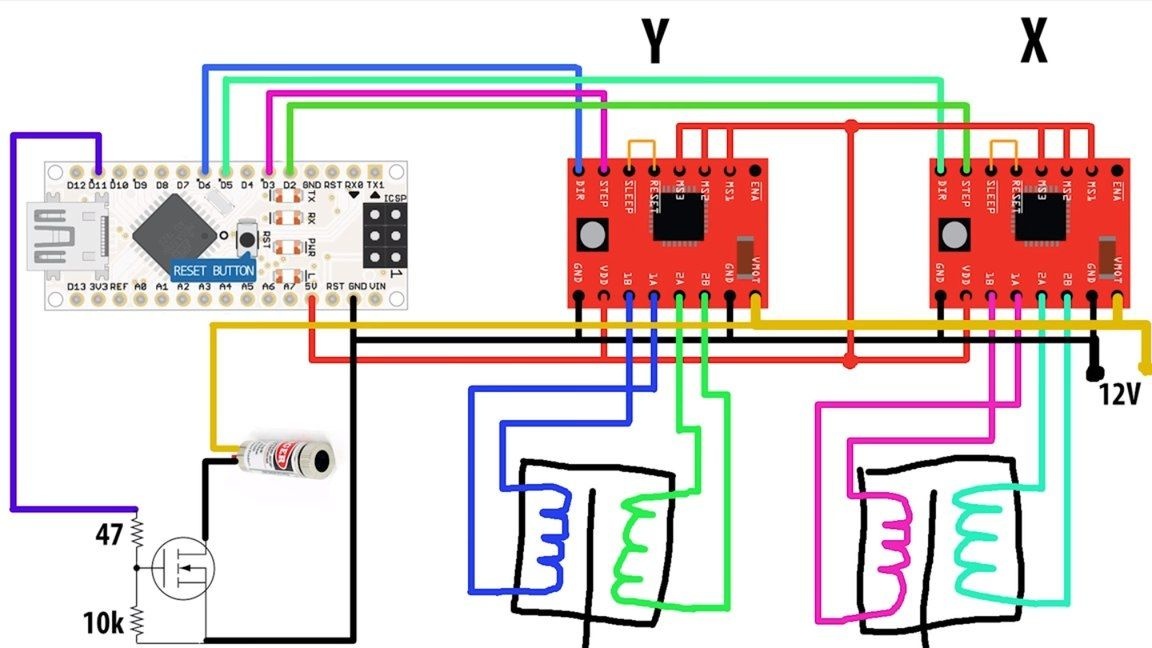
These schemes are absolutely identical. Pay attention to the power of the laser. Your laser may be of a different voltage.
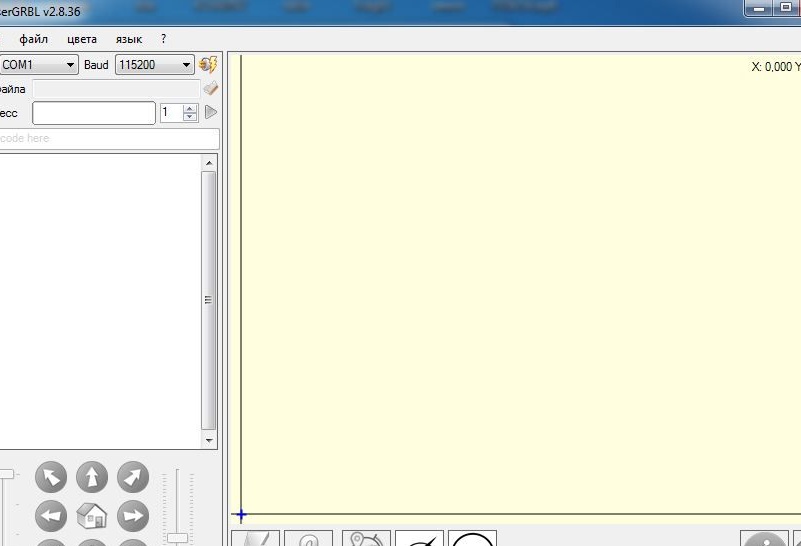
I highly recommend starting assembly on a breadboard. After assembly, install the software. We go to the website http://lasergrbl.com/en/, go to the download folder and download the laserGRBL program.
After we go to GitHub and download.
From the archive we take out the grbl folder and archive it. This will be our library for Arduino. Add this library to the Arduino IDE and open the grblUpload example. We connect Arduino to the computer and bays this code.
The laserGRBL program is easy to use and five minutes of Google is enough to figure it out.
If the circuit on the breadboard is assembled, the engines respond to commands and the program works, you can proceed to the final part of the project - assembly into the body and soldering.

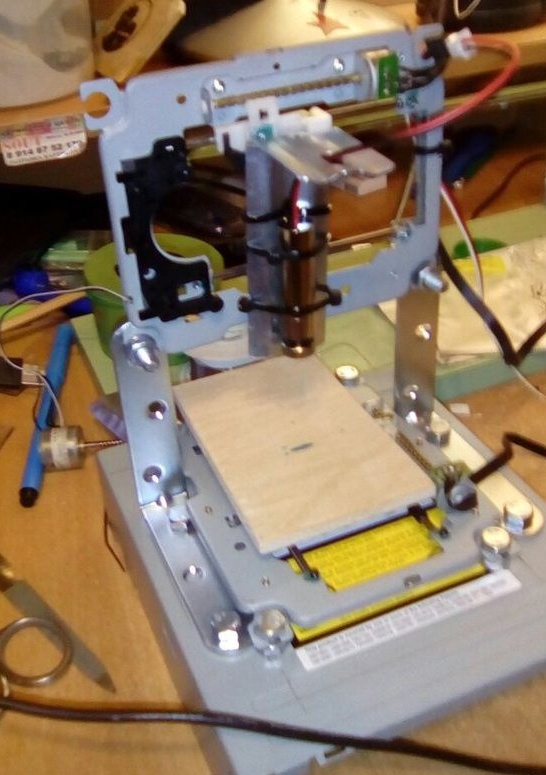
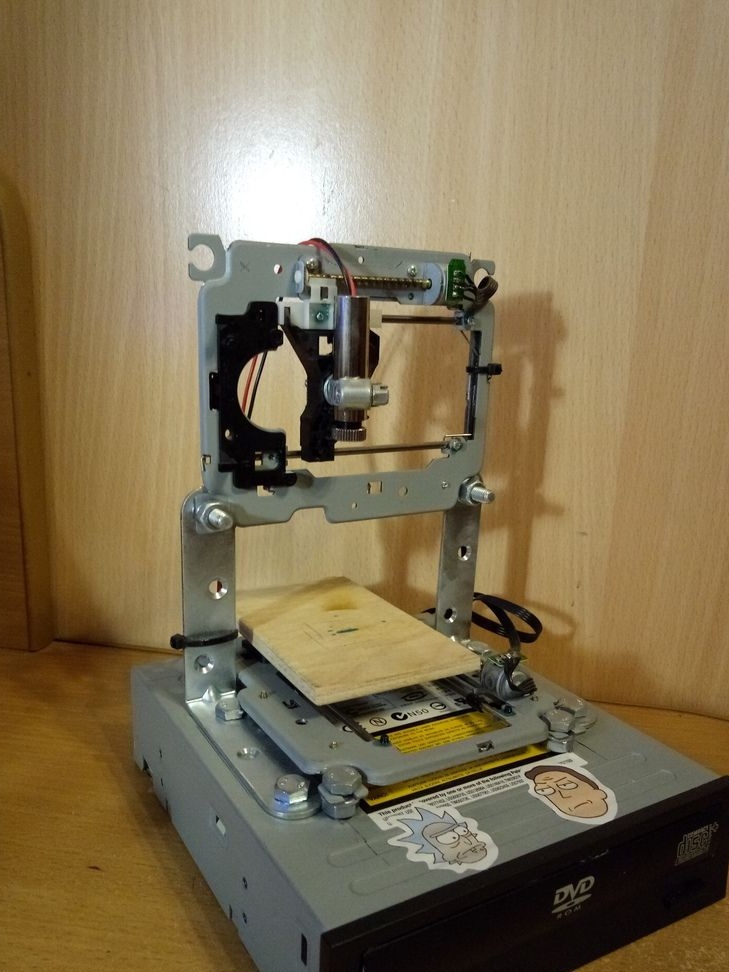
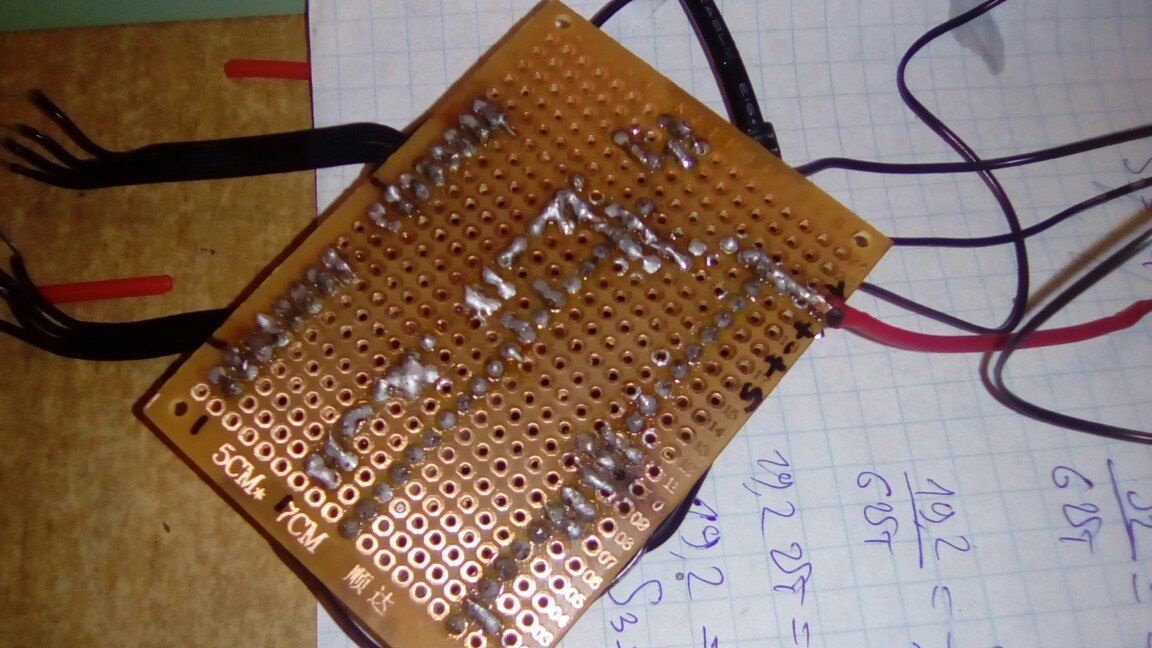
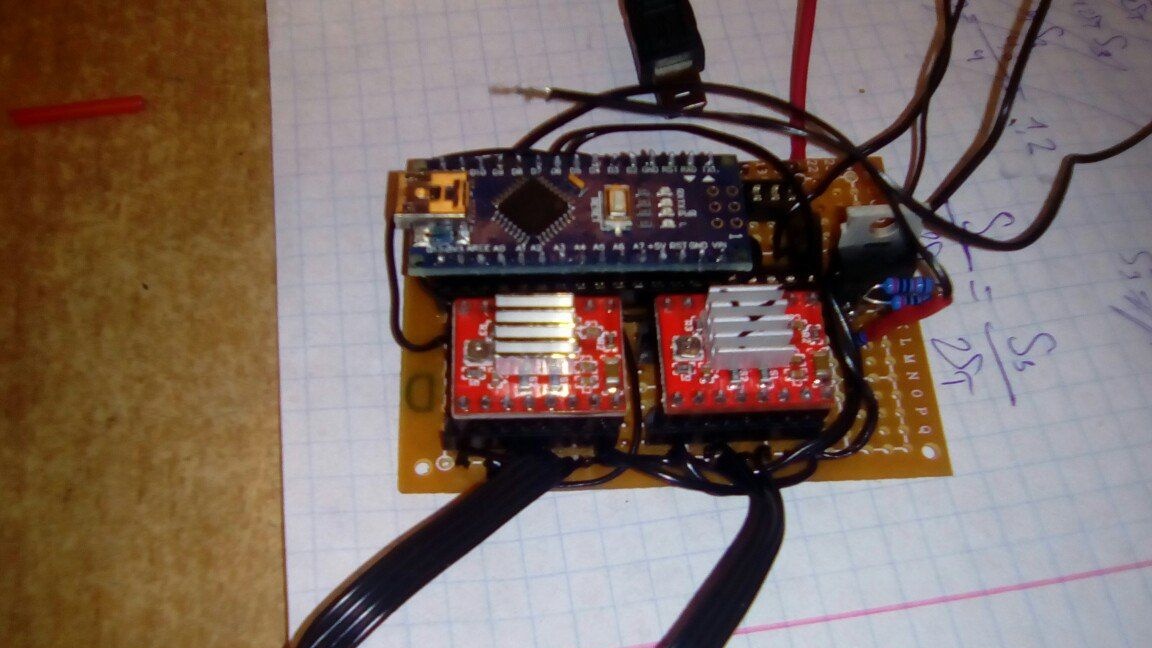
Mounted the circuit on a conventional soldering board:
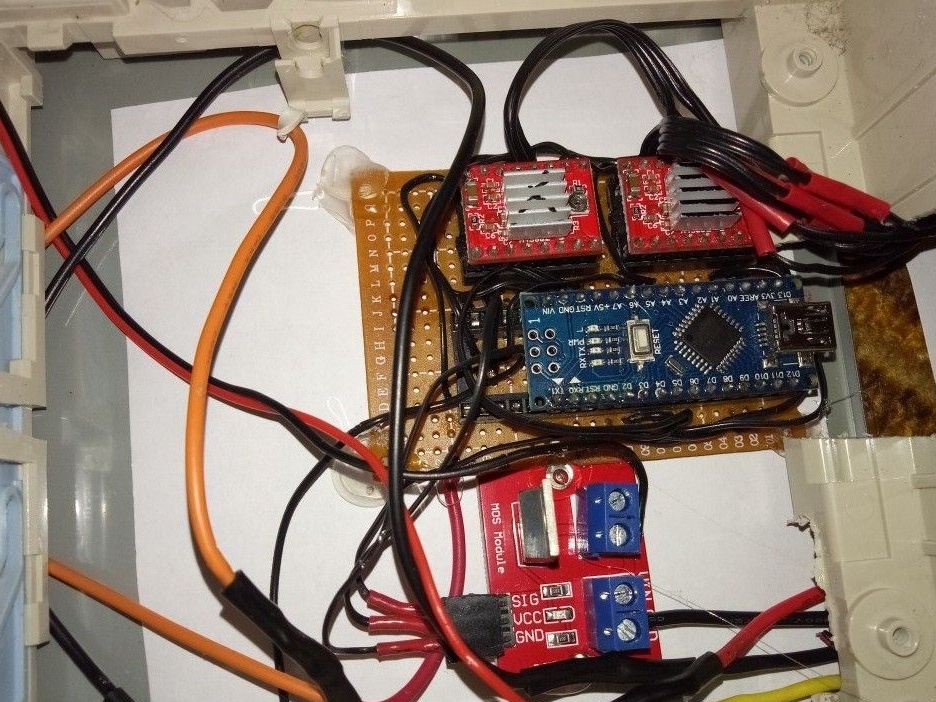
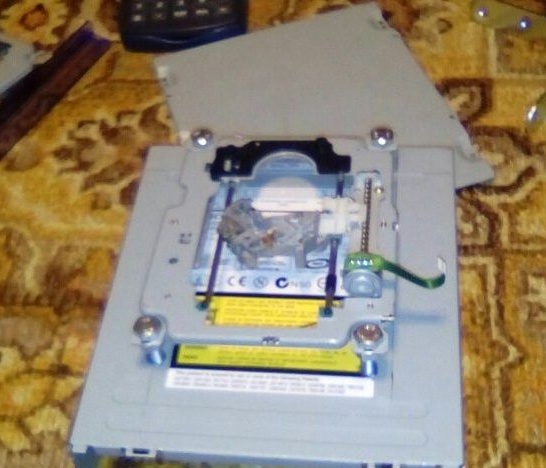
I decided to make a case out of the same case from a CD drive. The Y axis is simply attached to the bottom, and the X axis is attached using regular furniture corners.
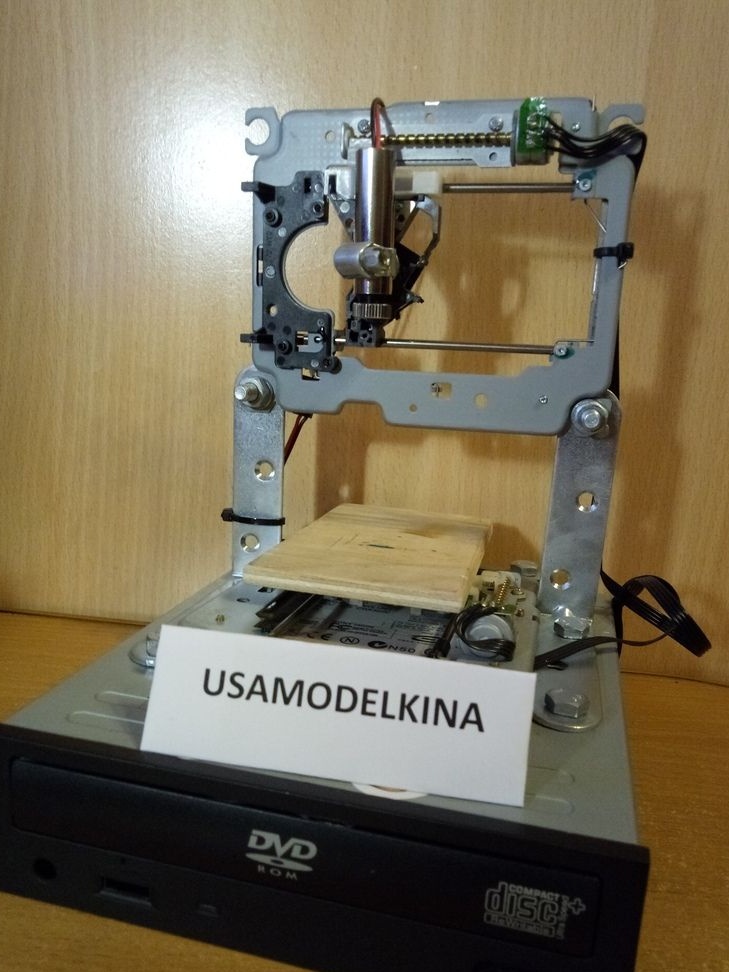
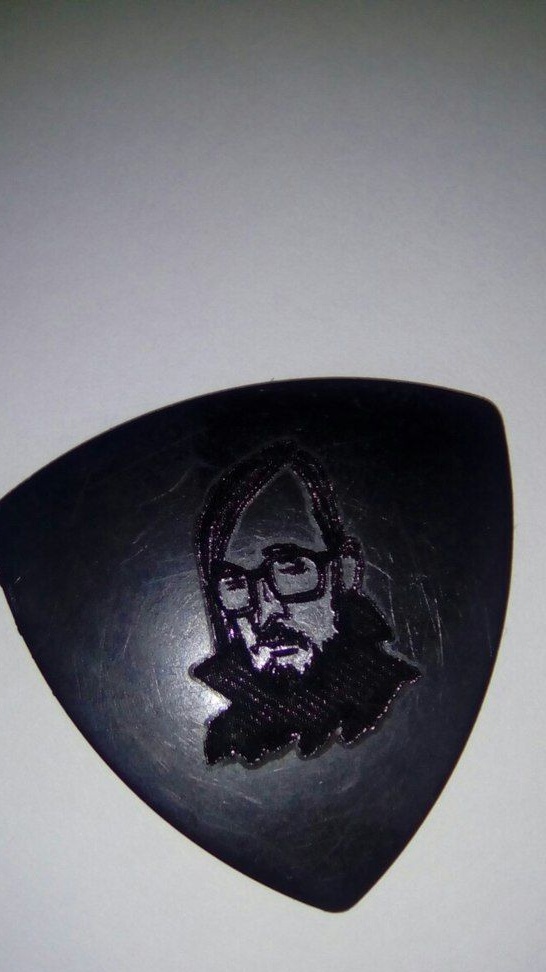
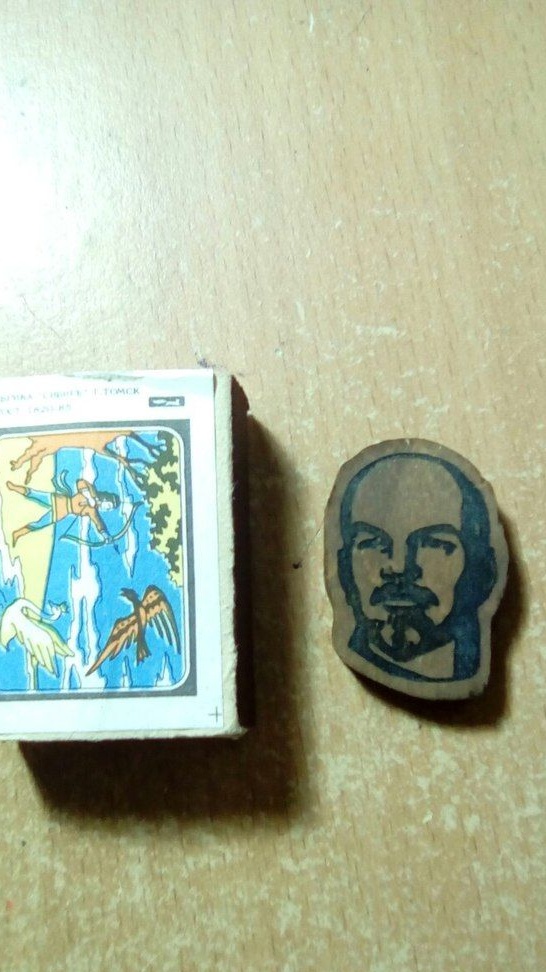
Thus, we get a wonderful laser CNC, with which you can make various creative crafts. From key rings and pendants to personalized phone cases. Here are some of my works:

Thanks to everyone for reading this article. I hope that the information contained in it was extremely useful to you.