
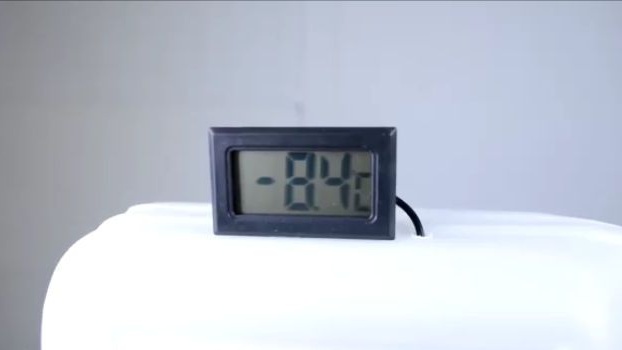
Good day to all, dear friends! In today's article, I would like to show you how to make pretty relevant for today homemade. Today we will make a fairly effective and compact air conditioner based on a piezoelectric element. This air conditioner can produce up to -8 ° C of outlet air. Such a low temperature will be achieved due to the use of effective water cooling of the piezoelectric element.
The piezoelectric element on the basis of which our air conditioner will be assembled, a very interesting thing everyone knows it, who at least once thought about assembling a home-made air conditioner or refrigerator. When voltage is applied to it, one of its sides heats up and the other cools, and you should know this feature, the colder the heated side, the colder it is cooled and for a turn. To achieve the best result from this element, its hot side should be constantly cooled and using simple air cooling is not very effective, and therefore the author of the homemade product decided to make water cooling, which is unusual for such homemade products. In general, we will not delay with a long introduction, we drove!
For a homemade air conditioner, we need:
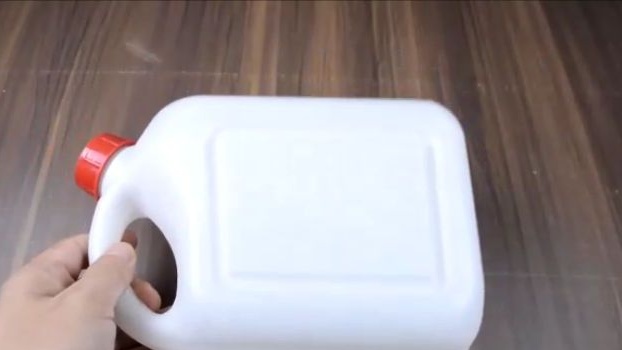
- 5 liter canisters 2pcs.
- Old fashioned air cooling for a computer processor.
- Radiator for water cooling of a computer processor.
- Tubes for a water radiator.
- Piezoelectric element.
- Water pump at 5V.
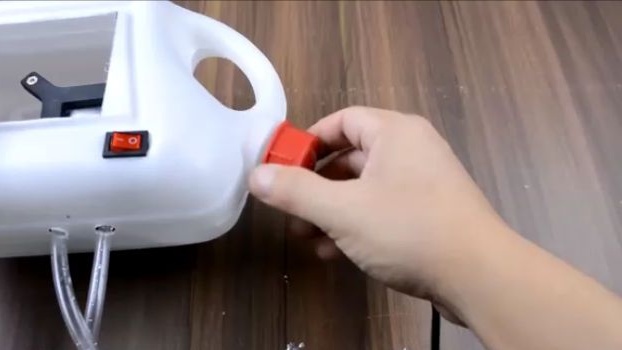
- The switch.
- Thermal grease.
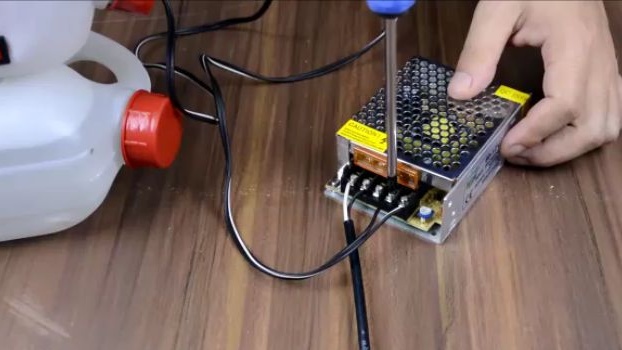
- Power supply for 12V and 5A (it will be enough).
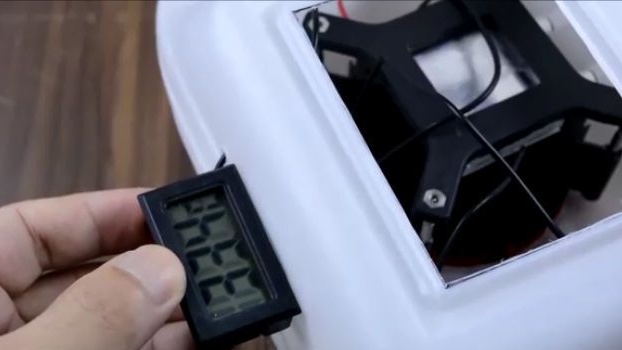
- Electronic thermometer (optional).
From the tools you will also need:
- Stationery knife.
- Marker.
- Scissors.
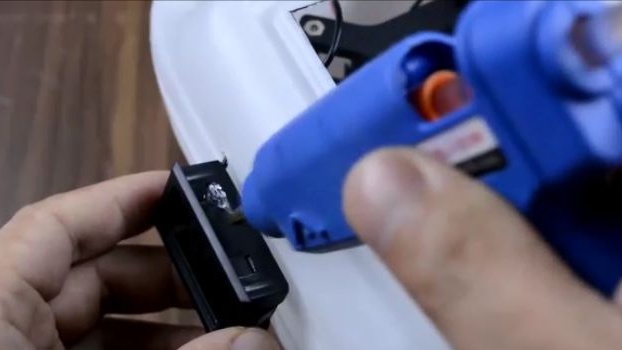
- Hot melt adhesive.
- Soldering iron.
- Super glue.
- A screwdriver.
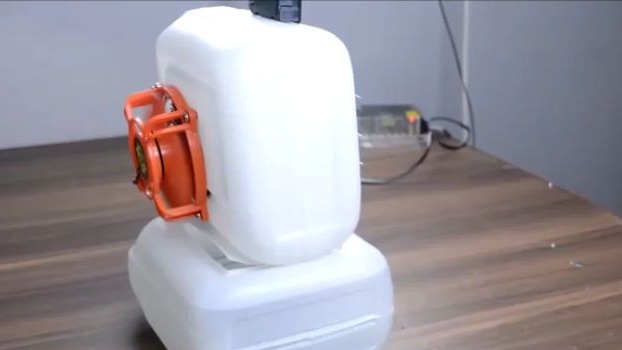
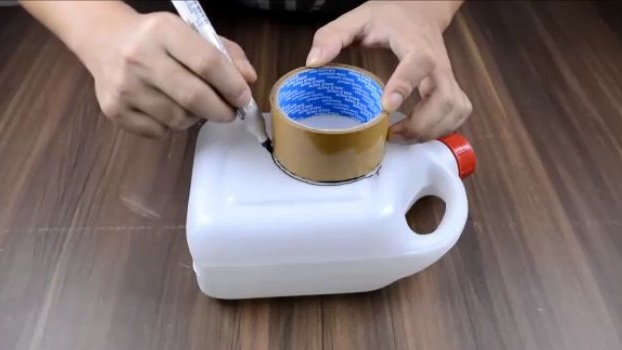
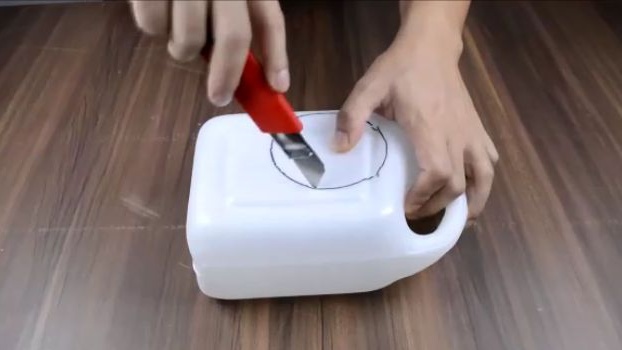
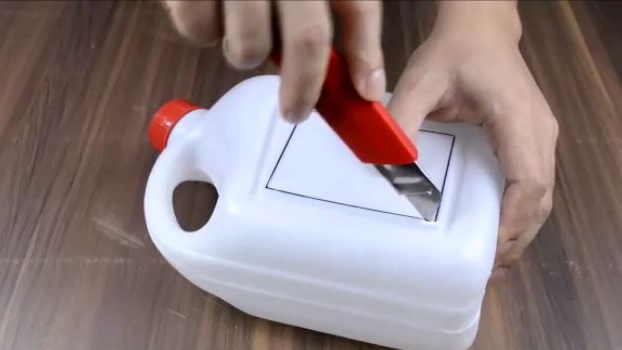
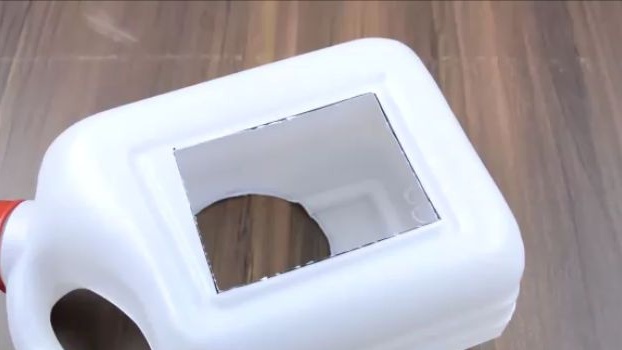
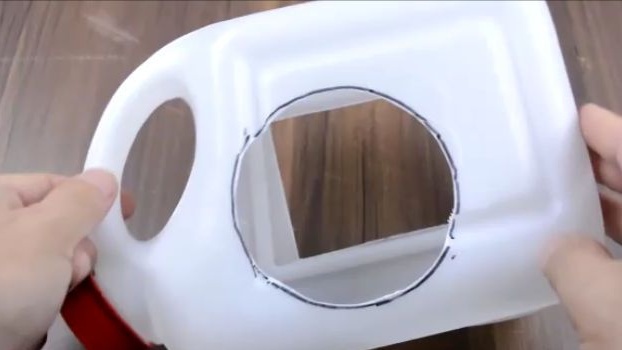
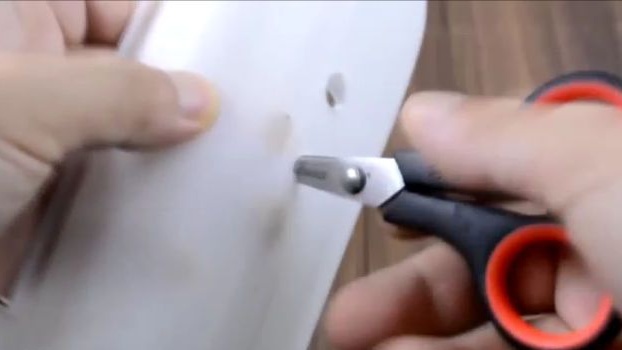
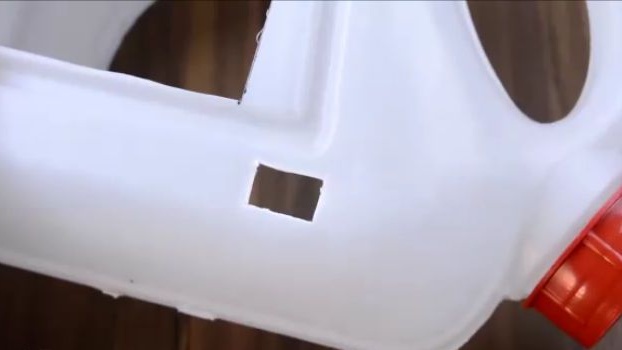
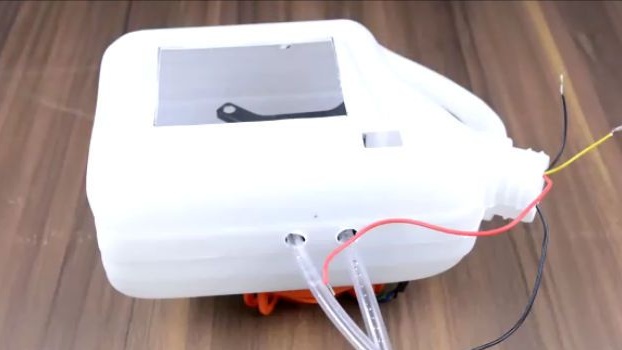
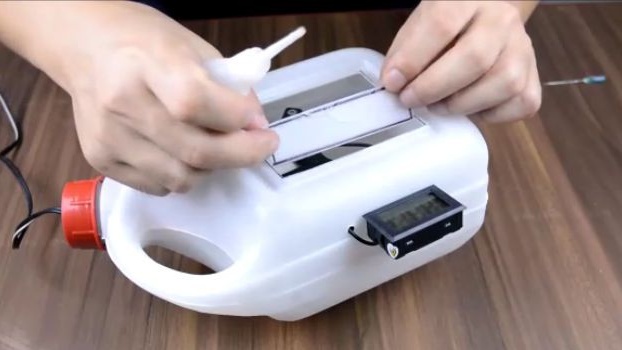
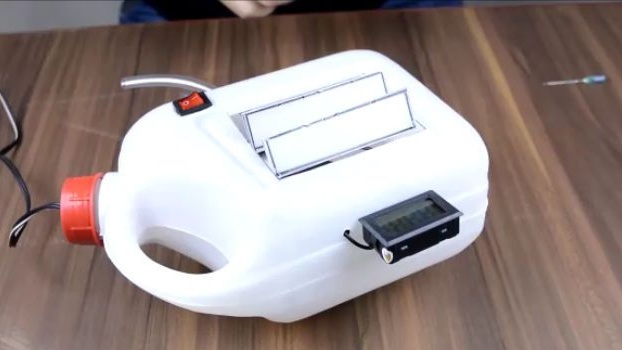
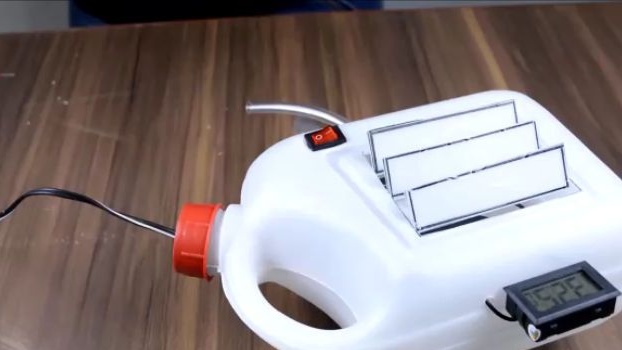
Let's proceed to the assembly. First we need to take one of the five-liter cans. And in the canister you have taken, you need to make a round hole for the air cooling fan. To do this, the author took the tape, attached it to the canister and drew a marker around it, and then simply cut a round hole with the help of a clerical knife. After that we turn the canister over and use a marker to draw a rectangle over the entire plane of the canister. After drawing a rectangle, cut it out with the help of a clerical knife. A round hole will serve as an entrance for warm air, and a square hole for the exit of already cooled air.
On the side of the taken canister, we make two round holes for water cooling hoses. Near the outlet of the cooled air, that is, on the front part, a rectangular hole should be made to install the switch, and near the entrance of warm air, a hole should be made for the wire coming from the fan that will be installed there.
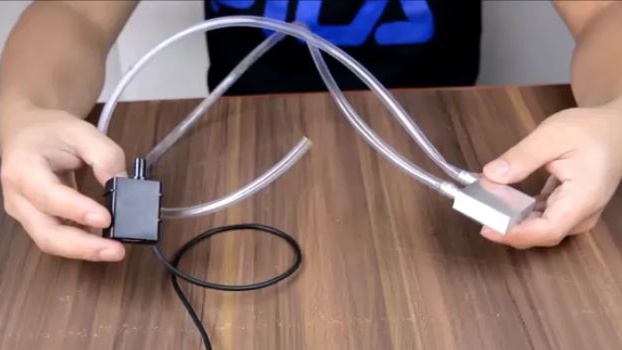
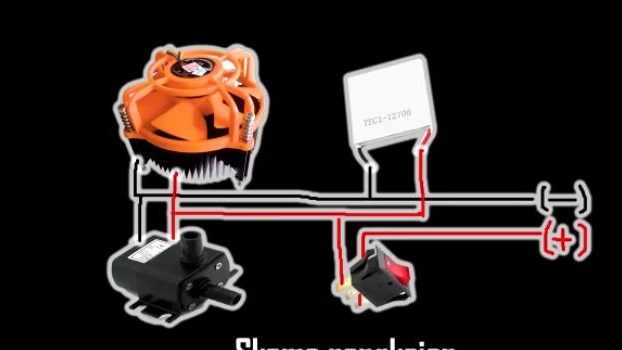
Next, we need to collect water cooling, for this we should take a water pump, a water radiator and hoses, these elements should be connected, as it is shown in the photo below.
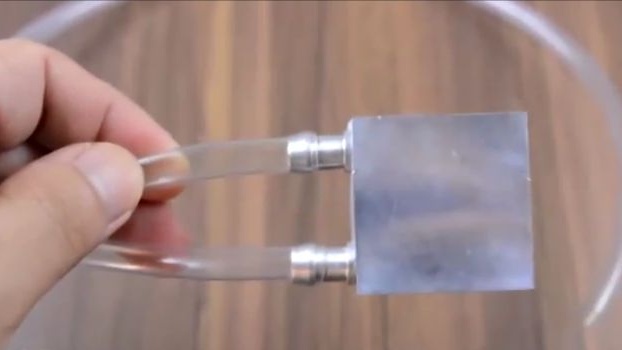
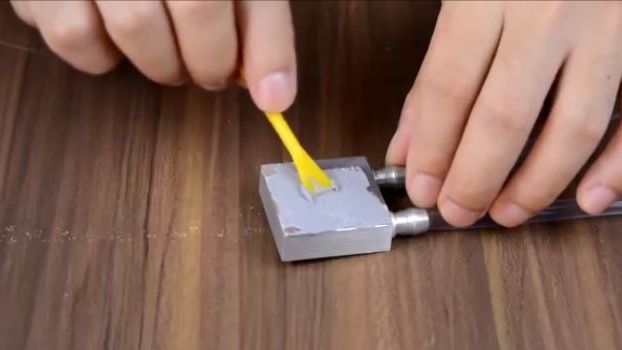
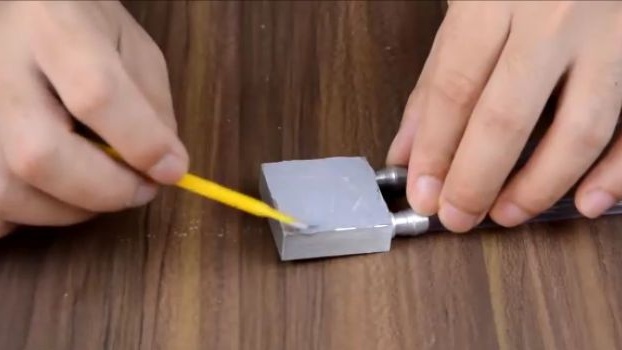
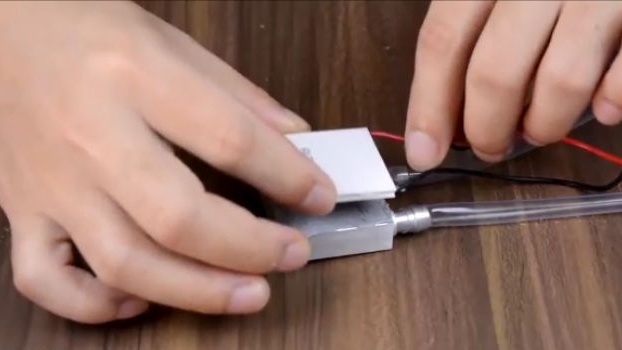
Then we take thermal paste and evenly apply it to one of the sides of the water radiator and glue the piezoelectric element to it with the side that heats up when voltage is applied to it.
Testing:
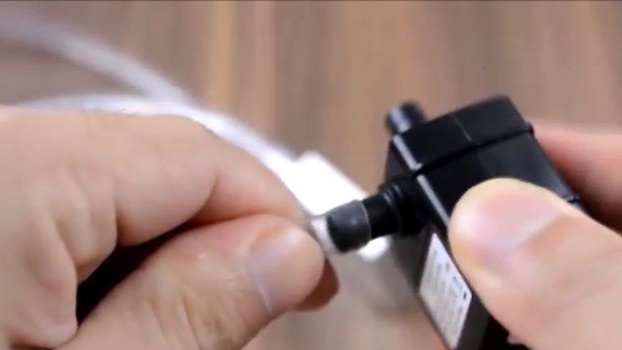
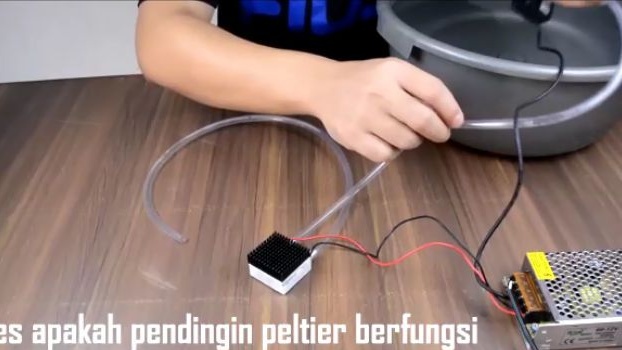
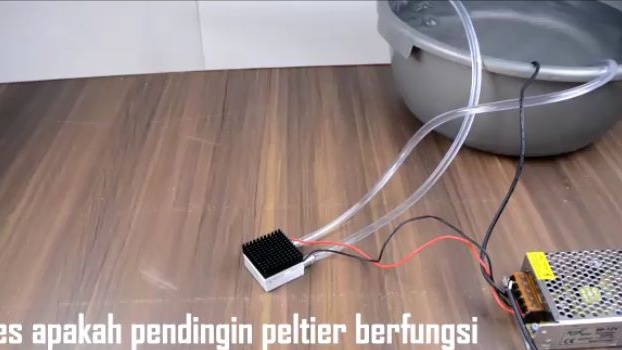
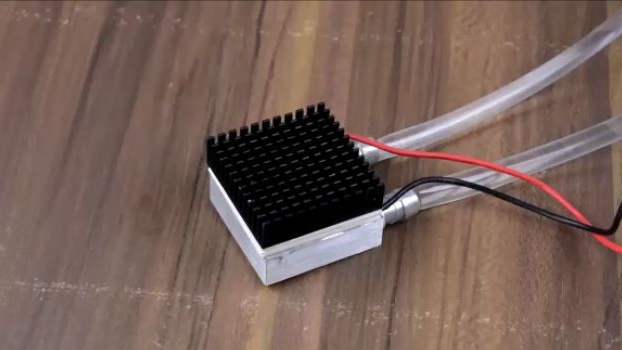
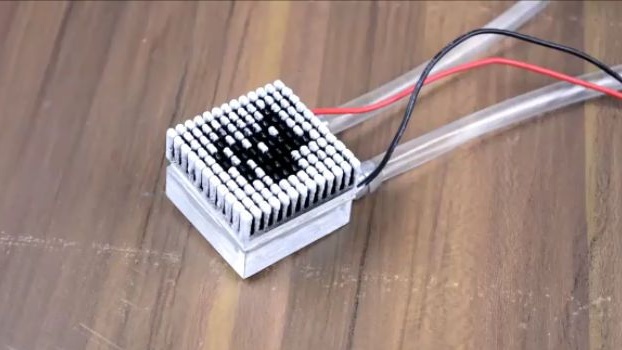
Before proceeding with assembly, check the piezoelectric element and pump for proper operation. To do this, apply thermal grease to the second side and temporarily glue some radiator. We submerge the water pump in water and connect, while not forgetting to observe the polarity, the piezoelectric element with the pump to the power supply. Do not forget that the second end of the hose should be placed in water, otherwise all the water will flow onto the table. After a couple of seconds, as the power supply was turned on, the temporarily glued radiator should cool, and it could also become frosty (you can see from the images below) and the pump should circulate water in the tank. If everything works, then continue to build.

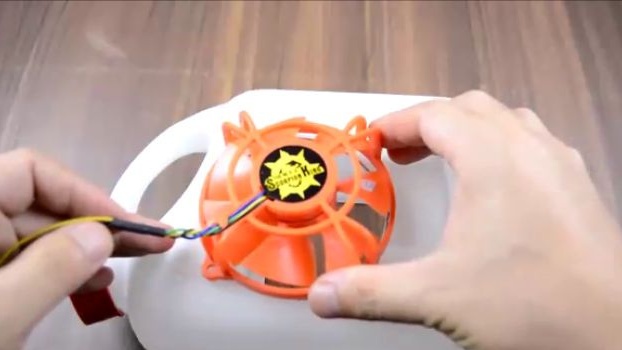
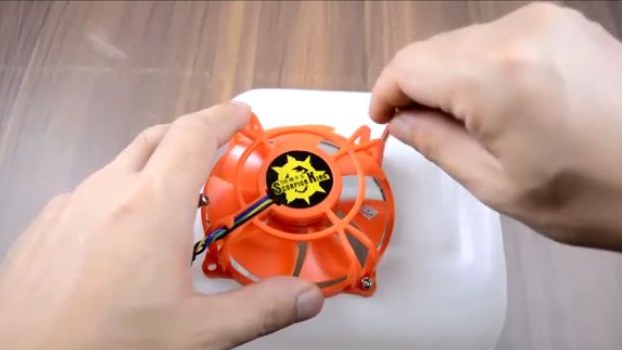
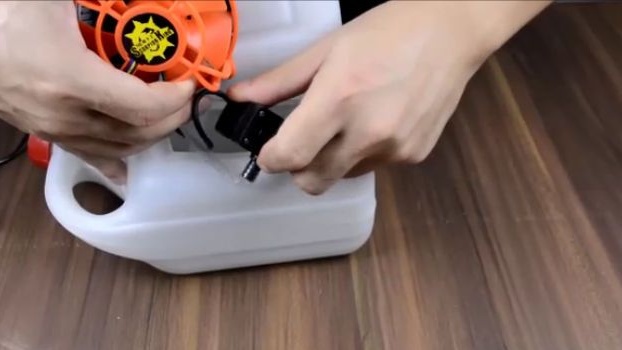
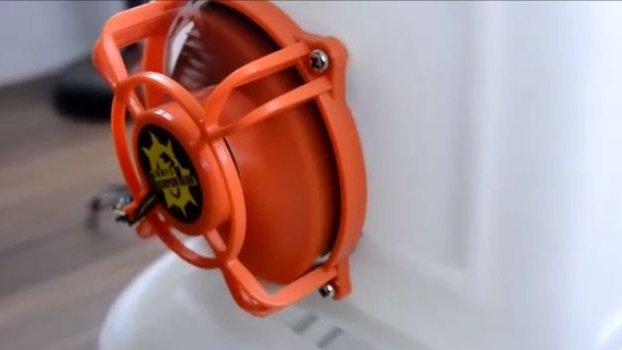
After that, take a canister with the holes made earlier, and screw the fan from it to the air cooler onto the screws that come with it. The wire coming from the fan is pushed into the canister through a previously made hole.

We flip the canister and poke through the outlet and install a radiator from air cooling.
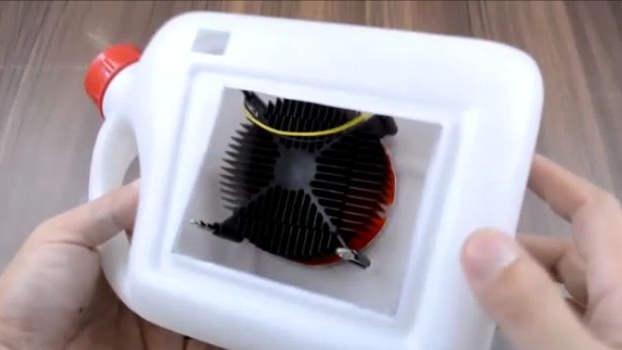
After pre-lubricating the radiator with thermal grease, we install the piezoelectric element in its place by inserting the hoses through the holes made in advance. Fix the piezoelectric element to the radiator with the cooled side. And we pull out all the wires that are through the lid of the canister.
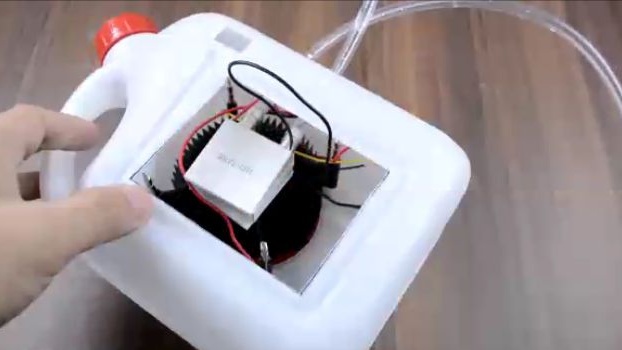
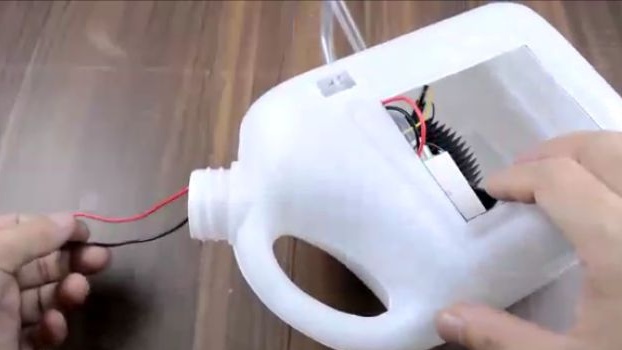
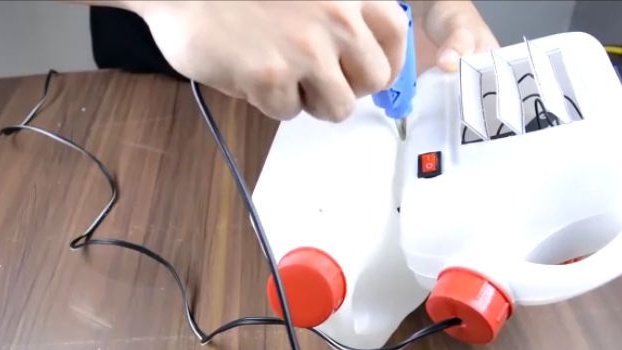
Then we insert the switch into its place, and we connect all electronic components according to the diagram below. We make a hole in the plastic lid from the canister and display the main wire that goes to the power supply.
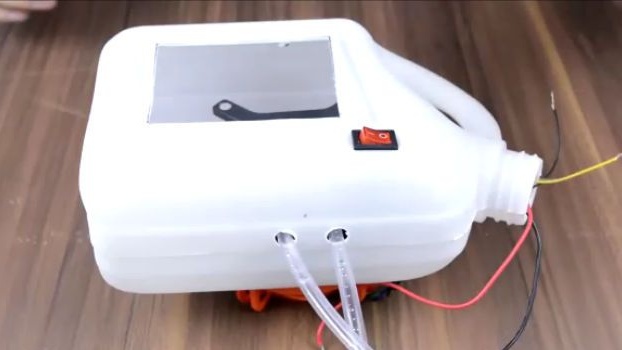
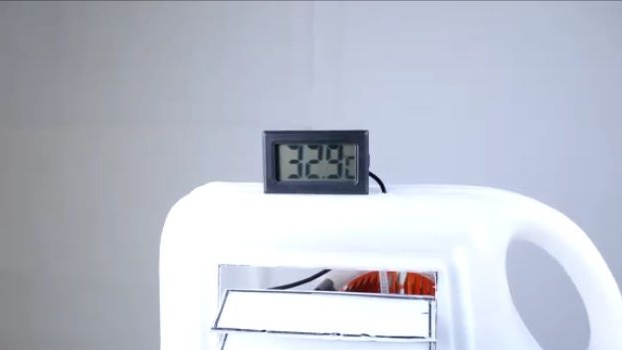
Install the electronic thermometer on the structure. Just glue the thermometer with a hot glue to the canister, and install the sensor in the place where the already cooled air comes out.
The plastic rectangle that was cut out earlier is divided into three small rectangles and glued to the canister, as it is shown in the photo below. This is necessary to direct the flow of cold air to more effectively cool the part of the room you need. The author of this homemade product did not bother with the mechanism for changing the direction of the air flow and simply decided to stick the rectangles at an angle to the super glue so that the cold air flow went down.
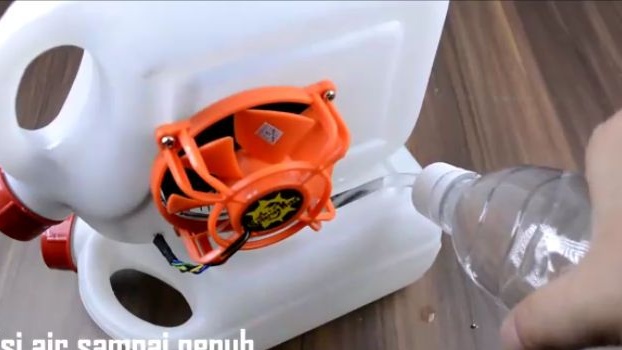
Then two canisters should be connected. But before you start connecting the two cans together, the second canister should be prepared. Namely, make two holes for the water cooling hoses and a large hole in order to make it more convenient to add water.
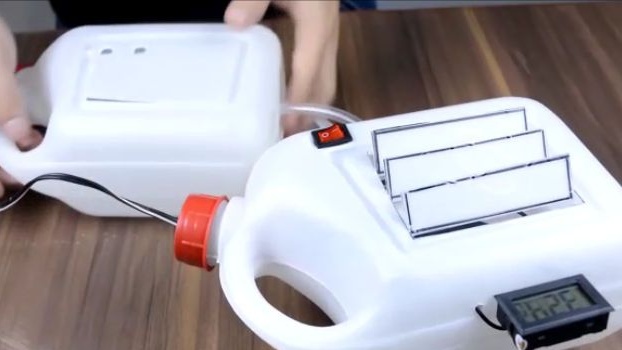
We put the hoses through the holes in the second canister, install the water pump and fasten the two canisters. We will fasten two canisters together with hot melt adhesive.
All is ready! It remains only to test the newly assembled air conditioner. To do this, pour cold water into the lower canister (for more efficient and long-term cooling, you can add a little ice) and connect the power to the air conditioner. The water in the lower canister, through a pump, passes through the radiator, thereby cooling the hot side of the piezoelectric element.Having taken the heat, the water returns to the lower canister already a little warmer than it was at the beginning of the cycle. At the same time, the piezoelectric element will cool its cooled side even more than without using additional water cooling. Having cooled the piezoelectric element, it will cool the radiator, meanwhile the fan will drive the warm air through the cooled radiator and the warm air will cool. It is worth remembering that the water may heat up and will have to be changed periodically, and if this is not done, then cooling the room will not just be less efficient - it can lead to overheating and failure of the piezoelectric element.
I hope someone will find this article helpful.
Here is a video from the author with a detailed assembly and testing of this homemade product:
Well, thank you all for your attention and good luck in future projects!